
Hello, everybody! I was watching some old Soviet-era movies from the 1930s up until Khrushchev’s time. Some of them were colored, using a simpler process than the common 3-step process used at that time. This makes the resulting movies look a little bit brownish, this may be partly due to how it is stored, too. I enjoyed watching them because it’s a rare glimpse of life “across the curtain“, for some of us who are old enough to remember. Today, I will show you something that will give you the same look, if not similar to the movies that I have watched.
Introduction:
The Cinestill 50D has always intrigued me, I’ve been seeing it for some time now but I still do not know its selling point and what makes it special and appealing to some people. One thing is for sure, It is another repackaged cinema film without the remjet. I don’t know which film it was originally so I’ll just leave it to the experts in the comment section. This is supposed to be a “daylight” film, which means it’s best to use it on a sunny day. Some people claim that it’s similar to the Reflx Lab 100, but I find that film to have less brownish tint overall. It’s also a little bit more pleasant to look at (the results) compared to this one.

It comes in the typical Cinestill packaging, but it’s blue this time. There’s nothing special about it, it’s what I would expect from this company.
Just like all of Cinestill’s films, it’s just a re-spooled film from Kodak, but without the remjet layer. It needs to be removed so it will not foul the chemistry and clog the sensitive machinery needed to process your common C41 process film. This allows you to enjoy shooting with cinema film and have it processed by a laboratory near you. While many people have been doing this manually, it’s tedious so some people just buy Cinestill’s films despite the price.

I often wonder what the color of the substrate is when shooting with Cinestills’s films, it’s blue this time.

(Click to enlarge)
As usual with many Cinestill films, the first few frames will show some anomalies. You may like it or not, it all depends on how many words are used to describe your coffee or if you’re just happy with Nescafé.


(Click to enlarge)
This is how it looks like when you bracket your shots by a stop, over-and-under. The grain structure looks like it’s handling everything pretty well especially when underexposing.

We found this plushie toy on the pavement. It’s pink but it looks so different in the photo, très bizarre. It’s as if every photo looks like it is a sepia filter applied.

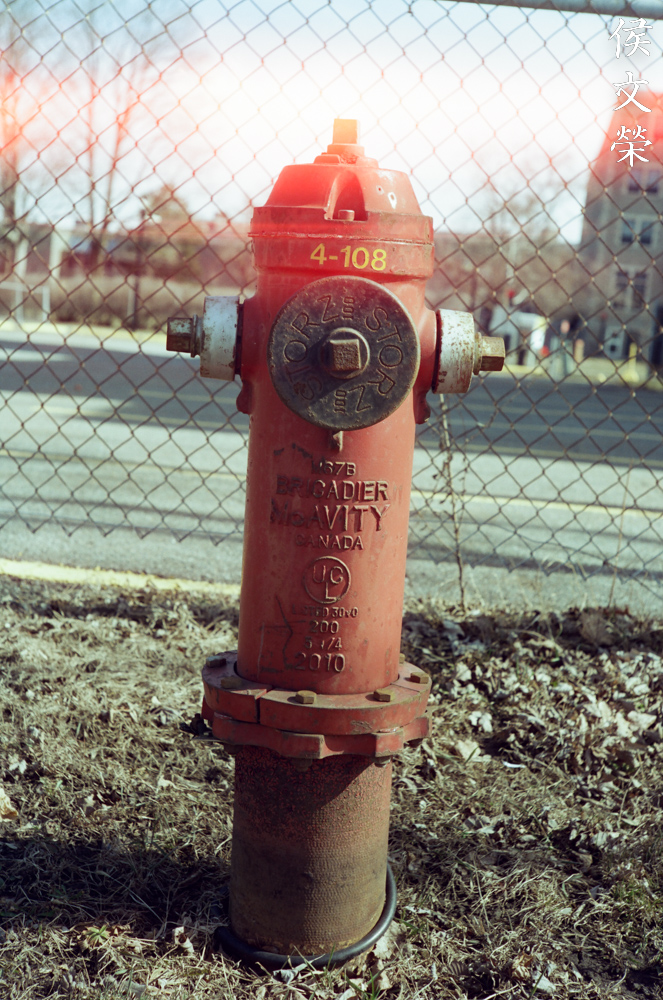
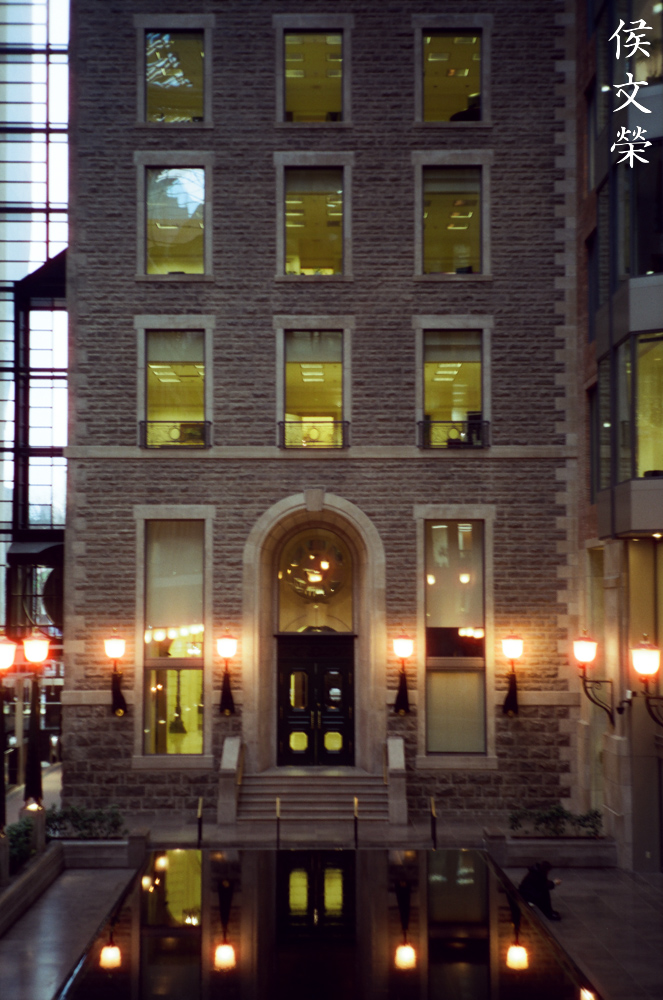
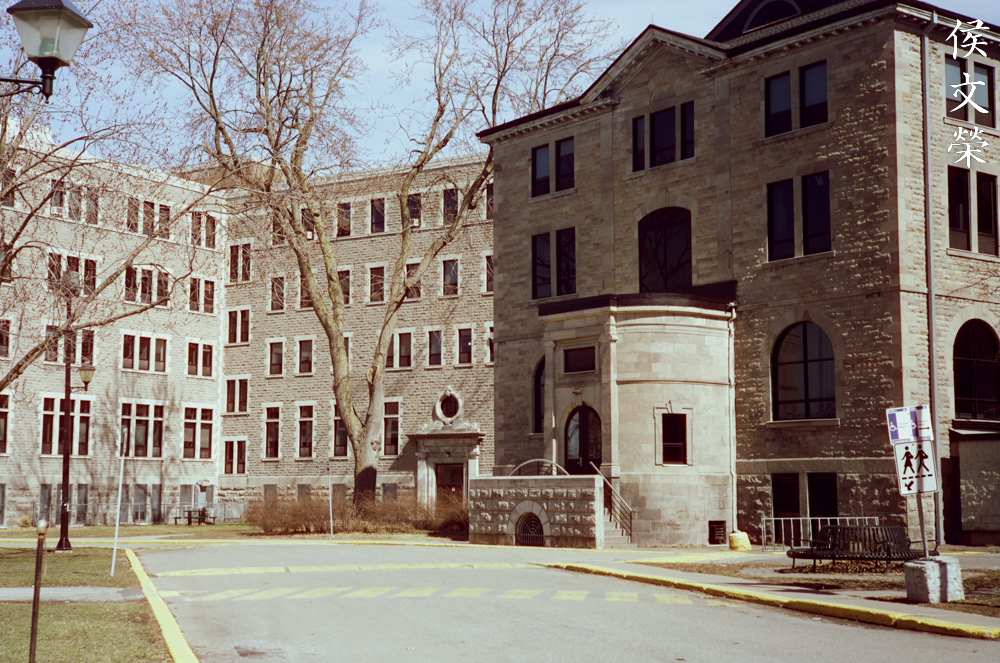
That sepia-look can come in handy, too. It made this interior shot look more classy. I’m still wondering if I got a bad roll because the photos that I have seen of this film online looked so much different then what I have here in this article.
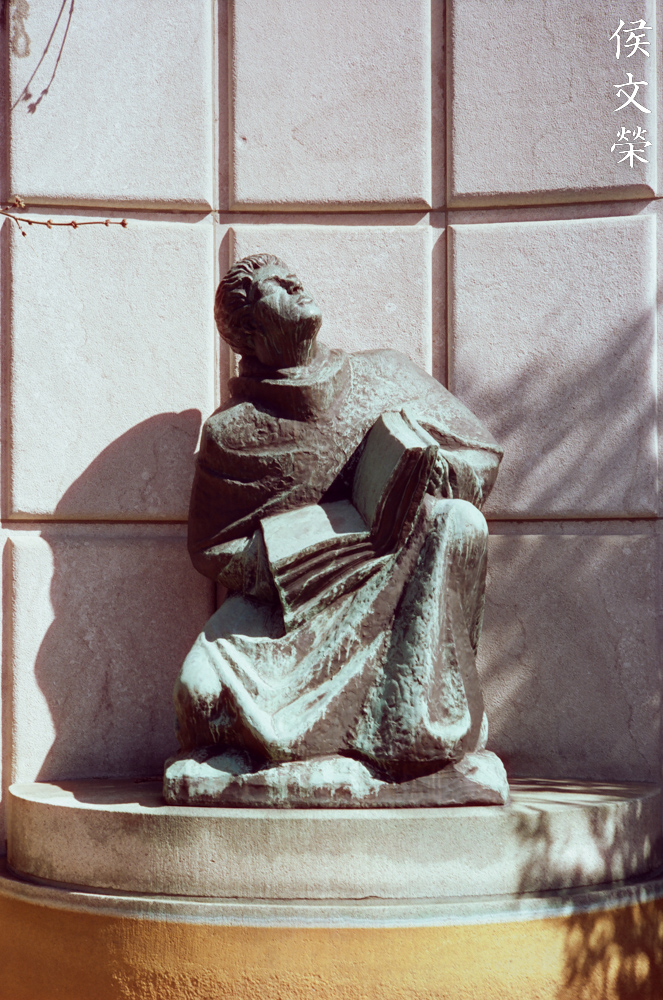
The grain is fine so you are able to resolve even the tiniest details, like the rough texture of the cement in this photo.
It’s not the best film for shooting indoors because of obvious reasons but don’t let that prevent you at all from shooting it the way you wanted to. Back in the day, film were much slower and ISO25 up to ISO50 is “normal” and ISO400 is already considered to be “fast”.

Here’s a photo with a bright red element. While it’s definitely muted compared to how it looks like in real life at least the sepia effect isn’t as obvious here. I really don’t know what to make out of this film. I’m just as confused as you are.
Since this is a film that’s originally made for cinema purposes, it exhibits halation in bright sources of light or overblown highlights in your scene.

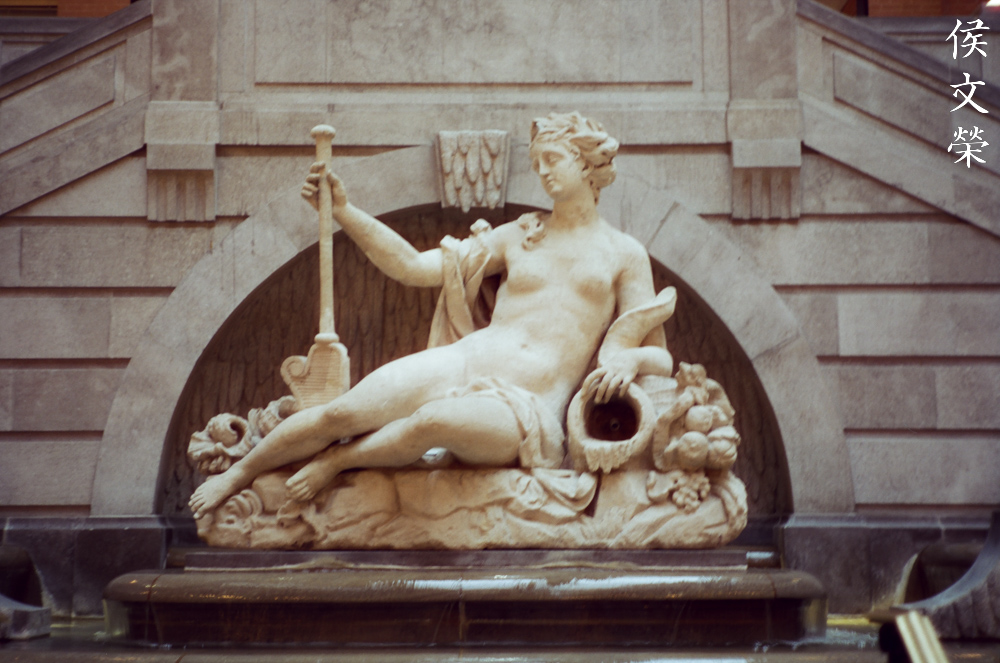
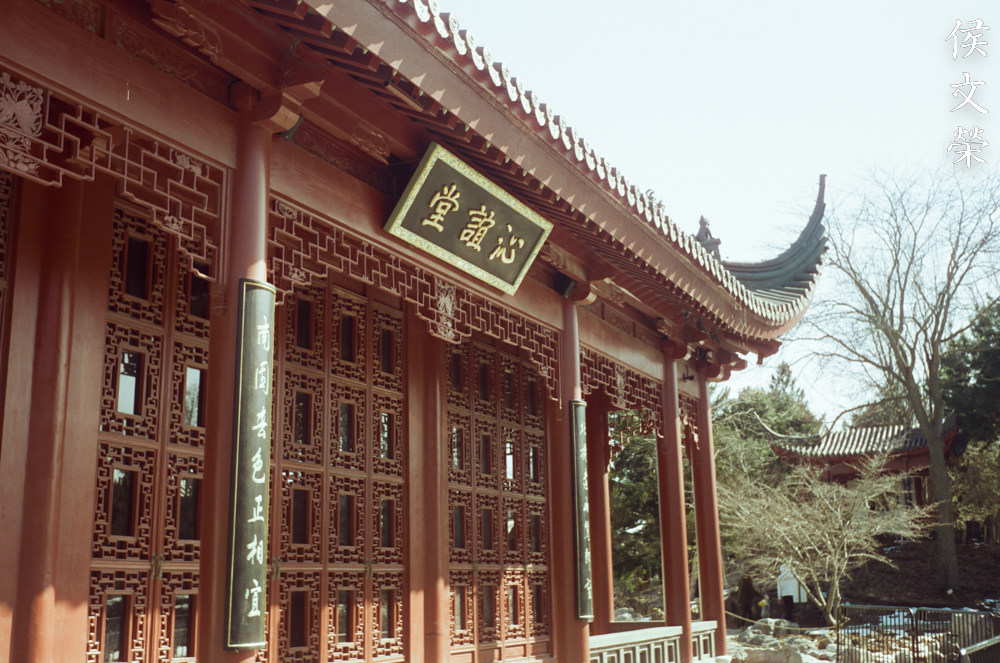
The halation effect adds something special to your photos, making them look more unique. That and the sepia effect makes your photos look as if they’re old, like something that belongs in an old family album.
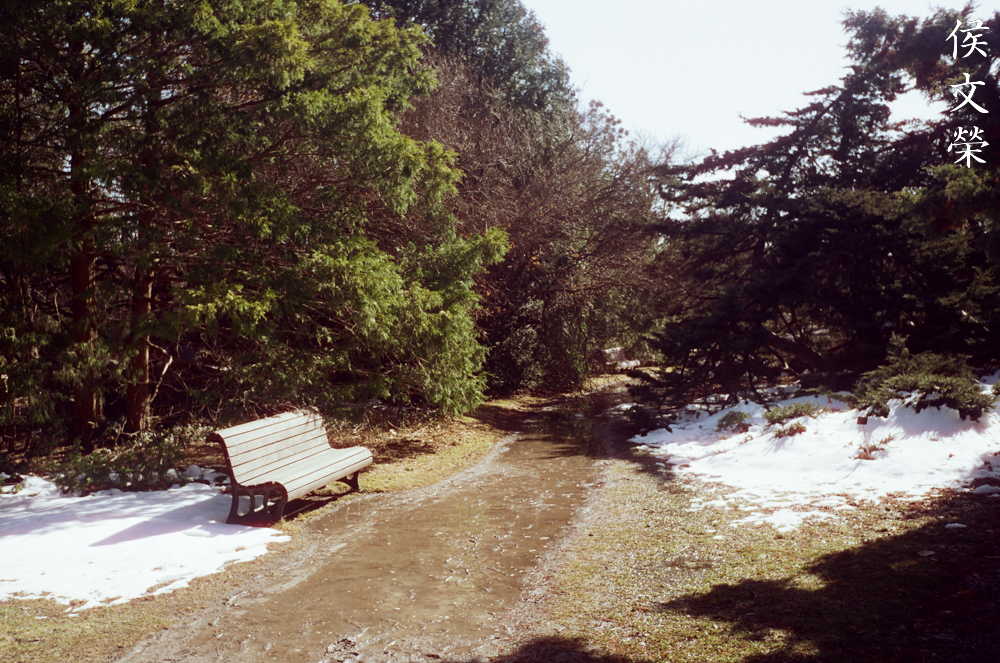
Snow will also produce halation if you have overexposed it, but it looks more subtle.

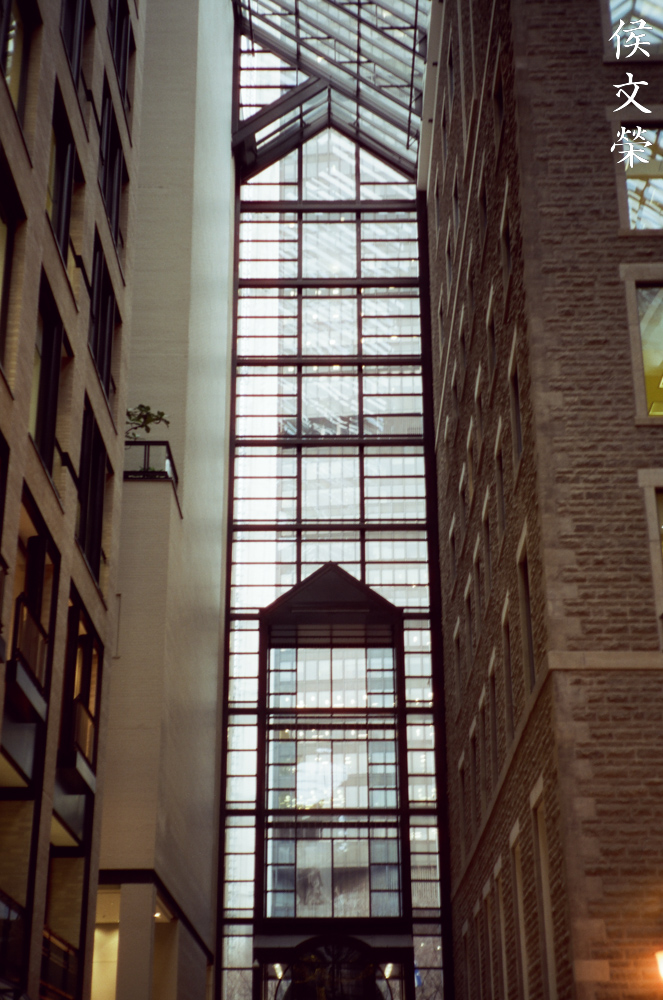
Shiny metal surfaces will bloom because the highlights are overblown. I think I’m beginning to see what’s happening here, it looks like the film or at least the roll that I shot with filters out the blues. The stronger the sunlight is, the stronger that sepia effect looks. Notice that some of my skies look totally gray. This is just my observation.

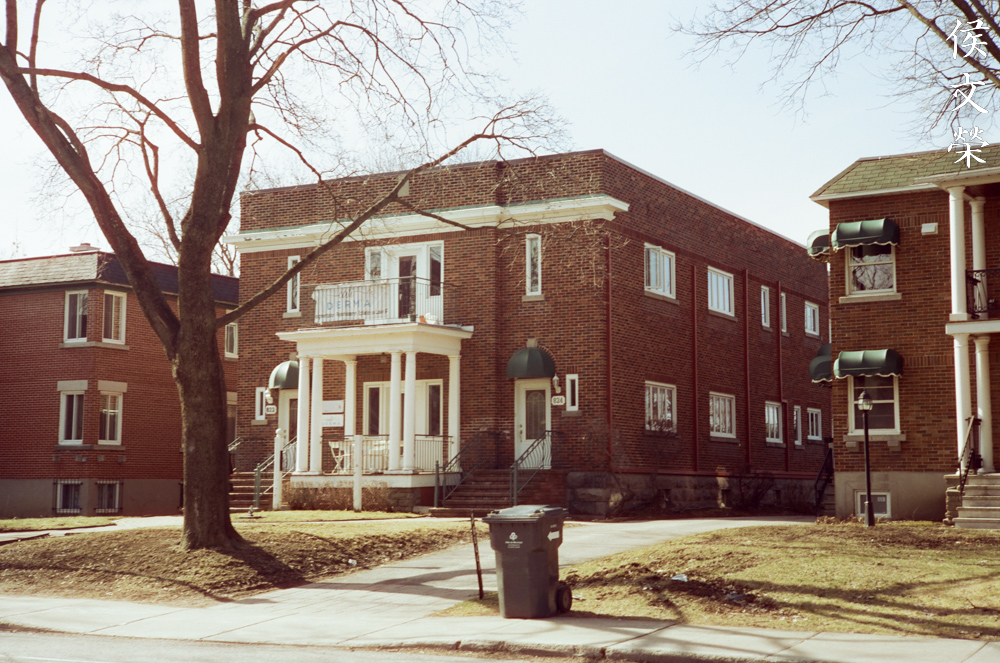
Here’s another photo to illustrate my point. Whatever is happening, it’s making my photos look different from what I see from other people. This can also be caused by the chemistry used by the lab.
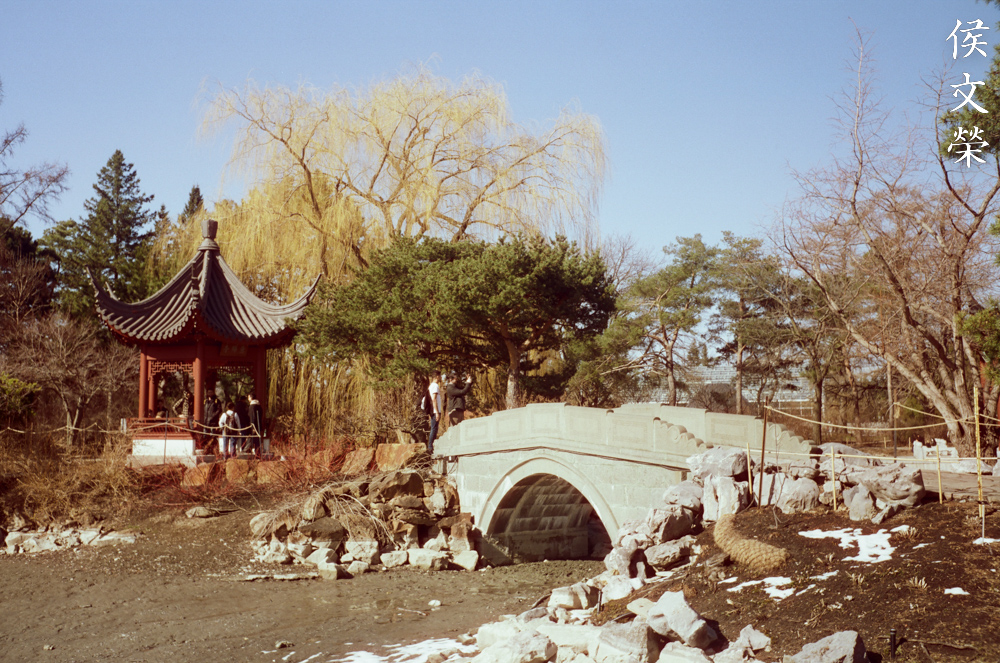
This scene should look bright because of the vermilion and green elements but it looks like an old photo.


(Click to enlarge)
I’m not complaining too much about the technical qualities of the film, it’s excellent as it is but it’s just not what I was expecting.


(Click to enlarge)
Even concrete looks brown for whatever reasons. Brown and orange are the opposites of green and blue, maybe that brownish tint is neutralizing the blues and greens in my pictures? To be fair, I told the lab not to correct the colors of my scans but that still doesn’t explain everything.


(Click to enlarge)
Here are the last photos from the roll. I don’t know if I’m happy to see these or not but I hope they gave you a new insight about this film. Maybe you can compare my photos with what others took themselves and make the conclusion yourself if it’s a good film or not, I have no opinion about the matter.
I don’t know, this is a complete mystery to me. I do not want to recommend something that may end up looking like nothing that I was showing. Maybe you will buy a roll and it will come out looking different from what you see here. At least I can offer a different viewpoint. I am tempted to shoot another roll just to see if it’s going to look different and I will use another lab next time. However, with the cost of the film, I am not so inclined to spend that much to purchase, process and scan another roll of it. That money can be better spent on groceries, that’s just the reality of today’s Canada.
Thank you very much for everything, if you have enjoyed this little article please do not hesitate to leave me a little tip. I’m not an attractive waitress serving you beer or coffee, but this blog earns less than what many people would consider minimum wage. Your little donation will go a long way, it helps me maintain and host this site. It’s considered by many to be the best of its kind, thank you again see you guys later.
A little note, unless we forget:
I’d like to go back to Nikita Khrushchev. It is interesting that many people only remember him for his shoe and the passionate speech he gave, but I believe that underneath his unsophisticated demeanor that he is a good person, or at least much better than his predecessor and master – Joseph Stalin. He even begged the demon called “Chairman Mao” to stop his plan for the “Great Leap Forward“, a plan that killed millions of people and cause unspeakable suffering in its wake. This simple act of compassion came to be because Khrushchev had to live through the mad experiments of Joseph Stalin on the vast lands of the Ukraine. It’s taken as an insult and a sign of jealousy by the maniac Mao, and it led to the Sino-Soviet split. That’s how the mind of a madman works, he idolized another maniac (Joseph Stalin) from which he fashioned himself. I would like to dedicate this article in remembrance to the horrors of communism and to the victims of all the excesses of the monsters that preached it.
Help Support this Blog:
Maintaining this site requires resources and a lot of time. If you think that it has helped you or you want to show your support by helping with the site’s upkeep, you can make a small donation to my paypal.com at richardHaw888@gmail.com. Money is never my main motivation for this blog and I believe that I have enough to run this but you can help me make this site (and the companion facebook page) grow.
Leave me some tip?
Thank you very much for your continued support!
$2.00
Helping support this site will ensure that it will be kept going as long as I have the time and energy for this. I’d appreciate it if you just leave out your name or details like your country’s name or other info so that the donations will totally be anonymous. This is a labor of love and I intend to keep it that way for as long as I can. Ric.

Jul 15, 2024 @ 00:50:55
Hi Richard,
Hooe you’re well. I’m wondering whether you have any assembly notes or diagrams for the Nikonos Nikkor 80mm f4. Long story but I received a disassembled one back from a technician. I can successfully reassemble the lens unit into the body but the aperture impinges slightly on something when wide open. I’m either missing a step or even a part the tech forgot to return. Any assistance much appreciated! Enjoy your repair site very much.
Kind regards, Hugh New Zealand