
Hello, everybody! Today, I am going to show you a simple repair that you can do for your vintage (and newer) cameras! The leatherette of older cameras may not last as long as its metal surroundings but that doesn’t mean that you cannot replace them. It’s not easy for anybody to look for a perfect match when it comes to pattern but the important thing is you get to cover your camera again because the leatherette usually covers something in the camera and prevents moisture from getting into it. It’s not only there for cosmetic or design considerations. Read this article to see how I usually go about doing this.
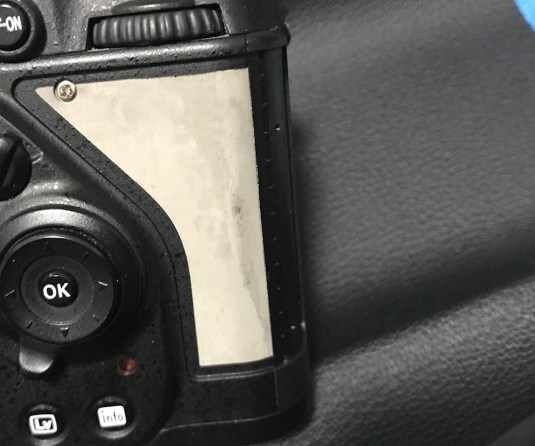
 The thumb rest of my Nikon Df has swollen and I have to replace it with something new! Nikon’s rubber on their modern cameras are notorious for peeling! I don’t know why this happens but Nikon should fix this! Sure, it feels better in my hands but at the end of it all I want the rubber to last longer than this! Maybe this is due to “planned obsolescence”?
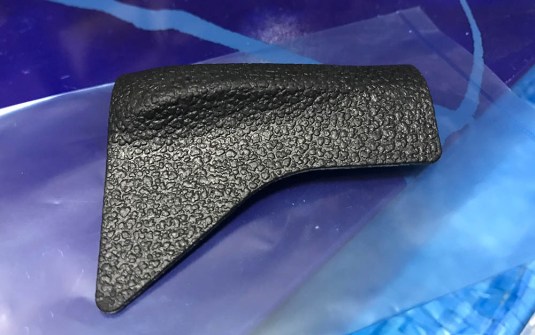 Despite having the original replacement part from Nikon, I opted to make one myself. It has a raised portion that was designed to catch your thumb. I personally hate it because it ruins the straight lines of the camera and it makes the camera less compact. This only costs about $2.00 so if your OK with this then contact your nearest Nikon service center.
 The most important thing is to find a pattern that will match the rubber. I got this rubber sheet from Kiitos as a gift and it matches Nikon’s leatherette very closely. If you need one for Leica, Contax, Bronica or other brands, consider messaging Asahi Aki. Don’t bother to look for another source because Asahi Aki has a very extensive inventory, he is an honest seller and replies really quick even in English. If you contact him, make sure to tell him I sent you. His leatherettes are laser-cut and are professionally-made. Check him out here.
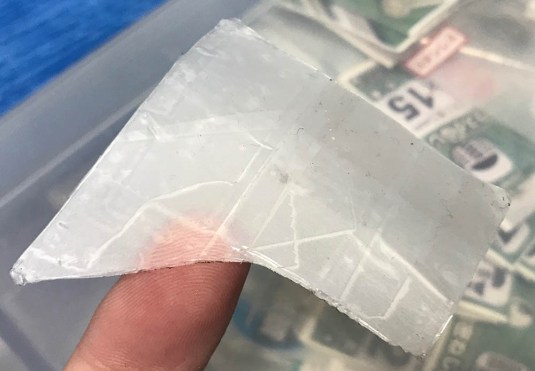
 After you have acquires your leatherette, you will need to make a pattern so you’ll know how much material you will need to cut and get the shape right. Use tape and completely cover the area where the old rubber used to be. I used 3M Magic Tape because it doesn’t leave any residue and it’s translucent. You may need to make several layers just so that it won’t tear and you’ll have a stiffer material to work with. This technique is used by many car upholstery shops to acquire patterns so they can restore your old car’s interior. I was in the car restoration hobby back in the day and this is what they do for missing veneers.
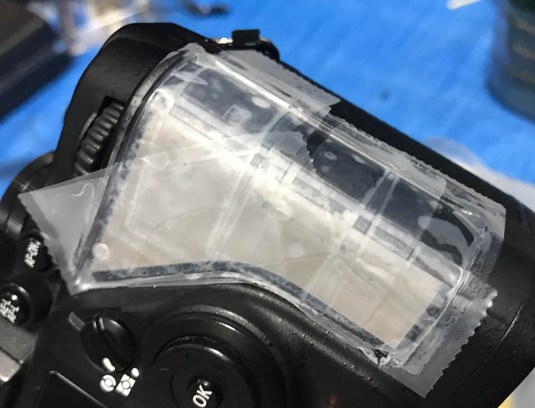
 Burnish the edges properly and get a very sharp knife and cut along the borders of your pattern. Remove any excess material and you’ll end up with something like this.
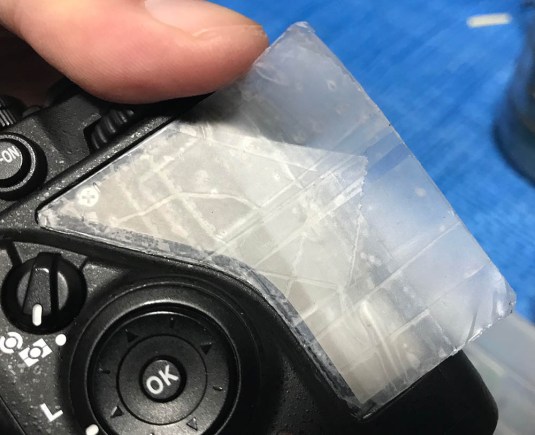 Carefully peel your pattern off and make sure that you don’t alter its shape. Carefully go about tearing it from the broad side because that’s where it’s toughest.
 Here it is in one piece! It felt satisfying, just like peeling-away dead skin from a sunburn!
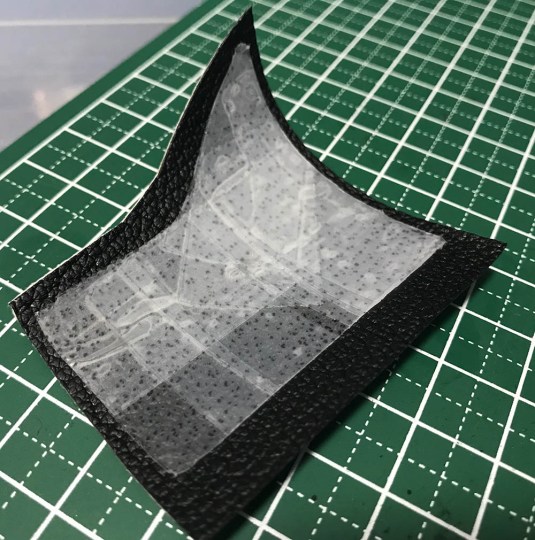 Stick your pattern to your new leatherette and burnish it to make sure that it sticks well. I wasn’t careful and I didn’t consider the grain of the pattern! When doing this, check the grain properly and make sure that the direction of your grain matches your camera’s!
 Here it is after trimming away the excess material with a sharp knife. This concave part of the pattern is the most difficult part. I also left the corners sharp so that I can bevel the edges later after I attach it to the camera. This will make sure that it fits better.
 Prepare your glue. This glue is used by many camera repair shops here in Japan. It smells like peanut butter and looks similar to it. The smell reminds me of epoxy and you can get high just sniffing this! Contact cement will also do the job. Never use super glue because its white and cloudy residue can damage your camera! Double-sided tape will also do the job so long as it’s sticky enough. Make sure that you clean both surfaces before bonding.
 The G103 glue that I used has to be thinned with acetone and applied with a brush. I was too lazy that time and I applied it straight. Whatever you do, make sure that it’s properly distributed through out the surface area of your material/s; all the way to the very edges.
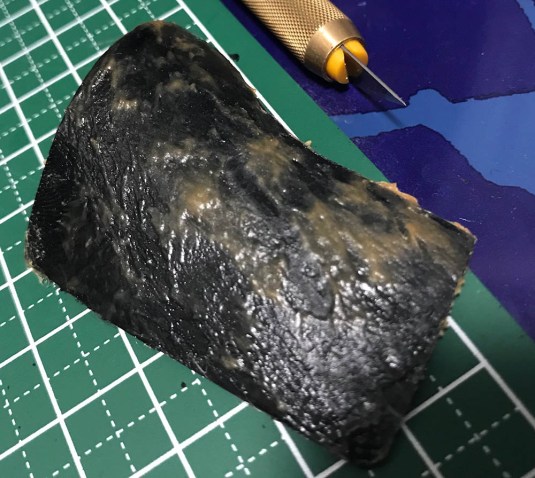
 Apply the new material to your camera and once it’s stuck, trim the sharp corners with a knife to bevel the m properly. Look at the samples above to get an idea. The fibers on the rubber came from the rubber, it might be a reinforcement material of some kind. Notice that the grain of the new rubber is running against the grain of the original one. Stupid!
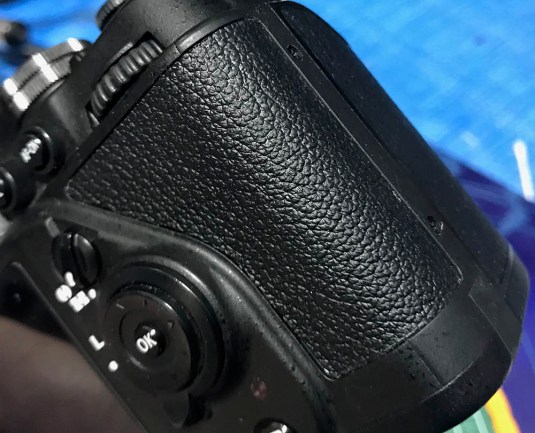 Here it is! Despite the pattern’s grain not matching the direction of the original, I’m quite happy with my results. Burnish the rubber properly and then wipe away any excess glue with a moist cloth saturated with acetone or other solvents. Let it dry overnight before it can be used. This will make sure that the glue has cured properly. When the smell is gone you can be sure that the glue has completely set.
Do you see what I mean by retaining the clean lines of the camera when that ridge is not there? This makes the camera better to hold and makes it feel more like a classic camera. The appeal of using a classic camera is the simplicity of its design. The more you add the more you take things away. Again, this can be a matter of taste so it’s all up to you!
Thank you for reading my blog and I hope that this will be helpful for you in the future! I am very busy these days that’s why I am publishing shorter articles instead of the longer review and repair articles that I usually do. Please don’t get tired of supporting my site, it makes me happy that I can entertain you with my camera repair adventures and if this is helping you in any way, please share this at social media or donate to my paypal account. The blog gets almost 25,000 views a month as of now and this is all thanks to you! Can we get this blog to reach 60,000 views a month by the end of next year? Can we set that as a goal for the richardhaw.com repair community? With your help, we can do it! Thanks,Ric.
Help Support this Blog:
Maintaining this blog requires money to operate. If you think that this site has helped you or you want to show your support by helping with the upkeep of this site, you can simple make a small donation to my paypal.com account (richardHaw888@gmail.com). Money is not my prime motivation for this blog and I believe that I have enough to run this but you can help me make this site (and the companion facebook page) grow.
Leave me some tip?
Thank you very much for your continued support!
$2.00
Helping support this site will ensure that this will be kept going as long as I have the time and energy for this. I would appreciate it if you just leave out your name or details like your country and other information so that the donations will totally be anonymous it is at all possible. This is a labor of love and I intend to keep it that way for as long as I can. Ric.
