
Hello, everybody! This is a short article about repainting lens groups. I see many people online asking how it’s done and most of the replies that I read mostly mention the wrong way to do it and using the wrong materials as well. In this article I’ll be teaching you the right way to do it and also share with you what the people at the factories actually use and it’s a lot simpler than what many people think.
First, wipe the old paint with a lens tissue moistened with alcohol. The material applied here is usually water-based and should easily be wiped-clean. You don’t need to remove everything, just get most of it off and you’ll be fine.
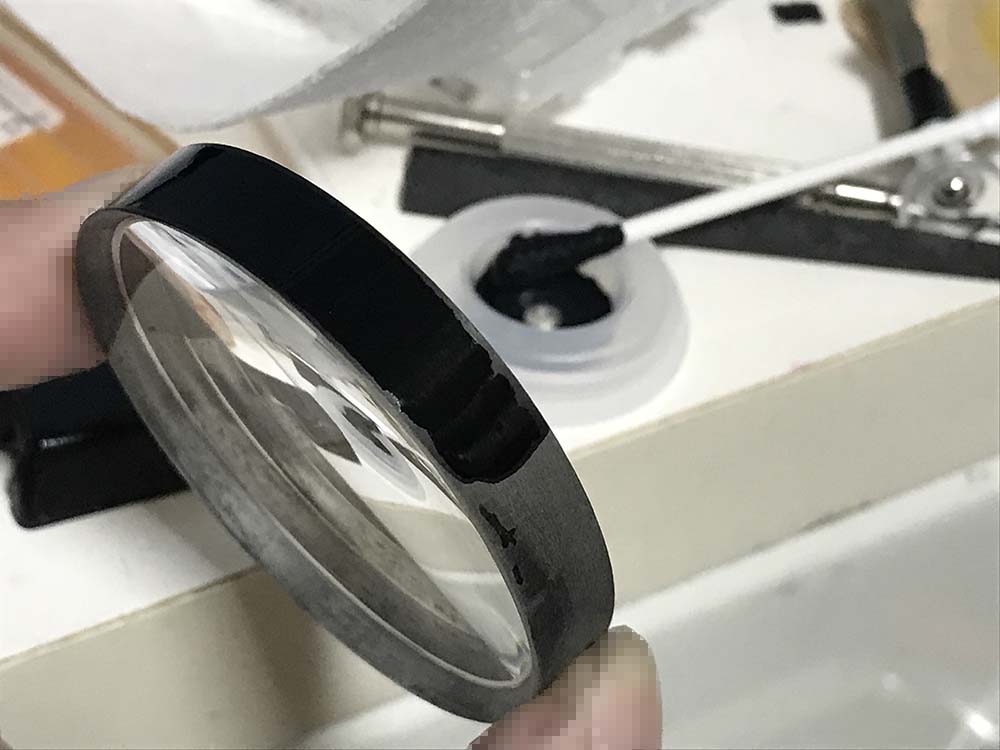
Wipe the walls of the lens group clean with lens tissue and naphtha to remove any oils. Once that is done, get yourself some calligraphy ink or India/Chinese ink. Place a small amount on a container, use a Q-tip and dip it into the ink reservoir and paint the walls of the lens group. It dries quickly, you can apply another coat if you think it’s too-thin.
Why calligraphy ink? It dries-thin and it’s water-based so it’s harmless. Enamel, lacquer or acrylic will form a puddle and adds to the thickness significantly when applied too-thick. This is what the Japanese brands use. It is cheap and it dries with a matte-finish, too.
What are the best brands? Get one that dries with a matte-finish, any art supply shop should carry them. The best ones aren’t expensive, too. I won’t mention any names since I don’t get sponsored in any way.
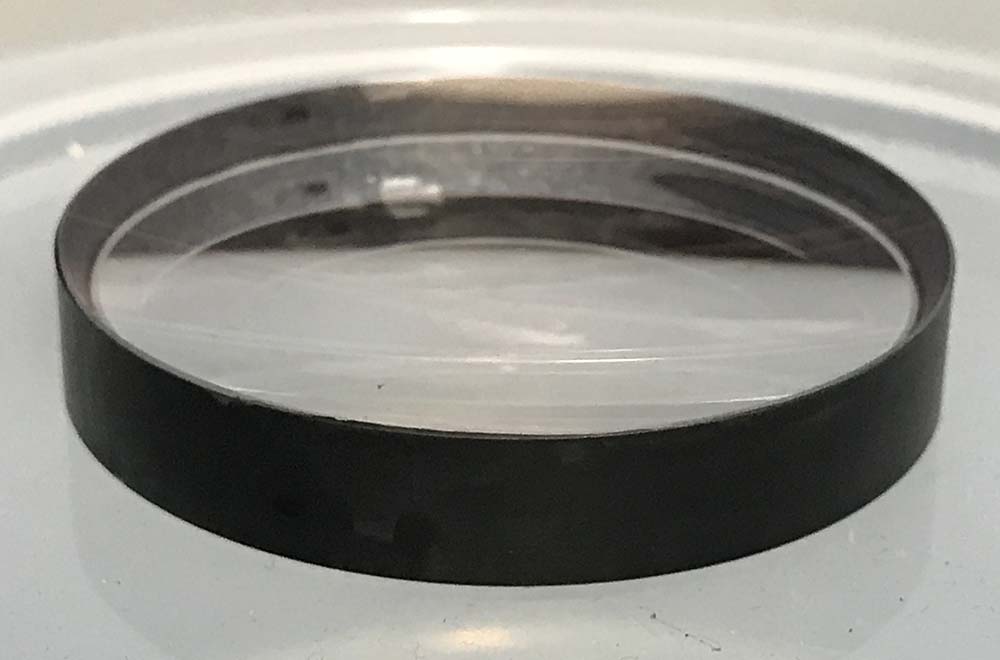
Here it is after repainting the walls. Make sure that the coat is even or else you’ll see the result when you view through the lens from the outside. A single coat is enough in most cases, this is what I usually see the Japanese manufacturers do but I usually paint mine in 2-3 coats. Despite not leaving a thick coat, it’s best not to apply it too much or it may end up making the group thicker by a bit.
Be sure not to accidentally apply the ink to the faces of the groups. If you did that by accident, wipe it off using a Q-tip moistened with alcohol as soon as possible. It will be difficult to clean once the paint has dried.
Now that I have taught you how to do it properly, I’ll now tell you why you’ll need to do this:
- A lens is a severe fungus case, you’ll want to strip and repaint the elements.
- Cleaning the fungus stripped the paint.
- “Schneideritis“, read my article about dealing with “Schneideritis”.
- After successfully recementing a lens group
The reasons mentioned above are the only times you’ll be required to do this. Never do this on a whim since it is not something that you should do for granted. Avoid repairing something that doesn’t need to be repaired.
Here’s a bonus, apart from painting the walls of lens groups the ink is also great for painting other things such as the baffles of old lenses and hoods. They won’t stick well to metal or any nonporous surfaces but it works. If you want to use the correct paint for them, lacquer paint should do quite well. I personally don’t use it since it smells and takes a lot of time to dry. Ink is the best alternative that I know, I even use it for painting the inside of some cameras and lenses, many vintage equipment were painted black inside. Anodizing became common a bit later when the barrels and parts were being made with aluminum-based alloys instead of brass.
Thanks for following my work, if you liked this article please share this with your friends so it will get more views. This site earns around $0.30 a day, it’s totally reliant on views. You can also support this site, it helps me offset the cost of maintenance and hosting. You are also helping me purchase, process and scan film. This site promotes the use of film so we’re all in this together. See you again in the next article, Ric.
Help Support this Blog:
Maintaining this blog requires money to operate. If you think that this site has helped you or you want to show your support by helping with the site’s upkeep, you can make a small donation to my paypal.com (richardHaw888@gmail.com). Money is not my prime motivation for this blog and I believe that I have enough to run this but you can help me make this site (and the companion facebook page) grow.
Buy me a roll of film or a burger?
Thank you very much for your continued support!
$2.00
Helping support this site will ensure that this will be kept going as long as I have the time and energy for this. I would appreciate it if you just leave out your name or details like your country’s name or other information so that the donations will totally be anonymous. This is a labor of love and I intend to keep it that way for as long as I can. Ric.

Dec 02, 2020 @ 17:40:07
Great article and hints Richard! Thank you!
For glass element sides repainting I’m using Japanese fabric marker Marvy Uchida. It dries quick, can be also wiped with alcohol, and it has very neutral black tone without purple tint which can be observed with many other markers.
Dec 10, 2020 @ 11:55:20
Hi Richard, First of all can I thank you for taking the time to post all your repairs online, a few of them have been really helpful for me. Secondly, I hope you can help me with a Nikkormat issue. I recently bought another FTN (3 now), but this latest one has an issue where the aperture prong moves all the way to the right then a lever drops down preventing it from returning. Removal of the nameplate is needed then to release the pin and remove the lens. 1. Is this an easy fix? 2. Do you have a video covering it? 3. If you don’t have one, could you do one or explain how to do it?
Many thanks in advance,
Regards Jeff
>