
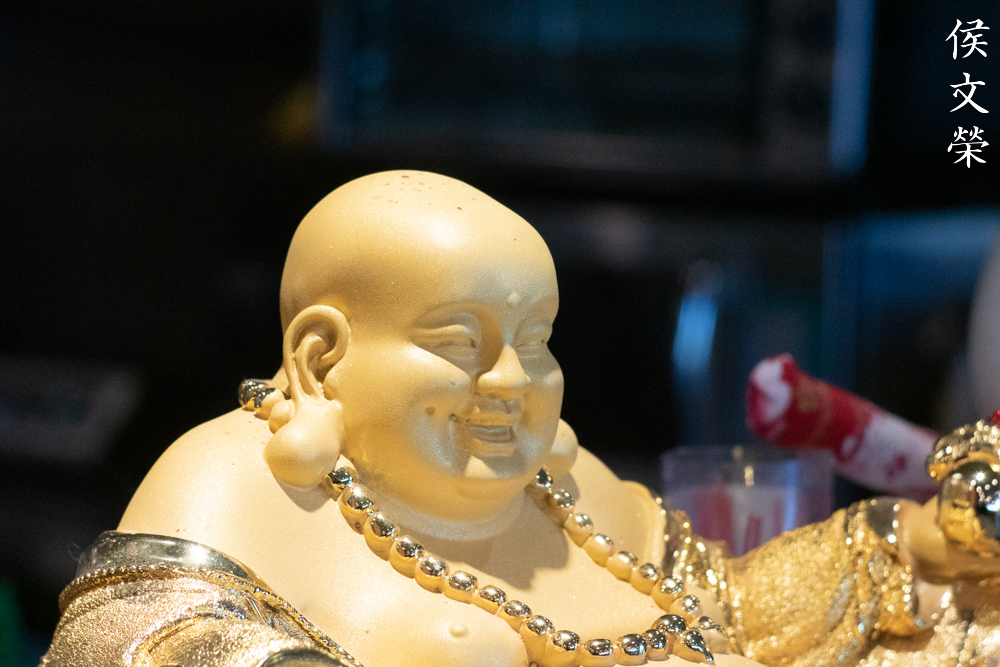
Hello, everybody! Do you know Miyako Harumi (都 はるみ)? She is a celebrated Japanese folk singer who is popular from the 1960s up until today, she is an inspiration to many generations of singers. Her voice is very powerful and distinctive, exhibiting a wide range, it’s something that’s hard to match even to today. I think she is one of the best folk singers Japan has ever produced. Another striking thing about her is how small she is, despite her being tiny, she is able to channel such a powerful voice, something unexpected. I will show you something today that is tiny, and like Miyako Harumi, its performance is nothing small. Hear more about it in this article and see if you will agree with my assumption.
Introduction:
The Cine-Nikkor 50mm f/1.8 is a lens that was made for the 16mm format, I dare say that it’s probably the most popular of the C-Mount Nikkors due to its abundance in the used market. I don’t know when it was made but I can speculate that it ran from the late 1950s up until the 1970s judging from boxes and other things such as brochures and literature. There’s not a lot of information about Cine-Nikkors that can be found on the web, even the exhibit at the Nikon Museum about the Cine-Nikkors did not have everything that I need to date these little gems.

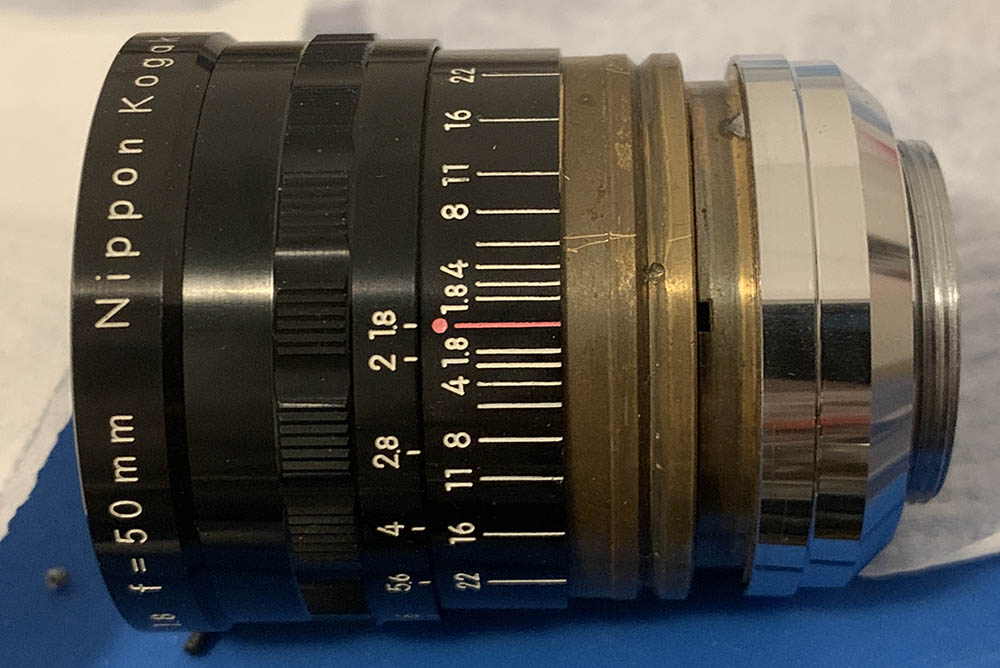
The barrel has the standard Cine-Nikkor design but it’s a bit shorter compared to some of its peers. It is a very well-made lens, the all-metal barrel is durable, the orientation of the mount can even be adjusted so you can see the engravings properly, just push the thread in and turn it to match your preference.
It has a 4-elements-in-4-groups design and it looks like a derivative of the Sonnar. You’ll have to multiply its focal length 2.7x and the resulting number is 135mm, this is what its equivalent field-of-view is for the standard 35mm format. That magic number of 2.7 is what people call a “crop-factor”, a new concept that I have never heard before the days of the APS-C format. This concept was invented for convenience so that people can visualize in their heads what 50mm looks like on a 1″ sensor. Having said that, you can say it’s sort of an analog for the venerable Nikkor-Q 135mm f/3.5 Auto, specially considering that it’s also another lens that’s a variant of the Sonnar. It focuses down to a bit under 3′, something respectable in those days. One thing that’s remarkable about this lens is it has an 8-bladed iris, some of its siblings merely have 6. It means that it will produce better looking discs when you stop it down and it somewhat makes the blurry parts look more smoother instead of the ugly, clumpy look that I hate. This is atypical and we’ll see more of it later in the photos section.

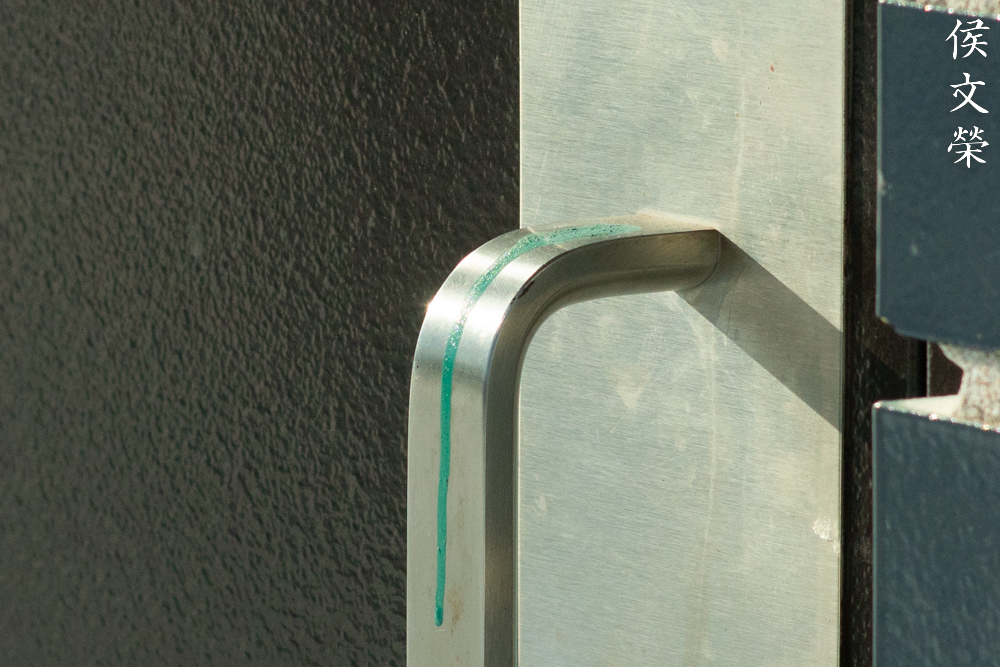
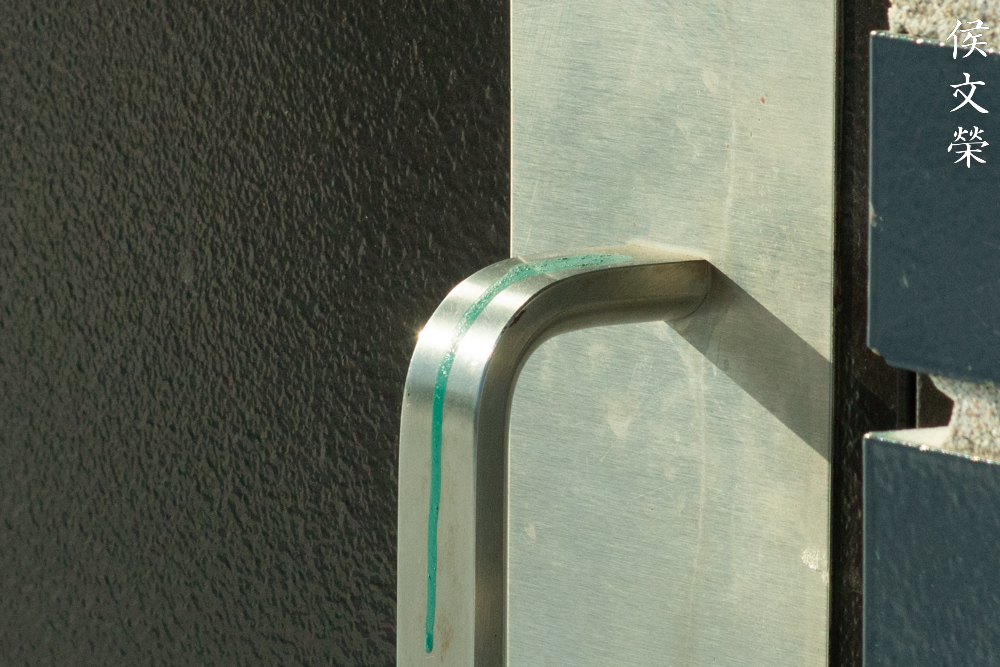
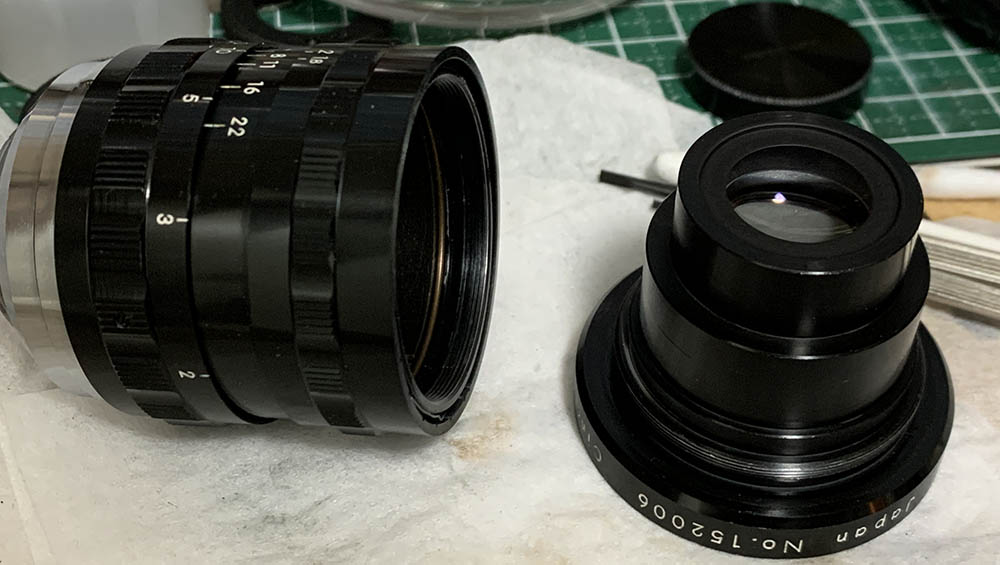
This is the complete kit, note that these also comes in both metric and standard, I have all three variations for the markings, metric, standard and both.

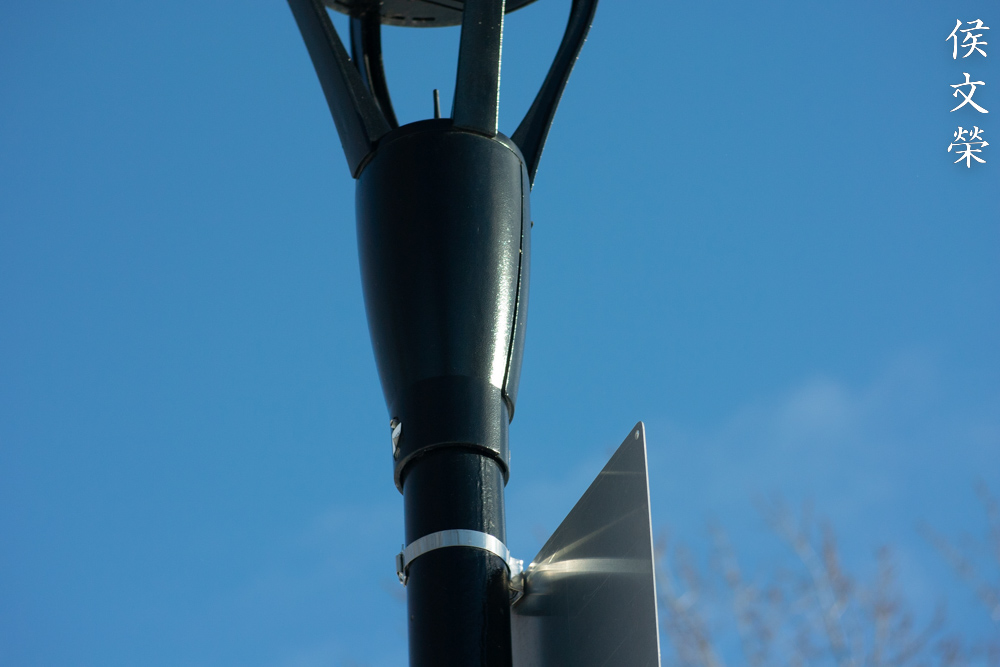
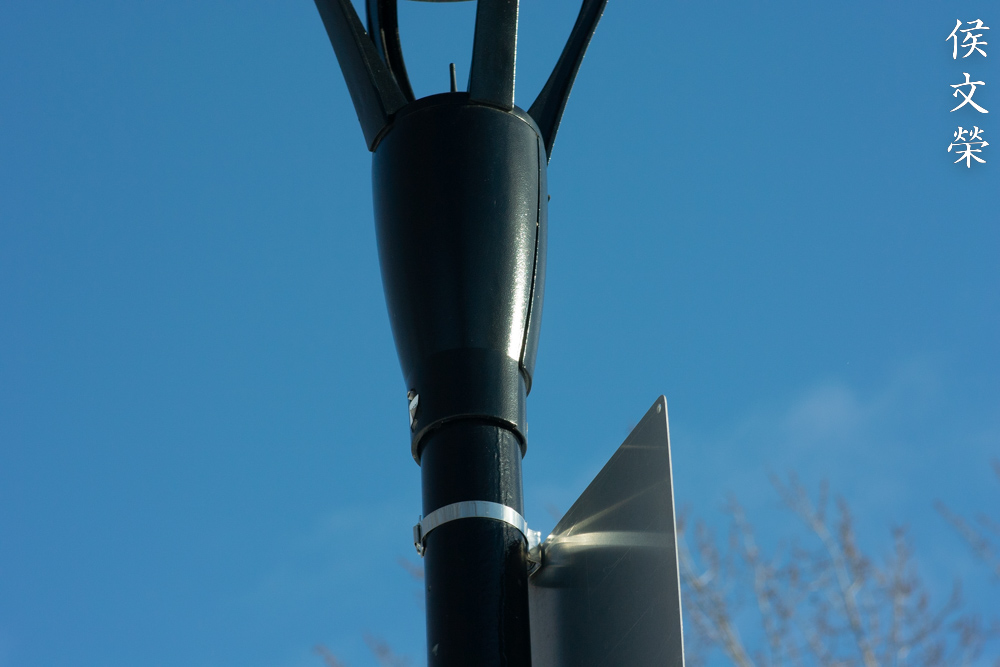
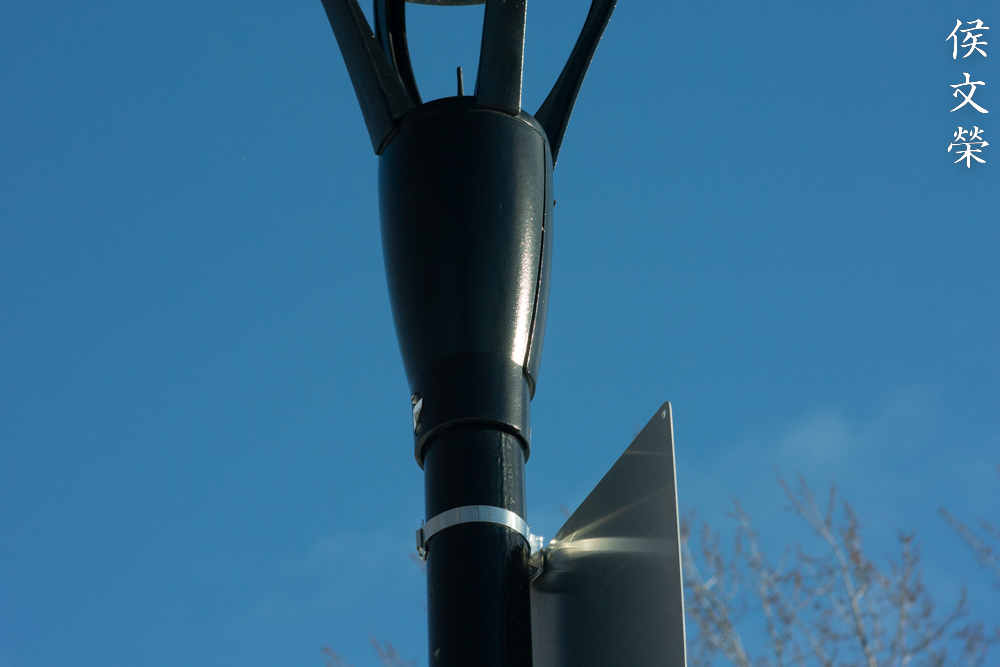
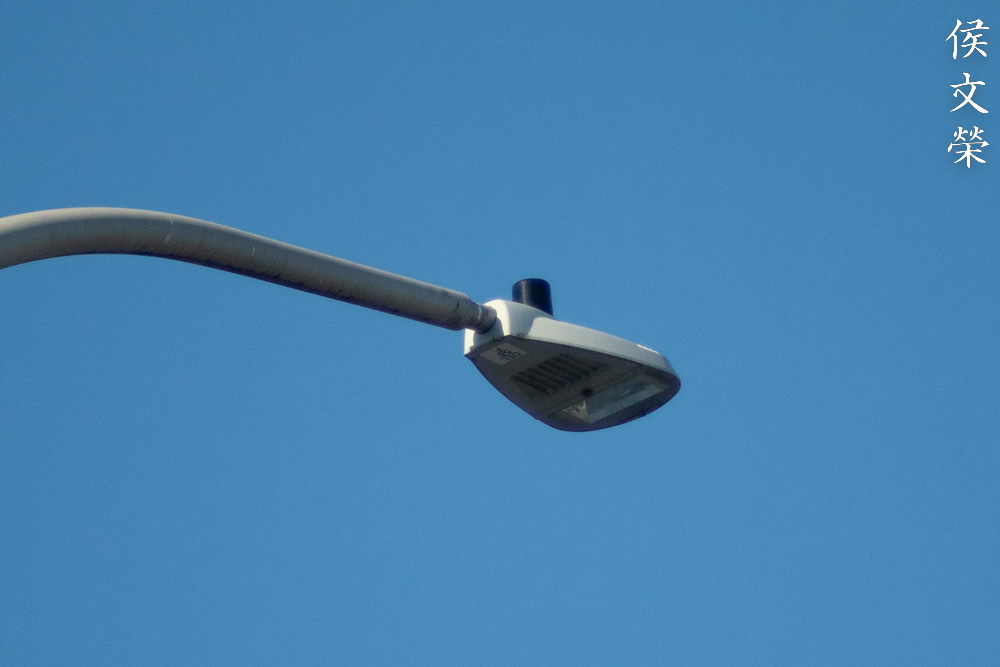
You will want to use a camera with an electronic viewfinder such as the Nikon 1 V3. not having it is a pain and it will be very difficult to make precise focus adjustments, specially during a sunny day.
This is a cinema lens but I am more interested in using it for shooting stills, which is the main focus here in this site. For this, I will use my trusty Nikon 1 V3 for all of the contents here. I will be testing this using f/1.8, f/2.8, f/4 and f/5.6 because these apertures show the most changes, these are also the usual f-stops that people would want to shoot this with. As mentioned before, my comments and observations will be focused on its use mainly as a photographic tool.


(Click to enlarge)
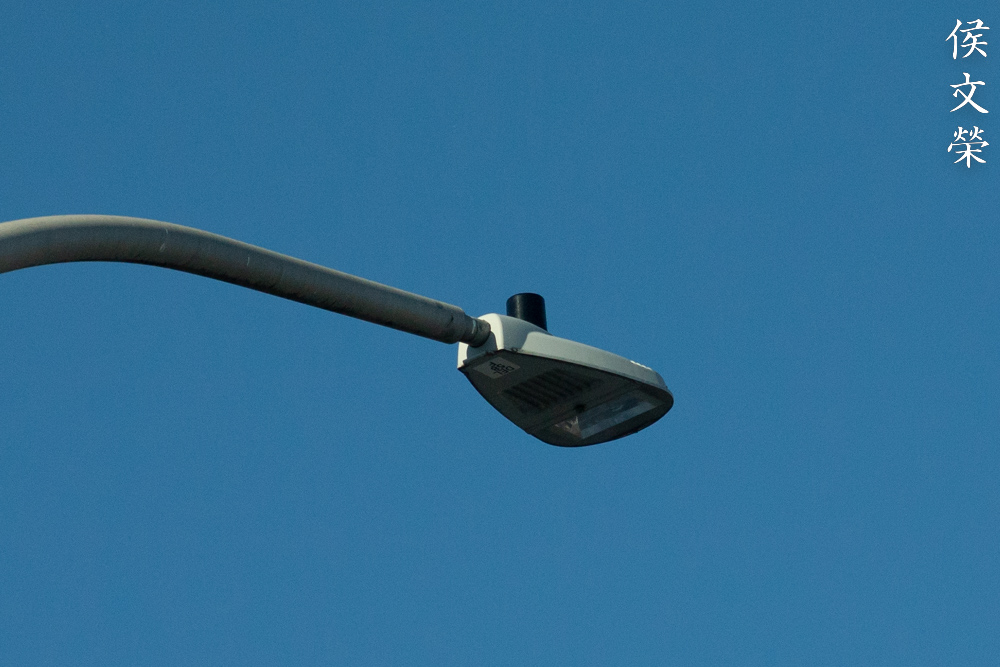
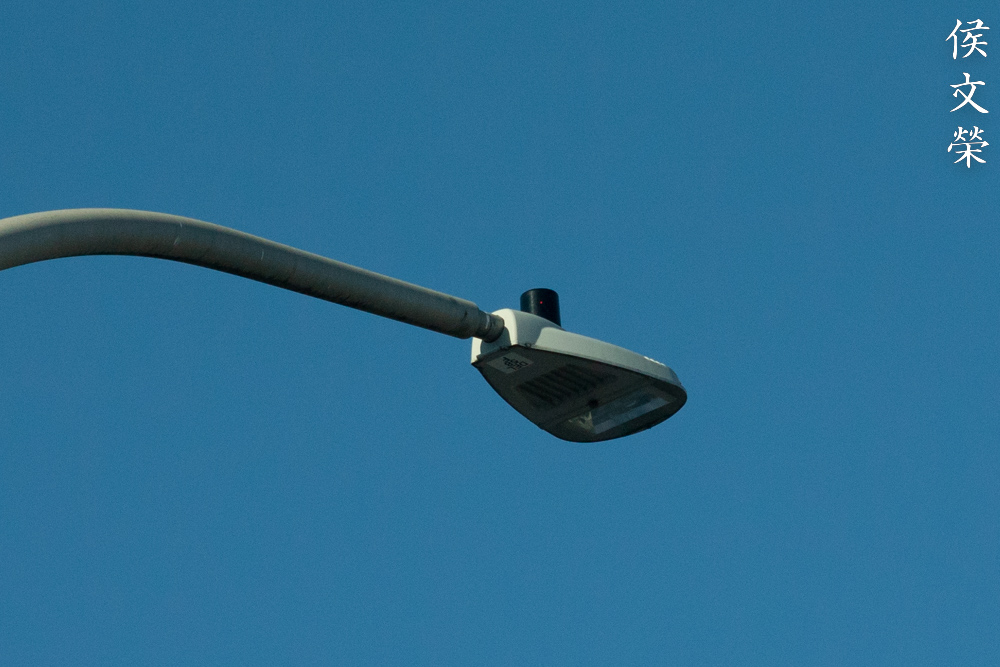
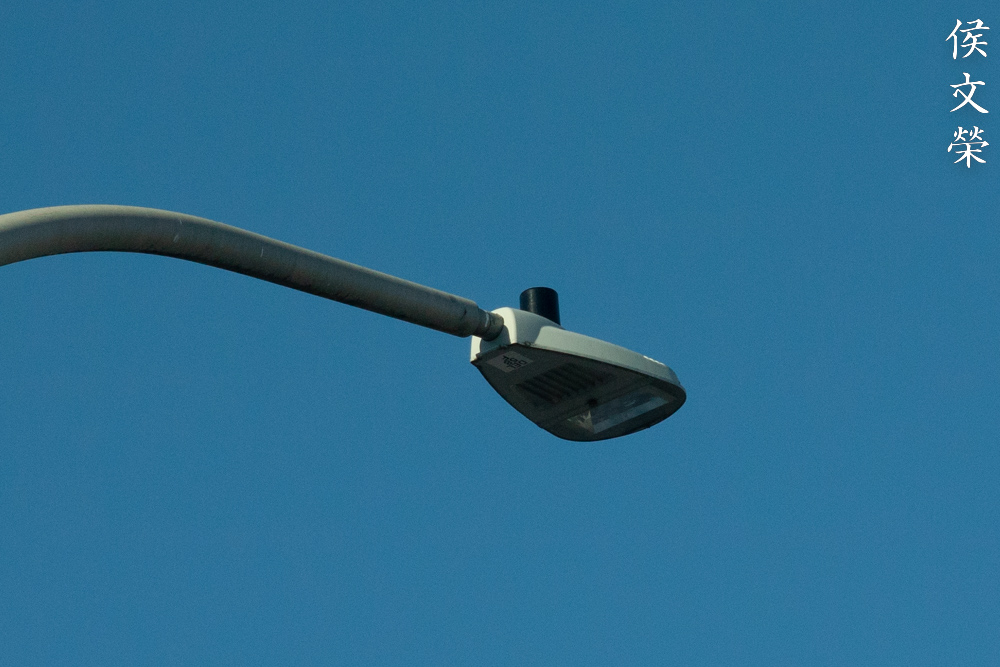
Distortion seems to be low, with a shallow profile but it’s still enough to be noticed if you have straight lines parallel to the edges of your frame. You don’t have to think about it in most cases.
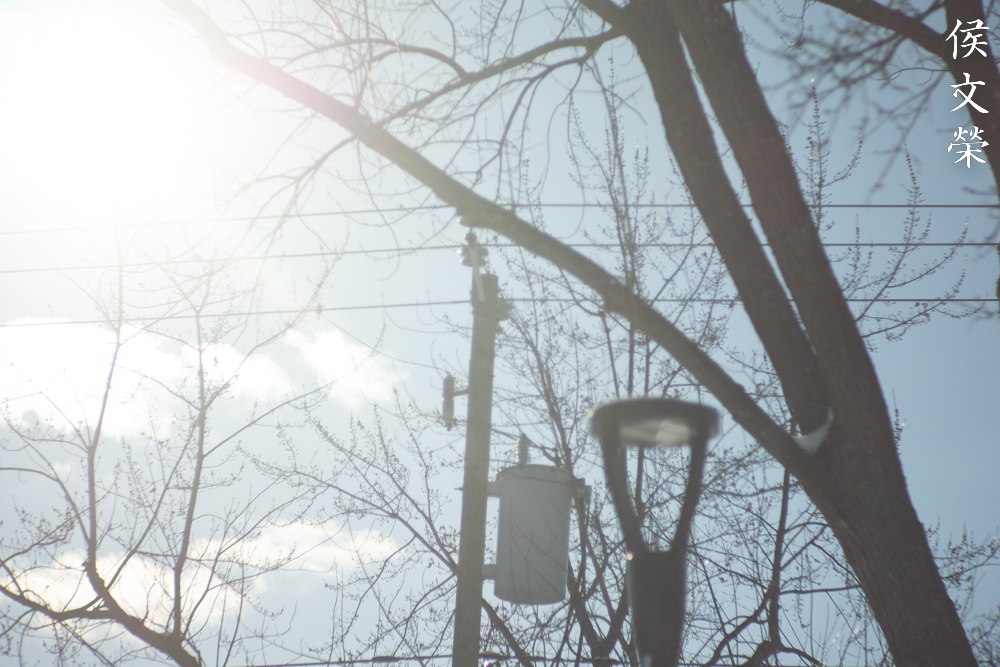
Vignetting can be seen wide-open, it’s very dark specially at the extremities. Even the center of the frame will be affected by it, as you can see in the photo above. Stop it down to f/2.8 and the corners will be a lot brighter, but you will still notice some dark areas around the corners. The frame begins to look more even by f/4, any darkness will be difficult to spot when shooting in real-world scenarios. Everything looks much better at f/5.6 and you won’t see any hints of vignetting anymore. My samples here are difficult to analyze due to the artificial lighting so it’s better to look at my other sample photos below where the sky is clear, that should make it easier to see any difference in luminance.


(Click to enlarge)
Flare and ghosts resistance is typical of lenses from this era, the vintage coating does little to mitigate the effects of internal reflections. It’s easy to form blobs if you are not careful, but the good thing is they look charming enough that you can use the blobs creatively.

If you are not careful, flare will cover the entire frame and affect the contrast of your scene. You’ll also see multicolored reflections like the one you see here, that’s reflection of the sensor’s diodes (Bayer).


(Click to enlarge)
The blurry parts look good at best to mediocre at worst, nothing unexpected from a lens of this class. It’s not susceptible to rendering ugly clumps but there’s a possibility that it will do just that. The 8-bladed iris sure helps a lot in making things look smoother.


(Click to enlarge)
The focus transition looks smooth and natural, nothing like the cheap wall-of-focus look that I hate a lot. I love how gentle it renders things, it’s so smooth you will barely notice where things begin and terminate.


(Click to enlarge)
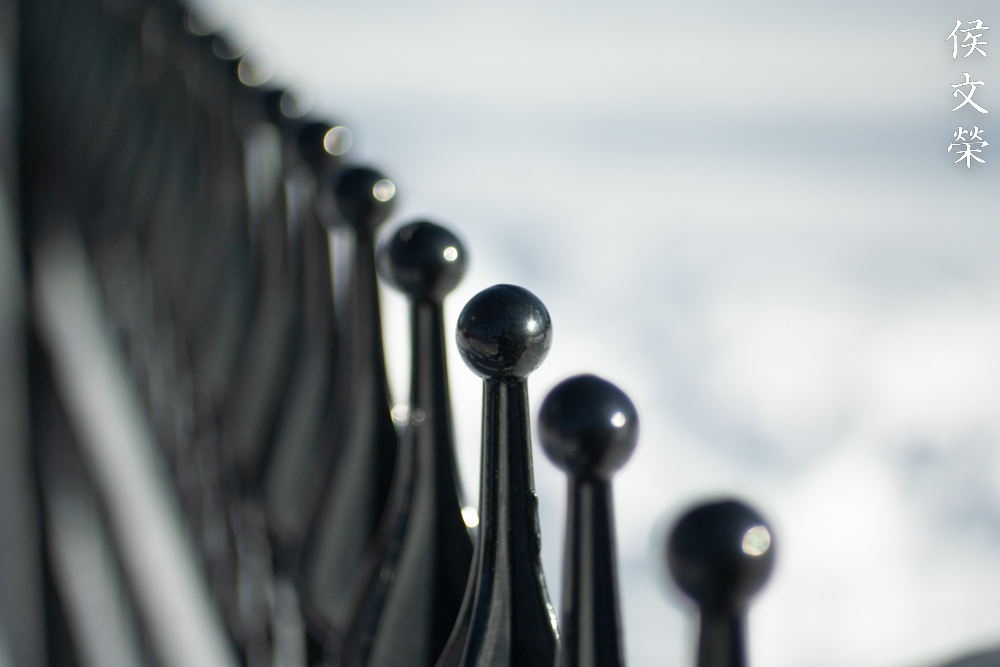
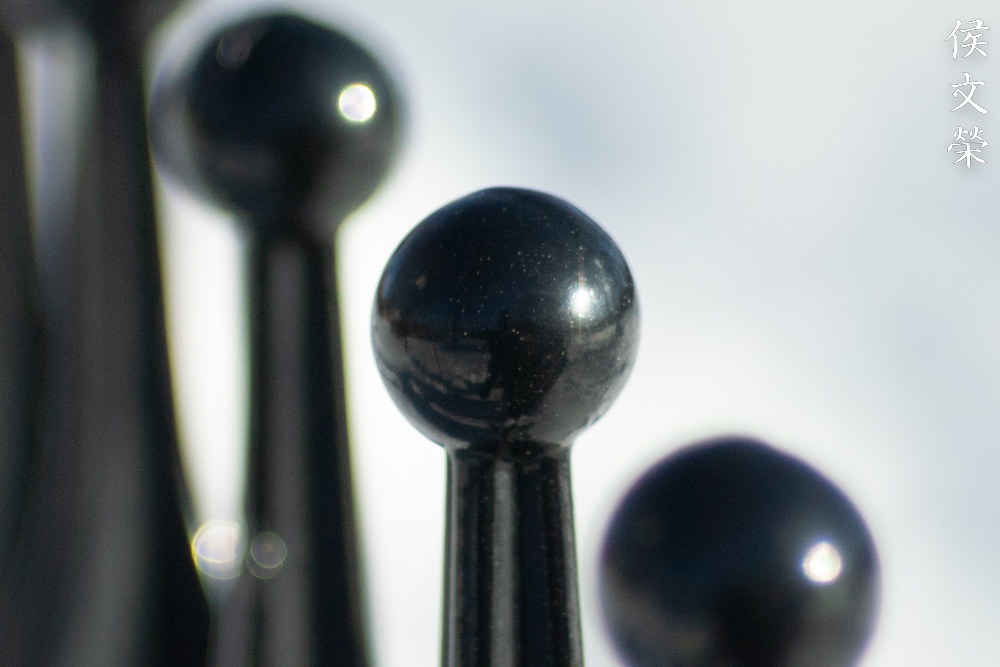
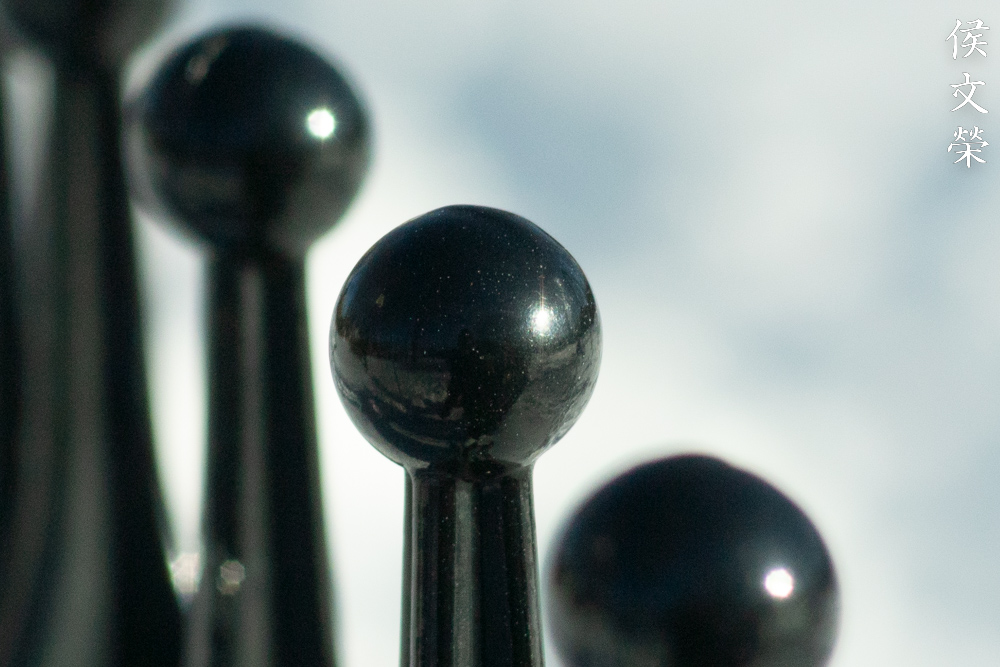
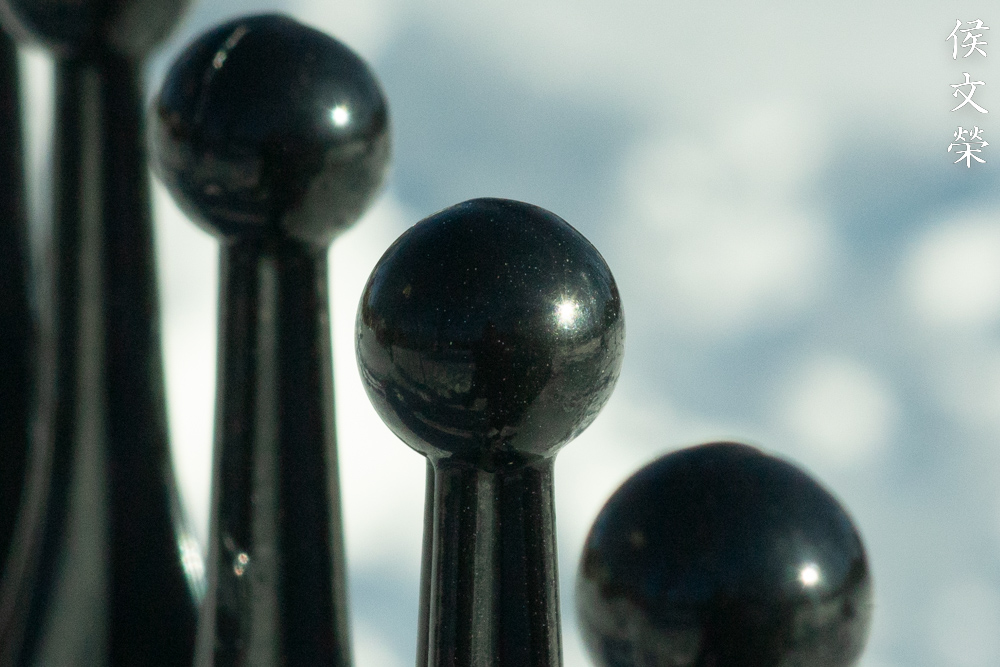
The discs appear round wide-open but look octagonal at f/2.8, they will look rounder as you get to f/5.6. I don’t like the angular look but it’s still better than having hexagons, which look cheap in my opinion.


(Click to enlarge)
Chromatic aberration can be seen when shooting wide-open, but only in extreme situations where there’s overblown spots in your scene. For a lens of this vintage and class, I can say that this is remarkable, almost as good or even better as what I am used to seeing from lenses made several decades later. Stopping the iris down to f/2.8 is enough to eliminate nearly all of it that you will be hard-pressed to see it at this point.
Spherical aberration look nasty, specially when it’s mixed with flare. It’s prominent when shooting at f/1.8 and will only be barely noticeable by f/5.6 except when shooting in extreme situations. I don’t mind this a lot because it makes the picture look more interesting, this is subjective.

Optical aberrations should be embraced when shooting with this lens. It does not look that bad in actual use, it’s negligible if you just stop the aperture down a bit.


(Click to enlarge)
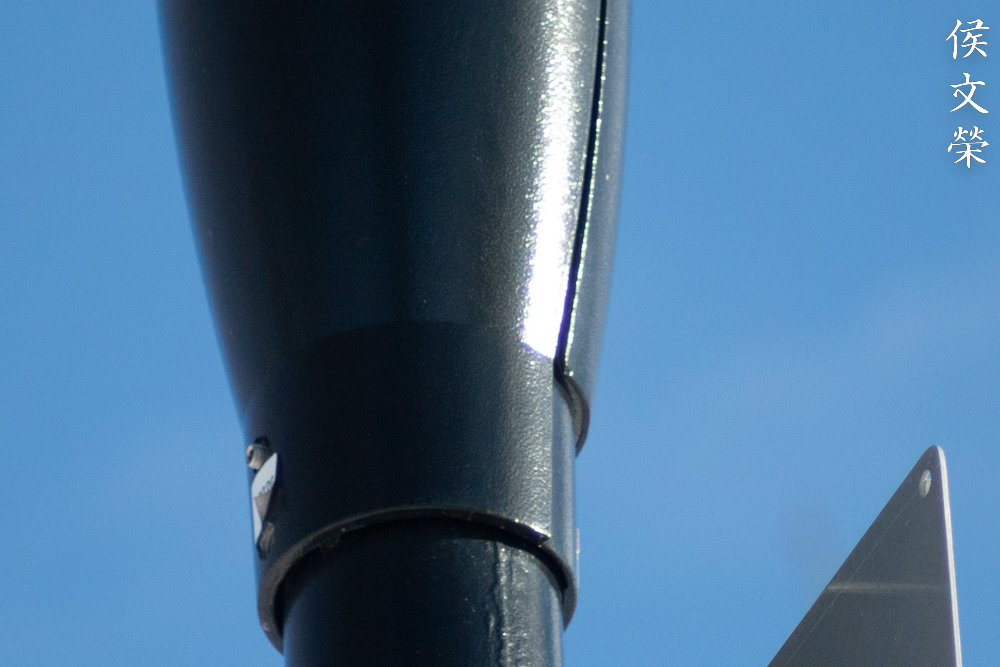
The resolving power of this lens looks adequate wide-open, enough to render small details convincingly. I think this is one of the best that I’ve seen from a C-mount Cine-Nikkor. Stop the iris down to f/2.8 and the resolution will improve considerably, it peaks around f/4 to f/5.6. We can safely assume that depth-of-field helps a lot in giving the impression of having a higher resolution but it’s not so much the case here since we’re seeing an actual increase in small details being resolved than just being in-focus.


(Click to enlarge)
Sharpness looks good at the center when shooting wide-open, the corners look horrible as expected. The center looks great as you stop it down to f/2.8, this is due to the improved resolution. You will not see any huge improvements in sharpness at the corners. It looks as if sharpness has peaked at the center by f/4, the corners begin to look a lot better, too. The center won’t look any better at f/5.6 but the corners looks good, probably about the same performance as the center when shooting wide-open. This is some of the most impressive tests I’ve seen from a Cine-Nikkor of this class, it’s definitely a premium product. It truly deserves the title of being the sharpest of the whole bunch.

I wanted to do a tracking-shot of this lion head but my shutter speed isn’t slow enough. Sometimes you’ll need to deliberately shoot a blurry photo in order to convey motion to your viewers. One of my published photos is a tracking-shot, it’s technically difficult to do but if you got it the results are wonderful.

This is a sharp photo but the highlights have a slight glow to it, making it more interesting. This is why I’m shooting more with vintage lenses these days. A photo that is technically perfect it’s not interesting in my opinion, a little bit of aberration is acceptable.

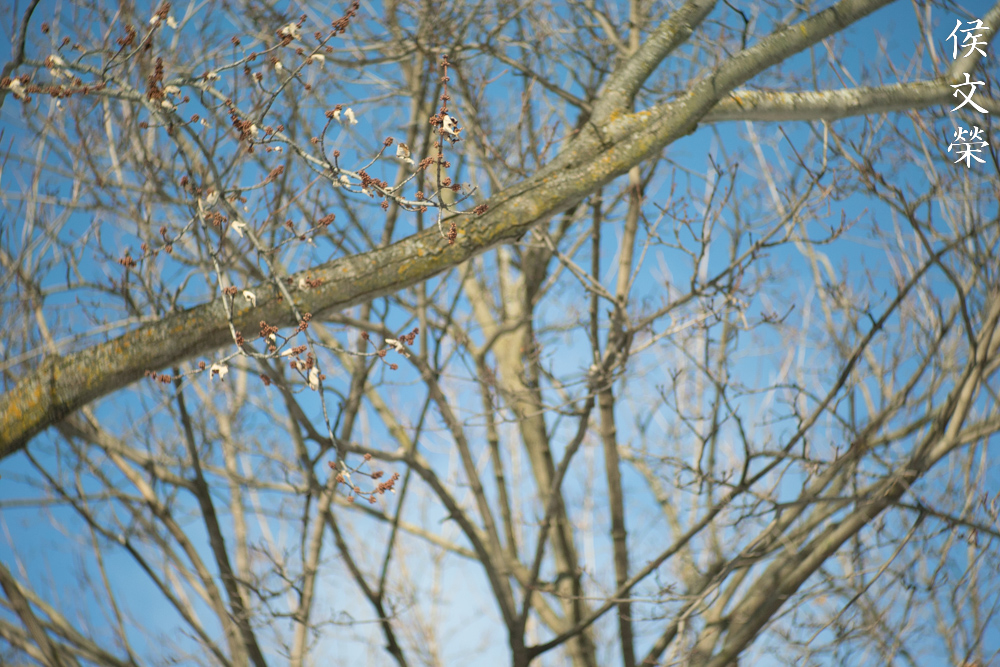
Since this is an analog of a 135mm lens for 35mm film, it is a very good focal length for portraiture. I like how sharp it is even just by stopping it down slightly.

In order to have more depth-of-field you’ll need to stop the aperture down even further, this will prevent a photo that has one of their subjects looking blurry. I’m lucky that their faces are about the same plane in the viewing axis.


(Click to enlarge)
This is such a good lens for events as it gives you the required reach, it also renders skin beautifully. This is definitely one of the best lenses of its kind, especially considering how old it is.

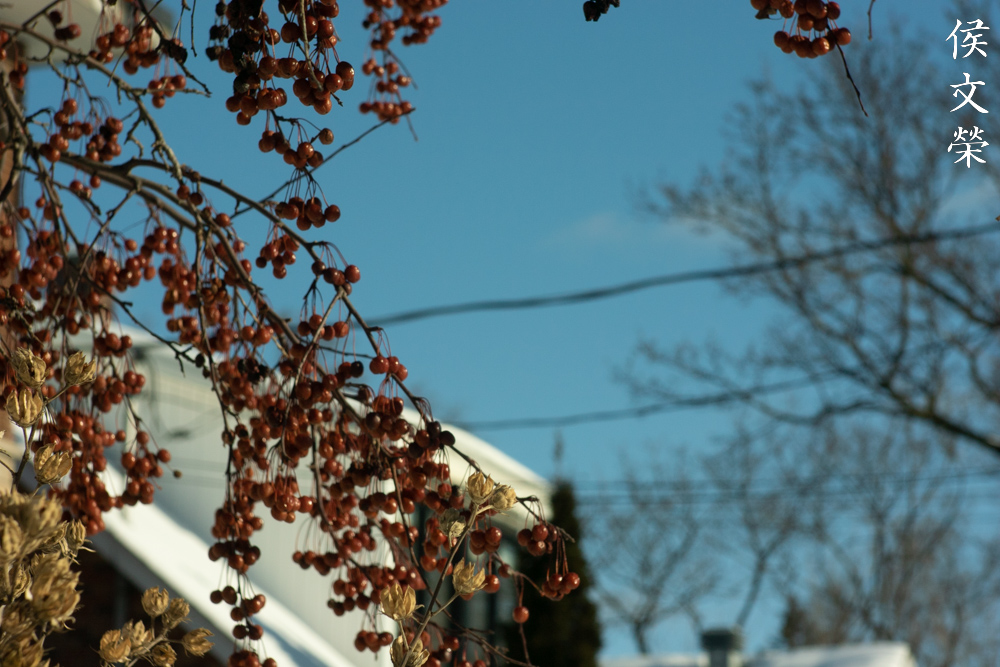
It’s incredibly sharp around the center, enabling you to capture small details. There’s a little bit of flare in this photo which reduces some contrast around the face of the leprechaun, it’s perfect otherwise.

(Click to enlarge)
This focal length is also useful for shooting vehicles. It gives you a flatter perspective so you can see the whole vehicle better, without the effects of foreshortening making them look like model kits. It’s desirable for pictures like this where you want to showcase the entirety of your subject.


(Click to enlarge)
Its focal length and low level of distortion makes it ideal for shooting architecture and art. You’ll also get a flatter perspective which is ideal for production and photos of this kind.


(Click to enlarge)
This is a very surprising lens, I knew it’s good when I was testing it but it’s even better for real shooting. It is definitely a keeper and I understand why a lot of people swear by it. This isn’t your average performer, it’s an outlier.
If you are a fan of shooting with cinema lenses with Nikon 1 cameras or 16mm film then you should own one of these, there’s just no reason not to. Its performance is astounding for a vintage lens, it’s also not a rare item so prices are more reasonable. I got mine from a set including the camera for very cheap, I only paid $90.00 for everything if I recall it. There are many sellers inflating the prices of these, you should not pay more than $100.00 for a copy in decent condition, an excellent sample should should never go more than $150.00 tops. Do not be a sucker and buy them for more than what I mentioned, you should wait a while and you will find one in great condition for a reasonable price. When looking for one, make sure its iris is dry and working properly, it should be complete and not rusty. Operate the rings to make sure that they all work properly. Check the glass to find any signs of fungus. A little bit of cleaning marks isn’t bad and is sometimes expected from a lens of this vintage, so long as it’s not too much. Keep your eyes open and someone will sell one for a great price. Happy hunting.
Before We Begin:
If this is your first attempt at repairing a lens then I suggest that you see my previous posts regarding screws & drivers, grease and other things. Also read what I wrote about the tools that you’ll need to fix your Nikkors.
I suggest that you read these primers before you begin (for beginners):
- Essential tools
- Best practices 1
- Best practices 2
- Best practices 3
- Ai conversion
- Working with Helicoids
Reading these should lessen the chance of ruining your equipment if you are a novice. Before opening up anything, always look for other people who have done so in YouTube or the internet. Information is really scarce, vague and scattered but you can still find some information if you search carefully.
I highly recommend that you read my working with helicoids article because it is very important, getting it wrong can be very frustrating.
For more advanced topics, you can read my fungus removal article as a start.
Disassembly:
The lens itself is simple enough in terms of construction so I am able to compress everything down to a single section. I will show thee correct sequence for servicing this lens so please follow my lead. In order to work on it, you will need some special tools such as a set of rubber tools, a lens sucker, a good pair of bent tweezers and other standard tools. This is not an easy lens to repair because of the delicate parts, its iris blades are the most delicate things you will find here so be very careful. If your lens needed repair, do not do this yourself! Send your lens to a professional and show my blog to help him finish his task in the safest manner possible.
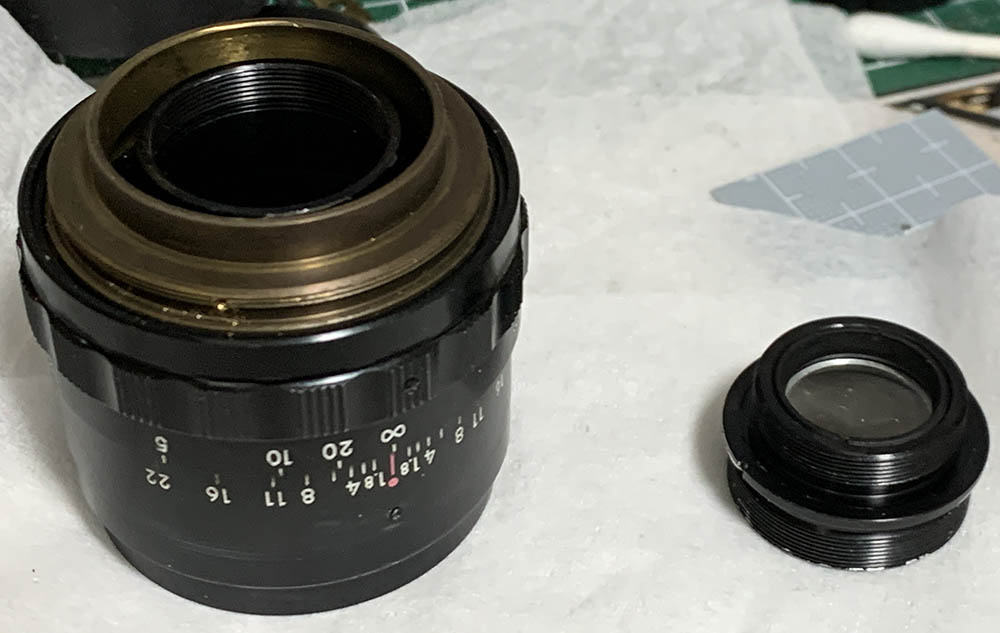
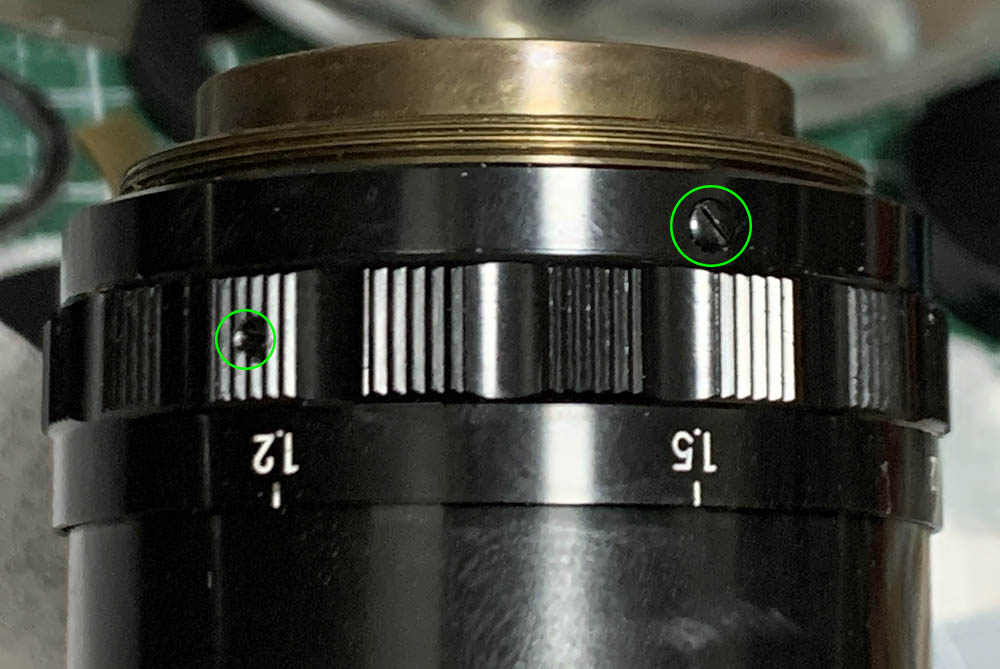
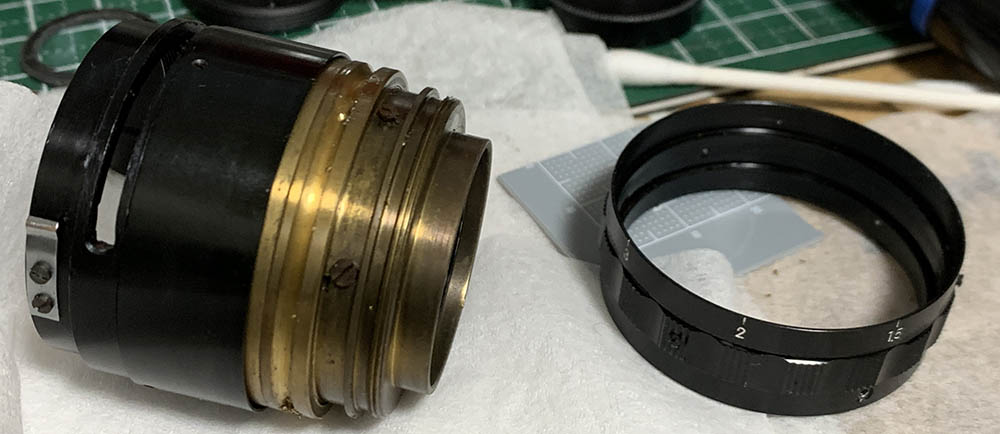
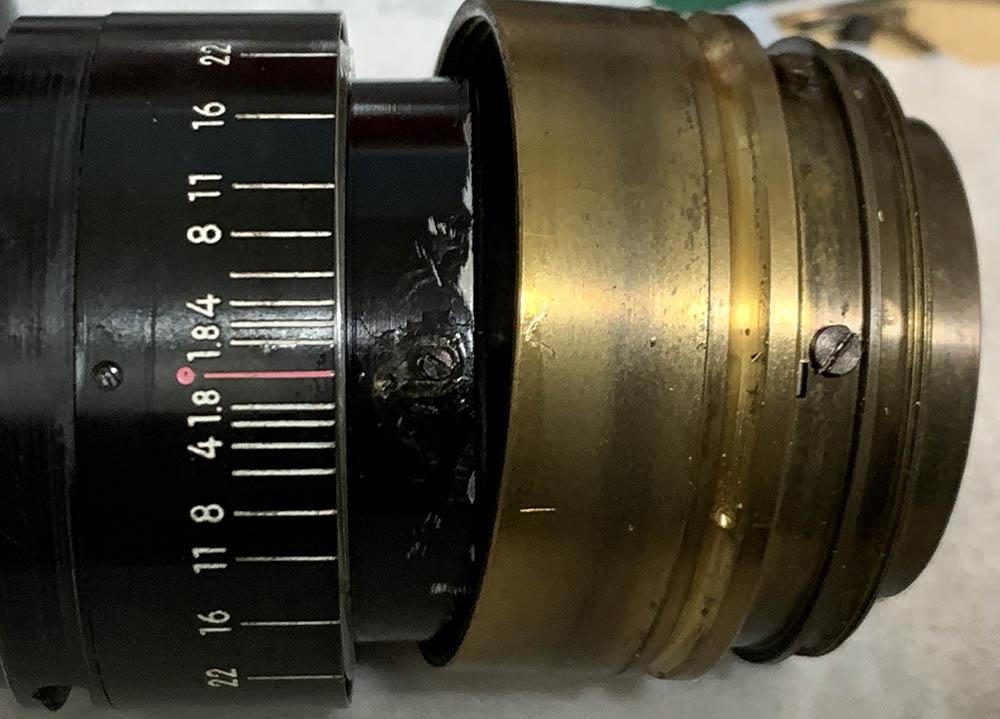
Unscrew the front assembly from the main barrel, be sure not to grip or touch the aperture ring when you do this to prevent damaging the iris mechanism. Alternatively, you can just decouple the iris mechanism, just extract the screw connecting the aperture ring to the iris mechanism and you’re safe (see below).
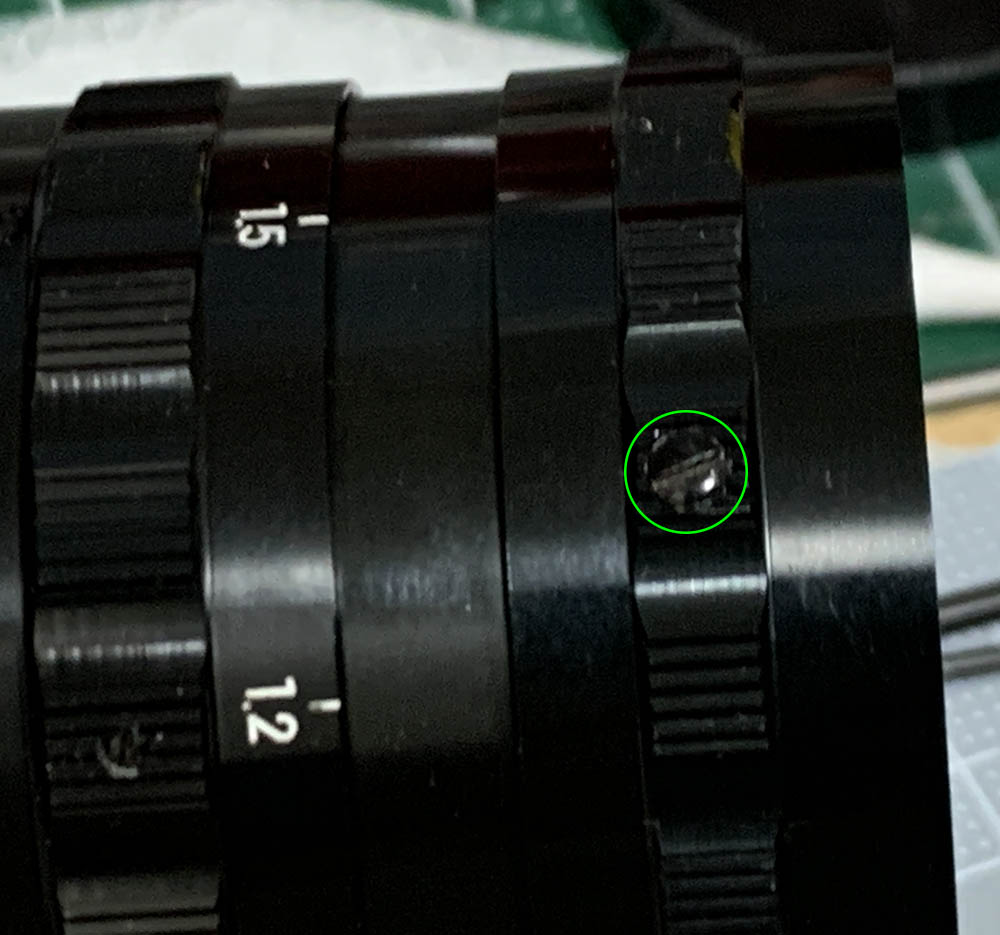
Extract this screw to decouple the iris mechanism for the aperture ring.
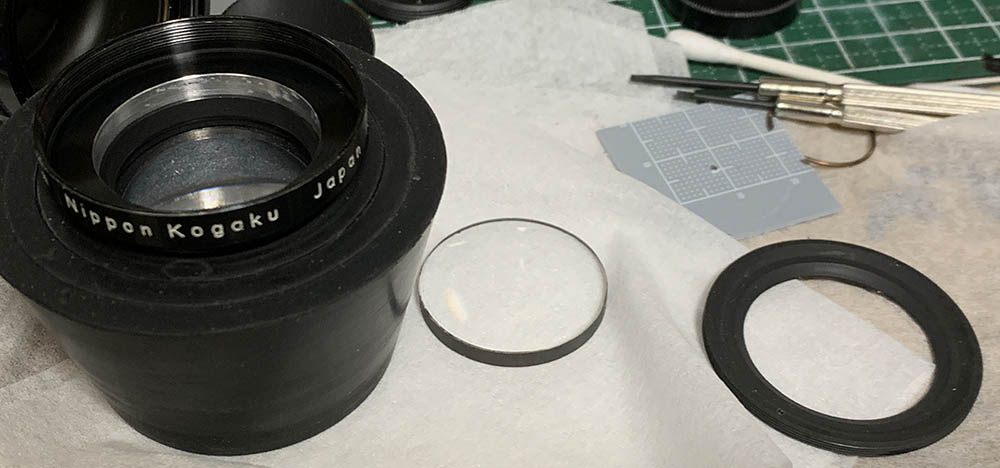
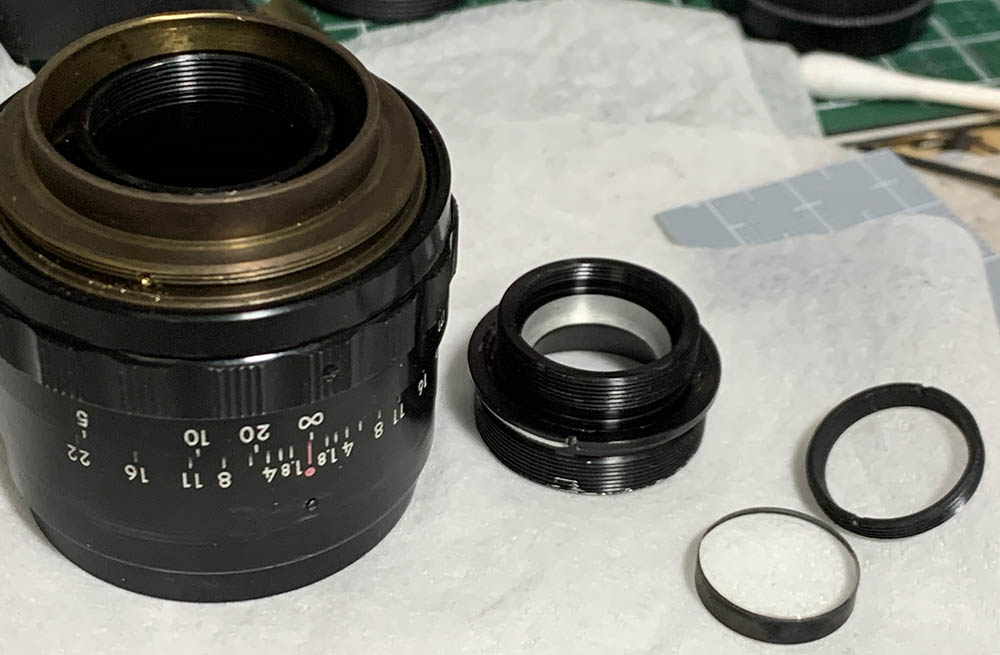
The front group can be removed by unscrewing the collar, use a rubber tool for this.

The next group can be removed with a lens sucker, do not forget to mark the direction of this group and its spacer, they should be both facing the correct position when you reinstall them. I use a marker pen or a pencil for this.
You can also remove the element at the bottom of the housing, but only if you have to, it’s sealed and the only way to safely get it out is to pop it out with a rubber tool by applying pressure from behind. There is no benefit in doing so since you can clean both surfaces so only do this if the glass is filthy.
Since the aperture ring has been decoupled earlier, we can now remove the aperture ring safely.
Remove this circlip and carefully pull the diaphragm cup with your fingers.

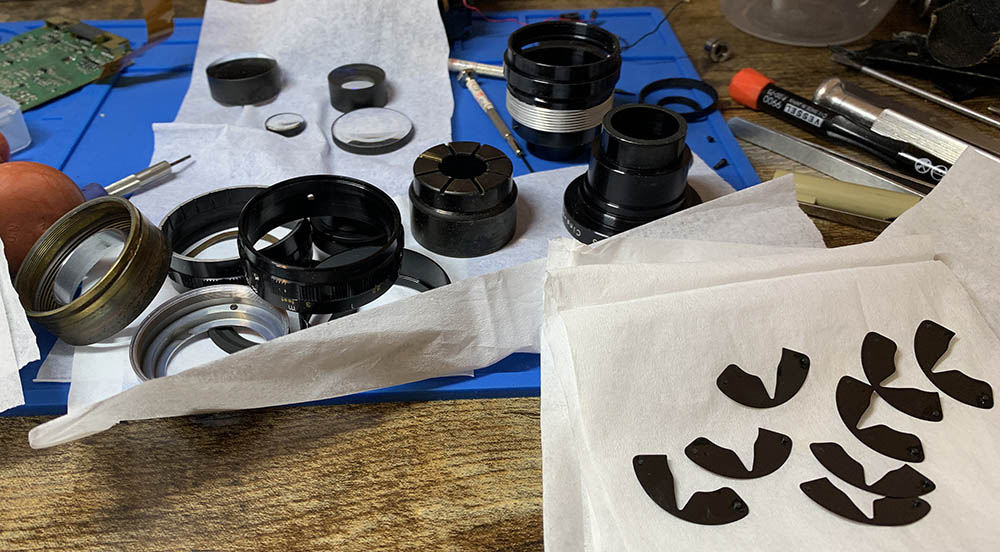
This is how the iris mechanism looks, notice how oily it is, we need to overhaul this. Note which direction the blades are facing so you won’t put them back together incorrectly.

The iris blades are too oily, so they came off like this.
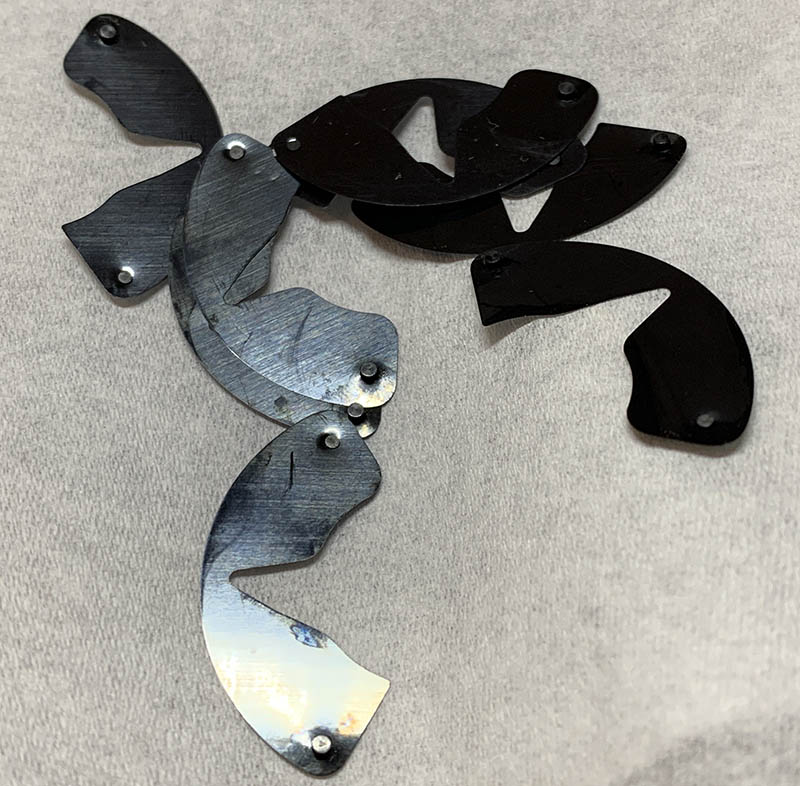
I carefully separated the blades individually, making sure that I don’t break anything. Each blade needs to be cleaned thoroughly with lighter fluid and a lot of Q-tips. I made sure that I have proper ventilation, it’s important to have good airflow when you deal with solvents.
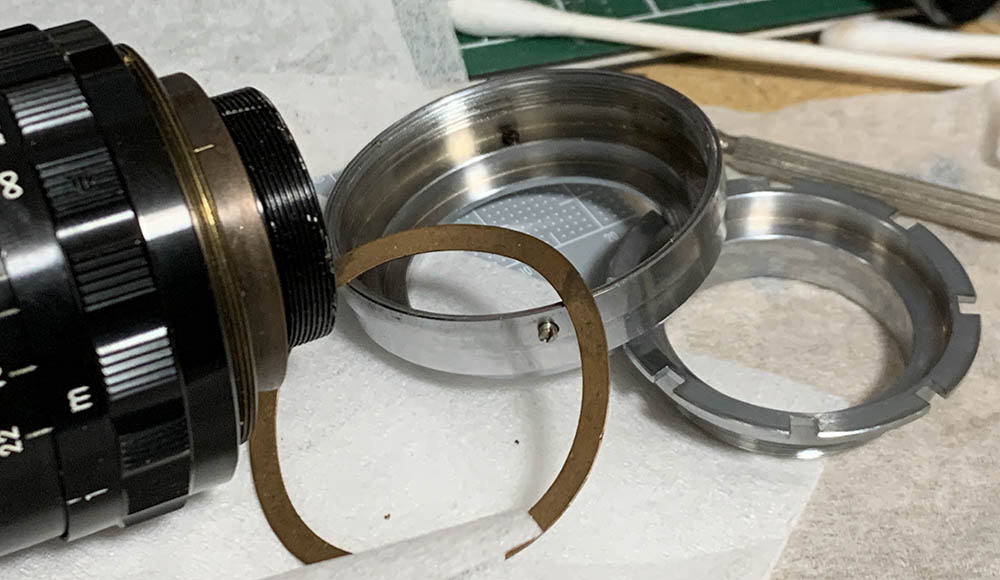
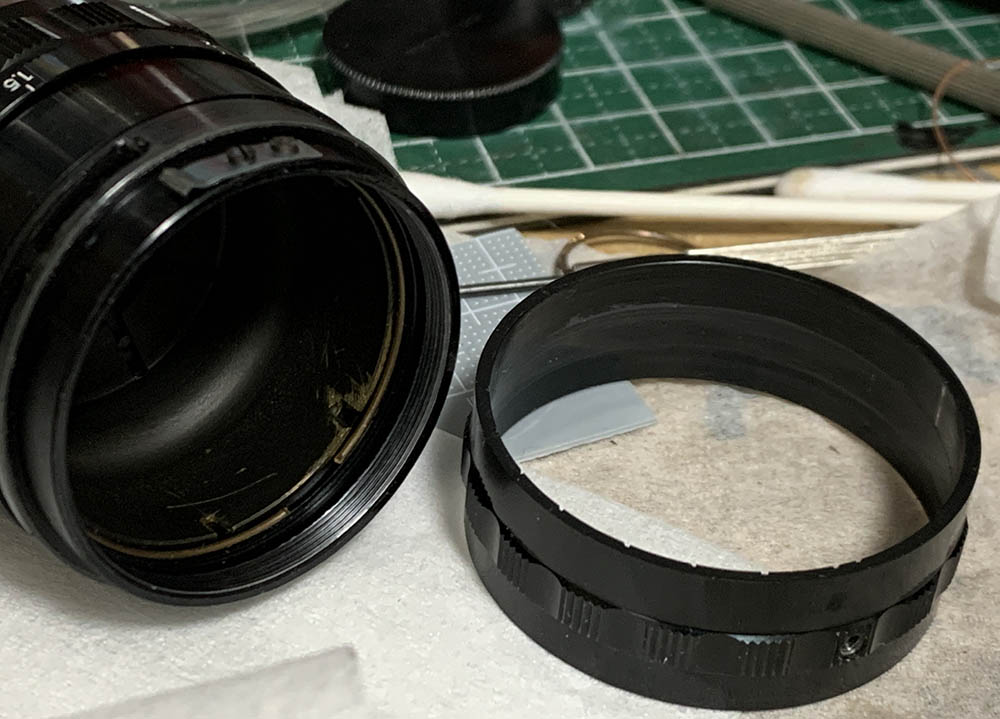
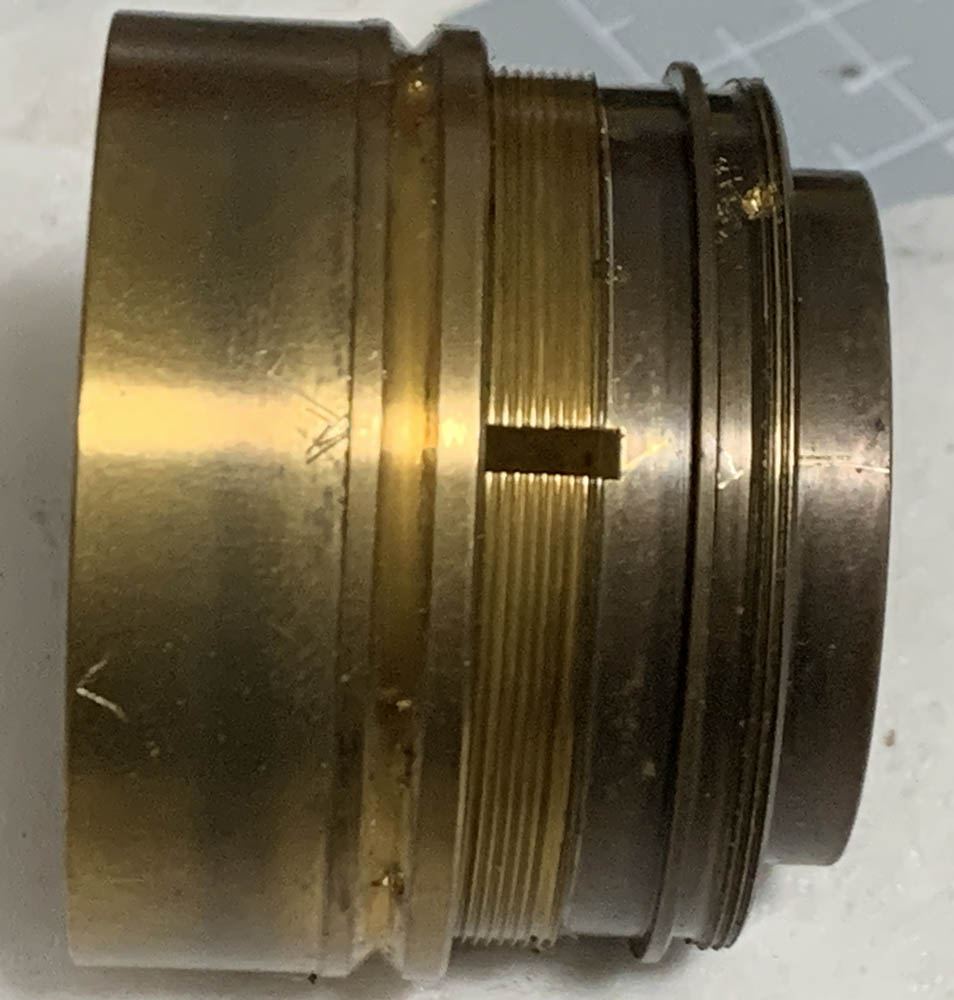
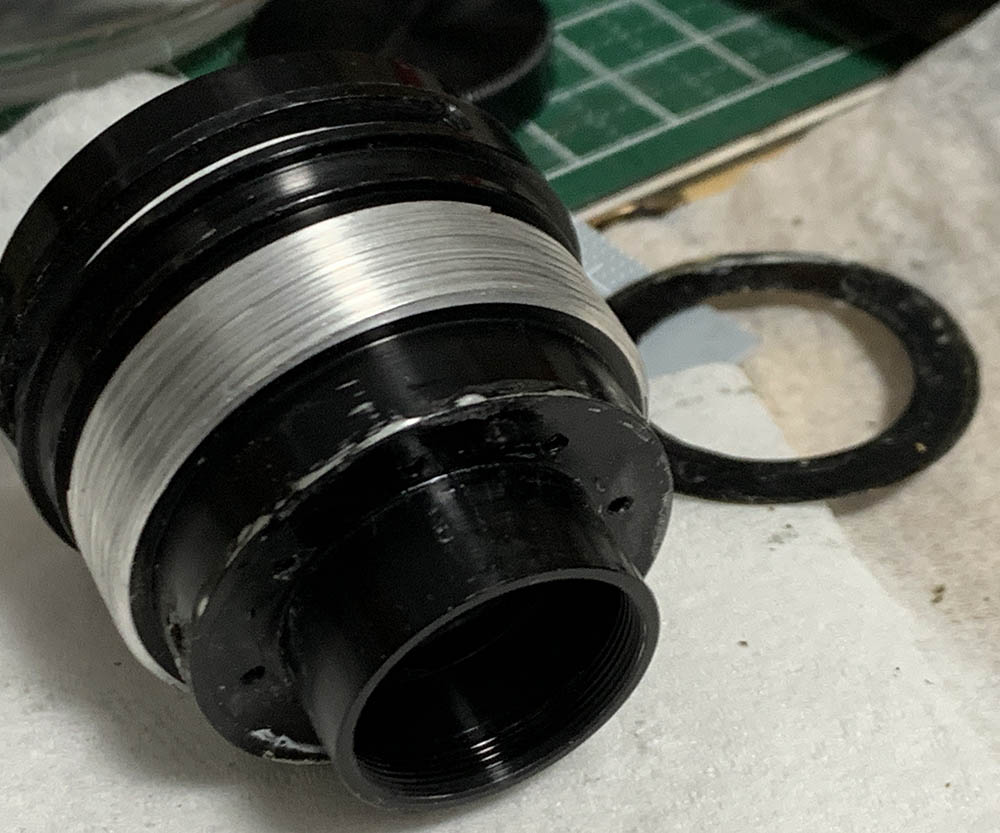
Loosen the screw securing the mount and unscrew the whole thing off. There’s a circular spring here and the parts here are usually greasy, clean them thoroughly later.
Extract the rear optics assembly with a lens spanner, be careful not to scratch the glass.
Unscrew the collar with a lens spanner and extract the glass with a lens sucker. Be sure to note which side should be facing forward so you won’t put it back facing the wrong direction later.
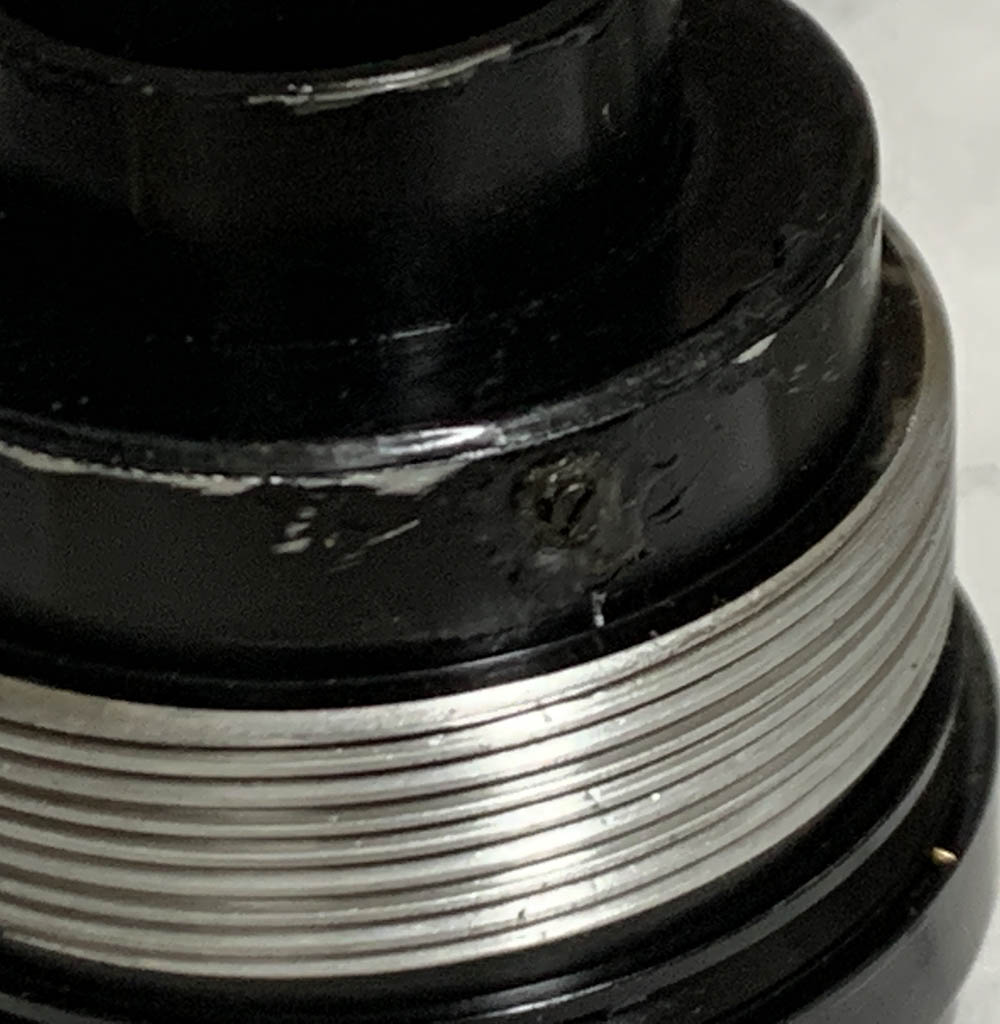
Unscrew these so you can remove the focusing ring, but don’t forget to mark everything first while, make sure that it’s focused to infinity while you do this.
Remove the focusing ring. In the photo before this one, the larger screw prevents the focusing ring from turning beyond its range while the smaller ones secure it to the helicoid. Note that its depth-of-field scale is missing in the photo, I got rid of it earlier, but you will see it back again in the next photos, please don’t be confused.

Be sure to mark everything while the helicoids are set to infinity.
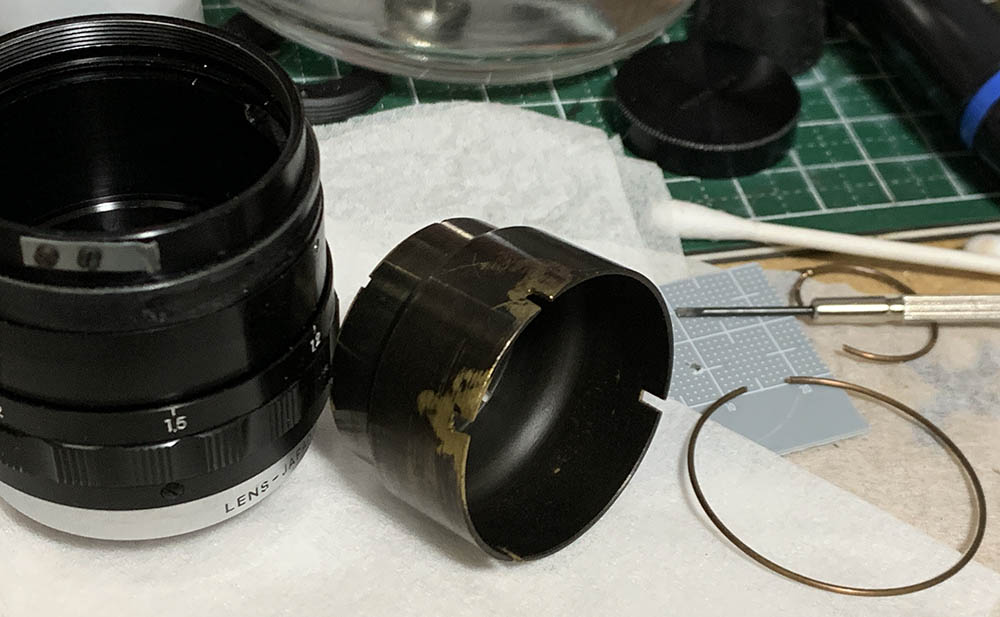
Separate the helicoids, never forget to note where they have separated because that’s also the same spot where they mesh. Forgetting to do this will lead to disaster, read my article on how to work with helicoids so you won’t get into this issue.

You can remove the sleeve with the depth-of-field scale by loosening the little screws.
Before you go further, collapse this helicoid and make some notes, you should be able to recreate this, if you couldn’t then you have reassembled everything back incorrectly.
Pay attention to the slots, there are 2 screws on the mating helicoid that serves as keys to these, you must align them during reassembly or you won’t be able to put this back together properly.
Note that there is a thin cover protecting the iris mechanism from the greasy helicoids, it’s merely glued.
Soaking this part in alcohol will undo it, such a cheap trick to protect something so important.
I brushed all of the big parts with a strong toilet cleaner like Vim, rinsed them very well with hot water to remove any residue and finally, a quick rinse with pure alcohol to remove any oils. The parts were dried at a clean place. The iris blades were very carefully wiped with Q-tips and solvents, making sure not to warp or damage them. Putting them back can be difficult even for experienced repairers, read my article about repairing preset irises to find out how I do this. If your lens has fungus, read my article on how to clean a lens with fungus to know how it’s done. Never use the solution in full-strength, always dilute it with some distilled water. When lubricating the helicoids, be sure not to apply too much, all you need is a thin film of fresh grease. You’ve seen how dangerously close the iris is to the helicoids, excess grease will migrate to the iris mechanism in due time, requiring another overhaul.
Conclusion:
This is a very interesting lens, I am glad to have worked on it. While I am already familiar with this class of Cine-Nikkors, this lens completes my series on it. The only ones left are the exotic ones, which you will all get to see in the future. Before we end this article, I must discuss something important in the next section so pay attention.
The iris blades have all been cleaned and everything else has been taken cared of, it’s now time to put it back together.
Surprisingly, it didn’t take a lot of effort to adjust the focus. As you can see, I reassembled it in this way so I can access the central helicoid as I make adjustments, this is temporary, as soon as I got the focus right, I removed the mount then reinstalled the focus ring. I made more minor adjustments then reassembled it. I made an article on how to calibrate your lens’ focus, I was lucky that a plane flew overhead so I based my adjustments on it, that’s definitely as close to infinity as I can get.
That’s it for this article, did you enjoy it? I have successfully delivered another post that you can never see in another site, at least not at this level. Your support has helped me produce the most extensive library of repairs and reviews that can be found in a single site. Thank you very much for all the help, you help make sure that the site will continue to exist well into the future, entertaining and educating future readers, and I am proud to have helped inspire a new generation of hobbyists. Your help keeps this site hosted, as you can see, this is a media-heavy blog, I could not have done this alone. See you guys again, Ric.
Help Support this Blog:
Maintaining this requires resources and a lot of time. If you think that it has helped you or you want to show your support by helping with the site’s upkeep, you can make a small donation to my paypal.com at richardHaw888@gmail.com. Money isn’t my prime motivation for this blog, I believe that I have enough to run this but you can help me make this site (and the companion facebook page) grow.
Leave me some tip?
Thank you very much for your continued support!
$2.00
Helping support this site will ensure that this will be kept going as long as I have the time and energy for this. I would appreciate it if you just leave out your name or details like your country’s name or other information so that the donations will totally be anonymous. This is a labor of love and I intend to keep it that way for as long as I can. Ric.

Jul 13, 2024 @ 15:25:04
Hi Richard, I trust you are well.
Johan here, from Seoul. I’ve been using this lens for years now with nothing but joy. It is a masterpiece, comparable to my Zeiss 50mm Sonnar. Everything from Bolex to Nikon 1 has seen this lens with nothing but beautiful images. This week, the helicoids started becoming impossible to use:
The helicoid doesn’t grip the barrel properly anymore (don’t know how to describe it). But at some point is just loses so much grip that the helicoid is just turning freely (completely loose).
If I pinch it VERY tightly with my fingers I can force it to grip again. I want to attempt to fix it using all your articles, however, I would really appreciate it if you let me know what kind of issue this sounds like to you.
So far I’ve covered all your helicoid articles, but they don’t seem to touch on my specific issue.
I look forward to hearing from you,
Johan.
Jul 13, 2024 @ 16:21:49
This is some very minor issue all you need is a small screwdriver to tighten the screws of the focusing ring, that’s all.
Jul 14, 2024 @ 02:50:37
Dear Richard. Thank you so much for your pointer. I did it, and it worked, but now it’s so stiff in the middle that it scratches the paintwork.
I’ll have to probably dismantle the lens and clean the helicoids, then apply new grease. To be honest, I feel like the challenge anyway.
Thanks for all your wonderful articles!
Jul 14, 2024 @ 03:29:55
*Just in case my previous post wasn’t clear… what I mean by ‘in the middle’ is that;
After tightening the screws, the helicoid moves smoothly at close focus, smoothly around infinity, but it gets REALLY stuck at ‘middle’ distances like 2m to be exact.
To my laymen brain that sounds like the focus ring is bent/ irregular shaped or that there’s gunk in the helicoids.
Jul 15, 2024 @ 03:45:19
Because the focusing ring It’s not centered