
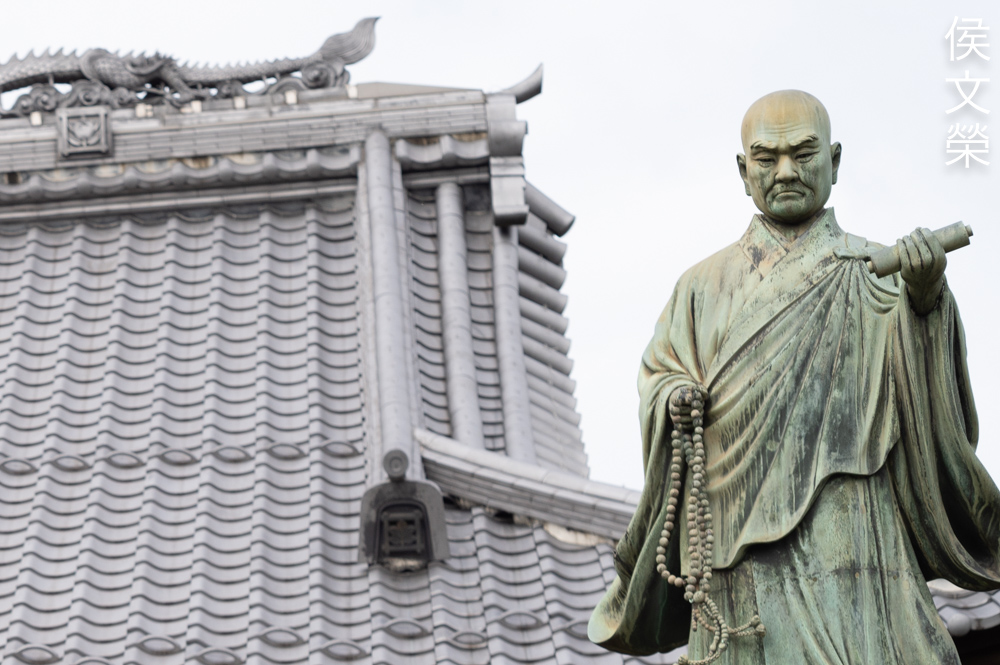
Hello, everybody! I was listening to “Freedom” by Wham!, it is a song about some guy who is so in love with this woman that he would forgive anything she does and basically let her have her way. Have you ever felt like that in your life before? I sure did, but that was many years ago. That feeling also extends to my love of vintage lenses, there is one lens that I have always wanted but I just can’t find a good version of it. Unlike the poor simp in the song, I will not waste my time looking for the perfect lens because there is one lens that is just as good and maybe even better. Do you want to know what lens that is? Read this article to find out more about it.
Introduction:
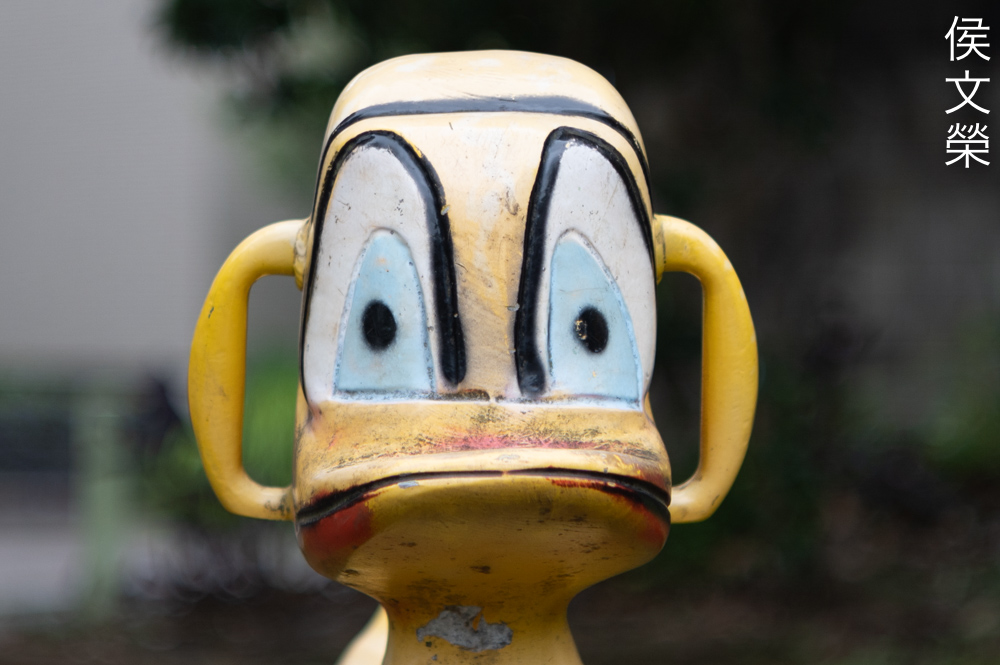
The Carl Zeiss Jena 50mm f/1.8 Pancolar it’s a magnificent lens, it needs no introduction. There are many versions that were made throughout the years but this is one of the best ones according to experts. I will not go through the complicated and long history of the Pancolar family because people are familiar with it, so it makes no sense for me to repeat what has been said by others. One thing I can say is this lens is a true legend and it deserves every bit of the hype about it. I was looking for a good substitute for a Planar, it has to come with an M42 mount and should be priced reasonably. My search led me to this instead but I am not disappointed at all because everything turned out well in the end.

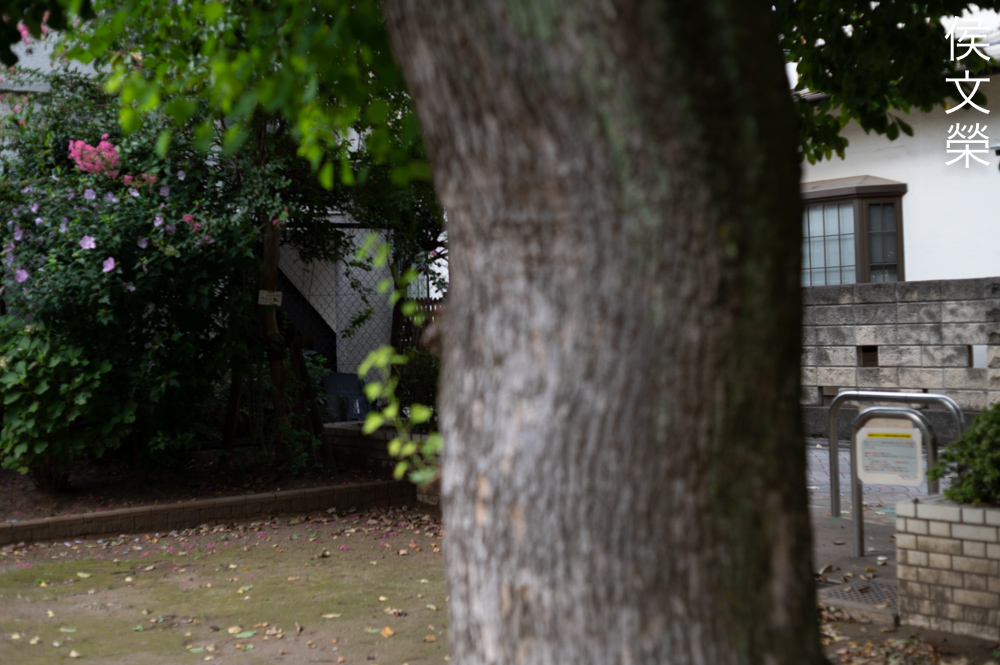
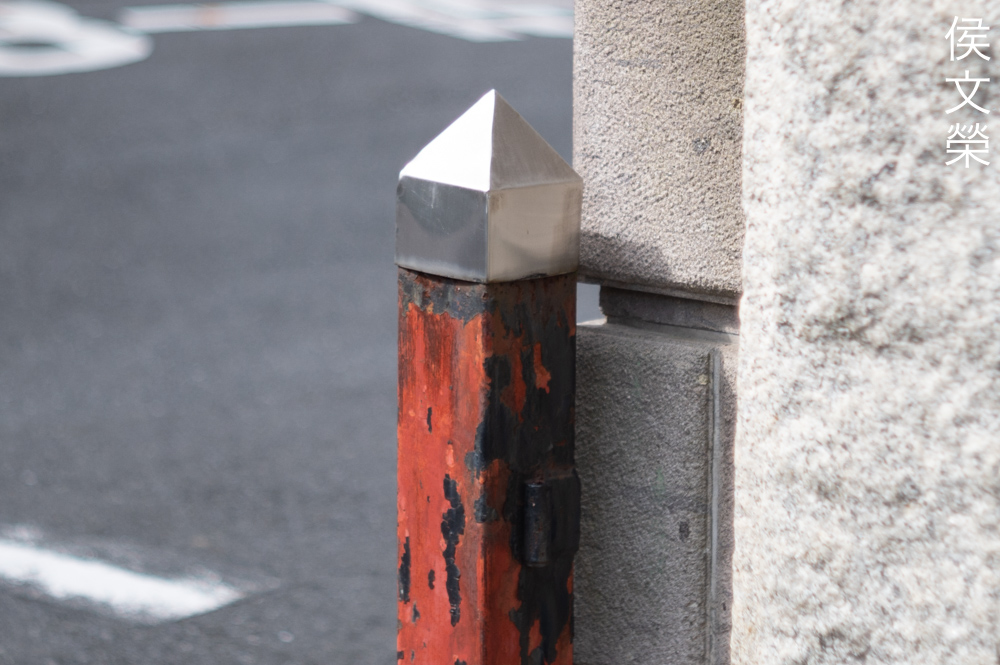
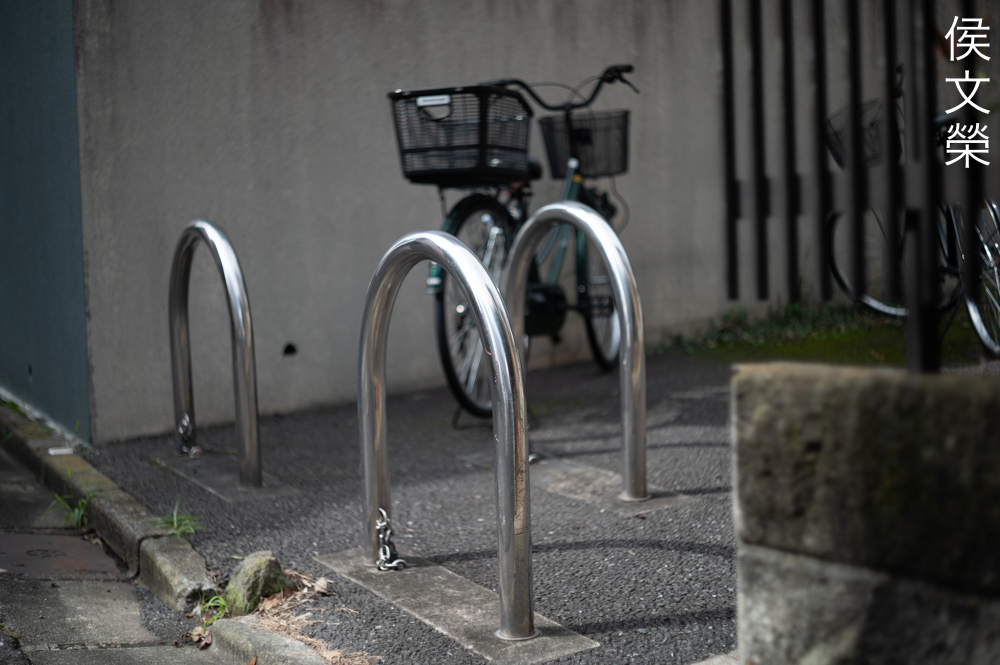
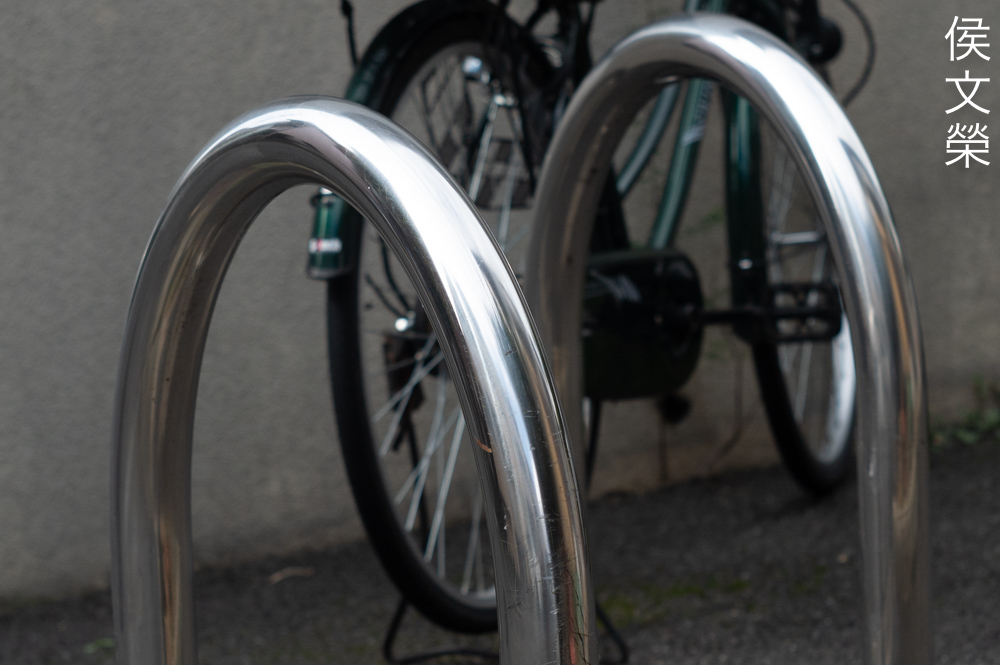
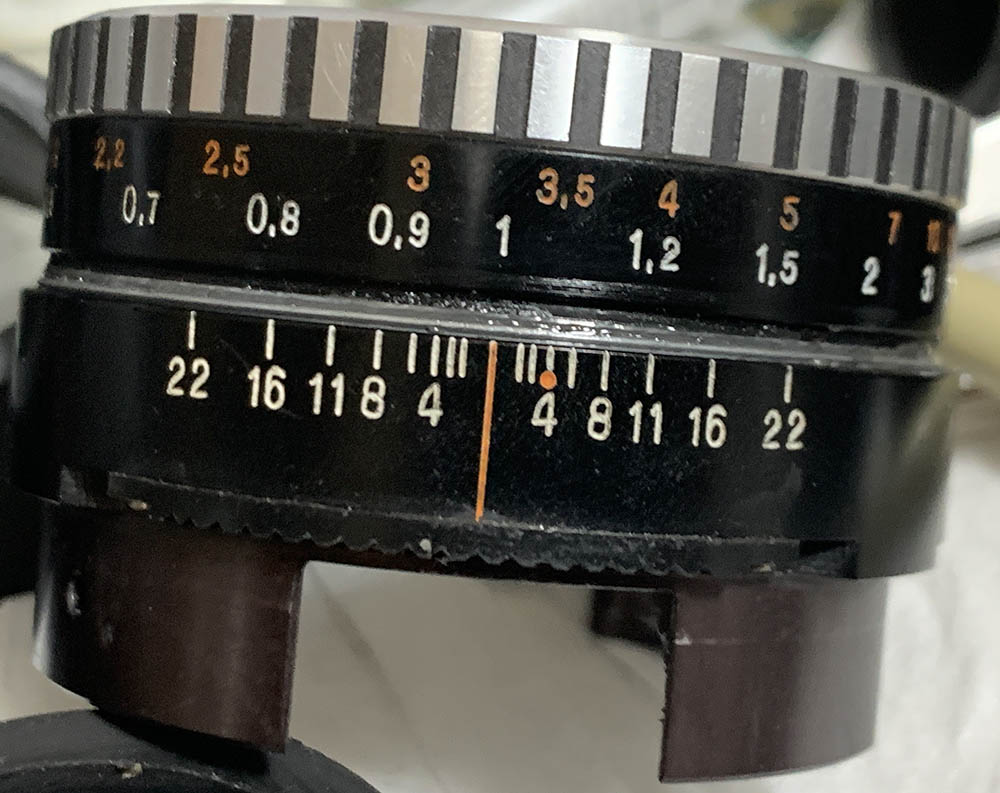
The barrel is completely made of metal, it’s very sturdy and feels dense in your hands. It has a minimalistic interface, only having a focusing ring and an aperture selector. Finally, you have a little switch at the side. You can see it in this photo barely sticking out from the side of the lens near the left edge of the frame. It operates very nicely, the focusing ring feels very smooth to turn and the aperture ring clicks with a precise and reassuring feeling, something that a lot of Nikkors don’t even have, that’s because it uses a little ball bearing for the clicking mechanism.
It has a classic 6-elements-in-5-groups configuration of the typical Double-Gauss design. There are many variations of the Pancolar family, it can be confusing at times to track and remember the various versions. This one in particular was made from the mid-1960s up until the next version came out a couple of years later. Mine isn’t the radioactive variety but the earlier ones are, it’s easy to tell just by looking at the color of the optics because they appear slightly yellowish or amber depending on the conditions it was stored. Some versions will also have different numbers of aperture blades as well, it can be exhausting even for a Carl Zeiss expert.
It is a joy to use because the ergonomics is excellent, it is easy to know which part you are holding just by touch. The aperture ring also feels great to operate because of the nice clicking-action.

The best way to enjoy shooting this lens today is by adapting it. The Nikon Z6 is an amazing platform for this, it has In-Body-Image-Stabilization (IBIS) that will help you get sharper photos even when shooting at slower shutter speeds. When shooting with the lens in this manner you use it like a manual aperture lens, this means that you won’t be able to actuate the iris automatically so you’ll see any changes happen with your viewfinder. This has advantages and disadvantages, too.
Probably the most conventional way to shoot with this lens is by mounting it to a camera that has an M42 mount, you will be able to actuate the iris automatically. You will be able to look through the lens while it is at its maximum aperture, giving you a brighter view and helping you focus more accurately because it’s easier to focus when you have less depth-of-field. The lever inside the camera’s mount will push the little pin at the base of the lens just before an exposure. You can even shoot with it in full manual mode just by operating a switch near the base of the lens if you needed to, this is very convenient and this is how the lens is supposed to perform as intended by the engineers.
Knowing how your lens performs is crucial to maximizing its use. You will learn how to utilize its strengths and avoid its weaknesses. This knowledge helps in determining which gear to bring on an assignment. I shot these from f/1.8, f/2.8, f/4 and f/5.6 since these are the most common apertures that people would want to use this and we’ll also get to see the most changes happen with these values. I shot these photos with my Nikon Z6, some of the photos were cropped close to 1:1 so we could see the details better.


(Click to enlarge)
Distortion amount is comparable to many 50mm lenses from this period, which is a lot. Despite that, I do not think it’s going to be problematic because you can find ways to make it less noticeable.
Vignetting is surprisingly low and it’s not even that bad even when shooting wide-open. Stopping the iris down to f/2.8 is enough to remove most of it, you will find it difficult to detect any traces of light falloff. It is all but absent from f/4 and beyond.


(Click to enlarge)
The coatings aren’t up to modern standards, it’s easy to form blobs if you’re not careful. Flare can also fill most of the frame, making your photos lose contrast. Both aren’t that severe and can easily be avoided, a hood will certainly help unless you have bright sources of light within your frame. Unfortunately, just like what we saw with the Carl Zeiss Jena Flektogon 35mm f/2.8, this lens is susceptible to the ugly reflections of the iris blades, just not as bad. This is something that you should be aware.


(Click to enlarge)
Coma will make point lights situated at the corners look smeared, as if they have wings. It looks worst at f/1.8 but improves substantially at f/2.8. You won’t notice much of it from f/4 and beyond.


(Click to enlarge)
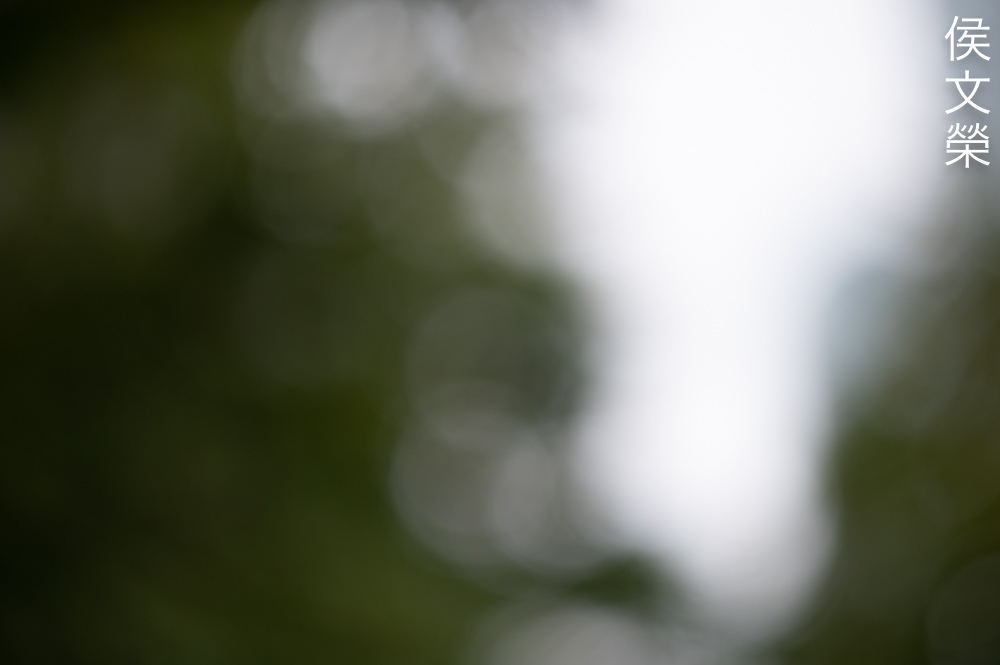
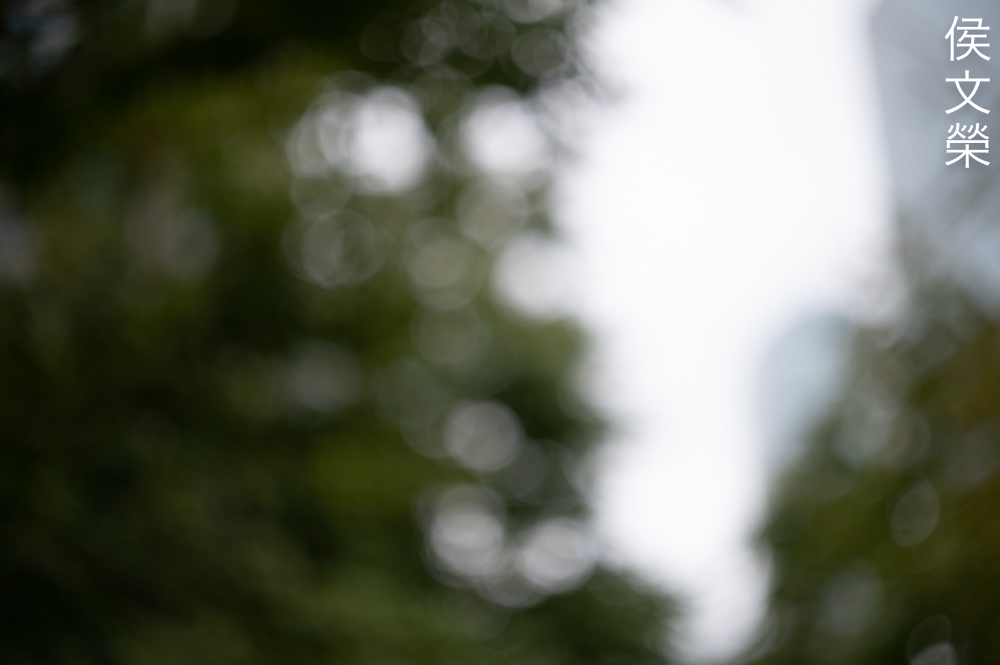
The character of the bokeh is exquisite, even when shooting with difficult subjects, it’s as good as it gets. It won’t be as smooth as some specialty lenses such as the Noct-Nikkor 58mm f/1.2 Ai-S, but it’s close. This is one of the reasons why this lens has such a huge following even to this day.


(Click to enlarge)
The discs it produces looks wonderful, they are clean and even when shooting wide-open, you won’t find outlines or any similar artifacts. Stopping the iris down a bit with give you angular discs due to the shape of the iris, some people either love this look or hate it, I personally don’t mind this at all. An angular iris is less desirable because it can affect the smoothness of the bokeh, if the iris has one more blade added I’m sure that the background will look even smoother.


(Click to enlarge)
Chromatic aberration appears to be corrected really well, you won’t find any of it even when shooting at f/1.8, you may find traces of it but I struggled to find any noticeable amounts even on difficult scenarios. It is impressive, even spherical aberration is controlled very well.


(Click to enlarge)
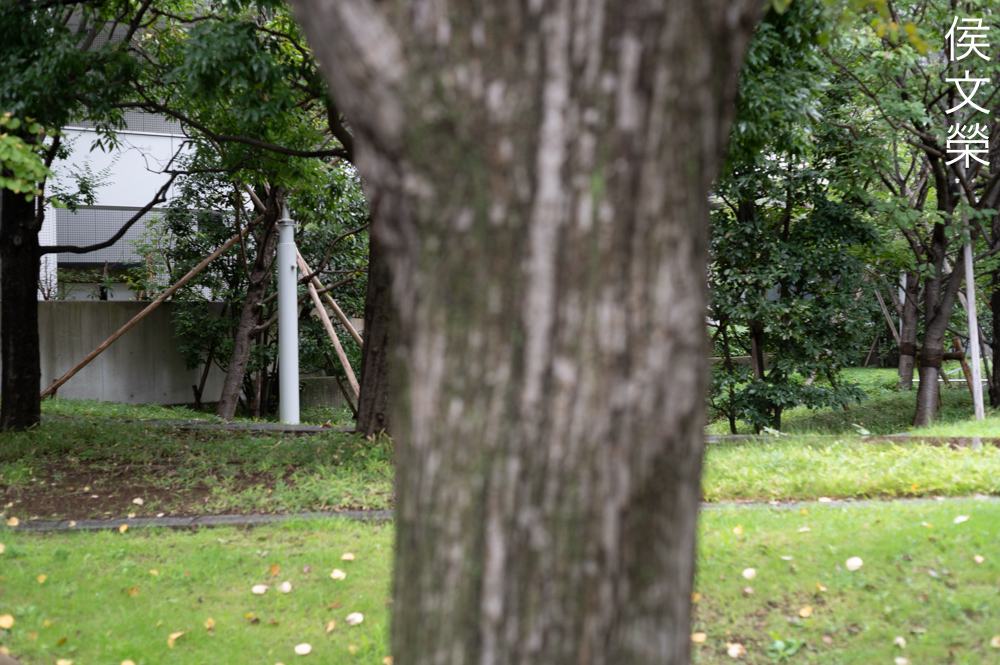
The center is sharp even at f/1.8 but it lacks the resolution to support it. The corners don’t look as sharp, I am not saying that they’re bad, in fact, these are some of the best I’ve seen from a vintage lens. Stopping the iris down to f/2.8 helps a lot in improving the center as the added resolving power helps renders any detail, it looks absolutely great, but it will improve even more. The corners don’t look that bad, too. You’ll want to shoot at f/2.8 if you have important details at the corners. The center looks like it has reached its peak in terms of sharpness and resolution at f/4, we are now finally seeing what this is capable of. It’s no surprise that the corners will look better, too. The improvement at the corners is huge, it looks as if they are at the same performance as the center when shooting wide-open. You won’t notice any differences at the center by f/5.6, it has peaked at f/4, only the difference in depth-of-field will matter here. The corners look great, this is where you want to be if you have enough light to work with when you have important objects at the corners.
This is phenomenal, it sure lives-up to the Carl Zeiss (Jena) name, a true testament to German optics! I’m impressed by how sharp this lens is without sacrificing anything else. I did notice that it renders pictures with a slight bluish-tint, It is normal with many older lenses because that tint is used to enhance contrast when shooting with monochrome film.
There is also a sense of clarity in the photos, as if it adds a metallic feel to them. This is something that I have noticed with lenses coming from this factory such as the Carl Zeiss Jena Flektogon 35mm f/2.8. You can say that it’s a signature “look”.


(Click to enlarge)
While not a macro lens, you are able focus as close to about a foot. It’s enough to give you magnification for smaller things such as wedding rings.

This is a huge spider. I am not sure if I’ve cropped this photo, maybe I did. I should’ve stopped the iris to f/2.8 for this in order to get a sharper photo, I guess I did not have enough light.

The focus transition looks exquisite, it’s so smooth and it renders like a painting.

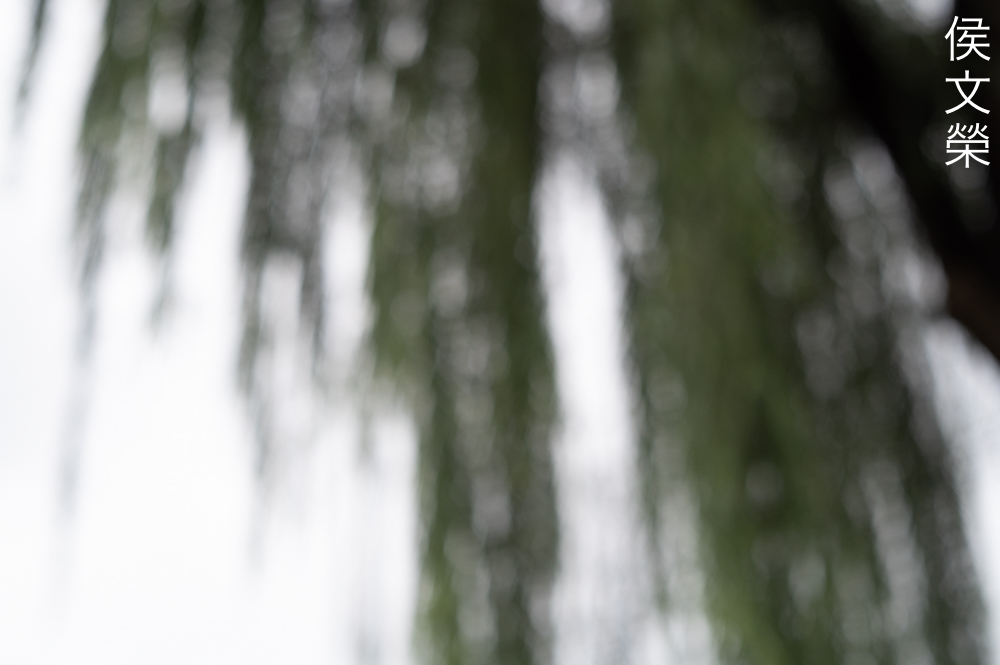
The ugly details at the background melts into a wash of colors, you won’t get any rough details with this.

Shooting at night is where this lens excels. The fast maximum aperture helps a lot and its performance at larger apertures enable you to shoot with a faster shutter speed than normal.

It renders colors beautifully, they don’t look cartoonish with exaggerated saturation, it has just enough for presenting a natural-looking photo.

The effects of distortion isn’t noticeable in this photo because there’s a lot going on in the frame. Even if there’s less clutter, I doubt that the effects of distortion will be that obvious.

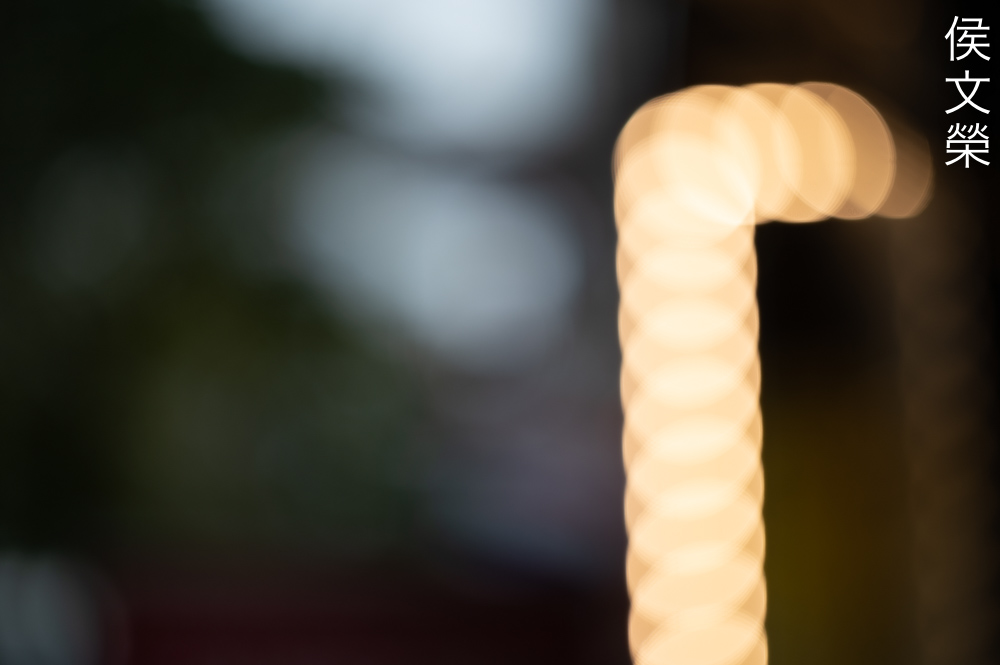
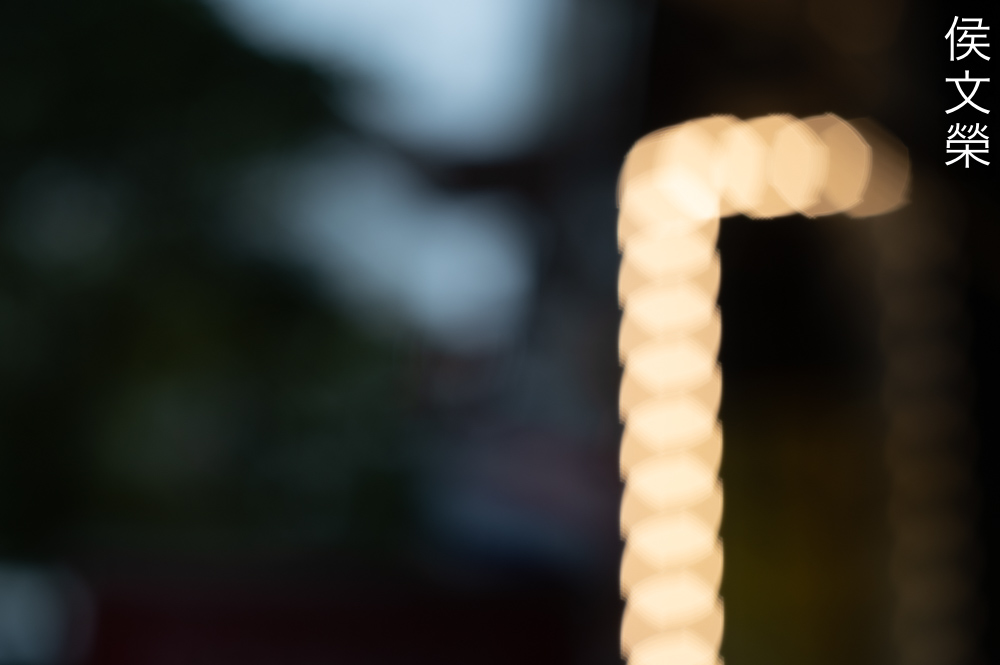
Bright objects will have a nice “glow” over it when shooting wide-open. You can use this to add a special layer to your photos. This makes it great for portraiture as it gives a “feminine” quality to a photo.

This is a great lens for working leisurely at night, I can’t say that it’s a good lens for action because it has a long throw, requiring more turns to acquire focus. It makes precise work possible but can be detrimental if you need to rack your focus quickly from end-to-end.
There’s a certain charm to the photos it creates, a refinement that isn’t normally seen with cheaper lenses.


(Click to enlarge)
This sure is one amazing lens, it’s still great even in the digital age. I’d imagine that videographers will be enticed to use it. Not only does it give a “period-look” but it is also capable of sharper, cleaner renderings that most of us are used to these days with modern optics.
Let’s now check some film photos. Film has a unique look that is hard to simulate with a digital camera thanks to grain. It reacts differently to light, this means that it could mask a lens’ flaws or amplify them. Since this was designed to be used with film, it’s best that we judge this using its intended medium.


(Click to enlarge)
Of course, this lens works great as a portraiture lens, too. The amazing clarity of this lens is useful, it helps create crisp-looking portraits while the feminine-nature of its rendering compliments everything else.

This is why this lens is considered a legend by many, just look at how painterly this photo looks. Grain will help make your photos look more organic because of its structure.

The colors look natural despite being on the cooler-side of things. The saturation is just enough to give a sense of realism as if the object is in front of you.
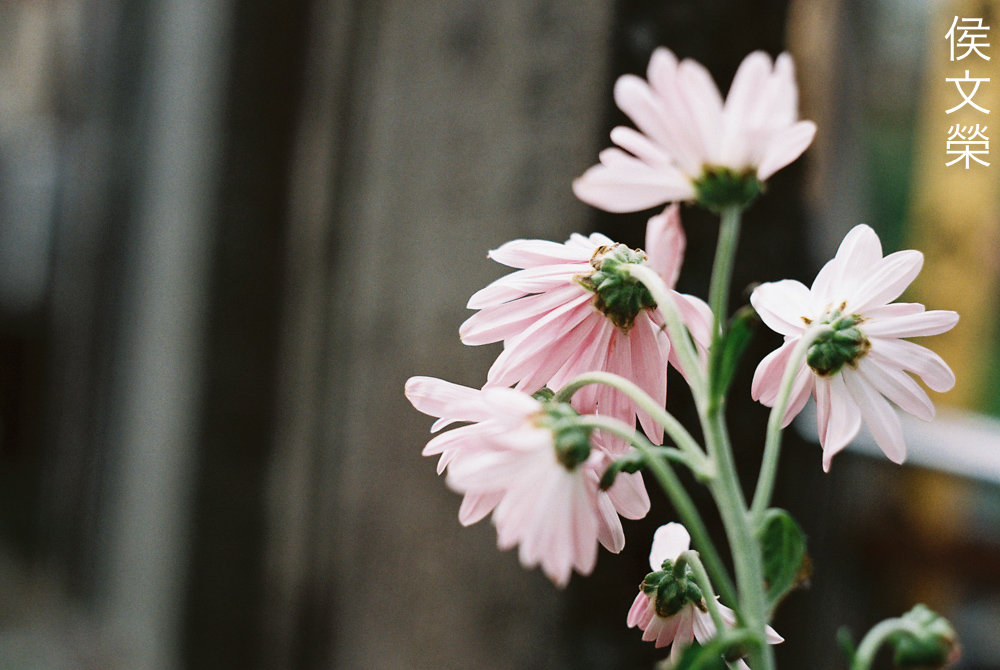
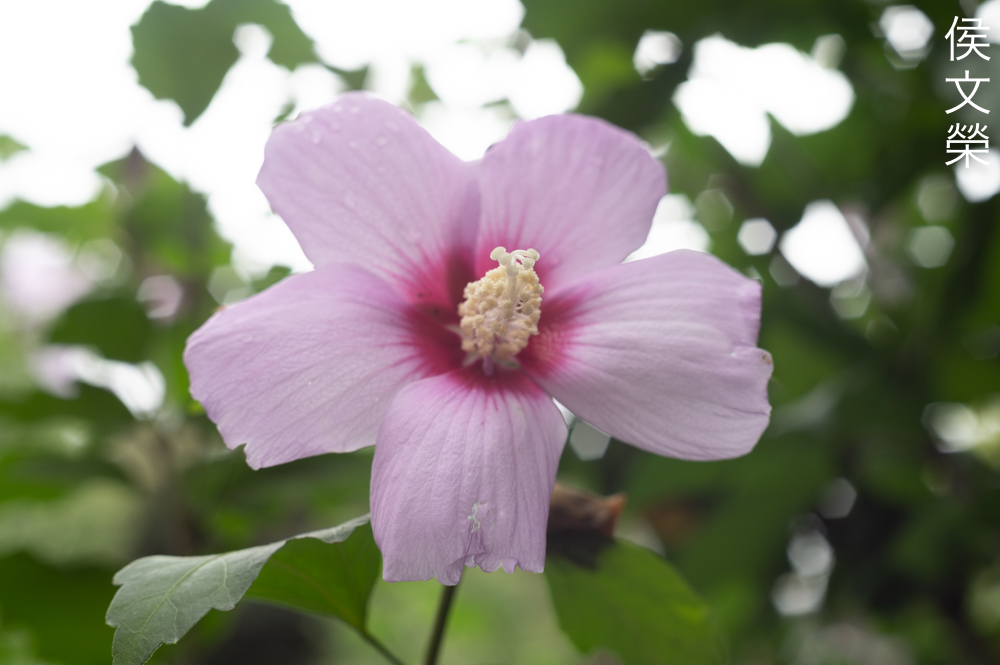
Th subtle tones of the flowers are captured very well in this photo. Sure, the film used has more influence over the lens in this context, but if the lens couldn’t render the subtlety of a scene then there’s nothing it can do to make the photo look more delicate.

The rough details at the background should’ve made this scene look uncomfortable, this lens handled the busy-looking details very well.
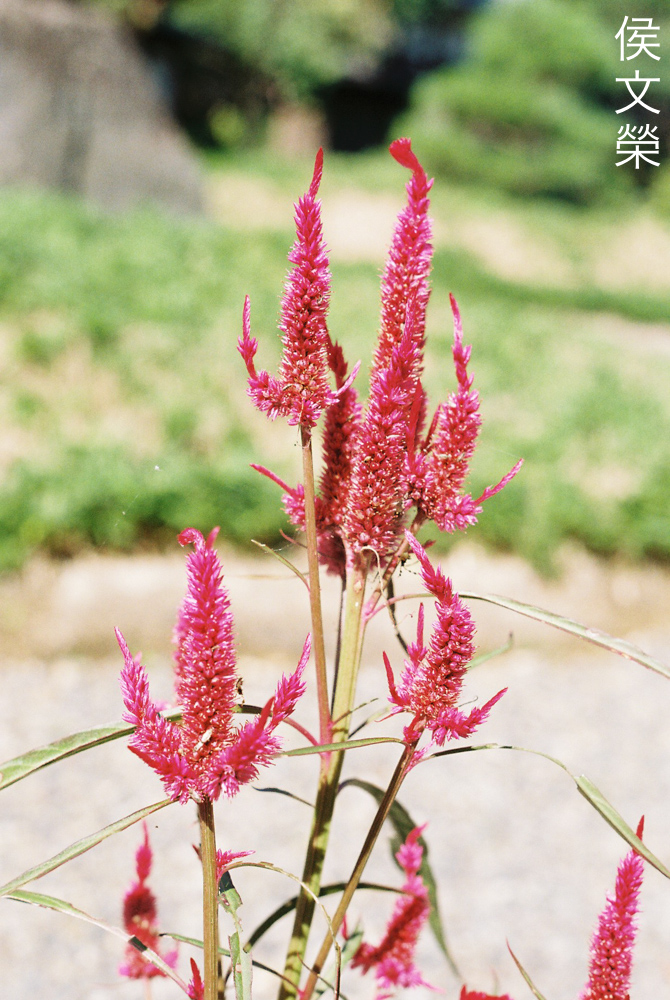
This is the worst I could make the background look, the clumpy-looking details don’t look as bad because grain helps breakdown the edges of the blurred parts.

While I don’t consider this to have challenging background elements, stopping the iris down will help you avoid the clumpy-look of the blurred parts of your scene.

The sharpness of a photo also relies on which film you use, a fine-grained film will give you the sharpest result. We are not shooting with a fine-grained film so the lens’ resolving power is wasted.

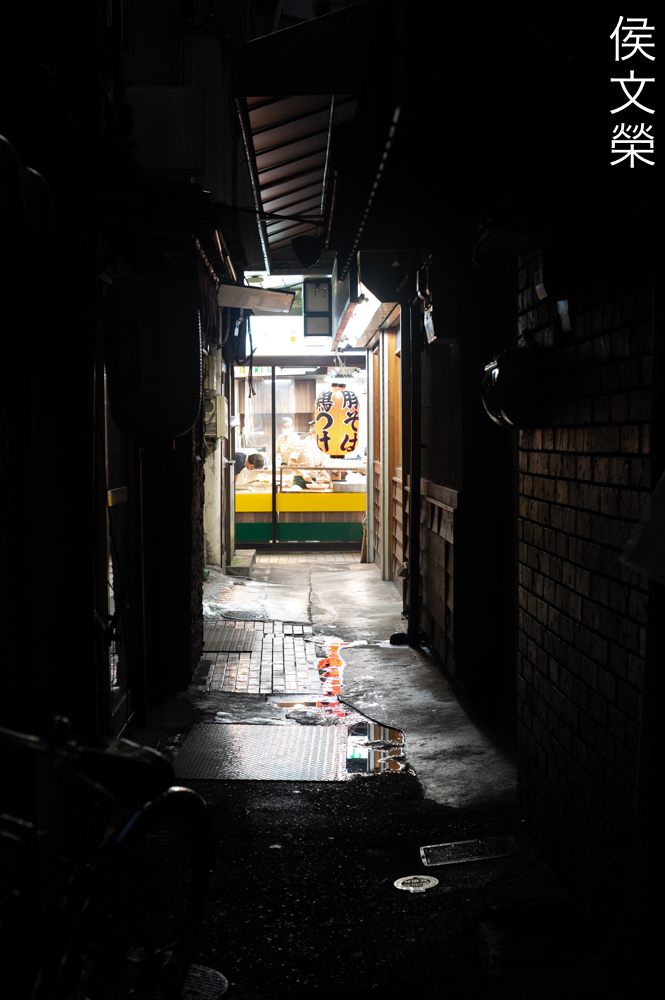
Flare is something that you should pay attention to when shooting with this, it has nothing to do whether you are shooting with film or not. Internal reflections will have less of an impact with film because film has a less-reflective surface compared to a digital sensor.

In addition to what I said in the previous photo, flare can also add a “nostalgic-look” to your photos. Your eyes will think that you are looking at a photo that was shot several decades ago.

To people who are old enough, this is what we call the “look of Showa“, a sense of feeling that will remind you of Japan before the bubble economy burst.

Despite having sources of light within the frame, I was not able to get ghosts even in the slightest amount in this photo.

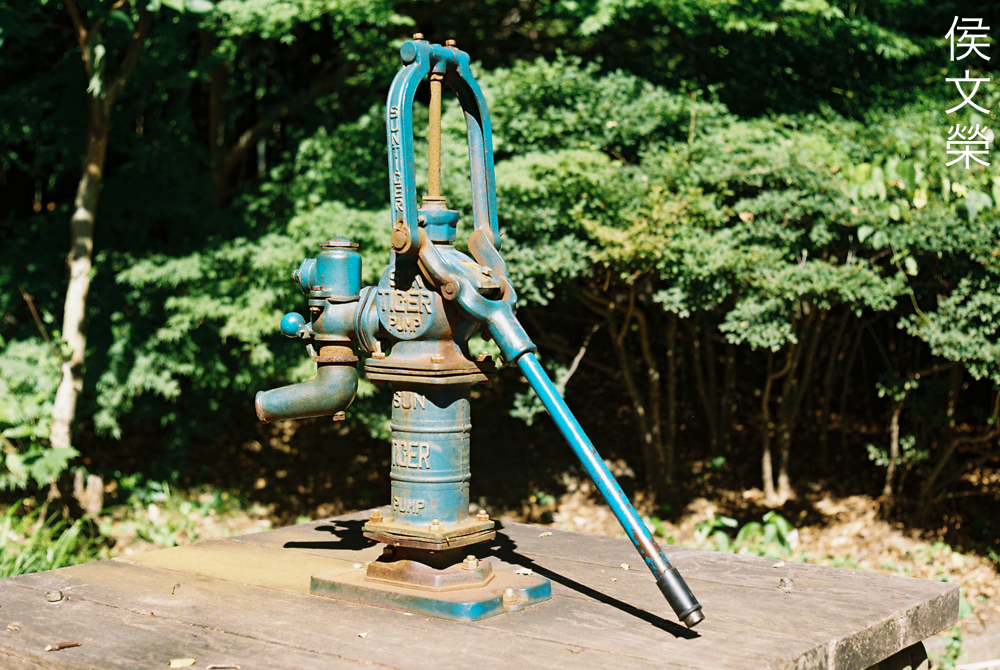
Amazing clarity! It feels as if there’s a subtle metallic quality to this photo, could it be the contrast?

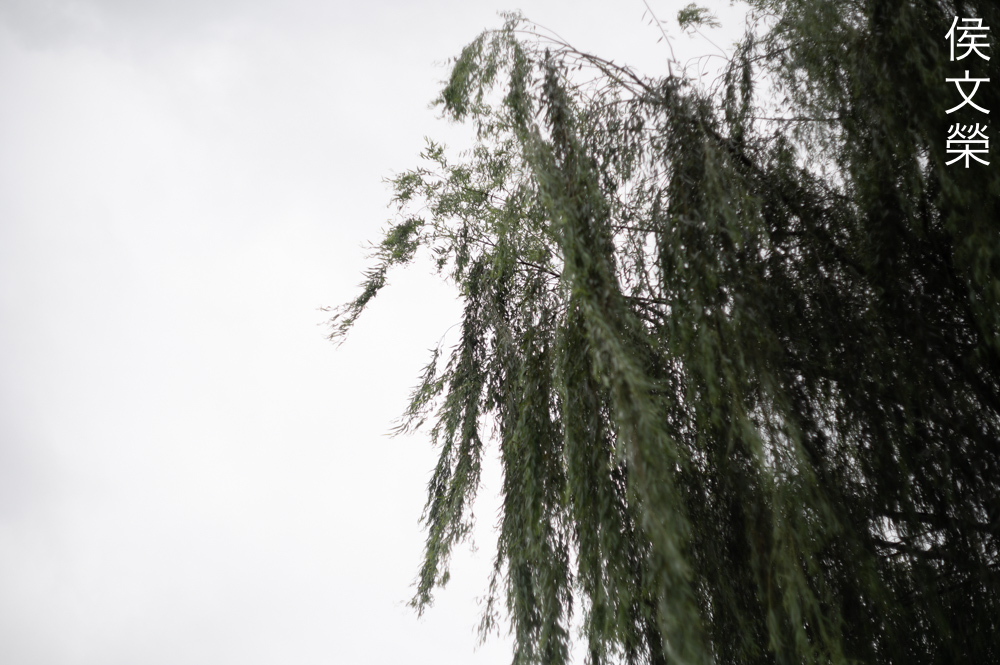
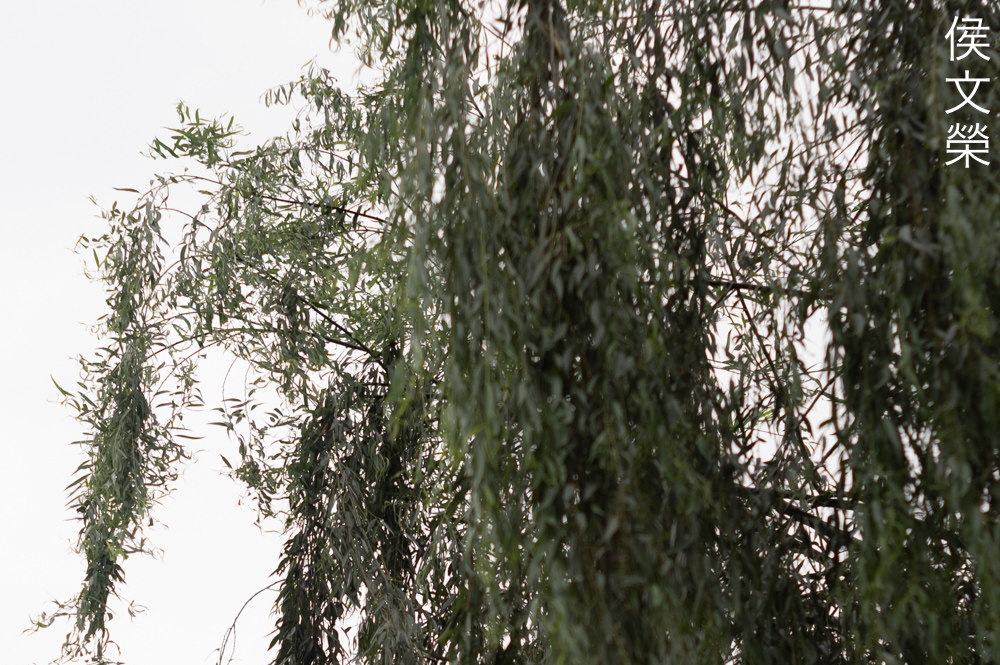
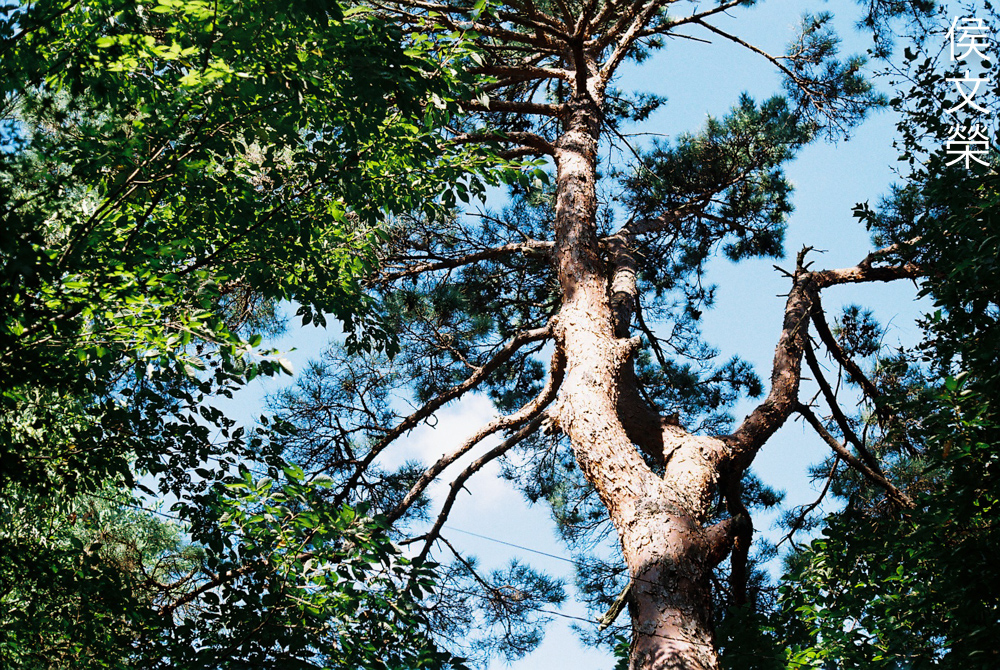
My only issue with this photo is the smeared needles of the branches, other than that, this photo is a nice example of how exquisite the performance of the Carl Zeiss Jena Pancolar 50mm f/1.8 is.

This is a great lens for taking leisurely photos on a slow weekend’s stroll.


(Click to enlarge)
Looking at these photos make me regret the decision to sell this lens, but it has to be done. Such a great lens for nearly every scenario you throw at it, specially considering that they don’t cost much these days. I see more expensive modern lenses for sale but not a lot can compare with its output, with film or digital.
There’s no doubt that this lens is one of the best ever made in terms of performance. If you do not mind focusing manually, you are rewarded with exquisite photos. I can imagine how good this lens will be for videography, but please, do not butcher it by removing the click-stop for the iris. This is one of the lenses that will retain its usefulness for decades to come, if you are on-the-fence about it, just get one! If you’re looking for one of these, do not pay more than $150.00 for a lens that’s in mediocre condition, maybe it is worth paying $200.00 for an excellent one, but never go beyond that. Whatever lens mount it came with will also affect its price, if you’re merely adapting it then buy the least popular versions, that will save you a lot of money, sometimes almost half of its cost. When looking for one, be sure to check the iris very well because it’s the most delicate part of this lens. Operate it and make sure that the motion is snappy, not at the very least in a sluggish manner, you will be lucky if it’s just oily and not a mechanical issue. The optics should be clean and clear, too. Finally, if you have access to a camera with the corresponding mount, test and see if the focus is spot-on at infinity, it should focus just a-hair’s-width past the infinity symbol. Don’t rush and feed the sellers, wait for the right one at the right price. Buying vintage glass is all about the wait and excitement of finding one in great condition and price. Happy hunting!
Before We Begin:
If this is your first attempt at repairing a lens then I suggest that you see my previous posts regarding screws & drivers, grease and other things. Also read what I wrote about the tools that you’ll need to fix your Nikkors.
I suggest that you read these primers before you begin (for beginners):
- Essential tools
- Best practices 1
- Best practices 2
- Best practices 3
- Ai conversion
- Working with Helicoids
Reading these should lessen the chance of ruining your lens if you are a novice. Before opening up anything, always look for other people who have done so in YouTube or the internet. Information is scarce, vague and scattered (that is why I started this) but you can still find some information if you search carefully.
I highly recommend that you read my working with helicoids post, this is very important and getting it wrong can ruin your day.
For more advanced topics, read my fungus removal post as a start. It has a lot of useful information, it will be beneficial for you to read this.
Disassembly (Lens Barrel):
This has got to be one of the most complicated German lenses that I have ever serviced. Overengineering is an understatement when talking about Zeiss lenses of this era, it is obvious why they got beaten in their own game by the Japanese. This is not a lens that I can recommend to a beginner, it’s not that you’ll need special tools to finish the job, it’s more like you will need the patience and experience of a professional. It has a lot of small things working together, the aperture mechanism alone has several assemblies. If your lens needs to be serviced, send it to a professional and pay him good for a complete overhaul. You’ll see just how much of a big job this is in the following section.
Before you remove anything make sure that you take plenty of notes and photos, study how things work and make sure that nothing drops to the floor or flies across the room. Some parts are spring-loaded, it’s easy to lose something important if you’re not careful.

It’s a good idea to measure the height of the barrel before you begin dismantling this for reference. You should be able to get close to this measurement after this project.
Unscrew the bezel with a rubber tool. This shouldn’t be difficult to remove, if it is stuck a small amount of alcohol is enough to soften the seal.

Locate and loosen this set screw so you can unscrew the front barrel.

You should be able to unscrew this with your hands.
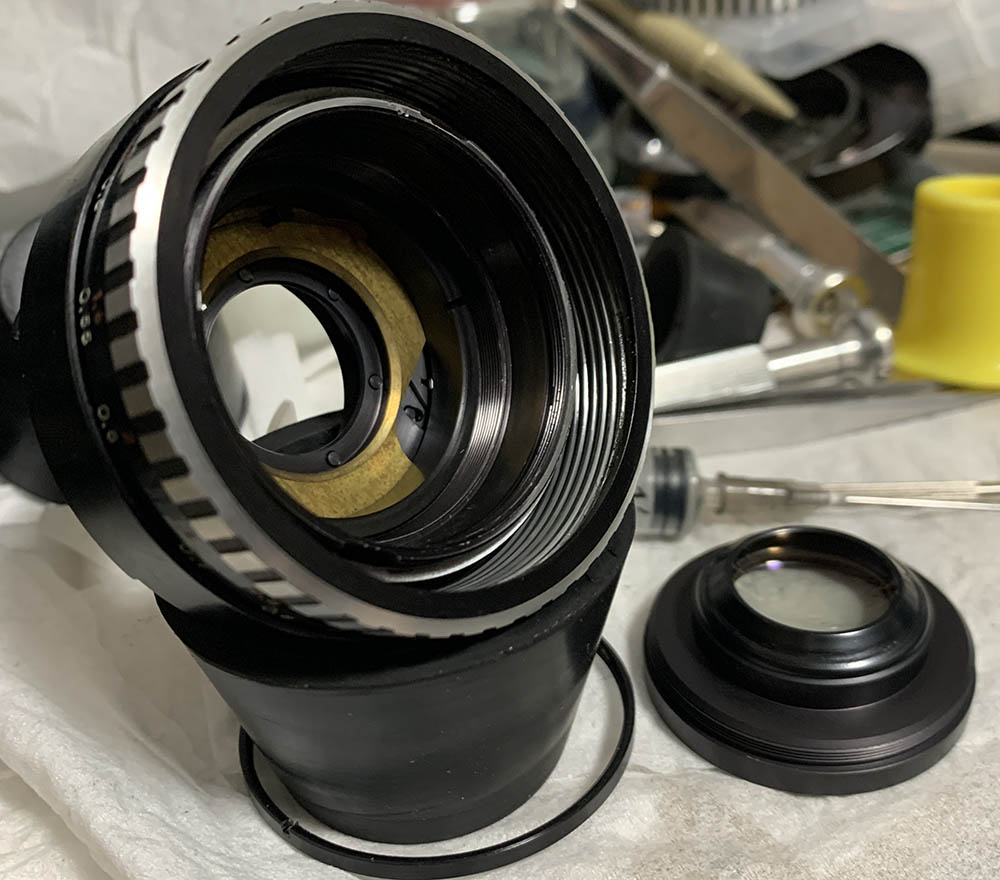
Unscrew the front optics assembly with a rubber tool first, if that didn’t work use a lens spanner.
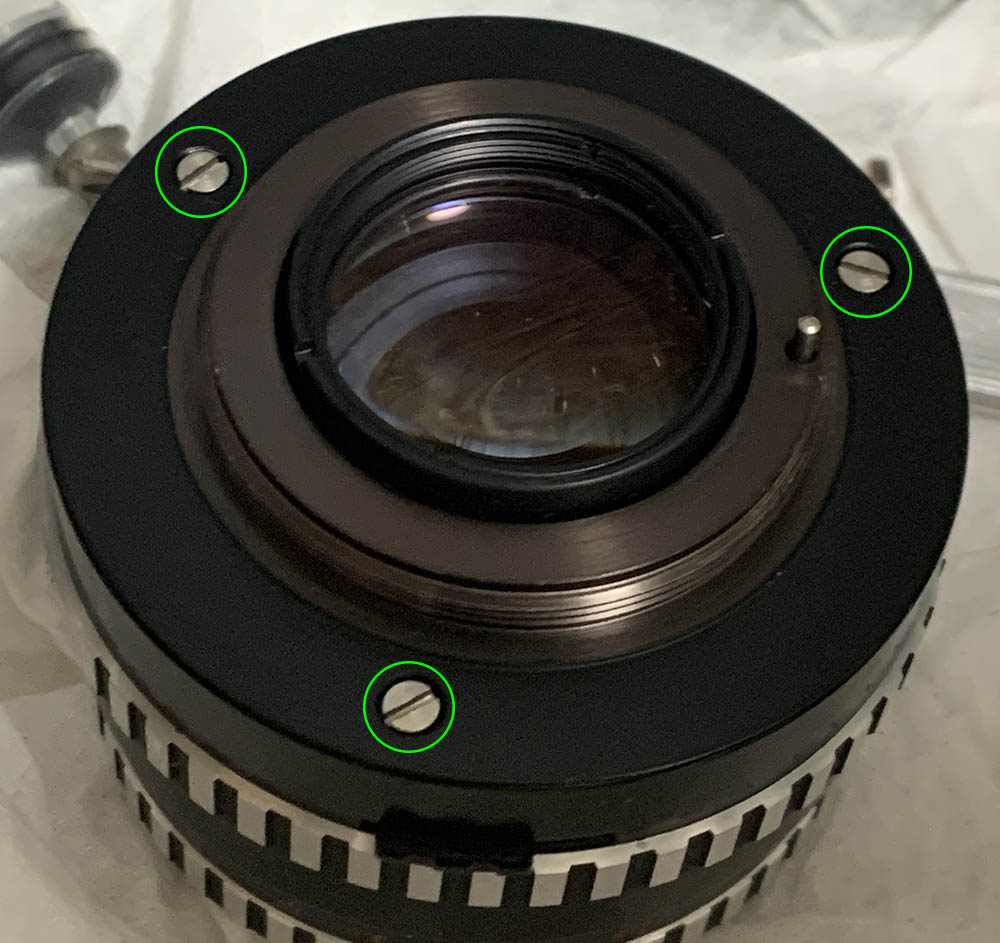
Extract these screws to remove the base.

Carefully remove the base and the A/M ring, be sure not to lose this little ball and remove it’s spring, too.

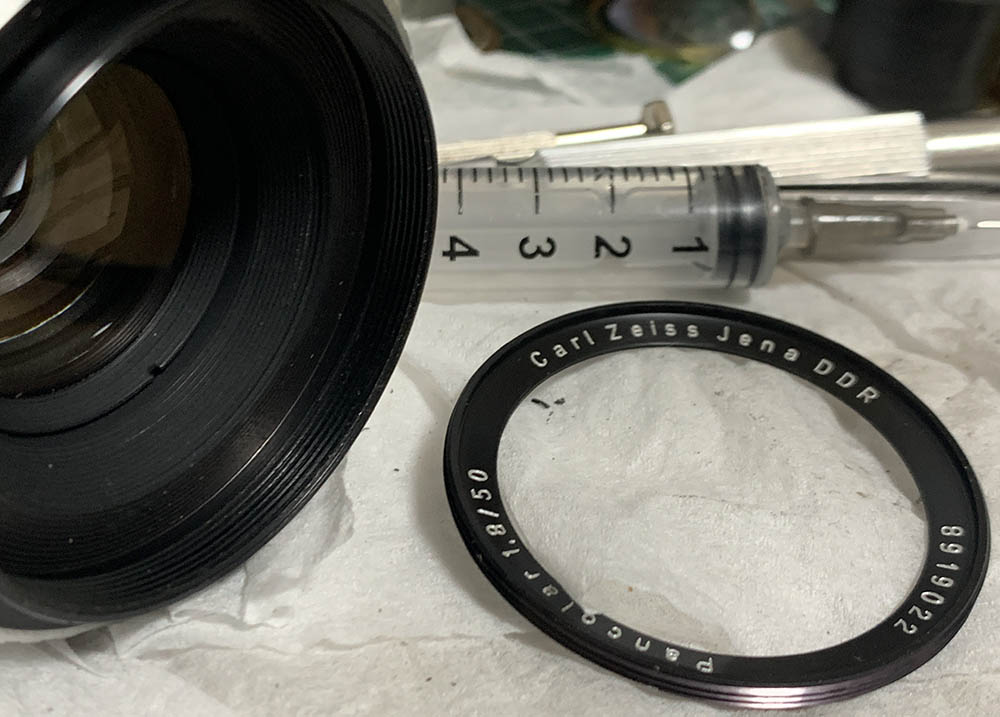
Here’s a closer look at the ball. Its size is 2mm, I lost this one but I have several of these in my spares so I’m covered.
This is the spring, remove it and set it aside.
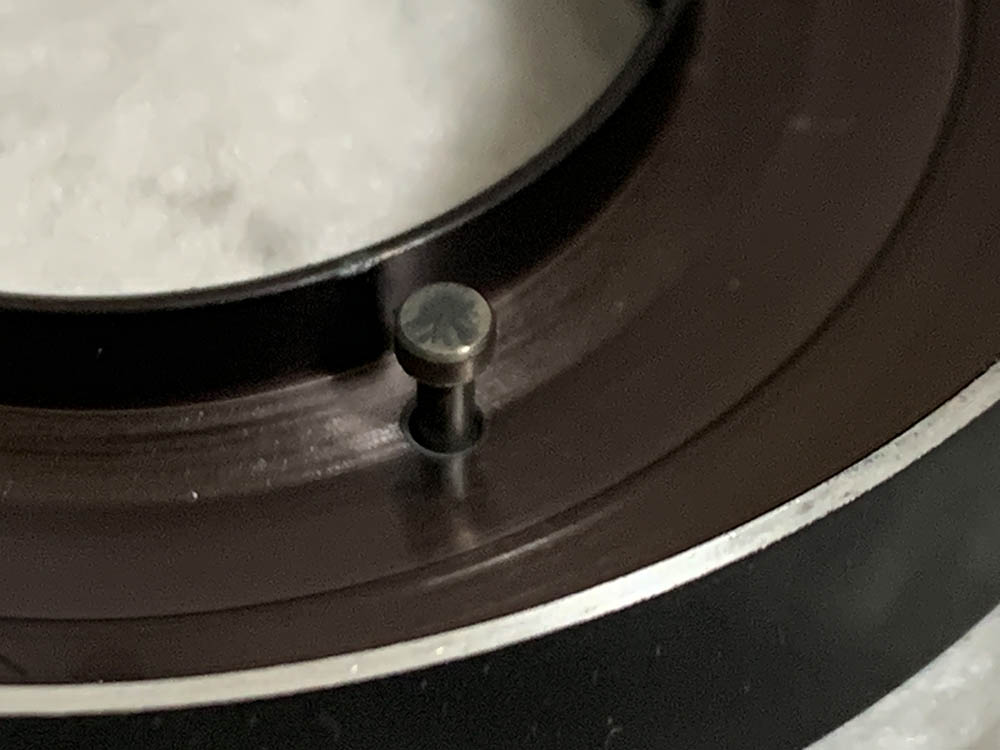
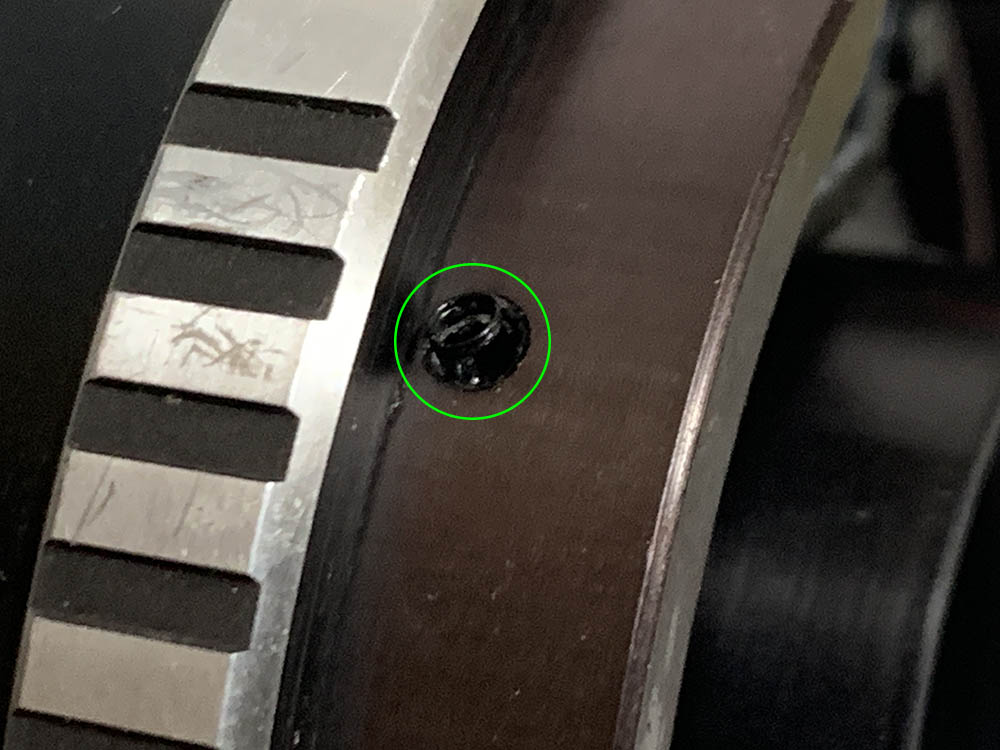
Remove the actuator’s pin and set it aside. Be sure not to damage or lose this thing.
Unscrew the rear optics assembly, using a strip of rubber will help you grip it better.

Study how everything works before you remove anything so you’ll know how to put this back. This lens is quite complicated so be sure to familiarize yourself with how things link to each other and take plenty of notes and photos.
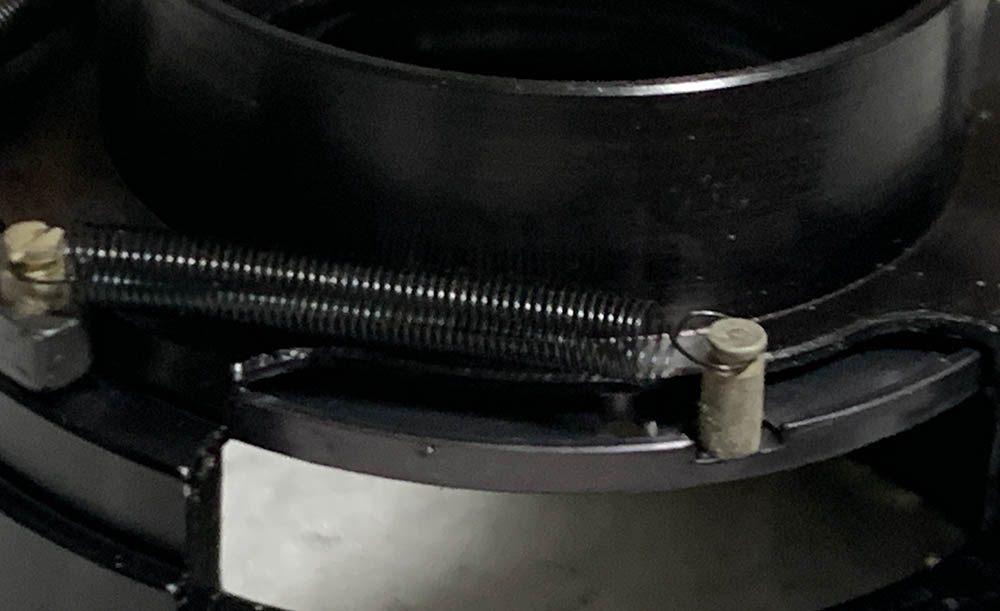
The 2 springs of the iris mechanism aren’t the same, one is weaker than the other. Putting them back the wrong way is going to prevent the iris from actuating. This is how delicate the iris mechanism is so you should be very careful.
Remove the aperture ring carefully. There’s another set of spring-and-ball here so be sure not to misplace anything.

Remove this and its spring, clean them and set them aside in a safe place.

This is the last chance for taking photos and notes. Note the alignment of the helicoids while at infinity, you should be able to put everything back to their original configuration.
Extract these to remove the actuator assembly.

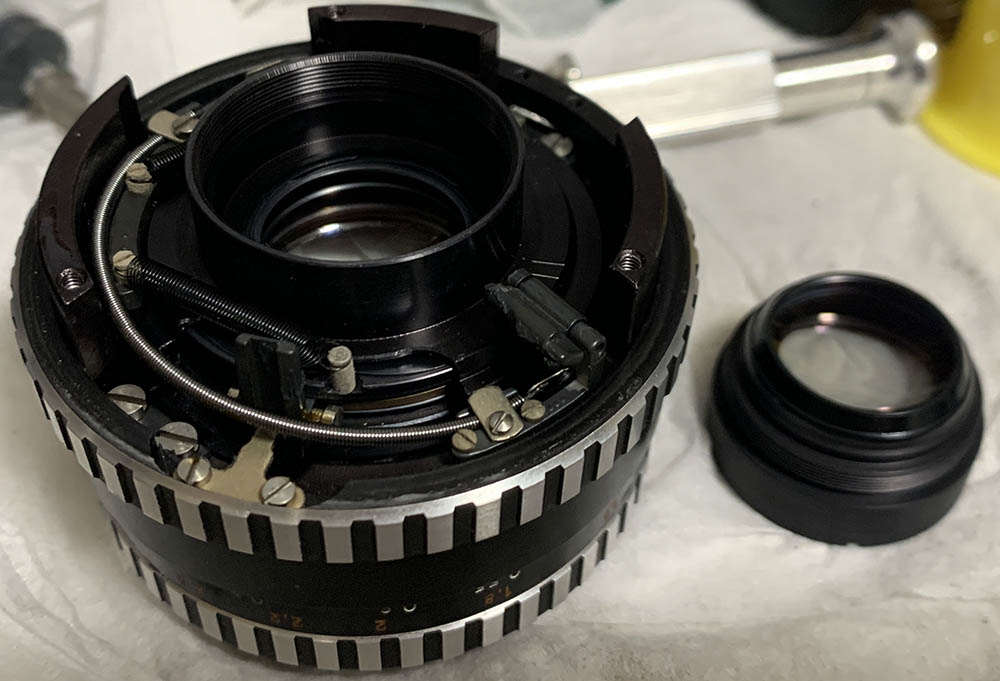
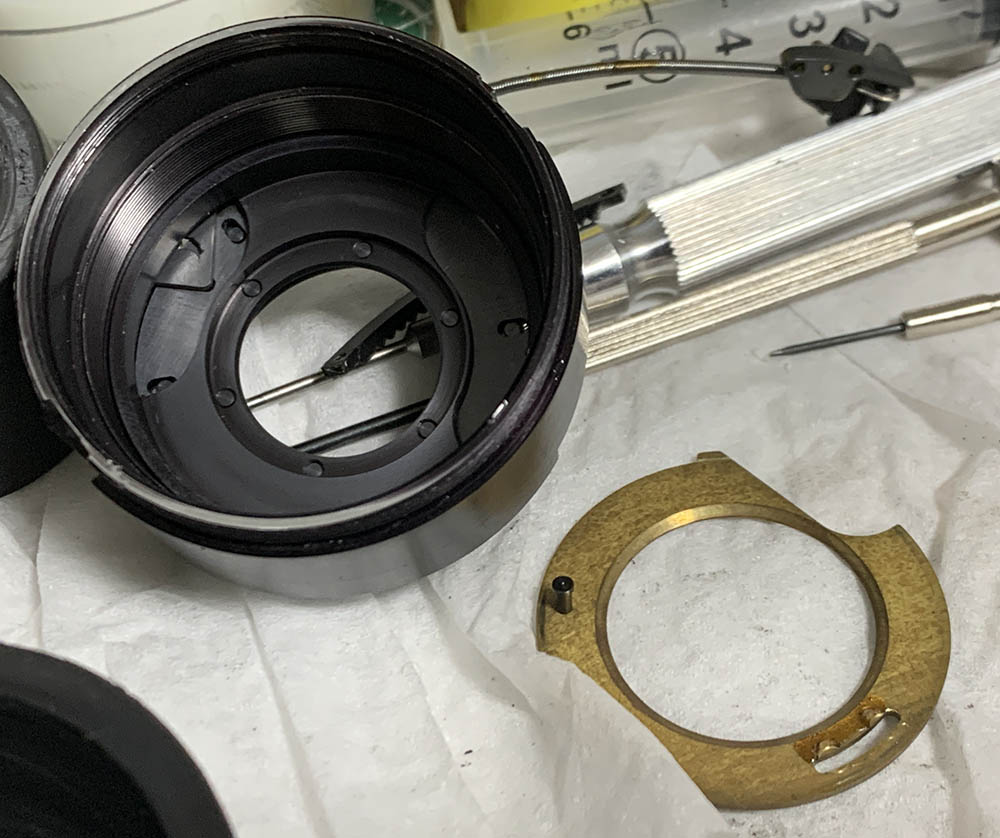
Carefully unscrew this retainer using a lens spanner to remove objective’s housing.

Carefully remove the housing of the objective from the rest of the barrel. Be careful so you will not bend any of the levers. If something felt stuck, just go at it slowly and see what’s being caught.

Note how deep the helicoid key sits when the barrel is at infinity, you should be able to replicate it later.

Extract this screw so you can dismantle the helicoids, it serves as a pin to prevent the barrel from turning beyond its range.
Carefully remove the inner helicoid and never forget to mark where it parted, this is also the same spot where it should mesh with the central helicoid. Many people forget to do this so they end up being stuck with a lens that never focuses to infinity. Read my article on how to service helicoids so this won’t happen to you.

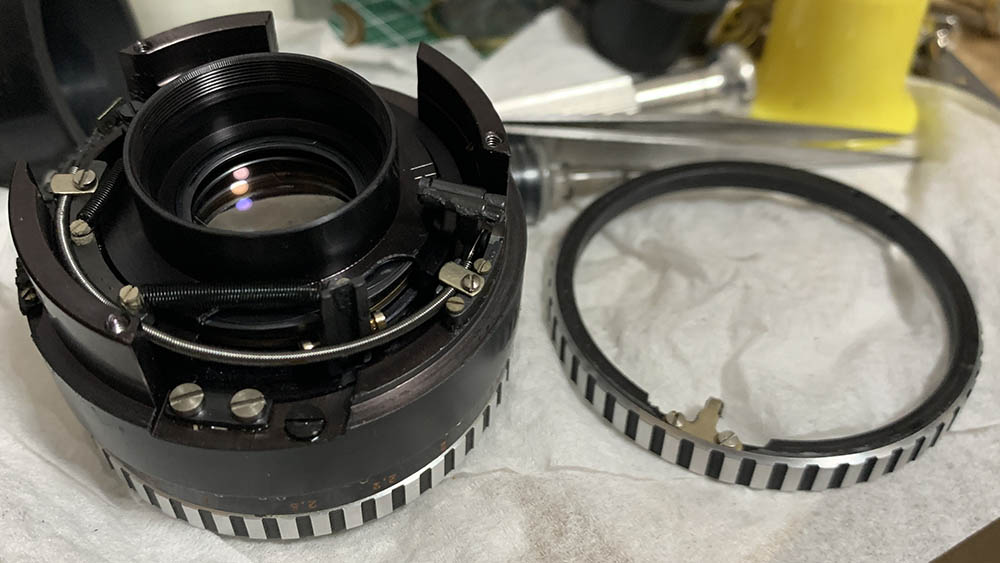
Do the same for the inner helicoid and never forget to note where these parted.
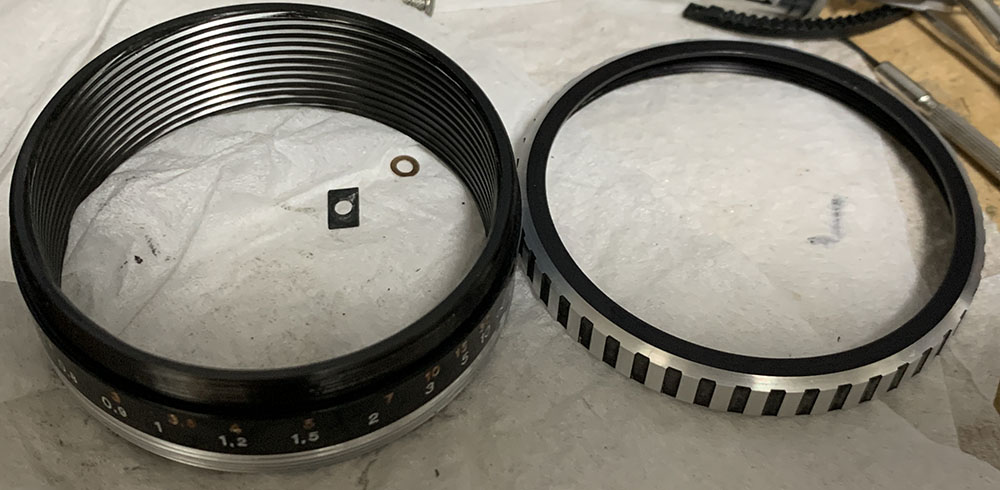
The “zebra” ring can be unscrewed from the focusing ring/helicoid. Remove it in order to clean everything better.
I cleaned all of the big parts with a strong toilet cleanser. I scrubbed everything using a brush then rinsed them all really well with hot water before making a final rinse with pure alcohol to remove any remaining residue. Special care must be used when cleaning the helicoids, the threads are fine in some places, they can be caked with plaque, using a toothpick helps for stubborn deposits. Dry everything well before you continue. When lubricating, be sure not to apply too much, all you will need is a thin film of fresh grease. Mate the helicoids then exercise them by turning several times, this will ensure that the grease is evenly distributed. Wipe away any excess to make sure that you did a clean job. If you applied too much grease it will settle in your iris mechanism eventually, necessitating the need to open it again. For this lens, use a lighter type of grease, that works best.
If your lens has fungus, read my article on how to clean lens fungus, just make sure that you dilute it with distilled water so it’s not going to be too strong as it may damage the coating.
Disassembly (Iris Mechanism):
It’s not uncommon to find these with the oily aperture problem, this is a very common issue with many Zeiss lenses from this time. You can never simply flush the aperture mechanism and expect things to work perfectly just like that. The only way to correct this is through a complete overhaul of the lens, the issue is coming from the helicoids and elsewhere where the grease has degraded and got it’s way to the iris.
The iris mechanism itself is overcomplicated, Pentax did not need to go this far to create a reliable system for actuating the iris. There are springs here so you will need to be careful when you remove anything so parts won’t fly across the room. Some parts are adjustable so be sure to make small marks before you get them off.

Before you proceed study how the iris mechanism works and note how things should be aligned.

Carefully remove this spring then unscrew the retainer with a lens spanner.

Extract the screws of the iris mechanism’s slider but you should note its original position first because this is adjustable. Putting this back in the wrong way will result in incorrect exposure.
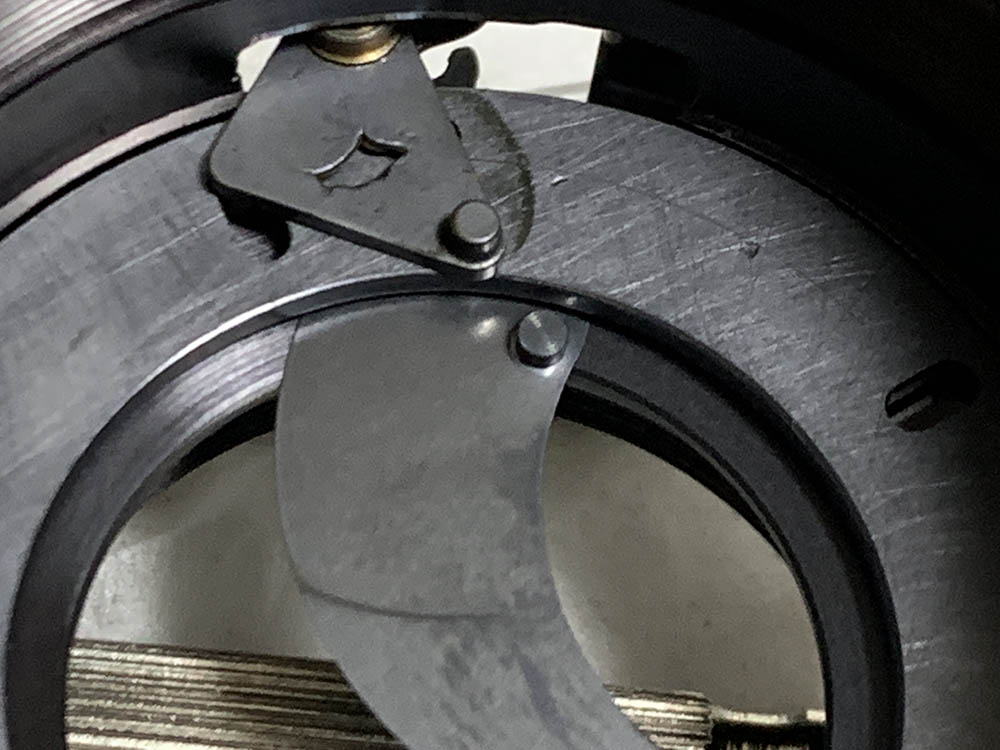
Remove the regulator carefully.

Pull the diaphragm’s plate off with your fingers.
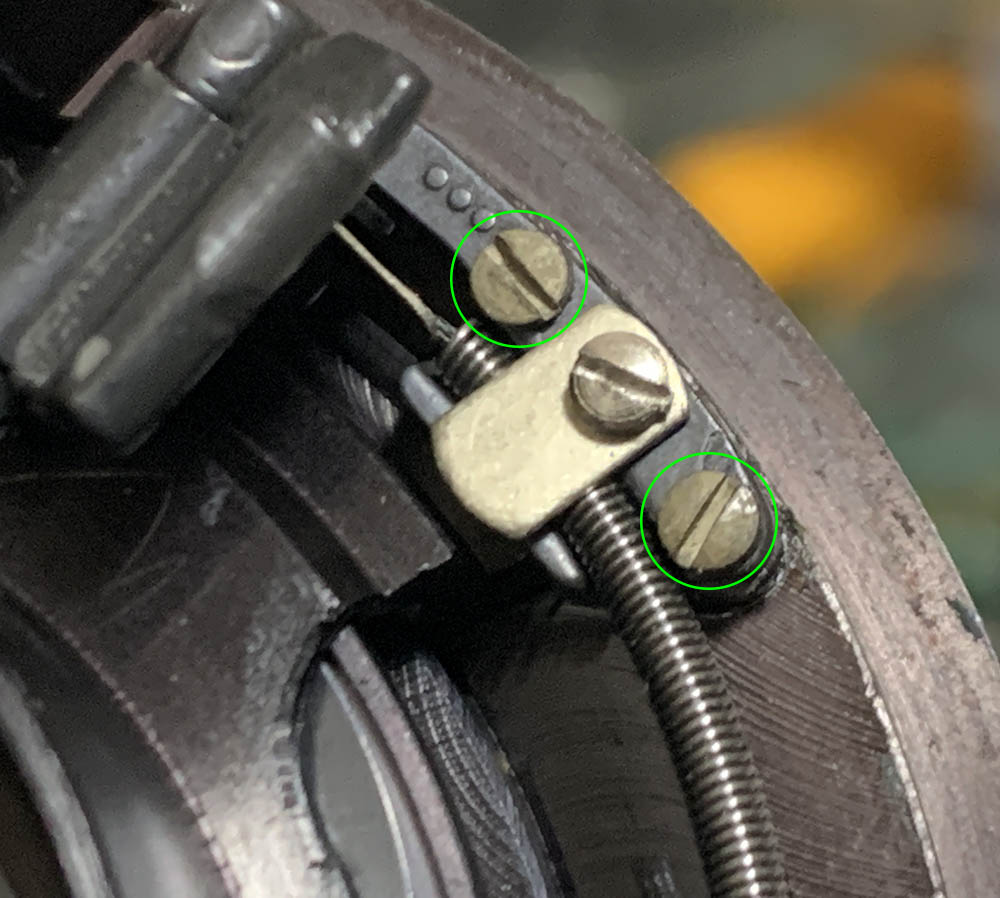
Before you proceed, carefully decouple this spting.

Loosen this and turn the tab aside so you can remove the cable. You should decouple the spring here, it’s just above the screw in this photo.

Keep these safe and never forget where they originally came from.
Study how the actuator works and document all of its parts.

Extract this screw and dismantle everything. Remove the closing-plate of the diaphragm with your fingers once you’ve removed the claws of the actuator. You’re now able to remove the blades.
Putting this back together requires more time than anything else when working with this lens. You’ll need a lot of patience just to align everything and make sure that all the mechanisms work together perfectly. I never had the need to lubricate the iris mechanism, even with powdered graphite. It just works fine as it is but the only issue I have encountered here are springs that have lost their tension, it is caused by leaving the aperture open or closed for too long where the springs are extended. It’s hard to correct this because you will need to know how much tension is exactly required. You can guess this yourself if you can take a risk. Just make sure that the tension is not too strong.
Conclusion:
This one took me some time to reassemble because it’s so complicated. I have never repaired something like this, it is definitely the most overengineered manual 50mm that I have ever seen. It even has cables to actuate the iris, I haven’t seen this implemented in any other lens. Sure, cleaning everything took time but putting things back took much longer specially the overcomplicated iris mechanism and I will show you how to get it done in the next sets of photos.

Reassemble the iris carefully. Putting this back can be tricky, the best way is to put it atop something that fits inside the housing of the objective. Lower the housing down until the iris is secure inside of it.

Reassemble the iris mechanism then actuate it manually to see if it’s working properly.
Reassemble everything up to this point then adjust the focus by turning the inner helicoid with a spanner. Read my article on adjusting a lens’ focus so you will know how this is done in a DIY setting with tools that are available to you. Once you’re satisfied you can proceed with reassembling everything.

It handles rather well for an old lens with the correct adapter and camera. This is certainly a very capable lens today, it’s just as good as the fast 50mm lenses made in the last 20 years. Just enjoy shooting with it, that’s the best way to give it the recognition it deserves today, for photos or videos.
I really enjoyed shooting with this, all of that hard work is worth it. The performance is phenomenal for an old lens made from the former Soviet-bloc.
Thanks for following my work, if you liked this article please share this with your friends so it will get more views. This site earns around $0.40 a day, we are totally reliant on views. You can also support this site, it helps me offset the cost of maintenance and hosting. You’re also helping me purchase, process and scan film. This site promotes the use of film so we are all in this together. See you again in the next article, Ric.
Help Support this Blog:
Maintaining this requires effort and a lot of time and resources. If you think that it has helped you or you want to show your support by helping with the site’s upkeep, you can make a small tip to my paypal.com at richardHaw888@gmail.com. Money isn’t my prime motivation for this, I believe that I have enough to run this by myself but you can help me make this site (and the companion facebook page) grow.
Leave me a little tip?
Thank you very much for your continued support
$2.00
Helping support this site will ensure that this will be kept going as long as I have the time and energy for this. I’d appreciate it if you leave out your name or details like your country’s name or other information so that the donations will totally be anonymous. This is a labor of love and I intend to keep it that way for as long as I can. Ric.

Apr 13, 2024 @ 18:26:23
Very good, thank you.
I am lucky enough to own the earlier version with eight aperture blades and Thoriated glass, it is possible to get rid of the yellowing by ‘soaking’ the lens in light – the little IKEA ‘Nävlinge’ LED desk light works brilliantly for this task – around 48 – 72 hours and it’s perfectly free of yellowing and regular use will keep it clear – storing it for long periods with the caps on causes the yellowing.
Having stripped and cleaned mine I notice it’s construction is simpler than your version too.
I use mine on the M42 mount SLR film cameras it was designed for, and my Sony NEX via an adapter where the focus peaking is a great help with precise focus.
A truly beautiful lens that deserves its place among the greats.
Rob
May 17, 2024 @ 20:55:30
Rob mind reaching out I’m trying to repair an 8 element and I’m stuck on putting it together as I made some novice mistakes.