
Hello, everybody! I sometimes wonder why Nippon Kogaku manufactured the bayonet mount and maybe even the rangefinder mechanism of the very early Seiki Kogaku cameras. Is it because Nippon Kogaku is a specialist and the best optics company in Japan at that time? Or perhaps Seiki Kogaku did not know how to do them properly because they lack experience in optics? If it’s just optics then why didn’t they make the helicoid and the rest of the bayonet mount themselves? These are the questions that we’ll never know the answers to, but we will definitely examine every part of the Seiki Kogaku S here in this series.
Introduction:
Why is this camera called the Seiki Kogaku S? That S used to mean “最新” or latest model, it was changed to stand for the name “Standard“. Some people even believe that it stood for “Slow” because it has a slow speeds compared to the previous model (Seiki Kogaku Hansa) which has none. I do not think the name is that important in this context because we’re more interested in restoring this camera. I only mentioned it because some people may be curious about what the name means.

It is interesting to note that there’s a hole at the center of the pressure plate and in the shell underneath this. That hole is plugged with a disc that you can unscrew so you will have direct vision through the hole for peeping. This is used for adjusting the flange distance of the camera. You insert a frosted paper inside the camera as you would do with a sheet of film and then you begin adjusting. I’m very sure that they use something made of glass instead of frosted paper for the adjustment at the factory.
The pop-up viewfinder gimmick is unique to this camera alone. It has a few advantages, one is you won’t need to worry too much about horizontal parallax, another is your lens won’t cover the view too much as it is situated a little bit higher than what we normally see with most Barnack clones. One disadvantage is it will not allow you to attach most accessories to the cold shoe since you won’t be able to deploy it. Water and dust will also find their way into the camera through the seams. Well, it’s a clever way to avoid Leica’s patent but it also causes a few problems of its own.

This is a beautiful example. There’s something unusual with this camera because it does not have the slow speeds selector at all. The part where the selector should be it’s also covered in leather, I have never seen anything like this before. The leather also looks a bit different compared to what I’m used to seeing, too. I see that there’s a screw in the film winding knob, that thing is absent in my sample. I wish that mine is just as beautiful as this. I got it for cheap because it’s missing some small parts and there’s heavy corrosion in some places.
I’d like to point your attention to the Nikkor 5cm f/4.5 attached to this, that’s the most common lens that was sold along with the Seiki Kogaku S according to some experts. It has a good reputation of being very sharp even when shooting wide-open.
What nobody seem to realize is how approachable they are these days. I am not saying that everyone can just purchase one of these, all I’m alluding to is they’re not as rare as they used to be. Perhaps the people who once owned them have recently died and therefore, releasing their hoarded goods. They still fetch a good amount of money today but at least you could buy one anytime if you can afford it.
Before We Begin:
If this is your first attempt at repairing a lens, I suggest that you see my previous posts regarding screws & drivers, grease and other things. Also read what I wrote about the tools that you’ll need.
I suggest that you read these primers before you begin:
- Essential tools
- Best practices 1
- Best practices 2
- Best practices 3
- Ai conversion
- Working with Helicoids
Reading these should lessen the chance of ruining your lens. Before opening up anything, always look for other people who have done so on the internet. Information is vague and scattered but you can still find some information if you search carefully.
For more advanced topics, you can read my fungus removal article. It has a lot of useful information, it will be beneficial for you to read this. I also recommend that you read the working with helicoids article since it is very important!
Disassembly (Shutter Crate):
I would not normally go this deep into a camera but since this is such a filthy example, I have no choice at all but to dismantle everything down to the last screw. There is a risk of not being able to put things back together properly again so you must be careful and take as many photos as possible before removing any part here in this section.

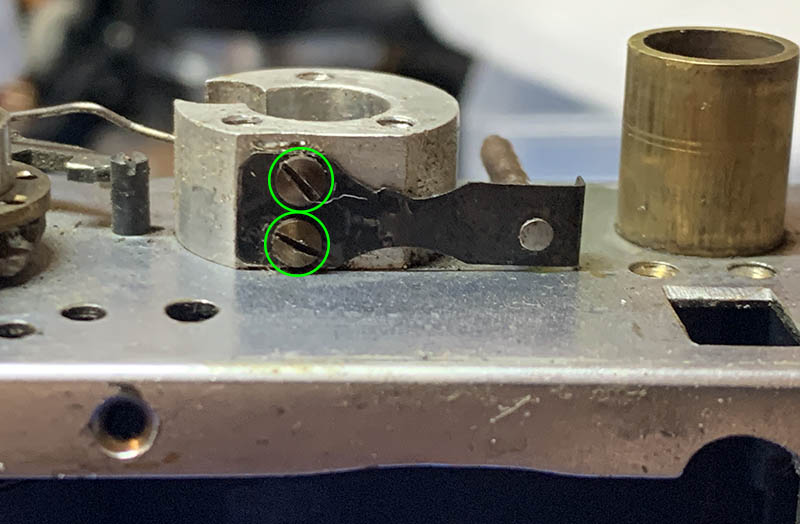
Extract this screw so you can remove the slow speed connector from the rod. You must be careful if you’re doing this because the slow speed lever at the other side of the rod can be easily damaged.

Remove the locking nuts by extracting the set screws used for securing these. Be sure that you’re turning them in the correct direction so you won’t damage the springs.
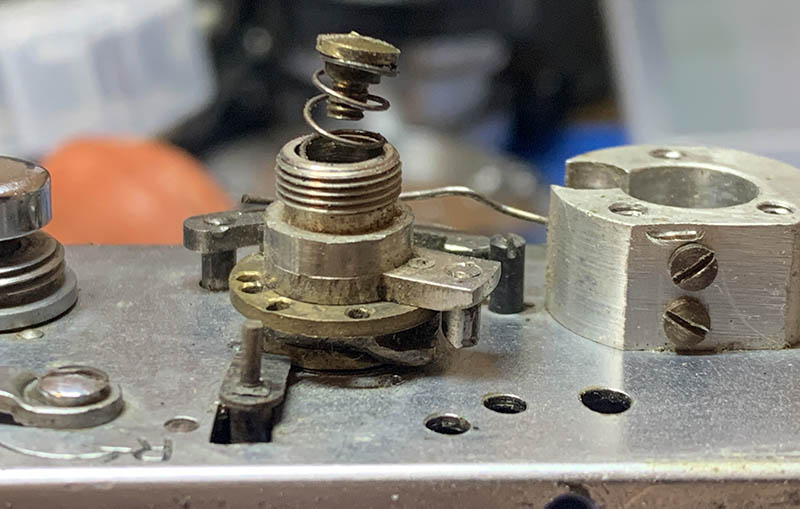
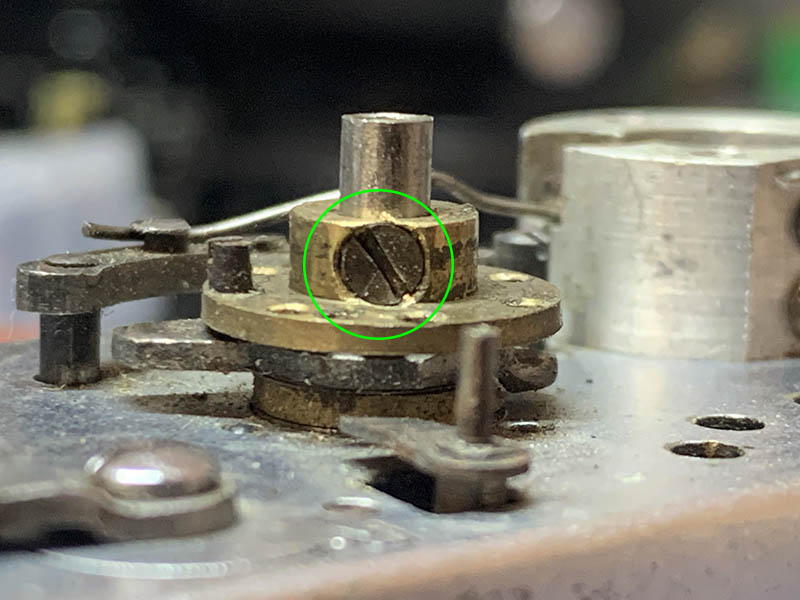
Unscrew this so you can remove the brakes. Do not forget to mark the position of the pin underneath the disc in relation to the huge rear curtain’s drum.
Pull the brake off and be careful not to lose any of the shims underneath it. Clean this part very well so it’s able to turn effortlessly.

Extract the rest of the screws so you can remove of these 2 springs. After that, locate the 6 springs around the floor of the shutter crate and carefully remove them in order to get to the shutter.
Carefully remove the floor of the shutter crate assembly while leaving the shutter intact. This is so you can take photos and references of the shutter assembly. There is still one screw left in the shutter crate’s floor. It’s in the picture, at the right side near the edge. Remove it and clean the cog underneath this very well.

If you did not take any notes, this should help you remember where the screws came from. Note that they are not all identical so you must remember from which hole they came from.
Extract a few more screws that secure the shutter crate so you can remove it, some can be accessed at the top while some can be removed from the bottom.
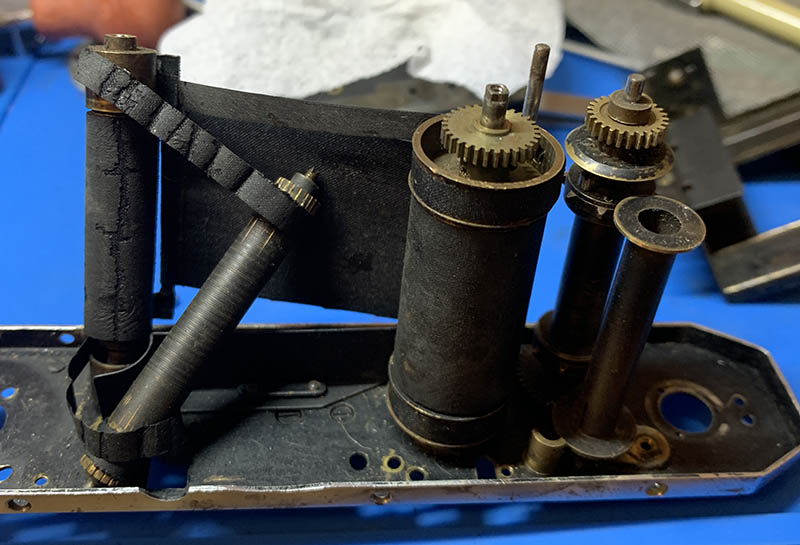
Carefully lift the shutter crate off from the rest of the camera and do not disturb the shutter drums. This is so you can take references and photos so you will know how these are all aligned.

Once you are satisfied with your notes, you can go ahead and remove the whole shutter mechanism. You can also extract more screws so you can remove the baffles and light shields.
Set the shutter drums aside for now and clean the shutter crate very well. It’s usually dirty because no one gets out of their way to dismantle a camera this far. Remove any traces of all lubricants and gunk. You can also disinfect things by putting them under the sun for a few hours, that should kill any fungus spores.
Disassembly (Top Deck):
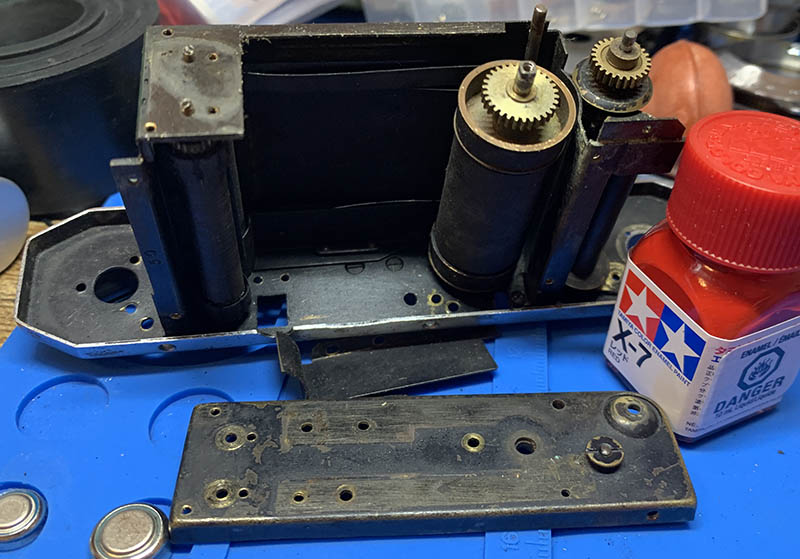
It is now time to completely tear apart this camera. What you’re about to see here isn’t what I would say a standard cleaning, it’s something that repairmen won’t waste their time for with other people’s cameras. I don’t usually do this myself, but this camera is just so dirty. There are not a lot of things here that needed to be documented carefully but you will still have to be aware of their original positions.

I forgot to mention this in the previous section. You can remove this cog by extracting its screw. Clean this very well because it’s usually very greasy. It links the winding mechanism to the rest of the gear train.

Extract the screw so you can remove the cog and the plate.

This screw needs to be extracted so you can pull the film advance sprockets off.
Extracting these screws will enable you to remove the spring/lock for the pop-up viewfinder.
The high speed selector assembly can be removed once this screw is extracted. Clean this part very well.
Extract this screw so you can remove the plate. Clean everything here very well because this should turn as effortlessly as possible.

It’s now time to remove the rest of the parts you see here. You can remove the guide tube for the pop-up viewfinder by extracting the screw inside of it. The same goes for the huge aluminum thing at the middle. You can also remove the rear curtain’s lever along with its shaft, just be careful of the spring.

Before you remove the rewind lever, take note of the alignment of its parts.


(Click to enlarge)
This is how this assembly should be aligned. It is not important to take a reference for this because there’s a hole that makes sure that things are aligned properly. This is just to make sure that we are safe.

Carefully extract this set screw so you can dismantle everything. Clean everything here very well, they are all greasy and that will impact how this part turns. It’s common to find caked lubricants here.

At this point, everything should be removed from the top deck except the shaft you see here to the right. That shaft can be difficult to remove so just leave it alone. Clean everything very well and make sure that the old lubricants are all gone. You can even soak all of the gears and turning parts in lighter fluid, that is going to help soften up anything. Brush them very well and use a high magnification loupe to see if there are any stubborn dirt stuck between the teeth, you remove them with a thin plastic toothpick. Scrub all of the nooks and crannies with a strong toilet detergent and rinse them very well. I even rinse the parts with alcohol just to make sure that there’s no residue left.
You must clean everything really well and make sure that there are no dirt that’s stuck between the teeth of the cogs. You can soften up the gunk by pickling the parts in lighter fluid with a little bit of machine oil overnight or a few days to make it better. Some solidified grime can only be removed with the toothpick, I even had to use a very small screwdriver to pick them off at times. This is very laborious work but it has to be done or else you don’t do this at all.
Conclusion:
I can say that I have spent more time cleaning things than actually removing or installing the parts. It’s all part of the business, there’s no way to avoid it. I see some repairmen merely scrubbing the dirt off using a toothbrush, that is not enough for me. If you have disassembled a camera this far then you should go all out and wash everything thoroughly, if not then you have just wasted your only chance to do a good job. Of course, it’s time consuming and not sustainable if you are going to do this for every camera and that is why you charge extra for something like this, I’m sure the customers will be more than happy to pay for it.

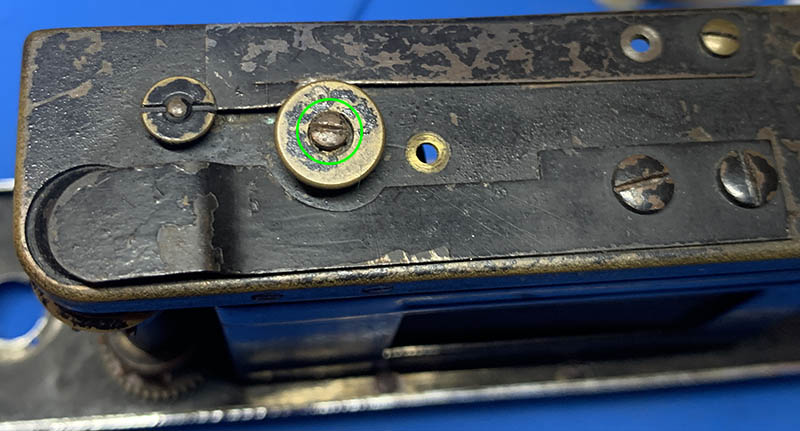
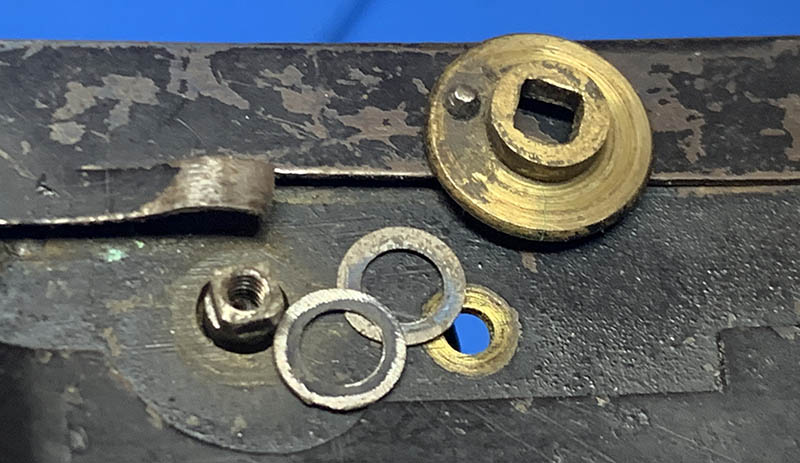
Here’s a bonus, extract this screw and you can completely dismantle the lock of the bottom plate. You can then clean everything properly because this part is usually greased at the factory.
We are almost done stripping the camera itself, it’s now time for us to work on the other assemblies. That is why you should come back again so you can see that happen in the next part, I assure that you will see something very interesting and it’s going to be worth your time.
If you like this series, please leave me a tip. That will definitely motivate me to write more quality content just like what you see here. Your help has enabled me to present to you my life’s work and keep this blog alive for around 10 years now. It would not have lasted this long without your support. Thank you again, I hope that you help spread the word about my work. There are many camera blogs out there, but majority of them contain content that will never match what you will see here and from the other blogs that create original content at a certain quality level. See you again next time. Ric.
Help Support this Blog:
Maintaining this site requires resources and a lot of time. If you think that it has helped you or you want to show your support by helping with the site’s upkeep, you can make a small donation to my paypal.com at richardHaw888@gmail.com. Money isn’t my prime motivation for this blog, I believe I have enough to run this myself but you can help me make this site grow.
Leave me some tip?
Thank you very much for your continued support!
$2.00
Helping support this site will ensure that it will be kept going as long as I have the time and energy for this. I’d appreciate it if you just leave out your name or details like your country’s name or other info so that the donations will totally be anonymous. This is a labor of love and I intend to keep it that way for as long as I can. Ric.
