
Hello, everybody! Do you know the song “Ame no Midosuji” (雨の御堂筋) by the famous singer that came from the country of Taiwan called Ouyang Fei Fei (歐陽菲菲)? It’s about a woman who is searching for her lover in a rainy night. She went on looking for him but in despair she found nobody, and just me do with her memories of him. We have all searched for something in our lives, but sometimes we never get to find some of them. Unlike Ouyang Fei Fei, I have found something that I was looking for, and it came to me as a beautiful surprise. It’s one of the rarest Nikkors ever made and I will show you what I found today.
Introduction:
The Cine-Zoom-Nikkor 17-70mm f/2.2 is one of the few Cine-Zoom Nikkors that’s seen in catalogs, it’s still a mystery even to knowledgeable historians and collectors. Nobody knew when it was made and for how long but I suspect is that it was sold as early as 1959 or 1963. Nobody knew when production stopped so I cannot even speculate. It’s a very mysterious lens and I will try my best to give you the most up-to-date information I could find, including some sample photos and a complete teardown of this lens.

Its construction and all-metal build are outstanding, definitely the best of all Cine-Nikkors. It’s also heavy, so I get nervous just thinking about how much stress the threads of the mount must endure when this is fitted to a movie camera and used for a long span of time.
I have no information about the optics of this lens but I suspect that it has at least 8 elements in its design or somewhere around that number, it may have at around 5 to 6 groups, too. I’ll get back to you as soon as I have more information about this. What I do know is it appears to be parfocal, which means that you won’t see the focus change throughout the whole zoom range. This is a very important aspect for lenses that are used for cinema photography, whatever changes you see are negligible. Focus-breathing is also minimal but it’s enough for you to notice that the framing changes ever so slightly as you focus. You can notice this more as you get closer to 70mm, I can say that and performs fairly in this regard.
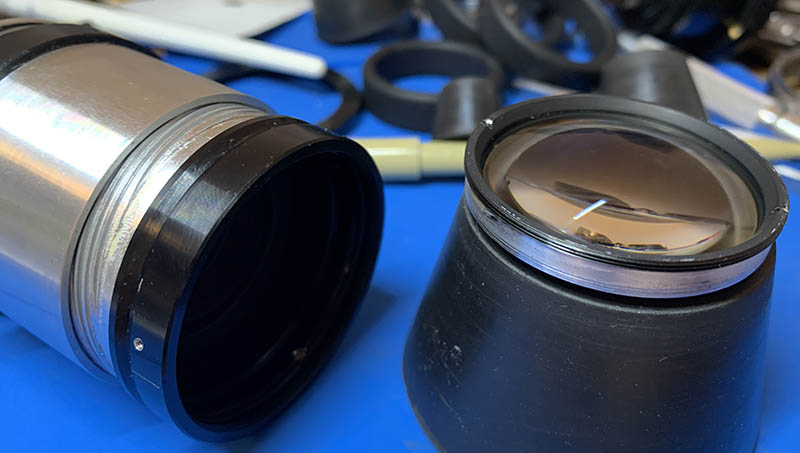
One interesting fact about this lens is it uses radioactive glass. This is evident when you look at the front element because it has a yellowish tint, very much like some other premium Nikkors of that time.
This is not a cheap product when it came out, this was sold for ¥74,000.00 for a basic kit and¥98,000.00 with its special finder. The finder is definitely rare, something that nobody ever saw for sale online. I have a few finders in my possession but they are all for prime Cine-Nikkors. I knew nobody who has a complete kit of finders for these little gems.
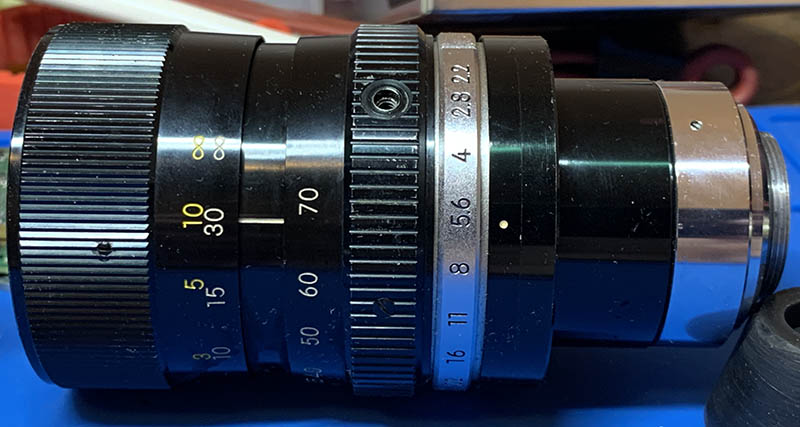
The focusing ring is situated at the front then the zoom ring is at the middle, the aperture ring sits just a little bit after the zoom ring. I find this rather unconventional, there are several times that I would miss a shot because I’ve turned the wrong ring.
Notice that there are screw-holes around the zoom ring, you can attach levers there in order to make a more precise turns with your fingertips, this is called “zoom-pulling”. For some unknown reason, these holes are not present in the focusing ring.

I got the kit as a complete package, it may be in a filthy state but it’s still a complete set. You can see the lever in the photo, as well as the filters and the valuable hood. The case is in a sorry state, it’s corroded so I got rid of it just before moving to another country. That’s very unfortunate because the case is very rare.

Here it is mounted to my old Nikon 1 J4. The adapter you see here is a cheap Chinese one and I bought a special chip from Russia to enable the use of manual lenses with my Nikon 1 cameras.
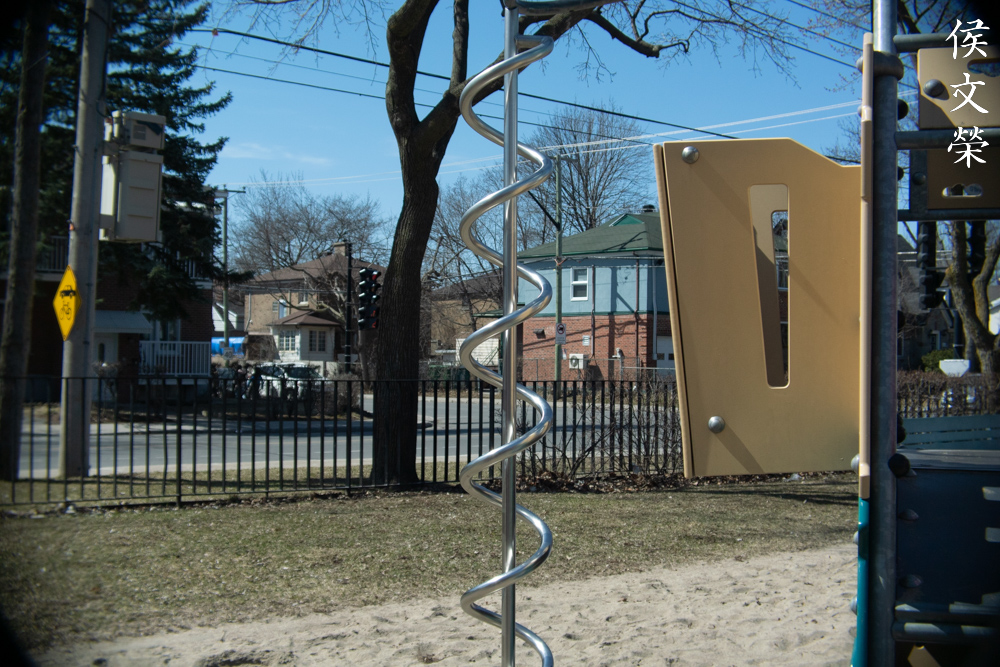
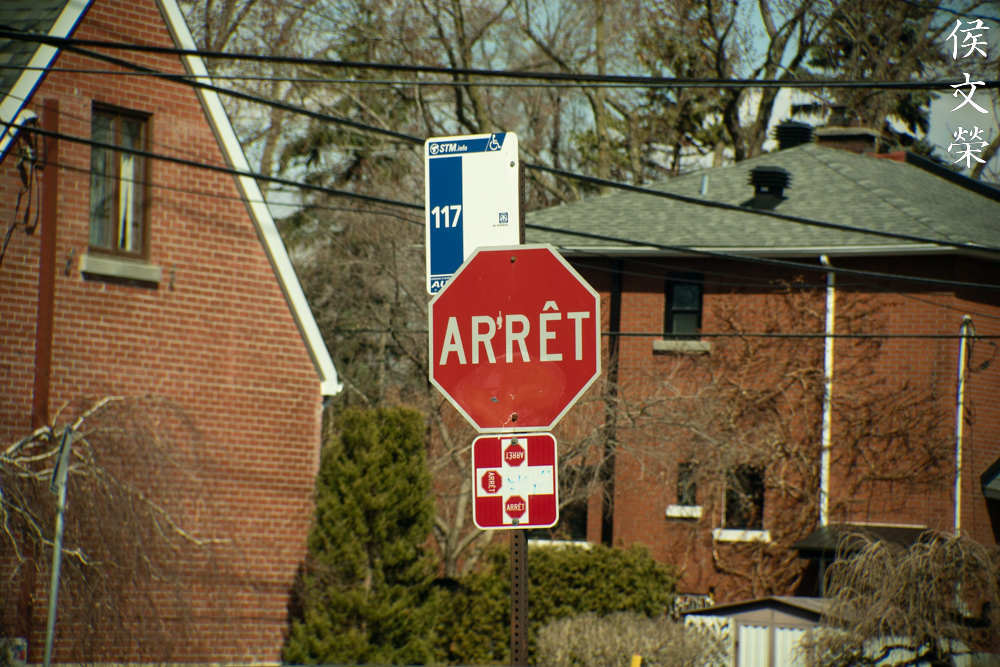
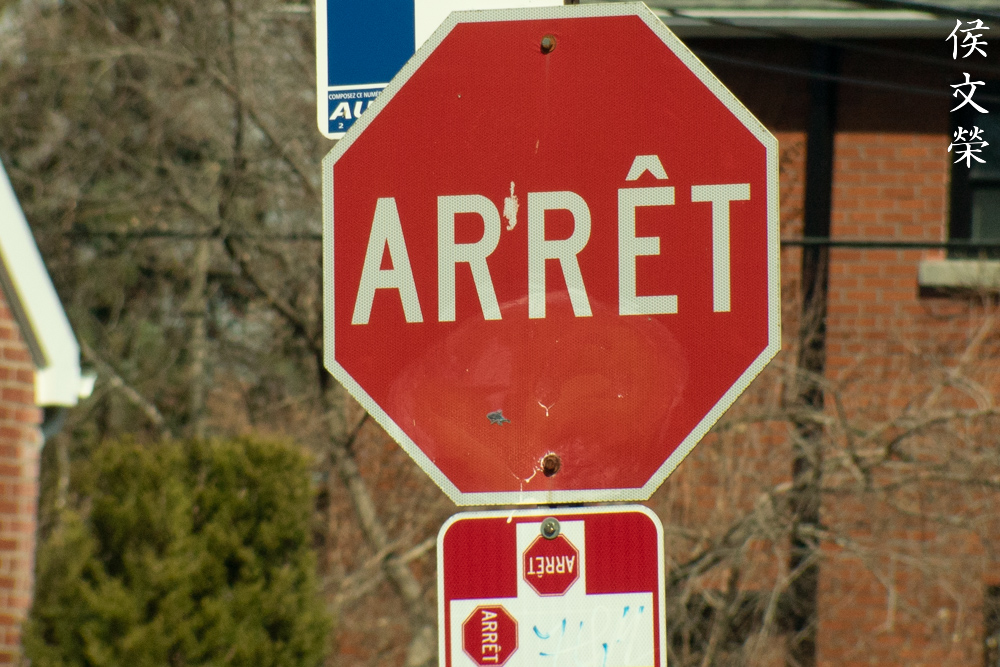
It’s now time to see how this lens performs. I took these from f/2.2, f/2.8, f/4 and f/5.6, we’ll see the most changes happen within these apertures, these are also the most common aperture settings that we’ll want to shoot this with. I also took the pictures from 17mm, 35mm and 70mm so we could see how it performs at different focal lengths. I shot these with my Nikon 1 V3.
Before we continue, it’s important to note that the Nikon 1 sensor covers an area that is a little bit bigger than the area of the 16mm format. It’s not much, maybe about 10% more, but that’s enough difference to see in the following photos where we will see the extremities rendered as well.


(Click to enlarge)
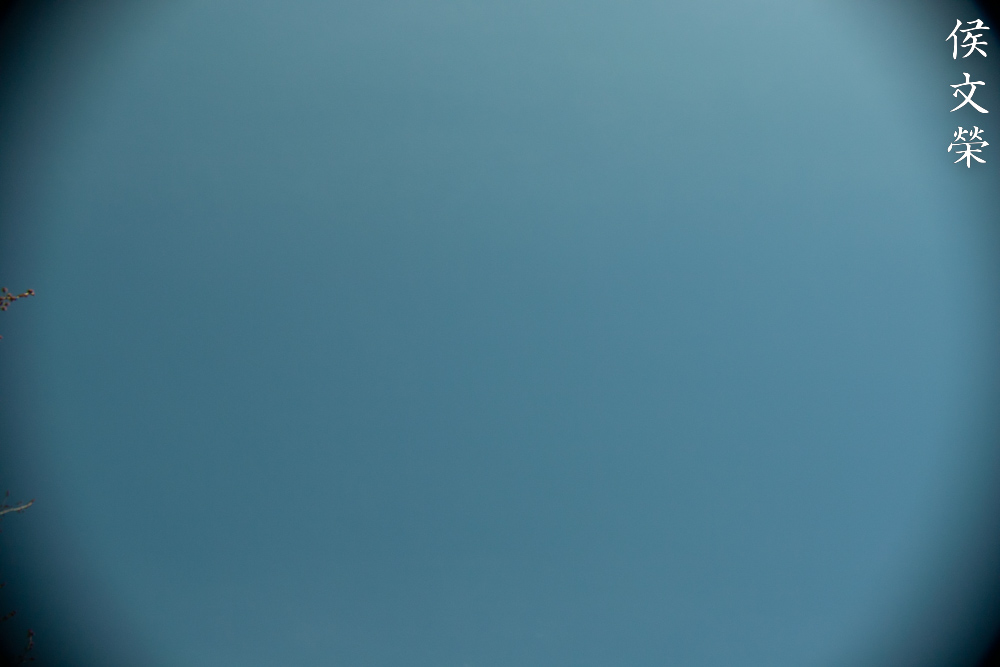
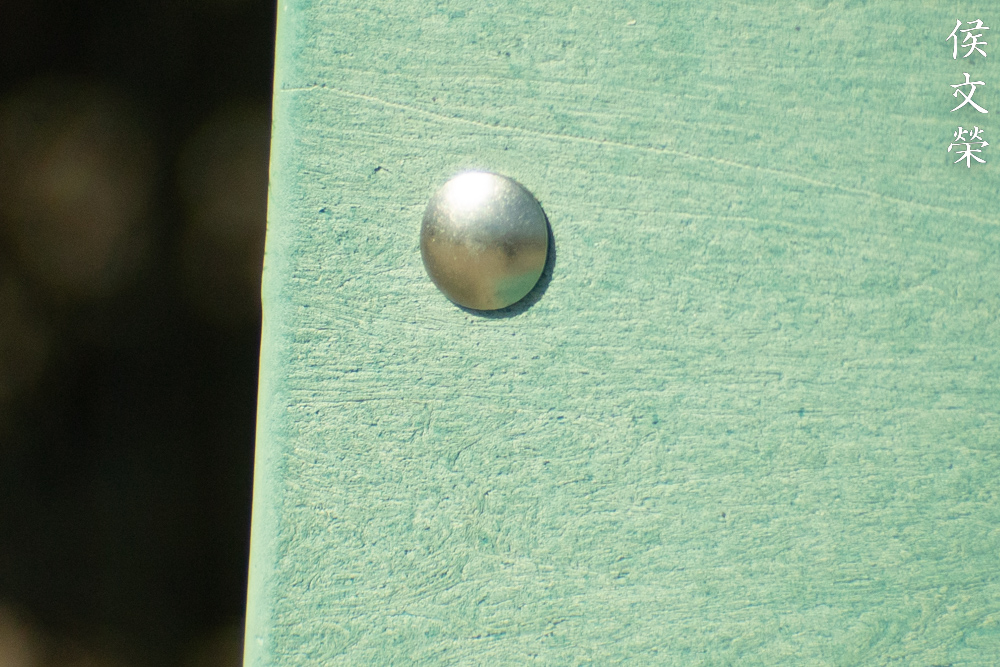
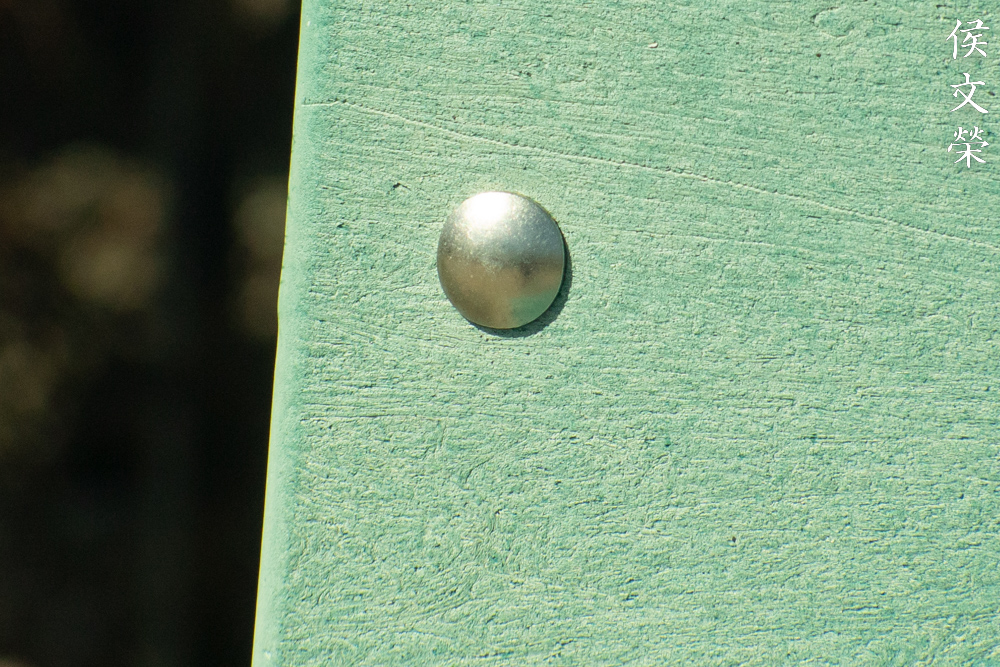
Vignetting is on the heavy side and the extremities are specially dark. Stopping the iris down won’t help at all even if you have stopped it down by 3 stops.


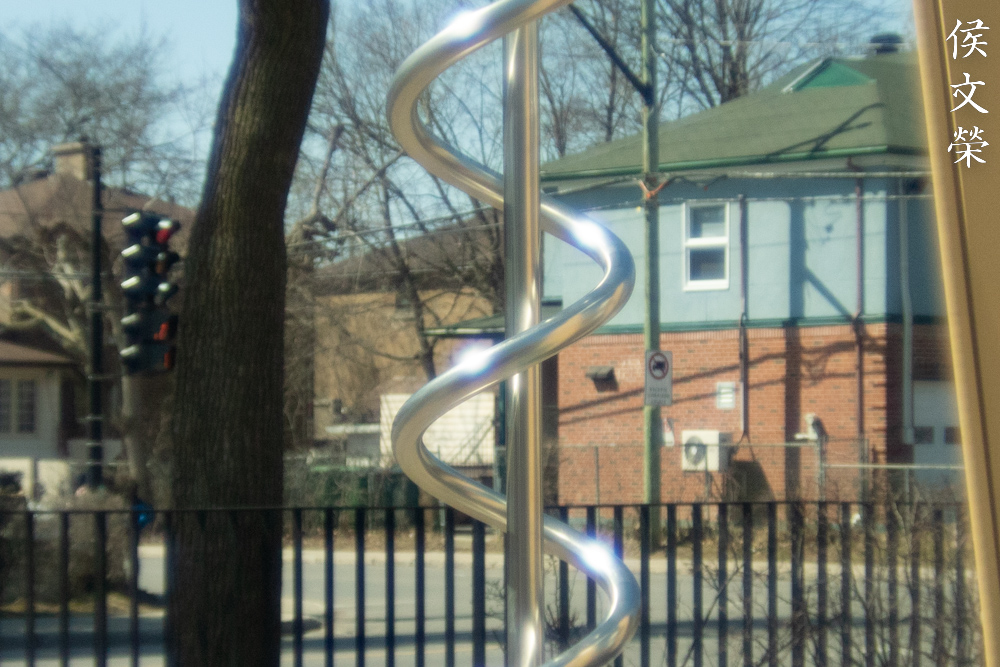
(Click to enlarge)
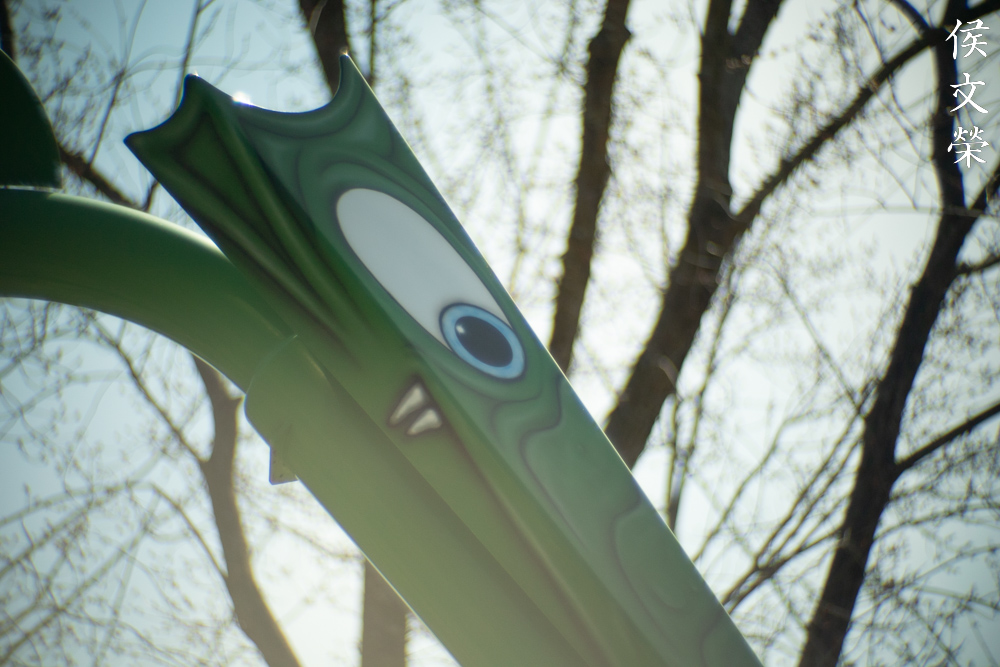
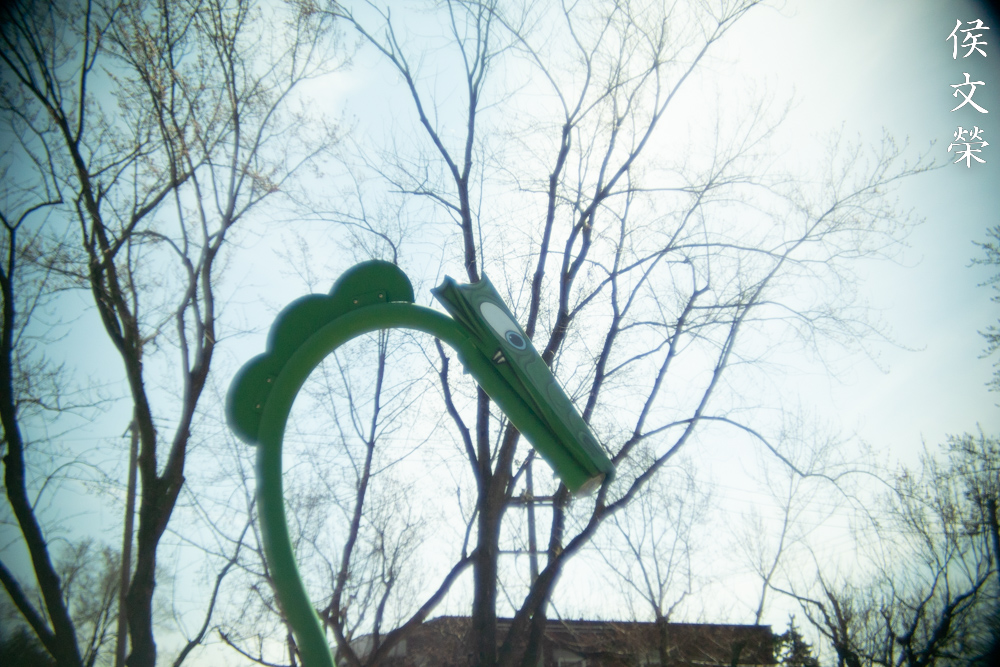
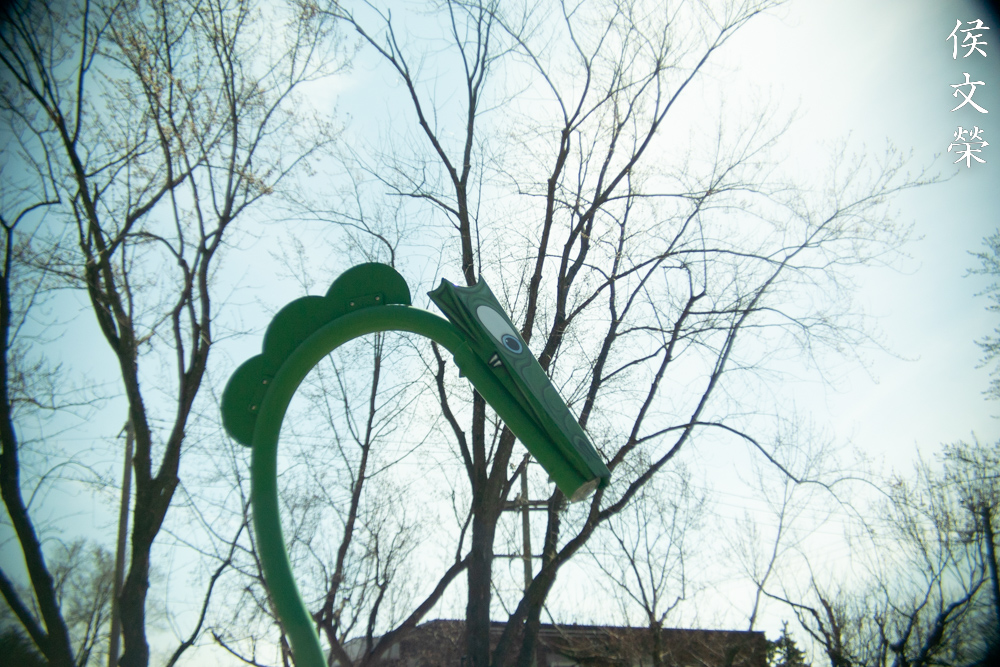
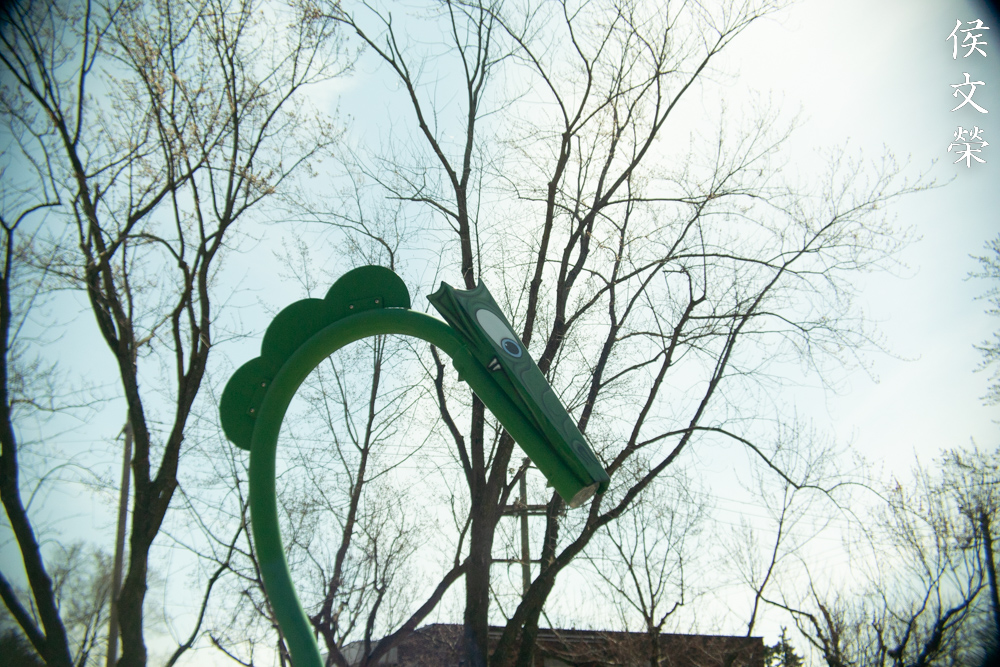
The coating is not effective in most cases so flare and ghosting will be your biggest issues when shooting against the light. The flare is so intense that it can cover the whole frame, making everything look soft. It’s going to make your photos lose a lot of contrast. Internal reflections aren’t controlled very well and you’ll get a lot of blobs when shooting directly at bright sources of light. There is also an ugly halo forming at the edges of the frame which solidifies when you stop the iris down.


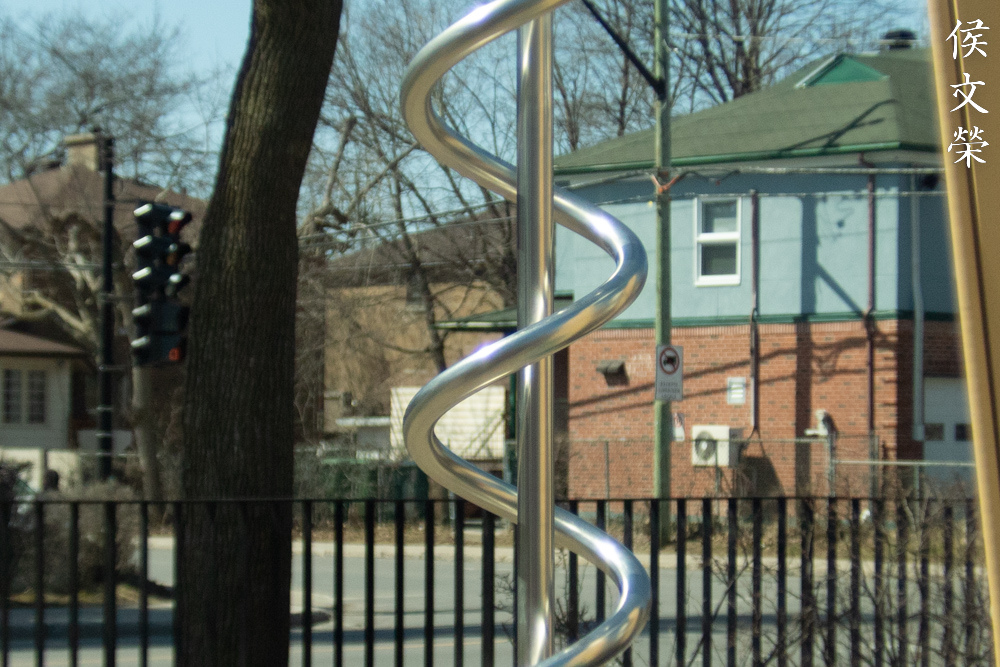
(Click to enlarge)
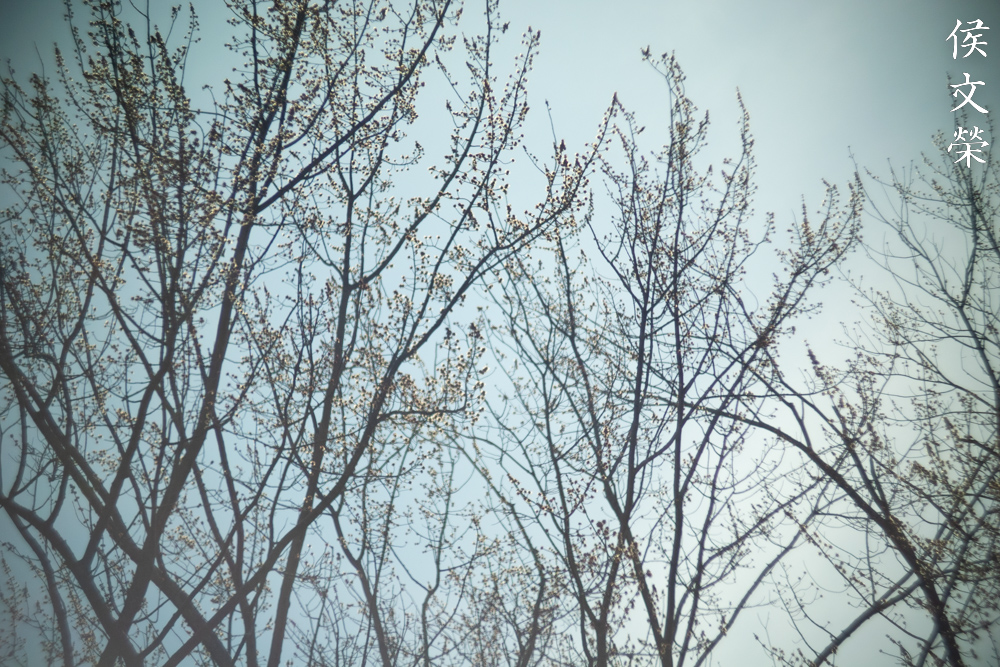
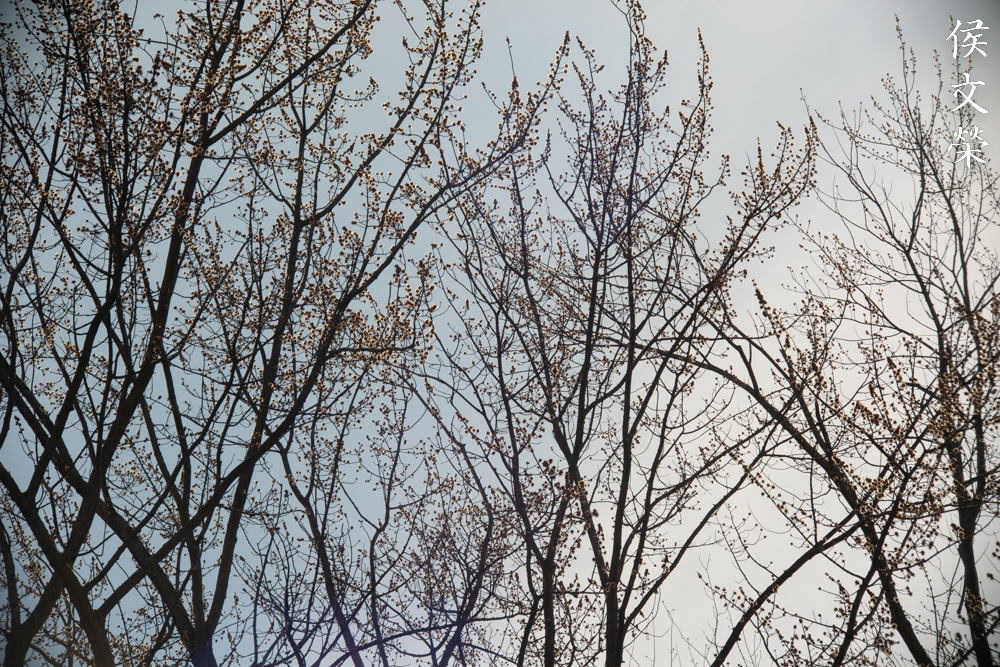
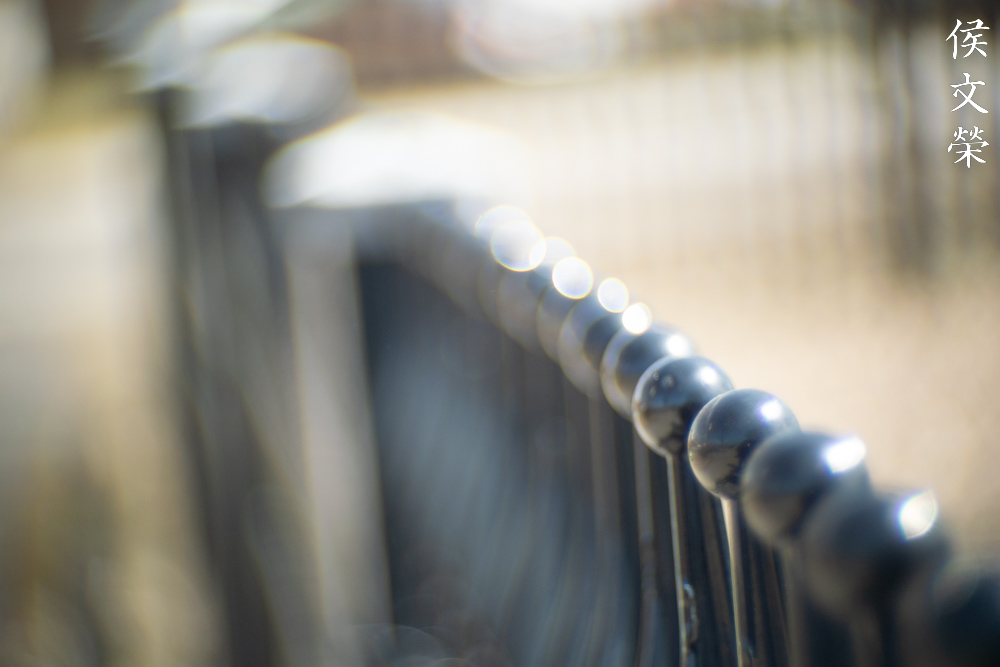
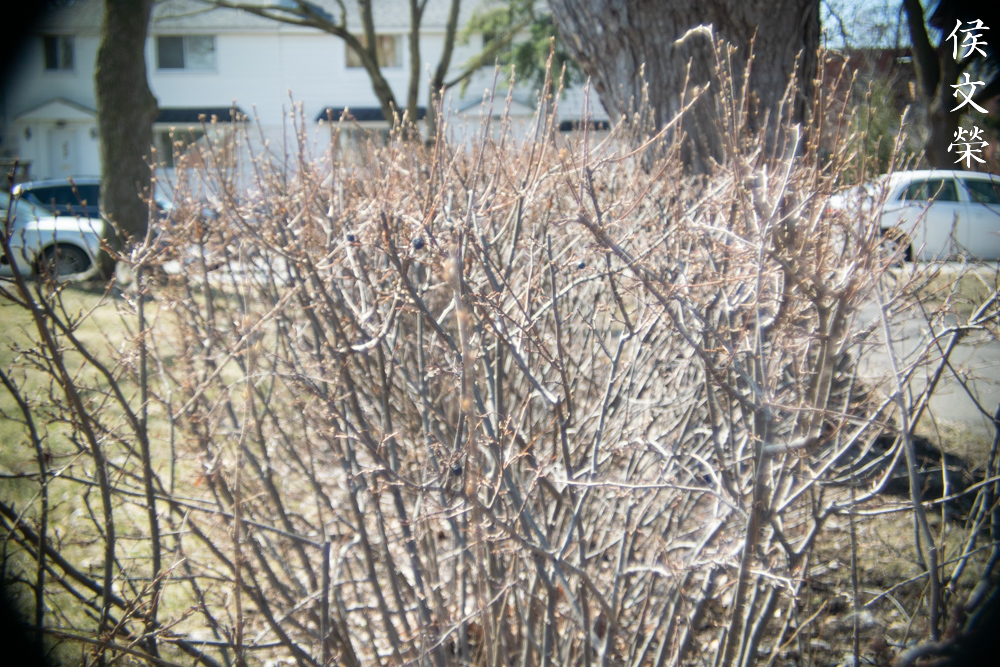
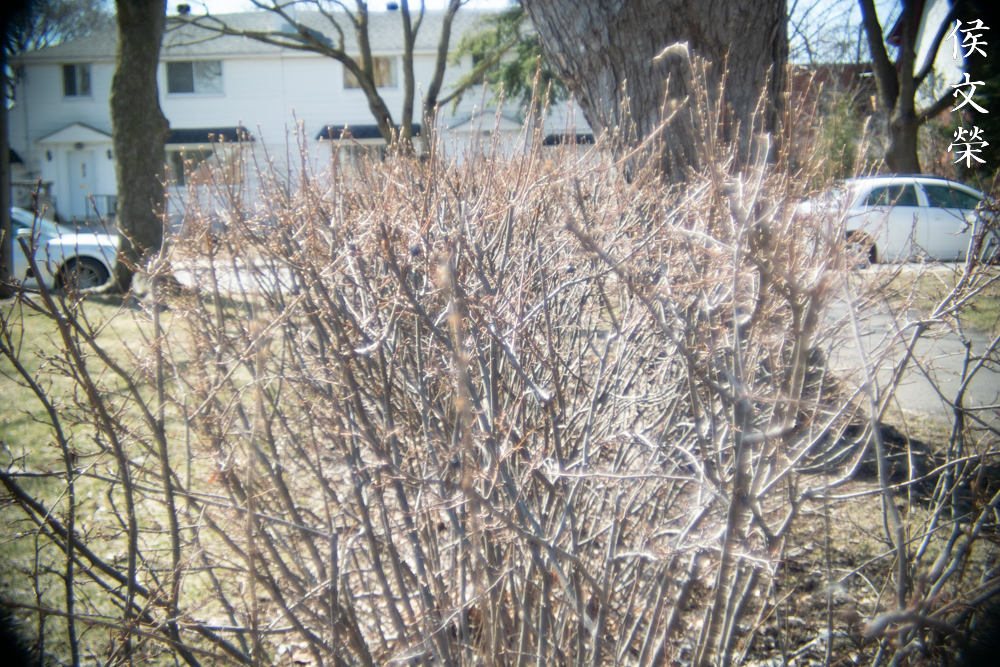
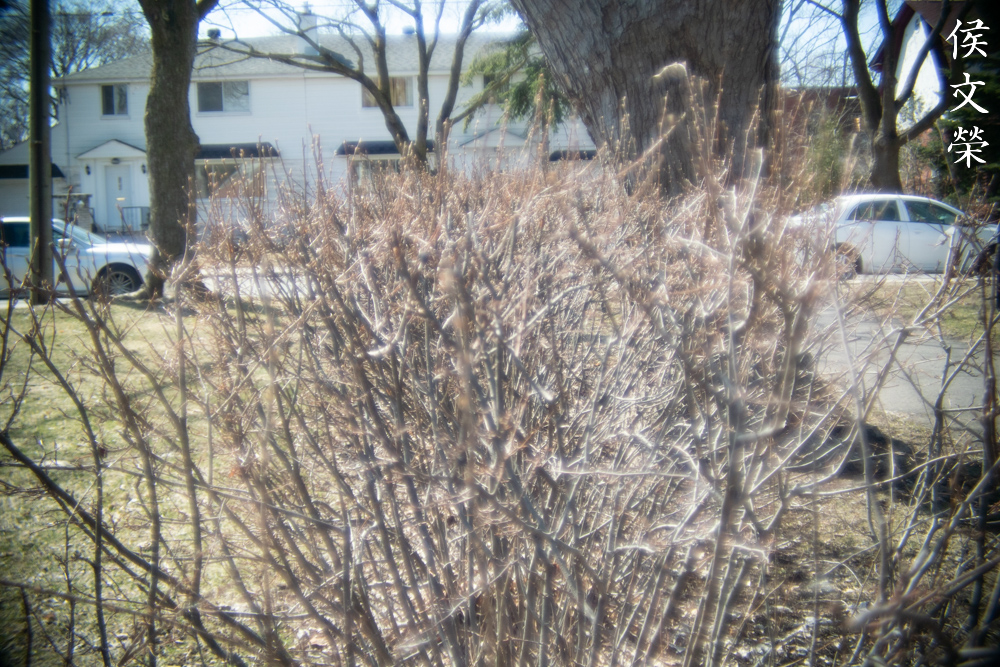
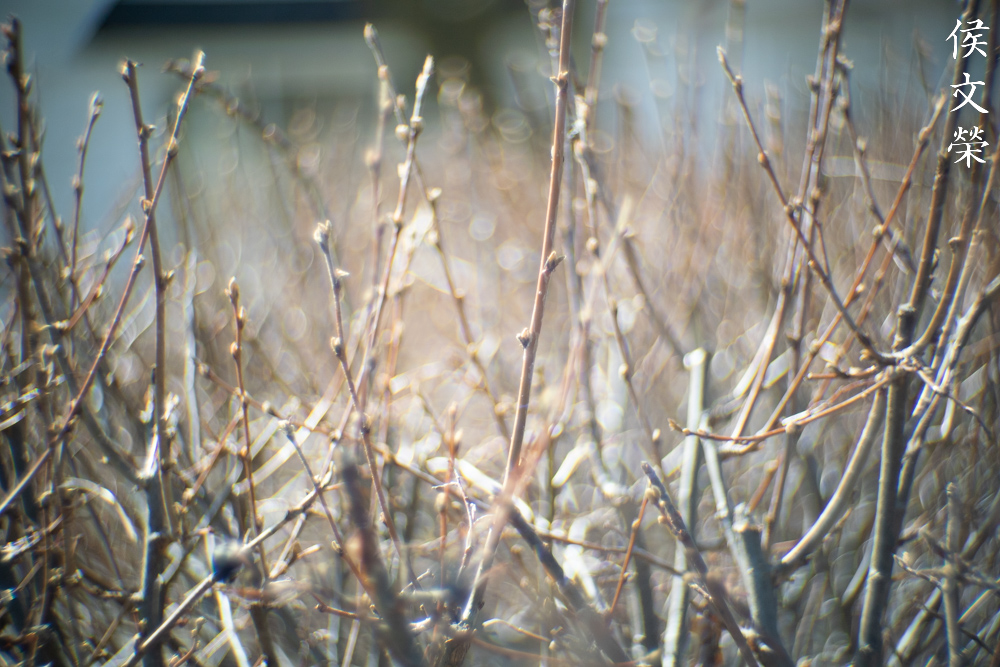
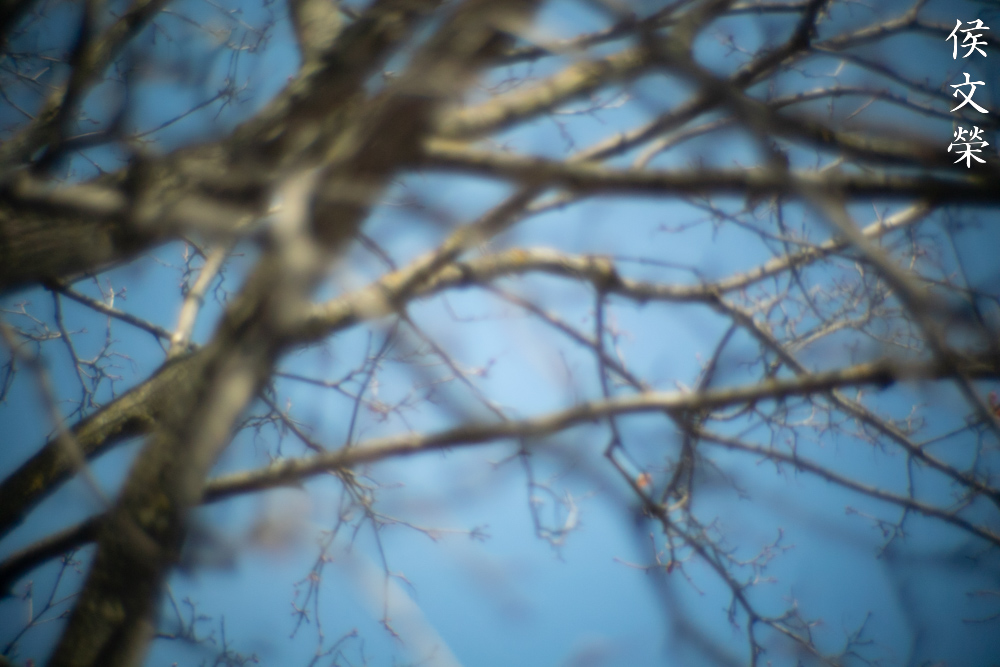
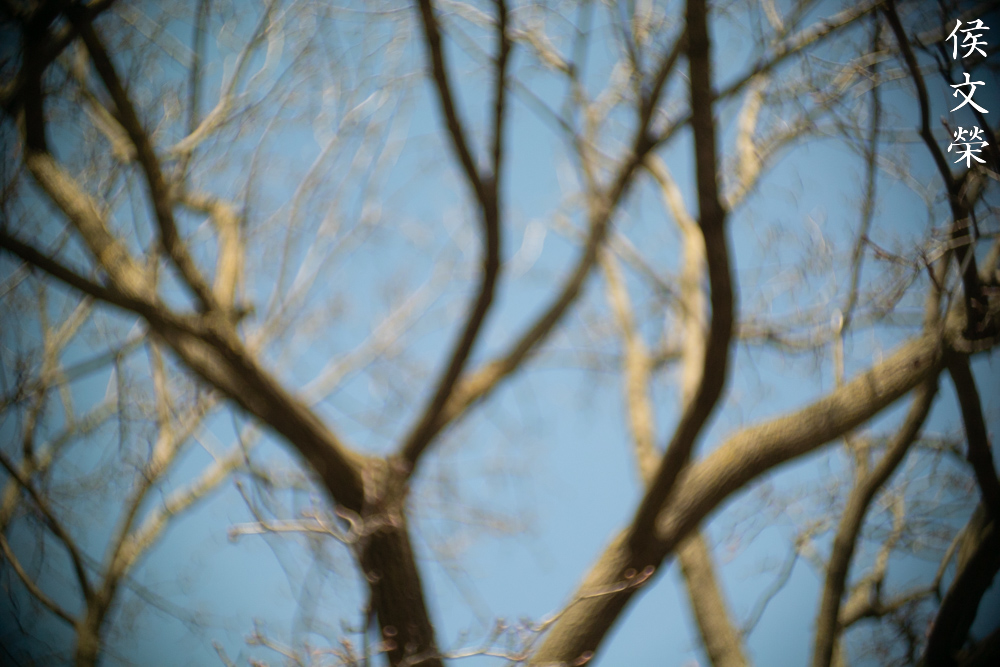
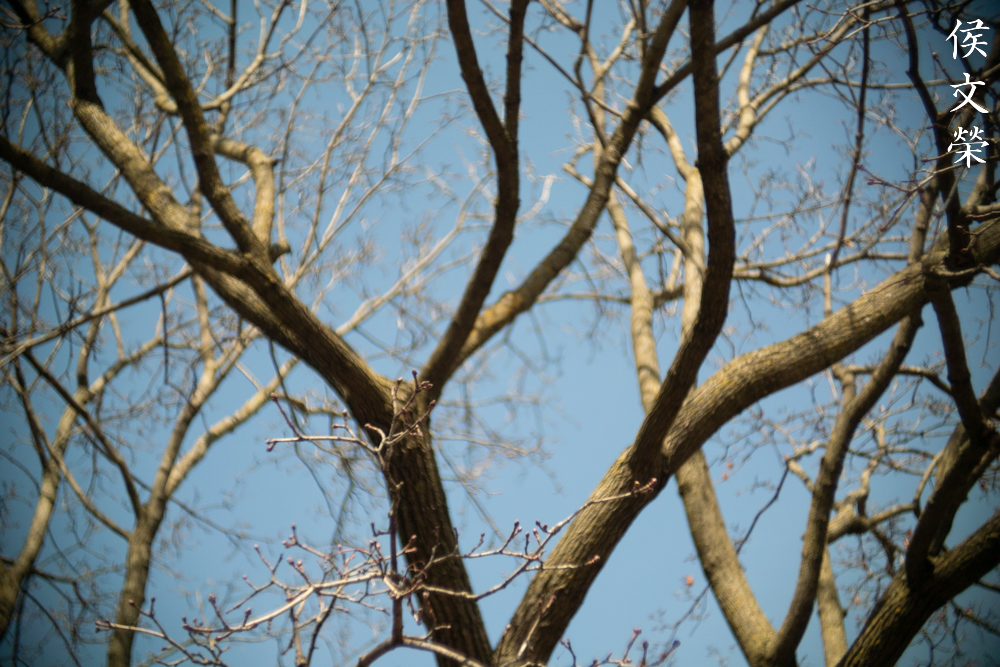
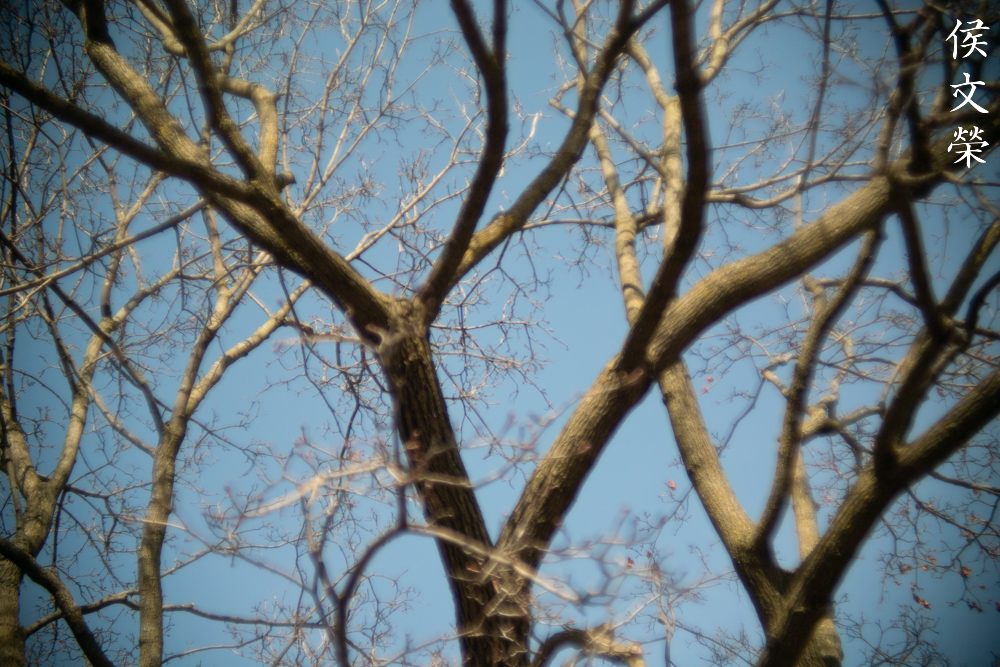
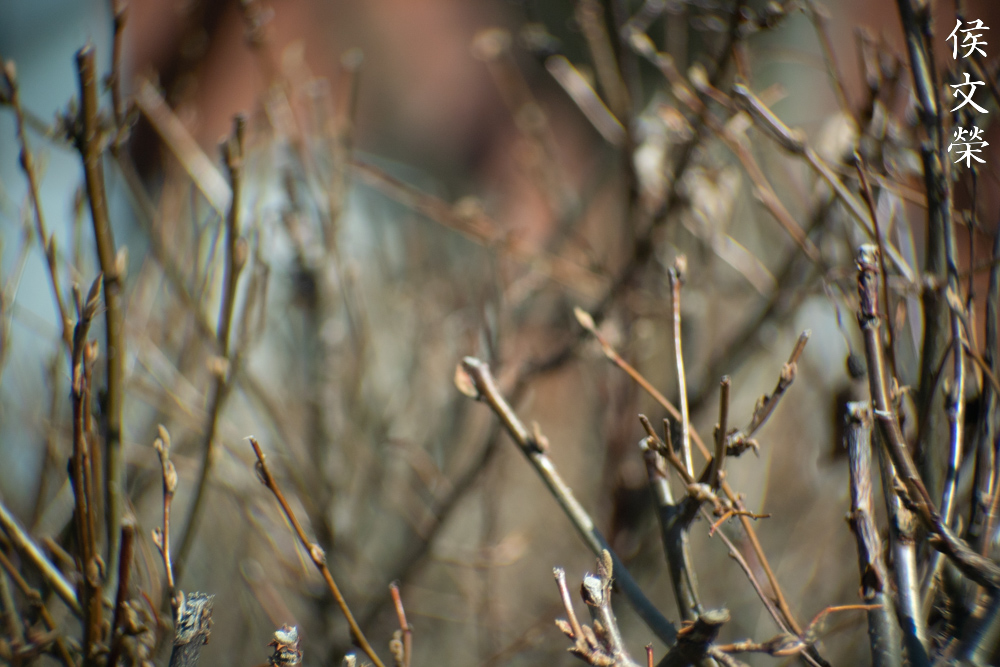
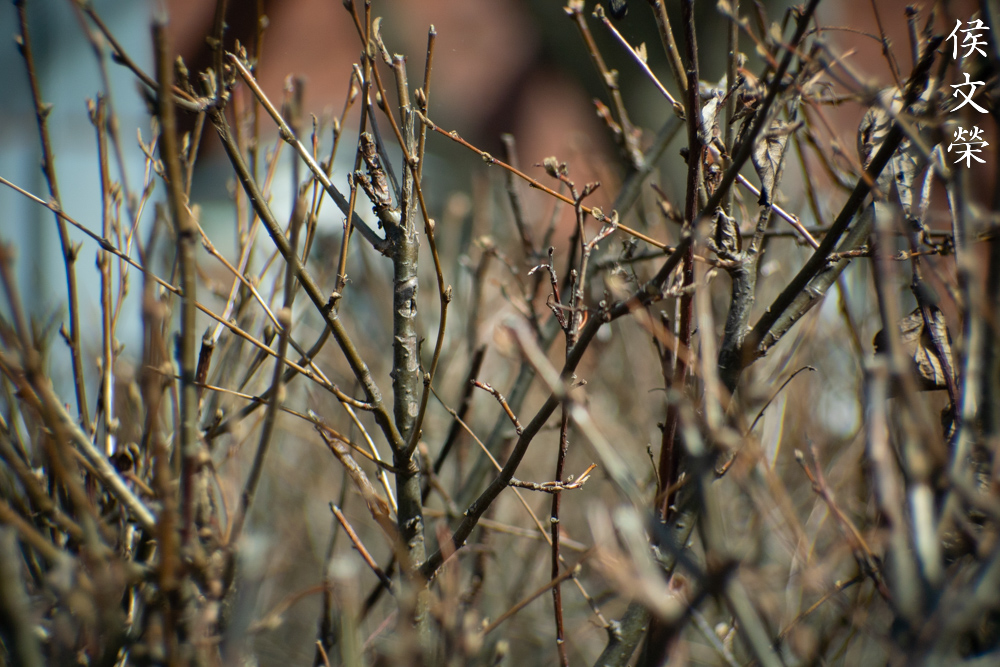
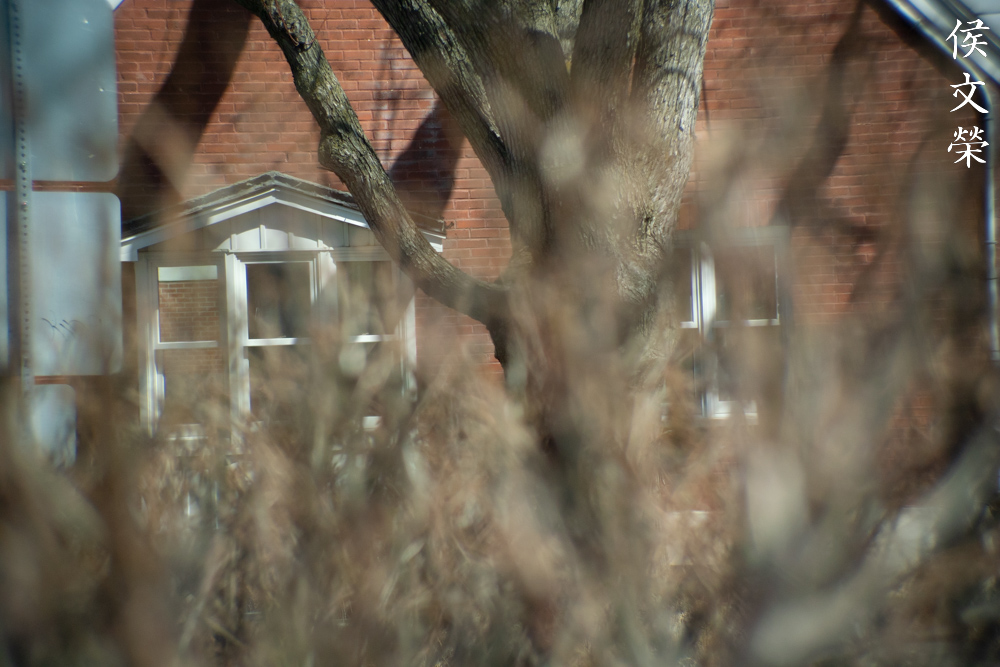
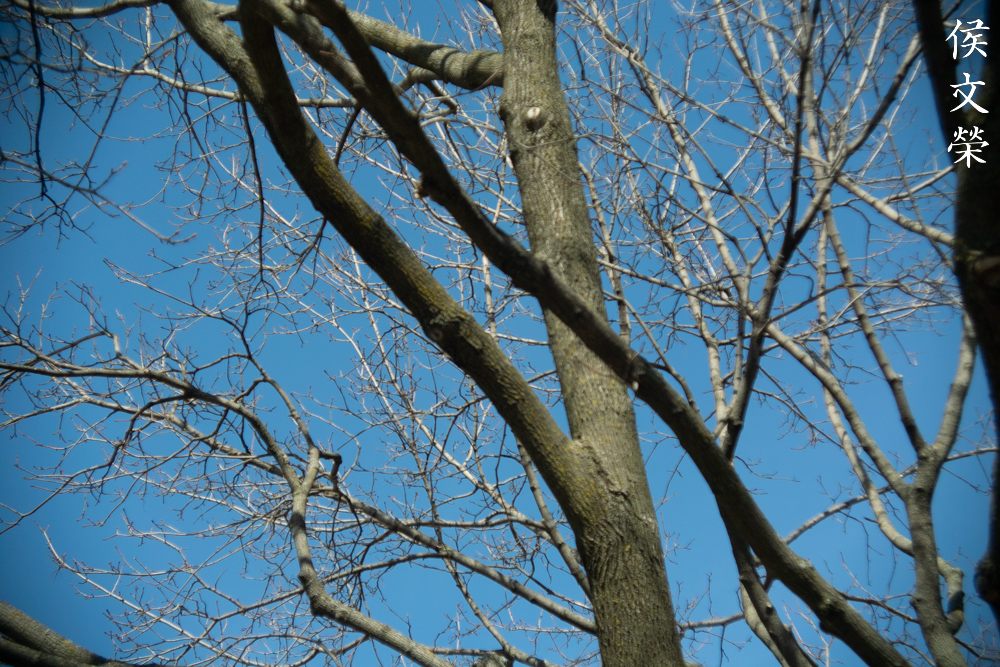
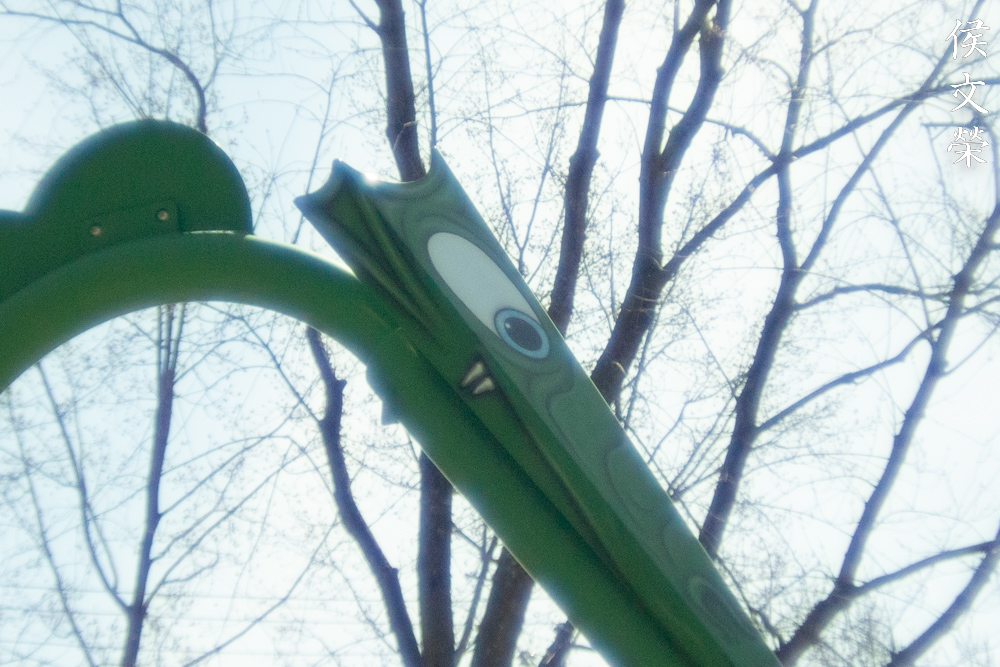
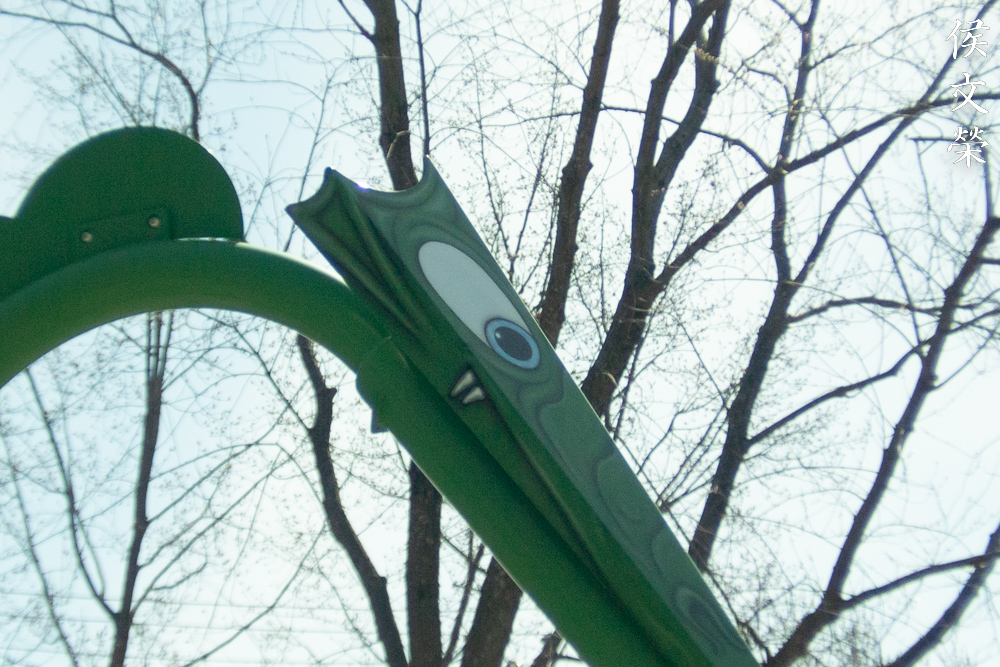
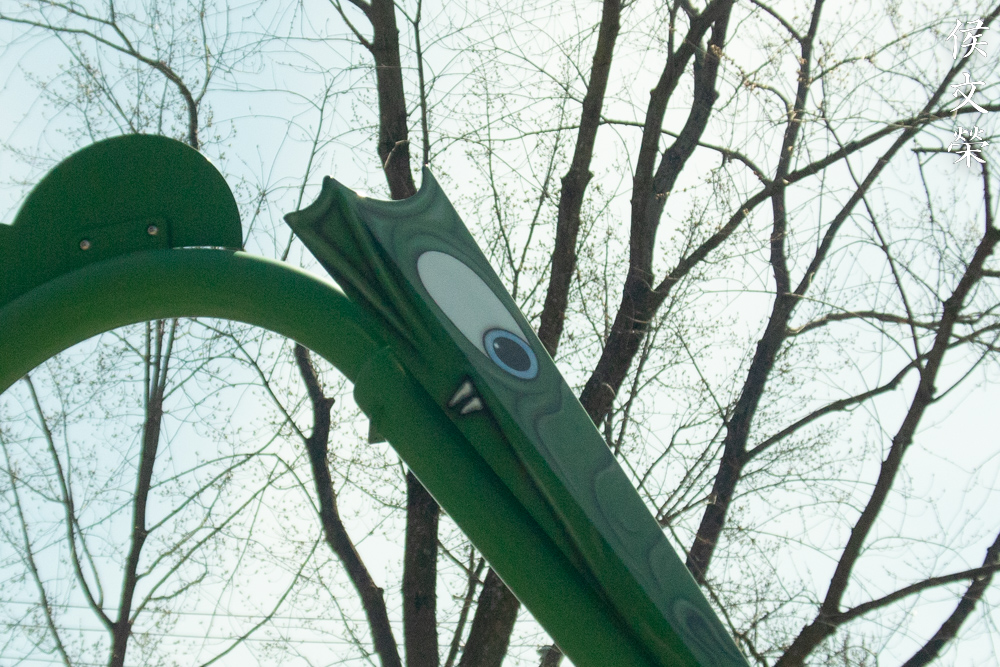
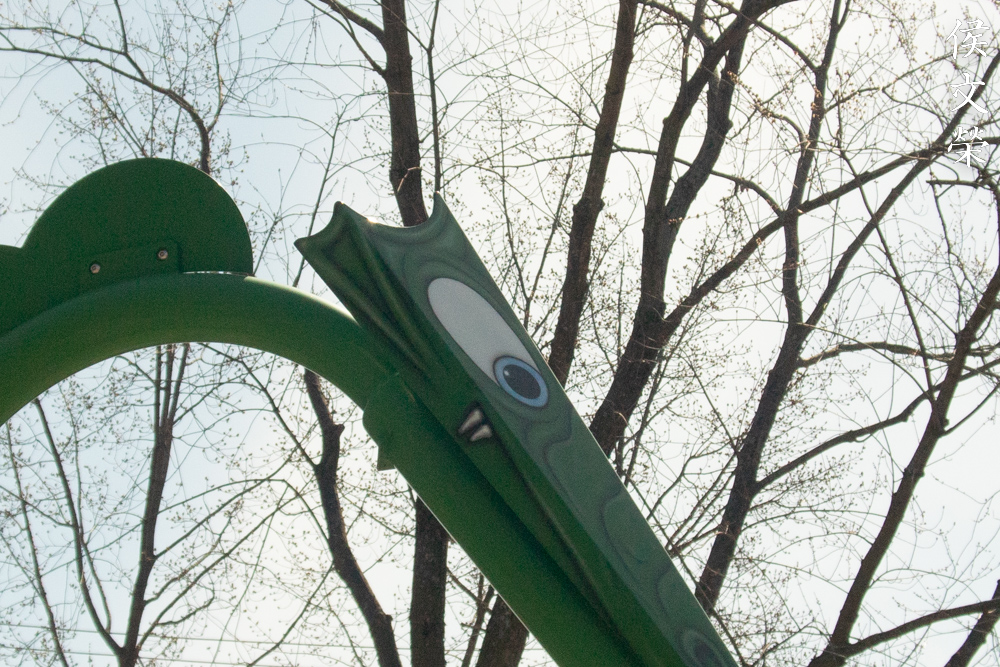
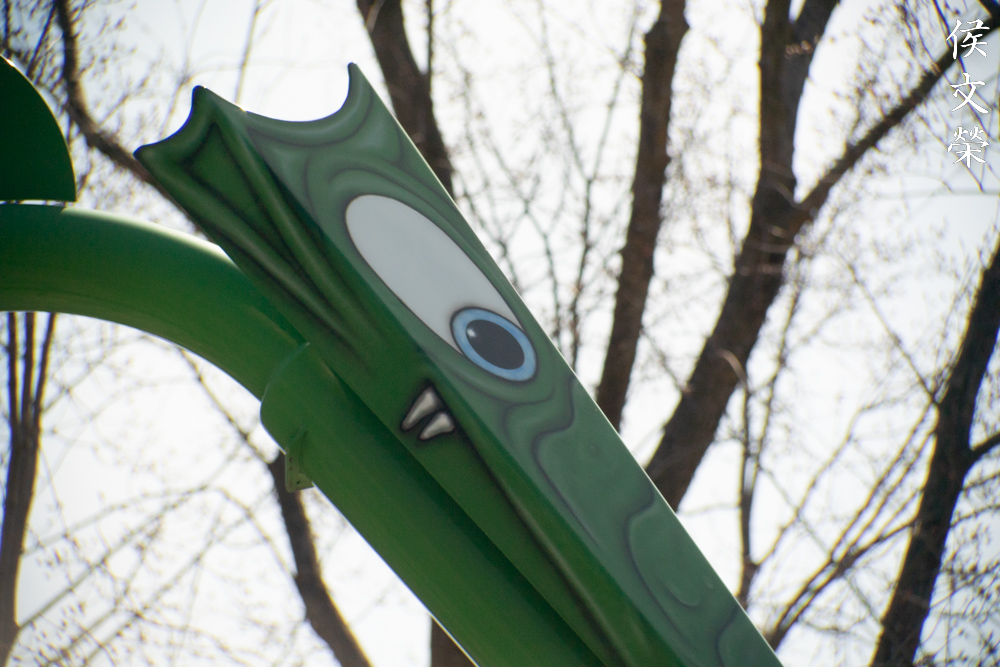
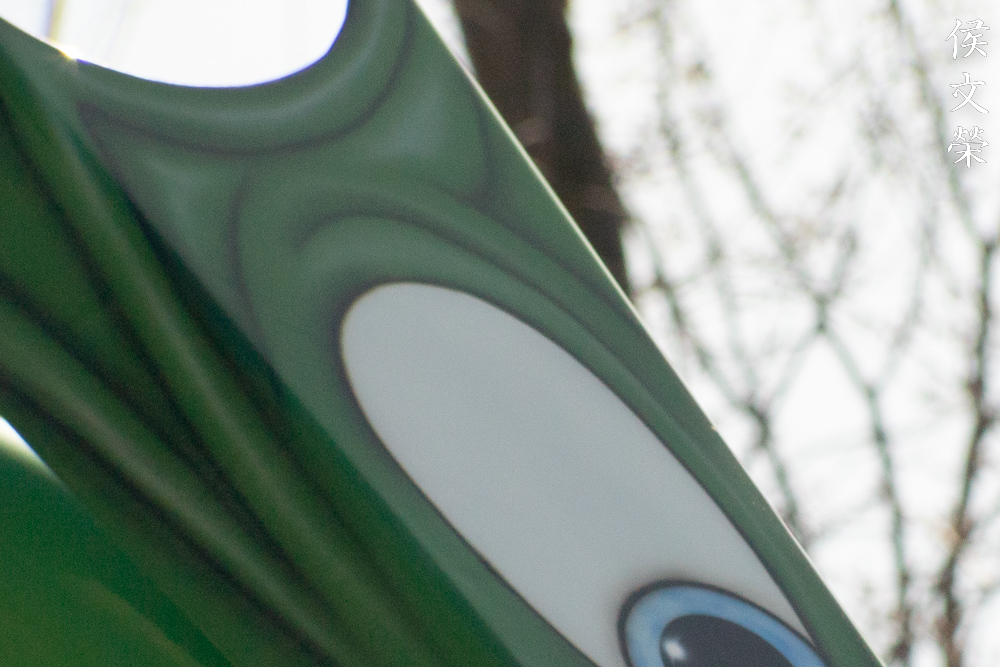
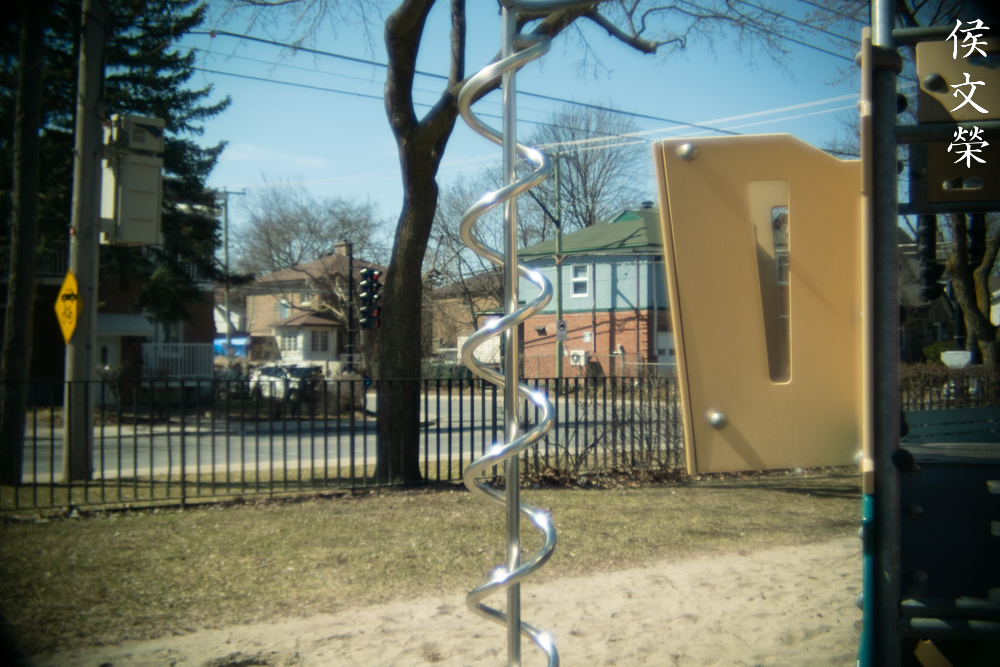
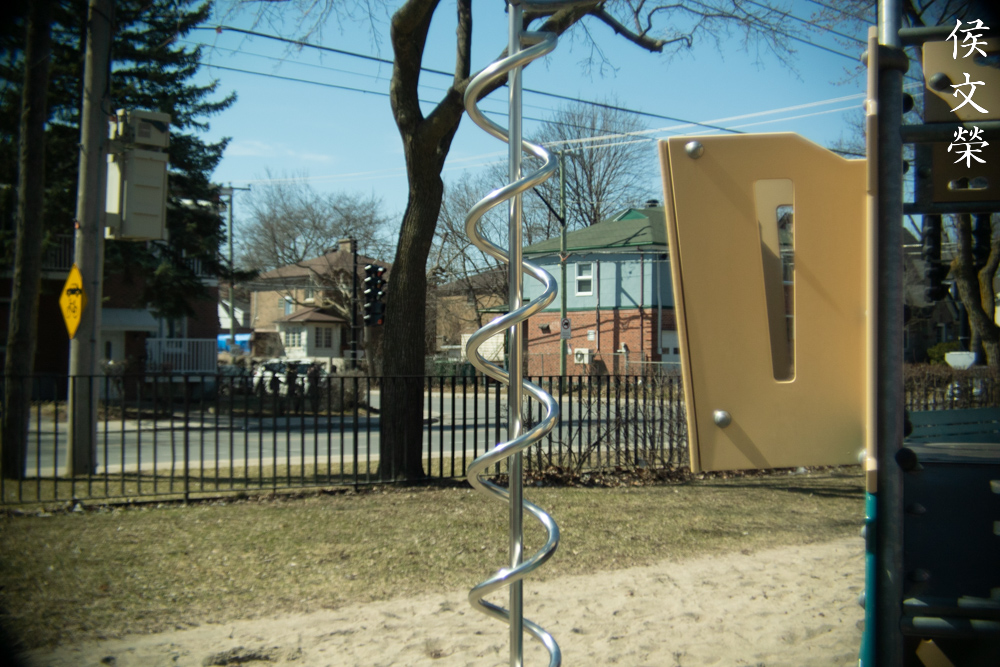
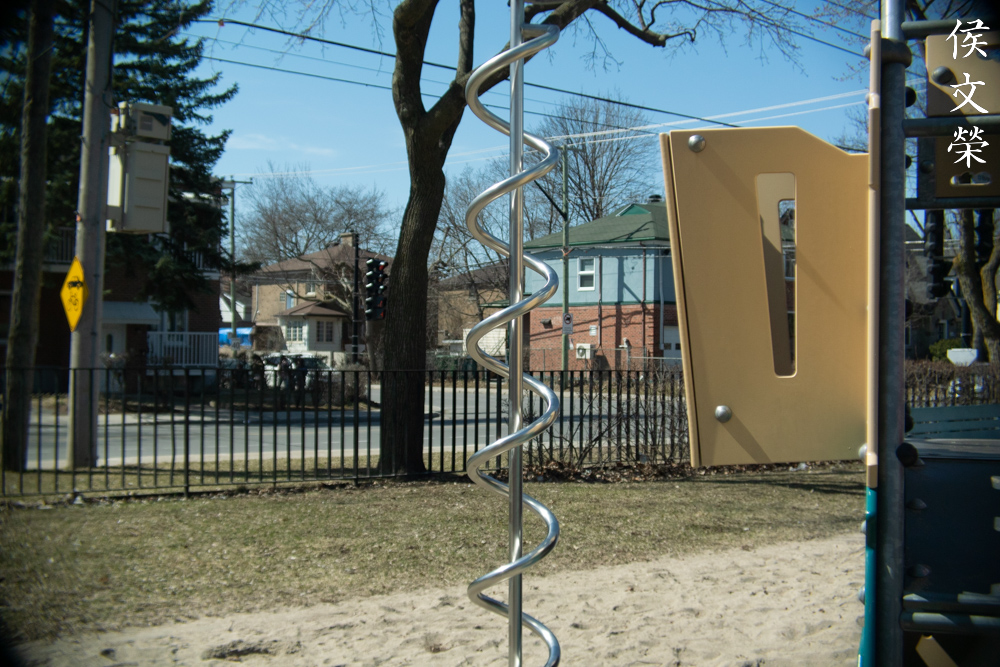
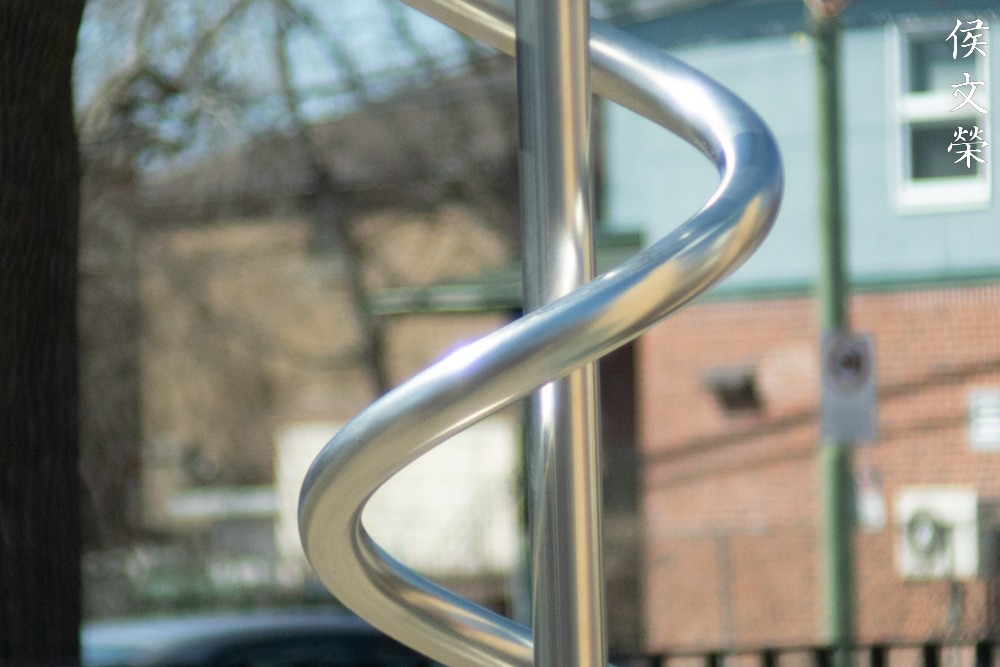
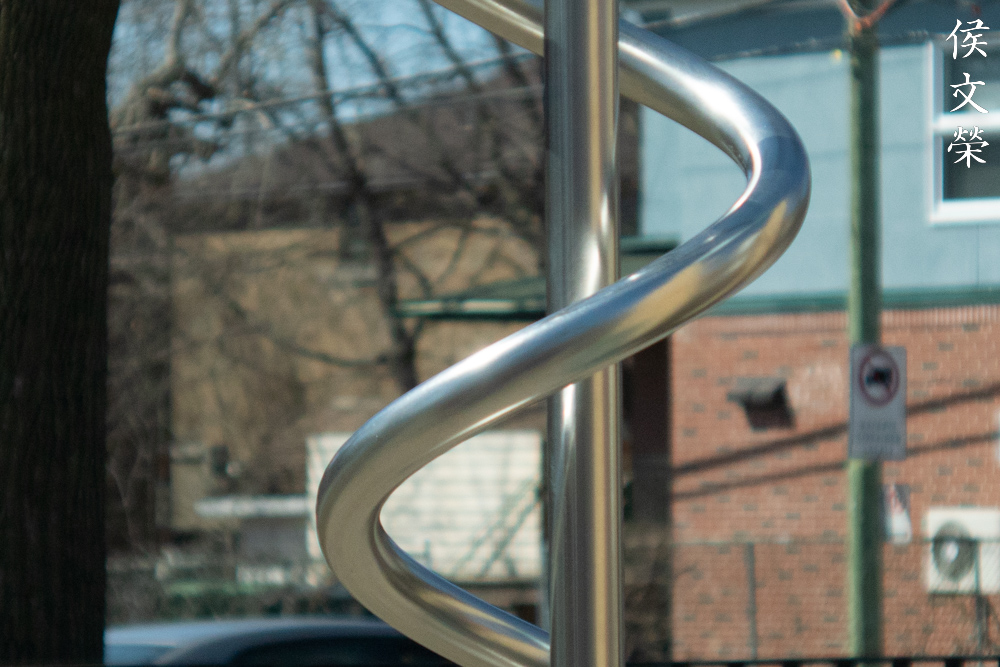
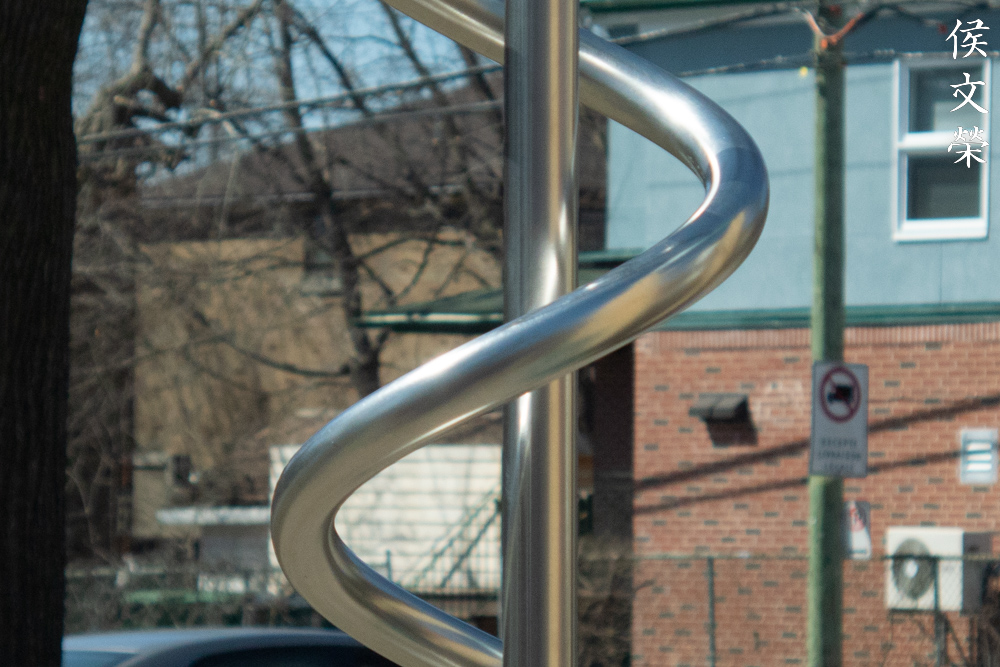
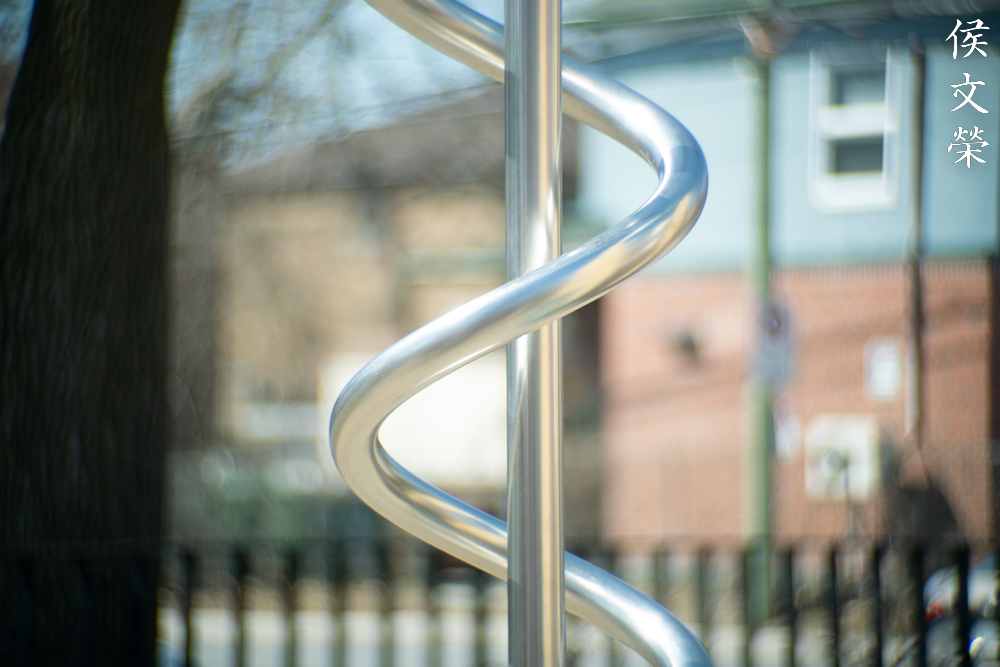
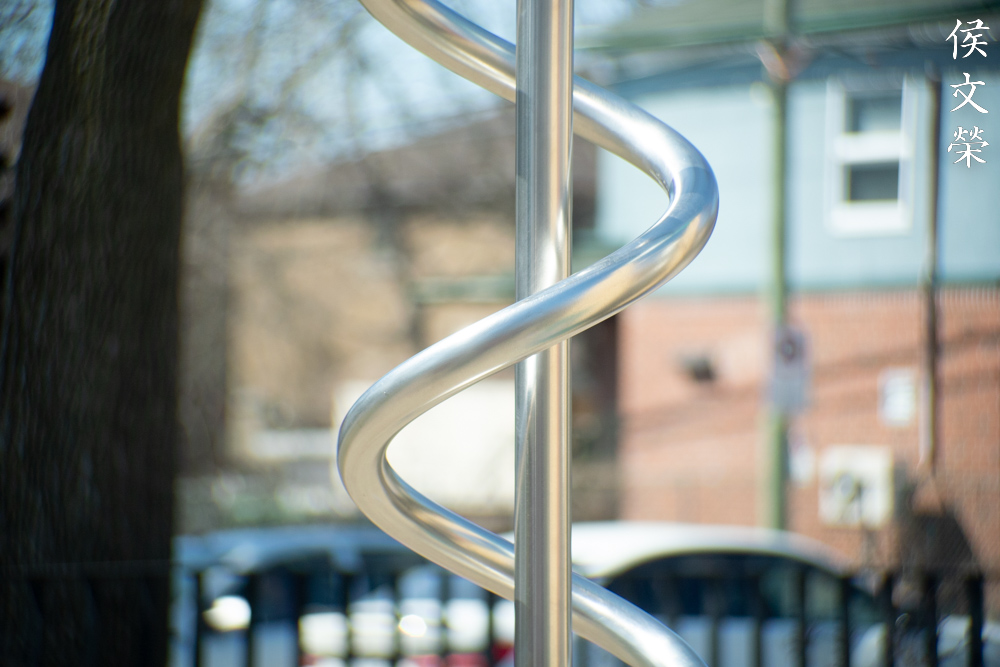
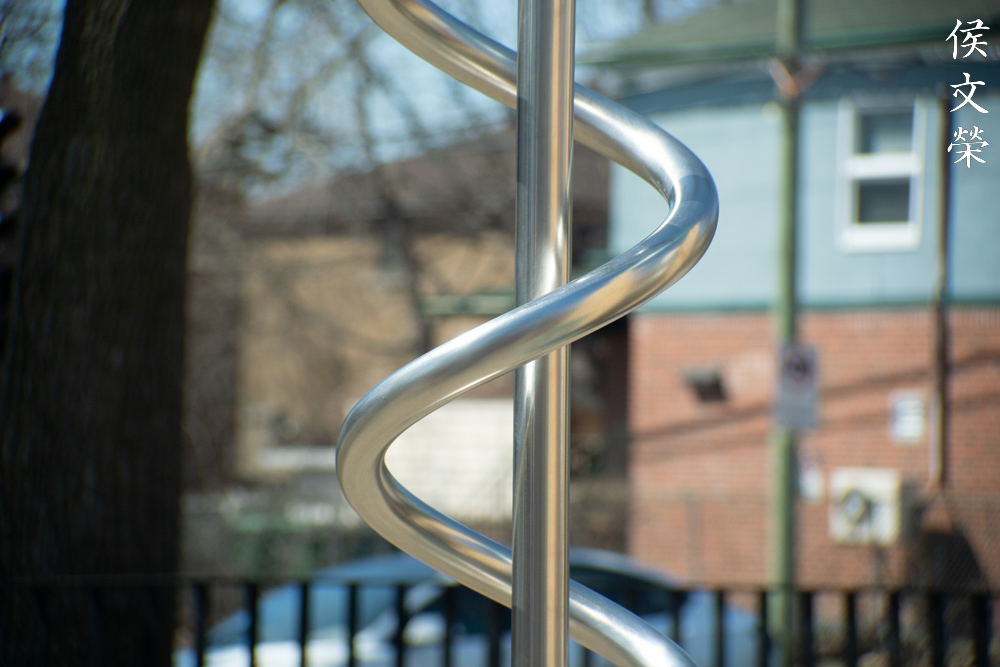
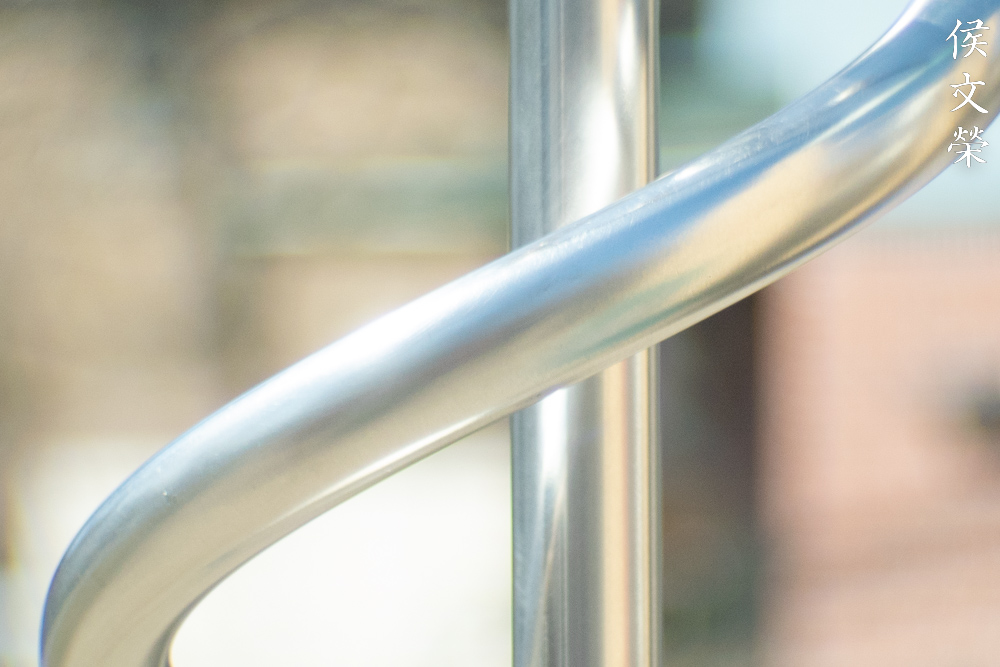
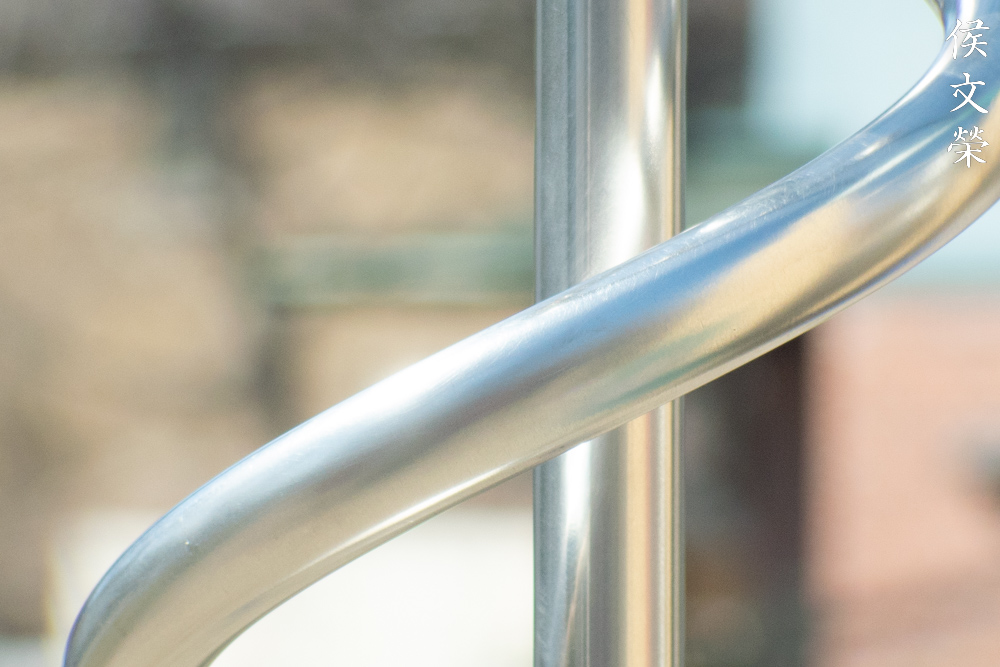
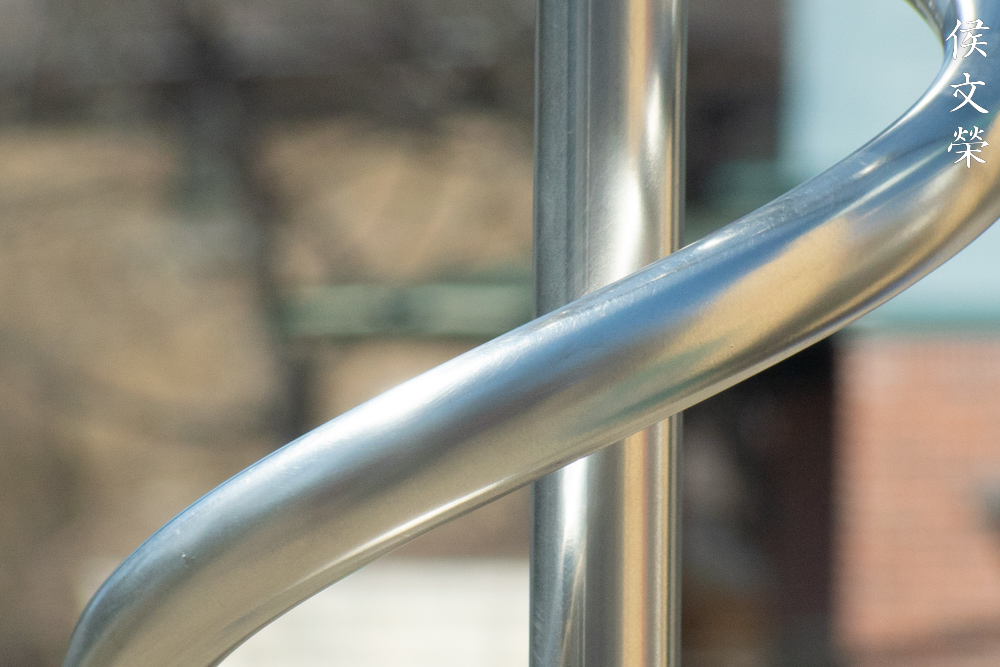
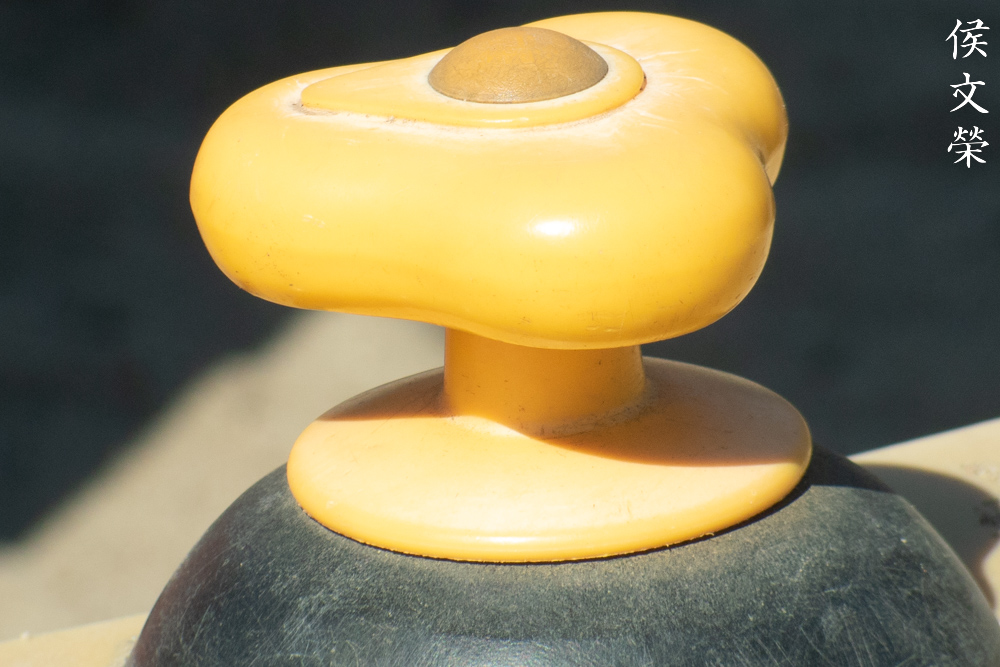
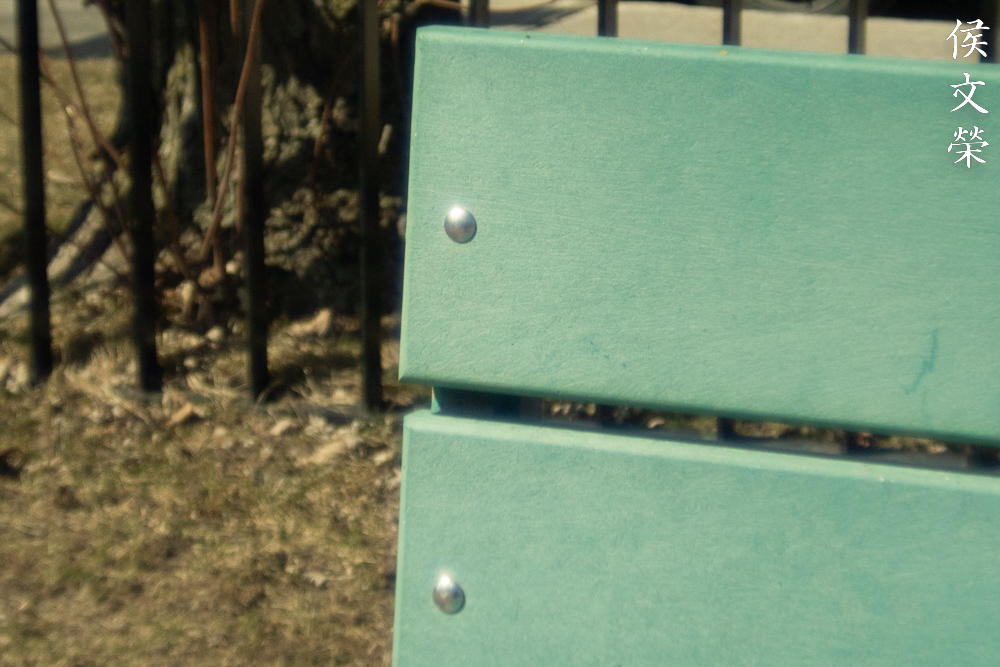
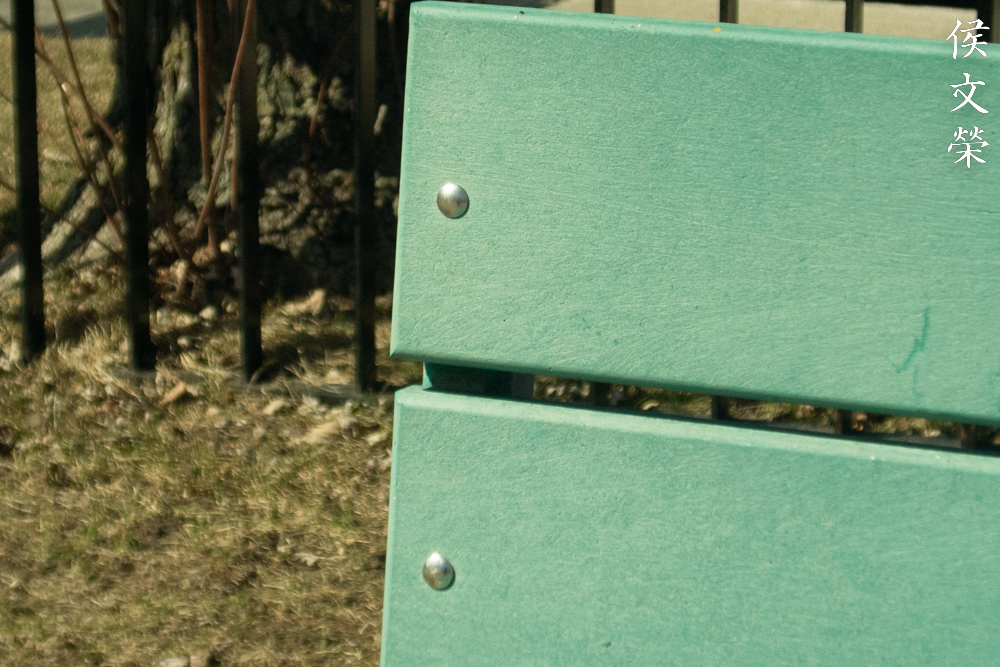
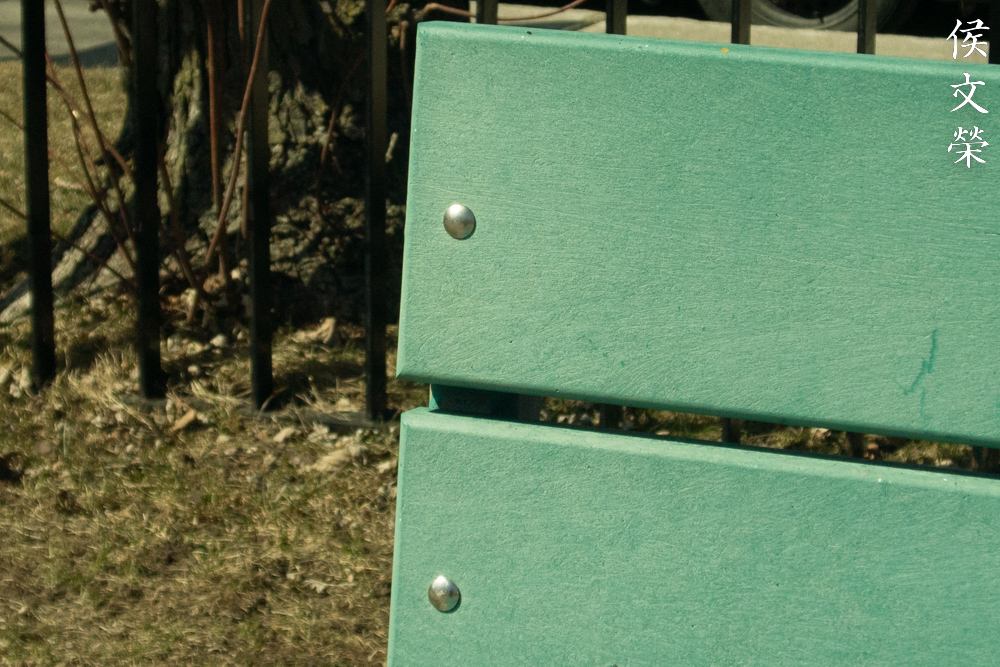
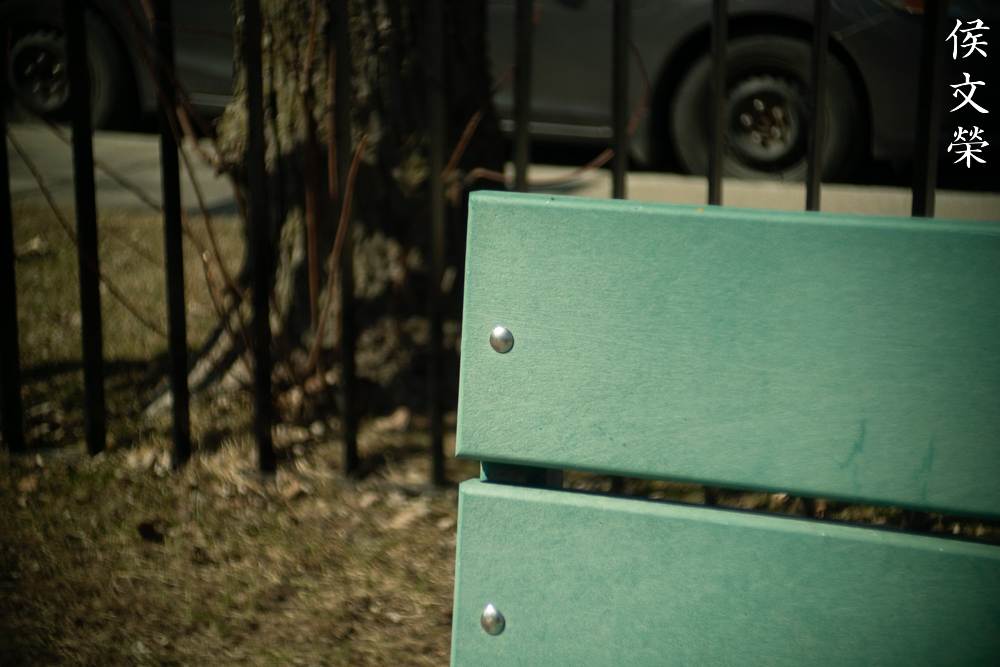
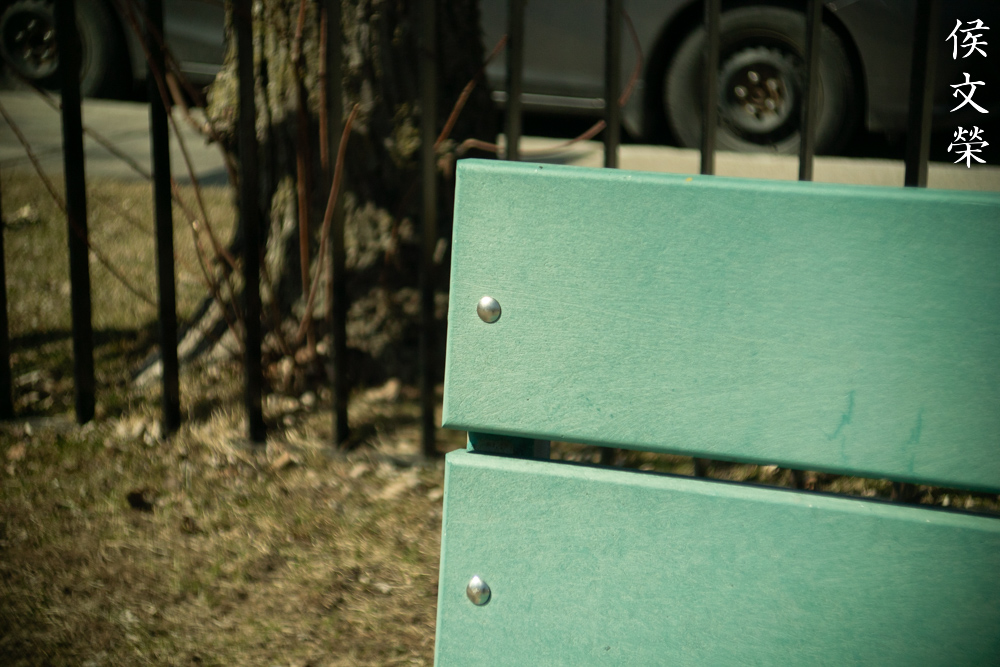
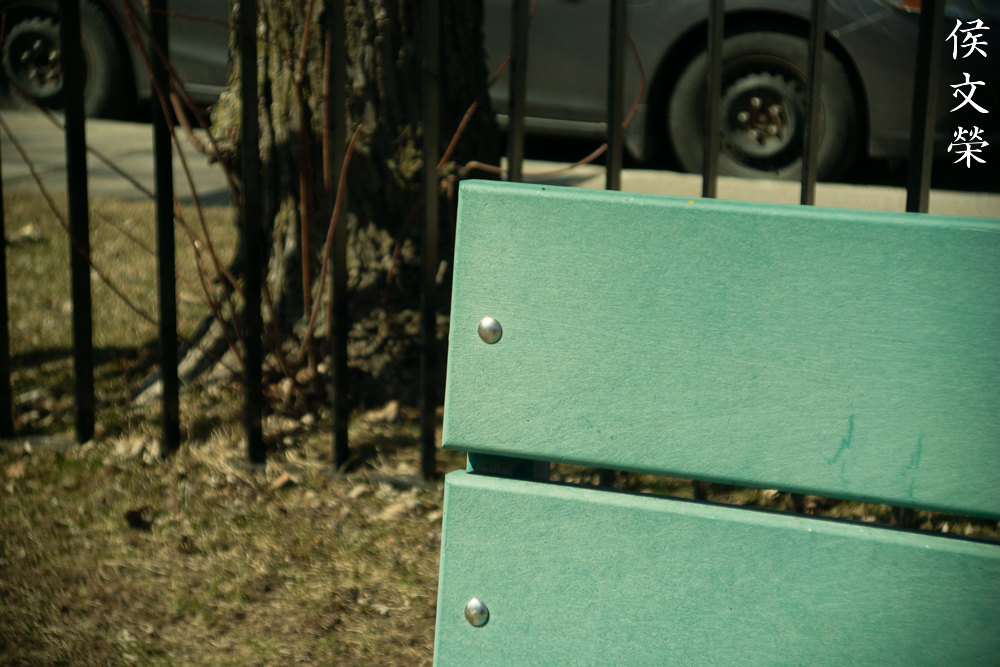
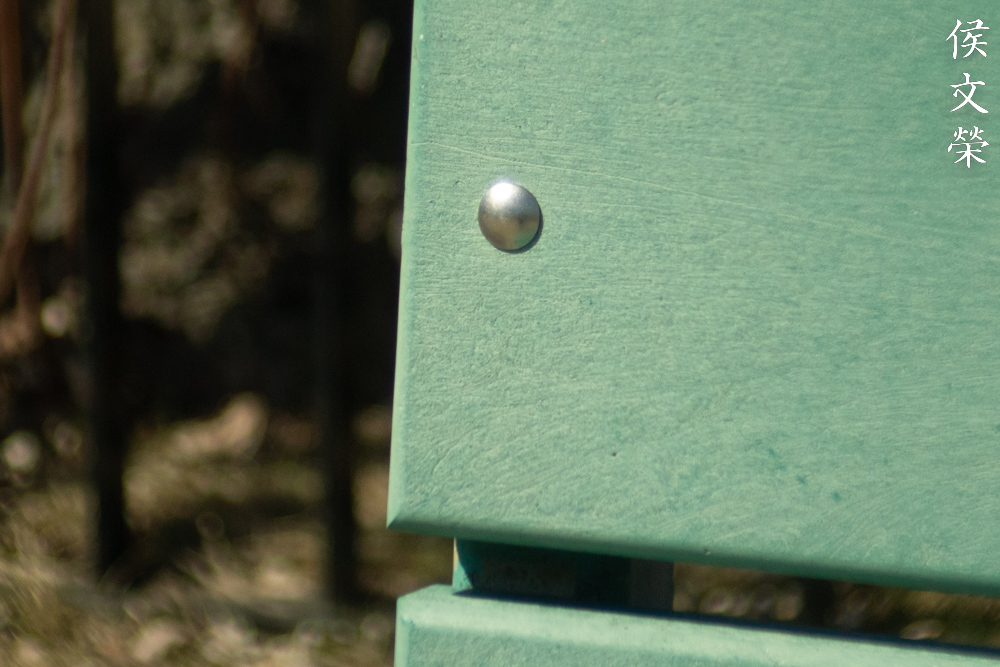
The character and smoothness of the bokeh is mediocre at best, but there will be times when it is possible to render smooth looking blurs with this lens. I can say that it’s not so bad considering how old this lens is and the circumstances when it was made. Just make sure that you avoid shooting twigs or foliage with it.


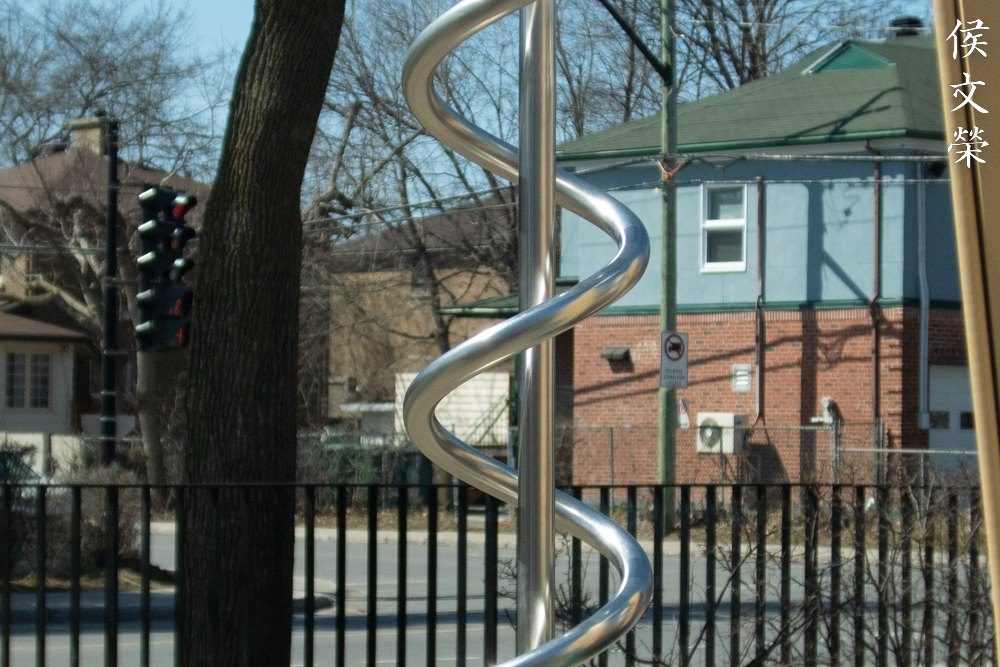

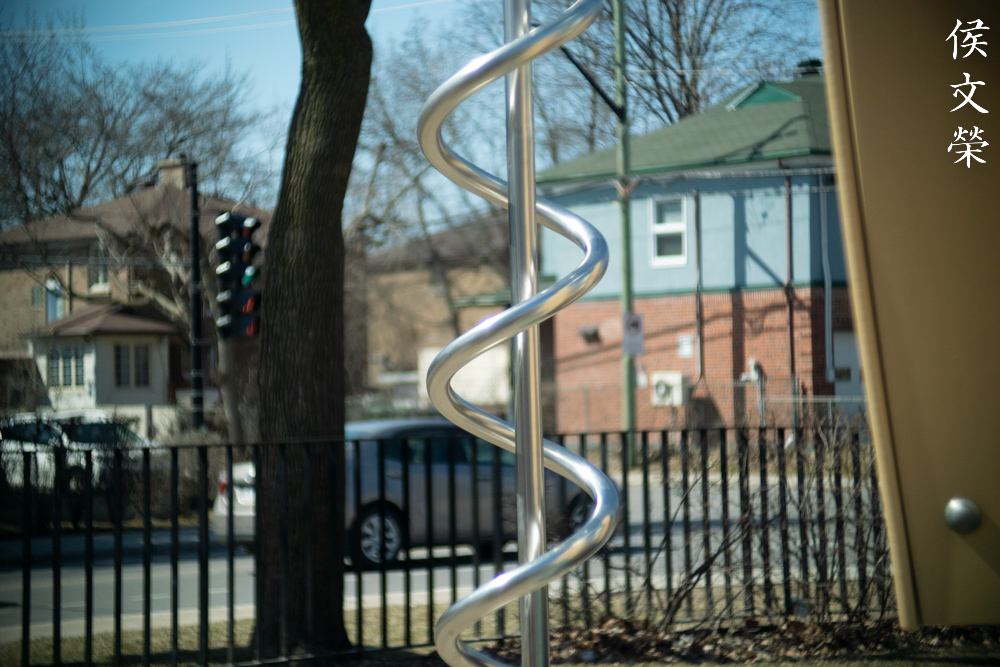
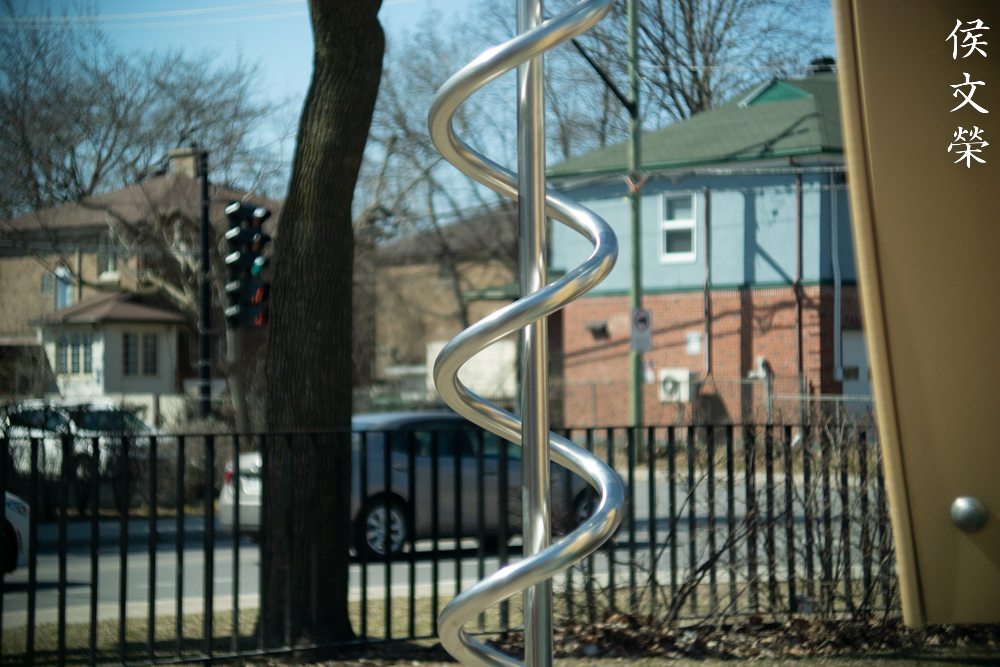
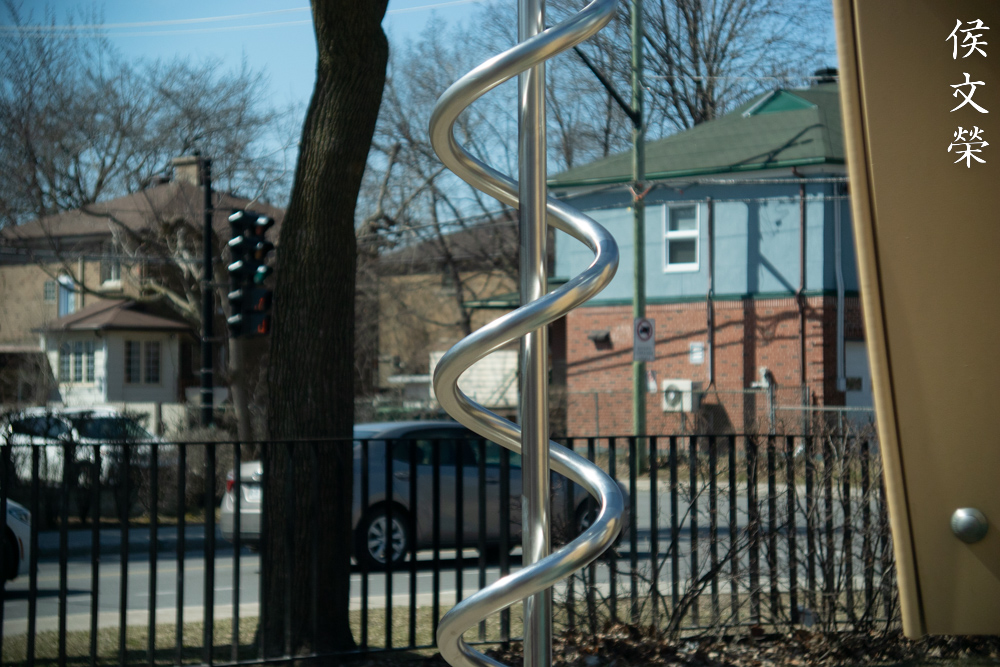
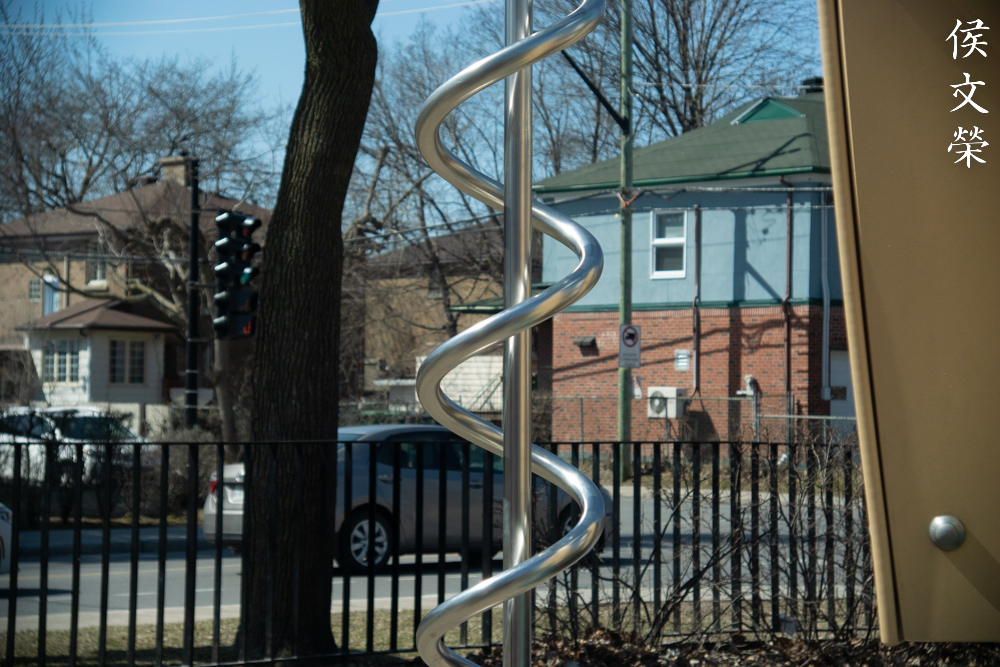


(Click to enlarge)
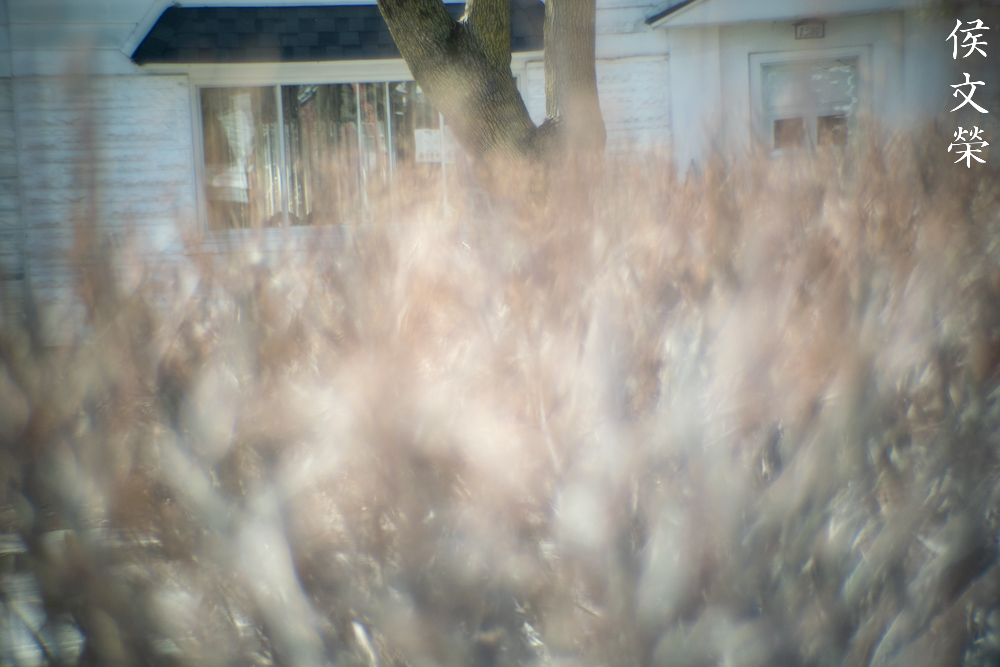
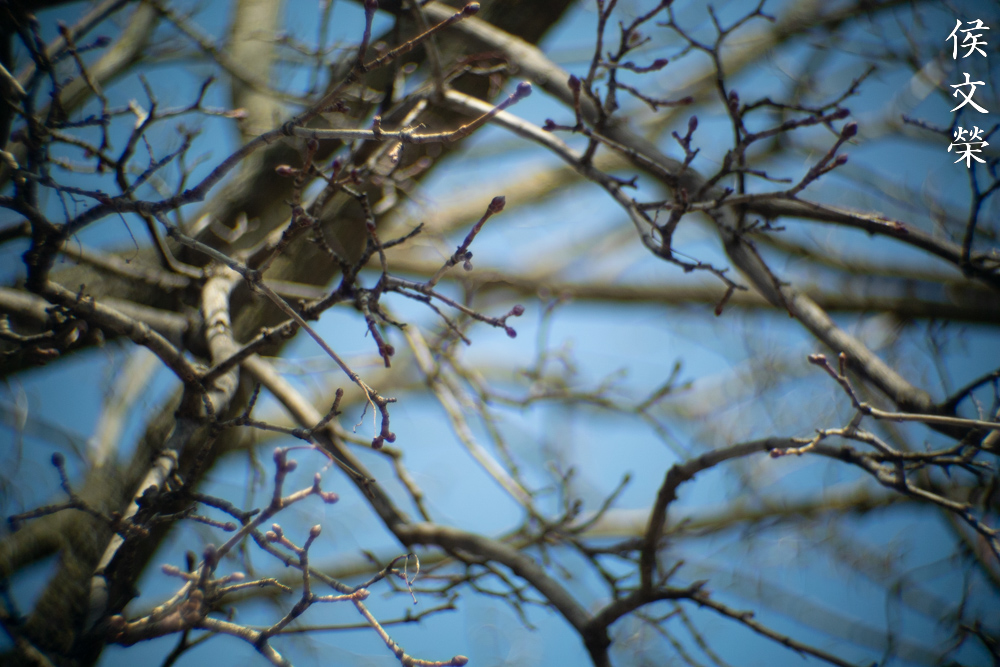
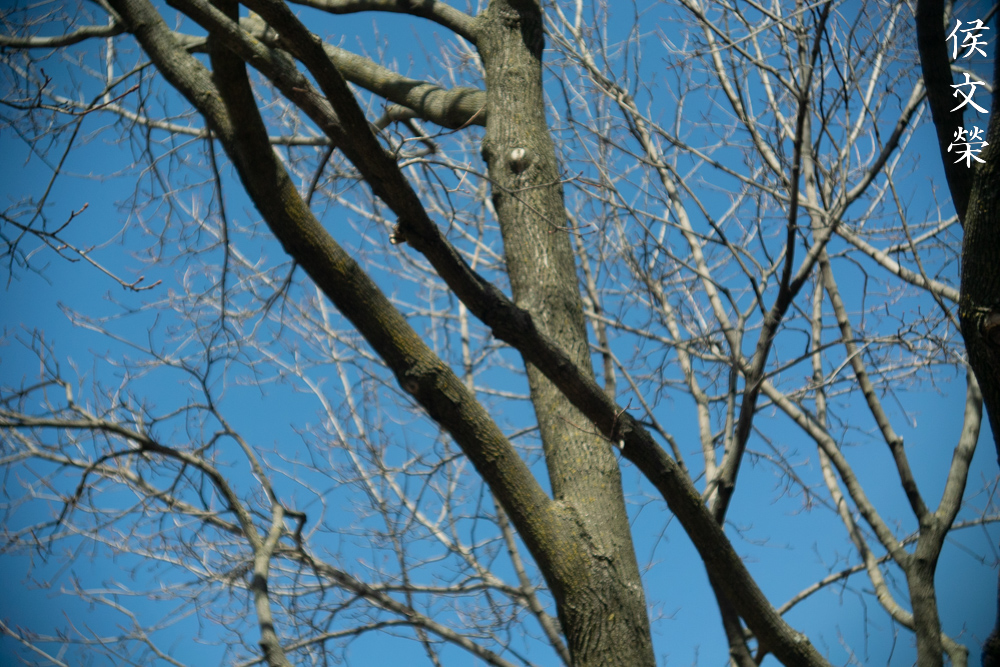
Chromatic aberration can easily be seen at f/2.2 but you will see a huge Improvement when you stop this down to f/2.8. It improves significantly by f/4 and you will only see traces of it when shooting at extreme scenarios. Stopping it down to f/5.6 will suppress chromatic aberration even further and you will only see very little of it and only when shooting in very difficult lighting.
Spherical aberration is a lot less controlled, it will cover your frame with a soft, hazy glow when shooting at f/2.2. You won’t see the glow from f/2.8 and beyond but you’ll still see hints of it.
I think it performs poorly in this section but I have seen much worse, even coming from prime lenses. It’s easy to correct this just by stopping Iris down by a stop so it is not that much of a big deal. You can even think of it as a bonus because you are able to render three separate looks using one lens, a soft, dreamy look when shooting wide-open, something a bit cleaner at f/2.8 and a clear photo with f/5.6.


(Click to enlarge)
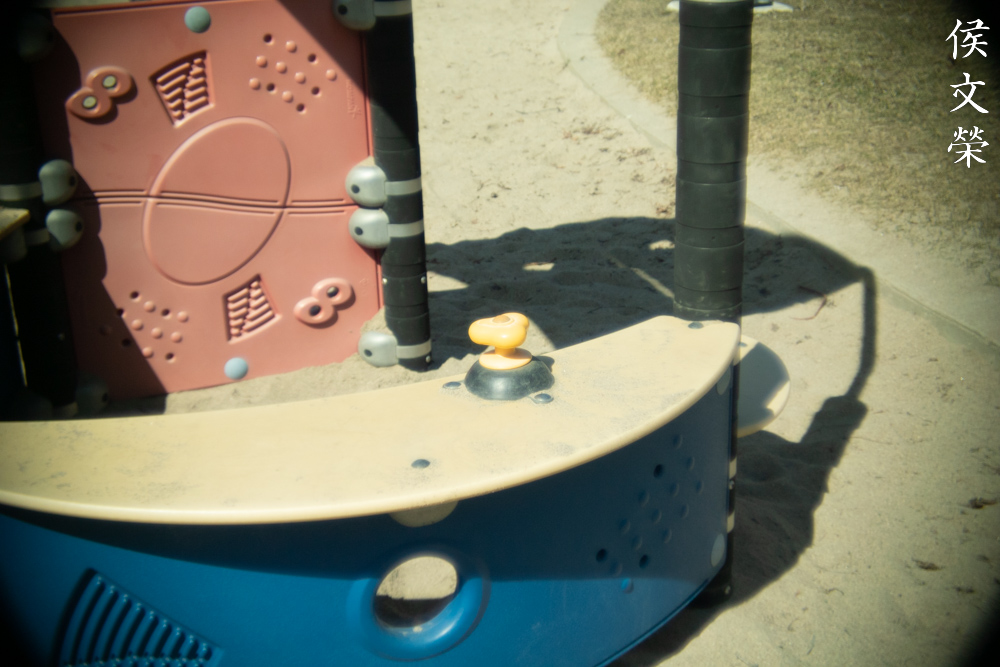
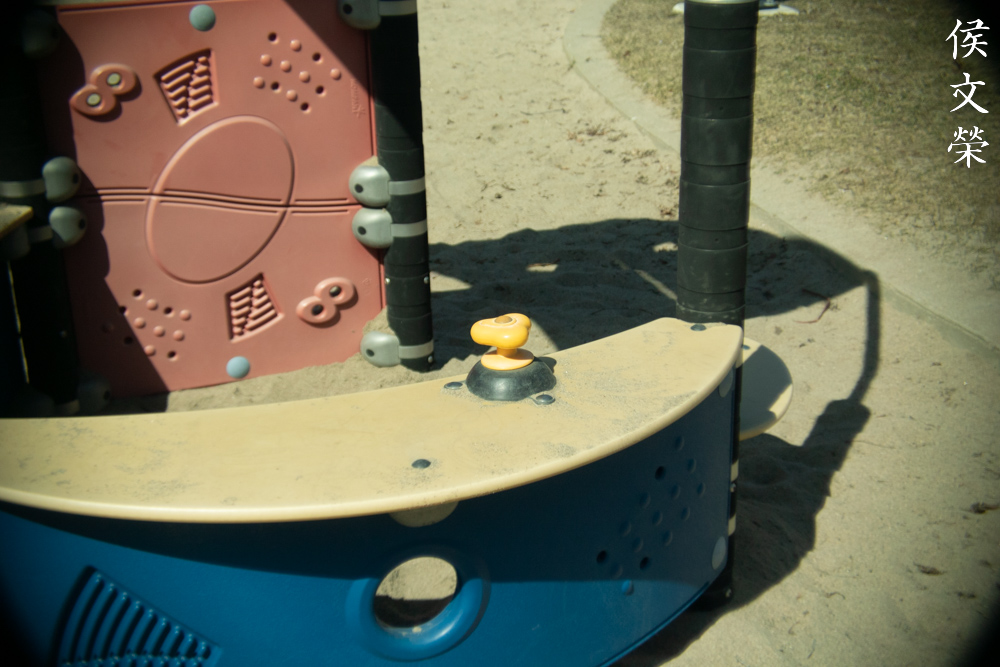
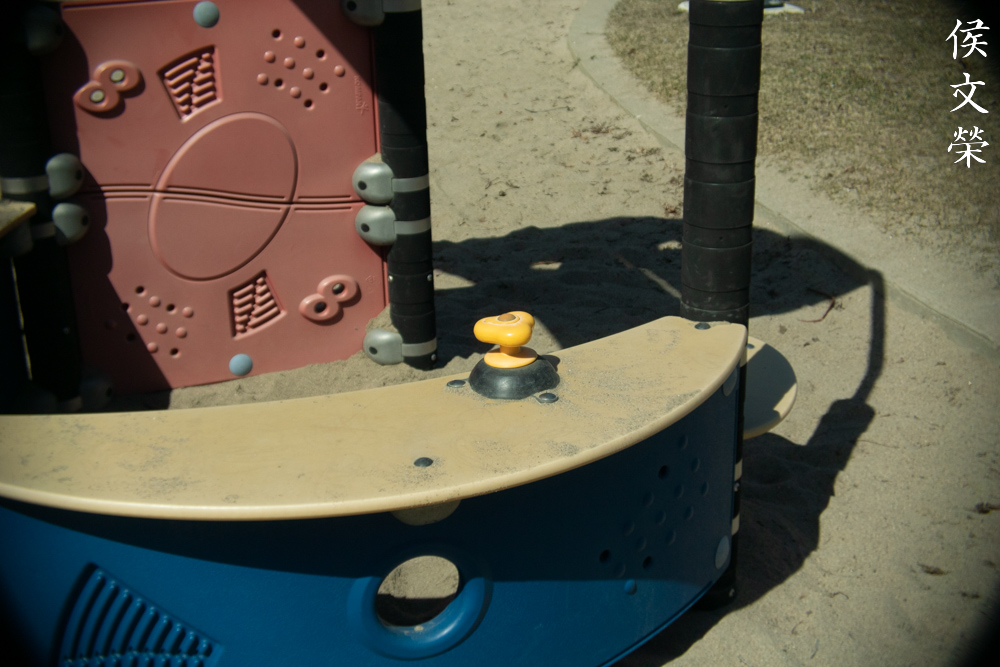
Sharpness is adequate at f/2.2 but the lack of resolution and the glow makes it look soft at the center. It is actually not so bad, it is perfectly usable. You will notice an improvement in resolution when you stop the iris down to f/2.8. That jump in resolving power will help support the sharpness at the center, giving you a clean-looking photo. The center will look even better by f/4 and you can even squeeze more from it when you stop it now to f/5.6. I have shot this from f/8 to f/11, I can say that it is also sharp at those apertures.
It’s unfortunate that the corners won’t look usable until you have stopped the lens beyond f/5.6, and even then it will never look as good as a center.
Let’s see how it performs in actual use. It’s unfair to judge this lens just by shooting mundane objects, the performance and value of a lens should be based on how well it performs in real use and how it is able to help you capture amazing photos.


(Click to enlarge)
Shooting this lens wide-open is never a good idea unless you really have to, the absolutely high amounts of aberrations will be prevalent across the whole frame. You may be able to suppress it somehow just by avoiding certain shooting conditions but it’s not worth it.

Stopping it down to at least f/5.6 is acquired just to get a decent shot, there’s just no other way around it.

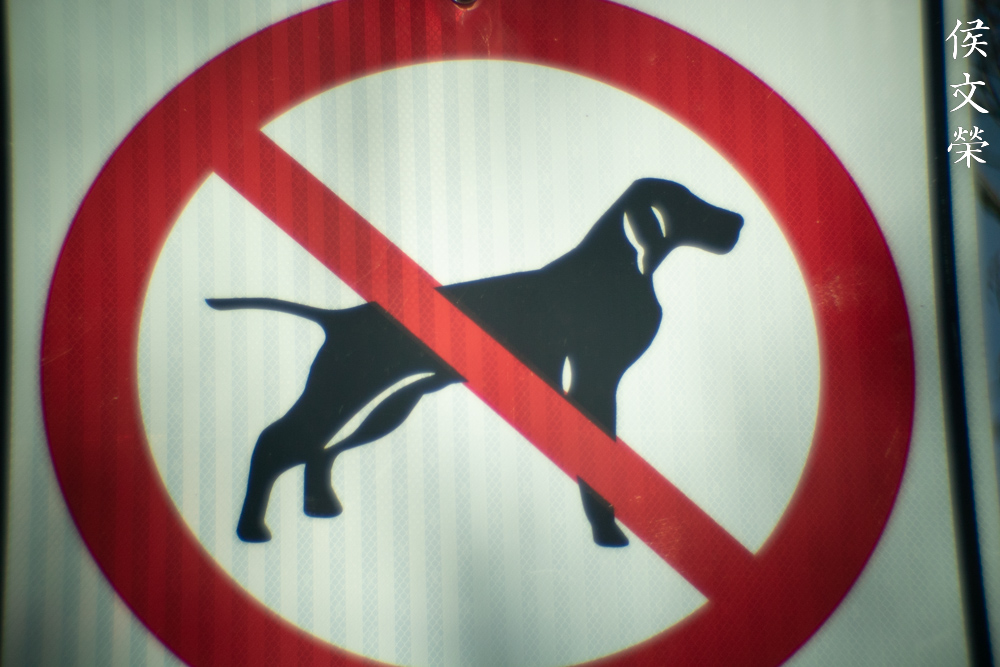
It has a subtle quality to its rendering, which is a nice way of saying that it is not the sharpest lens around and contrast it’s on the low side of the spectrum. That does not mean it’s incapable of producing pictures that look good, I would say that the characteristics of its bokeh is above average for a lens of this vintage.

Stopping the aperture down will not guarantee that chromatic aberration will be corrected completely, it’s still there even if you stop this down to f/5.6.

I would imagine that cinematographers would install a red filter to it which helps give sharper pictures if one is shooting black-and-white film. It does have the foundation for good lens, it’s just that technology hasn’t caught up with it yet.

Even on the cloudy day you’ll get a cool rendering, this is normal with many lenses that were intended to be used with black-and-white film. We may probably see better results using black-and-white film but it’s not something that I am able to present to you at the moment.

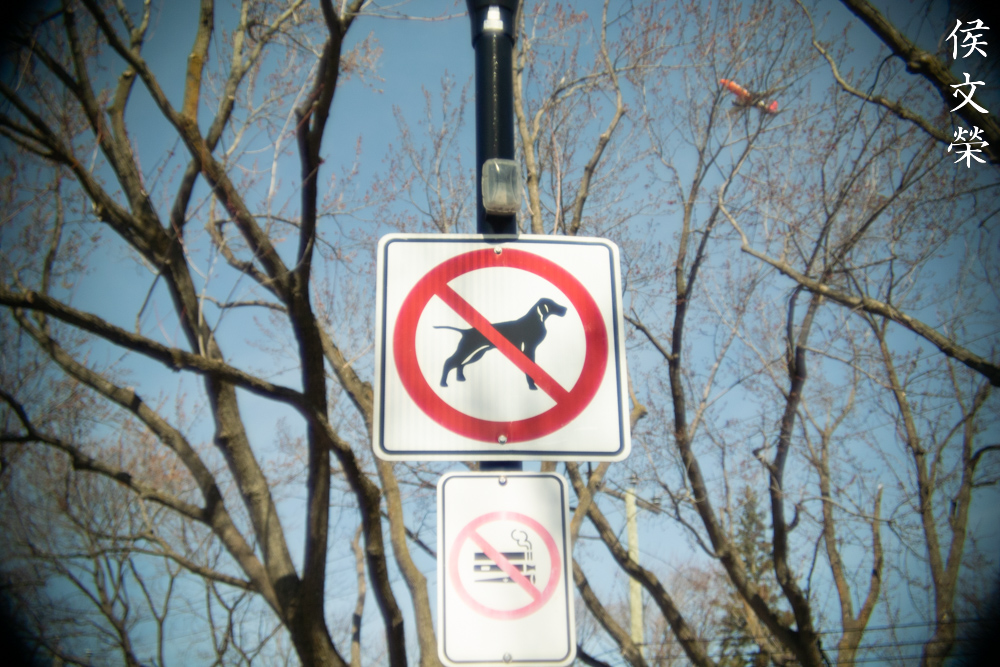
The wide-end isn’t enough in most cases so you should walk further away from your subjects instead. It’s adequate for use as a normal lens and you should think of it as such.

These photos remind me of the pictures that I see from colored magazines from my youth. The quality of the photos and how they were rendered gives it that “classic look” that so many people try to mimic with digital cameras or by shooting with film.


(Click to enlarge)
I can say that I’ve had a good time with this lens. This is not the best option when you don’t have enough light to work with but it’s definitely more than useful on a sunny day. Newer lenses will always trump this one in terms of pure performance due to advancements in technology and design but there’s more to it than just sharpness and other measurable things. If you look at my photos, you will notice that the look is different from what you will get from most modern lenses. There’s character to the photos it takes despite the inferior sharpness, saturation and contrast. You can say that it looks more “organic”.
I cannot recommend this lens to anyone, it’s a collector’s toy. This is not something that you bring out for the fun of shooting it with, like what Indiana Jones said – “that belongs in a museum“. This is also very rare and unscrupulous dealers sell them for ridiculous prices, never buy them at inflated prices. It is reasonable to buy one for $330.00 in fair condition, anything beyond that should be excellent. If you are looking for a copy, make sure that all of the rings turn properly. The glass should be clean but a small amount of marks in the front glass is unavoidable, these are used professionally and are not toys for rich dentists. A little bit of fungus and dust can be cleaned but balsam separation needs professional attention. Check the iris, you shouldn’t find any of the blades deformed or broken, some oil on the blades are inevitable and should be thoroughly cleaned in an overhaul. These are very special lenses and you should wait until you find a copy that suits your budget. Happy hunting.
Before We Begin:
If this is your first attempt at repairing a lens, I suggest that you see my previous posts regarding screws & drivers, grease and other things. Also read what I wrote about the tools that you’ll need.
I suggest that you read these primers before you begin:
- Essential tools
- Best practices 1
- Best practices 2
- Best practices 3
- Ai conversion
- Working with Helicoids
Reading these should lessen the chance of ruining your lens. Before opening up anything, always look for other people who have done so on the internet. Information is vague and scattered but you can still find some information if you search carefully.
For more advanced topics, you can read my fungus removal article. It has a lot of useful information, it will be beneficial for you to read this. I also recommend that you read the working with helicoids article since it is very important!
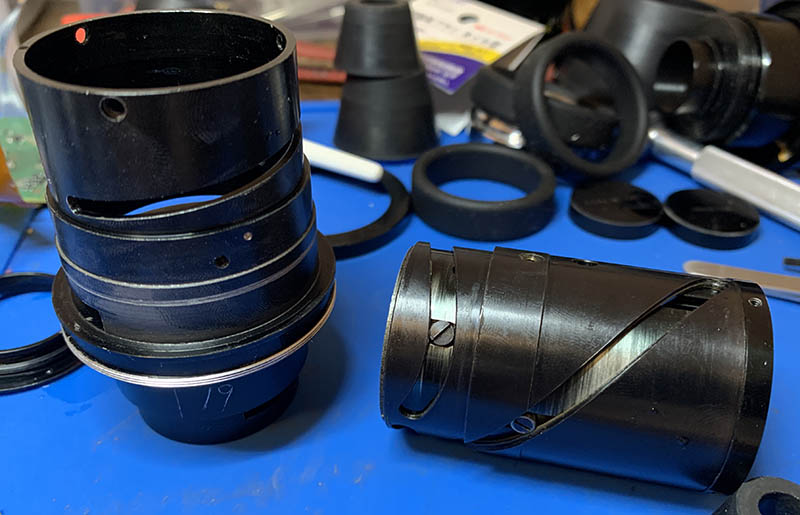
Disassembly (Outer Barrel):
This is got to be the most complicated Cine-Nikkor ever mass produced, at least it’s the most complicated one I have ever encountered. This is like a little puzzle, you will need to remove things in sequence just to be able to proceed to the next step. This is a very rare lens and an advanced one, too. You’ll need special tools in order to service one of these properly. If you’re lucky enough to own one, please never try to DIY it if there’s something wrong, send it to a specialist. These are too valuable just to be ruined by amateurs. If you have found a reputable repairman, show him my article just in case.
This section will show you how to remove everything found outside of the lens, we need to strip it down so we can access what’s inside of it and do a thorough cleaning. There’s no skipping this step because a lot of things can only be accessed once some of the outer parts are removed.
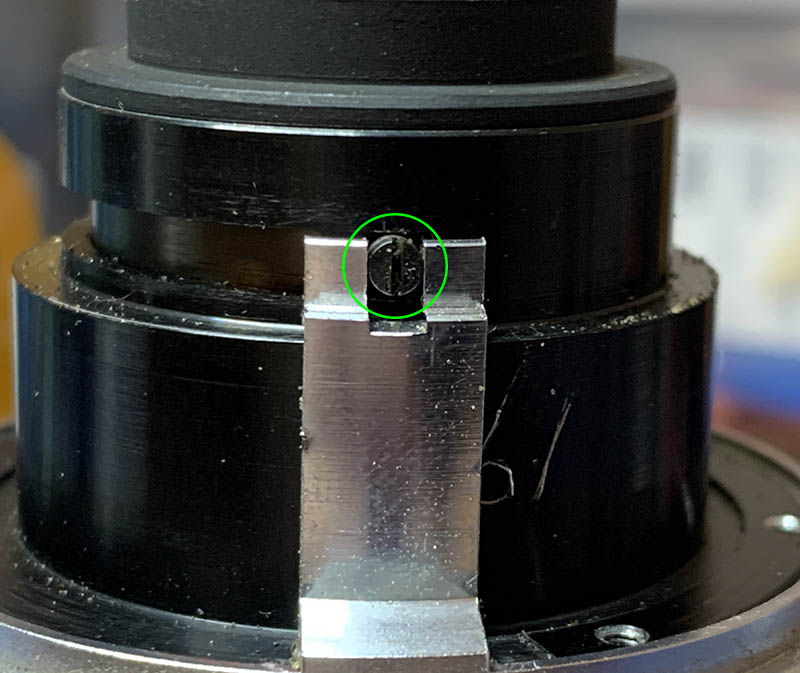
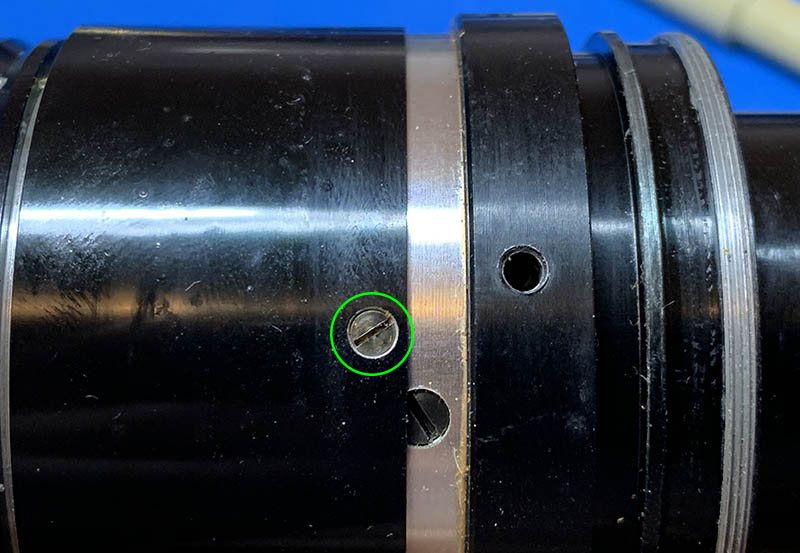
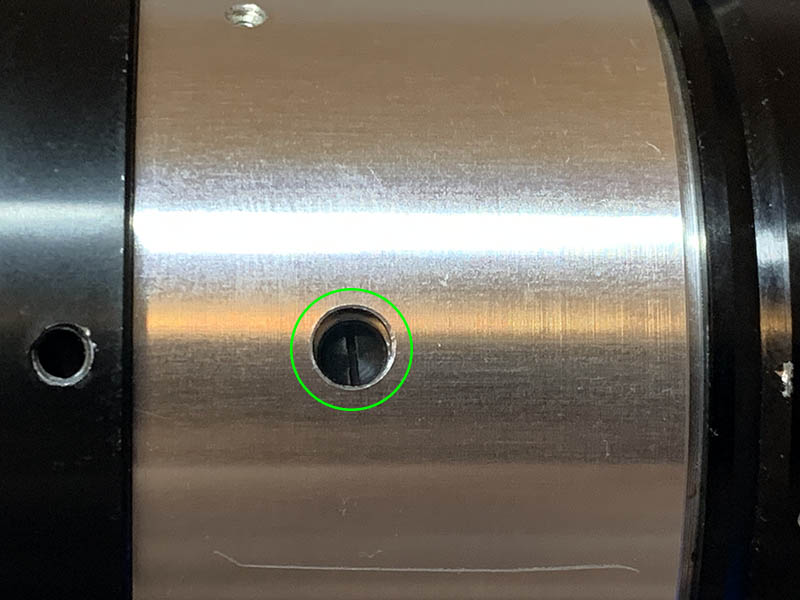
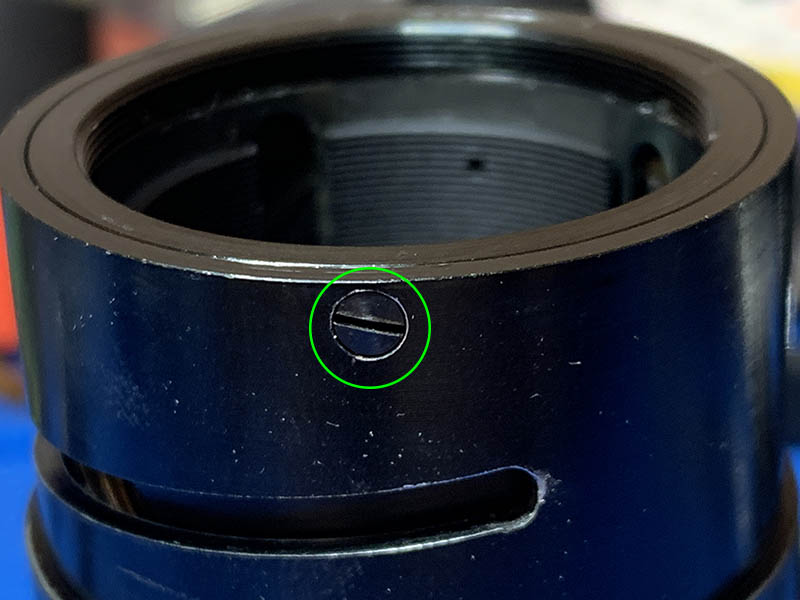
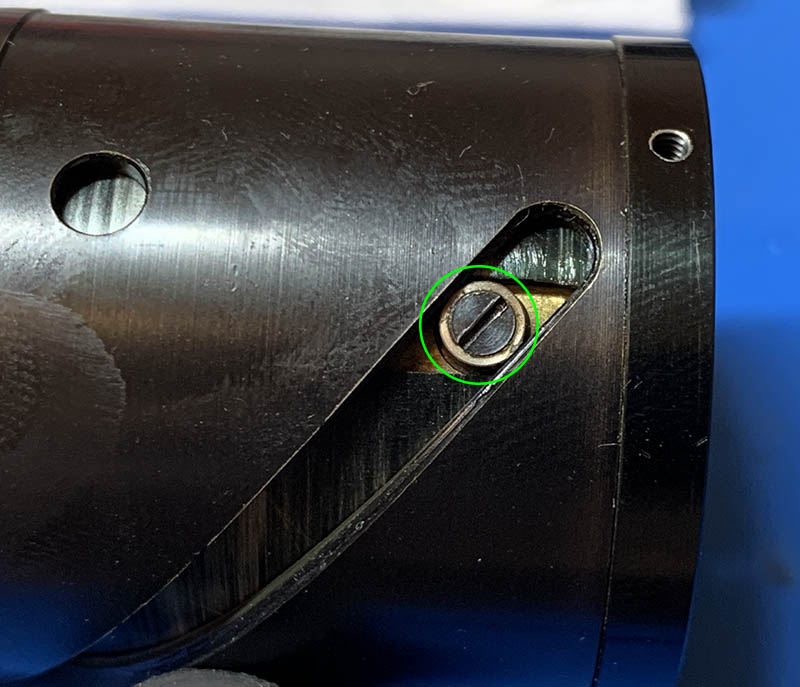
You can actually begin from the front but I chose to begin from the back instead because you can access the coupling pin of the iris mechanism quicker this way. My goal is always to keep the Iris mechanism safe because Cine-Nikkors have very delicate manual irises.
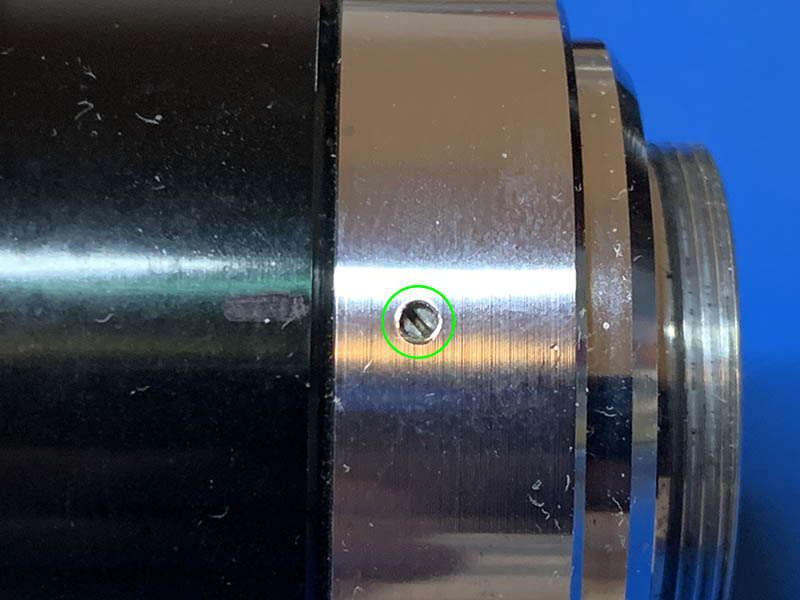
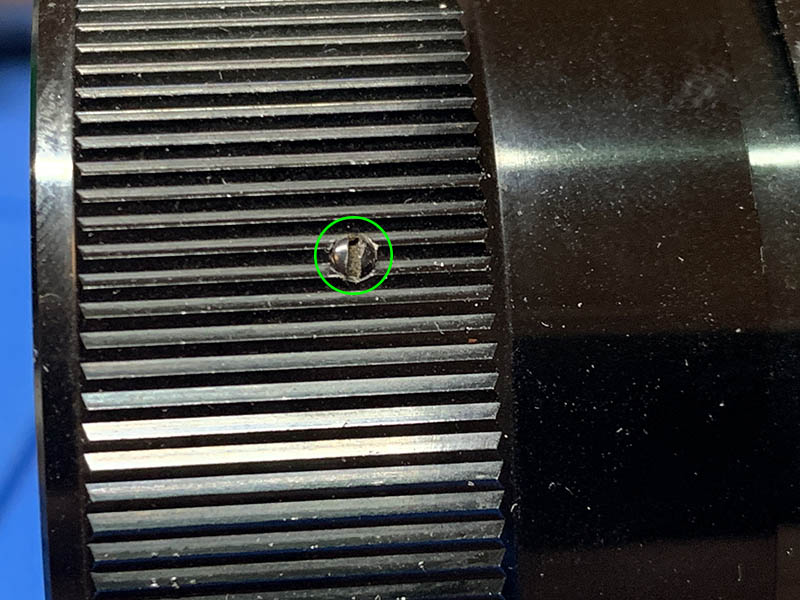
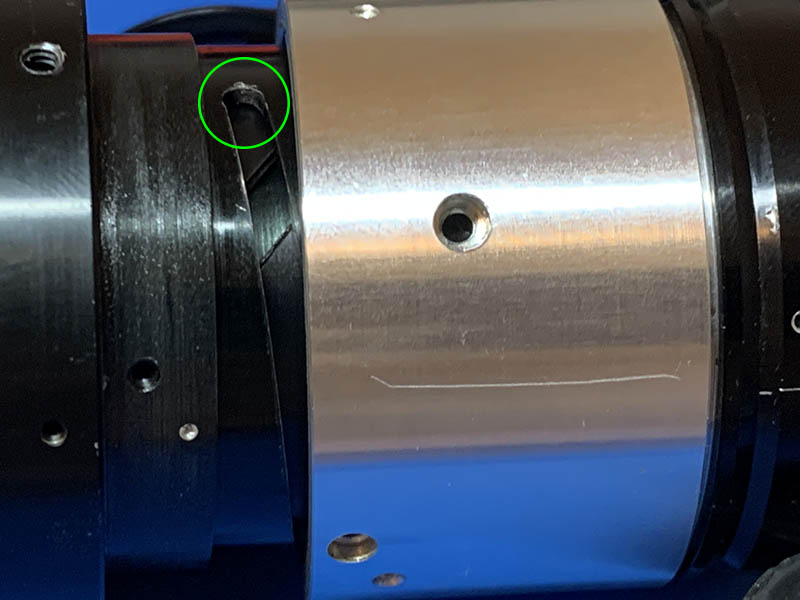
Locate and carefully extract this screw, it is very long and should be totally removed. Keep it safe so you won’t lose it.
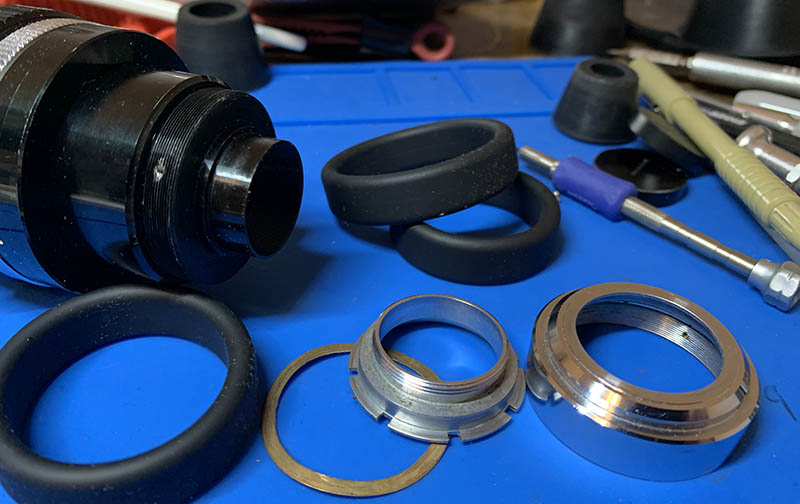
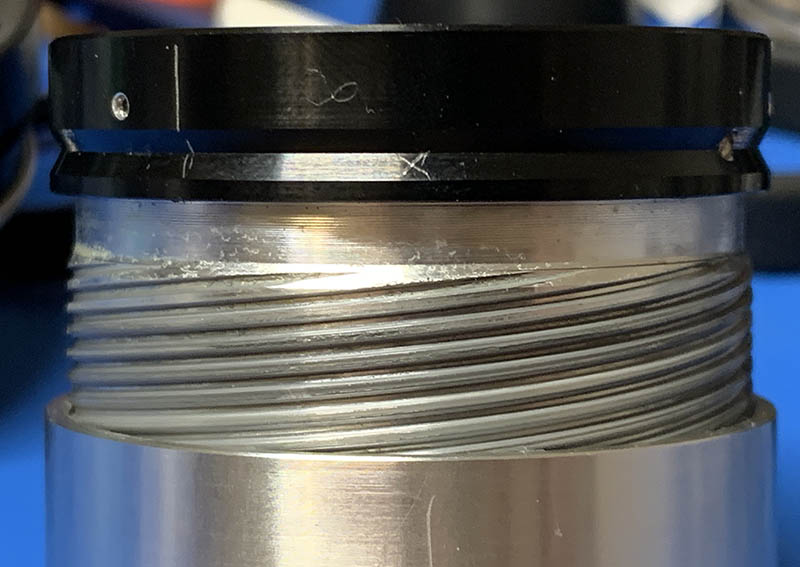
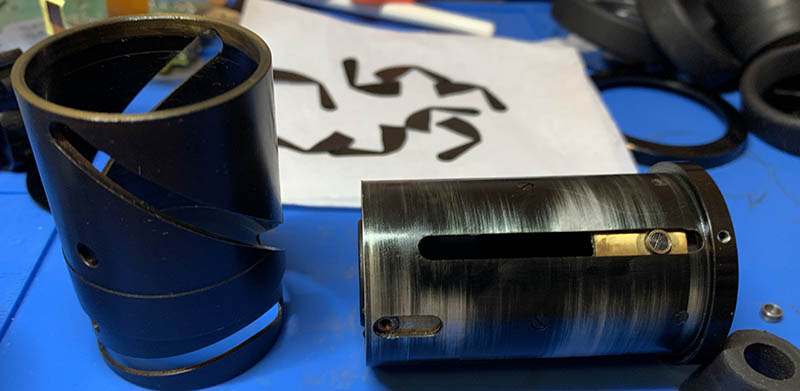
Unscrew the collar off and remove the spring and mount underneath it. These are usually filthy so clean them very well.
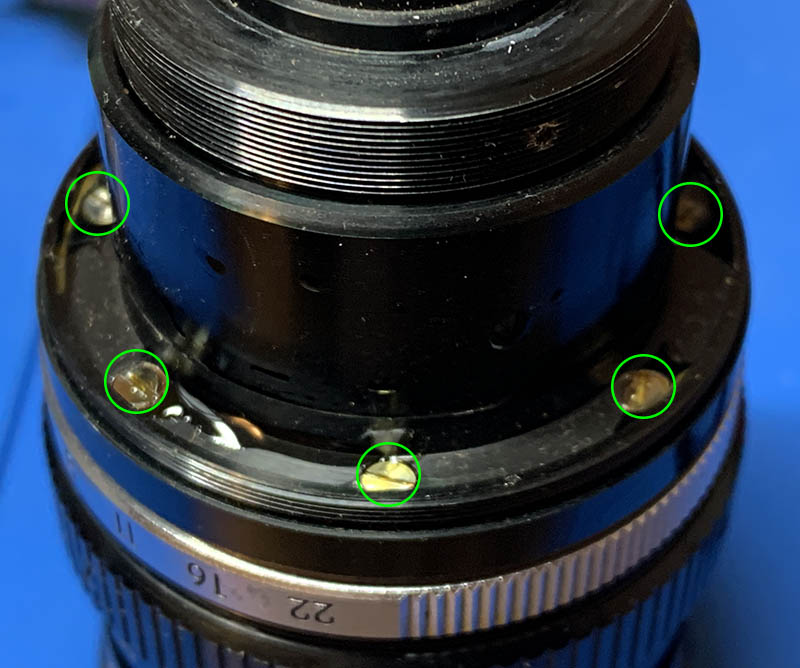
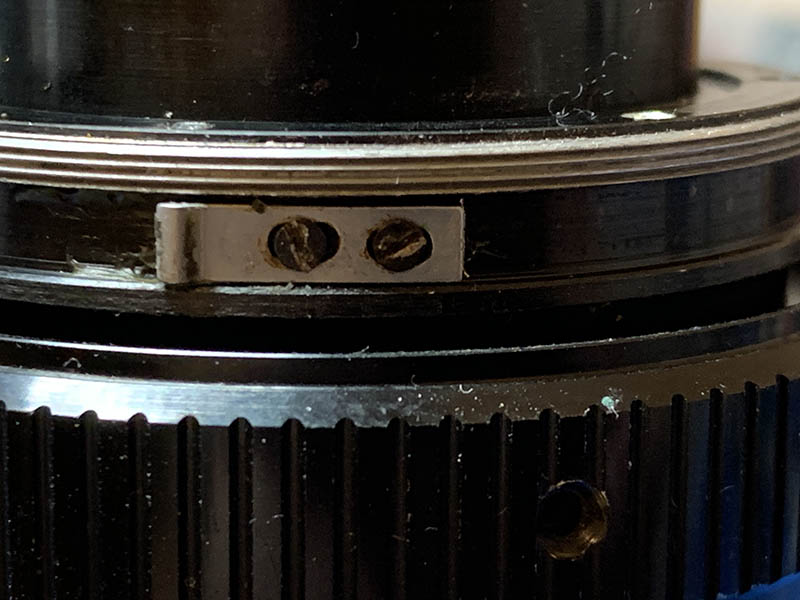
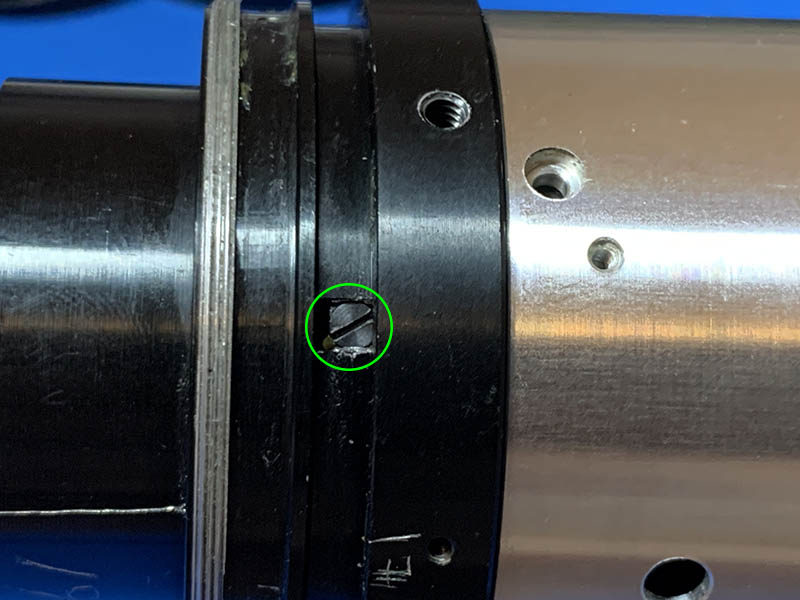
Unscrew the cover around the neck of the barrel to reveal these screws. They are coated with lacquer or a kind of shellac, dissolve the seals very well using acetone or alcohol, make sure that the seals are all gone or else you will have a very tough time extracting these. Once there are no traces of lacquer left carefully extract all of the screws, if they won’t budge still, heat them carefully and try again.
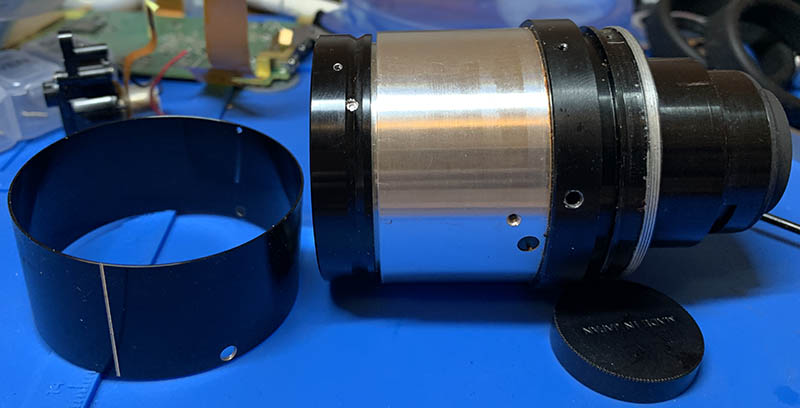
Once the screws are gone you can remove the rear casing.
(Click to enlarge)
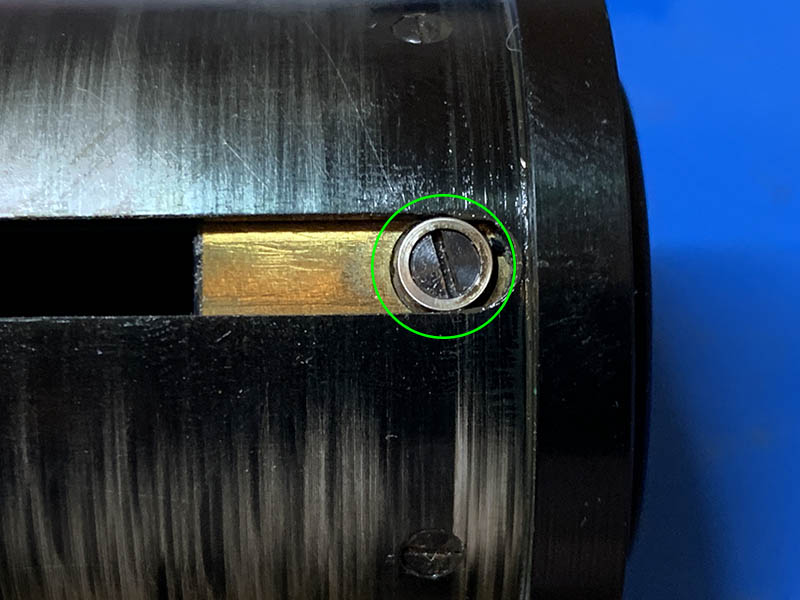
Carefully extract this screw so you can uncouple the Iris mechanism from the aperture ring. You are then able to unscrew the aperture ring off towards the rear of the lens.
Extract these screws so you can remove this little spring, it’s responsible for the click-stopping action. This is an adjustable part so make sure to note its position first before you do anything.
(Click to enlarge)
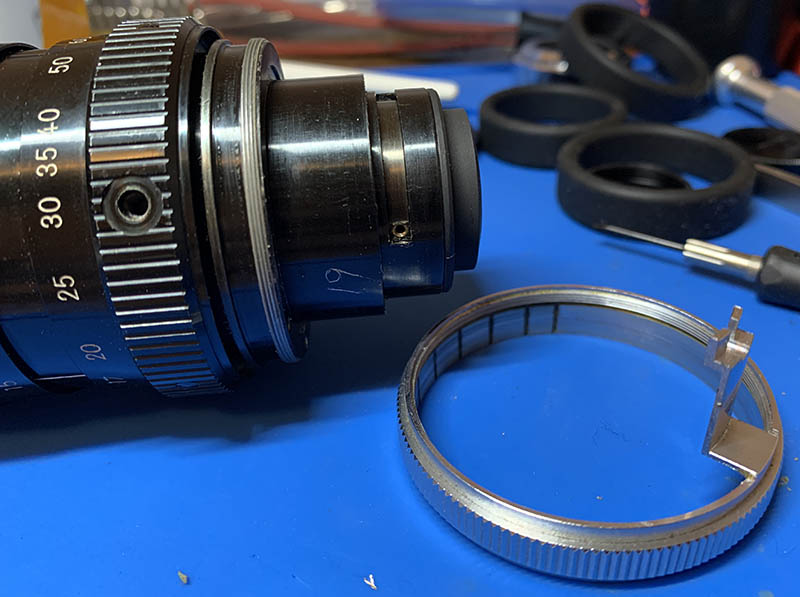
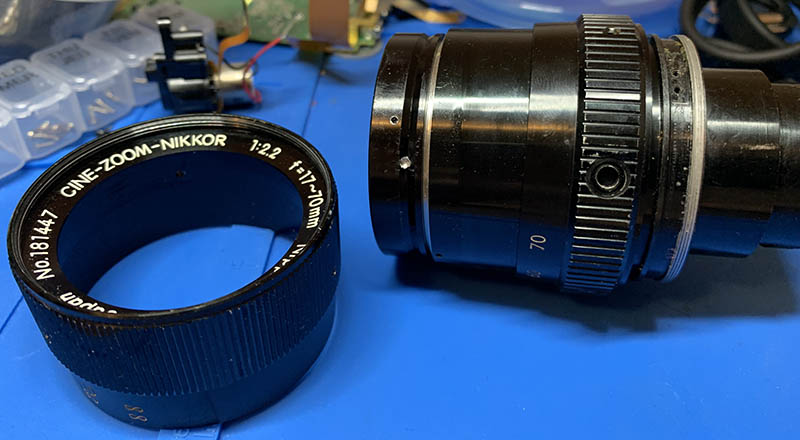
Carefully extract these screws so you can remove the focusing ring. You must use a driver that fits the slot as close as possible so you won’t scar the surrounding ridges pattern or strip the heads of the screws.
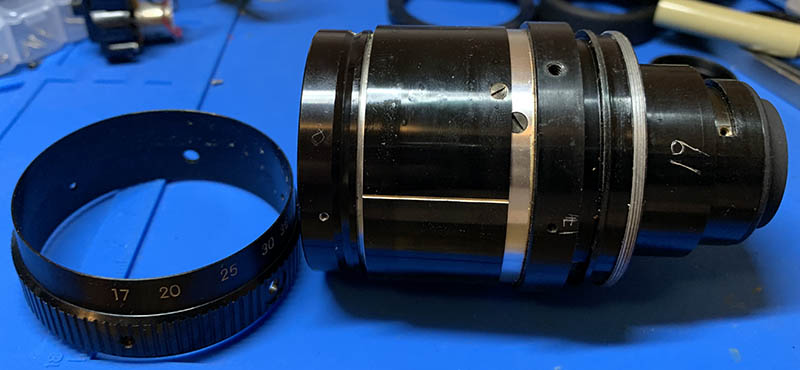
Once the focusing ring is gone, extract the screws of the zoom ring and slide it off towards the front.
(Click to enlarge)
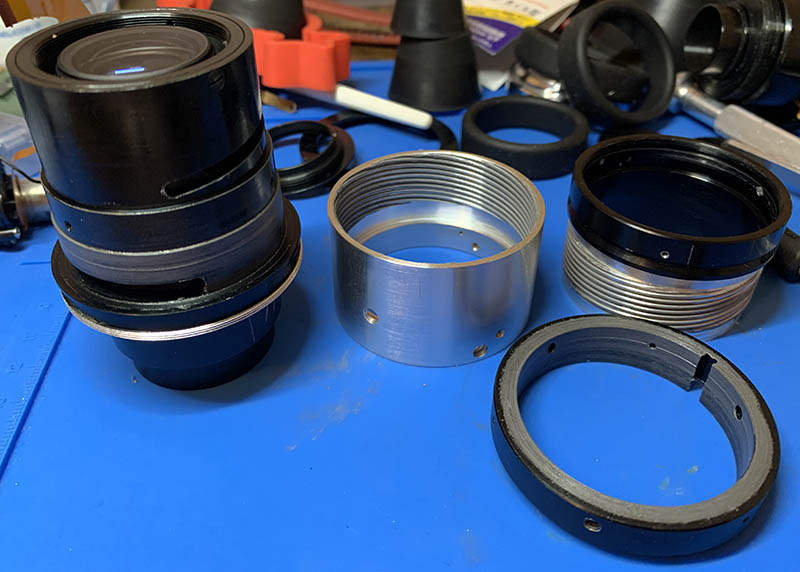
Locate and extract these screws to remove the sleeve from the barrel.
At this point you may notice some oil or grease lining the inner parts of the barrel, wipe them all off with a lint-free tissue moistened with solvents. Doing that will help you grip things better later. Set aside all of the things that you have removed, you will clean them later together with some of the other parts.
Disassembly (Inner Barrel):
Once you have gotten to this point there’s almost no turning back because all serious repairs begin from here on. Many of the more delicate mechanisms and parts are easily accessible so you must be careful if you need to grip the lens or remove something, you may accidentally crush something, etc. This section is a bit complicated so follow my directions carefully and take as many notes as you can before you remove something so you will know how to put it back again later.
It’s common sense to remove any delicate parts as soon as you have access to them, if you see something here and you think that you can remove it earlier than I did, please do it. Examples of which are the front or back optical assemblies and the iris mechanism. The iris mechanism is very delicate so you should not be careless, you will see later for yourself in this section.

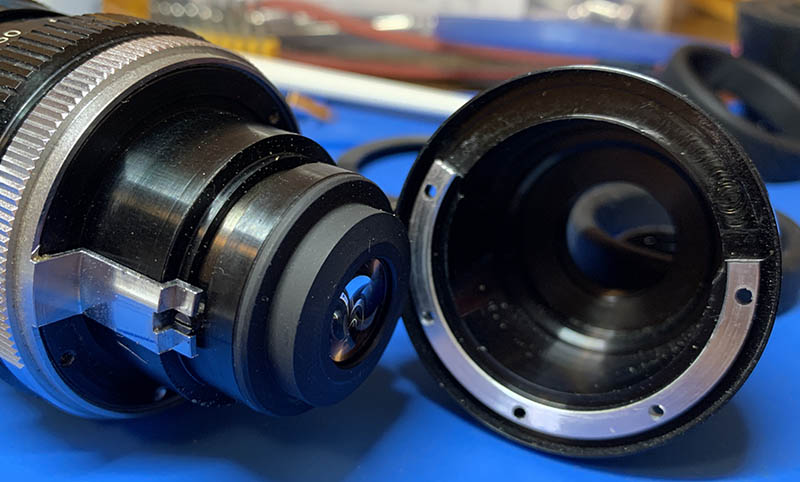
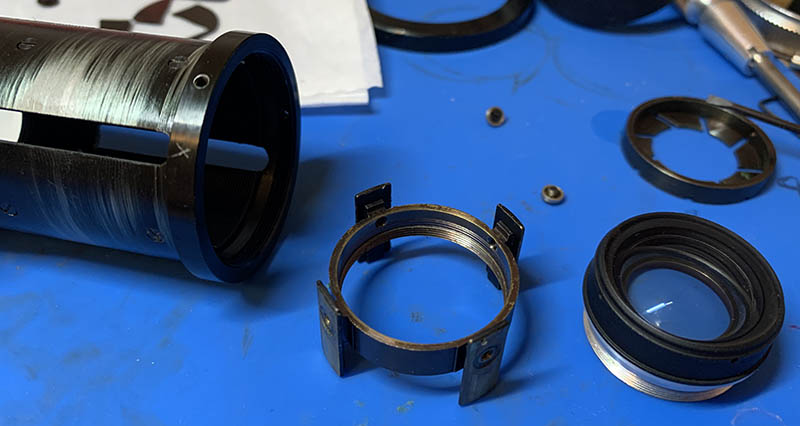
Carefully remove the rear optical assembly using a rubber tool, set it aside in a safe place. You should do this much earlier, as soon as you are able to access this thing, I don’t know why I have waited until here.
(Click to enlarge)
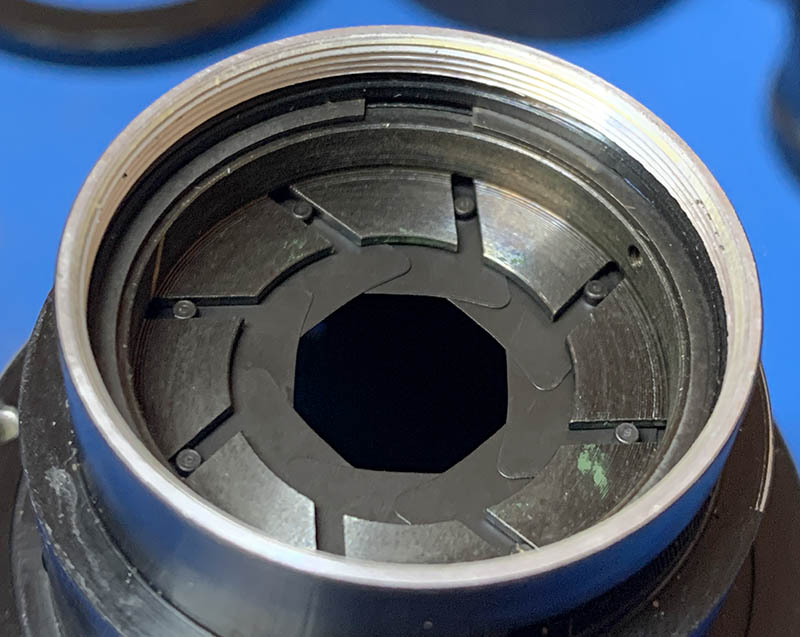
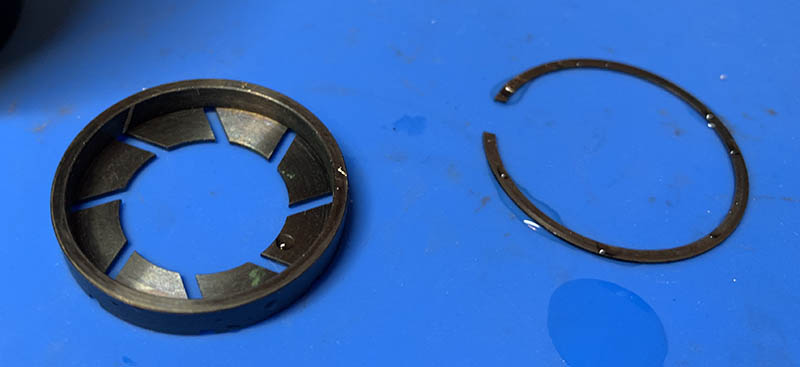
The iris mechanism is secured with a clip, carefully remove the clip then pull the actuator plate off.

Inspect the direction of the iris blades so you will know how to put it back again later.
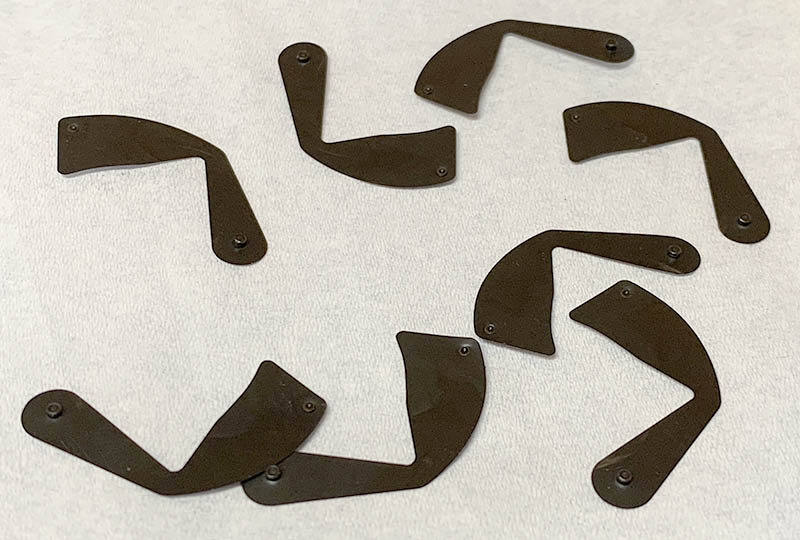
Carefully remove the blades and make sure never to damage them, they are very delicate.
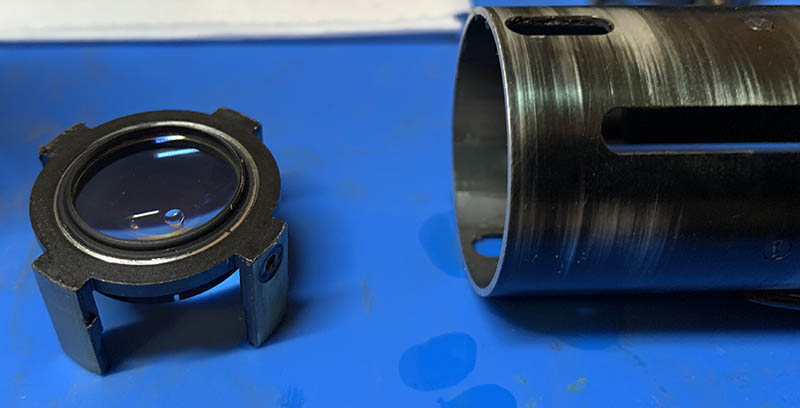
The front optical block can be unscrewed using a lens spanner, keep it in the safe place.
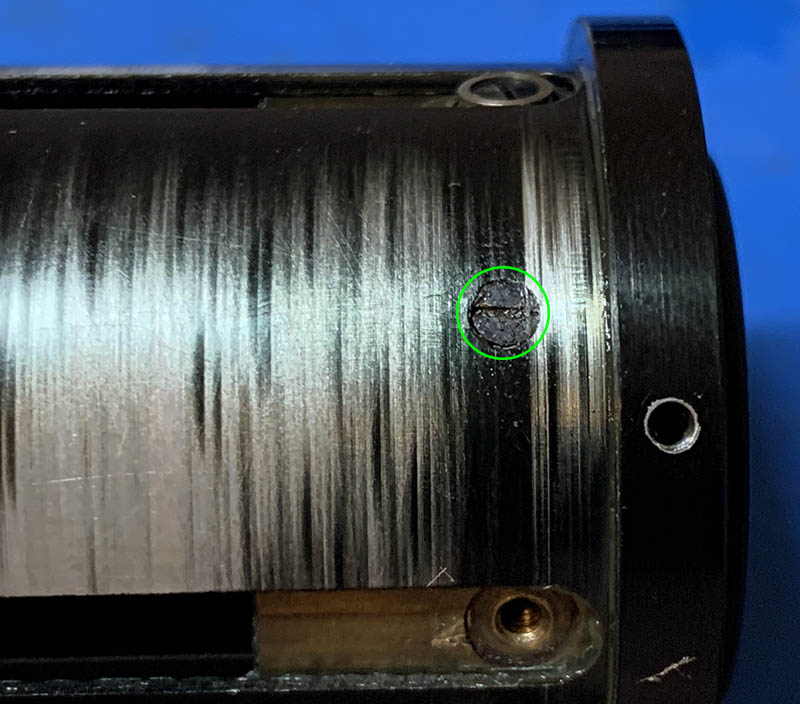
Turn the tubes until you gain access to this screw, extract it carefully.
The tail of the screw that you have just removed slides within this groove.
Locate and extract this screw to decouple the zoom cams from the zoom collar. You can do this later but I got rid of it now, it won’t make any difference.

(Click to enlarge)
Collapse the helicoids and mark their positions, you should be able to recreate this again later. Separate them and do not forget to mark where they have parted because this is also the same place that they will mesh. Many people forget to do this so they end up with a lens that won’t focus properly, this is not easy to correct and will require several attempts to get things right. Read my article on working with helicoids, I wrote that because it is a common beginners problem.
You can now slide the helicoids off from the inner barrel and the aperture ring coupler can be removed as well.
(Click to enlarge)
Locate and extract these so you can pull the thrust cams mechanism of from the inner barrel.
The parts shown in this section will be coated in old grease and oil, wipe them carefully. We’ll clean them all together later. One important thing is you must store the iris blades in a safe place so you won’t bend or damage them accidentally.
Disassembly (Thrust Cams):
This is probably the most puzzle-like object that I have ever seen from a Cine-Nikkor. While it’s actually a simple assembly some parts appear identical and can be a little bit confusing at first. The previous section it’s actually more challenging but this part is definitely more confusing. Please pay attention and take lots of reference photos. You should also be careful not to scratch the glass while you work with this assembly.

(Click to enlarge)
Locate and extract these guide rollers carefully but don’t forget where which thing came from which hole.
Pull off the inner cams assembly once the rollers are gone.
(Click to enlarge)
You can now access these and do the same thing for them as you did with a previous guide rollers. That is all you’ll need to do so you can pull the first floating group off. The optics can then be safely unscrewed.

(Click to enlarge)
The rear floating group can be pushed from the other side or you can hook it out using a bent paperclip. I then removed the optics using a land spanner.
(Click to enlarge)
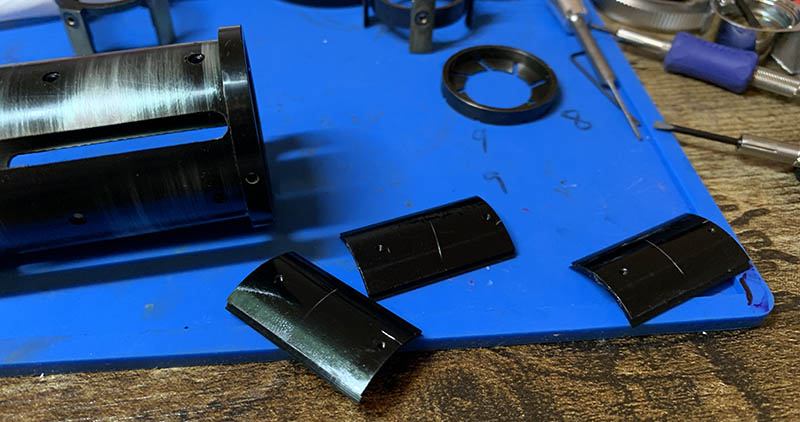
These screws secure the rails, there are six of them. Extract them carefully so you can remove the rails and clean them properly. Do not forget which side should be facing where, in my lens, it’s the side with a hole that is closer to the edge.
Set the optics aside and clean all of the metal parts very well, I scrubbed everything thoroughly using a strong toilet detergent, then rinsed everything very well using warm water. A final alcohol bath helps a lot in removing any residue. I then wiped everything dry then left them all to dry even further before I apply any fresh lubricants. You must never use too much lubrication, all you need is a thin film of fresh grease. I used a flat brush and lightly coated all metal-to-metal surfaces that slide against each other with grease. It’s so thin that I barely noticed them, and that is all that you’ll need. Applying excessive lubrication is not a good idea because it will soon creep into the iris mechanism, necessitating another complete overhaul. Exercise the parts carefully so the grease will spread more evenly.
If your lens has fungus, read my article on how to clean lens fungus, just make sure that you dilute it with distilled water so it’s not going to be too strong as it may damage the coating.
Conclusion:
I have now demystified one of the most enigmatic Nikkors ever, I certainly learned a lot from it. This is my most cherished Cine-Nikkor because of its uniqueness and rarity, but I am now proud to say that I am the only person to have ever presented this very rare lens to you in all its entirety. I could never find any data about it anywhere, not even in catalogs. Whatever information I found about it is useless or of very little interest to the format of this site.
That’s all for today, you have seen another original content about something so rare that you want even see anything about it elsewhere. Despite the lack of data, this is still the most informative article for this mysterious lens. Did you like it? If you support my work please leave me a little tip, that will help me a lot in maintaining this site, it will also keep this site online. I do not accept sponsorships from anybody and I have even turned down a few offers from some companies. I don’t want my opinions to be influenced by money or exposure, that goes against my moral compass, that is why your support means a lot to me. It has been my pride that I have given the community one of the best photography resources ever and I’ll continue to do this until the point that I couldn’t. Thank you very much and see you again next time, Ric.
Help Support this Blog:
Maintaining this site requires resources and a lot of time. If you think that it has helped you or you want to show your support by helping with the site’s upkeep, you can make a small donation to my paypal.com at richardHaw888@gmail.com. Money isn’t my prime motivation for this blog, I believe I have enough to run this myself but you can help me make this site grow.
Leave me some tip?
Thank you very much for your continued support!
$2.00
Helping support this site will ensure that it will be kept going as long as I have the time and energy for this. I’d appreciate it if you just leave out your name or details like your country’s name or other info so that the donations will totally be anonymous. This is a labor of love and I intend to keep it that way for as long as I can. Ric.
