
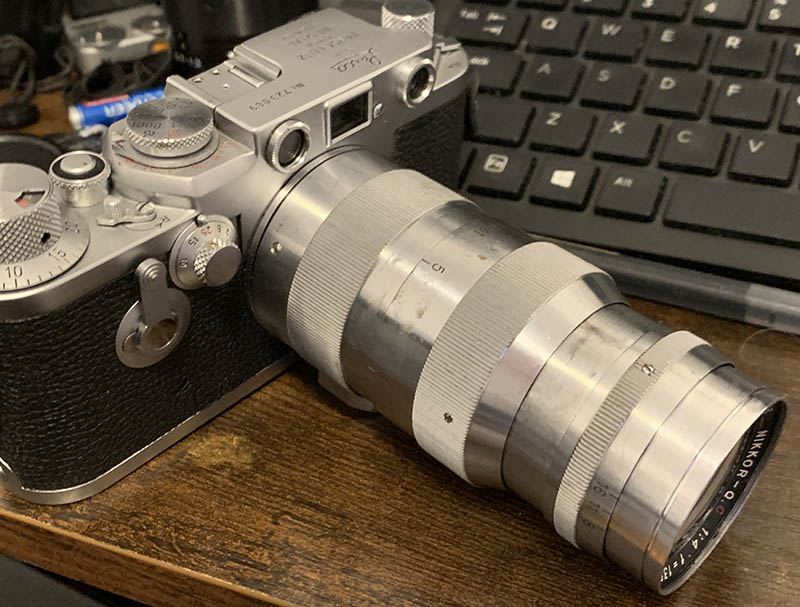
Hello, everybody. Do you listen to heavy metal? My favorite band is Judas Priest, I love their style and the music that they make. It has been several decades since they debuted but their music never gets old. The frontman (Rob Halford) left the band for some time but now he’s back and he is just as metal today as he was more than 45 years ago. His voice became the basis of the metal sound and the guitar work became the influence of so many bands that came after, their legacy lives on each time we listen to young bands shredding and screaming at the stage. Today, I will show you another “heavy metal”, and just like Judas Priest, it has left a lasting influence in Nikkor history.
Introduction:
The Nikkor-Q•C 13.5cm f/4 is part of the original lineup of Nikkors that Nikon made right after the war. It was1946 and Japan was in shambles with most of her industrial base fire-bombed by the Allies down to the ground, literally. Through determination and a lot of hard work, Japan has risen from defeat. A lot of that was fueled by companies like Nikon. Post war dollars had to be earned and Nikon was one of the few companies that had the capability to help. And thus, Nikon was transformed from making optics for the military to a consumer optics company. You can read more about this in my other Nikkor-Q•C 13.5cm f/4 article where I also mentioned the rest of the initial 6 great Nikkors that came out right after the war.

The barrel is made from heavy duty brass, making it a very dense lens when you hold it. It is certainly a lot heavier than it should be. You’ll notice that the workmanship isn’t as good as later Nikkors, that’s because Japan was a covering from a devastating war at that time so materials are scarce and the machines that’s left weren’t up to the task, it’s really a story of struggle and triumph for Nikon.
It has a 4-elements-in-3-groups design of the Sonnar type, it is identical to the Nikkor-Q•C 13.5cm f/4 that I have covered so please read that article instead to know more about the optics. I don’t think it’s needed for me to repeat what was said there in this article. It would be better that I concentrate on how different this lens is instead because this is a Leica-fit version so the handling will feel different.
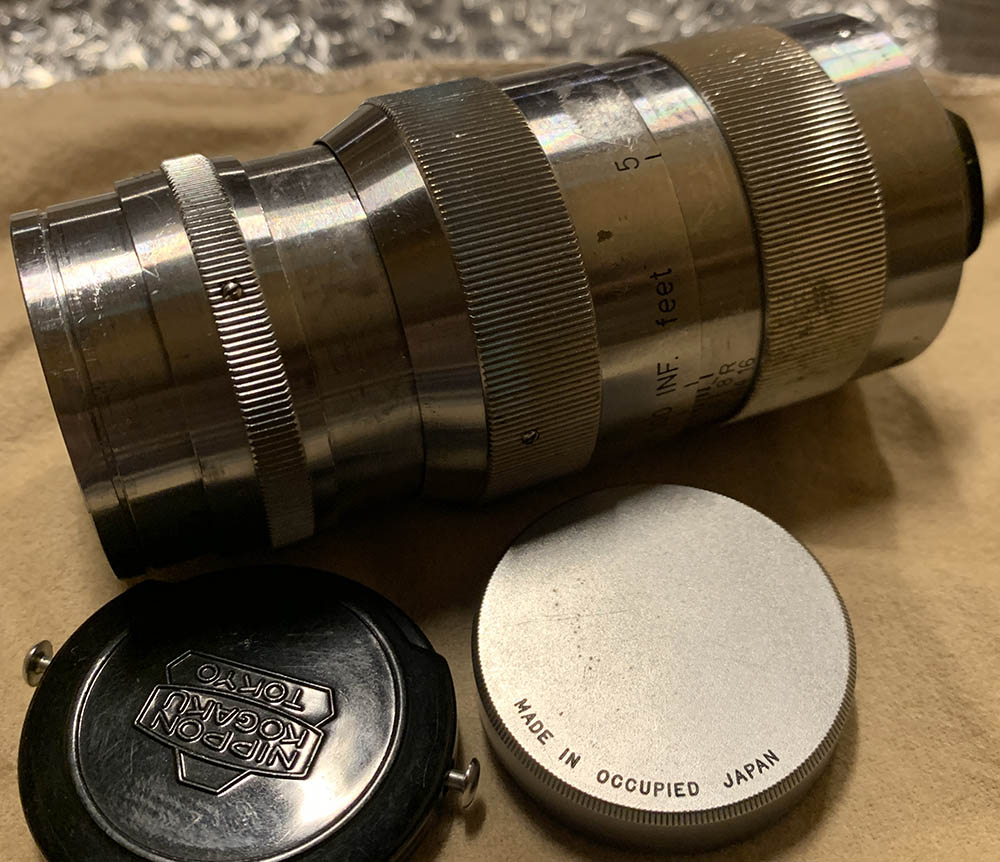
The crudely made products from this time in Japanese history were engraved “Made in Occupied Japan“, a shameful mark signifying the subjugation of a nation by foreign powers. These products are now sought by collectors for their historical significance.

It is a very heavy lens so you will need to support it by holding the whole setup by the lens and not by the camera. It will cause too much stress on the camera’s chassis, leading to a broken mount. Do not mount it to a tripod with the camera’s base, but use the tripod foot found under the lens. I got the best adapter for L39 that money can buy, it’s a Rayqual that’s made in Japan. No Cheap Chinese Product (CCP) will be able to match its workmanship, unless you’re willing to pay more then just buy a quality Japanese adapter. The Nikon Z fc isn’t the best camera for this, it does not have image stabilization like the Nikon Zf does. It also doesn’t have a 35mm sensor as well.
The whole front barrel turns along with the focusing ring so set your aperture before you focus, that will help a lot because turning the aperture ring will also turn the focusing ring and the front barrel unless you grab the focusing ring. This is unintuitive but that’s just how things were back then.
I won’t be presenting a series of photos showing how this lens performs because I have done that in the other article of the Nikkor-Q•C 13.5cm f/4. Please visit that article instead if you want to see tests photos and sample pictures that were taken in the field.
I can’t really recommend this for the casual shooter because of how rare it is, this is a collector’s item, it belongs in a museum like what Indiana Jones said. With that said, if you are indeed a collector, take the lens out and shoot with it. Every Nikon collector who specializes in this period should at least have one of these, if not, then you should be on the lookout for one. These are very rare but they do come out from time-to-time and their prices vary a lot depending on condition but the ballpark is $400.00. Never pay for more than that unless the lens is in pristine condition with all necessary items such as the hood and box. I rarely see them sold in this condition but they do appear. When looking for one, be sure that the iris isn’t broken. Carefully open and close the aperture and see if they move correctly, you should also inspect the blades and count them, they should be complete and the shape that they produce should be round. If the iris is misshapen, skip it or ask for a hefty discount because it’s not worth the trouble to fabricate one. See if the glass is clean and without fungus, it may be normal find cleaning marks at the front element but the scratches should never be felt when you run your nails across it. Turn the focusing ring and see if it’s tight, this is the least of your troubles. Inspect all of the screws just to see if they’re all original. It may take you a few years to be able to find one in great condition and with a reasonable price, just be patient.
Before We Begin:
If this is your first attempt at repairing a lens, I suggest that you see my previous posts regarding screws & drivers, grease and other things. Also read what I wrote about the tools that you’ll need.
I suggest that you read these primers before you begin (for beginners):
- Essential tools
- Best practices 1
- Best practices 2
- Best practices 3
- Ai conversion
- Working with Helicoids
Reading these should lessen the chance of ruining your lens. Before opening up anything, always look for other people who have done so on the internet. Information is vague and scattered but you can still find some information if you search carefully.
For more advanced topics, you can read my fungus removal article. It has a lot of useful information, it will be beneficial for you to read this. I also recommend that you read the working with helicoids article since it is very important!
Disassembly (Rear Barrel):
There’s not a lot of differences in terms of construction between this lens and other similar Nikkors. There is a chance that some things are different due to internal variations and that’s it. Overall, it’s not a difficult lens to service if you are used to it but I will not recommend this to beginners at all because you’ll need a couple of special tools. Some parts are also difficult to remove and you will need experience and skill just to extract a single stuck screw. This is very valuable so it’s best that you leave this to the professionals.
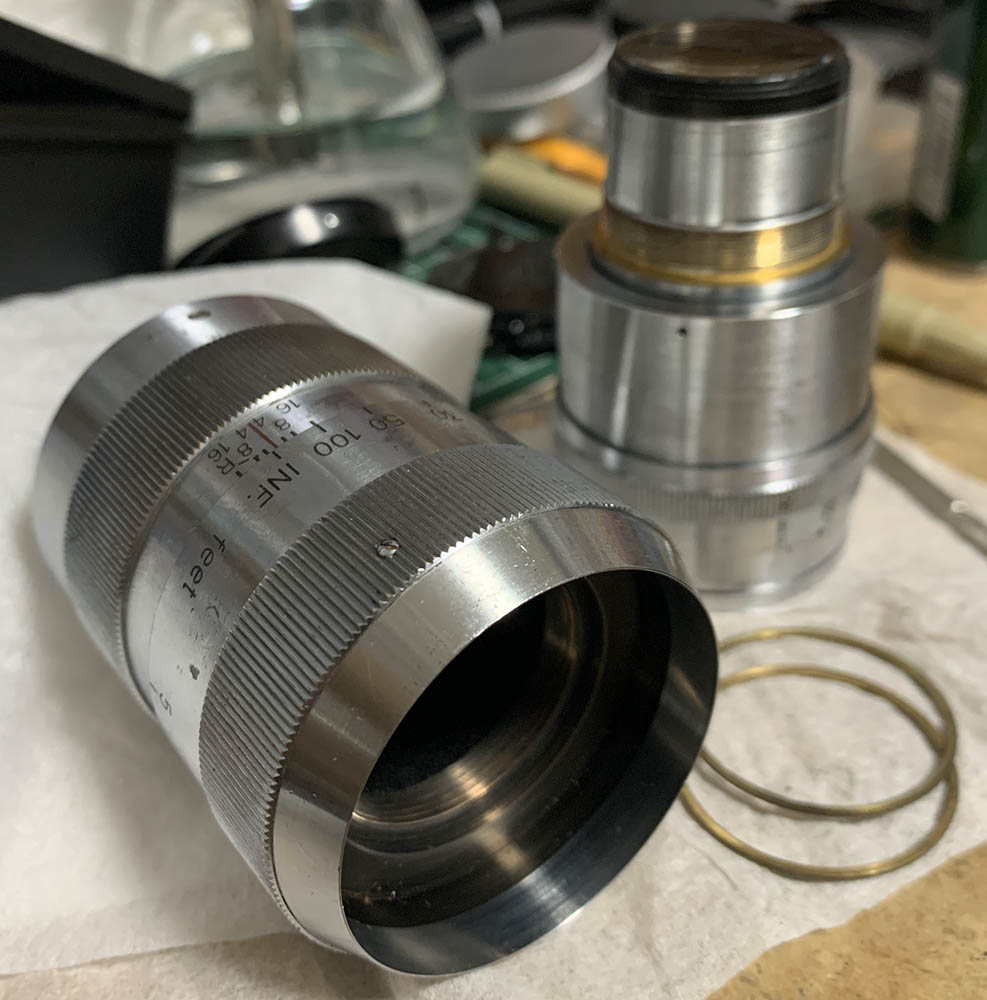
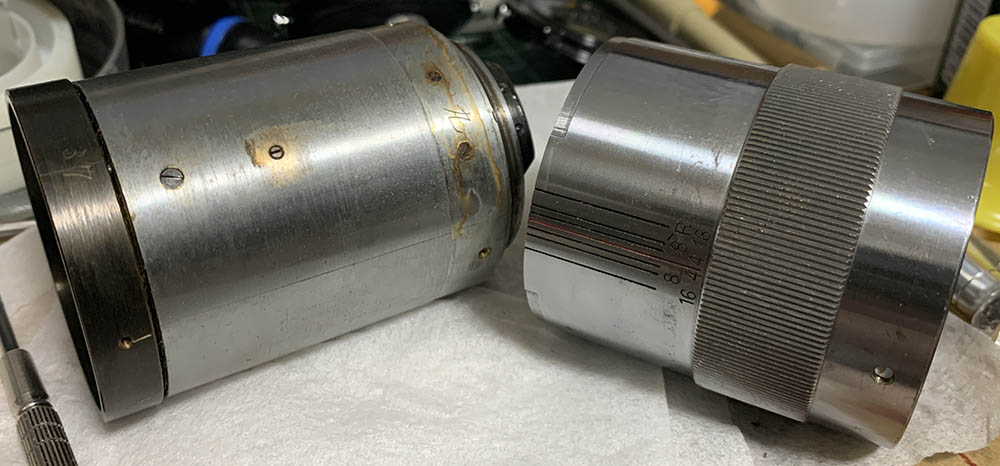
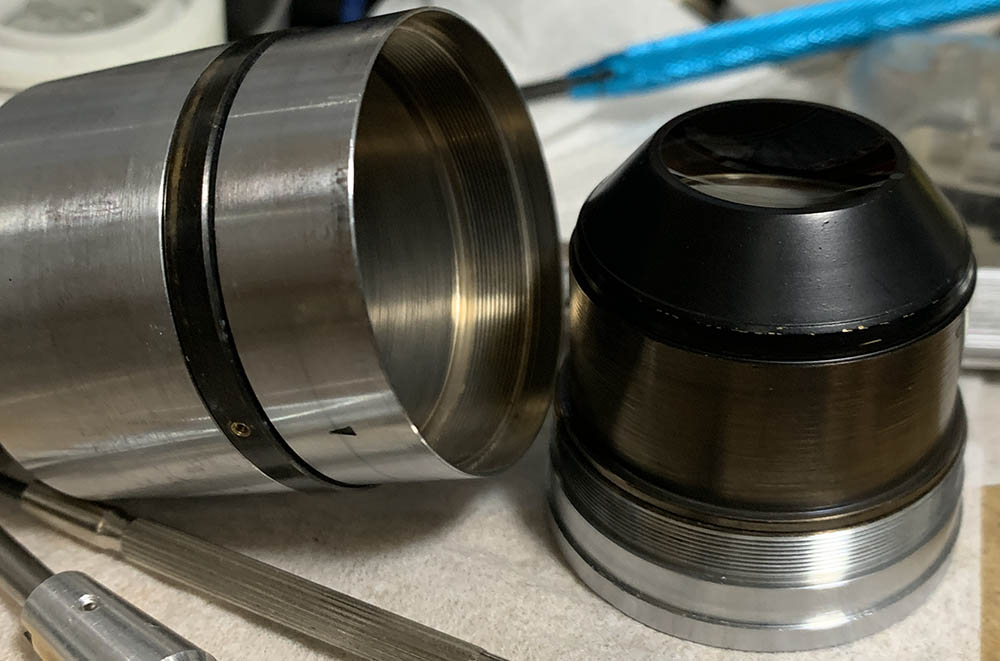
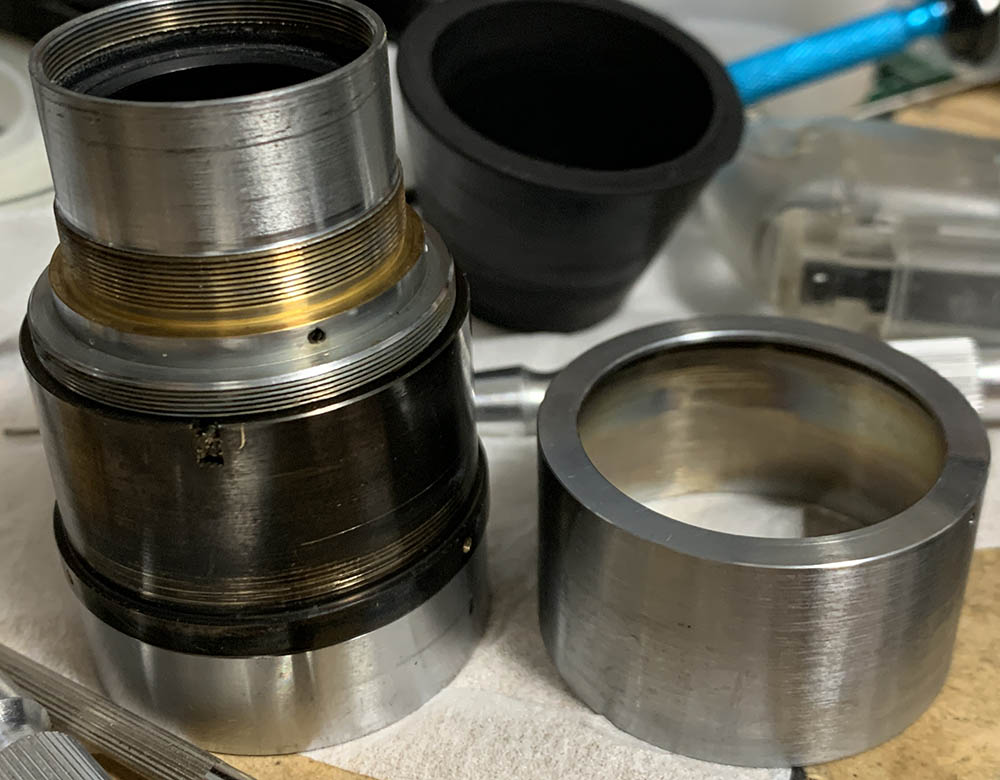
Like most telephoto Nikkors from this time you’re able to separate the lens by turning the barrels apart. It is very important that you don’t grab the front barrel by the aperture ring or you risk damaging the iris.
Notice that there are shims found under the front barrel, these are used to adjust the focus of the lens. If you have lost or damaged any of these you won’t be able to find replacements and you should fabricate them yourself and make measurements. Set the front barrel aside and keep it safe so it won’t roll-off the edge of the table.
Extract the screws of the focusing ring so you can pull it off from the rest of the barrel. At this point you’ll be able to make a small mark on one of the helicoids so you’ll know how it looks like when it’s turned to Infinity. The mark does not have to be big, a small and shallow mark is more than enough.
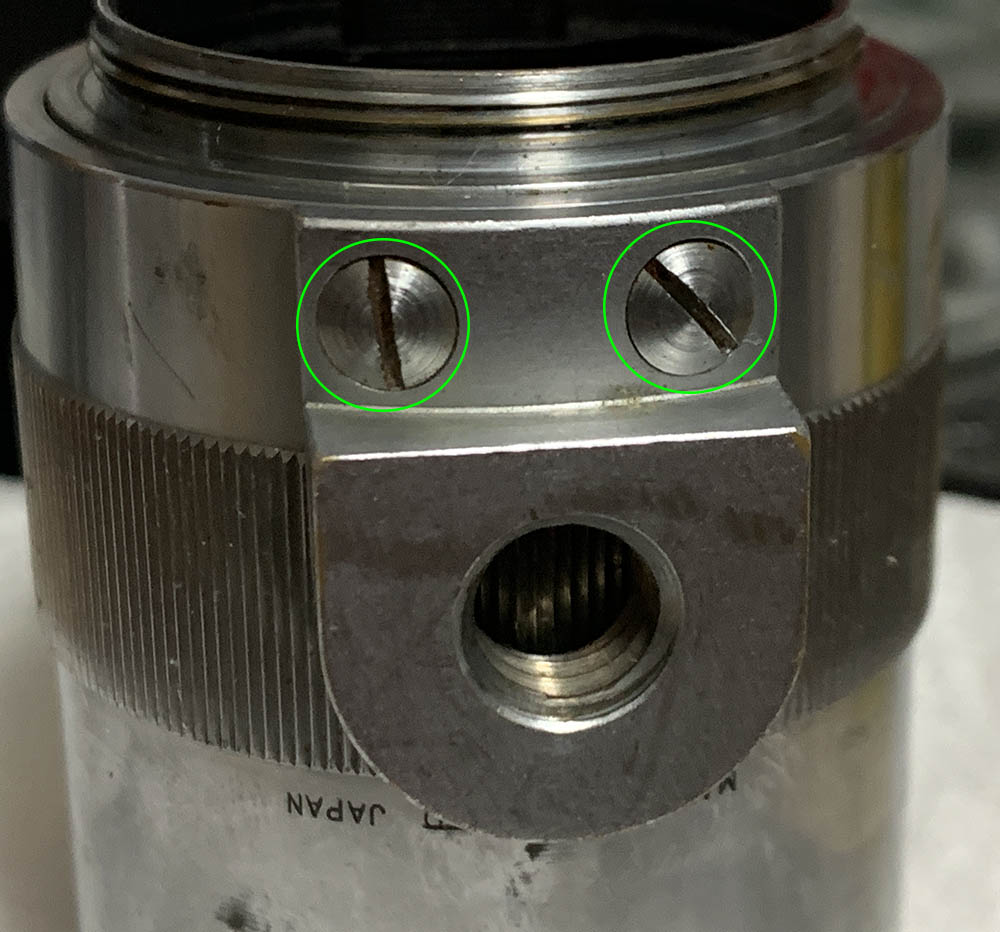
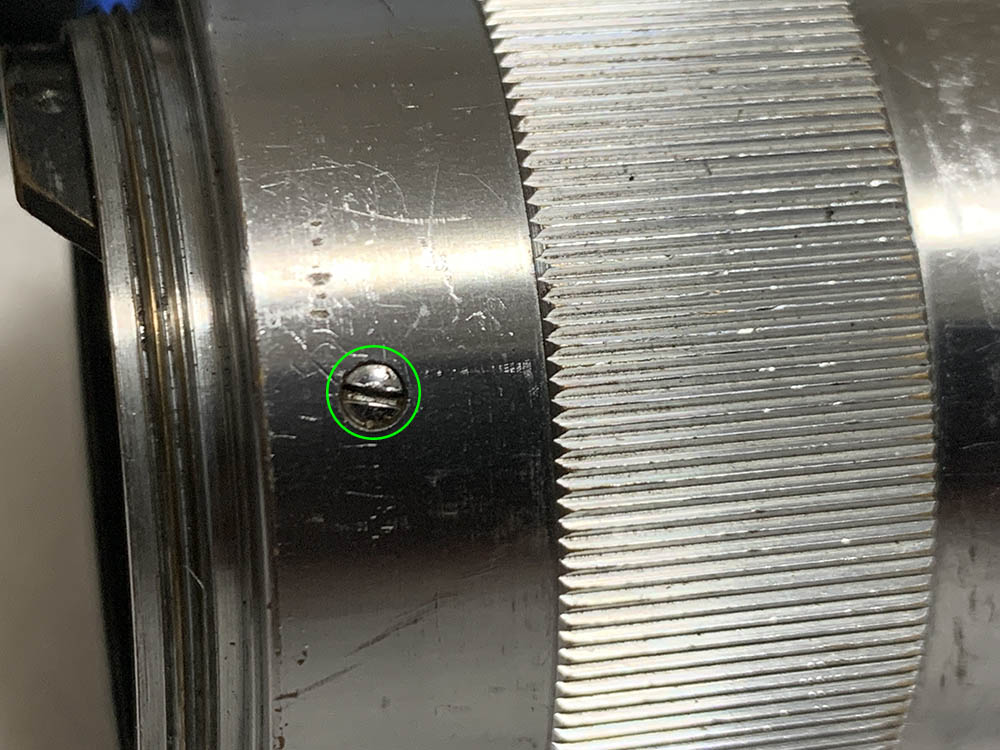
Locate and extract these screws so you can remove the tripod mount.

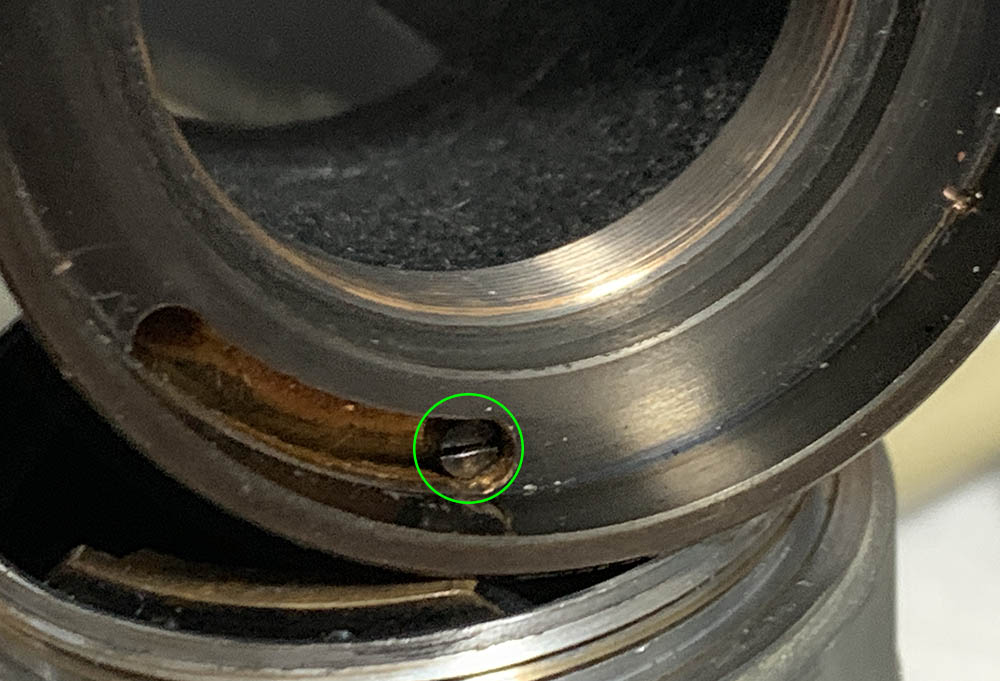
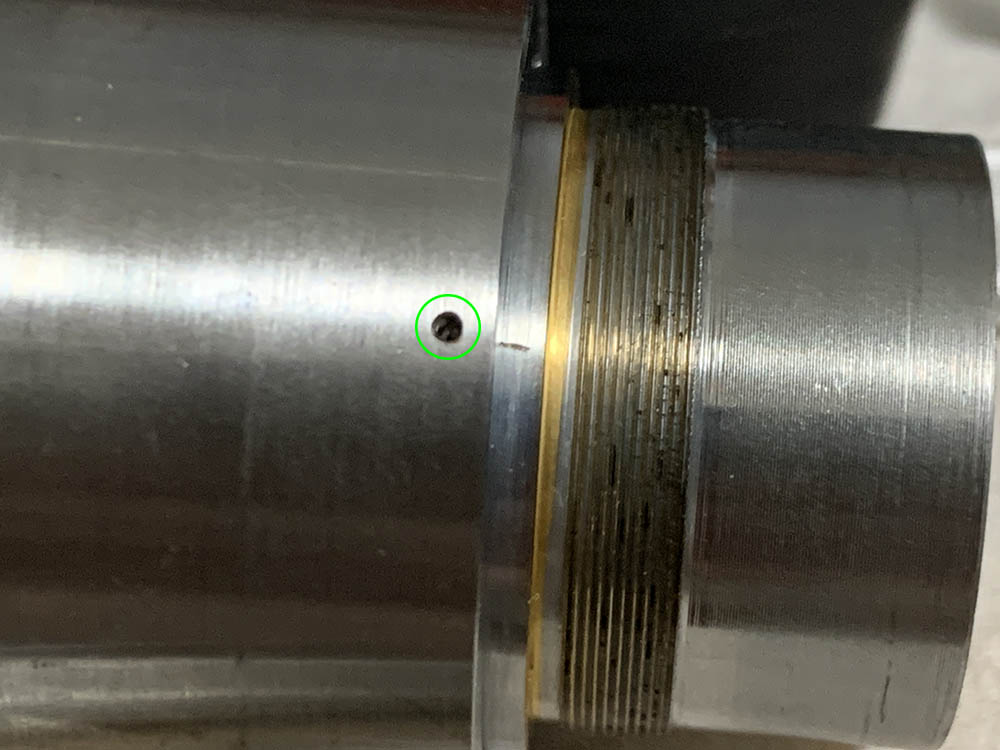
Underneath is a hidden screw, carefully extract it.
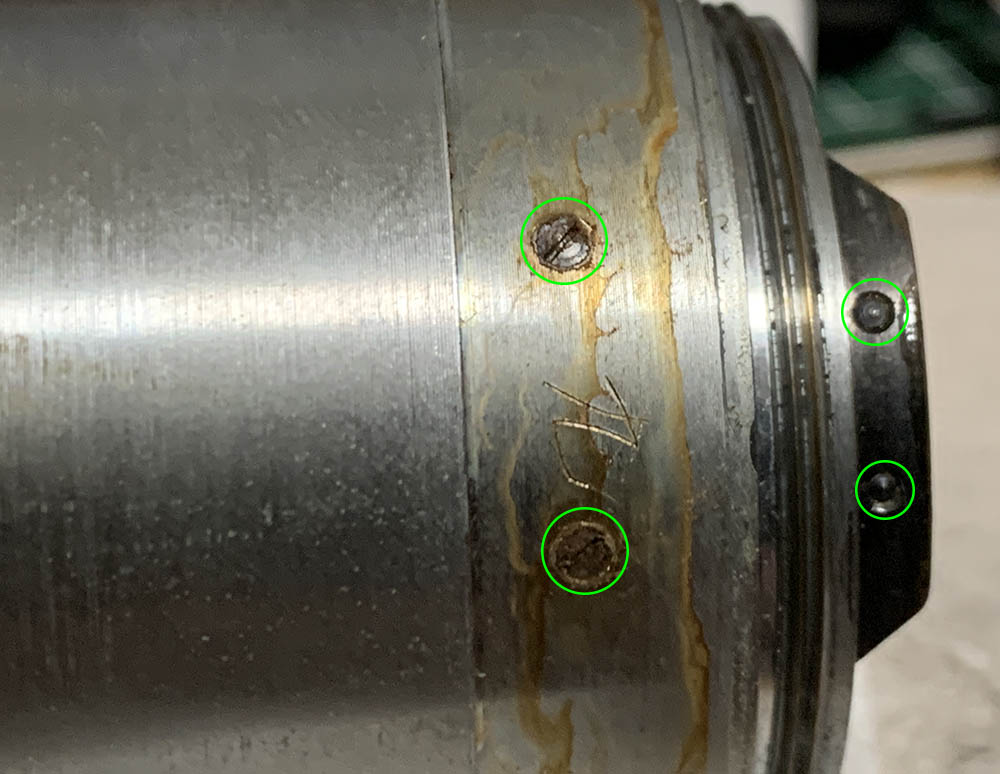
Locate and carefully extract these, there’s another one at the other side.
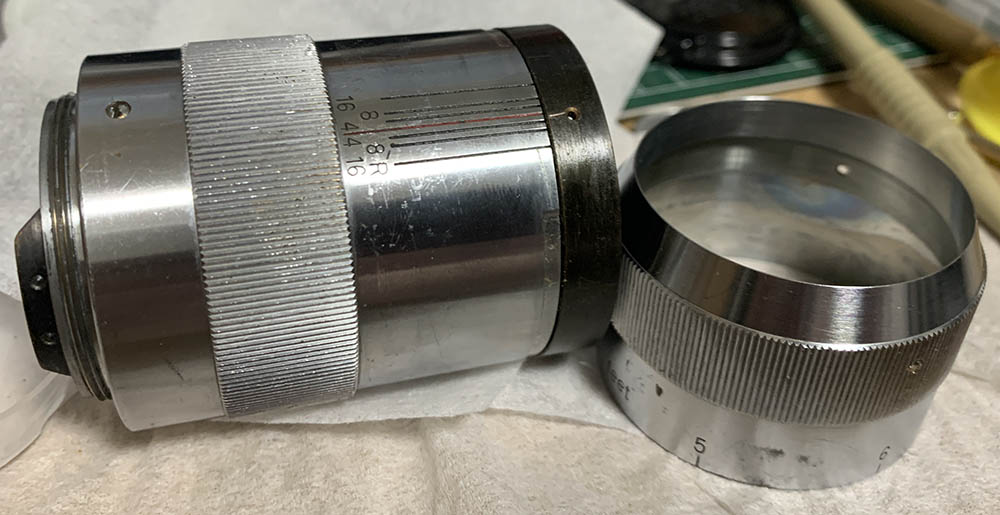
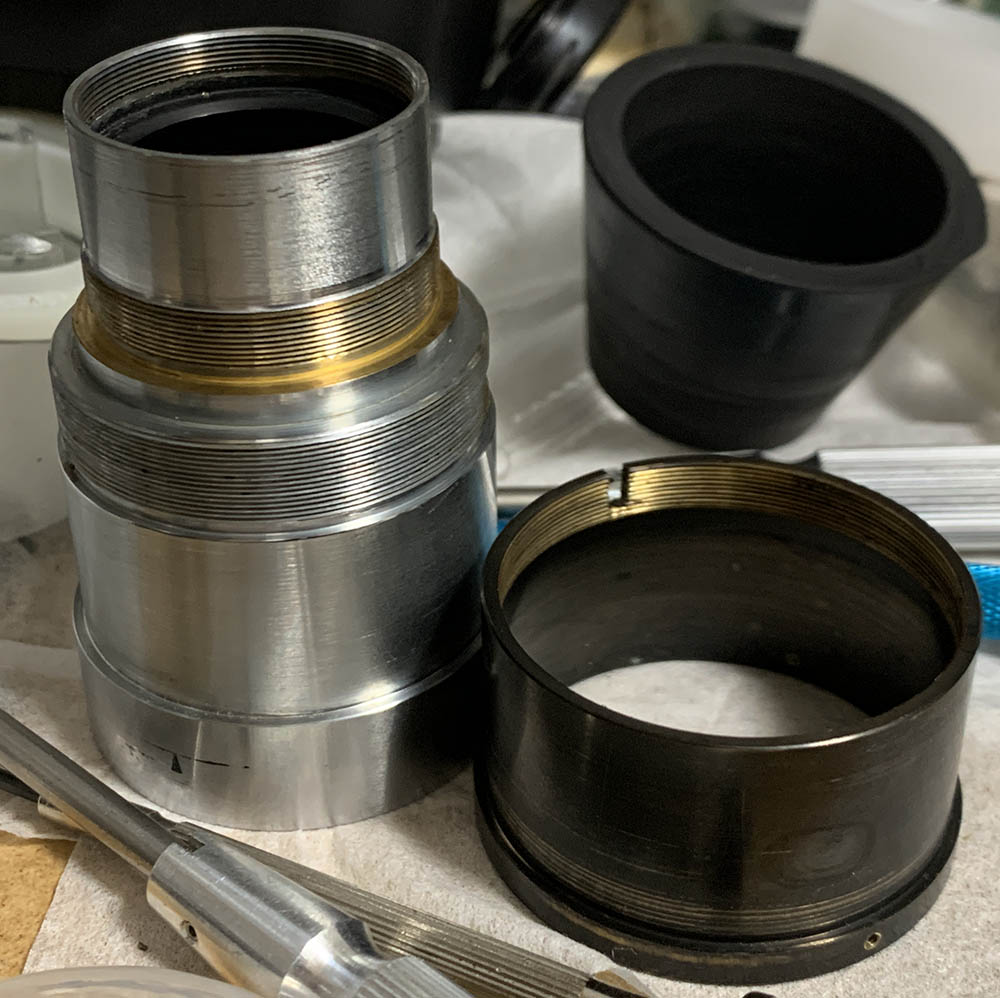
Pull the sleeve off to reveal more hidden screws. The sleeve is made from a solid piece of brass, it’s heavy and unnecessarily durable.

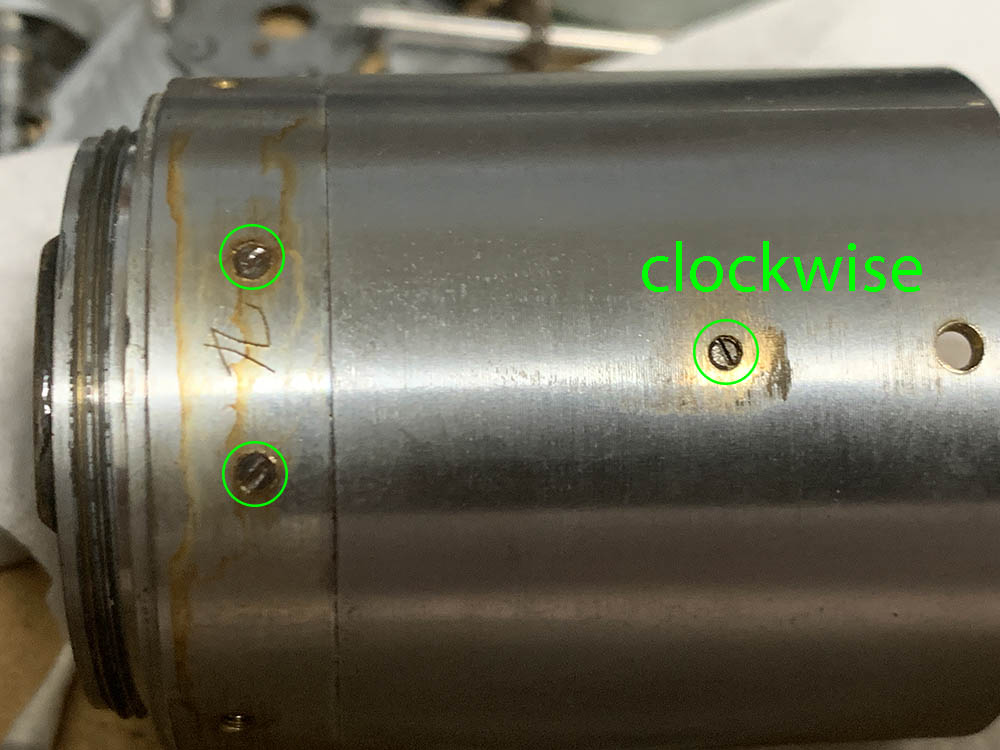
Locate and extract these screws.
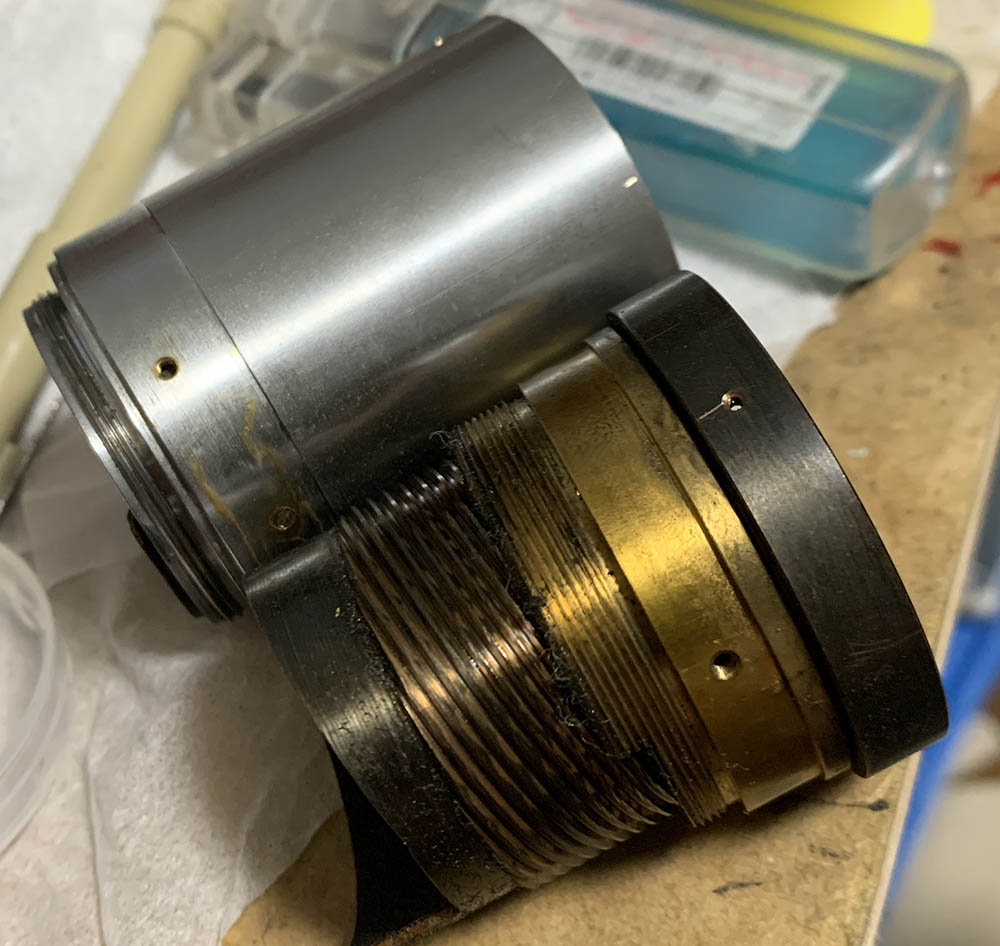
They secure the helicoids to the main barrel so you can pull it off once the screws are gone.

Collapse the helicoids and make a small mark, you should be able to recreate this later after reassembly. If you have failed to do so then you have put the helicoids back in the wrong position.
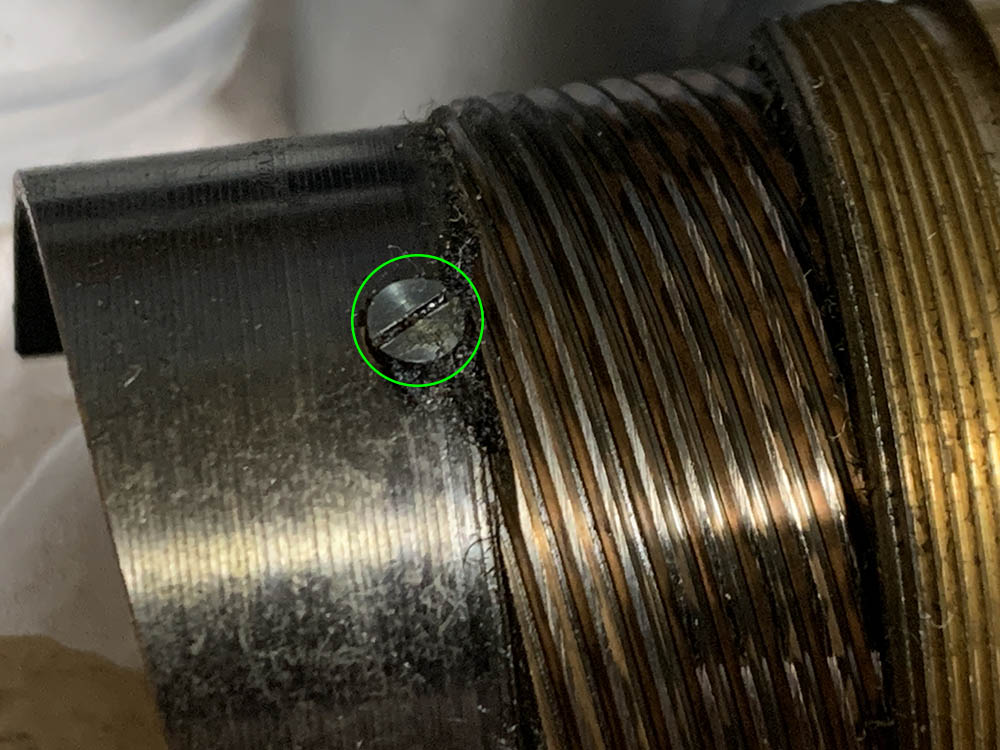
Extract this screw so you can separate the helicoids.
Extract this screw as well.

Turn the helicoids until they part but don’t forget to mark where they separated, failure to do this will end in suffering. Read my article on how to work with helicoids to prevent that misfortune from happening to you.
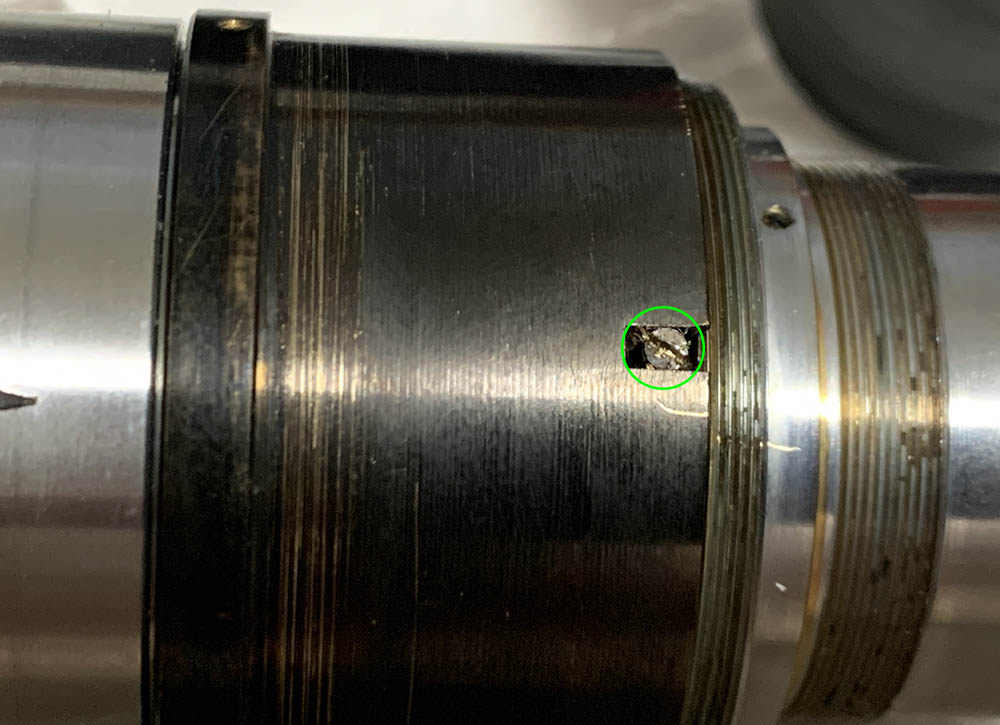
Carefully extract the screws that I have marked to the right so you can remove the block that pushes the lever of the rangefinder mechanism. Don’t touch the two bigger screws here just yet.
I’m sure that the small screw to the right turns the other way to loosen it but I’m unsure if the two bigger ones are the same, just be careful so you won’t damage anything.
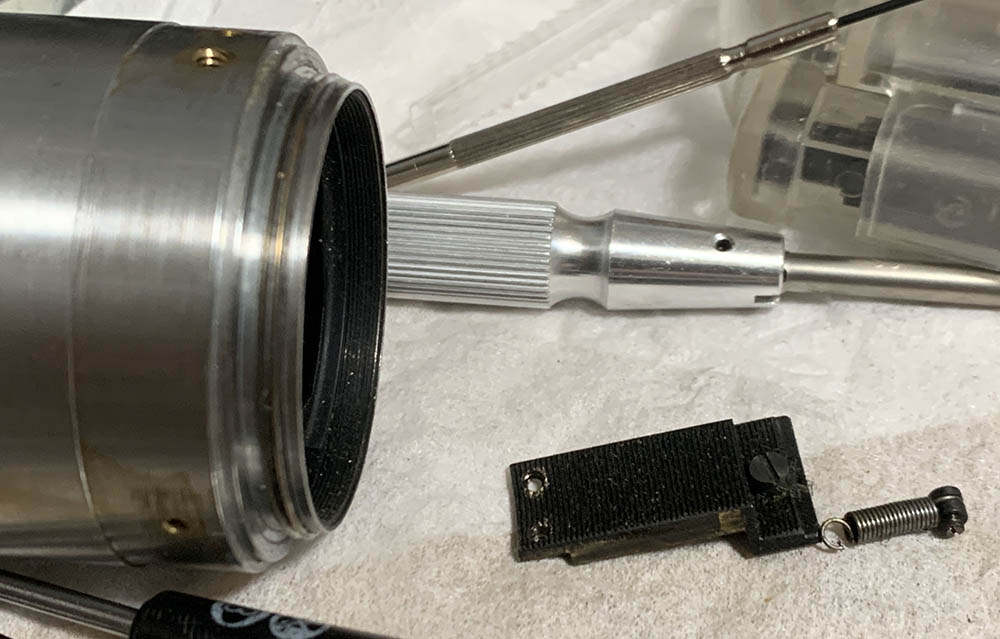
Extracting those screws will allow you to remove the rangefinder coupling mechanism. That single reverse threaded screw secures the spring and the other 2 secure the block.

You can now remove the baffle.
Set everything aside and clean everything very well. I scrubbed the helicoids and all metal parts except for the screws and small parts, I used a stiff brush and some strong toilet detergent to make sure that all the decades-old lubricant, germs and other nasty stuff are gone. Rinse everything with hot water then finally do a final rinse with alcohol to remove any residue. The helicoids will benefit from an overnight pickling in an alcohol bath, that should soften up the felt lining so you can remove it easier later and replace it with a fresh sheet that’s suitable. In some lenses you may even find a cord or similar material wrapped around a slot in the helicoids, this material is used to soak-up excess oil and keep the helicoids from drying up. It’s disgusting leaving that filthy thing around, I don’t care if it’s an original part, but it has to go.
Disassembly (Front Barrel):
The more complex parts are found in this section. The iris mechanism is the most complicated part of the lens and it’s not easy to put everything back, you’ll need to do something special and I will show you how I approached it. When trying to remove things here in this section, make sure that you never grab the lens by the aperture ring so you won’t accidentally crush the iris.

Extract the screws of the aperture ring and pull it off the front barrel.
Unscrew the front optics assembly along with the front ring off from the front barrel. Never grab the lens by the aperture ring when you do this or you will damage the iris as you turn it.

Unscrew the front ring off from the housing of the 2nd group.
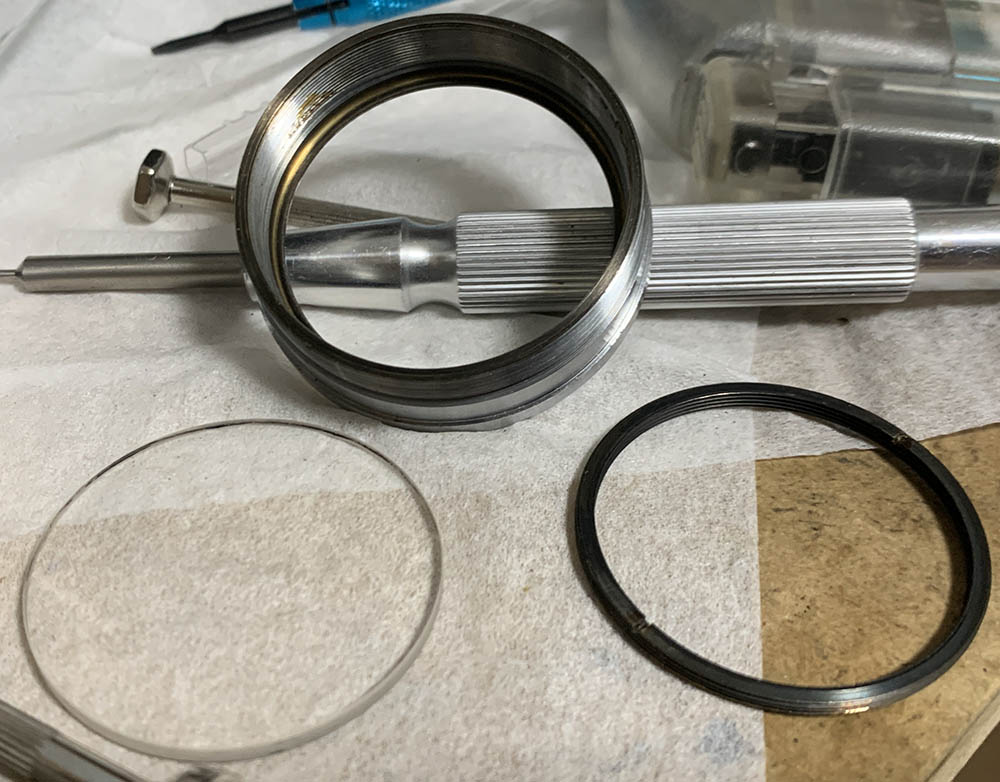
The front ring can be dismantled even further in this manner. This is only done if you want to thoroughly clean the front element.
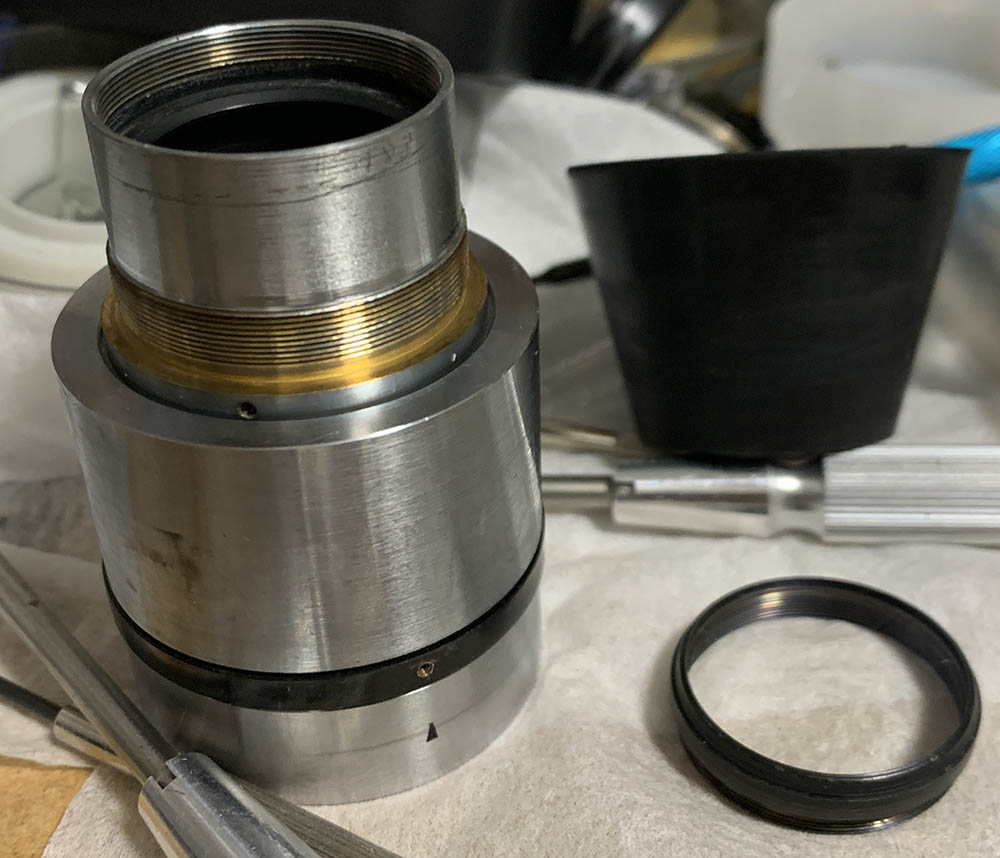
The rear group and its housing can be unscrewed with a rubber tool. Keep it safe while you work with the rest of the lens.
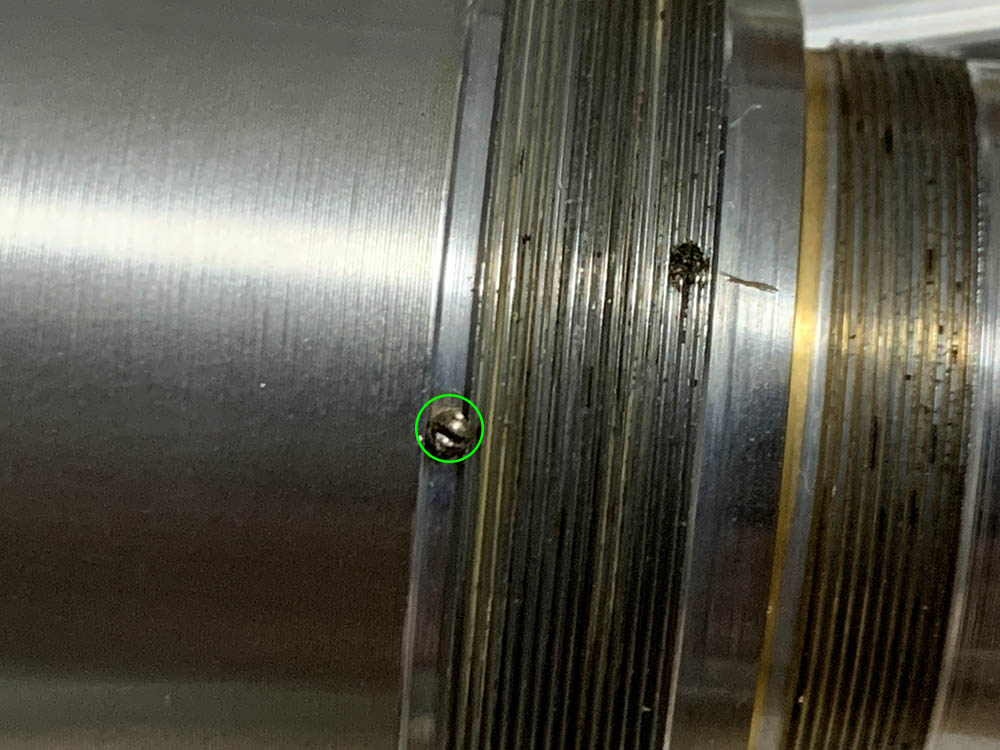
Locate and carefully extract this little set screw, don’t misplace it.
Unscrew the sleeve off to reveal what’s underneath.
Carefully extract this screw so you can decouple the aperture ring’s collar from the iris mechanism.
Turn the collar until it is removed.
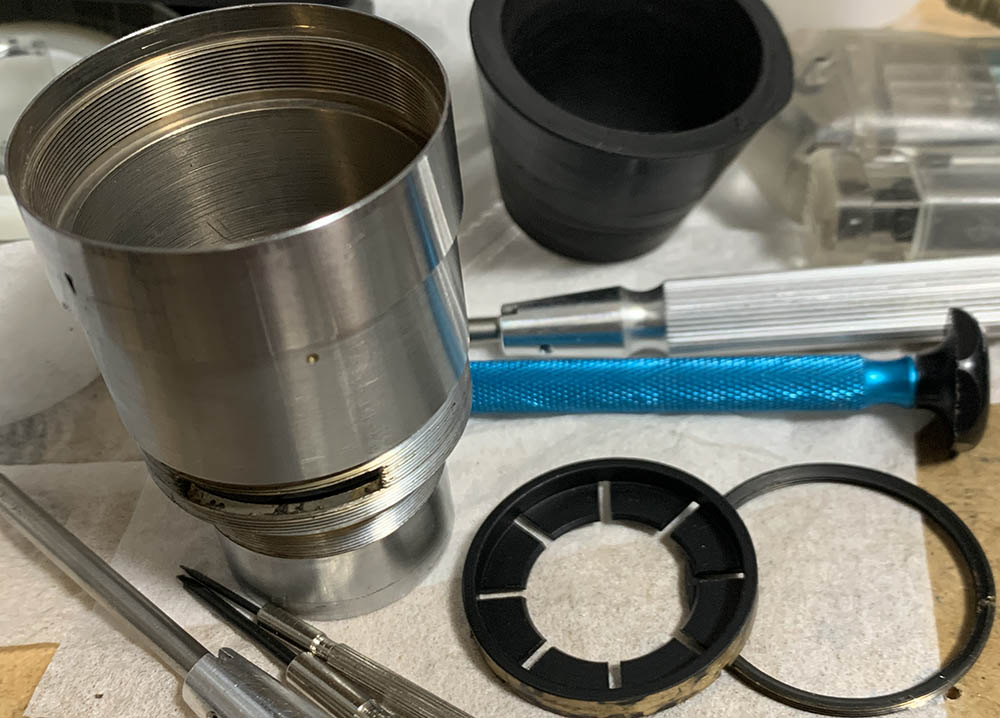
Use a lens spanner with long tips so you can reach the retainer of the iris mechanism. Unscrew the ring off and pull the diaphragm plate out with your fingers.

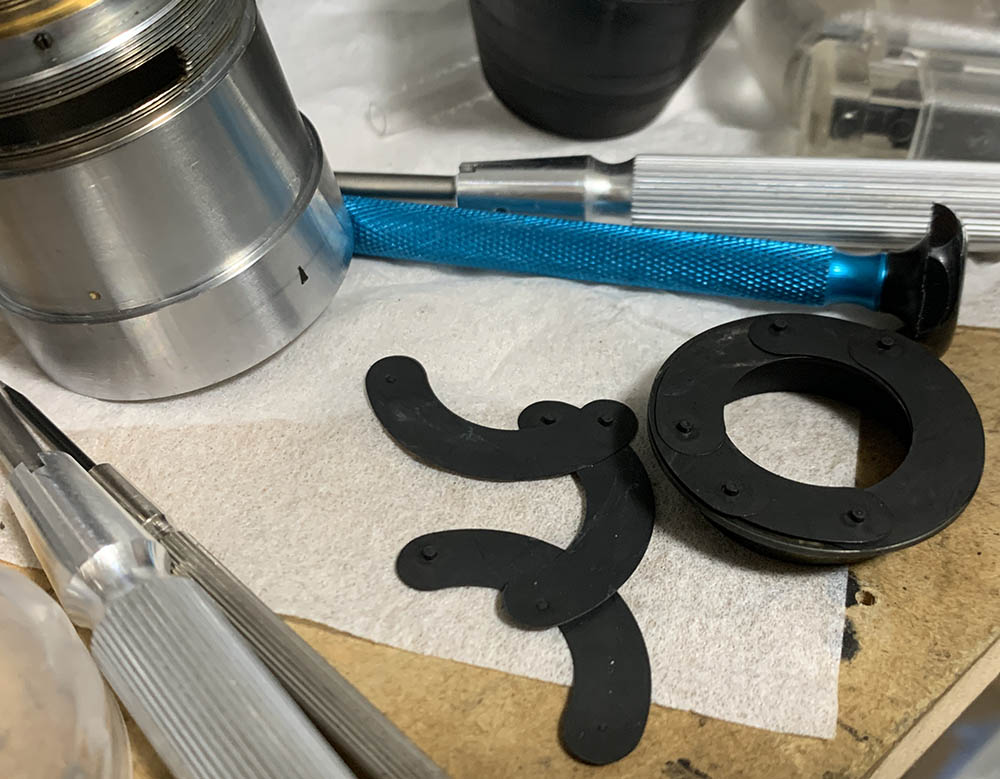
You can now access the iris blades, carefully inspect the blades before you remove anything. You can get them all off safely by tapping at the other end with your palm and let the blades drop into a soft towel. It will cushion the fall and keep the blades safe.
Carefully locate and extract this little screw.
That will allow you to remove the base plate of the iris mechanism.
Clean everything very carefully, all heavy duty parts will have to be scrubbed very well just like how it was done in the previous section. The iris blades have to be cleaned individually with Q-tips and lighter fluid. They are very delicate, Nikkors from this era are known to have crudely-made iris blades, it’s easy to snap them in half or dislodge their pins. If they are rusty, soaking them in oil for a long time will help a lot.
If your lens has fungus, read my article on how to clean lens fungus, just make sure that you dilute it with distilled water so it’s not going to be too strong as it may damage the coating.
Conclusion:
Despite repairing many similar lenses of this kind I never get tired of it, I still learned a few things from my time with this. It took me 2 nights to completely overhaul this lens, most of that time was spent cleaning a majority of the huge metal parts where nasty grime has solidified, necessitating the use of toothpicks and stronger solvents to remove the plaque. I’m very happy with the results because I now have a clean copy of such a historical lens.

Reinstall the iris blades back to the base plate and make sure that the outer edges are not protruding out of the plates outer diameter.

Rest the assembly atop a small cylinder and carefully lower the barrel onto it, this is the easiest way that I have thought of.

The black felt inner lining has degraded and was replaced with a suitable replacement. I bought the paper from an Italian crafts seller online many years ago for a lot of money but it’s worth it.
This is such a joy to shoot with, modern lenses do not come close to its build quality. Their parts will have better fit and finish but there’s something about shooting with a pure brass lens that’s very satisfying.
We have successfully presented another rare lens to the community, where else can you read something like this on the internet? I have devoted a lot of time, effort and resources for this endeavor, it’s my life’s work. If you have enjoyed this article, please share this with your friends. If you want to support my work, please leave me a small tip. This site wouldn’t have lasted this long without your help, it is only through your help that I kept going through the years. It’s funny that I am still doing this 10 years after my initial article about the Nikon Museum. I wasn’t expecting this blog to become the premier service that it is right now, I thought that I would only share my notes and thoughts on a couple of lenses and cameras but the support from the community kept me going. I would like to thank you again for everything, what you are doing is helping this site continue for more years to come. I am very proud of this achievement, when it’s my time to search for information on the internet my articles are usually the only ones available. It can be frustrating at times but that’s just a testament to the quality of the articles found here. Finally, the studio I work for has gone belly-up so my employment is uncertain, I will really appreciate any form of tip you can leave me. Just think of me as your favorite bartender or beer server. I hope things will turn out fine for me and my colleagues, especially in France. À plus tard, Ric.
Help Support this Blog:
Maintaining this site requires resources and a lot of time. If you think that it has helped you or you want to show your support by helping with the site’s upkeep, you can make a small donation to my paypal.com at richardHaw888@gmail.com. Money isn’t my prime motivation, I believe that I have enough to run this by myself but you can help me make this site grow.
Leave me some tip?
Thank you very much for your continued support!
$2.00
Helping support this site will ensure that it will be kept going as long as I have the time and energy for this. I’d appreciate it if you just leave out your name or details like your country’s name or other info so that the donations will totally be anonymous. This is a labor of love and I intend to keep it that way for as long as I can. Ric.
