
Hello, everybody! You like gambling? I sure do, because I old lenses to repair them hoping to get a great deal after servicing them. I compared it to gambling because not everything ends up being successful, it’s usually the case that I lose a lot of money because things didn’t turn out the way that I’ve expected. Today in this article, I will show you such a case. I got it to work again after servicing it but I’m not satisfied with what I saw when I took sample my photos with it. It’s not a total disaster because I still find it useful so it’s not completely wasted. Please read the whole article very carefully so you will know where I screwed up.
Introduction:
The 1 Nikkor 10mm f/2.8 is the smallest lens in the Nikon 1 system. It’s sold from late 2011 and stayed in production for several years until the Nikon 1 system died. It’s a favorite of many people because of the compact and lite nature of it. It was sold together with other lenses as a kit to several Nikon 1 cameras, it even comes in weird colors like red and pink. For many people this is the first wide angle lens that they’ve ever owned because this lens and many of the cheaper Nikon 1 cameras were aimed at beginners. It has a field-of-view that is the equivalent of 27mm in full-frame so it’s the Nikon 1 system’s signature prime lens when it comes to wide angle lenses.

The body is mostly made from good quality plastic. What’s surprising is the bayonet mount appears to be a metal one, not plastic like most of the 1 Nikkors that I have worked with. It feels substantial so I have the impression that it is made of metal. The interface is quite simple, or should I say minimalistic because you don’t have anything to interface with, not even a little button, very much like the 1 Nikkor 18.5mm f/1.8.
It has a 6-elements-in-5-groups design which incorporates 2 ED elements. It’s impressive on paper and it’s just as good in real use. You will hear reports of this lens having mediocre to poor performance but that is definitely caused by sample variation and tampering by a repairman, professional or otherwise. It also has a smallish diameter for its accessories, it’s the common 40.5mm variety so it’s not difficult to find filters or caps for it. In fact, I already have several of them in my collection. I don’t know what kind of coating it has, I assume that it’s the usual one.

It is the shortest of all 1 Nikkors, it’s only around 3cm or so, just a bit taller than the rear lens cap of an old Nikon F mount lens when installed. There’s really nothing much to it, it only has a hood for an accessory. I have a very hard time looking for the hood because people usually misplace it. The hood is pathetic, it is a very shallow shroud that won’t help much at all.

This is how it looks like when mounted on a Nikon 1 J5. It’s the smallest OEM system lens for the camera. I love using it because it’s so compact and light I barely notice the setup around my neck! Everything works internally which means nothing will extend nor contract while operating it. This makes it a tough lens that is great for people who don’t care about their cameras. It’s not sealed, the absence of any moving parts is enough to keep particles or some amount of moisture from getting in, but don’t quote me on that.
The photos you are about to see were taken with a lens that I have manually calibrated. They aren’t in any way an accurate representation of this lens’ performance! In fact, this article was rewritten and the photos in the galleries are all taken after my DIY attempt at “calibrating” it.
Let’s now see how this lens performs. It’s important to know how your lens performs, this will help a lot in understanding where it excels and it will also give you the insight so you’ll know where it fails. I captured these photos from f/2.8, f/4, f/5.6 and f/8, these apertures show the biggest changes. It’s also likely that a photographer will shoot within these apertures on a regular basis. These were taken with a Nikon 1 J5.

It has quite a lot of distortion but the profile appears to be simple. This is considered to be a “wide” lens, I kind of expected to see this much distortion from it. It won’t affect your pictures too much unless you are taking photos of grids and brick walls all the time.


(Click to expand)
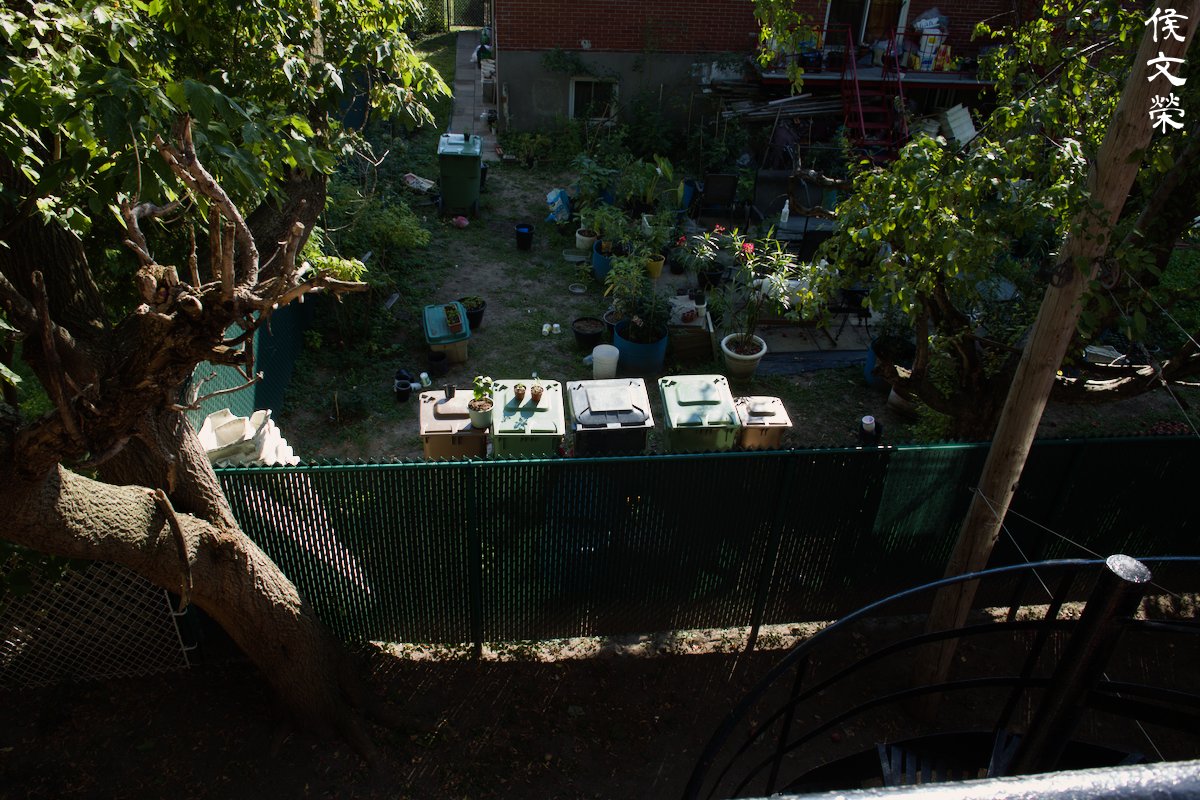
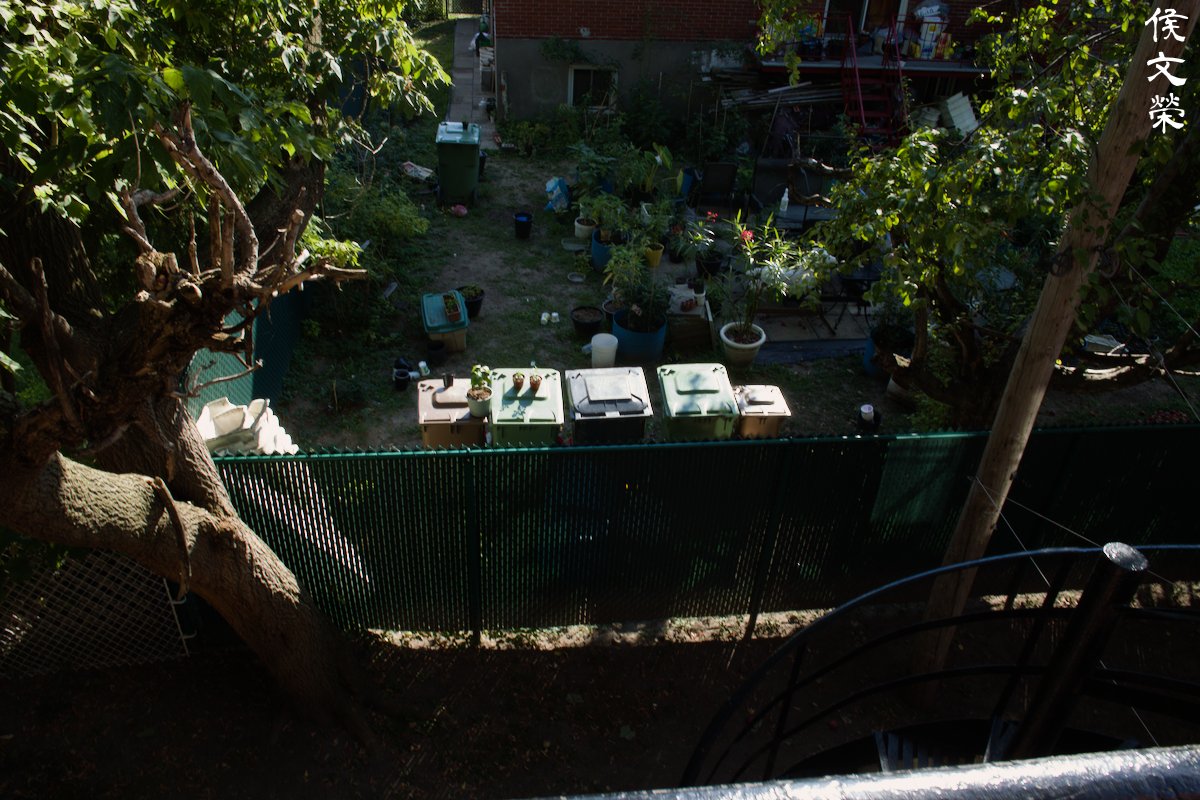
Vignetting can be observed while shooting at f/2.8 and it goes all the way to the center (almost). It will be a lot brighter by f/4 and it gets even better by f/5.6. You will even see things improving at f/8. I don’t want to admit it but this doesn’t look good to me at all because it hints that this lens sucks until f/5.6. Will this hold true? We shall see later in this article.


(Click to expand)
It doesn’t seem to be resistant to internal reflections nor flare, something that I’m quite curious about as I would imagine that the lens will be used for taking photos of nature and architecture.


(Click to expand)
I don’t expect this to have smooth, blurry features in the areas that aren’t in focus so I gave it a low bar. It looks cheap in the way it renders the blurry parts, it reminds me of old lenses from off-brand companies. I am disappointed because it went well below my expectations. This sucks, as Beavis would put it.


(Click to expand)
Chromatic aberration can easily be seen when shooting in extreme cases, and maybe in normal scenarios as well. You will get some of it when shooting at f2.8, but it looks better at f/4. You are obligated to stop it to at least f/5.6 if you’re sensitive to this. It’s kind decent in this regard, or maybe even better than usual. I have seen many lenses that perform much worse than it.


(Click to expand)
The center appears to be very sharp even when shooting at f/2.8 across every distance. The corners don’t look so good when shooting near its minimum focusing distance, especially on one side due to what DIY calibration I’ve done with it, it’s noticeably worse while the other side looks acceptable (but still soft). The corners look quite competent when the lens is focused further, or just greater than a meter or so. Stop it down to f/4 and you will see a huge improvement at the center because we now have enough resolution to support the sharpness, we are approaching peak performance at the center. The corners looks better in many ways, you’re able to see that they’re sharper, and the contrast has improved considerably. Whatever softness and astigmatism that’s caused by decentering during my repair has been subdued, but they are still lagging behind the center by a lot. The center looks amazing at f/5.6 and the area where it’s sharp is a lot wider, almost reaching near the corners. The extremities look mediocre but the corners are decent, but still not up to par with the center. There’s nothing to gain by stopping it down to f/8 as far as the center is concerned, I could even see small signs of diffraction. The corners look so much better, even at very close distances where my lens performs the worst.
From what we can see, this is an exceptional lens from moderate to far distances, the corners weren’t that bad either. Imagine if you’re able to get one of these that had been calibrated properly from the factory! I have heard that some of these sucked right out of the factory but the majority of the reviews you see tells a different story. I am impressed.

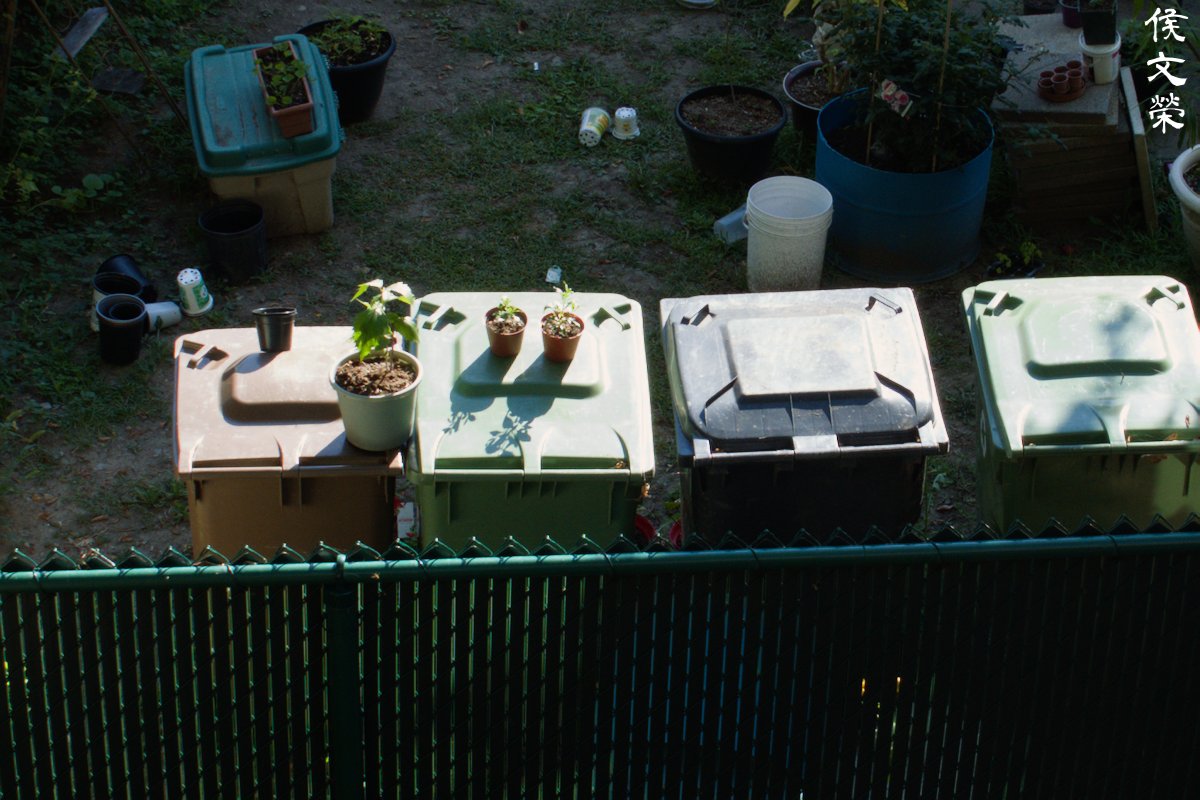
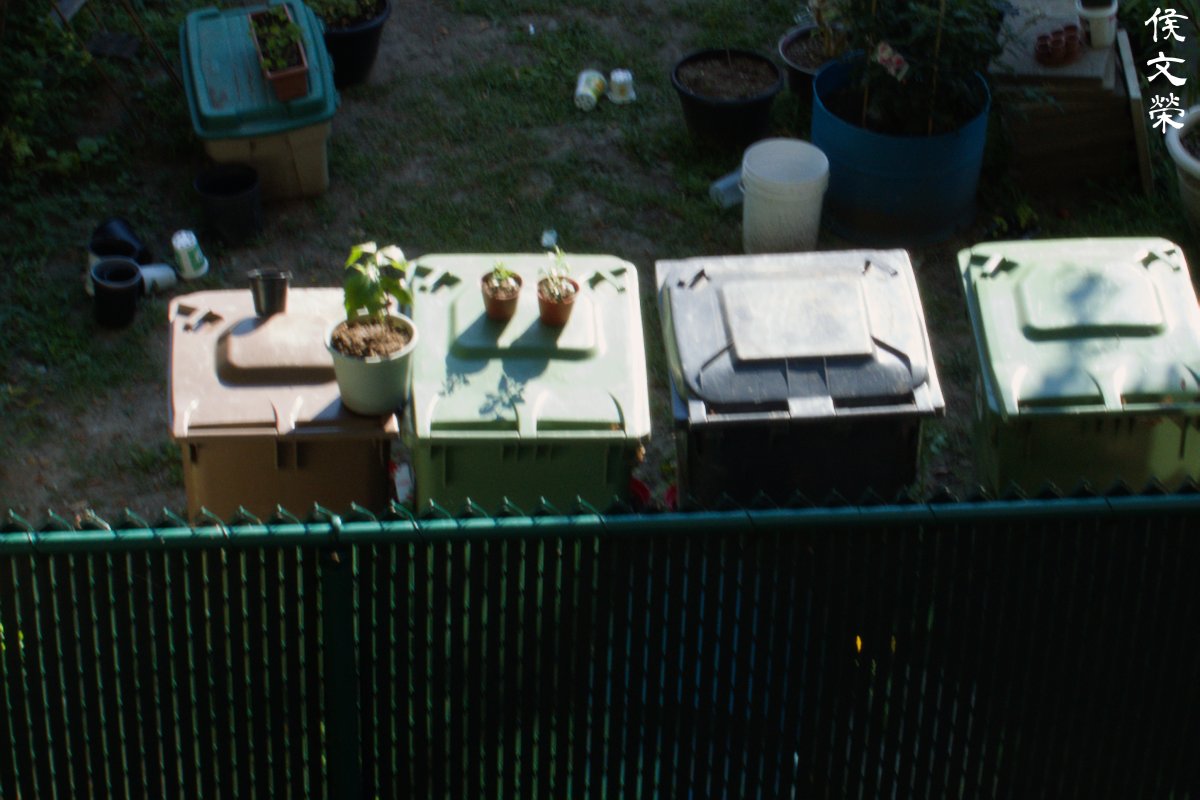
You’re able to focus really close, something that every wide lenses should be able to do inherently. This is somewhat of an unwritten rule, it’s like how all 85mm lenses should have great bokeh. These little figures were just about 5″ away from the tip of the lens.

You’re able to shoot with a slower shutter speed using this lens because of its short focal length, and f/2.8 is reasonably bright for you to be able to shoot under 1/20s without any issues. It does not have VR which is vanity for a lens this wide, all you need to do is lean over something for more stability.
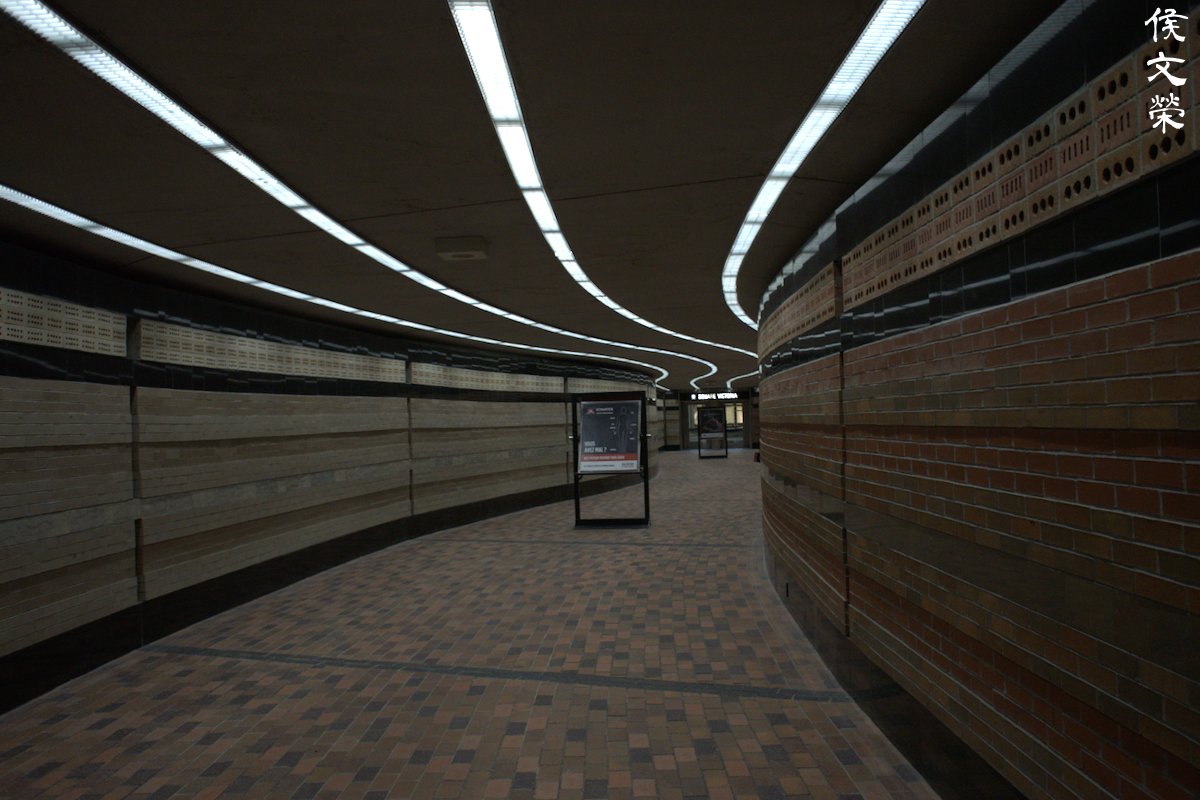
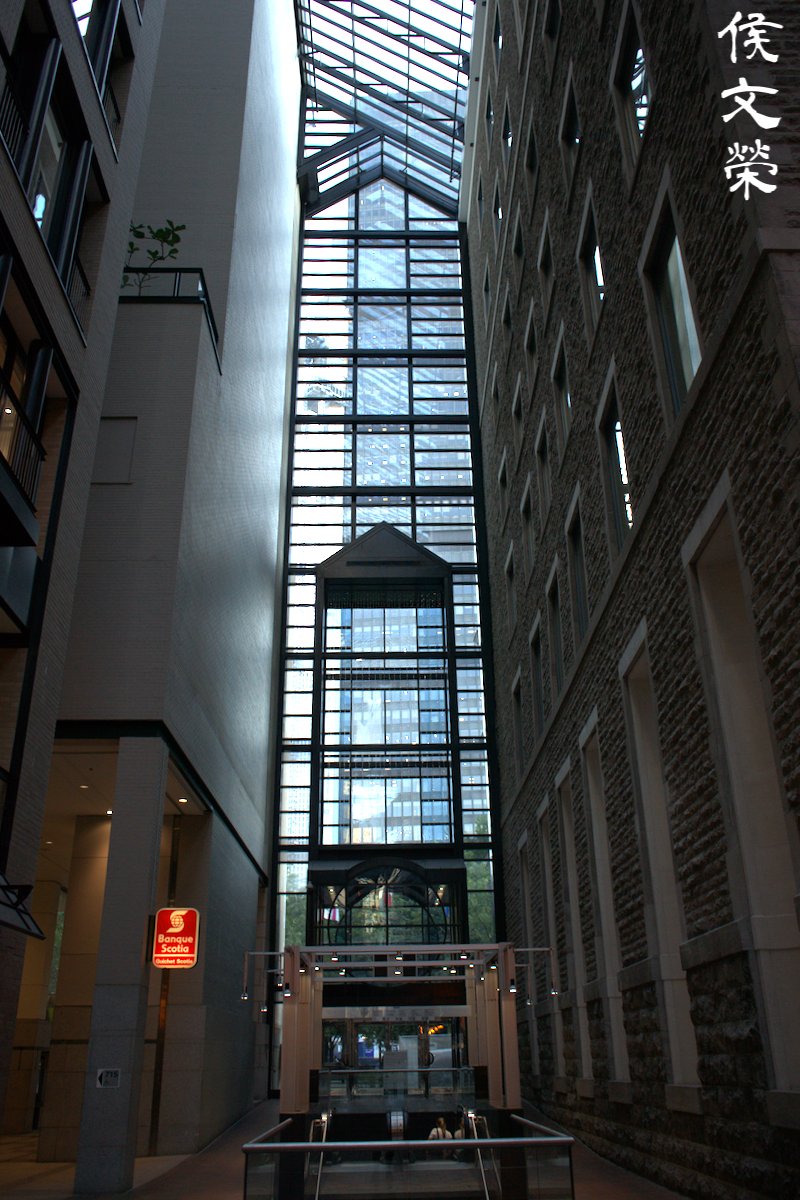
It’s good for interior photography but you will need to be careful because of distortion. Even if the photos look a little bit distorted I think you’re able to get away with it most of the time.

This is a good example of what I’m talking about. You can easily see the effects of distortion but you don’t care at all. Don’t let that stop you from taking great pictures.

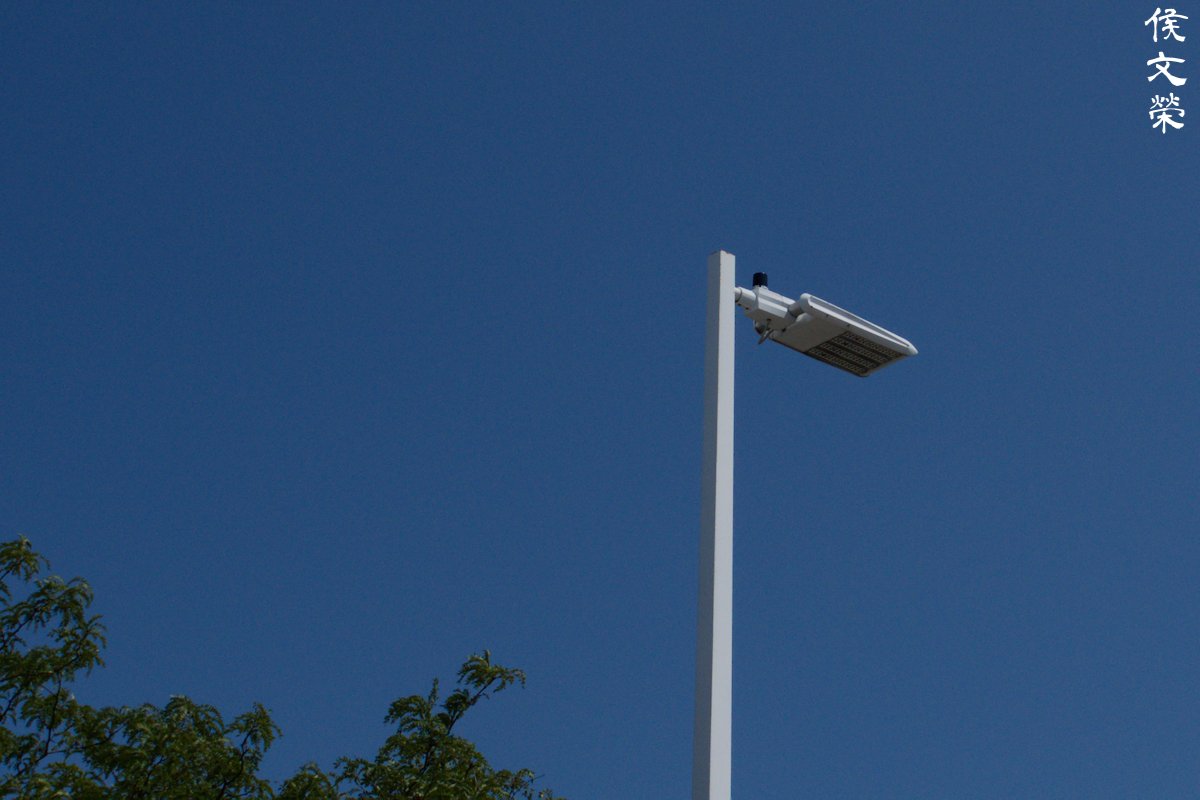
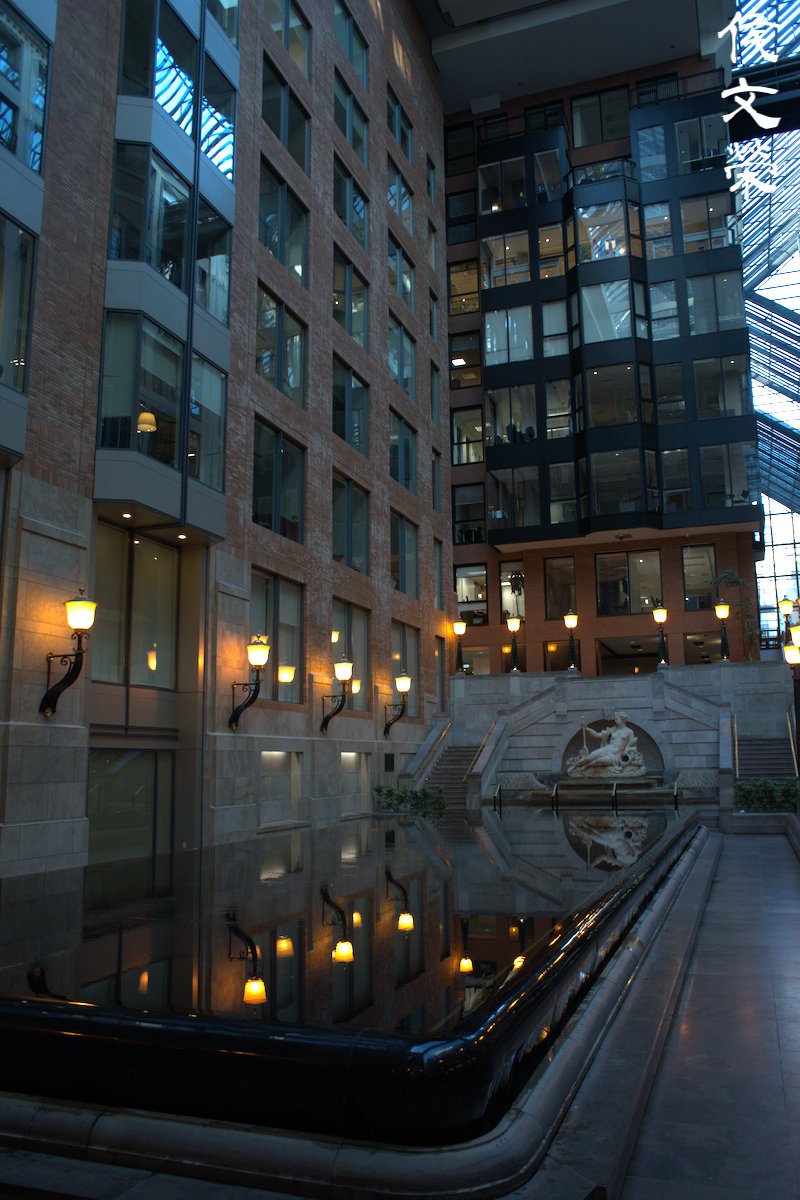
The colors look nice when you have adequate lighting. The saturation and contrast are both good without being overwhelming, your pictures won’t look like cartoons.

Shiny things like chrome can easily exhibit signs of chromatic aberration, this lens is able to avoid most of it in all but the most challenging lighting situations. I think it’s above average in this regard.

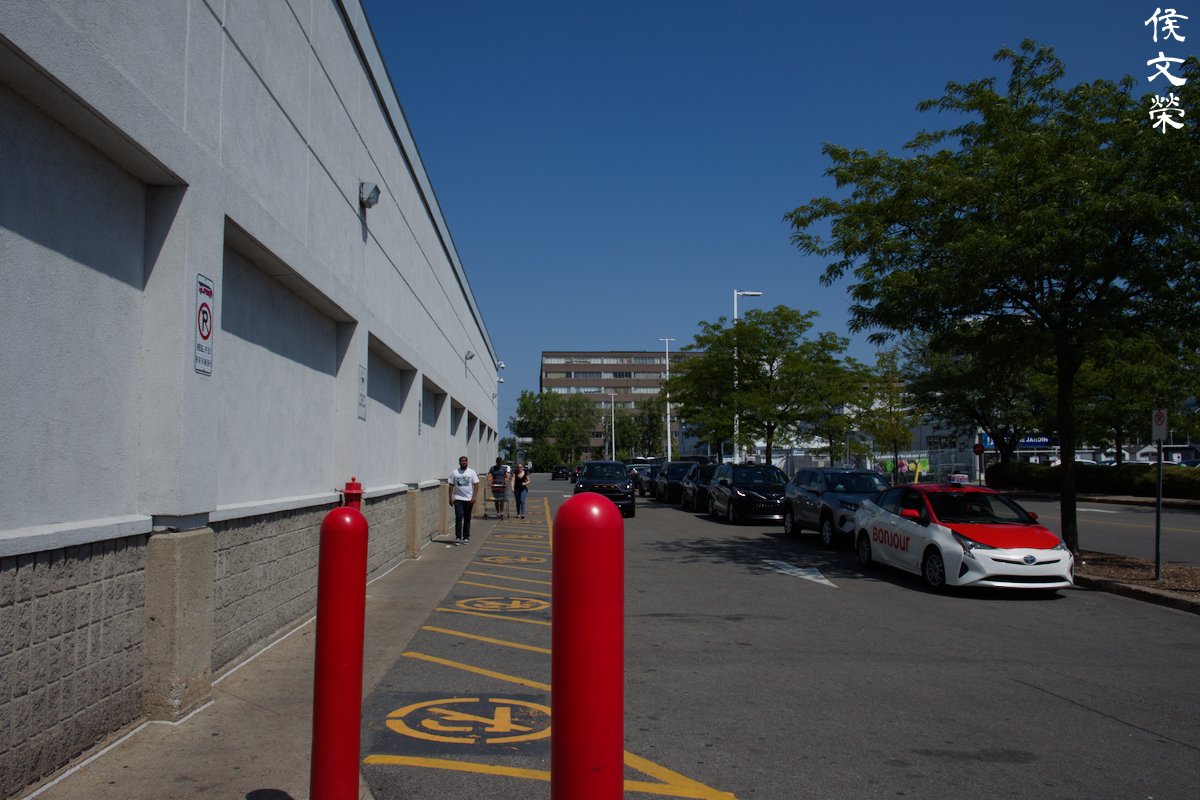
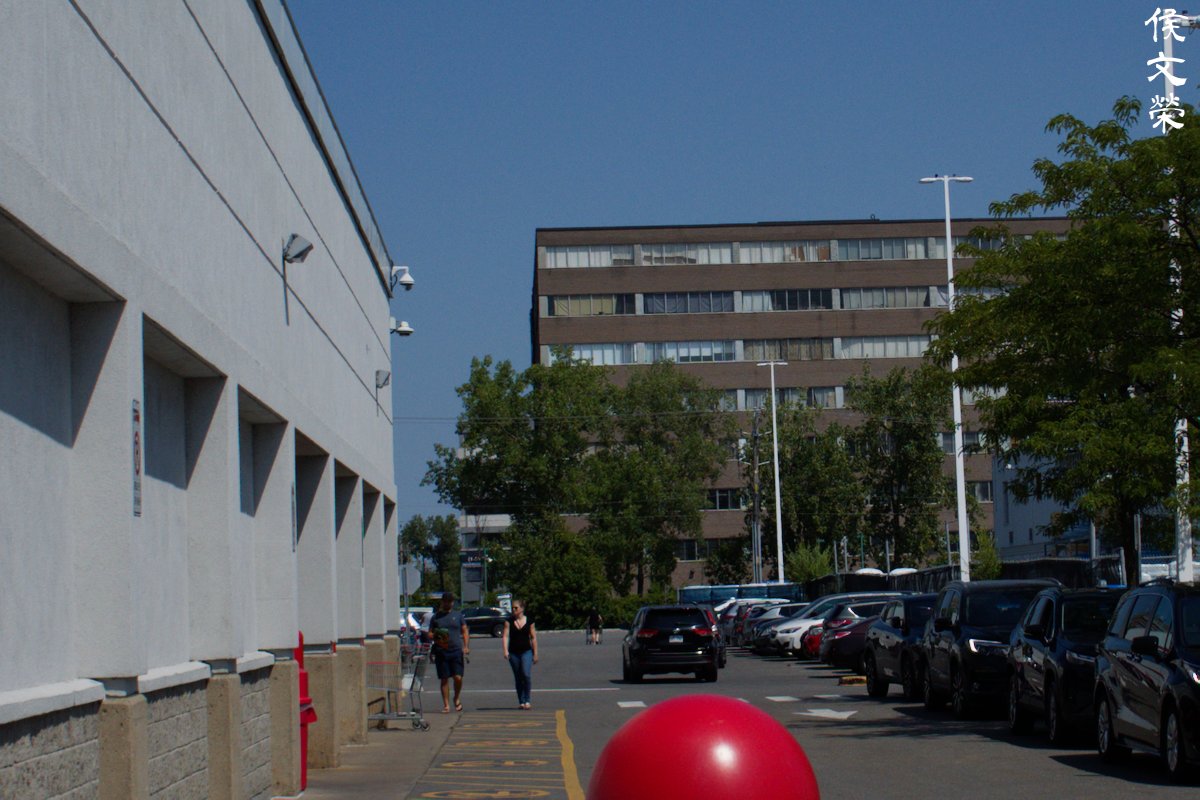
The sharpest part of this lens is at the center and you can clearly see that with the clock at the center. It is not that beautiful at the corners, that’s where you’re able to see some artifacts. Foliage and shiny things are usually very problematic especially during a bright day, that’s why I’m showing you this photo.

I’m showing you this picture because the white umbrellas will bloom from the bright sunlight. I was not expecting this lens to handle it very well and I’m surprised that it got everything under control.

Chromatic aberration can easily be observed in this photo. You must be very careful about it especially if you’re shooting a scene with many shiny objects or foliage against a bright sky. Anything with really high contrast will trigger some purple bloom in your photos so you must stop the iris down just in case.


(Click to expand)
Here are more photos that were taken with this lens. It’s very convenient because it’s tiny and the image quality looks great as well, making it a great travel lens if you only want to bring something small. There’s nothing smaller than it that performs this good, only the Ricoh GR series of compact cameras can top this setup in terms of performance and size but you will need to pay more for that.
This lens is a must, but only if you’re able to find one that performs exceptionally. Buying one of these is like gambling and buying the stupid Labubu toys that many kids are into nowadays. An exceptional copy is something that you should cherish because it is the best wide lens the system has in this size. It’s cheap, you could buy it for less than $100.00 in great condition. Don’t pay more for this, you will just be feeding the “Camera Mafia” as I call the unscrupulous sellers in the auction sites! It’s even possible to get this for $80.00 in good working condition. In fact, I got mine for just $20.00 because it’s sold as junk! Mine has a faulty aperture gear that is very common with a lot of 1 Nikkors. When buying one, check the iris and see if you are able to operate it properly. You should be able to get good exposure indoors, if not, it’s a sure sign that the aperture gear needs to be replaced. Take plenty of test shots, it should perform evenly at all apertures and distance, unlike what I got now which is only good at the center and somewhat poor at the corner in just one side! If you got one like that, return it! That’s why you should only buy these when your seller is a real person you could meet. See if you could focus properly with it. Make sure it’s clean, with no signs of fungus, dirt, nor damage such a scratches or cracks. Finally, inspect the barrel and look for signs of trauma such as cracks or scars. This will help you avoid buying a lens that has been dropped or banged with enough force to damage the lens permanently. These aren’t rare at all and you can buy one anytime, don’t spend an outrageous sum for one of these. You could even save more money by getting the red or pink ones because nobody wants them! If you’re patient enough, wait and buy the best of all kit lenses in the Nikon 1 system, a 1 NIKKOR VR 10-30mm f/3.5-5.6 PD-ZOOM. It covers 10-30mm so you do not have to bring another lens. I don’t recall the latter to have poor performance, It is the best of its class in almost every way.
Before We Begin:
If this is your first attempt at repairing a lens, I suggest that you see my previous posts regarding screws & drivers, grease and other things. Also read what I wrote about the tools that you’ll need.
I suggest that you read these primers before you begin:
- Essential tools
- Best practices 1
- Best practices 2
- Best practices 3
- Ai conversion
- Working with Helicoids
Reading these should lessen the chance of ruining your lens. Before opening up anything, always look for other people who have done so on the internet. Information is vague and scattered but you can still find some information if you search carefully.
For more advanced topics, you can read my fungus removal article. It has a lot of useful information, it will be beneficial for you to read this. I also recommend that you read the working with helicoids article so you will not get stuck because you couldn’t reassemble the helicoids back properly.
Disassembly:
The construction of this lens is amazing in such a way that the engineers managed the cram lots of things inside such a small shell. This means that there’s little wiggle room inside of this lens and there will be lots of clever ways in which some of the parts have been put together. I won’t say that this lens is perfect for a beginner to work on but it’s not something so complicated that it will require expert intuition just to pull this project through. Like many electronic lenses you must be very careful with static electricity, use plastic or rubber tools as much as possible and take many pictures for reference just in case.
I will only discuss about how to replace the broken aperture gear and nothing more. If your lens has other issues this article won’t be of much help because the other stuff can only be accessed by other means. It’s also important to mention that the sequence I am showing you isn’t the “official” way to open this up, I’m just showing you the easiest way to get to the source of the problem with as little steps as possible.
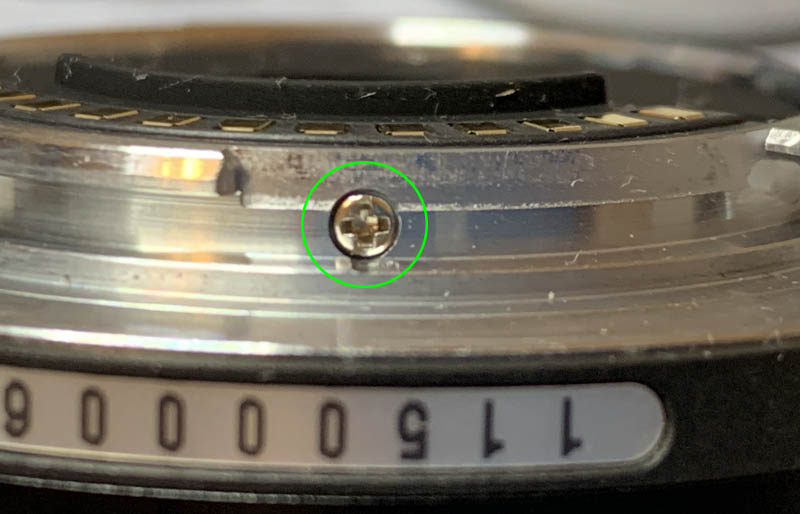
Extract this one so you can free the contact block or you will damage it in the next steps.
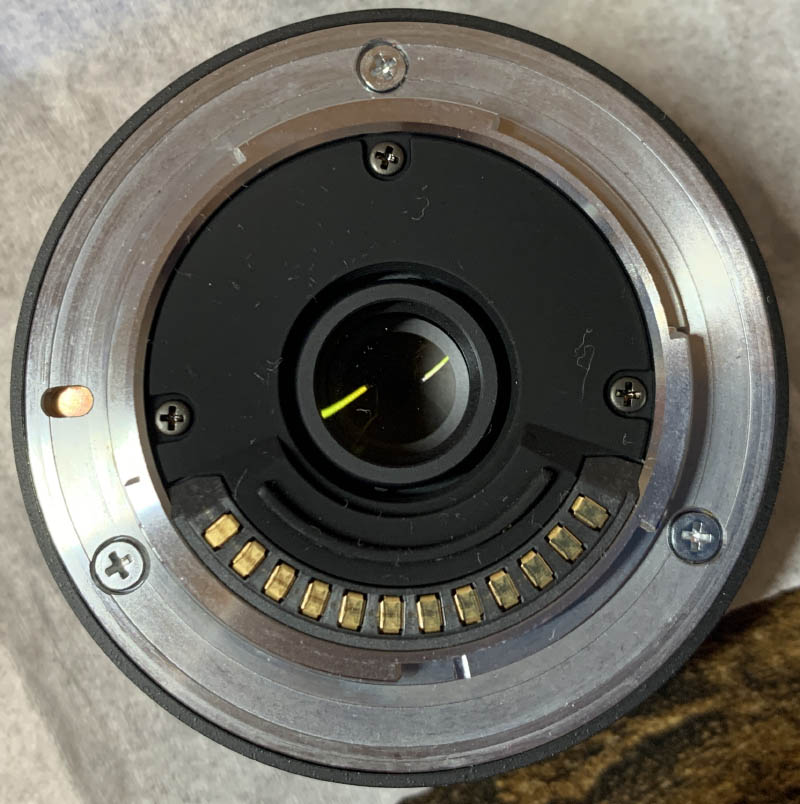
Extract the screws of the rear baffle (the black part) to remove it. You can also remove the bayonet screws, read my article on how to properly remove screws so you won’t damage these. Many people do not read it so they end up stripping the heads of their screws, don’t be one of them!

Pick the baffle off with your fingernails and be careful not to damage anything.
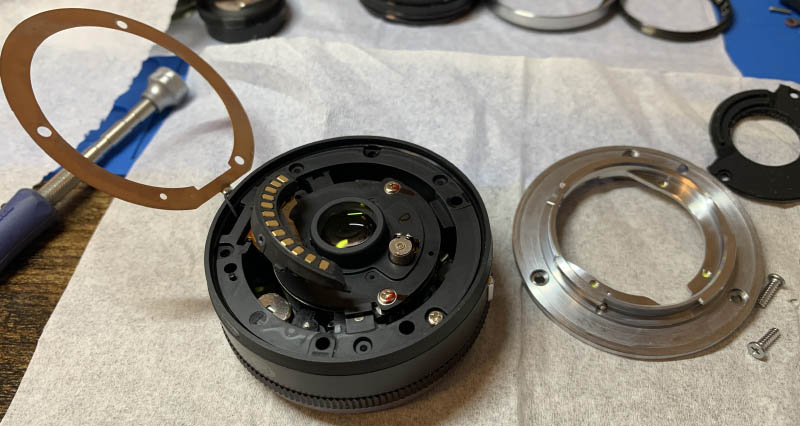
Lift the bayonet plate off carefully so you won’t catch the contact lock or other parts. Underneath, you are able to find what looks to be a shim but it’s actually a ground of some sort (maybe it is really a shim!). Set it aside and do not bother unsoldering it but be careful not to pull it while in the process of disassembly.
Before you continue, be sure to take as many photos as possible and make small marks with a marker! We will be dealing with an important adjustable part in the next step and it’s super important that you’re able to put it back correctly like how it got out of the factory! If you’ve screwed this up you will end up with an unacceptable lens that has uneven performance at the corners. The only way to remedy this is to adjust it until you get it sharp or use a special tool to do so, which is beyond the reach of any amateur. If you have bought a lens that was tampered with before, then good luck! You don’t have a point of reference and it’s going to be a hell of a ride for you and your lens as you get that back to acceptable performance!

Carefully extract these, don’t put too much pressure because you can damage the autofocus mechanism. These screws have washers underneath them so don’t lose them as well. A warning about the autofocus mechanism – the part where these screws are secured moves in-and-out of the barrel and it’s supported by a small gear with springs and other delicate things, that’s why you shouldn’t press on it too much! I’m showing you a hack to get to the broken gear with the least steps as possible.
I’m not sure how it looks like with other samples but mine has a metal guard on top of the screw under the flex cable of the contact block, it is in the 10:00 position here in this picture. I simply meant it out of the way so I can access the screw. You won’t be able to see the metal guard here since it’s in the shadow so it looks totally black.

Remove the housing and plate of the rear optics mechanism. Set it aside and make sure that it’s safe.
Carefully remove these shims, they’re used for adjusting the focus of the lens so keep them safe.
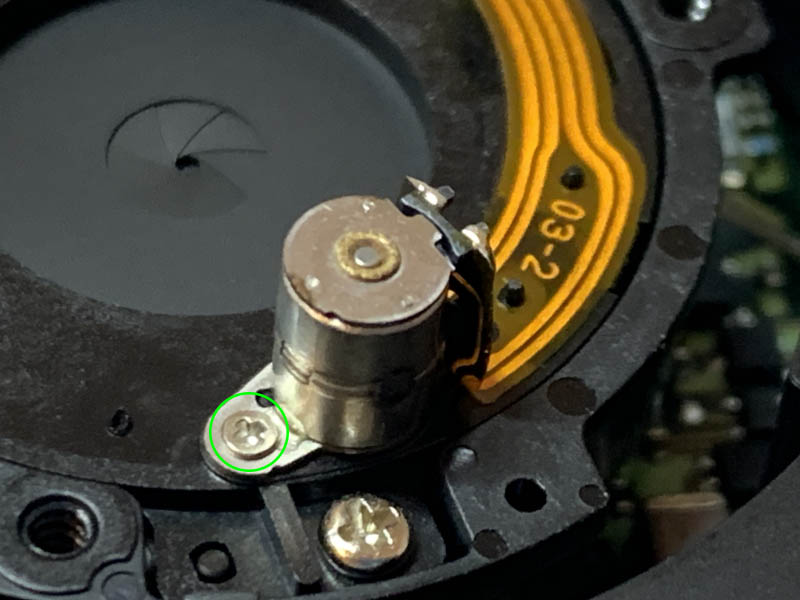
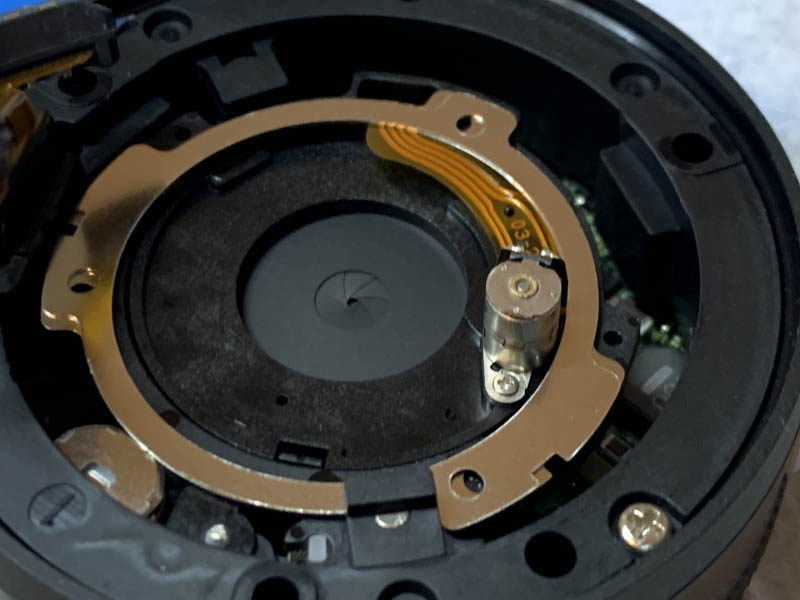
The peanut motor is secured by a tiny screw so you should use an equally tiny screwdriver to get it off. It’s also mounted on the autofocus mechanism so don’t put too much pressure.

Carefully peel the printed circuit off from the surface, it is only secured with glue. You should replace the gear in this manner, with the motor dangling on the side. There’s no other way around it because we did not go through the correct sequence to get everything off.
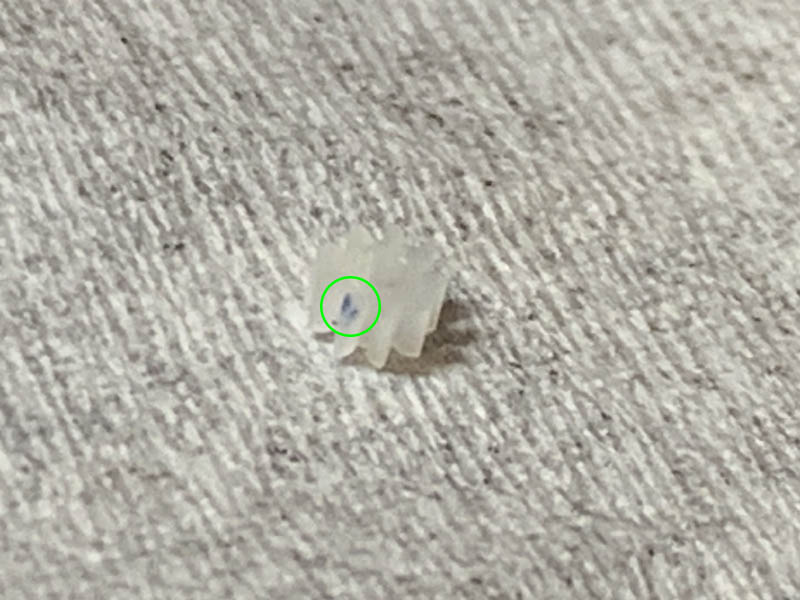
The gear is very small, it’s probably less than 2mm across! You can see a blue mark where the damage is. I don’t know why it’s blue but I suspect it’s just lubricant that got trapped in the chipped tooth of the gear. Pull it off carefully and replace it with a new part. If you don’t have any replacement parts you can just get a fine file and sand it smooth then mount the gear in reverse. I’m not sure if that will work or how long it’s going to last but at least I gave you an idea.
There’s nothing much to talk about because this is a simple operation compared to the more complicated ones we have as far as 1 Nikkors are concerned. Just make sure that you have the replacement part before you even begin contemplating on starting this project.
Conclusion:
This one took me about 45 minutes to finish, I would say that I can take even less time the next time that I work on this same model, that is if someone needs me to replace their broken aperture motor gear. I’m very happy to have finally worked on something that I have always wanted for myself and to show you a good way of getting to the problem without a lot of fuss. I’m not sure how long this will last but I hope it will be enough to last at least a couple of years because I sure do not want to open this thing up again in the near future!
Before we end this article, I would like to talk a little bit more about adjusting the focus of this lens after you have removed the adjustable part. If you have access to a microscope you will be able to adjust the centering of the rear elements in some way. Just remove the lens while it’s set at f/2.8 while the camera is still turned ON, this will allow it to remain open. Peek through your microscope or its monitor and slide a frosted sheet of plastic or an old focusing screen (which is better) and adjust the part until you’re able to get all of the corners in acceptable tolerances, which means they don’t look “smeared” or exhibit a lot of astigmatism. This is not easy because you will need a jig for it, I did not do this because I don’t have it! It was as painful as being tortured by a mistress, and it’s not as pleasurable. However, once I was able to get it working acceptably, it felt like a small achievement on my part!

I’m upset that I got a lemon so I’m eating everything that the doctor told me not to.

I guess the only perk of owning this is having a tiny lens that you can bring anywhere with you. Maybe I can get a better one in the future.
That’s it for our article this week. I’m not sure if many people have covered this lens before but I hope my take on this little thing and how to repair it will be useful for someone with a broken lens. I wouldn’t say that I’ve enjoyed shooting with this lens because that’s just how the Nikon 1 system is but I hope that it’s entertaining enough for you. If you liked this article, please leave me a tip and I will be very happy since it helps me keep this website alive. You guys are helping me offset the cost of hosting it by leaving me that little sweet tip just below this paragraph. Thank you all for supporting my work because we are doing the whole community a big service. See you guys again in the next article, Ric.
Help Support this Blog:
Maintaining this site requires resources and a lot of time. If you think that it has helped you or you want to show your support by helping with the site’s upkeep, you can make a small donation to my paypal.com at richardHaw888@gmail.com. Money isn’t my prime motivation for this blog, I believe I have enough to run this myself but you can help me make this site grow.
Leave me some tip?
Thank you very much for your continued support!
$2.00
Helping support this site will ensure that it will be kept going as long as I have the time and energy for this. I’d appreciate it if you just leave out your name or details like your country’s name or other info so that the donations will totally be anonymous. This is a labor of love and I intend to keep it that way for as long as I can. Ric.

Jul 17, 2025 @ 22:32:02
Nicely done, as usual. Looking forward to your repair of the 10-100cx non-PD (which I think you recently alluded to in a Facebook post). The 32mm 1.2 cx is a lovely piece of glass–perhaps the urge will strike you to undertake that one as well. Cheers.