
Hello, everybody! Do you all remember “Boney M“? Boney M was Germany’s super group during the Disco days, responsible for some of the unforgettable hits such as Rasputin, Daddy Cool and several more that topped the charts from the mid 1970s up until the mid 1980s. It is one of my favorite groups and I would listen to their songs while driving just to keep me awake. What a lot of people didn’t know is that the four members of the group didn’t really sing the songs, at least Bob Farrell – who was the front-man never did. That’s why many considered it a fake group. Today, I’ll show you what some people would call a “fake”, a copycat. But just like Boney M, despite not being the real deal it did really well for itself because it tried to outdo the original, other people would even go as far as say that it’s even better. Read the whole story to find out why I said this and you decide if it is indeed worthy of its reputation.
Introduction:
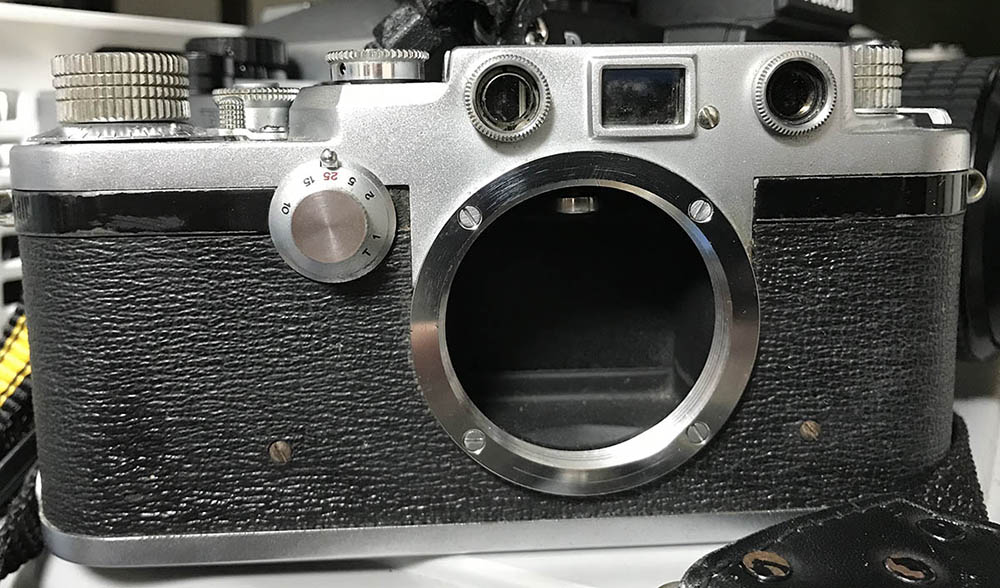
The Nicca Type-5 was sold from 1955, it succeeded the older Nicca IIIS. What sets it apart from the older camera is this one copied the Leica IIIc instead of the earlier Leica IIIa. It has a maximum shutter speed of 1/1000s instead of the pedestrian 1/500s that many older Leica copies have. But its most defining feature is the rear door that you can open for more convenient loading of film. It also allows you to remove stuck or ripped pieces of film easily, you will need to send your camera for repairs prior to this feature because the lower shell had to be removed in order to get any debris off. This also allows me to conveniently test the focus of any lenses that I have serviced since all I need to do is just look through the film aperture. It’s also much more trivial to adjust the tension of the curtains because I don’t need to remove the lower shell in order to attach a sensor to the camera.
Nicca makes some of the better Japanese Barnack clones, the build is much better compared to the ones from other companies, rivaling even Canon’s. They are inexpensive, you can get one for well under $100, I got mine for $50 or so, it’s not in good shape at all but that’s how they usually look like.
This is an obvious improvement over the older Nicca 3S, which is an almost exact clone of the Leica. This one can at least claim to have made some improvements over the original design. The workmanship isn’t anywhere near the original’s standard but for a clone, it’s as good as it gets. This is a lot better than Soviet copycats in terms of refinement.
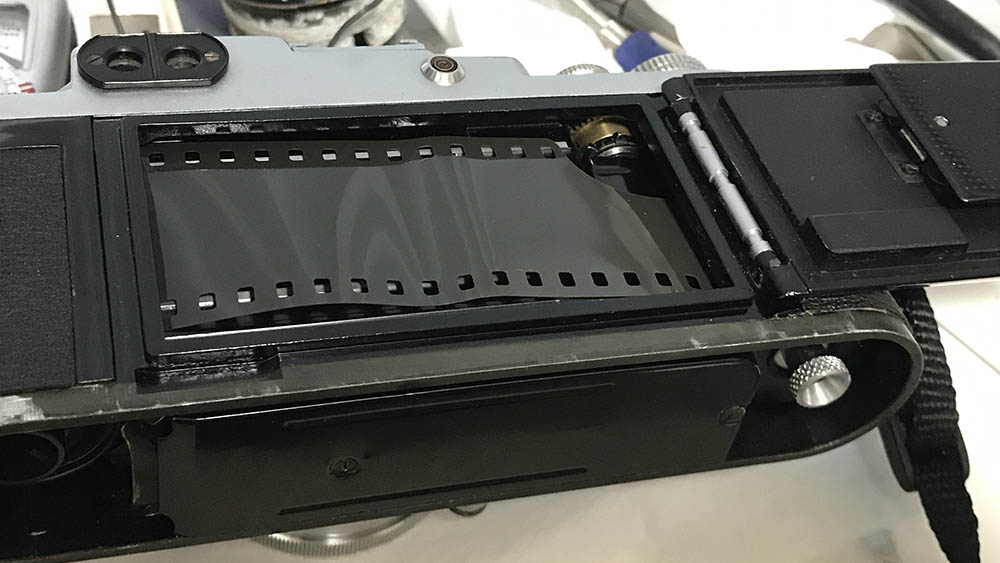
The biggest reason to own this camera is openable back, it is very helpful when I’m checking the focus of my lenses, it is one of the few Barnack clones that have this gimmick. In reality, this feature is used for the secure and sure attachment of the film to the take-up spool. Of course, you do not need to cut the leader of the film now that you can see and guide the film over the sprocket.
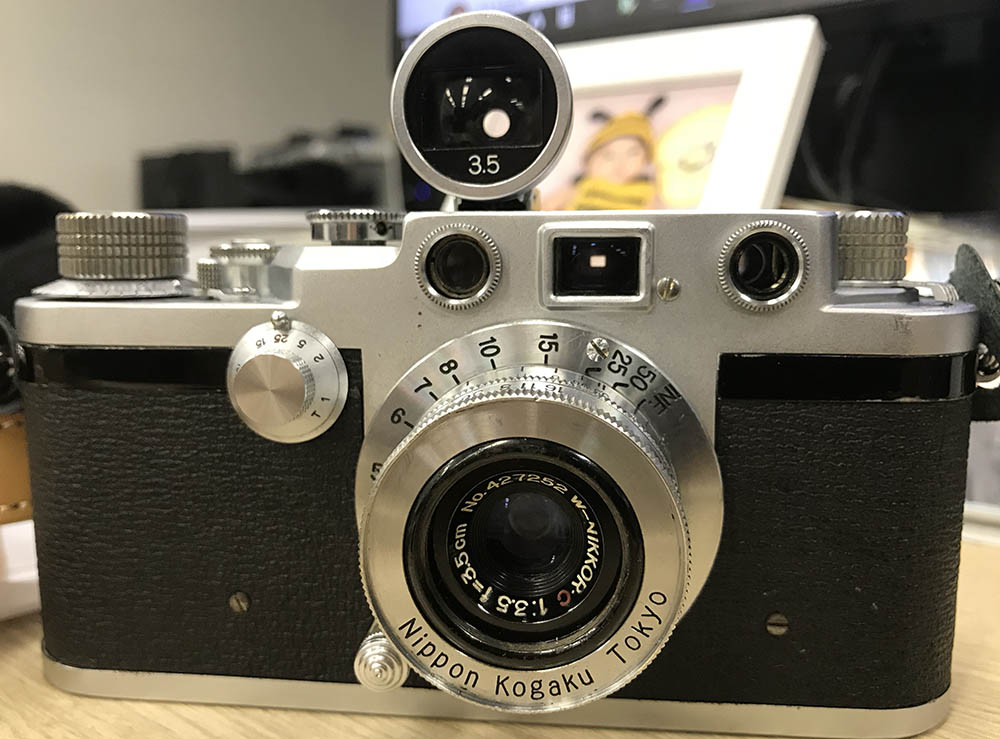
Here it is with the W-Nikkor.C 3.5cm f/3.5, the perfect companion. You will need an external finder to use this setup or else you won’t be able to frame properly since the built-in viewfinder is 50mm. You can use the rangefinder to focus though.
These are very enjoyable cameras to shoot with, they’re not as fancy as a real Leica but they have just the right amount of fun factor to make them just enjoyable to shoot with. These are not expensive at all, mine was bought for around $50.00, do that overpay for these. As usual, when buying these kinds of cameras it is important that you give it a complete overhaul. It has to be done by a professional because everything has to be in order. It is also expected that the curtains need to be changed, if you go that far you should make sure that the other things are also adjusted. It’s very tiresome but that’s the joy of collecting Leica III clones.
Before We Begin:
If this is your first attempt at repairing a lens, I suggest that you see my previous posts regarding screws & drivers, grease and other things. Also read what I wrote about the tools that you’ll need.
I suggest that you read these primers before you begin:
- Essential tools
- Best practices 1
- Best practices 2
- Best practices 3
- Ai conversion
- Working with Helicoids
Reading these should lessen the chance of ruining your lens. Before opening up anything, always look for other people who have done so on the internet. Information is vague and scattered but you can still find some information if you search carefully.
For more advanced topics, you can read my fungus removal article. It has a lot of useful information, it will be beneficial for you to read this. I also recommend that you read the working with helicoids article since it is very important!
Disassembly (Outer Shell):
This is the first step of dismantling many, if not all Barnack clones I thought are based off of the Leica III. I have lost count how many times I had to do this because they’re all very similar. Having said that, read my article on the Nicca 3S, while the cameras are different that article will explain many things that I’ll skip in this series.
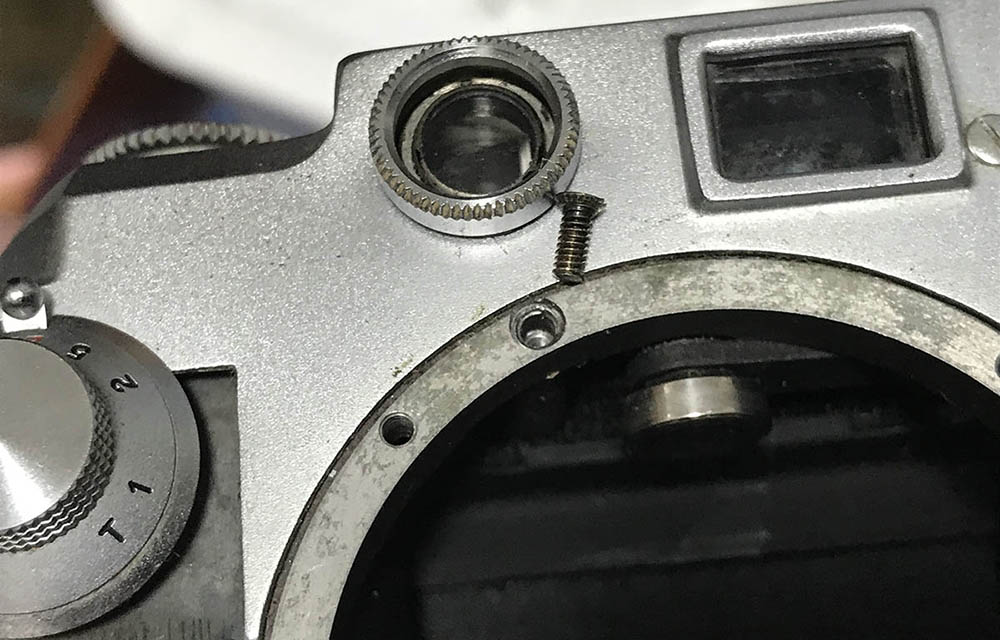
Carefully extract these screws so you can remove the shell.
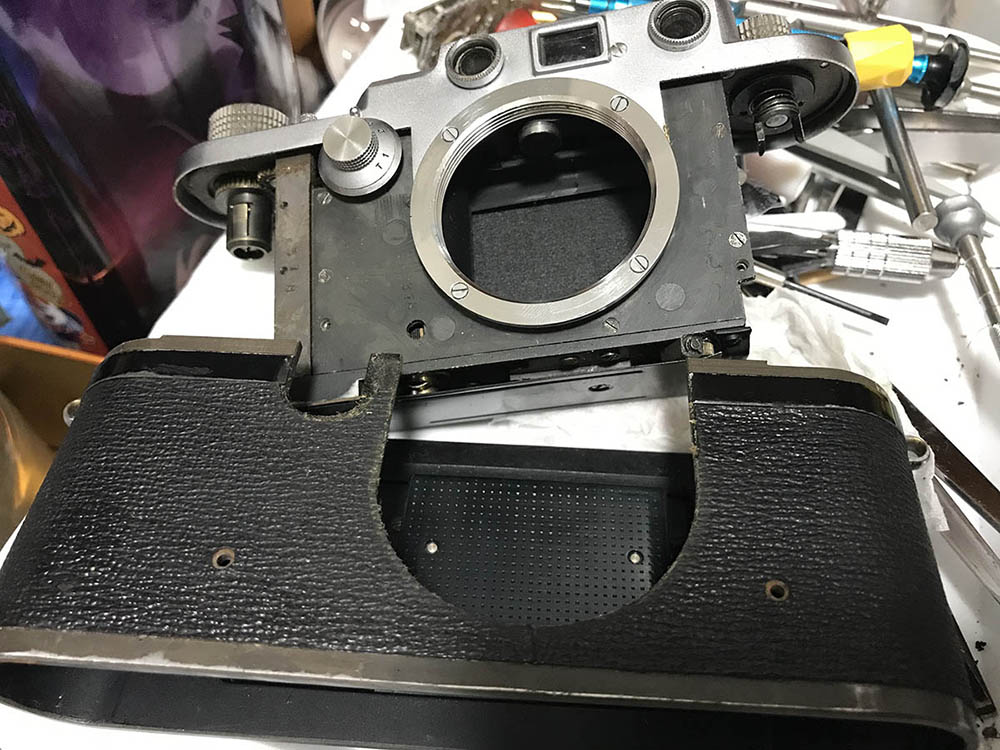
While removing the shell be careful not to damage the back plate, it may be a good idea to remove it first before you begin doing anything.
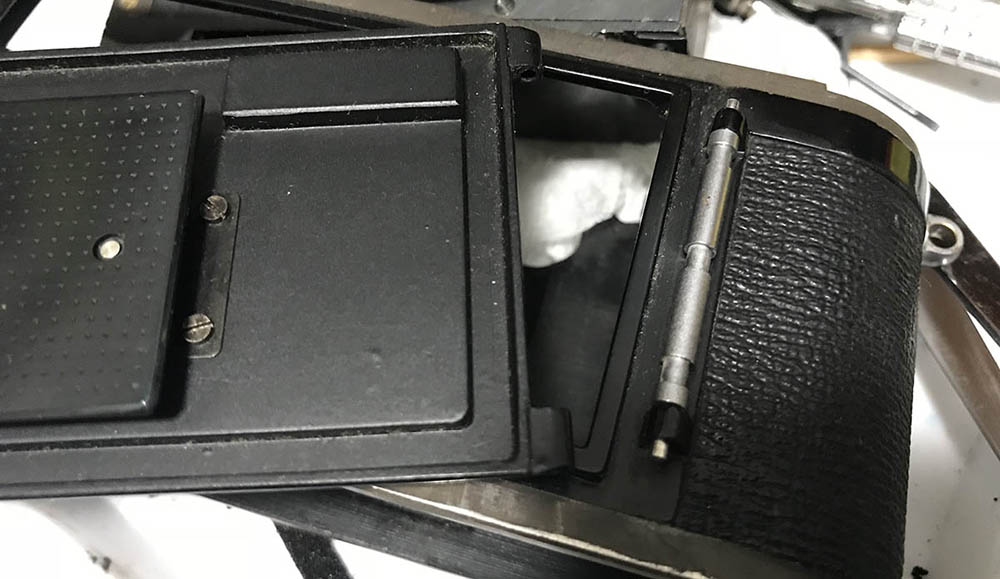
The back plate/film door can be removed by depressing the spring-bar and pulling it off.
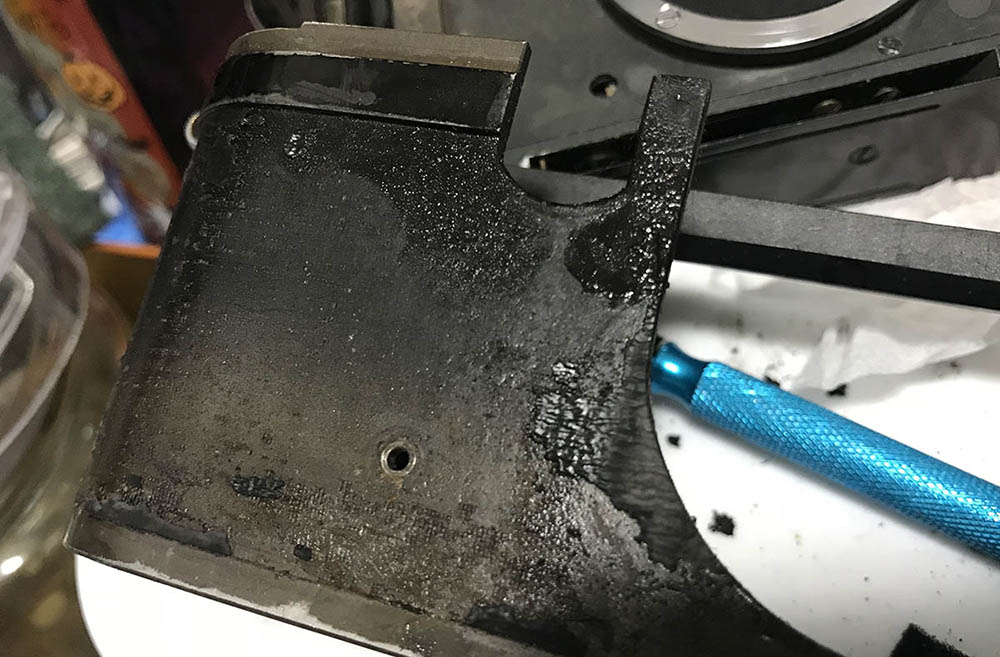
I generally do not do this unless the covering of the shell has deteriorated to a state where it’s useless, it’s not as tough as what the Germans used and you can easily flake them off from the shell.
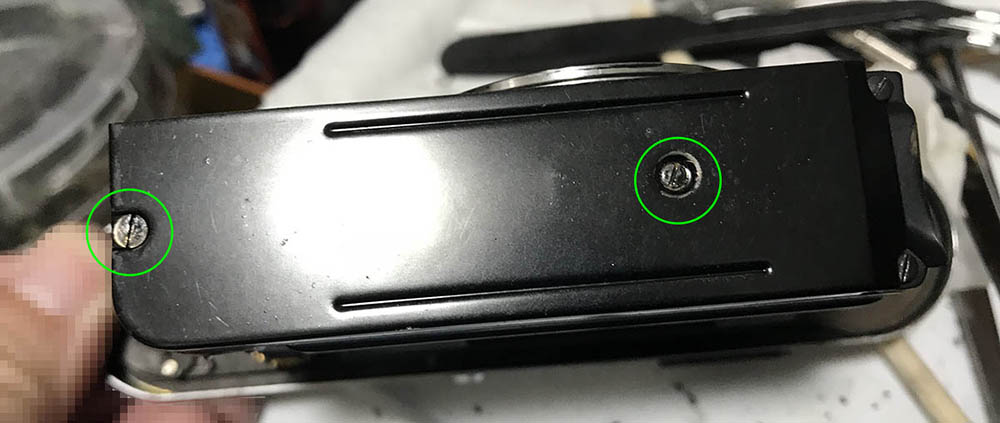
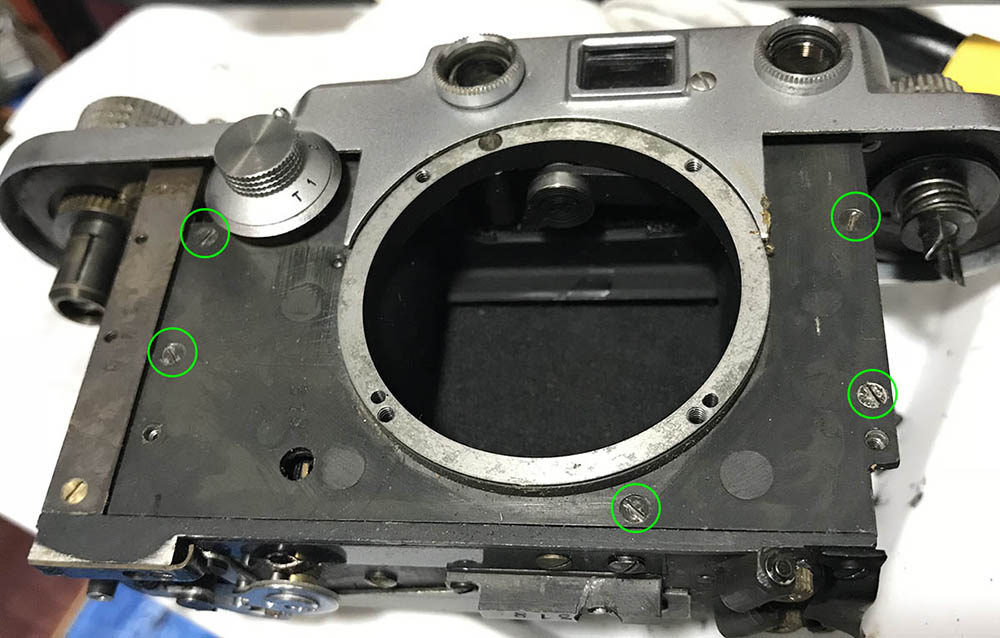
Extract these two screws to remove the bottom plate that protects the lower curtain mechanism, you can do this much later but I choose to get rid of it now.
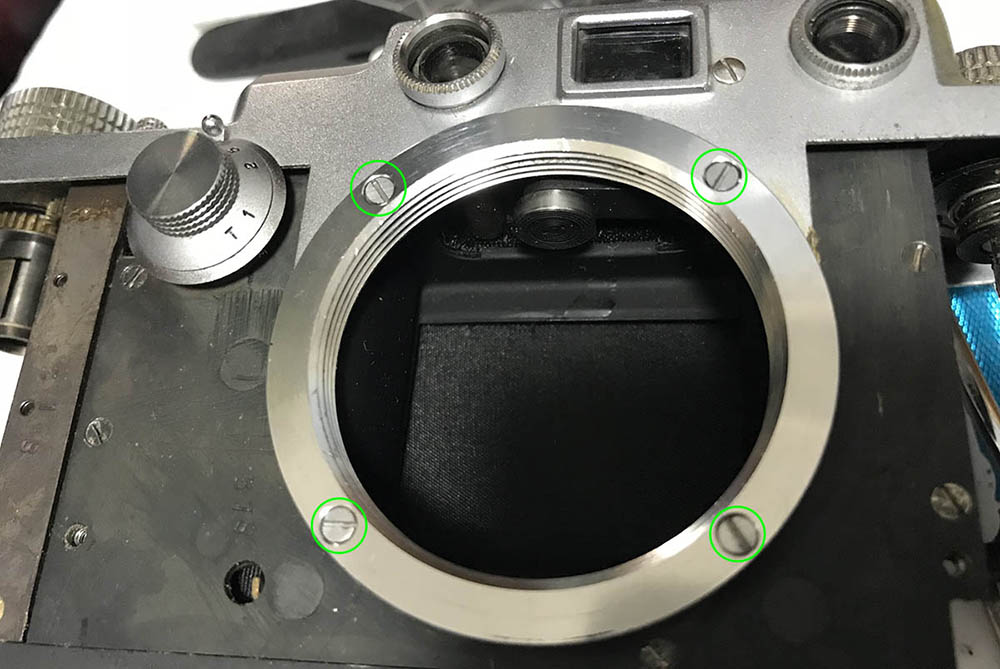
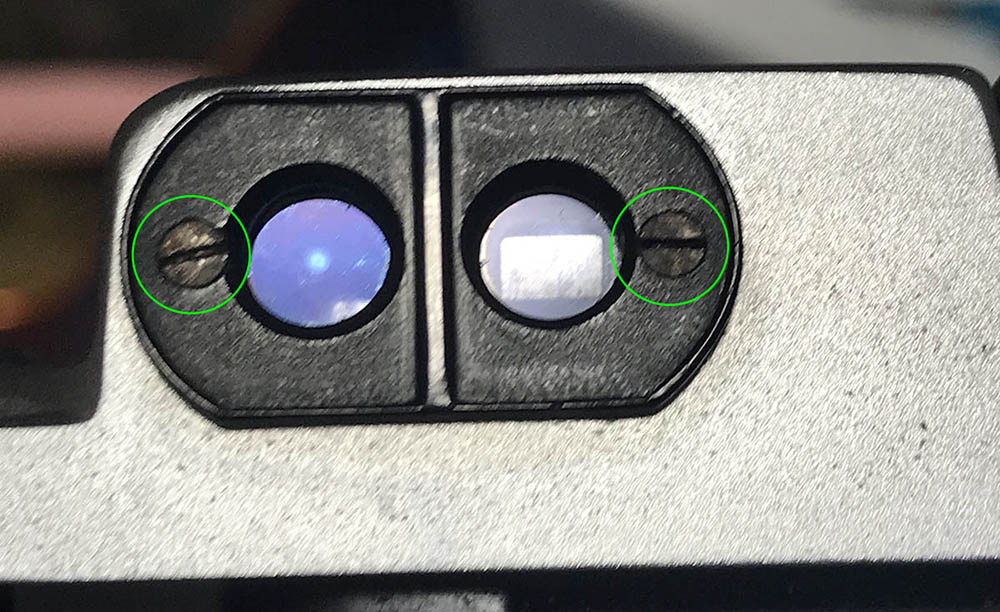
Carefully extract these screws from the mouth.
Do note that there are shims underneath it, do not lose or damage them.
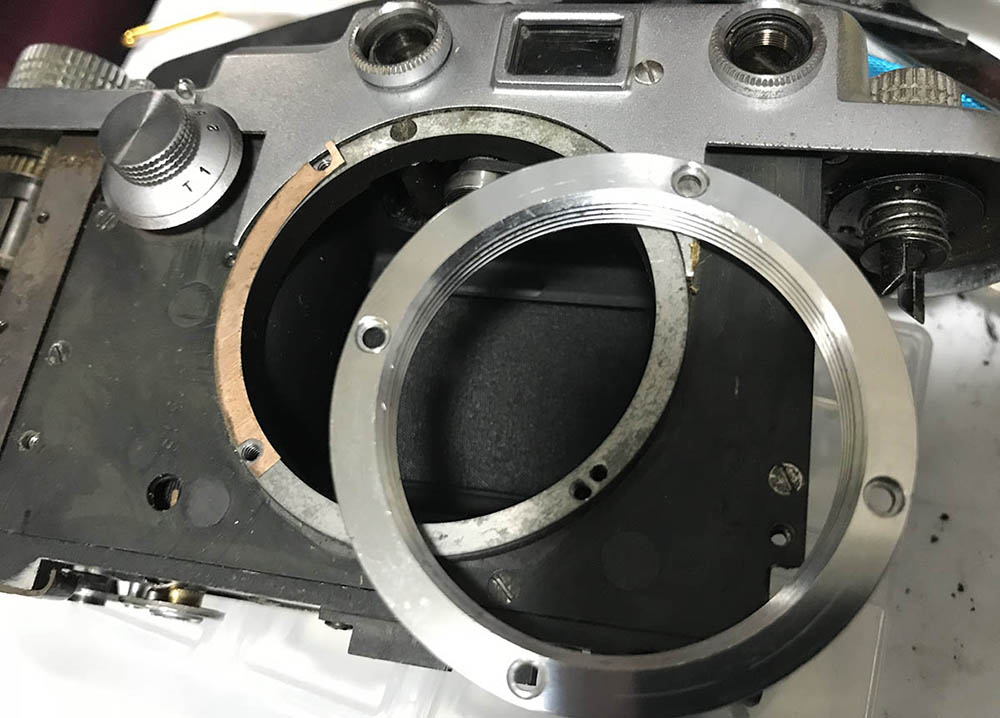
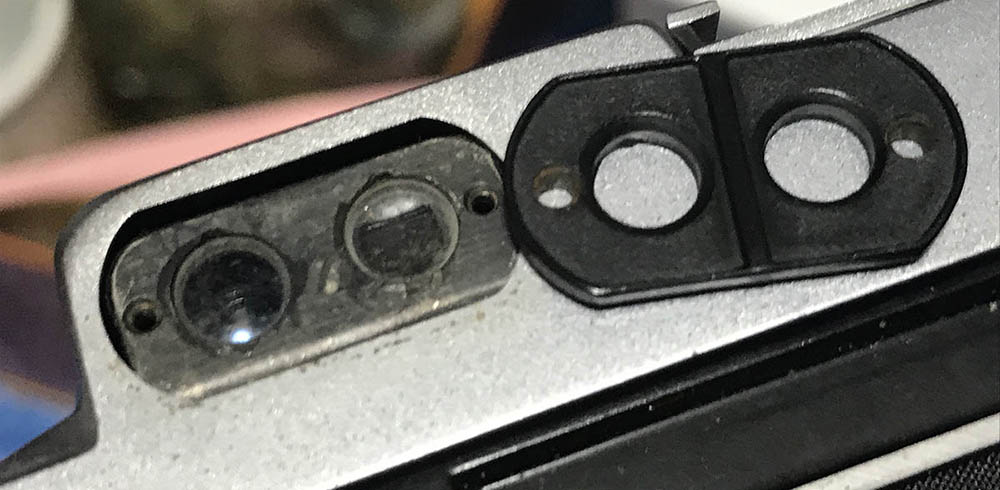
Extract these to remove the front plate, you may not be able to remove the front plate yet because some parts are on the way.
Extractors screw and don’t lose it.
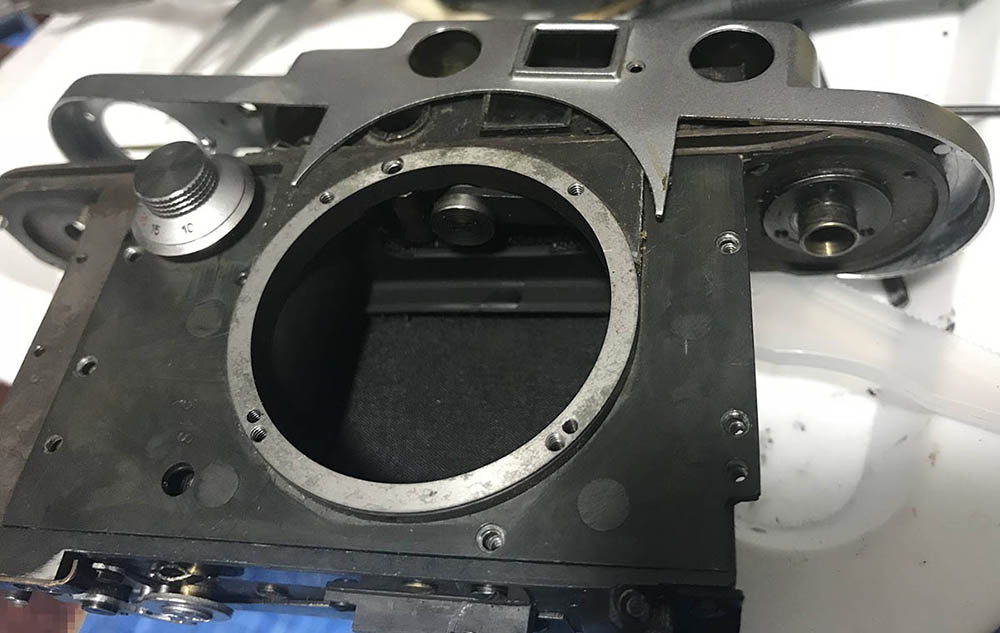
At this point, you are able to see and access some of the camera’s mechanisms, but to do a thorough job you will need to go even deeper. There are times when a shard of film would get stuck, necessitating the dismantling of the camera up to this point, but for this camera we have an actual film door that we could open at will, this is what makes this camera so special.
Disassembly (Right Side):
The right side of the camera is where the advancing mechanism is located, it’s not a very complicated part but you’ll have to pay attention to some of the things found here because they need to be put back in the correct sequence.
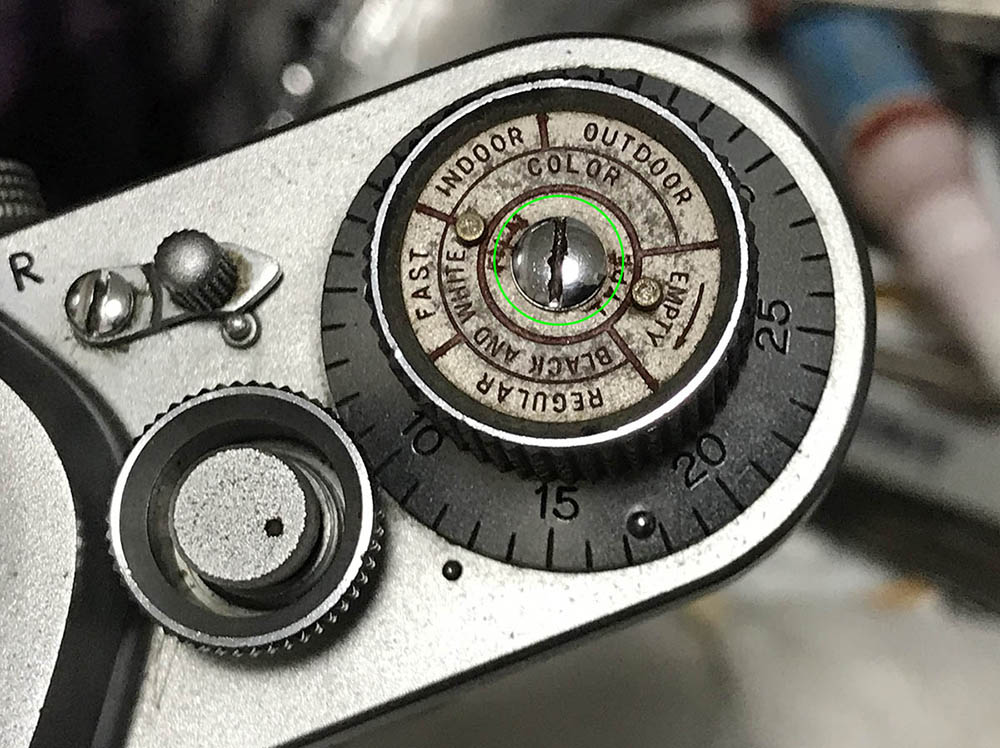
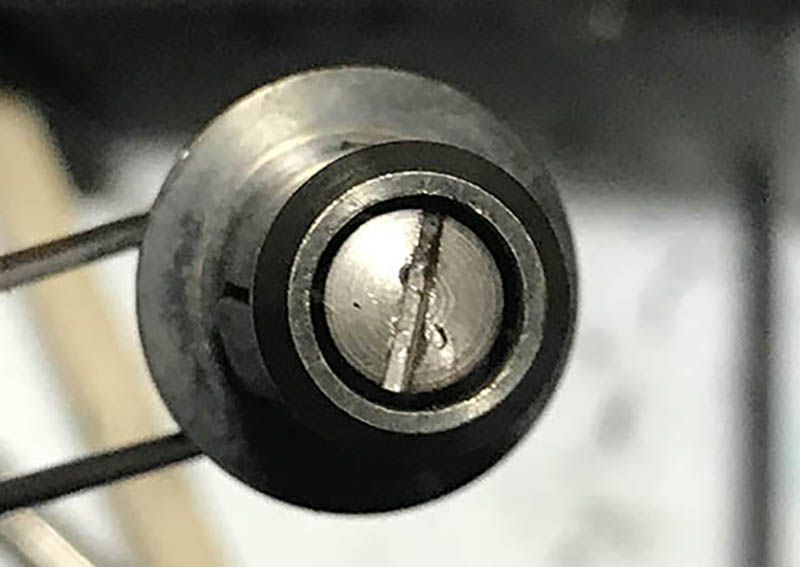
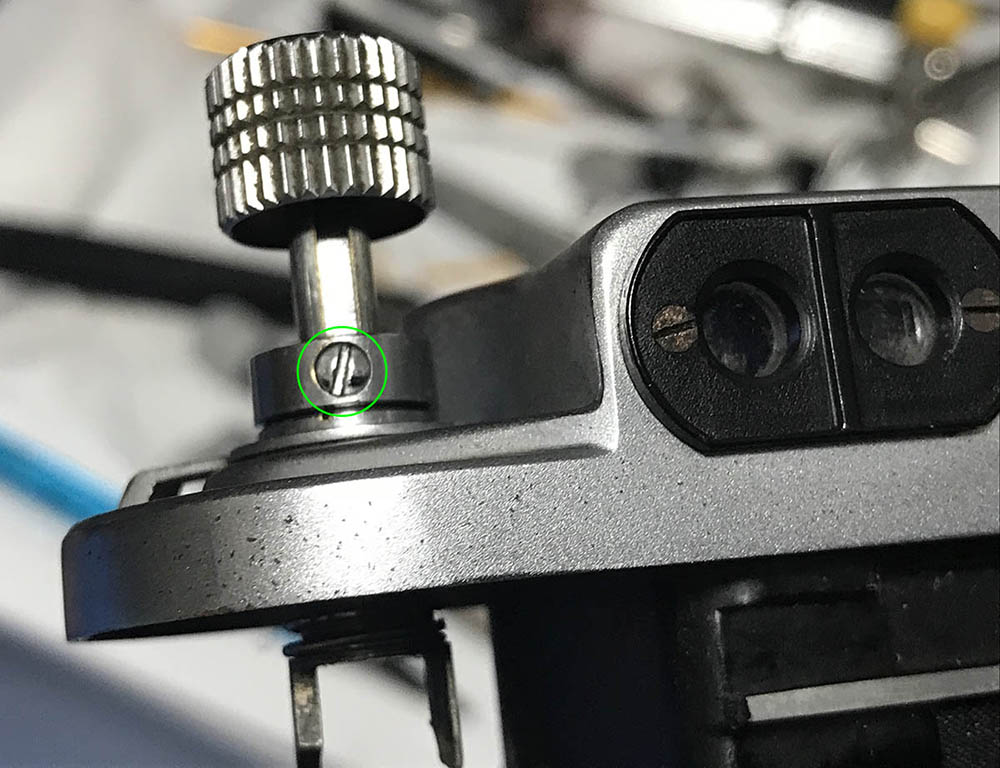
Extract this so you can dismantle the winding knob.
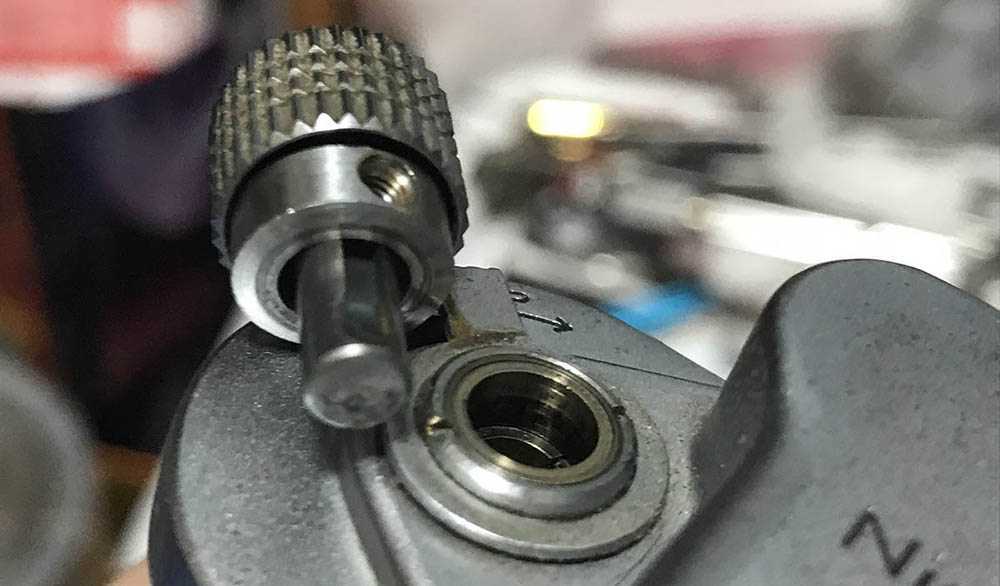
You can extract these two. I don’t know what the other screw is for.
But who’s the advance knob.
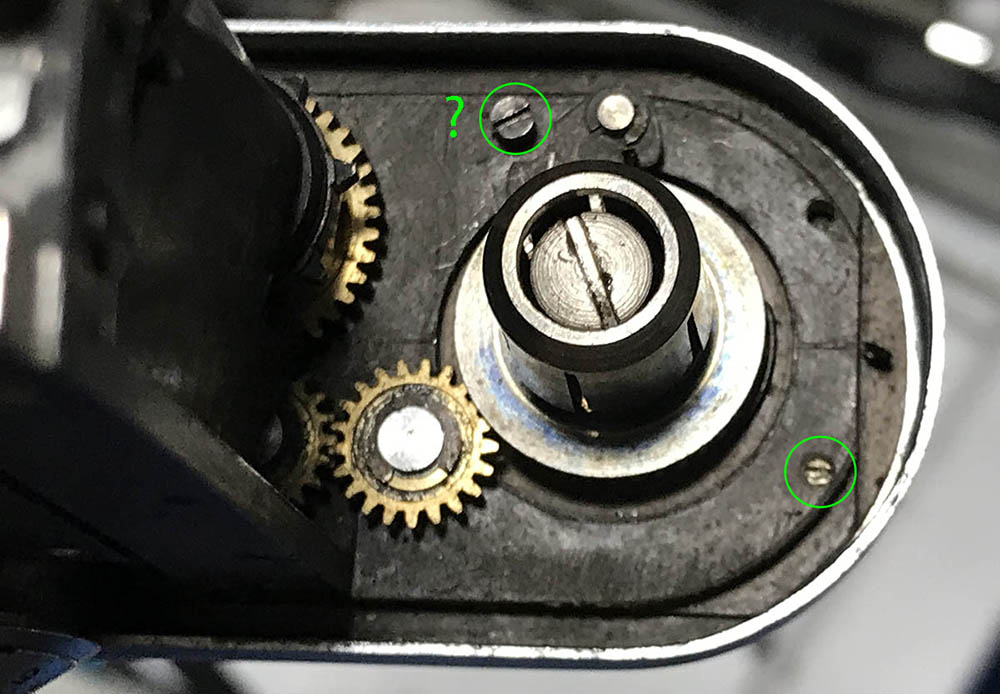
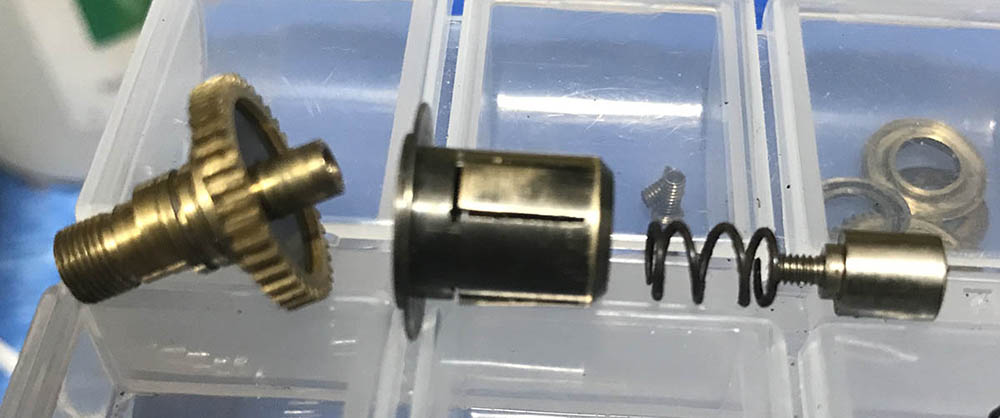
Remove the film counter plate and it’s bushing.

Remove this gear.
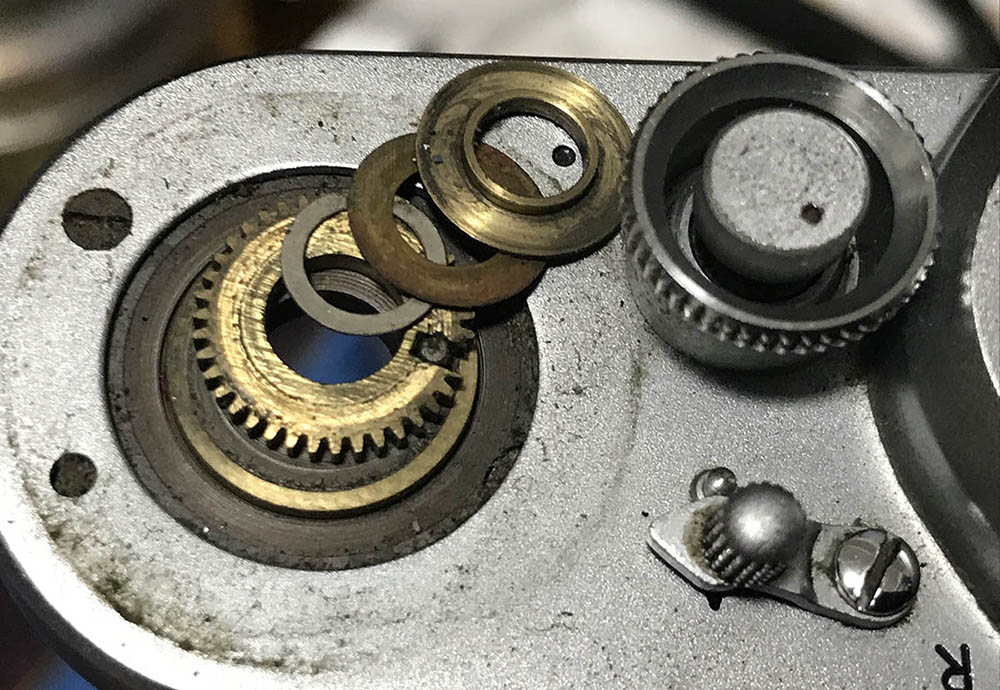
Carefully dismantle everything but don’t forget the order of the parts.

Do note that this gear couples to the screw.
While you’re at it, extract this screw.
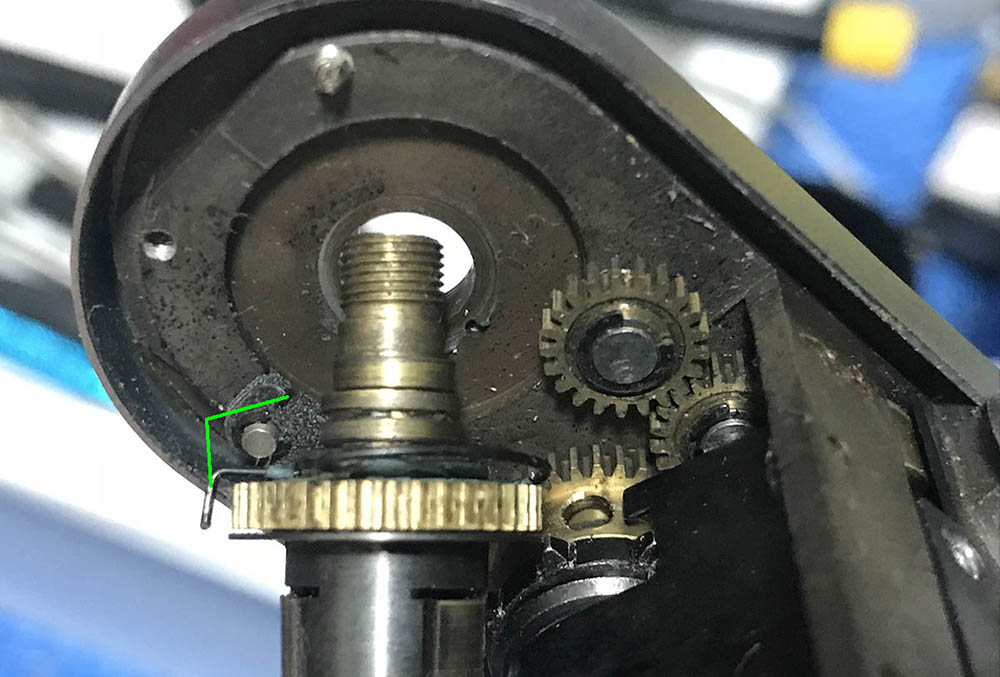
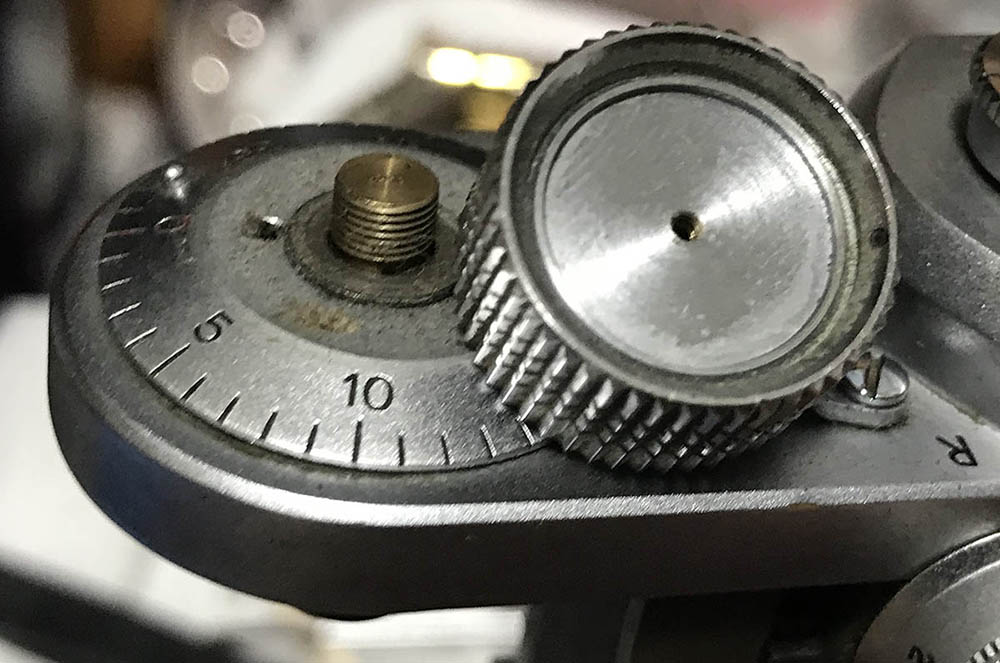
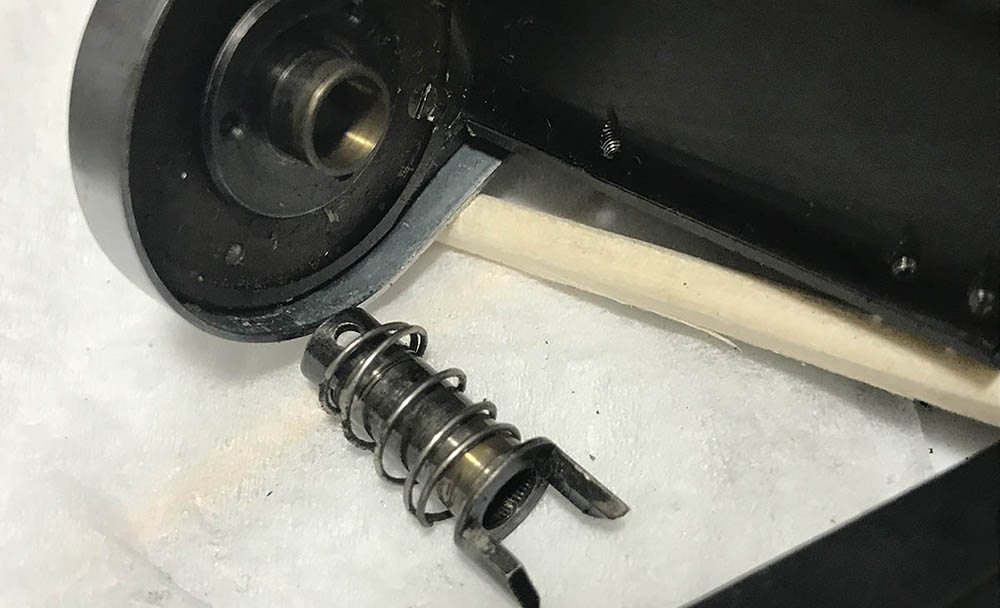
The advance spool mechanism has a spring with one end that goes into this hole.
This assembly is so filthy it needs to be dismantled completely in order to clean this thoroughly.
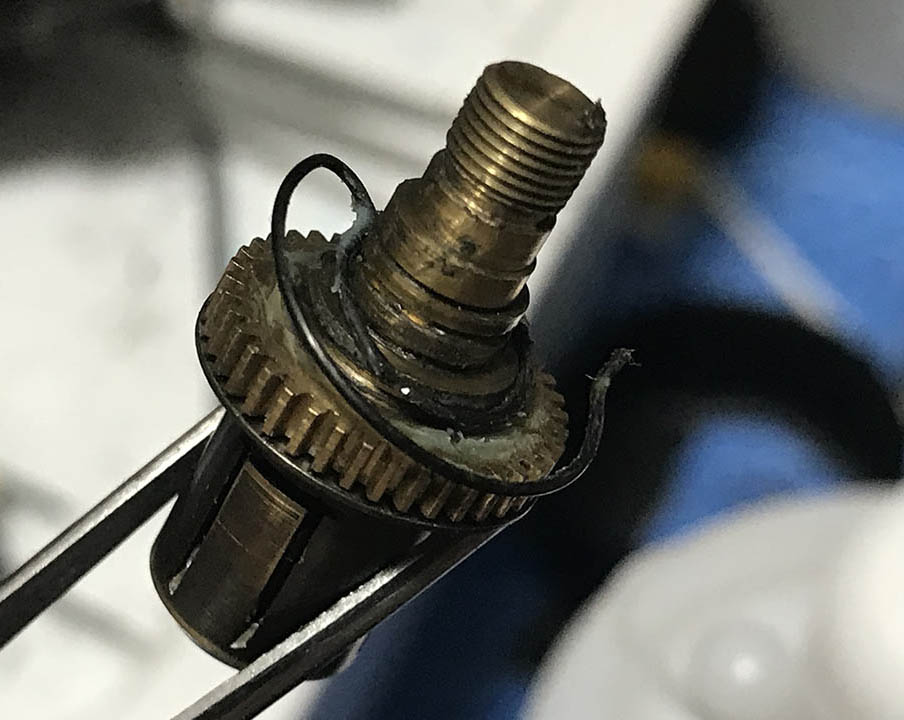
You can dismantle the whole thing by unscrewing this.
This is the complete sequence and order of parts, do not lose anything here.
Turn the shutter guard with your fingers, it should come off easily..
The parts here are usually filthy with old grease and germs, clean everything as thoroughly as you can. It’s a good idea to use molybdenum grease for metal-to-metal contact points, that’s the lubricant that I like to use for this part.
Disassembly (Optics):
Many people got stuck here because they have went the parts or have forgotten where things came from, follow my instructions so you won’t get lost. Of special note are the optics found under the eyepiece, you should pay attention to their directions.
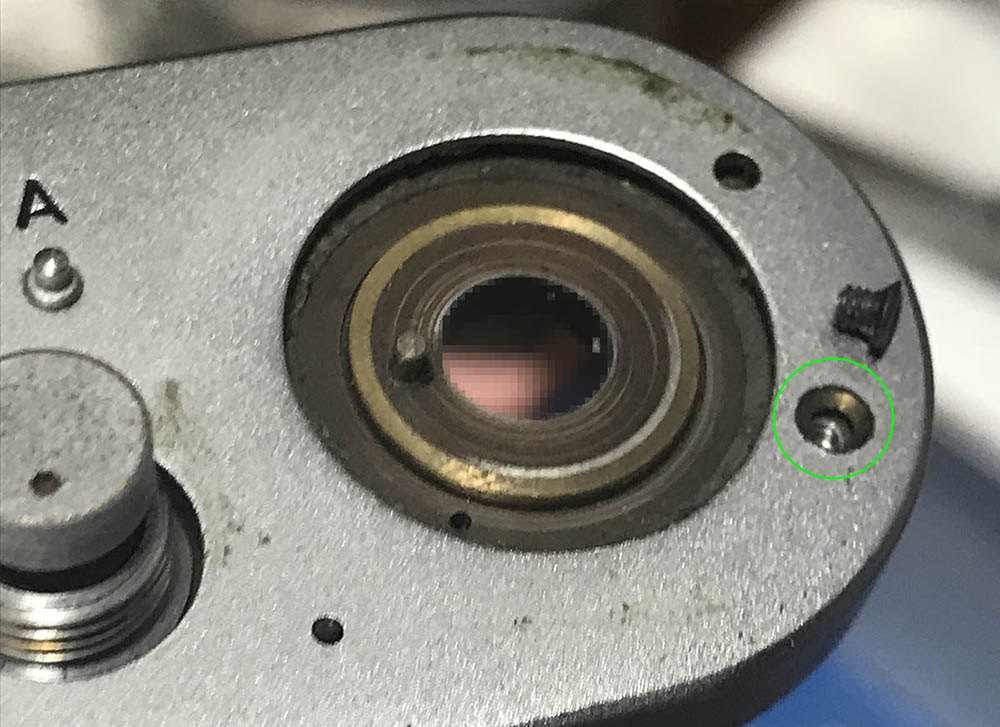
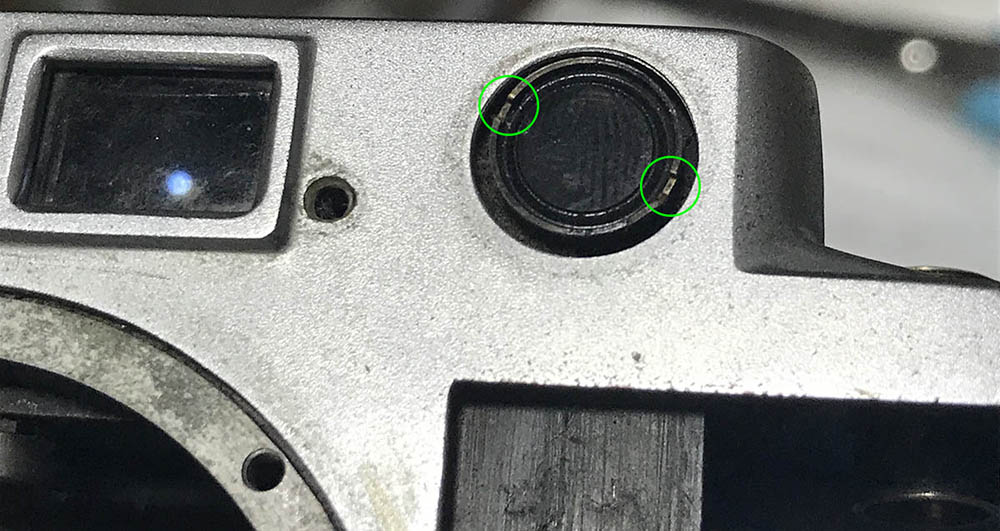
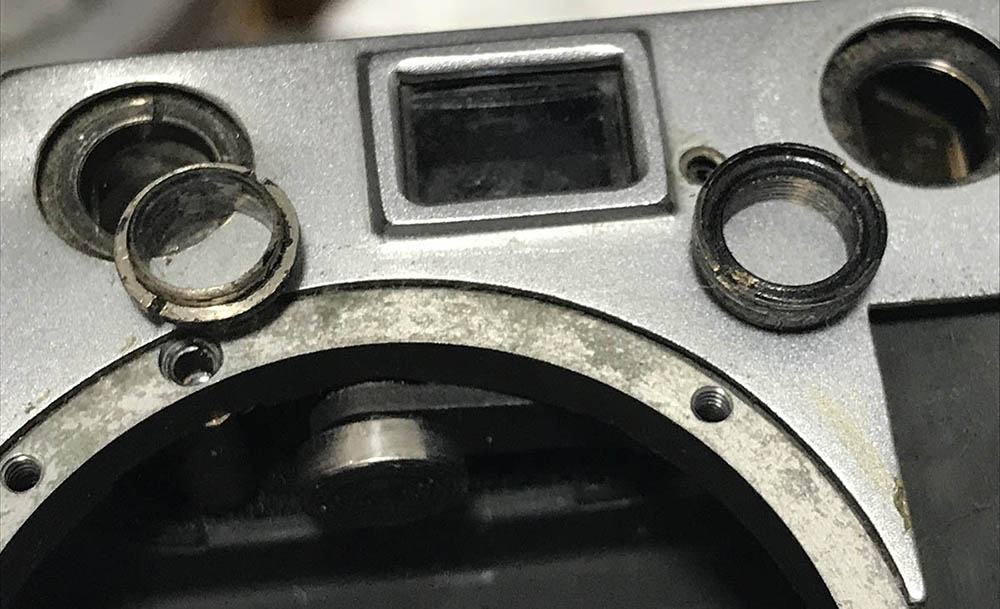
Carefully unscrew the bezels from the front of the camera, the threads are very fine so make sure you do not cross-thread them, there’s no repair if you did.
Carefully extract this is screw.
These slots are not for removing the glass, it’s merely plugged in so you must pull it out using a pair of tweezers.
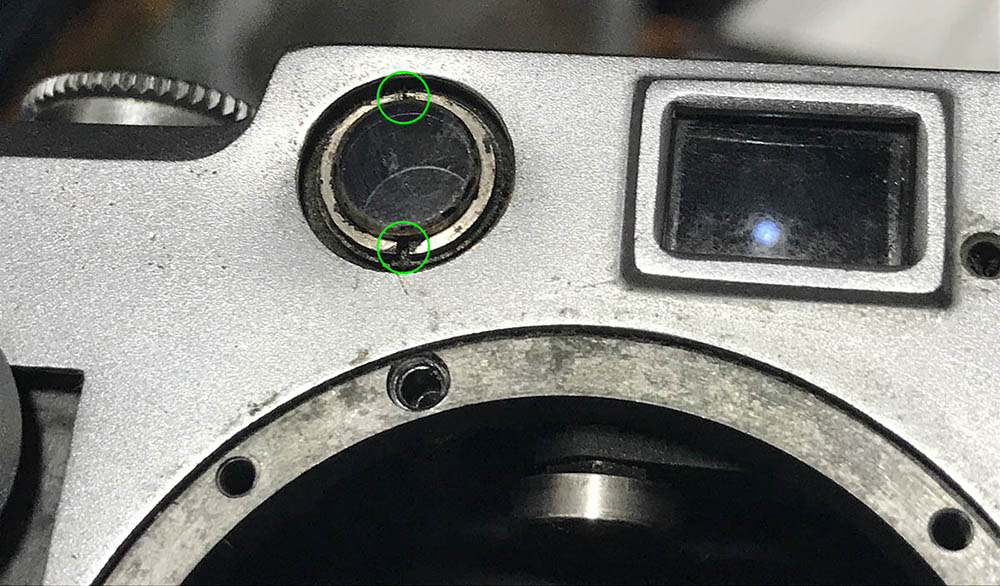
The same goes for this part.
Make sure you do not displace them and no which holes they came from.
Extract these so you can take apart the eyepiece.
Remove the eyepiece cover but be careful not to dislodge the glass.

Use tape to remove the glass and make sure that you know which one should come from which hole. It’s easy to put them back in the wrong holes, it’s never fun when you plug it into the wrong hole.
Store was a little parts in a safe place, you may also want to mark the leading edges of the tiny elements, this will help you remember which sides should be facing forward.
Disassembly (Left Side):
The left side is where the film rewind mechanism is situated, there’s nothing complicated about the parts here, it’s a simple as it gets.
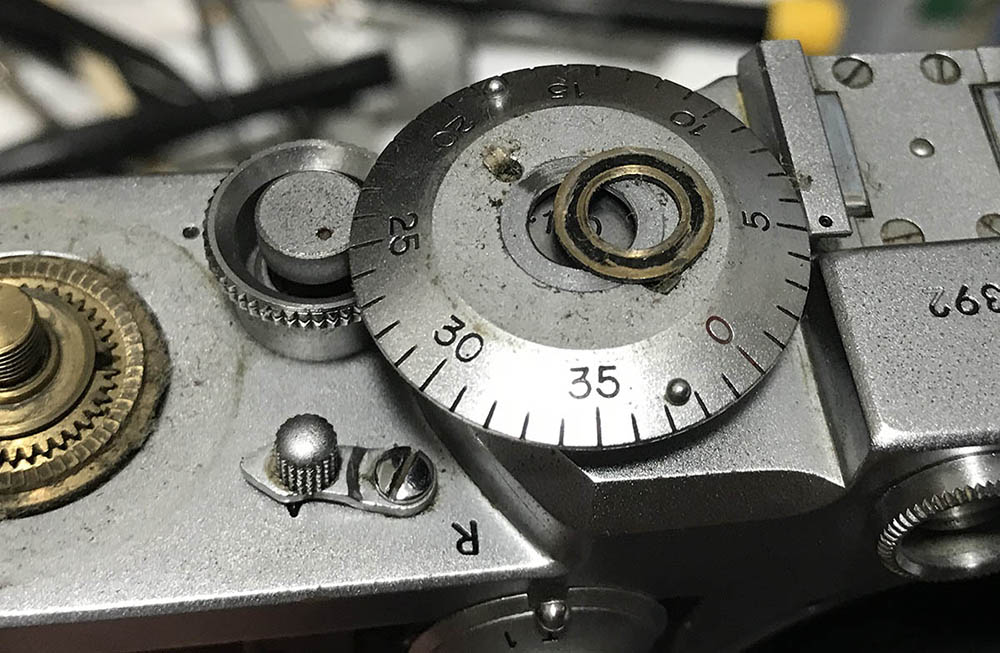
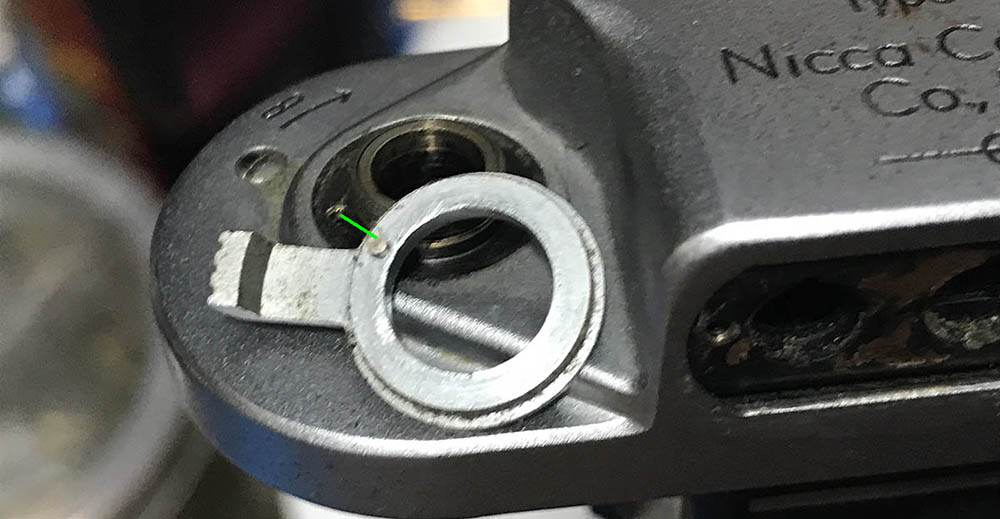
Extend the film rewind knob and locate the screw so you can extract it.
This will enable you to remove the knob…
At the other end, the fork comes off, too
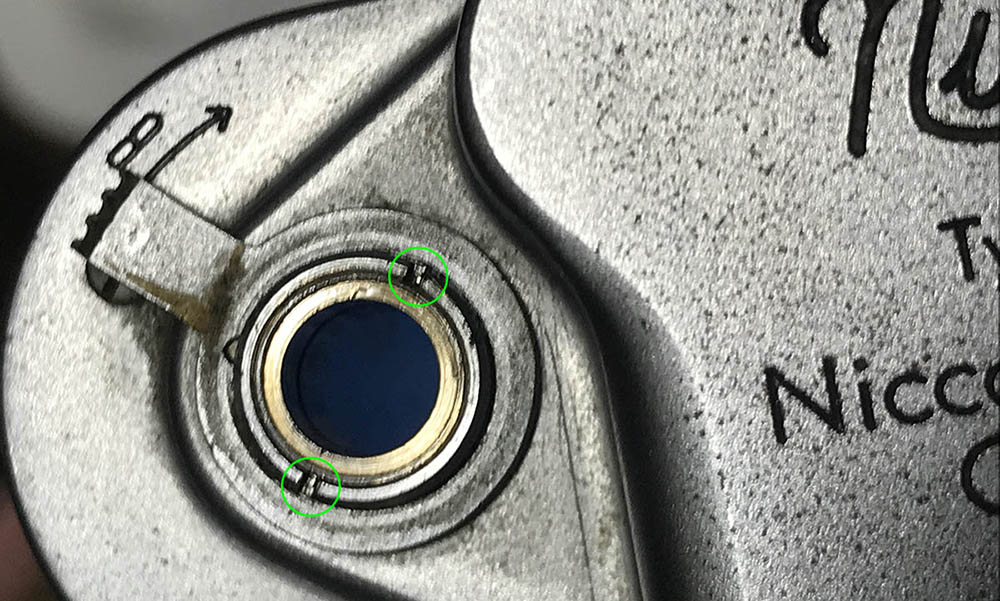
Use a special tool to screw this retainer ring.
Take note that this thing plugs into a hole here.
Extract this screw.
Clean everything very well, just like the film advance knob mechanism, this part can also be filthy. Nobody has ever gone this deep into the camera for decades so there are germs.
Disassembly (Top):
This part deals with the odds-and-ends or what’s left of the things found at the top plate, there’s a lot of small things here so be careful not to lose any of them.
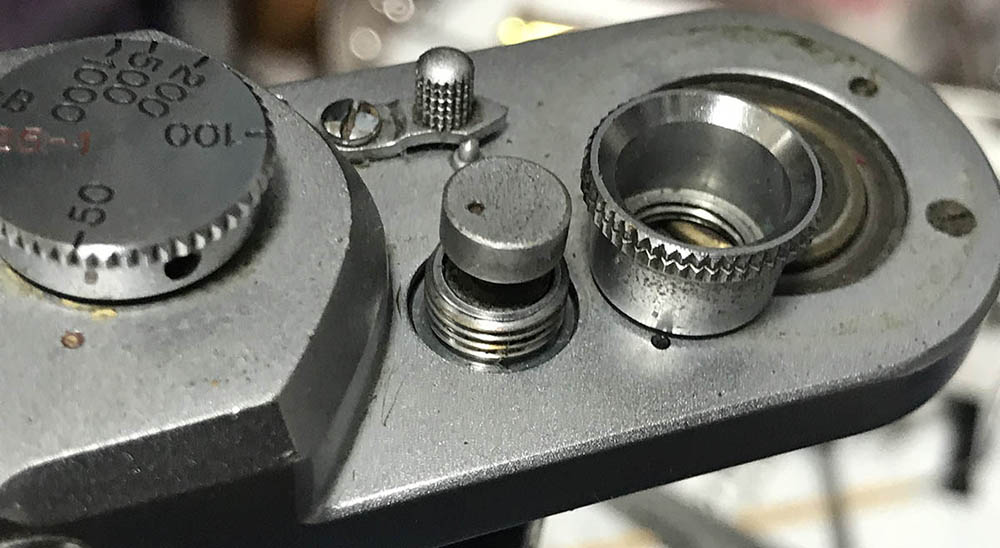
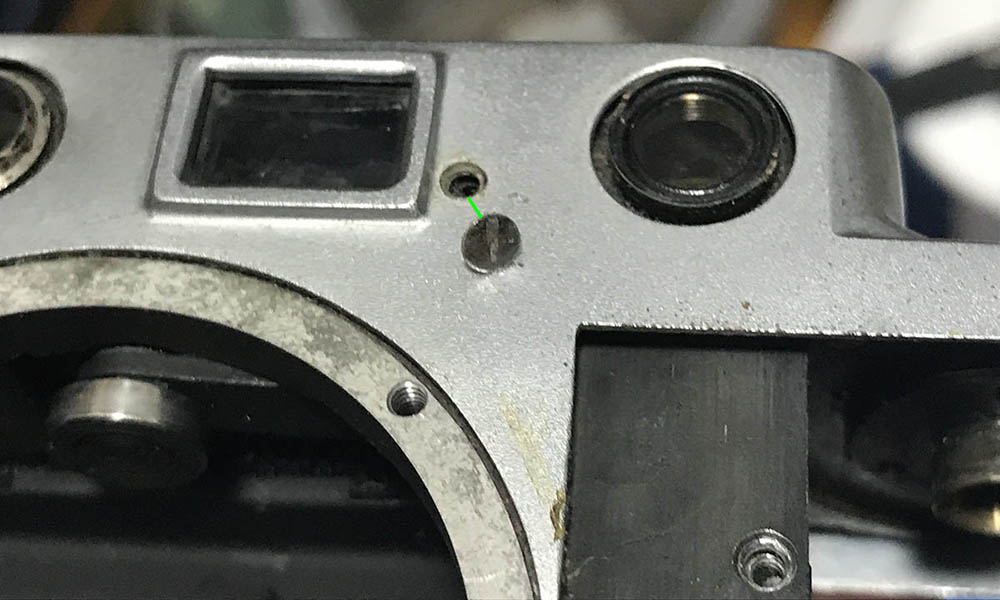
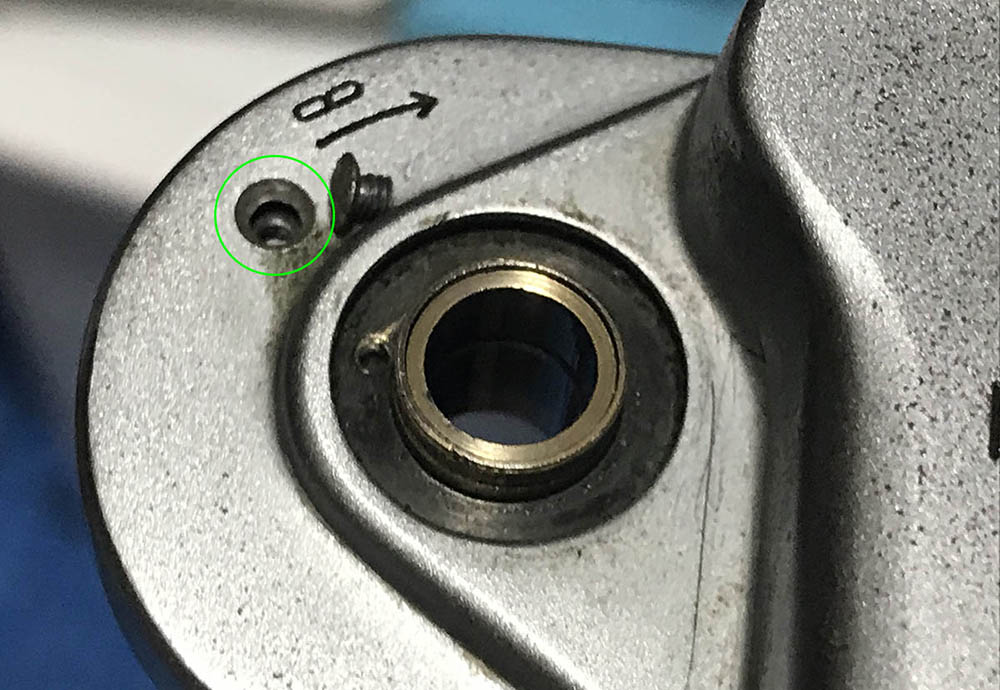
Extract this screw.

You are now able to remove the rewind lever. Note that there is a bush here, you can clearly see it in this photo, it’s around square-shaped thing under the lever. Do not lose this bushing.
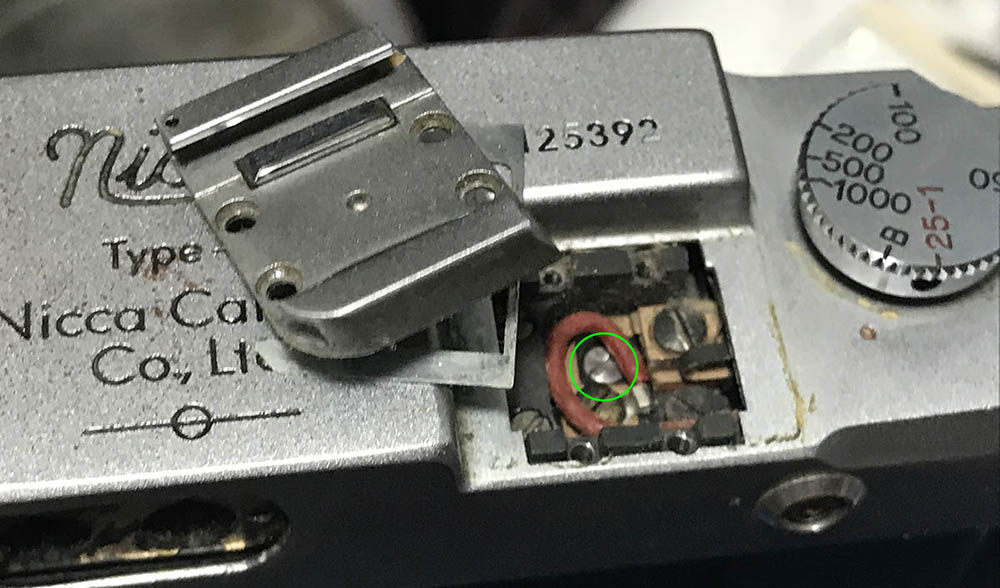
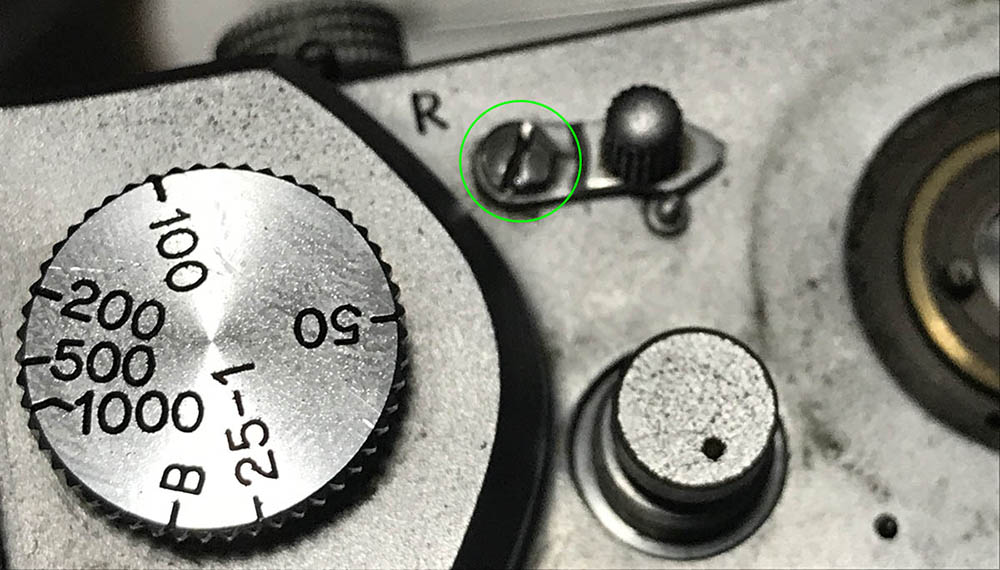
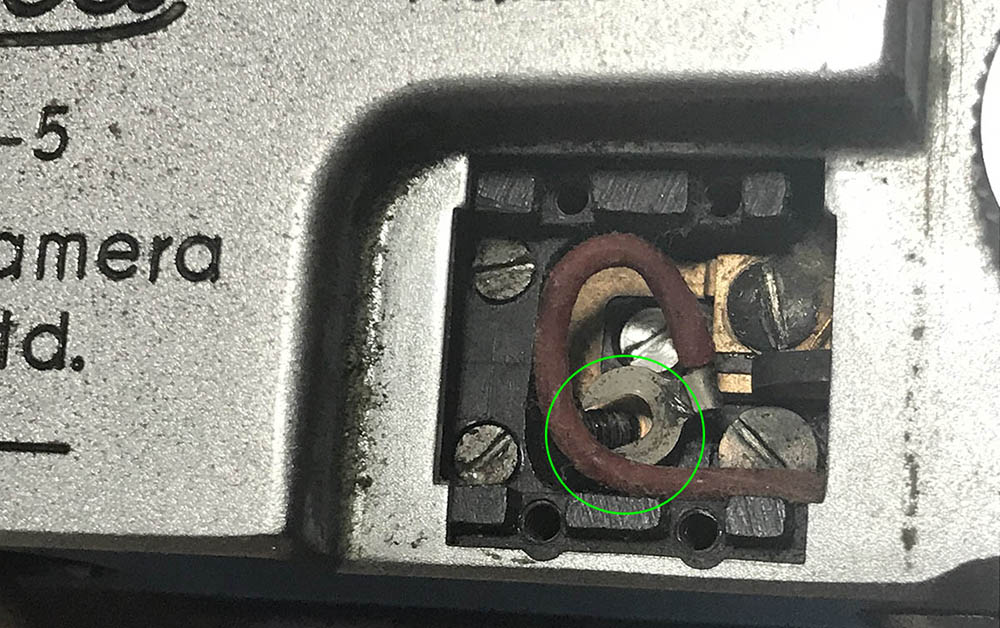
Extract the screws or the hot-shoe to remove it from the body, make sure not to lose the spring. There is a screw underneath it that you should extract.
Be sure to decouple this.

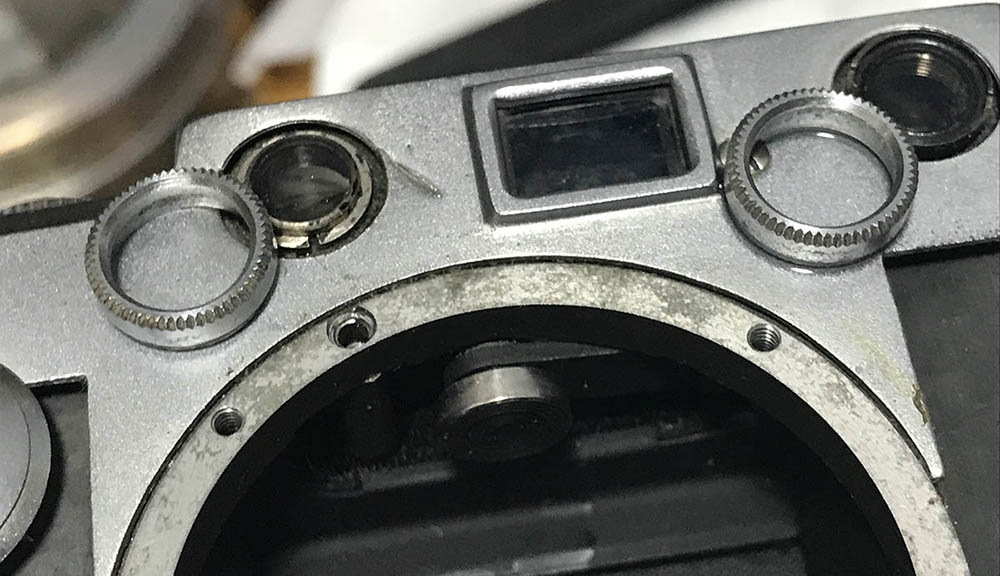
Locate these screws and carefully loosen them, you don’t need to remove them.
Pull away the shutter dial while being careful not to lose any of its screws.
Pull the top shell off carefully, do not force it if something feels like it got snagged, you may need to flex some parts of the top plate safely remove it. This is especially true around the area on the central window.
We had to get rid of so many things in order to get to this point, this is the annoying part of servicing the Barnack-clones that are based off the Leica III. The single-piece top is an improvement over the older part from the Leica II based designs because it’s a bit harder for moisture and there to get into but that also is an inconvenience because you need to remove so many things just to get to what’s underneath it,
Conclusion:
We’re just getting started but this is the point of no return, when you get this far you just need to go at it and move forward or else there’s no point. It is unheard of to stop at this point when overhauling these types of cameras, since they are so old, you’ll have to go all the way. This is a more involved job than what a lot of people had in mind.
The outer shell has been cleaned thoroughly, the old skin is now all about gone.
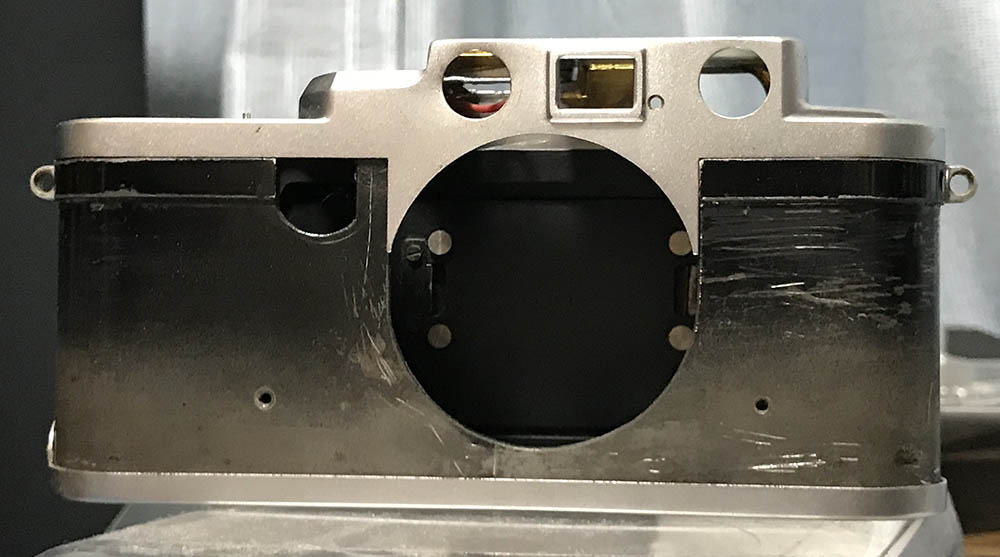
Here’s how clean it looks like, if you have access to an ultrasonic cleaner you could clean everything with confidence that all the gunk and germs are gone. I cannot afford such gadgets and so they were cleaned the old-fashioned way with a brush and a strong detergent.
That’s it for this article, please come back for the next part where we will talk about the internals and I will show you a surprise about what I did to this camera. It made this special and unique to a point that it has been associated with me each time the modification was mentioned.
If you like this article, please share this with your friends. If you love my work and you want to show your support, please feel free to give me a small tip. I only earn a few cents from each unique visit so your help is helping me keep this site alive. When I started this thing I did not expect it to continue or less this long, I was merely thinking of writing a small one-off articles but it has become my life’s work. I am very proud of my work and the community it has helped inspire, without you this site is nothing. See you again, Rick.
Help Support this Blog:
Maintaining this site requires resources and a lot of time. If you think that it has helped you or you want to show your support by helping with the site’s upkeep, you can make a small donation to my paypal.com at richardHaw888@gmail.com. Money isn’t my prime motivation, I believe that I have enough to run this by myself but you can help me make this site grow.
Leave me some tip?
Thank you very much for your continued support!
$2.00
Helping support this site will ensure that this will be kept going as long as I have the time and energy for this. I would appreciate it if you just leave out your name or details like your country’s name or other information so that the donations will totally be anonymous. This is a labor of love and I intend to keep it that way for as long as I can. Ric.
