
Hello, everybody! I often see people talk about how blemishes on a lens won’t affect the resulting photos. This is often mentioned by sellers as a pitch in order to sell something for a better price or assure the buyer that the item works. It’s not totally true that these won’t affect your photos, it may seem like it but there are certain conditions that will trigger any artifacts resulting from a lens having a single or multiple elements having less-than-perfect condition. Let’s study a few photos that I have here so you’ll know these blemishes will affect your phots and from what means.
Dirty Bokeh:
Some damages that are too feint to see with the naked eye without using the help of a light source such as a torch can fool you into thinking that nothing is wrong with a lens but this simple bokeh test can help you determine if the lens is still fine or not. This test only works in the dark so I do this at night or inside a dark room.
First, focus your lens to it’s minimum focusing distance, stand 1.5m-2m away from some point lights or any bright light sources. This also works on light sources that are distant like street lamps 60m meters away from you. So long as you could produce clean and clear bokeh discs you are on the right track.
Second, set the iris wide-open then set your exposure settings so that you’ll get a nice picture with clear bokeh discs, ISO400 at 1/250s usually works for me. The key to this is to underexpose the bokeh discs a bit so that things will show up.
Examine your pictures and zoom into the discs to look for artifacts. The following images show a few examples of bad bokeh from some of the lenses that I’ve encountered.
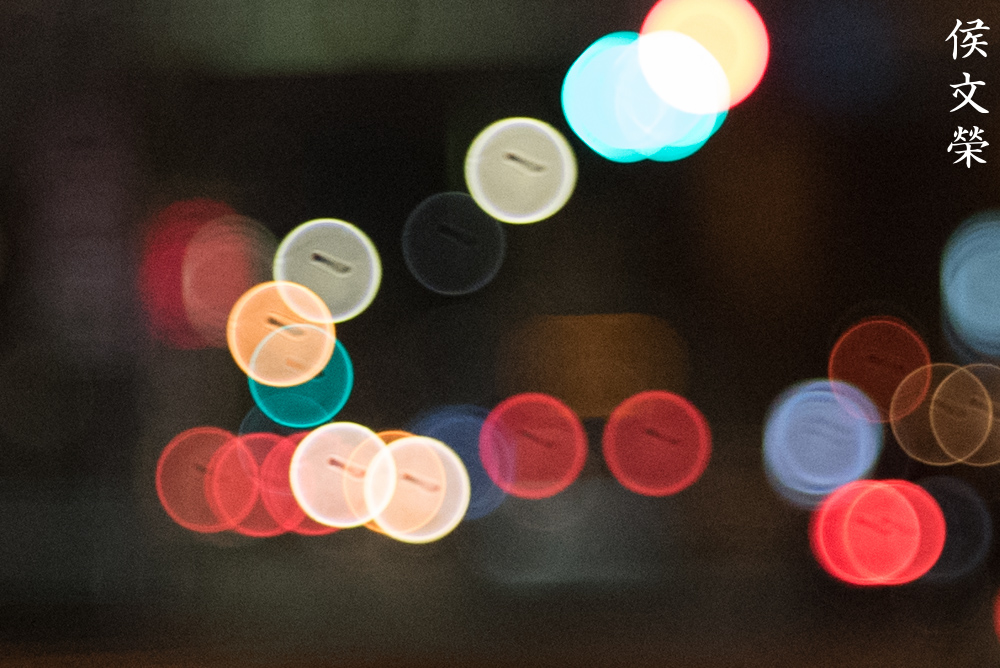
Dirt or a bad scratch can cause these to appear. Depending on the cause, this can easily be corrected with cleaning in case of dirt or having a professional re-polish the problem element for you and recoat it after. This particular lens looks immaculately clean but as you can see from the picture above, it produces these lines. It may be caused by the cement deteriorating, this is known as balsam separation.
Some people are saying that damage on the front element is not going to affect the image much even if you removed a chunk of glass from it. Don’t believe it. Even a smaller crack is able to cause some sort of artifact in your discs. While it’s true that it might not affect some lens designs much but with the right conditions you could make it appear on the photos produced by that problematic lens.
Cleaning marks that look like swirl marks will not affect the image much if they are not deep enough so do not worry too much about it. If the said swirl marks can be felt by running your nails on the surface of the lens, skip it or ask for refund. Those may show up.
The irregular outlines are caused by lens separation while the feint dots that you see in each discs are caused by dust or bubbles in the cement. The dirt is in another element so they’re not as well-defined as the outlines. Fungus can also cause similar dots to appear because they block light or they ate the coating away, leaving a bald spot.

Some more examples of dirty discs. I have serviced this some time ago and it has some bad irregular-looking marks in the front element that are deep enough to be felt by my nails when I scraped its surface. These marks are replicated in each disc. If the said irregular marks resemble the face of Jesus as portrayed in the paintings then the Vatican would’ve called my lens miraculous and I can earn money by charging devotees to buy prints of my discs.
Dark Spots:
These are caused by dirt, bubbles or chips. This couldn’t be corrected if the damage is permanent. Replacing the group is the only way to fix this. I will show you how it looks like if one of the groups are chipped.
It looks like dirt in the sensor but this is actually caused by a deep chip in the front element. While it won’t be visible in normal cases, shooting an even-colored object or scene with the iris stopped-down will cause it to show.

This was shot with the iris stopped-down to around f/5.6 or so and you can see how the chip affected the photo.
This was probably taken at f/22, note that the outline of the chip is clearly reproduced in this photo. Bubbles are not an issue when shooting like this but chips will certainly look ugly.
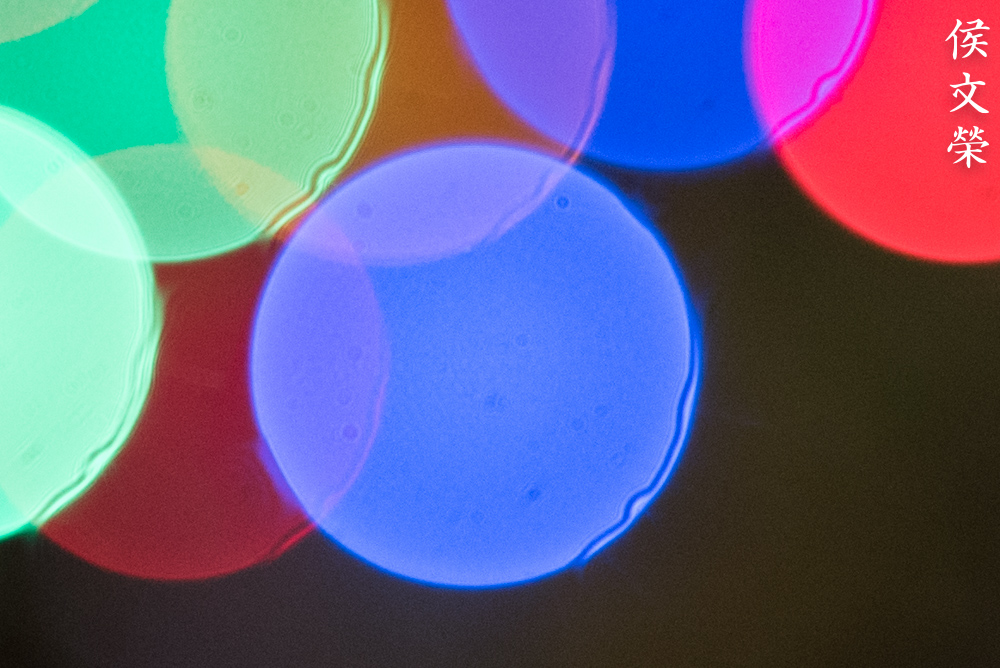
Irregular Blobs:
Irregular blobs or ghosts are formed if one or more of the elements are chipped on the walls or the surfaces. These will usually look like spheres or a sharp, teardrop-shaped artifact.

A chip in any of the elements will produce an irregular-shaped and blobby artifact when shot against a bright light and it will coincide with where the chip is located. The distribution of light is not even due to the chip and that causes these things to appear.
Chips can be difficult to discover when they are situated around the edge since they’re usually covered. Shining a small torch will show these while you peek at the lens at an angle. Even with this technique a small chip won’t show up easily and you may misdiagnose it as oil or cement separation.
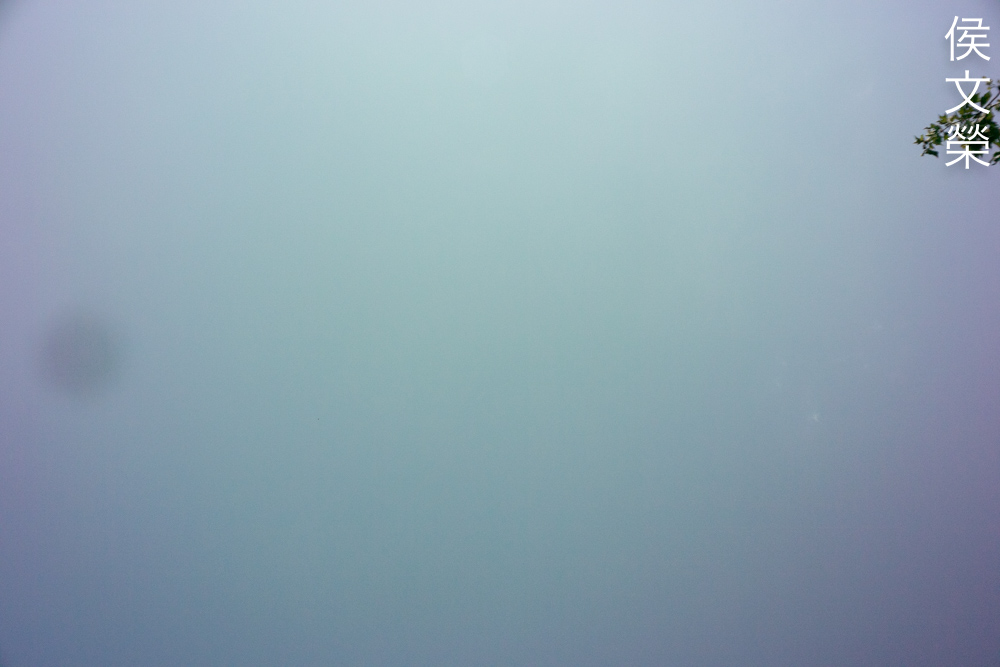
Hazy Photos:
A cloudy lens caused by crazing of the elements’ surface due to chemical or mechanical means will affect the resulting photos. Haze from condensation or oil will also affect the lens similarly. Haze is easy to detect so I will not explain how to do it. This is easy to correct if it’s just condensation or dirt.

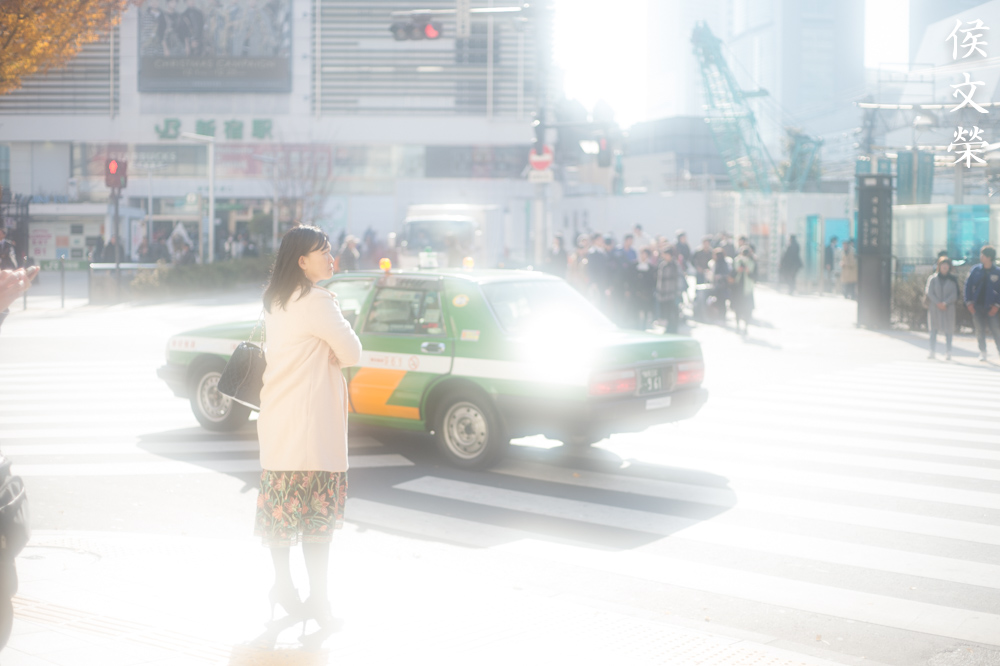
The photo looks fine here but is hazy overall, subduing contrast and making the photo look “cloudy”. Some individuals may actually like this and they even buy “soft-focus” filters just to get this effect to make their images look “dreamy”.

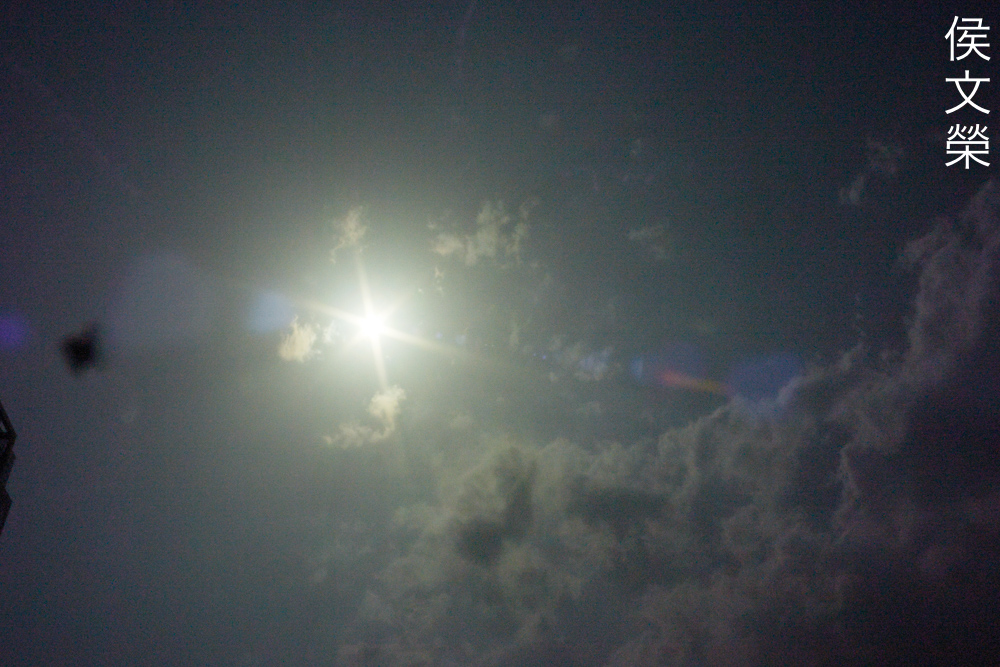
Shooting away from the Sun might be fine but check that bright reflection at the upper-left corner. The reflection looks like a dull, hazy bloom instead of a nice sun-star. The lens is stopped-down to about f/5.6 in this photo so I expected a defined sun-star to appear but instead I got this ugly grey mess.

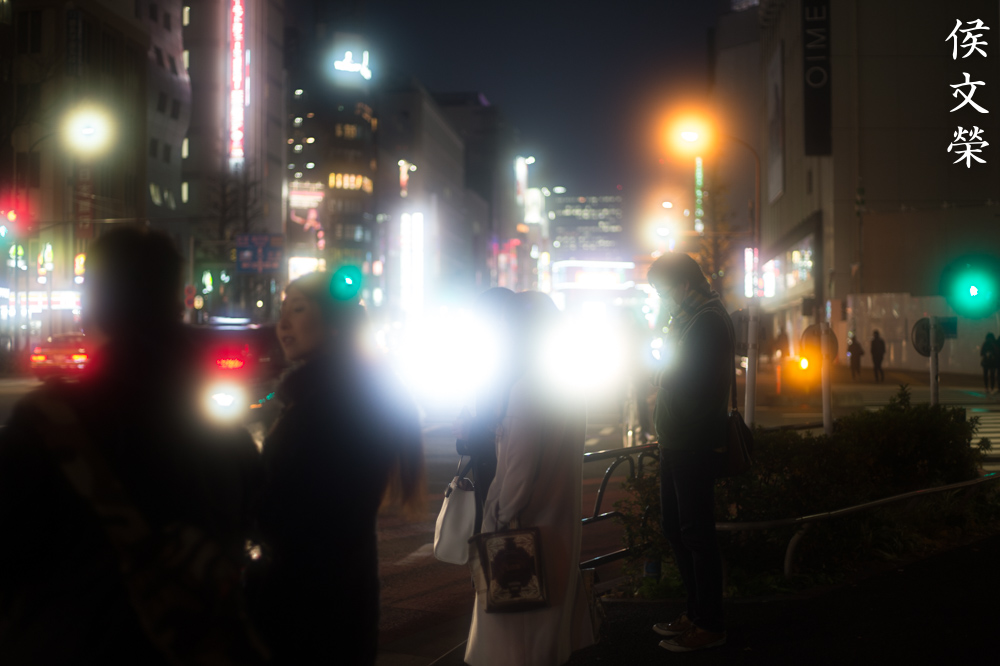
Here is another example of the milky haze that forms in bright highlights or reflection. It is very unnatural because the highlights look diffused.
Over-exposing the shot might give you a nice, hazy veil over your photos, resulting in a very dreamy-look. Directors of photography would use a filter smudged with petroleum jelly to achieve this same effect. I’d certainly use this special technique for a bride in her wedding dress.
Here’s a creative use for this flawed lens. I don’t like this at all but it may have its use depending on the situation.
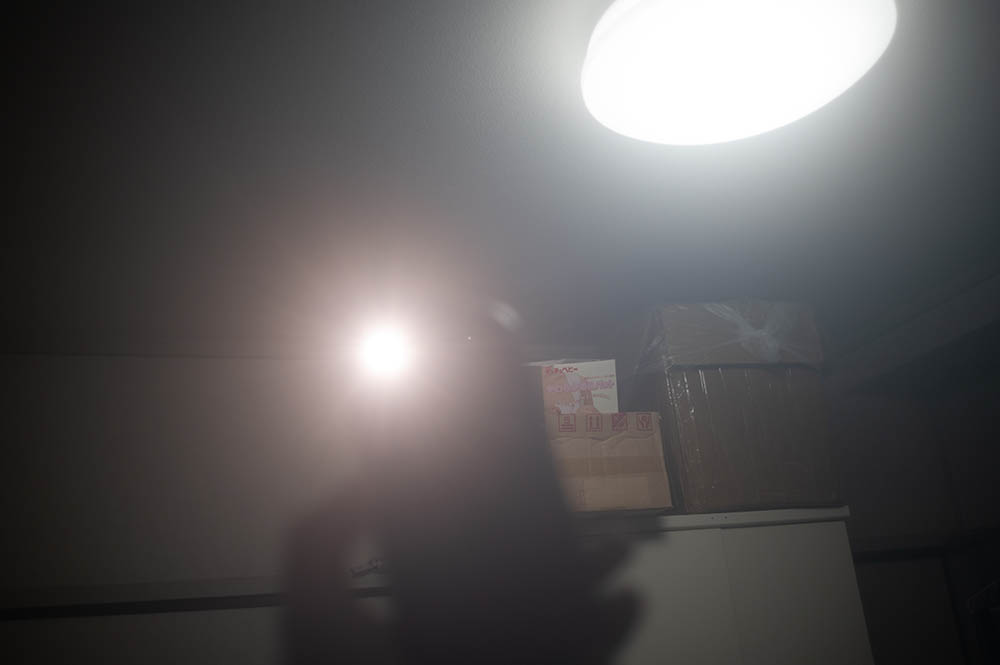
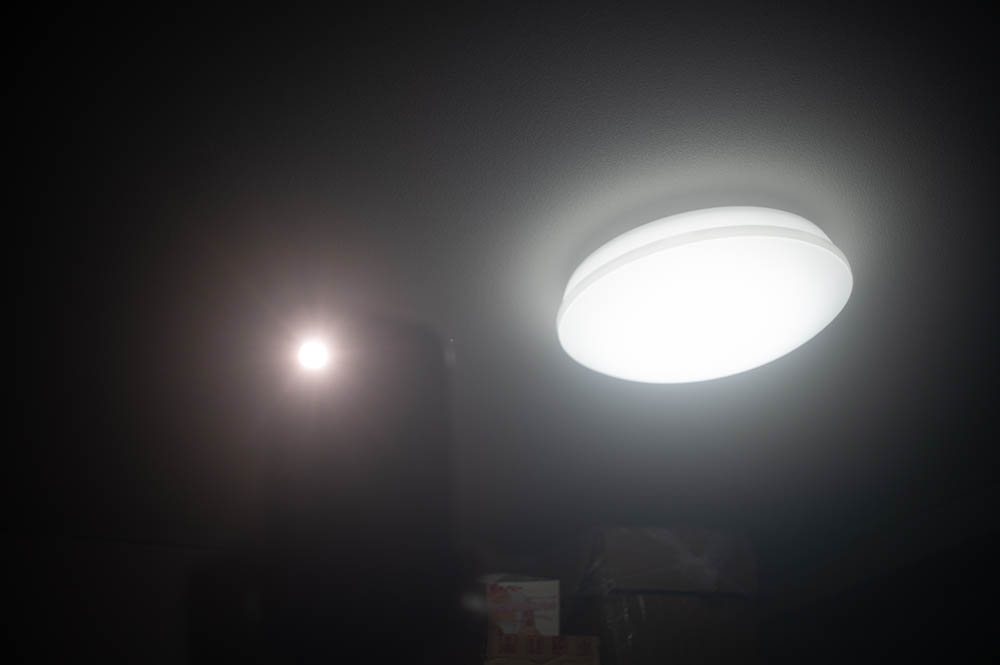
(Click to enlarge)
This is caused by terrible haze caused by oil condensation and other things. Shooting bright lights will show this easily.
Psychedelic Images:
This is probably the easiest to fix since nothing is damaged when you find that your lens is producing photos like it was made with a Petzval lens. This is just some repair guy putting the lens back incorrectly and if you know the sequence of the lens elements than you can fix this yourself if you have the experience and tools.
Below is the result of me putting back a group facing the wrong direction, it’s useful for creating an interesting look.

This is caused by flipping a group that’s responsible for correcting aberrations and astigmatism, which groups are used for that is something that you will have to find out on your own.
Lenses with an element facing the wrong direction would have the center usually in focus but the rest of the picture is blurred in a funky way. You can position the lens a few inches above a piece of white paper under a light source and if you see uneven refraction on the paper, then that is one sure indication that one of the lens elements is not facing the right direction. Uneven refraction will show as a bright/dull spot in the middle of the resulting bright area on the piece of paper. A normal lens should give you even illumination, at least that’s usually the case.
I once reversed one of the groups on one of my primes on purpose to reproduce this effect and I ended up with a lens that is very sharp even wide-open but the focusing is off as it will not focus past 10m or so.
Conclusion:
This article is not enough to cover a topic this broad but I tried to put the most common ones here and how to make them appear. While dirty bokeh discs won’t be visible in normal daylight shooting conditions, it will certainly appear in dark conditions where the discs are most clear. If the lens has this dirty bokeh problem just overexpose your photos to help hide or prevent these from appearing.
The hazy-look can be avoided by not shooting against the Sun or not having any bright things in the scene. Just like my photos, you can even exploit this flaw to produce unique pictures.
The last problem is possibly the hardest one to avoid because the optical formula is wrong to begin with, it will show in any lighting condition.
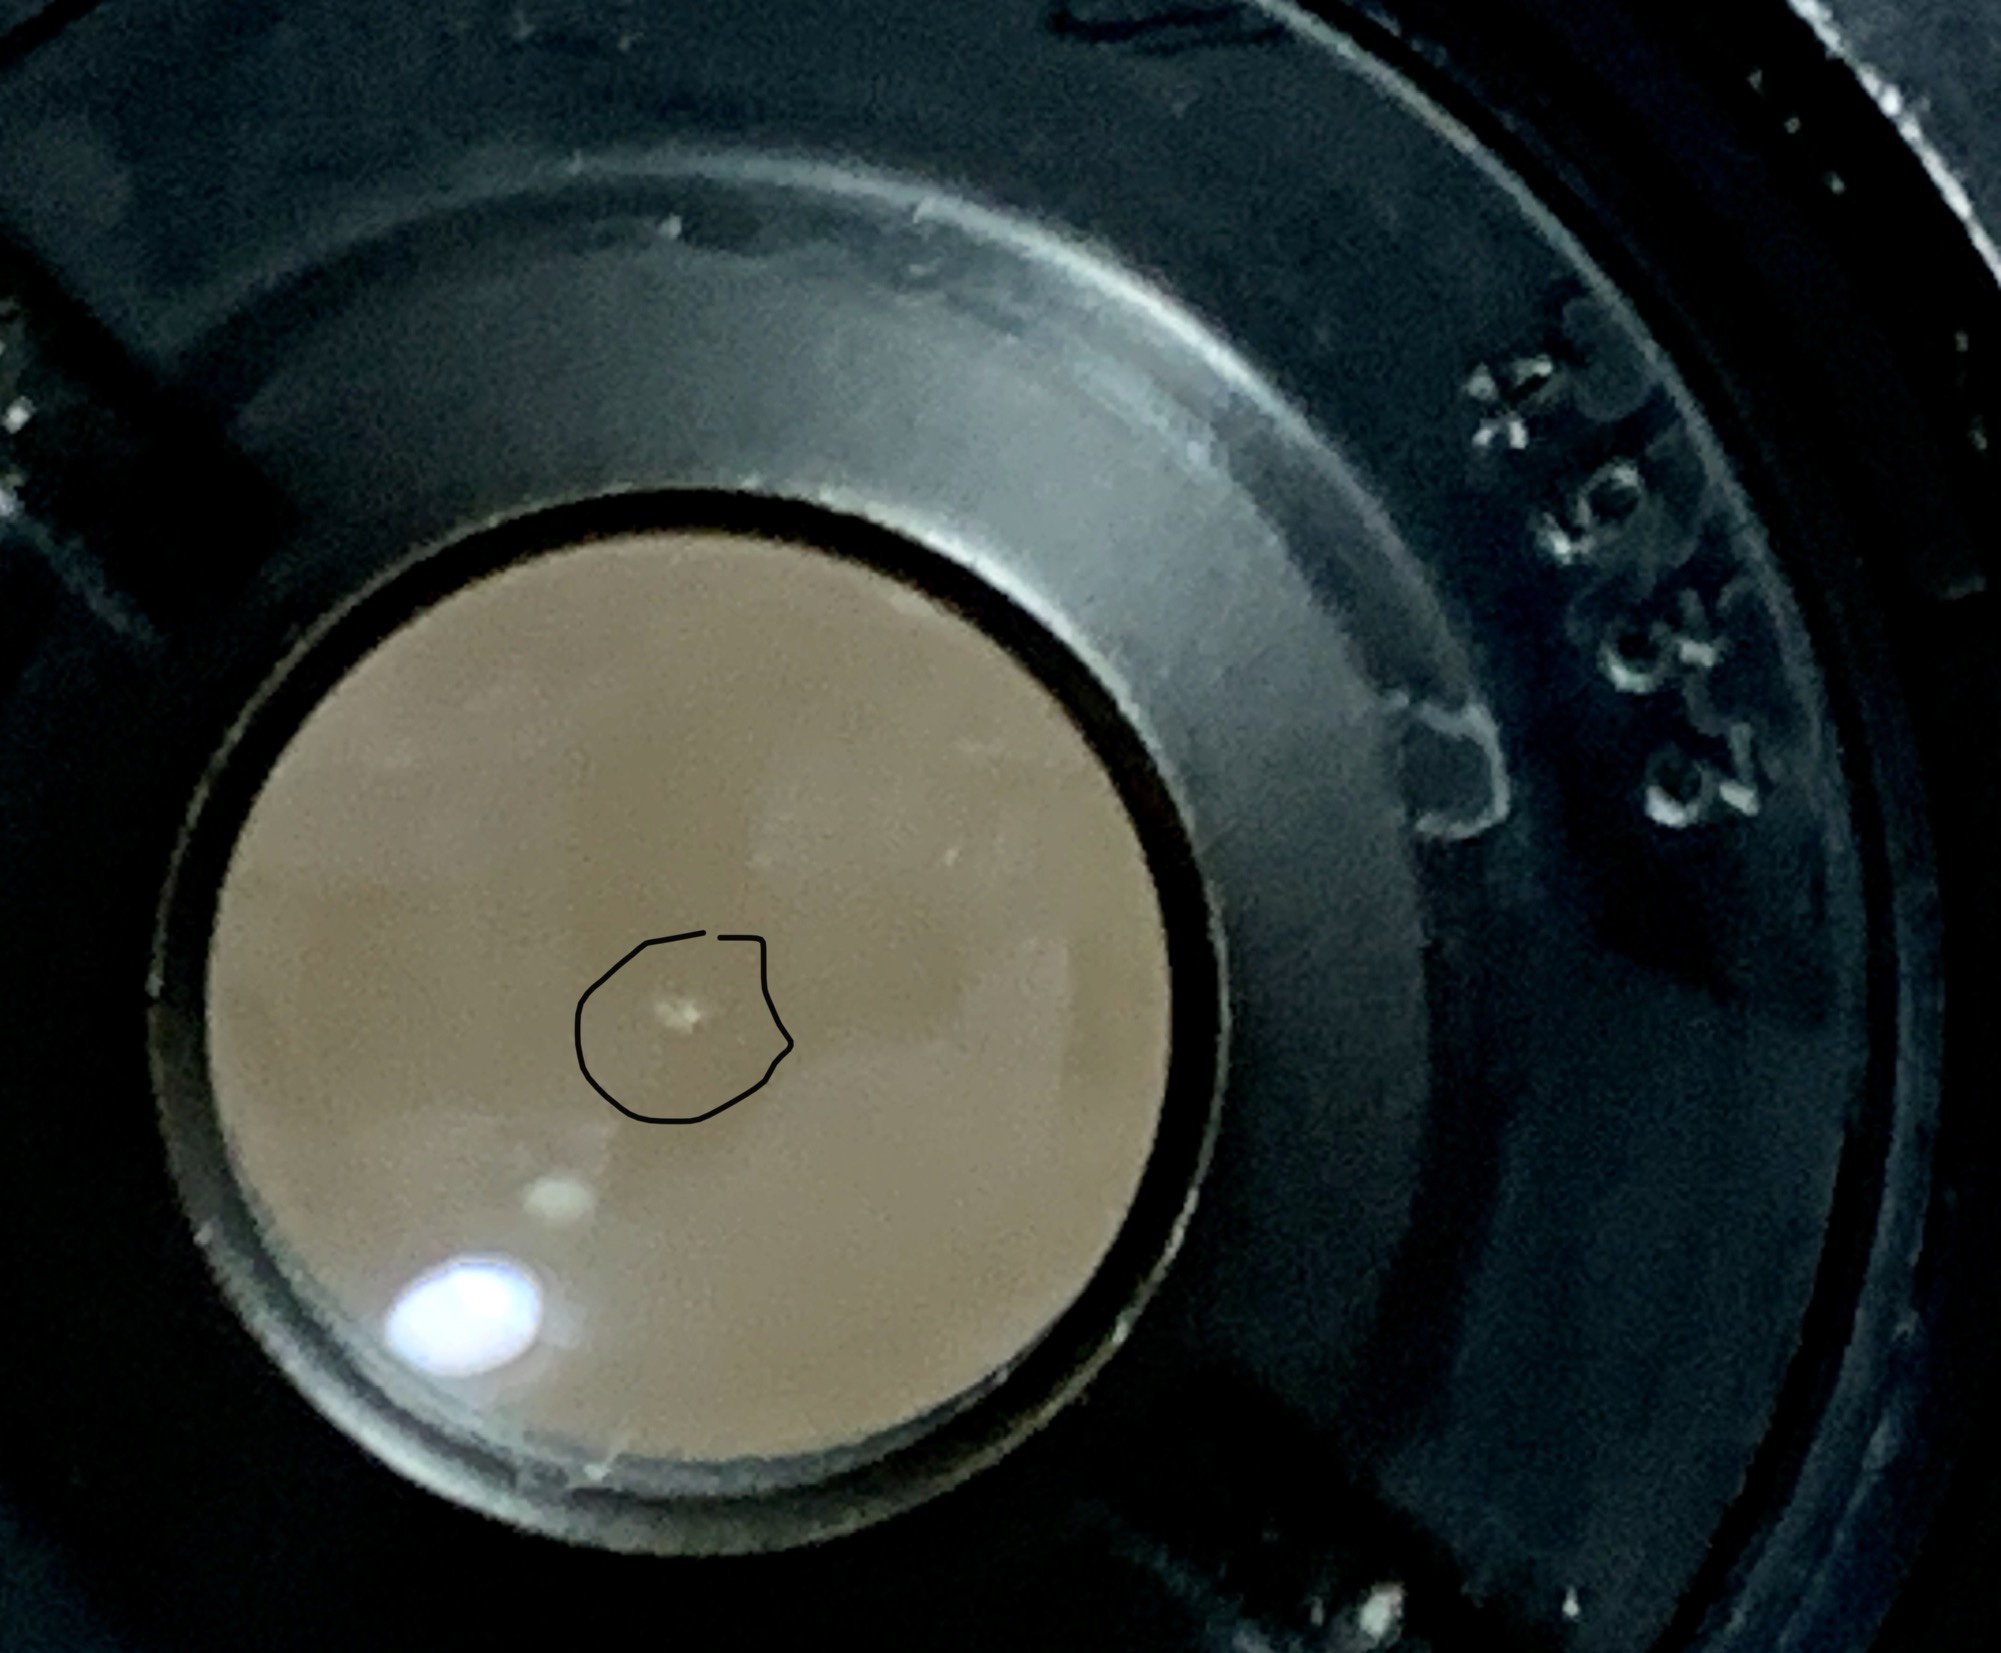
This is a tiny crack on the rear element, at this level I doubt that it will affect your photos in normal shooting scenarios but it may appear when shooting at very-small apertures and may show in the discs.
Thanks for following my work, if you liked this article please share this with your friends so it will get more views. This site earns around $0.40 a day, we are totally reliant on views. You could also support this site, it helps me offset the cost of maintenance and hosting. You are also helping me purchase, process and scan film. This site promotes the use of film so we are all in this together. See you again in the next article, Ric.
Help Support this Blog:
Maintaining this blog requires money to operate. If you think that this site has helped you or you want to show your support by helping with the upkeep of this site, you can simple make a small donation to my paypal.com account (richardHaw888@gmail.com). Money is not my prime motivation for this blog and I believe that I have enough to run this but you can help me make this site (and the companion facebook page) grow.
Helping support this site will ensure that this will be kept going as long as I have the time and energy for this. I would appreciate it if you just leave out your name or details like your country and other information so that the donations will totally be anonymous it is at all possible. This is a labor of love and I intend to keep it that way for as long as I can. Ric.

Feb 02, 2017 @ 09:13:00
Really interesting as I start collecting non AI lenses and wondering how to store and upkeep them, Richard. Thank you for documenting and sharing.
Feb 02, 2017 @ 09:17:01
Hello, Peter.
Just make sure that you keep them in the drybox and see to it that the moisture level is not high. This is not a sure way to prevent fungus because it can sometimes form even when kept in a dry place. For better measure, I add the chemical that I mentioned in my post as a fungal retardant. They are cheap and you can buy them from the camera shops. Still, the best way is to use your gear from time-to-time and let sunlight do it’s job and keep away the stale air. Ric.