
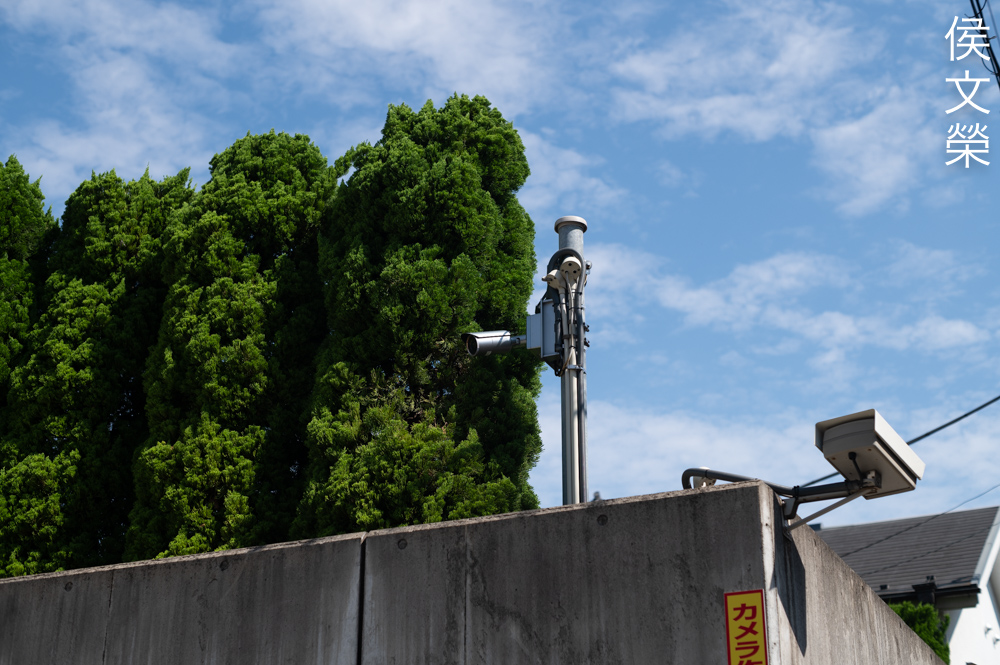
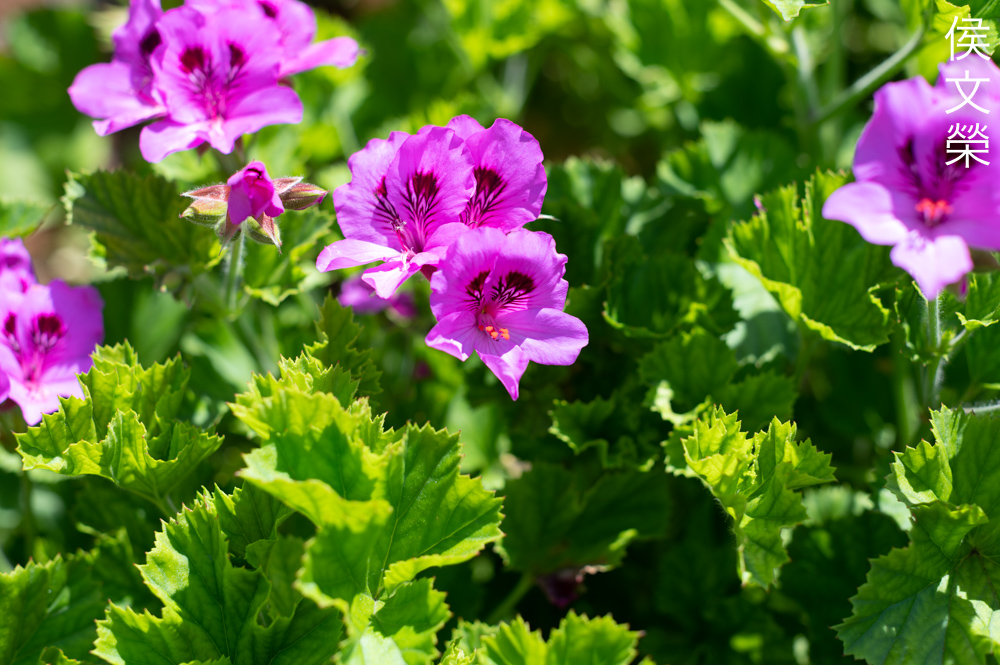
Hello, everybody! Do you like Japanese corn? I like Japanese corn a lot because of the sweetness and the larger kernels that goes great with butter and salt. The color is also deeper, suggesting a richness of flavor that is absent in pale ones that were grown elsewhere which seems best as fodder. Japanese corn is nutritious, it has high amounts of potassium, I am sure that it also rich in other stuff that is beneficial for our health. Foods that are yellowish are known to be high in potassium which keeps our muscles supple, without enough of it we’ll get cramps. Today, I’m going to show you a lens that’s known for its yellowish-hue but unlike Japanese corn there’s nothing nutritious about it because who eats lenses anyway?
Introduction:
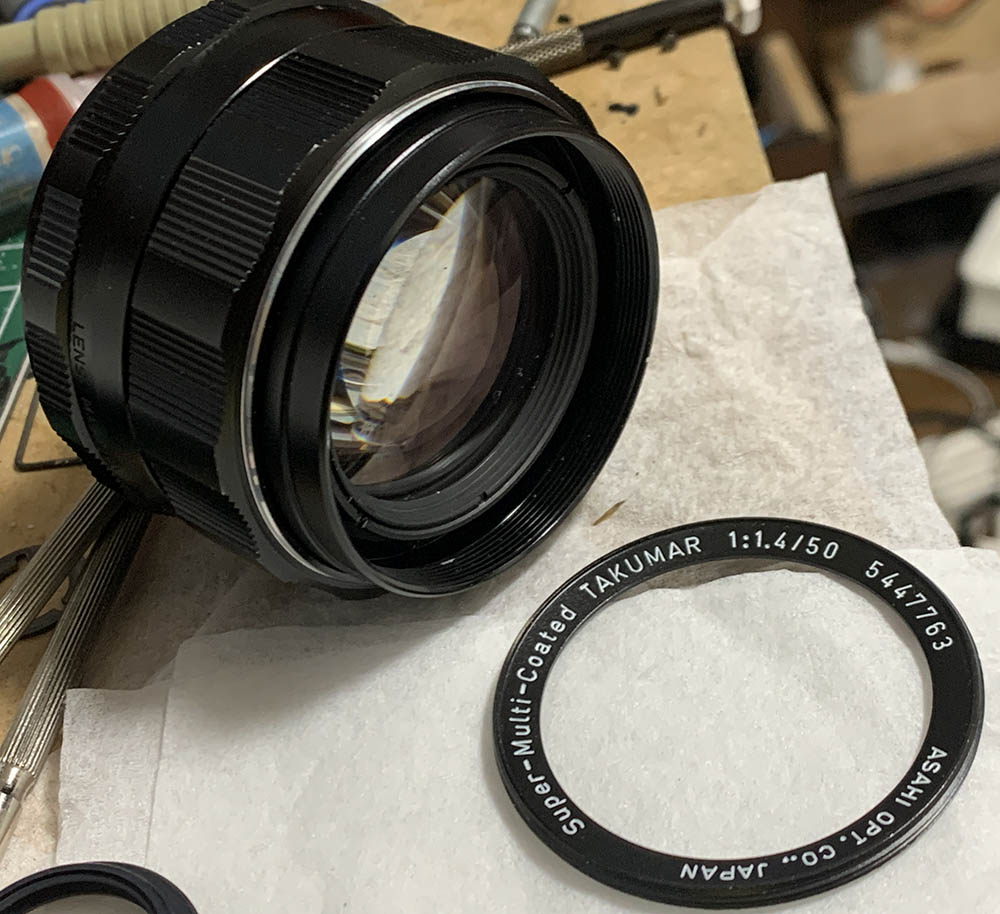
This Super-Multi-Coated Takumar 50mm f/1.4 replaced the Super-Takumar 50mm f/1.4 in 1971 and its later variant was made until the mid-1970s. What’s notable about this one is it has a thorium-infused element which turns yellowish. It’s also known for being one of the sharpest Takumar of its time, creating a rivalry with the Super-Takumar 50mm f/1.4 for being the sharpest 50/1.4 from Asahi. There are many supporters of both camps and you could find heated discussions online.

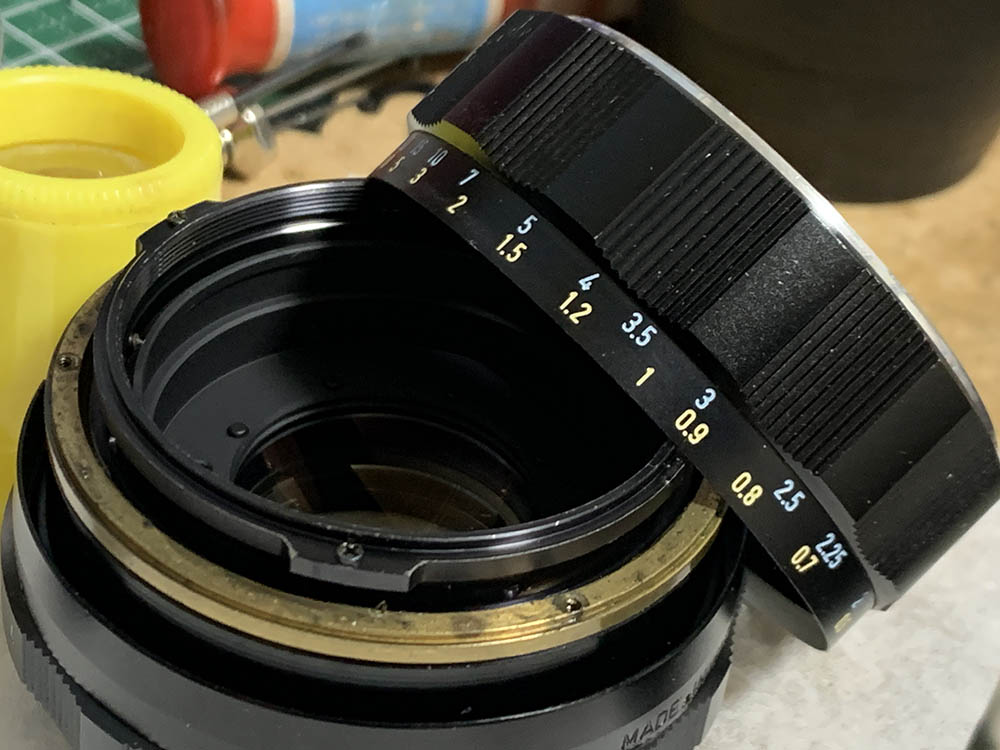
Many people couldn’t distinguish this from the older Super-Takumar 50mm f/1.4 with an 8-elements design since they look rather similar. One sure way is to check the red-line in the depth-of-field scale, if it’s situated after f/4 then you are sure that what you have is the 7-elements version. Another way is to look at the rear-element but checking the where the red-line is situated will be the best way to determine which version you’re looking at.
It has a 7-elements-in-6-groups design which is rumored to offset the cost-of-production because the old 8-elements one was too expensive to mass-produce. In order to retain and improve the performance a thoriated-element is used, it helps with correcting aberrations, I assume it has other magical attributes, too. Which version is the best is debatable but I would like to make a practical comparison in the future.

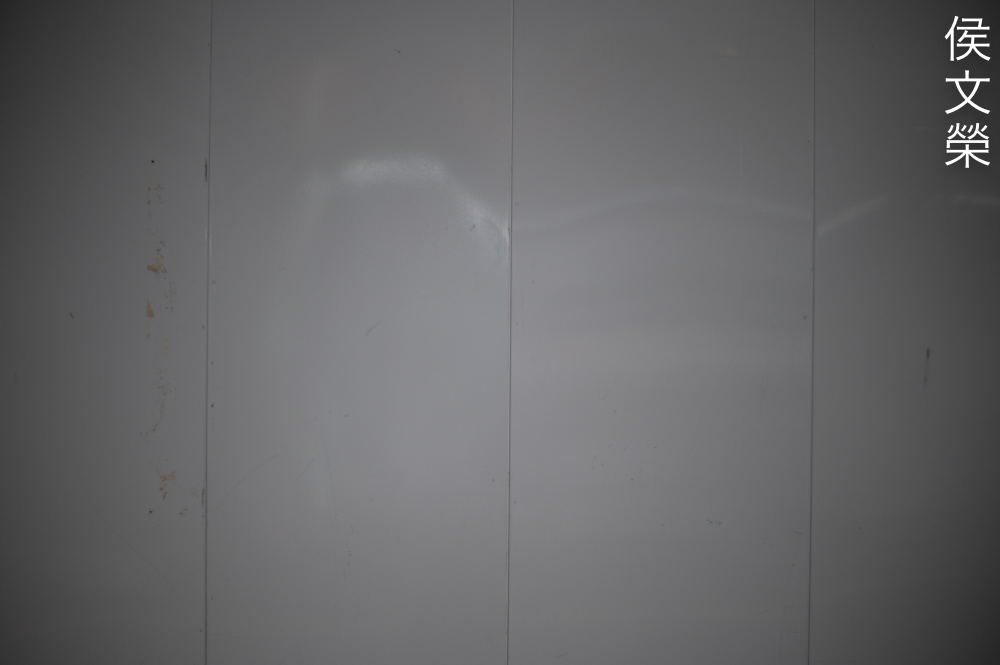
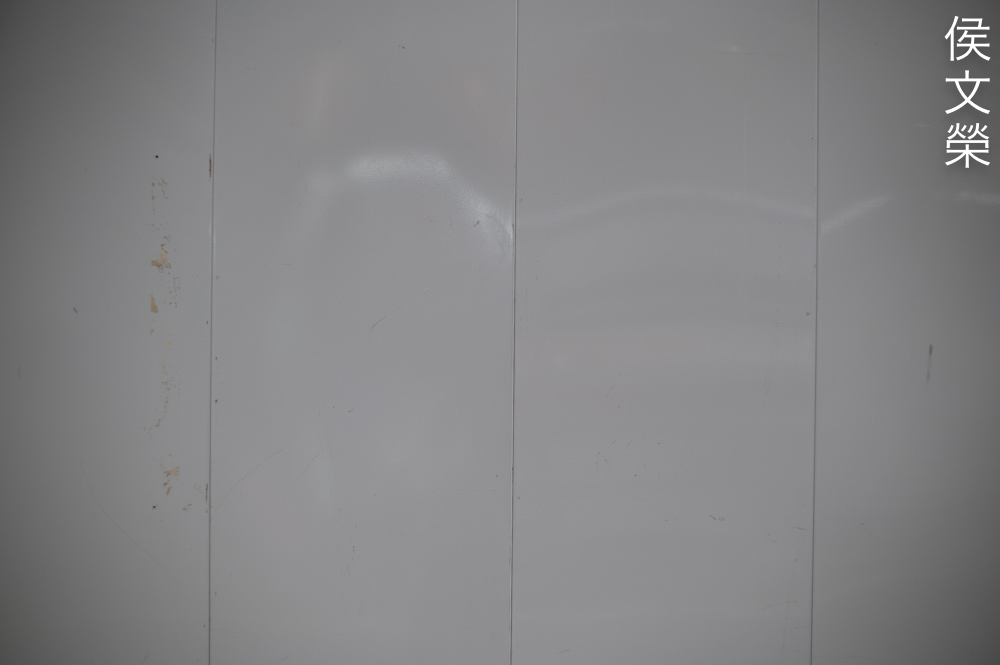
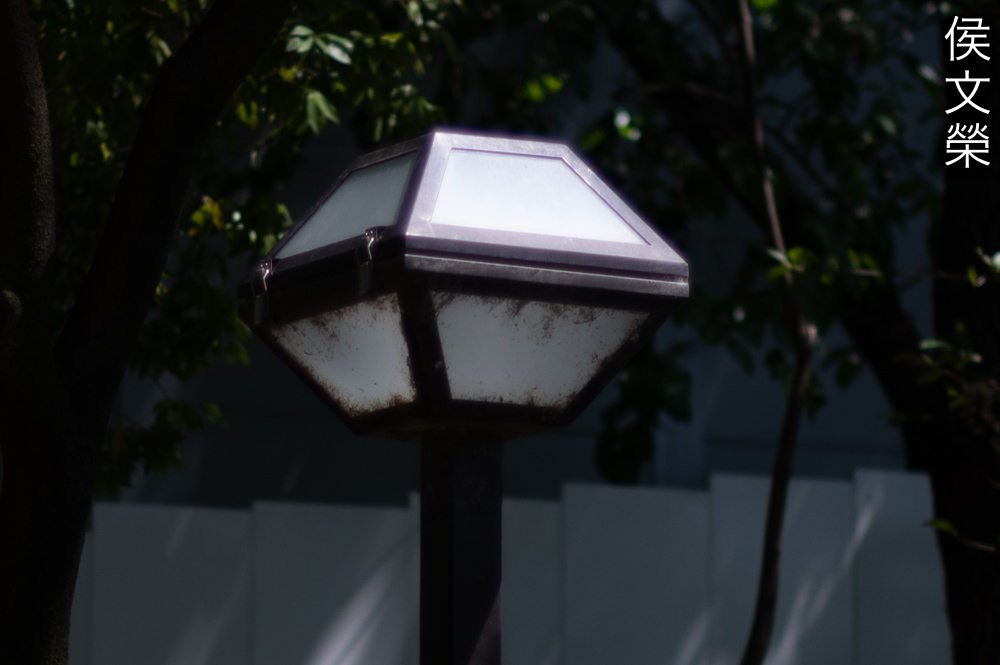
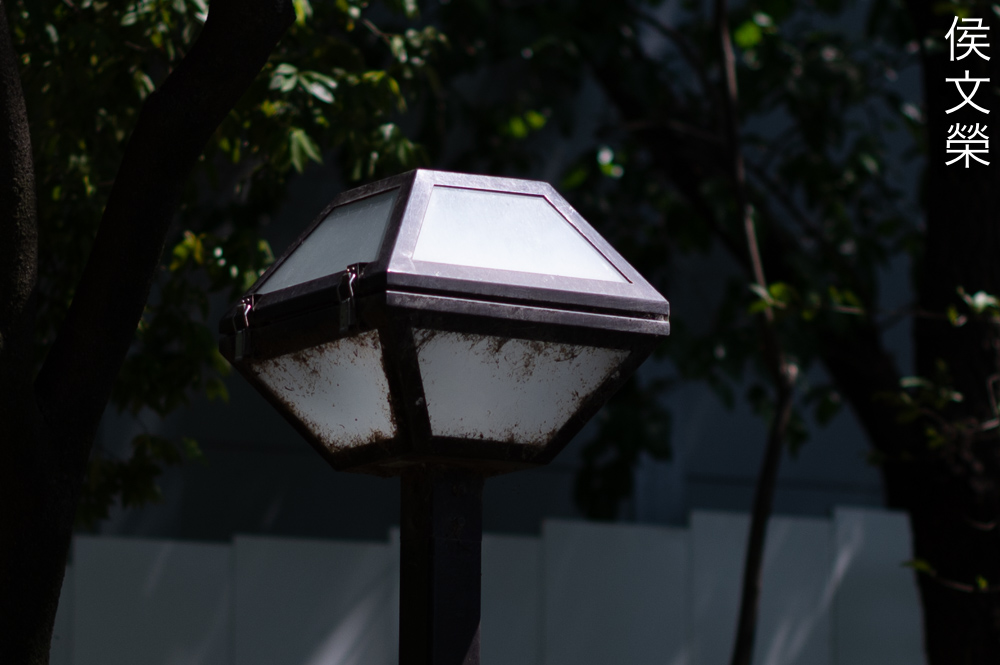
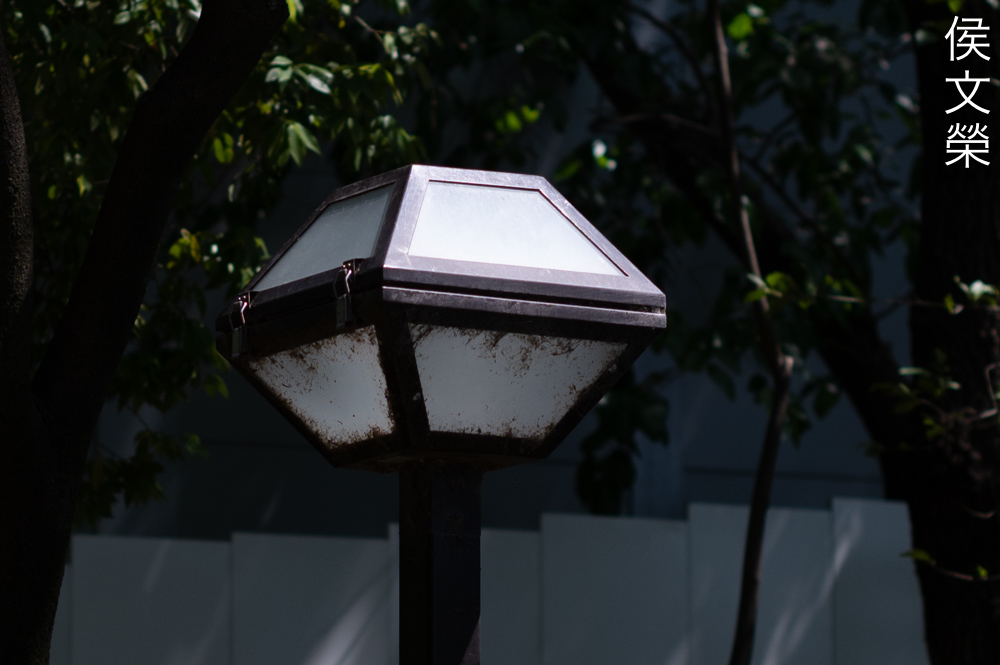
This is how the thoriated-glass looks like when it’s discolored. It forms what some people call a “dark-core” because it’s darker at the center where the glass is the thickest. This yellowing will cause your photos to have a warm-cast, I think it also affects sharpness in small ways, too. It’s not uncommon to find bubbles on older lenses and you could see 2 small ones here. Despite what other people claim these bubbles will show in your photos if you knew how to shoot in such a way that these imperfections could be rendered in your photos. Read my article on damaged lens artifacts to see what they look like.

Handling is rather good but you will have to be careful when turning the aperture ring because you could accidentally knock the A/M switch. I find the aperture ring to be rather narrow compared to what the Nikkors have, it can be a little bit confusing at times because the focusing ring and aperture ring feels the same to my fingers because they have the same type of knurling. What I’m actually impressed with Asahi’s lenses is they have click-stops between apertures, this is convenient but it can also be annoying because you couldn’t be sure of how many clicks it would take to get to the next aperture value. You won’t notice how significant this is until you’re faced with a situation where you’ll have to turn the aperture ring without looking at it. Of course, this is totally subjective but I am just sharing with you my thoughts.
Its build quality is comparable to the older Super-Takumar 50mm f/1.4 and the Super-Takumar 55mm f/1.8. These are well-made lenses but that doesn’t mean they’re indestructible. One weak-point is the front-barrel since it’s not of the screw-in type that Nikkors have which means that a hard-enough knock to it will cause it to become loose.

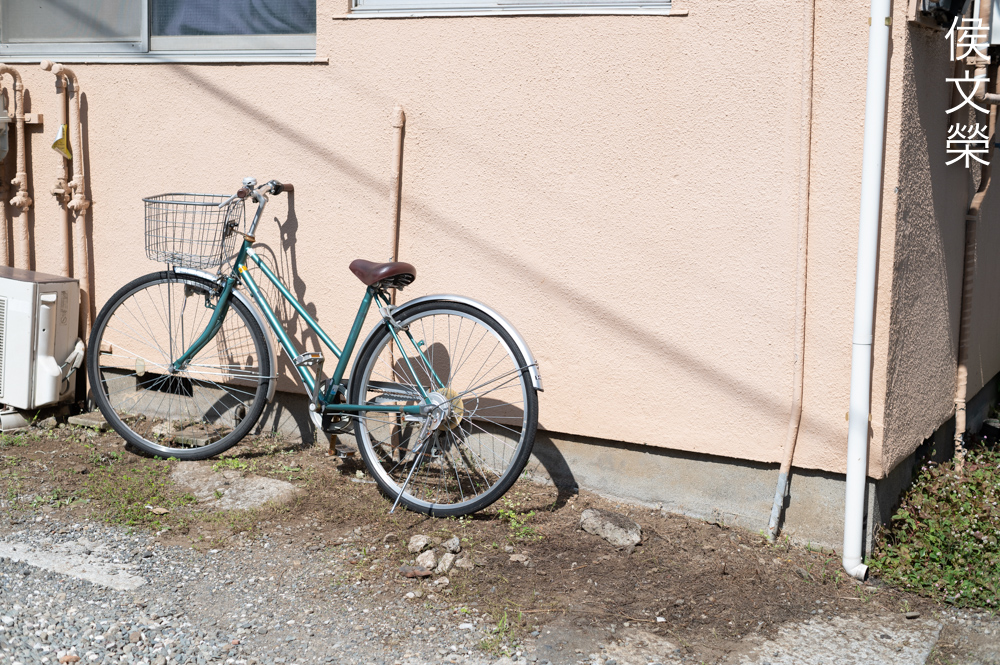
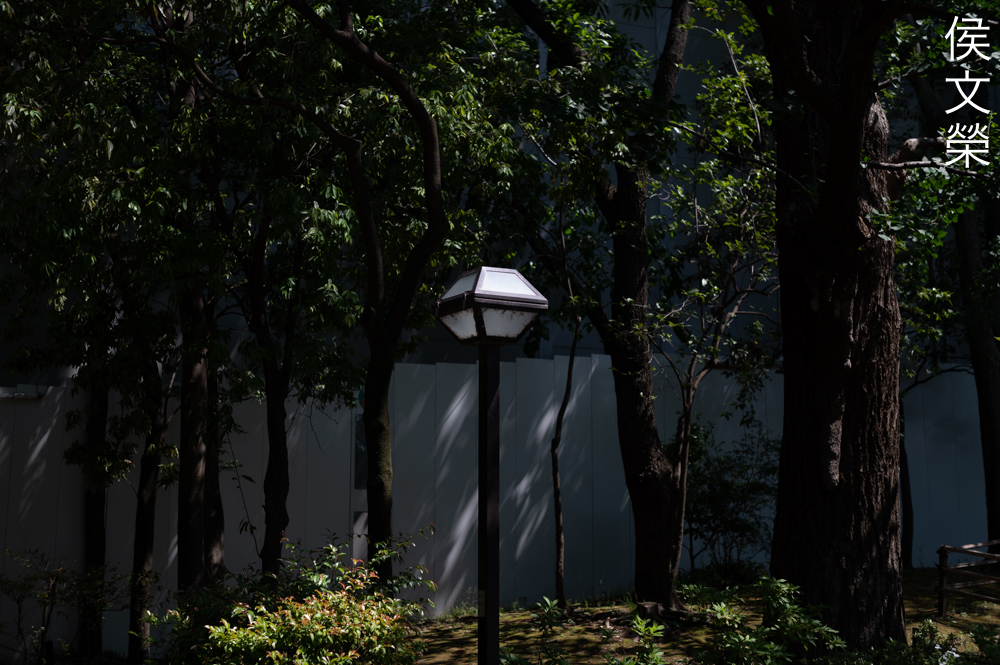
This setup should be the most period-correct, it works perfectly with the Asahi Pentax Spotmatic SP2. This kit should be able to give you amazing photos in a variety of situations. The setup balances perfectly and it’s not heavy either.
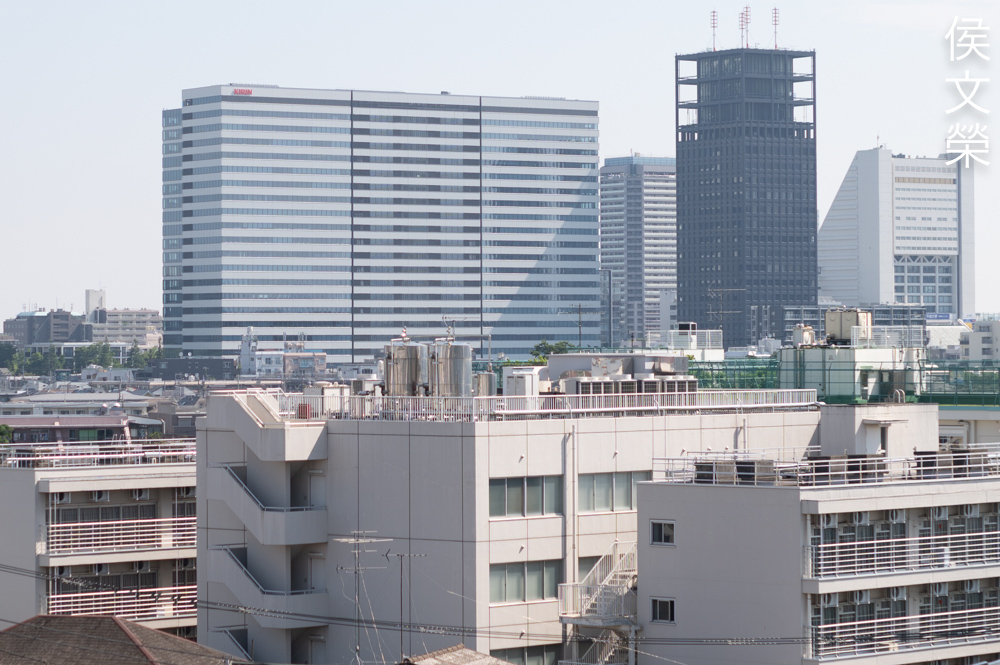
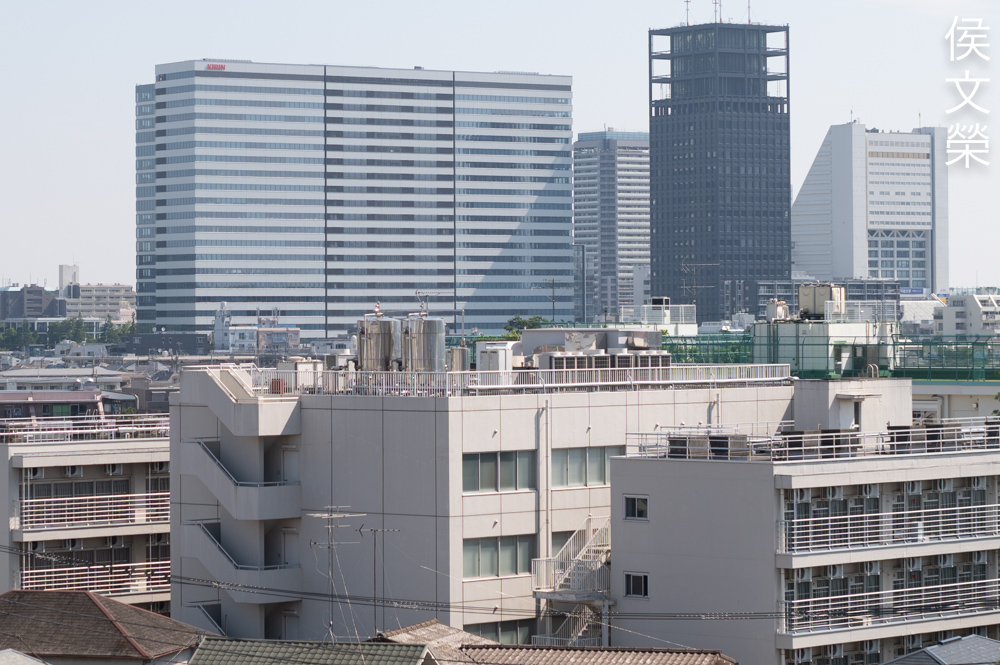
Learning how your lens performs is crucial to maximizing its use. You will learn how to utilize its strengths and avoid its weaknesses. This knowledge helps in determining which lens to use on an assignment. I shot these from f/1.4, f/2, f/2.8 and f/4 since these are the most common apertures that people would want to use this, we’ll also get to see the most changes happen with these values. I shot these with my Nikon Z6, some of the photos were cropped close to 1:1 so we could see the details better.

There’s mild distortion visible and it’s of the barrel-type. It’s typical for many lenses of this class, I wouldn’t worry about this but I certainly won’t be using this lens if I needed my lines to be rendered straight. The Super-Takumar 50mm f/1.4 looks to have a little bit more distortion than this one but they do look very similar here.


(Click to enlarge)
This hints that the center is quite good wide-open and the corners will only begin to look decent from f/2.8. I’ve been doing these kinds of articles for years now and I could predict how a lens performs just by looking at its falloff levels.


(Click to enlarge)
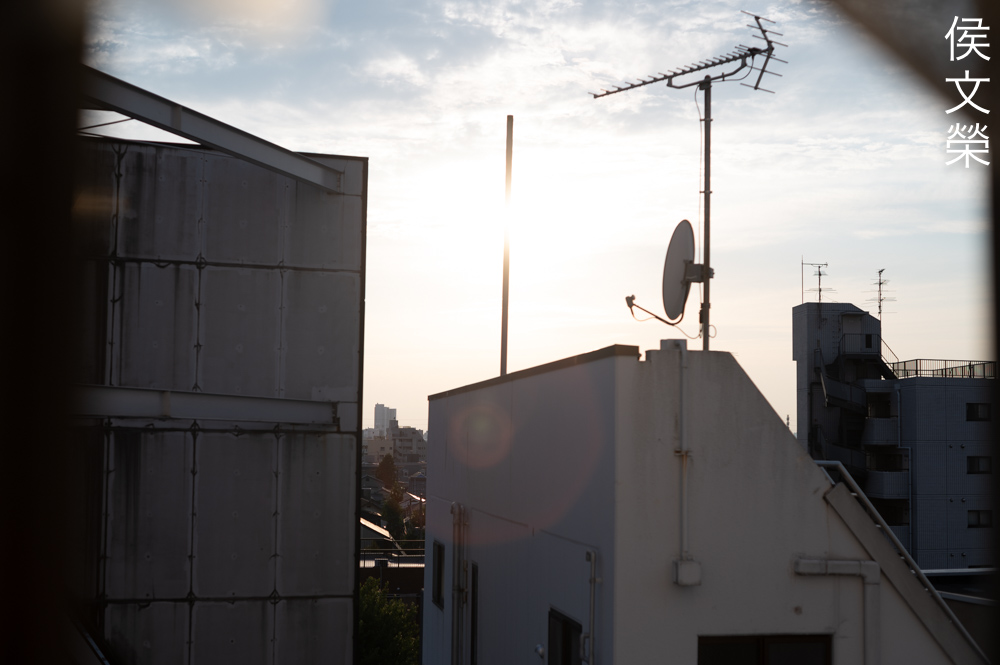
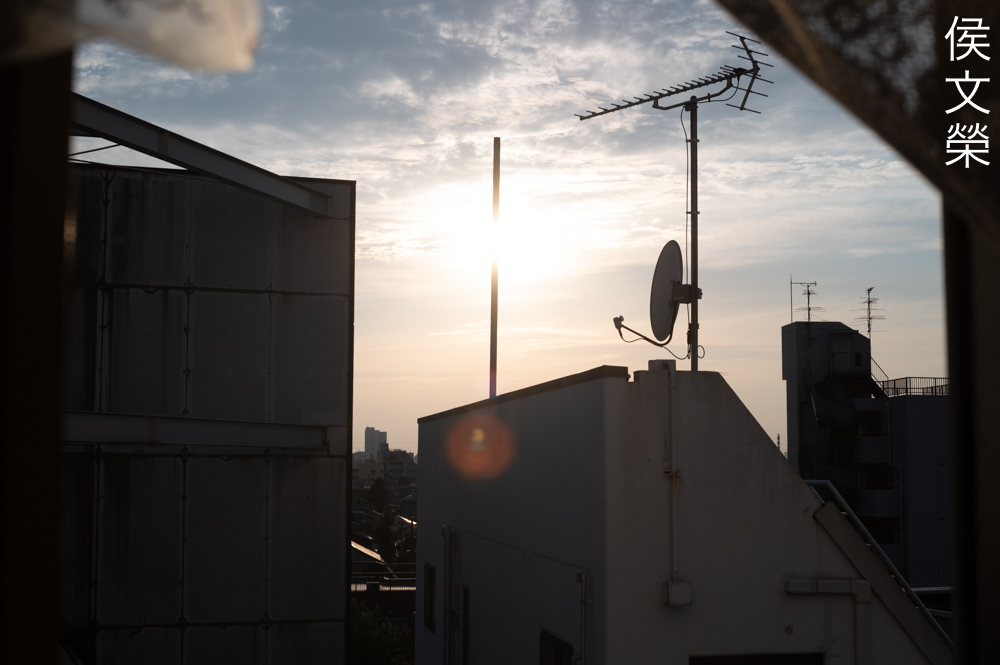
It flares horribly. You’ll get huge, ugly blobs when you have bright sources of light within or just outside of the frame. It performs similarly to the Super-Takumar 50mm f/1.4 in this section but I’d say that it resists flare a bit better but blobs will look more prominent specially when shooting at larger apertures. They do look significantly smaller when you stop it down which is an improvement if you ask me.


(Click to enlarge)
The character of the bokeh is rather good but the Super-Takumar 55mm f/1.8 is a lot better, of course. I do not see any signs of “trash-bokeh” but I’ve seen better ones. It does appear to be smoother than the Super-Takumar 50mm f/1.4 as that one has the potential to produce some weird-looking artifacts. The focus-transition looks smooth, not abrupt.


(Click to enlarge)
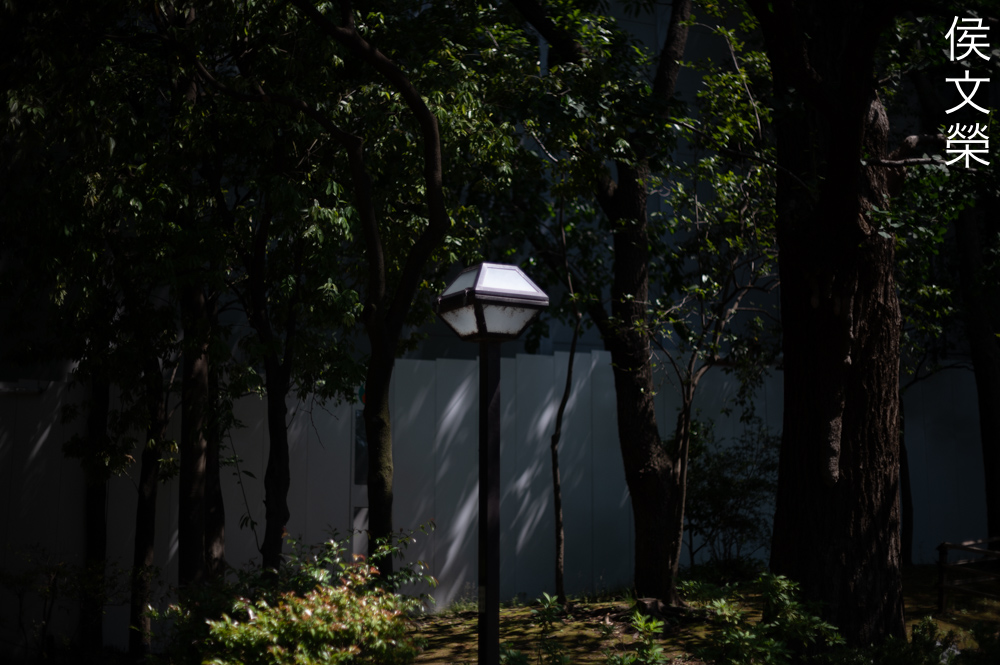
These photos should show you how things look like when shooting at night. The discs look exquisite and clean so you don’t have to worry about ugly outlines and other artifacts.


(Click to enlarge)
The 8-sided iris keeps the discs looking round, the Super-Takumar 50mm f/1.4 only has 6 blades which makes the discs look like lozenges. Some people prefer the latter but I’d rather have this one. It’s known that the number of blades will affect the smoothness of your blurs and this is not something subjective.


(Click to enlarge)
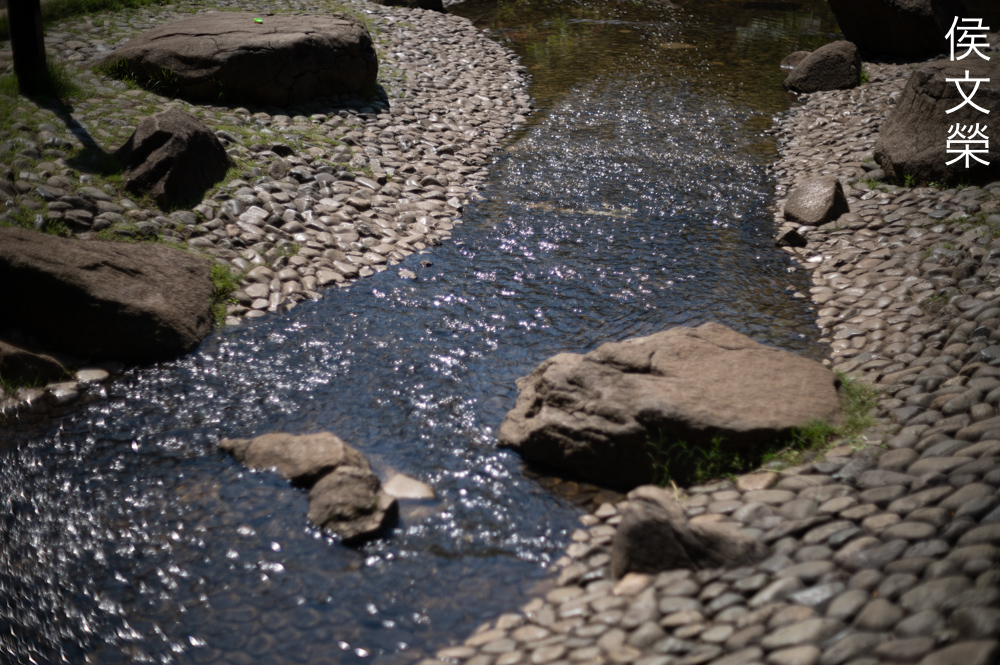
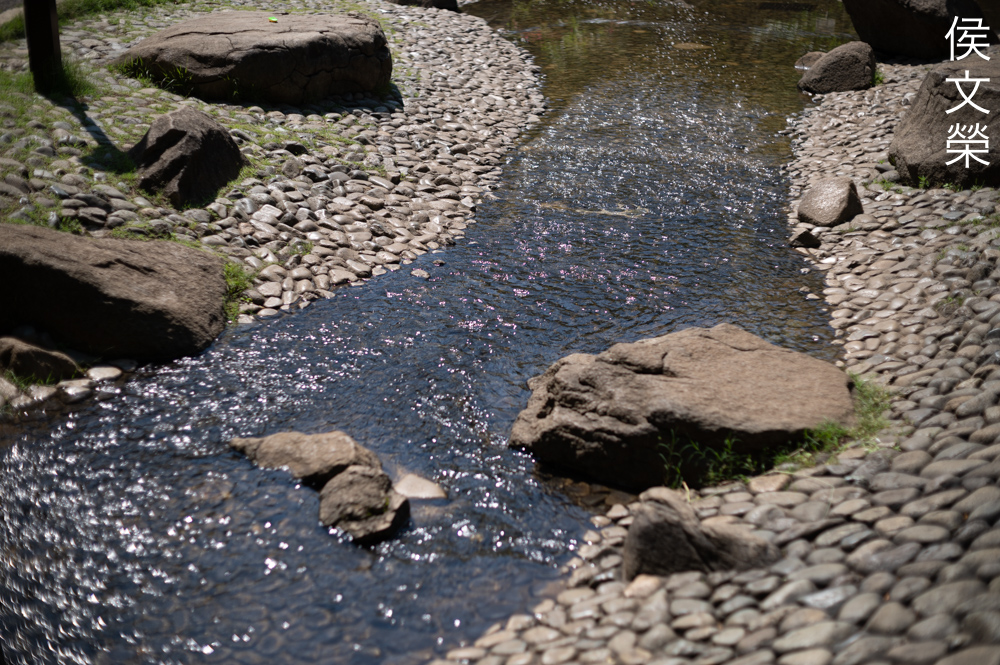
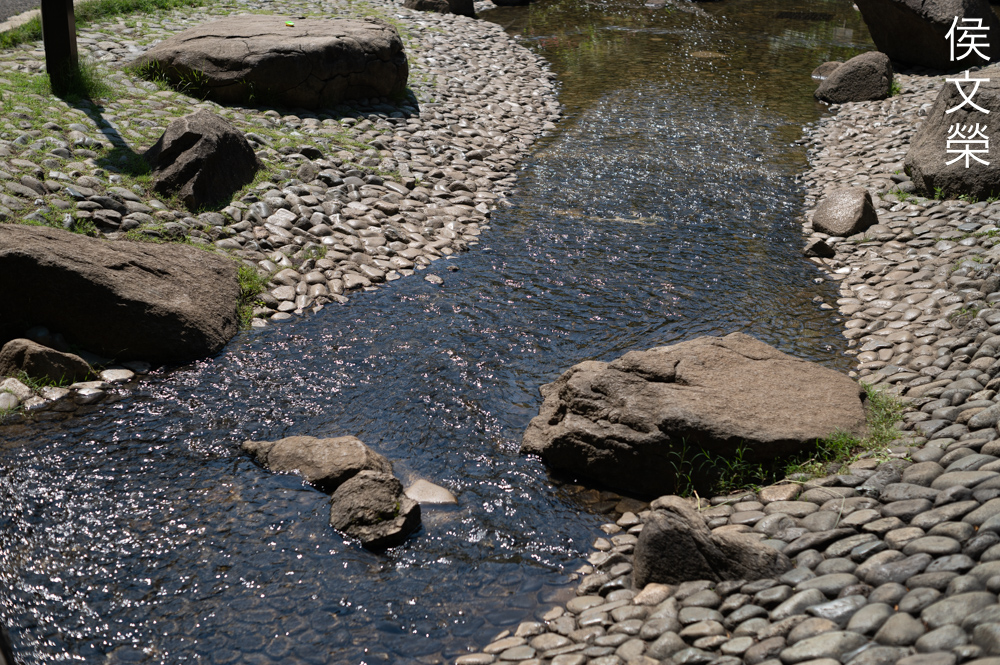
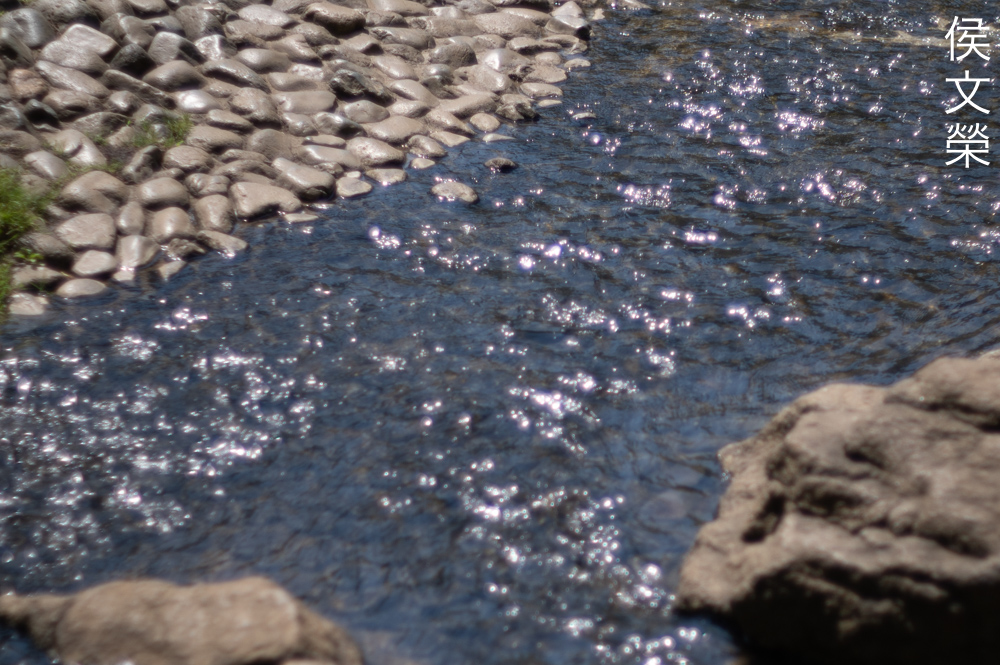
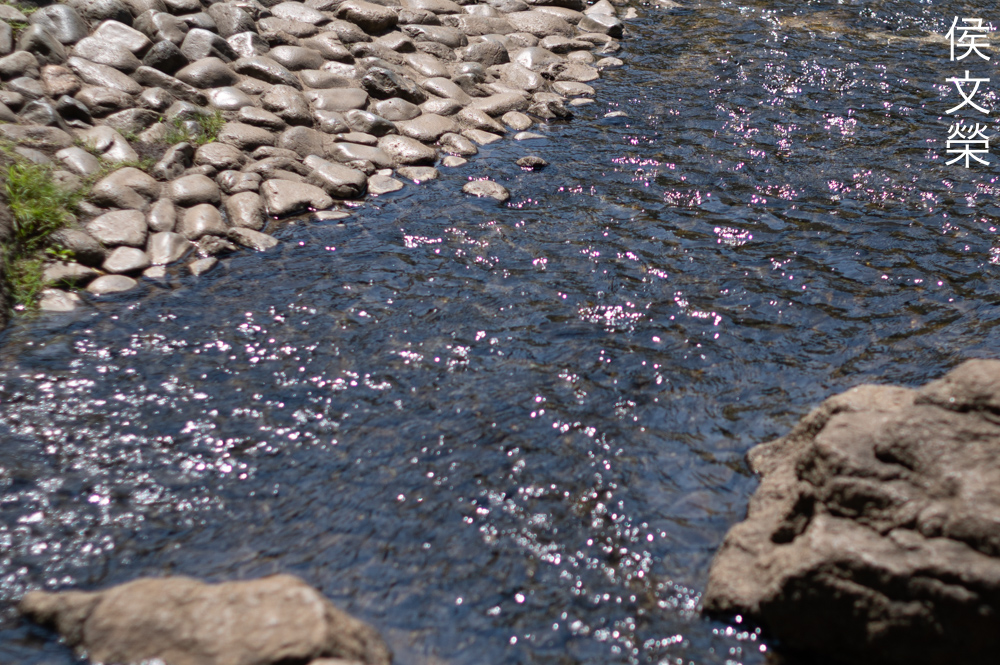
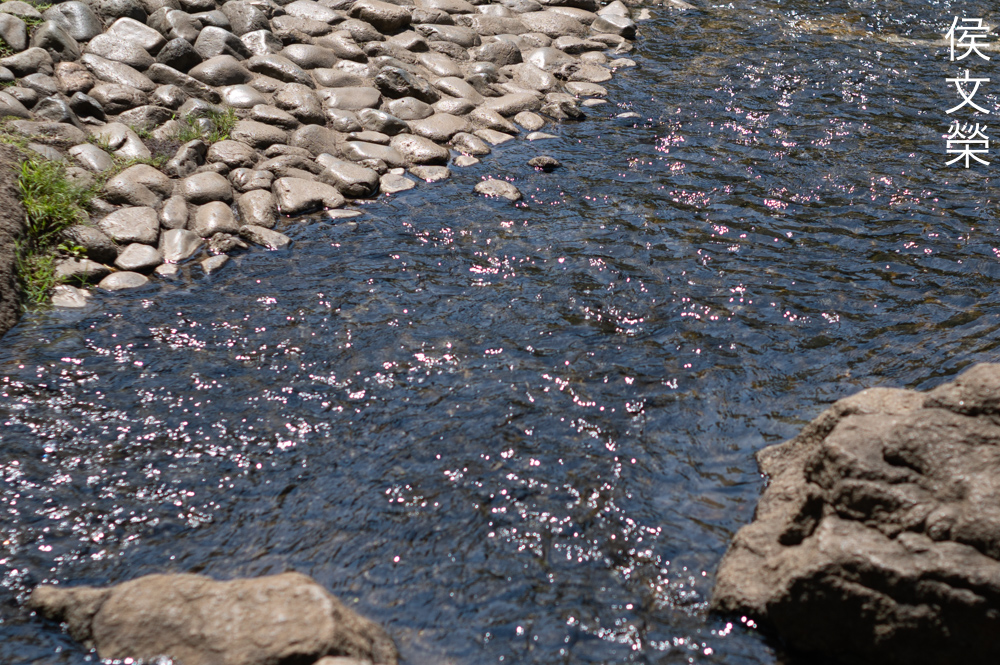
Chromatic aberration is rather high when shooting wide-open specially in extreme situations. Spherical aberration can also be seen but it’s not as bad as the former. Stop the iris down to f/2 and chromatic aberration is mostly eliminated if you’re not shooting in extreme situations. Spherical aberration won’t be seen much and you’ll only see traces of it. Stop it down to f/2.8 and you won’t see any of it except when shooting in really tough situations as evident in the picture of the stream and you’ll need to stop this down to f/4 at the very least in order to get a satisfactory result. I think it’s not a bad lens at all compared to the Super-Takumar 55mm f/1.8. The Super-Takumar 50mm f/1.4 performs a bit better here but it’s very close.


(Click to enlarge)
It’s sharp wide-open and contrast is quite good, too. The resolution is definitely adequate, if you’ve got a soft photo it is most likely to be caused by misfocus. Stop it down to f/2 and you’ll see considerable improvement in resolution. It’s now able to render very sharp at the center and the corners improve significantly, too. Contrast also improves and this is easier to see when your shooting at a bright scene. The center is performing near its peak by f/2.8 and you’ll see the biggest improvements at the corners even to the extremities but the contrast is still lacking there. The center looks so good by f/4 and the extremities look much better because the contrast now matches what you see at the center. This is a nice lens if you ask me, I think it’s one of the better ones I’ve tested when it comes to this criteria and vintage.
I think it’s sharper when shooting wide-open compared to the Super-Takumar 50mm f/1.4, it may be due to its higher contrast. This one performs a lot better at infinity, too. We’ll arrive at a conclusion when I do a side-by-side test.

(Click to enlarge)
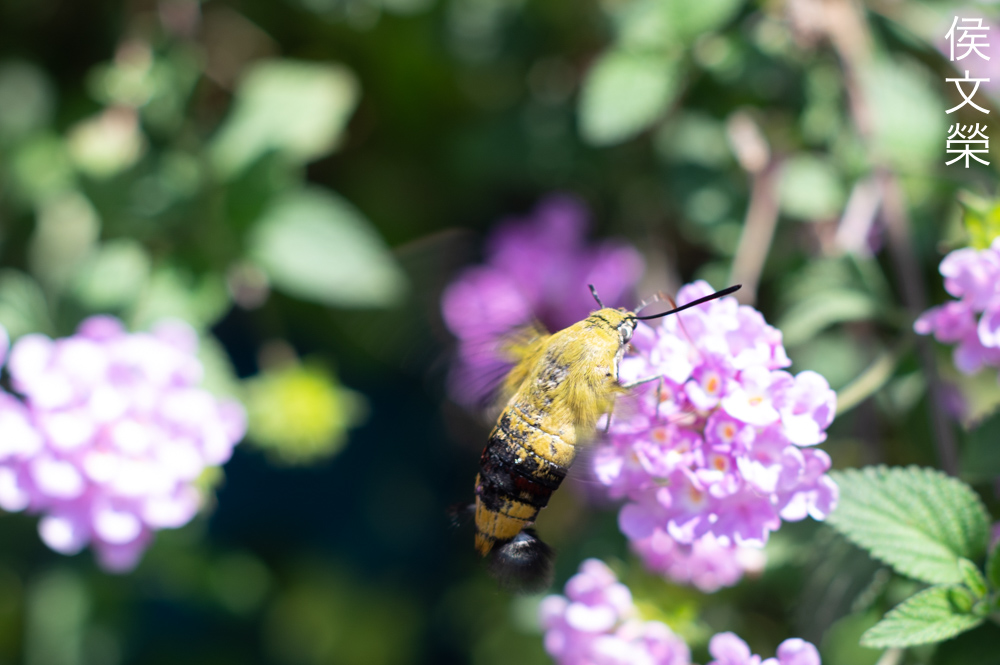
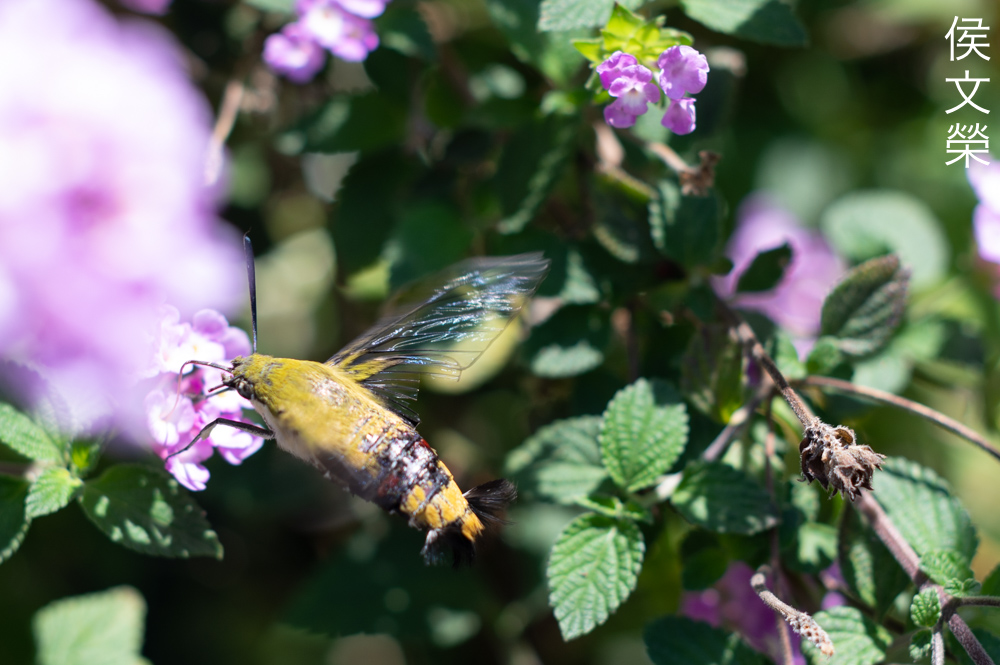
These photos were cropped, I only wanted you to see how difficult it is to shoot a humming-moth that’s why they are here. It’s tougher to track something like this when shooting with a manual lens but it’s not impossible at all.

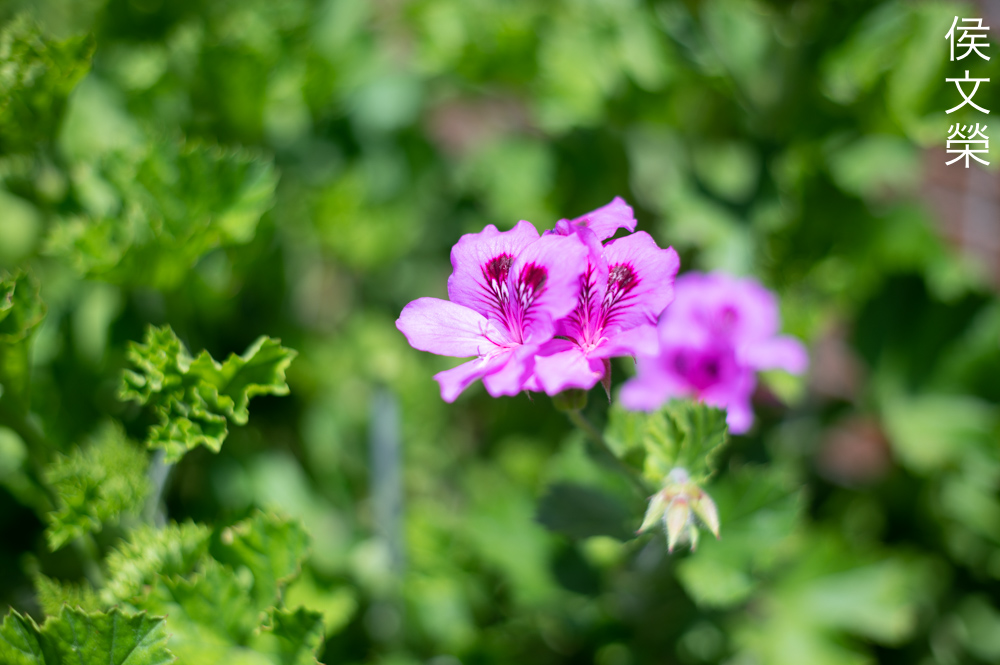
I liked how it renders both the foreground and the background, the look is quite smooth in a “vintage” kind of way. It looks “painterly” if I were to use an adjective for this. Chromatic aberration can be seen but it blends very well with the photo, it actually adds another layer of interesting effect to this photo, making this look more natural.
The depth-of-field is shallow so you should carefully compose your scene. This thin slice of depth-of-field allow you to isolate your subjects better.
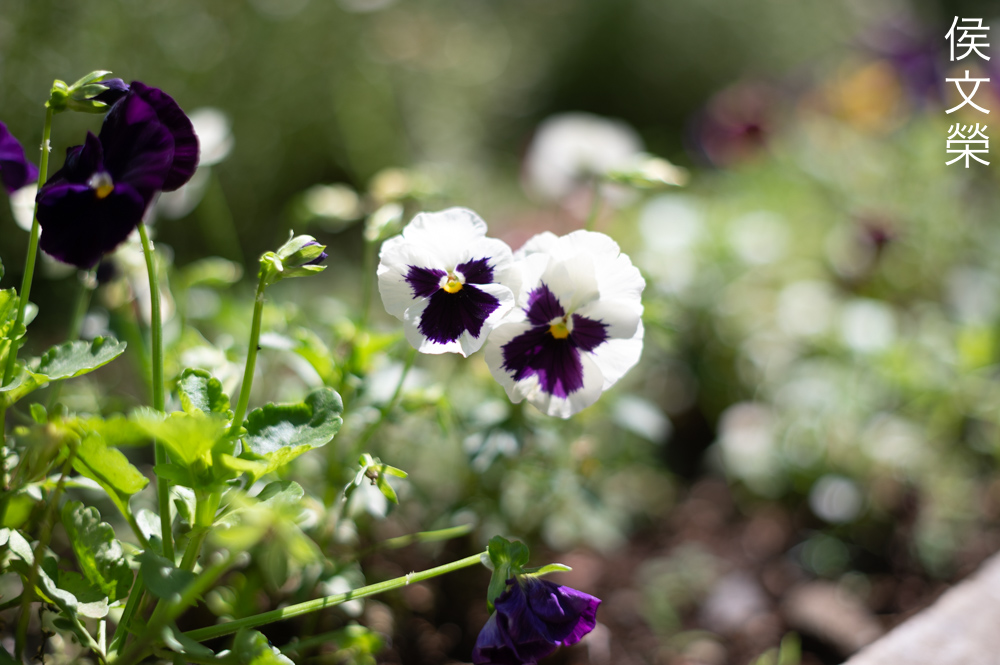
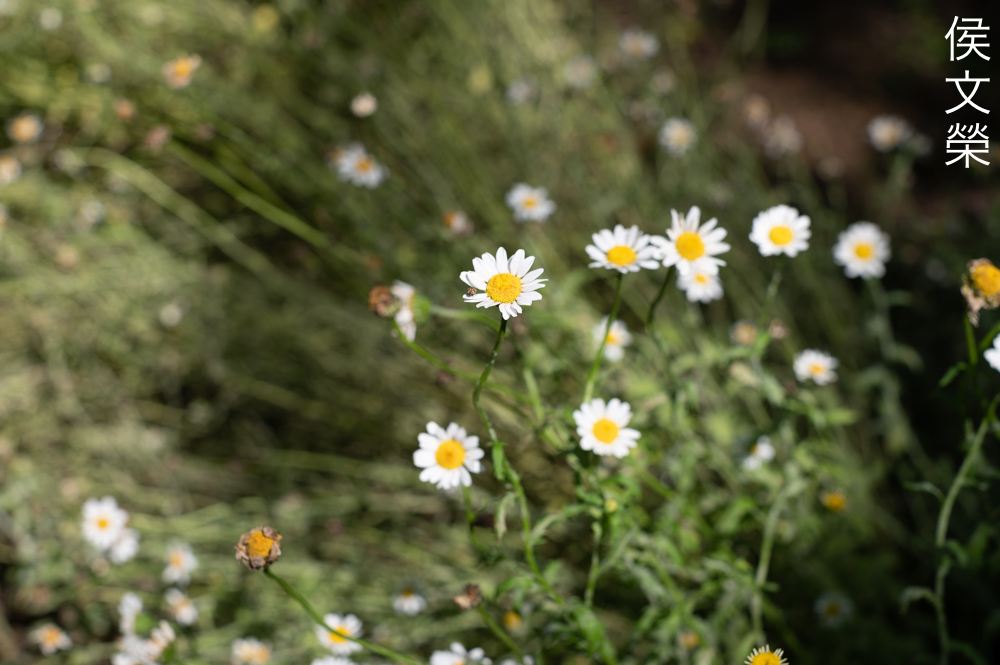
This is a nice lens for taking flower photos, there are many people who like shooting these kinds of photos. Look at the stalks and how smoothly they were blurred, a lens that performs worse will show smudges due to outlines and artifacts related to how it renders out-of-focus details.

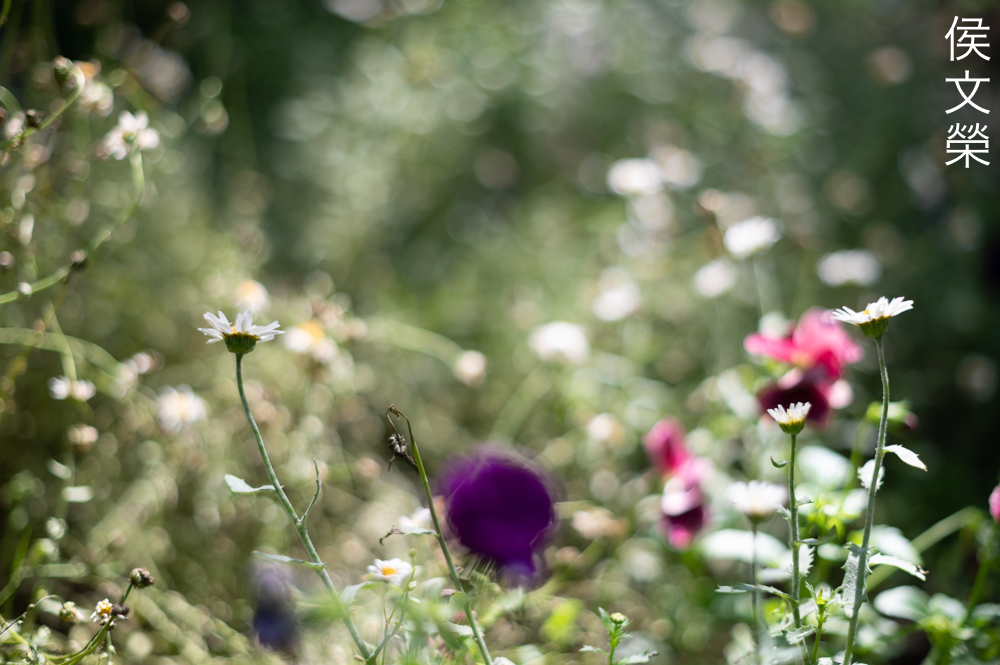
I think this is the worst that I could get this to render the background but it is still better compared to what I saw with the Super-Takumar 50mm f/1.4.
It has a slight tendency to exhibit the “swirly” look that some people love. I personally don’t like this too much.

This scene is a bit tough to meter because it’s bright and I’d still want to have some details at the shadows. I think that it is a bit overexposed, maybe by 1/3 of a stop that’s why the grey part of the stump looks like it’s blooming. I think it’s shot with a smaller aperture, possibly f/8.
Despite being a fast lens it’s always best to shoot this stopped-down. The urge to always shoot wide-open is recent, it’s not something that the majority of photographers would want to do back in the film days.

Tonality is very good despite exhibiting a moderately-high contrast for an old lens. If this was overcorrected you would see some clamping of the colors wherein you’ll lose some of the more subtle tones.

If you’re a fan of the “soap-bubble” look then this is how it looks like with this lens. I also notice that there are signs of outlining in the discs, something that I didn’t notice prior to seeing this photo. I don’t know why this photo triggered it but I’m sure glad that it isn’t consistent.
Confucius say: “He who shoots wide-open afraid of ugly background“, those are wise words coming from a sage. Do not be tempted to always shoot with the lens wide-open when you have the means to shoot with it at a smaller aperture. I am sounding a bit preachy now but you couldn’t argue with Confucius.
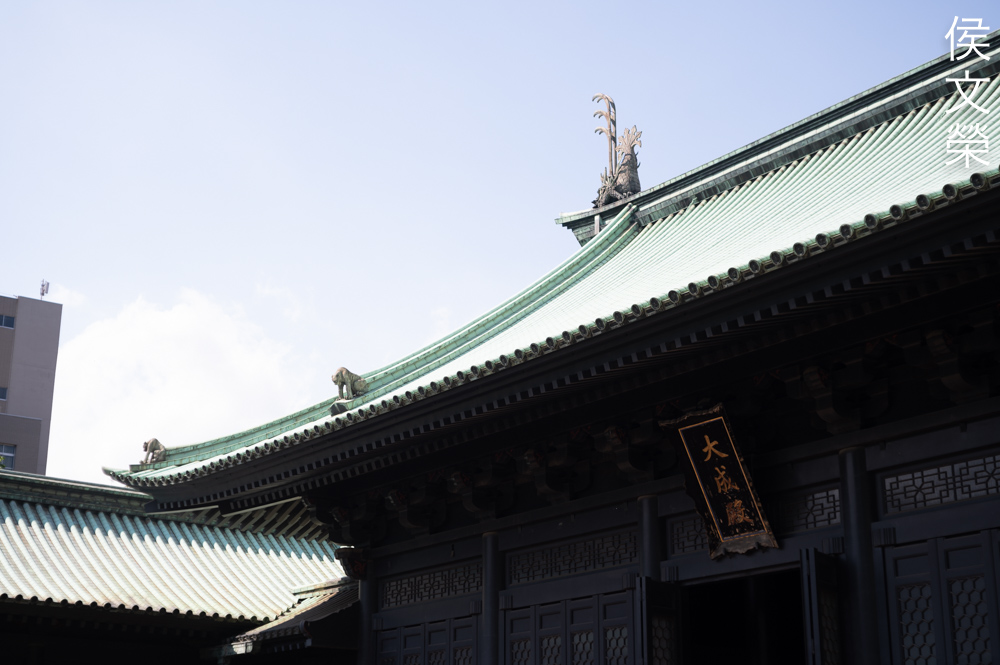
This photo reminds me of a shot from Bertolucci’s masterpiece The Last Emperor. The director of photography probably deserves more praise because it was his vision that made the movie so beautiful. Going back to this lens, note how the edge of the roof curves a bit, this is due to the distortion. While it’s not obvious in this photo it’s best to angle the shot in order to hide this flaw.

(Click to enlarge)
Check out these photos, I think it’s still a nice lens despite its age. It has the ability to give a “vintage” feel without a lot of the drawbacks associated with it such as ugly artifacts and soft-looking details. I also highly recommend this lens for videography specially if you want to depict a delicate scene without making it look overly-soft.
Let’s now check some film photos. Film has a unique look that is hard to simulate with a digital camera thanks to grain. It reacts differently to light, this means that it could mask a lens’ flaws or amplify them. Since this was designed to be used with film, it’s best that we judge this using its intended medium. These were shot with Kodak Pro Image 100.


(Click to enlarge)
It flares just as bad with film as it does with a digital camera. I think this is a weakness of Takumars as almost all of the lenses I’ve tested seem to fare poorly when compared to Nikkors or even older Carl Zeiss Jena lenses of similar vintage. I highly suggest using a hood when using this but it will only take care of stray-light coming from the periphery.

This is how close it could focus and it’s useful for taking photos of flowers. It’s very sharp on film and the resolution is definitely more than adequate for film. Kodaks are known for adding a yellowish-tint to your photos so I was interested to see how it renders this yellow flower. As expected, the yellows appear clamped.
Grain helps mask rough-looking artifacts in the blurry parts of your photos in a subtle way. This is why I always shoot a roll so we could better understand how it works. The yellow-tint can sure be distracting at times.
When you don’t have anything it the background that could trigger any blurry artifacts then this lens will render some of the smoothest blurs that you could get from an old Takumar.

Stopping the iris down also helps alleviate any rough-looking artifacts at the background, if you have foliage, twigs and clutter in your background it’s best to shoot at a smaller aperture in order to prevent them from looking messy. This is why I do not follow the current trend of always shooting wide-open. I saw a review of a recent Communist Chinese lens for APS-C and the reviewer mostly shot wide-open which revealed how ugly it is. The design is of the Planar-Type but it was made for mirrorless cameras. One would expect that it would perform better than decades-old Japanese lenses or vintage German optics but it failed miserably. It’s cheap so I guess you’re getting what you paid for.

The subject-isolation properties of this lens is immense and you could use that to highlight your subjects, leading your viewers’ eyes to them.
I wouldn’t use this lens for taking tightly-framed portraits but it’s perfect for full-body shots.

This lens is fast-enough for shooting indoors with a moderately-slow film. It’s best to use something that’s faster than a regular ISO400 film when possible so you won’t have to shoot wide-open always. This is the appropriate scenario when all you want is to shoot wide-open or when you want to hide what’s on the background.
Kodak Pro Image 100 or any Kodaks that’s made for daylight shouldn’t be used indoors where artificial lights are used. I had to correct the color of this photo in post so the mannequin won’t look like Bart Simpson. I’m pretty sure that using it for capturing real people in similar conditions will make them look ill as evident by the hand of the cashier at the side of the frame.

The focus-transition is beautiful, not abrupt. This helps give you photos that look more natural. I love how this picture looks despite being unremarkable.

This is a nice example for illustrating how this lens renders focus-transition. It gradually transitions from being sharp to being blurry without any noticeable separation. An overcorrected lens will usually give you the reverse, you’ll find that a lot of cheaper lenses do this because their ability to resolve details are as authentic as a porn actress’ orgasm. This is how they give the impression of being “sharp” but this is the real-deal.

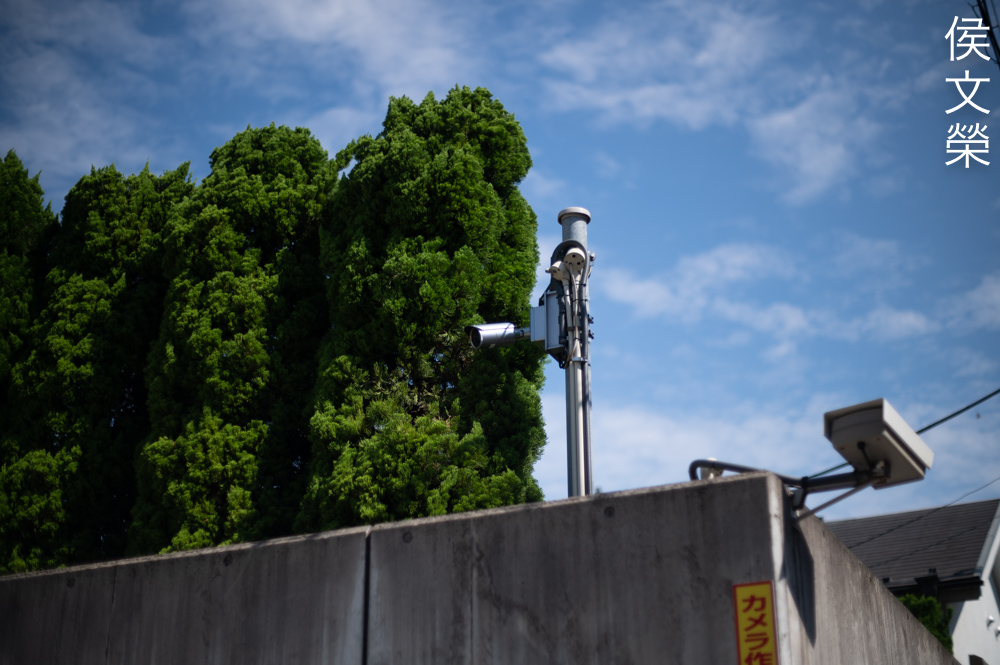
Chromatic aberration can be seen at the cables. It’s a shame that you’re still able to see it despite shooting at a smaller aperture but that is a difficult part of the scene anyway. Hot afternoon light is rendered beautifully by this film, making it appear warmer, it’s good that I’ve bleached this lens or else it would look even more intense.
Avoid using this for shooting straight lines, angle your shots if you must or place the lines closer to the center where it will look straighter.

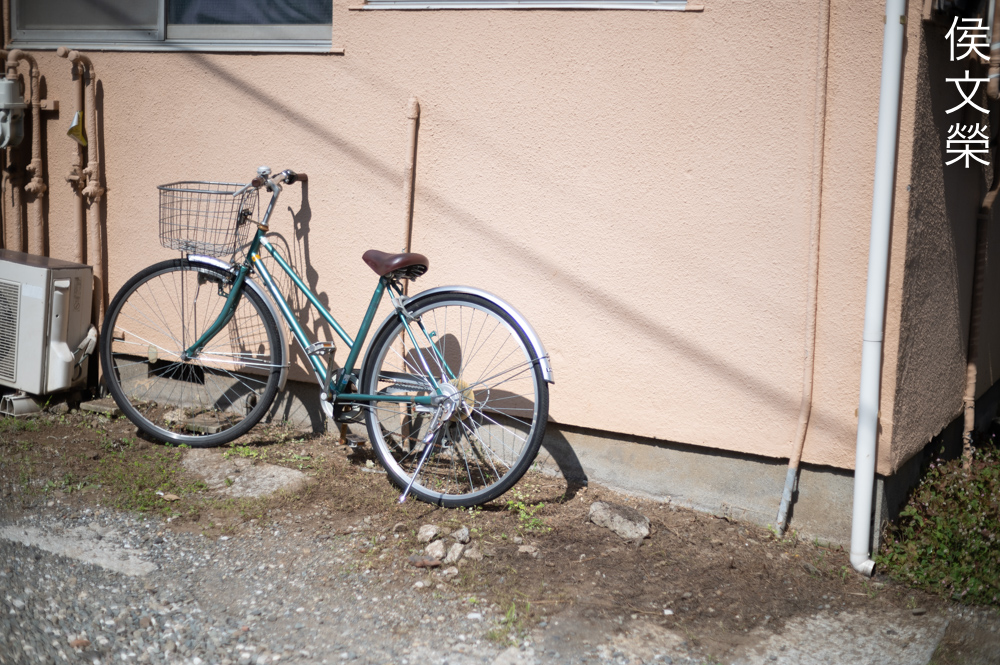
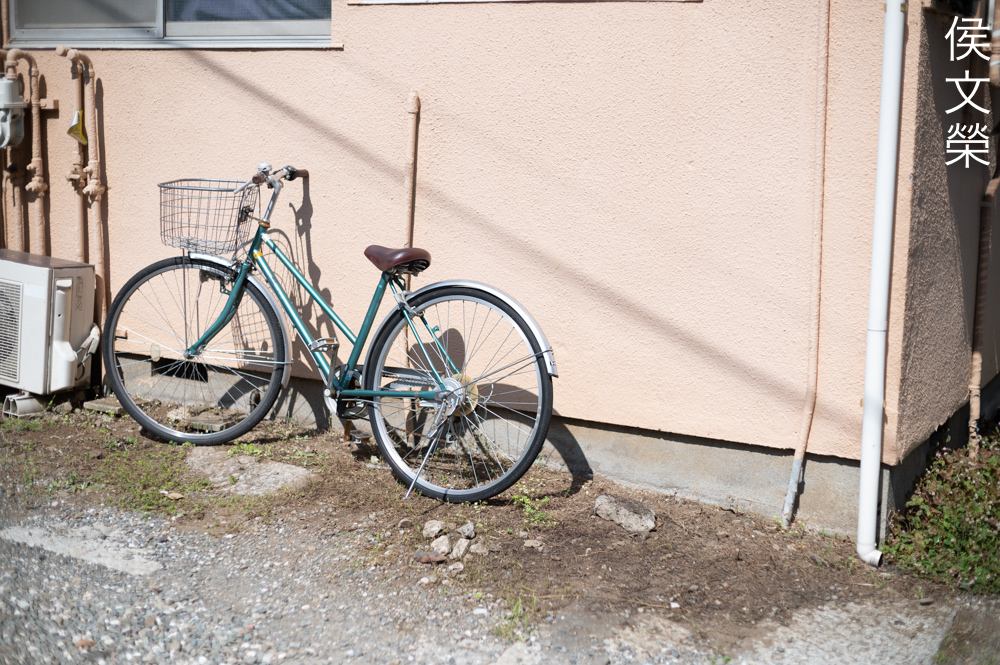
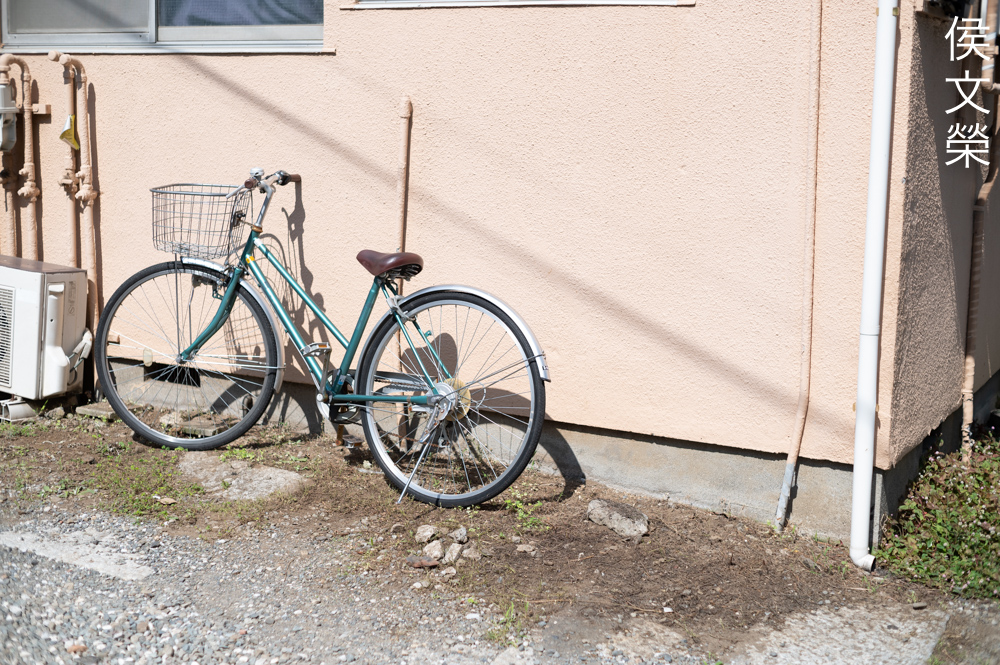
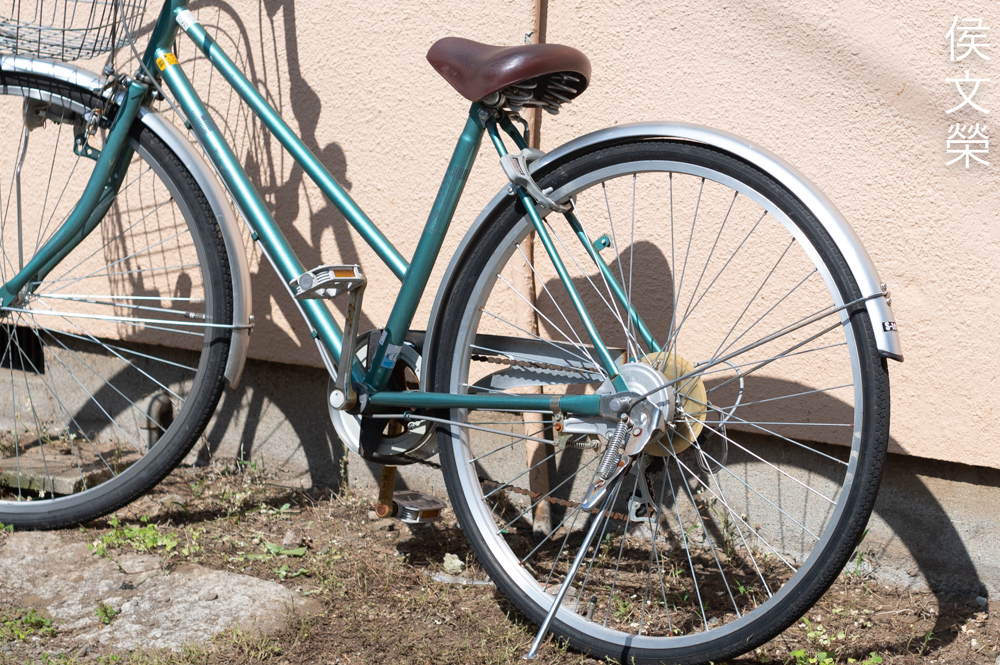
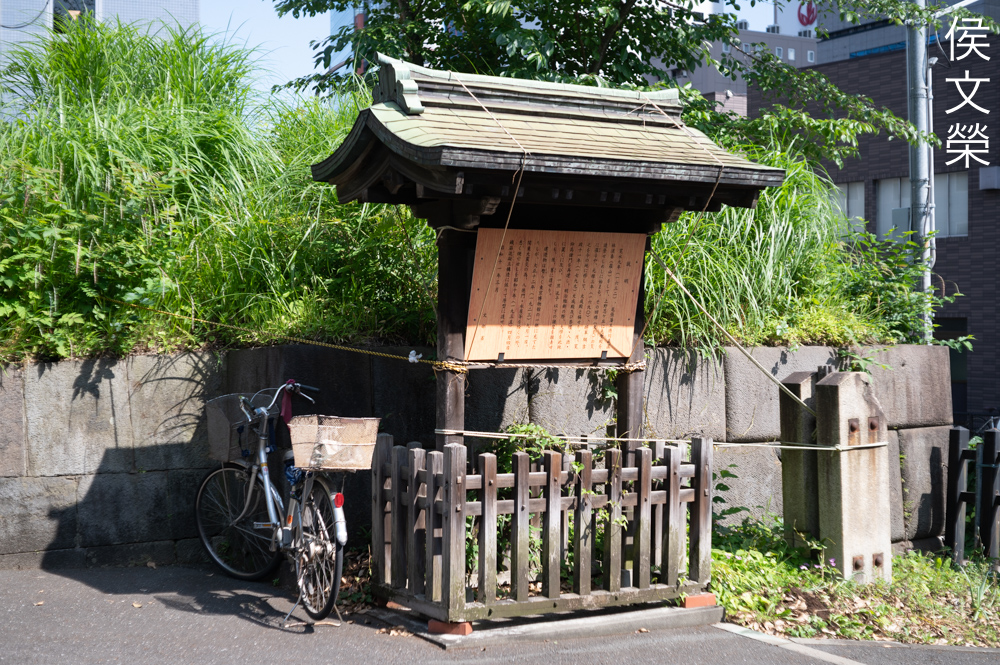
The effects of distortion could still be seen in this photo despite it looking rustic. Another interesting thing about this is you could see plenty of sphero-chromatic aberration in the bike and the grill at the top. While the purplish-tint isn’t as obvious with film it’s still possible to see it in difficult cases.


(Click to enlarge)
I absolutely love shooting this lens with film, I think it’s the best way to enjoy using it. Please click on the photos to see them in more detail. These photos represent the true test for this lens because this was made to be used with film. It’s such a great combination that I will update this in the future with photos that were shot with high-ISO film at night. Be sure to come back to see them when I update this article.
I highly recommend this lens, for many Pentax shooters this is the only thing they’ll need. They’re rather affordable as well specially when compared to the Super-Takumar 50mm f/1.4 with the 8-elements formula. I got mine for a steal, it was sold as junk and I’ve probably paid more for my last Indian meal compared to this. They usually go for $50.00 and you could even get one for $20.00 if you’re lucky. Of course, I got mine for less than that. If you want a good one you’ll be looking to spend about $80.00, I won’t pay more. When looking for one be sure that the iris is dry and snappy. Turn all of the rings and be sure that they work properly. You may not be able to turn the A/M switch without actuating the iris so this is also something that you should be aware of. Check the glass and be sure that it’s clean. They usually have yellowish glass and that’s fine, just follow my article on bleaching radioactive glass to help correct this. This is one lens that you can’t go wrong with so long as you’ve got something that’s worth restoring or in good condition. Be patient, I occasionally find them for sale under $35.00, happy hunting.
Before We Begin:
If this is your first attempt at repairing a lens then I suggest that you see my previous posts regarding screws & drivers, grease and other things. Also read what I wrote about the tools that you’ll need to fix your Nikkors.
I suggest that you read these primers before you begin (for beginners):
Reading these should lessen the chance of ruining your lens if you are a novice. Before opening up anything, always look for other people who have done so in YouTube or the internet. Information is scarce, vague and scattered (that is why I started this) but you can still find some information if you search carefully.
I highly recommend that you read my working with helicoids post because this is very important and getting it wrong can ruin your day. If I can force you to read this, I would. It is that important!
For more advanced topics, you can read my fungus removal post as a start. It has a lot of useful information, it will be beneficial for you to read this.
Disassembly (Lens Barrel):
The construction of the barrel is conventional by Super-Takumar standards. Despite the title of this section we will also tackle how to dismantle everything from the barrel so you could clean everything thoroughly. This is because the parts that house the objective and iris mechanism are attached to the inner-helicoid and other things. It won’t make a lot of sense to separate them into smaller sections because it will just make this article more confusing.
In case you’re wondering, you could easily clean the optics without taking the whole thing apart and you could do this from the front or the back, it’s your choice. Since I am more interested in cleaning this thoroughly I dismantled id down to the last screw.
This shouldn’t be a difficult lens to service for those who have experience working with Super-Takumars. This is not for a beginner to work on since there are some mechanisms here that are complicated along with adjustments that should be maintained. Take plenty of notes and photos so you’ll know how to put things back again later.
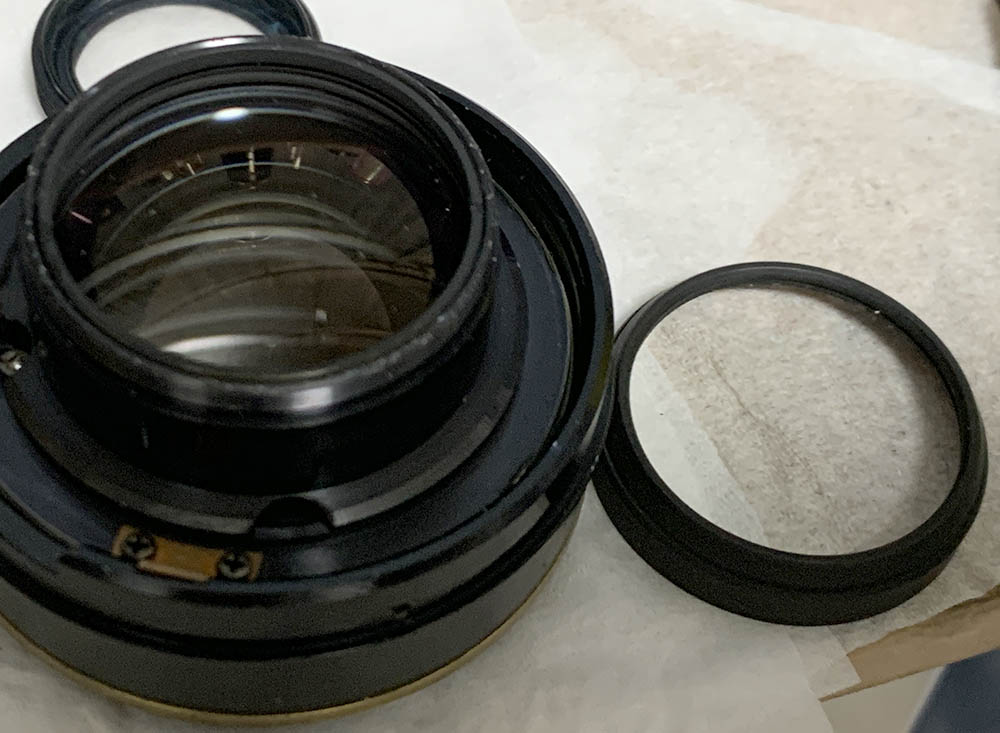
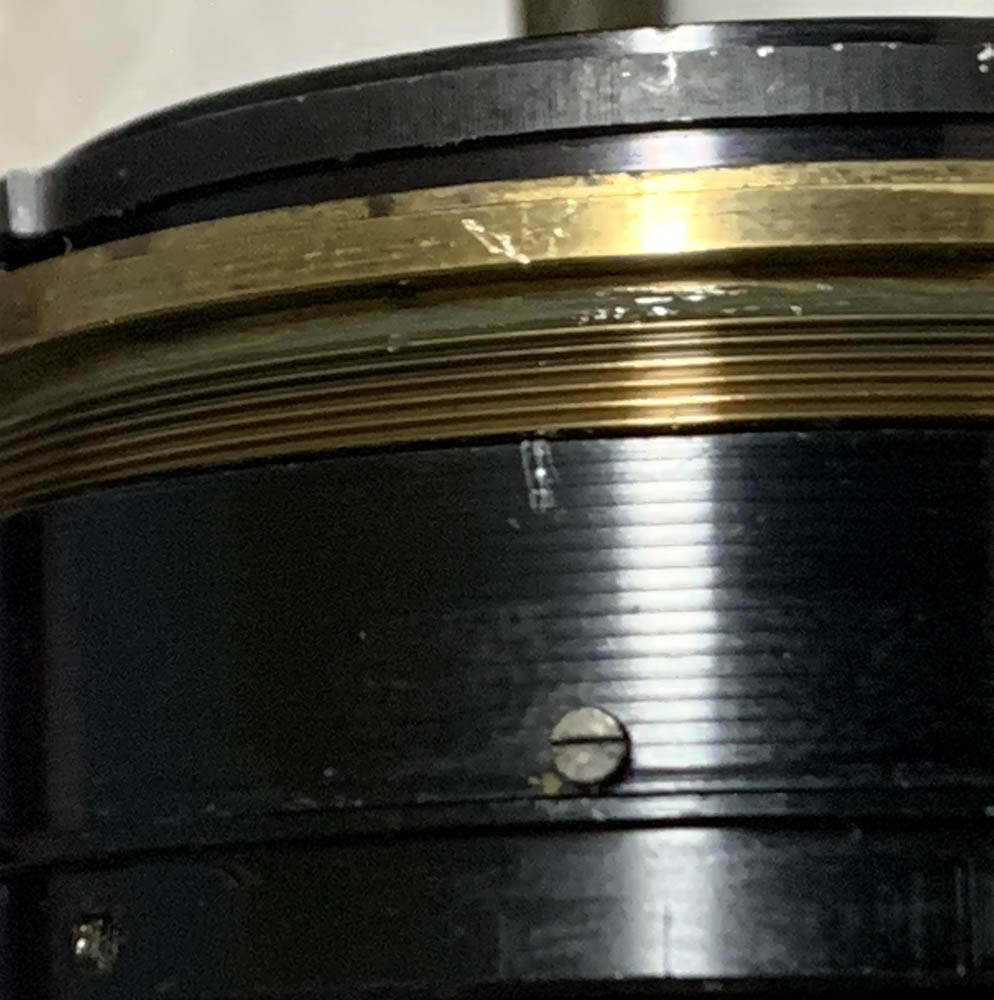
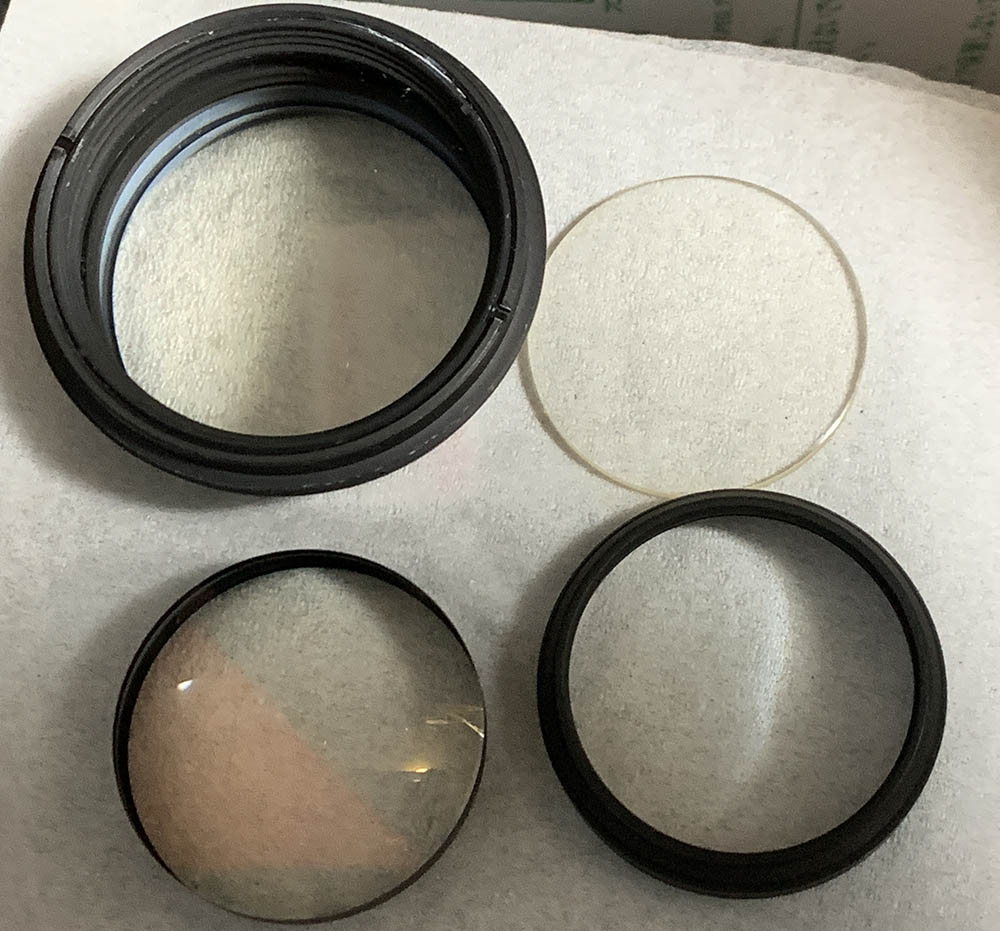
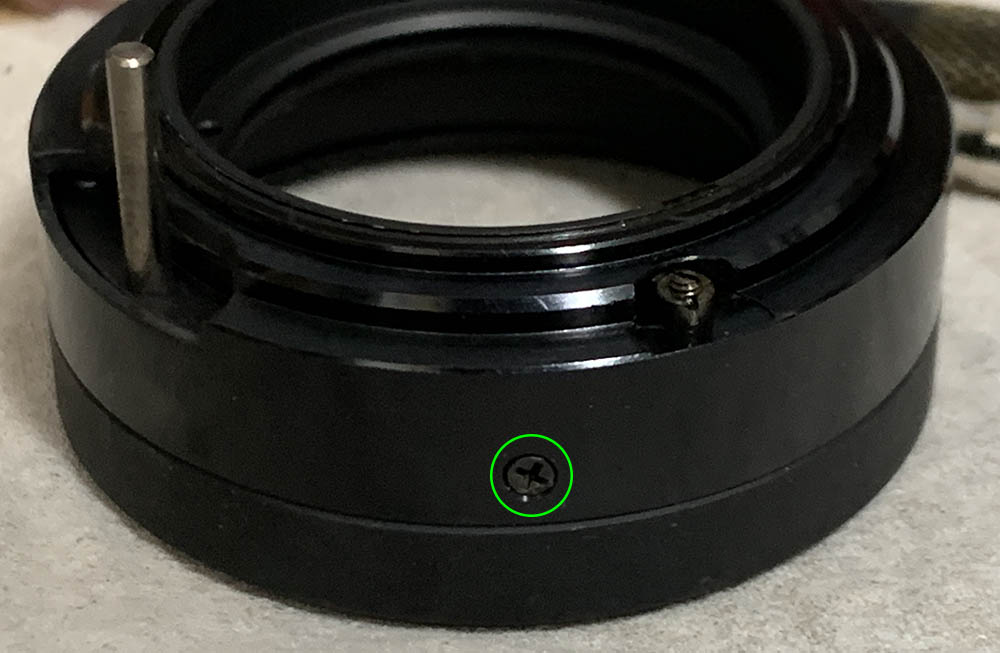
Unscrew the bezel with a rubber cup so you can access the screws securing the front barrel.
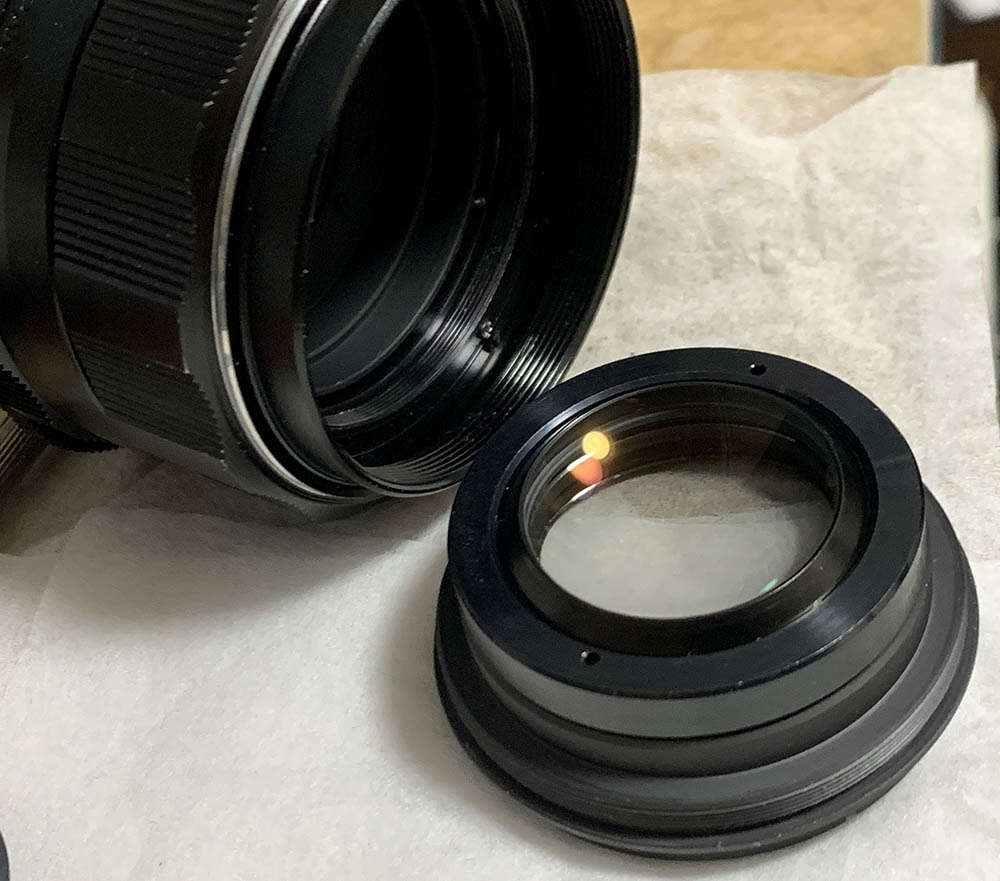
While you’re at it this is the best time to unscrew the front optics assembly off. Store this in a safe and clean place so it won’t get damaged.
Extract these in order to remove the front barrel. Be careful not to damage the optics.
Remove the front barrel and set it aside.
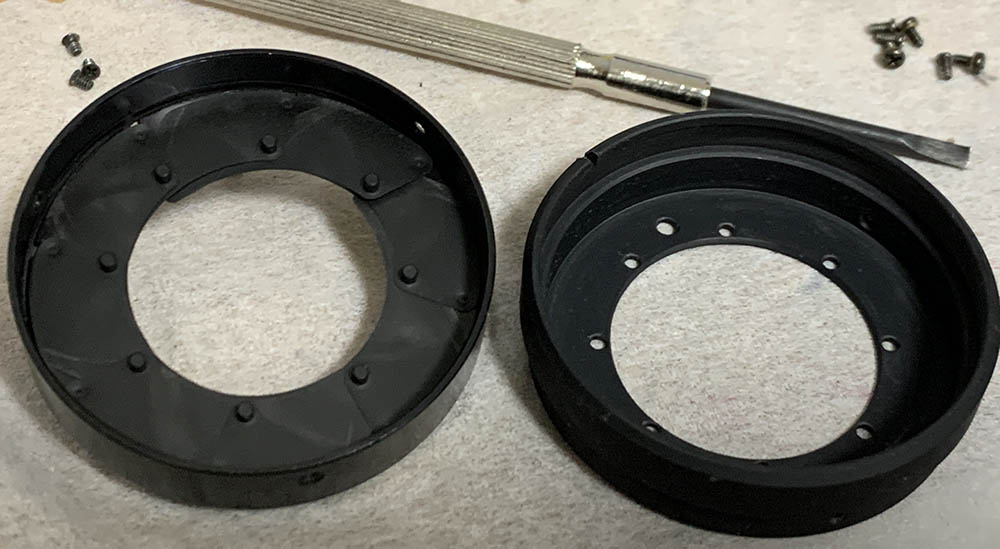
Extract these to remove the focusing ring but before you do that make sure that you marked its original position, that’s going to help you adjust its focus later. There are small brash bushings in each screw, be sure not to lose them.
With the helicoids still set to infinity, carefully remove the focusing ring and mark the alignment of the helicoids so you will know how things should be aligned when the lens is set to infinity.

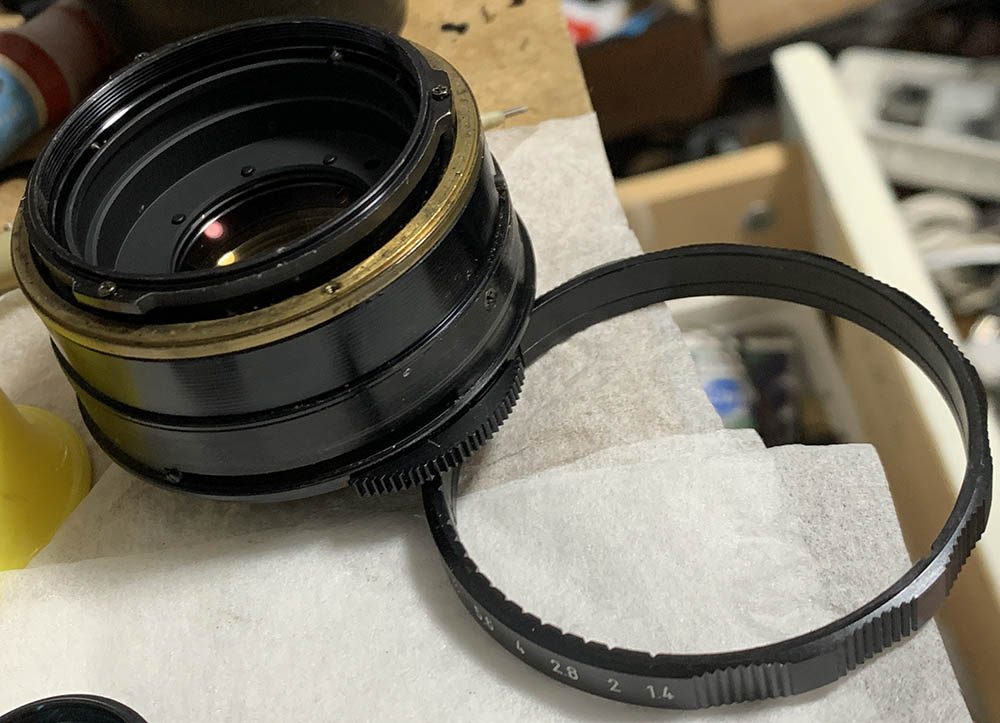
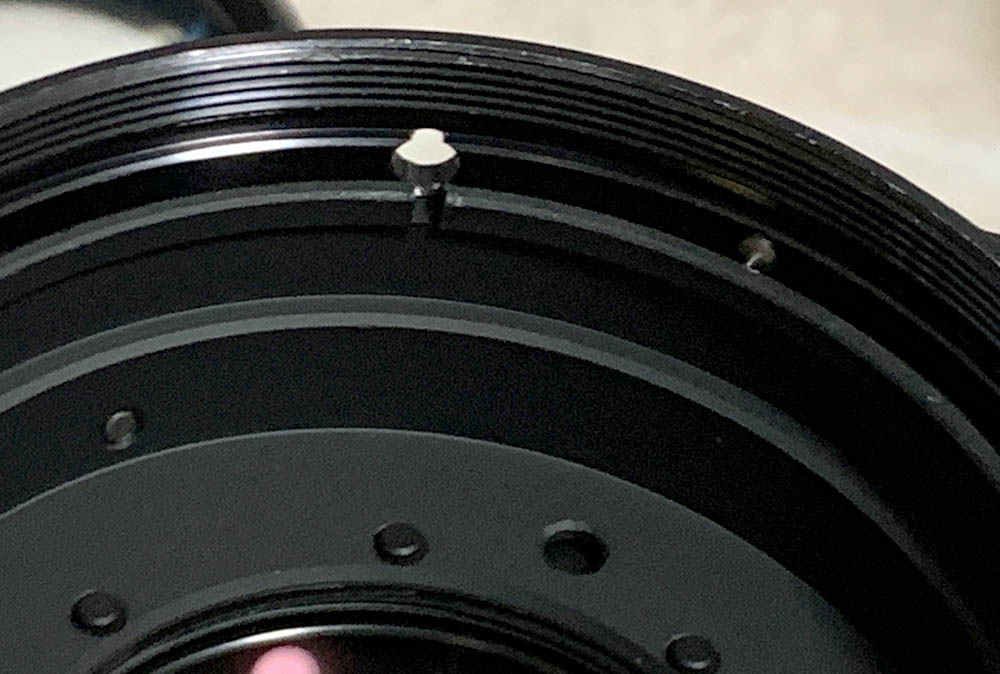
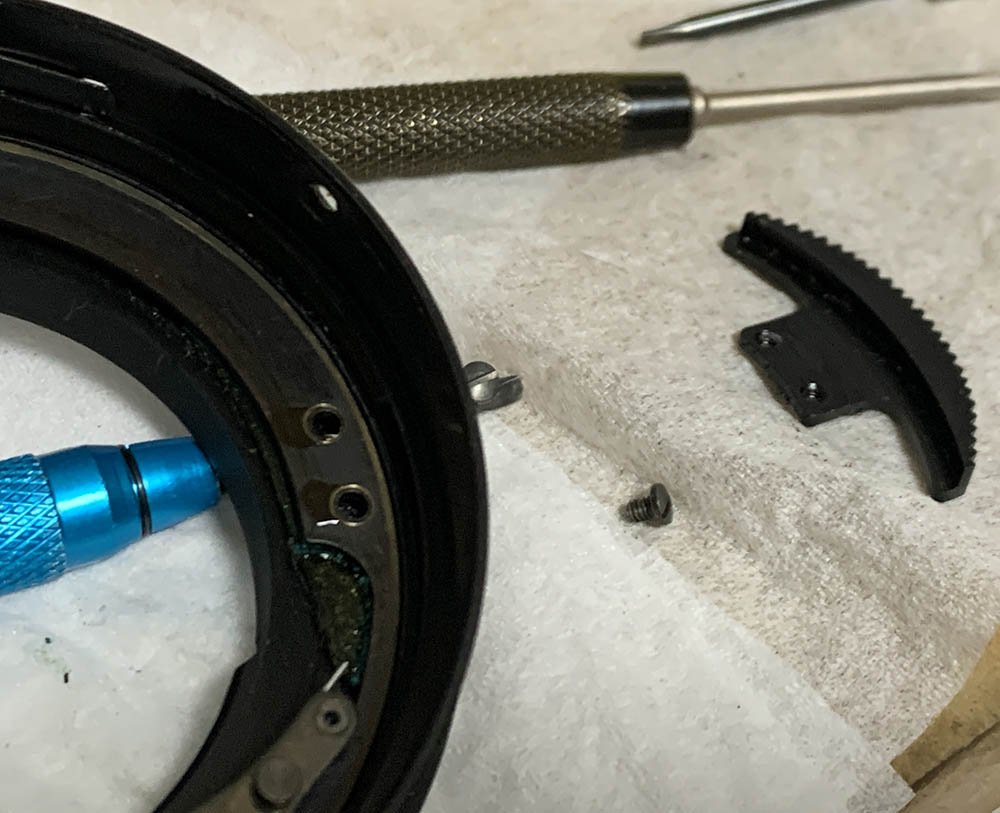
Loosen the set screws of the belt and pull it off.
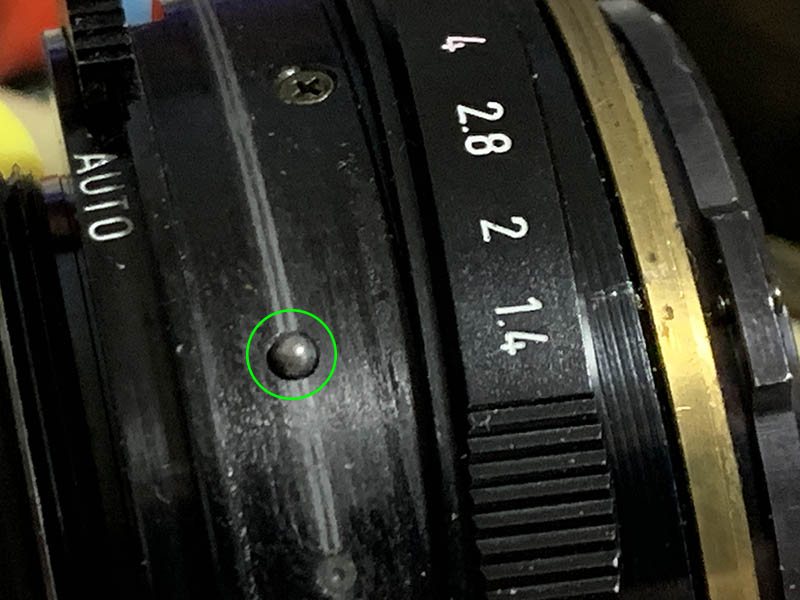
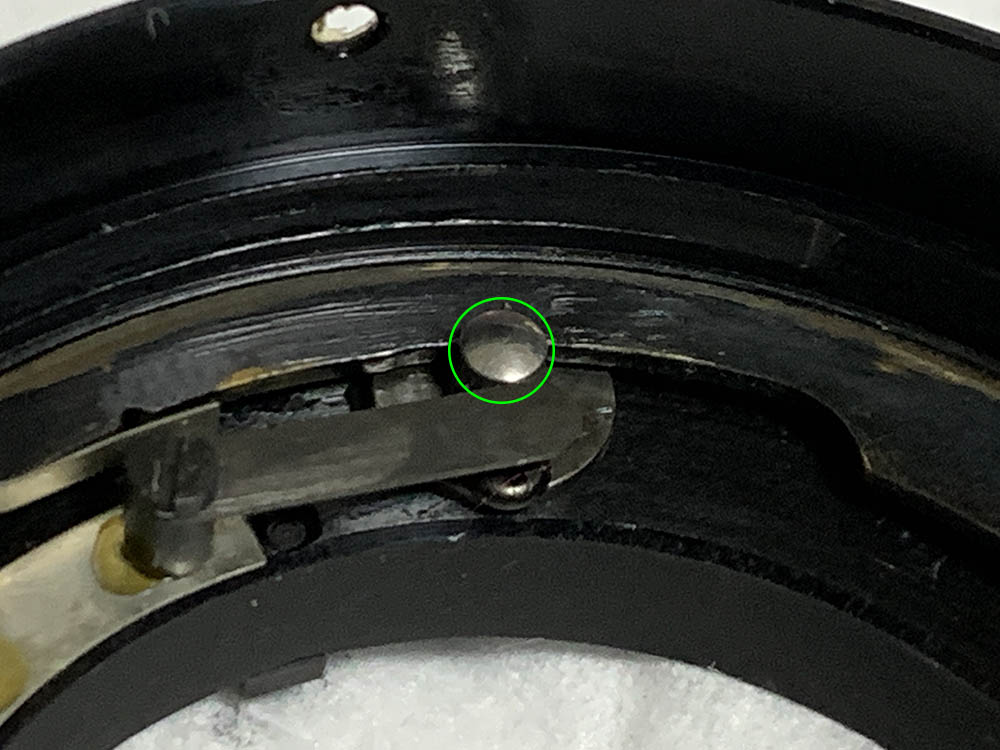
Pull the aperture ring off and be careful not to lose this bearing ball, it’s spring-loaded.
Once the aperture ring is gone you can now access a couple of screws.

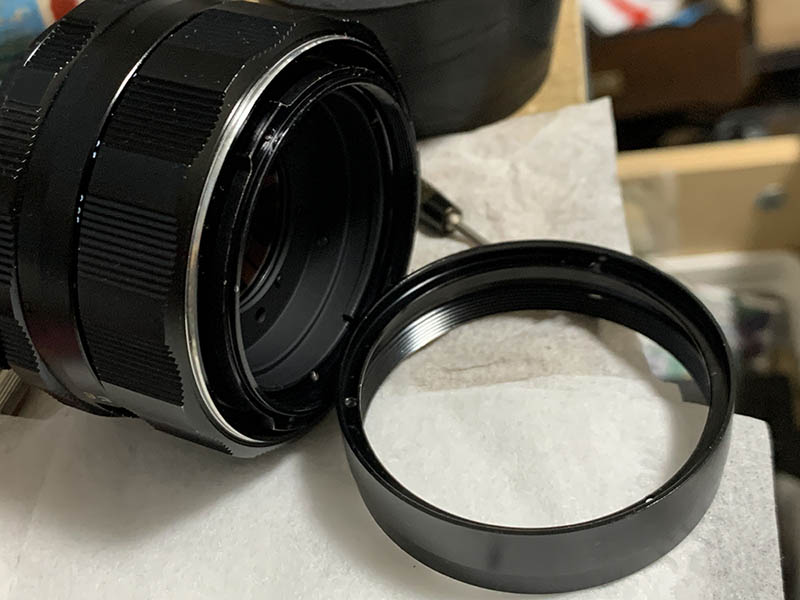
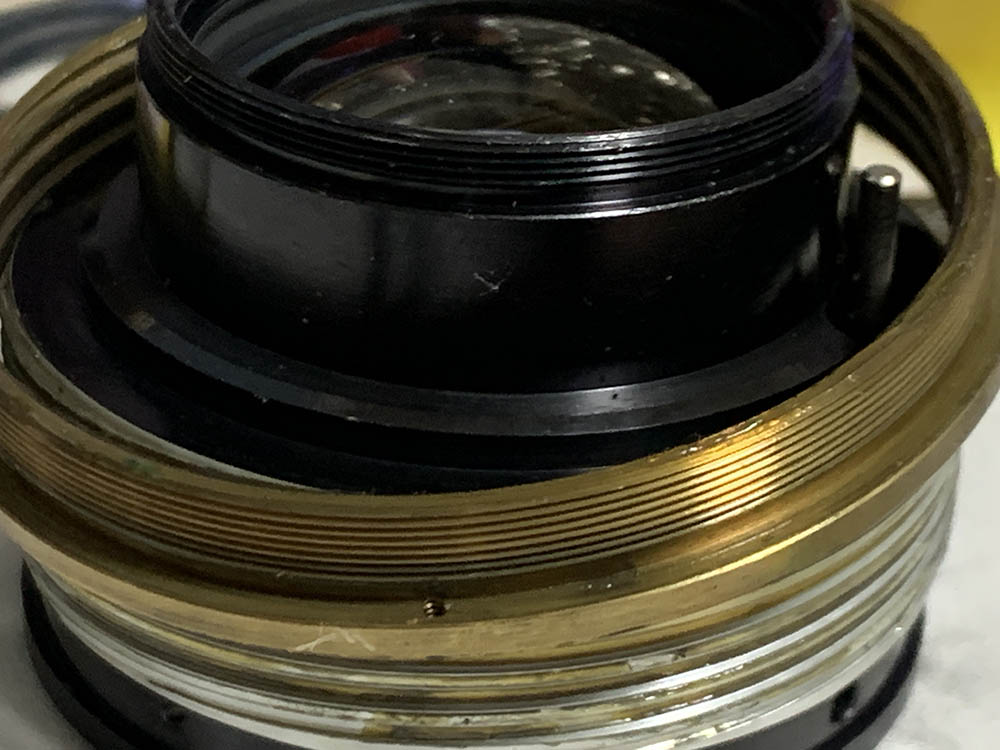
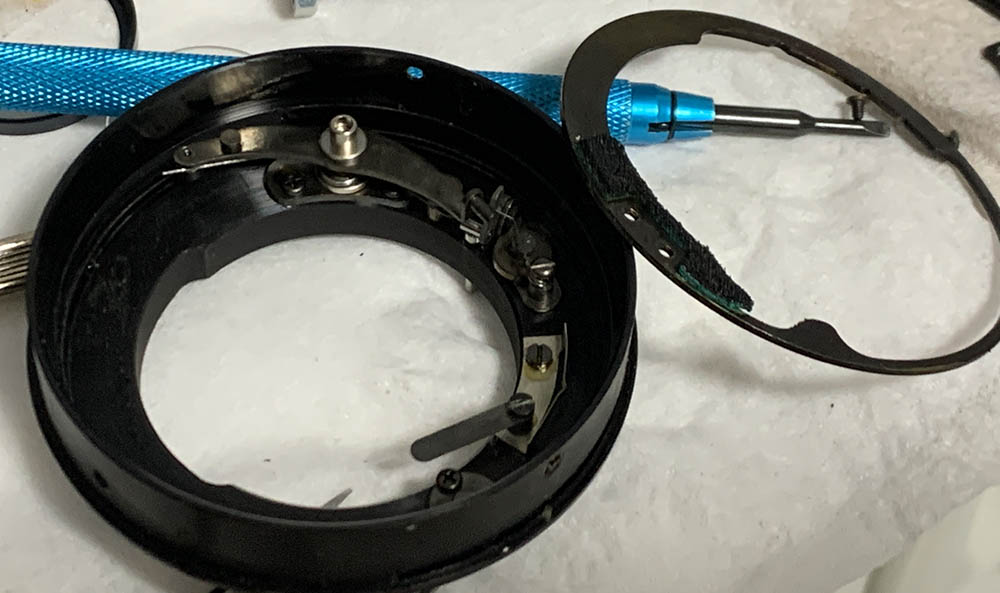
Carefully unscrew these to remove the focusing unit from the base.

Pull the focusing unit off an be careful not to scratch the glass.
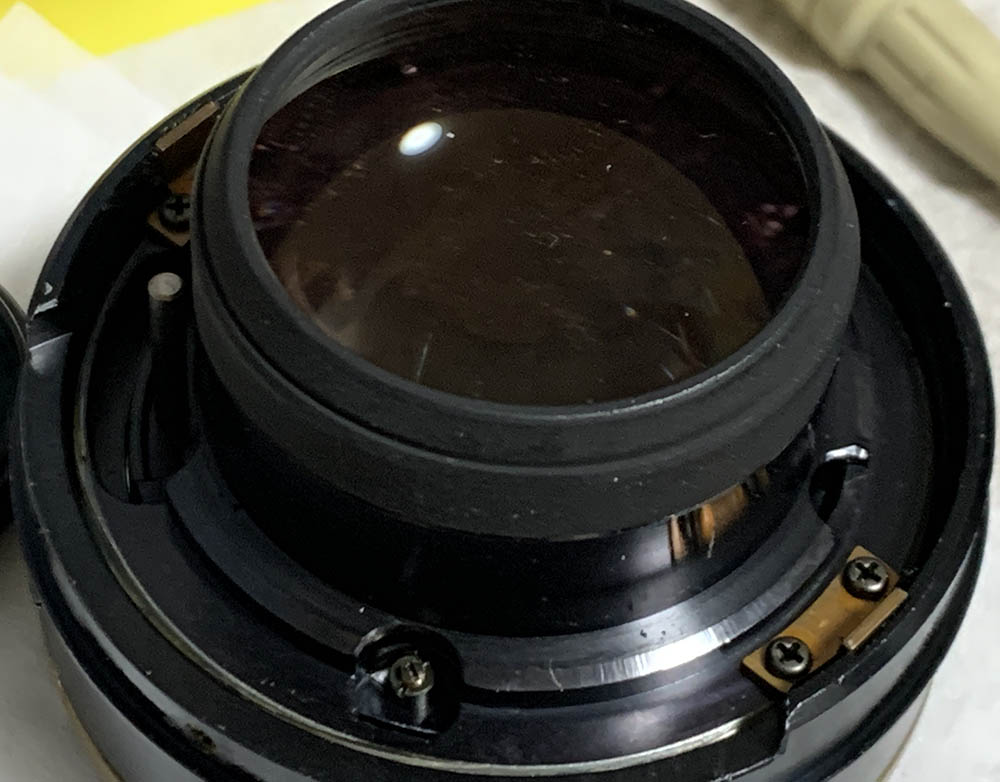
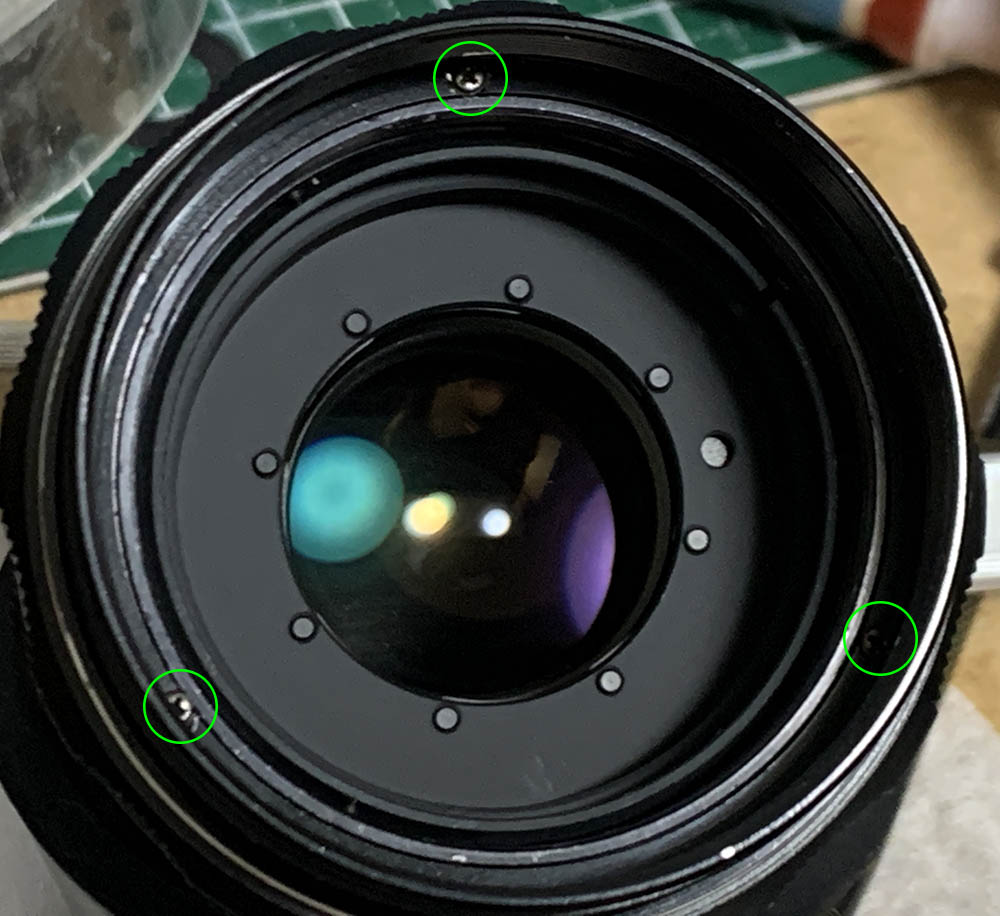
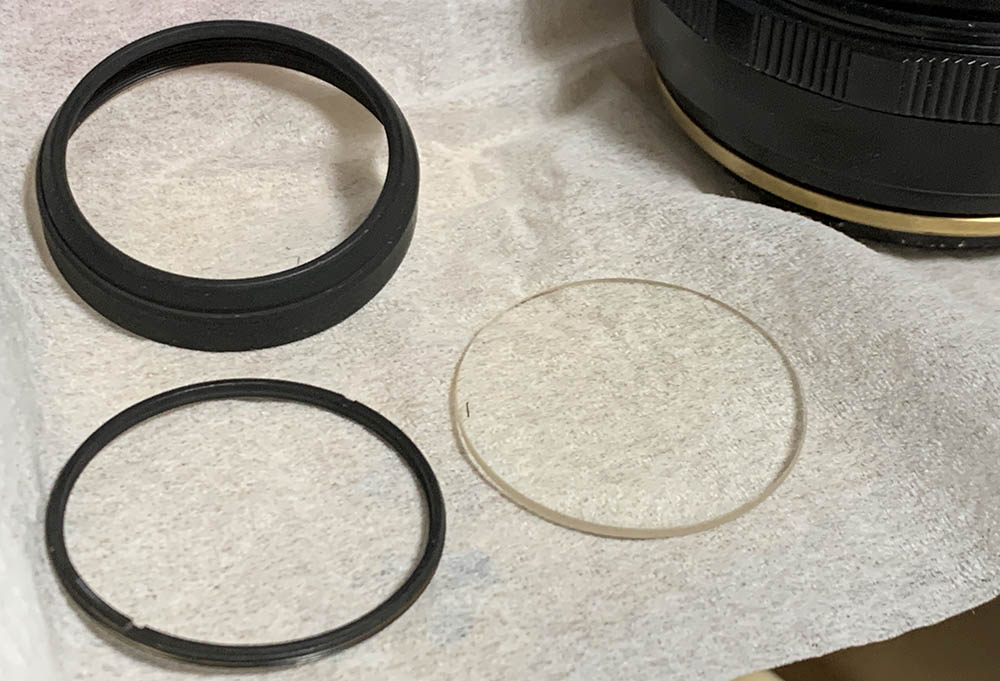
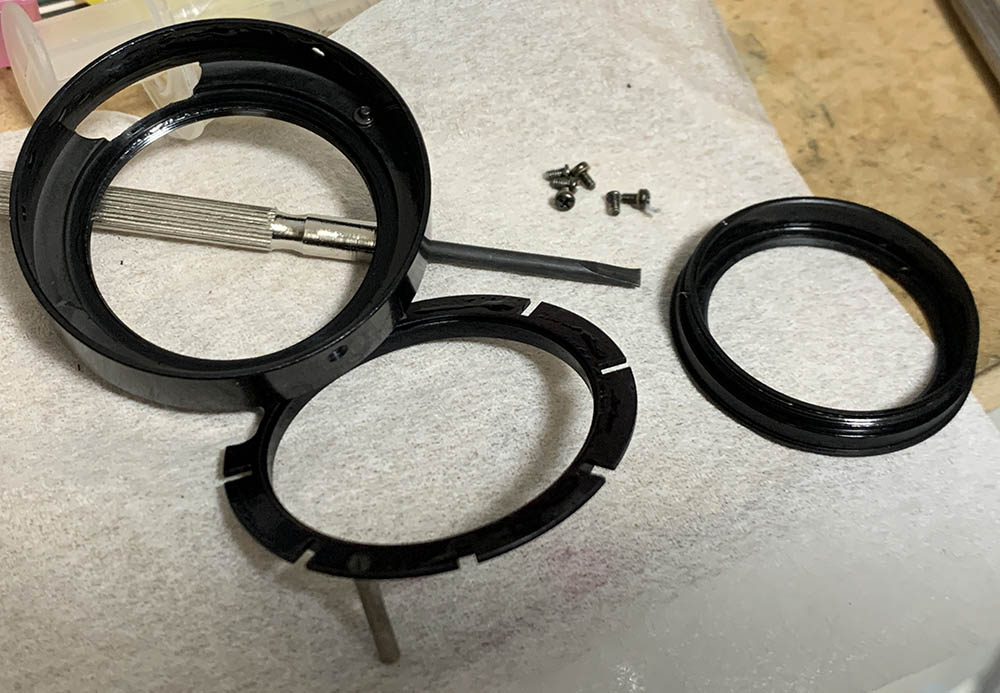
Unscrew the collar to remove the rear element.
Pull it off and set it aside.
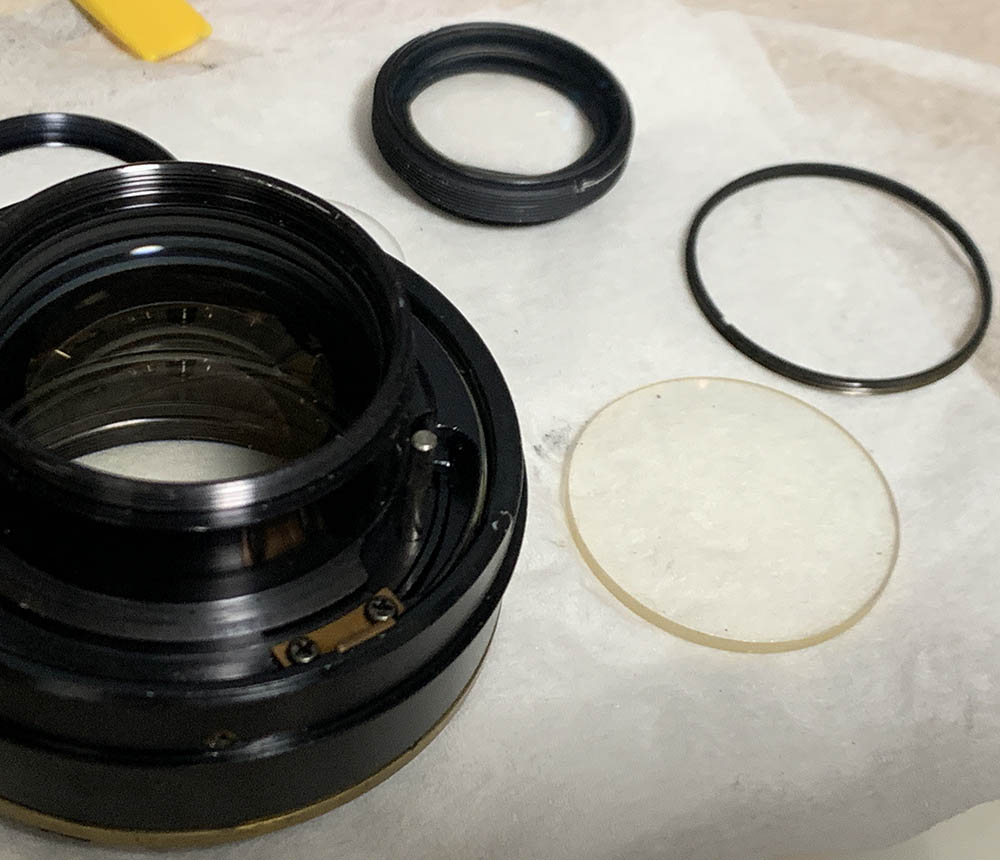
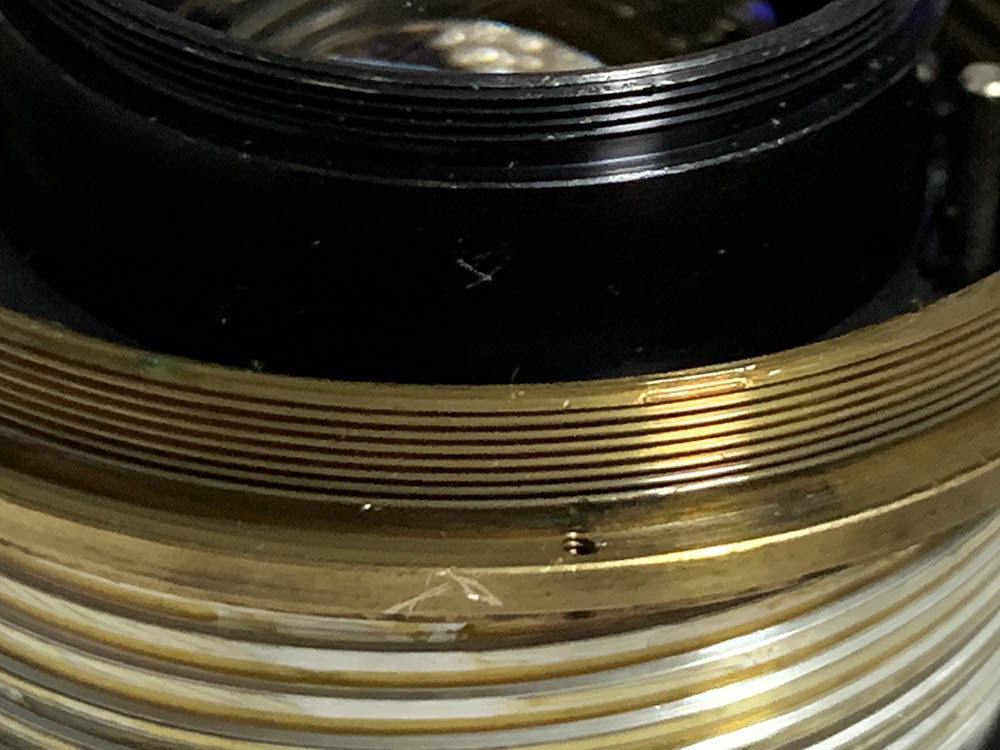
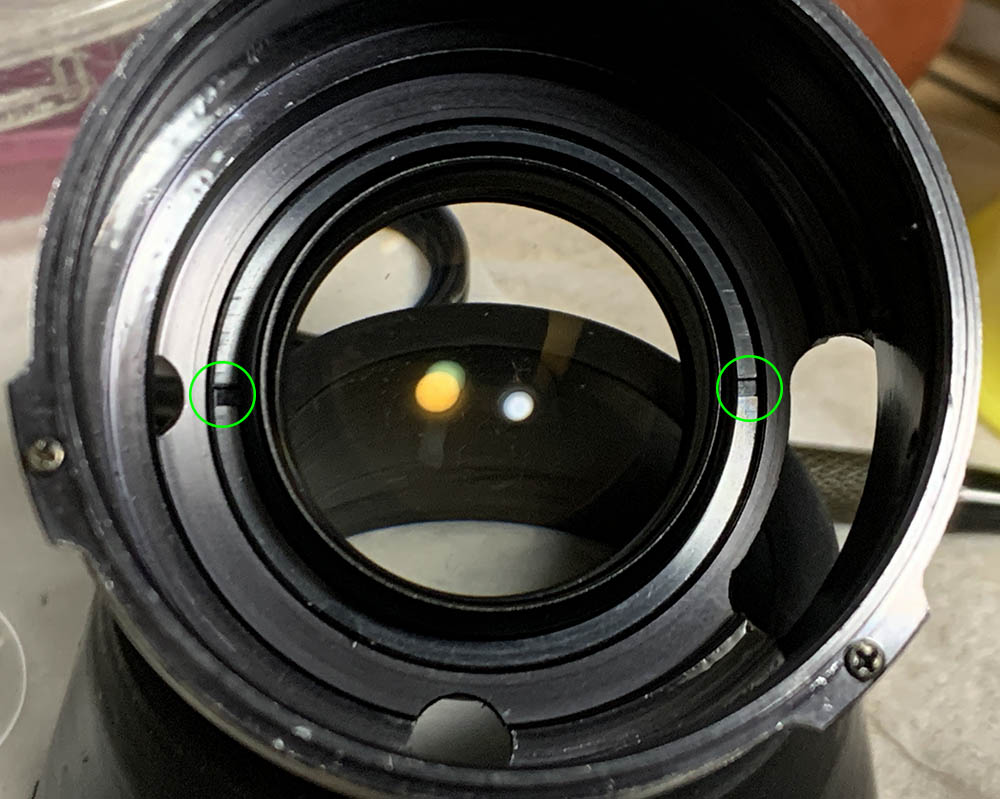
You can remove the thoriated-element after unscrewing its retainer. The inner-group will be removed later when we’re able to access it from the other side.
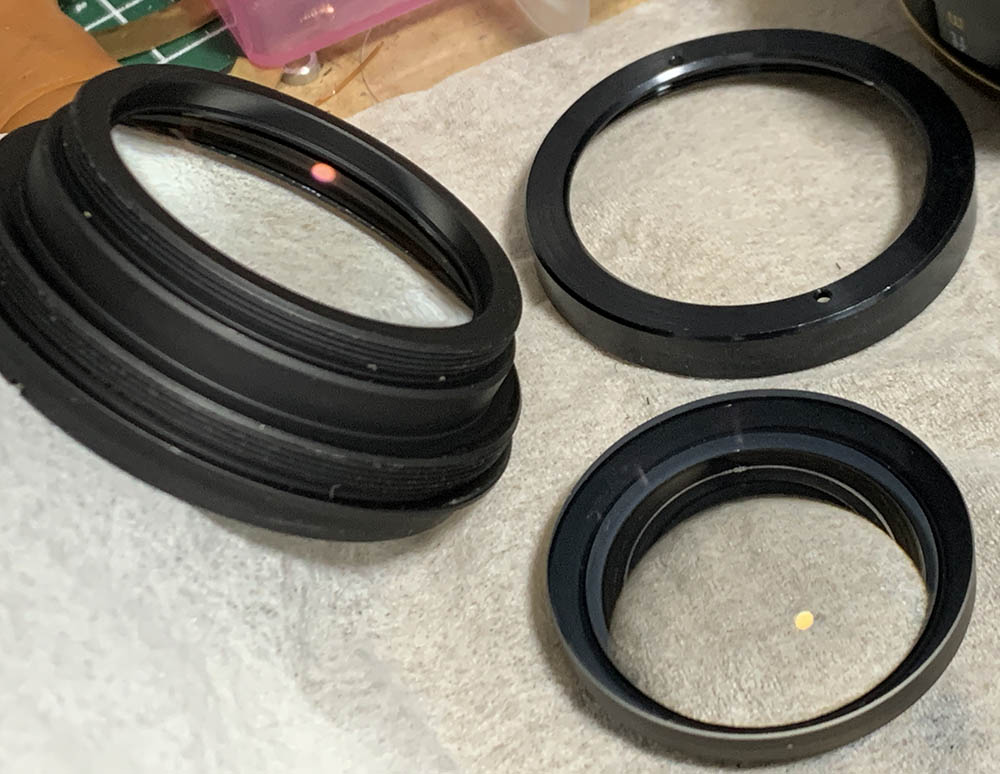
These are the helicoid keys, take plenty of photos and notes before you remove them and be sure to put the keys back to their original positions later.
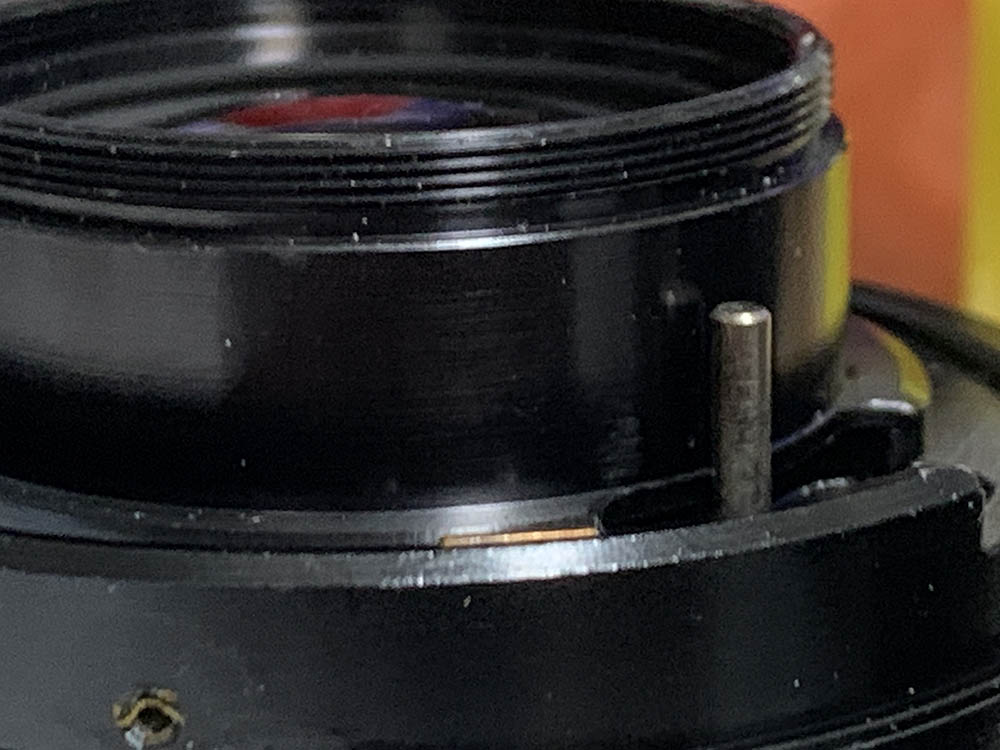
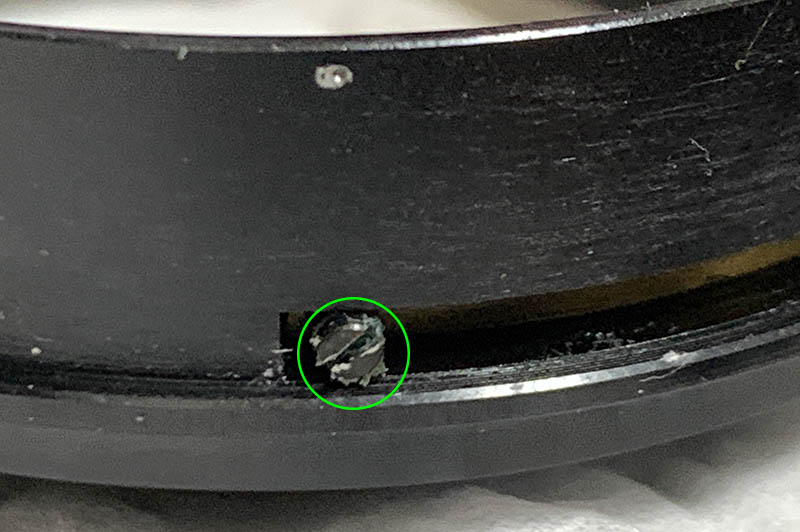
This is how much one of them sticks-out when the helicoids are collapsed, this hint is enough for me.
Once the keys are gone you can now separate the helicoids. Begin with the lower one. Never forget to mark where the helicoids separated because this is also the same place where they should mesh. Many people forget to do this so they get stuck. Read my article on working with helicoids so you will know how to do this properly.
Do the same for the inner helicoid. While the outer one may be a single-entry thread the inner one isn’t so be careful.
This is where mine parted, a small mark is all you’ll need.
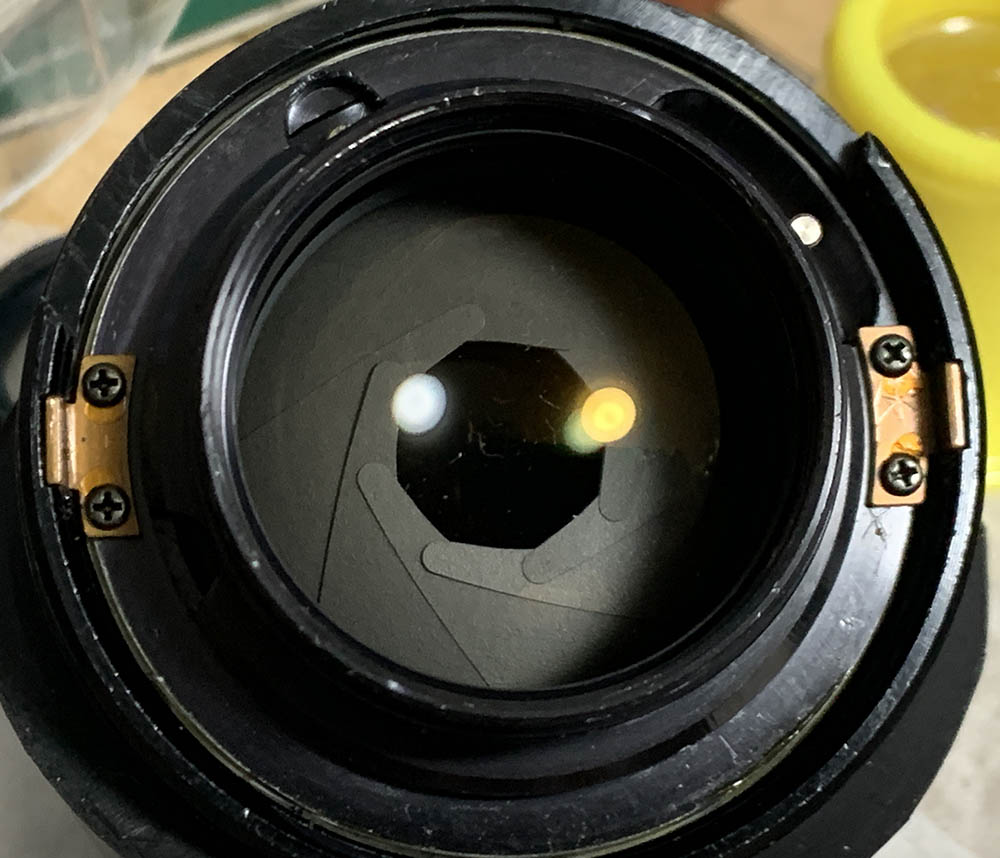
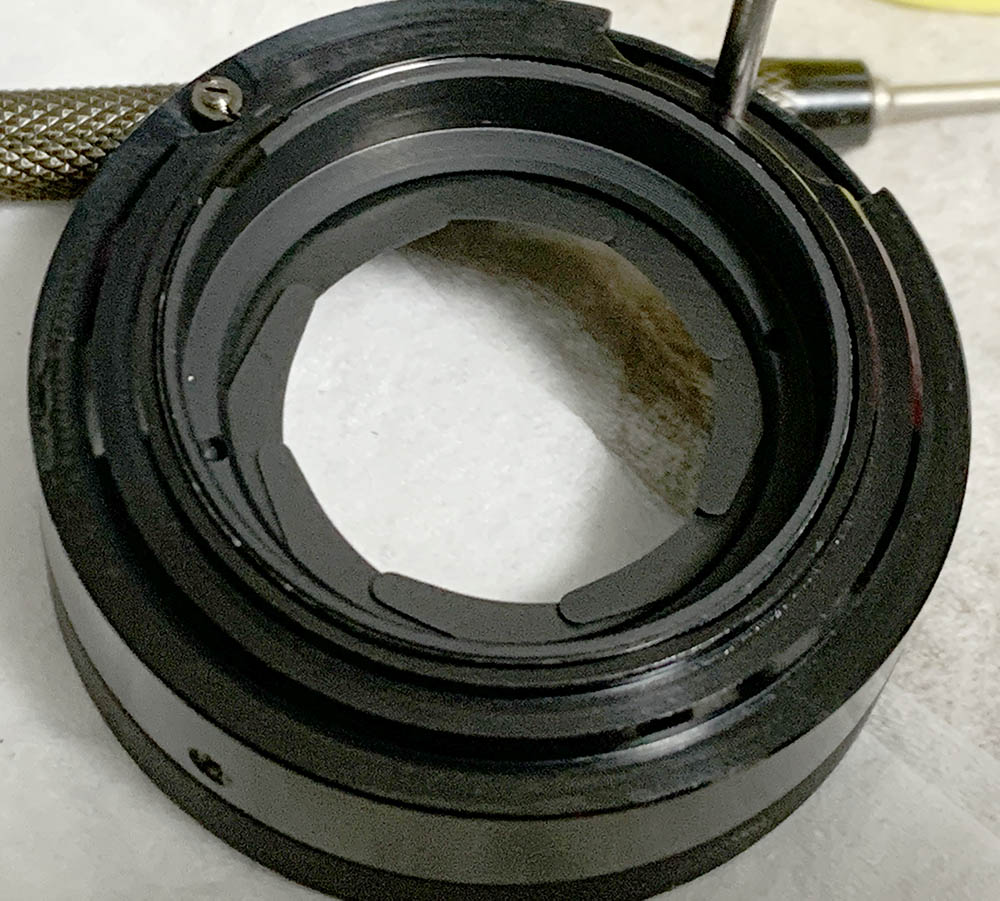
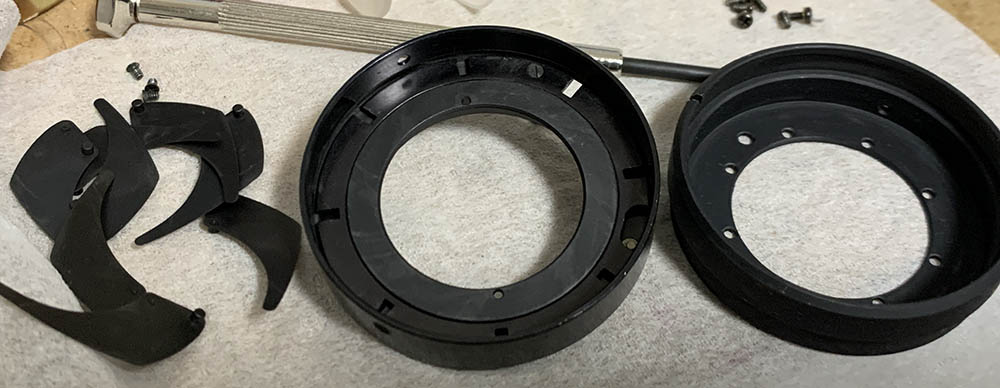
Before you remove the iris mechanism be sure to take notes so you’ll know its original alignment.
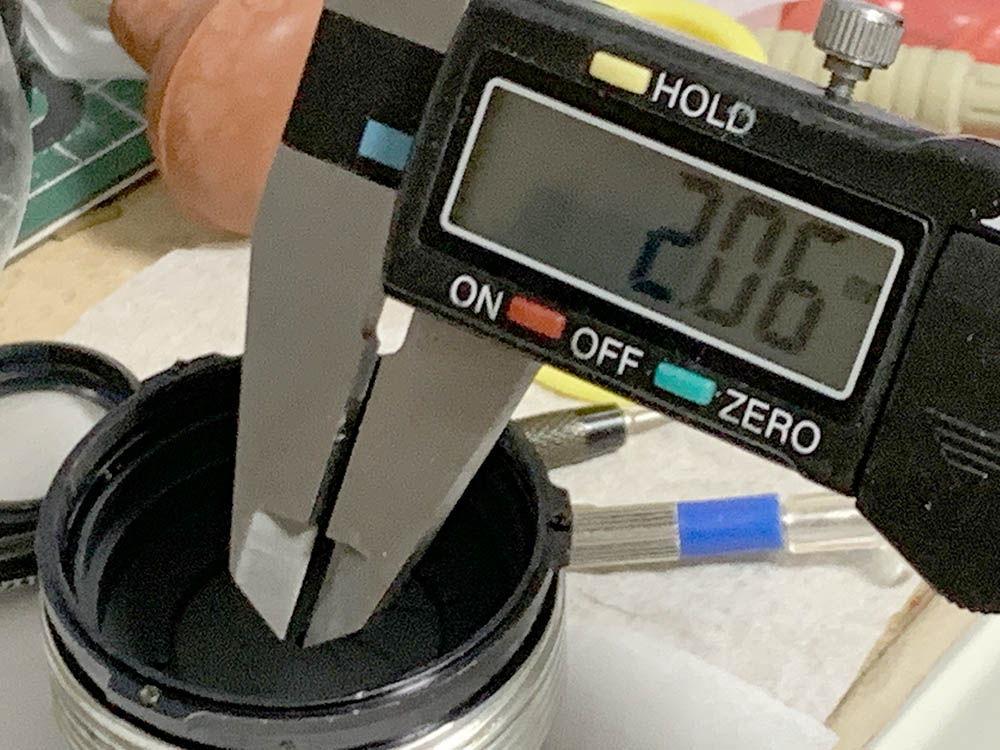
Another idea is to measure the size of the opening at its smallest, you’ll have to replicate this.

Loosen the set screws securing the iris mechanism so you can remove it, there are 3 of them in all. The iris mechanism is delicate, set is aside while your work with the rest of the lens.
You’re now able to access this, unscrew the retainer so you can remove the inner-group.

Push it from the other side in order to extract it easily.
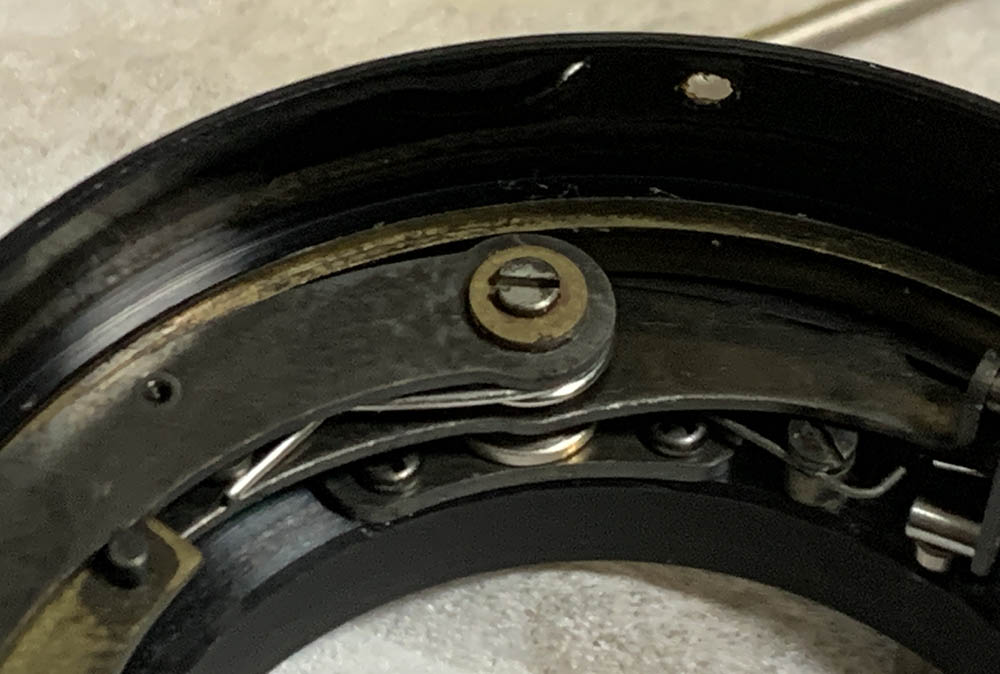
Study how the stop-down mechanism works before you dismantle it. You’ll only need to dismantle this if this does not operate smoothly, some of the springs may need to be tensioned to help make this mechanism work snappy again.
Extract these to remove the regulator, there are 2 of these.
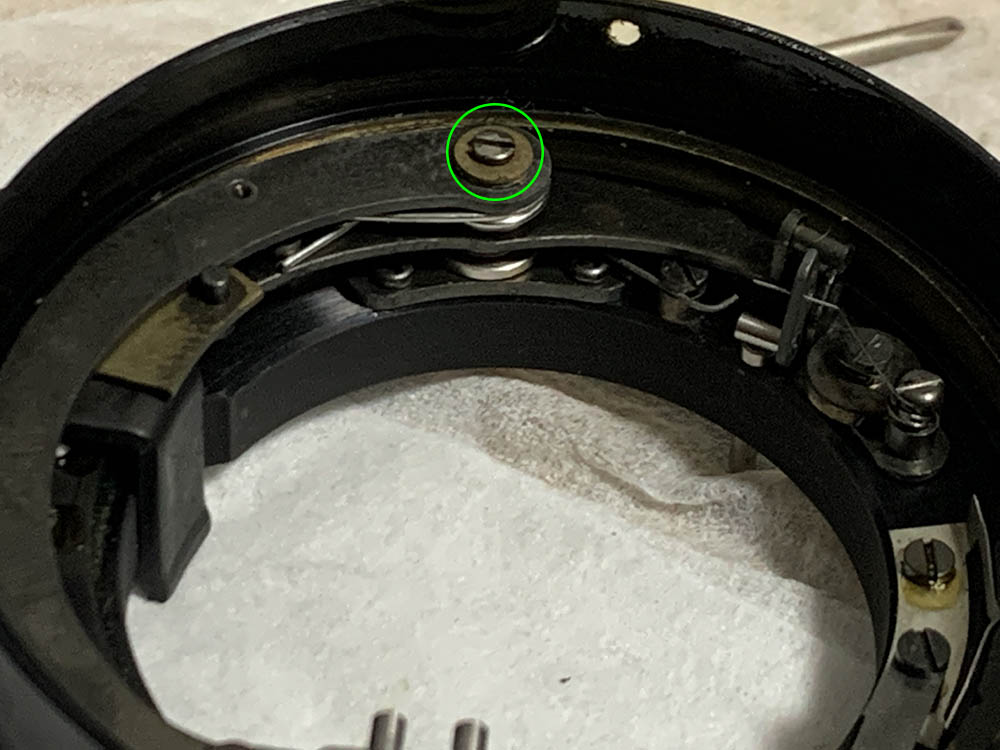
Carefully extract this so you can remove the stop-down lever, there may be some washers here so don’t lose them. This is spring-loaded so be careful when removing it.
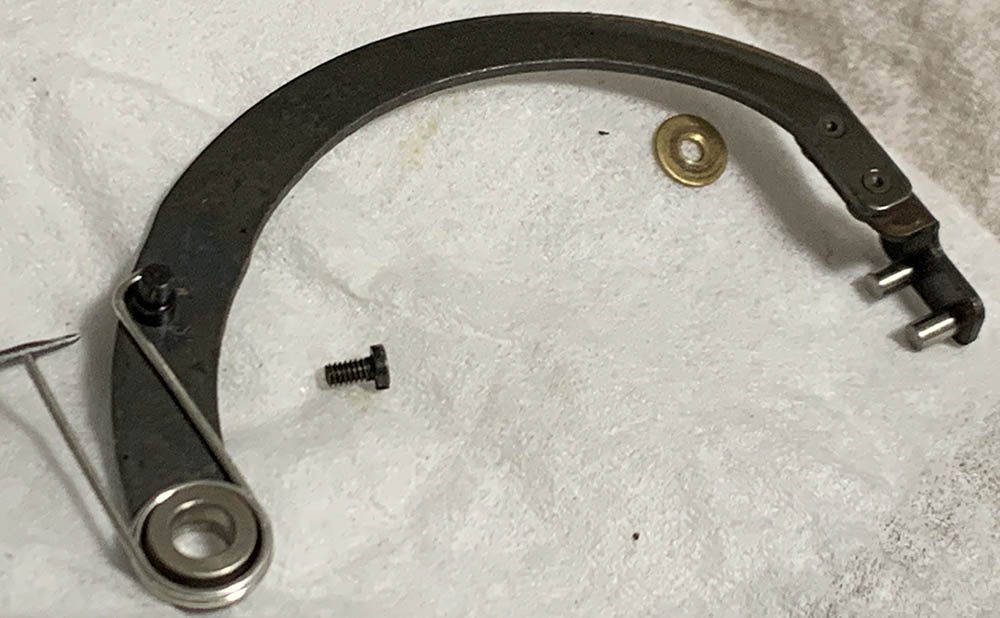
Clean everything so it’s clean and clean the pivot of the elbow.
Pull the regulator off and polish it so this will turn smoothly.
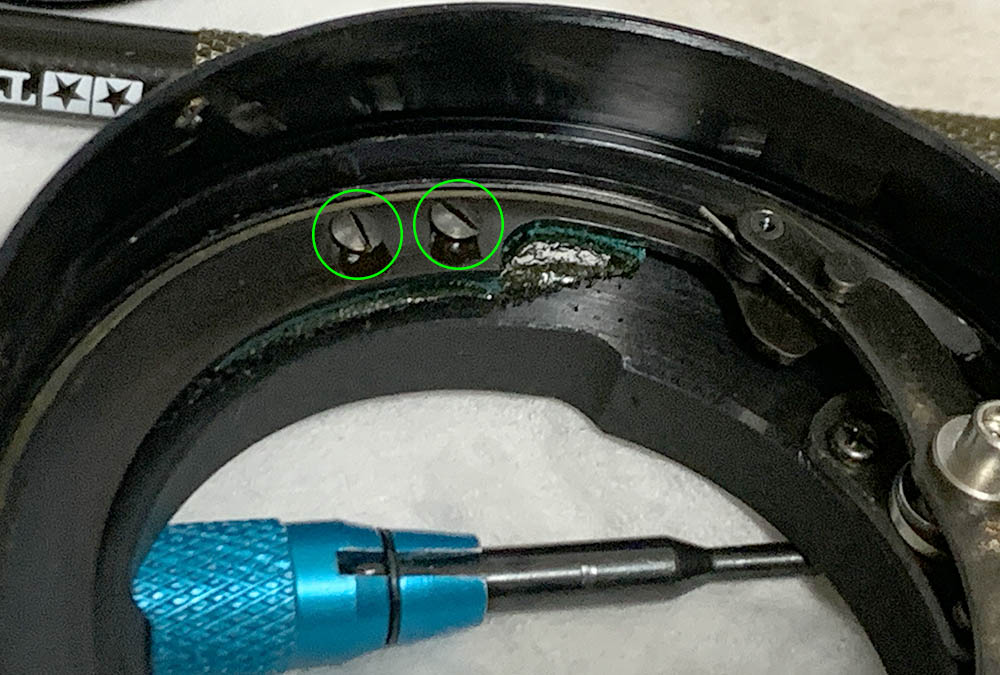
Extract these to remove the A/M switch’s tab.
Be careful with the tab so you won’t damage it, be sure to put it back facing the right way.
This is the head of the actuator’s pin, slide its spring aside and pull it off.
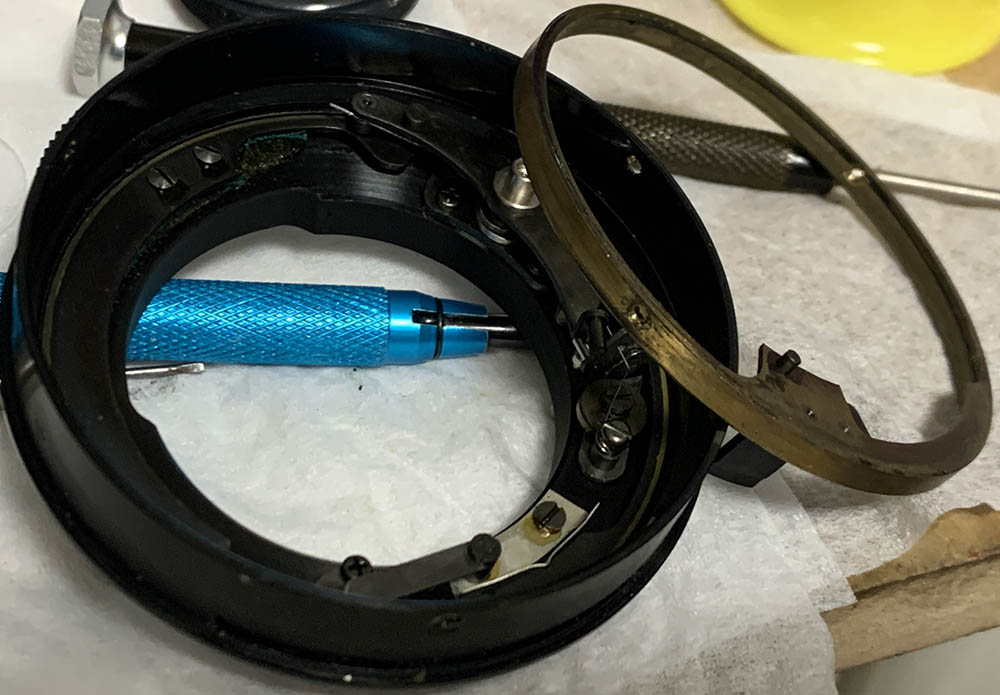
Remove the ring and clean it properly, this ring helps regulate the size of the iris.
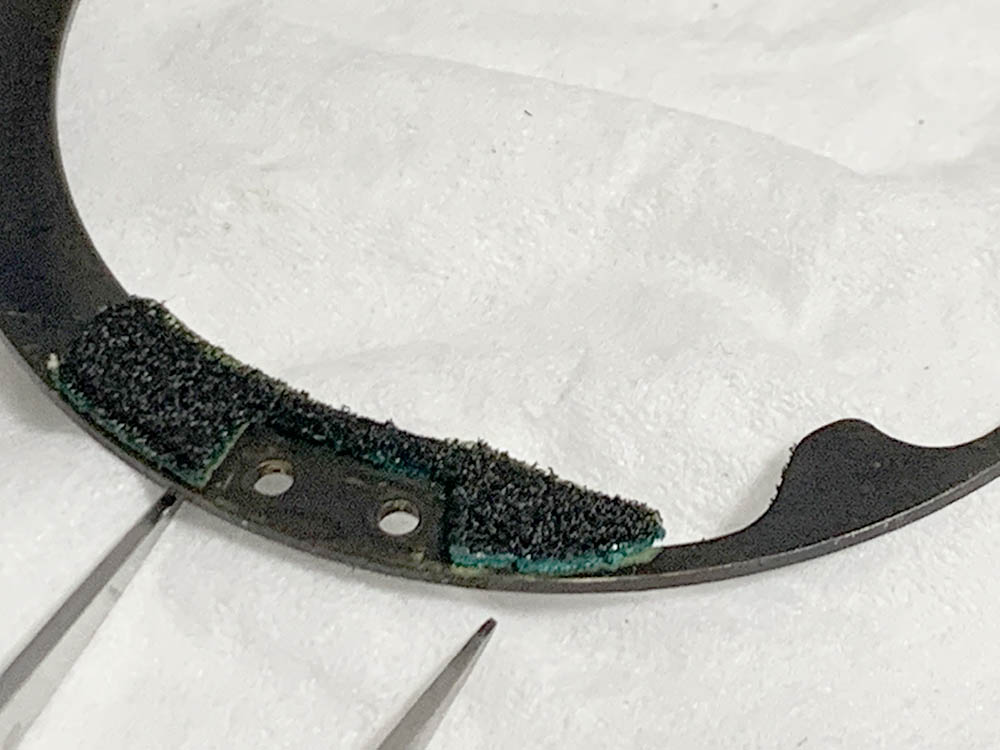
The foam has to be replaced, it’s there so dust and moisture won’t get inside the lens through the switch’s slot. You will have to use something with roughly the same thickness.
Reassemble the actuator mechanism and do not apply any oil to anything here. The only parts that will benefit from a thin application of grease are the metal-to-metal surfaces of the rings, you simply apply a very thin film. Putting back the actuator-arm mechanism can be difficult at first but the trick is to reassemble it as a single unit and then you place it back while carefully making sure that the springs won’t get deslodged.
Clean the helicoids really well by scrubbing them with a strong toilet cleanser and cleaning them with alcohol very well in order to remove residues. This benefits from a grease with a little bit of resistance. If it’s too-thin the focusing won’t be damped and it’s going to be difficult to turn if the grease has too much resistance. Don’t apply excessive grease or it will migrate to the iris.
Disassembly (Objective):
This section shows how you could dismantle the optics but I’ve also included the iris mechanism here to condense this article. The optics should be rather straigh-forward, there’s nothing here that’s noteworthy except that you should take plenty of notes and photos, marking the walls of each group will also help you identify which side should be facing the front so you won’t put anything back facing the wrong way which could lead to something cracking.
I laid the optics under a lamp to kill the germs and also to bleach the thoriated-element, you’ll see how I did this in my article about bleaching radiated elements.
You can remove this element by unscrewing its retainer.
Unscrew this collar to dismantle the front optics assembly.
Take plenty of notes so you will know how to reassemble it later. Avoid dismantling the iris mechanism if you can help it as it’s not going to be easy to reassemble for a beginner.
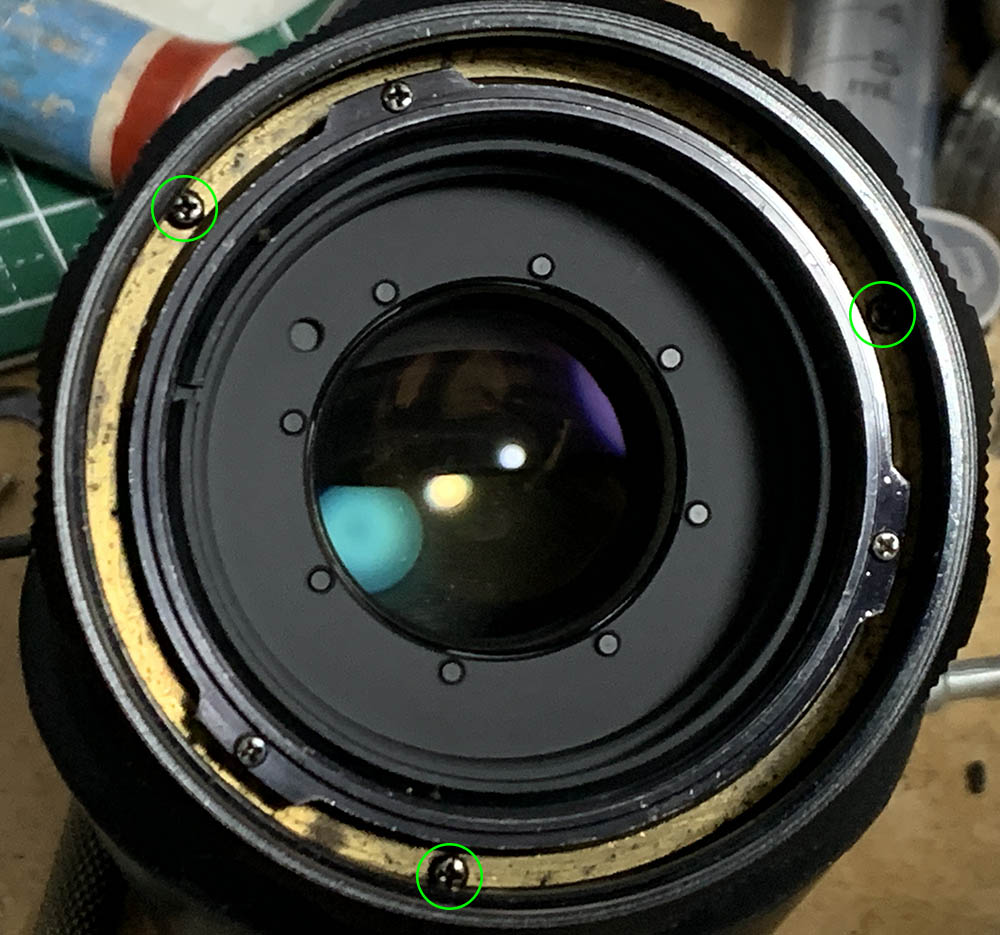
Extract these to dismantle the iris mechanism.
Open the iris mechanism so you can remove the blades.
Pop the blades onto a soft surface to cushion their fall.

Never extract the screw you see here, it’s an adjuster.
Unscrew the collar to remove the diaphragm ring.
If your lens has fungus read my article on how to clean lens fungus. That article should help you clean the fungus off. It is important not to lubricate the iris mechanism no matter how tempting it is, if you really have to simply apply a really thin application of powdered graphite and blow the excess away so it won’t settle in the glass.
To bleach the thoriated-element read my article on bleaching radioactive-glass. You’ve gotten this far and there’s really no reason for leaving your lens looking like this with a darkened-core.
Conclusion:
This didn’t take a long time to service but I couldn’t finish this in a single night because I had to bleach the hot-glass. It took several nights under a lamp to get it to look decent and only after that could I begin to reassemble this back. This was a fun experience for me because I have finally worked on one of the most popular Super-Takumars and I can share that joy with you. Many people know me as a true Nikon-fan but I also love Pentax but at a lesser degree. These brands represent the values that I cherish and you could see that commitment in their products.

Reassemble everything until this point so you could adjust its focus. Read my article about how to adjust a lens’ focus to know how this is done in a DIY setting with tools that are available to you. Tighten the screws of the focusing ring and confirm if the focus is spot-on. If you’re satisfied you can reassemble everything.

It’s now time to enjoy shooting with this lens. It’s still good despite its age and I am sure that many people will want to use this for shooting videos due to its above-average performance.
Thanks for following my work, if you liked this article please share this with your friends so it will get more views. This site earns around $0.40 a day, we are totally reliant on views. You can also support this site, it helps me offset the cost of maintenance and hosting. You’re also helping me purchase, process and scan film. This site promotes the use of film so we are all in this together. See you again in the next article, Ric.
Help Support this Blog:
Maintaining this requires resources and a lot of time. If you think that it has helped you or you want to show your support by helping with the site’s upkeep, you can make a small donation to my paypal.com at richardHaw888@gmail.com. Money isn’t my prime motivation for this blog and I believe that I have enough to run this but you can help me make this site (and the companion facebook page) grow.
Buy me a roll of film or a burger?
Thank you very much for your continued support!
$2.00
Helping support this site will ensure that this will be kept going as long as I have the time and energy for this. I would appreciate it if you just leave out your name or details like your country’s name or other information so that the donations will totally be anonymous. This is a labor of love and I intend to keep it that way for as long as I can. Ric.
