
Hello, everybody! I was enjoying some Vietnamese beers last weekend, the brands that I drank were light, smooth and refreshing. The beers were ice-cold and that helped make them taste a lot better. I love light beers, they won’t drown the taste of more-delicate flavors so they’re nice for pairing with seafood and vegetables or fruits. Just think of them as tasty palette-cleansers, preparing your tongue for the next bite. Today, I will show you something that’s just-as-smooth and like the Vietnamese beers I had they won’t cost you a lot and will definitely love you long time, too.
Introduction:
This version of the Super-Takumar 55mm f/1.8 was sold from 1965 to 1971 but this venerable lens family was sold from 1958 up to 1975 and were sold in under variations which makes them fun to collect. They’re quite popular so they have earned quite a following.

The barrel is all-metal which makes them tough, I’m sure they’ll survive some abuse in the field but they’re not sealed, I won’t recommend you using them in damp, rainy weather or anywhere dusty like the beach. The filter-size is 49mm, it’s the standard size for many Takumars and many M42 lenses at that time. It has a tab near the base so you can switch it from automatic to manual-aperture mode easily. It does have the tendency to be switched accidentally when you turn the aperture ring, resulting in inaccurate exposure.
It has a 6-elements-in-5-groups design and is of the usual Double-Gauss variety. The general design kept consistent on all variations but it was tweaked several times. The one you see here has a radiated-element (rear) so the optics had to be recalculated, too. The 55mm focal-length was probably due to the difficulty of designing fast standard-lenses at the time for SLR cameras so a compromise had to be made. It got more difficult as the lens get faster and shorter so a real 50mm f/1.8 would have been near-impossible to calculate at that time with available technology so Asahi settled for a solution that could fundamentally function close to it without making a separate class of lenses.

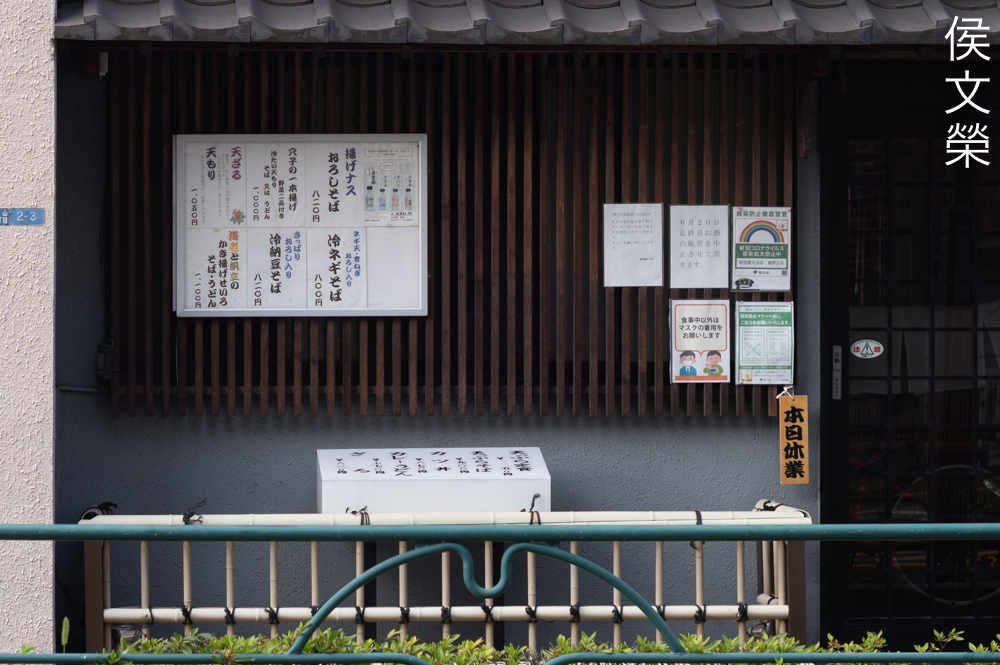
It’s the perfect partner for an Asahi Pentax Spotmatic, handling is superb and the balance is perfect. I enjoyed shooting with this combination a lot.

It’s also great with a Nikon Z6, I was actually surprised to see how nicely it performed with a modern high-MP camera, this is still a great lens today as it was in 1965. Of course, this statement is only true depending on who you ask. Since it has no way to be actuated by mirrorless cameras you’ll have to shoot with it using manual-aperture mode.
Learning how a lens performs is important so you will maximizing its use. You will learn how to utilize its strengths and avoid its weaknesses. This knowledge helps in determining which lens to bring on an assignment. I shot these pictures from f/1.8, f/2.8, f/4 and f/8 as these are the most common apertures that people would want to use this, we’ll also get to see the most changes happen with these values. I shot these with my Nikon Z6, some of the pictures were cropped close to 1:1 so we could see the details better.


(Click to enlarge)
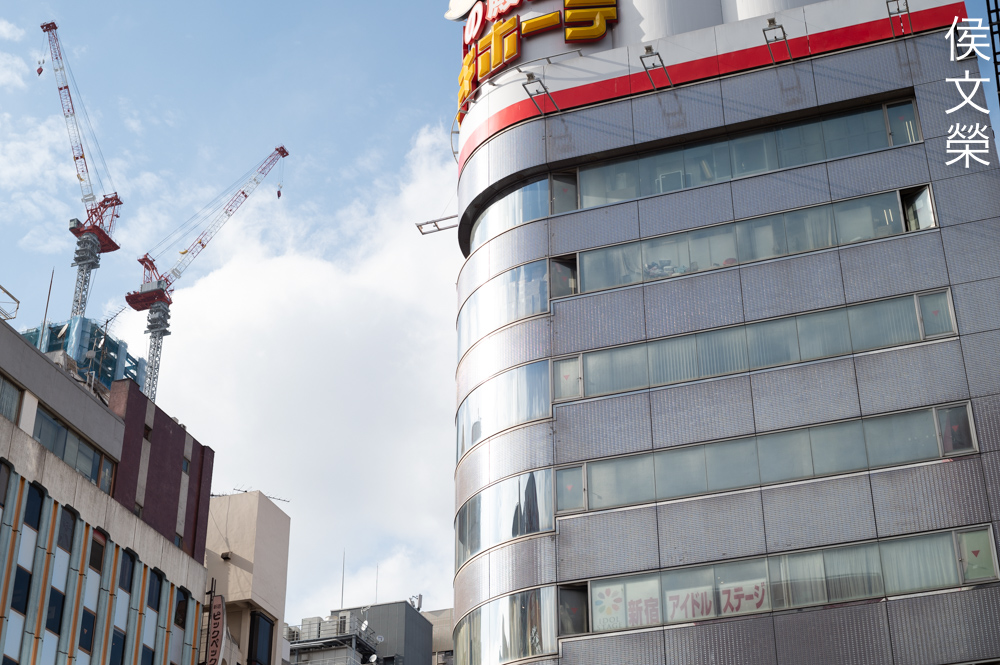
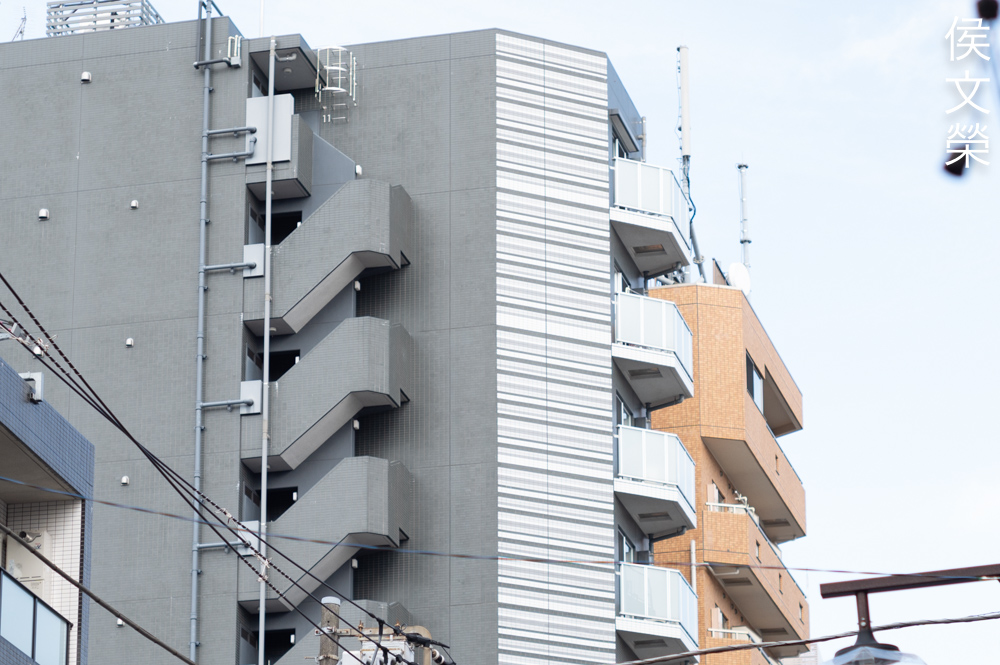
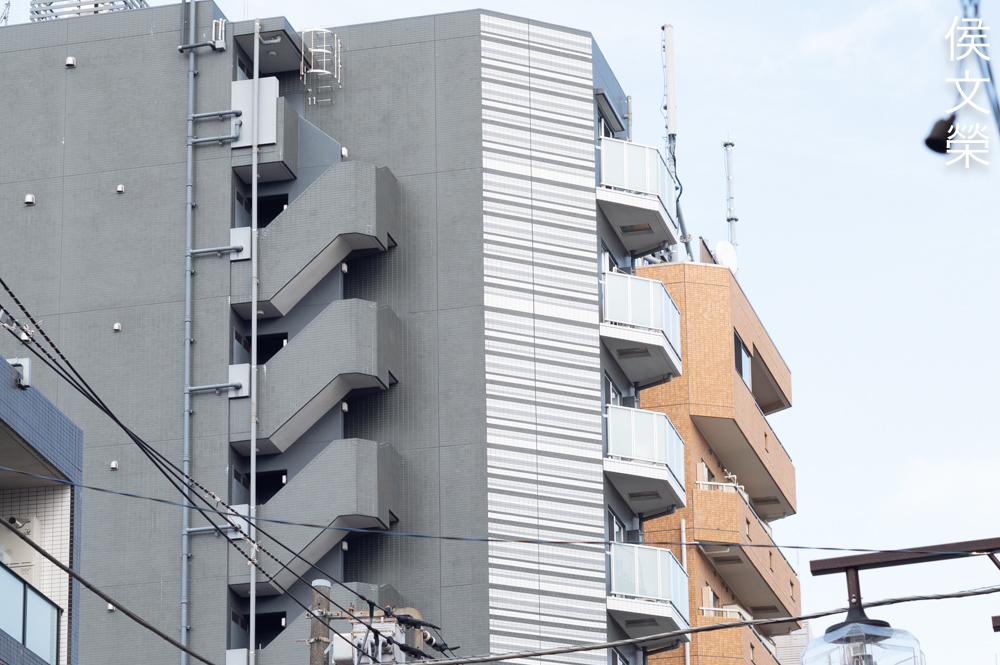
Vignetting is present wide-open but it improves considerably by f/2.8, you won’t even see much of it from f/4 and on.
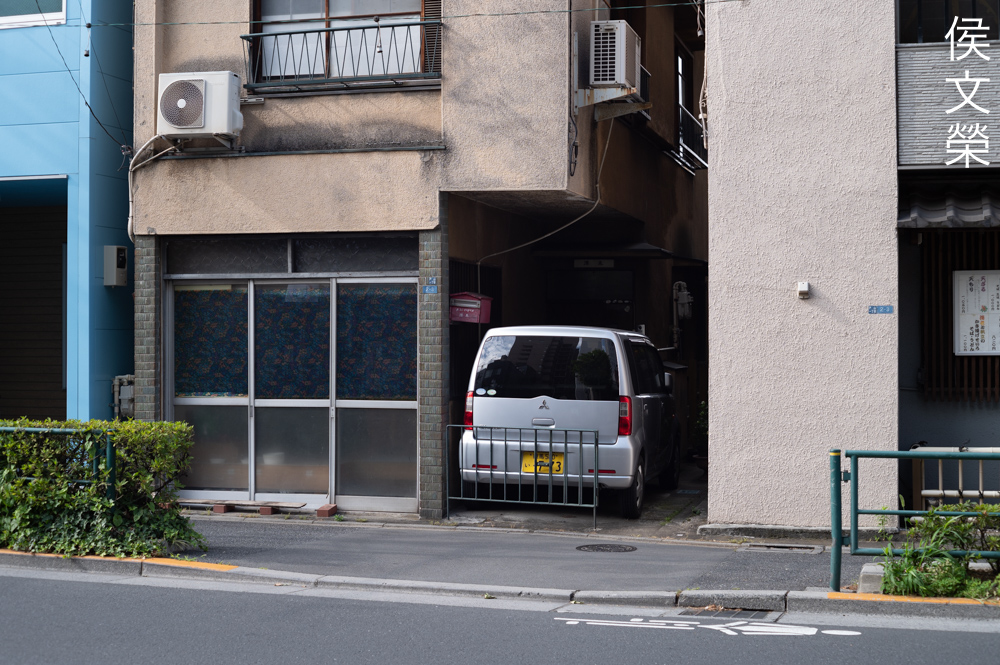
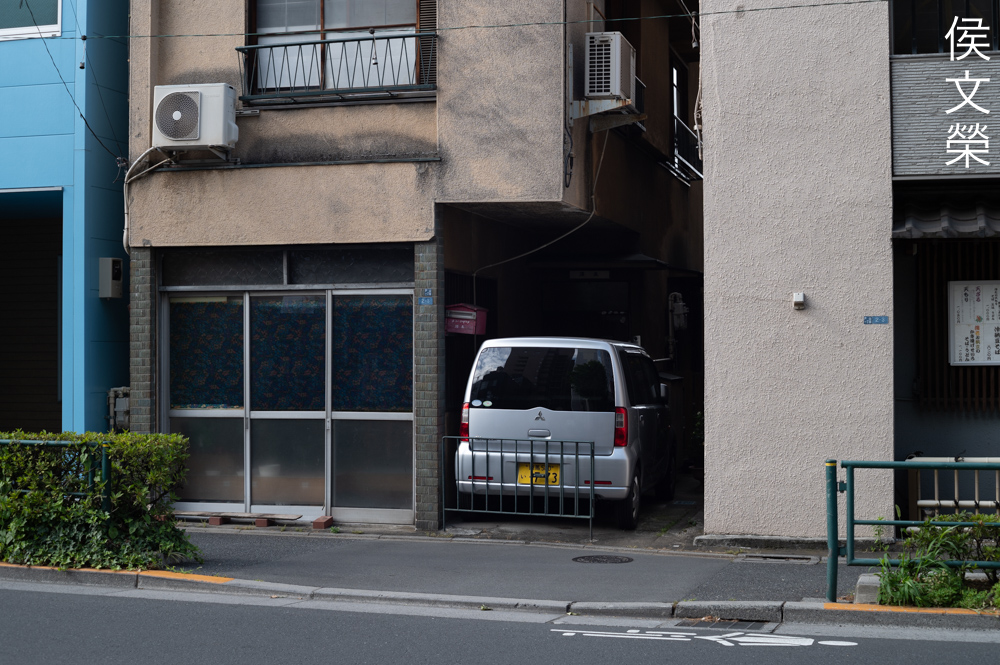
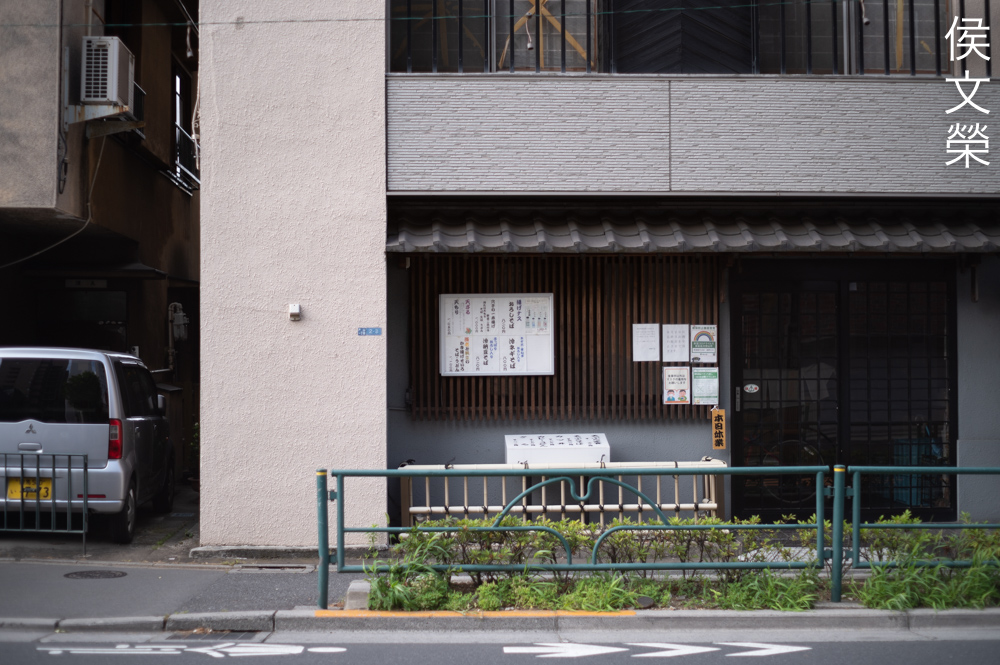
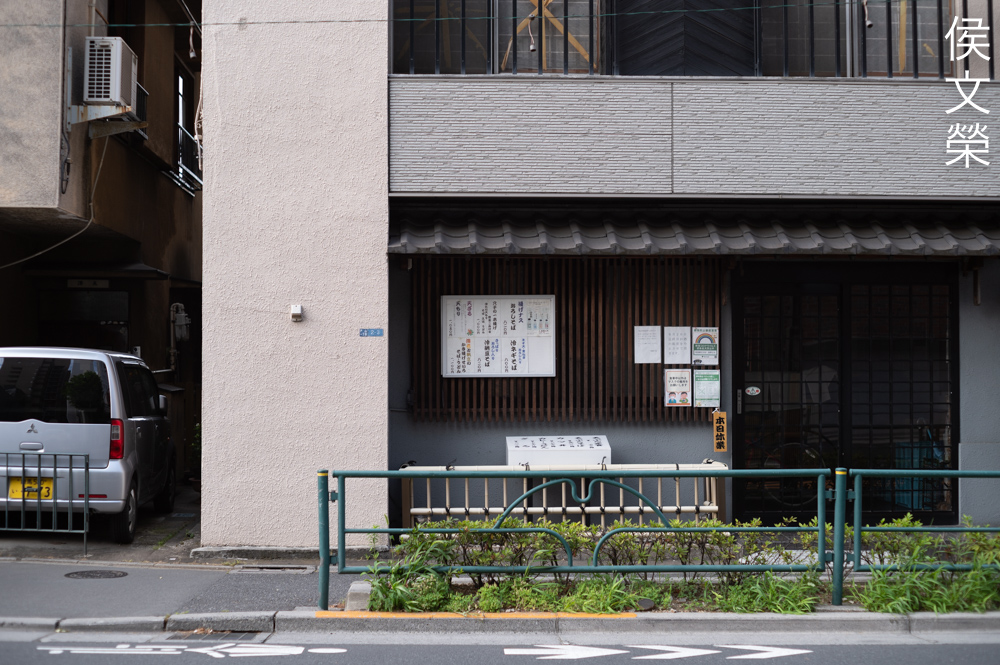
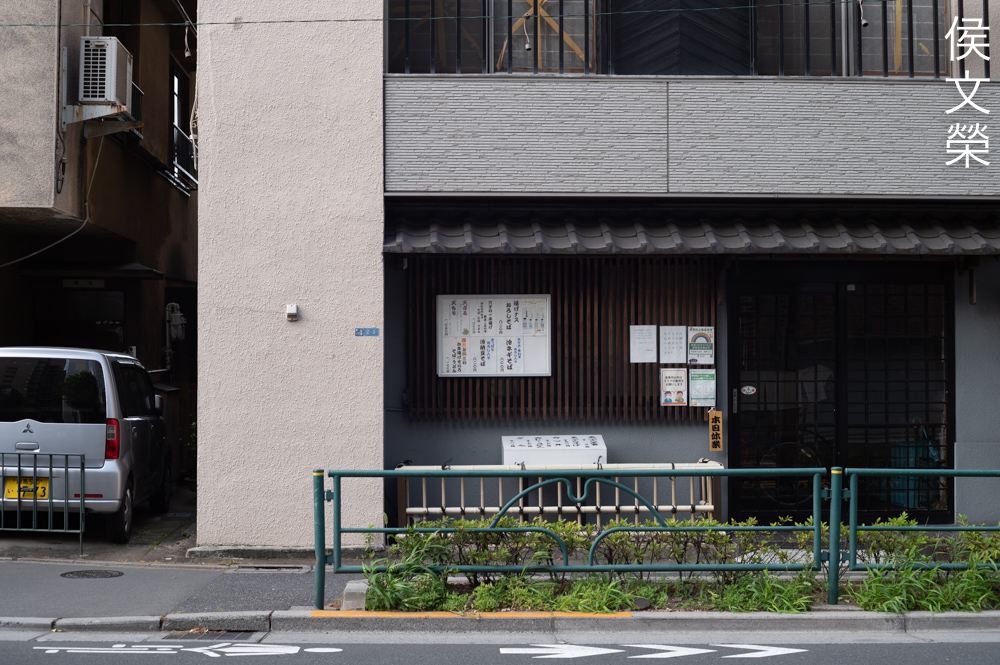
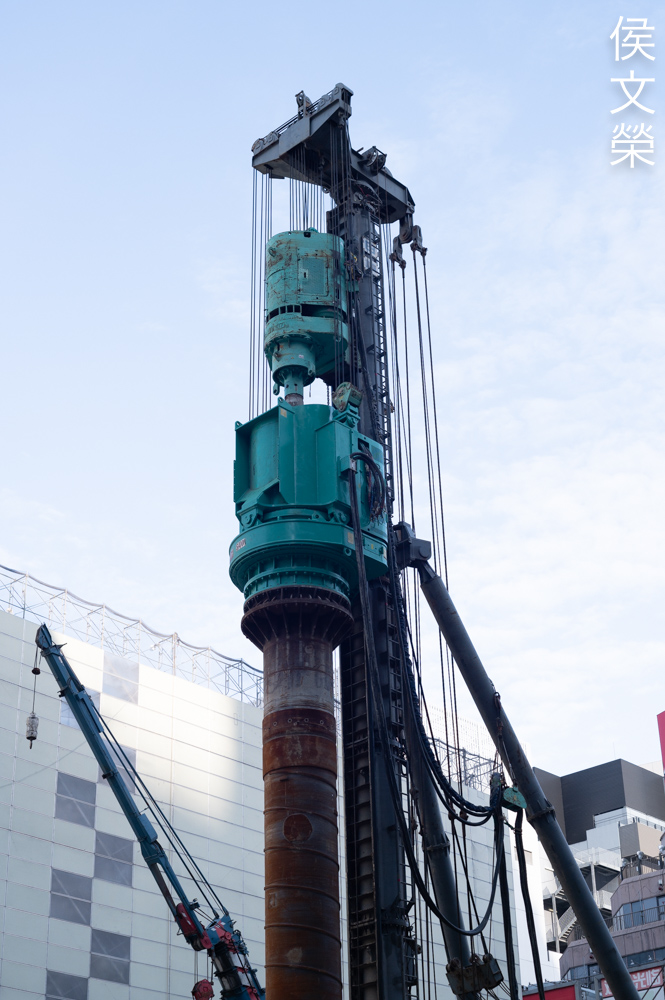
You’ll see some barrel-type distortion which is obvious when you have straight lines in your scene. The falloff is a little bit steep but not complicated so this should not be difficult to correct with any software. The amount you will see isn’t unusual for a lens of this class and vintage. To be fair, even more-recent “normal” lenses will show some of this, too.


(Click to enlarge)
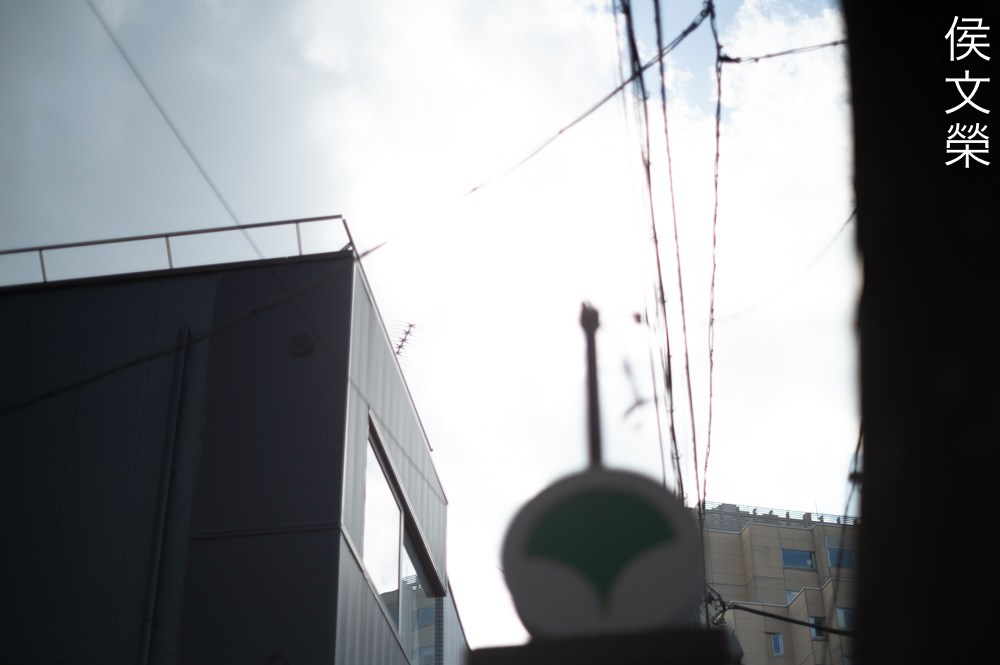
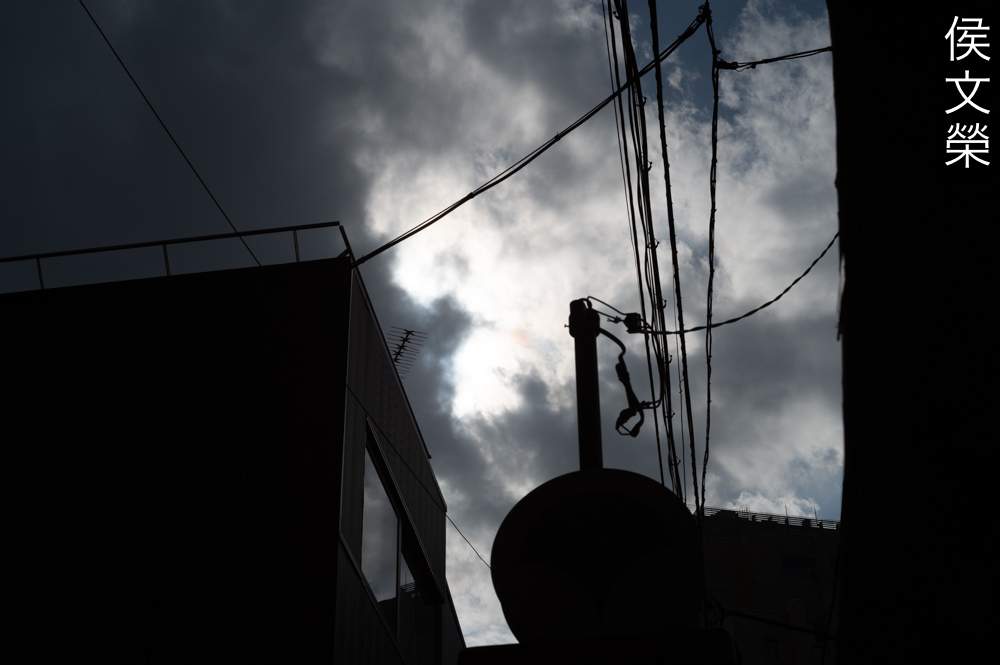
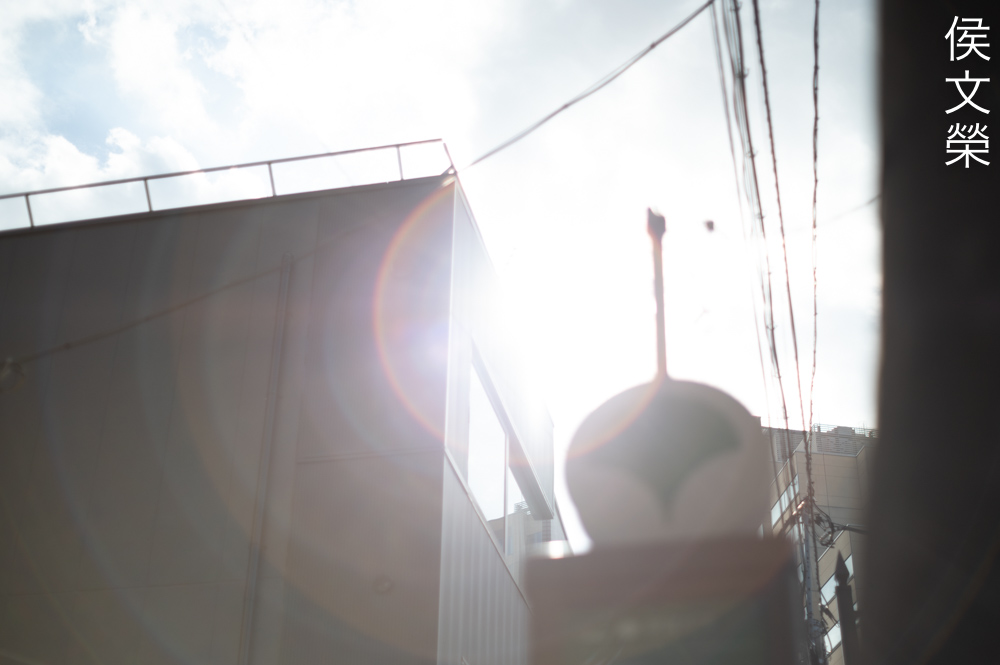
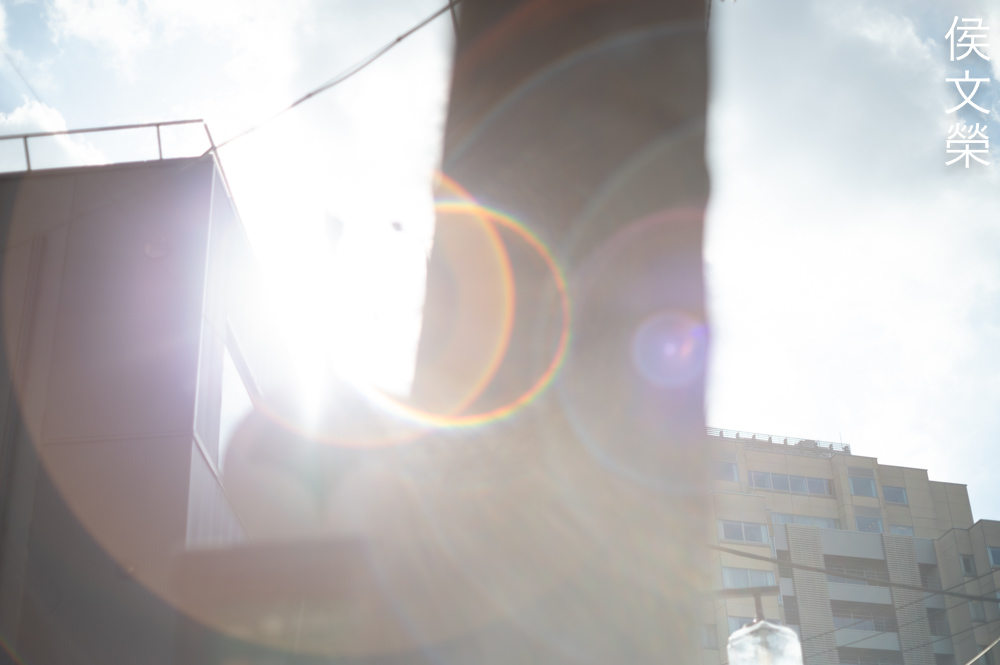
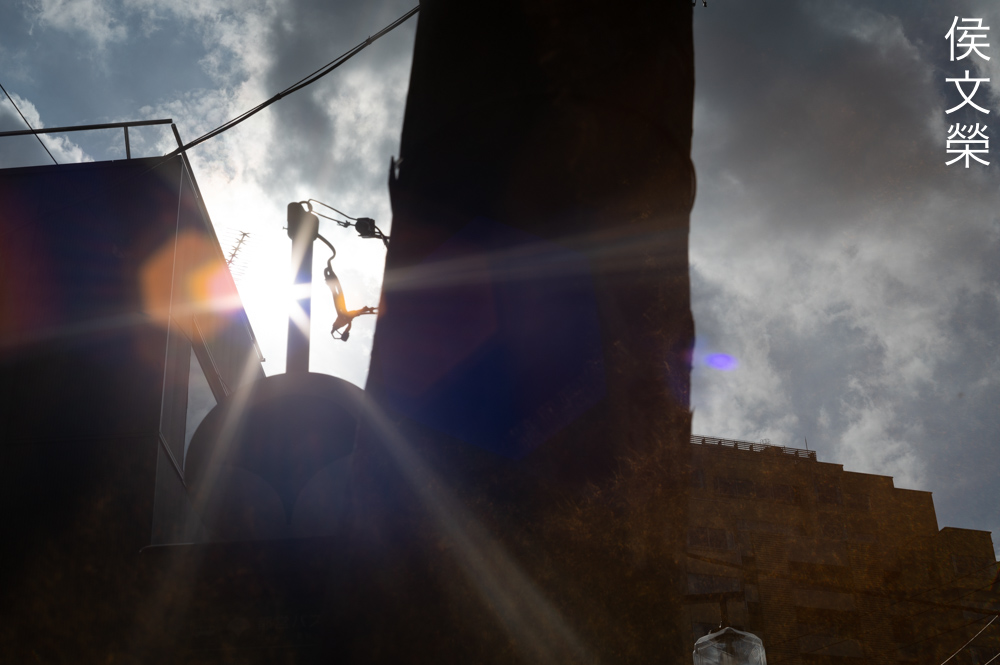
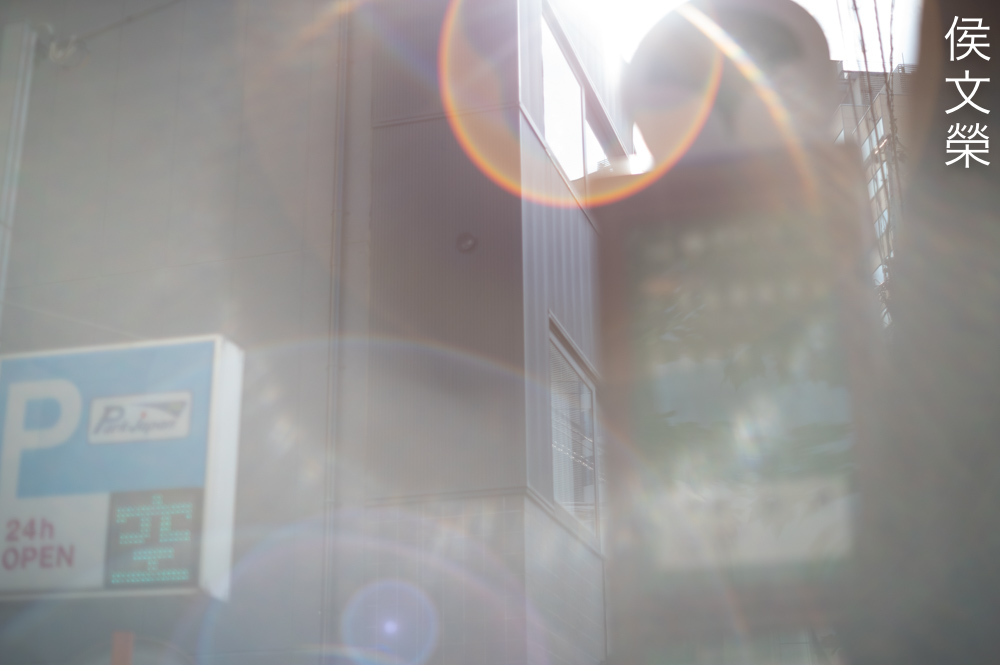
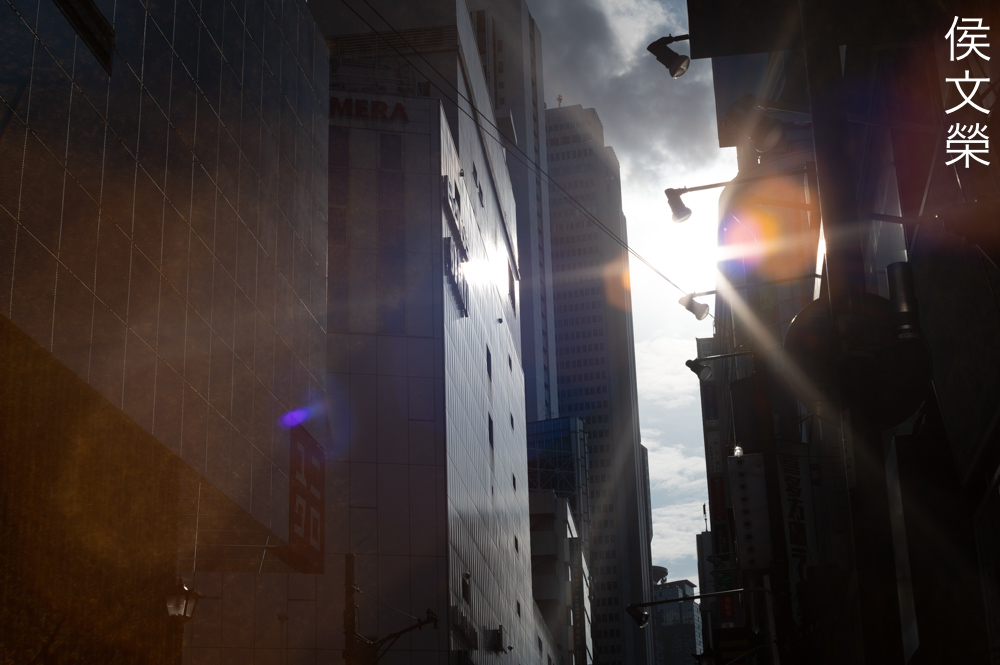
It flares terribly when you’re shooting against strong light sources in or around the frame. You’ll also see lots of internal reflections in the form of blobs and rainbow-like artifacts. This is something that you should be aware of, I think this is the biggest issue with this lens, it would’ve been near-perfect if not for this.


(Click to enlarge)
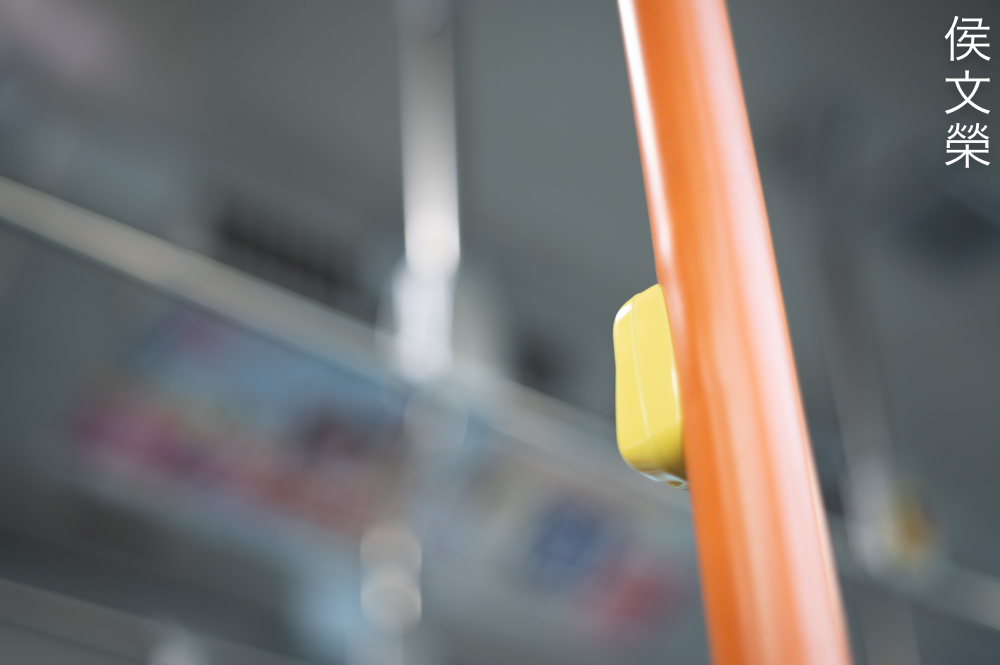
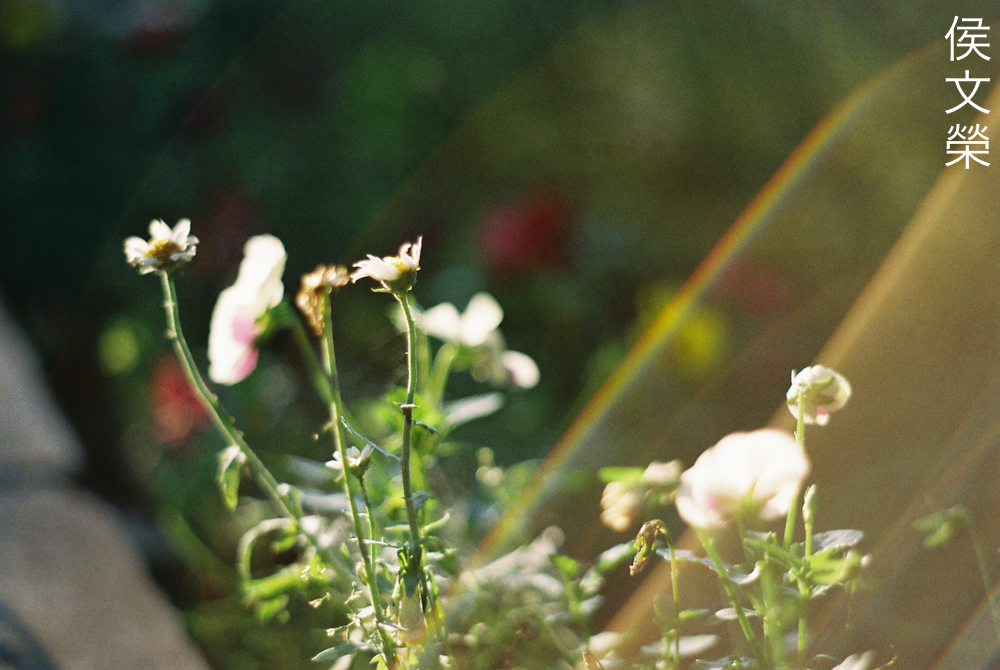
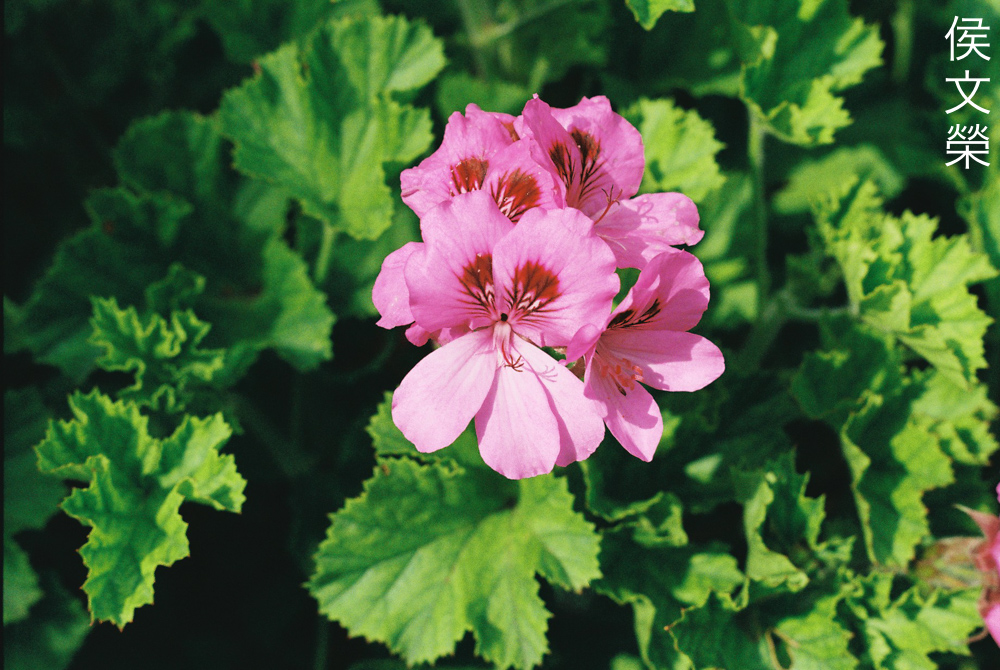
The character of the bokeh is exquisite, it has some of the smoothest and cleanest I’ve ever seen. You won’t see rough-looking artifacts or any outlines which is exceptional for a lens from this era.


(Click to enlarge)
Another remarkable thing about this is how clean and even the discs look when shooting wide-open, it’s as-if you were shooting with the iris stopped-down a bit. Stop the iris down to f/2.8 and the discs look more angular and you will see a notch near each corner which is caused by the shape of each blade’s edge. The discs look a lot better by f/4, they will look a lot more regular, resulting in a nice lozenge-shaped discs. Once you’ve stopped it down to f/5.6 the discs will be a lot more angular or well-defined. I think it looks best at f/1.8 and f/4, the discs look unnatural at f/2.8 so I’ll avoid this value when I want things to look really smooth.


(Click to enlarge)
Chromatic aberration is present when shooting wide-open along with spherical aberration. Despite being prominent it is not something I’d be alarmed with because I’ve seen worse. Stop the iris down to f/2.8 to clean things up but you’re still going to see some aberrations. It looks much better by f/4 where you’ll only see some traces if them when you are shooting in difficult situations. The frame looks a lot cleaner at f/5.6, the only areas where you’ll see the aberrations are nowhere near what’s in-focus and in negligible amounts.


(Click to enlarge)
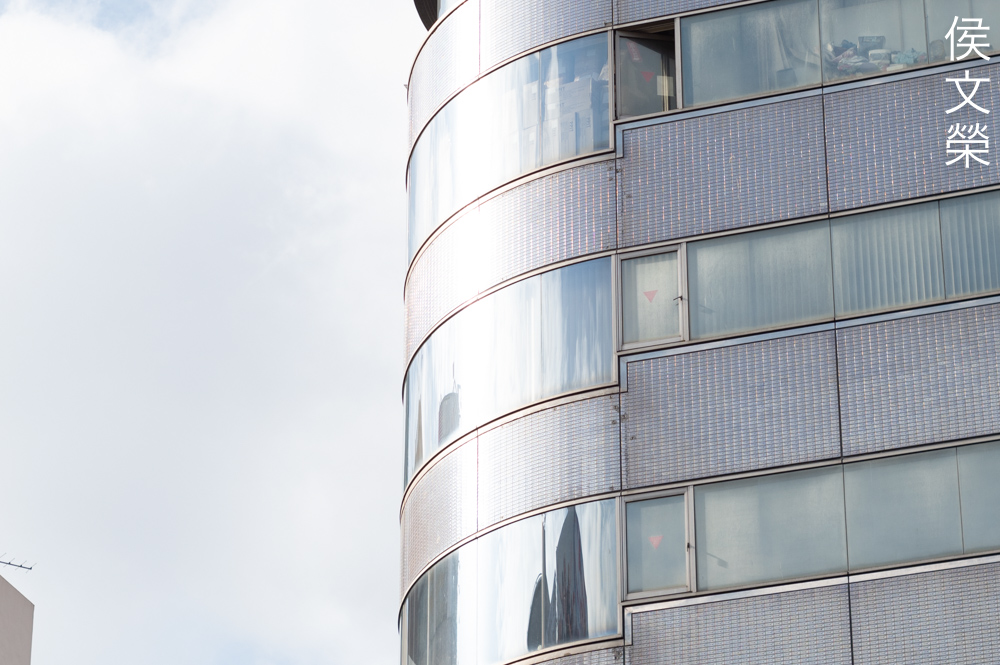
Sharpness looks adequate wide-open but contrast is lacking, making things look even softer. It may be caused by flare and a lack of resolving power. Things look much better by f/2.8, the improved resolution helps make things look much sharper. Contrast improves considerably so things won’t look as washed-out as they did when shooting wide-open. It’s important to note that the corners also look quite nice but they’re not as good as the center. The center looks great by f/4 and the corners don’t look bad either. I think the center is operating at its peak by now. The center improves some more at f/5.6 and the corners now look rather nice except for the extremities but they don’t look useless.
It appears that mine performs somewhat better from moderate distances to infinity where it’s sharpest. This is not what I’d expect because most lenses of this class usually perform better at closer ranges and you’ll see the performance dip as you get closer to infinity.

This is known for its amazingly-smooth bokeh characteristics and it will never disappoint you, it has some of the best I have ever seen from any lens. The look is clean without any harshness or outlines.

This will certainly satisfy anyone who’s addicted to blurry backgrounds. The focus-transition is smooth and it looks so natural, you won’t see any abrupt shifts in terms of focus.

Since this is a fast lens it’s specially useful for taking photos at night. What you’ll have to be careful with is how terrible it is at controlling flare as evident in this photo. Most lenses of the same vintage are able to handle this easily and give you a clean photo.

Even a lamp is enough to produce blobs in your photos, just angle your shots so the blobs appear outside of the frame or anywhere that’s not important.

It renders night scenes beautifully with a nice balance between what’s focused and what’s blurry. The tonality is also an asset as it’s able to give you subtle tones without making your photos look washed-out.
Chromatic aberration doesn’t seem to be much of a problem with this lens when using this in real-world scenarios but you’ll still find some of it when you look carefully.


(Click to enlarge)
Here are more photos for you to enjoy. Despite being old and somewhat outdated this is still relevant today as a lens that even professionals should consider so long as you’re fine with using manual lenses. It’s cheap so it should be the best option in terms of Super-Takumars in this class, even better than the Super-Takumar 50mm f/1.4 (8-elements).
Let’s now check some film photos. Film has a unique look that is hard to simulate with a digital camera thanks to grain. It reacts differently to light, this means that it could mask a lens’ flaws or amplify them. Since this was designed to be used with film, it’s best that we judge this using its intended medium.
It flares just as bad with film and the results look terrible, this would have been a really nice lens if not for this flaw.
Without anything that could trigger flare or internal-reflections the lens performs beautifully.
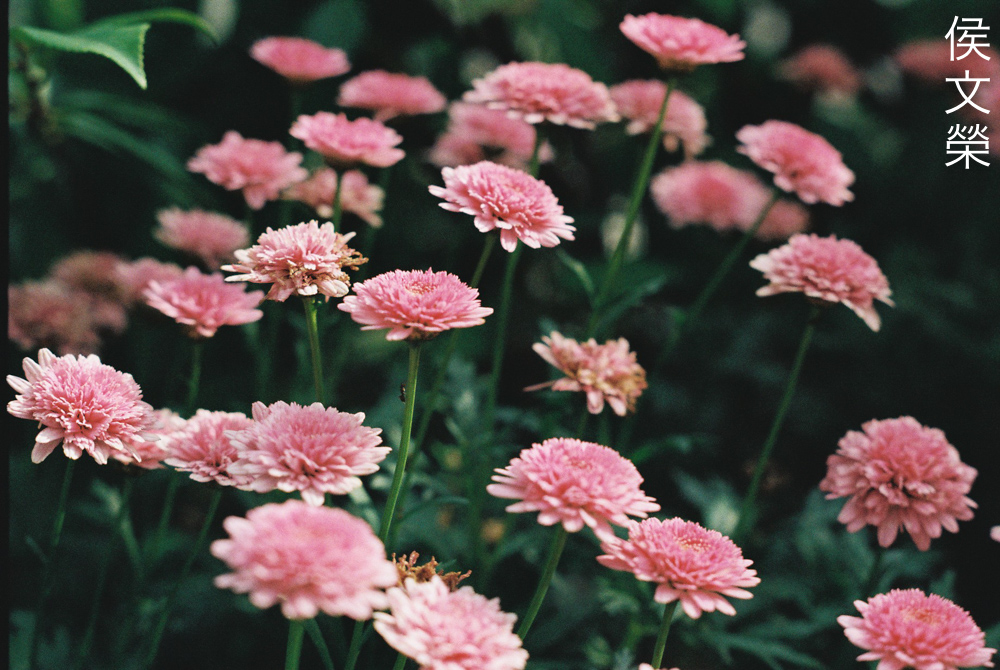
Rendering is beautiful, grain gets mixed with the smooth blurry parts resulting in a pleasant depiction.

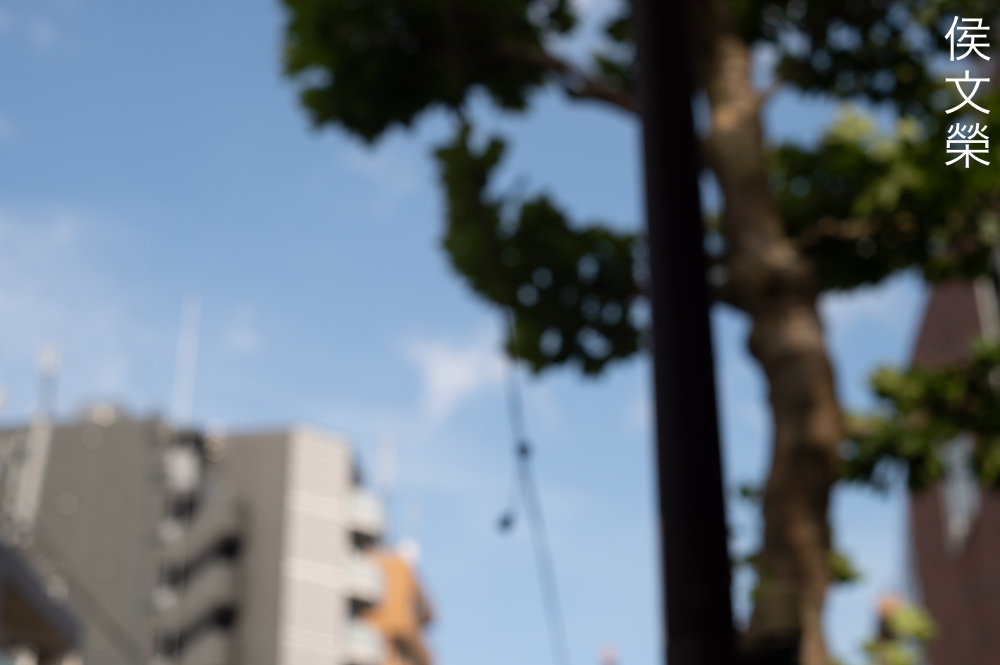
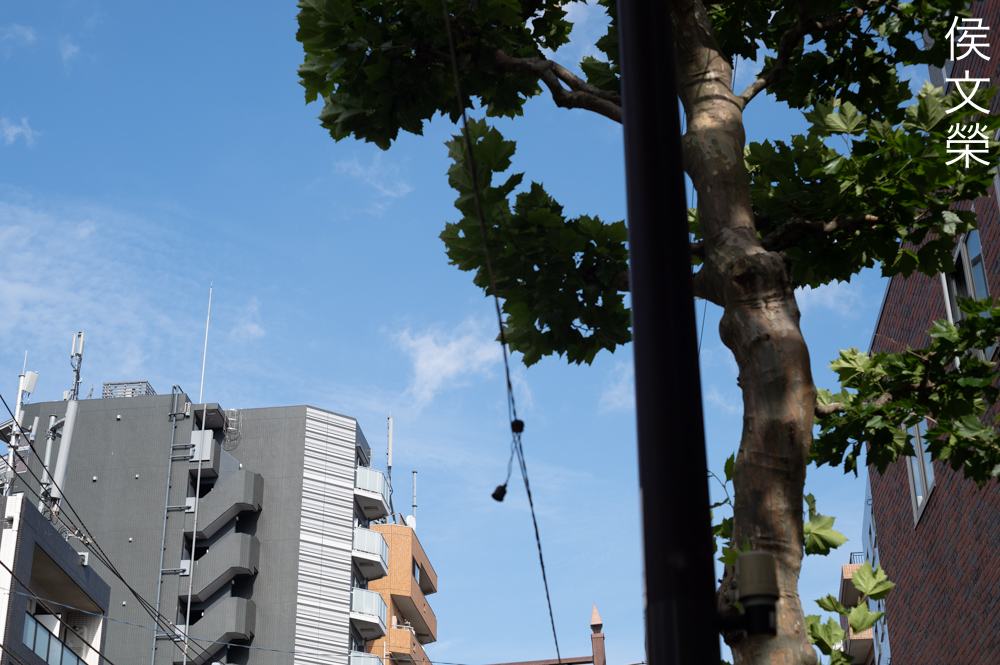
This is a rare example showing the bokeh character at its worst but it still looks acceptable to me. The tree looks a little bit clumpy to me but I’ve seen much worse.
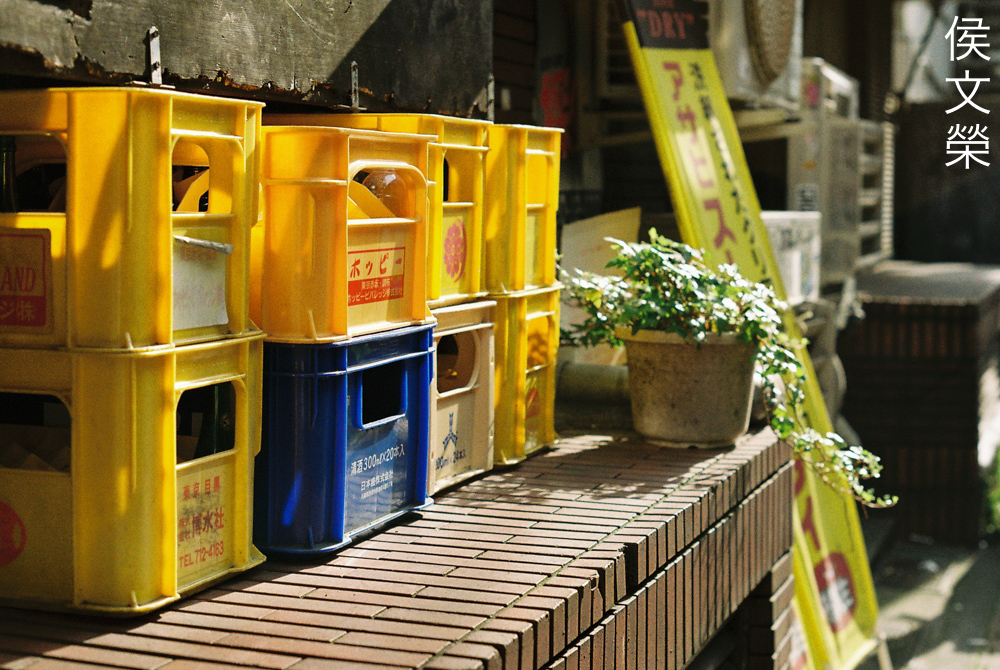
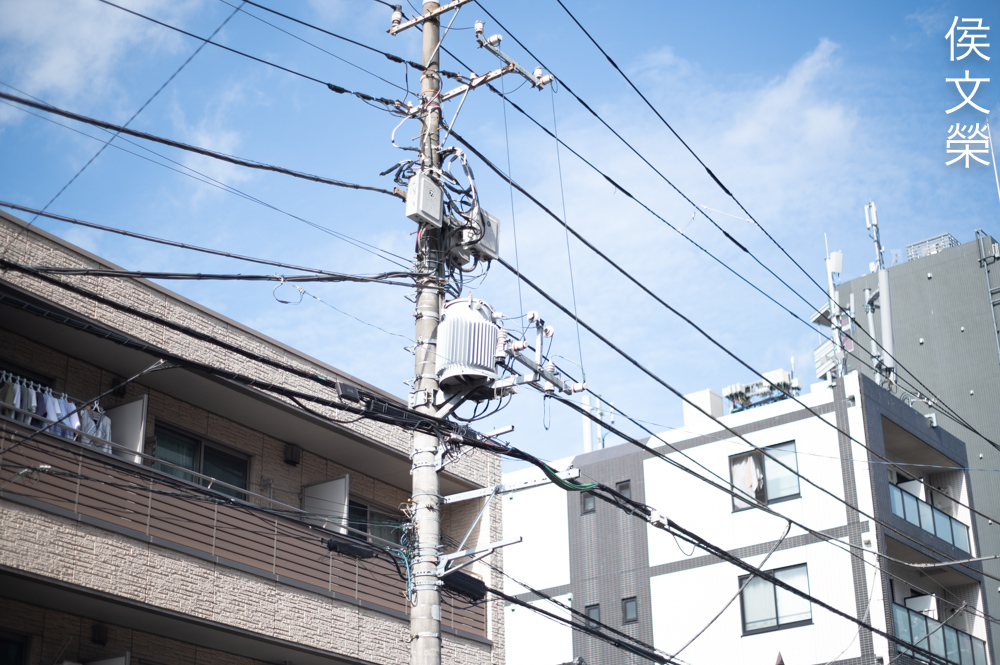
This is an unremarkable photo but it looks exquisite from a technical standpoint. Stop the iris down a bit and you’ll get sharp photos with nice contrast and saturation.

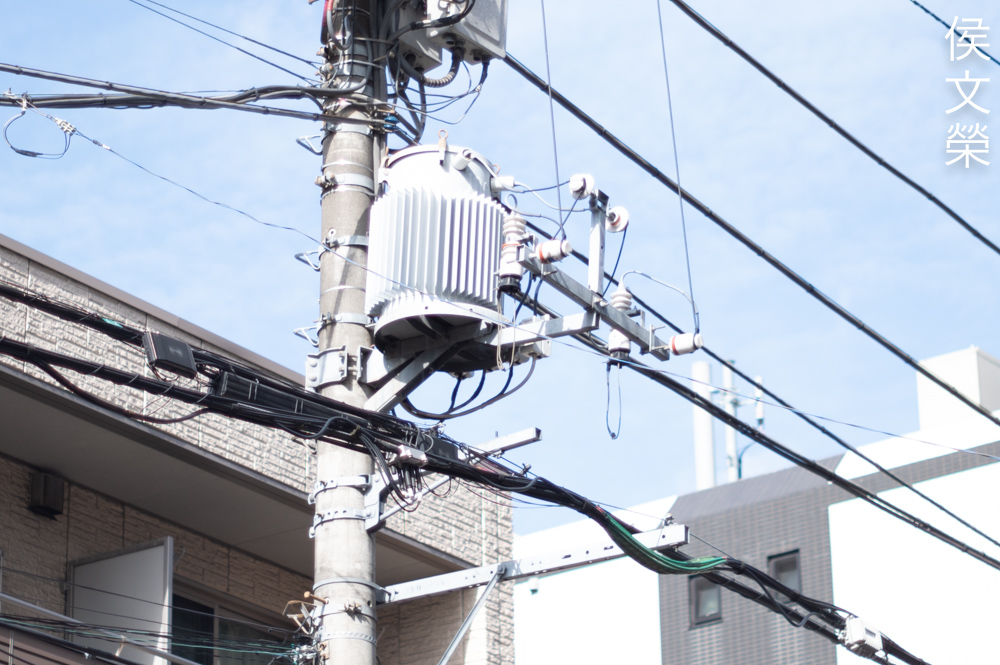
It’s nice for portraiture because 55mm offers a slightly-tighter view. This was shot at f/8 if I am not mistaken, it looks so sharp at smaller apertures.

It’s great for full-body portraits, just imagine that we have a taller model and you’ll get the idea. An 85mm lens will be better for this purpose if you ask me but the little miss didn’t seem to mind.
It makes for a nice walkaround lens but it may be a little bit too long for most tasks, just walk further in order to get a wider field-of-view. This way your framing won’t change much and foreshortening won’t be a problem. You should use this to help you frame or tell a story.
Flare can look good, too. It helped make the highlights sparkle in this photo, giving you an impression that the sun is a lot brighter than it actually is.


(Click to enlarge)
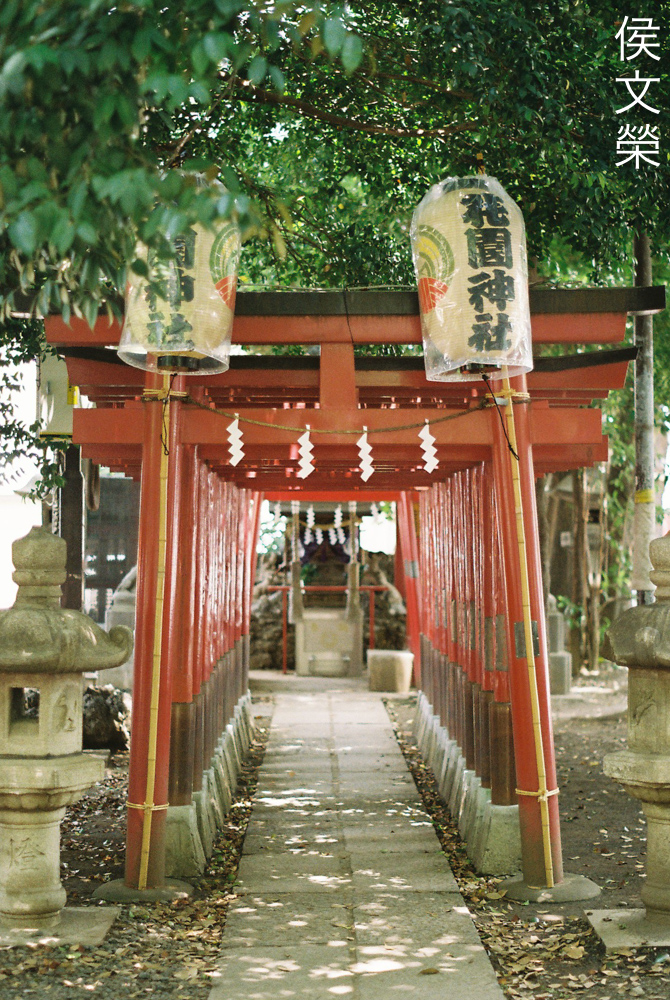
As expected it works beautifully with film as it should. It renders with a nice “vintage-look”, it helps make your pictures look “authentic”. You won’t need to do “film simulations”, just shoot with the real thing and get over with it.
It’s an amazing lens specially for the price they go for today. I highly recommend this to anybody looking for a lens of this class, it’s hard to find another alternative to this if we’re talking about M42 mount lenses. It’s a great lens for those who wish to use it with their daily-carry gear. Collectors aren’t interested with these but most of them have it because I think it is mandatory to own one of these. These are cheap, I got mine for $35.00 in an acceptable state. These should never cost more than $60.00 unless it’s a mint-in-box example. When looking for one be sure that the rings work, they should operate evenly across they’re range. The iris has to be dry and snappy when actuated, make sure that the A/M switch works, too. The glass has to be clean and clear, there’s no point in buying one of these and spending money on servicing the optics which will most likely cost more than the lens itself. You’ll never go wrong with this, just wait for the right lens to arrive by regularly checking what’s for sale, happy hunting.
Before We Begin:
If this is your first attempt at repairing a lens then I suggest that you see my previous posts regarding screws & drivers, grease and other things. Also read what I wrote about the tools that you’ll need to fix your Nikkors.
I suggest that you read these primers before you begin (for beginners):
Reading these should lessen the chance of ruining your lens if you are a novice. Before opening up anything, always look for other people who have done so in YouTube or the internet. Information is scarce, vague and scattered (that is why I started this) but you can still find some information if you search carefully.
I highly recommend that you read my working with helicoids post because this is very important and getting it wrong can ruin your day. If I can force you to read this, I would. It is that important!
For more advanced topics, you can read my fungus removal post as a start. It has a lot of useful information, it will be beneficial for you to read this.
Disassembly (Main Barrel):
Dismantling this isn’t difficult if you’re used to servicing Super-Takumars because the construction is typical for the era and brand. Like most lenses you’ll want to remove the optics as soon as you could and luckily for us it’s not difficult to do for this one. There are a couple of things that you should be aware of and I will point them all out to you. You have to take plenty of notes while you dismantle this so you’ll know how to put things back properly. You will require a few special tools to service this and the experience to make good judgement so this isn’t a lens that I’ll recommend to the beginner. If your lens has to be serviced send it to a repairer so you won’t damage it. While these are cheap and not at all rare you don’t want to destroy this lens for your first attempt at lens repair, practice with a cheap Canon first so you will acquire the skill to work with precise mechanical assemblies.

Unscrew the front ring with a rubber tool.

Extract these so you could remove the front barrel.
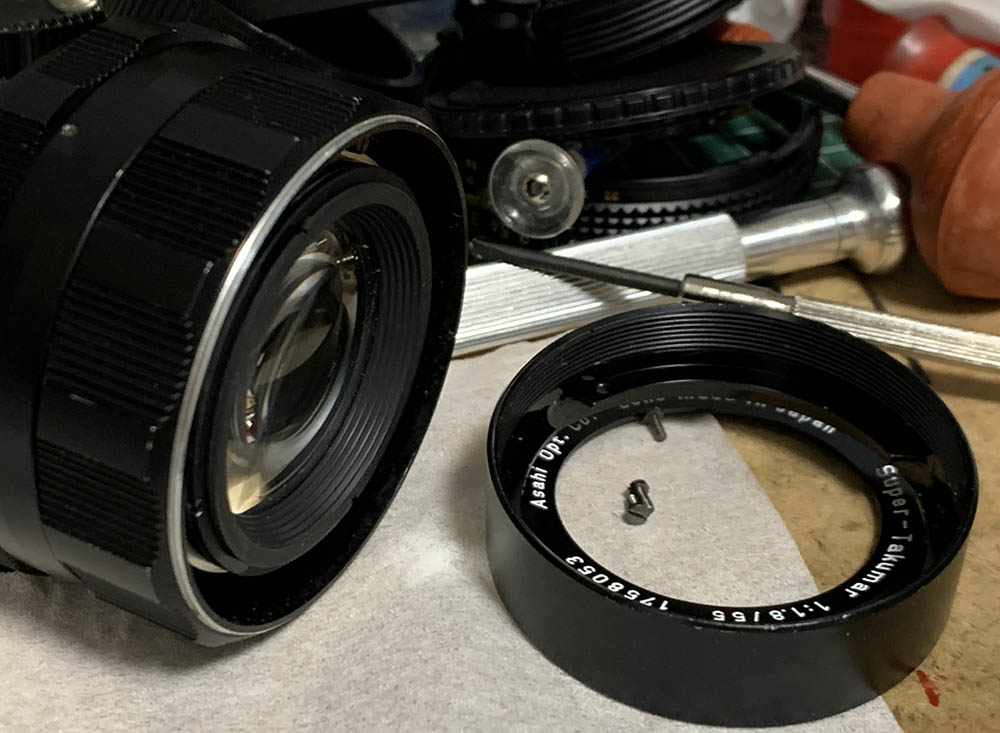
Remove the front barrel so you can access the other screws.
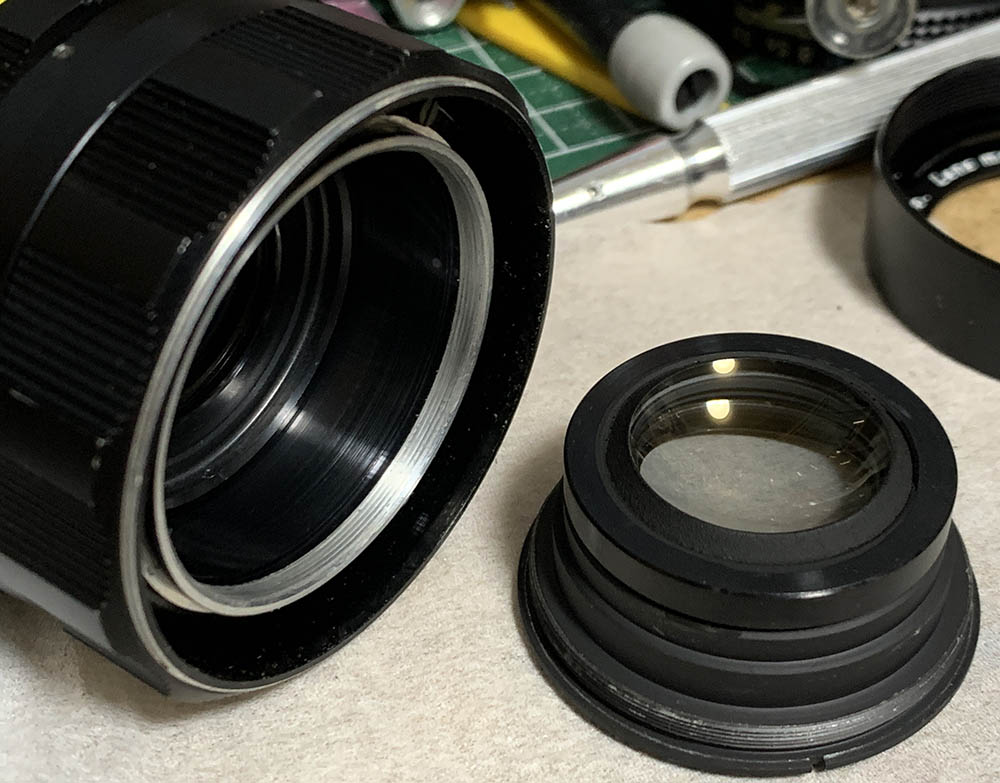
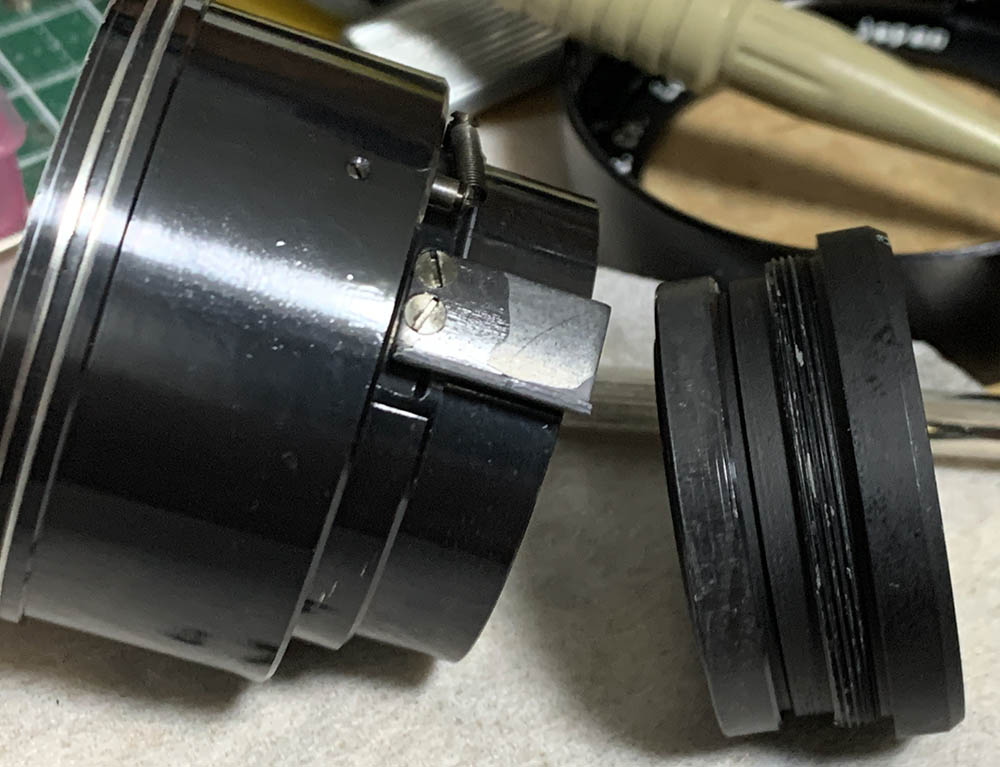
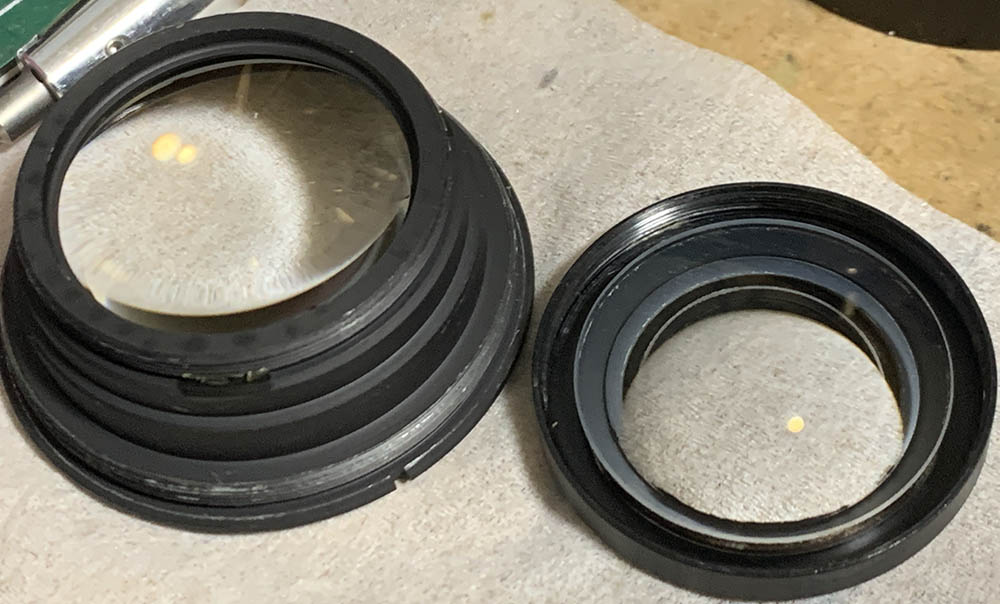
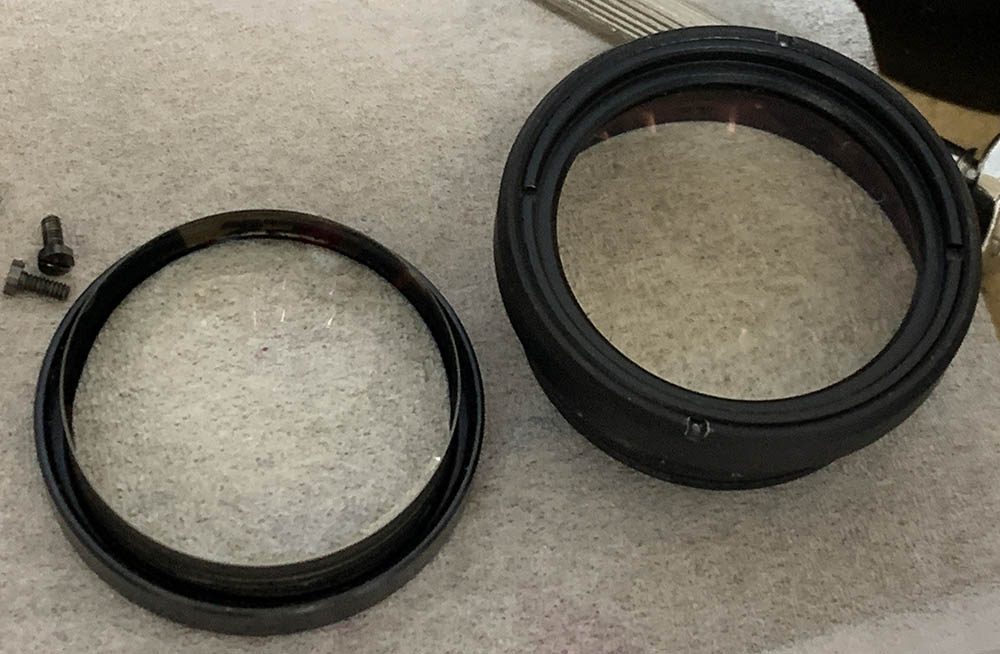
Use a lens spanner or a rubber cup to unscrew the front optics assembly. Be careful not to scratch the glass. Set it aside so you can work with the rest of the lens without worrying about damaging it.

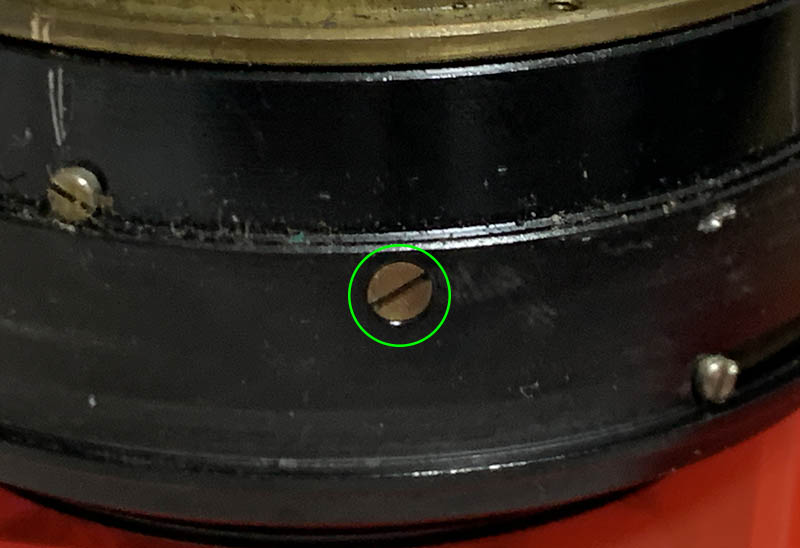
Make a small mark here so you will know how the objective should be aligned, this is adjustable so be careful.
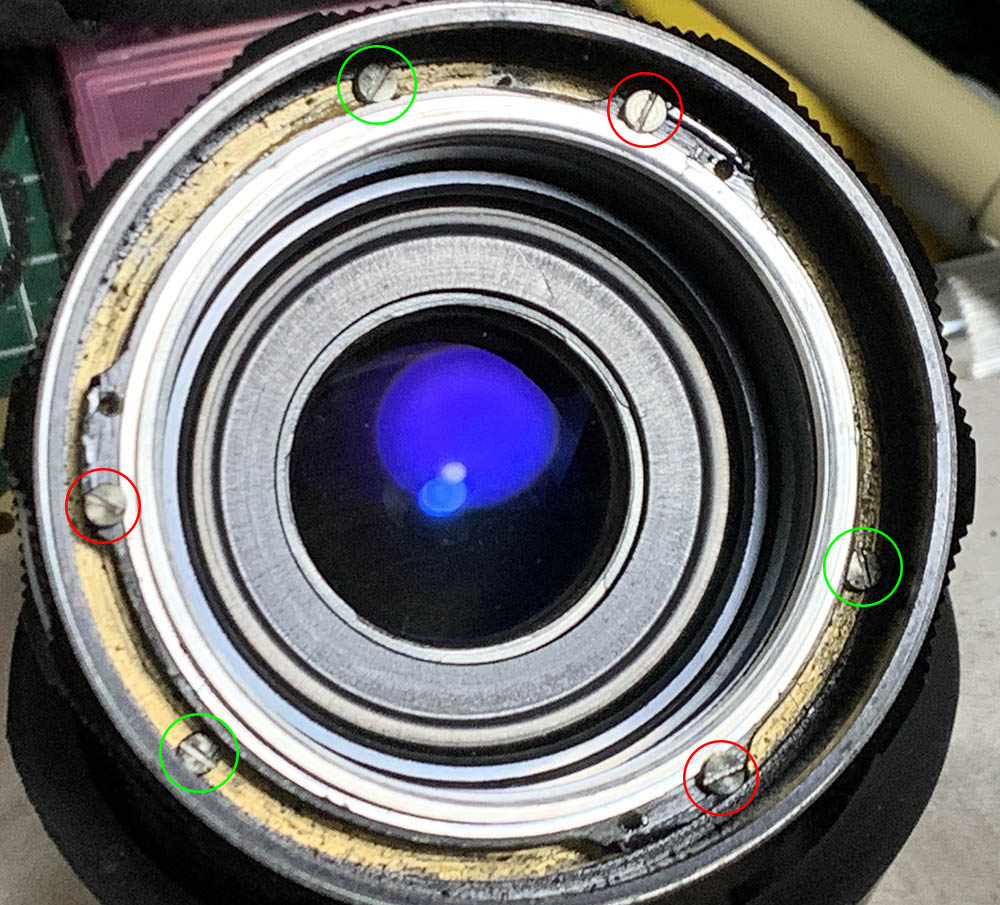
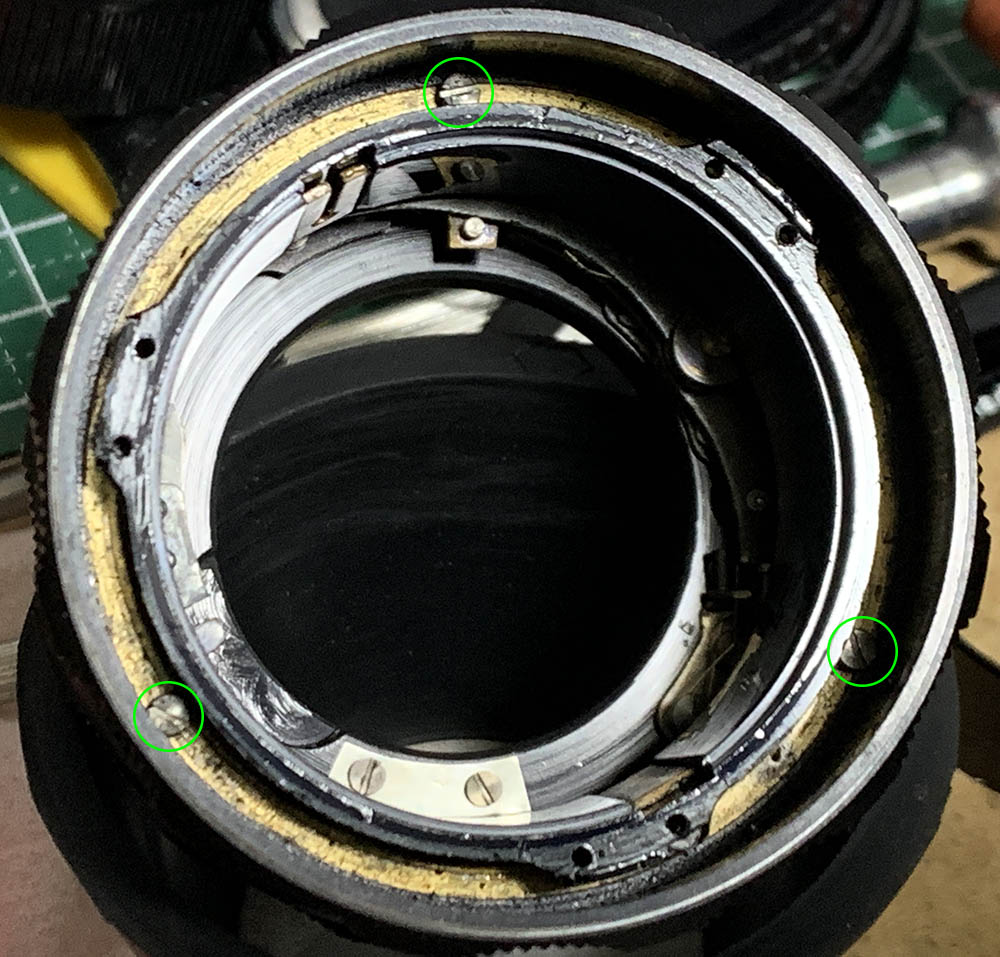
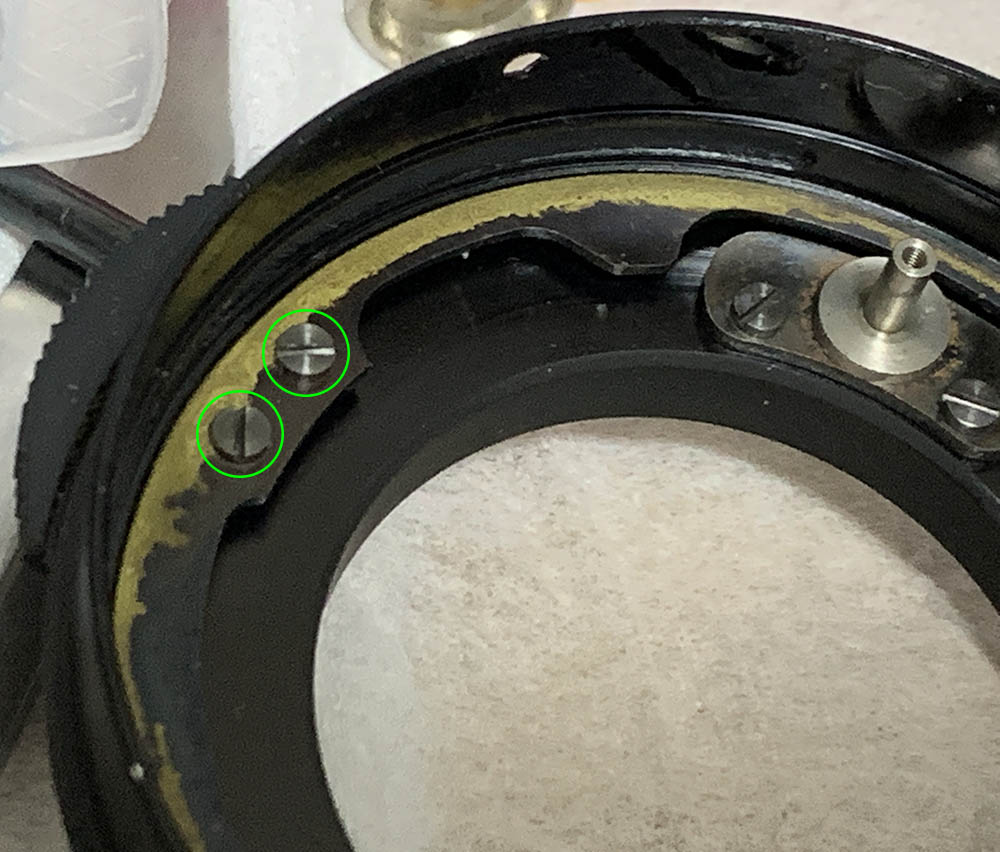
The screws marked in red secure the objective’s housing while the green ones are for the focusing ring. Extract the ones that secure the housing of the objective.
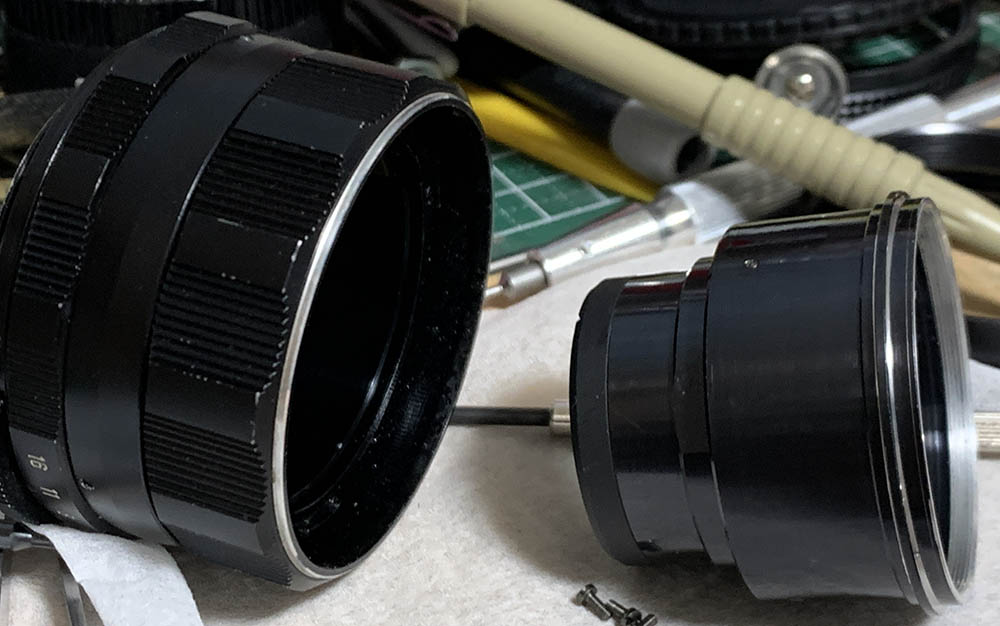
Pull the objective off and keep it in a safe place.
Unscrew the rear optics assembly and keep it in a safe place.
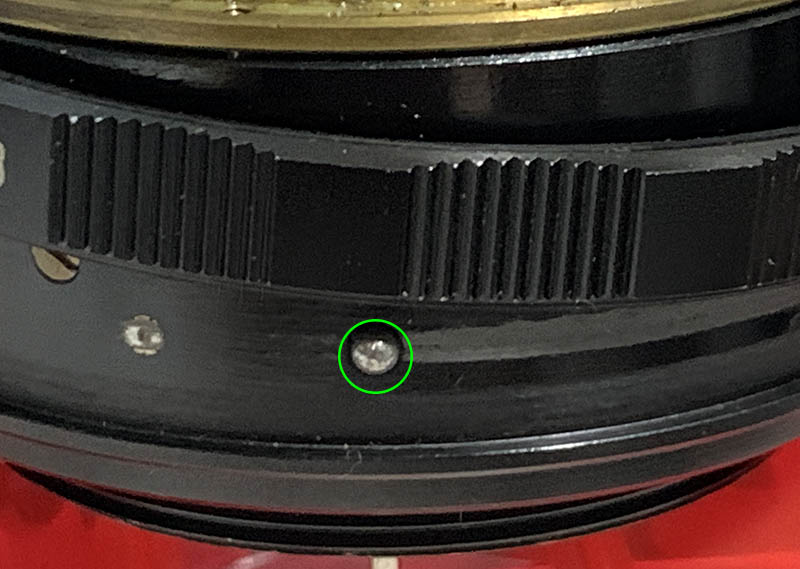
Set the focus to infinity and extract these carefully. There are brass washers underneath each of them so don’t lose any of them.
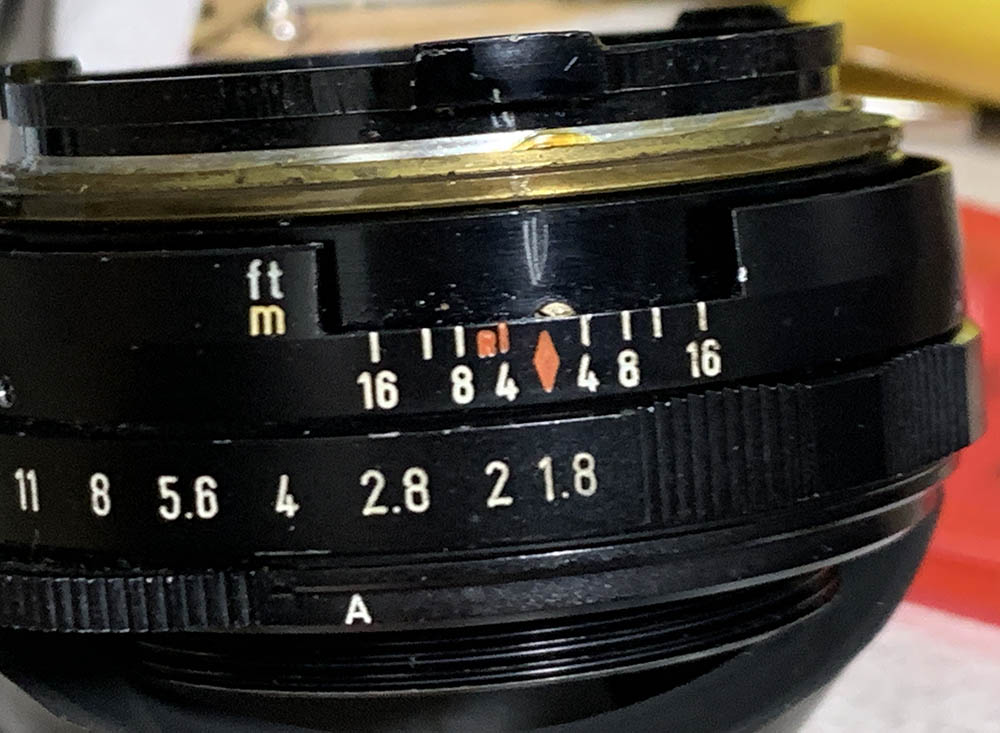
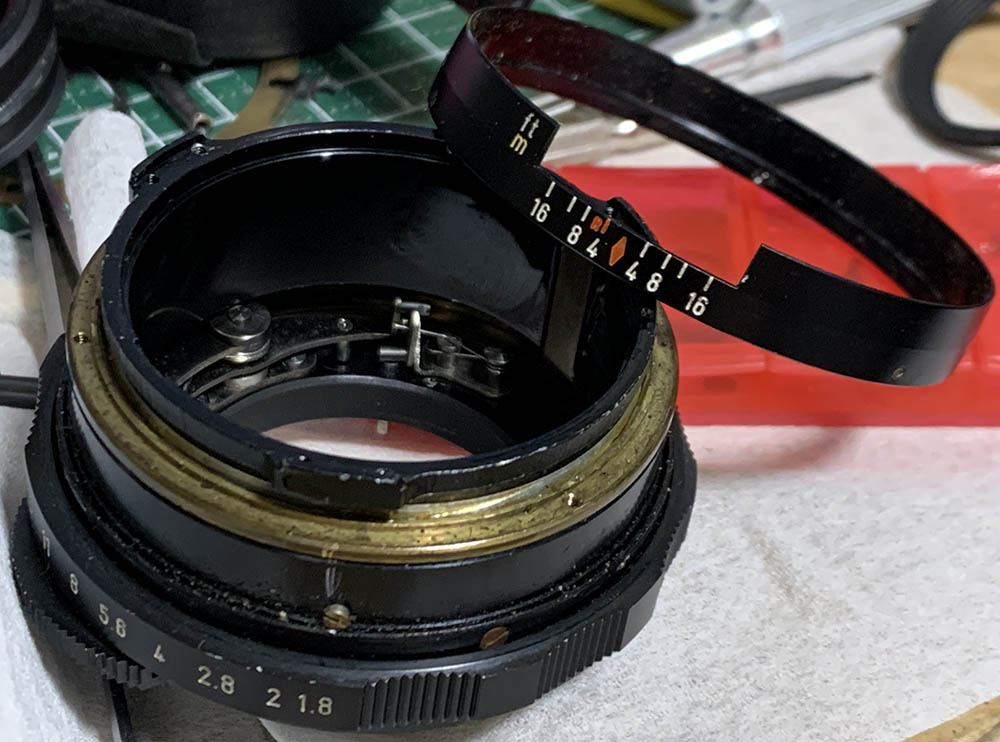
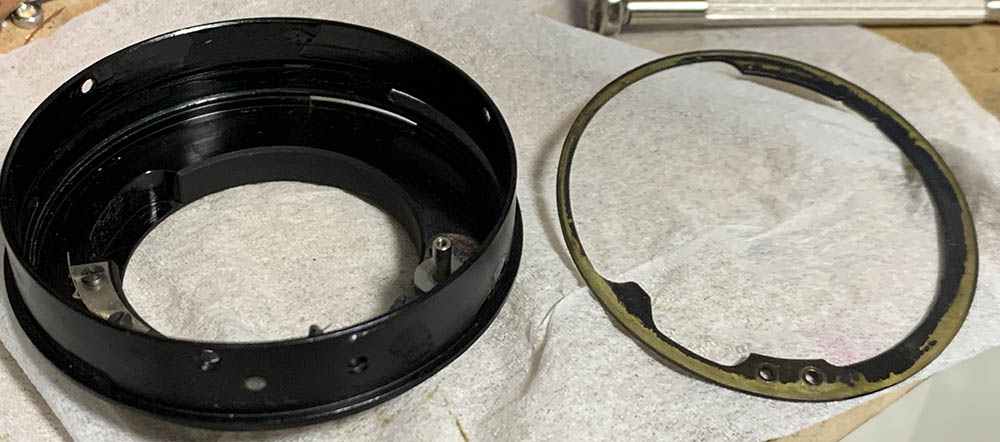
Remove the focusing ring once the screws are gone but be careful not to disturb the alignment of the helicoids so you could make a few marks on them so you will know how they should be aligned while they’re set to infinity.
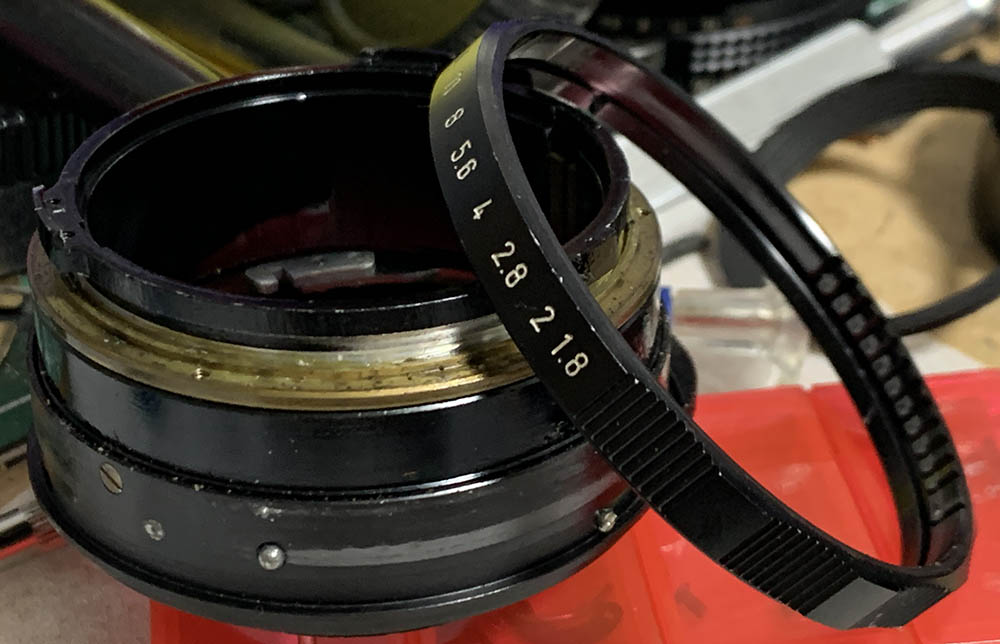
The distance scale is merely glued to the focusing ring so do not soak it in alcohol or it will peel away.
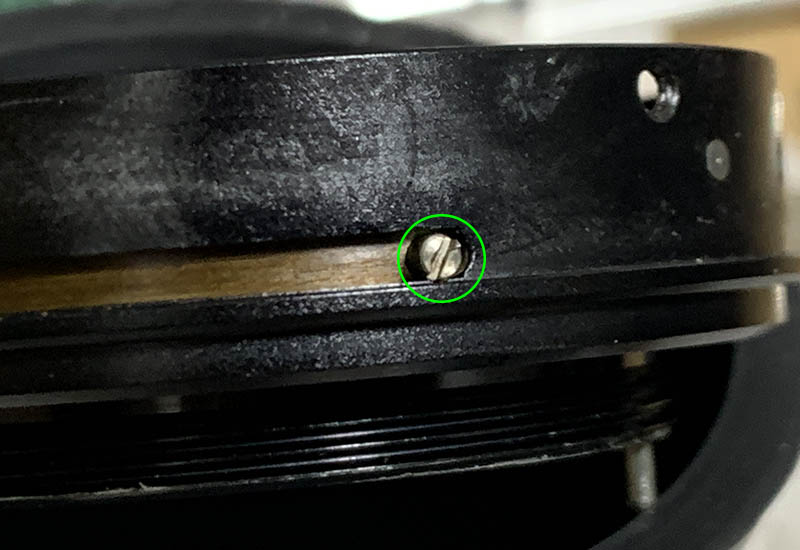
Loosen the set screws of the belt and pull it off.
Pull the aperture ring off but be careful not to lose this bearing ball, it’s spring-loaded. Remove it as soon as possible, it should be cleaned properly, too.
Remove the focusing ring and clean it very well.
Extract these in order to separate the focusing unit from the base.
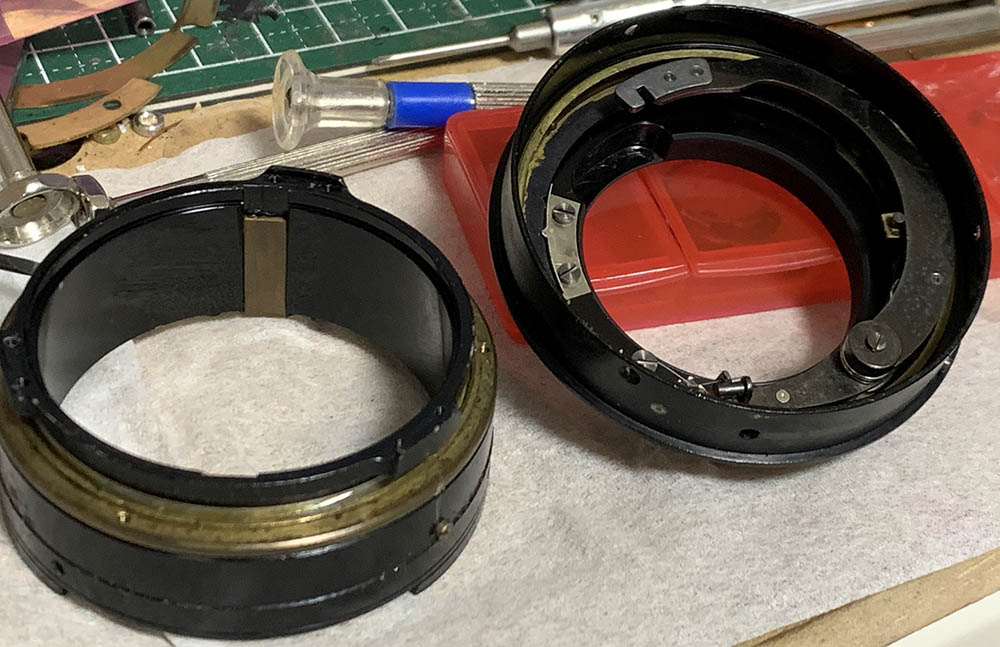
Carefully separate these and be sure that the helicoids are still set to infinity so you could take notes and photos.

The helicoid keys are adjustable in this lens so you’re able to adjust the resistance to your preference, do not do that as it’s only used for repairs. Note how high it should be when the helicoids are at infinity so you could replicate this later. If it sits higher or lower than it should then you’ve reinstalled the helicoids improperly.

Extract these in order to remove the helicoid keys. Be sure to note which key came from which side so you’ll know how to put them back later. Also note that the screws are not symmetrical, one side is flushed while the other is raised. This is probably done to clear some space for the A/M tab.
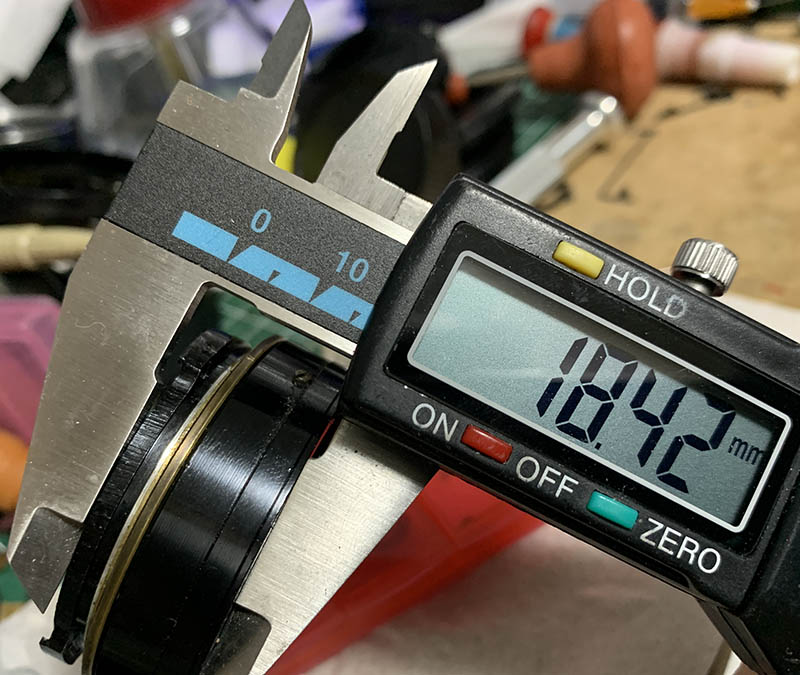
Measure the height of the helicoids while they’re set to infinity, you should be able to reproduce this.
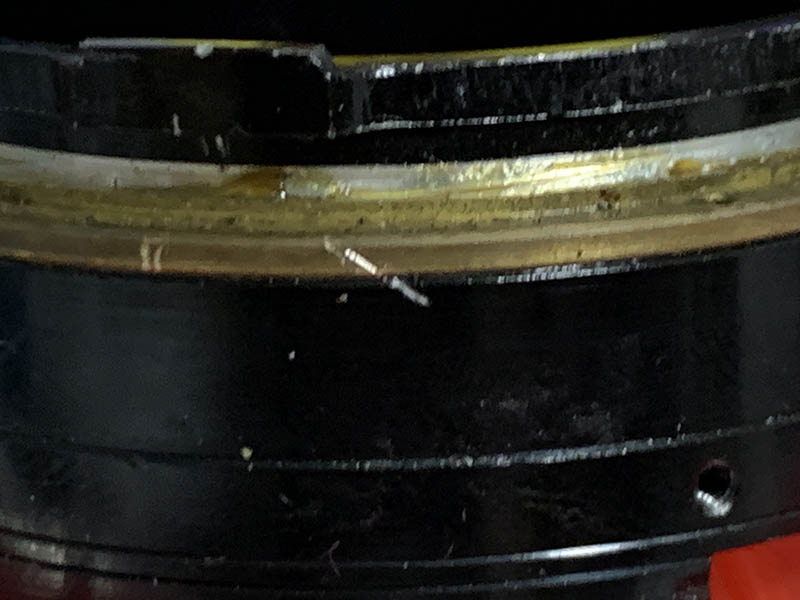
Collapse the outer and central helicoids and make a diagonal mark, this will help you later so you will know if they are at the right alignment or not.
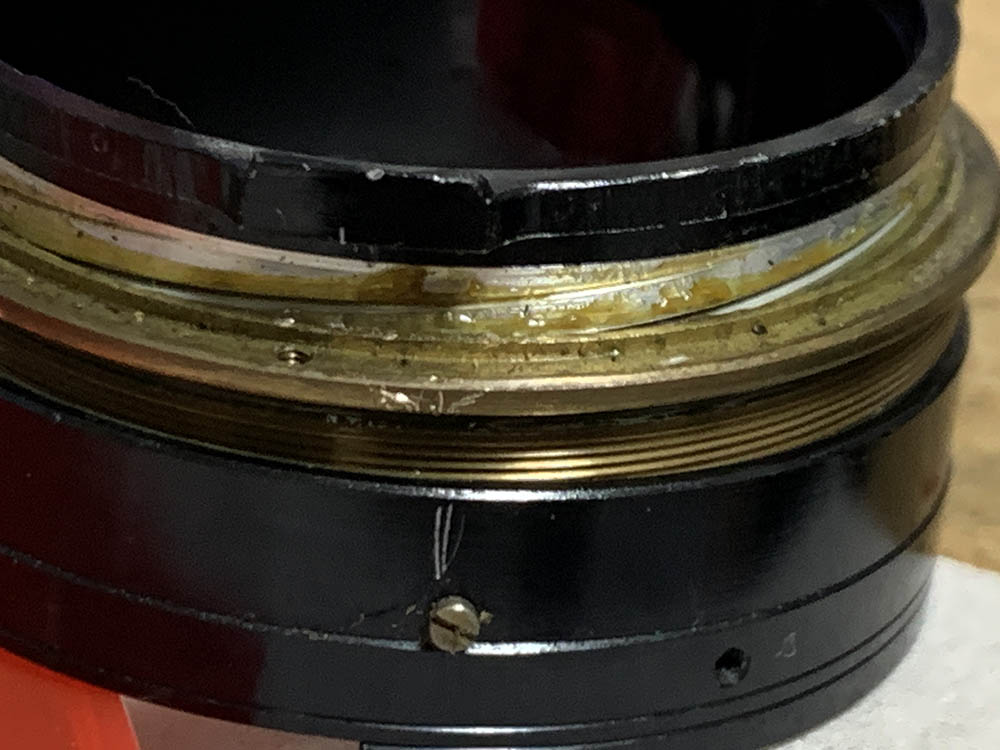
Separate the central helicoid from the outer one and never forget to mark where they parted since this is also the same spot where they should mesh. Many people forget to do this so they get stuck. The article working with helicoids helps educate people on how to do this the right way so they won’t get stuck.
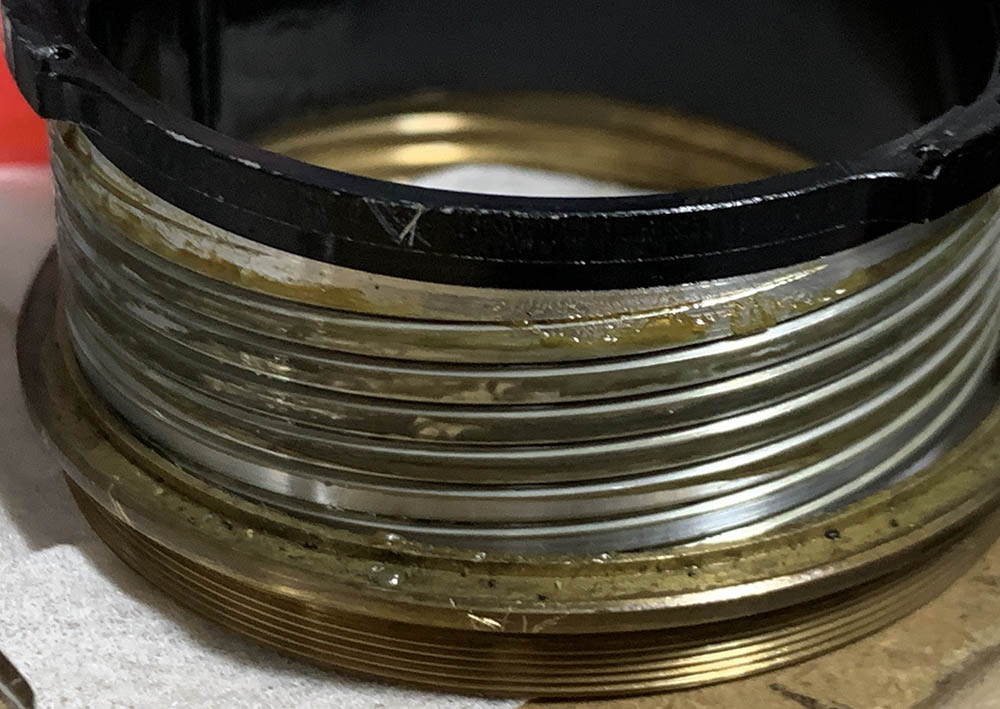
Separate the inner helicoid from the central one and never forget to mark where they parted. It’s even more important to do it here because these are multi-entry threads unlike the previous one which looks like a single-entry one.
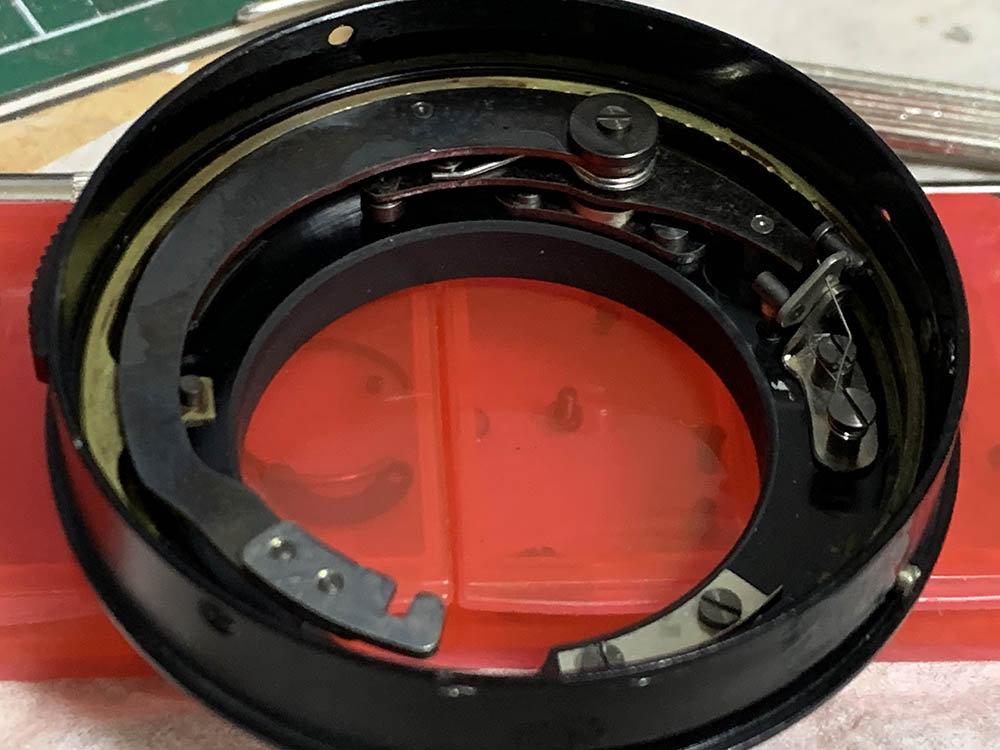
Study how actuator mechanism works so you’ll get familiar with it. Mine is missing a spring so I had to fabricate one, it is an important part, without it the iris will not work properly.
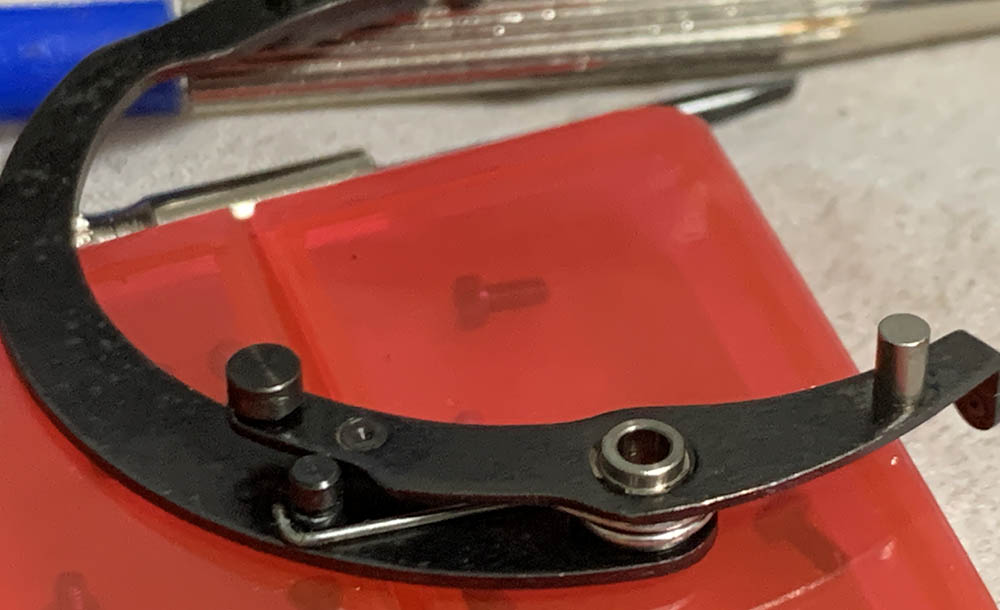
Carefully extract the screw at the pivot to remove the actuator arm assembly and be sure not to lose any shims. There’s usually one or few of them found in this place. Be careful with the springs, too.
Carefully extract these to remove the regulator ring.
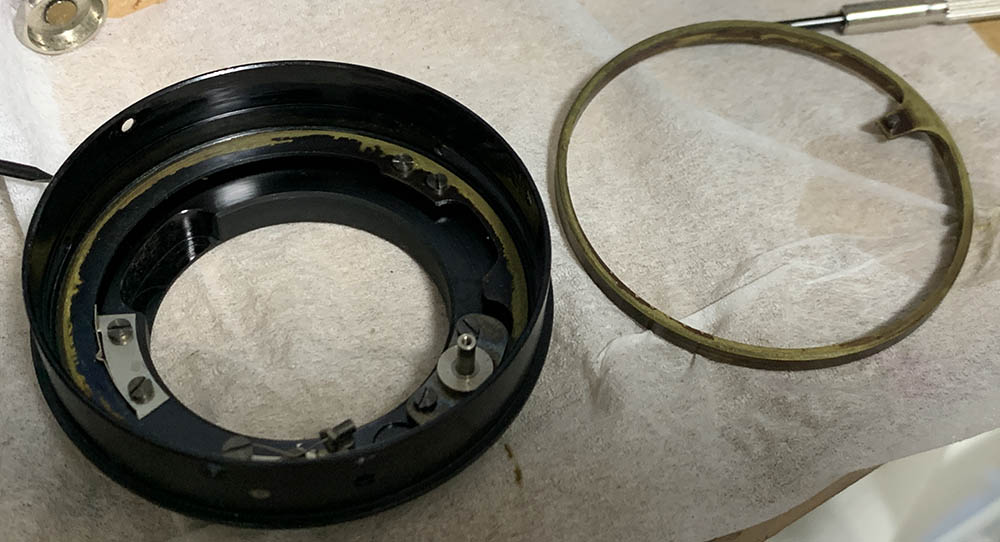
Remove the ring and clean it very well, you may have to polish it so it will operate smoothly.
Extract these in order to remove the A/M switch tab. Do not forget to note which side the tab should be facing so you will be able to put it back properly later.
Remove this and clean it properly.
Scrub the helicoids with a strong detergent to remove any old grease then finish them off in an alcohol bath to remove any residue. You’ll want everything to be as clean as possible before you lubricate and reinstall everything. You’ll want to use a type of grease that’s neither light-nor-heavy, only apply the appropriate amount so you won’t end up with the ugly mess that you see here in this article.
Disassembly (Objective):
The objective is rather simple with only a few groups so it won’t be difficult to service. Only clean anything that had to be cleaned and leave anything alone if they’re fine. While I was tempted to completely dismantle the iris mechanism it appears that it’s still working properly, clean and snappy so I just left it alone and merely cleaned the exterior. Be sure to note which side a group should be facing so you won’t put any back facing the wrong direction. You’ll damage them easily if you did so. Be careful when unscrewing anything here so you won’t scratch anything by accident.
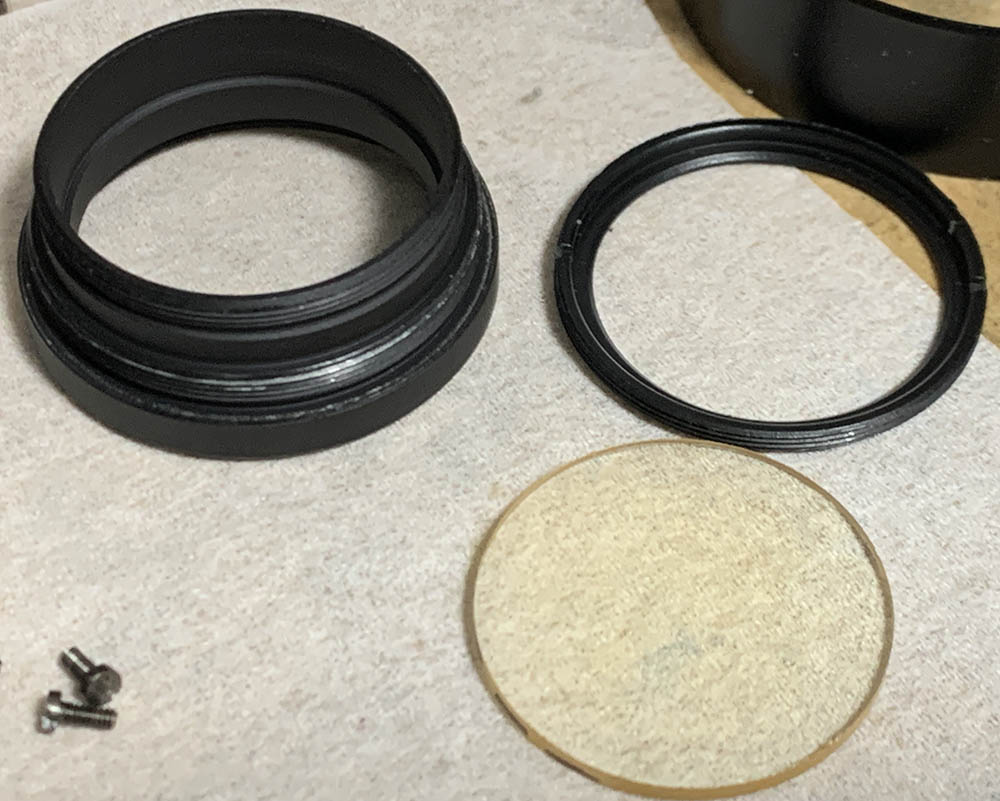
Unscrew the housing of the 3rd group, the glass is sealed to its housing on my lens so I didn’t dismantle it further.
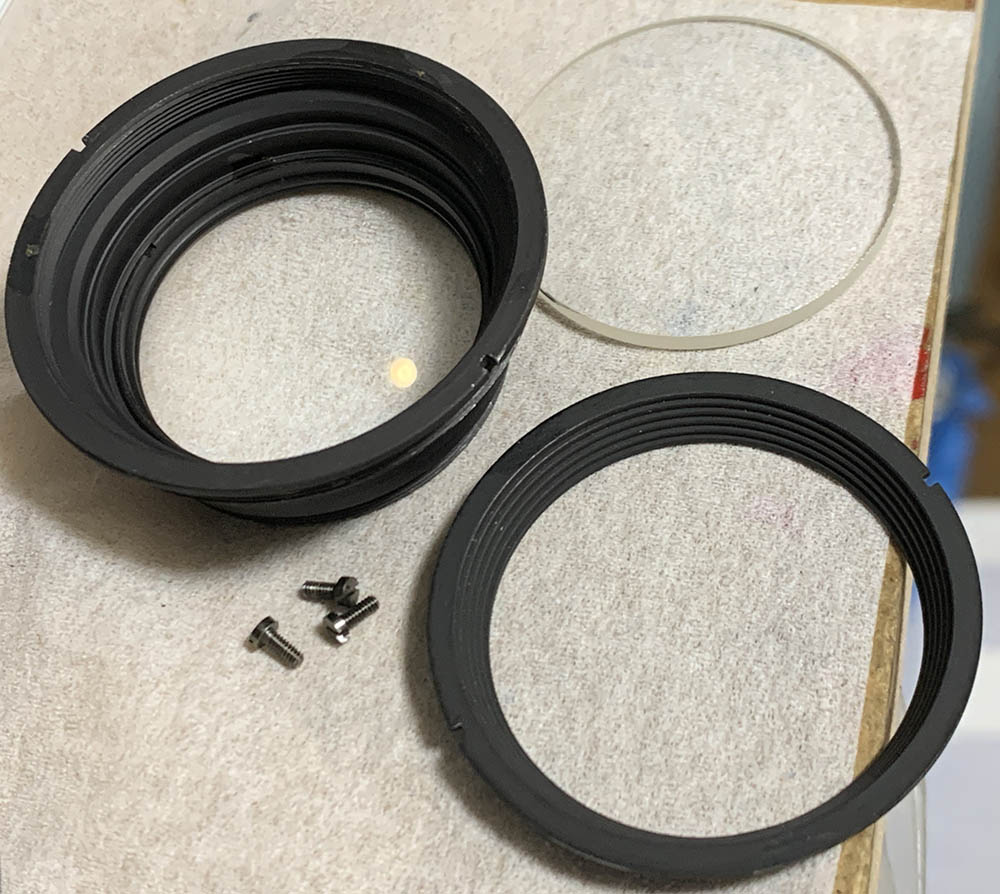
Unscrew the collar securing the front element and extract it with a lens sucker.

Unscrew the retainer to remove the 2nd group.
Unscrew the housing of the 4th group to access it. Never flood this with solvents because it’s a cemented group, that’s going to dissolve the cement and create an irreversible problem.
Unscrew this retainer and remove the thoriated-element. Be careful when handling it since it’s rather brittle. If you want to restore this read my article on bleaching radioactive lenses so you’ll know how I did it.
If your lens has fungus read my article on cleaning lens fungus so you’ll know how I do it. Dilute the solution so it won’t damage the coating or anything.
Conclusion:
I spent the whole night overhauling this, it’s not difficult but I had to spend a lot of time cleaning everything. I will not recommend this to beginners because you’ll need special tools but this one is a nice lens for your 3rd attempt because it’s not difficult to service but it still offers enough challenge to keep you interested. You’ll spend the most time putting the actuator mechanism back, the best way is to reassemble it as a unit then reinstall it back to its proper place.

Reassemble your lens up to this point and adjust its focus by loosening the screws of the focusing ring and turning the helicoids until you get pin-sharp focus at infinity. Tighten the screws once you’re satisfied. Read my article on adjusting a lens’ focus so you’ll know how it’s done in a DIY setting using tools that are available to you.
Thanks for following my work, if you liked this article please share this with your friends so it will get more views. This site earns around $0.40 a day, we are totally reliant on views. You can also support this site, it helps me offset the cost of maintenance and hosting. You’re also helping me purchase, process and scan film. This site promotes the use of film so we are all in this together. See you again in the next article, Ric.
Help Support this Blog:
Maintaining this requires resources and a lot of time. If you think that it has helped you or you want to show your support by helping with the site’s upkeep, you can make a small donation to my paypal.com at richardHaw888@gmail.com. Money isn’t my prime motivation for this blog and I believe that I have enough to run this but you can help me make this site (and the companion facebook page) grow.
Buy me a roll of film or a burger?
Thank you very much for your continued support!
$2.00
Helping support this site will ensure that this will be kept going as long as I have the time and energy for this. I would appreciate it if you just leave out your name or details like your country’s name or other information so that the donations will totally be anonymous. This is a labor of love and I intend to keep it that way for as long as I can. Ric.

1 Comment (+add yours?)