
Hello, everybody! Many people are excited about the Nikon Z fc, Nikon’s latest hit. It’s an amazing camera that conjures the feeling of using a classic film camera and it’s not expensive, too. I recalled buying a Nikon D90 when it came out, it costs about $950.00 at that time so if you put things into perspective the new Nikon Z fc is actually quite reasonable. At the moment many people do not even have the money to buy one due to the current economy or some people aren’t interested with shooting with the smaller DX format like me. To scratch the itch it’s probably a good idea to shoot with an actual film camera and I will show you one today that will certainly bring you lots of fun while you decide if buying a Nikon Z fc is going to be the right decision for you.
Introduction:
The Nikon FM10 was sold from 1995 and production ended recently along with the venerable Nikon F6. It wasn’t made by Nikon at all, it was Cosina who made these for Nikon. The Cosina CT-1 is the basis of this camera and that was sold under different brands and names such as the Canon T60 and the Olympus OM2000 to name a few. Its sister camera is the Nikon FE10, it’s basically shares the same chassis but the internals are electronic. You may wonder why Nikon made the decision to go with this when they had the legendary Nikon FM2n and the groundbreaking Nikon FM3A being sold at same time as this plastic camera. Well, not everybody could afford the expensive Nikons so people with less money bought these instead if they wanted a new camera that comes with a warranty. It was also said that these were initially targeted for the overseas market specially to developing nations where money isn’t as disposable compared to wealthy nations, there may be some truth to that because these were sold at the same time Nikon began its Thai factory.

The chassis is certainly made from metal but the exterior is covered with plastic. The finish is kind of ugly, the plating is easily-scratched and it frankly looks cheap, like the shiny parts of a toy. The dials were all made from plastics, too. I do not think this will survive a hard-knock or being dropped. The plastic exterior will definitely crack. You should never use this with large lenses, a Nikkor 20mm f/2.8 Ai-S and similar-sized lenses will be the best ones to use with it. These were also sold with the Zoom-Nikkor 35-70mm f/3.3-4.5 Ai-S as a kit, this setup will certainly satisfy any amateur, they’re not going to disappoint even the advanced amateur when there’s nothing left to choose.
Its features are rather basic as to be expected from an all-manual camera. The mechanical shutter has speeds ranging from 1s to 1/2000s with B for longer exposures. The meter will require batteries to function and the display is shown as 3 LEDs within the finder. There’s a preview lever just like many of Nikon’s manual cameras, too. For us back-in-the-day a selfie is usually taken with a self-timer and this one has that as well, it was mandatory if you wanted to be inside the frame with the whole family.

The Nikon Z fc is a handsome camera but there’s something about shooting a real film camera and the experience you get with it. Sometimes it’s best to just use a simple camera because it forces you to be comfortable with the basics. It’s almost a zen-like experience when you’re totally into it, just your brain and the camera.
There’s nothing much to review when we’re talking about older manual cameras and the only meaningful thing that’s worth looking into is how the meter performs. It’s the most important thing next to the reliability of the shutter, you’re not going to have more than 36 exposures from a single roll of store-bought film so every shot should count.

Metering is spot-on when you have a scene that doesn’t have a huge difference in luminance but you will have to do a bit of overexposure when shooting white subjects in order for them to appear “white”. Maybe 2/3 of a stop helps, this is the reason why a spot-meter is handy when shooting with film.
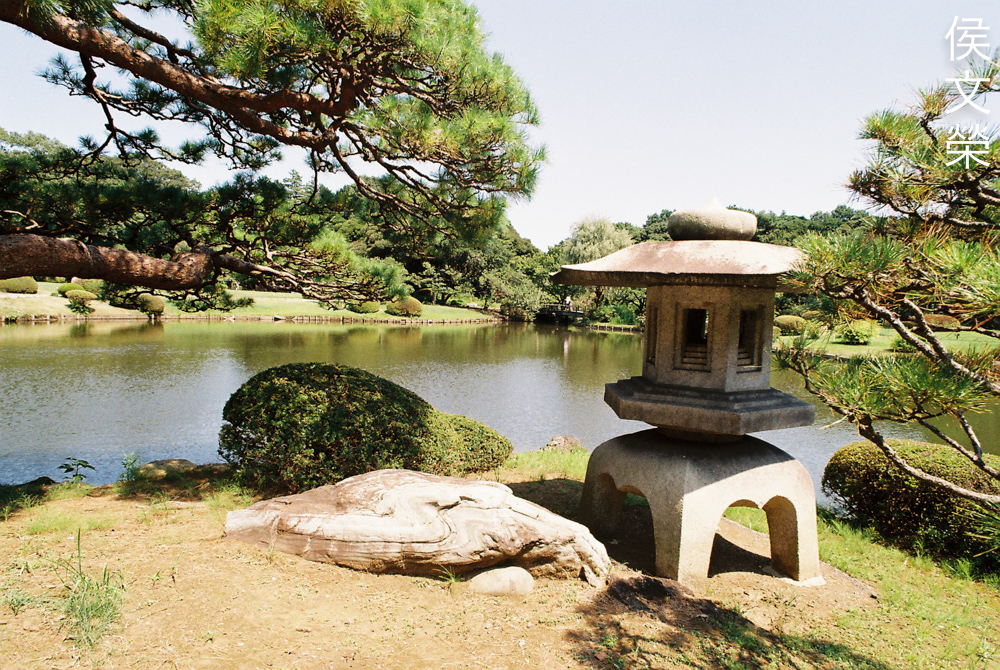
A sunny day shouldn’t be a problem at all, overexposing a bit can give you more details in the darker areas at the cost of slight overexposure of your highlights.
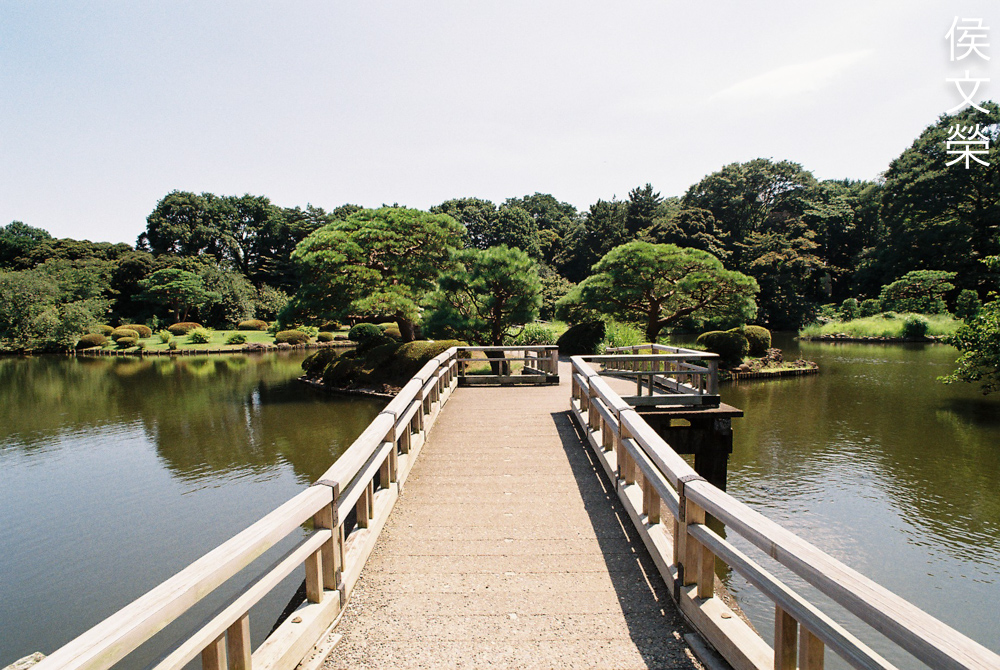
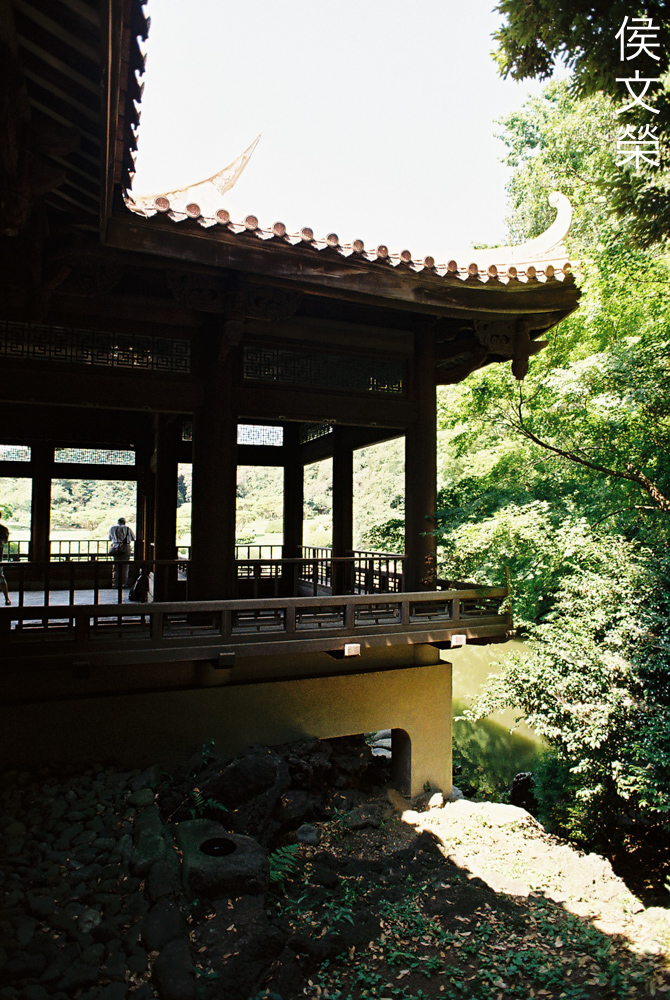
Since the meter is of the center-weighted type you could meter with more accuracy in tricky situations. The bright sky wasn’t considered in the reading so the important part of this scene is exposed properly.
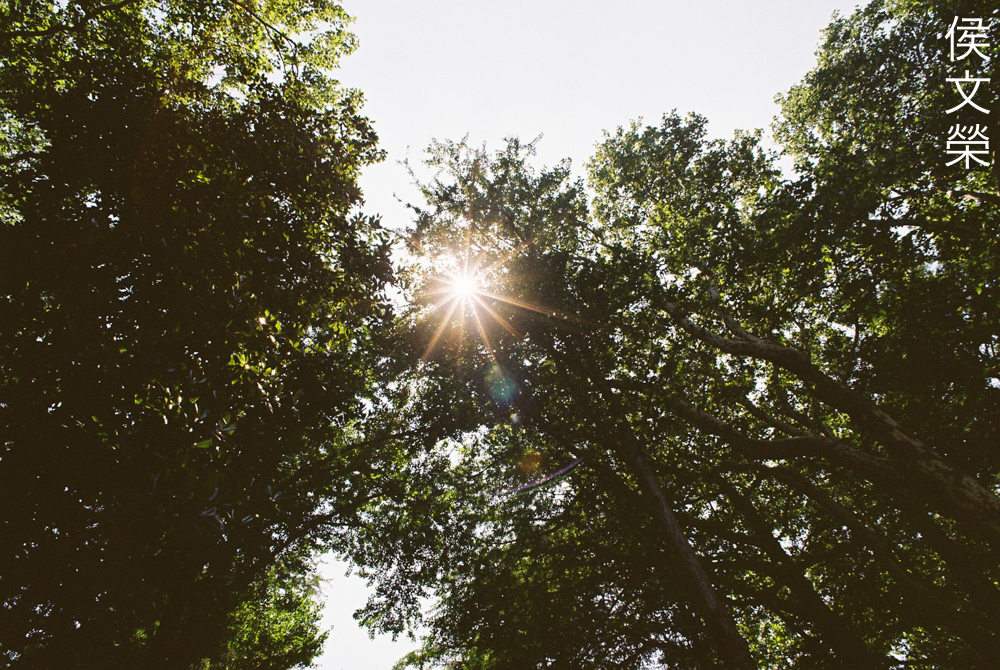
When you’ve used this for some time you will learn to anticipate the results much better. I overexposed this by a stop, I would’ve gotten a darker photo if I didn’t. This will all depend on what you want, some would want to expose the dark parts of the scene better while some would prefer having the sky and Sun exposed properly.
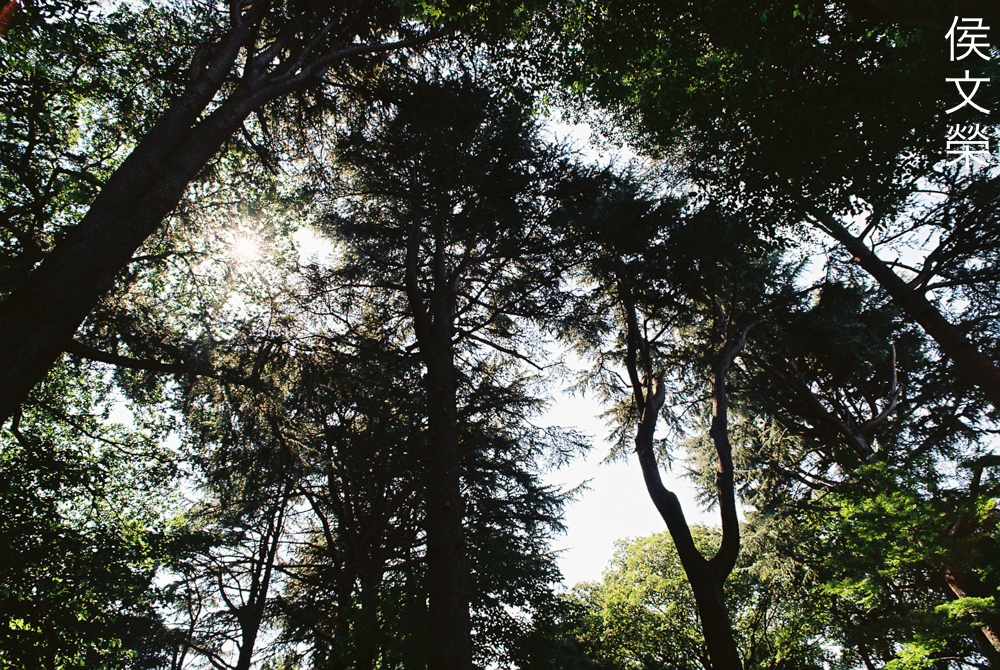
This is how it looks like when I followed the camera’s meter. It will expose the scene in a manner that made sense to it. Since this was aimed for beginners the meter was calibrated to give great results in a wide-range of situations. I’d say it is rather accurate in most cases, even in backlit scenes.
The fastest the shutter could go is 1/2000s which is more than what you’d need for most cases but it’s not going to be enough occasionally specially when shooting in bright, sunny scenes. I don’t want to stop the iris down even further so I stayed at f/16 when f/22 would’ve given me better results.
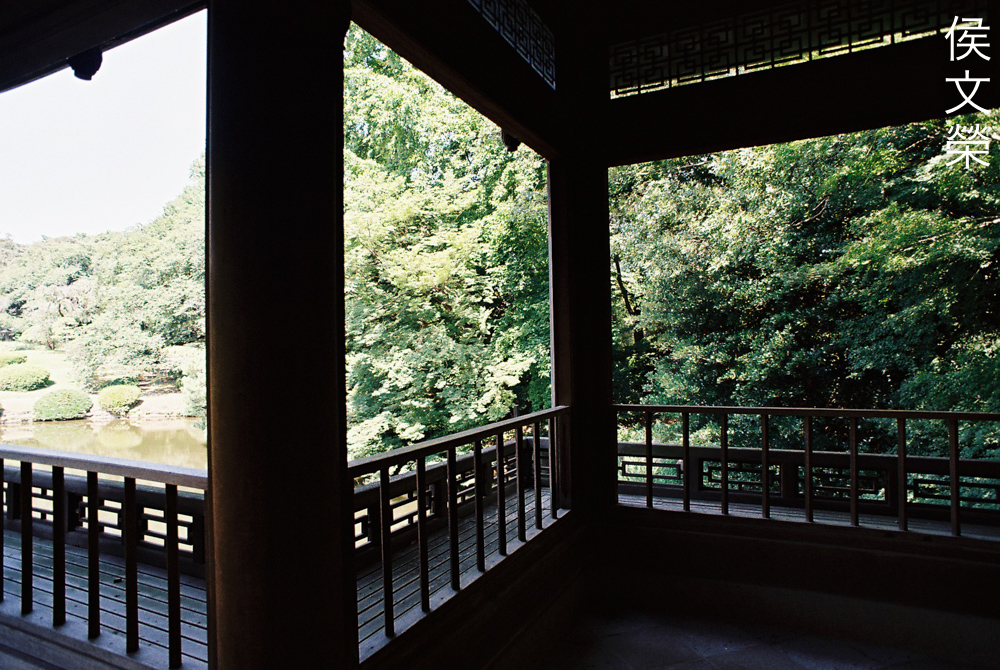
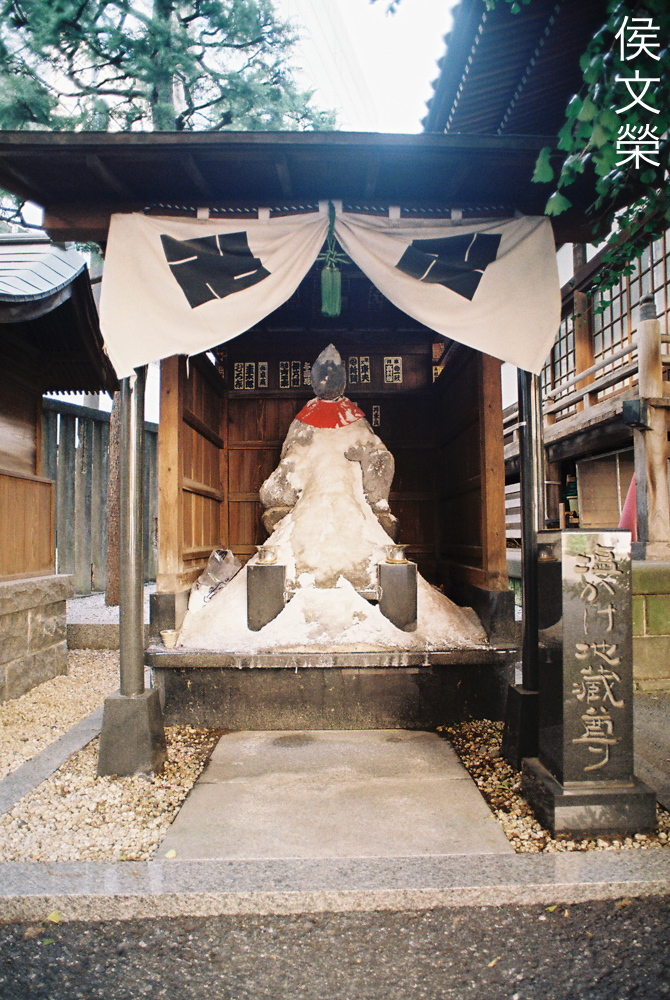
Shooting indoors can be tricky at times, this is where using a flash is necessary to fill the shadows because the meter is going to expose for the brightest parts of your scene. I expected this result while I was shooting this scene. It metered this scene correctly because the exterior will be overexposed if you chose to expose for the interior. If you want to have the interior exposed better you merely take your reading from the darker areas instead of the whole scene.
Here’s another example of a difficult scene to meter, this is where a neutral-density-filter becomes useful.

Because the camera is compact and light it’s a nice companion for exploring the neighborhood.

It’s discreet and looks like an amateur camera (which it is) so you won’t arouse the suspicion of many people. They will just see you as a harmless camera-nerd instead of a creepy pervert.

Since the meter is center-weighted with a balance of 80/20 biased towards the center you simply put what’s important in the center and base your exposure from it.

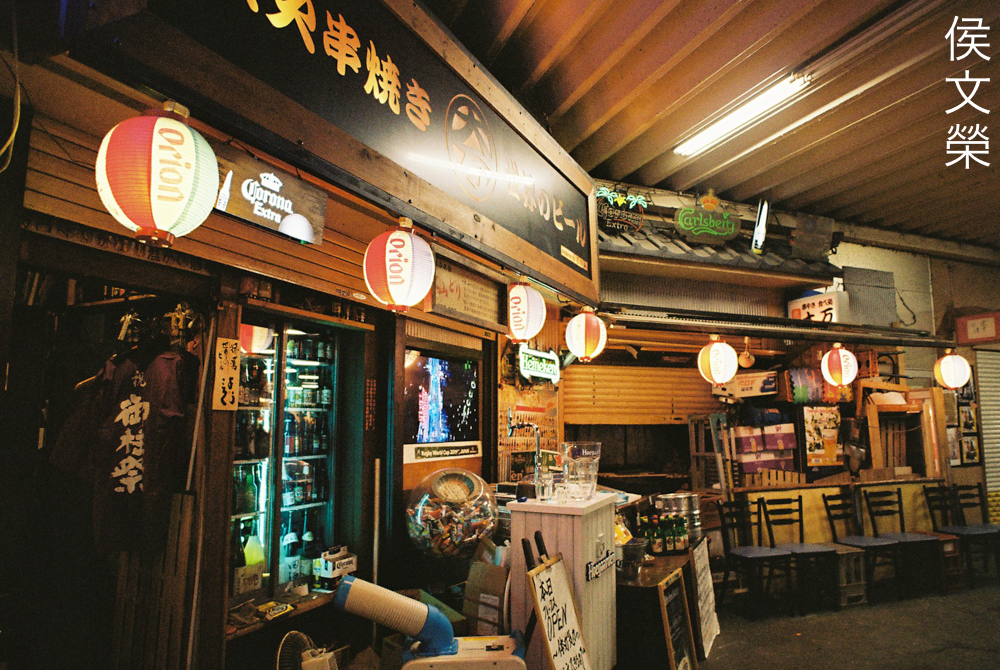
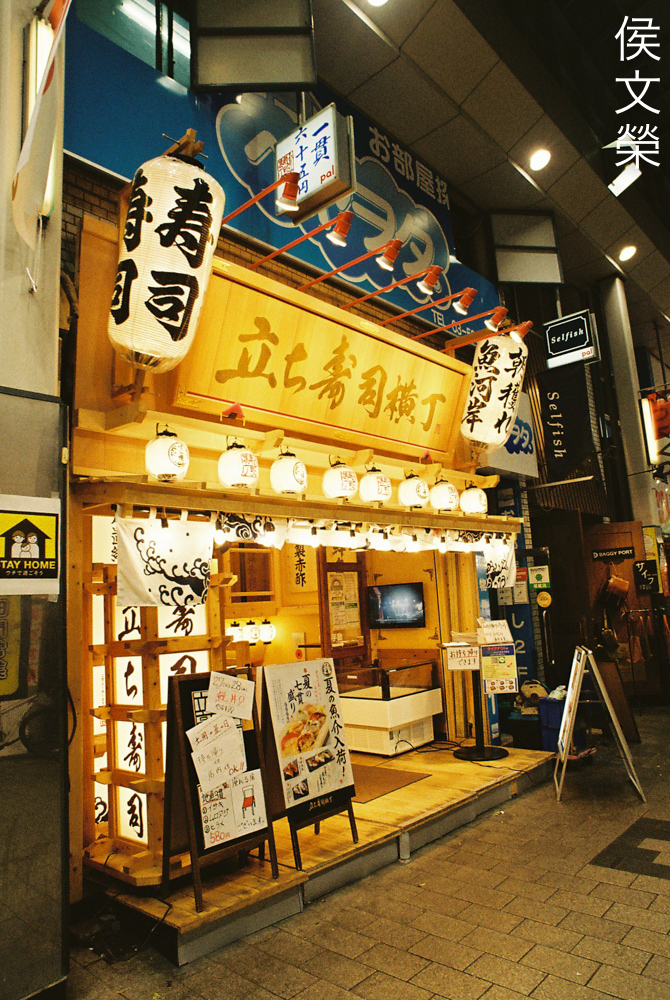
This is a confusing scene, the meter could’ve exposed for the bright ceiling instead of the shopfront. I was a bit hesitant at first but I trusted the camera’s meter and this is what I got.
Shooting in lowlight is probably going to be too-much for the meter and using a spot-meter is the only way to meter a scene like this accurately.
I took a reading with a spot-meter and compared it with what the camera gave me and I was surprised to see very little difference in the readings, the in-camera reading is merely 1/3 of a stop under. This is all thanks to it’s center-weighted design. In absence of a spot-meter you can go closer to your scene and take a reading of what’s important then frame your scene by walking back while still keeping the exposure value you’ve taken previously. This is the joy of using film cameras, you’ll learn the basics and master them quickly with common-sense.
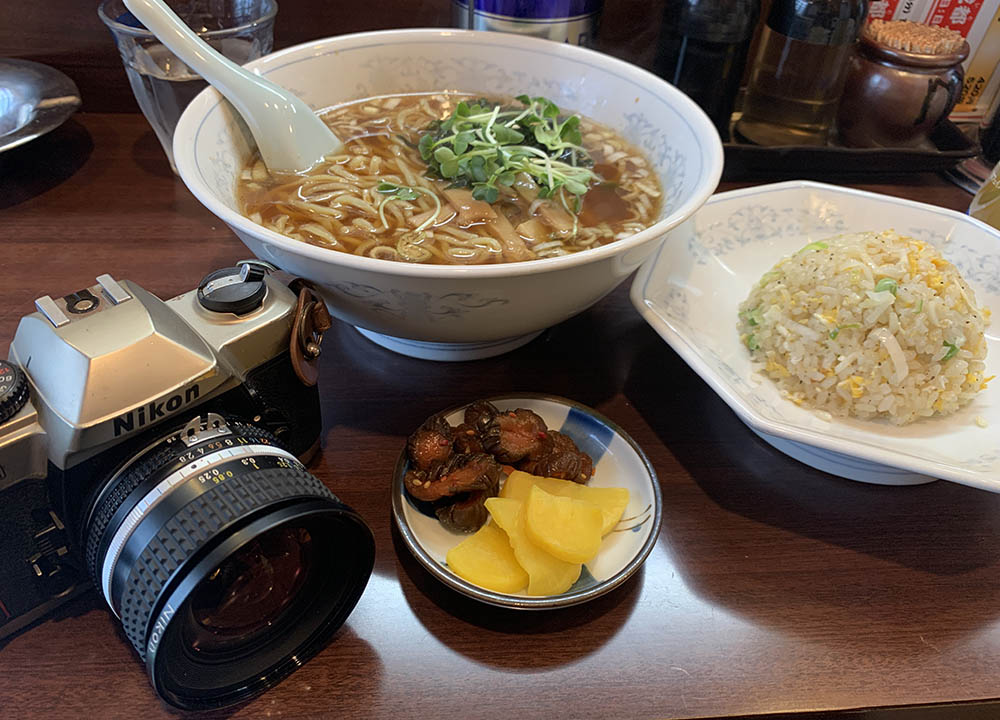
Enjoying life is about good food and doing what makes you happy. Life is too short and we should all do what we think is the best way to live a fulfilling life.

I really enjoyed shooting with this despite the fact that this wasn’t even made by Nikon. Its plastic exterior will never be able to compare with the all-metal classics in terms of build quality but the essence is still there, that’s all that counts. If I were to travel soon after the pandemic I will definitely consider bringing this little thing with me, to the beautiful and cultured country of Taiwan or the exotic and far-away Sri Lanka to visit my friend, Bhante Sirimangalo who’s a devoted monastic. I missed his wise words and companionship.
These are inexpensive cameras in the used market, I got mine for $35.00 but they usually go for $75.00 or so. If you’ve decided to buy one the most important thing to check is the shutter. Make sure that the speeds are correct, at least to your ears if you don’t have any ways to check them on-the-spot. This is not difficult for someone like me who is used to buying and repairing cameras but it takes a lot of experience to master this. Next, check the meter, reference it to a camera or your smart phone’s app and see if the difference is within 1/3 of a stop. It should not be too different or the meter is bad. Be sure that the batteries are good before you do this. Operate the shutter, it should not hang, get stuck or sound “weird”. Check the mirror and the finder, they should be clean and clear, with no fungus! Rotate the dials and see if they work specially the one for ISO. The self-timer should work as well but that’s not a deal-breaker anyway. The double-exposure switch should ideally work but I don’t really use that myself. It’s hard to discern if there are any leaks without shooting a roll through it so be sure that you will be able to return the camera if you saw any light-leaks. You’ll also want to check the rails and the film compartment, they should all be smooth so your film won’t get scratched. This is an enjoyable camera to use and with luck you could find one for very little money just like I did, happy hunting.
Thanks for following my work, if you liked this article please share this with your friends so it will get more views. This site earns around $0.40 a day, we are totally reliant on views. You can also support this site, it helps me offset the cost of maintenance and hosting. You’re also helping me purchase, process and scan film. This site promotes the use of film so we are all in this together. See you again in the next article, Ric.
Help Support this Blog:
Maintaining this requires resources and a lot of time. If you think that it has helped you or you want to show your support by helping with the site’s upkeep, you can make a small donation to my paypal.com at richardHaw888@gmail.com. Money isn’t my prime motivation for this blog and I believe that I have enough to run this but you can help me make this site (and the companion facebook page) grow.
Buy me a roll of film or a burger?
Thank you very much for your continued support!
$2.00
Helping support this site will ensure that this will be kept going as long as I have the time and energy for this. I would appreciate it if you just leave out your name or details like your country’s name or other information so that the donations will totally be anonymous. This is a labor of love and I intend to keep it that way for as long as I can. Ric.

Sep 04, 2021 @ 00:24:32
Hey Ric, those pickles look good!
Japanese eateries here in Australia often don’t serve them because the locals often won’t touch them…a shame.
I wish I could escape and get over to Japan.
Dec 28, 2022 @ 08:25:58
Hi Richard,
i’ve had the Nikon FM2, but sadly sold it some years ago…because i own too much gear, over the years. The FM10 was being mostly bought by photography students, which needed a cheap 35mm SLR. I know, that it was build by Cosina, since the start.
For 35mm SLRs, i have other faves, for instance my XD7, X700 Minolta. With AF, i choose my F80/N80, or the F100..but i also like to shoot my (albeit) heavy F90x.
I wish happy holidays. Greetings, and a good new year !