
Hello, everybody! I was listening to “A Day in the Life” by The Beatles. The song aged really well, it’s just as good as the day I’ve first heard it. Despite being a rather old pop-song it still sounds fresh compared to the rubbish that’s made in recent years. I am sure that it had influenced many artists throughout the decades. Some things age rather well while a lot of things don’t. Today, I’d like you to see something that has aged rather well but there are some things about this that seem outdated. Despite that it was made for 36 years because people were still buying these, showing how this is still relevant in recent years.
Introduction:
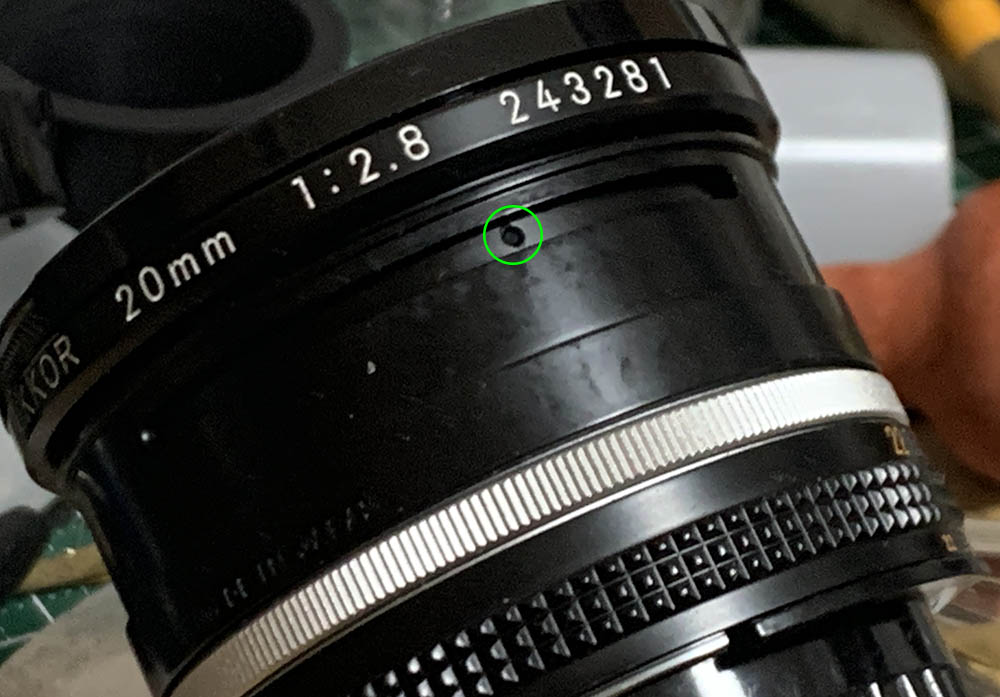
The Nikkor 20mm f/2.8 Ai-S was sold from 1984 up until 2020, a very long time by any standard. It replaced the reliable Nikkor 20mm f/3.5 Ai-S which is a great optic. It’s now faster which helps when focusing in dim environments and also for shooting in lowlight situations. The implementation of CRC also made this the most-advanced manual 20mm in the Nikon inventory. Some folks will claim that the old Nikkor 20mm f/3.5 Ai-S or the even-older New-Nikkor 20mm f/4 are better in terms of sharpness, they may be correct but this one is one sharp lens at the center which you’ll see later. It’s also able to capture more light thanks to its brighter f/2.8 maximum-speed. It’s hard to pick a winner because they are different in many ways and it will all depend on your requirements when deciding which one is the best lens for you.

The construction of the lens is rather conventional by Ai-S standards. It will take some abuse but it’s not as tough as an older Ai-Nikkor. The scales and numbers are very informative, you could focus with it just by looking at it. The handling characteristics is excellent, you’ll have no problems identifying the rings by-touch.
It has a new 12-elements-in-9-groups design with matching CRC for better performance at closer-distances where you will notice the biggest improvements at the corners. The optical design persists up to its last version, the very versatile AF-Nikkor 20mm f/2.8D. I’ve shot with the latter extensively up until 10 years ago so I am very familiar with it. It’s both good-and-bad because that familiarity enables me to predict what it’s going to give and also exciting because it’s my first time to shoot with it in an all-manual barrel. I’ve heard that it performs quite well when used in-reverse for taking high-magnification photos but I’ve never tried that myself.
The coatings are better on higher production numbers where Super-Integrated-Coating is implemented. This does not mean that it’s immune to internal-reflections, it just makes it more resistant to it. Going back to the optical design it is common to find these with the dreaded balsam-separation issue on the rear cemented-groups. Many didn’t age well, I had to wait for a long time in order to find a cheap one without that problem.

It is a nice match with a Nikon Df, the setup looks handsome and I’m sure that it will attract some attention. These were sold new up until 2020, I could even find these for sale as new-old-stocks up until a few months ago. They are popular so they stayed for a few decades in Nikon’s inventory.

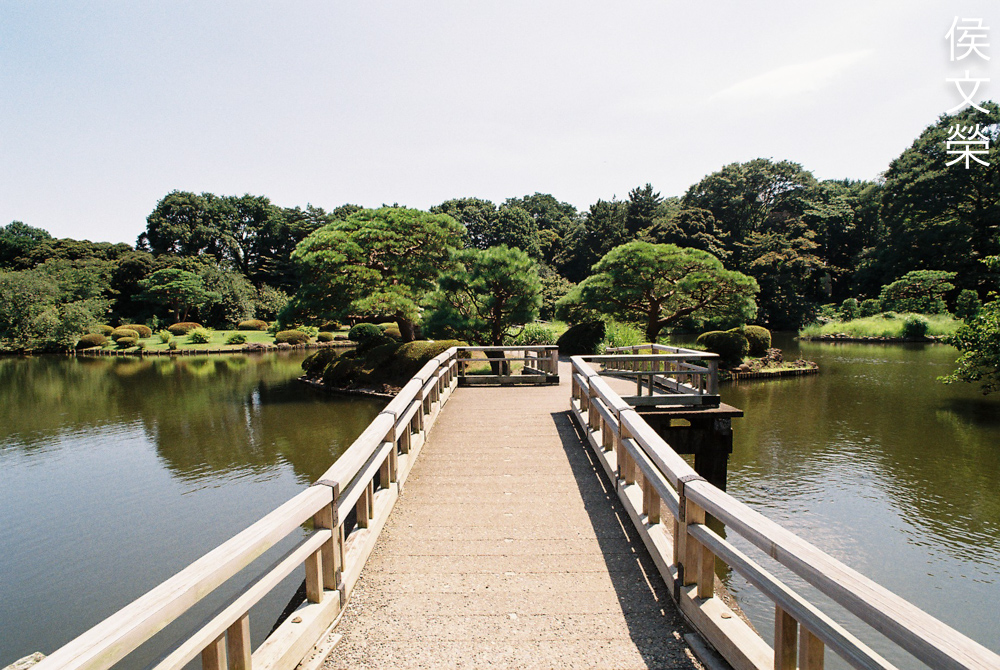
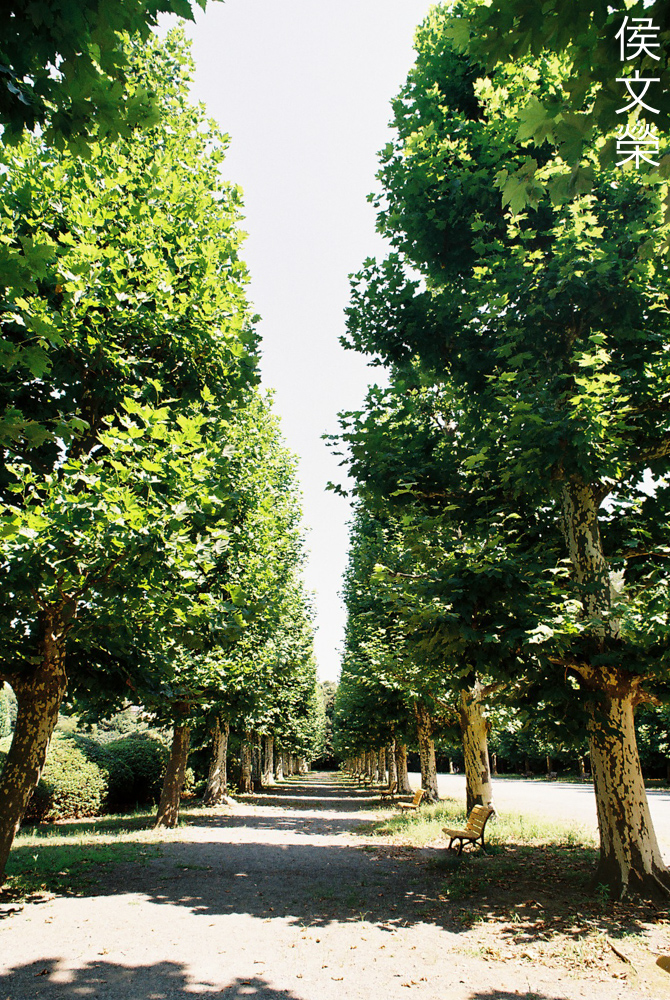
Shooting this with an all-manual camera like a Nikon FM-10 is the best way to enjoy it. The minimalist setup will allow you to concentrate on what’s important when taking a photo. The depth-of-field scale is useful when you’re shooting landscapes because you could do hyperfocal-distance focusing with it effortlessly. I guess this is the main reason why it remained popular throughout the years along with its compact barrel which makes in invaluable for hiking. The front is rigid so you don’t have to worry about using polarizers or other accessories with it.

This is Mr. M’s setup, I consider him an expert in terms of engineering because he works for a lens manufacturer. Some people adapt this for use with their non-Nikon cameras because it’s such a nice lens. Handling is excellent which helps you concentrate on just shooting with it.
Learning how a lens performs is important so you will maximizing its use. You will learn how to utilize its strengths and avoid its weaknesses. This knowledge helps in determining which lens to bring on an assignment. I shot these photos from f/2.8, f/4, f/5.6 and f/8 since these are the most common apertures that people would want to use this, we’ll also get to see the most changes happen within these values. I shot these with my Nikon Df, some of these were cropped close to 1:1 so we could see the details better.


(Click to enlarge)
Vignetting is hideous wide-open, up to several-stops’ worth of light is lost. Stopping this down to f/4 helps a lot, but it is still quite dark. You will see some improvements by f/5.6 but not by much and stopping it down to f/8 won’t give you a better result, maybe a bit but not as noticeable.
The distortion’s profile is rather complex and steep but this could be corrected via software. Leaving some 5% or 10% at the edges will help a lot when the software undistorts your photos so you’ll at least get everything important within your photos.


(Click to enlarge)
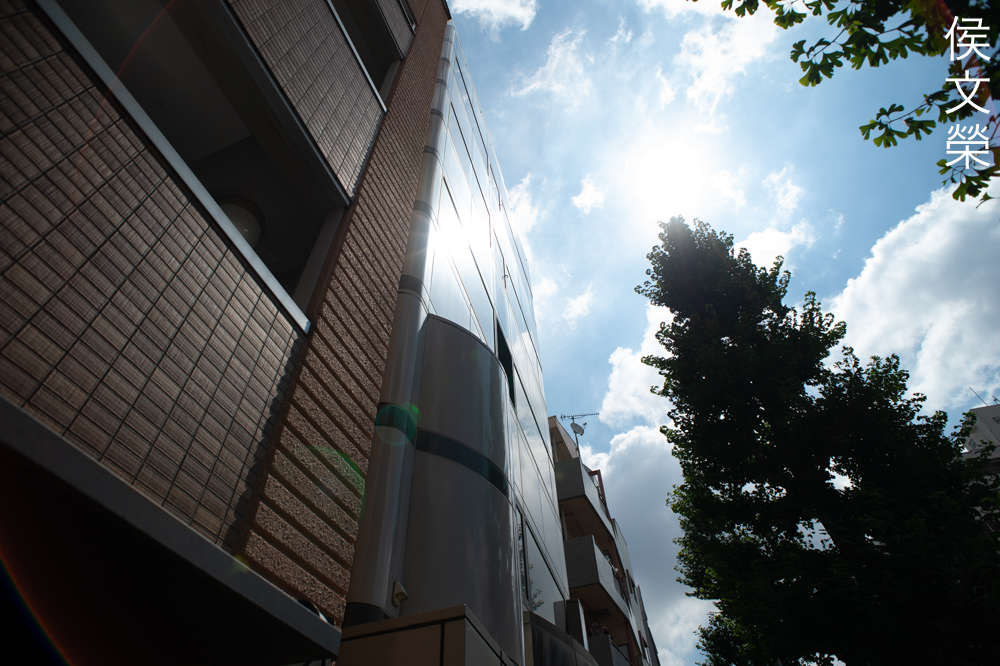
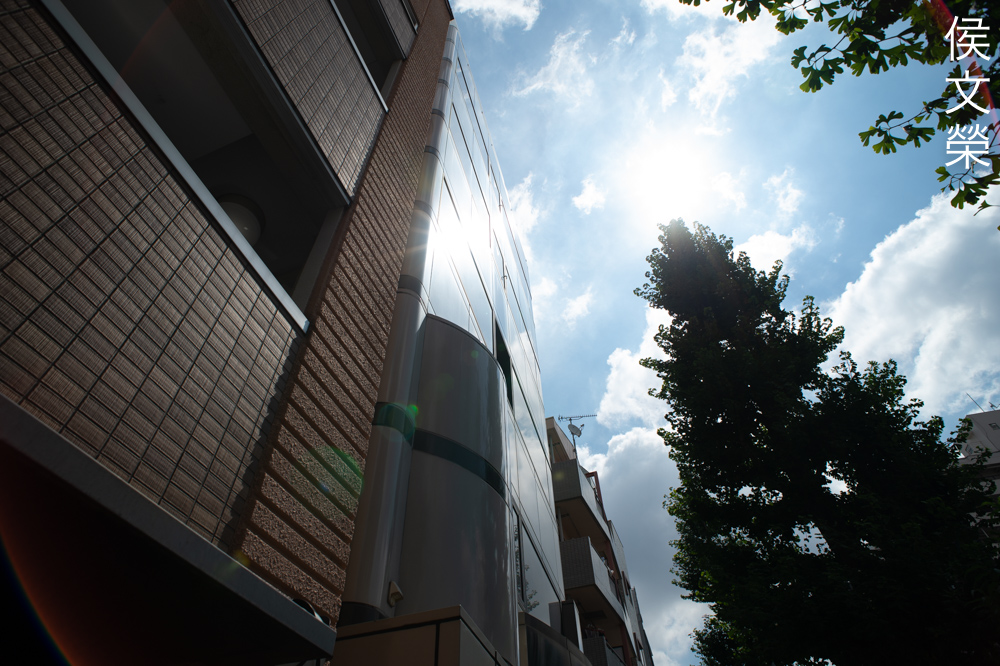
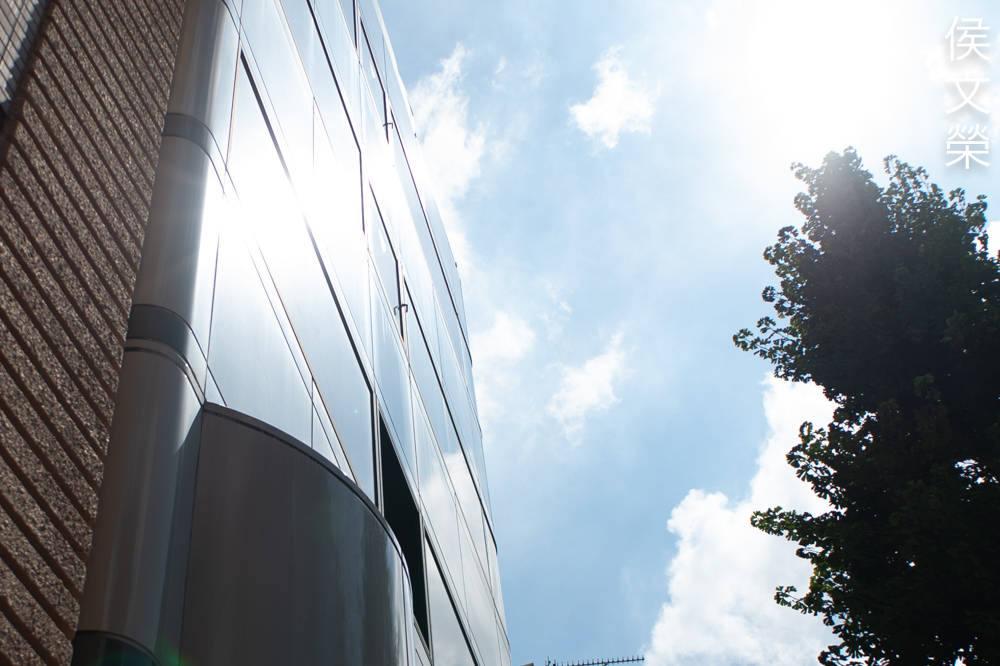
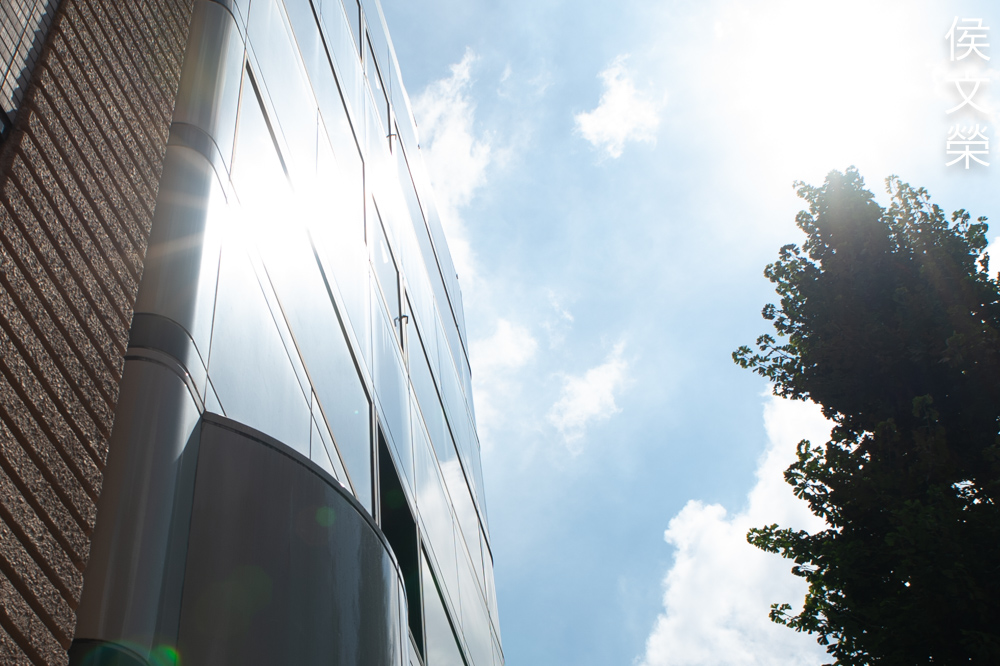
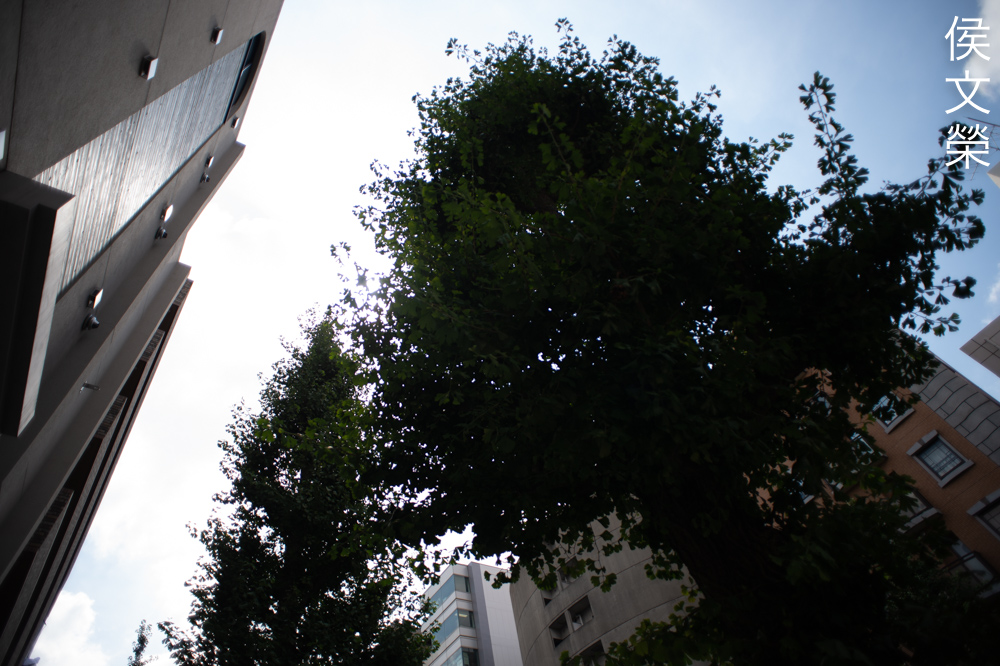
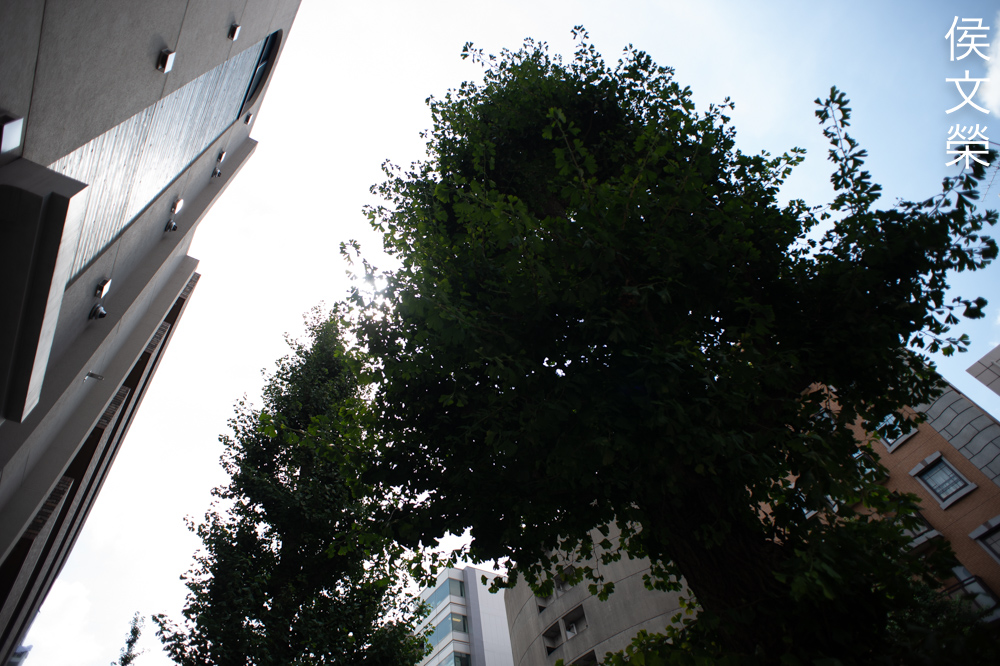
It has a tendency to flare to badly in extreme cases but it’s not bad at all in general. You’ll get plenty of blobs if you are shooting with bright sources of light within the frame. While it looks somewhat pleasing it’s not something that I’d like to have in all of my photos. This will be an issue when shooting sunsets, I have extensive experience with the autofocus version of this lens and that certainly was annoying when I was shooting against-the-sun at the beach.


(Click to enlarge)
This lens is never known for its bokeh characteristics. In fact, it’s notorious for the way it renders the blurry parts. Since I don’t expect this lens to render smooth, creamy backgrounds I won’t put this against it. This lens was designed for use with the iris stopped-down to at least f/5.6 or f/8 as suggested by what we saw in the vignetting portion of this article.


(Click to enlarge)
Chromatic aberration is rather high when shooting wide-open if you have overblown parts in your frame. You won’t get much of it when you’re shooting more manageable scenes. Stop the iris down to f/4 and things look much better. This is the smallest aperture you’ll want to shoot this with when you’re shooting in contra-light. You’ll only see small traces of it by f/5.6 so it’s as good-as-gone and it’s going to be difficult to spot by f/8 in extreme scenarios. When shooting it against-the-sky you’ll notice that it fares worse but that’s a rather difficult thing to get right anyway. When faced with a similar scene be sure to stop the iris down to at least f/8 in order to alleviate this.
I don’t think spherical aberration is much of a problem with this lens as it seems to clean-up rather well by f/4. You will only see a bit of it even when shooting wide-open anyway.


(Click to enlarge)
The center looks gorgeous at f/2.8, it’s sharp despite the contrast looking a bit subdued. The corners look horrible, they look smeared and the resolution is certainly lacking. Stop the iris down to f/4 and the center looks even sharper, you’re going to notice a nice jump in resolution. The corners look a lot better but still unusable at this aperture value. You will get peak-sharpness at the center by f/5.6 and you won’t see huge improvements even if you’ve stopped it even further. The corners now look somewhat acceptable but still lagging compared to the center. The only point to stop this down further is to get deeper depth-of-field and better performance at the corners now looks decent at f/8. They’ll never be able to match what you see in the center which is a bit unfortunate because landscape photographers pixel-peep a lot. I should know, I used to be one.
I find that it performs rather well at closer distances and it deteriorates as you get closer to infinity. This is probably the work of the CRC mechanism. The difference in performance at the center is negligible but you’ll certainly notice it more when looking at the corners, possibly by 1/3 of a stop. It’s also worth noting that an incorrectly assembled CRC mechanism will result in degraded performance at the center of the range and sometimes at the far-end of it. It’s a very delicate mechanism which requires the proper collimating machines and jigs to get things perfectly-aligned, I don’t own any of them.
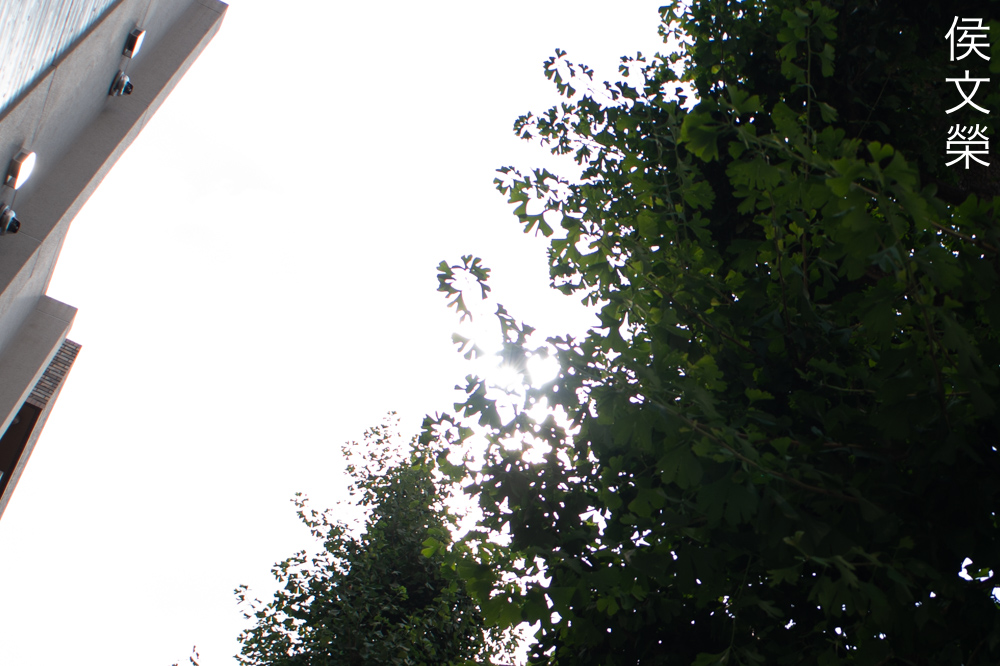
Be mindful when shooting with the sun in your frame to prevent ghosts from ruining your photo. It’s difficult to avoid this because the angle is so wide.


(Click to enlarge)
This is what I was talking about, it’s really hard to avoid ghosts or just having the sun within your frame because this lens is wide. It can be really frustrating at times but you will just have to live with this.

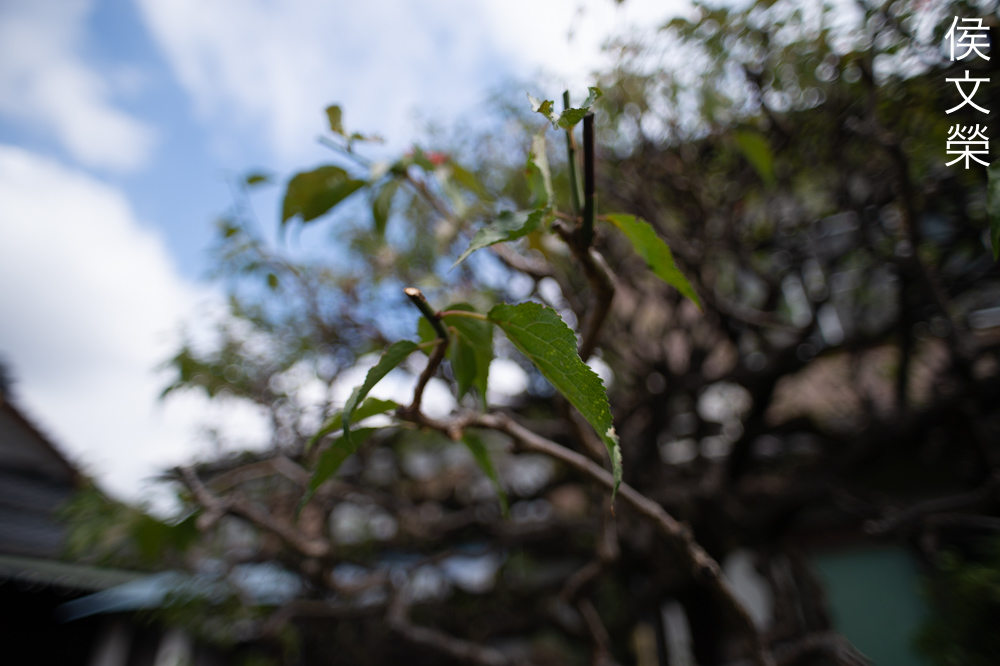
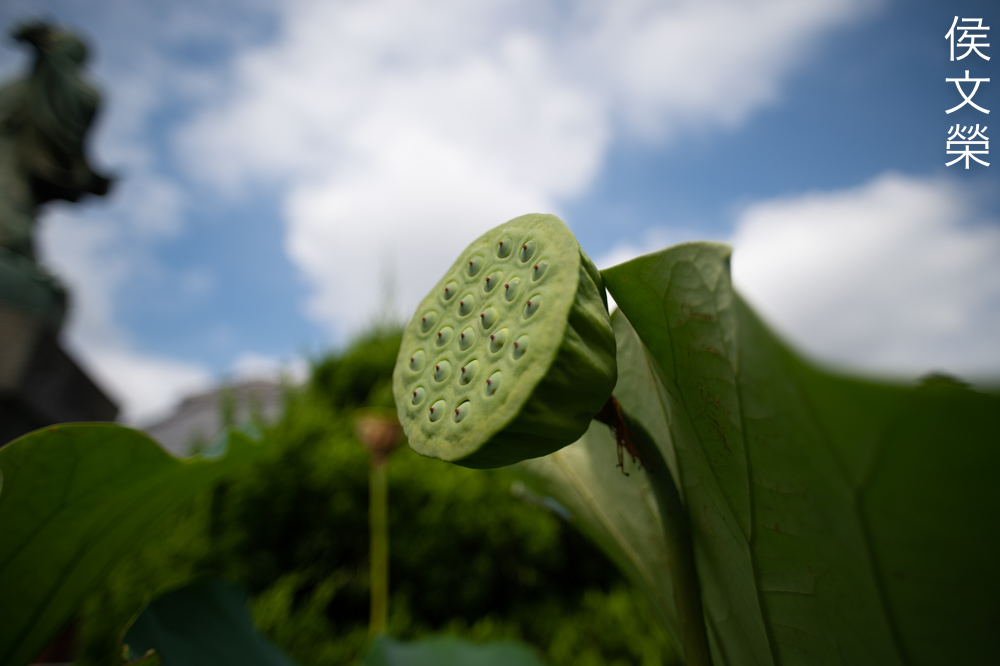
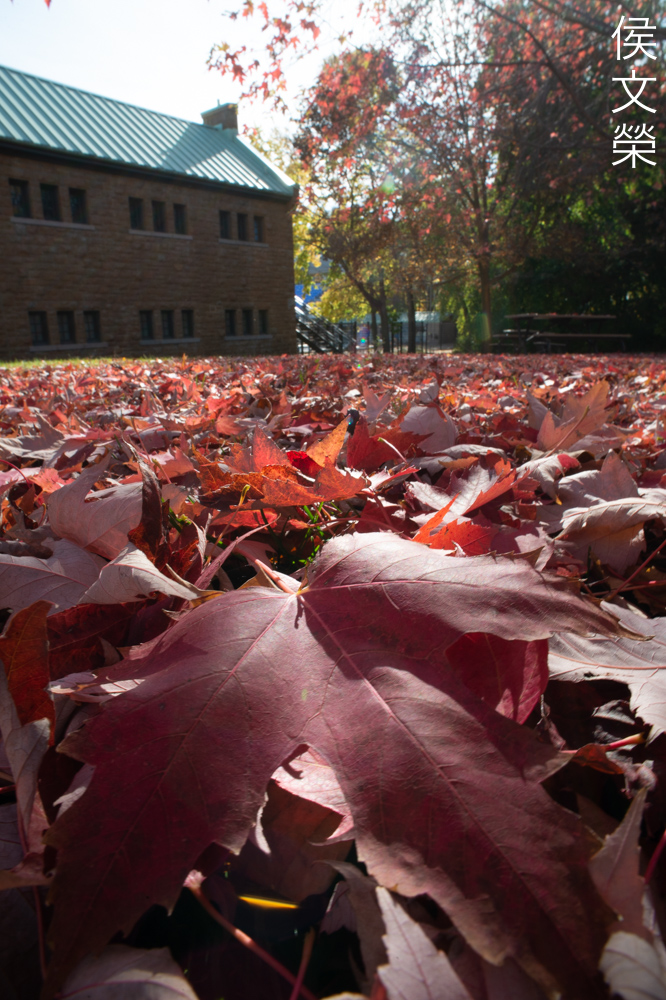
Its ability to focus-close is helpful in exaggerating your subject in relation to its surroundings thanks to foreshortening. You can use this to to help tell a story or immerse your viewer in your photo. A wide lens should be able to do this, it’s now considered mandatory for wide lenses. Notice how the character of the bokeh looks, this lens is known to render a bit “rough” when it comes to the blurry parts of the scene. Some claim that it could be remedied by adjusting the CRC mechanism but I personally found it to be false or at least it didn’t make much of a difference for me to notice.
It’s easy to use hyperfocal-distance to get everything in your frame in-focus but it’s difficult when the foreground is very close to your lens such as this one. I took this at f/22 but that’s not even enough to get the background in-focus. I also have to deal with the effects of diffraction. If the foreground is around a meter or so away from me then this would have been much easier.

Since it’s rather wide your setup could be merely centimeters away from your subject but it still looks a bit far. Don’t be frustrated since this is normal when shooting with a wide lens like this, the wider you get the closer you need to be just fill your frame with your subjects. This is the reason why fisheyes enable you to focus much closer. It’s also dangerous if you’re trying to shoot moving subjects because you wouldn’t be able to judge its distance accurately which can lead to accidents or even the loss of your life.

This is an unremarkable photo, I’m only showing you this so you’ll have an idea as to how it looks like when using it for shooting interiors. Wide lenses help make crowded interiors appear larger thanks to foreshortening, this is the reason a lot of rooms appear tinier in reality compared to how they looked like in an ad. Use this trick to sell real estate, this isn’t what I’d call false-advertising because you don’t have intent-to-deceive, ask your lawyer first in order to be safe.

The exaggerated lines makes your scene look “cartoonish”. While I don’t like this look it’s useful for making things look more “dynamic” or even suggesting motion. This is the reason why a lot of photos for extreme sports were shot using wide lenses.
Also notice how the wall looks distorted, you’ll have to be aware of it. I’m very familiar with the autofocus version, that lens shares the same optics as this one. I’ve taken plenty of landscape photos with it, I always take a lot of care when it comes to positioning the horizon so it won’t look warped.

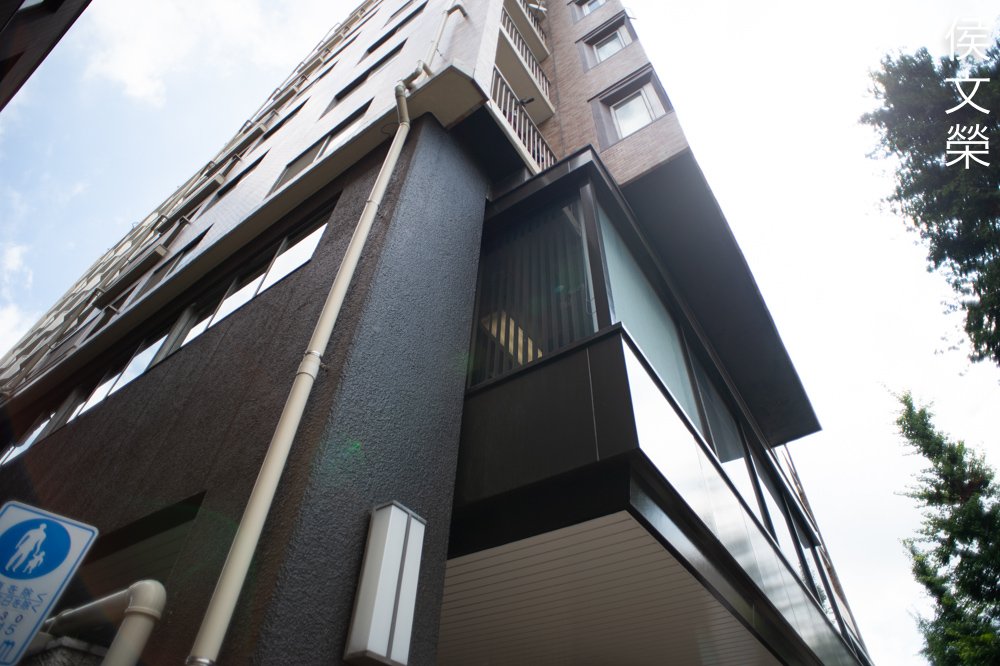
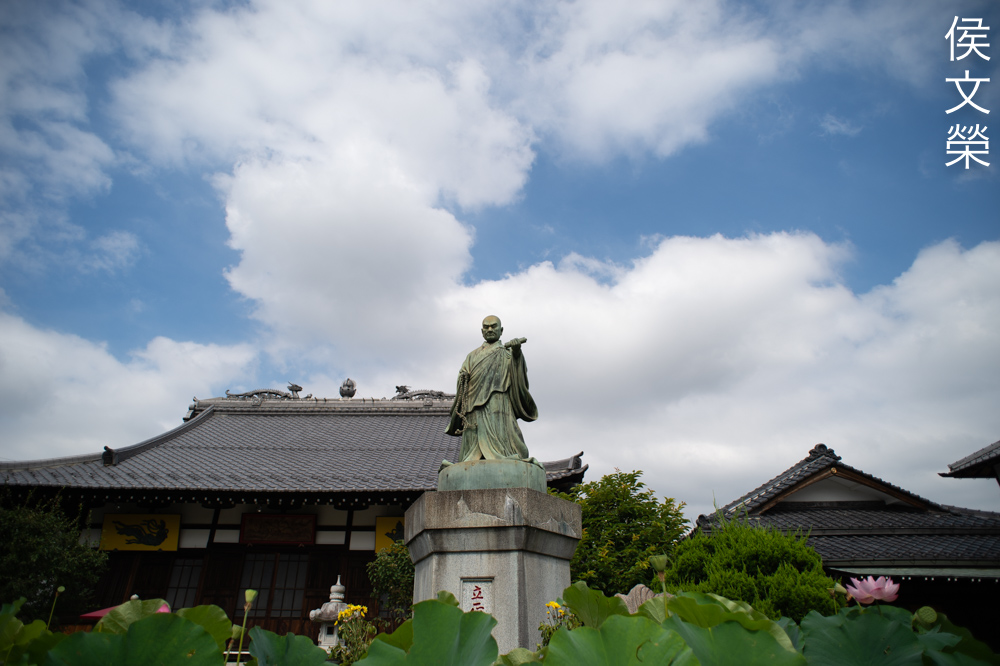
Using wide lenses for architectural photography isn’t always the obvious choice. If I were to present this house in a way that makes it look more “real” I’d shoot this with a 50mm lens and just walk further from it just to get it into the frame. It’s easy to abuse a wide lens’ ability to get everything within the frame.
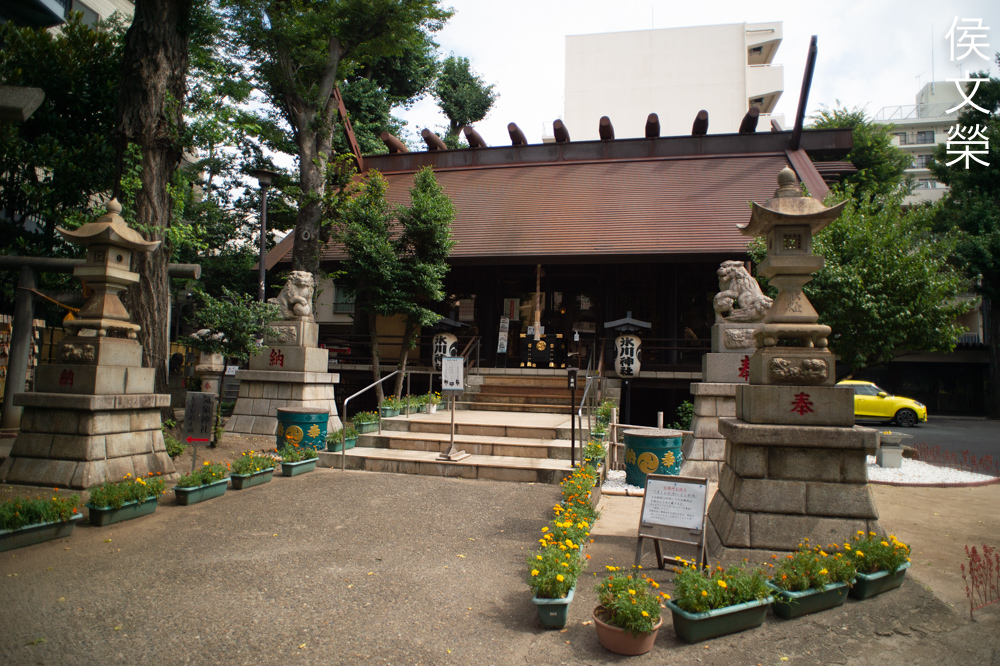
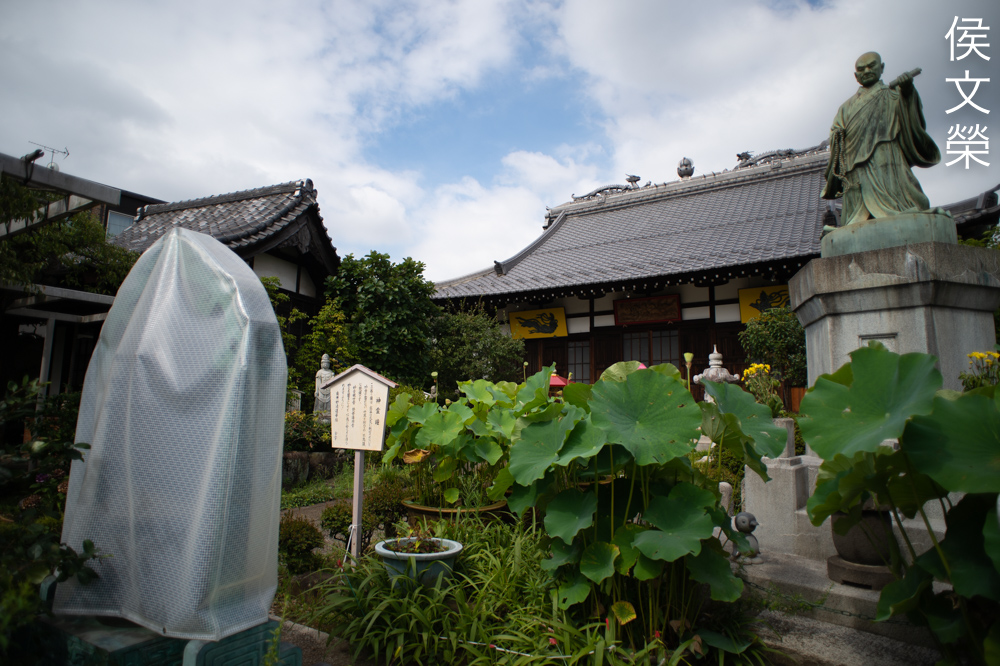
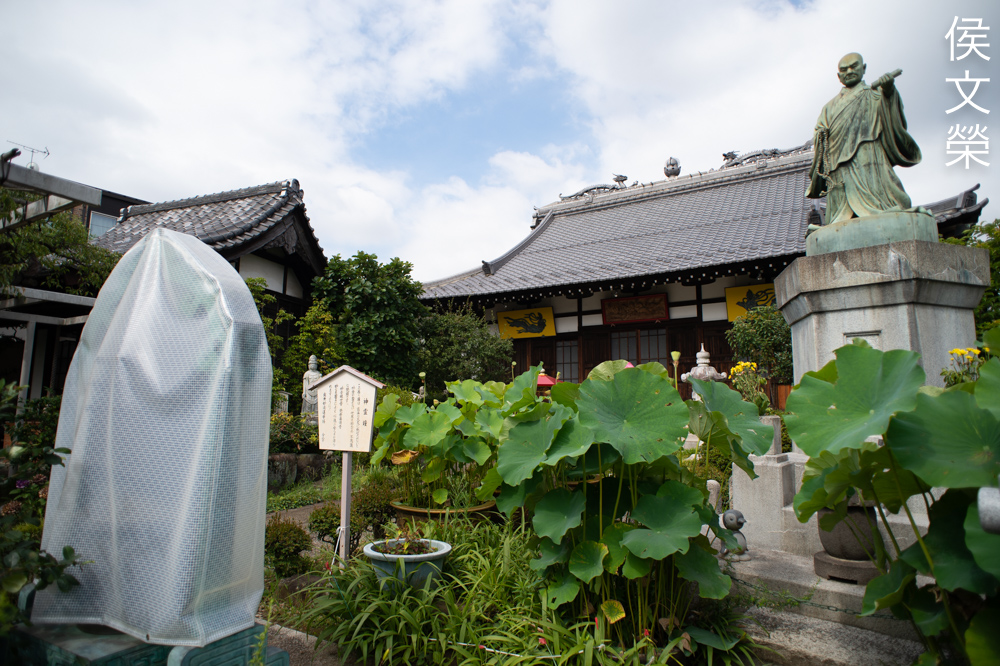
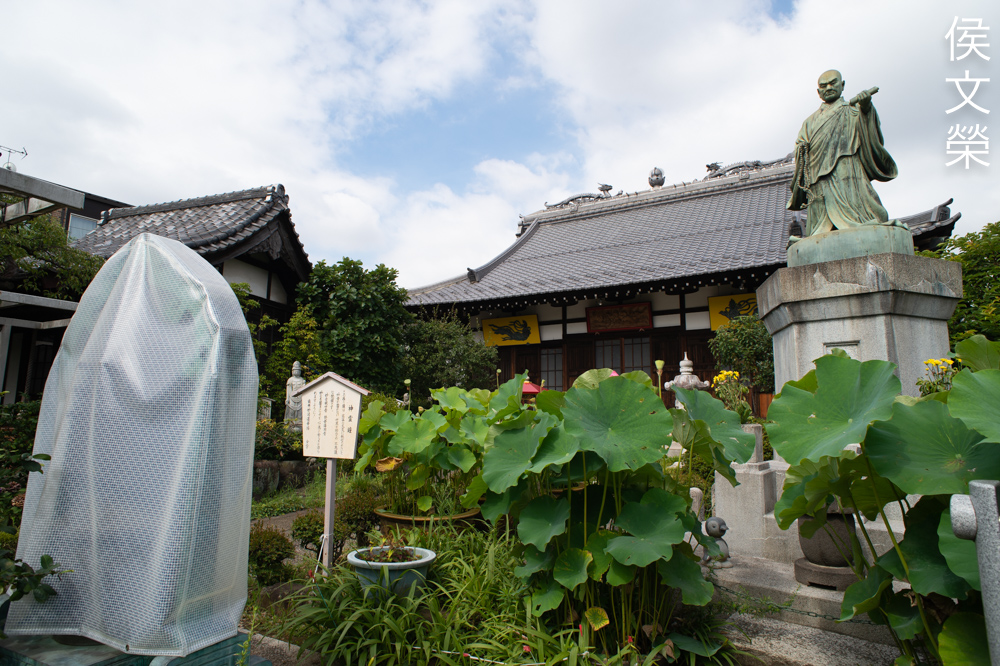
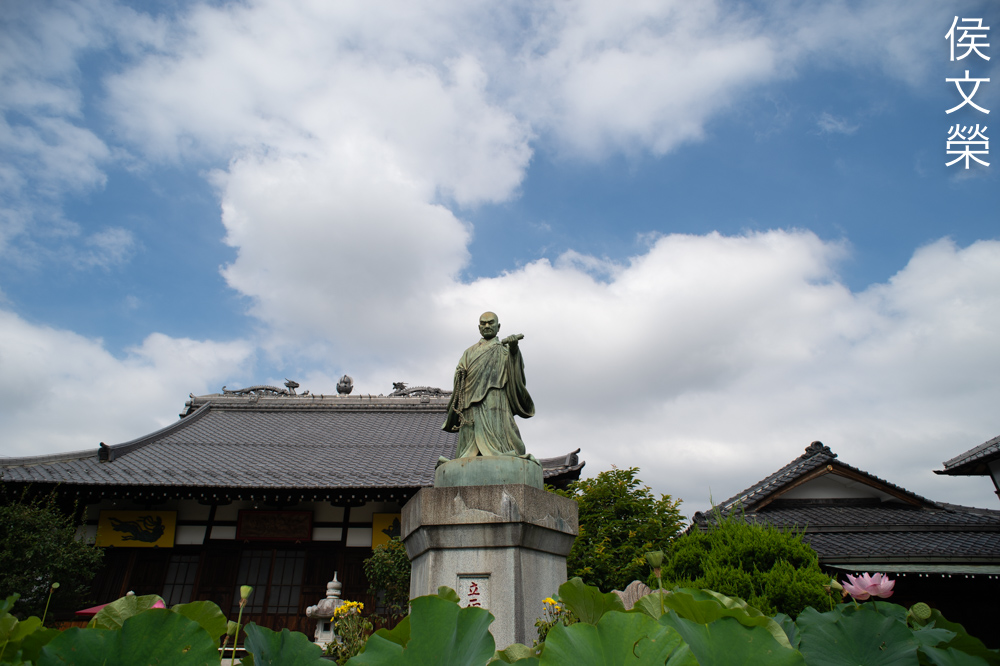
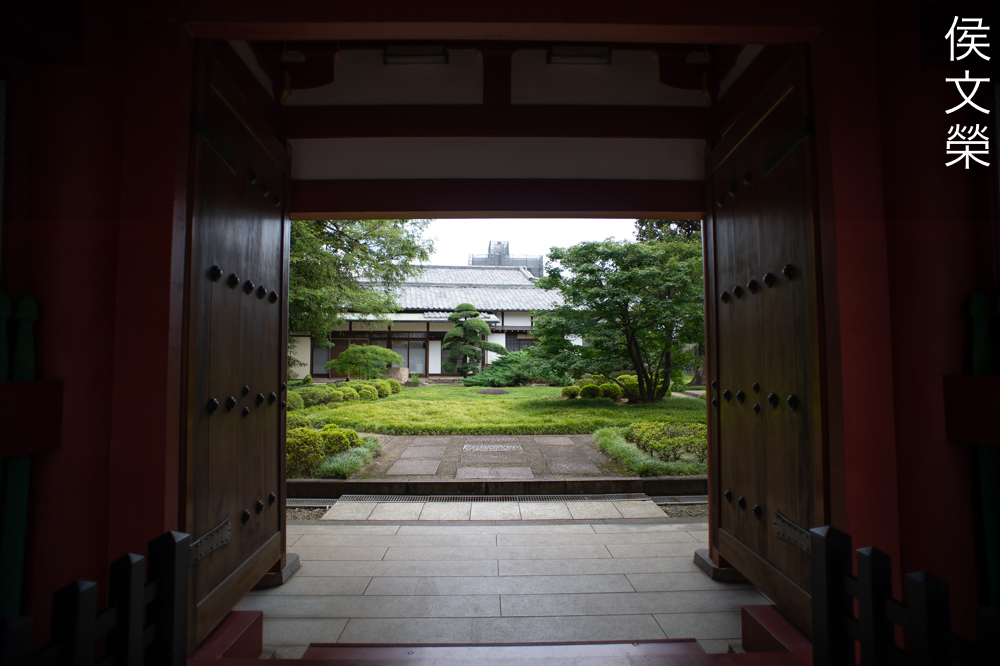
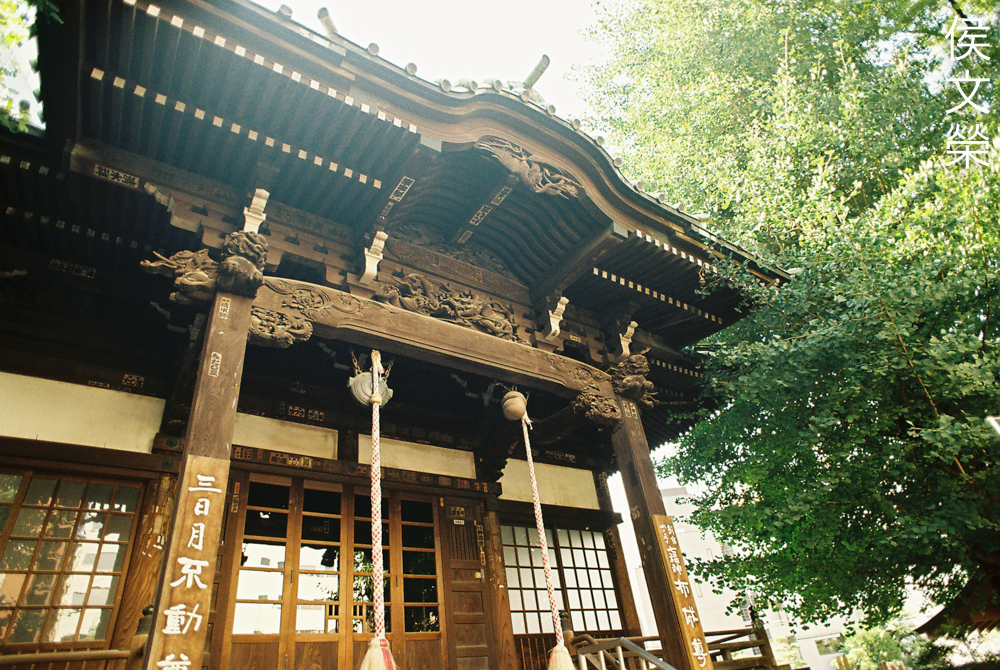
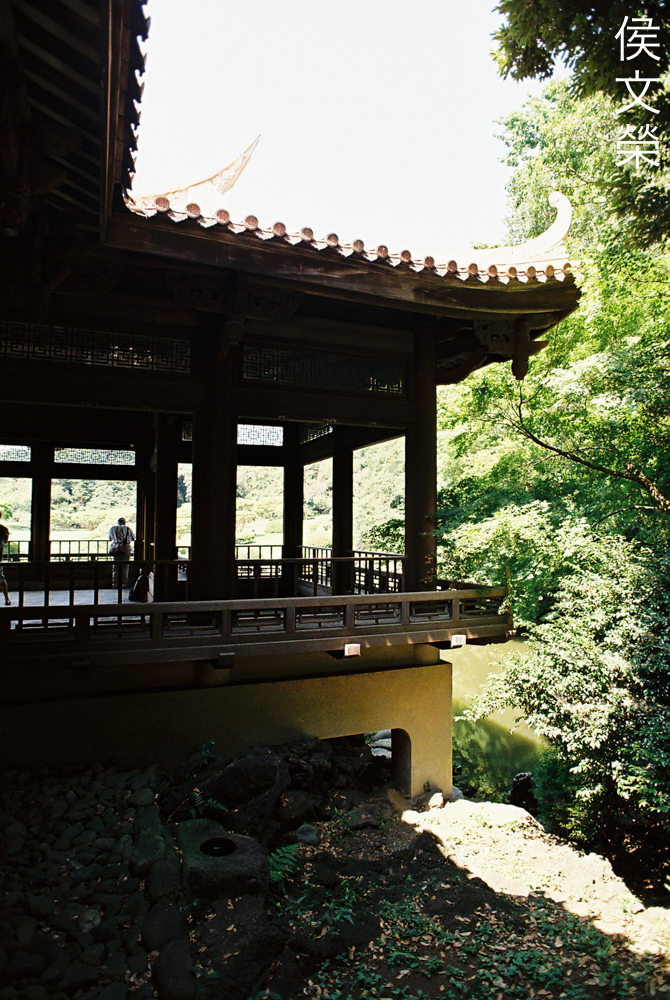
This looks a lot better. Again, foreshortening makes the foreground appear larger than they really are. If emphasizing a subject is more important than the foreground just shoot with a longer lens. The shrine will look a lot bigger if a 50mm lens was used instead of this.

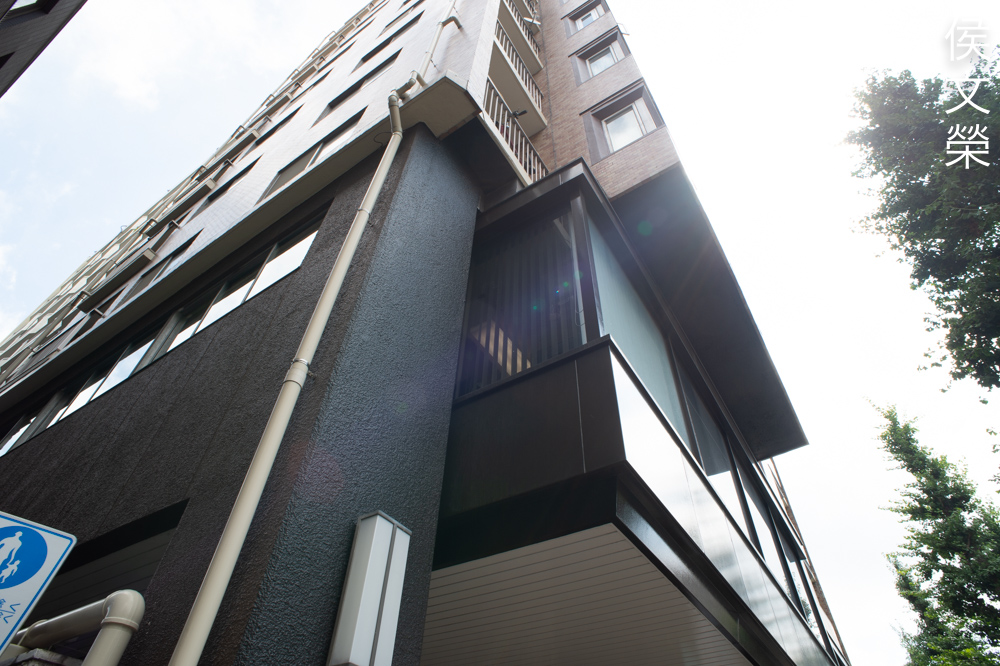
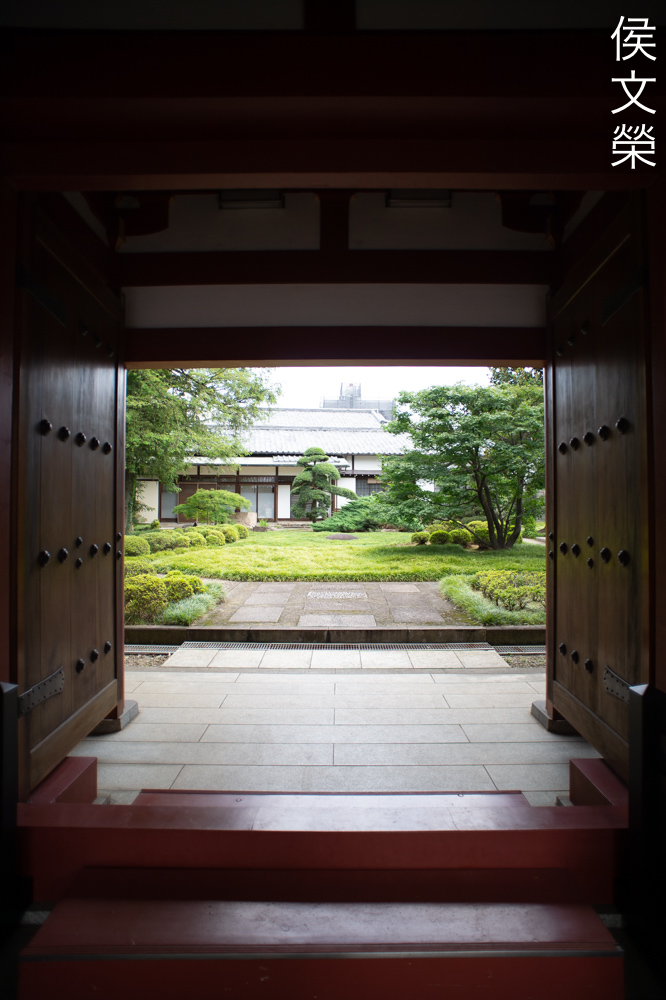
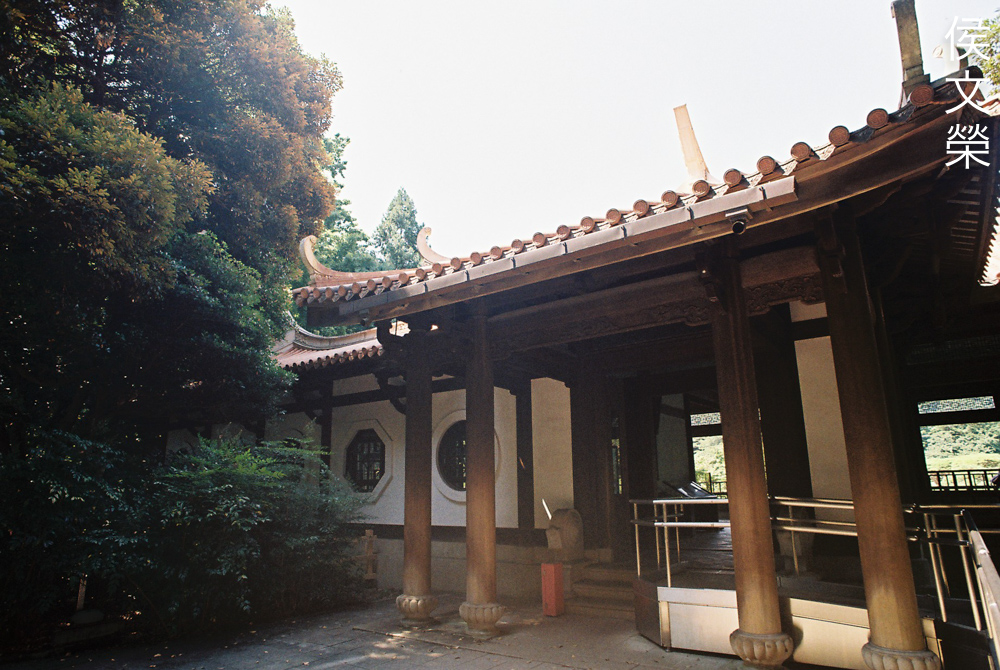
This is an example of how the effects of distortion looks like when shooting architecture. Notice how the beams curve a bit, you’ll also see some of it in the pillars, too. Also observable here is chromatic aberration, the roof looks ugly due to this and underexposing the whole scene will help balance things. The gate would look darker but the roof and the back would be expose a lot better, even 2/3 of a stop helps tremendously.
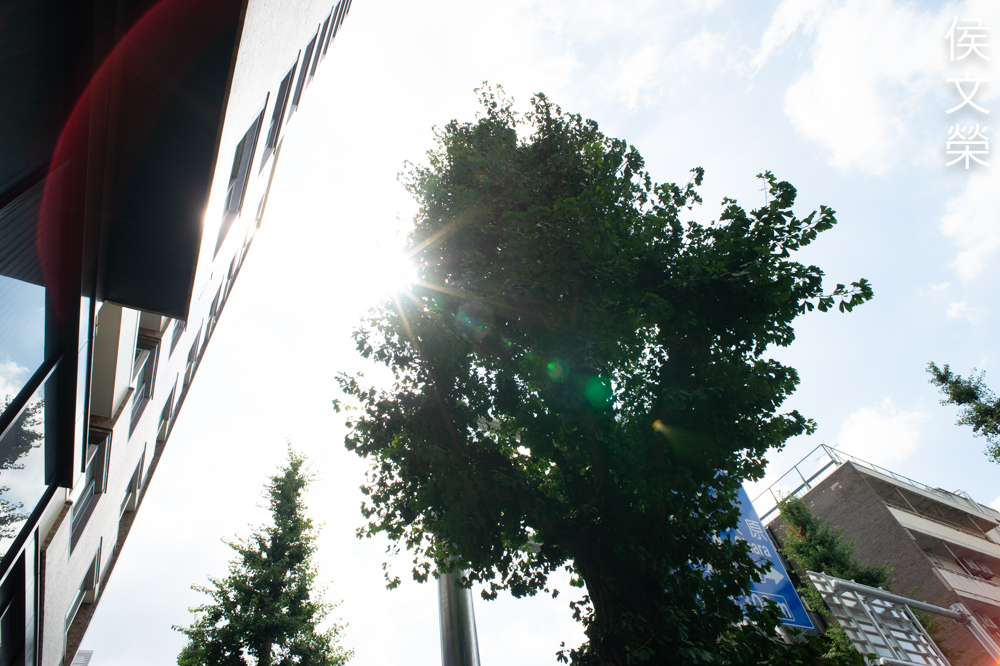
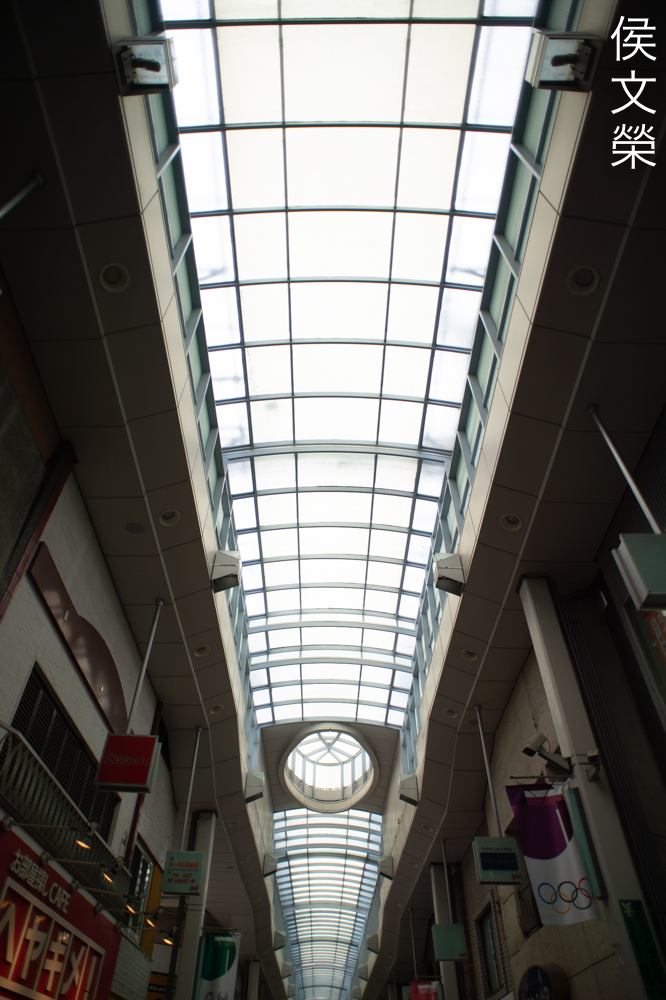
The horizontal and vertical lines are all warped. The AF-S NIKKOR 16-35mm f/4G ED VR quickly replaced this as my go-to lens when I want to shoot 20mm because it has less distortion at 20mm than this one. The only reason I kept my old lens is its compactness, something that is very useful when I was still shooting landscapes because I had to hike.
I’d say that chromatic aberration is probably its biggest weakness along with the rather high amounts of distortion. It’s not a bad lens at all it’s just that you’ll have to be aware of these and correct these in post. Leaving some space around the edges of your composition will ensure that you won’t lose anything important when your software undistorts your photo, I’d say 5% should be the minimum.

Being an ultrawide lens you’re able to get most things inside your frame. This makes it easy to shoot large, sprawling buildings, an important asset for a professional photographer. So long as you’re mindful of the distortion and how to avoid making it obvious I can assure you that this lens is capable in this field.

The enhanced effects of foreshortening can exaggerate your subjects even if they’re huge. Real estate photographers often use this trick to help sell houses or rooms.


(Click to enlarge)
Here are more photos. I had a nostalgic time shooting with this because it reminded me so much of my old workhorse, the AF-Nikkor 20mm f/2.8D in terms of rendering and everything that had to do with optics. I think that it’s still a great lens today but do not expect it to outperform any of the excellent 20mm Nikkors that were made in recent years. Apart from being compact I don’t think it’s a match for any modern-day optic.
Let’s now check some film photos. Film has a unique look that is hard to simulate with a digital camera thanks to grain. It reacts differently to light, this means that it could mask a lens’ flaws or amplify them. Since this was designed to be used with film, it’s best that we judge this using its intended medium. I took these with Kodak Pro Image 100, it’s a film that I am using more these days.


(Click to enlarge)
This is interesting, the blobs appear larger and flaring seems to be worse with film, I believe that it’s because I’ve taken these on a brighter day than the ones we saw with a digital camera. Be aware of this and you should be able to avoid a lot of the things you see here.
The character of the bokeh doesn’t look as bad when shooting with film, grain helped breakdown the roughness so it’s not as obvious.

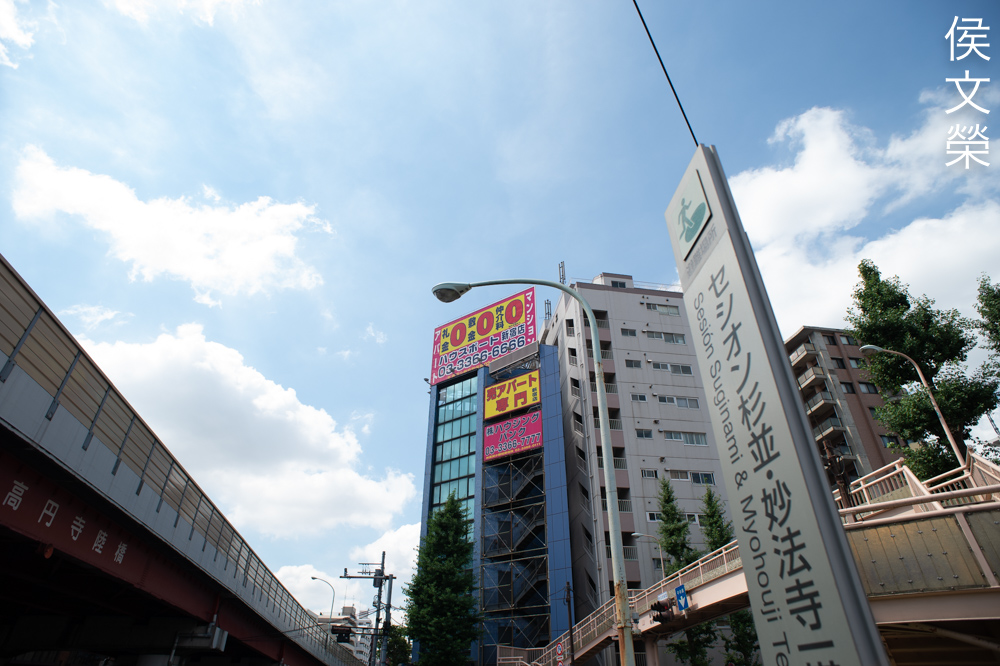
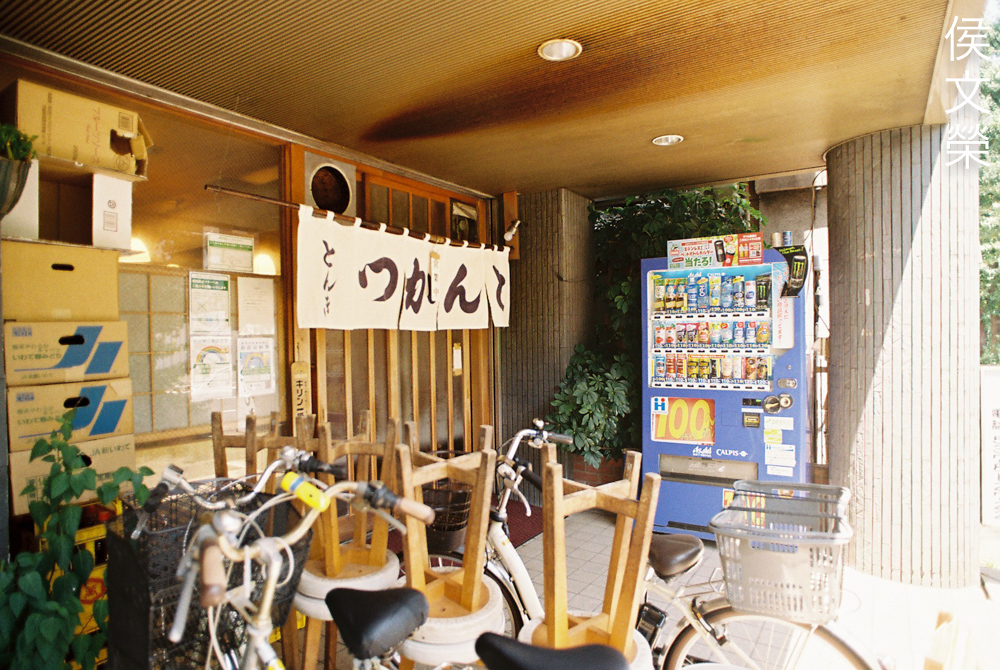
The storefront’s lines are distorted, you should be careful when shooting scenes with straight lines. Because Kodak Pro Image 100 has a yellowish-cast that’s common with most Kodak films the white paint looks more beige than anything.

Angling your shots certainly helps a lot so you won’t see the effects of distortion as much. You can see some chromatic aberration at the top-right part of the frame since its overblown, stop the iris down to help alleviate this. Use a smaller aperture value to help alleviate this, that is if there’s enough light.

Shooting this in lowlight isn’t much of a problem because you could drag your shutter, 1/15s will still yield nice photos so long as you’re careful. Shooting wide-open will result in a shallower depth-of-field so some parts of your scene will appear a bit blurry.

If you anticipate shooting in lowlight use a film that’s faster, that will help you use a faster shutter-speed.

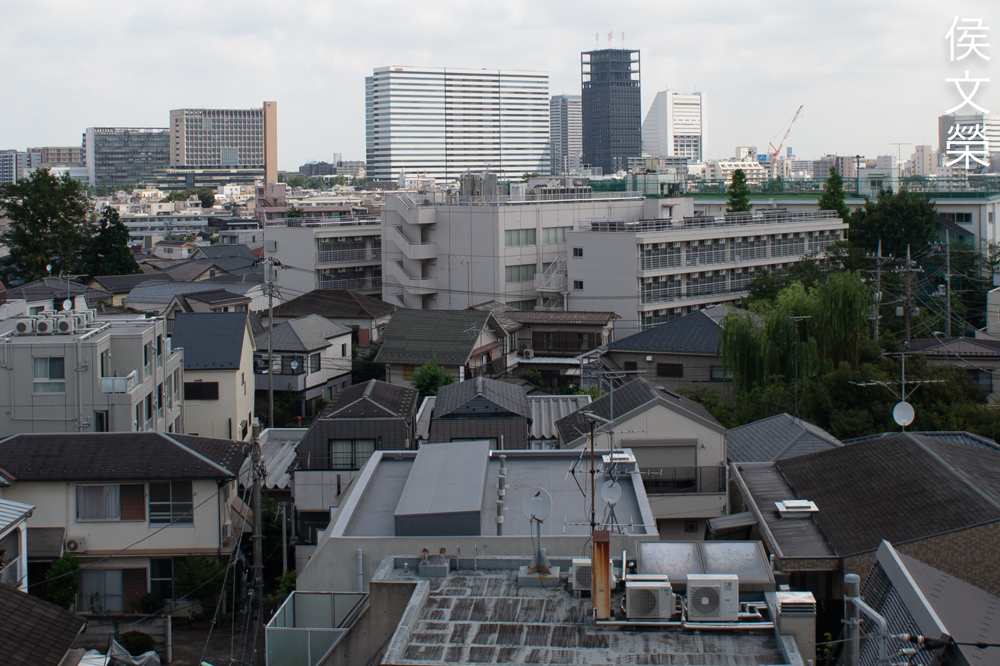
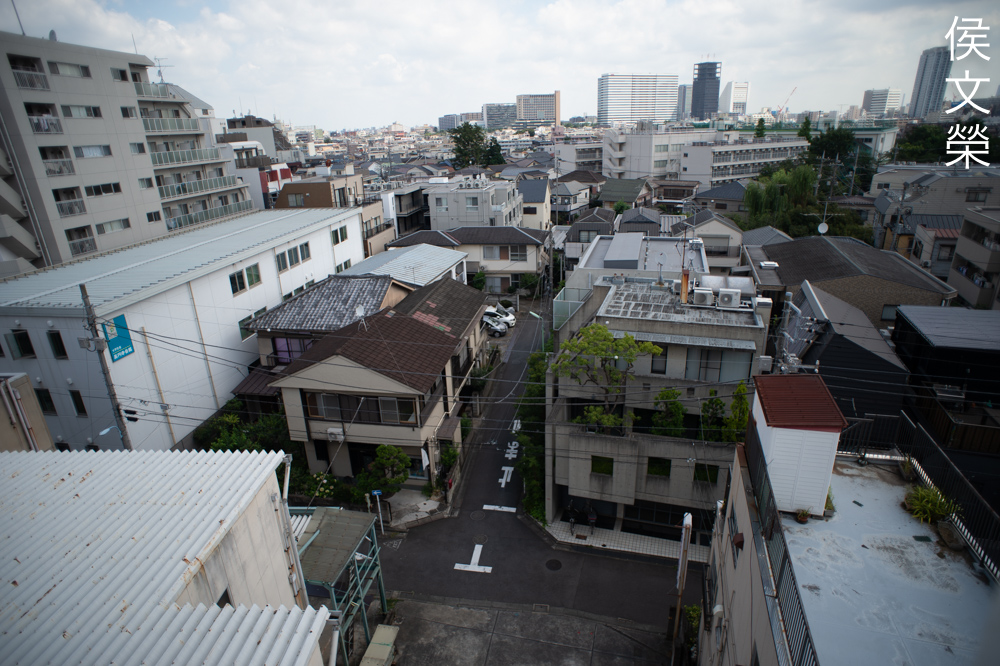
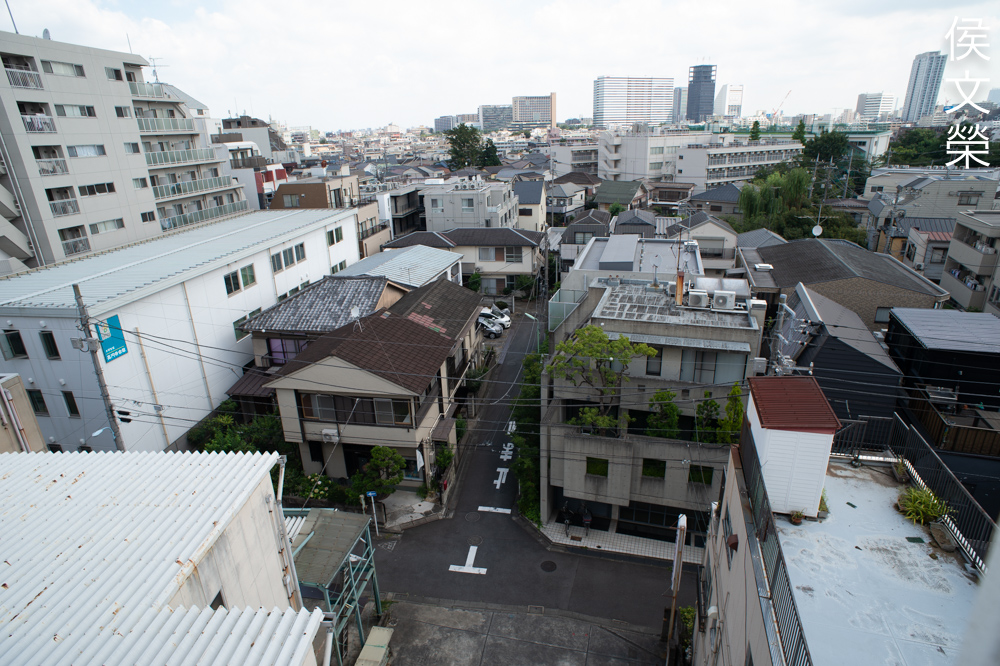
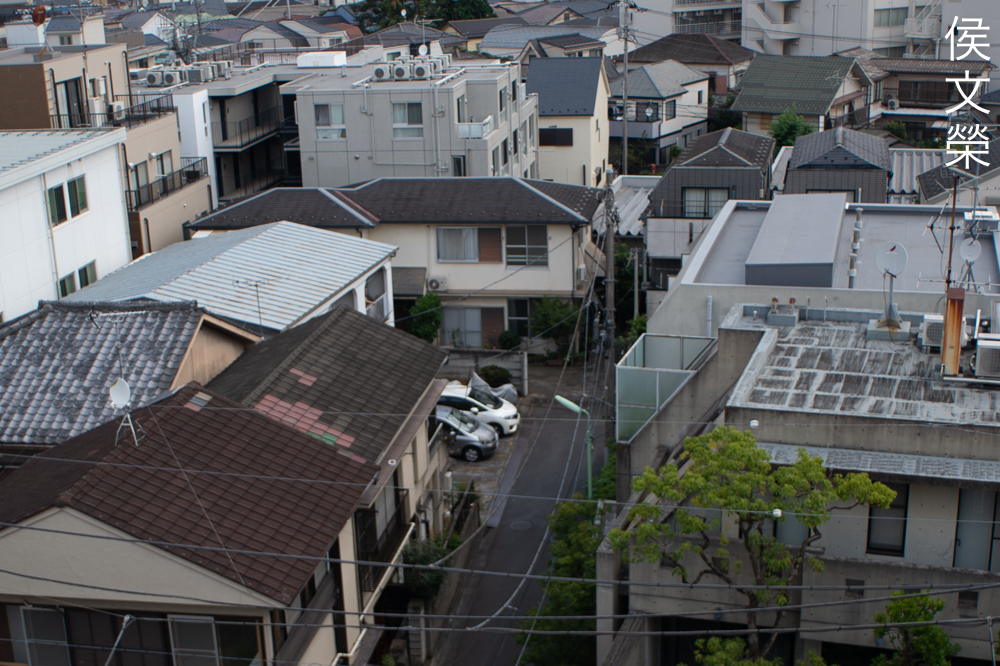
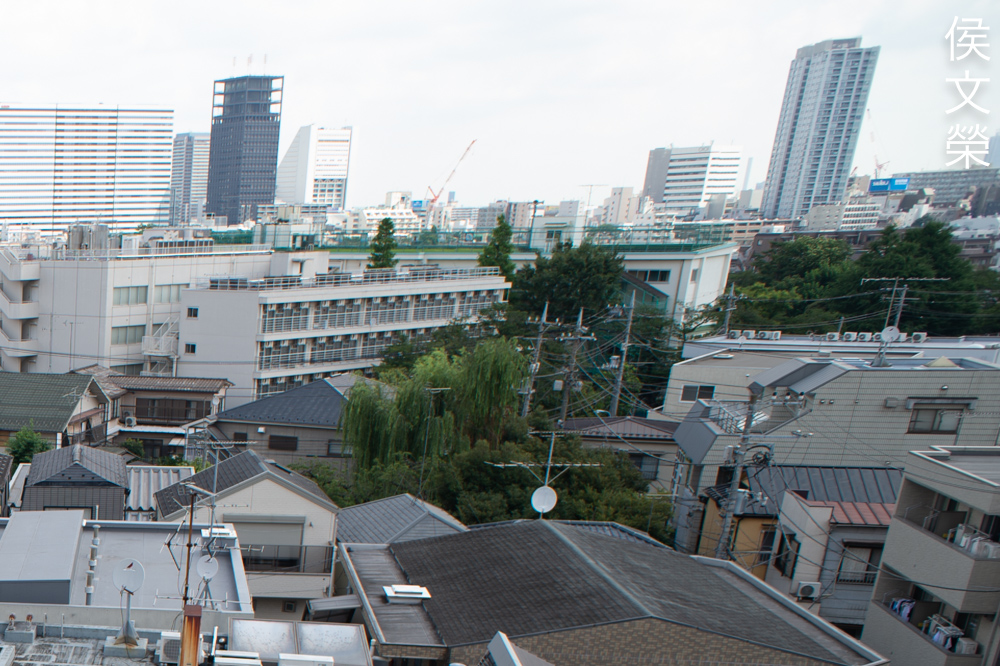
It’s a nice lens for urban exploration but a 28mm lens should be a lot better because 20mm is too-wide in my opinion.

If you need to get more of the scene into your frame then a 20mm lens should be the limit, a wide one will make your photo look surreal.

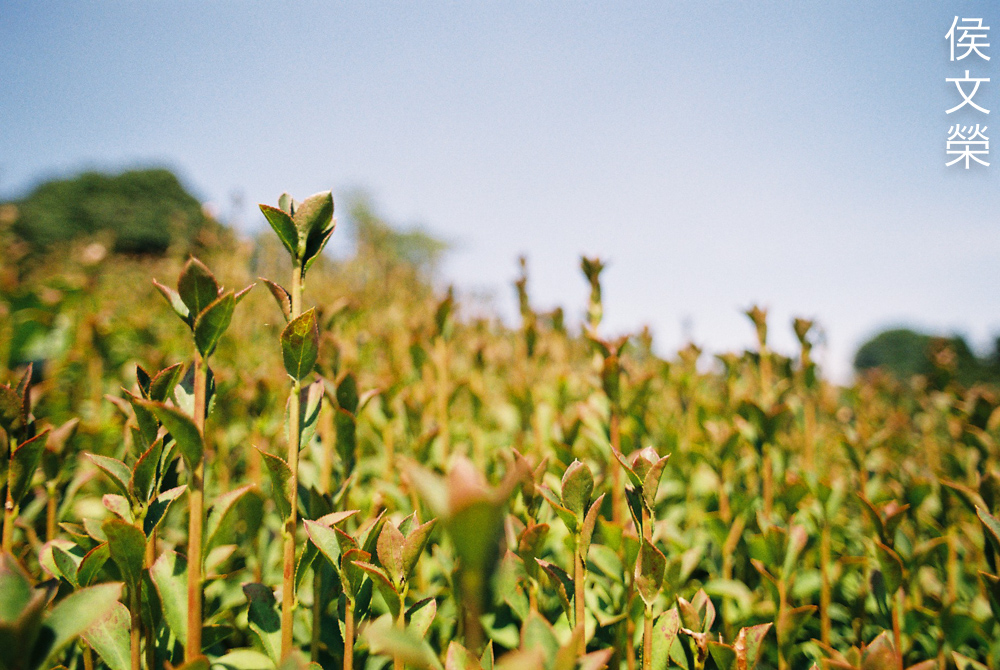
I love how sharp this lens is when stopped-down to f/4, it also helps subdue chromatic aberration but you will still see it in overblown areas. That will only go away by stopping this down beyond f/5.6.
You could shoot with a smaller aperture in bright days, that helps eliminate chromatic aberration so you won’t see a lot of it. It’s still there but in small traces that’s hard-to-see.
Flare is rarely a problem with this lens and I don’t think its dedicated-hood, the Nikon HK-14 helps a lot. I have it but it is always left inside the cabinet since it’s rather pathetic.

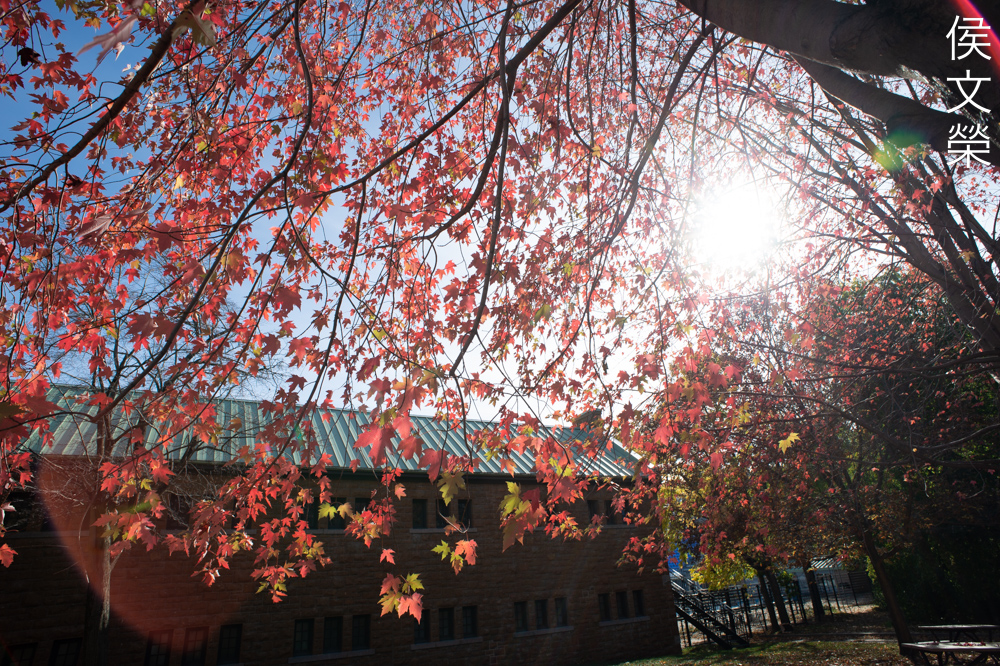
I love how it performs from f/8 up until f/16, you’ll get sharp pictures and the effects of diffraction won’t be as obvious when shooting with film.


(Click to enlarge)
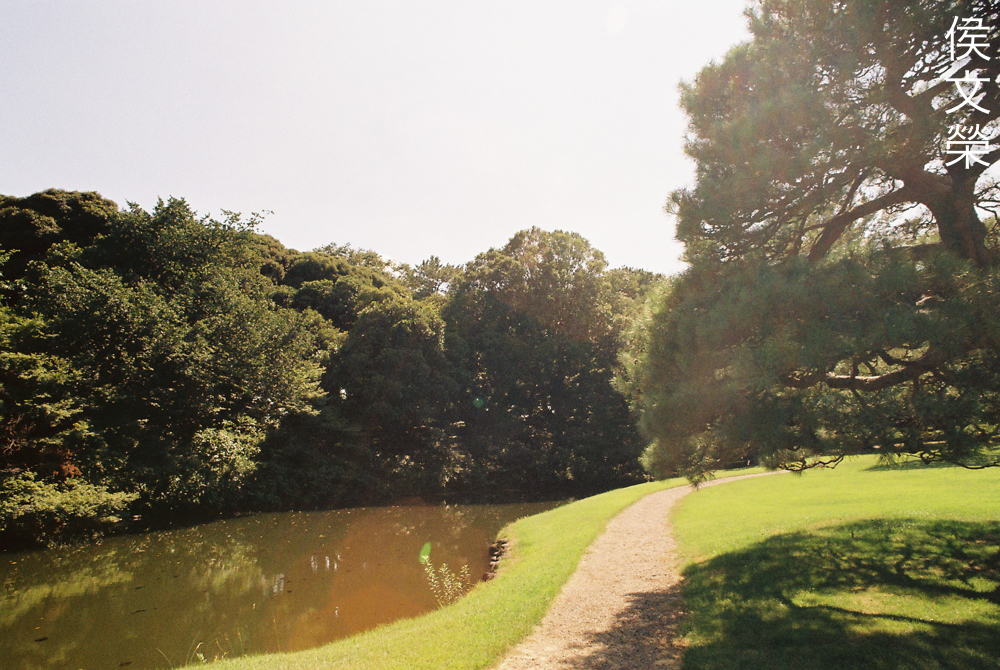
Here’s the rest of the roll. I would love to shoot landscape photos with it but the situation that we have these days isn’t going to make things easy for me. Compared to the pictures that were taken with a digital camera I think I love these a bit more, there’s something about film that makes this lens render a bit better.
This is a great lens, I can only recommend this to those who are aware of its limitations. There are many alternatives to this, the Nikkor 20mm f/3.5 Ai-S or the New-Nikkor 20mm f/4 are great candidates, the Nikkor-UD 20mm f/3.5 Auto is also a nice option if you want a lens with more “character”. All of the lenses I’ve mentioned aren’t faster than this one, I guess it’s all up to you which attributes you value more in a 20mm lens. This is also nice for shooting videos so people who are into videography should consider these, too. They’re rather expensive, the average price is around $250.00 for a lens in average condition and $450.00 for one in mint condition. I got mine for $150.00, mint. I was just lucky because people thought that it’s a junk but it turned-out to be in great state save for the dry helicoids. When looking for these I highly recommend that you check the rear optics carefully, these are prone to balsam-separation and it can be difficult to detect if you don’t see the lens personally. Some also have the oily-iris-syndrome that is why you should actuate the iris and see if it’s snappy and dry. Turn the rings, they should operate fine without any slop. These are great lenses and I think they’ll still be relevant in the coming years so long as there’s a need for a “fast”, all-manual 20mm Nikkor. Happy hunting.
Before We Begin:
If this is your first attempt at repairing a lens then I suggest that you see my previous posts regarding screws & drivers, grease and other things. Also read what I wrote about the tools that you’ll need to fix your Nikkors.
I suggest that you read these primers before you begin (for beginners):
- Essential tools
- Best practices 1
- Best practices 2
- Best practices 3
- Ai conversion
- Working with Helicoids
Reading these should lessen the chance of ruining your lens if you are a novice. Before opening up anything, always look for other people who have done so in YouTube or the internet. Information is scarce, vague and scattered (that is why I started this) but you can still find some information if you search carefully.
I highly recommend that you read my working with helicoids post because this is very important and getting it wrong can ruin your day. If I can force you to read this, I would. It is that important!
For more advanced topics, you can read my fungus removal post as a start. It has a lot of useful information, it will be beneficial for you to read this.
Disassembly:
This is not what I’d call a beginner’s lens, this is rather complicated by Nikkor standards because it has CRC. It can be a bit confusing even for experienced repairers because there are no obvious places to start but I will show you the right sequence in this article.
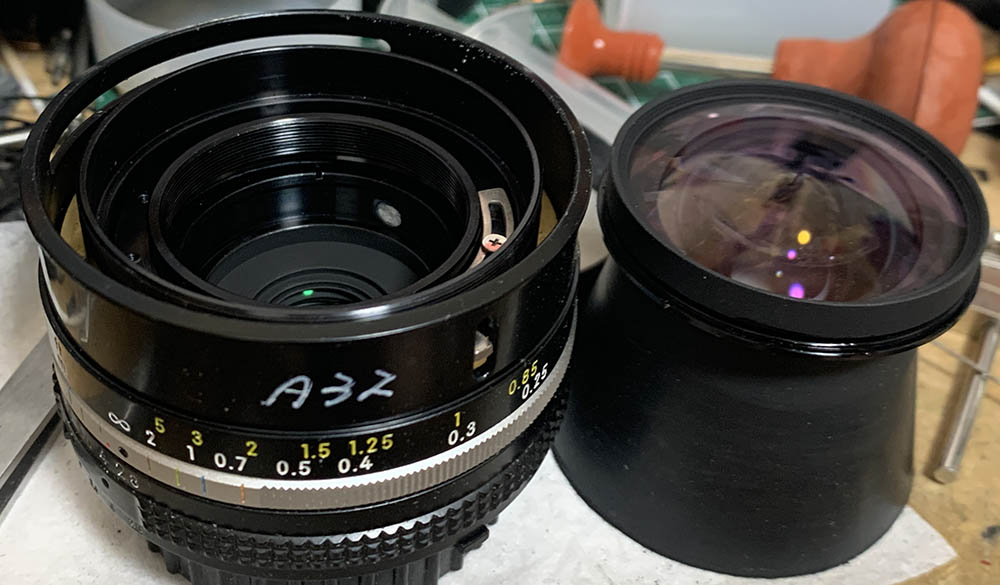
Like all repairs you’d need to document and take plenty of notes as-you-go so you will not get lost. Take photos and a couple of measurements so you’ll know how to put things back properly again. This is most important when servicing the helicoids and the optics. Use a small marker to make small marks on the walls of each optical group so you’ll know their correct order and direction. This is very important with this lens because it has many groups.
I will not service the optics in this article because mine is clean. The iris mechanism won’t be dismantled as well since it is still operating perfectly. If you’re curious about these read my other articles so you will know how to service these.
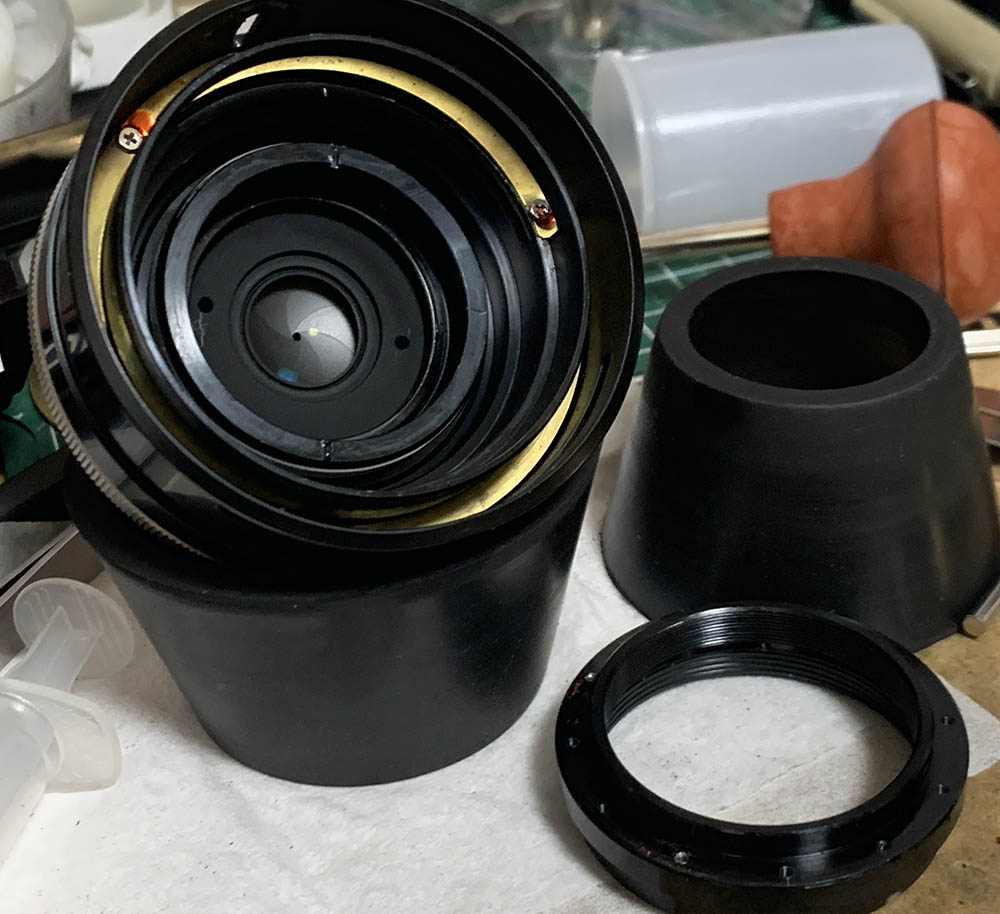
Carefully remove the rubber grip, run a thin, rounded toothpick underneath its circumference to lift it up from the glue and gently remove it from the barrel. Be careful so it won’t tear as it can be brittle due to age. Locate and extract this.
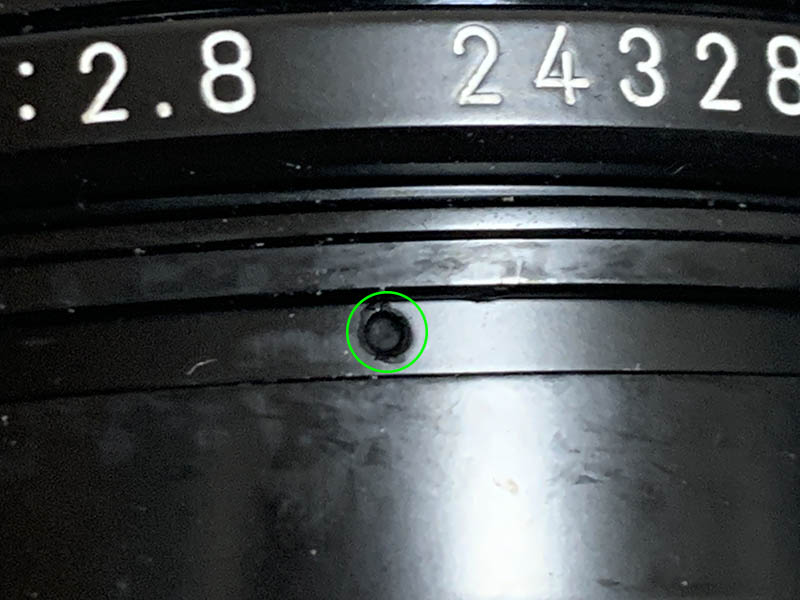
This little set screw is usually sealed so dissolve the paint first before you continue or else you will strip the head and it will become a difficult operation.

Once the set screw is gone you’re able to unscrew the front barrel from the rest of the lens.
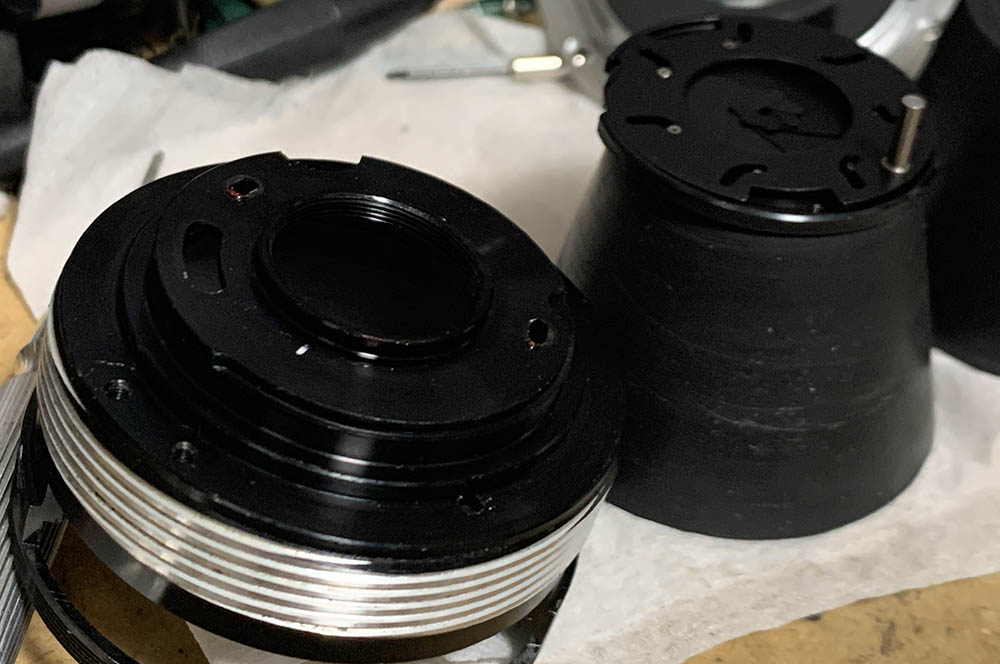
Carefully unscrew the front optical assembly and be sure not to damage the rear.
The inner optics assembly sits deep-within the lens, do not bother to remove it at this point because it comes out from the other side so it’s impossible to get it off. What’s more, it’s usually sealed using something tough. Leave it alone for now and be sure not to damage this while you’re working with the rest of the lens.
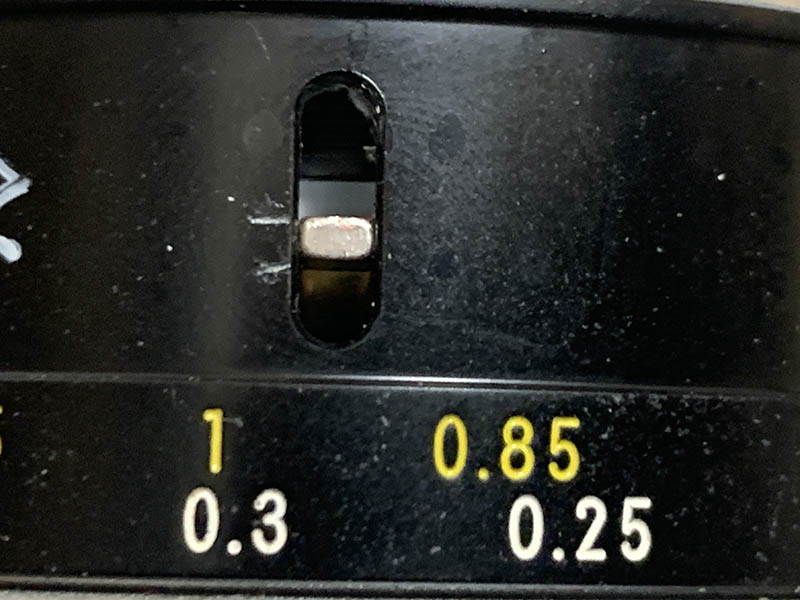
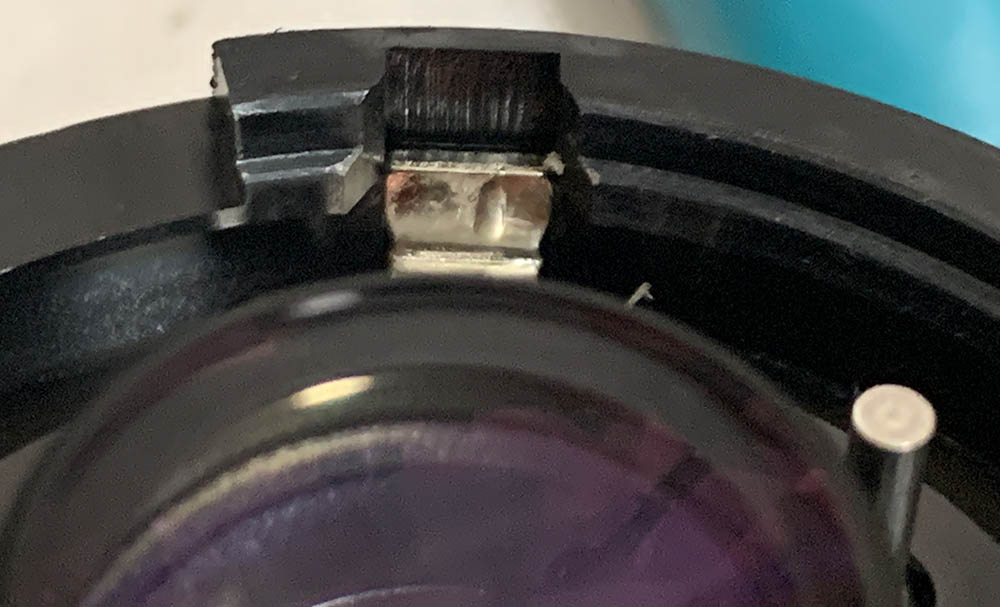
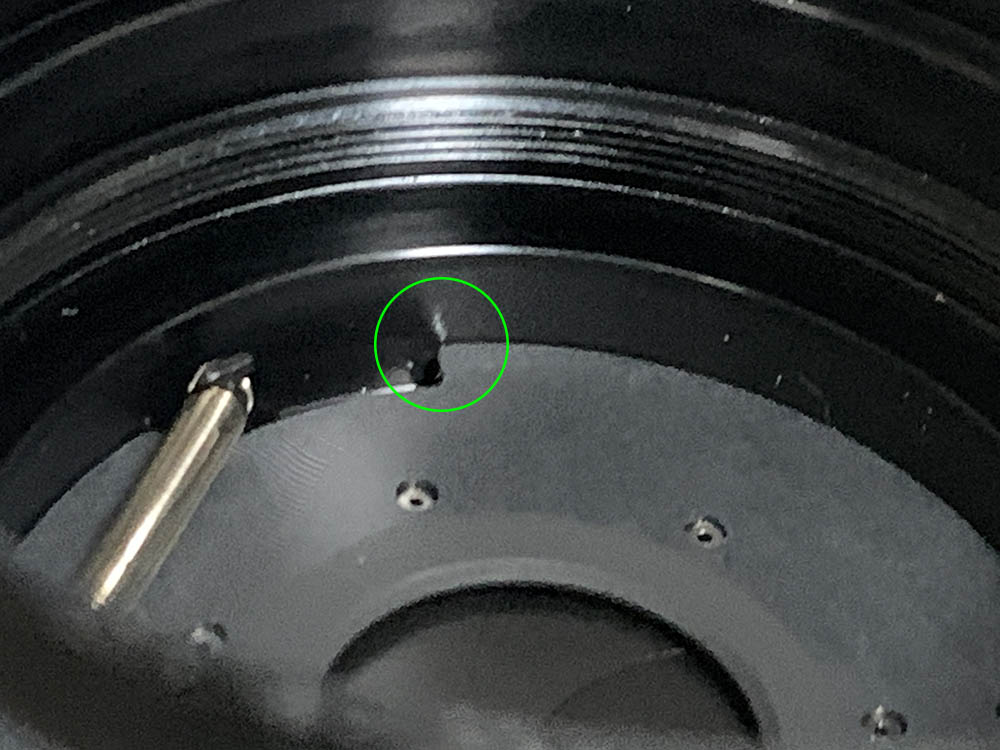
This step is very important, focus it to infinity and mark the position of the CRC mechanism’s tab. You should be able to reproduce this later.

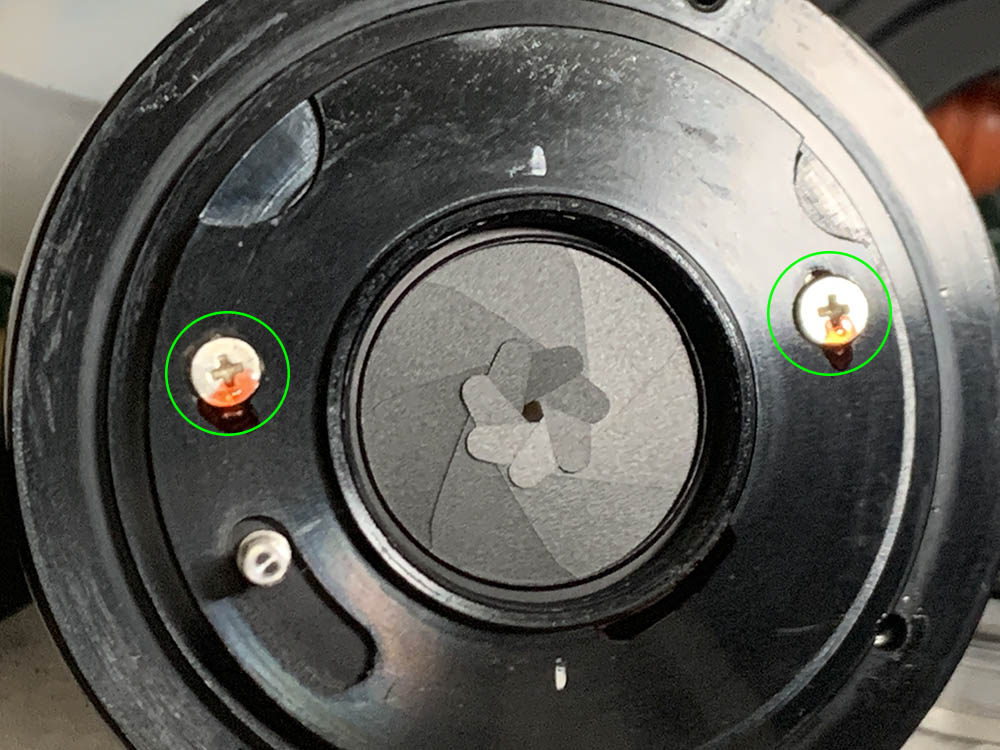
The CRC mechanism’s tab is secured by these screws and a copious amount of lacquer. Before removing anything here make a few marks so you will know how to put this tab back again later, making small scratches at the edges of the tab will help you determine how to align this later. Once you’re satisfied, dissolve the lacquer with alcohol and extract both screws. Carefully remove the tab and be sure not to bend it.
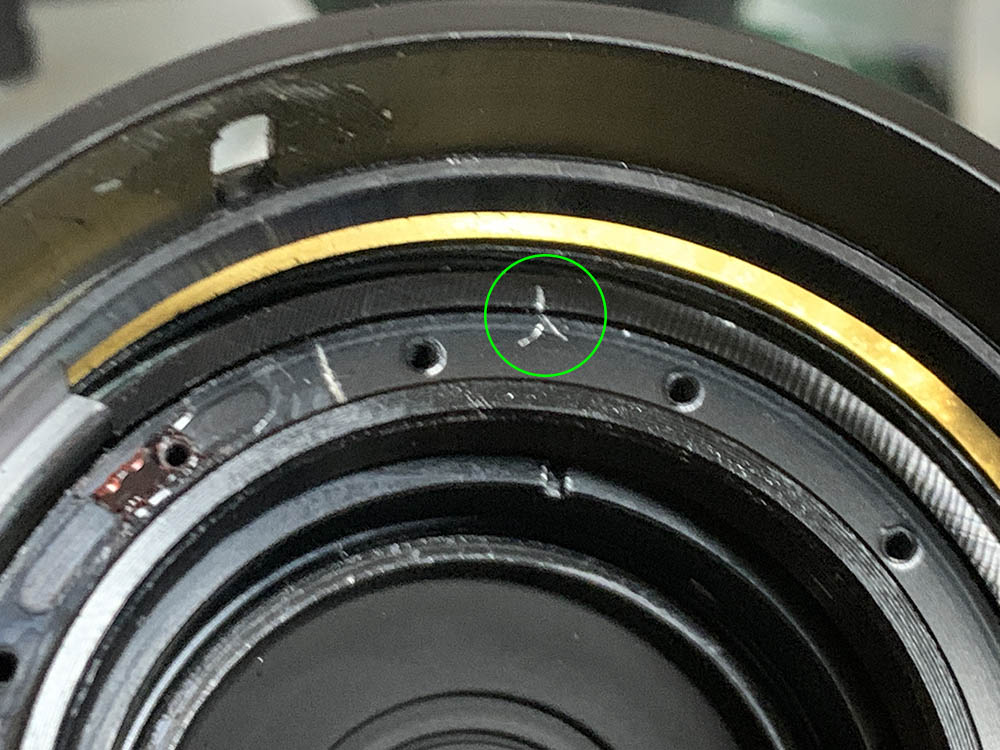
Collapse the CRC mechanism’s helicoid so it won’t go any deeper then make a small mark, you should be able to make it align this way again later.
Carefully unscrew the helicoid of the CRC mechanism. Do not forget to note where it parted because this is also where it should mesh. Many people forget to do this and get stuck. Read my how to work with helicoids article, that will help educate you on how to do it the right way.

Place a couple of drops of alcohol at the base of the inner optics assembly’s housing to dissolve the seal of the threads but do not apply too much. Carefully unscrew the housing off with a lens spanner, it may be tight so be careful. Do not scratch the glass here at any cause.

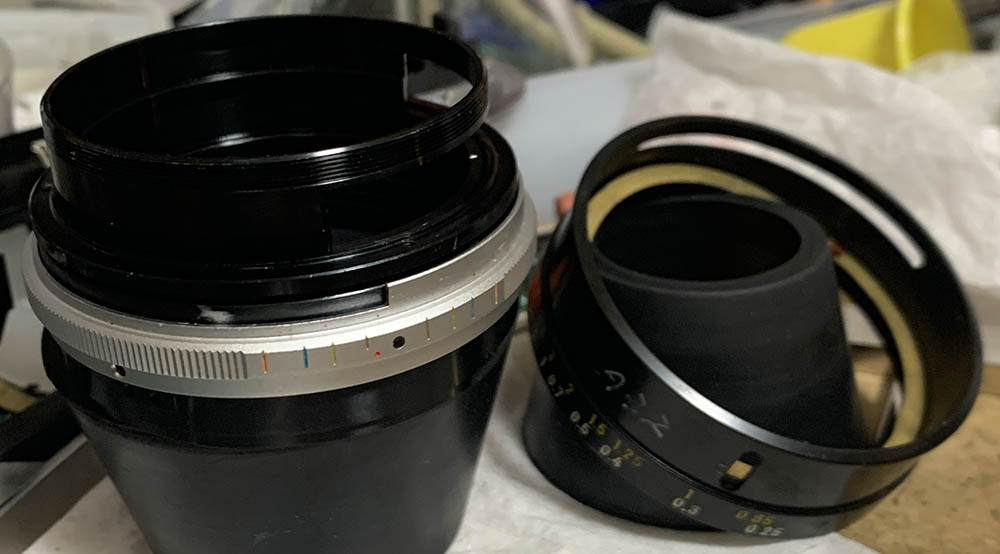
Carefully extract these to remove the bayonet mount. Many people get stuck here because they do not have the right tools and strip the screws. To prevent this from happening, read my post about how to remove bayonet screws. Follow my guide and that should help educate you on how its done and which drivers you should use.
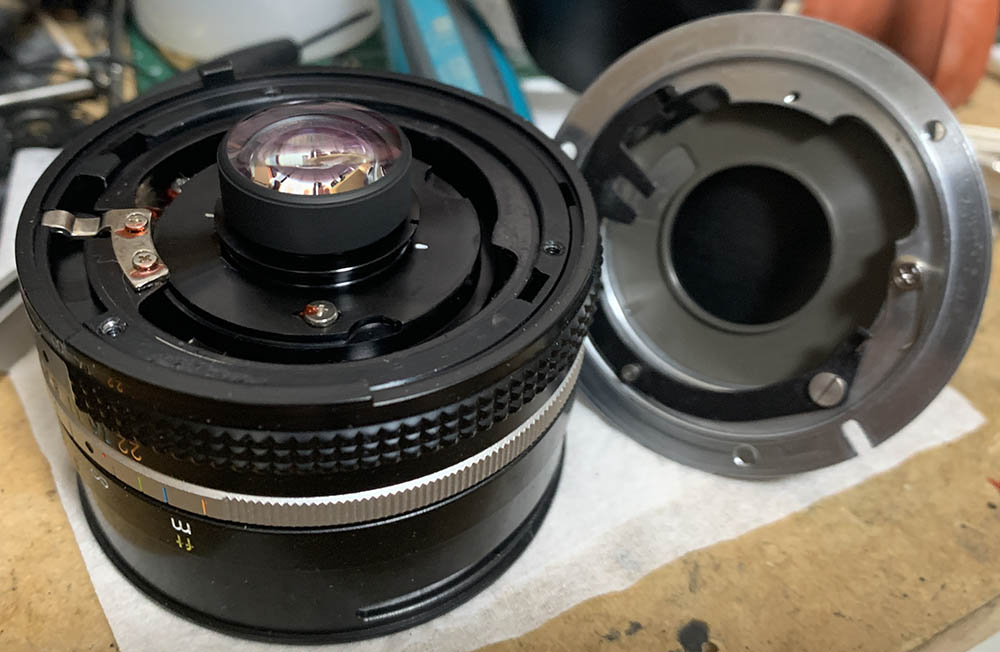
Carefully remove the bayonet mount, do it slowly so it won’t snag on anything.
Examine how everything here works so you will know how to put things back again later.

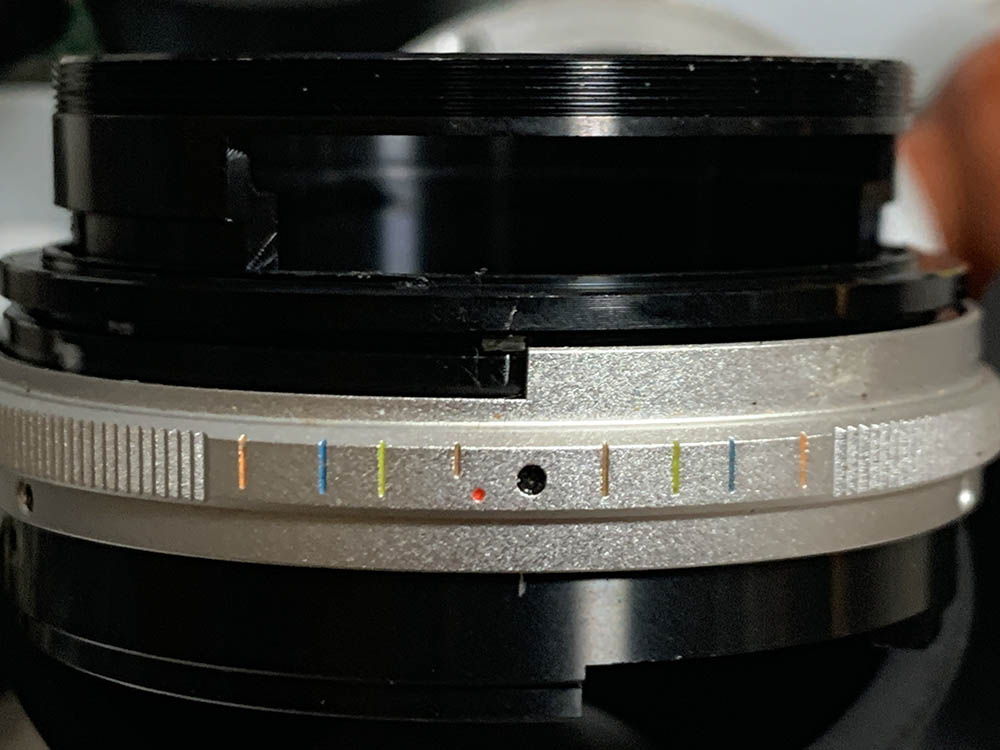
Remove the aperture-ring and the regulator, do not dismantle the latter. Clean both parts very well.
Focus to infinity and note how deep the helicoid keys should be, this will help you later so you won’t have to guess the exact alignment of the helicoids when adjusting the focus of your lens.

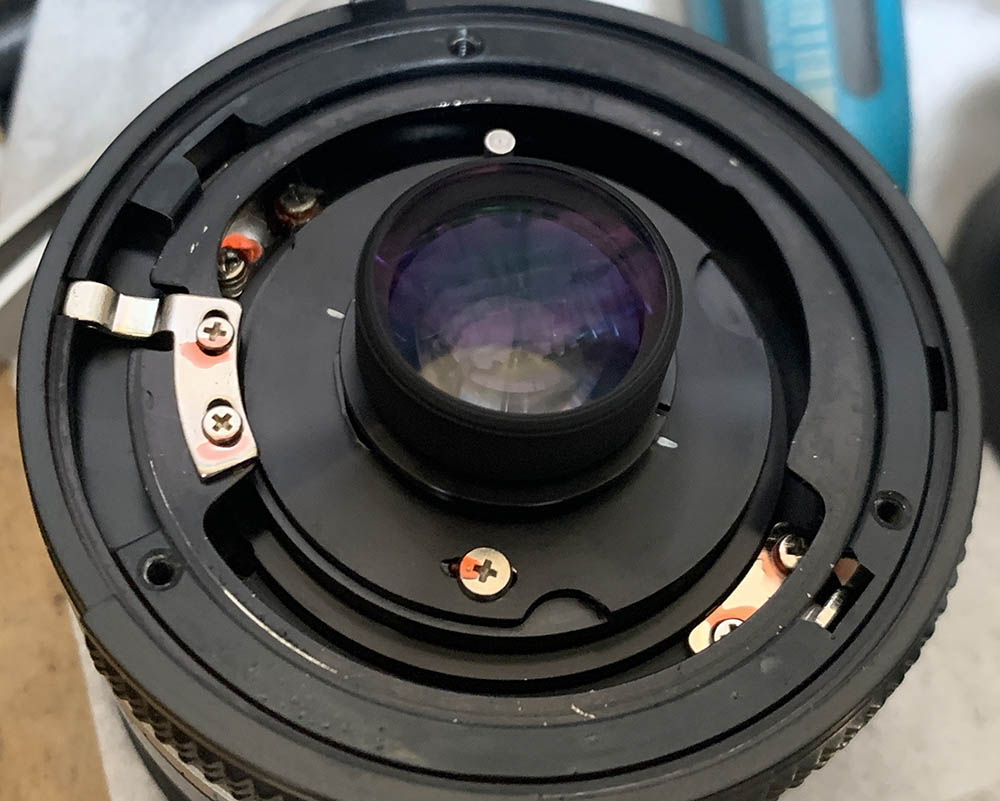
The housing of the rear optics assembly is usually sealed with lacquer, place a small drop of alcohol at the base, do not apply too much so you won’t soil anything. Carefully remove the rear optics assembly with a lens spanner and store it somewhere safe.

You don’t have to remove the detent-spring, just leave it alone unless your lens is filthy.

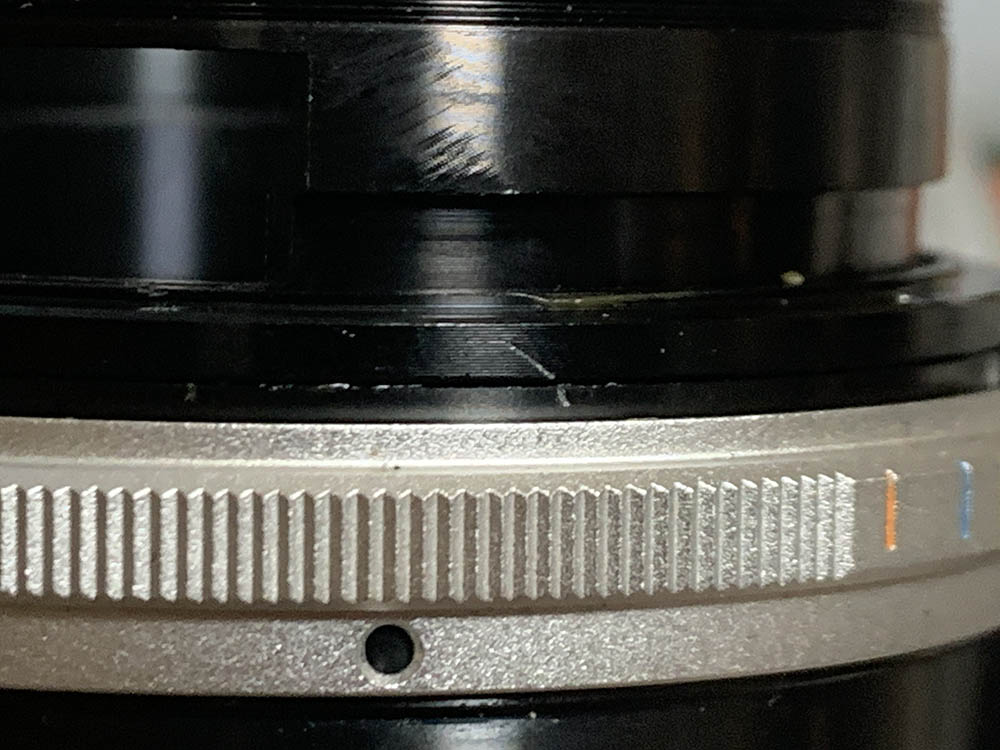
Focus to infinity and be sure to work with the lens without disturbing it at this state from here on. Carefully extract the screws here after dissolving their seals with alcohol or acetone.
Carefully remove the focusing-ring while keeping the helicoids at infinity.
While the helicoids are still at infinity make a few small marks so you’ll know how they should align. This is the reason why we need to keep them at infinity until this step.
Remove the helicoid keys and don’t forget to note which key comes from which side. This will allow you to dismantle the helicoids. Collapse the central and outer helicoids and make a small mark, you should be able to reproduce this.

Separate the central helicoid from the outer one. Don’t forget to note where they parted because this is also the same spot where they should mesh. People forget to do this and waste a lot of time later figuring how to put these back. To prevent this from happening to you, read my article on how to work with helicoids. The threads are narrow so it can be difficult to determine when they separated. Just be careful, go slowly at it so you’ll be able to feel it when the helicoids parted.

Do the same thing for the inner helicoid and never forget to note where they parted, too.

You’re now able to remove the grip from the main barrel.
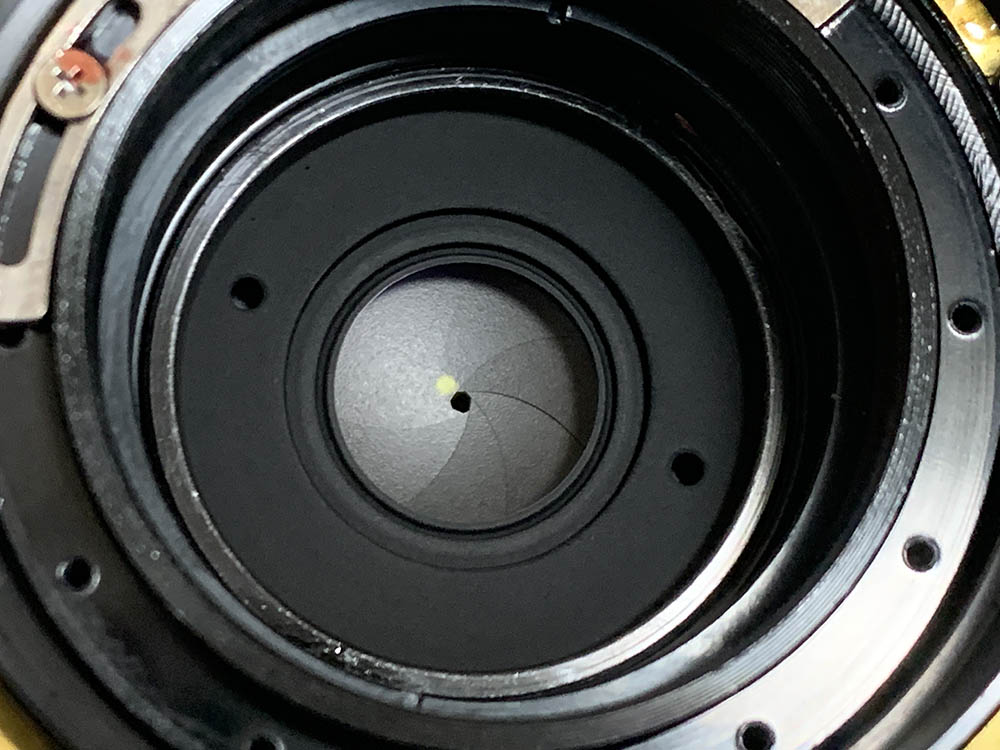
The iris mechanism is adjustable so be sure to note its original position. Making a small mark will help you know if you have reassembled it properly later.
These screws secure the iris mechanism, extract them to dismantle the iris mechanism but only do this when you have something supporting the iris mechanism from the other side so it won’t scatter across the floor.
Pull the inner helicoid off while leaving the iris mechanism intact. This is why I mentioned that it’s important to have it supported by something while you remove the iris mechanism.
Clean the helicoids very well with a strong toiler cleaner, brush them well then finish it with some kitchen detergent. It’s important to leave no residues so finish this by doing some final cleaning using alcohol. Scrub the helicoids with it and you should be able to wipe them all clean. This lens benefits from grease with a little bit more resistance because it’s a wide lens. Never apply excessive amounts or the grease will surely migrate to the iris mechanism in the future, creating an even bigger mess.
If your lens has fungus read my article on how to clean lens fungus so you’ll know how this is done. Dilute the solution well so it’s not going to damage the coatings.
Conclusion:
I’ve always been curious about this lens so servicing one certainly gave me a satisfied feeling of achievement. It’s also a lens that’s been suggested several times to me but unfortunately I do not make enough money from this blog in order to purchase one but I got lucky after several years of searching so here it is. There are a couple of articles found in the internet covering its repair but I’d like to show you my take. Now that you’ve seen how delicate it is to adjust the CRC mechanism I won’t recommend this to anyone who has no experience with servicing lenses that has it. Save yourself a lot of headache and money, send it to a qualified repairer, there’s no point in ruining a lens just to save some money. I spent the whole afternoon overhauling this, it took me less time than expected because the lens was in great shape. It would’ve took me more time if I had to clean everything and I’m thankful that hadn’t been the case.

Putting the iris mechanism back can be tough if you don’t know how to do it so here’s a technique that I use. Place the iris mechanism atop something that will fit inside the housing of the objective, bottom-up. Carefully lower the housing until you get it in then invert the whole setup while holding everything. A pair of steady hands is essential to do this.
Reassemble everything but leave the front-barrel off so you could adjust your lens’ focus. To know how to do this, read my article on adjusting a lens’ focus, that will teach you how to do this in a DIY setting with tools that are accessible to you. Before you do anything if the screws of the focusing ring isn’t accessible to you the front optics assembly must be unscrewed in order to get to them safely. Adjusting the CRC lever is a little bit more tricky, the best way to do this is to set the lens to its minimum-distance then check the sharpness against a flat chart. This is tedious work that is why I do not deviate from what was set at the factory. Once you’re happy put everything back and do some final checks and you are done.

It’s such a joy to shoot with now that it has been serviced. This is certainly a very good lens for its age, it’s not as sharp as many modern alternatives but it sure does its job quite well.
Thanks for following my work, if you liked this article please share this with your friends so it will get more views. This site earns around $0.40 a day, we are totally reliant on views. You can also support this site, it helps me offset the cost of maintenance and hosting. You’re also helping me purchase, process and scan film. This site promotes the use of film so we are all in this together. See you again in the next article, Ric.
Help Support this Blog:
Maintaining this requires resources and a lot of time. If you think that it has helped you or you want to show your support by helping with the site’s upkeep, you can make a small donation to my paypal.com at richardHaw888@gmail.com. Money isn’t my prime motivation for this blog and I believe that I have enough to run this but you can help me make this site (and the companion facebook page) grow.
Buy me a roll of film or a burger?
Thank you very much for your continued support!
$2.00
Helping support this site will ensure that this will be kept going as long as I have the time and energy for this. I would appreciate it if you just leave out your name or details like your country’s name or other information so that the donations will totally be anonymous. This is a labor of love and I intend to keep it that way for as long as I can. Ric.

Aug 09, 2021 @ 15:09:07
I really like this lens. I have one myself. I repaired the hazy glued lens element by re gluing it with a UV cured optical resin. It’s in great shape now with just a little flare left.
Jul 18, 2022 @ 06:32:51
Hi, how did you manage to separate the lenses?
Jul 18, 2022 @ 07:19:40
methylene chloride is the solvent to use when the glue is fully cured. Might take minutes, hours or even weeks but is does the job. Norland 61 Optical Adhesive (365nm UV cured) for re-cementing.
Dec 16, 2021 @ 02:27:41
I’d love to know if anyone has compared this Nikkor alongside the CZJ 20mm f2.8 Flektogon adapted down to Sony FF or APS-C… which lens handles distortion, aberrations and flare better? Corner sharpness not so important to me.
Feb 02, 2023 @ 19:54:06
Great article-Thank you for posting it. I have a 20mm f2.8 ai-s lens that I want to put on an adapter to fit on a fuji GFX camera. I can mount several other Nikon lenses but not this one. On the rear of this lens there are tabs that wont allow installation: One tab is particularly high and blocks the lens from fitting. This tall tab doesn’t exist on any of my other Nikon lenses and is the problem tab that hit the inside of the adapter. What is this tall tab for and can it be removed?
Oct 28, 2023 @ 13:40:40
I unscrewed it to make it fit and it works fine 🙂
Oct 28, 2023 @ 13:24:44
I own this lense and I love it but the coating on the front element is cracking and the result gets foggy….
Do you know of any mean to remove this coating :/?