
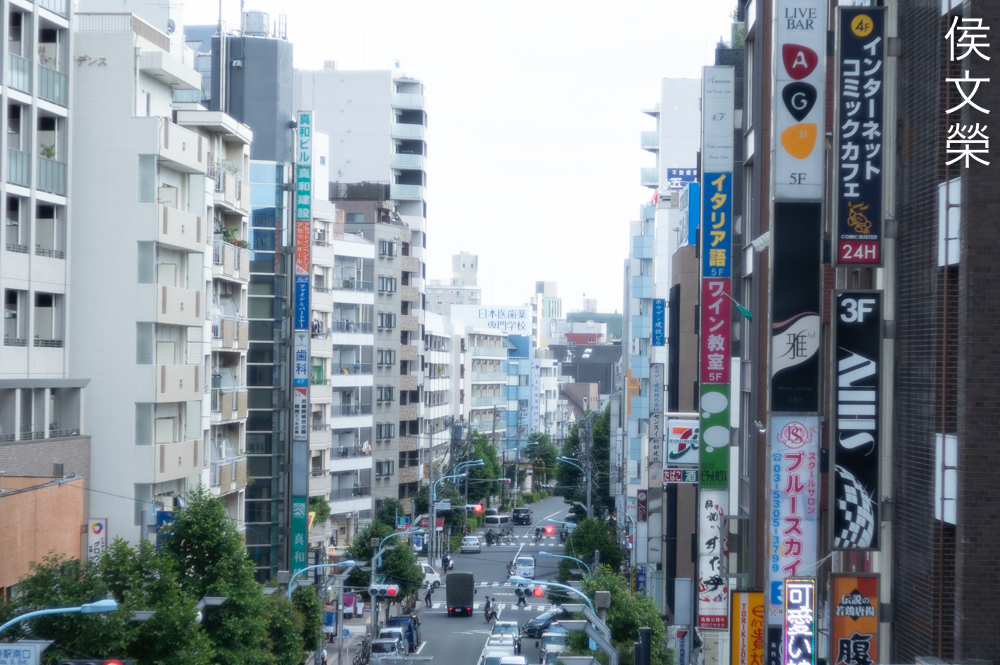
Hello, everybody! Did you watch the archery event at the Olympics? The accuracy of the contestants are amazing, I am amazed by how they could calculate the precise tension, direction and distance required to hit the bullseye. This is not easy because you will have to consider the wind’s direction and speed along with the weight of the arrow. People who could to this at the level displayed at the Olympics are extraordinary, you can say that they have “eagle-eyes”. Today, I will show you something that also bears the name “eagle-eye” or “das adlerauge” in German.
Introduction:
The Carl Zeiss Jena Tessar 50mm f/2.8 featured here was made from 1950 up until around the mid 1950s. It differs a bit from the prewar version in terms of optics because this one was recalculated just after the war. The version we have in this article is considered by many to be the 2nd postwar version which is sought by many collectors for its looks. These were made in various mounts and were used in various systems including folding-cameras and other platforms. This is certainly one of the most prolific designs hailing from the postwar years and it was still made until the 1980s and some even claim that the Russians made copies of these up until recent years.

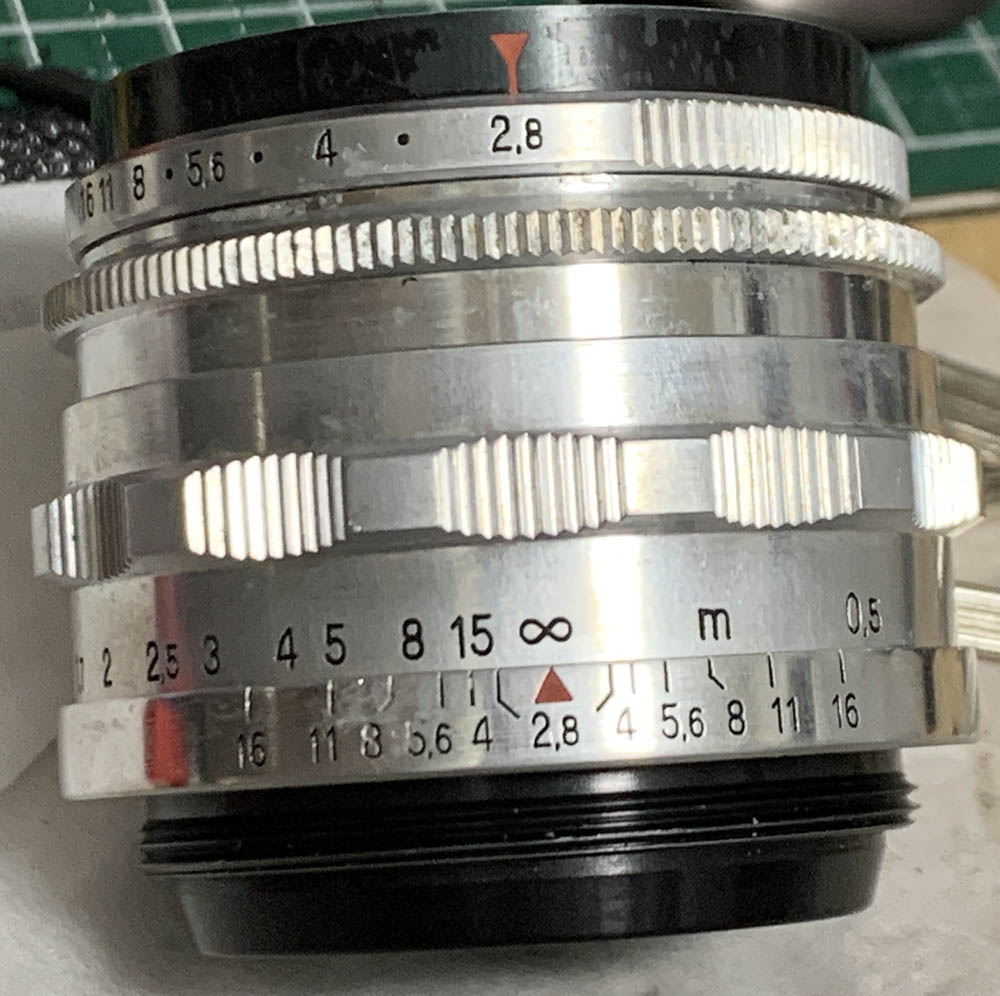
The barrel is aluminum, this makes it durable and resistant to stains but they won’t resist corrosion very well that’s why lenses that were stored poorly will develop crusty corrosions and discoloration. The lens looks a lot cleaner here but it was in terrible shape when I got it which you’ll see in a while.
It has a 4-elements-in-3-groups design, the immortal Tessar. I consider this to be a true-Tessar so all of its quirks also applies to this one. The classic design is known for rendering a sharp center with mediocre corners and somewhat of a mixed reaction when it comes to the character of the bokeh, it can either be bad or acceptable. To my knowledge, this is probably the fastest of the 50mm Tessars, you can say that it’s basically stretching the classic design. The Tessars are typically made in moderate speeds from f/5.6 to f/3.5 so this is considered by many to be the fastest variety. These are also meant to be used as standard-lenses and the Carl Zeiss Jena Tessar 40mm f/4.5 is the widest one that was made in the postwar years. It’s a well-loved design so I’m sure that people who love it already owns at least one of these. I love the postwar Tessars because the iris is composed of many leaves, ensuring smoother and rounder discs.

This was how it looked like before I serviced it, corrosion and and other deposits have turned this into a filthy lens. It’s not that bad because I’ve worked on dirtier lenses. Visible here is the preset-aperture’s ring, you set that to the desired value then you focus with it wide-open, once you’re about to make an exposure you turn the aperture-ring and it stops exactly at the value you’ve set on the preset-ring. This is the reason why it’s called “preset”, without that ring it’s merely a manual-aperture but many people, including me call it “preset” out of habit which could confuse a lot of people. It’s able to focus quite close as well which can be useful for some cases but it’s not as close as what many later lenses can achieve.

Handling is rather standard but it’s not easy to use with older prewar cameras because the viewfinder is rather dim, it’s best to use this with a newer camera which enables you to focus a lot more comfortably with it. You won’t get shallow depth-of-field with it even at f/2.8 so focusing won’t be as precise specially when shooting in the dark, it’s a lot easier if you have enough light. A split-prism won’t be the best way to shoot with this because it could turn dark if there’s not a lot of light reaching it, a coarse-ground prism is the preferred screen to shoot with this.
It is also important to remember that the rear is rather deep which could potentially interfere with the mirror’s swing, it’s going to crack the mirror if the tip hits it so only use this with cameras of similar vintage.
Adapting it for use with mirrorless cameras can be a bit tricky because many adapters have a wall inside of the throat, this helps with many automatic or semiautomatic M42 lenses so you don’t have to worry about actuating the iris but it prevents you from mounting it properly. You’ll have to grind that wall away or find an adapter without the said wall.
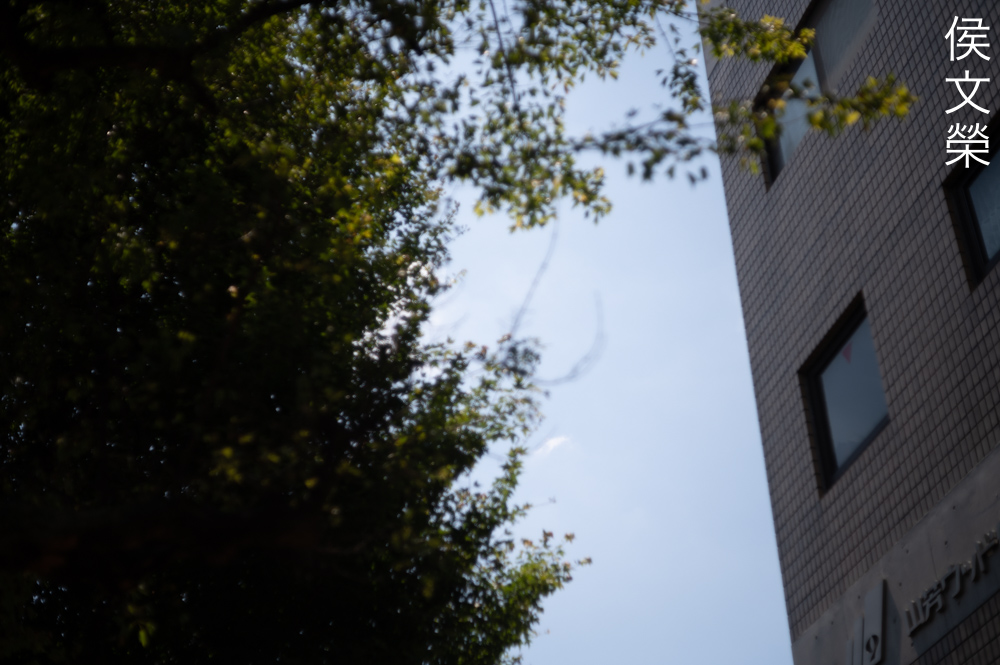
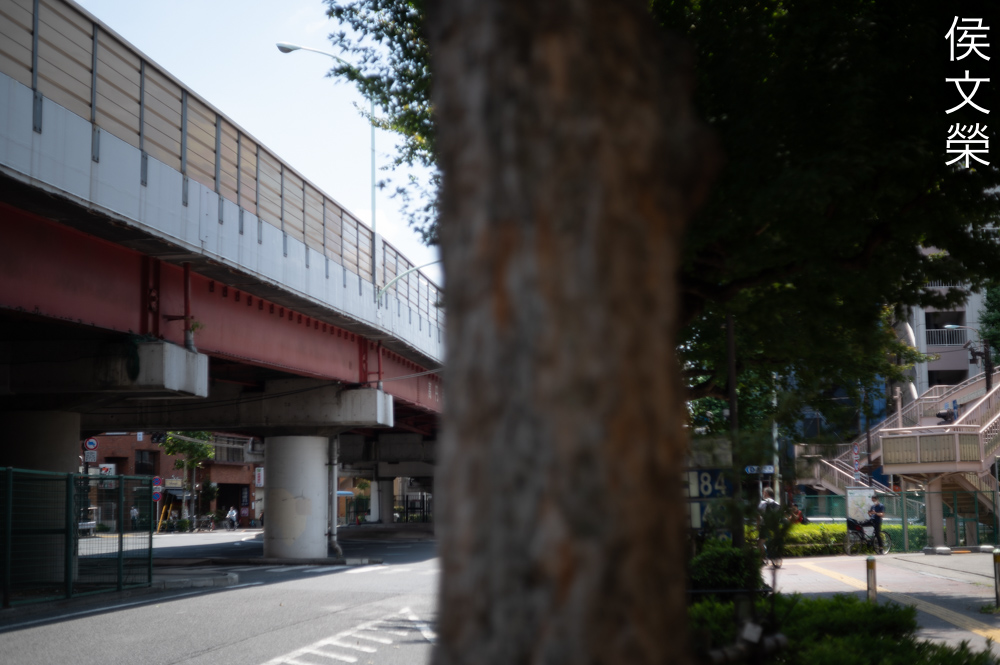
Learning how a lens performs is important so you will maximizing its use. You will learn how to utilize its strengths and avoid its weaknesses. This knowledge helps in determining which lens to bring on an assignment. I shot these photos from f/2.8, f/4, f/5.6 and f/8 since these are the most common apertures that people would want to use this, we’ll also get to see the most changes happen within these values. I shot these with my Nikon Z6, some of these were cropped close to 1:1 so we could see the details better.

It has the typical barrel-type distortion that’s usually present in lenses of this type. The amount is not that strong but it will be enough to curve any straight lines in your scene so I wouldn’t want to use this if I need to keep my lines straight such as shooting art or architecture. You could get away with it most of the time specially if you know how to frame or or position your subjects so the effects of distortion won’t be as obvious.


(Click to enlarge)
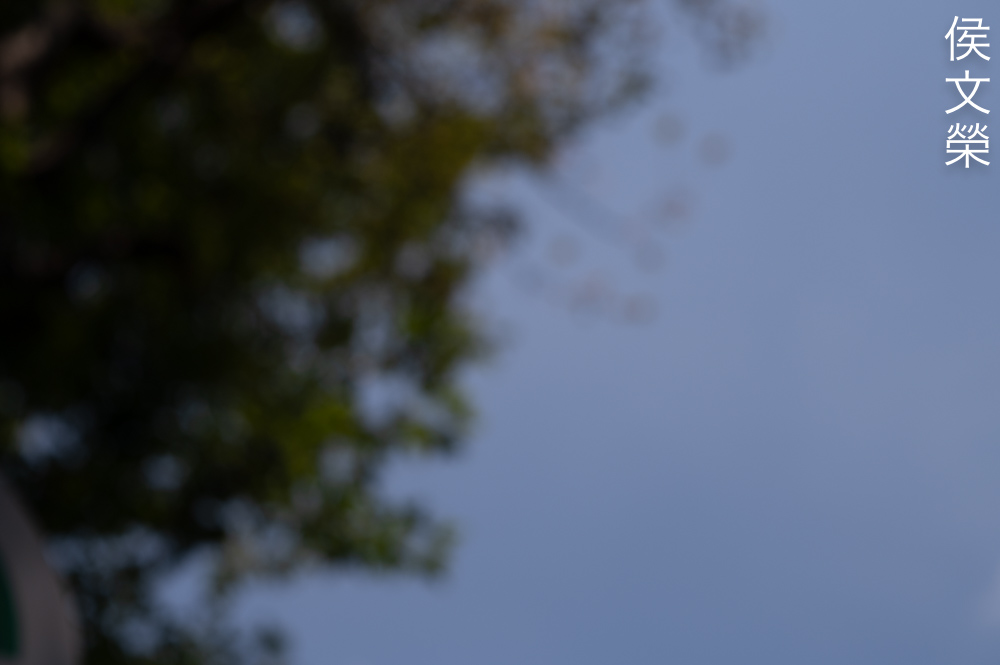
Vignetting is quite pronounced wide-open and it improves drastically by f/4, suggesting that f/4 is the minimum value that you’d want to shoot this with in order to get better results. It improves a bit more by f/5.6 but you’ll still see traces of it even at f/8 which is a shame because I was expecting to see none at this aperture.


(Click to enlarge)
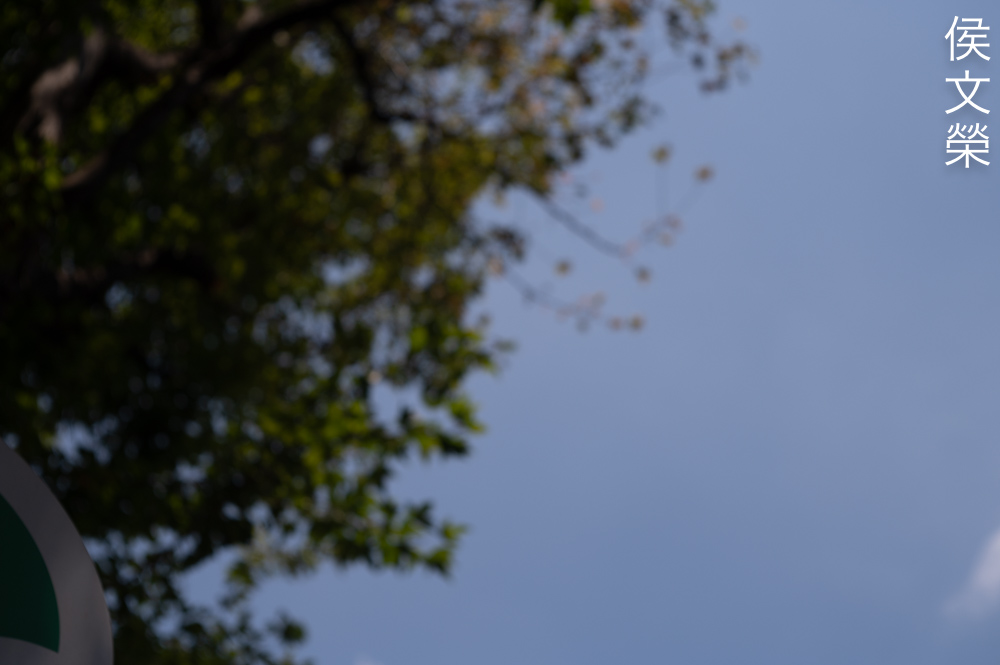
Flaring is horrible as expected from a lens of this vintage but the blobs don’t look as bad as they’re rather subtle. It’s all due to the true-Tessars only having very few air-to-glass surfaces within the barrel so you’ll get less internal-reflections. Sun-stars look quite nice thanks to the 12-sided iris. A lens with fewer blades will give you more-defined stars.


(Click to enlarge)
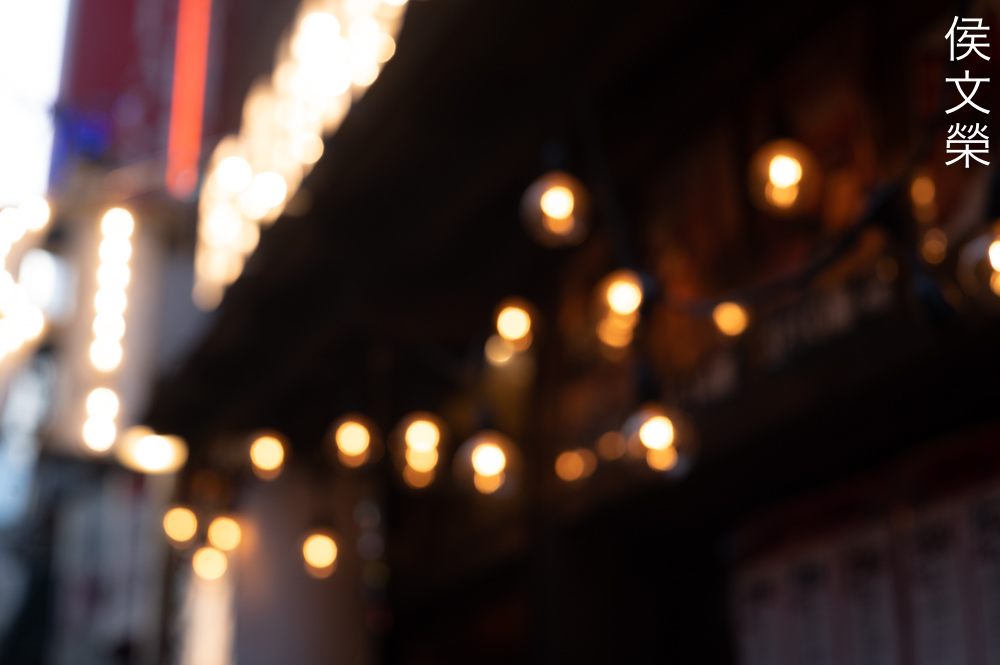
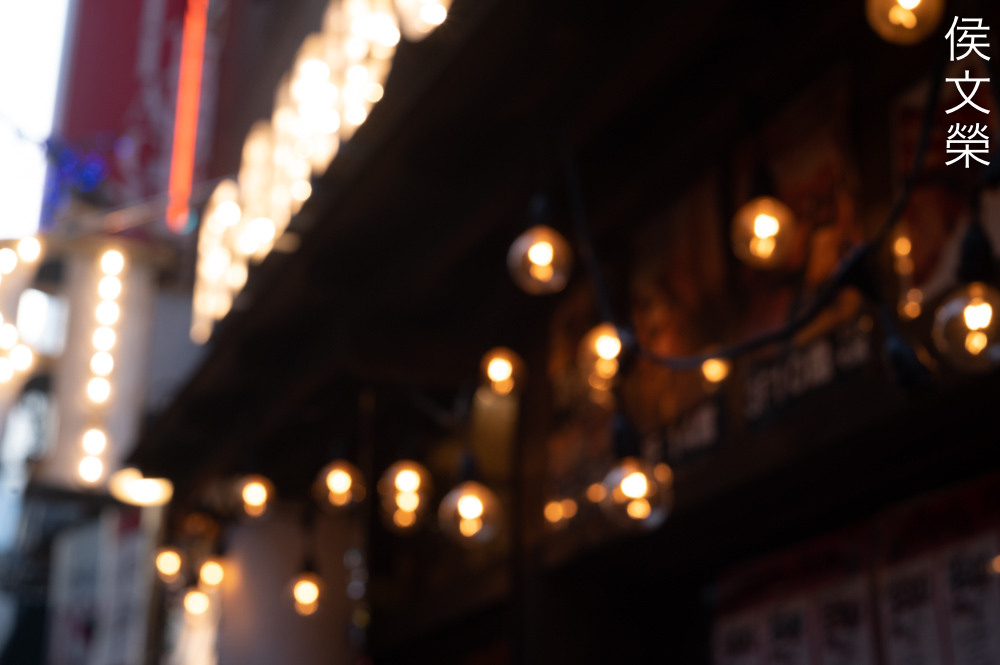
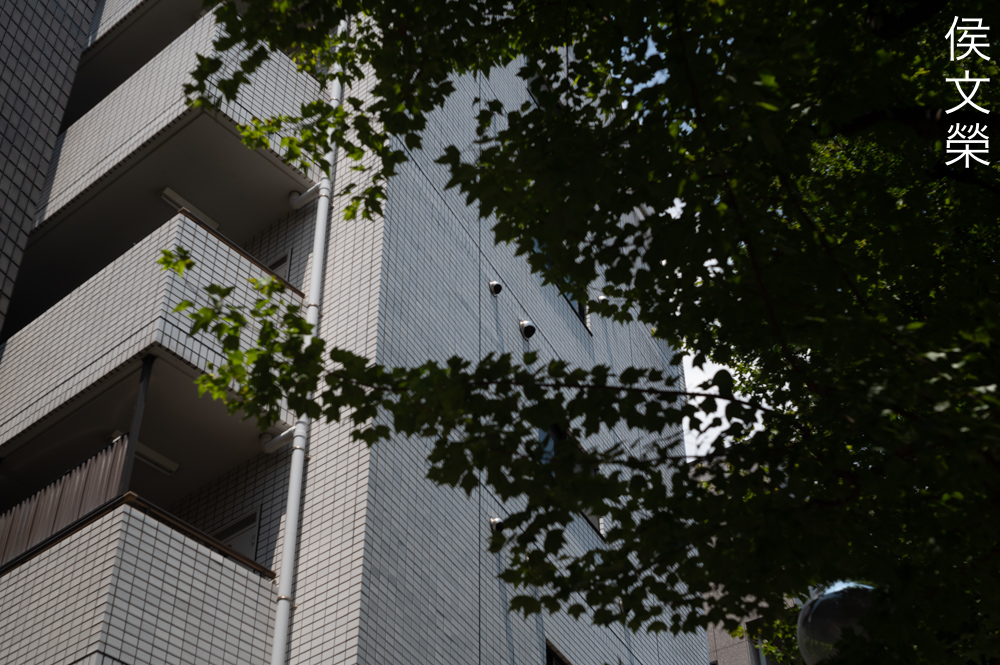
The discs remain round even at smaller apertures thanks to its rounded-iris. You’ll get outlines wide-open, you should stop it down to f/4 in order to make the discs look even and cleaner. This is something that you should be aware of if you have a cluttered background so you won’t get rough-looking artifacts and other undesired effects.
It can be nauseating if you’re not careful, some people like this look but I certainly don’t. There’s a right time for this if you’re creative enough, just don’t overdo it or your work will look like it’s “experimental” or avant-garde.


(Click to enlarge)
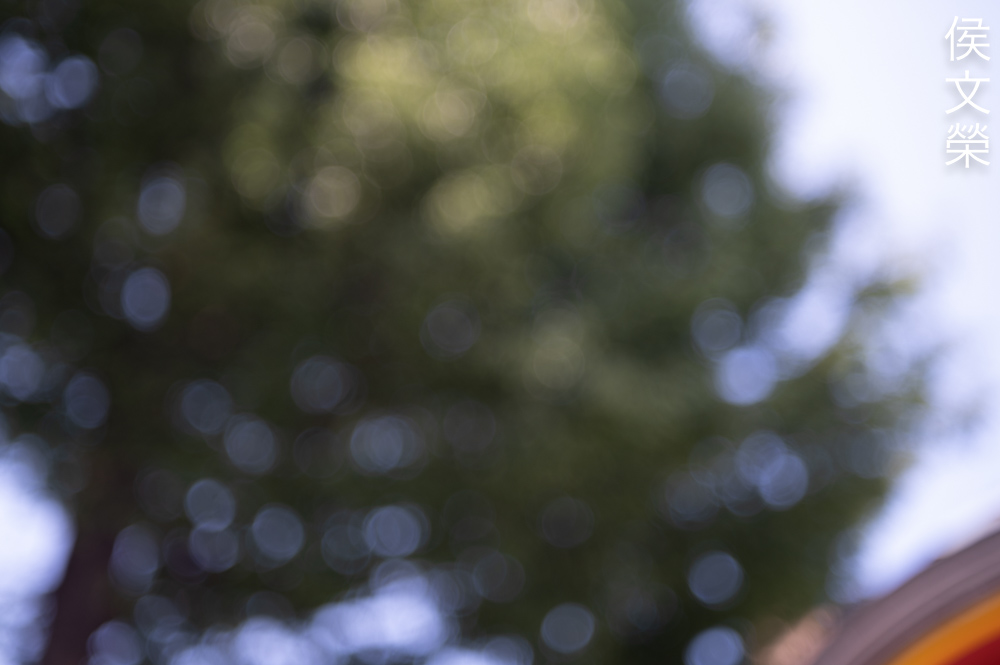
Typical with most true-Tessars the character of the bokeh won’t be the best, classic Tessars are usually characterize by a good center, mediocre corners and rather rough-looking bokeh quality so this one fits that description perfectly. I love Tessars all this and many people love them, too. If you’re really fussy about this aspect be sure not to shoot with this at f/2.8 in order to prevent seeing the undesirable look, even when you’ve stopped it down you’ll still need to be aware of your background just to be safe. It’s not that this lens isn’t capable of producing nice blurry bits you’ll just have to work harder in order to get that.


(Click to enlarge)
Chromatic aberration could be seen wide-open but it’s not the usual purple-and-green type that we’re used to seeing. It’s somewhat yellowish, making it easier to ignore. Spherical aberration is rather high, too. Stop the iris down to f/4 to see a huge improvement, chromatic aberration is controlled much better and the residual amounts you see look rather pleasing, blending with flare and spherical aberration to give you a “magical” look. It improves even more by f/5.6 but I don’t think it’s significant enough and it stays this way as you stop the iris down further. I think this is its best “feature”, you could use this creatively when shooting wedding photos and the like.


(Click to enlarge)
It appears slightly-soft when shooting wide-open but it’s not useless at all because you could use this for portraying an ethereal-looking scene. The results will look a bit surreal as a delicate veil of softness envelopes the frame, I’d consider this more like a feature than anything else. Stop the iris down to f/4 to see a big improvement in resolution. You will be able to render finer details and the the slight softness that’s prevalent at f/2.8 is now gone. The character of the photos won’t change as you stop the iris down to f/5.6 but you’ll see a slight improvement at the center. The corners look a bit better and the difference is more obvious compared to the center. I didn’t see any notable changes by stopping the iris down to f/8, I think the center has reached its peak around f/5.6 but the corners improve just a bit more.
Mine performs a lot better at closer distances and the performance drops from 1.5m to infinity. I’m not sure if this was intended by the designer. If your lens performs just like mine then you should stop the iris down to at least f/4 if you’ll be shooting something beyond 2m. The Carl Zeiss Jena Tessar 50mm f/3.5 performs better in terms of sharpness, this one is better if you’re looking for a dream-like rendering when shooting wide-open. This is a “feature” of this lens but I prefer the results from a Carl Zeiss Jena Tessar 50mm f/3.5 over this. To put it in simple terms, this one renders pictures with “feminine” characteristics while the Carl Zeiss Jena Tessar 50mm f/3.5 tends to render bolder photos. It’s all going to be your choice that’s why neither one could replace the other when it comes to rendering. Just think of these like an expensive set of artist’s brushes.
There’s no debate surrounding how well this lens renders the blurry parts of your scene, we can all agree that it’s a bit mediocre as expected from a real Tessar. Its inoffensive but I’d prefer something that looks smoother than this. Avoid it if you need to render the background in an exquisite manner.
Here’s another photo showing the worst I could get this lens to render the blurry parts of a photo. I believe this photo was shot wide-open because the center is barely-sharp and it has a feint veil of softness covering it. This look is typical for this lens, something that you will get used to the more you use it.

Despite being able to render pleasantly the character of the bokeh is not something that I’d call excellent. This is typical for a Tessar so I’m not surprised. While most of the scene looks pleasant the flowers and the furthest parts of the scene aren’t what I’d call exquisite just to put it lightly.

The main point of buying this over the Carl Zeiss Jena Tessar 50mm f/3.5 is its ability to gather more light which can be very useful when you don’t have enough light to work with. This will help keep your speeds high which prevents shake, ensuring that you’ll at least get something useful instead of getting nothing at all.

Compared to the Carl Zeiss Jena Tessar 50mm f/3.5 this one renders with a subtler look, a nice way of stating that it will not give you the same impact as its cheaper sibling. It does have its place when you want to achieve a certain look that fits the creative direction.
The overblown areas of this photo bloom and look washed-out. When metering with this it’s best to underexpose the photo a bit so details look better in the bright areas. It appears that the Carl Zeiss Jena Tessar 50mm f/3.5 outperforms this one when it comes to rendering overblown areas.

Traces of chromatic aberration can be seen in the front roof. Be very careful when positioning important things close to the extremities because the corners don’t perform that well. The center looks sharp but the overblown areas show a bit of chromatic aberration, too. I wasn’t expecting this because I’m sure that I took this with the iris stopped-down. You’ll have to be aware of this when shooting on a sunny day.
It renders nice, natural-looking photos with some small flaws. This is what many people call the “vintage-look” and this is very divisive, some people like it while some don’t.

It’s rather weak at the corners and I’m not even talking about the extremities here. This is disappointing because I have shot this with a smaller aperture, expecting the corners to look much better. I guess f/2.8 is really the brightest you can go with a Tessar and they’re known more for sharpness at the center more than anywhere else.


(Click to enlarge)
I’d say that it’s still a nice lens despite it’s age and you’ll still be able to take great photos with it using a digital camera with a high-MP sensor. It will show its age but this one ages gracefully. I personally prefer the pictures that I get from the Carl Zeiss Jena Tessar 50mm f/3.5 when it comes to shooting with a digital camera but that one won’t be able to go brighter than f/3.5 and that’s where this lens comes into play.
Let’s now check some film photos. Film has a unique look that is hard to simulate with a digital camera thanks to grain. It reacts differently to light, this means that it could mask a lens’ flaws or amplify them. Since this was designed to be used with film, it’s best that we judge this using its intended medium. I took these with Kodak Pro Image 100, it’s a film that I am using more these days.
It won’t focus really close but it’s enough for taking pictures like this. Notice how the focus transitions smoothly, is has a nice balance but I’ve seen better. Color rendition is rather neutral and the yellowish-tint comes from the film. Kodaks are known to add a yellow-cast to your photos so this is expected.

Contrast is very good and the colors look vivid. Reds tends to look more orange than anything thanks to the yellowish-tint of Kodak films.
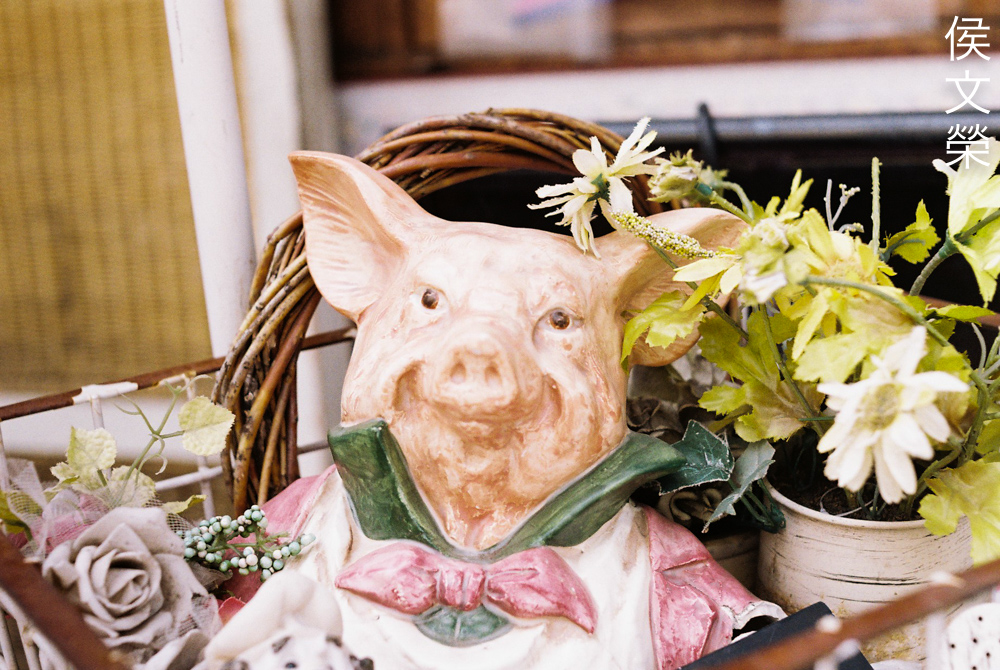
Focus appears to be somewhat off here, about 3″ behind the pig’s eyes. This is overexposed, if it was a stop darker it’s probably going to look a bit better.

This was shot at about f/4, it’s sharp when used with film which is the best way to enjoy this lens in my opinion.
The character of the bokeh isn’t the best here but film can hide some of the artifacts thanks to how grain works. This is a lovely shot because the subject-isolation properties of this lens is quite good, enabling you to capture pictures that have a perception of depth.

Stopping it down to f/8 is going to be the best way to shoot with this on a sunny day, people like to shoot wide-open these days at every opportunity and I don’t think that’s a wise thing to do even if your lens renders blurs smoothly. It’s a trend that I hope will go away soon.

Do you see what I see? This photo is remarkable for one thing and that’s how the bikes at the front appear to be sharp and the details of the shutter are rendered in amazing detail. That and how the focus transitions smoothly to what’s at the background where it’s blurry. I like lenses that could produce photos like this. Have you tried shooting with those cheap Communist-Chinese lenses these days? Shoot them with film and share with us your results.

Distortion is evident in this photo only if you’re aware of how much this lens produces but it works really well here, the scene is rustic so straight lines aren’t expected to look straight. I’d angle my shot if this isn’t the case.
Chromatic aberration isn’t much of a problem with this lens but spherical aberration can be seen at the chain. It’s not a big problem at all but you must be aware that optical aberrations can still be present even if you’ve stopped the iris to about f/8 where you’ll still see traces of it but only if you look very carefully.

The pillars curve slightly, it’s not noticeable unless you look very carefully. I could say that you could get away with it in most cases.

Flare and spherical aberration could be observed at the overblown part of the roof, making it “bloom”. The tree over at the left looks worse, though. I am not sure what made it look ugly. The foliage to the right exhibits some ugly-looking artifacts. You must stop the iris down further to make the corners look better, above f/8 in this case.

Angling your shots not only makes for a more interesting photo but it also helps hide the effects of distortion if you’re fussy about it even if your lens doesn’t have high amounts of it. It makes buildings look more “casual”, less-imposing. I also employ technique this when shooting portraits.
This lens doesn’t handle overblown details very well, I think this is the most annoying part of using this lens. There’s a special application for it but I’d rather not have it in this photo.


(Click to enlarge)
Here’s the rest of the roll. This is a fine lens for shooting with film. It renders beautifully except when you have parts of the scene that’s overblown. That may be caused by the lack of coatings because I’ve probably cleaned it all off. Despite that I enjoyed shooting with this a lot specially when using this with film and I encourage you to do the same.
I really cannot recommend this lens, the Carl Zeiss Jena Tessar 50mm f/3.5 is a better choice when it comes to budget, performance and rendering. You’ll have to stop the iris down a bit in order to get better photos and that’s where using the Carl Zeiss Jena Tessar 50mm f/3.5 makes more sense. Its ability to gather more light is pointless because f/2.8 is not significantly faster than f/3.5, a Carl Zeiss Jena Biotar 58mm f/2 will be a lot better for lowlight photography. It was sold as the standard 50mm lens of its day and the Carl Zeiss Jena Tessar 50mm f/3.5 was sold as the cheap option while the Carl Zeiss Jena Biotar 58mm f/2 is the premium one. However, if you’re looking for a postwar Tessar that renders with a little but more character then this one may be for you. Which one works is for you to decide alone. If you still want one be sure to check if the optics are clean. Turn all of its rings, they should work smoothly. Set the preset-ring by pulling it down and turning it, it shouldn’t be stuck. The iris should be dry and clean. These aren’t expensive at all, I got mine for $60.00 despite its condition. They would normally go for $80.00 or so with excellent ones fetching about $140.00 max. I would see what’s available if I were you, I’m sure that you’ll be able to get one that’s worth buying, happy hunting.
Before We Begin:
If this is your first attempt at repairing a lens then I suggest that you see my previous posts regarding screws & drivers, grease and other things. Also read what I wrote about the tools that you’ll need to fix your Nikkors.
I suggest that you read these primers before you begin (for beginners):
Reading these should lessen the chance of ruining your lens if you are a novice. Before opening up anything, always look for other people who have done so in YouTube or the internet. Information is scarce, vague and scattered (that is why I started this) but you can still find some information if you search carefully.
I highly recommend that you read my working with helicoids post because this is very important and getting it wrong can ruin your day. If I can force you to read this, I would. It is that important!
For more advanced topics, you can read my fungus removal post as a start. It has a lot of useful information, it will be beneficial for you to read this.
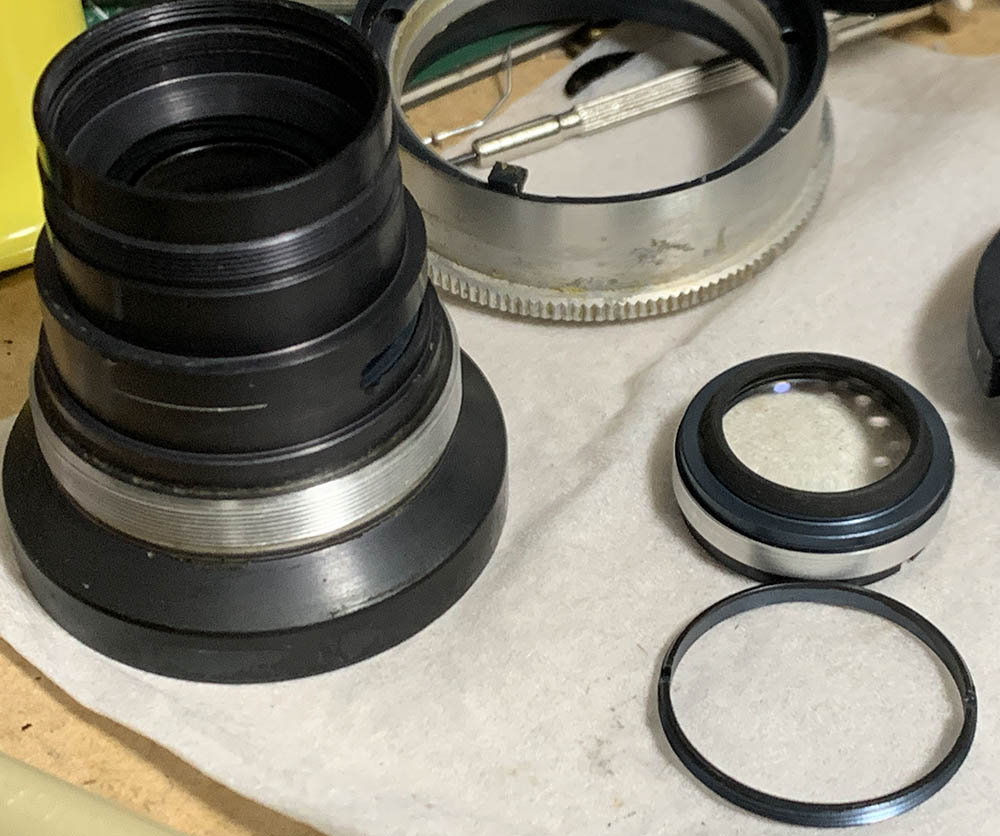
Disassembly (Focusing Unit):
It’s rather conventional, you could separate the lens into its basic components by removing the retainer at the rear but I will show you another way here. Either way is fine because we’re able to remove the front barrel early to prevent any damage to the optics while we work on the main barrel or focusing unit. This has many things in common with the Carl Zeiss Jena Tessar 50mm f/3.5 so read that article to familiarize yourself with the process. You’ll require special tools and experience in order to successfully service this, I won’t recommend this to any beginners.
Before you begin dismantling anything focus the lens to infinity and then measure its length, you should be able to put it back together with the same result. This step is very important that’s why I mentioned it before anything else.

Typical with all Tessars from the same era and of the same mount you begin by extracting these. Never strip the slots, I would heat them with a soldering iron if they’re stuck the carefully unscrew them while they’re still hot.

Mine was sealed with contact-cement as evident by the snot-like thing you see here. These serve as helicoid keys, don’t warp or damage these or your lens won’t be able to focus smoothly.

Separate the front barrel from the lower barrel and mark where the helicoids parted because this is also the same spot where they should mate. Many people forget to do this and waste plenty of time guessing where these should mesh. I wrote an article on working with helicoids to help prevent this from happening to you. Read it carefully and follow all of my tips.
Extract this screw so you could separate the central helicoid from the base which also houses the lower helicoids..

Unscrew the helicoids and don’t forget to note where they parted.

It’s a single-entry-thread but you should not forget to note where they parted just to be sure.

Carefully unscrew this ring with a lens spanner or a pipe-key if you have one.

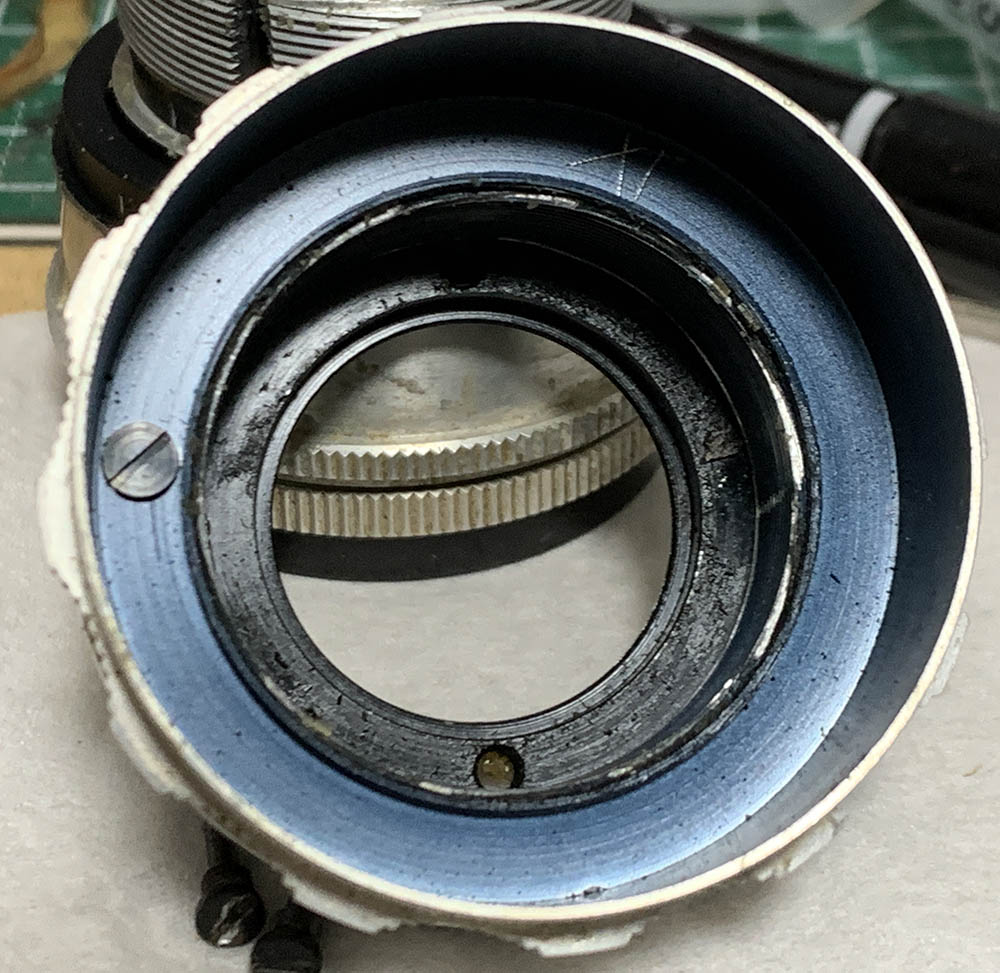
Removing this retainer ring will allow you to separate the front barrel from the inner helicoid. Set the front barrel aside so you could clean the helicoids without worrying about damaging the optics. Note that there’s a shim here, never lose this because this is the only thing that’s used to adjust the focus of your lens.
Scrub the helicoids with a strong toilet cleanser to remove the old grease then clean them well with alcohol to remove any residue. Polish the threads carefully so you won’t scratch them then use a grease with moderate resistance. Using a thick one will make it difficult to turn and a thin one will make it feel a bit gritty. Never apply excessive amounts, a thin film is enough. Put the helicoids back and measure them again to make sure that you’ve reinstalled them properly.
Disassembly (Front Barrel):
The front barrel houses the more complicated mechanisms. You should be careful when removing anything here since the tolerances here needs to be exact. There are springs here, never lose any of them. If there’s something that won’t move simply apply some alcohol in order to soften the seals.
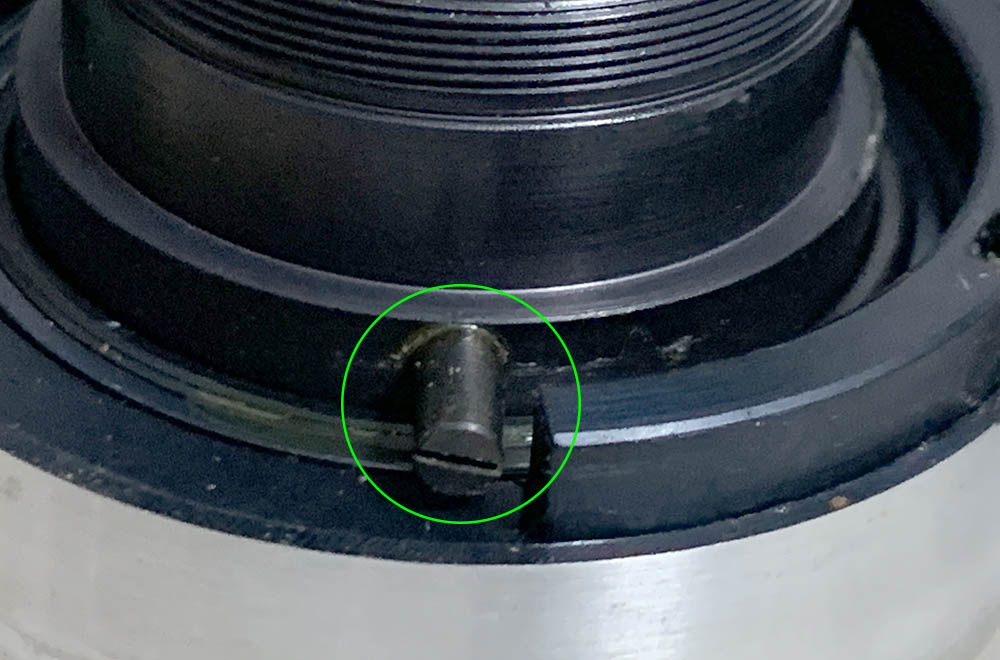
This screw is the main thing that centers everything and prevents the aperture ring from turning beyond its range. You can remove this later after a few more steps.

Dismantle the preset-ring assembly by unscrewing its retainer first using a lens spanner then remove all of its parts. Be careful when removing anything since it’s spring-loaded.
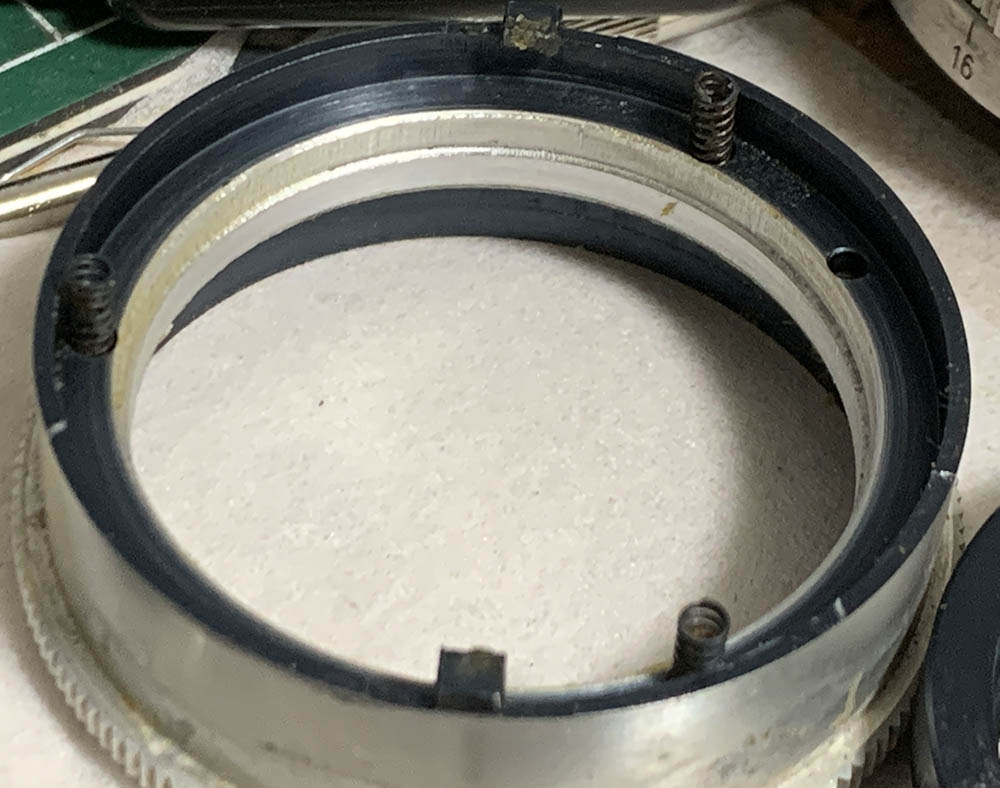
Carefully remove these springs and clean them very well.
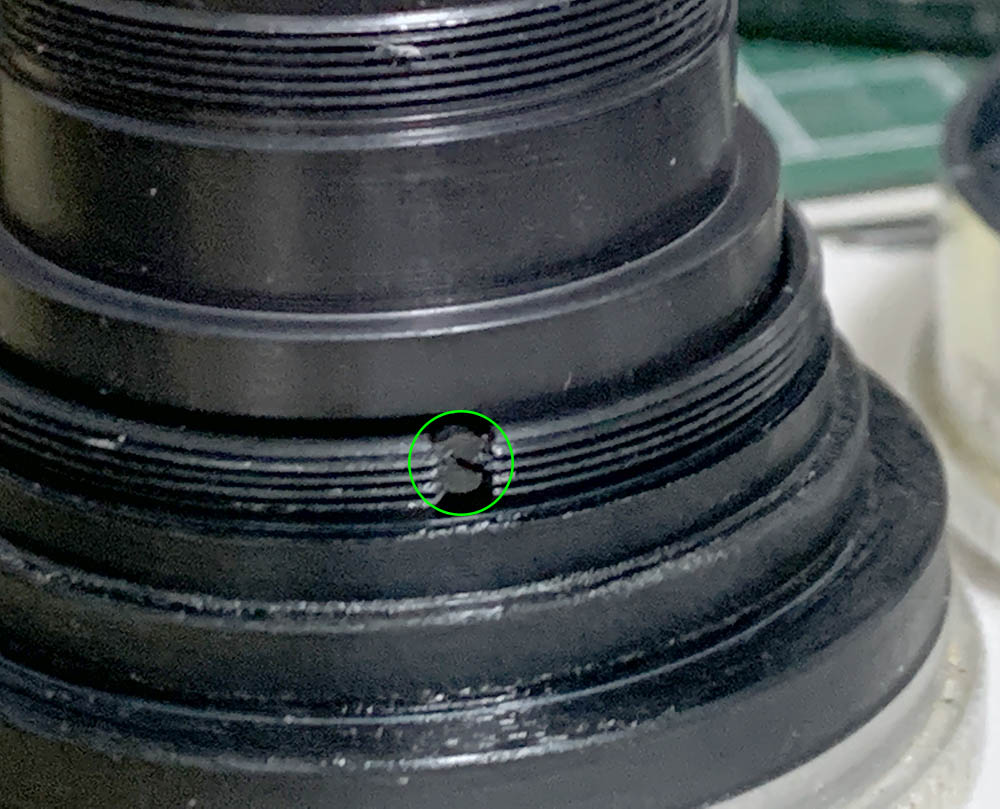
Extract this to uncouple the aperture-ring from the iris mechanism. It allows you to control the iris from the outside by turning the aperture-ring.

Unscrew the aperture ring from the housing of the objective but don’t forget to note its position first so you could put it back at the right height later..
Clean everything very well and do not leave any residue. When putting the rings back it’s best to apply a very thin film of grease, excessive lubrication will migrate to the iris in the future and cause an even bigger mess. The only parts that need lubrication at the threads of the aperture ring and the preset-selector, the slots will also benefit from it, too. You will be surprised at how little lubrication is needed to achieve a smooth feel so don’t overdo it.
Disassembly (Objective):
The optics aren’t difficult to service because it only has 3 groups. Be careful when removing anything here, make a little mark with a permanent marker at the leading-edge of any group’s wall so you’ll know which side should be facing the front. It’s not necessary if you could remember how it looks like, it’s only done for groups that look ambiguous on both sides.
I will include the section for the iris mechanism here in order to condense the article. If the iris is oily the only way to fix it is to overhaul it. Never flush it with solvents and expect that to be enough, you’re merely delaying the inevitable. The oil and dirt will only be flushed into the recesses only to resurface later an the form of an oily iris again. If the inside of the barrel is unusually oily it’s best to overhaul everything just to make a thorough job. Putting the iris back isn’t easy, I wrote an article on servicing a preset-type iris for those who are curious. Read that very well so you’ll know what to do.
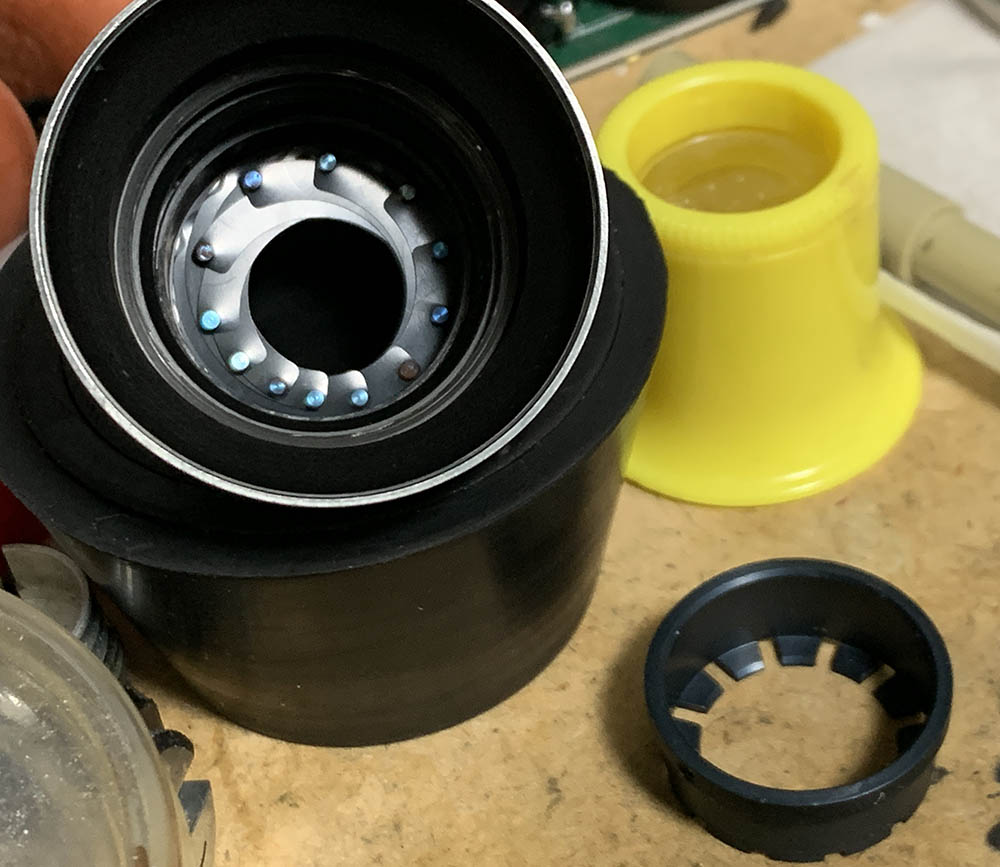
The rear optics group can be extracted after unscrewing its retainer. I don’t think there’s any need to remove the glass in order to clean this properly since both of its surfaces could be accessed while it’s still in its housing, unless it’s really dirty. Do note that the shiny part of the assembly is a separate part so remove that as well.

The bezel and front baffle can be unscrewed with a rubber cup. Saturate the threads if it’s stuck, that should soften the seal up.

The front optics assemble can be unscrewed with a lens spanner and extracted with a lens sucker. Be careful not to scar or scratch the lip of the rear part.

Carefully remove the assembly and be sure not to scratch anything. A safe way to remove this is to rest it atop a rubber cup then pull the housing of the objective up leaving it resting safely on top of the rubber cup.

Unscrew the inner baffle with a rubber tool to remove the front element. Never forget to note which side should face the front so you could put it back properly later. There’s no point in removing the 2nd group so just leave it alone.
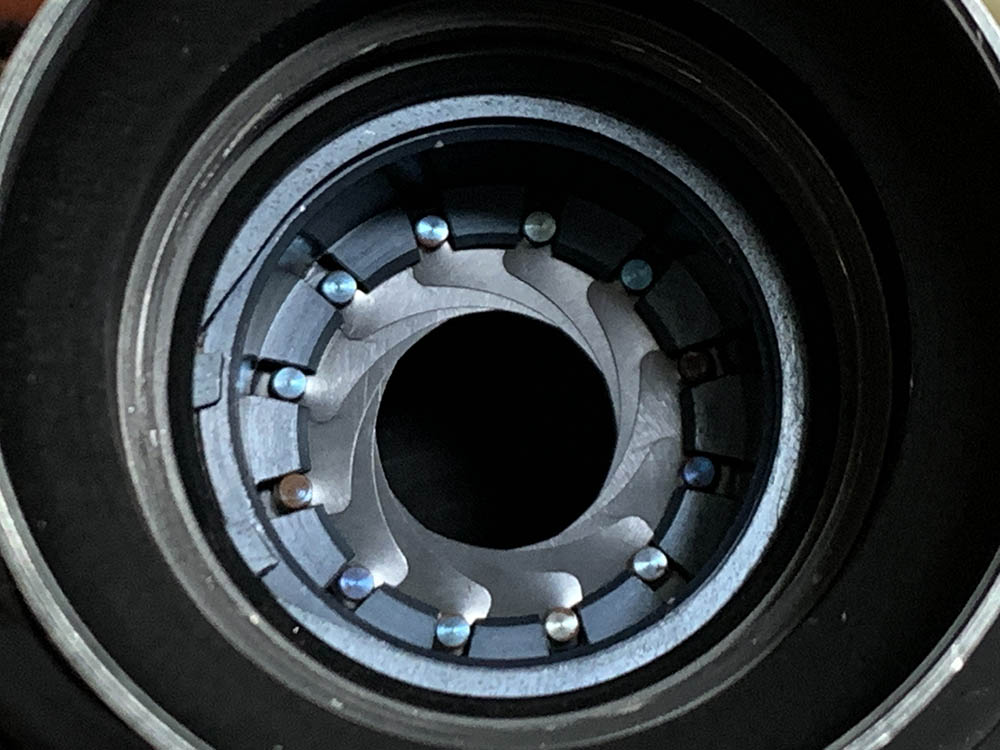
The iris mechanism is secured by this circlip, use a pair of tweezers to remove it.
Remove the diaphragm cup carefully so you won’t disturb the leaves. Observe how the leaves were attached so you will know which side should be attached to the housing.
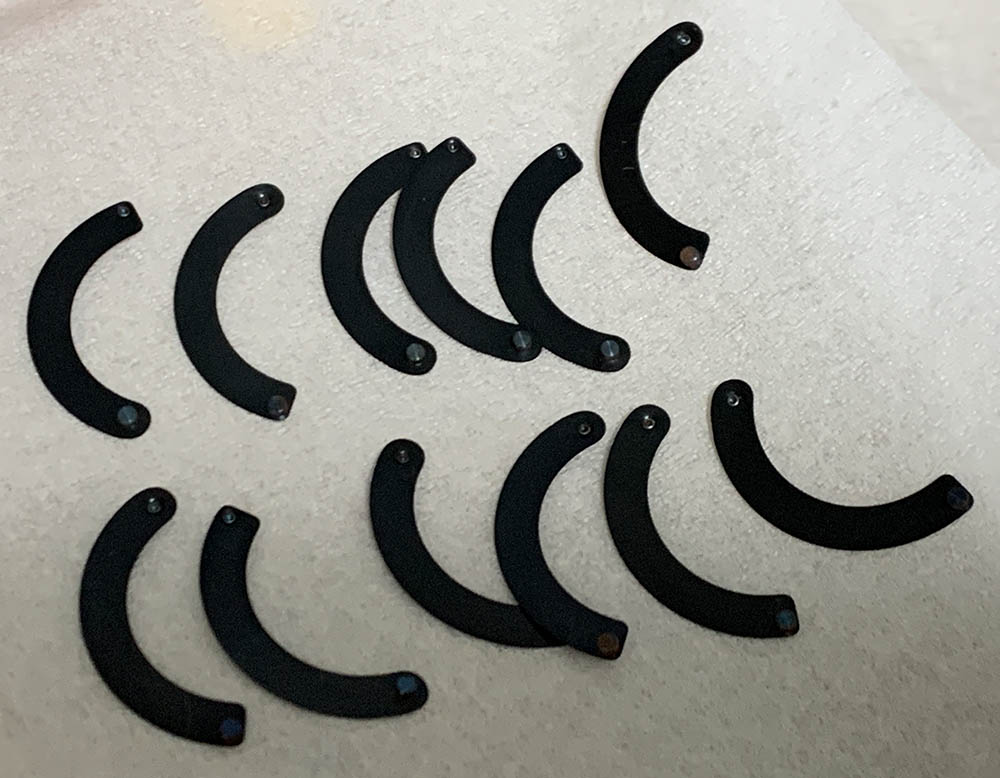
Carefully remove the blades and clean them carefully with Q-tips saturated with solvents.
Avoid any mechanical contact with the glass if they’re coated, blow any dirt off and that should be enough. If your lens has fungus read my article on how to clean lens fungus so you will know how this is done. Dilute the solution well so it’s not going to damage the glass.
Overhauling the iris mechanism takes the most time, you’ll probably spend about an hour putting the leaves back. It’s a tedious job but I’m used to it.
Conclusion:
I am familiar with this lens because it’s rather conventional but what made this enjoyable was making the barrel look a lot cleaner by removing the corrosion and polishing it back to its old finish. I love postwar Carl Zeiss lenses a lot so this one certainly made my day. Now that you’ve seen how tedious it is to service be sure to send yours to a real repairman if it needs to be fixed. You’ll require special tools and skill in order to service this properly, investing in tools may not be the best decision if all you need is to repair a single lens. If you’re an experienced hobbyist then this will be a nice little project for you so long as you know what your doing and follow my guide.
Since this was adjusted at the factory to focus precisely at infinity there’s no need to adjust it if you’ve reassembled the helicoids properly. There are no adjustment points anyway, if you’re not able to focus properly to infinity then the lens was reassembled incorrectly. If you want to know more about adjusting a lens’ focus read my article on how to adjust a lens’ focus, that article should show you how it’s done in a DIY setting with tools that are available to you.
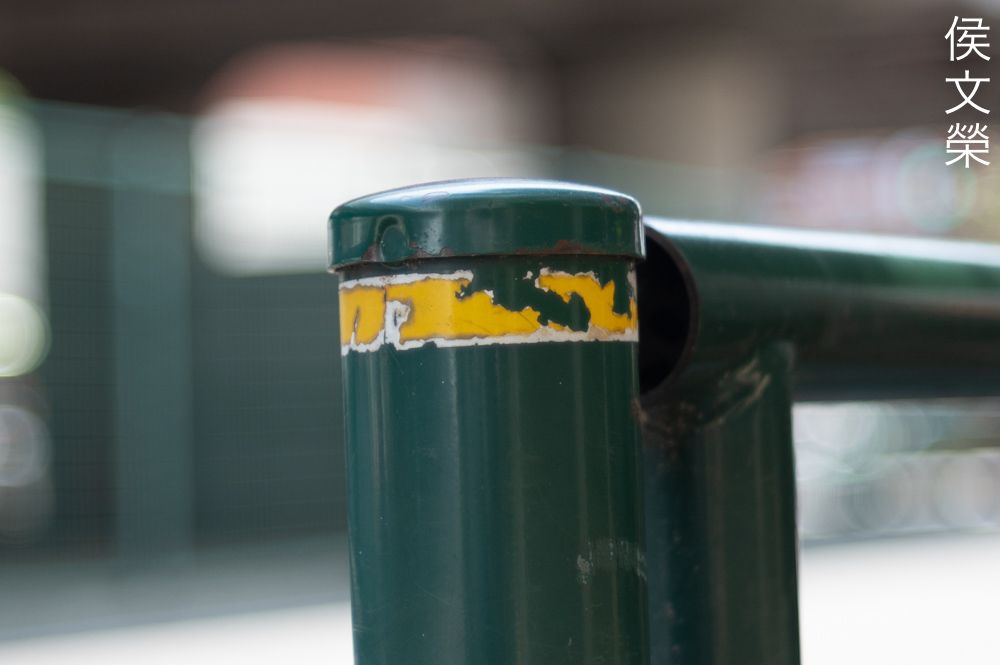
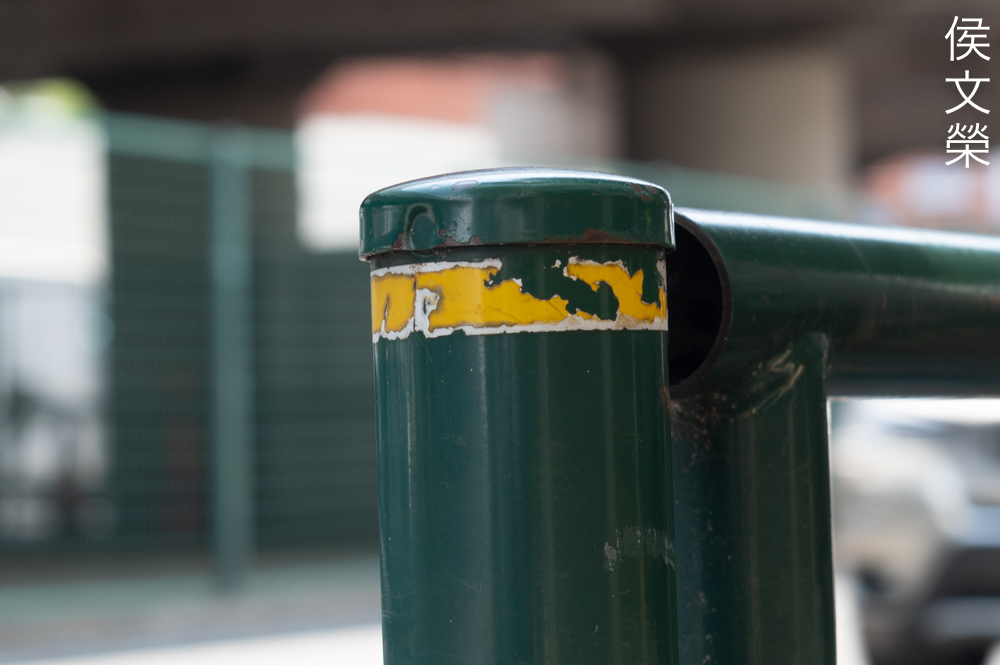
The barrel was cleaned and polished so it doesn’t look as bad now. It feels great to see it shiny, who would’ve thought that it used to look like a wreck. I polished it with a rubber wheel then finished it off with metal polish then rinsed all of the residue with alcohol after thoroughly scrubbing everything with strong detergent. The engravings were repainted, I used the method described in my repainting engravings article.
It’s rather enjoyable to use despite its limitations and I’m sure that you could take plenty of nice photo with it, too. It’s outdated in some ways but there will always be people who could appreciate shooting with older lenses.
Thanks for following my work, if you liked this article please share this with your friends so it will get more views. This site earns around $0.40 a day, we are totally reliant on views. You can also support this site, it helps me offset the cost of maintenance and hosting. You’re also helping me purchase, process and scan film. This site promotes the use of film so we are all in this together. See you again in the next article, Ric.
Help Support this Blog:
Maintaining this requires resources and a lot of time. If you think that it has helped you or you want to show your support by helping with the site’s upkeep, you can make a small donation to my paypal.com at richardHaw888@gmail.com. Money isn’t my prime motivation for this blog and I believe that I have enough to run this but you can help me make this site (and the companion facebook page) grow.
Buy me a roll of film or a burger?
Thank you very much for your continued support!
$2.00
Helping support this site will ensure that this will be kept going as long as I have the time and energy for this. I would appreciate it if you just leave out your name or details like your country’s name or other information so that the donations will totally be anonymous. This is a labor of love and I intend to keep it that way for as long as I can. Ric.

Feb 14, 2024 @ 13:08:09
Hi Richard, what is the best way to clean these lenses (also internal) with such a soft coating without the danger of accidentally removing it? I’m restoring a Tessar 50mm.
Jan 21, 2026 @ 14:41:15
Hi Richard, happy to have found your valuable blog. Your how-to helped me repair a cute little CZJ Tessar 50/2.8 which I purchased with good glasses, but rather jumpy helicoids – grease had hardened, lens needed dismantling, cleaning and regreasing. Worked great, many thanks for your effort! Michael