
Hello, everybody! Do you remember Bobby Goldsboro’s old song “Honey“? It’s a sentimental song about a man missing his lover named “Honey” who left him when her time came unexpectedly. It’s a favorite song of many people but some think that it’s stupid due to this being a country song with simple, corny lyrics. I personally loved it and I occasionally sing that at the karaoke. There are many things in life that divide our opinion. Today, I’ll show you a lens that some people love but some people hated it. And just like “Honey” I think it’s “kind of dumb and kind of smart”, too. You’ll know later why I made that remark so please read the whole article carefully.
Introduction:
This version of the Carl Zeiss Jena Tessar 50mm f/2.8 was made from 1964 to 1967, it is called “zebra” by many people because it has a barrel that has striped rings. Unlike the older Carl Zeiss Jena 50mm f/2.8 Tessar the iris could be actuated automatically but it now only has a 6-bladed iris instead of the circular one of the older versions including the semiautomatic version. This lens used to be the best 50mm Tessar of its time and it was nicknamed “adler auge” or “eagle-eye” because its sharpness. While I think that the older version sort of fell-short in this regard I think this one truly lived-up to that nickname and you will see why soon.

The build is typical of Carl Zeiss Jena lenses from this era meaning it’s all-metal. the engravings are easy-to-see but the depth-of-field scale seems to be rather vague because they’re not color-coded unlike what we’re used to seeing with Nikkors. The aluminum barrel feels nice and it also helps to keep this light but it is still quite substantial when you hold it and not flimsy at all. There’s a small tab at the base which you’re able to depress in order to stop the iris down for depth-of-field preview or metering through-the-lens.
It has the classic 4-elements-in-3-groups of a true-Tessar which is identical to the old silver Carl Zeiss Jena 50mm f/2.8 Tessar. While many people believe that the optics were never changed I suspect that a minor revision had been made in order to account for the different blend of optical glass used on this. I do not have evidence of this but the performance increase convinces me that something did change. It does have better coatings compared to the older one but that alone won’t give you such a big difference when it comes to performance specially when shooting wide-open.
The best way to use this is to shoot it with a native M42 camera such as an Asahi Pentax Spotmatic. I don’t like shooting with this using the German cameras that I have because of their dim viewfinders, they don’t feel as good too when it comes to ergonomics.
Handling can be rather confusing because the aperture and focusing rings feel the same to your fingers. I sometimes accidentally turn either rings when operating it which is a small annoyance but you’ll get used to this soon.

The M42 version is the most expensive one because it’s simplest to adapt and the barrel profile is clean without anything that could catch your fingers. It’s a nice lens to adapt for your Nikon Z cameras but you’re going to need an adapter with the correct height as not all M42 adapter have the same specifications, the M42 mount has at least 2 variants with very small variations so some will be able to focus to infinity or just pass that. This is something that not a lot of people are aware of. You will also want an adapter with a wall just behind the mount so the actuator’s pin will be depressed, allowing you to use it normally without having to depress the small tab at the base of the lens to stop the iris down.
The barrel looks deceptively simple but it’s overengineered inside. To me, it looks like the engineer in charge of this doesn’t seem to have any love for life at all. I don’t think you would be if you’re working for a VEB (Volkseigener Betrieb). In fact, it has such a notorious reputation as one of the most frustrating lenses to overhaul and some even consider this as sort a test to see if you’re an accomplished repairer of vintage German lenses.
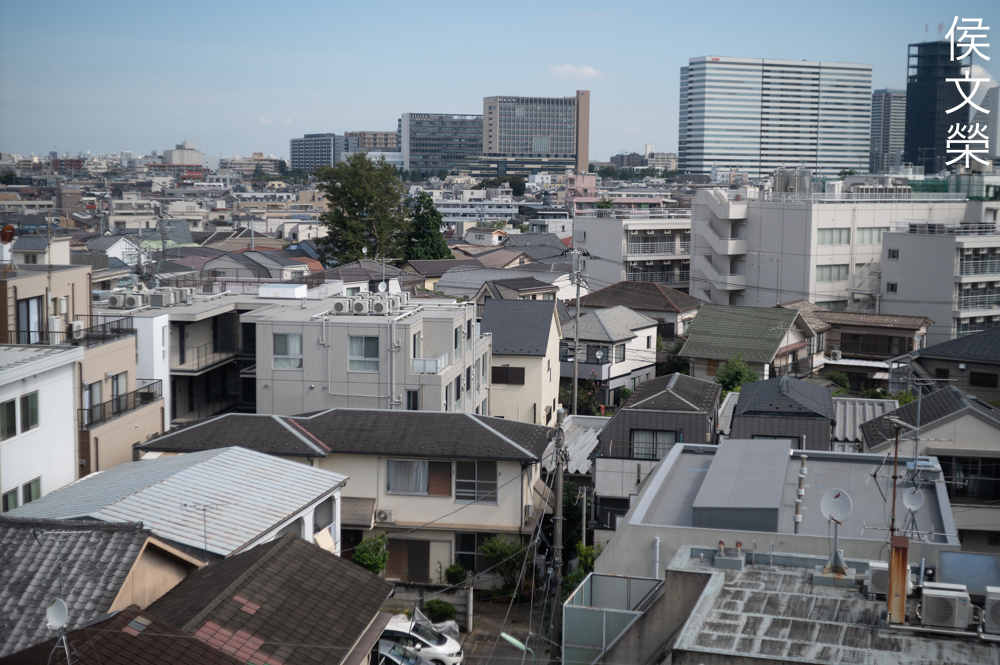
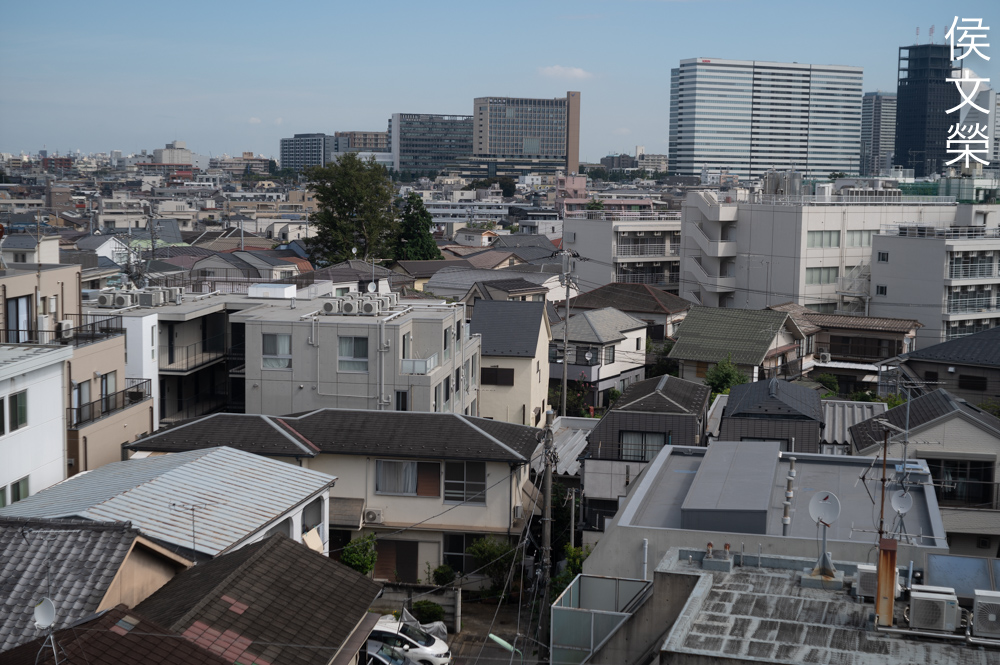
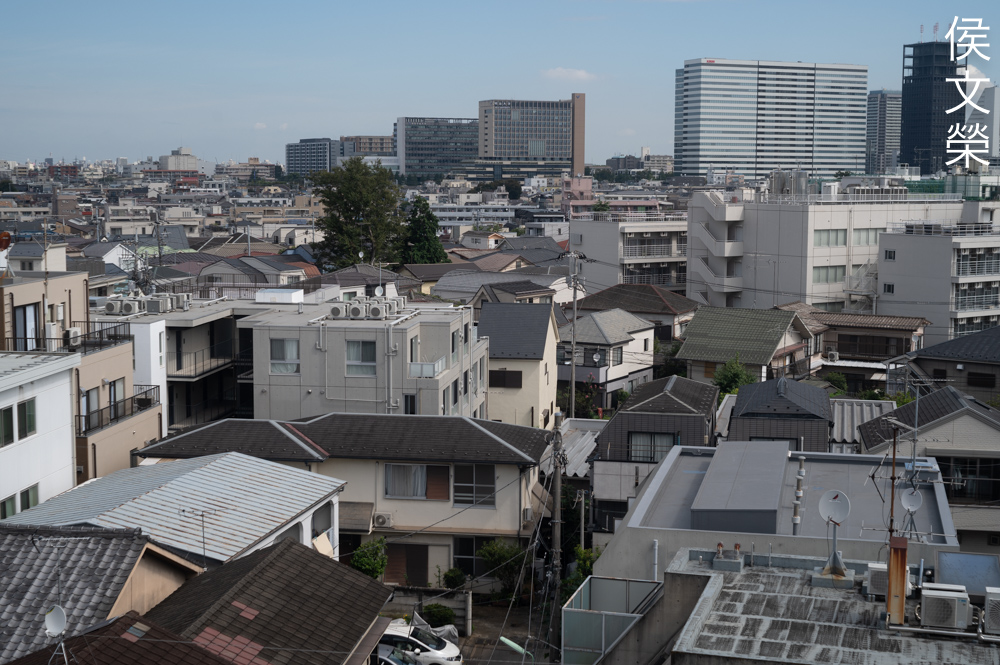
Learning how a lens performs is important so you will maximizing its use. You will learn how to utilize its strengths and avoid its weaknesses. It helps in determining which optic to bring on an assignment. I took these photos from f/2.8, f/4 and f/5.6 since these are the most common apertures that people would want to use this, we will also get to see the most changes happen within these. I shot these with my Nikon Z6, some of these were cropped close to 1:1 so we could see the details better.


(Click to enlarge)
Vignetting can be seen when shooting wide-open but it’s not bad at all. Stop it down to f/4 and you’ll see that most of it is now gone. I don’t think it gets significantly better by stopping the iris down further since everything looks identical at f/5.6 compared to what we saw at f/4. This is not a problem when using this in real-world situations unless you’re shooting-against a plain backdrop or the sky at wider apertures.

It has lower-than-average amounts of distortion compared to other 50mm lenses but that doesn’t mean this lens could render straight lines perfectly. You’ll still see some of your lines curve a but it’s just that the profile is quite shallow so it’s not going to be as obvious.


(Click to enlarge)
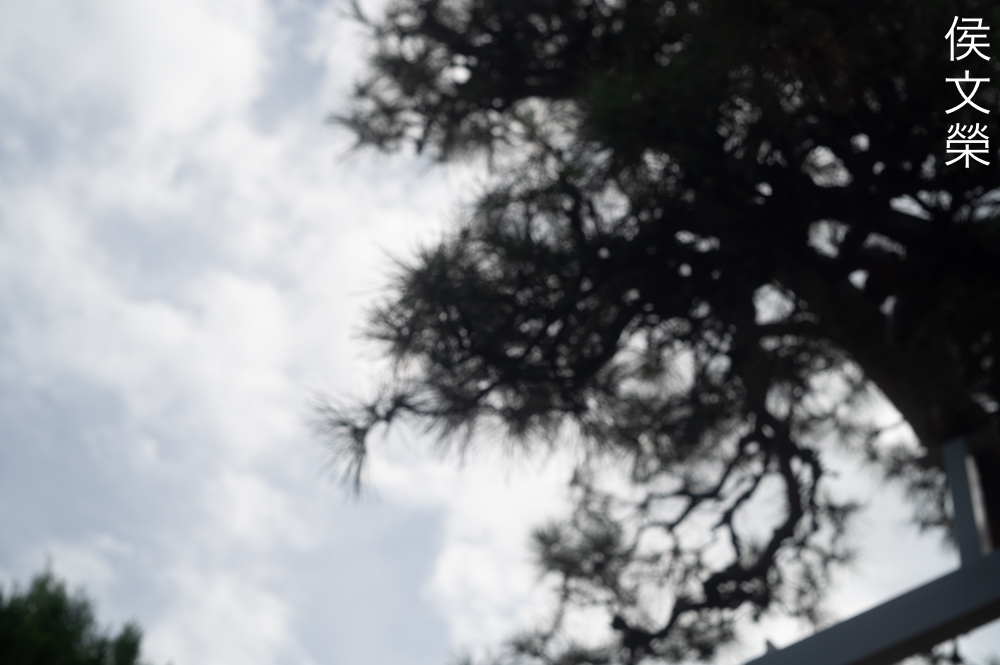
It flares quite a bit but it manifests as a veil of low-contrast-fog more than anything else and you will also get a small blob when you have a bright source of light within the frame, that’s because a Tessar has only 4 internal air-to-glass surfaces so internal-reflections are kept to a minimum.


(Click to enlarge)
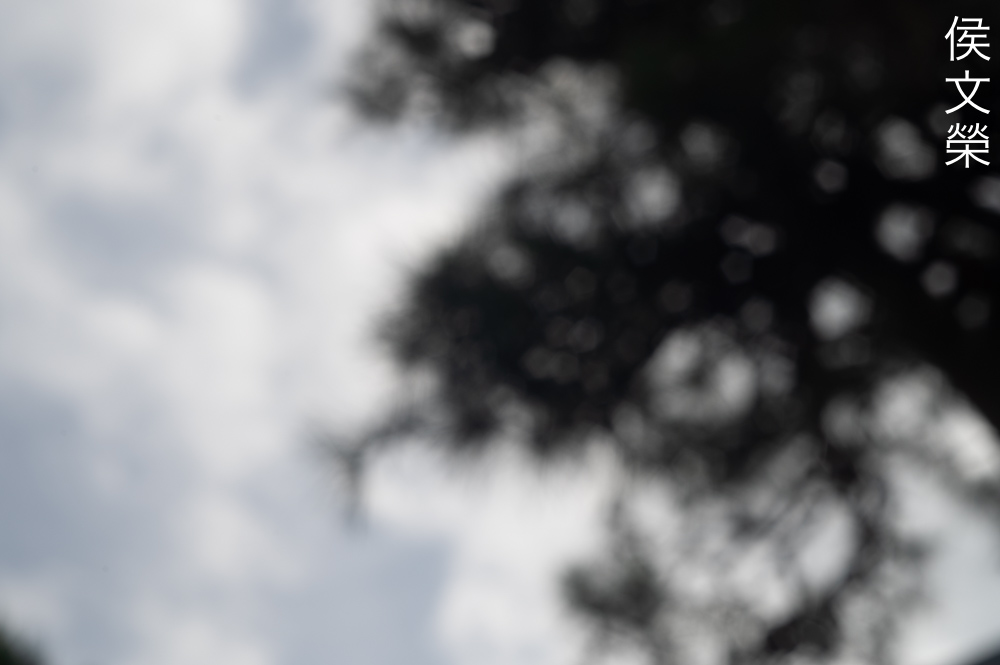
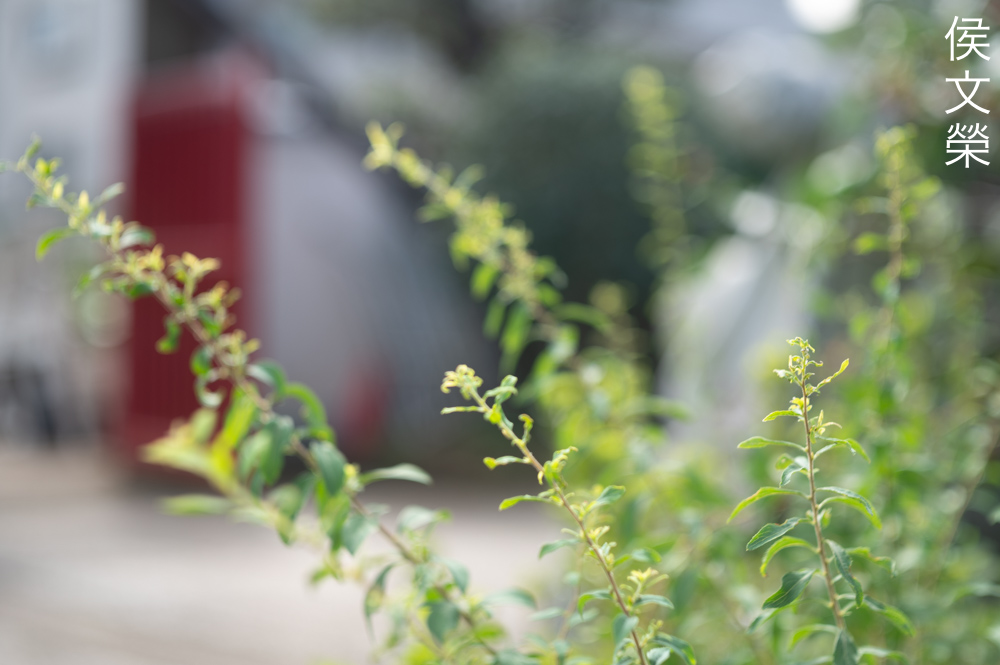
The character of the bokeh is typical from most Tessars which means that it doesn’t look refined at all but that is not the point of shooting with a Tessar anyway. Stopping it down won’t help much and it actually makes it look uglier in some cases. For people who like the “soap-bubble” effect this lens could give you a little bit of that but I find it nauseating because the character of the bokeh looks clumpy and unnatural.


(Click to enlarge)
Here are some examples showing how the bokeh looks like as you stop the iris down. It’s tolerable in a lot of cases but it’s certainly not going to look better than your average 50mm lens from a Japanese brand.


(Click to enlarge)
Chromatic aberration isn’t much of a problem with this lens but you’ll see some of it when shooting wide-open. It gets better by f/4 but it will still look bad in tough cases. You’ll still see some of it even by f/5.6, it only ever happens in extreme scenarios, what you should be more aware of is how overblown objects will “bloom”. It’s more of a nuisance than sphero-chromatic aberration in my opinion but you it is something that you could incorporate into your creative vision.

(Click to enlarge)
This is another example showing how it looks like. I normally wouldn’t care so much about this but I am a bit disappointed when I see this much of it on my photos. It does make your photos look a bit surreal and “dreamy” but we don’t want to shoot like this normally. The sad part is it won’t get better even if you stop the iris down even further.


(Click to enlarge)
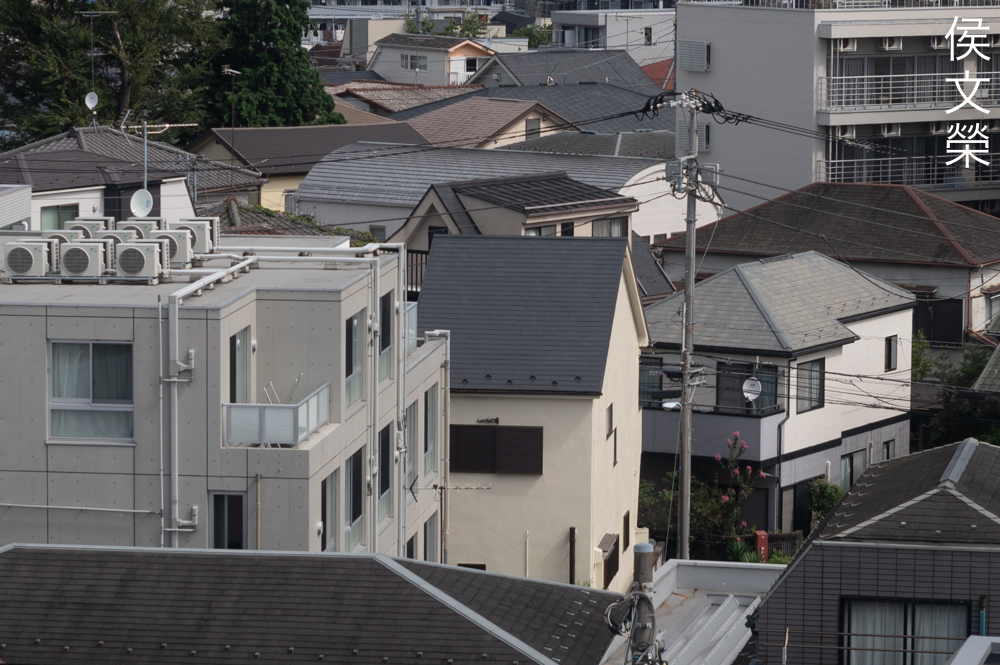
This is very sharp even when shooting at f/2.8, the center looks amazing and the corners don’t look bad if you’re not shooting at infinity or anywhere beyond 20m. Contrast looks great and the resolution is good. The resolution at the corners aren’t as nice as the center, unfortunately. Stopping it down to f/4 will make the center perform slightly better but I do not think it will look any better from here-on. The extremities show a lot more improvement, they now look much better thanks to the improved resolution. You’ll notice this a lot better when shooting at distant objects. The center won’t look better at f/5.6, it sort of peaked at f/4. The extremities show the biggest changes, they now look rather good specially if you’re focused at infinity.
The whole point of using a Tessar is to capitalize on that legendary ability to render sharp centers even at wider apertures and this lens will certainly give you just that. Compared to the older Carl Zeiss Jena Tessar 50mm f/2.8 this is sharper wide-open while the older one isn’t. That difference may be due to the better coatings used on this one or perhaps the optics were tweaked slightly since the glass recipe may have been changed prior to the introduction of this version.
This is a sharp lens specially when shooting under 20m. The center is the best so you should position your subjects closer to the center.

Rendering looks great, it’s able to give you both sharp-and-soft details in a single photo. It’s not going to be as “perfect” as what many modern lenses give but it sure renders photos that look charming. It’s about how a lens is able to balance residual aberration and sharpness in order to present a pleasing photo.

Focus-transition looks natural but a bit on the “bold” side which is typical of this lens design. Colors look saturated in good-light and the overall feel of your photos look nice when it comes to colors and tones. If only the blurs look smoother this could even challenge many lenses that were made just a few years ago.

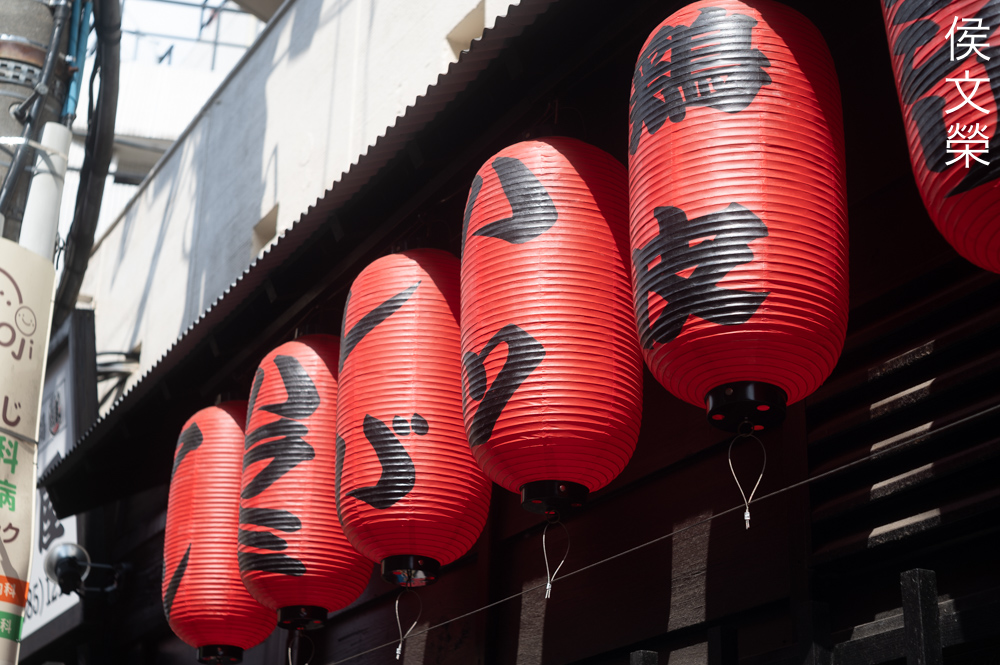
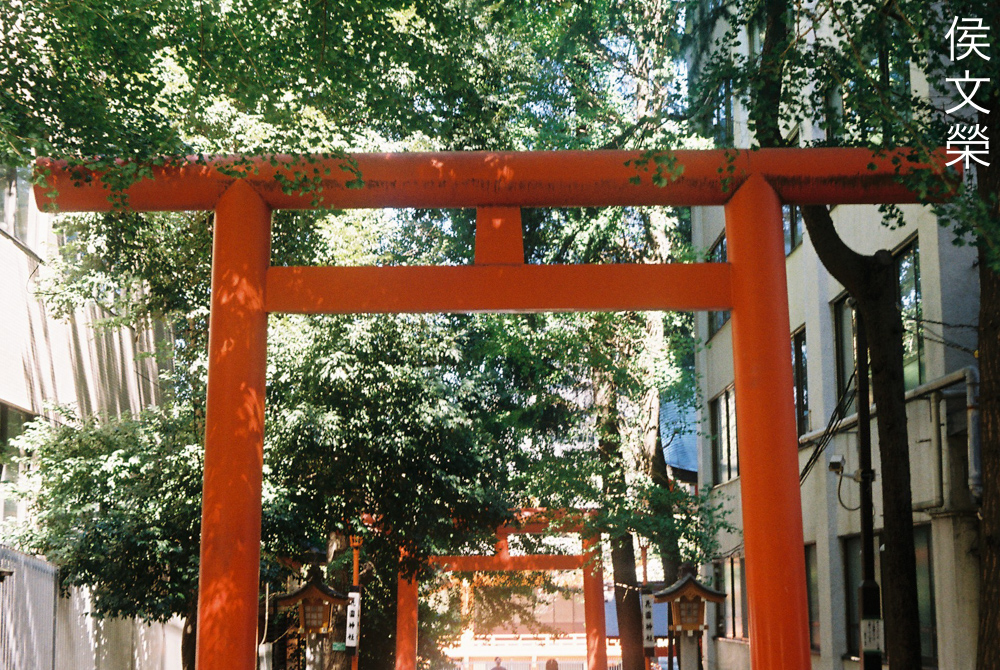
That characteristic “bloom” makes this lantern look “whiter” than it actually is. This is how you turn a lens’ flaw into something useful. I actually consider this as a “feature” in the context of this example.
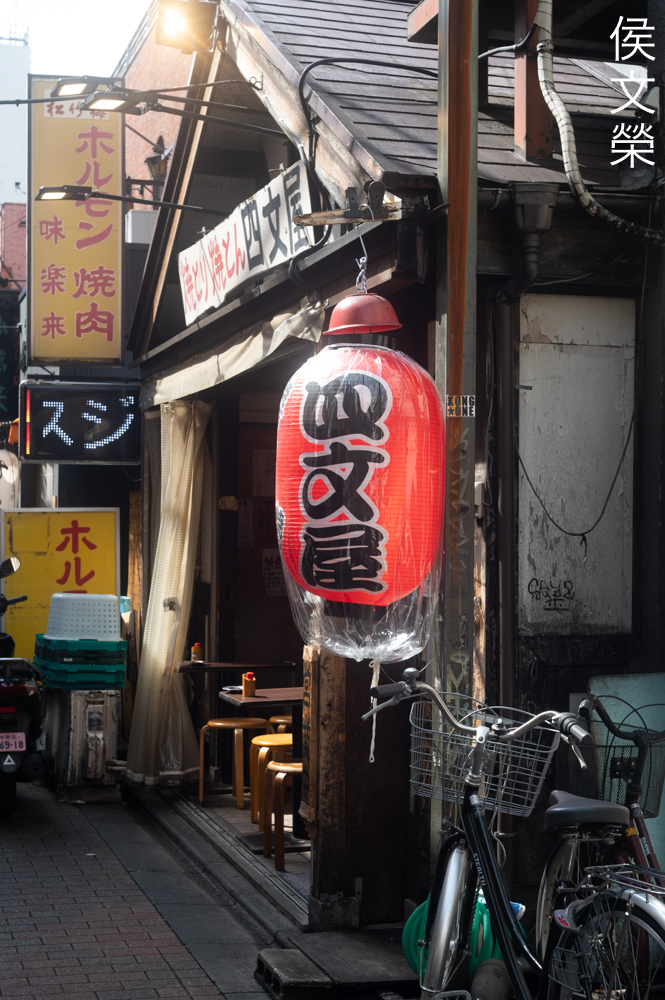
This photo has so much mood and “atmosphere” thanks to how it renders. That “glow” and flare will help wrap the scene up and give you a unique-looking picture. If this looks clean then it would just be another boring snapshot of my neighborhood that you’re all so tired of seeing.
Here’s another photo that utilizes that “glow” to its benefit. It helps give you the impression of a pleasant morning just after the rain has stopped. It’s the “secret-sauce” of this photo in my opinion. You could also use this for shooting wedding videos if you like.

I think using a hood will help a lot, too bad I don’t have one with me when I shot this. The contrast is a bit lower in this photo because of the bright sky shining from above.


(Click to enlarge)
I think this lens offers a lot of value for people who don’t mind using an all-manual lens. It’s able to give you photos with a unique character that’s absent in many lenses that were made in recent years. This is why I love shooting with vintage lenses more than the expensive automatic-everything lenses that cost a lot more. If you’re one of those people who value this over scores that were taken from a chart then this is the lens for you.
Let us now check some film photos. Film has a unique look that is hard to simulate with a digital camera thanks to grain. It reacts differently to light, this means that it could mask a lens’ flaws or amplify them. Since this was designed to be used with film, it’s best that we judge this using its intended medium.


(Click to enlarge)
This is how much it flares and how the blobs look like when shooting with film. I think it’s typical of many lenses from this era but it tends to fare worse compared to Nikkors in my opinion. While not bad it’s a lot better than what you’d get from Takumars such as the Asahi Super-Takumar 55mm f/1.8.
You’re able to focus close with it and this is how it looks like when shooting flowers. The character of the bokeh isn’t the best even when shooting this close.

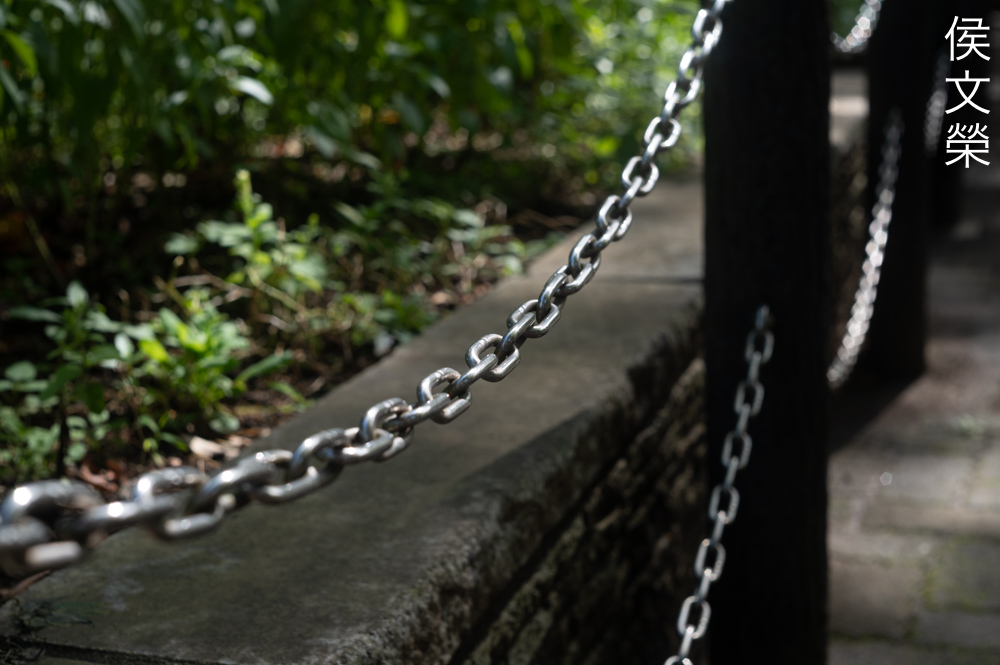
I don’t like how it renders linear details in the background, it looks unrefined and cheap to be honest. It’s to be expected from a Tessar.

If you are mindful with what’s in your background you’ll prevent the roughness of the bokeh from showing. I could still see some unrefined features but not as bad as what we saw in the previous photos.

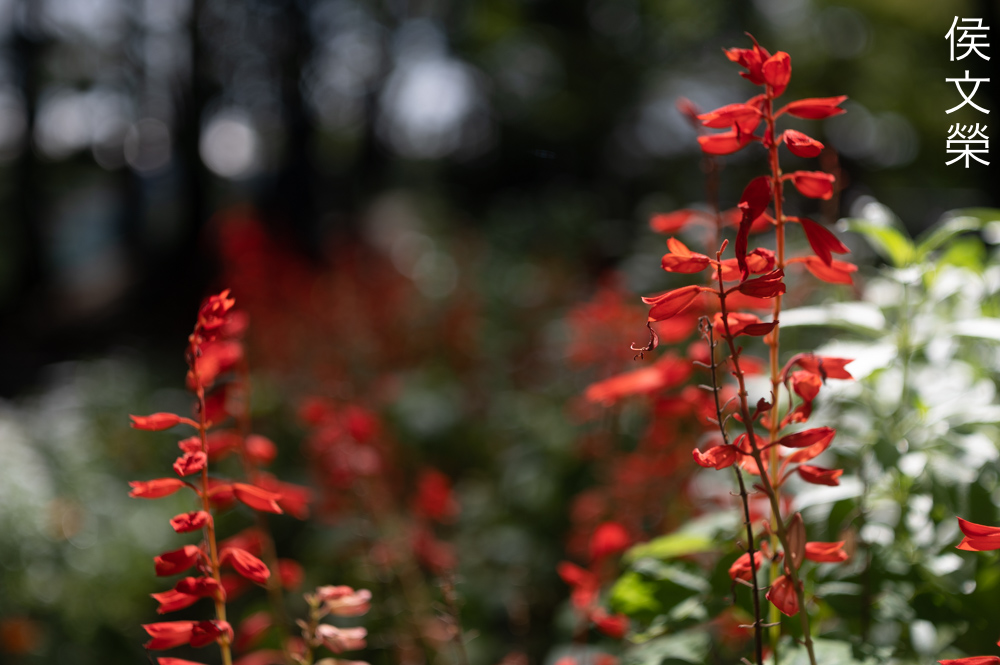
Contrast and saturation looks superb specially when you have good-light. The rendering looks natural, it’s able to present as scene in a beautiful way without making it look “cartoonish”.
Like all Tessars sharpness is excellent and the contrast looks great. You should focus on this when you are using it and you’re able to maximize this lens a lot better.

This focal length isn’t the best for portraiture even for the little-miss. In order to make this work for use as a portrait lens you will have to place your subjects further into the scene.

I think this was shot at f/8 or f/11, the details look exquisite and clean.

Your overblown objects will “bloom” specially if they are white. It does this even if you’ve stopped the iris down. I don’t like this “feature” much but it won’t prevent me from enjoying this lens.
This scene is a good example for studying how this lens renders because it exhibits both overexposed and shaded areas in a single photo. The wide-range of tonality and luminance is beautiful, it renders the scene so naturally unlike what we’re used to seeing these days from many overcorrected “art” lenses.
The effects of distortion is most prominent when you have straight lines that are parallel to the edges of your frame. Most 50mm lenses up until recent years exhibit similar amounts of distortion so this isn’t the worst you’ll see in this class.
The “blooming” effect adds some “character” to your photos but I think this lens has a bit more than what I’d consider tolerable by my standards. This results in photos that looks cheap as if they were shot using a plastic camera that one could buy from a convenience store a few decades ago.

If you’re a fan of the “vintage” look I highly recommend that you shoot with this lens specially with film. I am pleased by the results so far and it’s certainly one of my favorite Carl Zeiss Jena lenses.


(Click to enlarge)
Here’s the rest of the roll. This lens offers a lot in terms of rendering and other “intangibles” so you’ll get photos that looks unique specially when you compare this with lenses that were made in recent years. It’s not the best lens from its period in my opinion because I’d actually prefer my Nikkors over this in terms of rendering but this lens has some unique qualities to it that makes this appealing for certain scenarios.
This is the best 50/2.8 Tessar from the Germans so I highly recommend this specially considering how less they cost these days. It performs just as well with film or digital, people who shoot videos will find it very appealing, too. Of course, it is only for people who are into vintage lenses, if you want perfection you’ll be better off using any modern 50mm lens. If you really want one only buy the M42 version, it’s worth the extra money. These do not cost much at all, you’re able to get one in good condition for $90.00 and even less when you’re lucky. When looking for one do not forget to check the iris mechanism, it should close perfectly at every aperture and distance specially at infinity. It should be dry and snappy, too. The optics should be clean, clear but a few scratches will still be tolerable. Operate the rings, they all should work flawlessly, if it’s not even then there’s a chance it has been tampered with or worse, even damaged. These are very good heritage lenses and you could never go wrong with one.
Before We Begin:
If this is your first attempt at repairing a lens then I suggest that you see my previous posts regarding screws & drivers, grease and other things. Also read what I wrote about the tools that you’ll need to fix your Nikkors.
I suggest that you read these primers before you begin (for beginners):
Reading these should lessen the chance of ruining your lens if you are a novice. Before opening up anything, always look for other people who have done so in YouTube or the internet. Information is scarce, vague and scattered (that is why I started this) but you can still find some information if you search carefully.
I highly recommend that you read my working with helicoids post because this is very important and getting it wrong can ruin your day. If I can force you to read this, I would. It is that important!
For more advanced topics, you can read my fungus removal post as a start. It has a lot of useful information, it will be beneficial for you to read this.
Disassembly (Main Barrel):
There are many ways to dismantle this but this is what I think is the correct sequence. Like many Carl Zeiss Jena lenses from this era you’ll want to start from the rear then work on the front later. This is no-different but there are many things that you should be careful of to prevent any headaches and I will show some of them to you in this article.
This is not the easiest lens for a beginner to tackle. In fact, it has quite a reputation in the camera repair circle for being difficult to reassemble due to how complicated the iris mechanism is. While the general construction is quite simple many of the parts inside were designed to be really too-precise for its own good which means there’s not much room for small errors. What will help you a lot is taking plenty of notes or measurements to prevent you from getting lost. Some of the parts are very frustrating to put-back, it has a delicate actuator assembly and its pin is very annoying to reinstall.

Carefully extract these to remove the base.

Carefully pull the base off to reveal the delicate mechanisms inside. Do not disturb anything so you’ll be able to document everything the way they were.

Carefully remove the aperture ring, there’s a little ball here and you don’t want to misplace it.

This is the little ball that I was talking about in the previous panel. It sits at the other side of this location. What you see here is a spring-loaded pin to stabilize the aperture ring. Carefully dismantle the pin and its spring and clean everything carefully. You should also do the same for the spring located at the other side where the ball originally sat.

Unscrew the bezel with a rubber cup, it shouldn’t be sealed.
Once the bezel is gone you’re now able to extract the screws securing the front barrel so you can remove it. Don’t unscrew the front optics assembly yet or you’ll accidentally dismantle the iris mechanism.

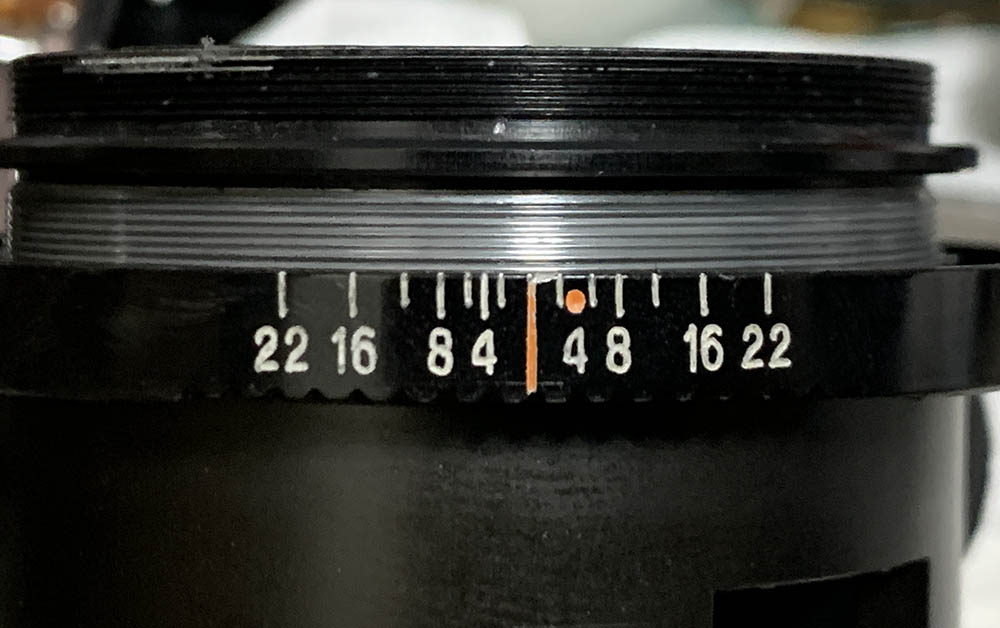
While the barrel is still set to infinity mark the alignment of the inner helicoid and the objective’s housing.

Focus the lens to infinity and note how deep this screw sits, you should be able to recreate this later.
It will be difficult to extract these screws, you’ll need a special tool in order to extract these. Don’t remove them for now unless you have that special tool. You’re still able to dismantle everything but you’ll need to do things a bit differently.
Unscrew the housing of the objective and never forget to note where it separated because this is also the same place where they should mesh. Many people forget to do this so they spend a lot of time guessing the correct position. I’ve written an article on servicing helicoids and be sure to read that so you will know how this is done.

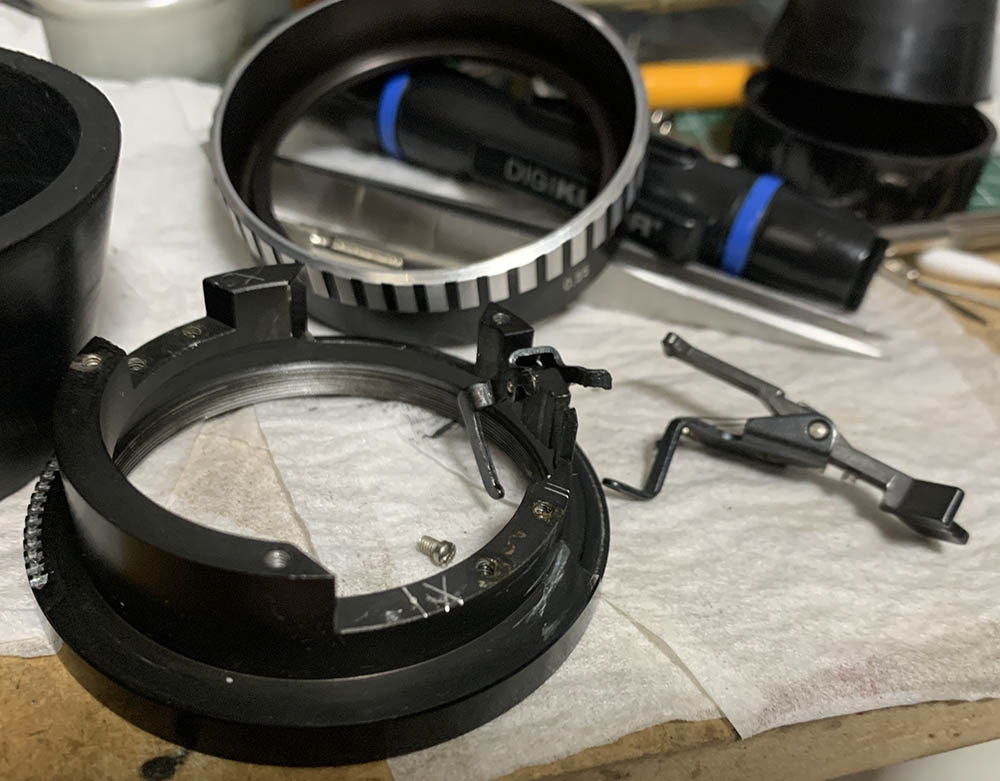
Unscrew the retainer securing the focusing ring and you’re able to remove the ring safely.
Carefully separate the lower and central helicoids, never forget to mark where they parted.

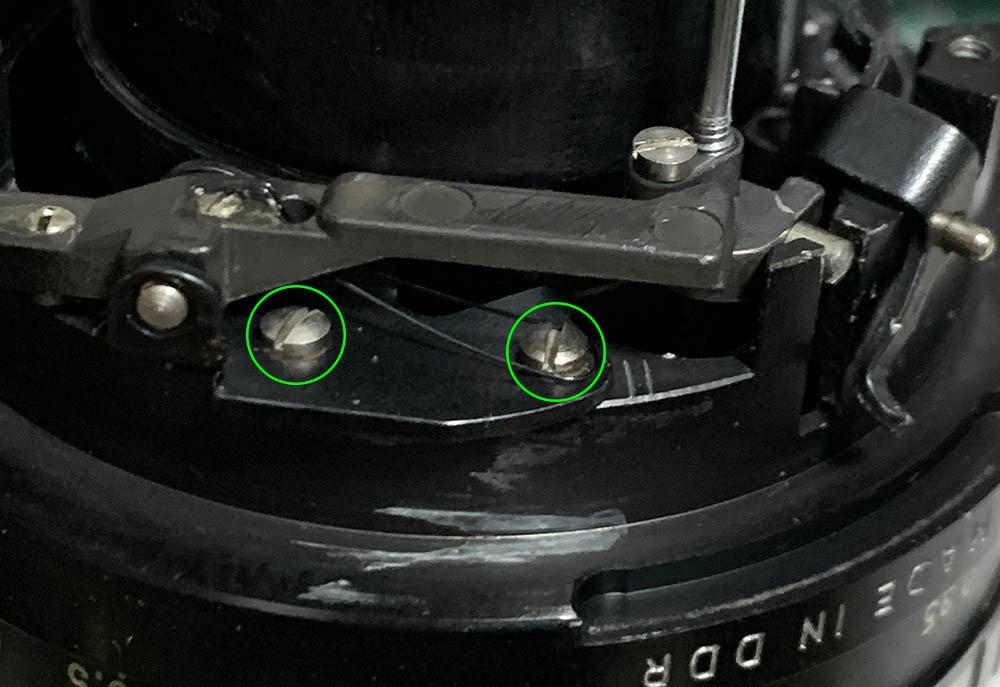
Carefully remove the actuator’s pin and its spring. Be careful not to bend anything here specially the pin. I will also mention that it’s frustrating to put this thing back later during reassembly so study how it works so you’ll know how to efficiently position this later.
Carefully remove the stop-down lever’s mechanism with a special tool. Do not dismantle this any further, I don’t see any benefit in doing that since you’re able to clean everything at this point.
Clean everything really well, scrub the helicoids with strong detergent and rinse them well before doing another bath with alcohol to remove any residue. Dry everything and make sure nothing is left staining the threads. This benefits from a grease that is on the light-side with a bit of damping to prevent the helicoids from feeling a bit gritty. Never lubricate the actuator mechanism, if you’re really inclined a very small amount of watch-repair oil is more than enough. I personally avoid this as it’s unnecessary.
Disassembly (Objective):
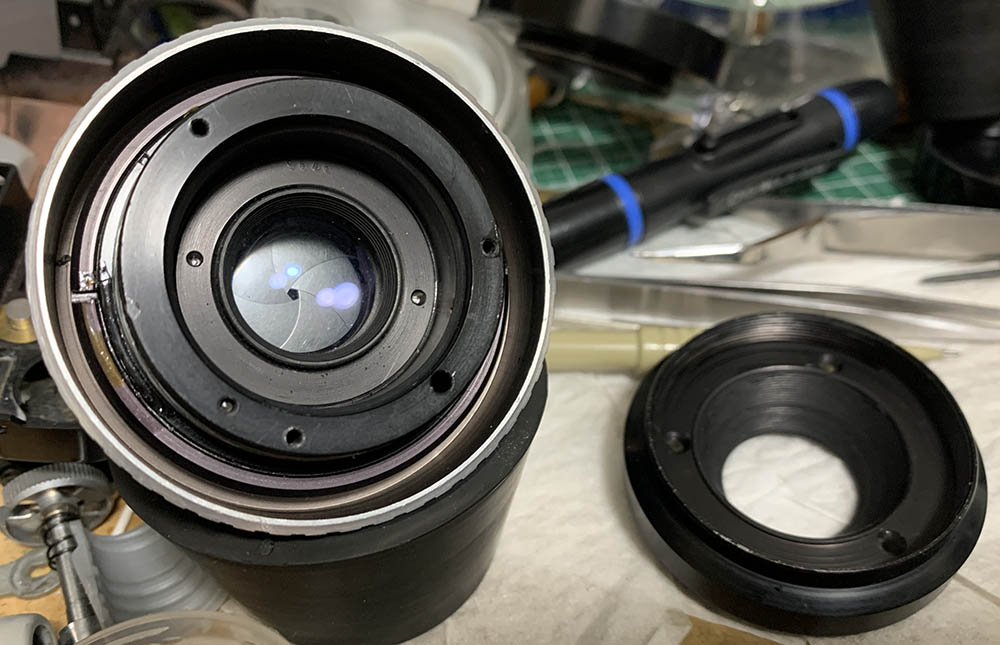
This is the right way to dismantle the iris mechanism. You’ll have to be very careful here because some of the parts are adjustable and you should be able to put things back correctly after the overhaul. Do not merely flush the iris mechanism if it’s oily, the only way to remedy this is a thorough overhaul or it will get oily again soon.
It’s easy to dismantle the optics since there’s only 3 groups in this lens but never forget to take photos or note which side should be facing the front so you’ll be able to put them back properly. Since this is simple I’ve decided to condense the section for the iris mechanism and the optics to a single part.

Carefully note the position of this damper then extract its screws. This is adjustable so the iris mechanism will be able to close-down correctly to the right diameter.

Never forget to uncouple the spring before you continue.

Note that there are washers underneath each screw, never lose any of them.

Once you’re ready to dismantle the iris you can remove the front optics assembly and pull this ring out. It was so oily you could see droplets accumulate at the blades, this is the reason why flushing the iris is not the smartest thing to do no matter what people say.
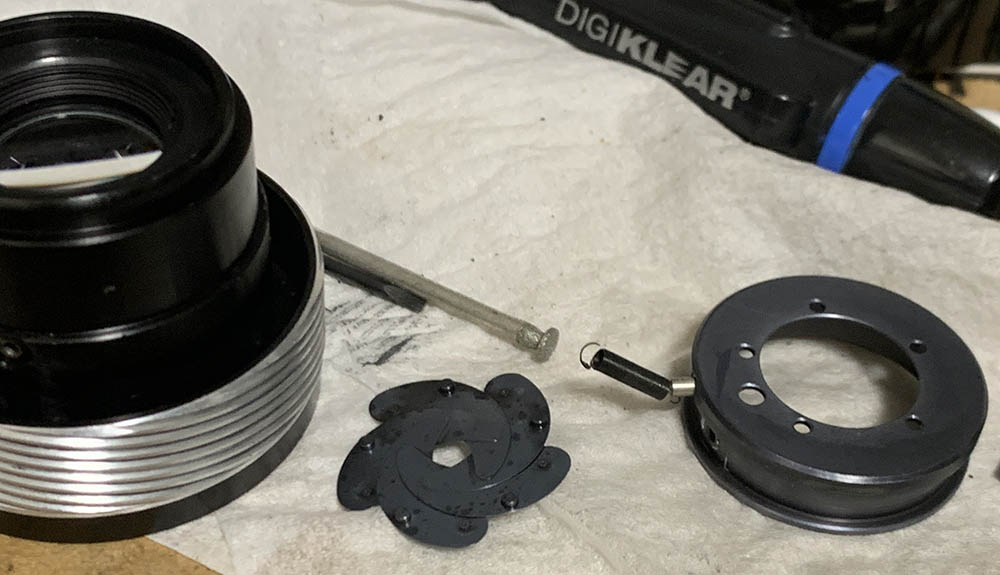
Carefully pick the diaphragm’s cup and remove the blades. Mine was so filthy that it came out like this.

Carefully extract these to remove the diaphragm’s plate but never forget to note its original alignment.

Carefully pick it off with your fingers or just drop it onto your palm. You should be careful not to warp this or else the iris won’t be able to operate smoothly, it should remain flat no matter what.
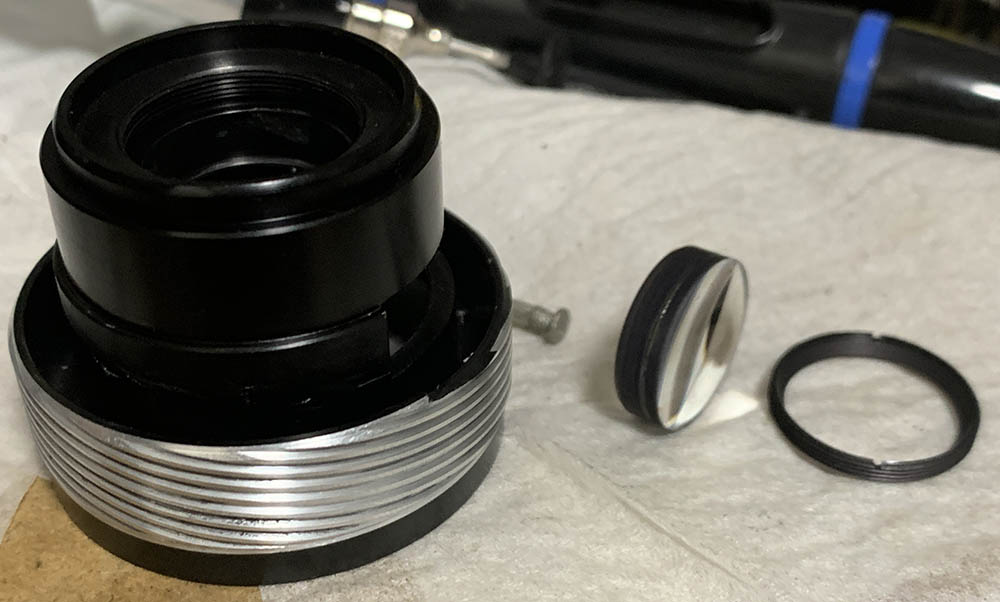
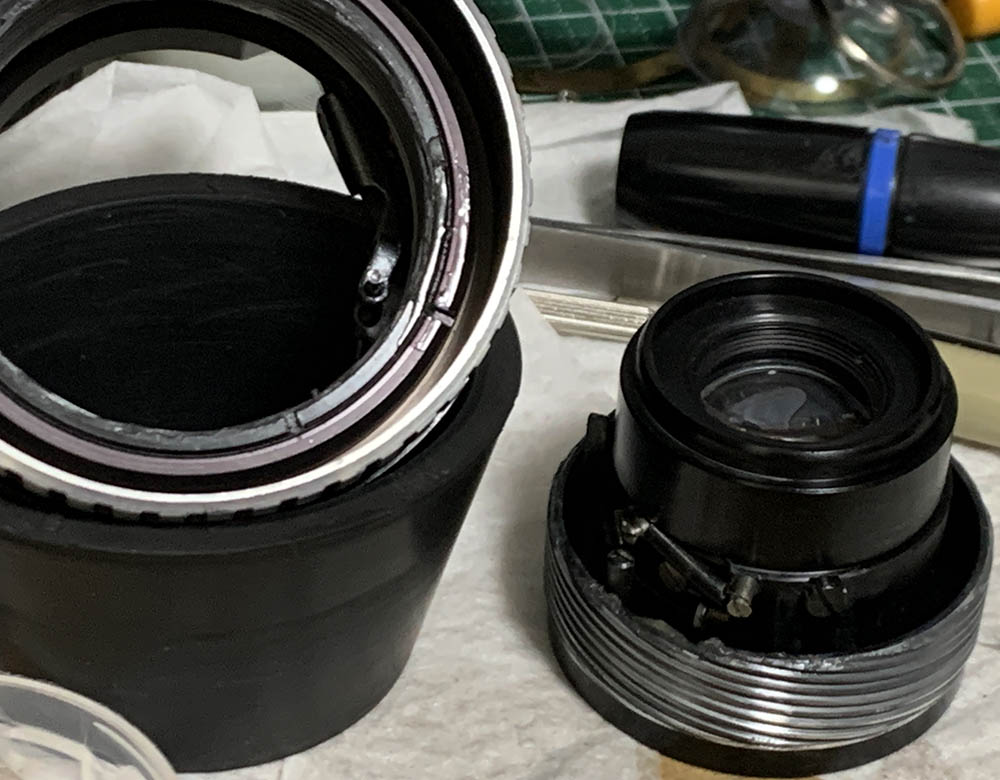
Extract the rear group after you’ve removed its retainer, a lens sucker will help you get it out safely. Don’t forget to note which side should be facing the front so you’ll know how to put it back properly later.

The front optics assembly could be dismantled in this manner.
Carefully wipe the blades carefully with lens tissue and naphtha. Only handle them by their pins so you won’t warp them. They’re kind of thick so it’s easier to bend them.
As far as the optics is concerned never dismantle anything that does not need to be removed. If it’s merely dirty just do a simple cleaning. The only reason to remove anything is to clean terrible fungus damage or haze. If you did be sure that you note which side should be facing the front so you’ll know how to put it back again later. Carefully clean the glass, follow my fungus cleaning article in case your lens needs it. Thin the solution so you won’t never damage the coatings.
Conclusion:
It took me a lot of time to put back with most of that time spent on reassembling the iris. If not for the complicated iris mechanism I would have finished this within the night. This is certainly not a lens for a beginner to tackle specially if a thorough job needs to be done. If yours needs to be serviced send it to a qualified repairer and be sure he’s legit because there are many bogus operators out there. If they’re unfamiliar with this lens then show this article to make sure that the job gets done the right way.

After cleaning everything it’s now time to put things back together. The iris blades were cleaned very well so no traces of oil will be left. All residue were cleaned from every metal part before reassembly, never do a half-baked job when it comes to overhauling specially if the iris is oily.
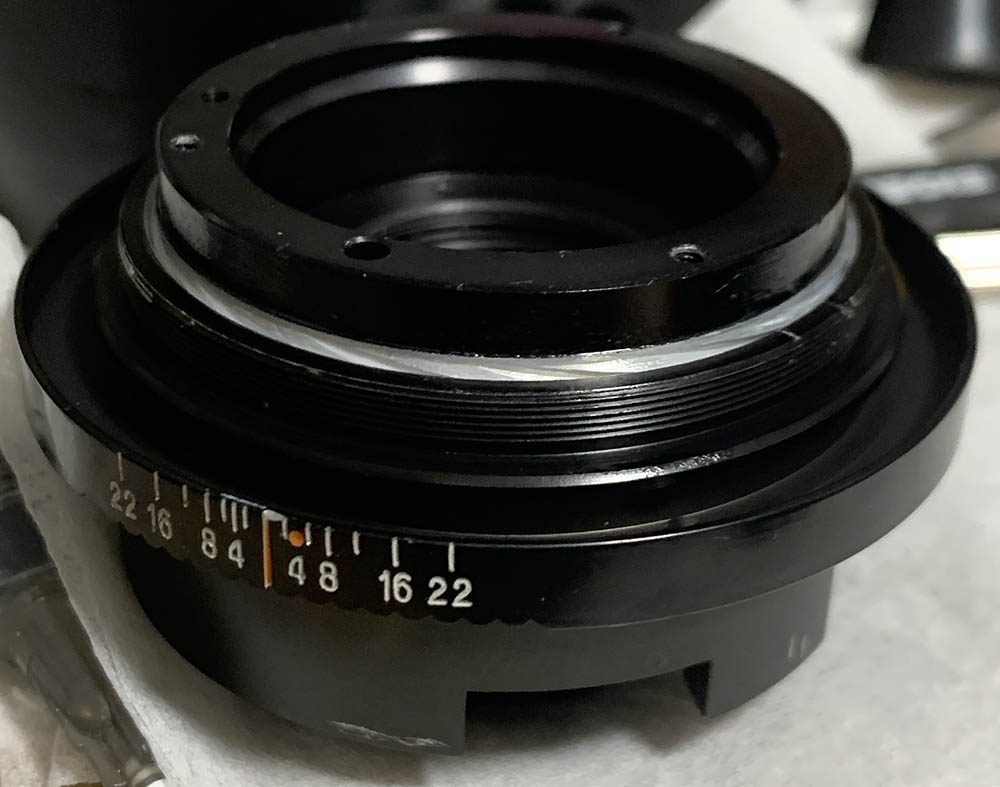
This is how clean it is after the overhaul. Everything turns smoothly without the characteristic greasy feel of bad, spoiled lubricant.

Reassemble everything up to this point so you’ll be able to adjust the focus. Read my article about adjusting a lens’ focus to know how this is done in a DIY setting using tools that are available to you. Once you are happy with the results attach the focusing ring then tighten its retainer. Do more tests to confirm if every distance looks correct according to the scale specially at infinity where it should focus-past slightly. You can reassemble everything when all checks are done.

I really enjoy shooting with this a lot, the results I get from this justifies all the headaches I’ve experienced from reassembling the iris mechanism. I’m sure that I will be shooting with it again after this review so be sure to check this article again to see if there are new photos uploaded here.
This is a very popular lens, there are many articles written about this and a few “repair” articles online but this is my version and I assume to be the most in-depth of them all in terms of repair. I hope that the Carl Zeiss Jena fans will find this invaluable as a resource for entertainment and education.
Thanks for following my work, if you liked this article please share this with your friends so it will get more views. This site earns around $0.40 a day, we are totally reliant on views. You can also support this site, it helps me offset the cost of maintenance and hosting. You’re also helping me purchase, process and scan film. This site promotes the use of film so we are all in this together. See you again in the next article, Ric.
Help Support this Blog:
Maintaining this requires resources and a lot of time. If you think that it has helped you or you want to show your support by helping with the site’s upkeep, you can make a small donation to my paypal.com at richardHaw888@gmail.com. Money isn’t my prime motivation for this blog and I believe that I have enough to run this but you can help me make this site (and the companion facebook page) grow.
Buy me a roll of film or a burger?
Thank you very much for your continued support!
$2.00
Helping support this site will ensure that this will be kept going as long as I have the time and energy for this. I would appreciate it if you just leave out your name or details like your country’s name or other information so that the donations will totally be anonymous. This is a labor of love and I intend to keep it that way for as long as I can. Ric.

Nov 10, 2024 @ 05:00:02
Dunno if you’ll see this, but I’m trying to follow your repair guide to take apart and regressed the helicoids of my zebra copy of this lens. I hit a roadblock on when removing the front barrel. My copy doesn’t have any screws under the vanity plate, but two relatively large holes. I wasn’t able to unscrew the piece either by hand or with a lens spanner or a rubber friction turning tool.