
Hello, everybody! We were jolted by a very strong earthquake last night just before midnight. People were so scared because that’s the strongest ever felt since that dreadful event in 2011. Some of my spare parts are on the floor and I’ll have to pick them up later today. It’s good that most building here were built in a way that makes them withstand strong tremors so there are no structural damages as far as I could see. It is something that we all have to accept living in such a quake-prone area. Today, I’ll show you something that is so tough that it could withstand a lot of punishment and just most of the concrete buildings here. I am glad to know that this one will survive a natural catastrophe so long as it has nothing to do with water and being soaked with it. Read my article to find out what this lens is.
Introduction:
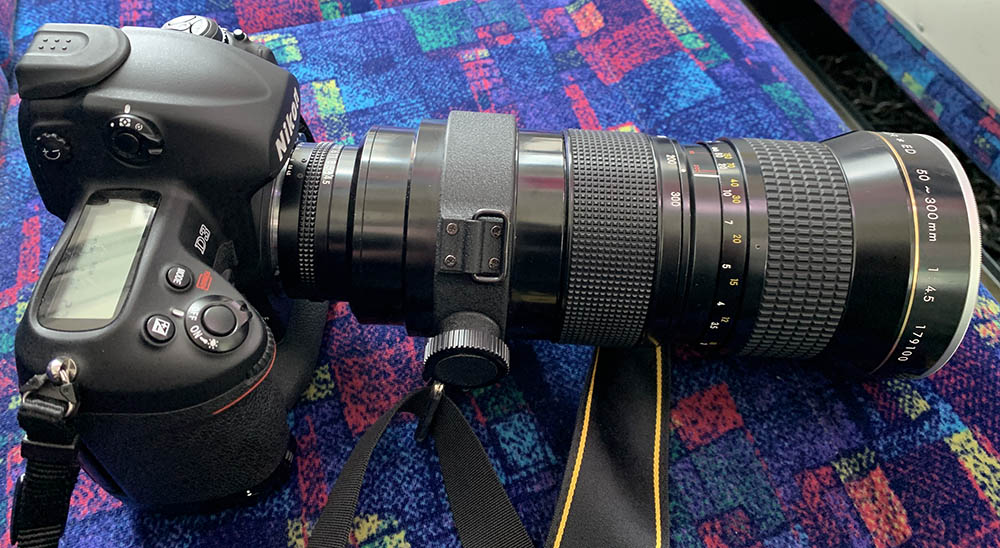
The Zoom-Nikkor 50-300mm f/4.5 ED Ai was sold from 1977 to 1982. The later but similar-looking Zoom-Nikkor 50-300mm f/4.5 ED Ai-S replaced it in 1982 and it was made until 1999. It one replaced the older Zoom-Nikkor 50-300mm f/4.5 Auto which is one of Nikon’s most impressive super-zooms from the 1960s. Compared to the Zoom-Nikkor 50-300mm f/4.5 Auto this one has a shorter, stockier barrel and its optics are much better in terms of performance thanks to the inclusion of ED glass. Both lenses are heavy, large and imposing. It’s hard to find a lens of this class that will impress or intimidate your subjects and clients. It’s one of Nikon’s best lenses from the all-manual era and it sort of acquired a legendary status amongst photo journalists and people who shoot sports, you will see why in this article.

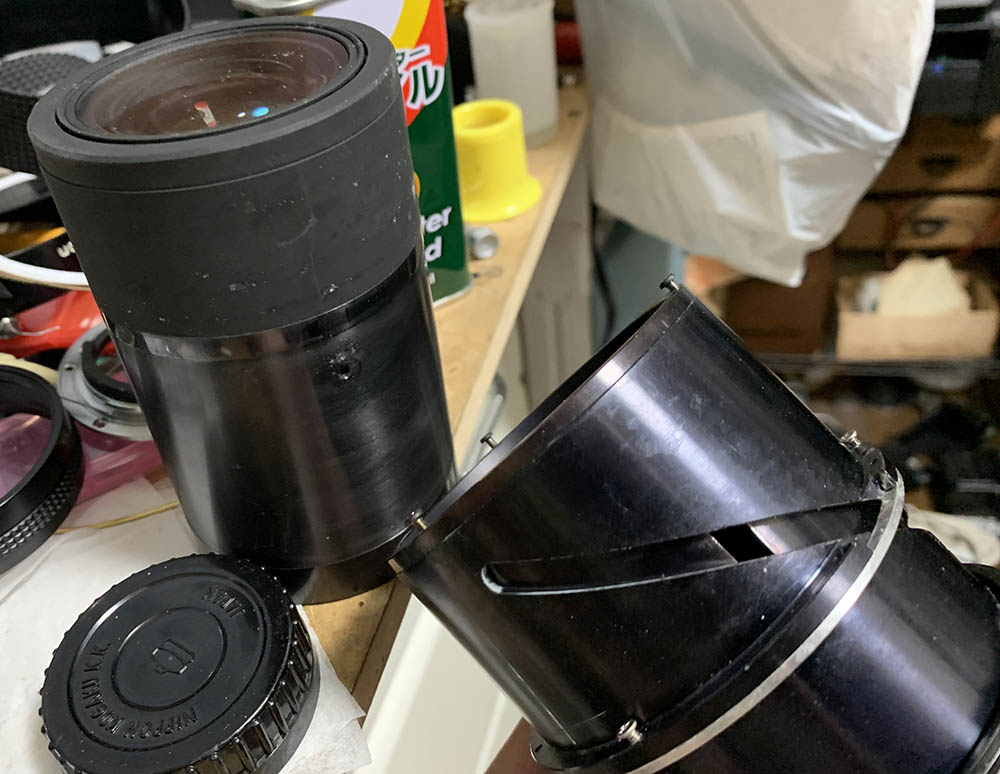
This is a massive lens, it’s definitely going to leave your arms sore after a day’s work. The barrel does not change length when you zoom unlike the older Zoom-Nikkor 50-300mm f/4.5 Auto. This is advantageous for people who shoot this with a tripod since the center-of-mass won’t change which is great for studio work. It’s also smaller compared to the older lens but it’s still huge.
The optics is a complicated 15-elements-in-11-groups design and it also incorporated ED glass which is a big help in correcting optical aberrations specially at larger apertures. It’s quite effective and the results I get from this lens is phenomenal considering how old this lens is. Nikon went all-in on this because it was one of their showcase lenses of that time. Despite containing this much glass its design is such simpler if you compare it to the older Zoom-Nikkor 50-300mm f/4.5 Auto which has no-less than 20 elements!

The best way to carry this is with a shoulder strap mounted to its rings or to the tripod mount. Never ever leave this lens dangling from a camera its weight alone is enough to stress and even warp the front plater and bayonet of your camera, even a professional camera like the Nikon D3 won’t be able to handle this if used in this manner for a long period of time.
(Click to enlarge)
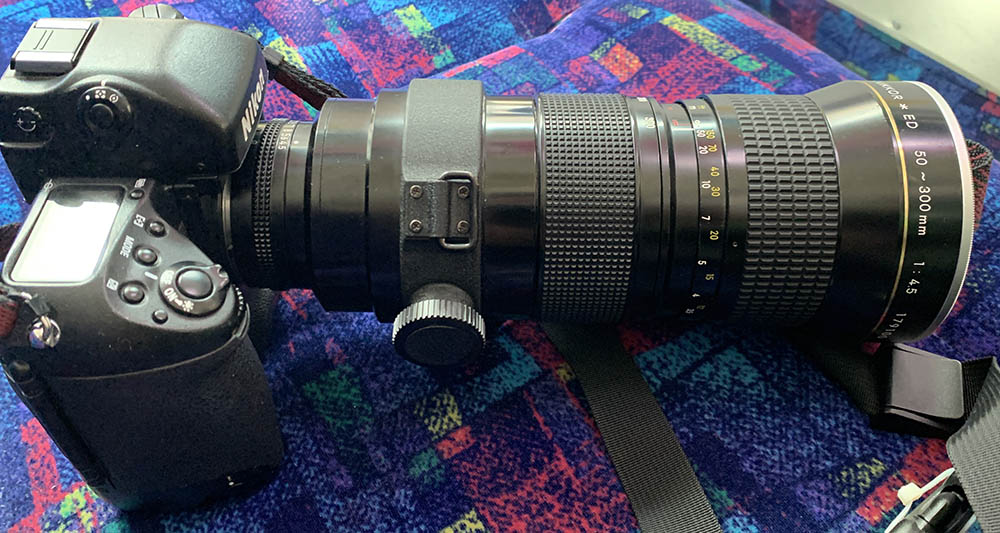
It’s best to use this with a big camera such as a Nikon D3 or a Nikon F5, even a Nikon F3 will feel awkward and you’ll want to use it with a Nikon MD-4 attached. This is mandatory because it helps you balance the weight of your setup so it won’t feel tiresome despite the added weight. If there’s anything positive that I could say about the weight of this lens is that it helps make your setup a lot more stable which helps you take sharper photos since your shaky hands won’t be much of an issue.
I’d say that handling is rather good, despite its size it’s not difficult to operate this even when with gloved hands because the rings are huge. The aperture ring is the only thing that’s a bit tricky to turn at times, it can be obscured by the prism housing of your camera. All of the engraved scales are easy to see which is very important for an all-manual lens.
Learning how a lens performs is important so you will maximizing its use. You will learn how to utilize its strengths and avoid its weak spots. This helps in determining which lens to bring on an assignment. I took these pictures from f/4.5, f/5.6, f/8 and f/11 as these are the most common apertures that people would want to use this with, we’ll also get to see the most changes happen within these values. I shot these with my Nikon D3, some of the pictures were cropped close to 1:1 so we could see the details a lot better.


(Click to enlarge)
Vignetting can be seen wide-open, most of it is gone when you stop it down to f/5.6. You’ll still see traces of it by f/8, it is gone by f/11. This isn’t much of a problem at the wider-end and it gets darker as you reach the long-end. From this I could predict that this lens performs better from the widest-end up until it reaches the center of the range.
As expected, you’ll see some barrel-type distortion at 50mm and it turns into the pincushion-type as this gets closer to 300mm. This isn’t the best lens to use when you need your lines to remain straight but it’s acceptable for portraits and reportage.


(Click to enlarge)
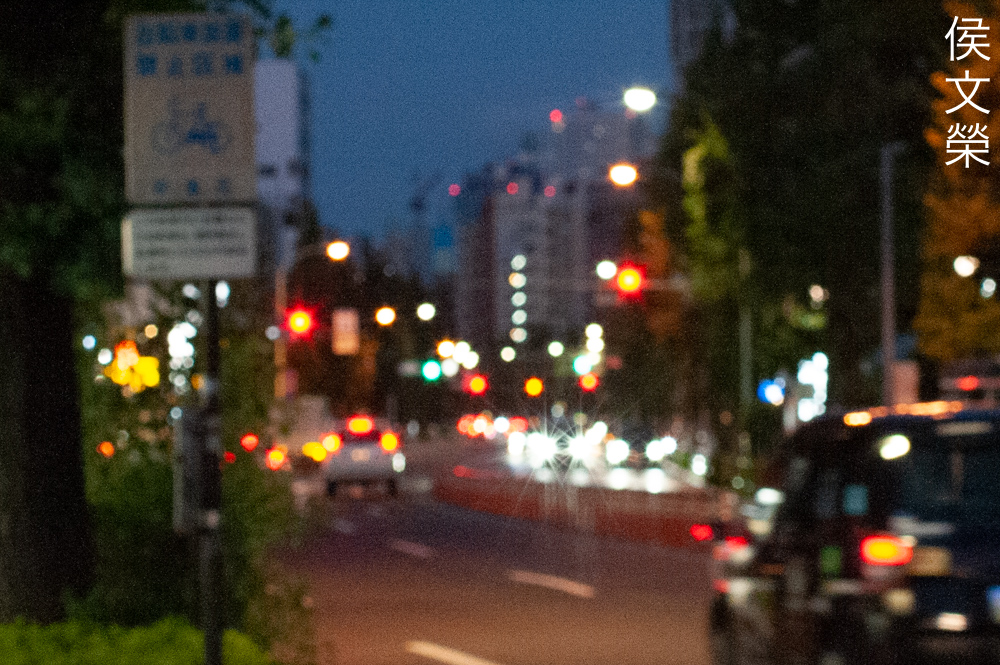
Flaring isn’t as bad as I thought but that does not mean that this is resistant to it. As expected you will see plenty of blobs, it has a lot of elements and they will all create internal-reflections. Despite that it doesn’t look as bad as I feared, many older zooms perform terribly here.


(Click to enlarge)
This is how flare looks like when it blooms. You’ll want to be careful when shooting bright things specially on a sunny day in order to prevent this.


(Click to enlarge)
Coma is not a problem and you’ll only see a very small amount. This isn’t a fast lens at all so this will never be an issue. The sun-stars look nice, they’ll only form rays from f/8. The shape is lovely but they’re not as exquisite as what you’ll find from other lenses.


(Click to enlarge)
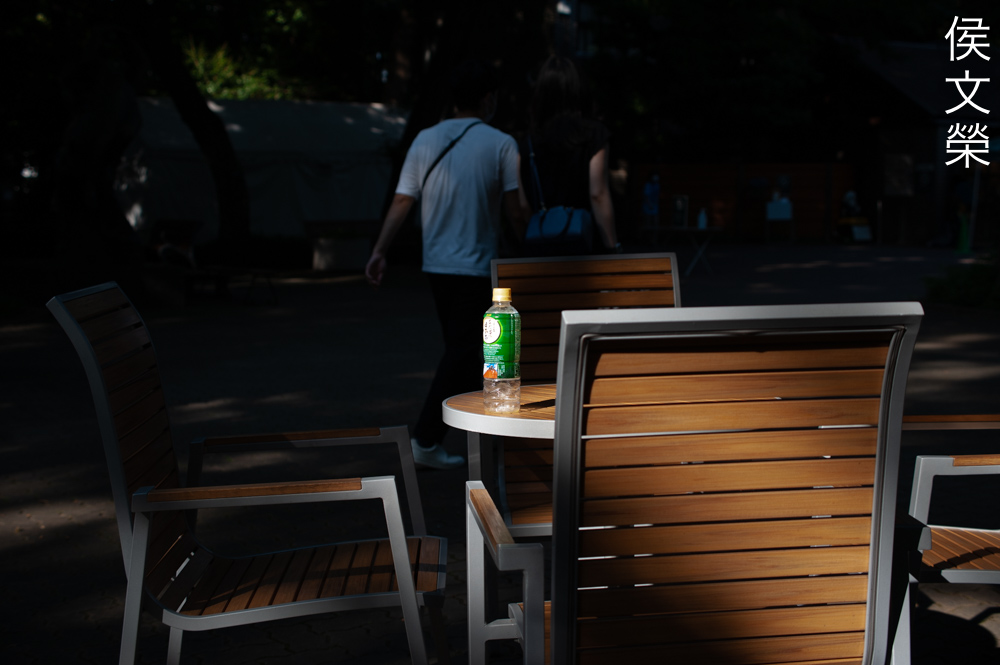
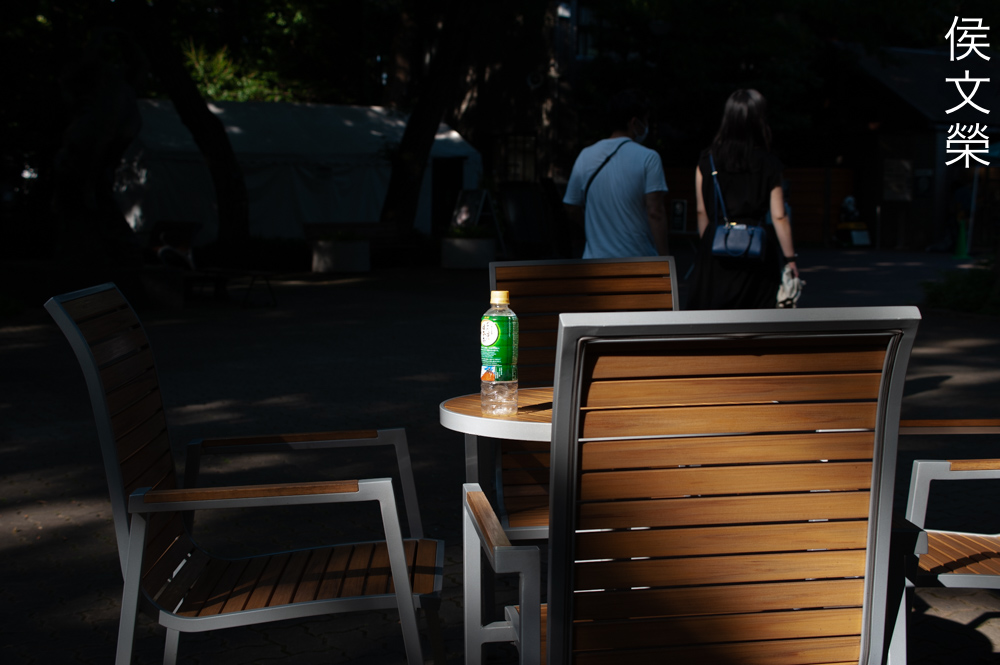
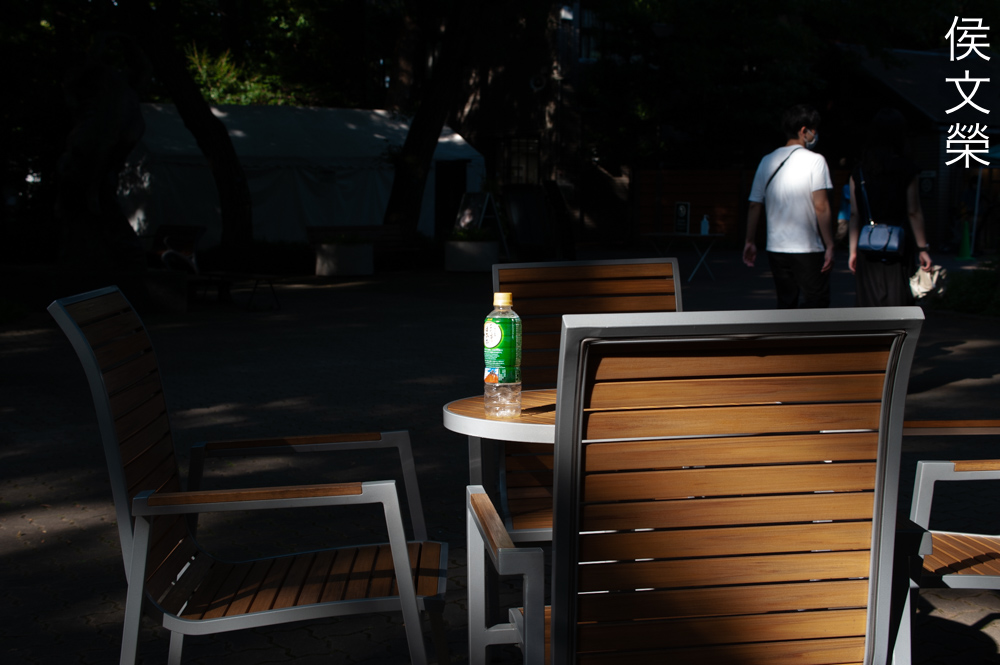
The character of the bokeh looks nice as far as I can see, it’s clean and smooth. This is great for portraits and shooting products in-or-out of the studio.


(Click to enlarge)
The discs look clean and even, you won’t see outlines even when shooting this wide-open. The iris has 7-blades so the orbs form a natural-looking shape. If this were to have a 6-sided one we won’t get results as smooth as these.


(Click to enlarge)
Chromatic aberration is controlled quite well, you’ll only see it in extreme situations. Whatever you see is caused by misfocus rather than a flaw of this lens. Spherical aberration can be seen in small amounts, it’s not ugly at all. Stopping it down to f/5.6 will eliminate most of the chromatic aberration and the spherical aberration is now almost gone. The frame looks a lot cleaner by f/8 and you’ll see a huge improvement in contrast even when shooting in tough situations. You’ll still notice some changes by stopping it down to f/11, contrast looks a lot better and whatever you’ll see here is usually caused by flare or blooming.
I think the results look great for a vintage super-zoom. It won’t rival the latest Nikkors but this certainly is the best for its time.


(Click to enlarge)
Sharpness is rather good when shooting wide-open but the resolution won’t be able to keep-up with it. Contrast is low but not bad at all. At f/5.6 you’ll notice a huge improvement in terms of sharpness and the resolution is now a lot better, giving you better contrast and details. Saturation also improves somewhat. Stopping this down to f/8 will give you even better results, sharpness look somewhat better, you’ll still see a slight improvement when it comes to contrast. It still gets a bit better by f/11 but not by much. I find it surprising, I was expecting to see traces of diffraction but it looks like this lens handles it really well..
This is a sharp lens specially considering its age. It looks like it performs uniformly throughout its range as far as center performance is concerned. I was predicting that it would look worse at the long-end in the vignetting section but I was mistaken because this is the best of its class.


(Click to enlarge)
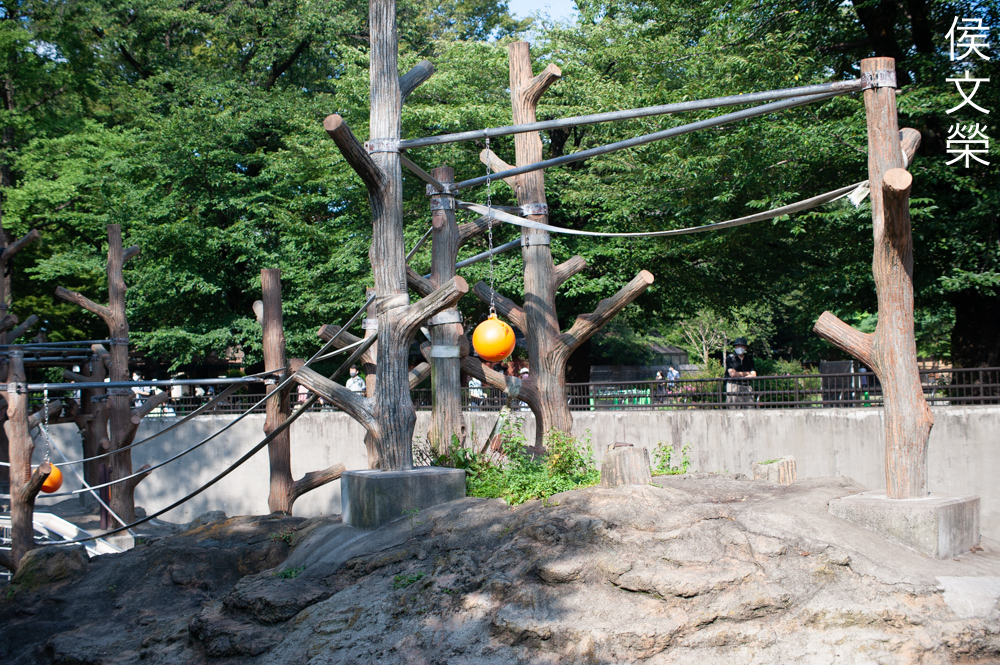
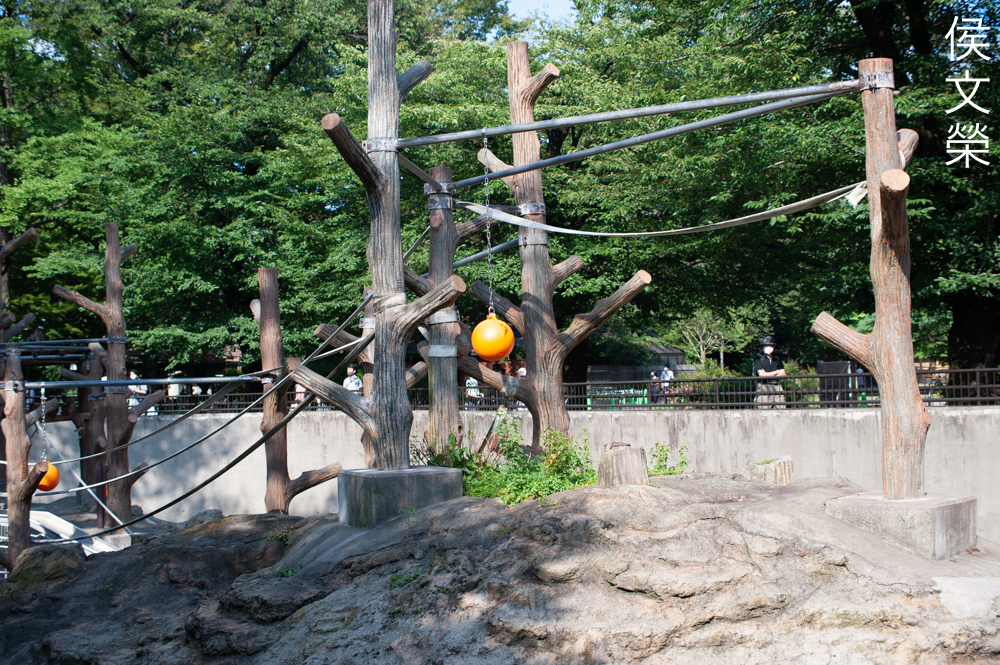
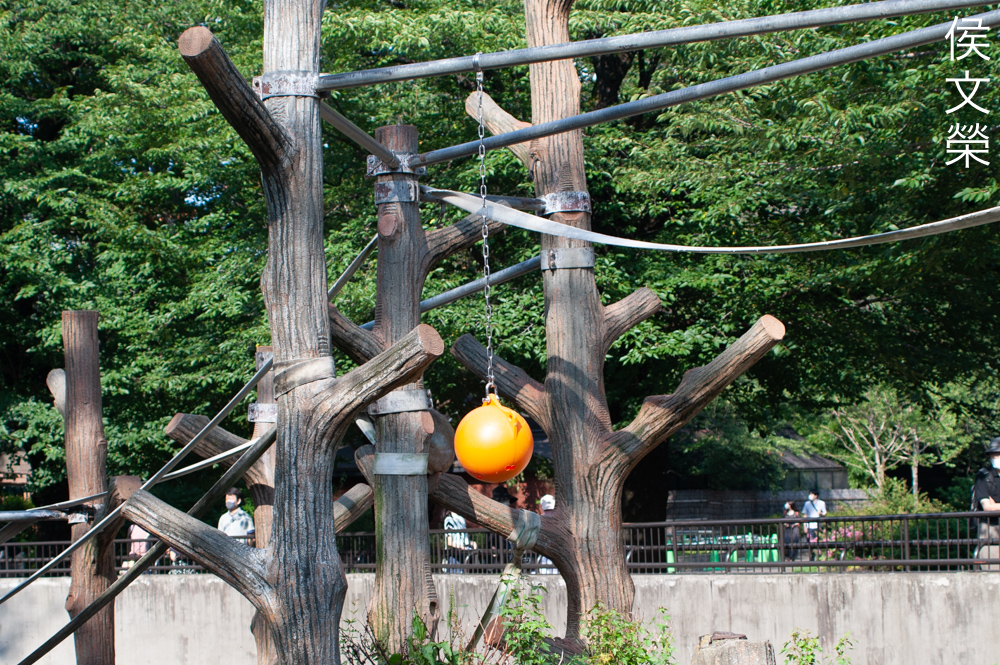
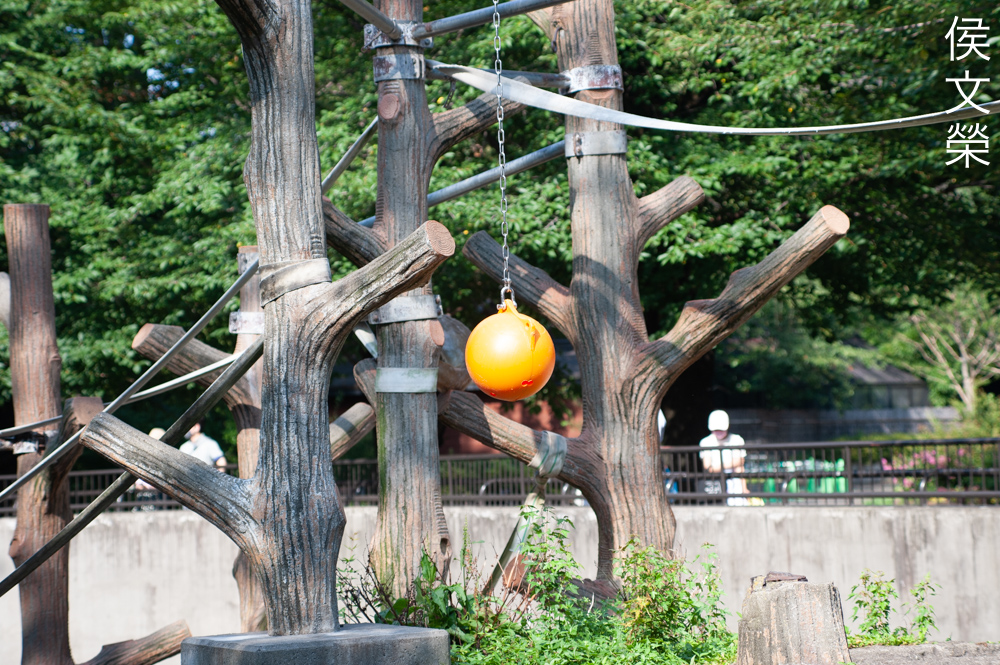
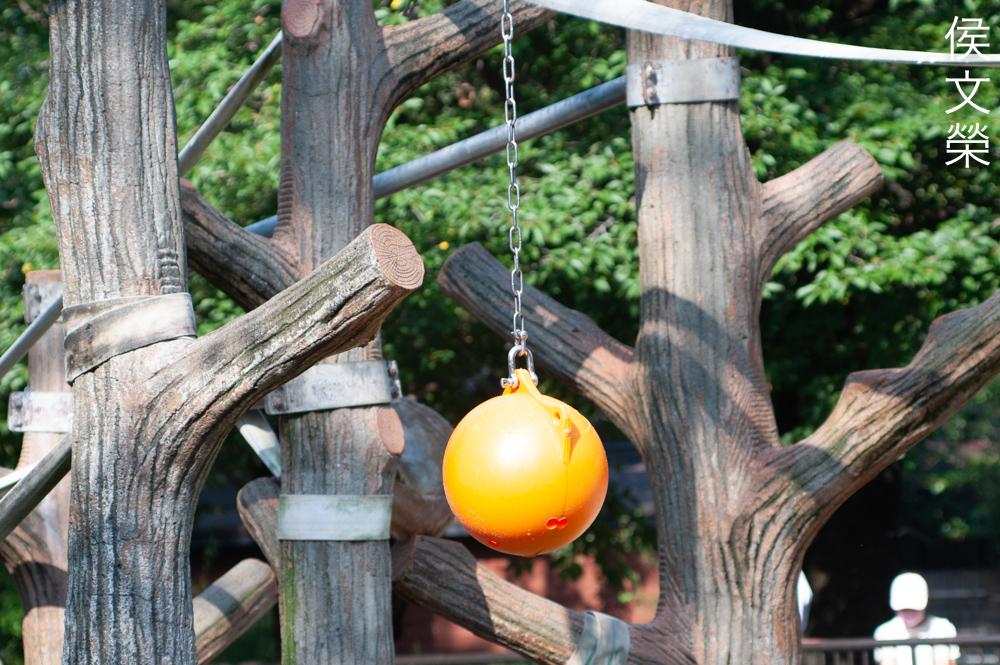
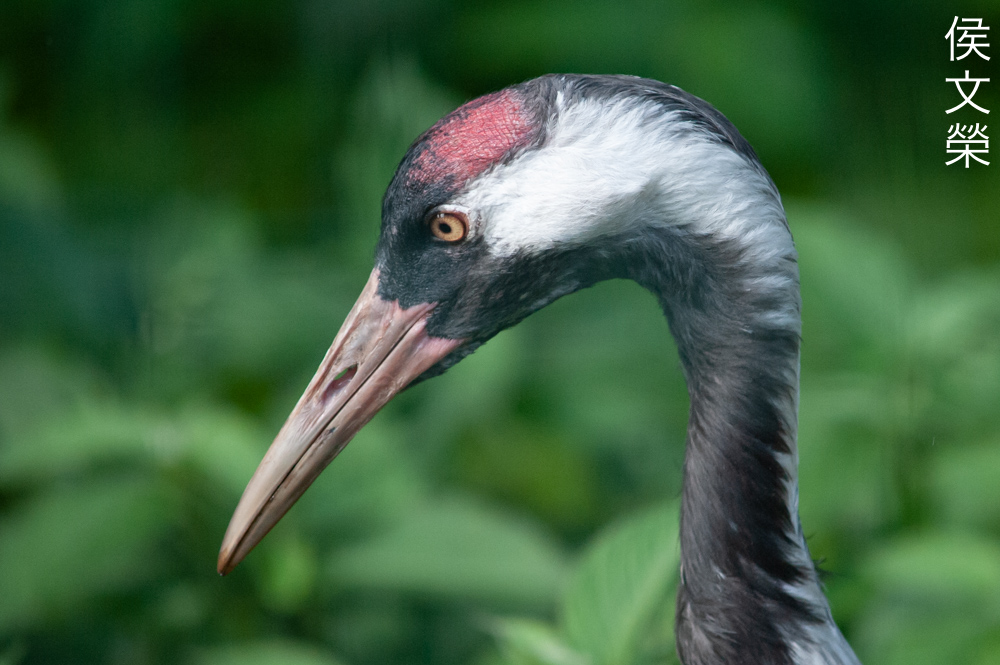
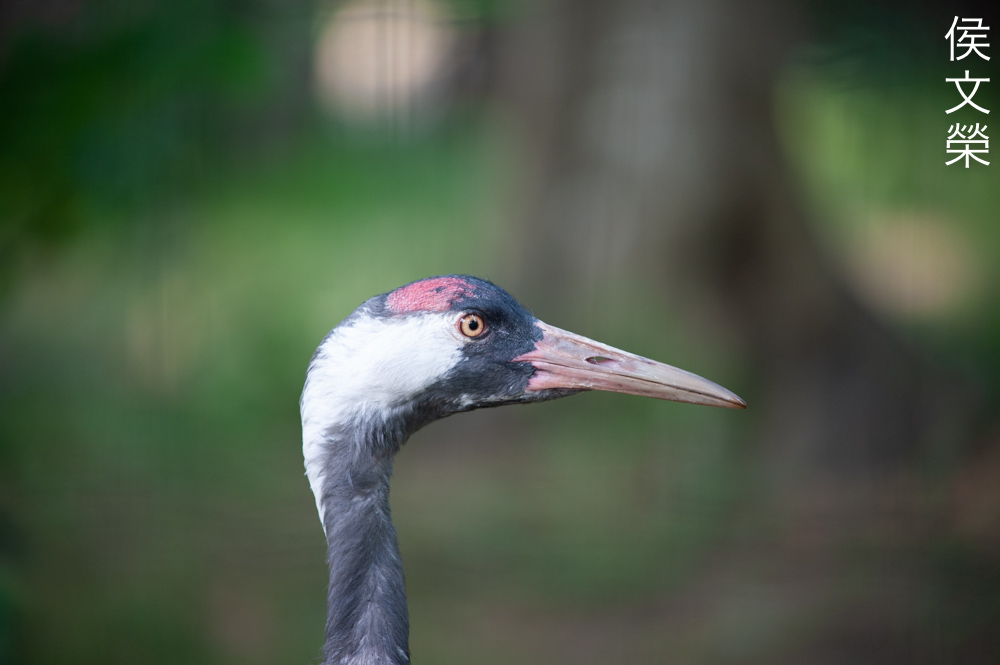
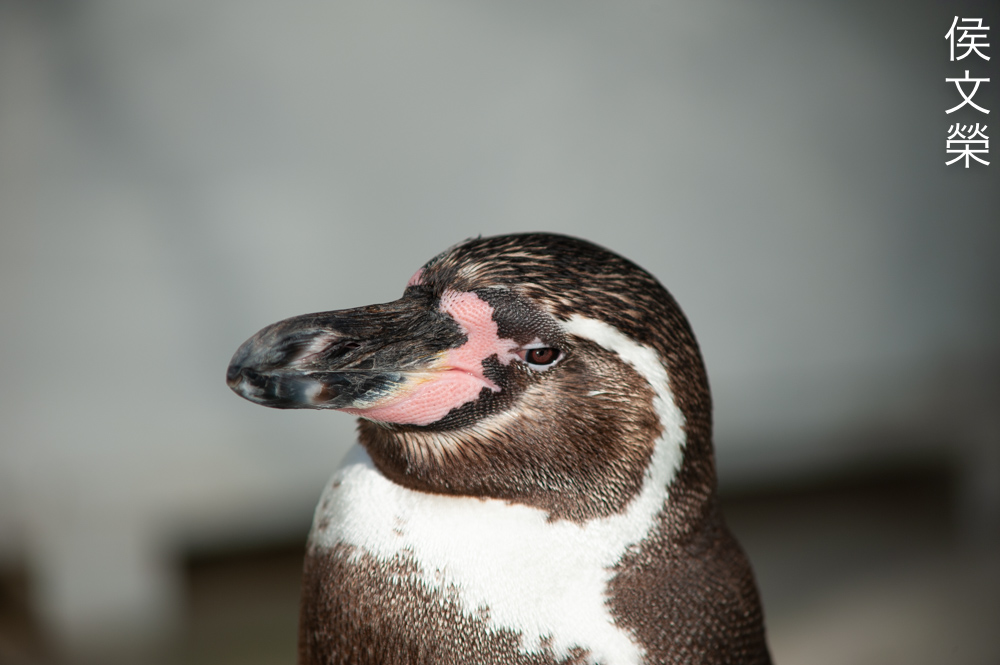
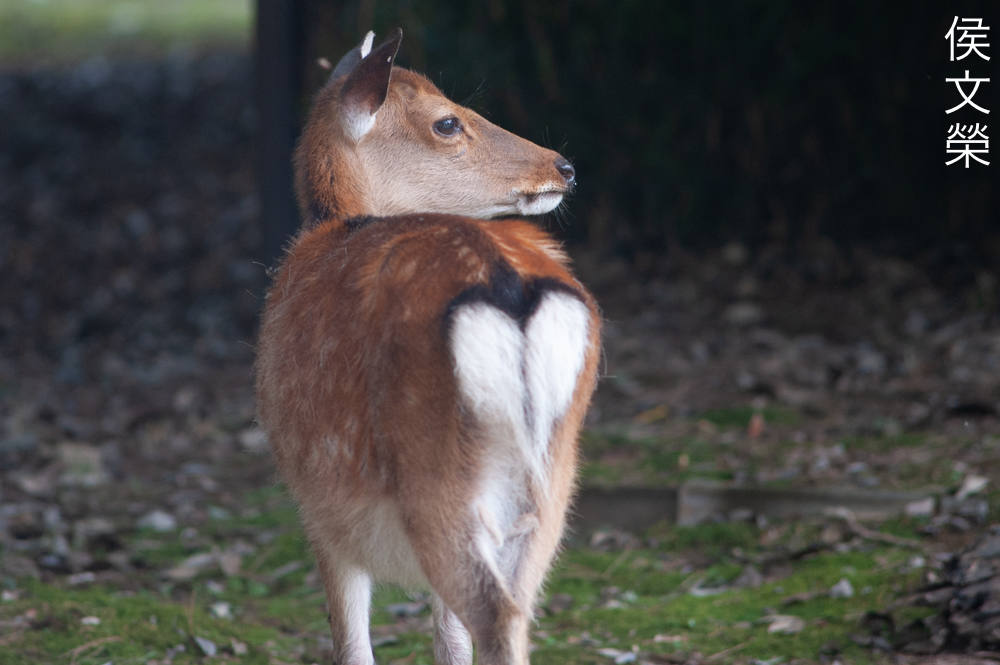
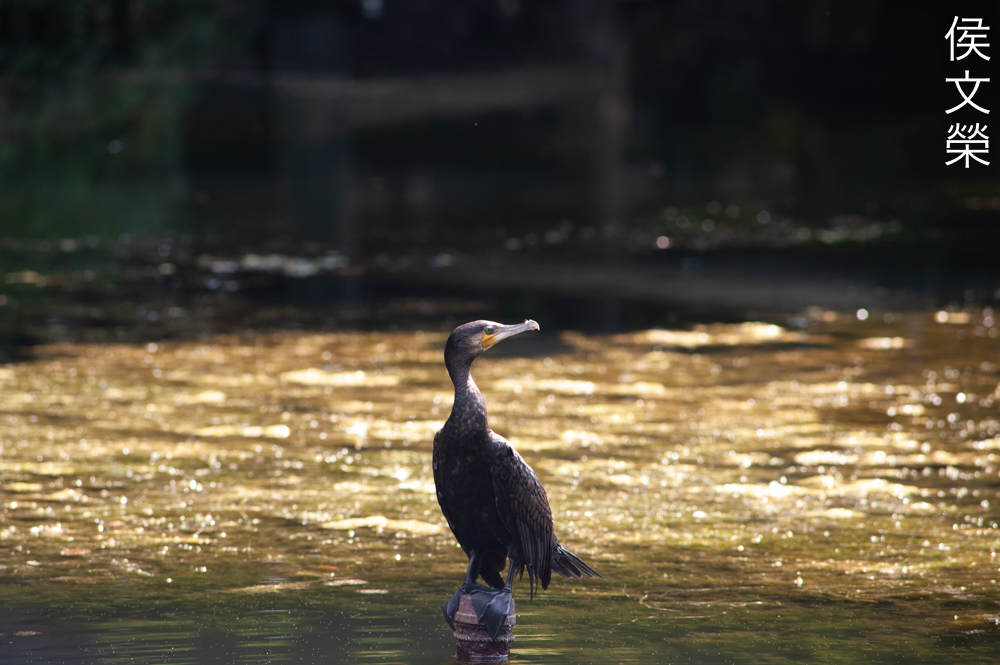
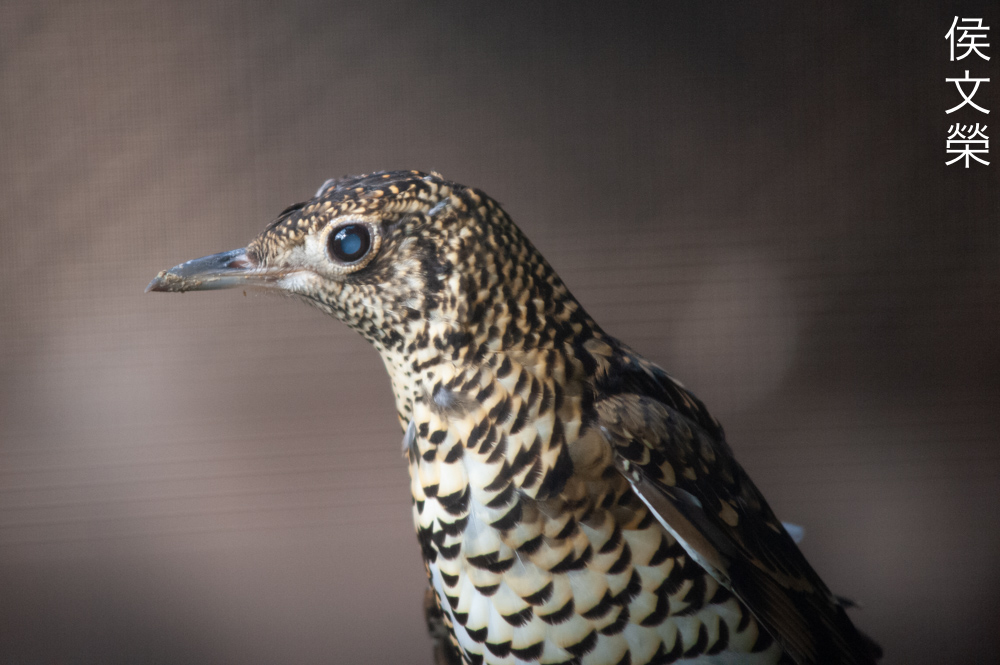
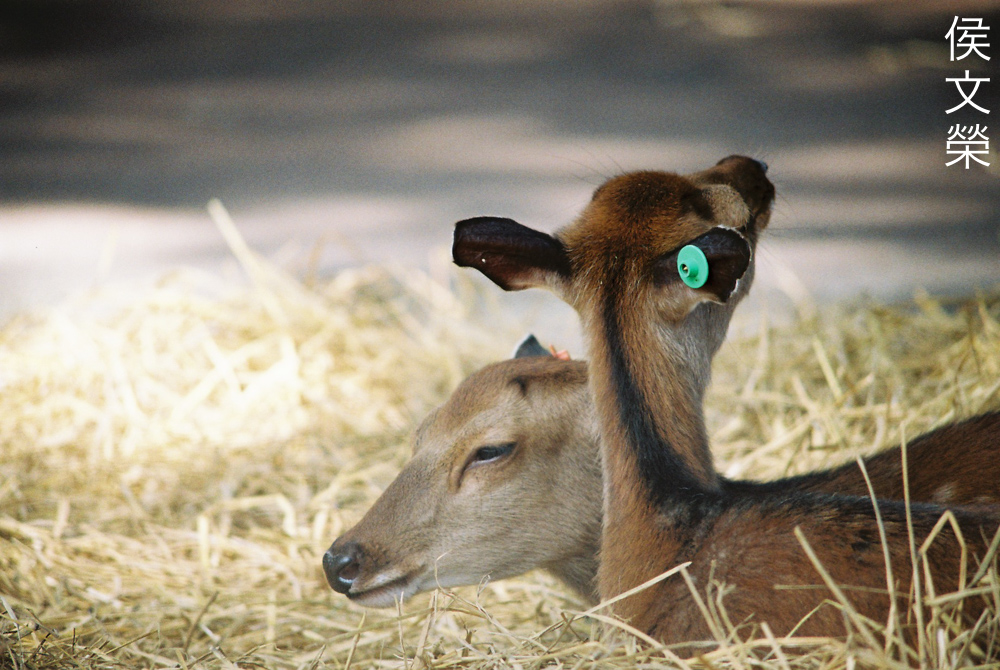
Here are some photos that I took at the zoo and the accompanying cropped versions. The Nikon D3 is an old camera, I don’t think it has enough resolution to go toe-to-toe with most professional cameras today but it still shoots clear and nice photos with the colors that I have always loved from Nikon’s old algorithm but as you can see when paired with a good lens it’s still capable of taking decent photos that’s enough for most reportage jobs. Despite shooting with an old all-manual zoom I was able to focus properly with it, I just had to be deliberate with my clicks in order to get things the way I imagined them to be.

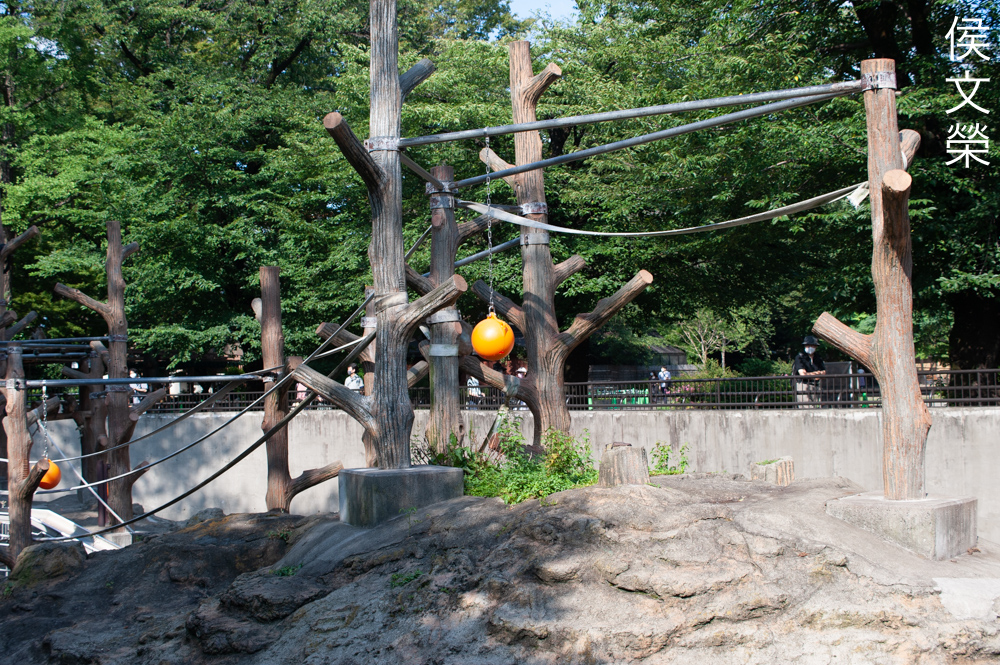
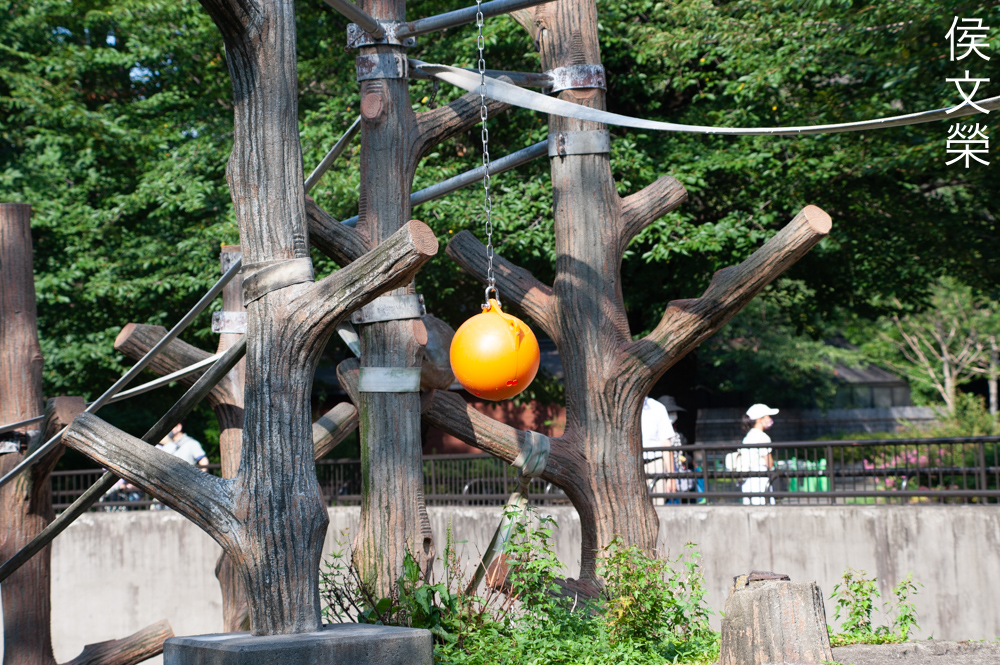
This won’t focus close but you’re able to fill your frame at 300mm, enabling you to capture small things. This is a great way to help you document events such as weddings.
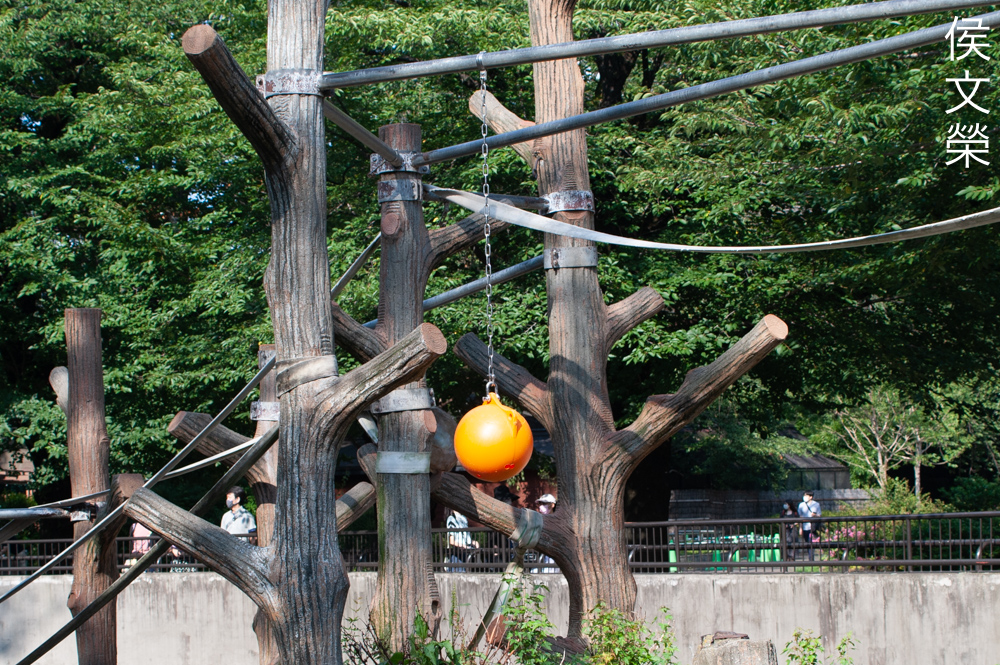
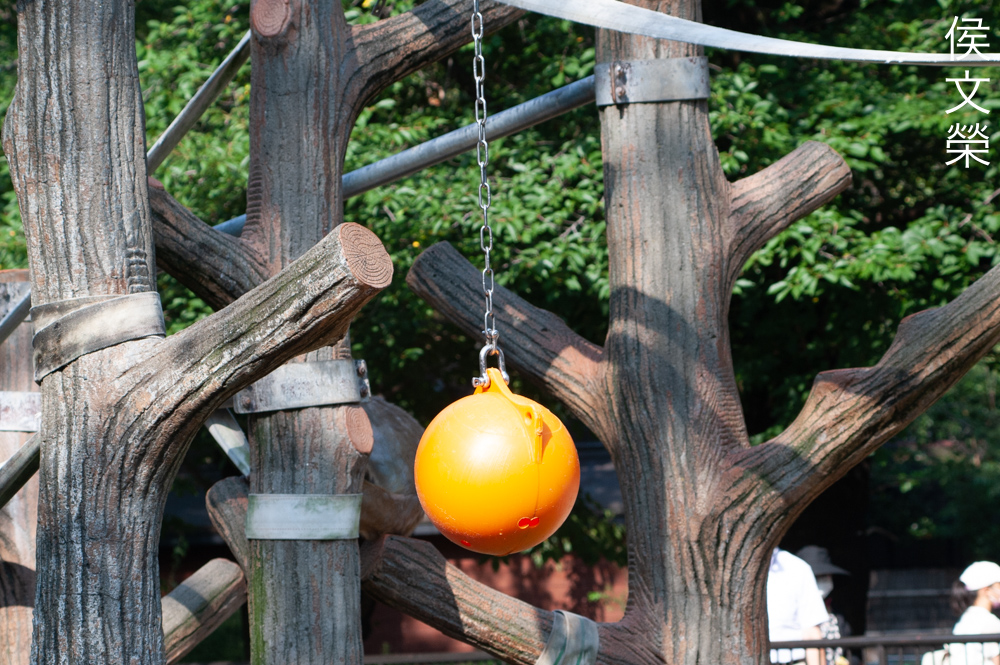
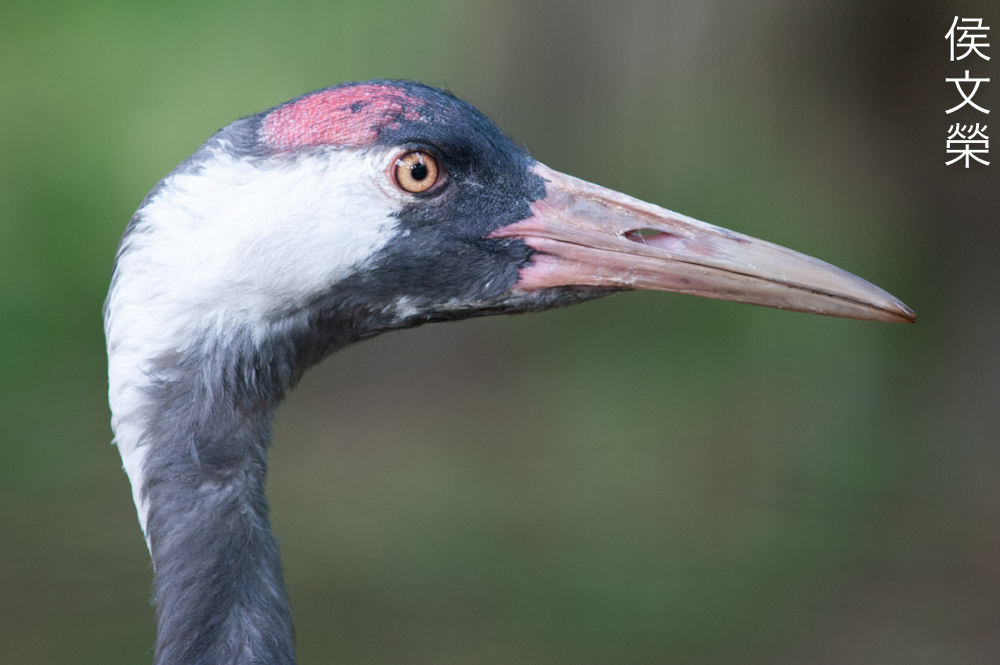
It’s sharp and the focus-transition is smooth which helps a lot in capturing photos that look natural.

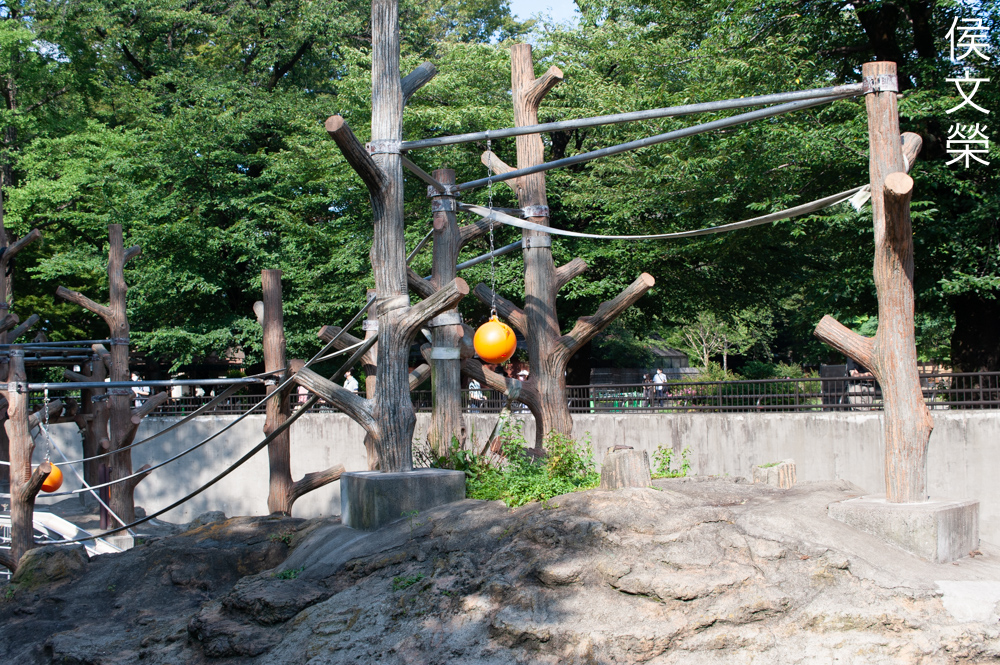
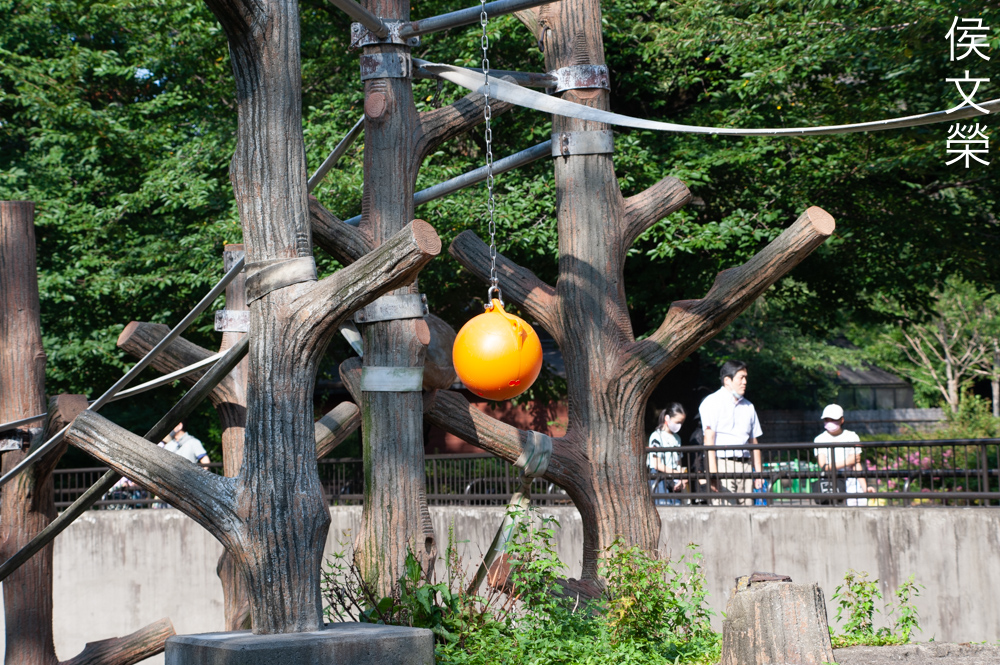
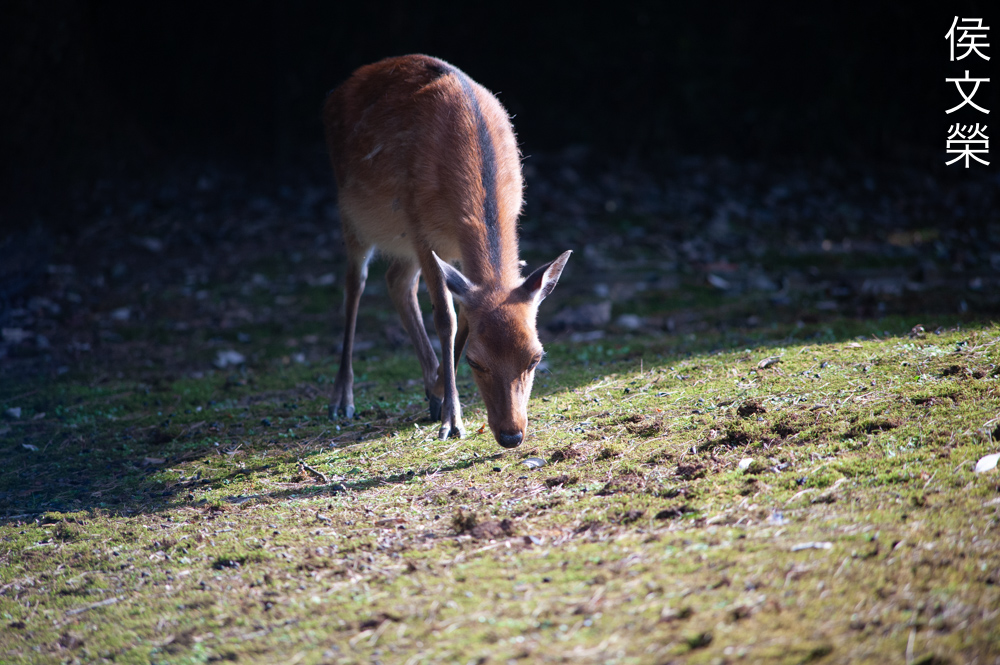
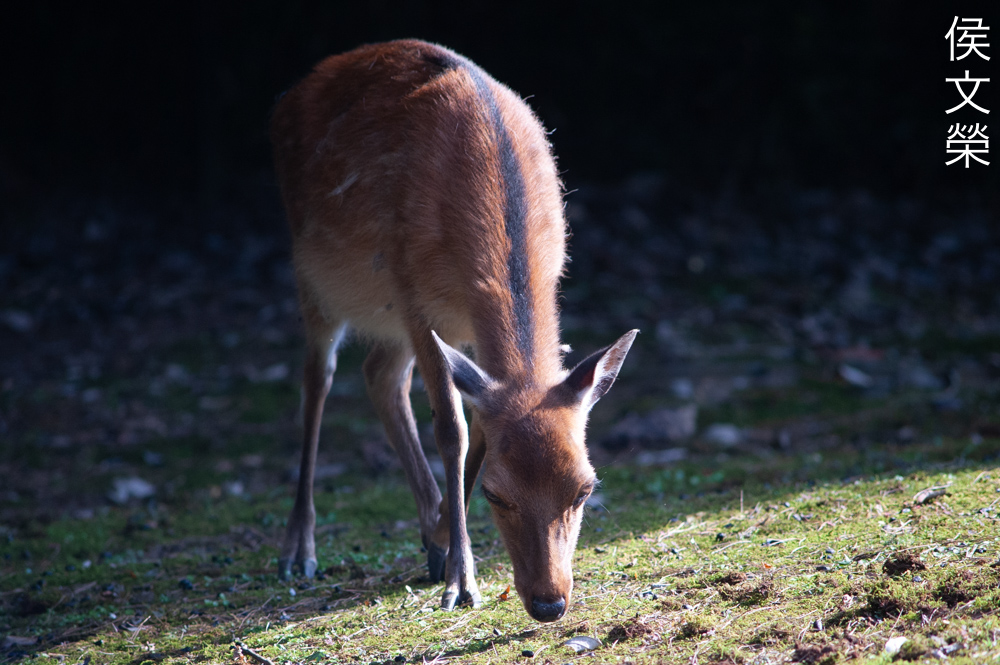
Shy creatures are difficult to shoot because this is an all-manual lens. It would have been easier if I could capture this at f/2.8 in order to use a faster shutter-speed but all I could do was to shoot with a higher ISO instead.

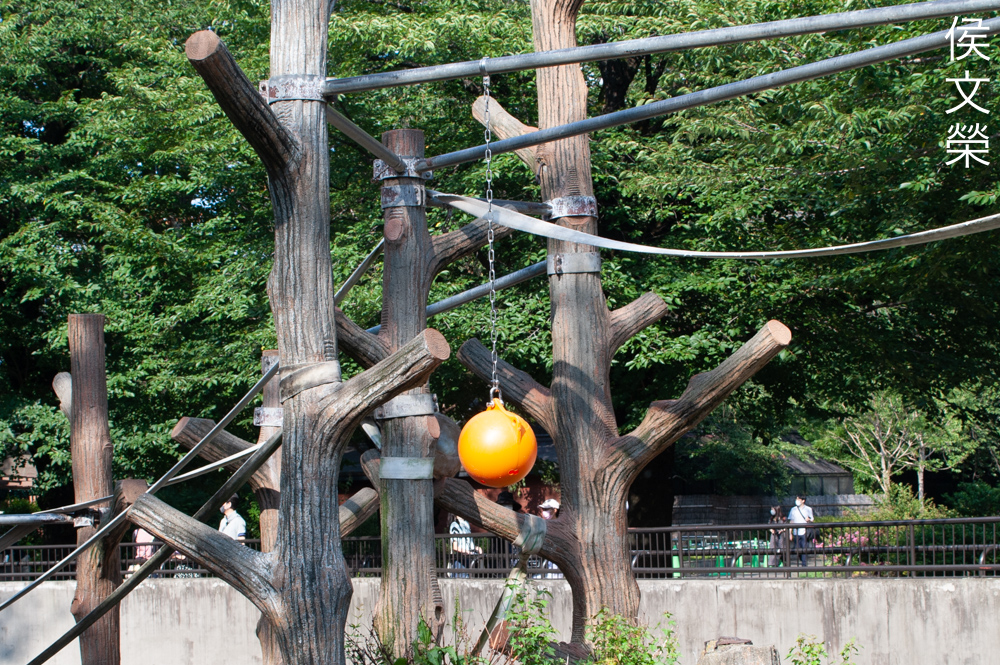
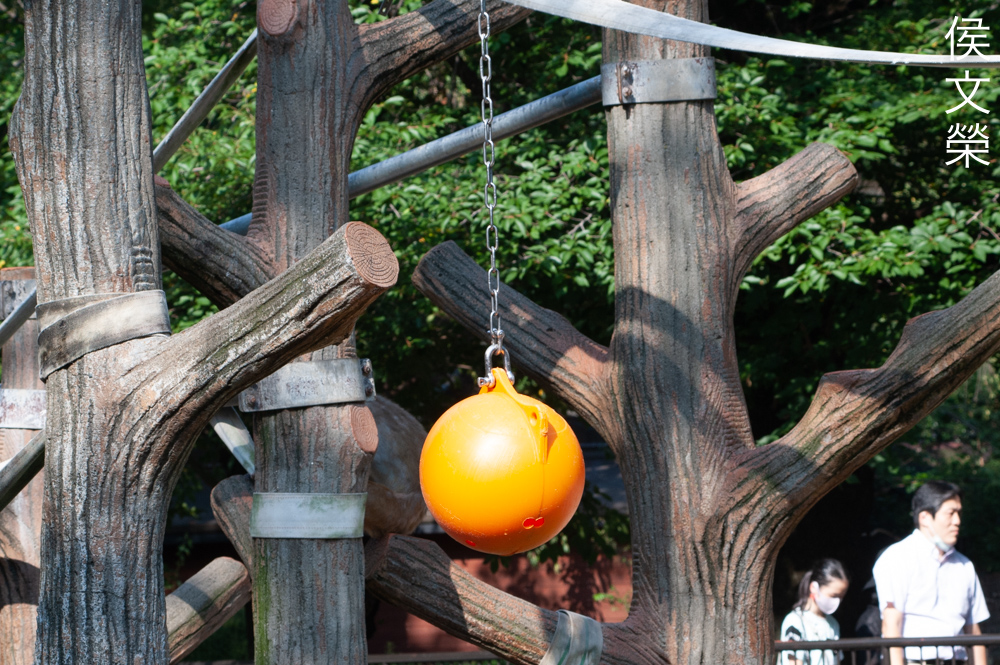
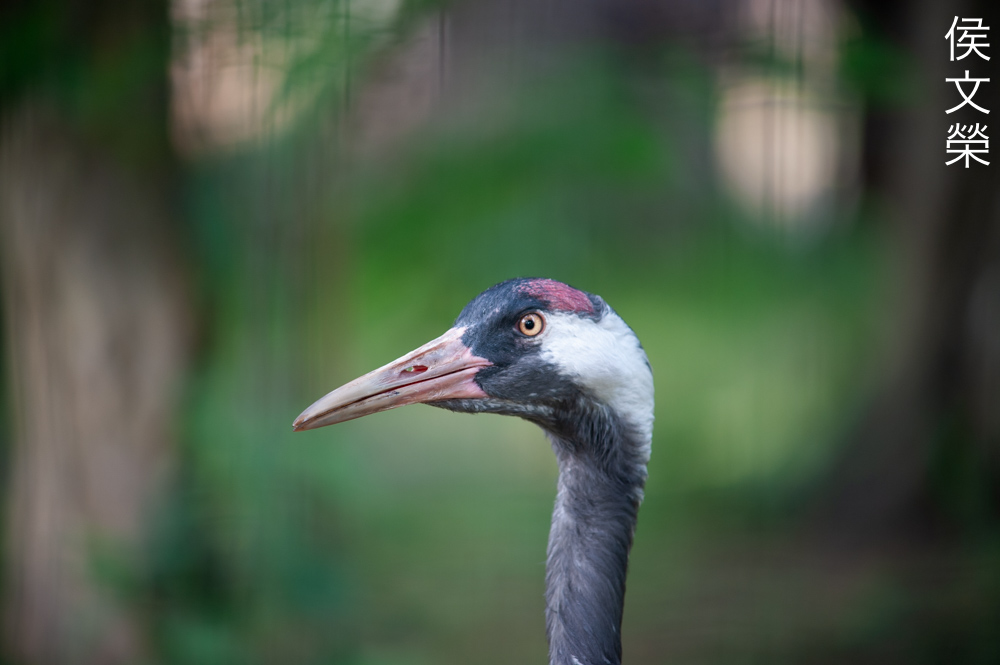
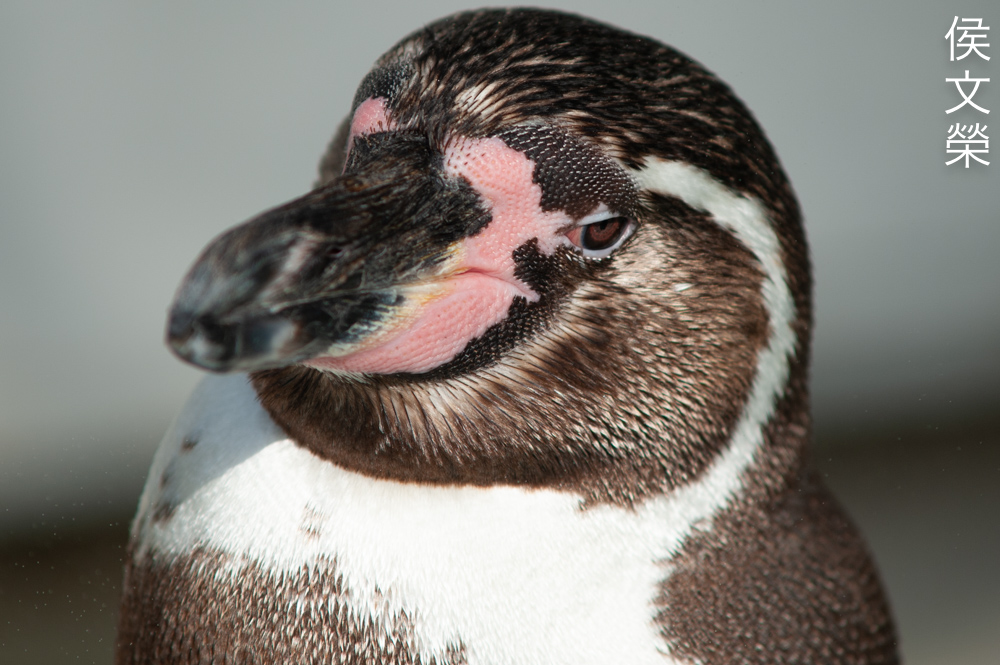
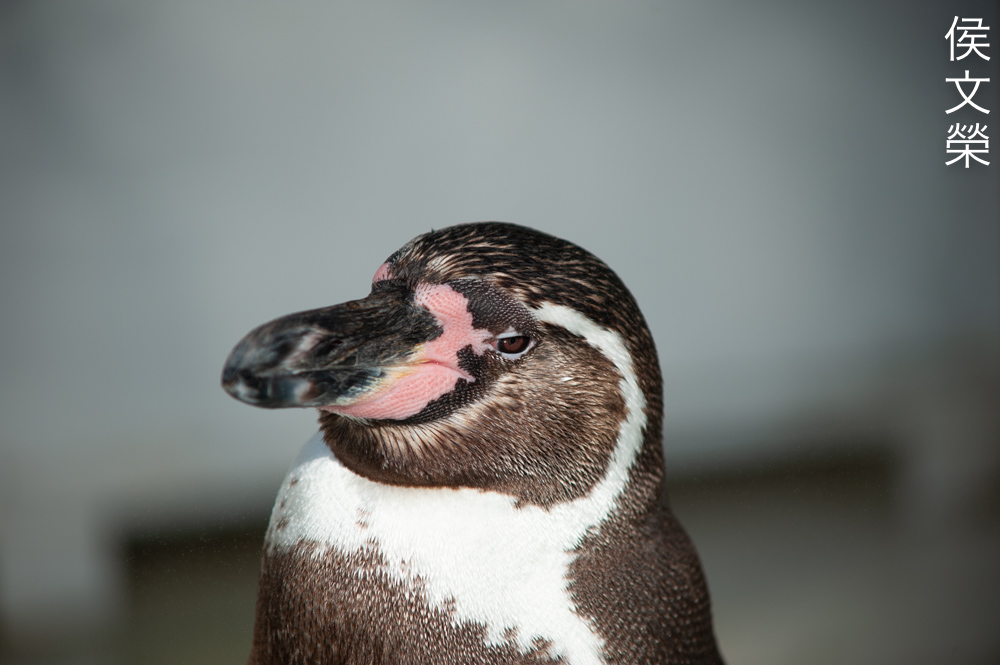
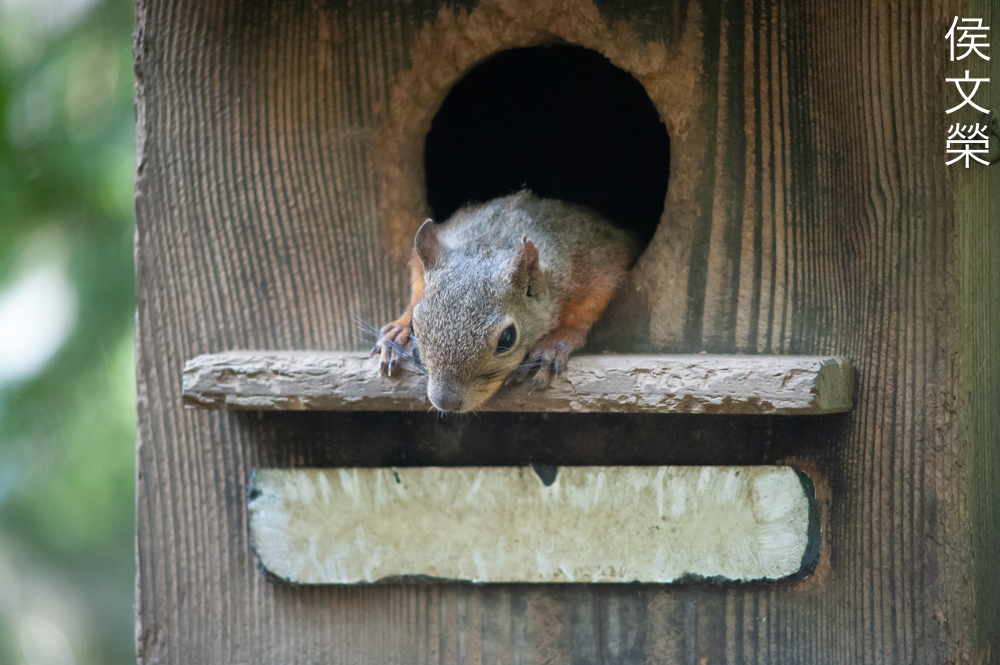
While the resolution isn’t the best when shooting wide-open it’s enough to render things with nice detail. The chunky pixels of the Nikon D3 helps, too. I’ve always wondered why Nikon changed their algorithm, the “old look” is beautiful, it looks more film-like compared to what Nikon has these days.
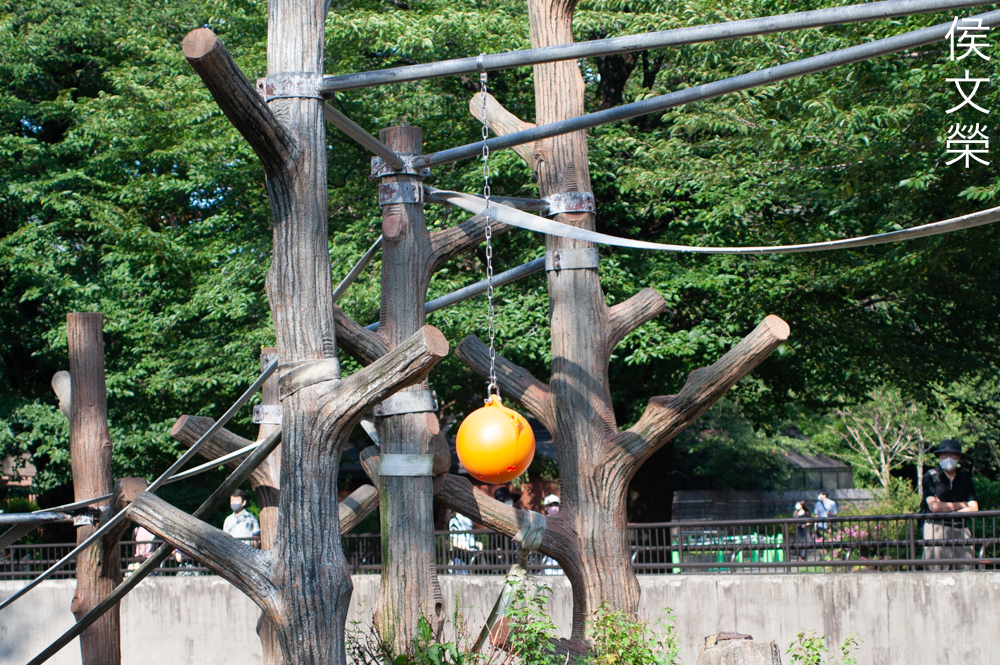
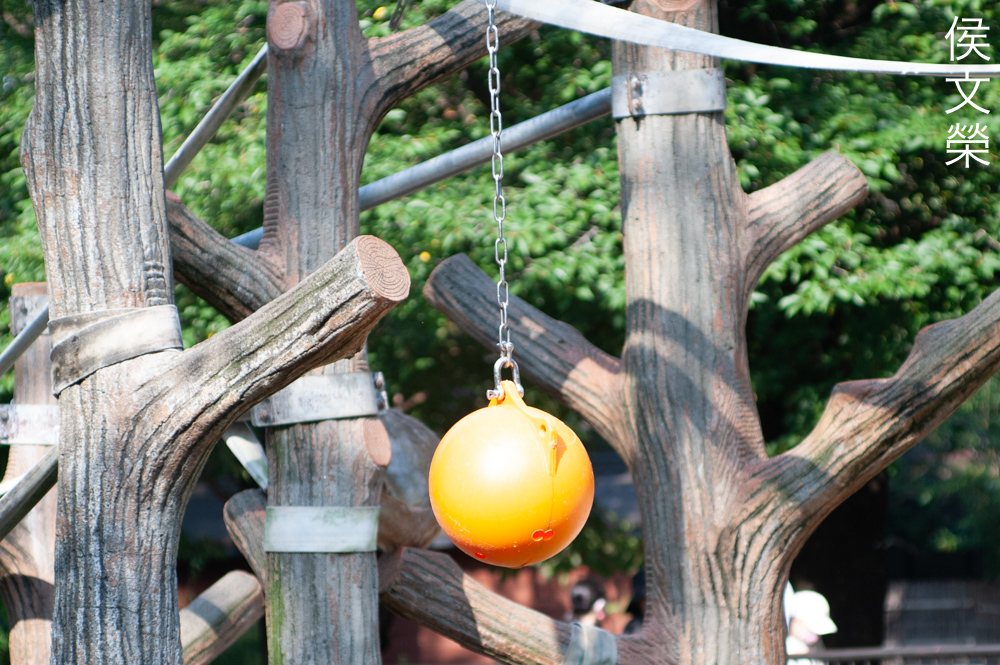
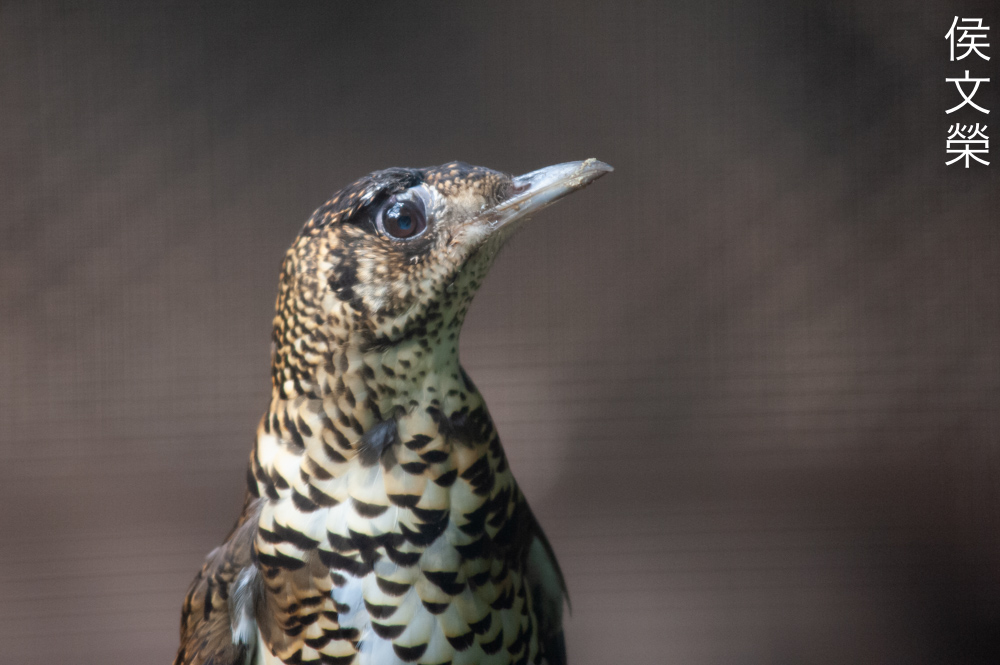
This lens is not the best for shooting photos of wildlife but it will get the job done for you. I think this is better suited for shooting sports and other things where you’re able to anticipate the movements of your subjects. Bird photographers won’t be impressed by this at all but it’s better than nothing I suppose.

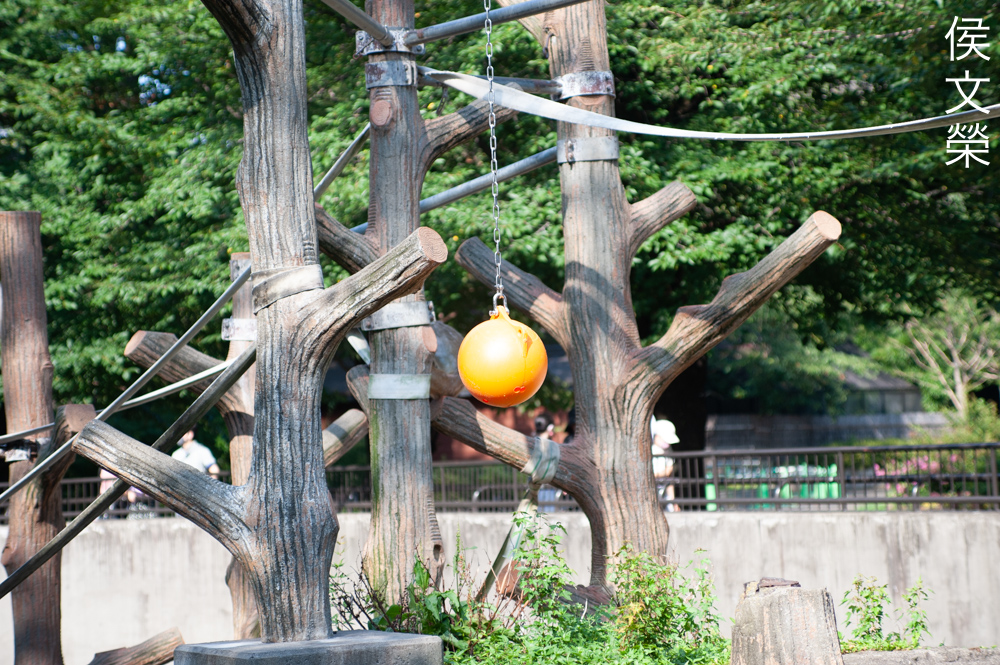
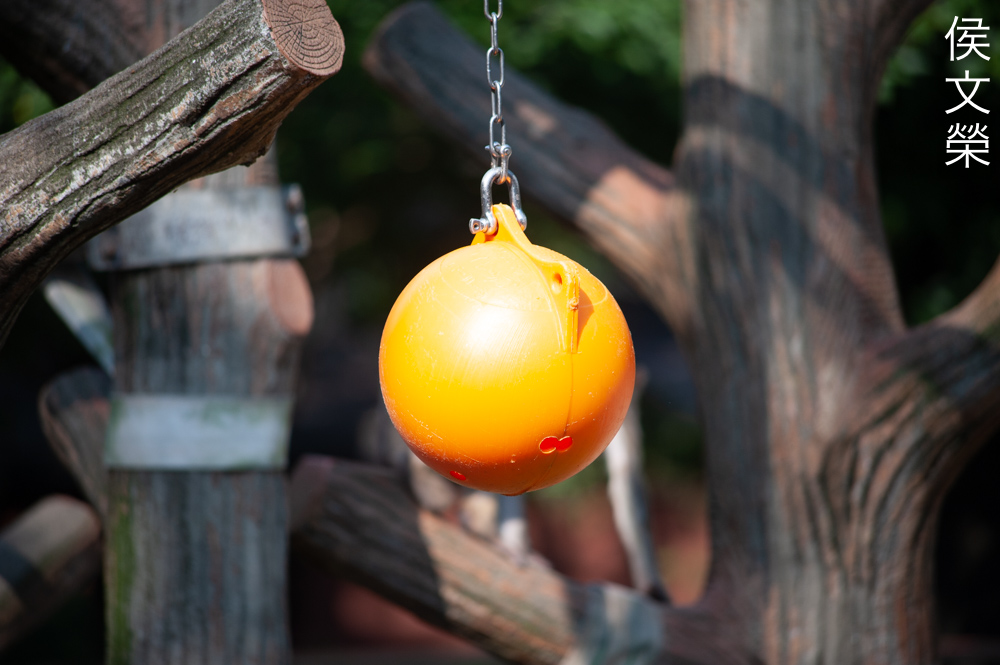
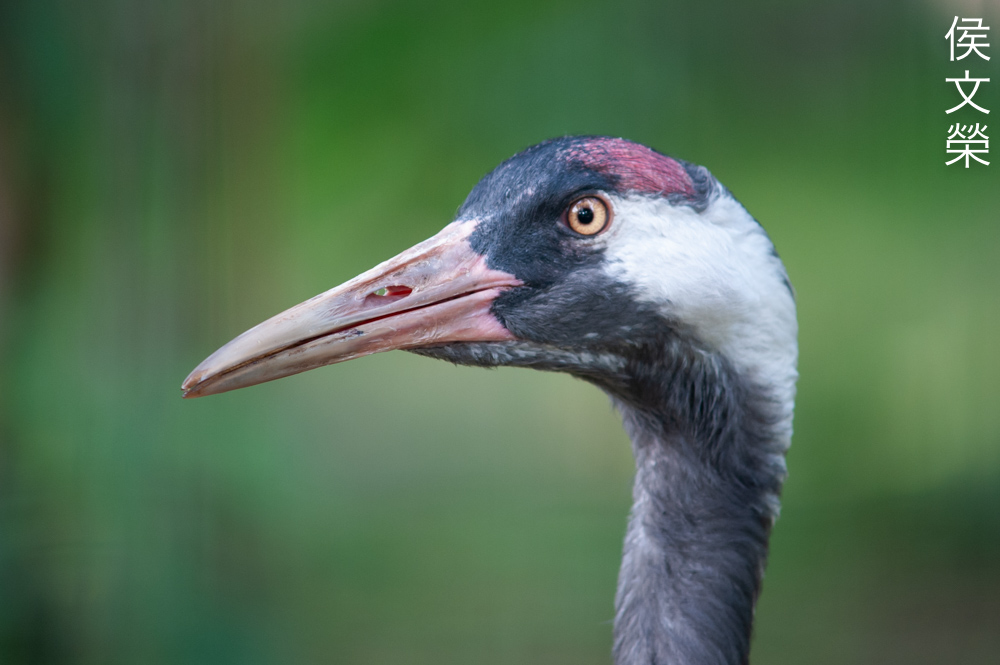
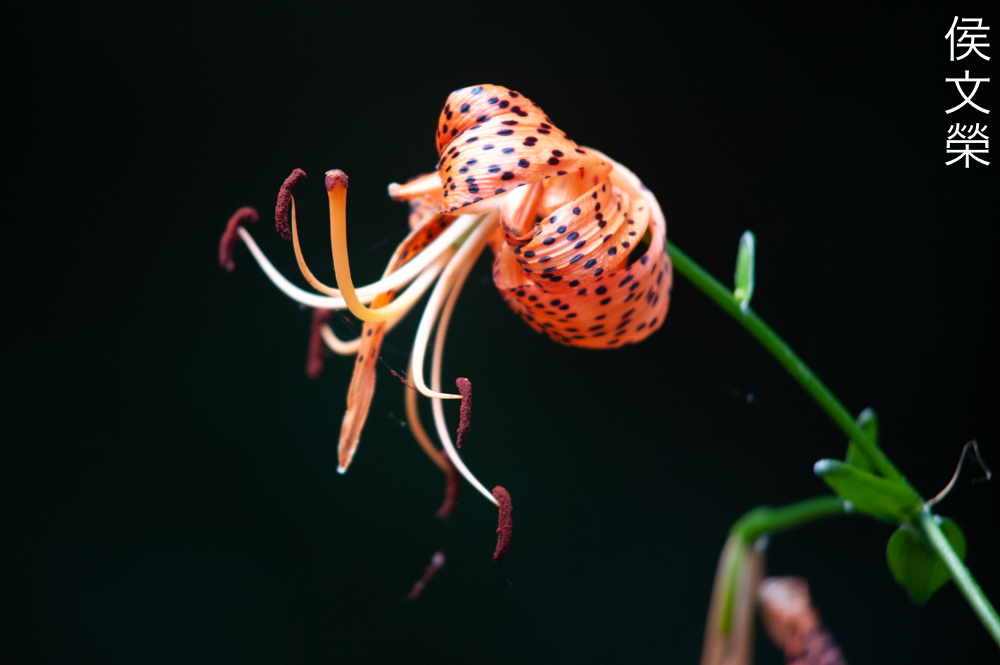
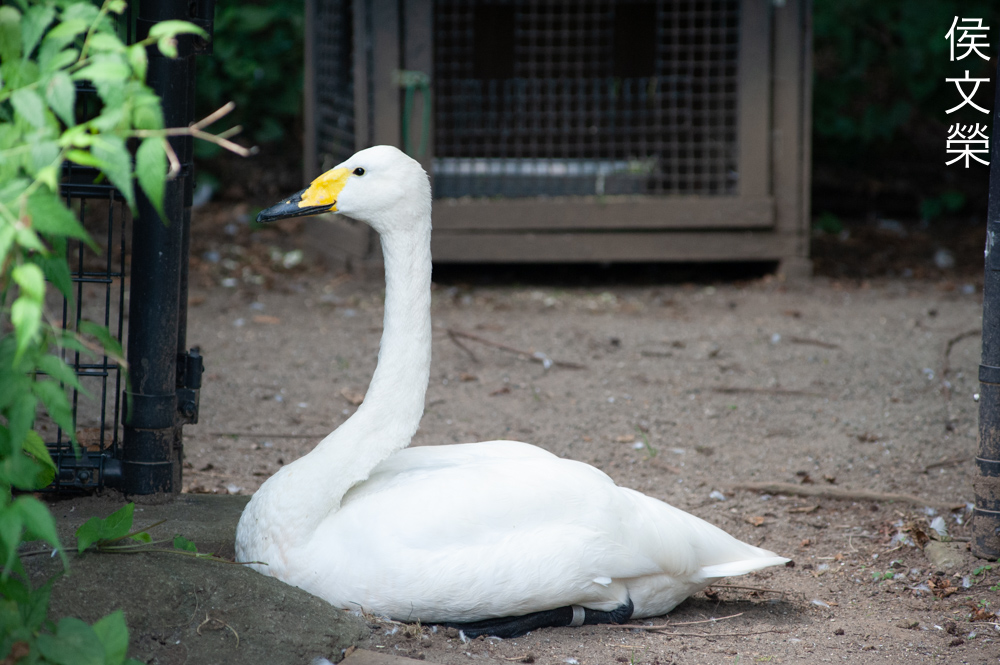
The character of the bokeh is astounding, certainly some of the best I’ve seen from a super-zoom, it even looks cleaner than what some prime-lenses give.


(Click to enlarge)
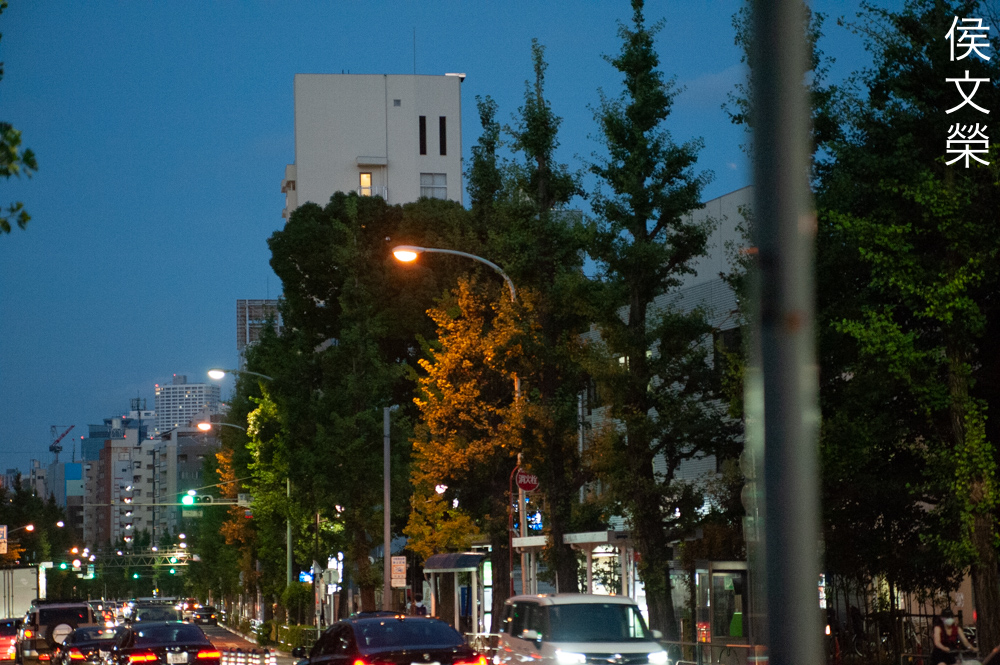
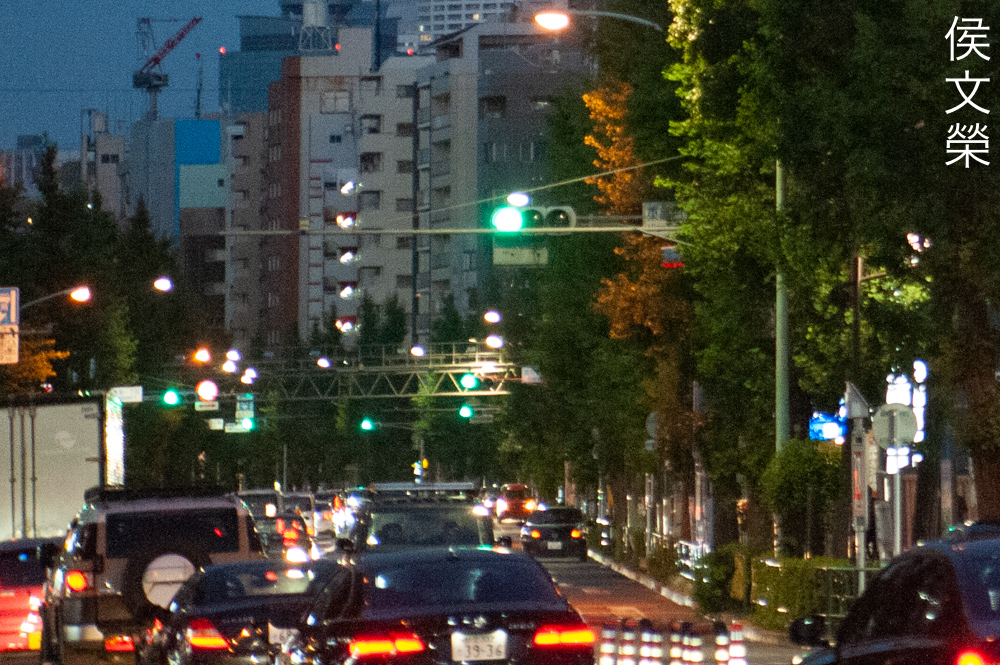
Here’s the rest of the photos. There’s really no limits as to what you could to with this, the focal-range is immense which is a big bonus. It’s only as flexible as your imagination. Just imagine shooting a footage that requires you to pull your zoom from 300-50mm, this lens will allow you to do just that! I’d say that it is outdated for its intended use but it’s still relevant today just because there’s no lens quite like this and those that have similar focal-ranges won’t perform as good in some cases. This is certainly a classic.
Let’s now check some film photos. Film has a unique look that is hard to simulate using a digital camera thanks to grain. It reacts differently to light, this means that it could mask a lens’ flaws or amplify them as well. Since this was designed to be used with film, it’s best that we judge this using its intended medium. I shot these photos with a Nikon F5 loaded with Kodak ColorPlus 200 just to help me get more speed.
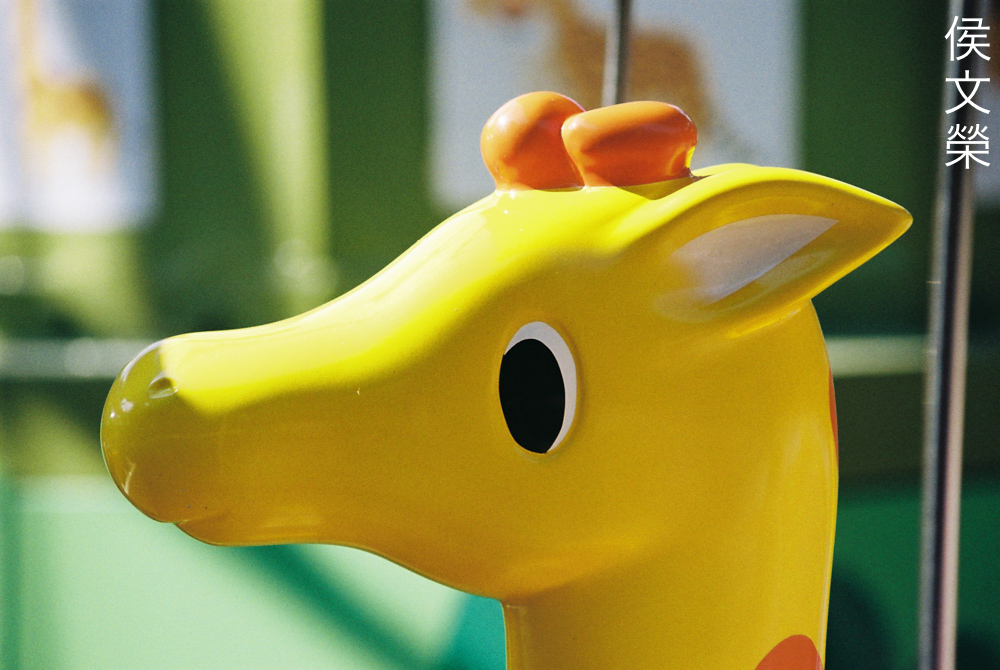
Astonishing! The clarity of the photos that I could get from this is amazing, even with film.

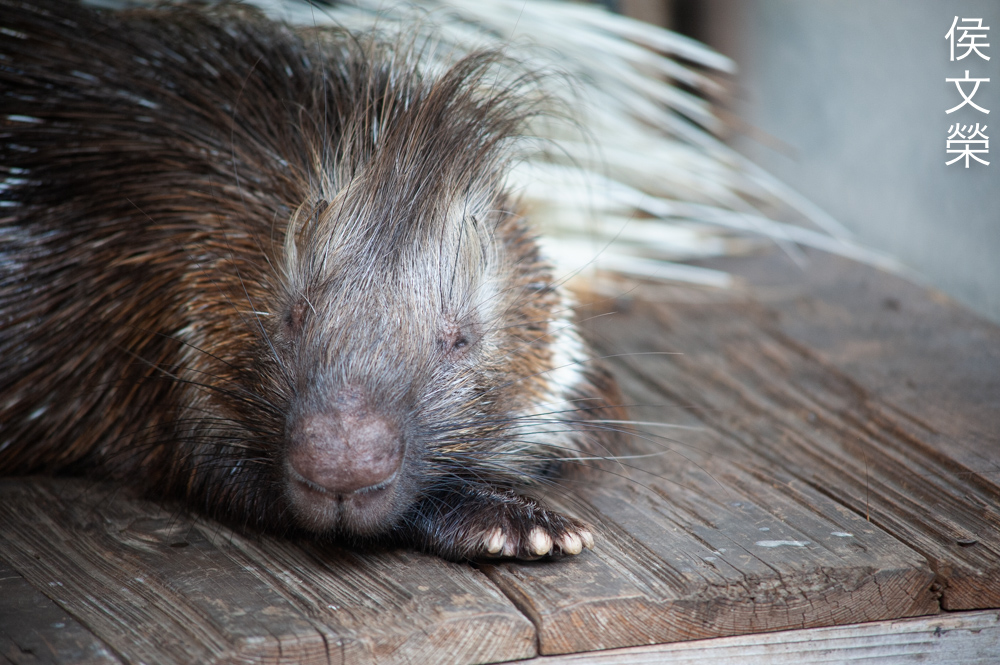
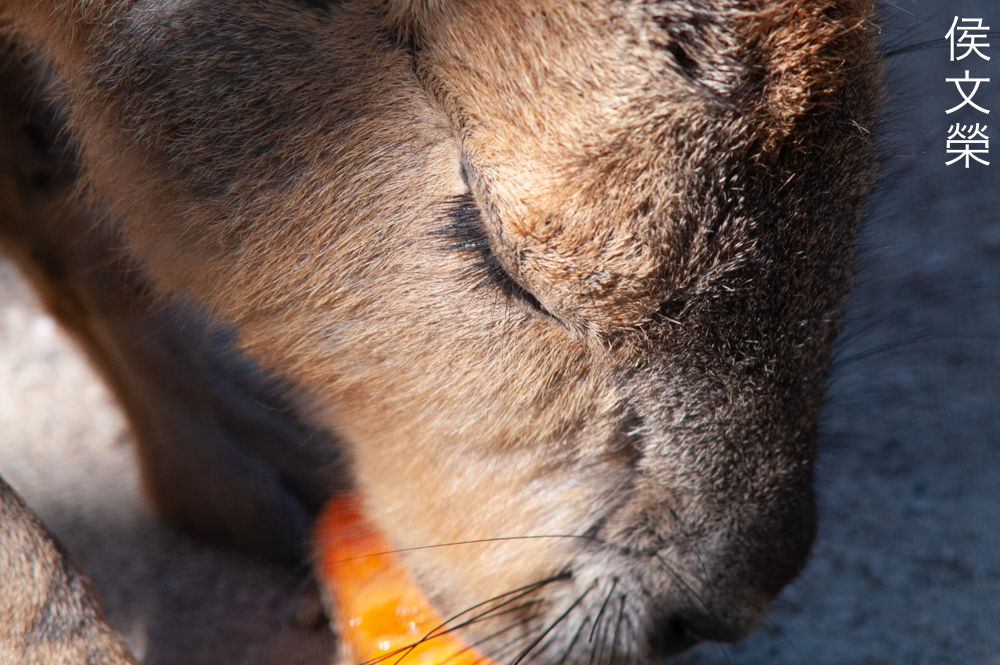
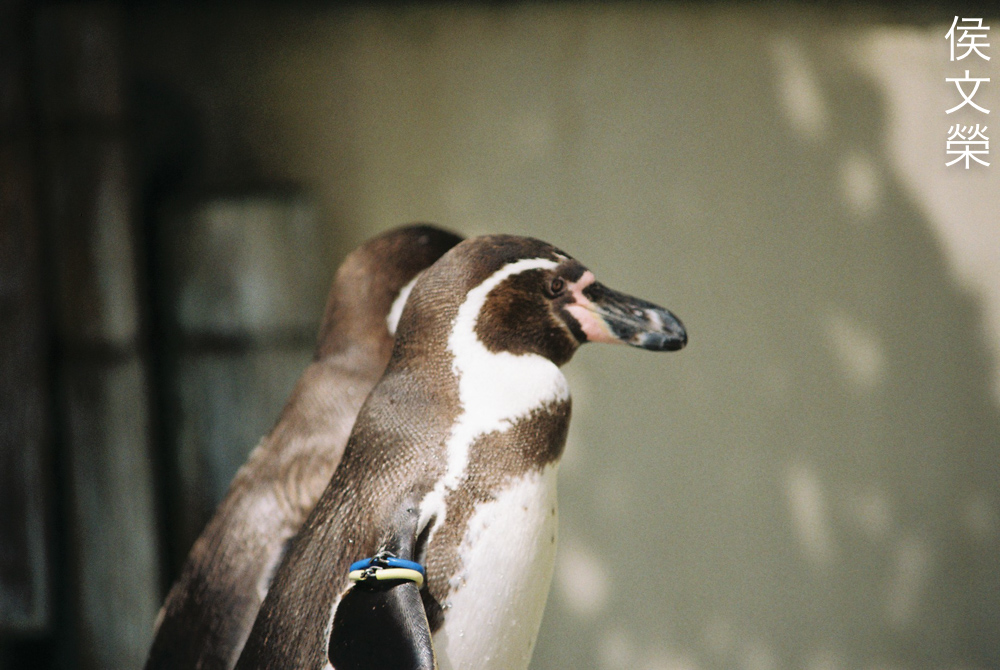
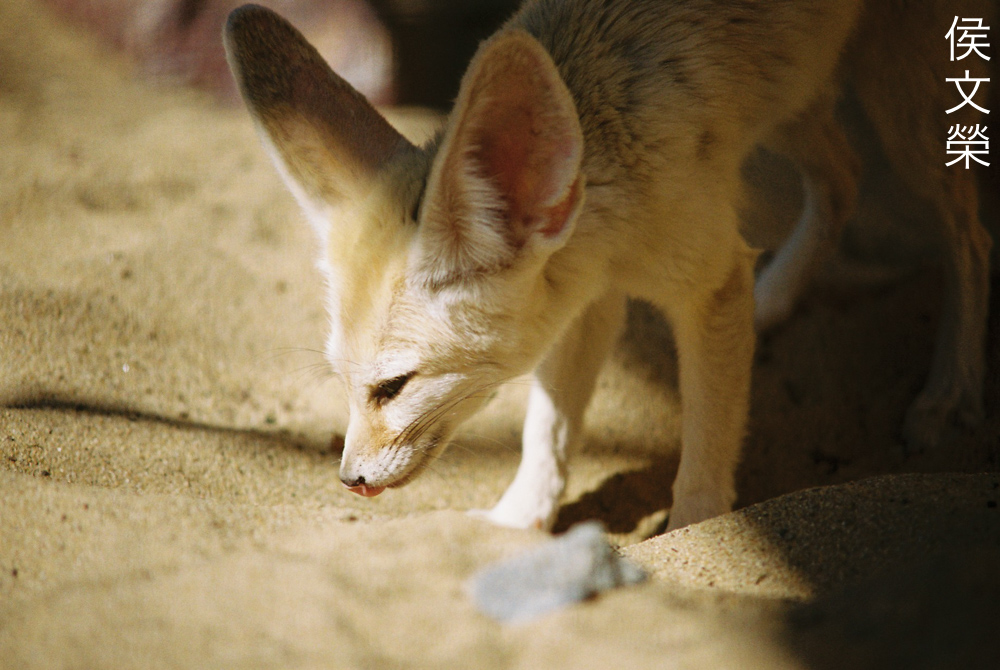
You are able to get sharp photos from it even when using cheap film. The resolution looks great even at wider apertures, you’re able to see the fur rendered in good detail.
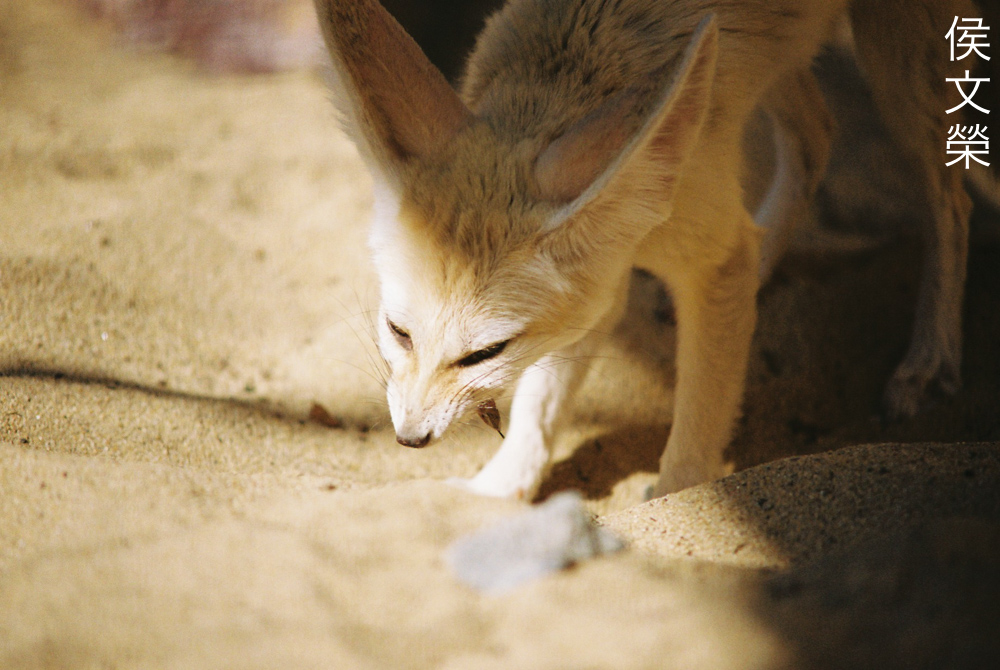
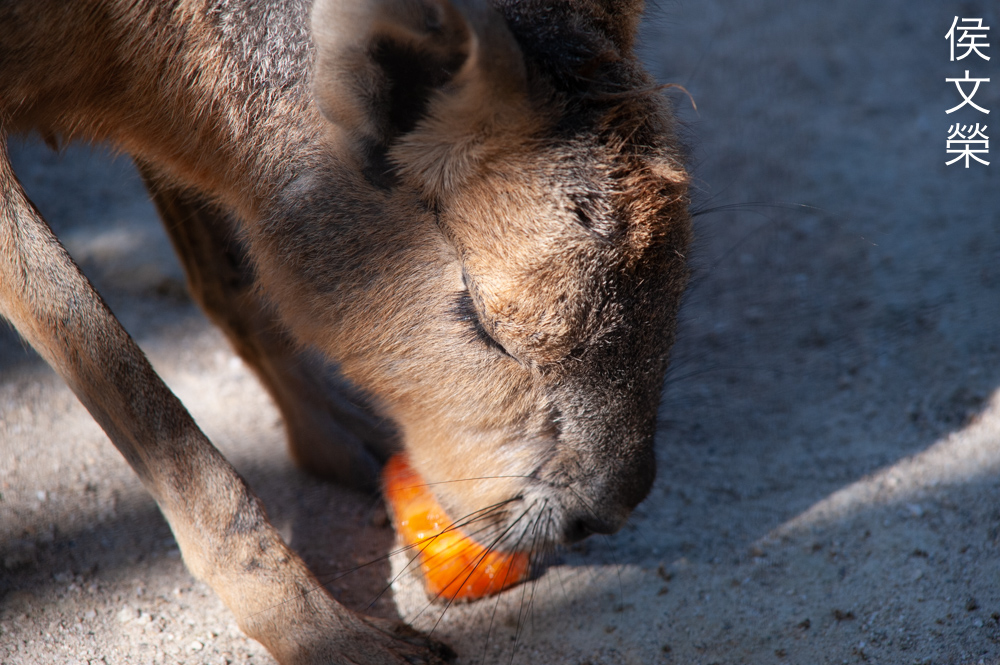
Capturing decisive moments can be difficult at times specially if your subject moves in an erratic way. This little fellow just caught something to eat, everything happened so quickly but I was lucky to have focused at the right spot.
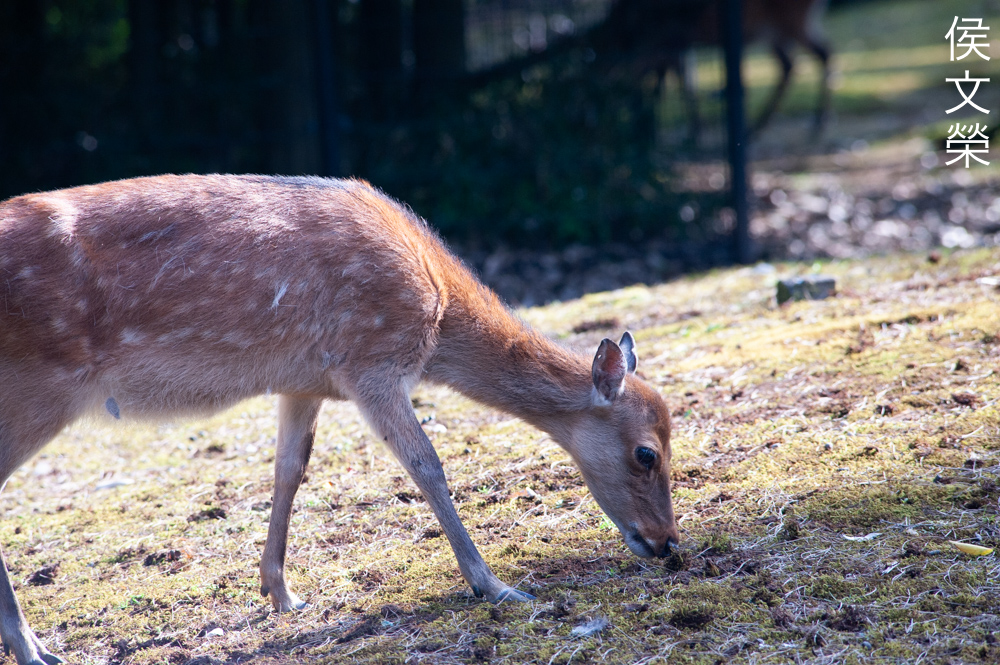
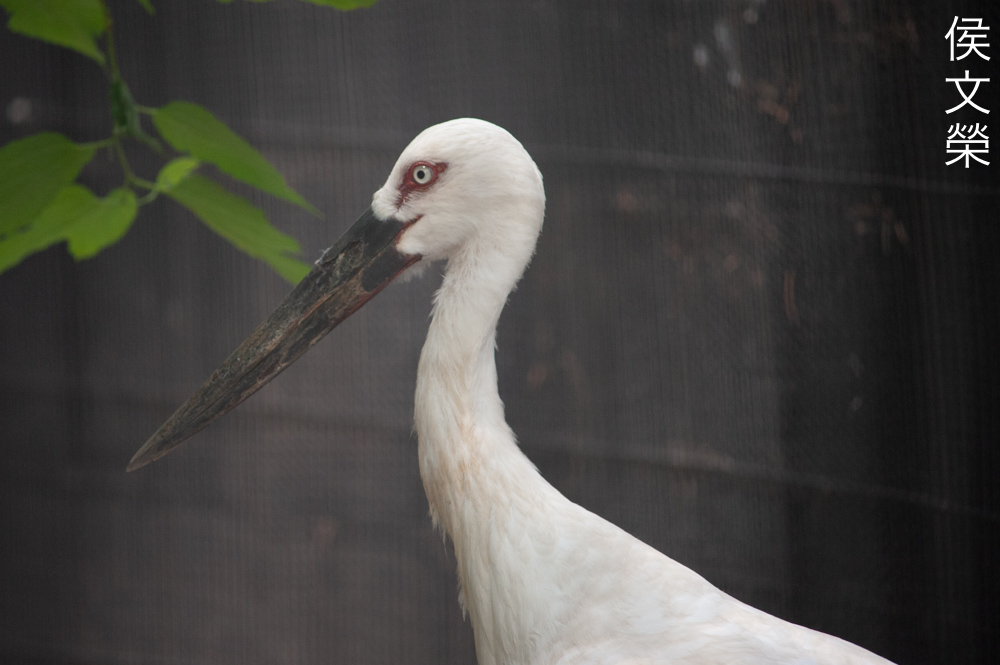
Focusing on more static subjects is not a problem at all, obviously. If the photo isn’t sharp it’s likely that your hand may have slipped.

It’s able to isolate your subject very well, enabling you to blur any undesirable things in your photos such as that poop at the background.

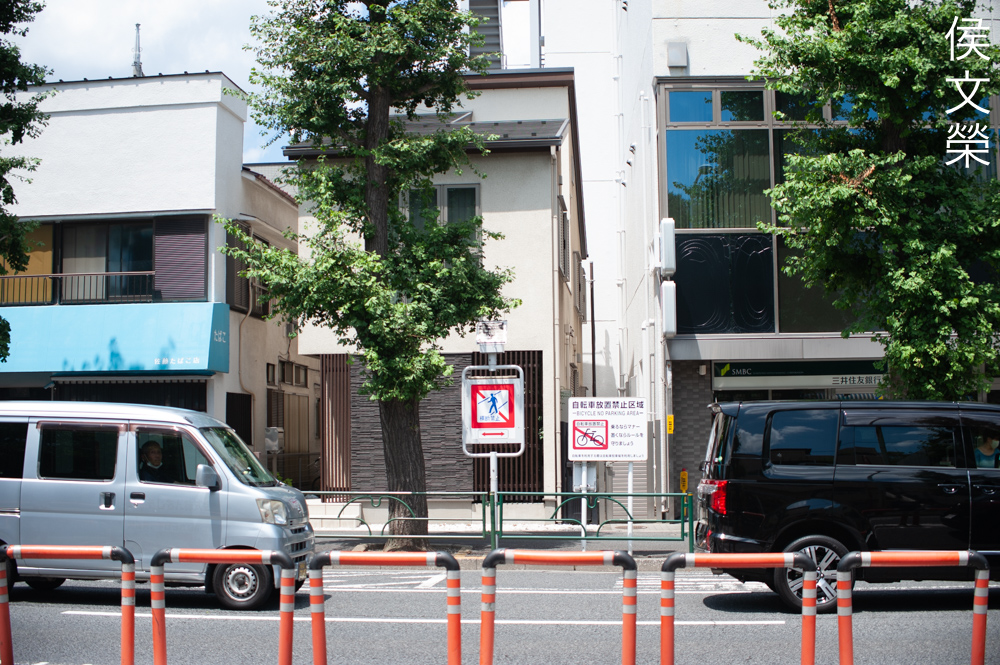
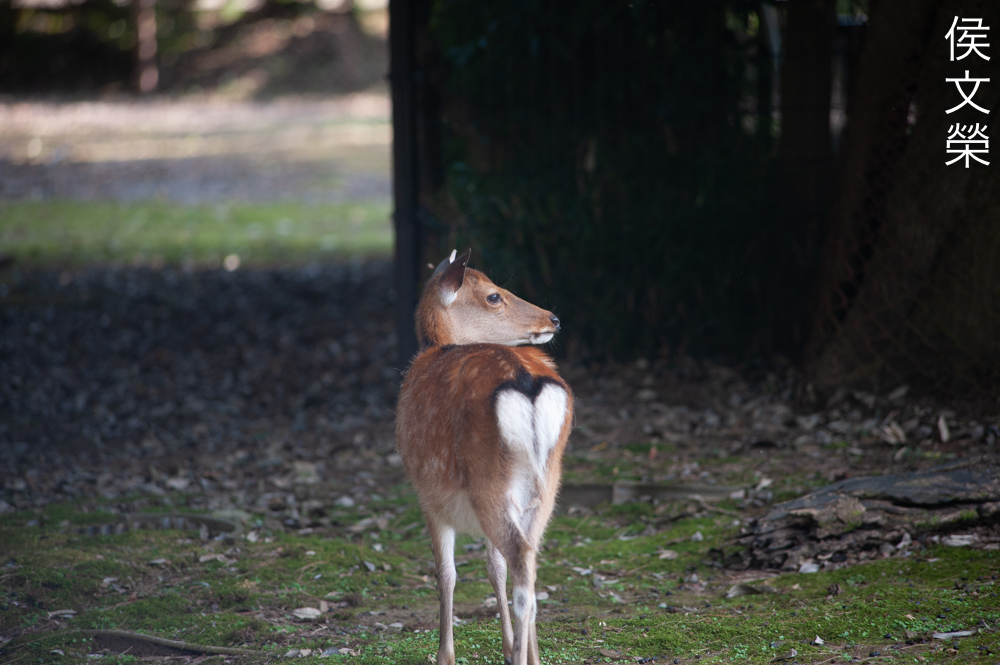
The wide-end is useful for a lot of things but you should really think of this as a tele-zoom that has the ability to shoot at 50mm in case the situation calls for it. This makes it a handy lens for action, reportage and sports.
The ability to shoot at 50mm is invaluable when you’re shooting in humid or dusty places. This saves you the hassle of changing lenses which could lead to moisture and dirt getting into your camera.
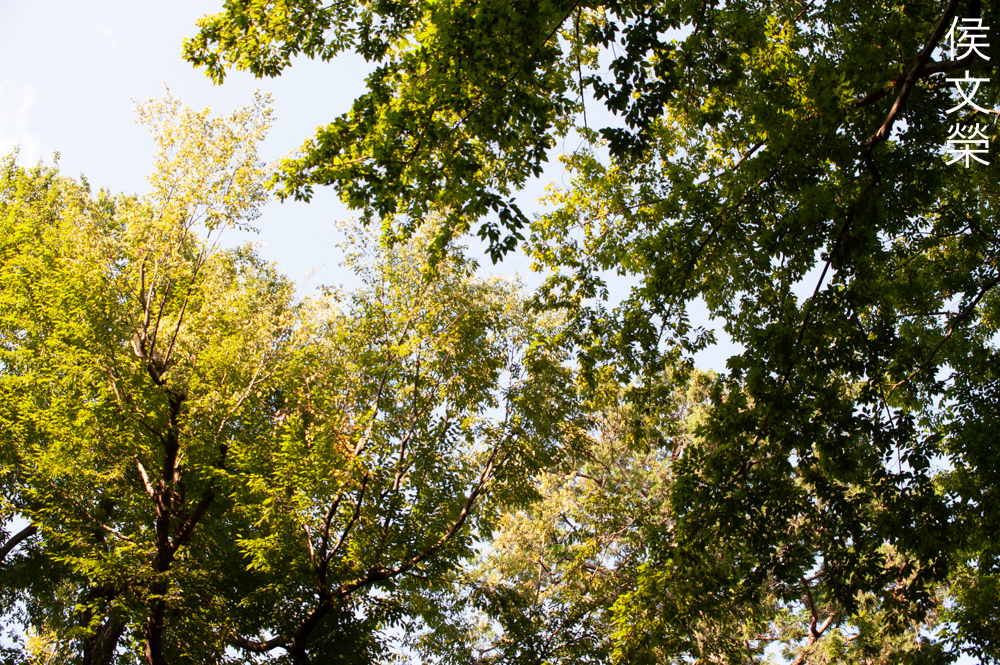
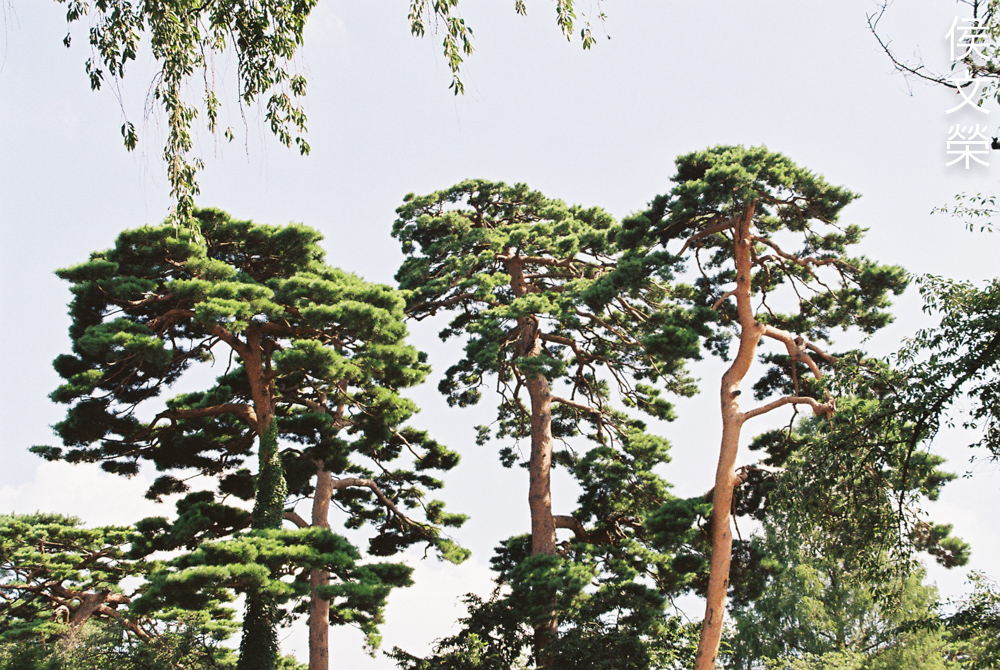
This also performs well as a landscape lens. While this was shot at 50mm you can also use the long-end to help take a photo with a flatter perspective which is useful for shooting waterfalls or a scene from a distance.


(Click to enlarge)
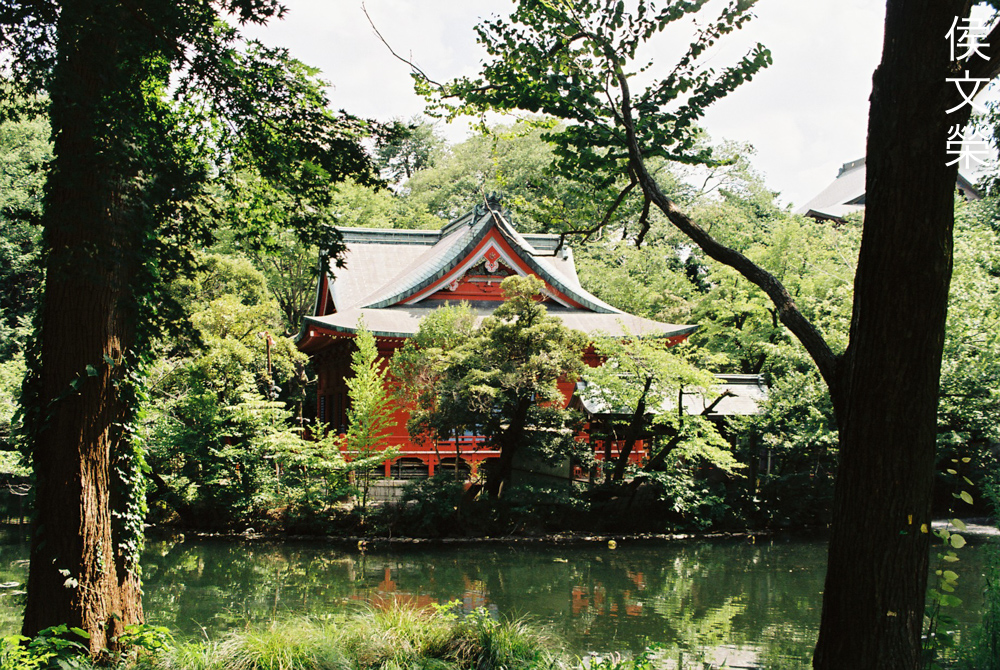
Here’s the rest of the roll. I’d like to take a variety of subjects that day but I wasn’t able to get consistent lighting because this lens demands it when you’re shooting with natural light. Shooting this with film is certainly viable specially if you’re shooting in a studio so you’re able to control your subjects and lighting better.
I really love the pictures that I get from this lens but I hated using it because of the size and weight. My back ached for a few days due to the strain of carrying it all-day. If your not bothered about this and you need an excellent lens with a wide range then this lens is for you. Despite the fact that it’s an all-manual lens I still think that this is still relevant today specially if you’re shooting movies. For still photography I think there are many alternatives out there but they may not have the characteristics you’re looking for which this lens could provide. The older Zoom-Nikkor 50-300mm f/4.5 Auto’s performance is pathetic compared to this so unless you’re planning on shooting photos with “vintage” characteristics I will just recommend this thing instead of the older lens, it’s also more compact, too. When looking for one of these do not forget to operate all of the rings, be sure that they all operate properly. The focus should be spot-on at either end, if the focus shifts too much then the lens has to be adjusted which isn’t the easiest thing to do on this model. The iris should also be dry and snappy when actuated. Of course, the optics should also be clean and clear, without any signs of balsam separation. While it’s not common with this it is not unusual to find one of these with that problem because it has several cemented-groups. You can also purchase its dedicated hood if you want, too. These do not cost much these days since the price has somewhat reach an all-time low. You’re able to get a nice one for $160.00 and you should never pay more than $200.00 for an excellent one. This one was sold as junk so I only got it for $60.00, I was lucky enough to have found it and if you’re patient you could also find one for less than what people pay for this, happy hunting.
Before We Begin:
If this is your first attempt at repairing a lens then I suggest that you see my previous posts regarding screws & drivers, grease and other things. Also read what I wrote about the tools that you’ll need to fix your Nikkors.
I suggest that you read these primers before you begin (for beginners):
Reading these should lessen the chance of ruining your lens if you are a novice. Before opening up anything, always look for other people who have done so in YouTube or the internet. Information is scarce, vague and scattered (that is why I started this) but you can still find some information if you search carefully.
I highly recommend that you read my working with helicoids post because this is very important and getting it wrong can ruin your day. If I can force you to read this, I would. It is that important!
For more advanced topics, you can read my fungus removal post as a start. It has a lot of useful information, it will be beneficial for you to read this.
Disassembly (Lens Barrel):
The construction of the barrel is quite complicated as expected from a lens of this class is size. This isn’t an easy lens to service and some of the parts were sealed. Using solvents and heat will help you unscrew or extract things safely but it will still require a strong wrist on some of the bigger parts.
Taking notes will help you a lot and expect to take plenty of them when working with this lens. Since this is a zoom I’m going to consolidate the sections together or this article will end up being very long.
I won’t be discussing or showing anything related to the iris mechanism and its repair. All I can say is that it’s not easy to dismantle so it’s best to just leave it alone if there’s nothing wrong. It’s adjustable in some places so you will have to be careful when putting everything back and always reference from your notes.
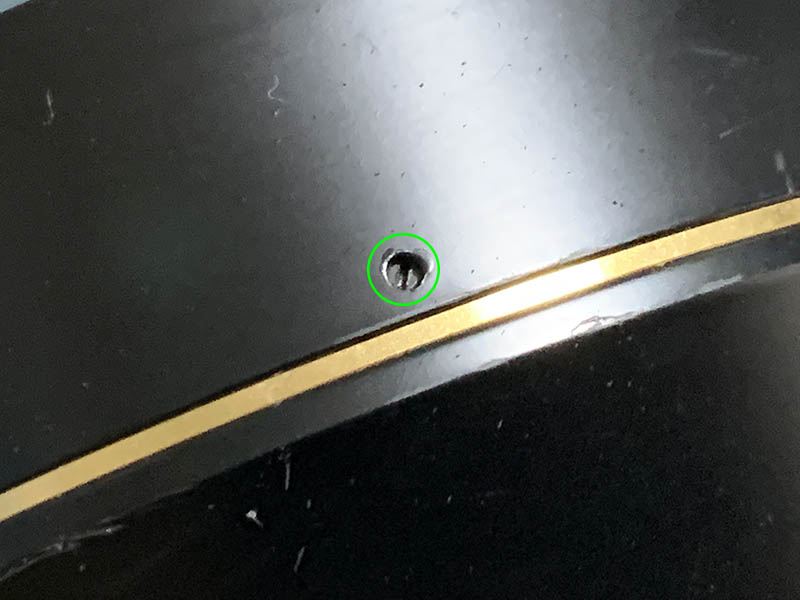
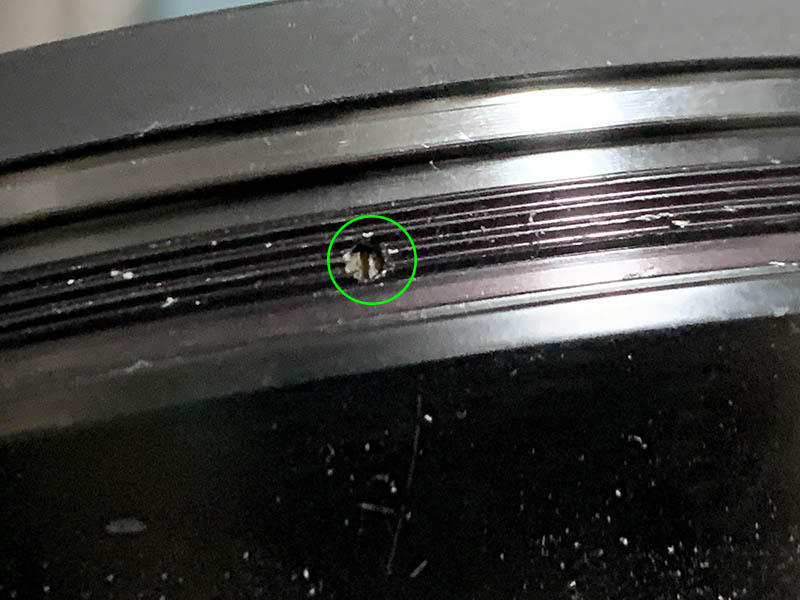
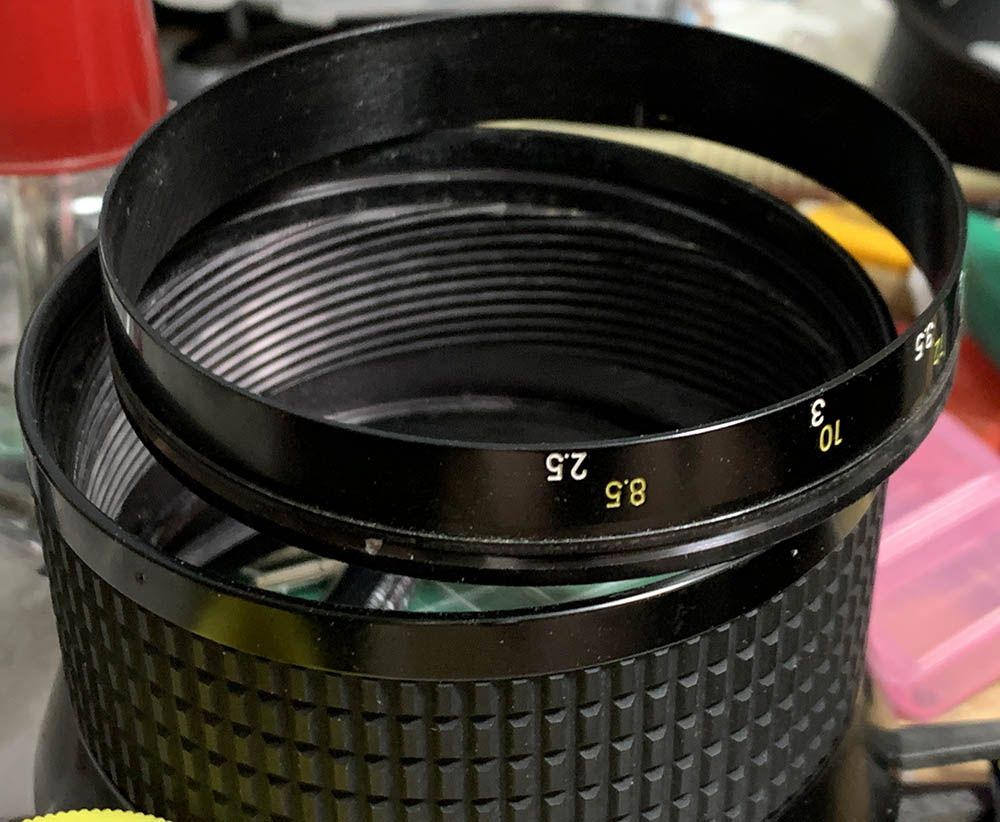
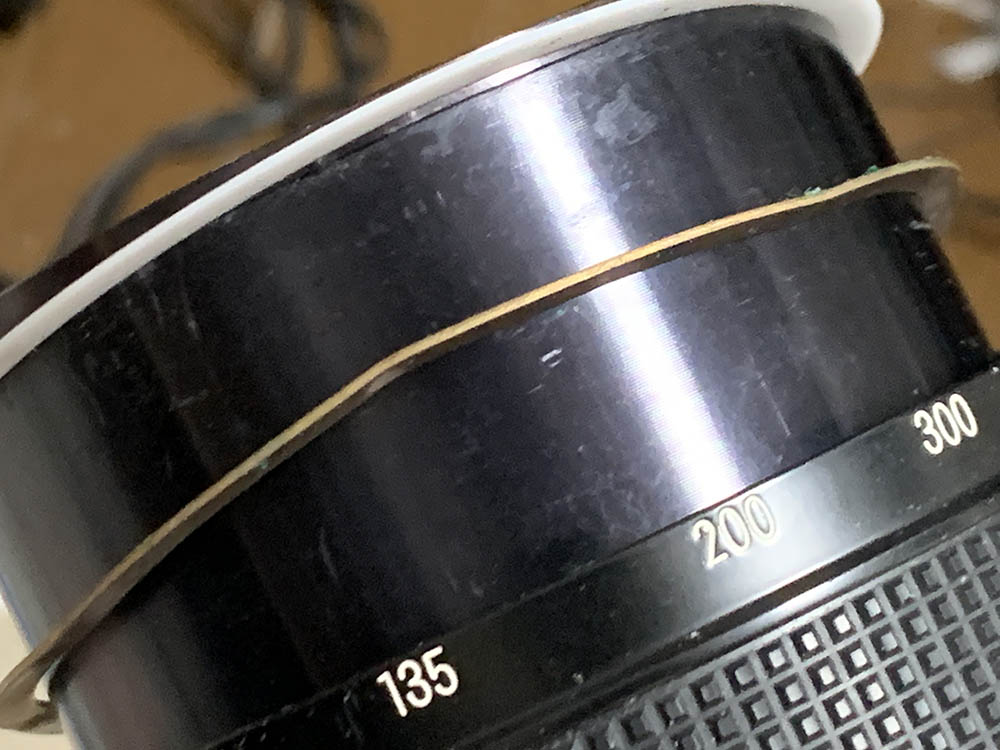
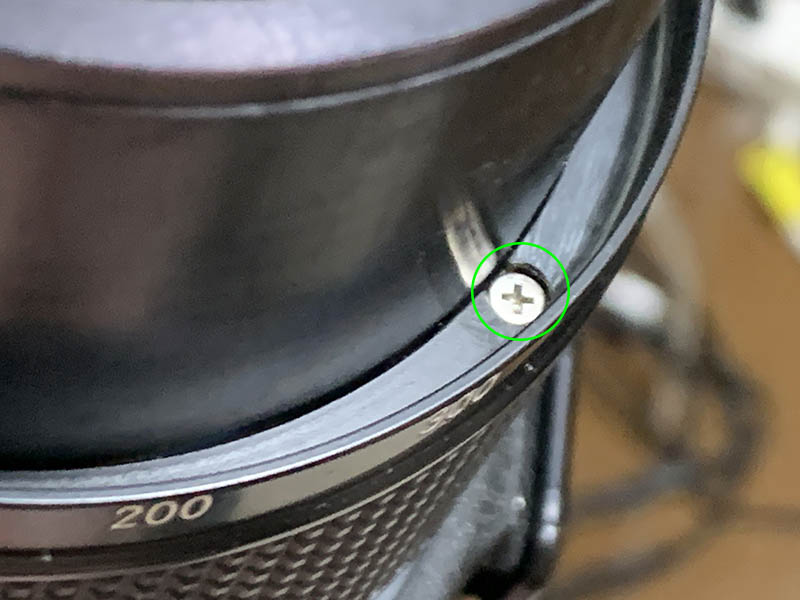
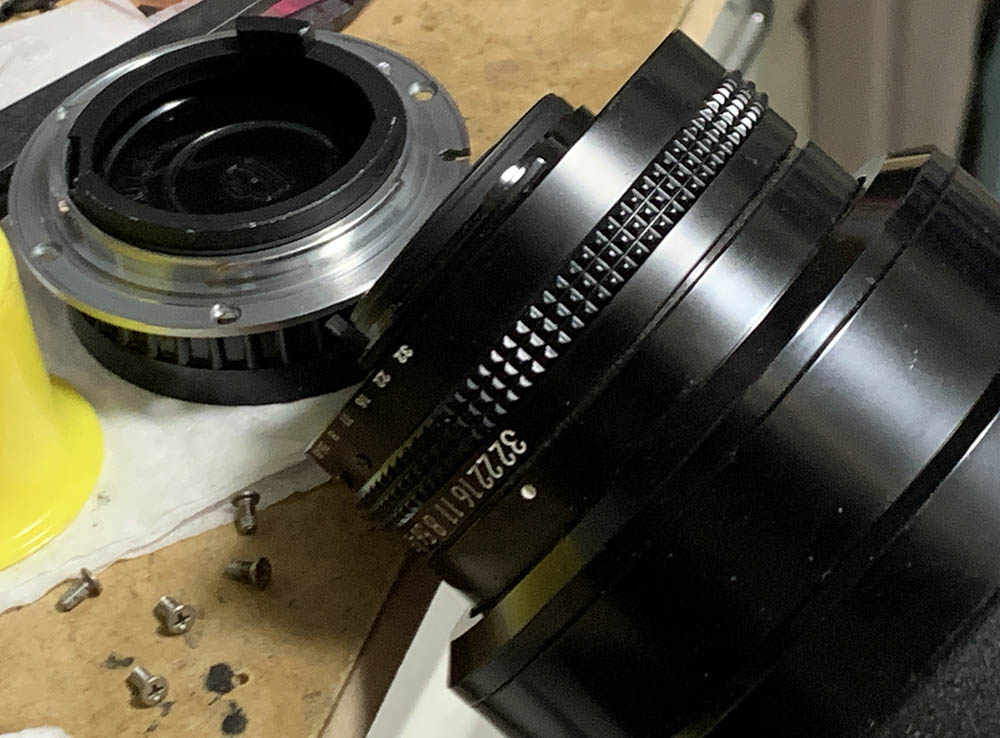
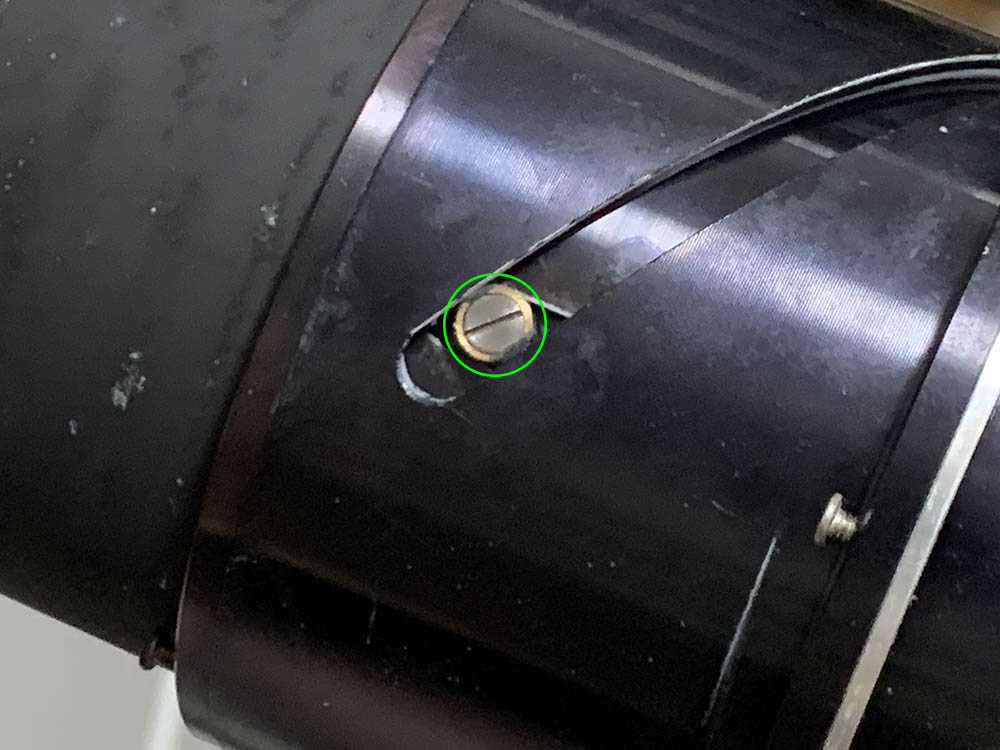
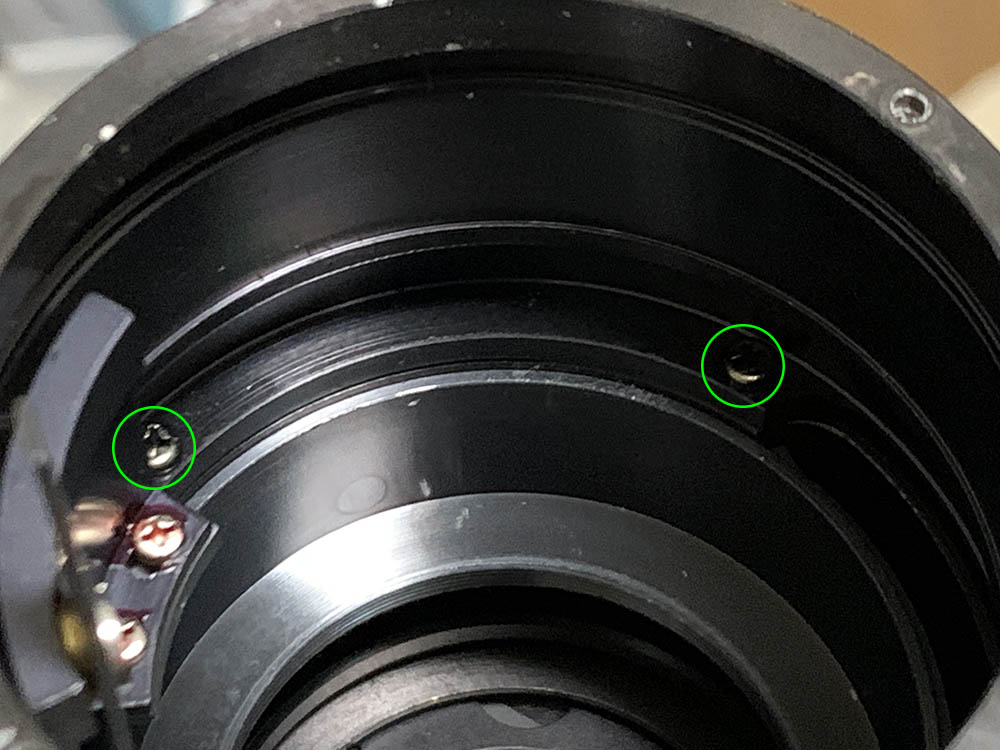
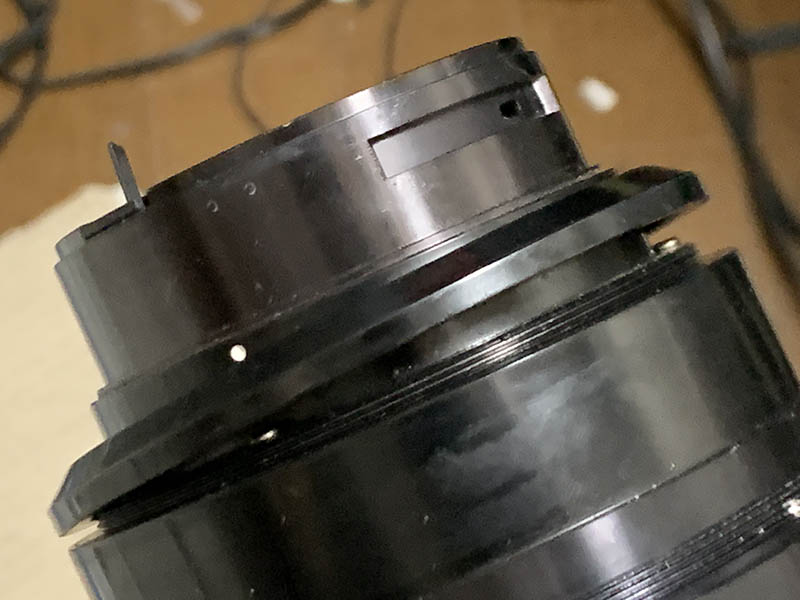
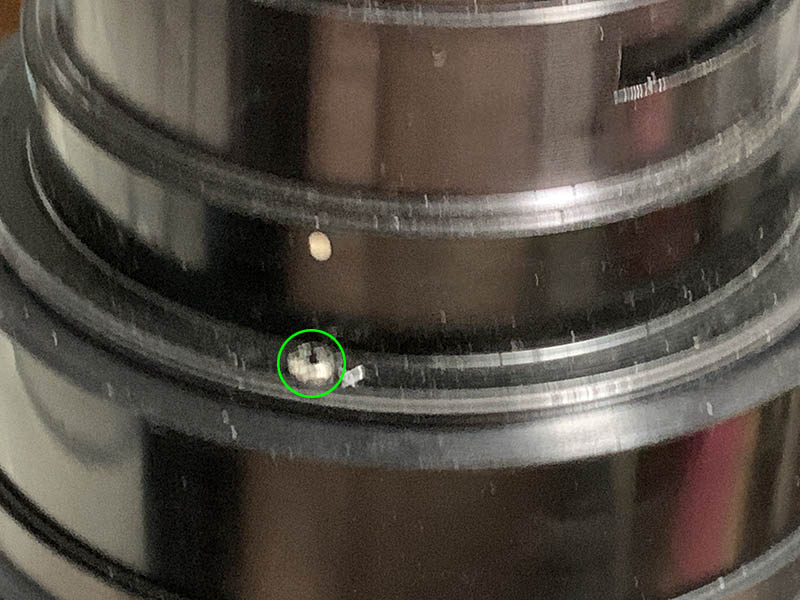
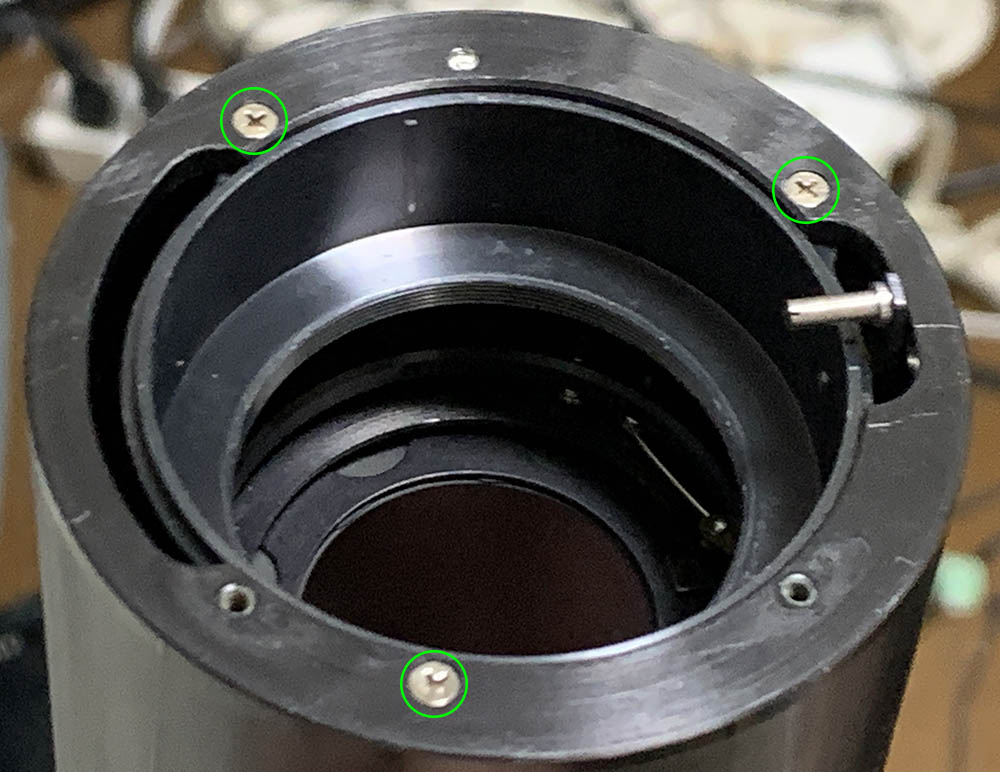
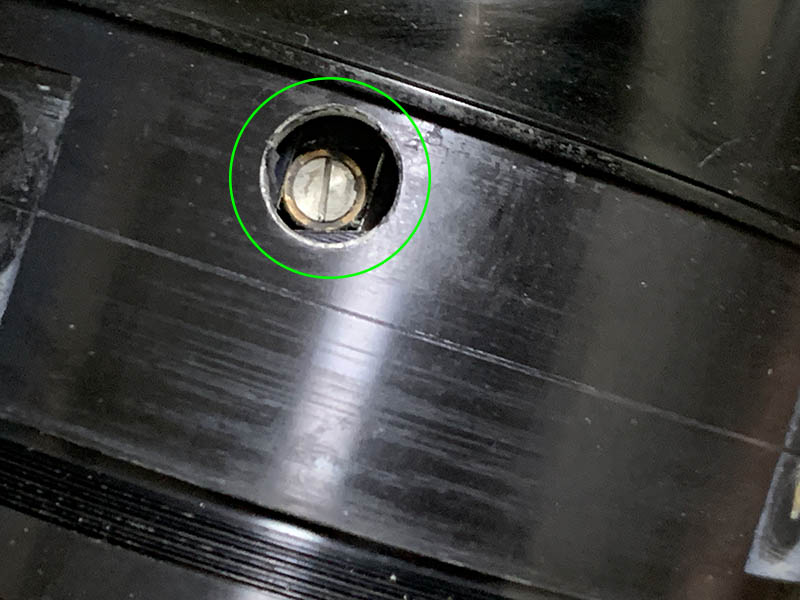
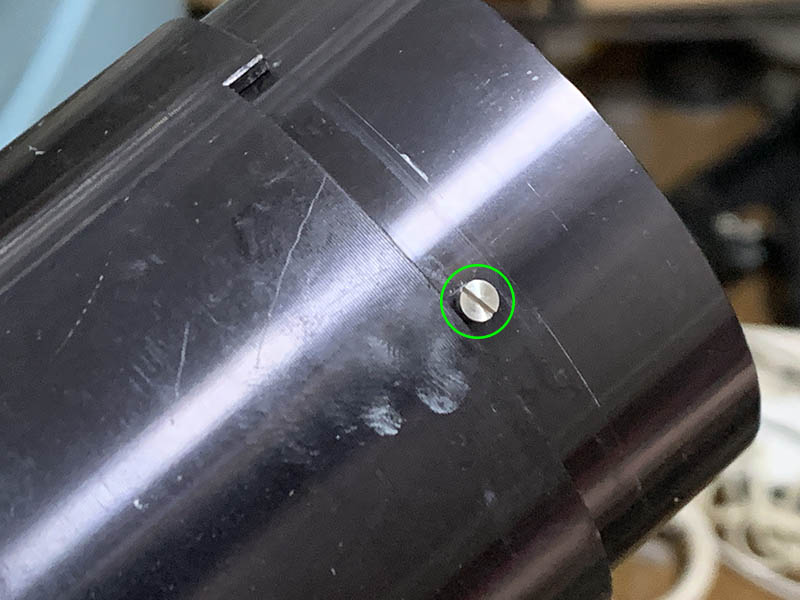
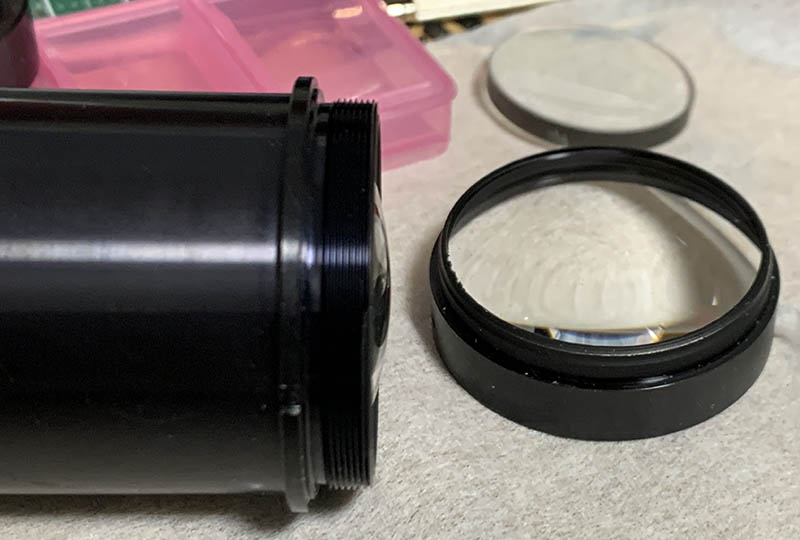
Dissolve the seal of this screw and carefully extract it to unscrew the front ring off.
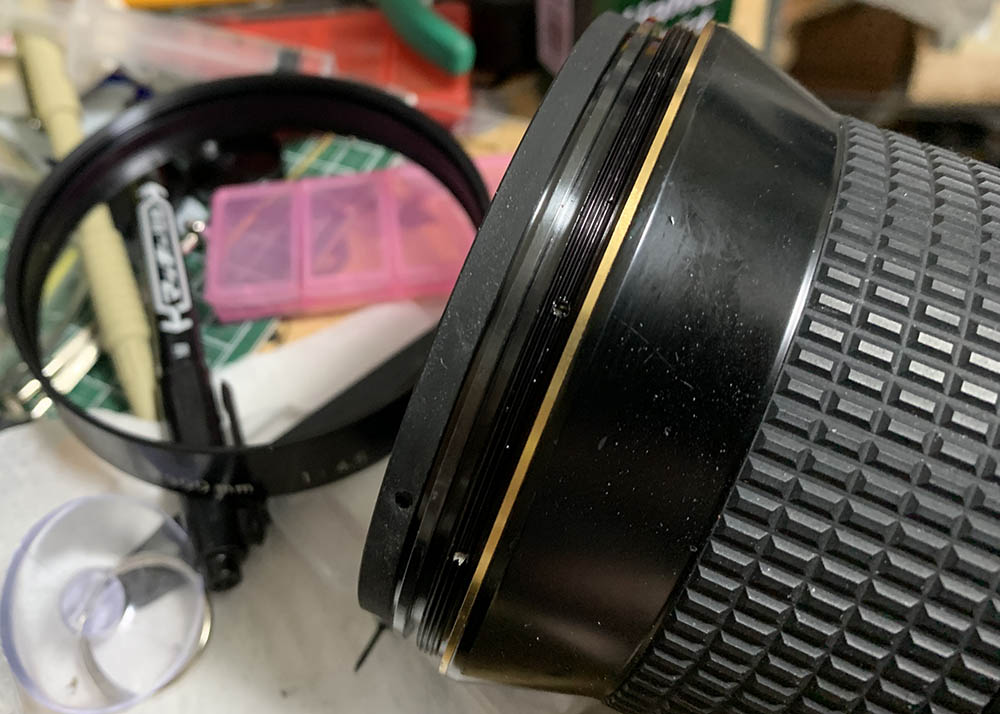
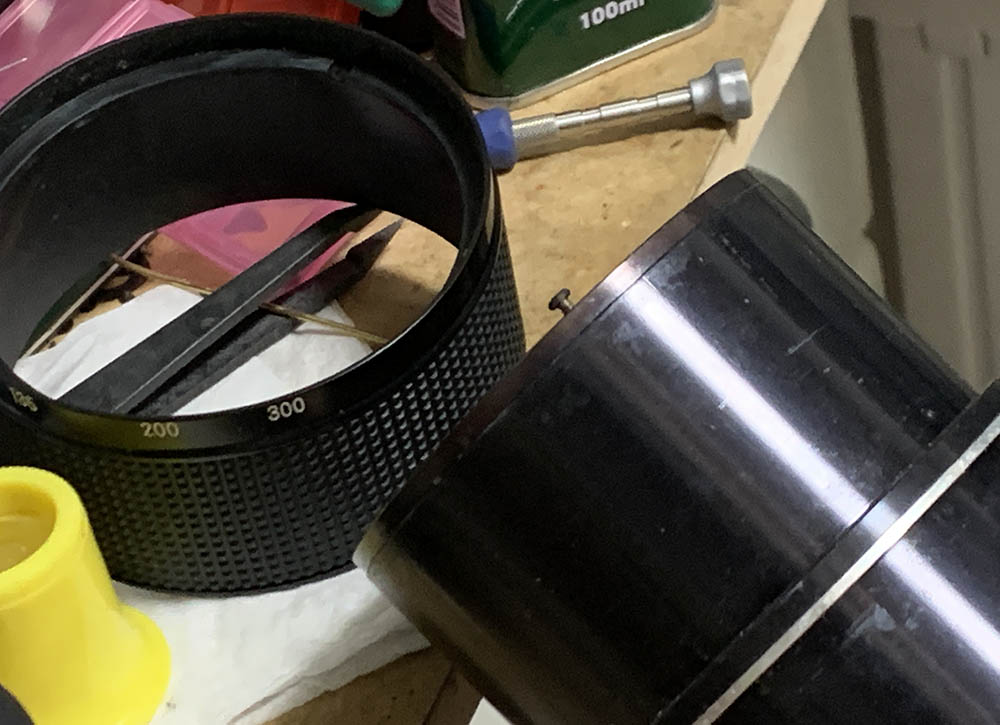
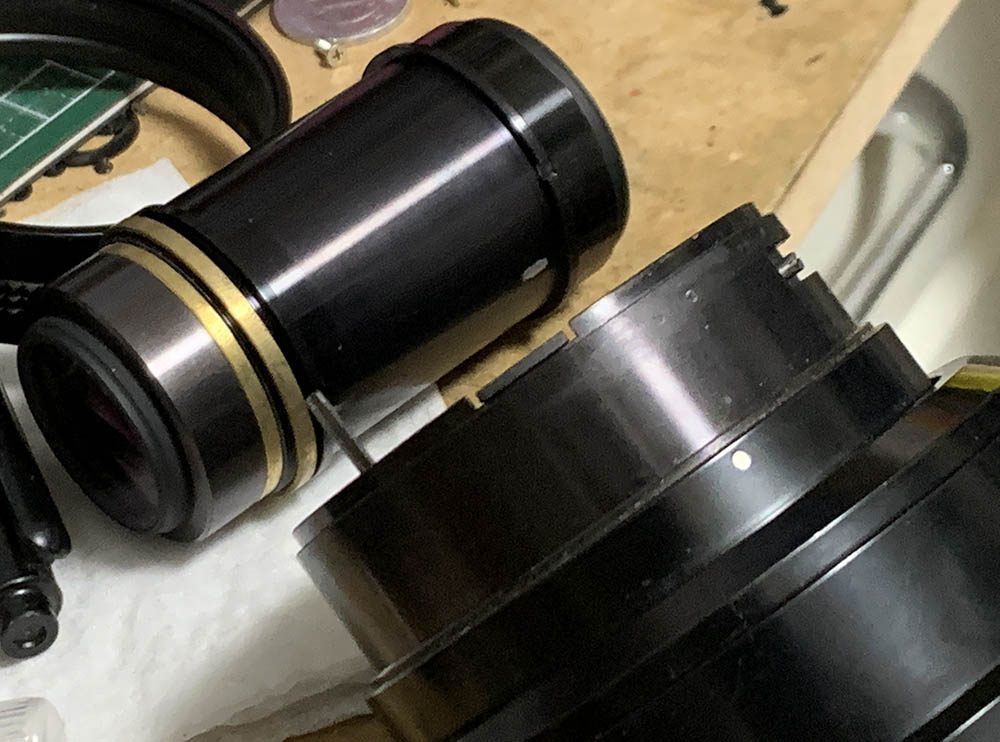
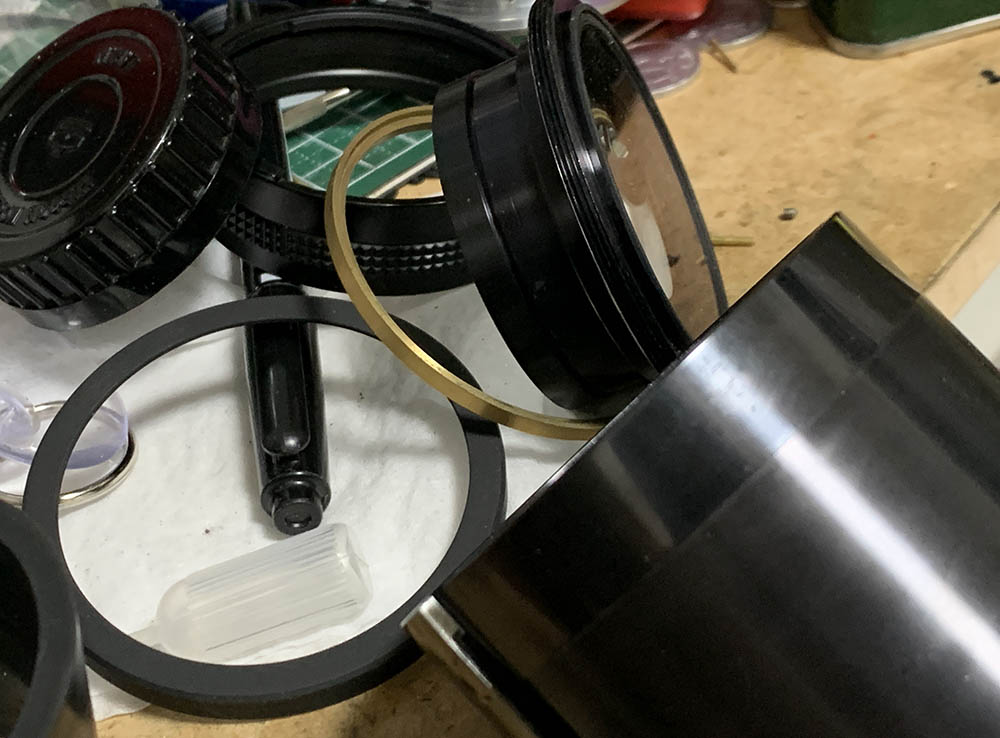
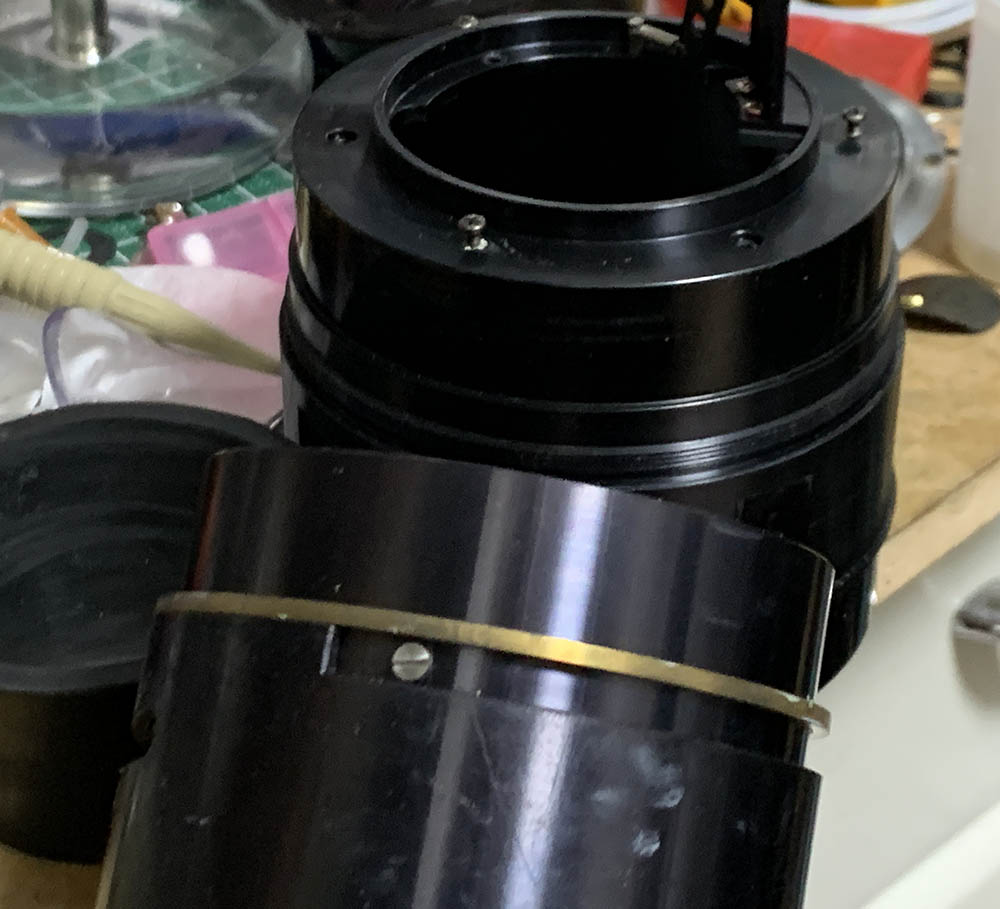
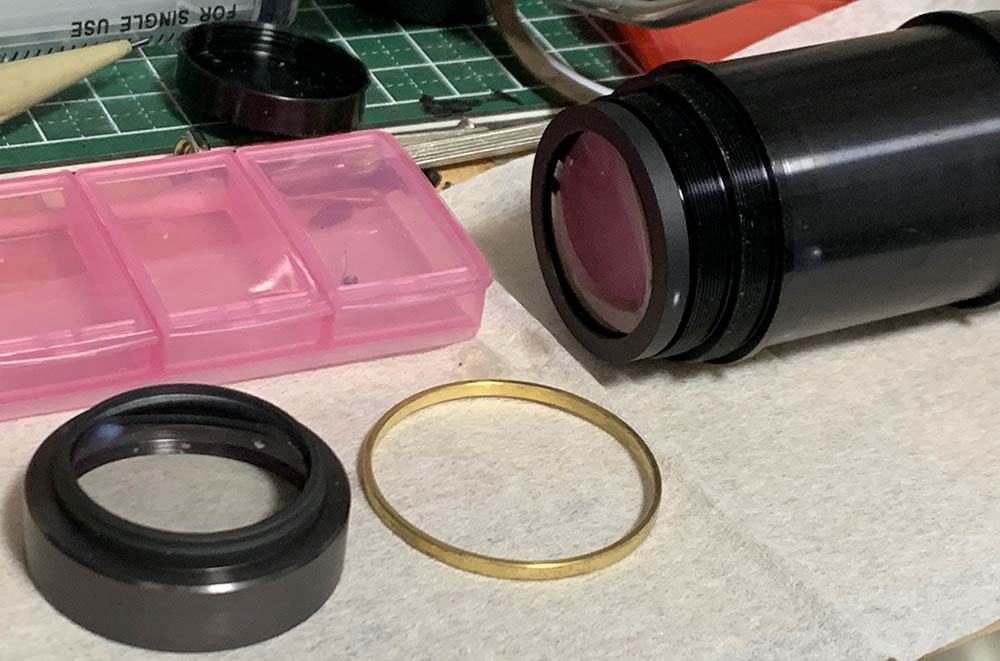
Carefully remove the infamous “gold-ring”, it’s easy to warp this thing so be careful and store it in a safe place.
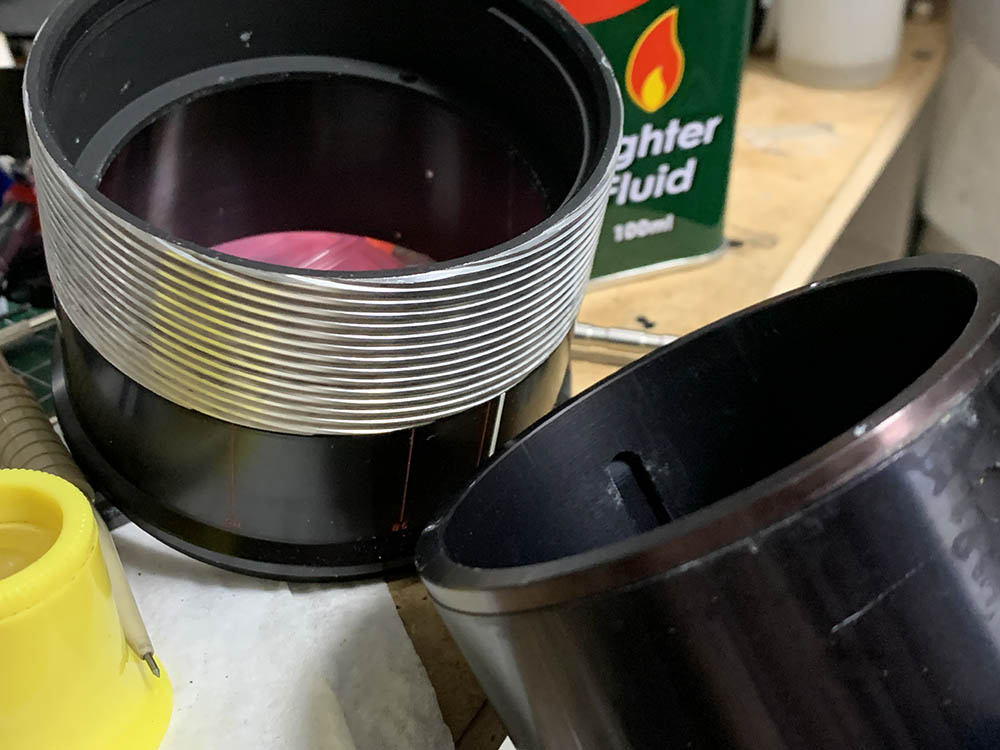
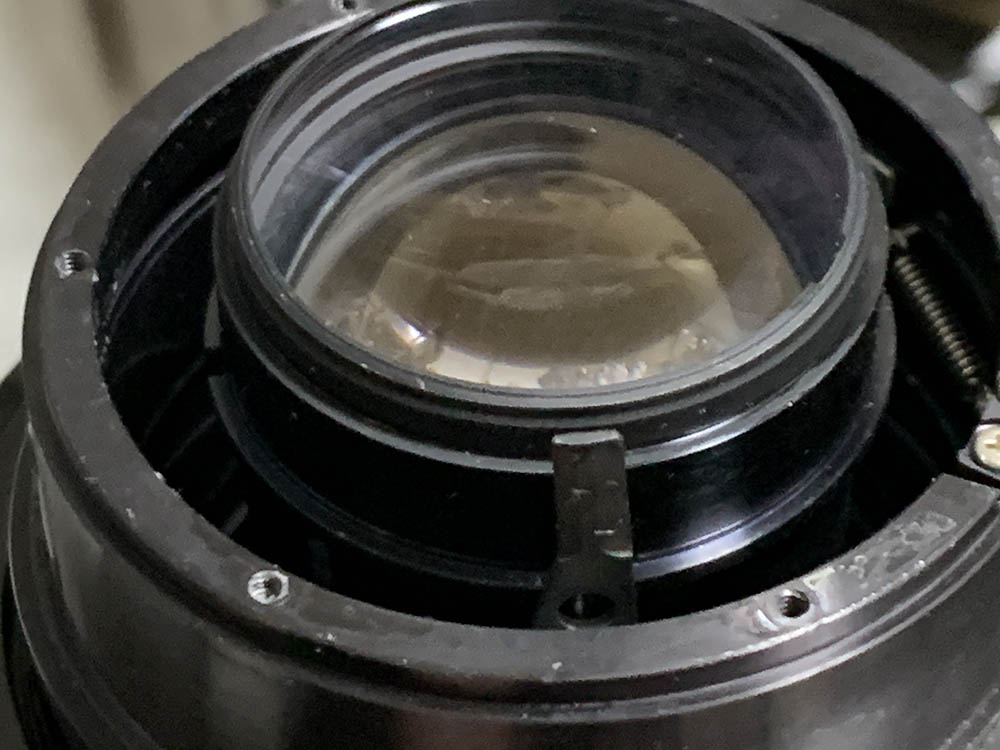
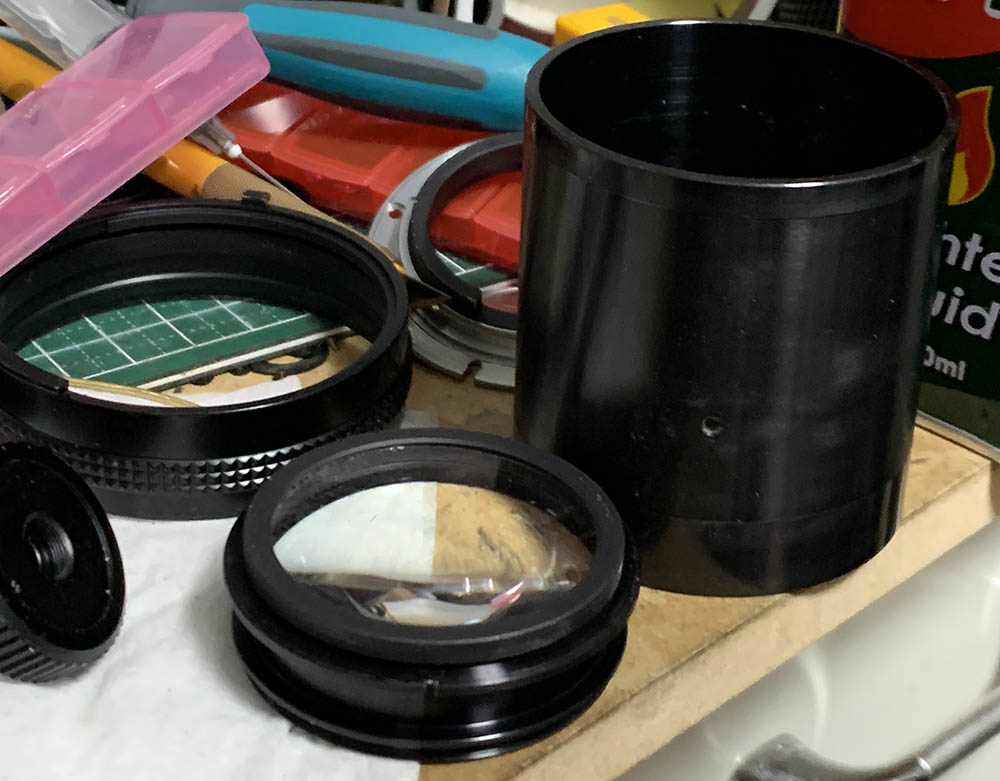
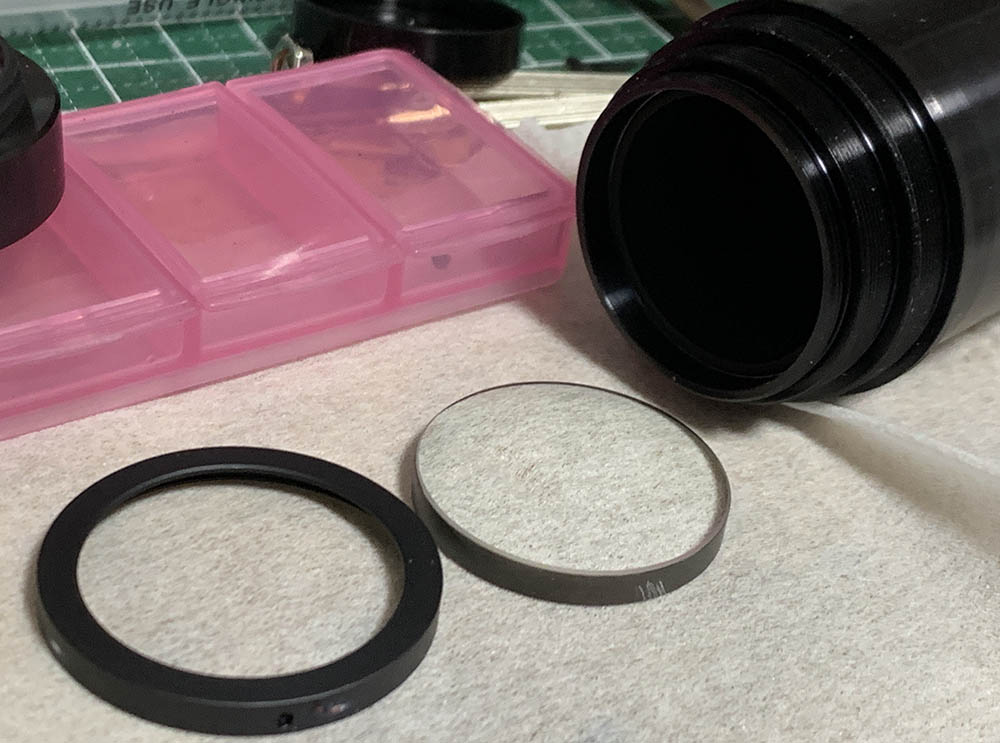
Extract this carefully to remove the front optics assembly.
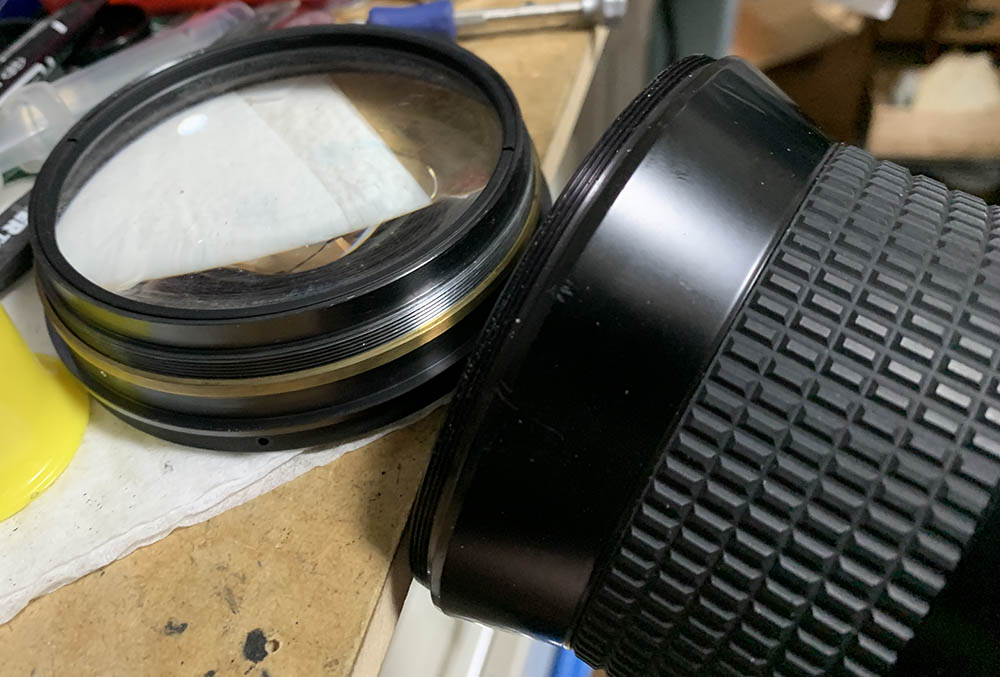
Never lose the shim of the front optics assembly, store it in a safe place so it won’t get damaged.
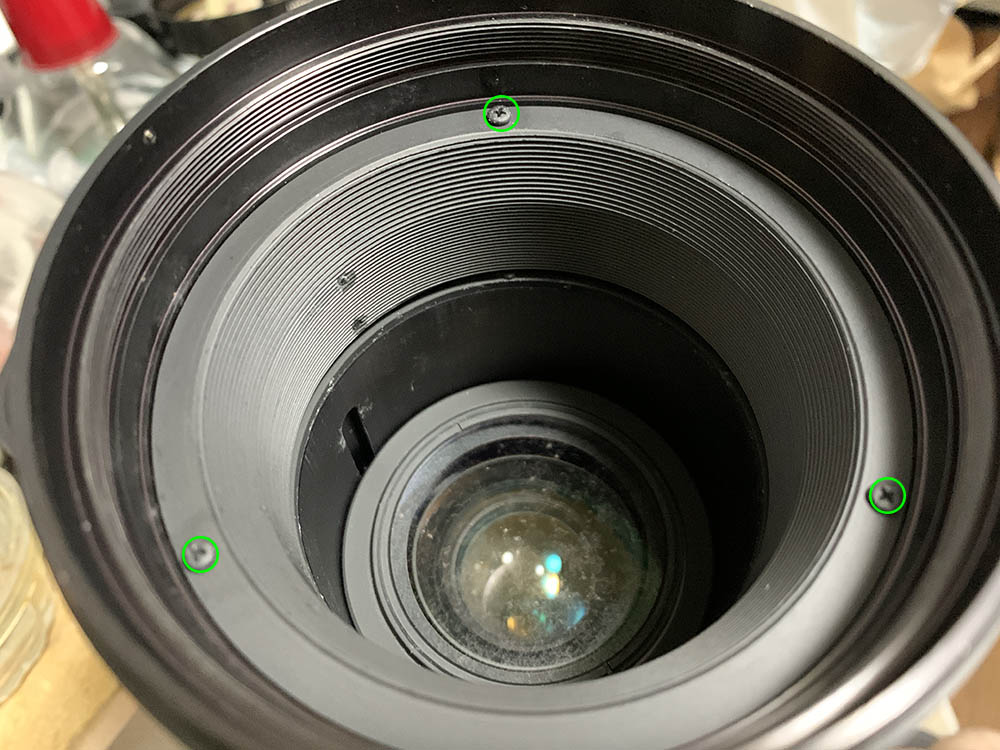
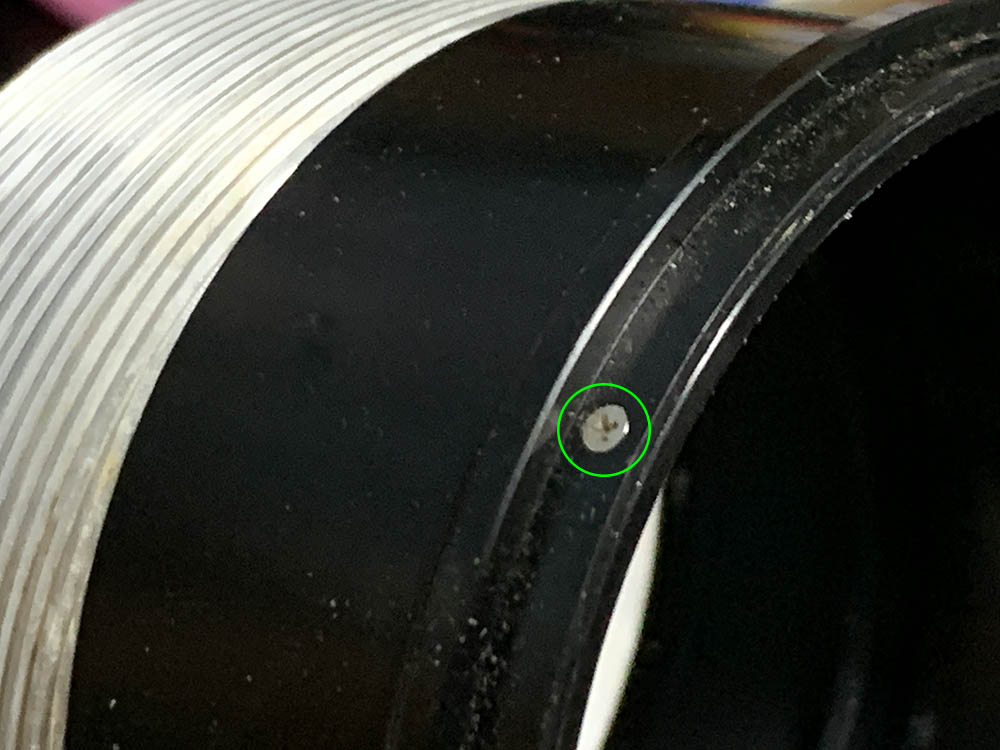
Extract these carefully to remove the front baffle. It has a metal block screwed to it which constrains the rotation of the focusing ring.
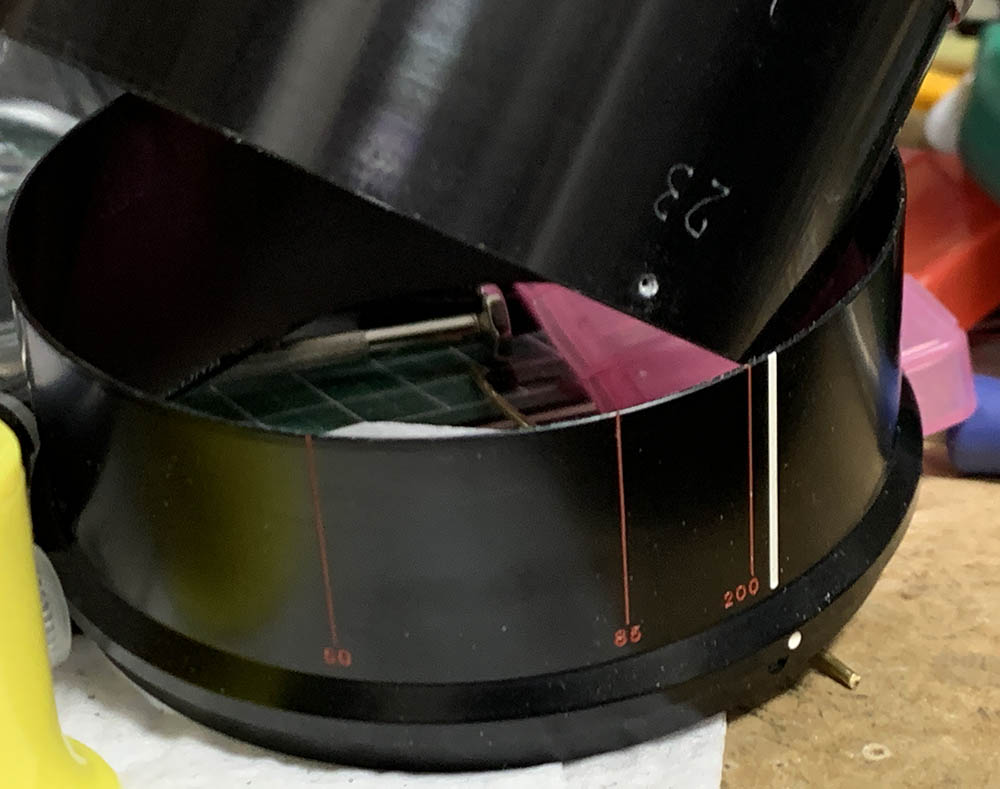
Once the baffle is gone you’re now able to separate the helicoids. Never forget to note where they parted as this is also the same spot where they should mesh. Many people forget to do this and they get stuck during reassembly. See my article on how to service helicoids so you’ll know how this is done properly.
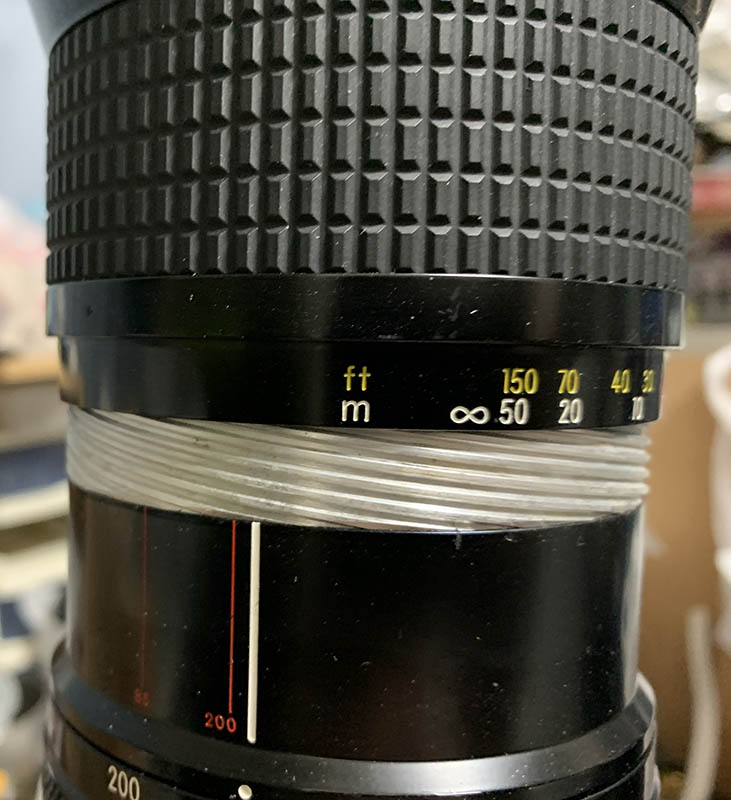
The distance scale can be removed once you’ve unscrewed its screws. When marking where the helicoids parted don’t reference it to this scale because this part is adjustable. You can also remove the rubber part but be sure to be careful so you won’t tear it.

Extract these to remove the male-helicoid. Don’t forget to note its original orientation.
You can now remove the helicoid.
Extract these to remove the sleeve.
Never forget to note the original orientation of the sleeve so you’ll be able to put this back properly. You can now soak the helicoids in soapy water in preparation for a thorough-cleaning.
Remove the spring and its plastic washer, set them aside in a safe place while you work with the rest of the barrel.
Extract these so you can remove the zoom-ring but do not forget to note the original orientation of the ring.
You can remove the rubber part if you wish but be sure to be careful so you won’t tear it.
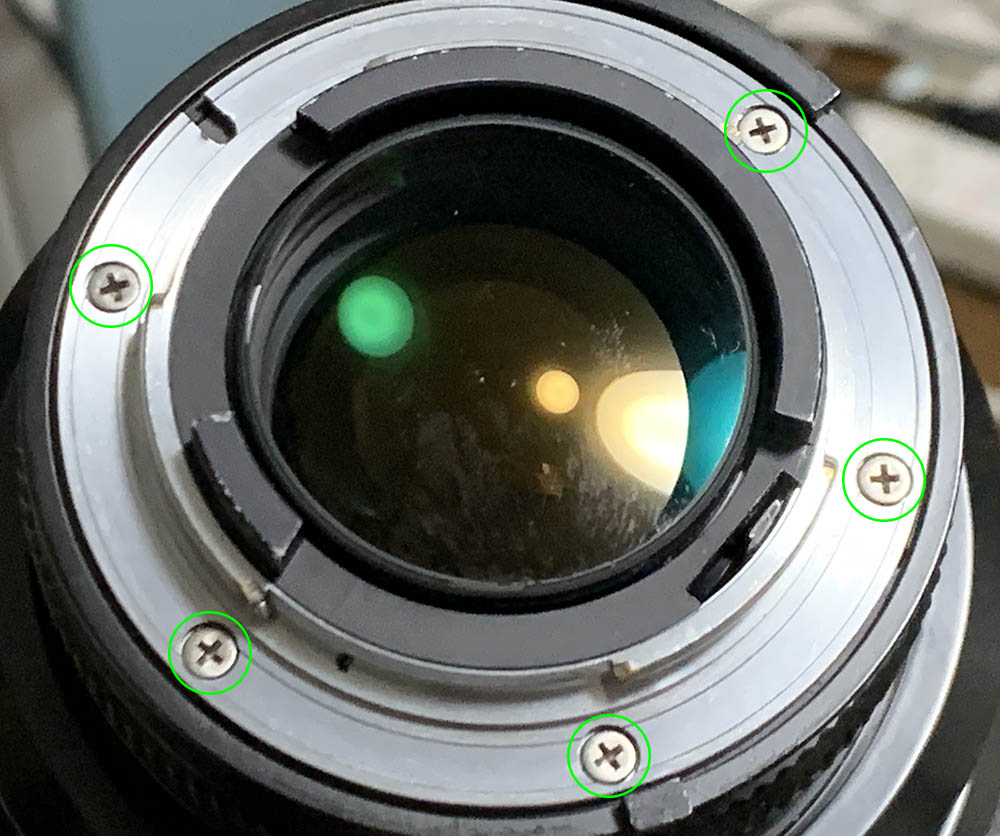
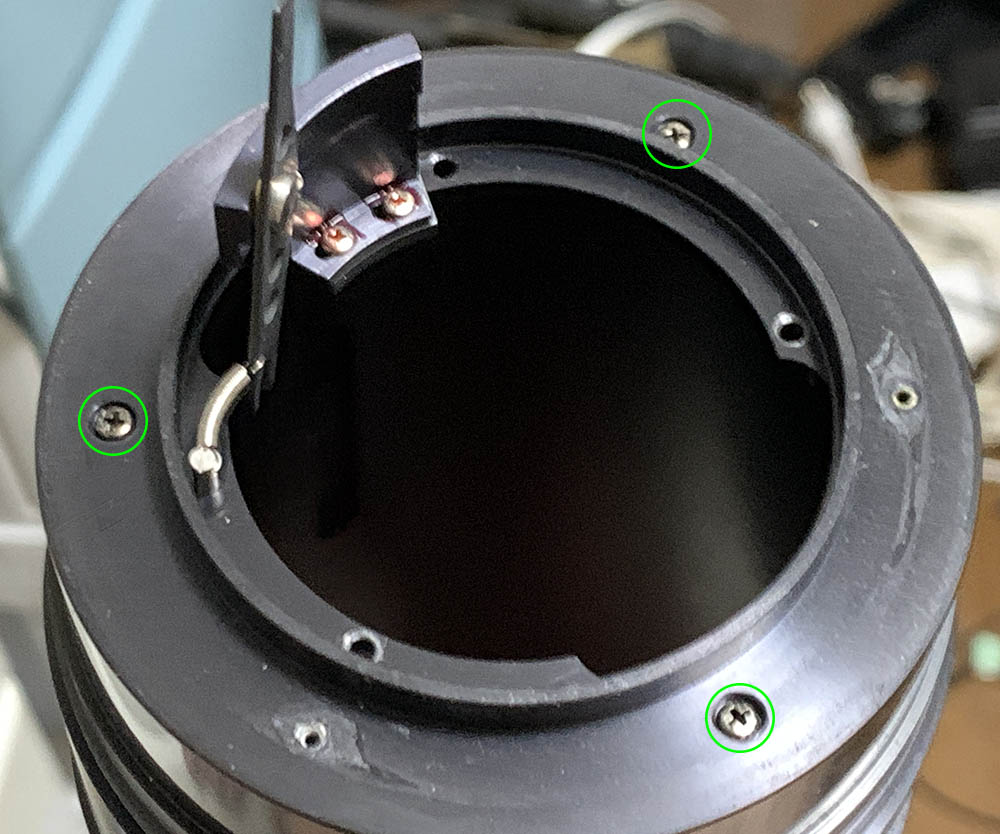
Carefully extract these to remove the bayonet mount. Many people get stuck here because they do not have the right tools and strip the screws. To prevent this from happening, read my article about how to remove bayonet screws. Follow my guide and that should help educate you on how its done and which drivers you should use.
Carefully remove the bayonet mount, do it slowly so it won’t snag on anything. You can also remove the aperture-ring.
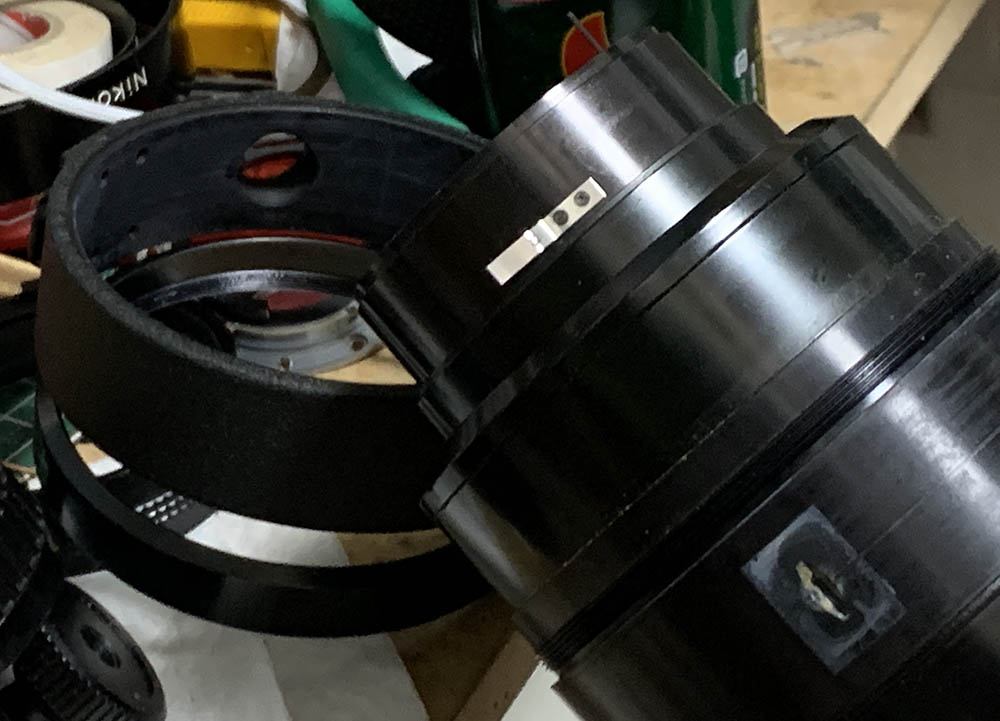
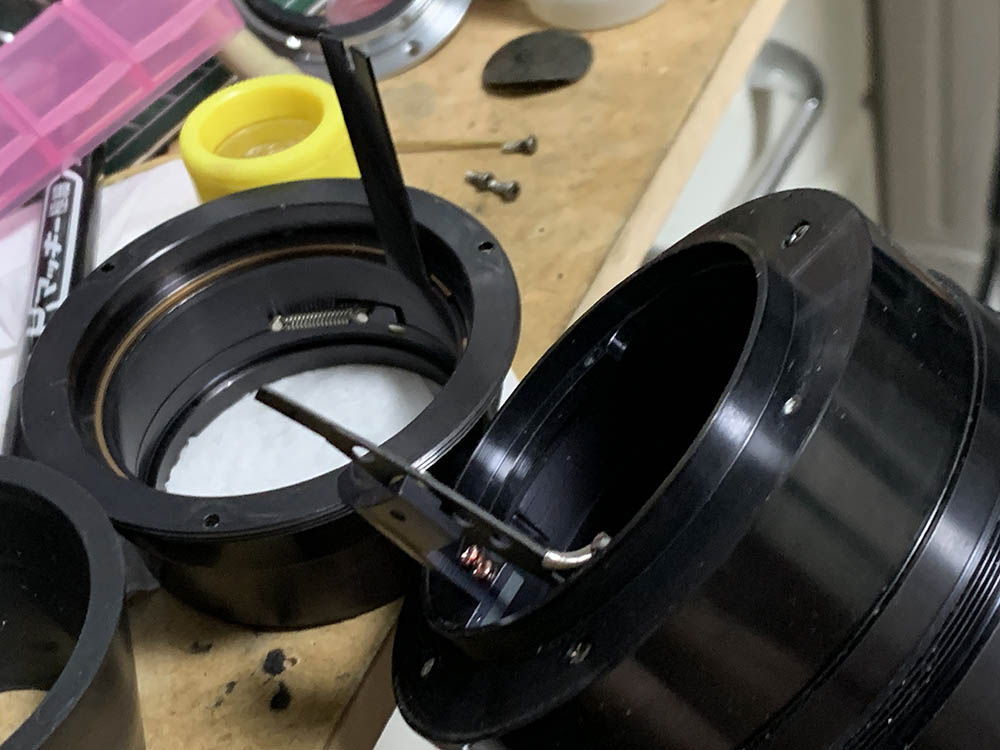
You’re actually able to remove the rear optics assembly at this point. Carefully unscrew the whole barrel of using a lens spanner but be sure not to bend the stop-down lever. Simply loosen it with the lens spanner then unscrew it off using your fingers.
Remove the whole assembly and store it in a safe place.
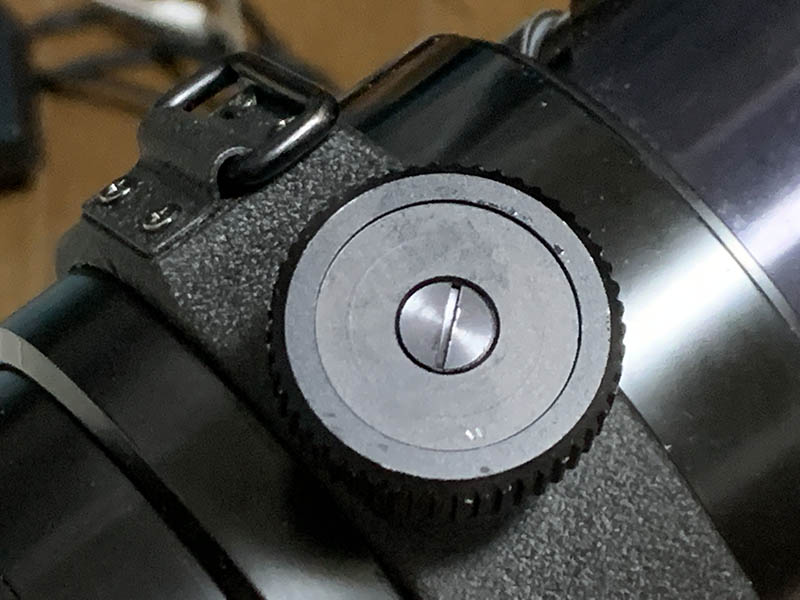
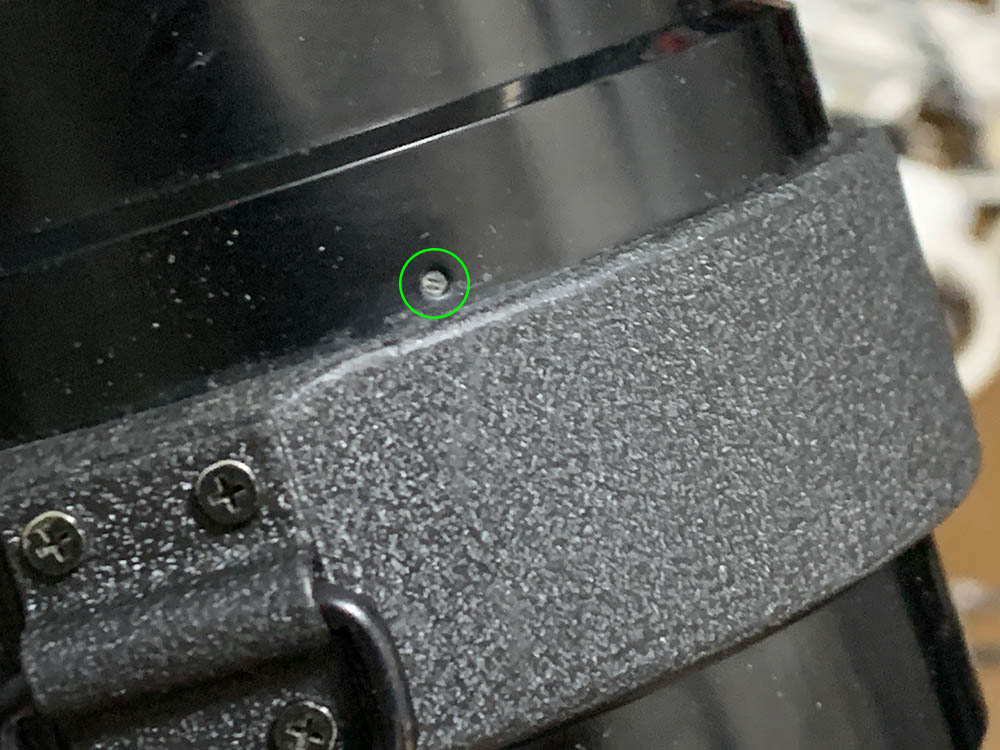
Carefully peel the leatherette covering this screw and extract it.

Remove the spring, ball and seat, clean these very well and set them aside.
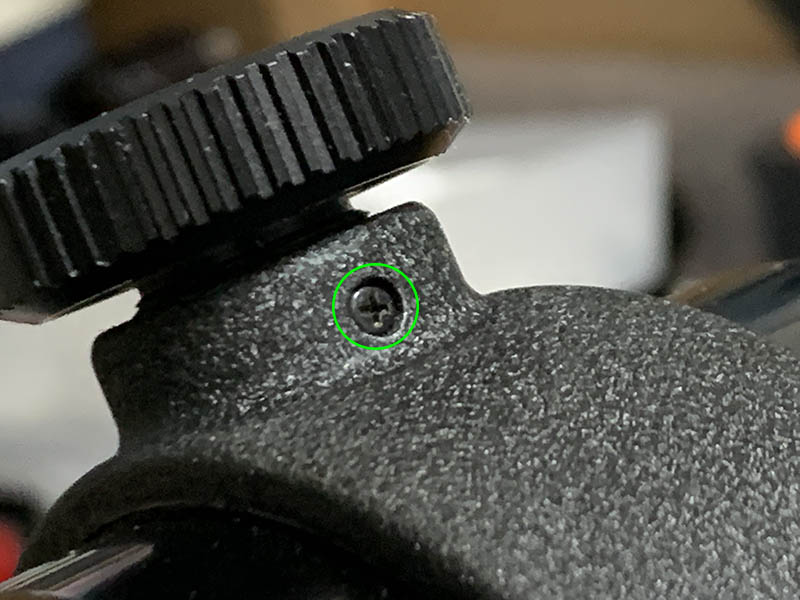
Extract this so you can unscrew the knob off.
Carefully extract this, it’s delicate so it’s easy to strip the slot and heating it will help you extract it safely.
Unscrew the collar securing the tripod collar and you’ll be able to remove the whole thing.
Locate and extract the guide-rollers and don’t forget to note where they came from.
Once they’re gone you’ll be able to extract the thrust-cam which also houses the floating assembly. Make a tiny mark so you’ll know how to orient this when it’s time to put things back.
Carefully unscrew the outer collar to remove the optical block.
Note that there’s a shim underneath this, don’t lose or warp this thing.
You won’t be able to extract these easily for now so we’ll have to remove some things first.

This is an adjustable part so don’t forget to note its original position before you remove anything.
This collar should be unscrewed, it’s not easy to remove this so you’ll need to heat this and use a rubber sheet just to help you get a good grip in order to unscrew this safely.
Extract these once the cover is gone.
Extract these to remove the lower part of the barrel.
You’re now able to remove the stop-down lever mechanism along with the lower part of the barrel.
Extract these to remove the iris mechanism from the barrel.
Here are more rollers for you to remove.
Unscrew this block from the sliding-barrel.
Remove this brass shim and store it in a safe place.
Carefully extract this so you can dismantle the inner-barrel completely.
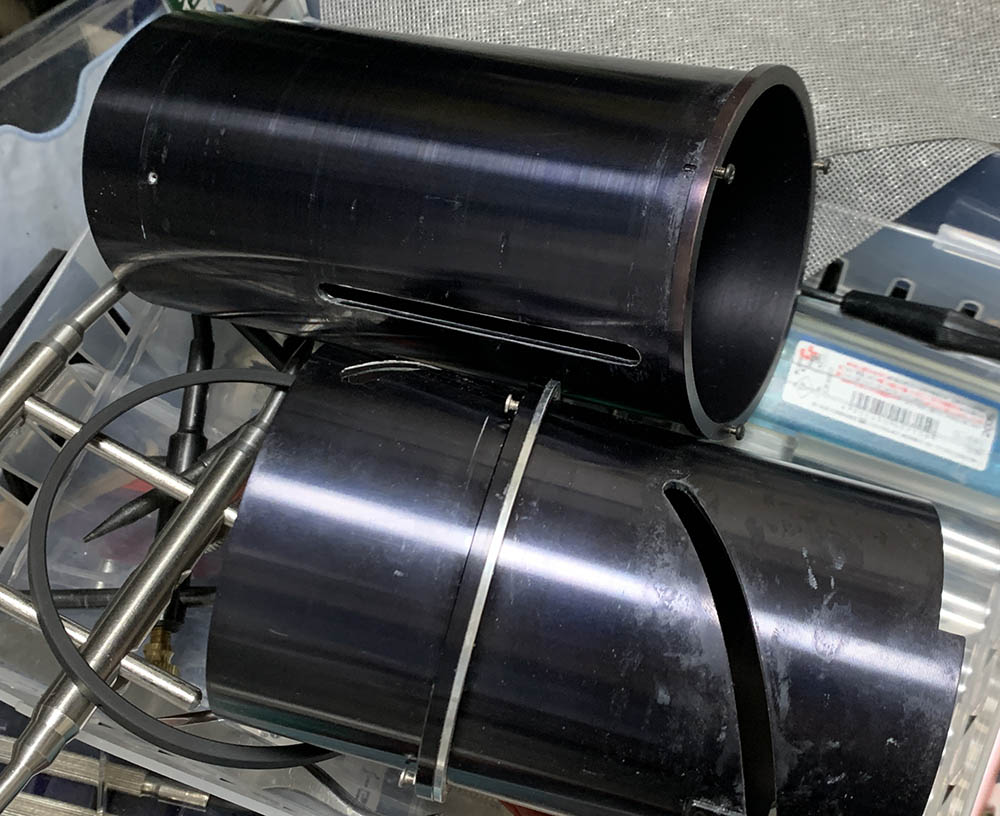
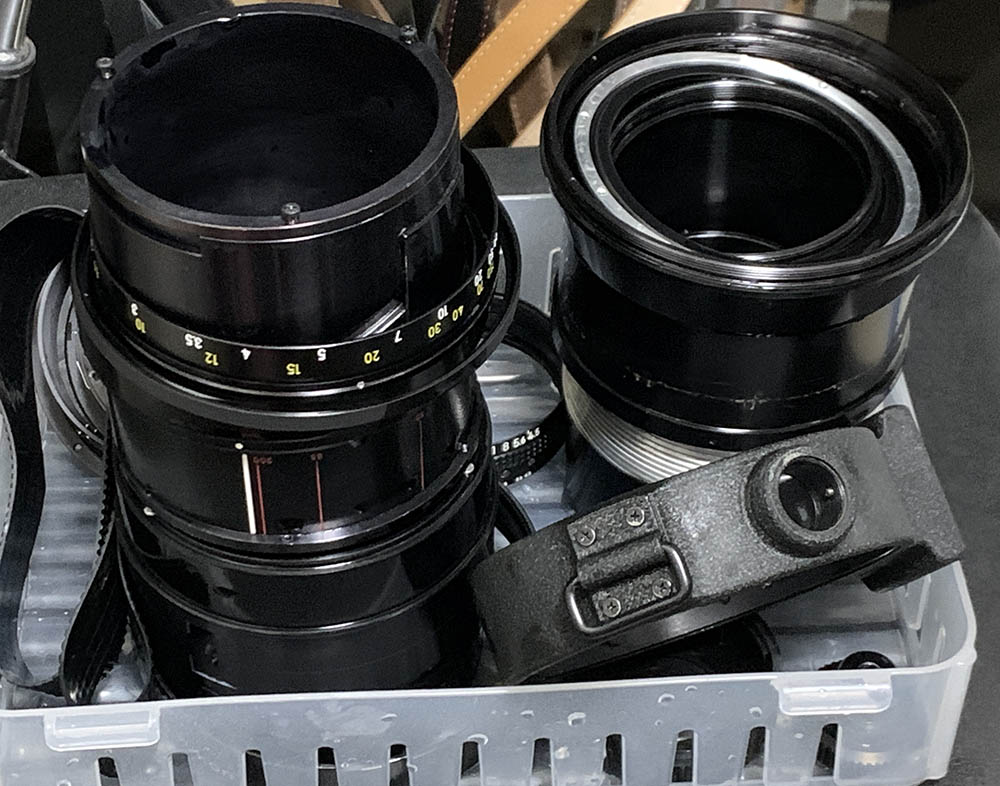
This is what you should see at this stage. I cleaned everything thoroughly with strong detergents.

These are usually oily so it’s best to scrub them clean.
Clean everything very well and be sure not to leave any residue. I scrubbed everything with a strong toilet cleanser, it really does the job for degreasing the filthy barrels. Disinfect everything by wiping or soaking the parts in alcohol, that will kill most of the germs for sure.
The helicoids benefit from a grease with medium-resistance, a lighter one won’t give you enough and a thicker one will make this difficult to turn. Apply grease to most of the metal-to-metal contact surfaces and around the zoom-ring, that will help them operate smoothly. Never apply any lubrication anywhere close to the iris mechanism or that will migrate to the blades.
Disassembly (Optics):
This isn’t going to be easy just because there are many many groups in this design. You should not open anything just because you want to clean everything. It was filthy so I had to disinfect everything. You wll have to document every step and mark each group with a marker so you will know which side should be facing the front. If something won’t move use a small amount of alcohol to dissolve the seal. Never flood anything because this lens has several cemented-groups.
Unscrew the housing of the 8th group and remove its shim.
Remove the collar of the 9th group to remove it and never forget to note which side should be facing the front.
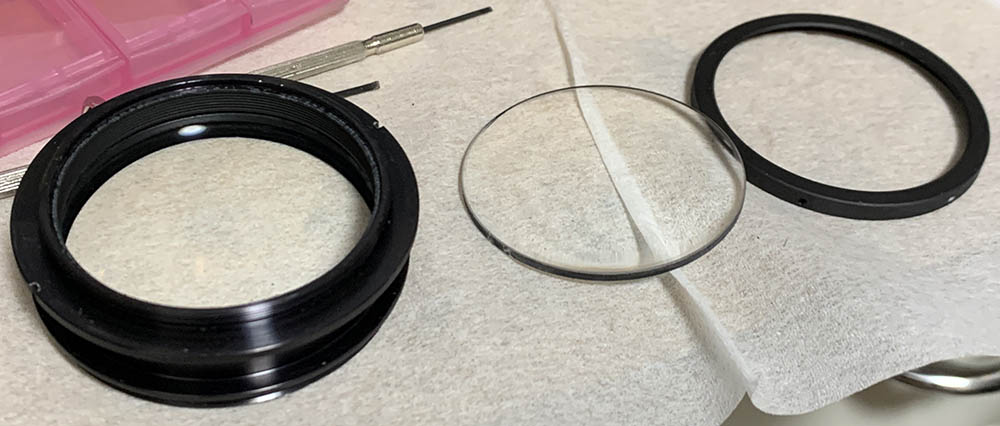
The rear group is sealed with its housing, unscrew it so you can clean the inner-surface.
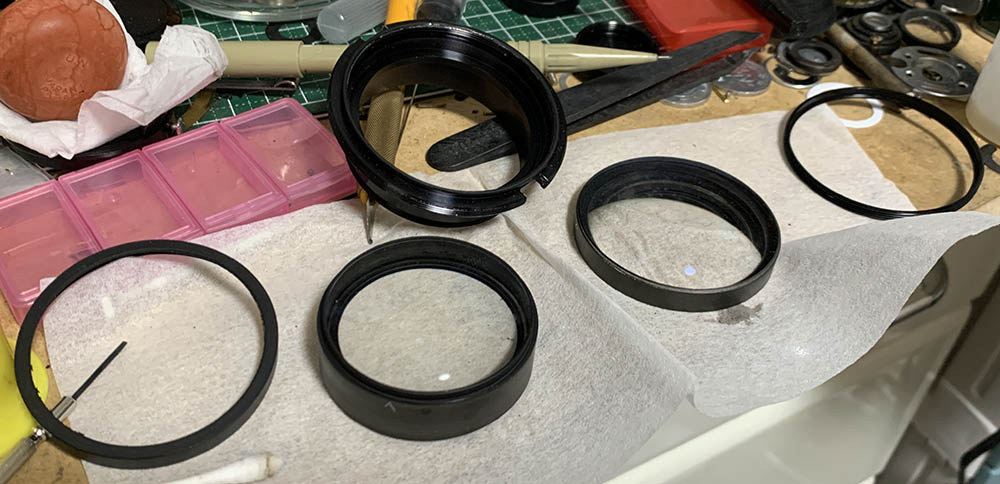
the 4th and 5th groups can be accessed in this manner.
The rest of the optics can be opened conventionally.
Carefully clean the glass, follow my fungus cleaning article in case your lens needs it. Thin the solution so you’ll never damage the coatings. Never overtighten the rings and housings so you won’t crack anything. Be sure to put the groups back facing the correct direction.
Conclusion:
I usually don’t enjoy servicing big lenses just because there’s plenty of parts and it takes a lot of time just to clean all of the parts. Despite what I said it has been one of the most satisfying experiences that I had when it comes to fixing large lenses just because the construction was well-thought-out, everything just made sense. Now that you’ve seen the amount of work involved in servicing this it’s safe to say that this is not a lens for a beginner to work on, even seasoned repairers will find this challenging. If I were to repair another one I will certainly ask a premium just because this is quite complicated and this one took me several nights, you will never overhaul this in a single session.
The parts were cleaned very well before reassembly. The tripod-collar was painted with a protective-coat, don’t soak it in solvent and even alcohol will dissolve the paint. Scrubbing this with soap is enough to clean it.
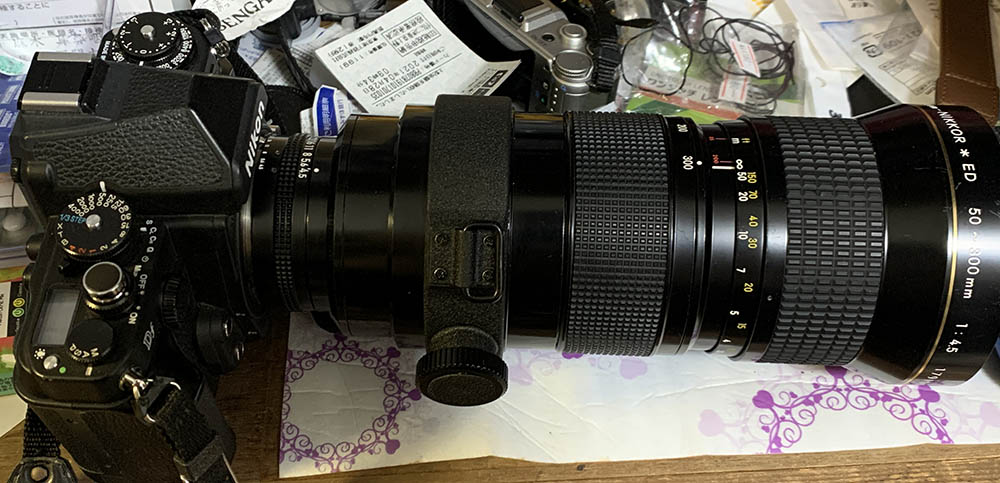
Such a pretty lens! It’s now ready to be used and it’s best to use a camera with a tough chassis such as a Nikon D3. The Nikon Df you see here won’t be as robust as the professional-grade cameras, using this lens with it will risk tearing the front casting.
This lens is quite popular but I don’t see anybody tackling its repair online specially not at the level that I’ve presented it to you. I hope that this article helped shed some light on how it looks like inside and how to service this properly. It’s one of the most-requested lens from our viewers but I’ve only managed to get one recently specially at the price that I was willing to pay for which isn’t a lot ($90.00) because I merely count on what I get from this site for its acquisition.
Thanks for following my work, if you liked this article please share this with your friends so it will get more views. This site earns around $0.40 a day, we are totally reliant on views. You can also support this site, it helps me offset the cost of maintenance and hosting. You’re also helping me purchase, process and scan film. This site promotes the use of film so we are all in this together. See you again in the next article, Ric.
Help Support this Blog:
Maintaining this requires resources and a lot of time. If you think that it has helped you or you want to show your support by helping with the site’s upkeep, you can make a small donation to my paypal.com at richardHaw888@gmail.com. Money isn’t my prime motivation for this blog and I believe that I have enough to run this but you can help me make this site (and the companion facebook page) grow.
Buy me a roll of film or a burger?
Thank you very much for your continued support!
$2.00
Helping support this site will ensure that this will be kept going as long as I have the time and energy for this. I would appreciate it if you just leave out your name or details like your country’s name or other information so that the donations will totally be anonymous. This is a labor of love and I intend to keep it that way for as long as I can. Ric.

Mar 22, 2024 @ 12:33:28
Richard,
Hi, thank you so much for the repair work. However, all the photos are, somehow, invisible. The photos are essential to the disassembly process. So, would you consider to re-share those photos?
Thanks in advance.
Aug 19, 2024 @ 15:25:34
I could see all the photos beautifully. I would buy a lens just like that just because of this resource! Excellent in every way. Think about it – if the repair took “several nights”, how long did taking the pictures and preparing the write-up take?
Feb 22, 2026 @ 16:46:26
Hi Richard,
I have found the AI-S version of this lens online. As it won’t focus to infinity I believe the helicoids weren’t replaced correctly earlier in its life.
I am trying to fix this but I can not find any way to seperate the two aluminium barrels with the helicoids.
Do you know how to do this ?
Hope to hear from you.
Kind regards, Robin Sas
The Netherlands