
Hello, everybody! Do you know “Saizeriya” or サイゼリヤ? It’s a Japanese restaurant chain that serves the cheapest Italian food you’ll find anywhere. It’s cheap and the quality of the food is great for its price. I am a huge fan of this chain because they offer very good value and the ambience is like a family-restaurant. I also see young couples dating here so it says a lot about their target market. Today, I will show you a nice lens that’s considered by some to be the cheaper alternative to the more expensive 25mm Nikkors but it’s quite decent so there’s nothing “cheap” about its performance. You can even say that It’s the Saizeriya of C-mount Cine-Nikkors.
Introduction:
The Cine-Nikkor 25mm f/1.8 was sold from 1959 and It’s part of the initial lineup of C-mount lenses made with the later barrel design which is bigger but it standardized the sizes of most C-mount Cine-Nikkors so they could share accessories such as filters and other customized gadgets. I don’t know when production ended for this lens but it’s probably around the late 1960s or even up until the mid-1970s judging by how some of the boxed look like. There are minor variations of this lens some of which have both meters and feet engraved on the barrel. The 25mm focal-length is like a “standard” lens for the 16mm format and it’s somewhat like a 68mm lens on 35mm or full-frame if you factor-in the recent concept of crop-factor. The f/1.8 aperture sounds fast but for a C-mount lens it’s kind of “standard”, giving you and effective-aperture of f/4.8 if you consider the 2.7x crop-factor.

As typical with all Cine-Nikkors of its class the barrel is all-metal, it’s a tough little lens. The focus-throw is moderate and is quite pleasant to be honest. The informative depth-of-field scale is useful and you could focus completely with it when shooting from moderate distances. The mount is adjustable so you will be able to reorient it regardless of which camera it’s used with.
It has a 5-elements-in-4-groups design which looks like a modified Double-Gauss design. It looks unique to me because the rear parts of the design looks somewhat different. I’m not an expert on optics and I’m going to update this article as soon as I get new knowledge about this. If you want to know more about it read my article on Cine-Nikkors at the Nikon Museum.

The front element is recessed so a hood is not required. Handling is excellent and you’re able to turn the rings without getting confused. A Nikon 1 J4 is a nice camera to use this with but it can be tricky to focus accurately at times. Despite that it’s a nice “normal” lens due to its practical specs.

A Nikon 1 V3 or any camera with an EVF will be the best option because you are able to focus better with it. This will be a big advantage when shooting at larger apertures because the depth-of-field is shallower. Even when shooting using smaller apertures it can still be tricky to acquire perfect-focus without an EVF so I highly recommend focusing it with a camera equipped with an EVF.
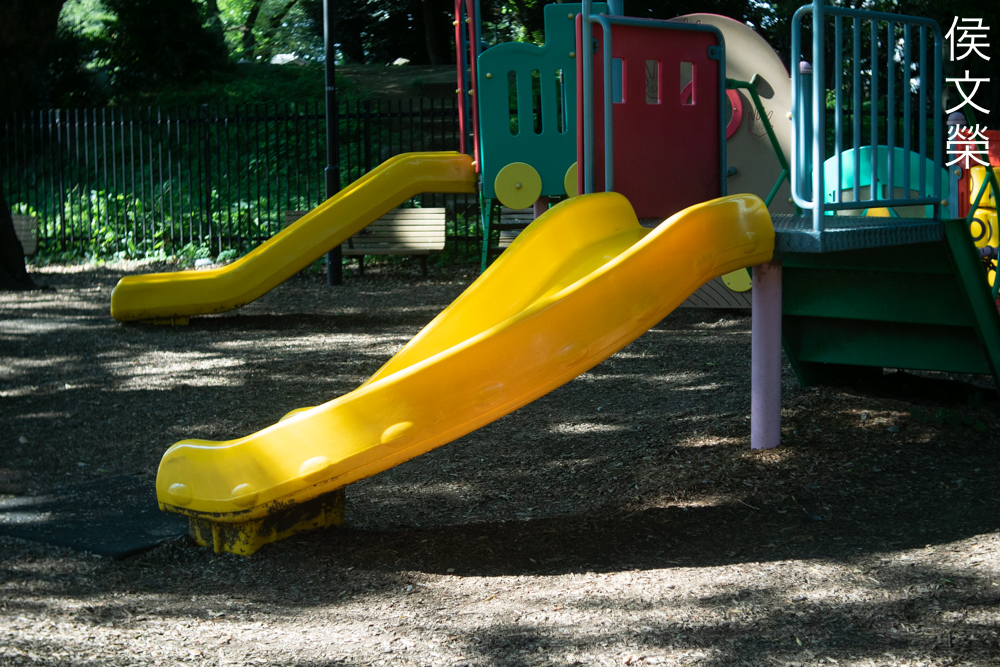
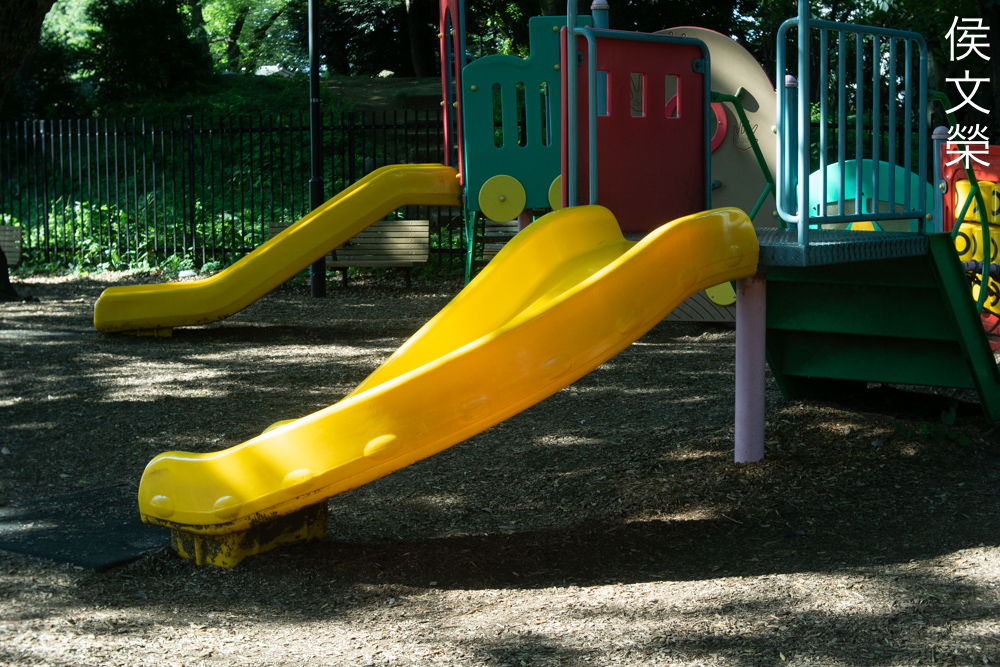
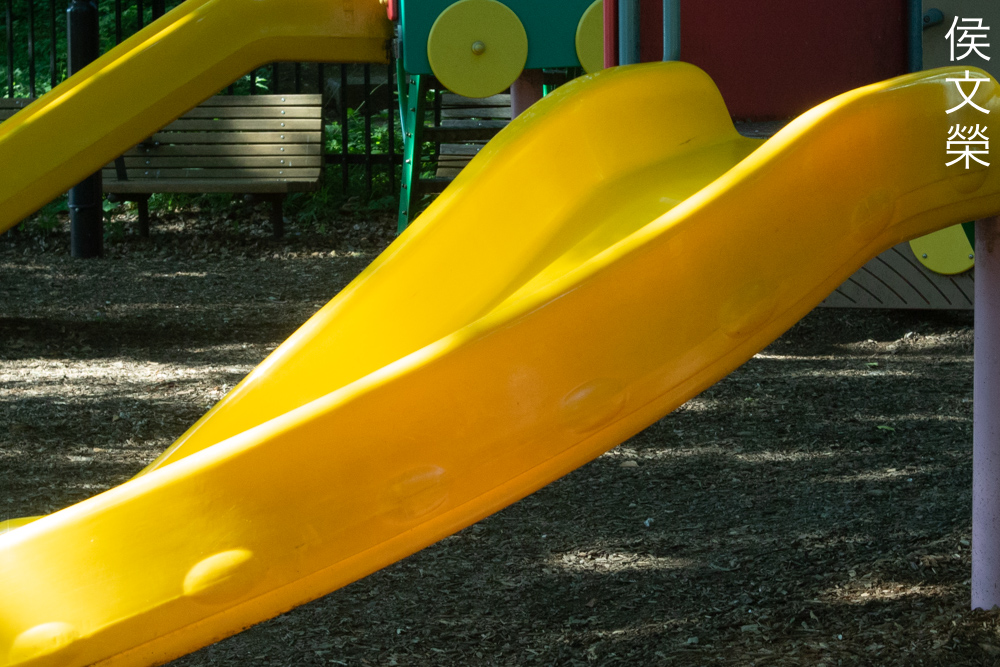
Learning how your lens performs is crucial to maximizing its use. You will learn how to utilize its strengths and avoid its weaknesses. This knowledge helps in determining which lens to bring on an assignment. I shot these from f/1.8, f/2.8, f/4 and f/5.6 since these are the most common apertures that people would want to use it with and we’ll also get to see the most changes happen with these values. I shot these with my Nikon 1 V3, some of the photos were cropped close to 1:1 so we could see the details better.


(Click to enlarge)
Distortion is rather high but the profile isn’t complicated so it’s going to be easy to correct. You’ll require plenty of extra spaces at the edges of the frame or you’ll lose the information there when you straighten your photo or footage. Be aware of this specially if you intend to do some camera-matching if you’re into VFX.
Vignetting can be seen wide-open, it’s high but I’ve seen worse. Stopping the iris down to f/2.8 won’t help much, it certainly looks a lot better but I was expecting to see more improvements here. The corners look brighter by f/4 but you’ll still get some dark corners. Things start to look brighter by f/5.6 and you’ll only see traces of the vignetting, this is acceptable in my opinion but it would’ve been better if this happened 1-stop earlier.


(Click to enlarge)
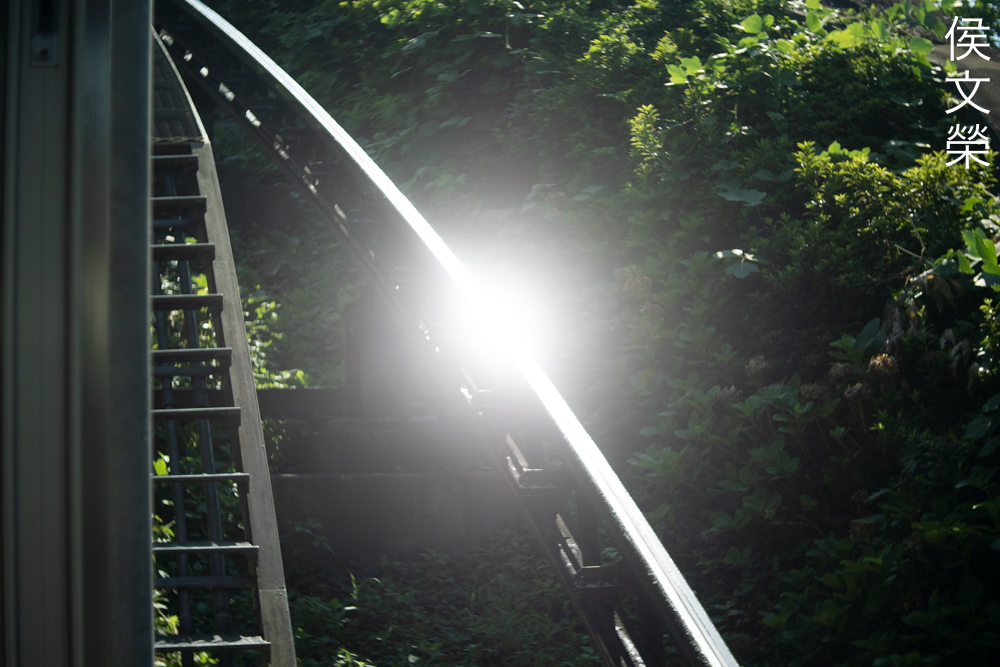
Flaring is rather high but it looks tolerable to me. You’ll get blobs when you have strong sources of light in the frame or just outside of it. It’s not bad at all and it performs better compared to its peers. The weird linear artifacts you see are caused by the iris, they’re basically reflections of the edges of the blades. It is hard to correct this, only by bluing them will you get acceptable results since you’re not adding thickness to each blades. Painting them will help but you’ll have to be careful by not spraying too- much, overspray will be more than enough.


(Click to enlarge)
This is how the flare looks when it blooms, this usually happens there are overblown shiny objects in your scene. This is something that you should be aware of and avoid this as much as you could unless that is what you wanted. This doesn’t change much by stopping the iris down unless you’re shooting at a much-smaller value at which you’ll still get this at a subdued level. It’s really difficult to get rid of this.


(Click to enlarge)
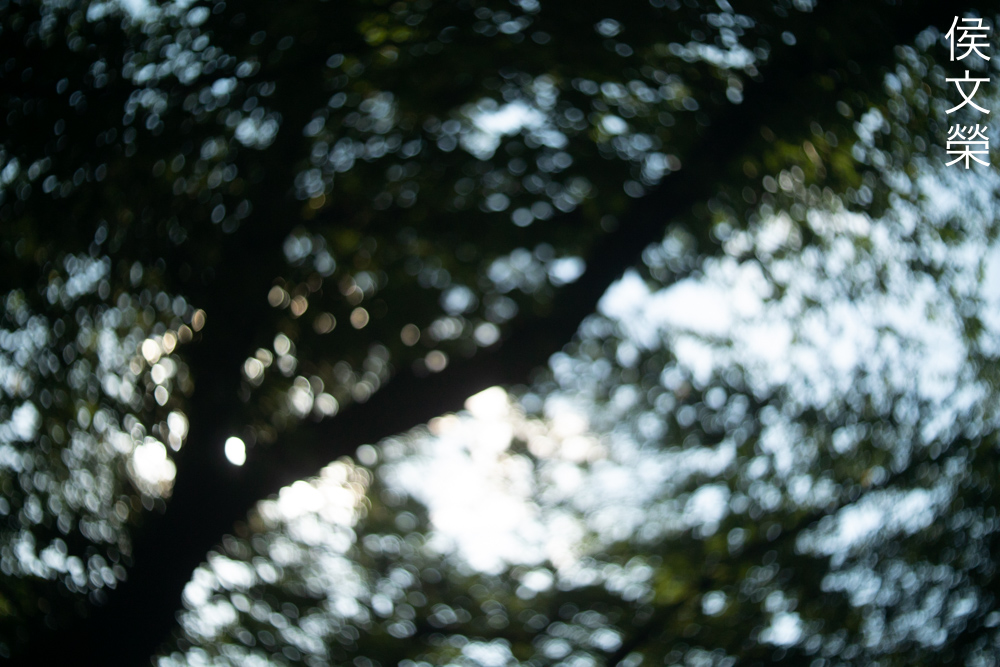
The character of the bokeh is mediocre, it’s slightly towards the poor-side. It’s not horrible in general but you will have to be careful with what’s in your background. Things such as foliage, twigs, cables and other distracting things will turn to an ugly mess if you are not careful and the best way to avoid this is to stop the iris down a bit. It can also give you the “soap-bubble” look that I don’t like so much, you may like this depending on how much you coffee costs and how many letters its name contains, I just drink Nescafé.


(Click to enlarge)
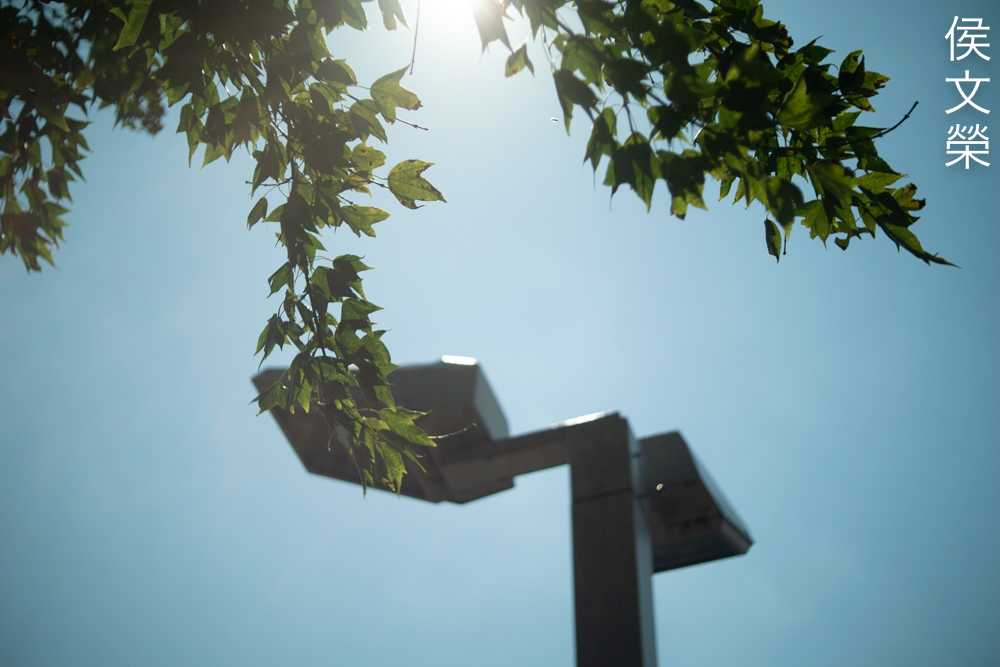
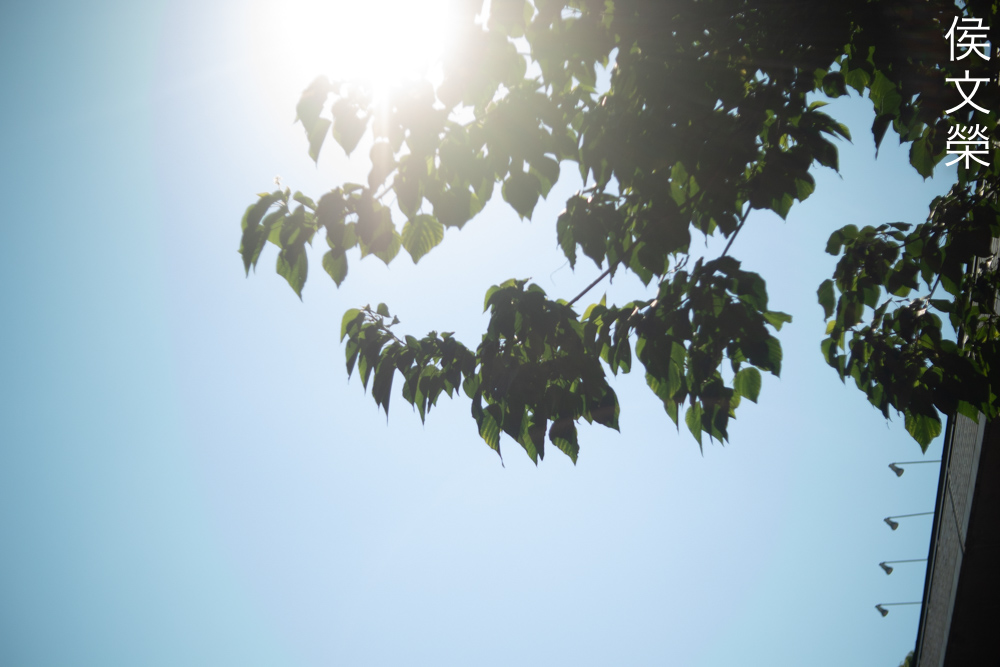
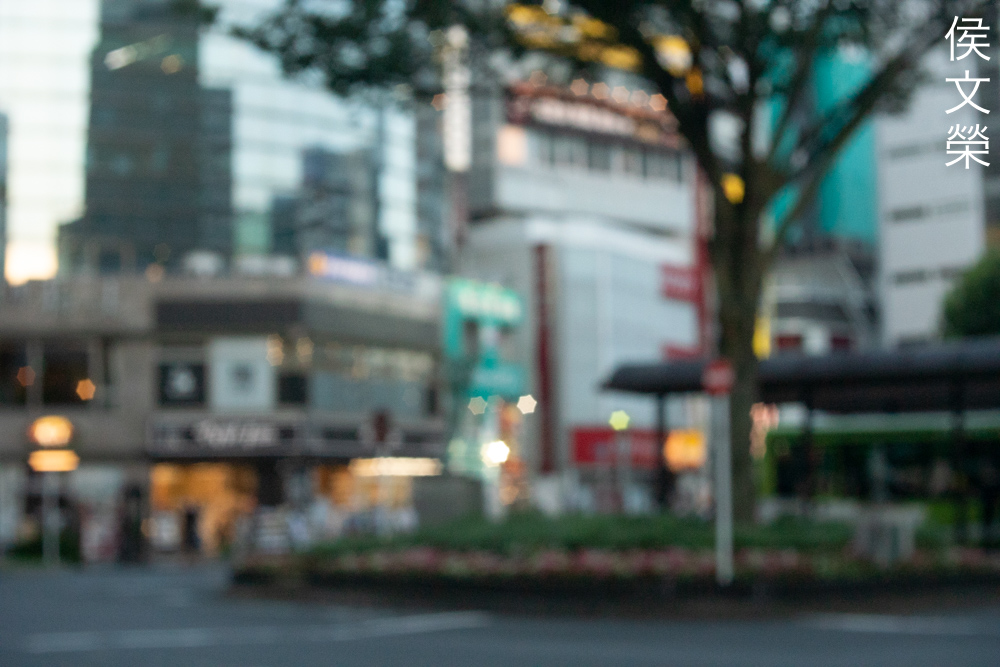
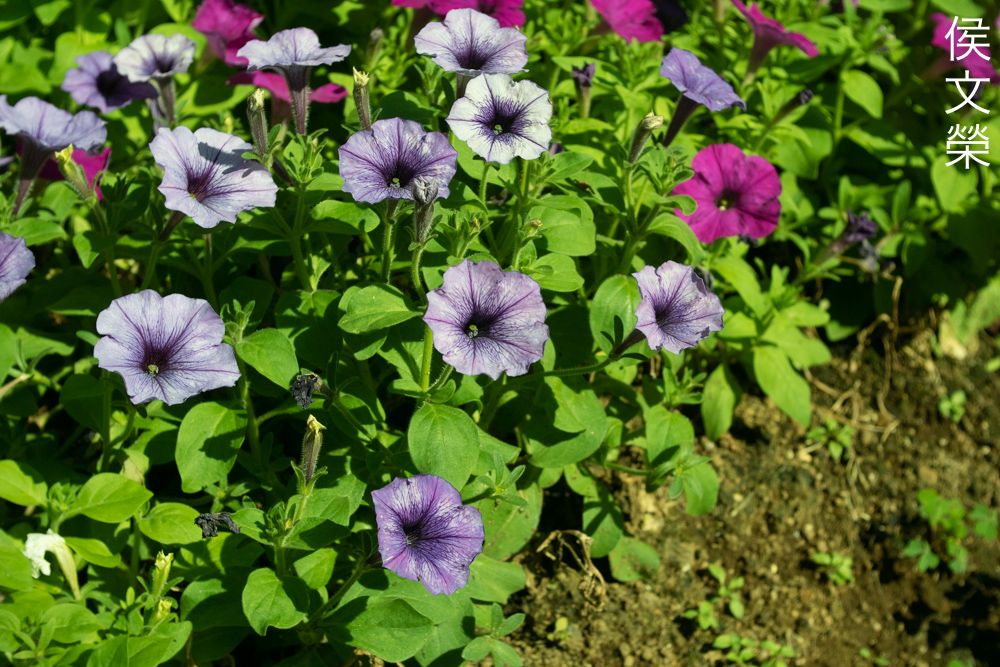
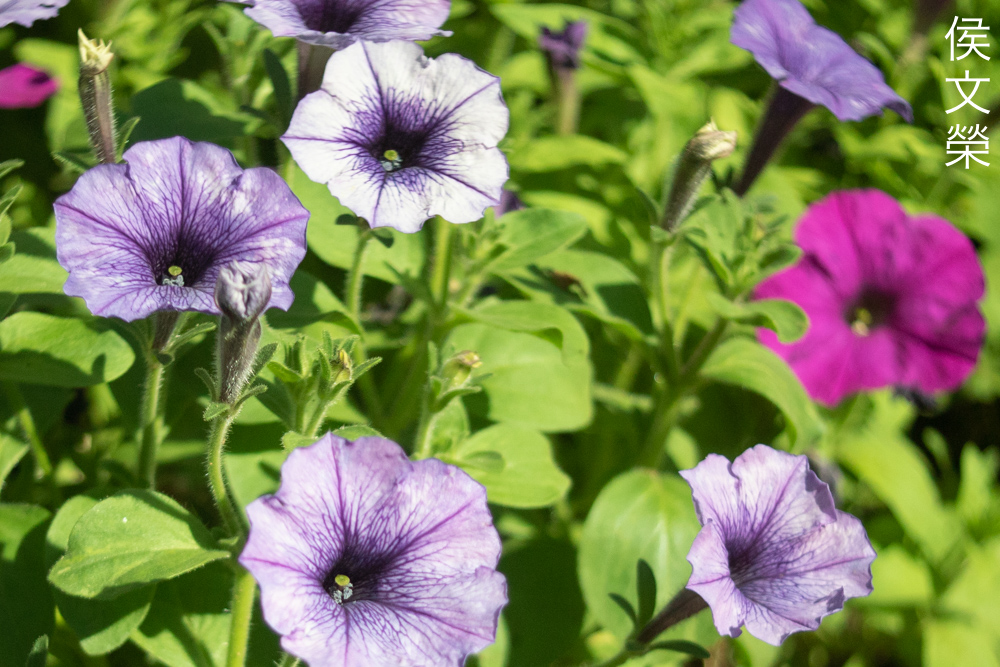
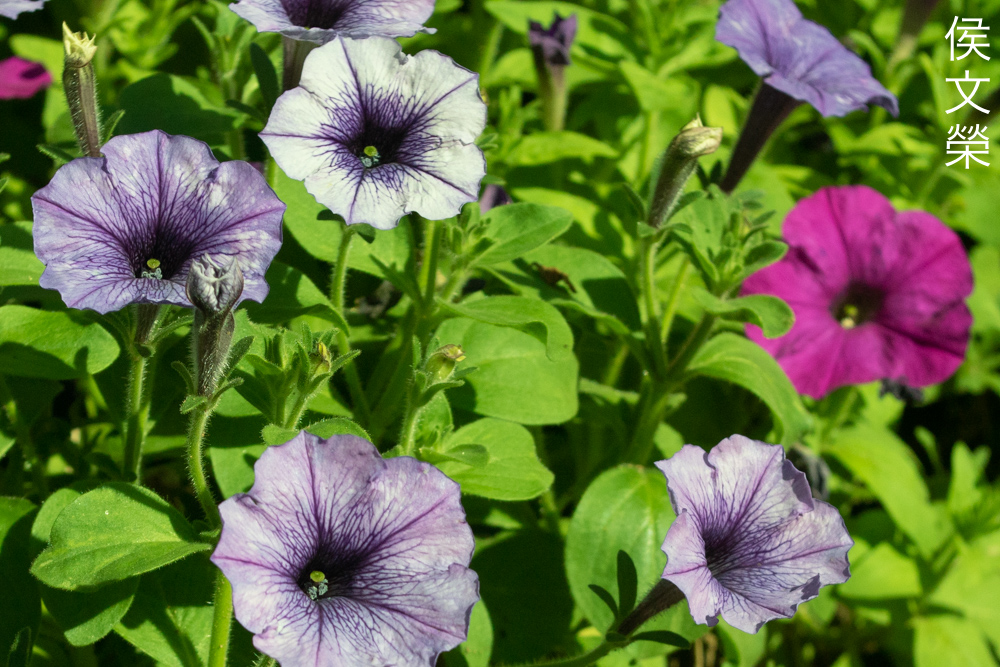
Since this acts like a short telephoto lens let’s see how it affects depth-of-field and other characteristics. It looks rather “busy” when shooting wide-open due to the outlines in the discs. The depth-of-field is rather thin which enables you to separate your subjects from the background specially when shooting at closer distances. The weird “soap-bubble” look is easy to achieve at closer distances and at wider apertures. The overall rendering can be surreal or ugly depending on what’s on your background. Stopping this down to f/2.8 helps give you a cleaner look but it still retains some traits that we saw at f/1.8. Things look nicer by f/4 but you also lose some of the subject-isolation properties that we saw earlier. It’s probably what you’d want to use if the background looks kind of messy when shooting wide-open. You will also lose the subtle “veiling-glow” so your photos look more generic and that continues as you get to f/5.6.
The fact that it’s able to alter its rendering characteristics as you stop the iris down makes this a valuable lens. You’ll be able to shoot 2 different looks with a single lens, this is important for continuity since you don’t want your scene to feel different from the previous cut that was shot with a different lens. In short, this is able to give you both hard-or-soft characteristics which is useful for complementing other lenses if shooting a sequence.


(Click to enlarge)
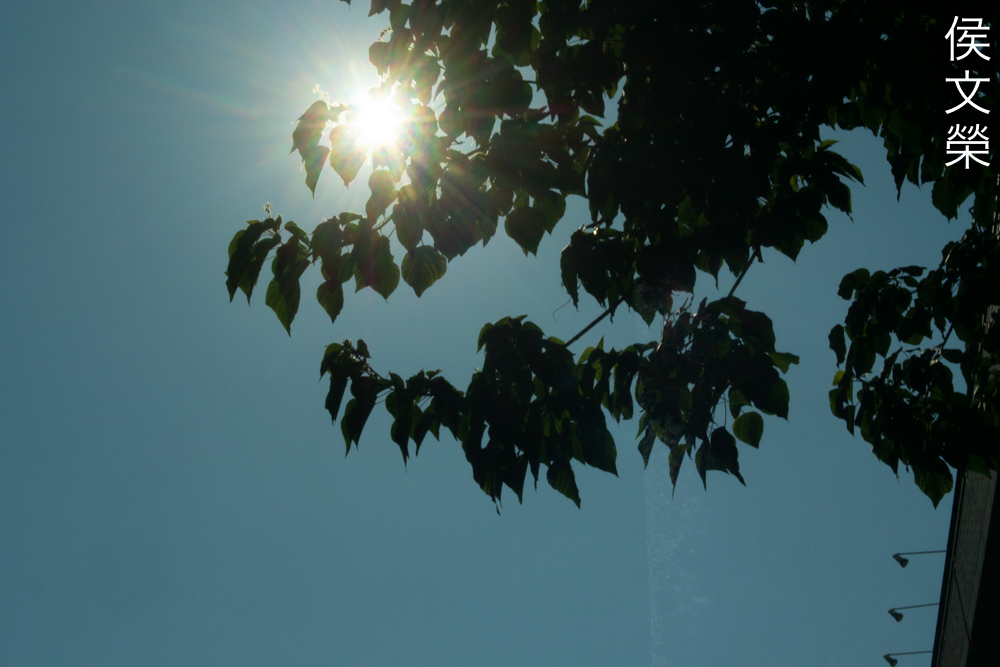
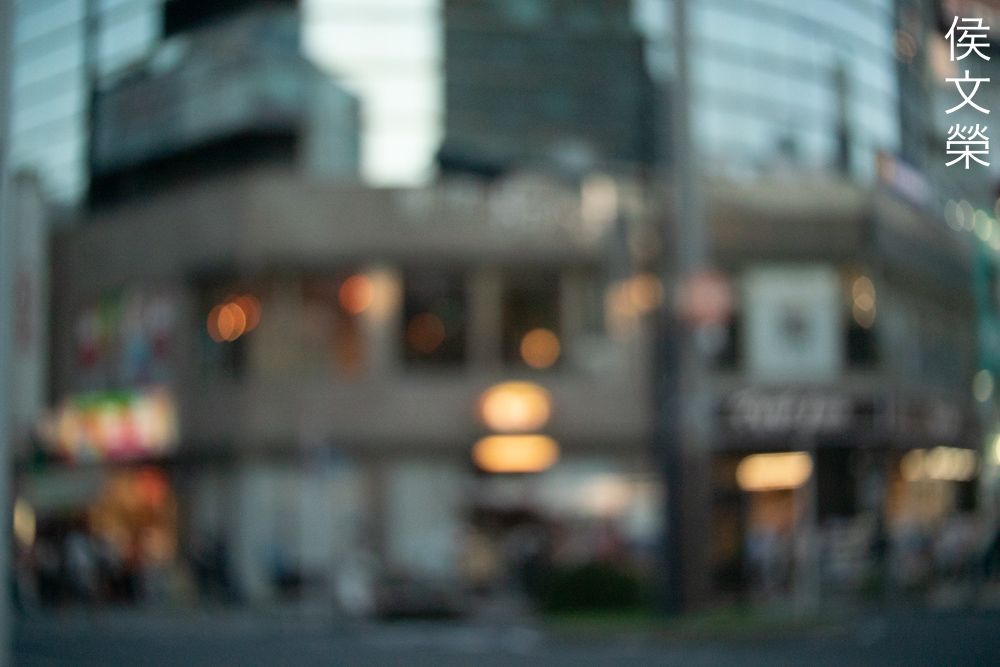
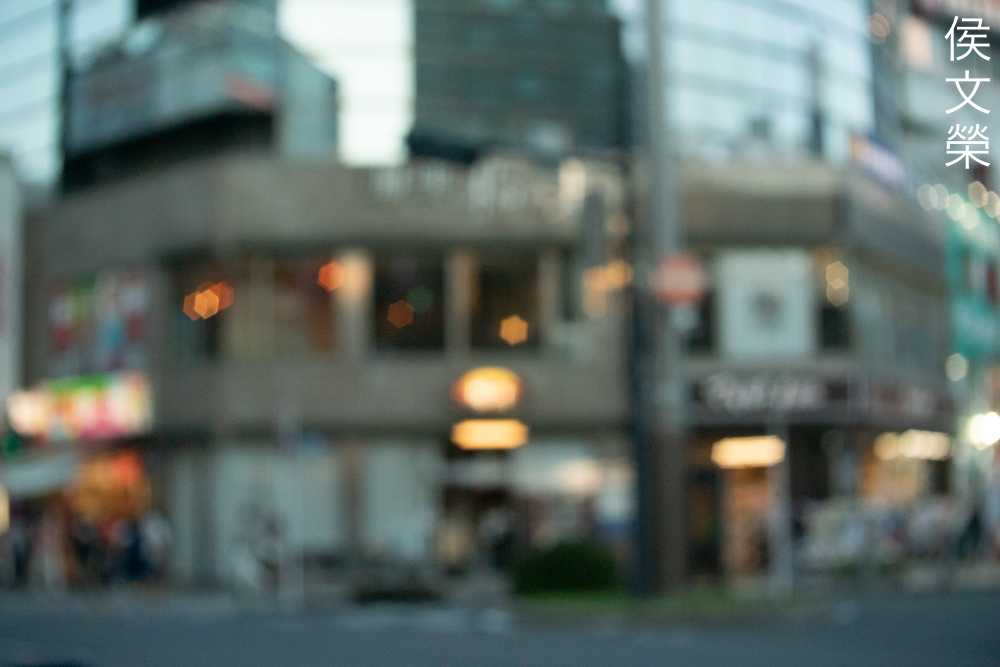
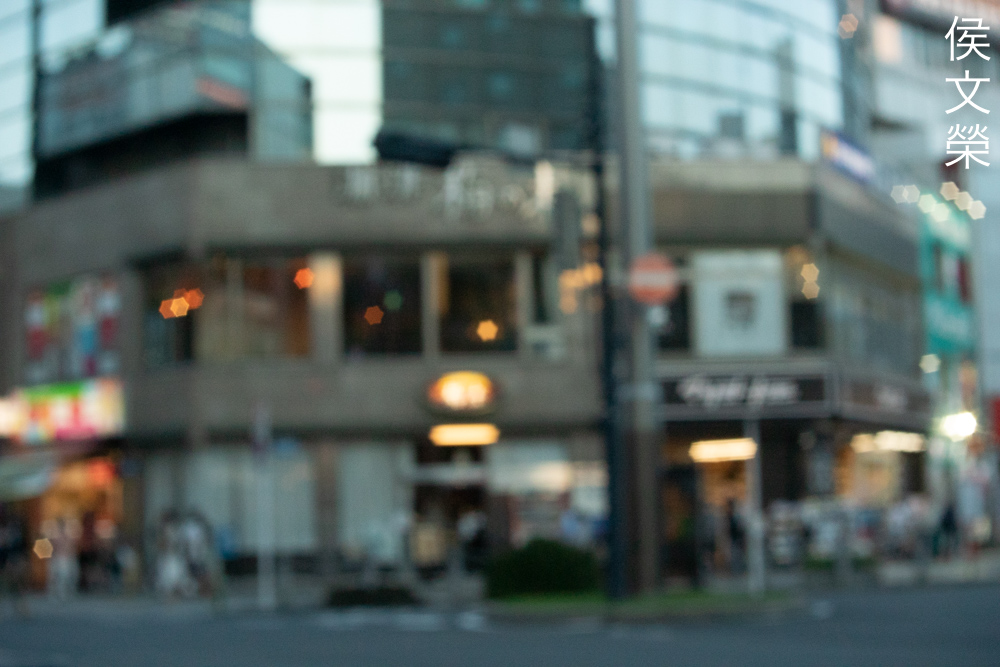
Depending on what’s on your background the discs can either look clean or rendered with outlines when shooting at f/1.8, that mostly applies to foliage and other high-frequency elements but point-lights seems to looks clean. Stop the iris down to f/2.8 and the discs look like lozenges thanks to its hexagonal-iris. This is the very reason why the character of the bokeh looks a bit rough, I’m sure that everything will look a lot smoother if this has a rounder iris. Shooting at f/4 turns them into star-shaped discs and they look clean again by f/5.6, I do not like this look because in my experience it tends to create rough-looking details in the background. Not only is the iris hexagonal but its edges dip inwards, making the iris resemble a Star-of-David which creates an unrefined look.


(Click to enlarge)
Chromatic aberration is high when shooting at f/1.8 specially when there are overblown elements situated at the border between what’s focused and what’s blurry. It’s a lot more tolerable in usual cases where you will only see a bit of it. Spherical aberration is also high but it does not look unpleasant unlike the former. Stop it down to f/2.8 and chromatic aberration is controlled a lot better, spherical aberration only appears high in extreme scenarios. This isn’t the case if your scene has very high amounts of luminance where the former still looks terrible. Everything looks a lot nicer by f/4 unless shooting in tough lighting, it looks like sphero-chromatic aberration is compounded by astigmatism along with some flare which makes it bloom. It improves a bit more by stopping this down to f/5.6 but the overblown areas and highlights will still look horrible. Be sure to stop the iris down beyond f/5.6 when shooting in difficult cases to get a cleaner look but it won’t become totally-free of artifacts.


(Click to enlarge)
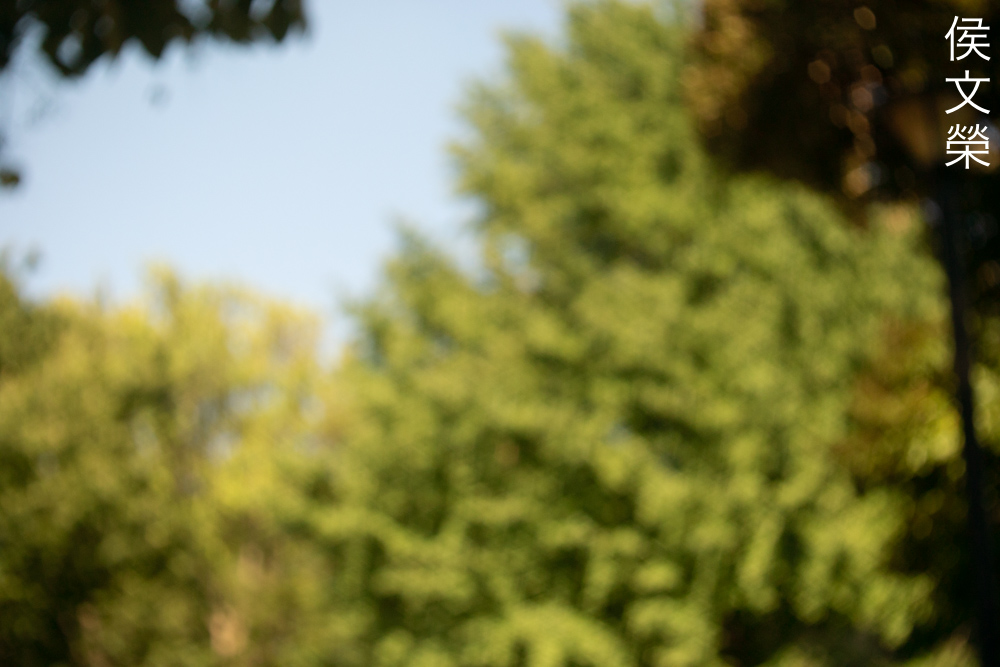
Sharpness is quite good at the center at f/1.8 but the extremities are poor, as to be expected. Resolution is adequate, it will resolve enough details for most cases. Stop the iris down to f/2.8 and the center looks a lot better. Resolution and contrast improves quite a bit and you will now be able to render details with more definition. The extremities look better at this point but still poor compared to the center. Stopping the iris down to f/4 improves the extremities, they’re now usable but still not as good as the center which appears to be performing near its peak at f/4. You won’t notice a lot of change at the center at f/5.6 since it already peaked before this point but the corners look noticeably better.
This is a sharp lens if you ask me, the performance at the corners are nice too except for the extremities since we’re not even supposed to see them. The area that CX covers is greater than the area of a standard 16mm frame, this means that it should be an excellent performer on its intended format. Performance is uniform at both-ends, I didn’t notice any large deviation in terms of sharpness at either-end.

Backgrounds with a lot of high-frequency details will result in a cluttered-look, this is not the smoothest Cine-Nikkor in terms bokeh character. Curiously, you’ll get outlines here but not much when shooting at point-lights.

This sure is nauseating to look at, I don’t know why some people would want this look. If this is a footage the artifacts will certainly make your viewers feel disoriented to a small degree.
Stopping the iris down helps in alleviating that ugly mess but it’s not a guarantee because the hexagonal-shaped iris is definitely going to give you some rough-looking artifacts, making your photos look cheap.

The good thing is it renders the blurry bits rather decently when you don’t have any foliage in the scene and you’ll get a nice transition from what’s focused to what’s not.

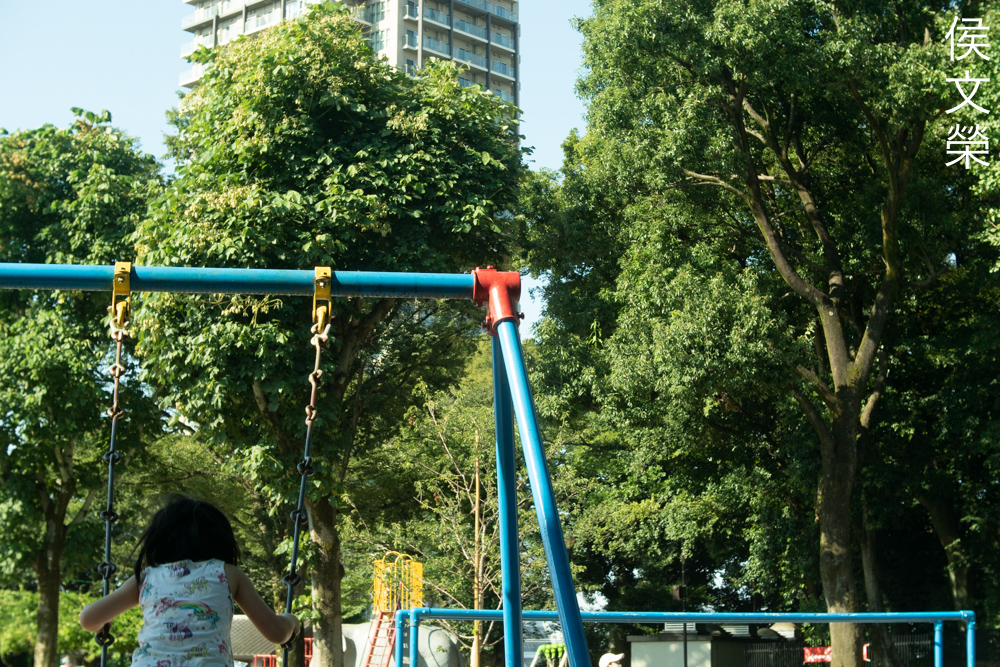
Chromatic aberration is also another thing that you should be careful with when you have cables in your background. I don’t like the look of the blurry parts as well since the separation doesn’t look clean to me.

Despite the seemingly-fast aperture of f/1.8 it’s still not what I will use for shooting in lowlight situations. You will want at least an f/1.4 lens for this because smaller lenses gather less light, effectively making this somewhat like an f/3.5 lens if you think in terms of 35mm or full-frame. Note that the abstract concept of crop-factor is rather recent, nobody did any calculations back then when shooting movies or photos with a different format to 35mm. It’s just a convenient point-of-reference.

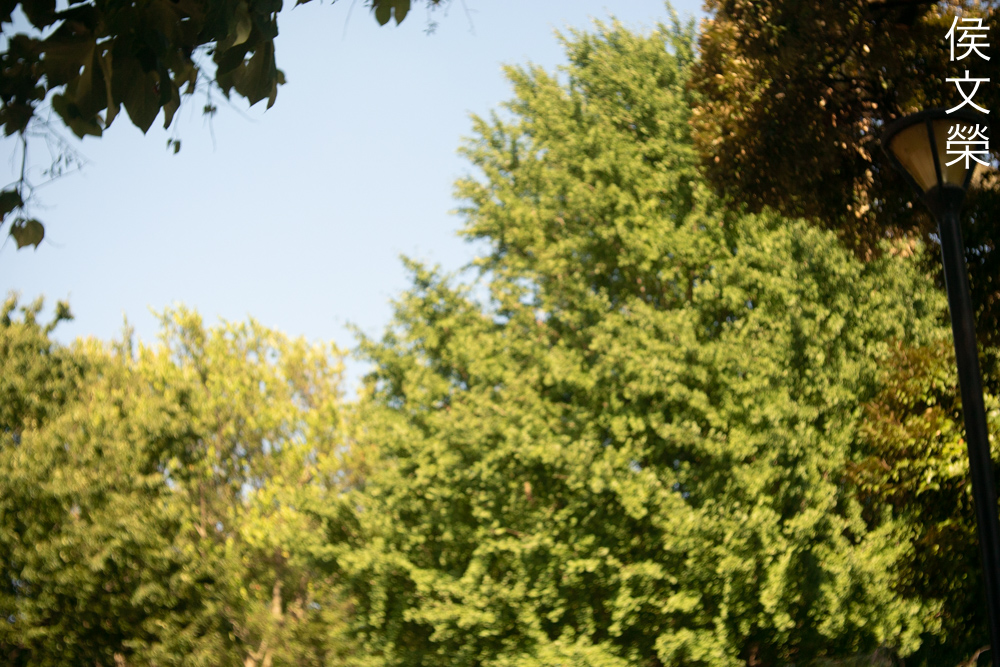
Since it performs like a 68mm lens on 35mm or full-frame you can think of it like a short telephoto or a long standard-lens. This makes it nice for environmental portraits so you could capture your subjects with a bit of the background for context.

Lamps shouldn’t be much of a problem, they’ll flare somewhat but they won’t subdue the contrast of the whole frame but if they’re really bright then you’ll see get similar results to the next photo.

Floodlamps or any high-wattage lights will certainly subdue the contrast of your photo. This isn’t easy to avoid if you’re shooting a nighttime scene so you will have to be careful with what’s in the frame. If you’re shooting VFX this will cause a lot of trouble in post, I had to deal with this issue many times in my career.

I think the best attribute of this lens is its sharpness even when shooting at f/2.8. Of course, it look much better if you stop the iris down further such as f/8.

It renders photos with a nice, natural look. Tonality is good, the saturation looks adequate without looking cartoonish. This will certainly give you that “vintage-look” that many people either love or hate.

Keeping your shutter’s speed high is important when shooting with a CX-format camera since you’ll want to shoot with the lowest-ISO value available to you. This can sometimes be a problem if you have shaky-hands. I’d like you to pay attention to the background and how nauseating it is to look at, it could trigger migraines in some individuals. I get disoriented merely my staring at it for a few seconds.

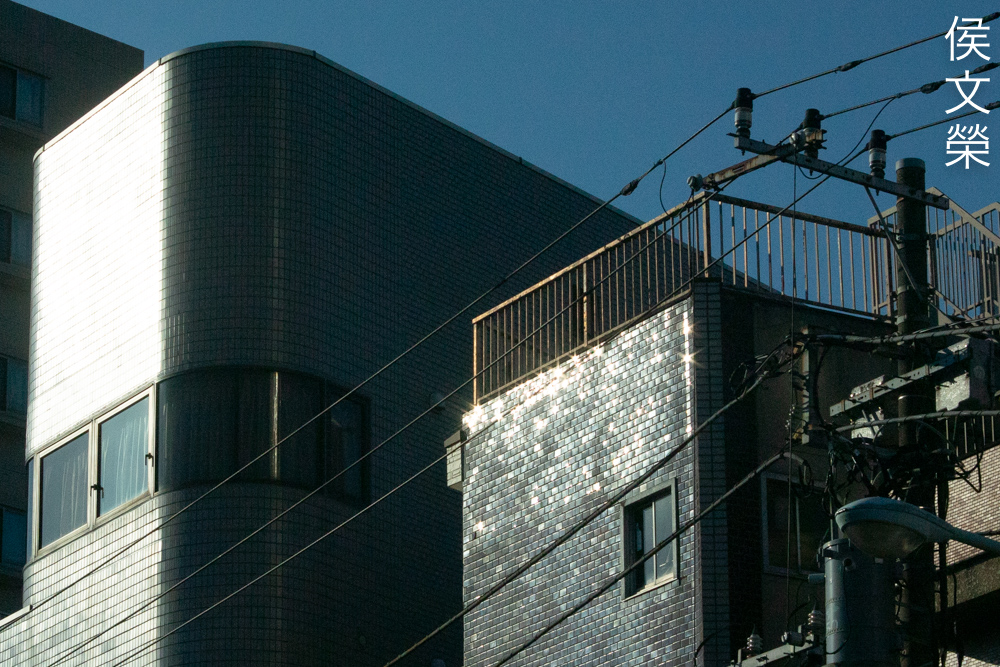
Chromatic aberration can be seen around the cables. This is difficult to eliminate even if you’ve stopped this down to f/5.6. I think this is one of the things that annoyed me the most while shooting with this.

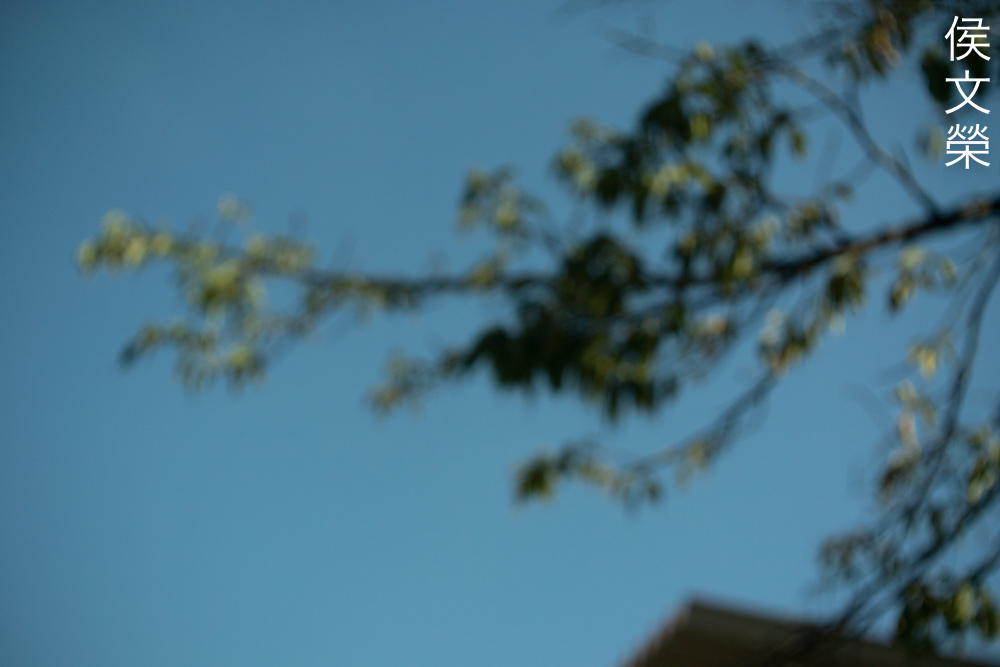
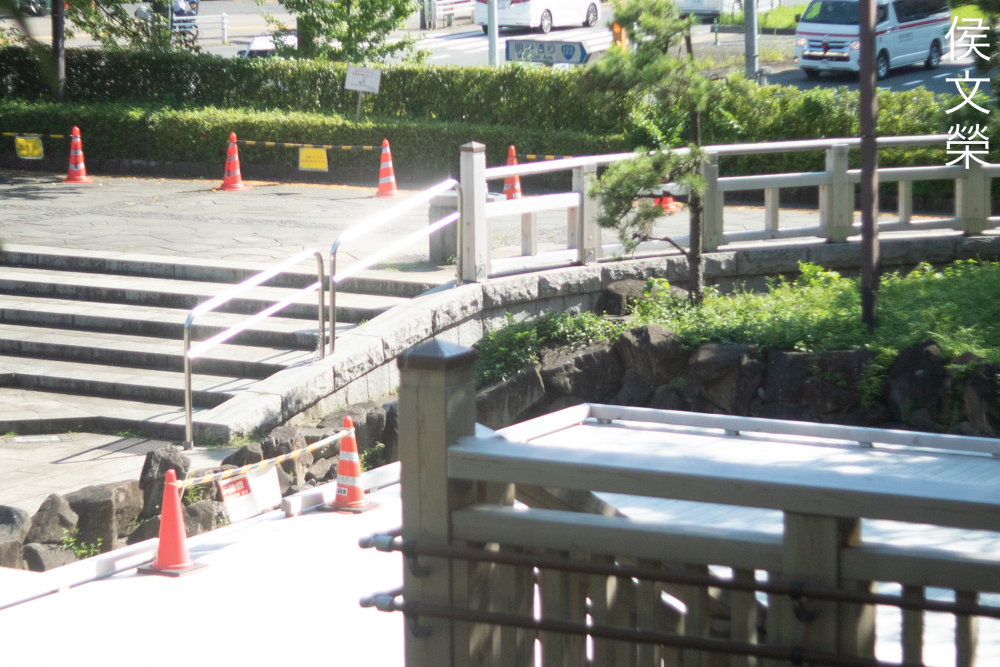
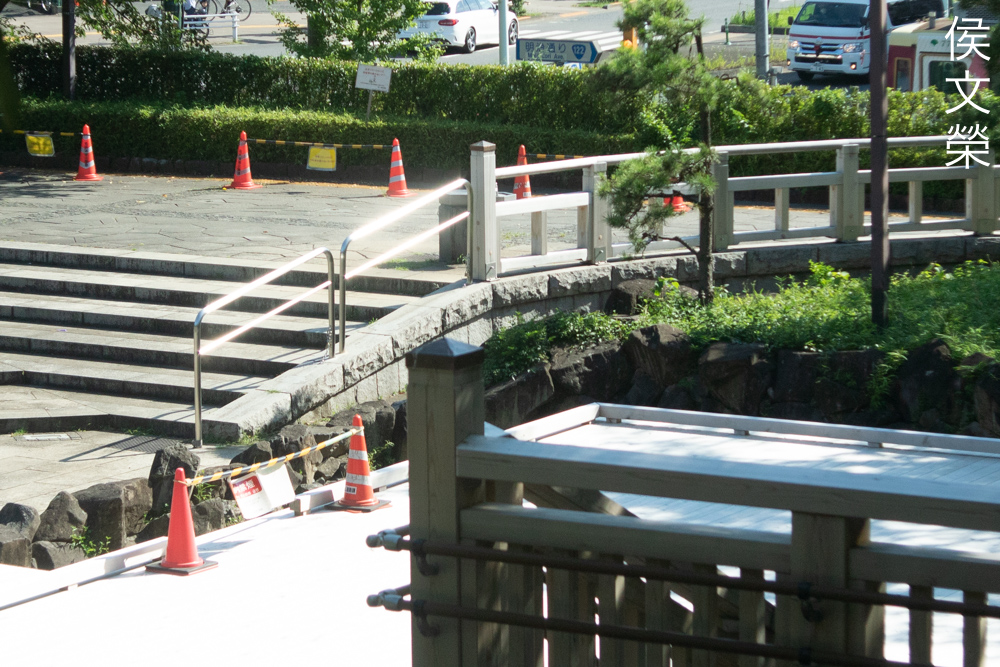
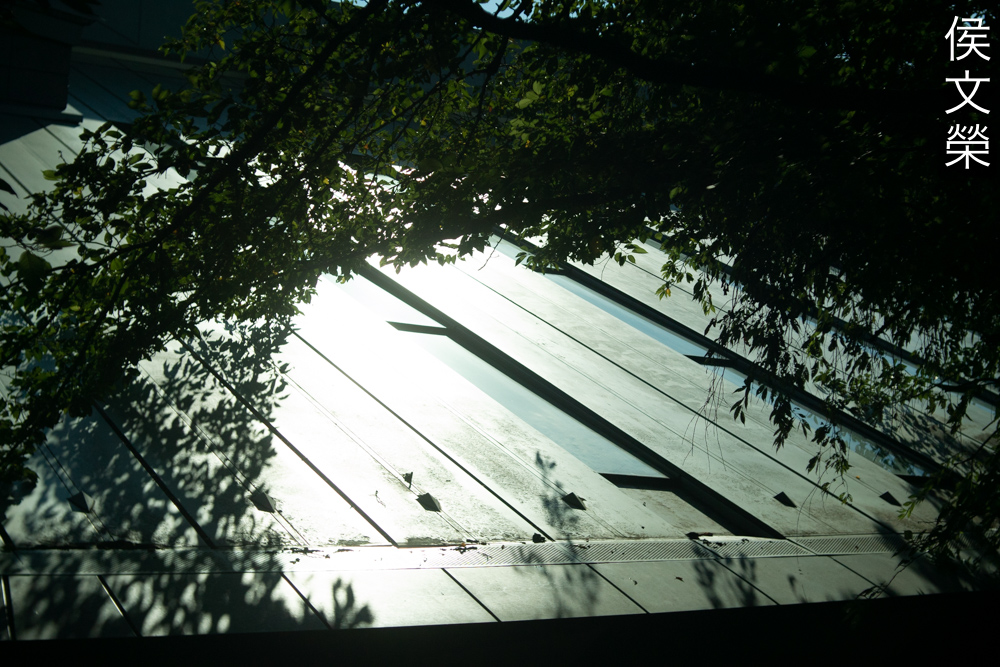
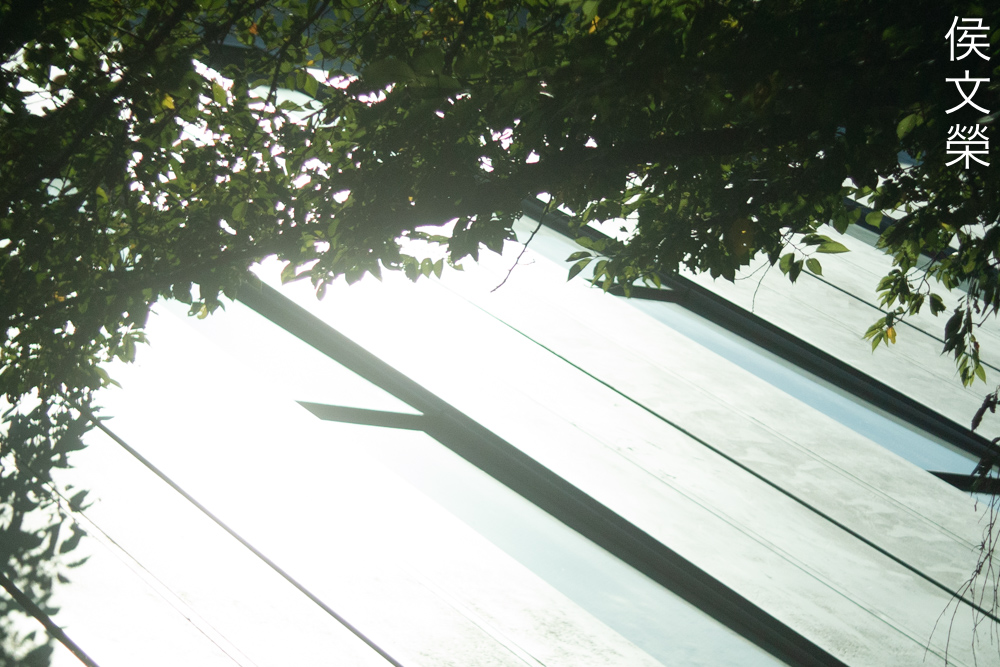
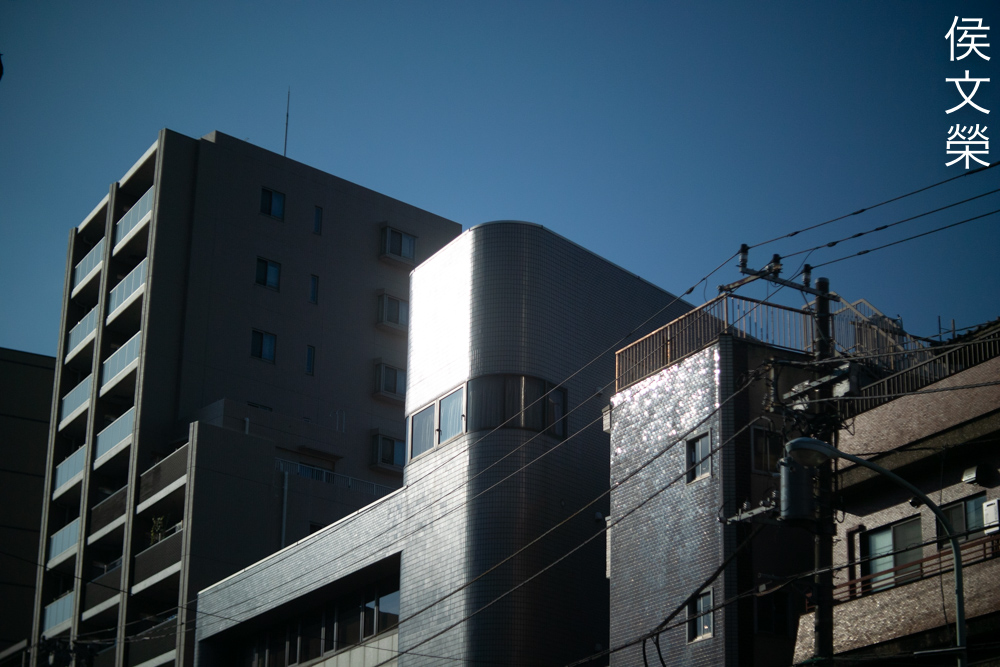
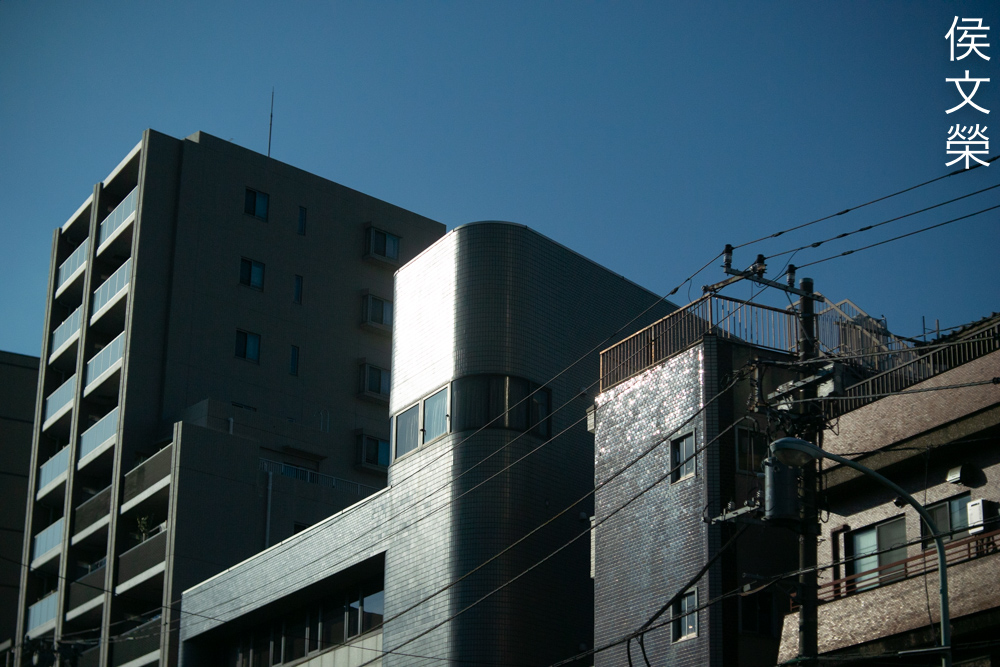
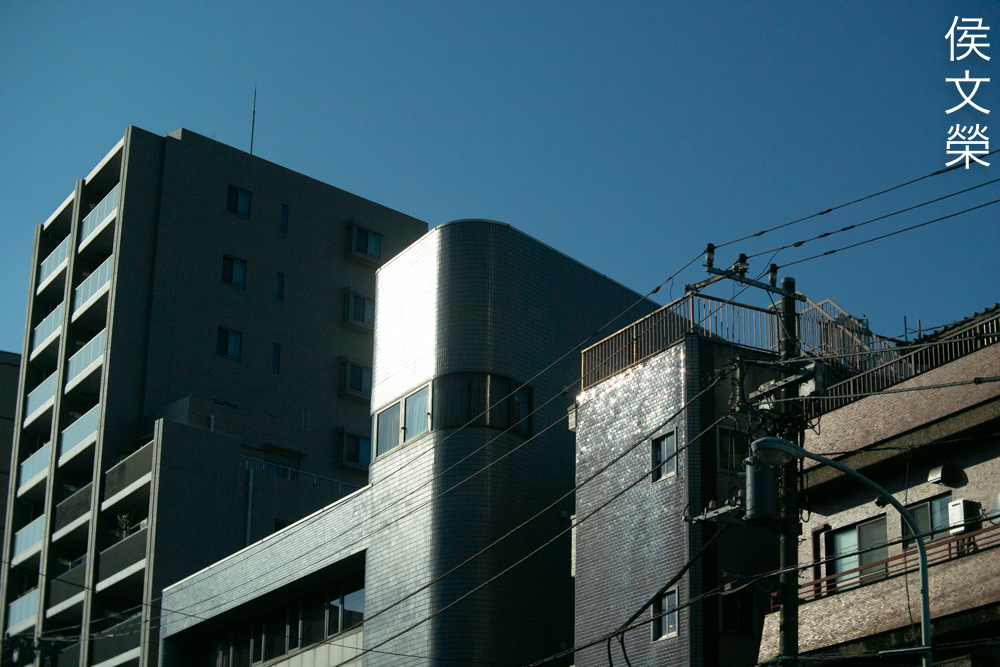
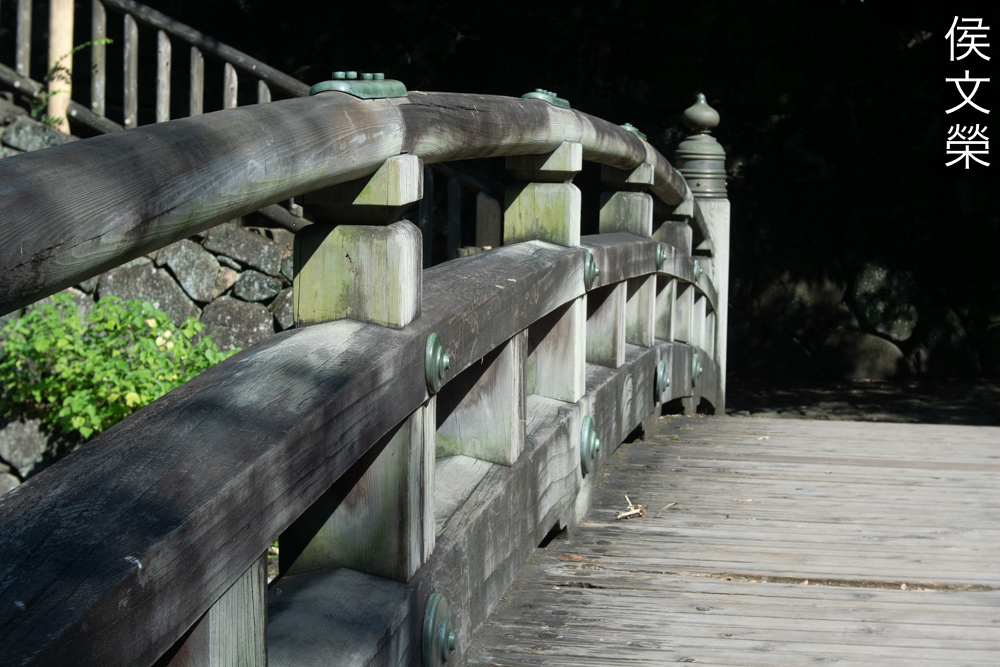
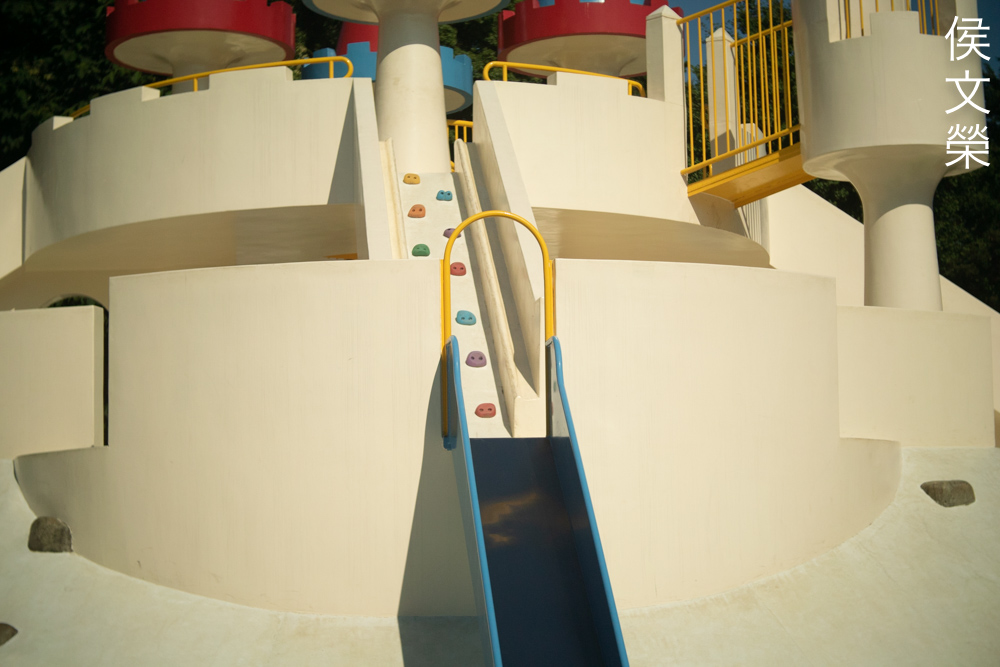
The high amounts of distortion prevents you from using this for shooting architecture or anything with straight lines in your scene that are parallel and near the edges of your frame. While that is mostly true you could get away with this if angled your framing or when you’re shooting a rustic scene such as this. You can still see lines bending but not as bad, you’ll have to look carefully in order to actually notice it.

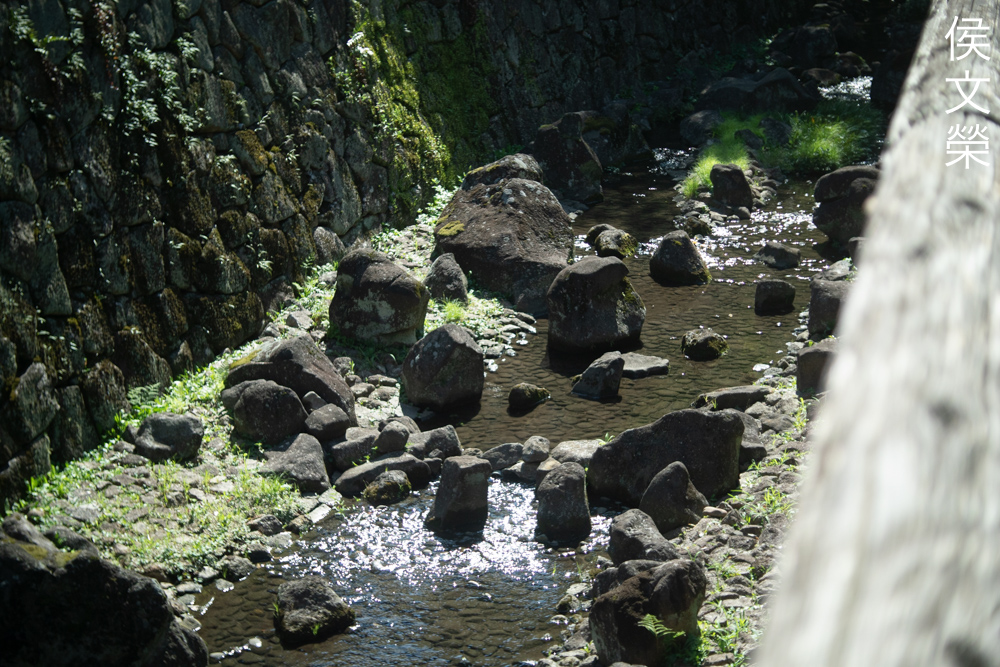
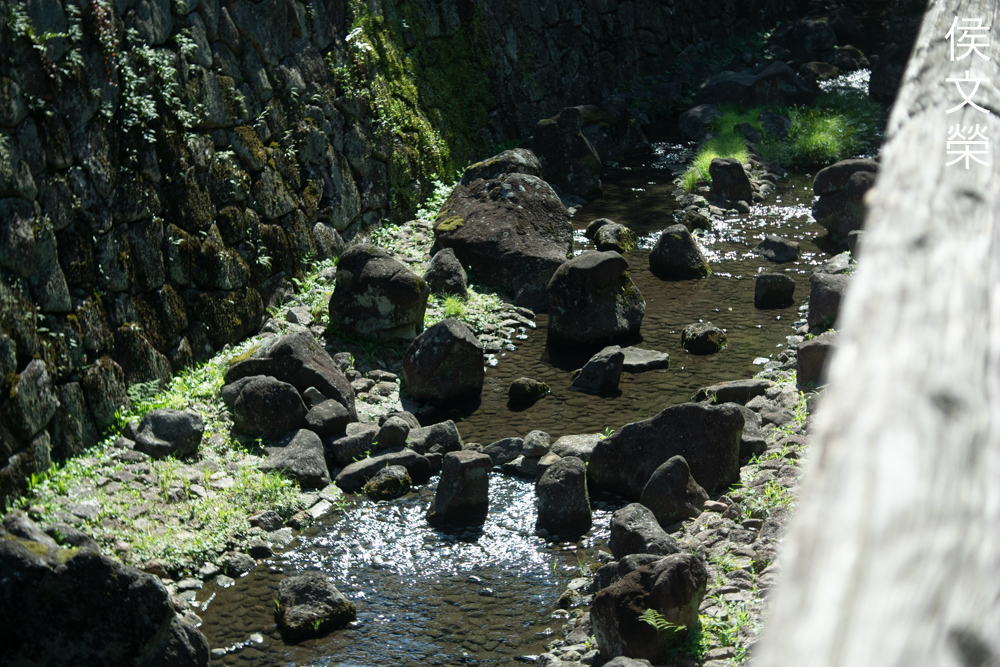
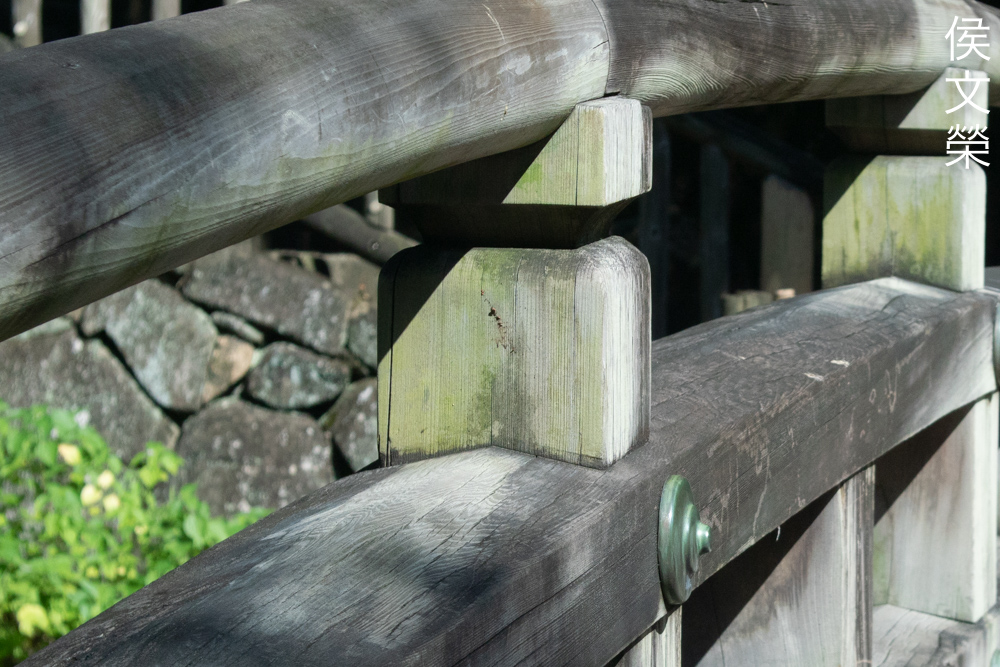
While spherical aberration isn’t as big of a problem as chromatic aberration you’ll still have to be careful when you are shooting on a bright day. It doesn’t look as bad as the latter but I’d rather not have that in my photos. This is a bit hard to deal with in this scene but that’s just how things are.

In actual use this actually works more like a long standard-lens as opposed to a short telephoto lens. It’s at the border of both types so its use can somewhat be a bit more flexible or limiting depending on your subject and composition. I will admit that I had a confusing time with it because this is one focal length that I am not used to shooting with.

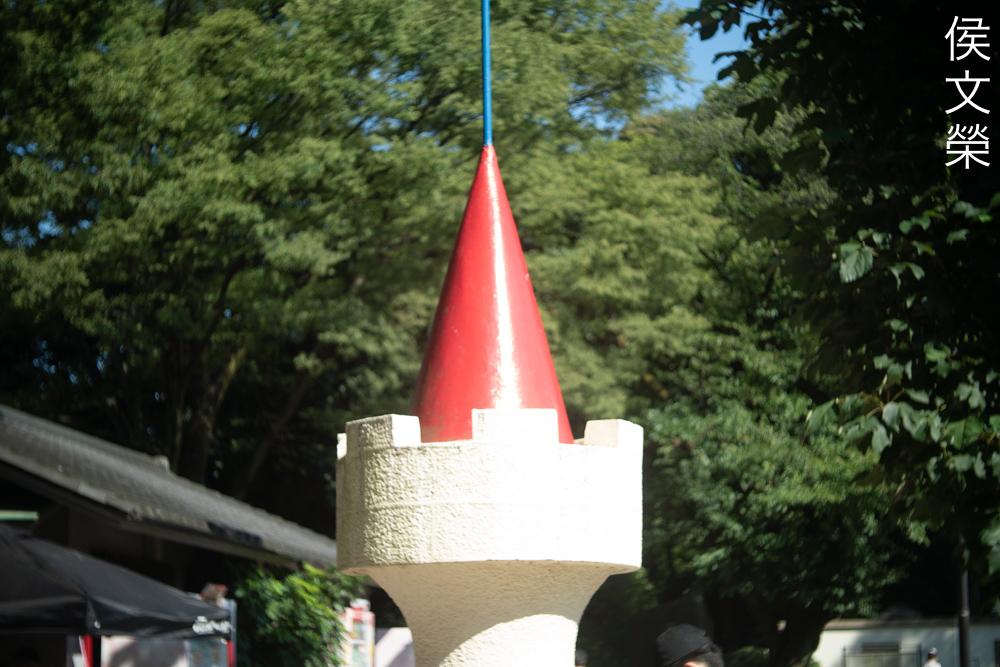
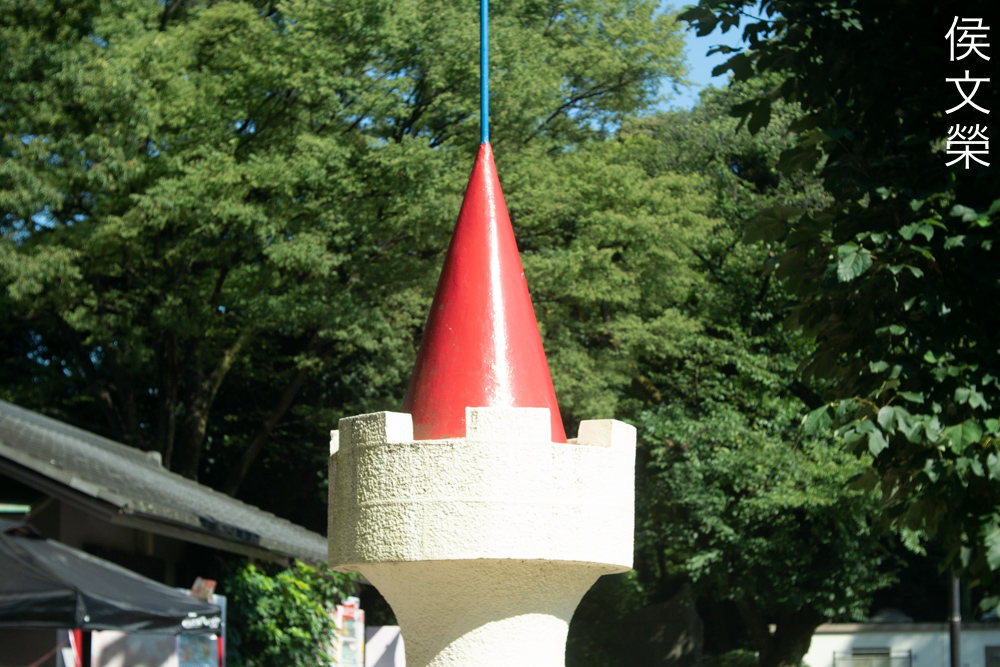
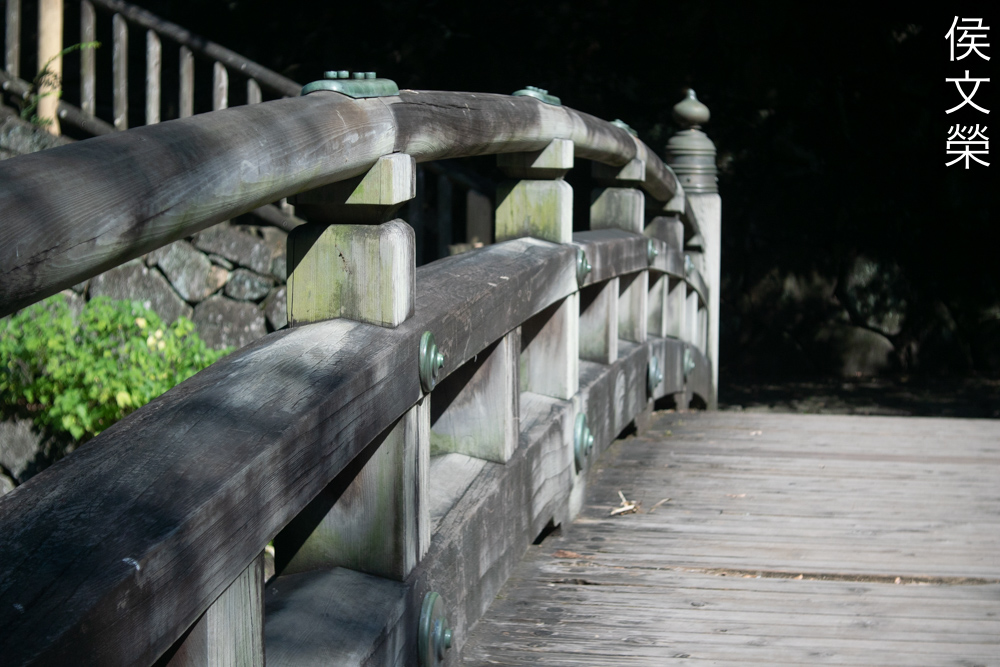
Going back to distortion, this is not much of an issue if you keep your straight lines near the center of the frame. That’s why I always frame my horizons near the center so they won’t curve, the same can be done for tall towers such as this.


(Click to enlarge)
Here are more pictures for you to enjoy. Moviemakers should be more familiar with this field-of-view, if you’re shooting mostly photos until this point you’ll probably find it a bit confusing but you’ll get used to this. I’ve enjoyed using this as stills-only lens. I think it’s still a fun lens to shoot with today in this context but the Cine-Nikkor 25mm f/1.4 (late) is the better lens in this category. Not only is it faster but I found it more impressive in nearly every manner.
I don’t shoot movies so please excuse the next couple of footages. I only added them here to give you a small idea as to how this lens performs when shooting videos, just treat these as a small bonus.
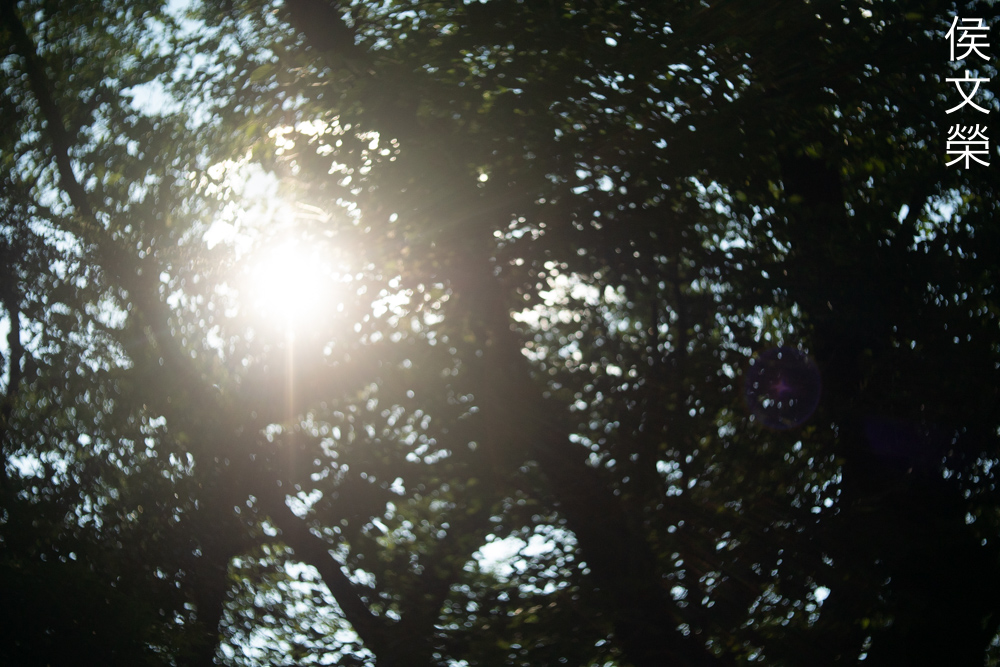
This is how it looks like when shooting against-the-sun. I think this is its best attribute, it rather resistant to ghosts and flare to a certain extent.
Another merit of this lens is it controls aberrations rather well compared to the other 25mm CIne-Nikkors. While this is not much of a problem when shooting movies it can be distracting to see purple-and-green artifacts strobing in your footages. It may be too fast to register in your viewers’ minds but it will still be enough to be noticed subconsciously.
You’ll able to focus this close which is normally sufficient for a lot of cases.
It is not a bad lens at all but I won’t recommend this unless this is the only one available to you. The old Cine-Nikkor 25mm f/1.4 performs closely to this but it’s faster and somewhat better despite not being a great lens itself and it has a lot more blobs than the Cine-Nikkor 25mm f/1.8. The Cine-Nikkor 25mm f/1.4 (late) is the best one I have used so far, the blobs are prominent like the early Cine-Nikkor 25mm f/1.4 but its performance so far is very good. It’s the only version that gave me a “wow” reaction so far amongst all the other 25mm Cine-Nikkors. I think the Cine-Nikkor 25mm f/1.8 is only appealing if you want to have as little blobs in your photos or footages as possible, this is the only thing that it does a lot better than the rest. If you want one be sure that the iris isn’t damaged and it’s dry, it should work when operated. Check the optics to make sure that it’s not broken and clean. Turn the ring and see if they all operate properly. You will gave to see if it could focus to infinity with your Nikon 1 camera, some folks mount these to Micro Four Thirds cameras and mess with the focusing, that makes things more difficult for you since you’ll need to readjust the focus just to get it to work properly. These are not rare but you don’t see them for sale too often. The prices vary a lot, the highest ones I’ve seen go from $300.00 up to an absurd $600.00 but you’ll usually see them from $80.00 to $120.00, it’s just good luck that I got one for $70.00 and another one for $20.00. You should be able to find one at the right price if you look diligently or just wait. Don’t rush, you will just drive the prices for these higher, happy hunting.
Before We Begin:
If this is your first attempt at repairing a lens then I suggest that you see my previous posts regarding screws & drivers, grease and other things. Also read what I wrote about the tools that you’ll need to fix your Nikkors.
I suggest that you read these primers before you begin (for beginners):
Reading these should lessen the chance of ruining your lens if you are a novice. Before opening up anything, always look for other people who have done so in YouTube or the internet. Information is scarce, vague and scattered (that is why I started this) but you can still find some information if you search carefully.
I highly recommend that you read my working with helicoids post because this is very important and getting it wrong can ruin your day. If I can force you to read this, I would. It is that important!
For more advanced topics, you can read my fungus removal post as a start. It has a lot of useful information, it will be beneficial for you to read this.
Disassembly:
It’s not a difficult lens to service if you’re experienced with Cine-Nikkors but you’ll still need to be careful with this because some of the parts are delicate such as the iris mechanism. You’ll need some special tools and skills to do a proper job so if you’re a beginner you should never work on this, let a professional do it instead and show him or her my article so he will know what to expect.
When working on this it’s best to document all of your steps and never forget to note the alignments and orientations of various parts such as the optics and their shims. It’s essential that you reinstall them back facing the right direction or you’ll damage them.

Unscrew the front with your hands, a rubber sheet will help you grip this better just in case. Be careful not to damage the rear since it has a raised lip.
Unscrew the housing of the 2nd group with your fingers and set it aside. Never dismantle this since the element has been sealed at the factory. Set it aside in a safe, clean place.

Remove the shim and never forget to note its direction.
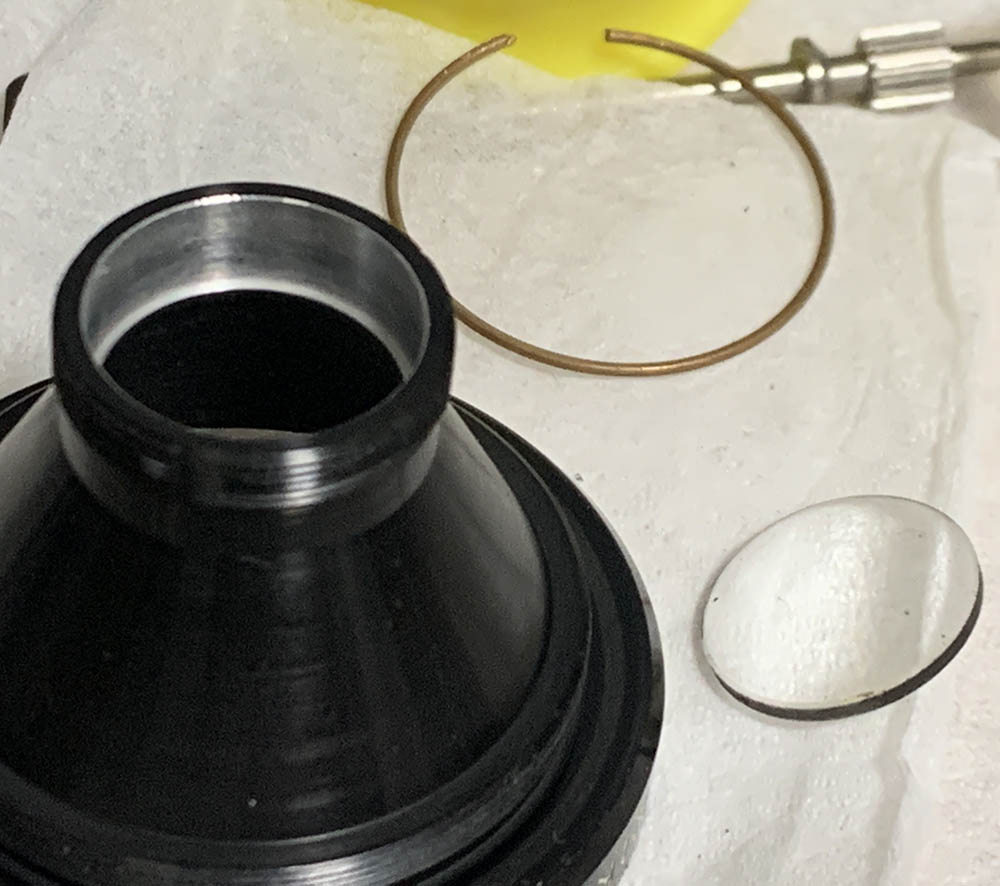
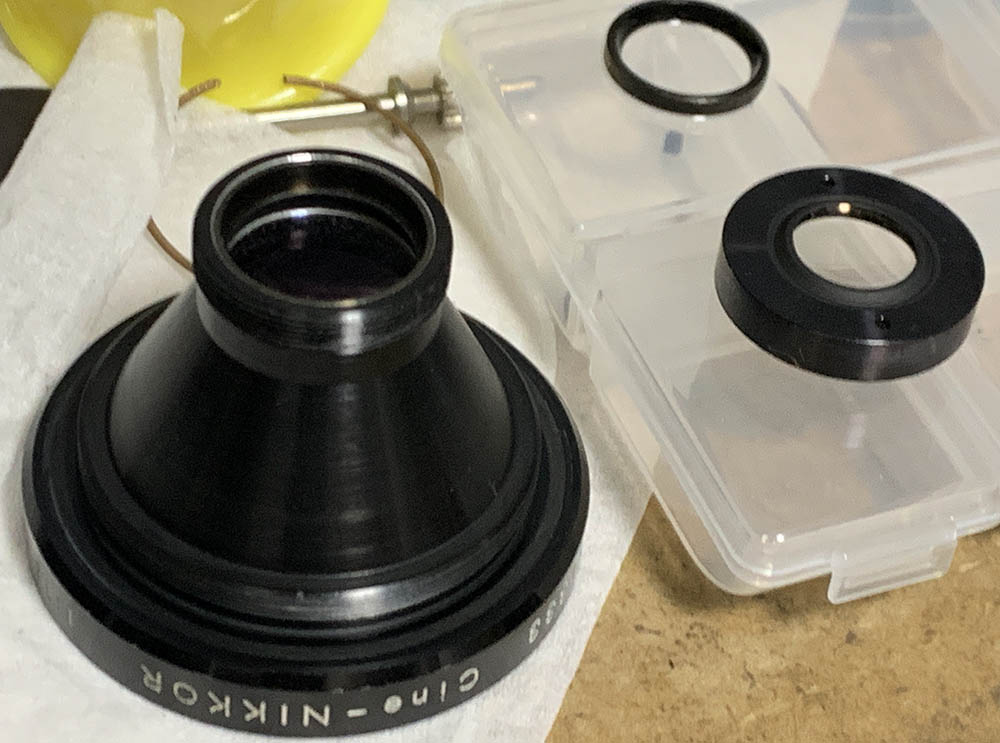
The front element could be extracted with a small lens sucker. Don’t forget which side should facing the front.

Carefully extract this to remove the aperture ring. It serves as a pin to couple the aperture ring to the iris mechanism. If this is stuck you simply apply some alcohol to its threads in order to soften the seal.

Carefully pull the aperture ring from the rest of the barrel, clean this very well.
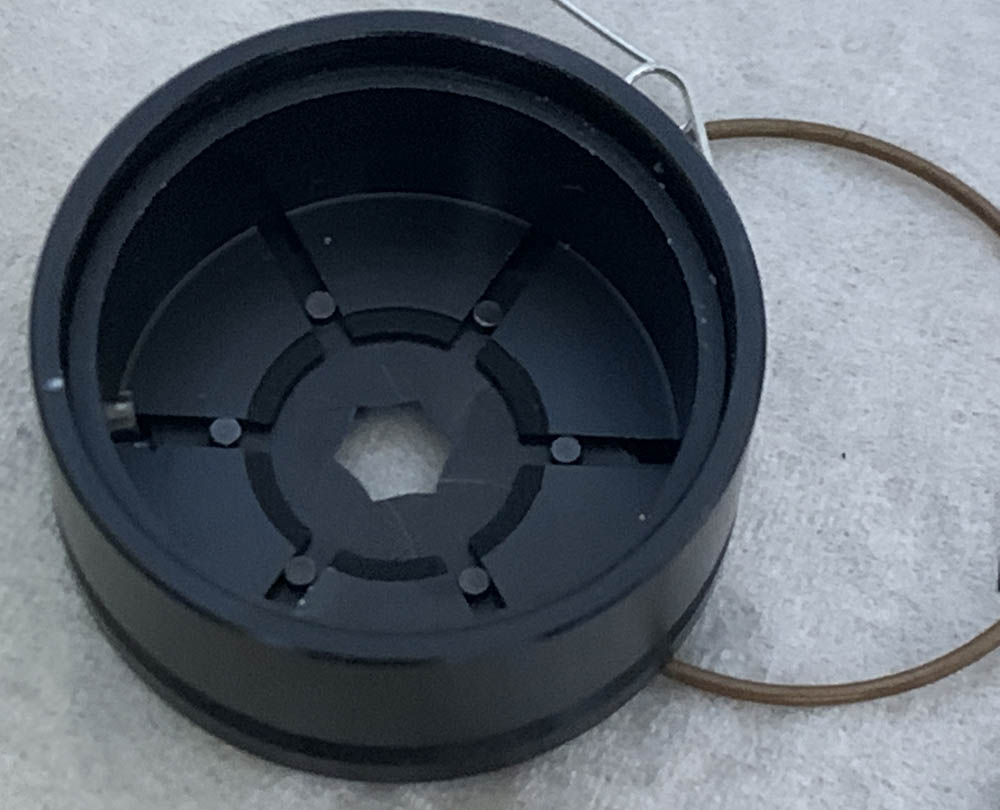
Carefully pull the diaphragm’s cup with your fingers without disturbing anything.

Study how the iris mechanism works by gently operating it. There’s a brass clip here that you will have to remove in order to dismantle the iris mechanism.
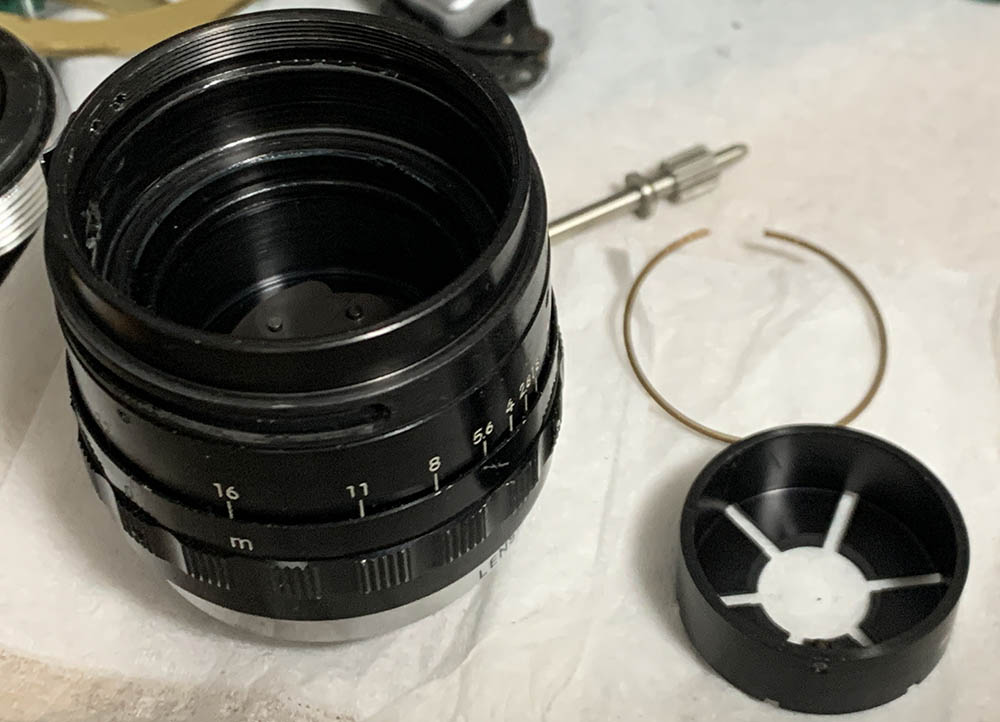
Once the brass clip is gone carefully pull the diaphragm’s rotator (condenser) off with your fingers, do not disturb the iris so you’ll be able to see how it looks like before you remove everything. Once you’re happy with your notes gently remove the leaves and clean them with lens tissue saturated with naphtha.

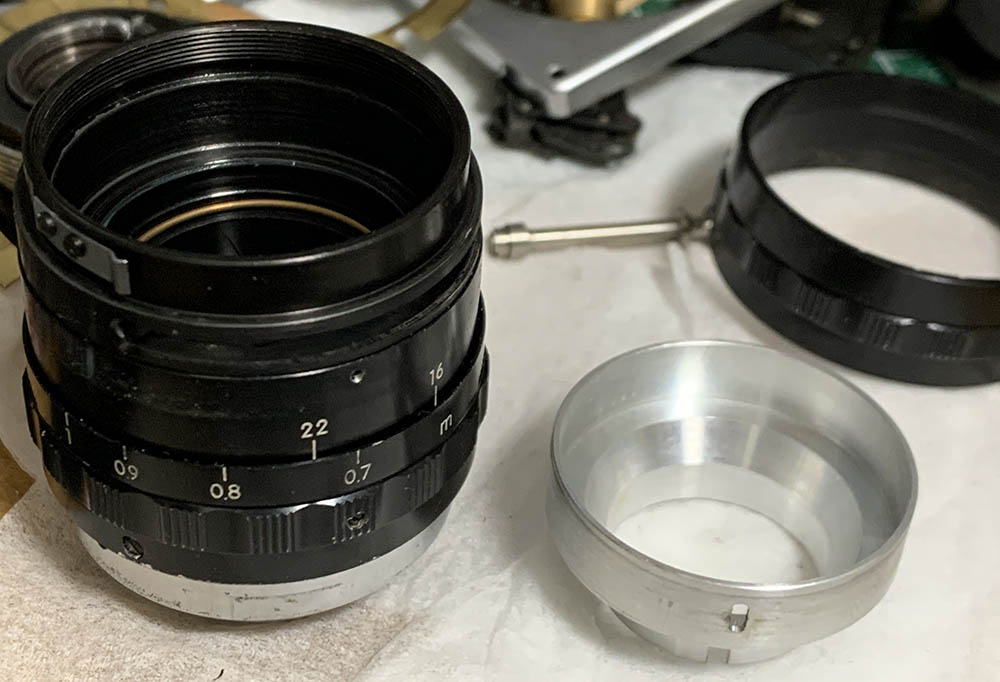
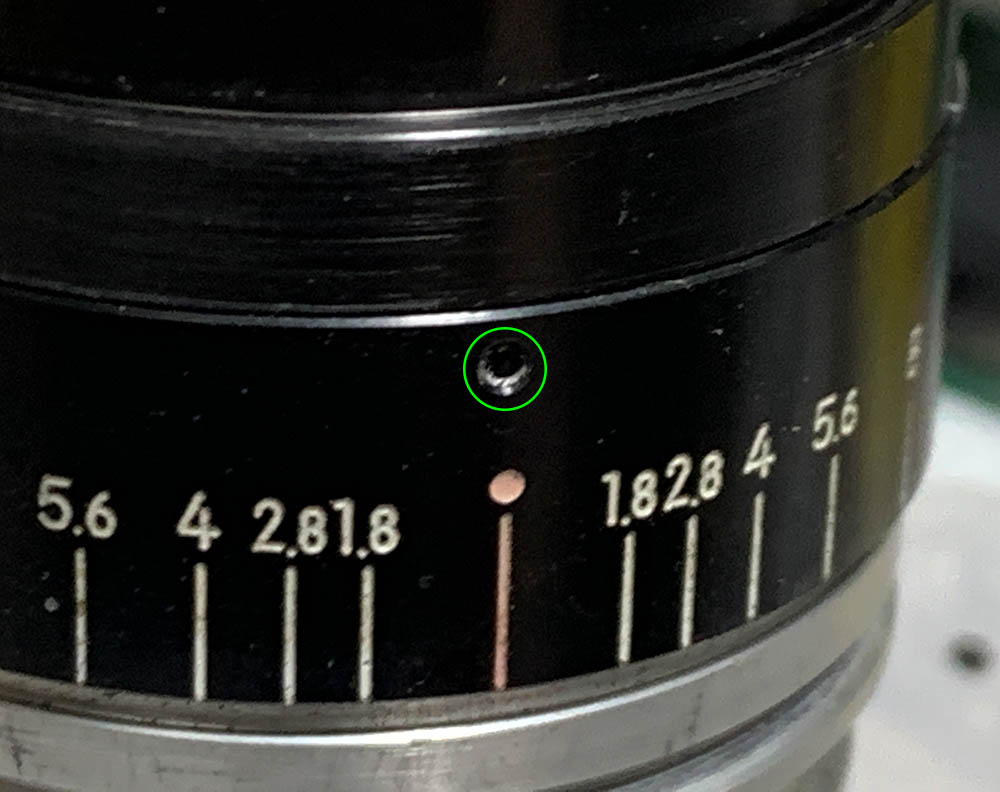
Carefully extract this set screw so you can unscrew the mount. Mine is absent, someone got to this lens before me.
Unscrew the mount with a rubber tool to help you grip it. Remove the spring and clean everything well.
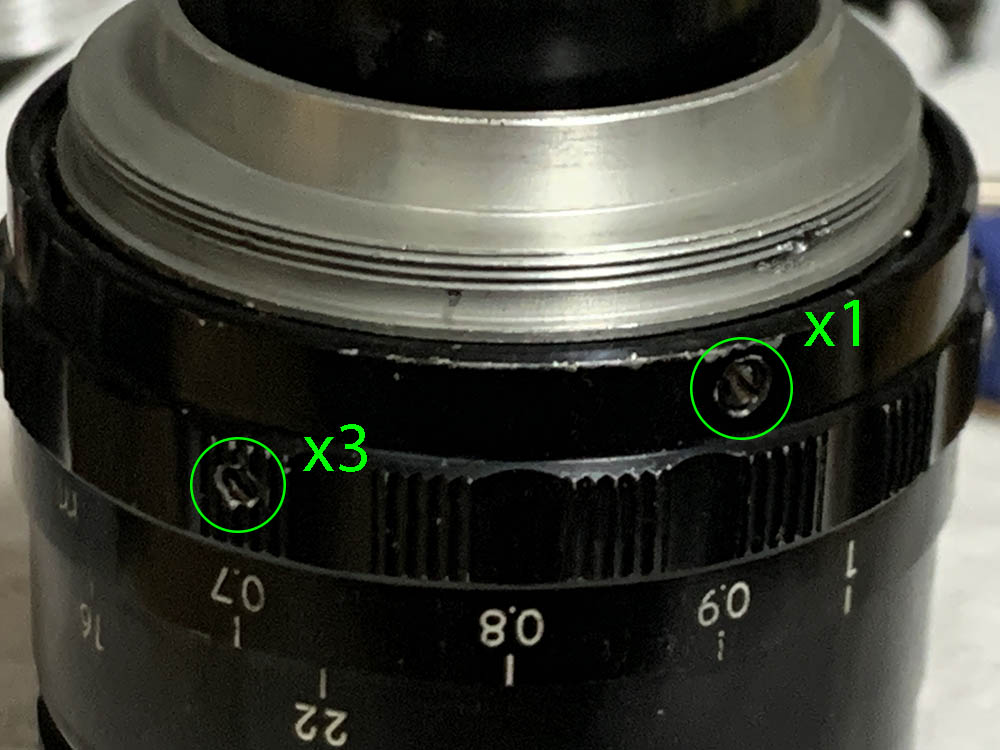
Extract these to remove the focusing ring. Actually, the screws labeled #3 should only be loosened if you could help it.
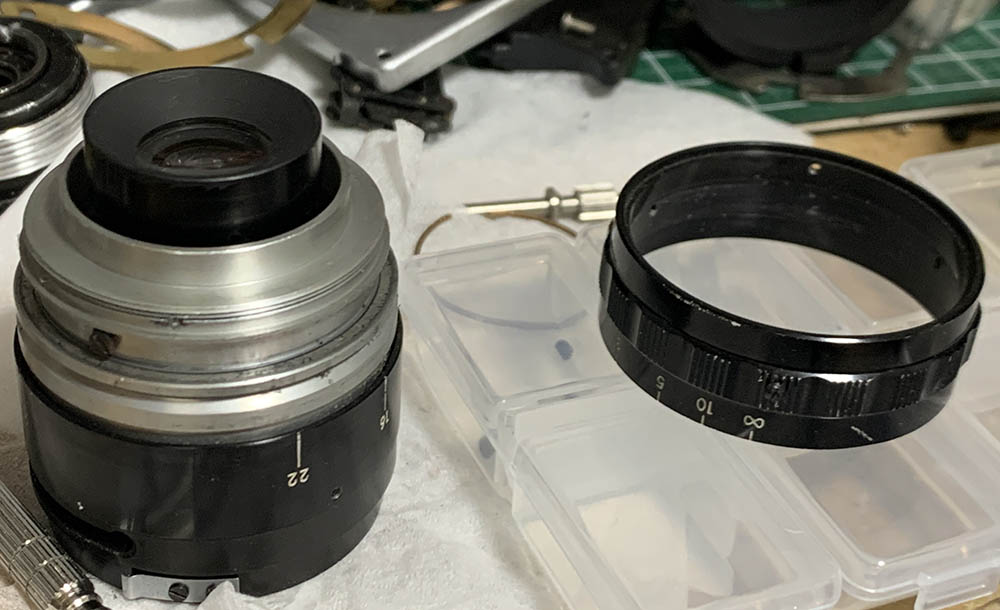
Carefully pull the focusing ring off while still keeping the barrel at infinity. Take notes while everything is still aligned, I usually take photos and make very small scratches so I’ll know how the helicoids should be aligned at infinity.

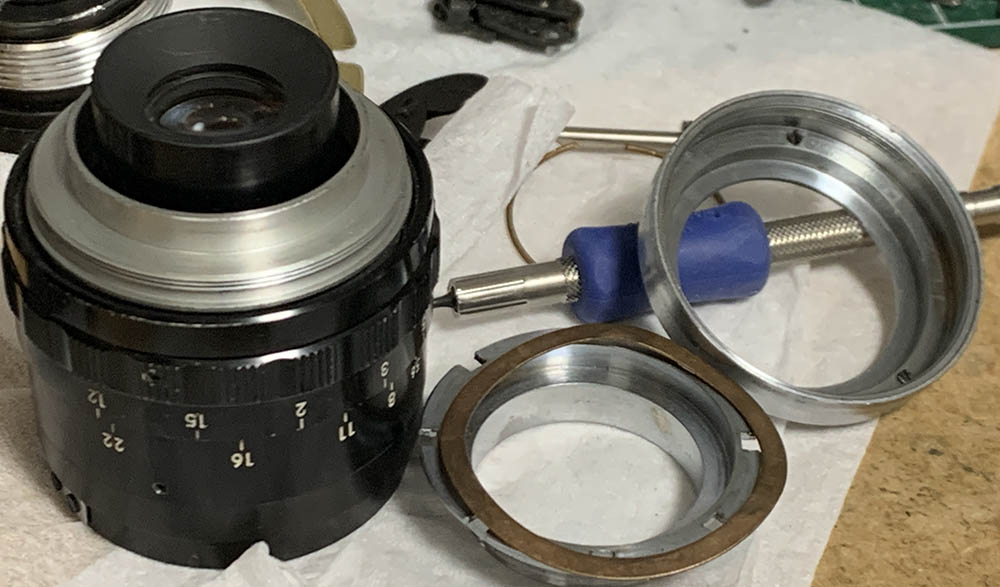
Unscrew the rear baffle with a rubber tool.

The baffle secures the rear group so you’ll be able to extract it with a lens sucker. Don’t forget to note its direction so you won’t put it back facing the wrong way.
Carefully remove this shim and never forget to note its direction.
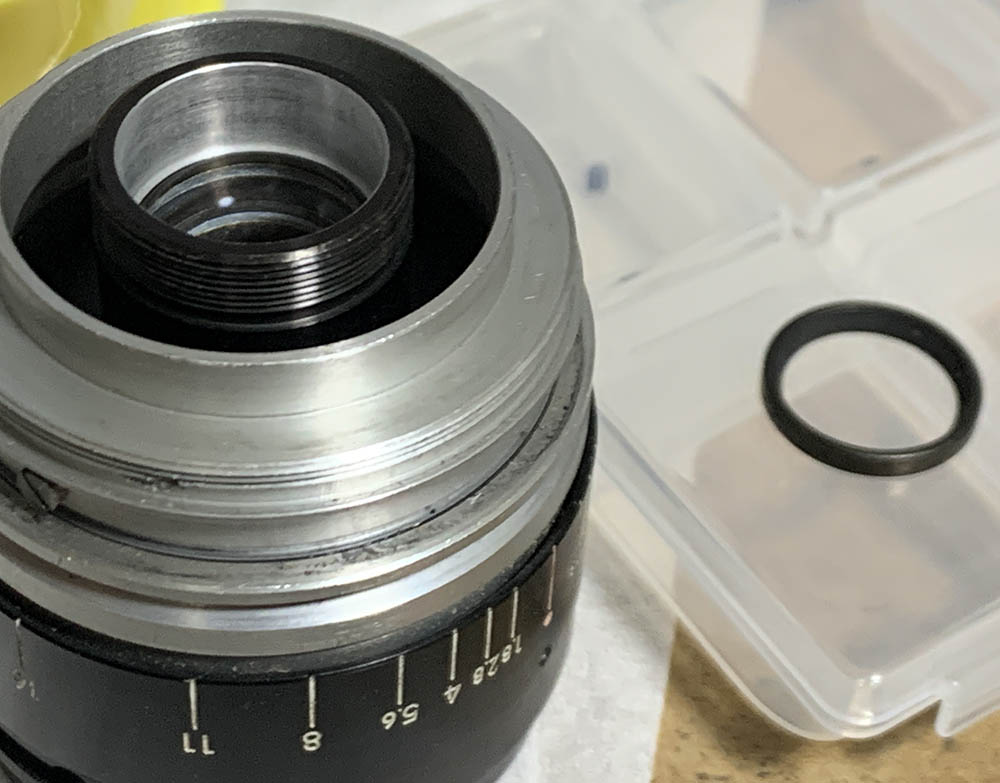
Extract the 3rd group carefully. Never flood this with solvents because it’s a cemented group, you will ruin the cement.
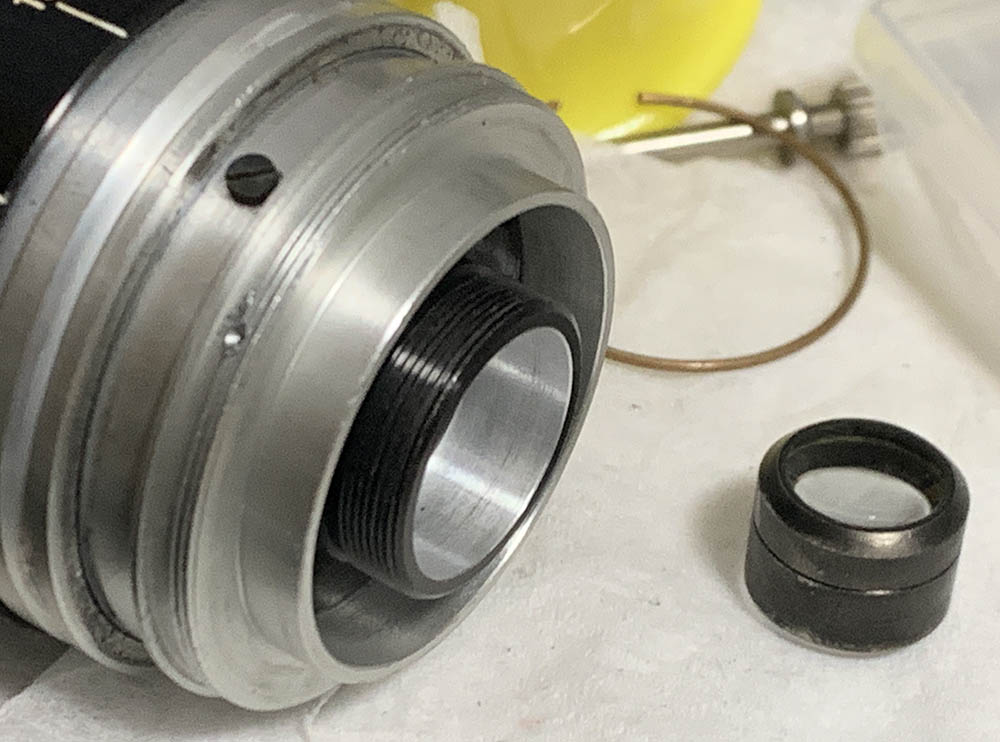
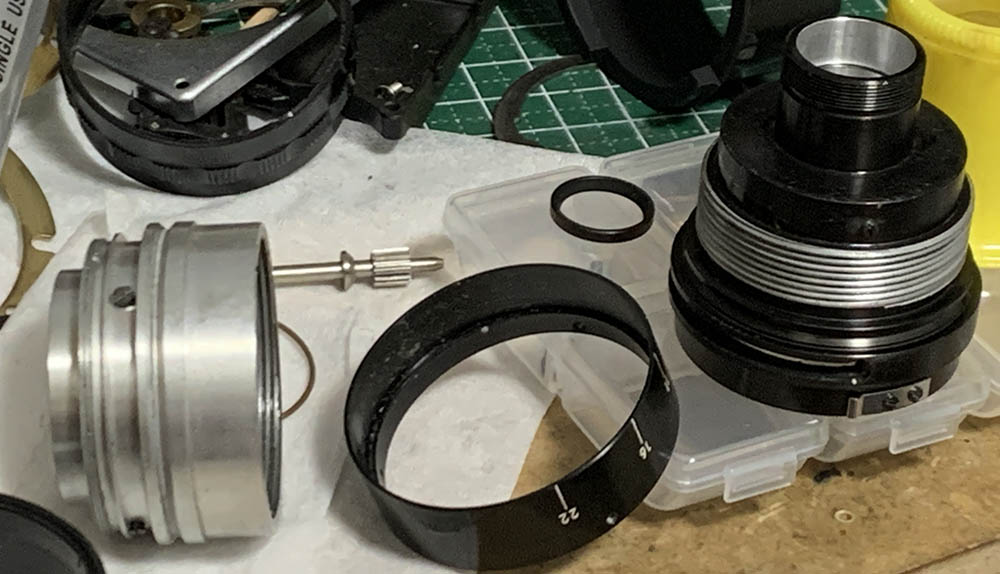
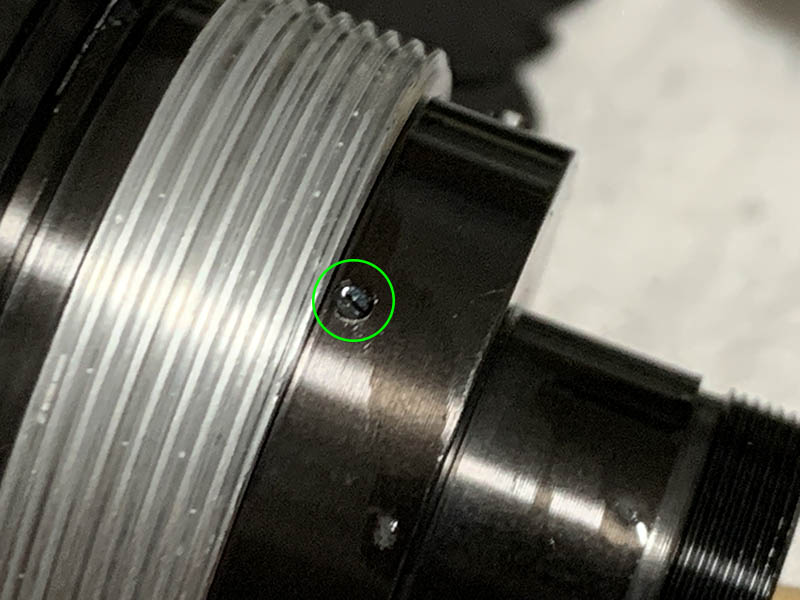
Loosen these set screws and be careful not to remove them totally.

Pull the sleeve off and tighten the small screws again once it’s off so you won’t accidentally lose anything.
Unscrew the front helicoid and be sure to note where it parted, many people forget to do this so they get stuck trying to guess how the helicoids should mesh. To avoid that happening to you go read my article on how to work with helicoids.

Do the same for the lower and central helicoids and never forget to note where they separated since it’s also the same spot where they should mesh. The screw at the front helicoid and the objective’s housing should slide within this slot that’s why you’re only able to remove the front helicoid by turning the central one until it separates.
Loosen these screws so you can remove the housing of the iris mechanism. I could have waited until this point before but I wanted to dismantle the iris mechanism early in order to keep the leaves safe.

You are now able to remove the housing of the iris mechanism. I forgot to mention it but you should not forget to take a couple of notes so you’ll know how it should be aligned.
Clean everything very well. Scrub the helicoids very well with a strong detergent and brush them with an alcohol-based solution to remove any residue then finally clean them with pure alcohol just to make sure that nothing is left. This lens benefits from a type of grease with moderate resistance, never use a grease that’s on the thick-side or you won’t be able to focus this easily. Never lubricate anything close to the iris or the excess grease will migrate to the iris and cause an even bigger problem later.
As far as the optics is concerned never dismantle anything that doesn’t need to be removed. If it’s merely dirty just do a simple cleaning. The only reason to remove anything is to clean terrible fungus damage or haze. If you did be sure that you note which side should be facing the front so you’ll know how to put it back again later. Carefully clean the glass, follow my fungus cleaning article in case your lens needs it. Thin the solution so you won’t never damage the coatings.
Conclusion:
I had a lot of fun servicing this one because it’s something that I’ve never worked on before. It’s a little bit tedious to adjust the focus of this lens but I was able to get it to work perfectly. Before we finish I’m going to show you some things that you should be aware of.
Reassemble the iris mechanism and carefully put it back inside the housing of the objective. I should have extracted the whole mechanism as a single unit before but I wanted to remove the leaves really early so I won’t accidentally damage them. If you want to follow the right procedure then this is how it should look like.

This is how you are able to adjust the focus. Turn the central helicoid until you are happy with the results. Gently reinstall the focusing ring back without disturbing the alignment of the helicoids and tighten the screws. Do some final checks before you finalize anything because you won’t be able to adjust the focus easily once everything is reassembled.
This is a rare topic and there are no information about repairing these so I hope that this article helps you in some way. I am doing my best to cover as many topics as I could, even the obscure ones like this lens.
Thanks for following my work, if you liked this article please share this with your friends so it will get more views. This site earns around $0.40 a day, we are totally reliant on views. You can also support this site, it helps me offset the cost of maintenance and hosting. You’re also helping me purchase, process and scan film. This site promotes the use of film so we are all in this together. See you again in the next article, Ric.
Help Support this Blog:
Maintaining this requires resources and a lot of time. If you think that it has helped you or you want to show your support by helping with the site’s upkeep, you can make a small donation to my paypal.com at richardHaw888@gmail.com. Money isn’t my prime motivation for this blog and I believe that I have enough to run this but you can help me make this site (and the companion facebook page) grow.
Buy me a roll of film or a burger?
Thank you very much for your continued support!
$2.00
Helping support this site will ensure that this will be kept going as long as I have the time and energy for this. I would appreciate it if you just leave out your name or details like your country’s name or other information so that the donations will totally be anonymous. This is a labor of love and I intend to keep it that way for as long as I can. Ric.

Dec 28, 2023 @ 12:21:57
Greeting from Japan.
the link of image has expired. Can you please resend it?
I wanna use it as reference!