
Hello, everybody! I am recently eating sushi sold at the convenience stores more often. These are not as good as what you will find in restaurants, even the ones from a sushi-go-around tastes much better. Their price and convenience are the main factors why I kept eating them, specially for breakfast. It hits the spot, even just barely and that’s good enough. It always leaves me craving for better quality sushi but when I’m hungry and lazy anything will do I suppose. Today, I’m going to show you something that satisfied a need back-in-day. Just like cheap sushi this was better than nothing at all specially at a time when people were demanding for a cheap-but-acceptable solution for a wide-lens that’s capable of being mounted to early SLR’s. Read the whole article to find out more about this.
Introduction:
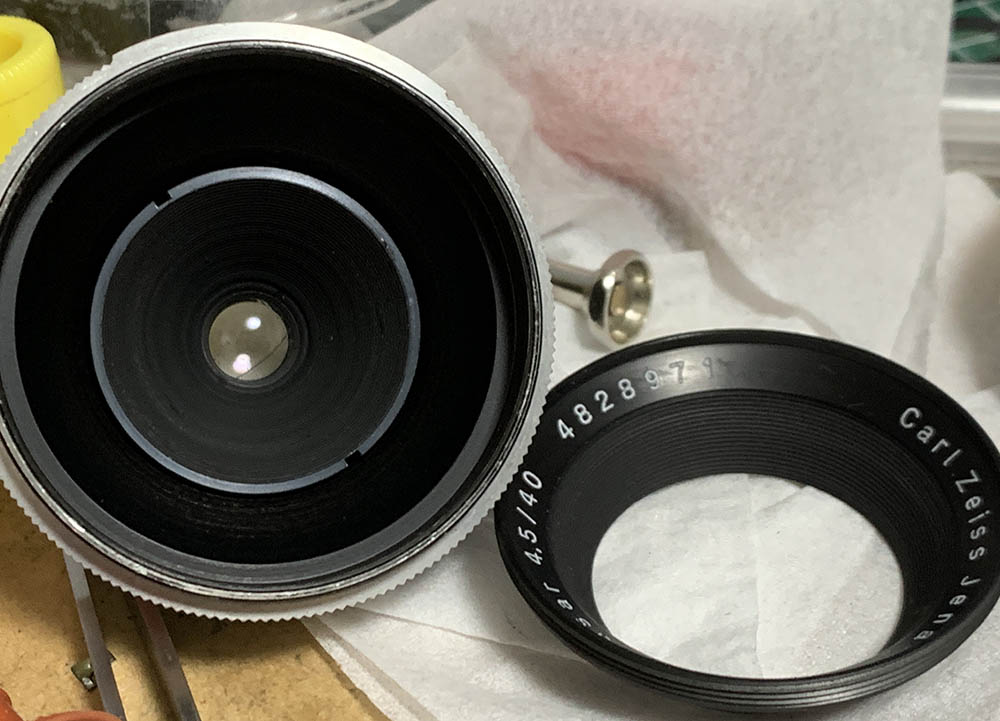
The Carl Zeiss Jena Tessar 40mm f/4.5 we see here is the later version of the Carl Zeiss Jena Tessar 40mm f/4.5 with the smaller barrel. It’s not clear when this was made and for how long but I suspect that it was made from around 1951 and it stayed for a few years until the Carl Zeiss Jena Flektogon 35mm f/2.8 was introduced. It’s merely a stop-gap and this was soon phased-out when the more practical Carl Zeiss Jena Flektogon 35mm f/2.8 was unveiled. Needless to say, this is kind of rare but not valuable at all because the demand for it is low owing to its odd choice of focal length.

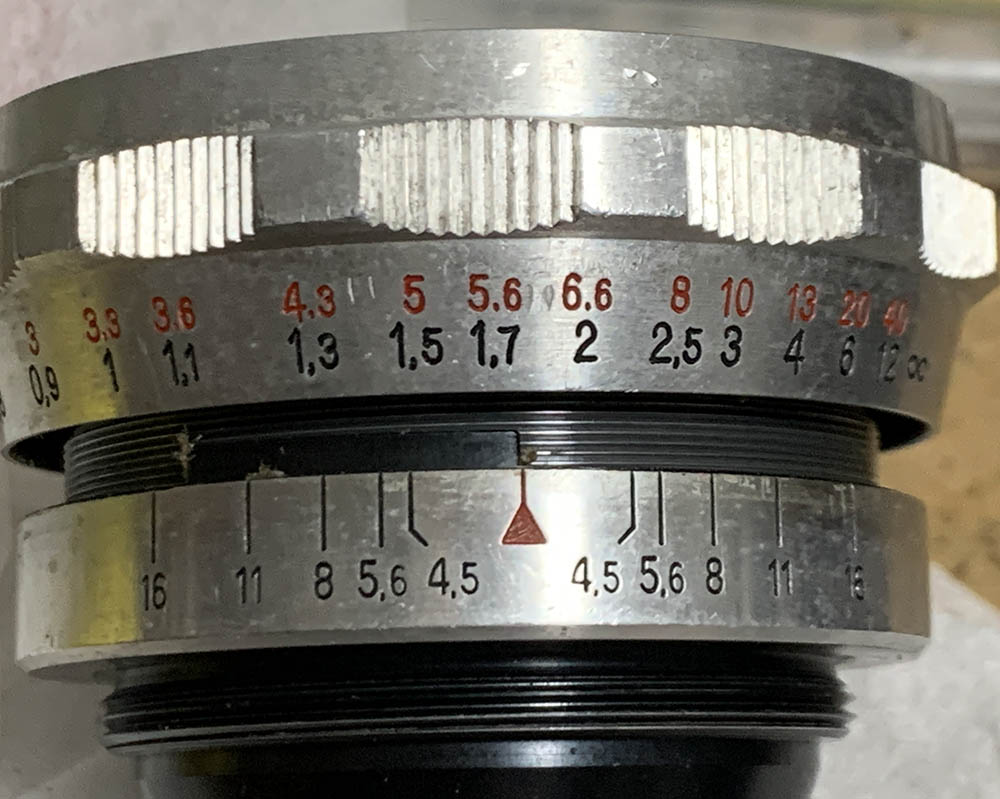
It has an all-metal barrel that resembles its peers from the same era but unlike them this does not have a preset-ring so you will have to precisely stop the iris down yourself. This is a bit of an annoyance because you’ll have to tale your eyes off the viewfinder just to confirm that you’ve go the right aperture value set before you make an exposure.
It is optically identical to the Carl Zeiss Jena Tessar 40mm f/4.5 and I assume that there were no changes made. I couldn’t find any information about this lens anywhere so what you’ll see here is everything that I knew. If you want to know more about this and how it performs I’d recommend that you read the article that I wrote about the earlier Carl Zeiss Jena Tessar 40mm f/4.5.
This was made in several mounts including ones for Exakta, M42 like what you see here and some other oddballs that I may not even be aware of. The one you see here is the most expensive one just because they’re easier to mount and adapt for use with digital cameras.
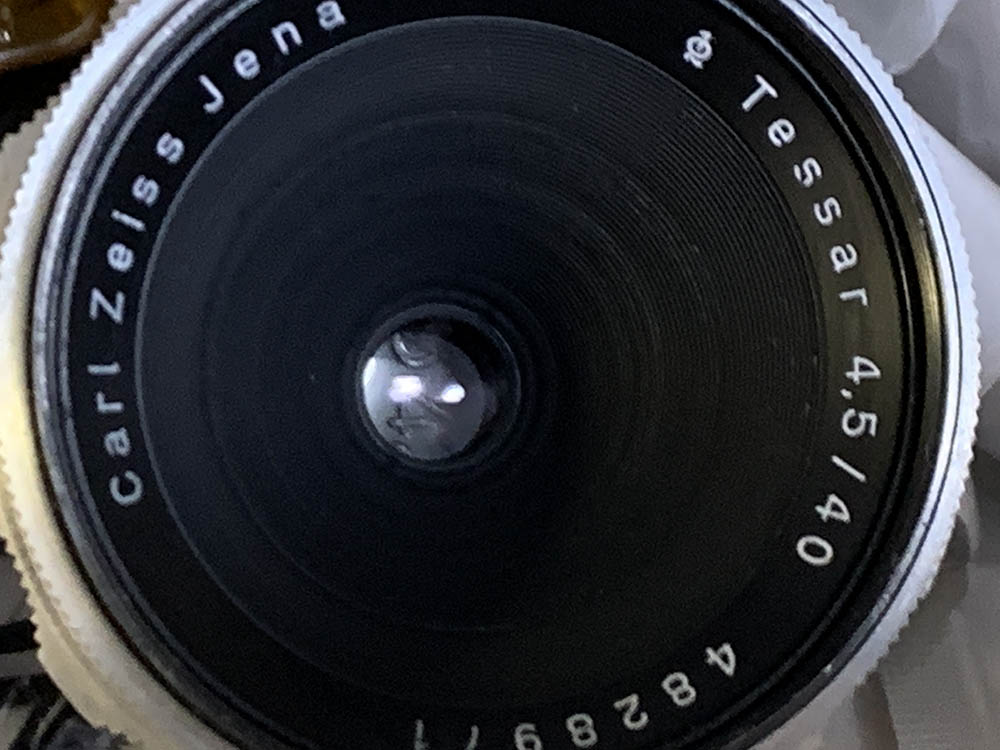
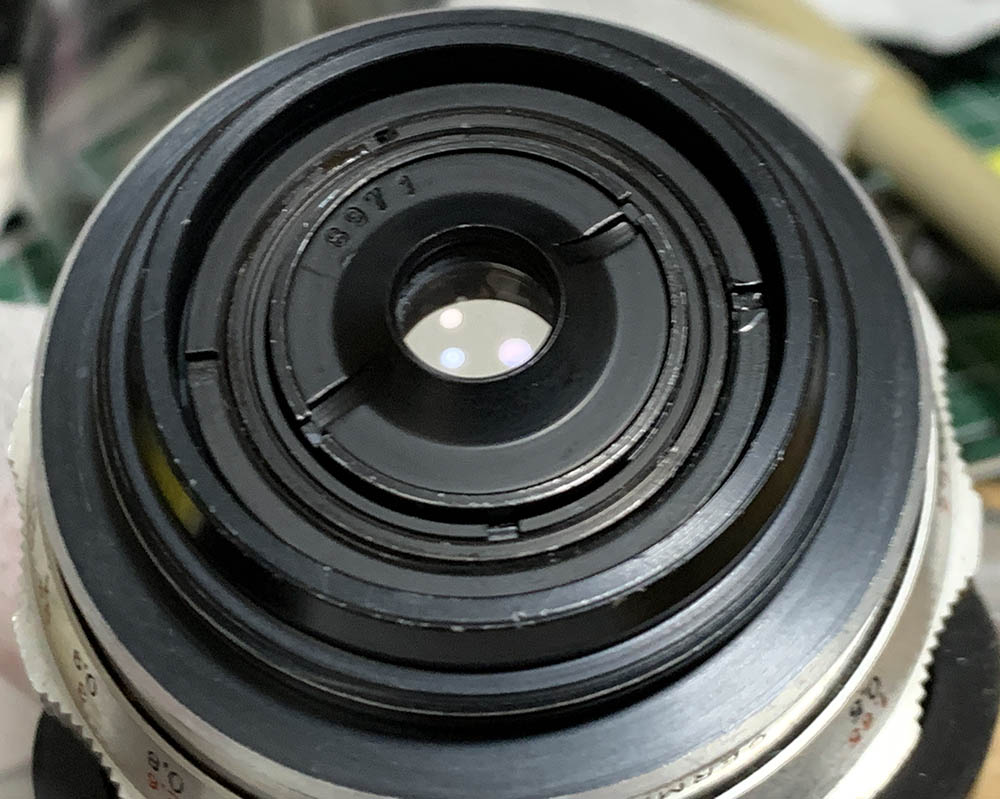
Like most true-Tessars the objective is rather tiny so the front element is situated deep-within the barrel. You won’t be needing a hood for this at all. Mine appears to be single-coated if I’m not mistaken, there’s also no red “T” engraved in the bezel. Build-quality is rather good which is typical of postwar Carl Zeiss Jena lenses.
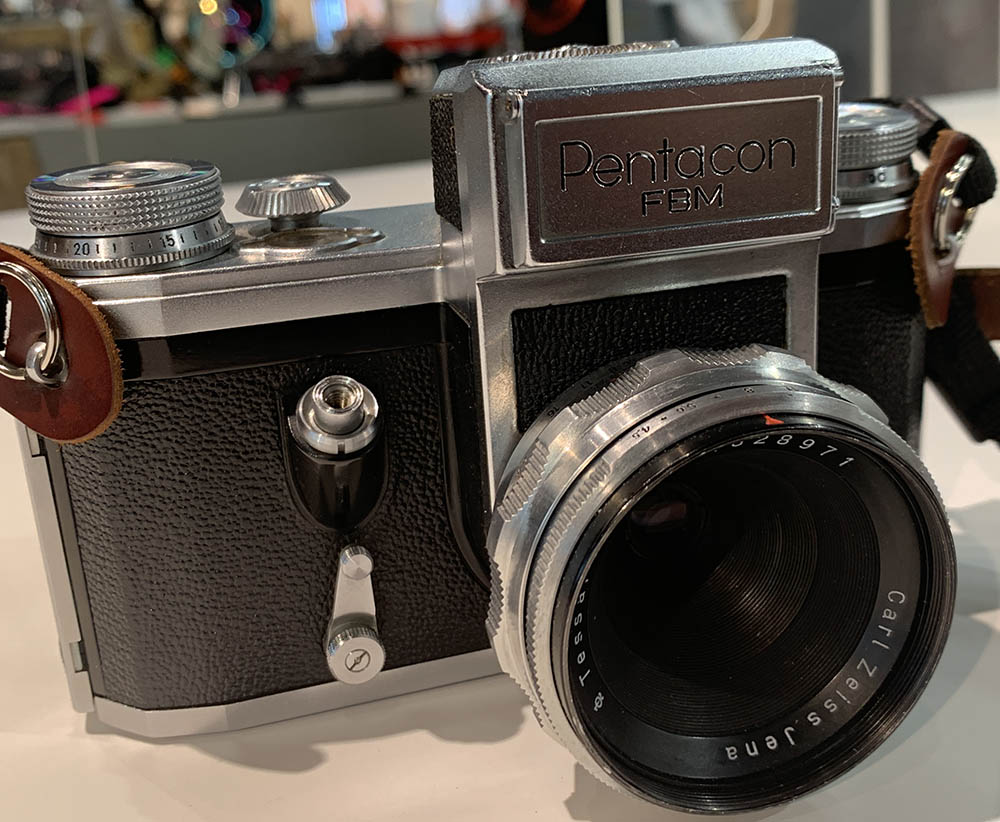
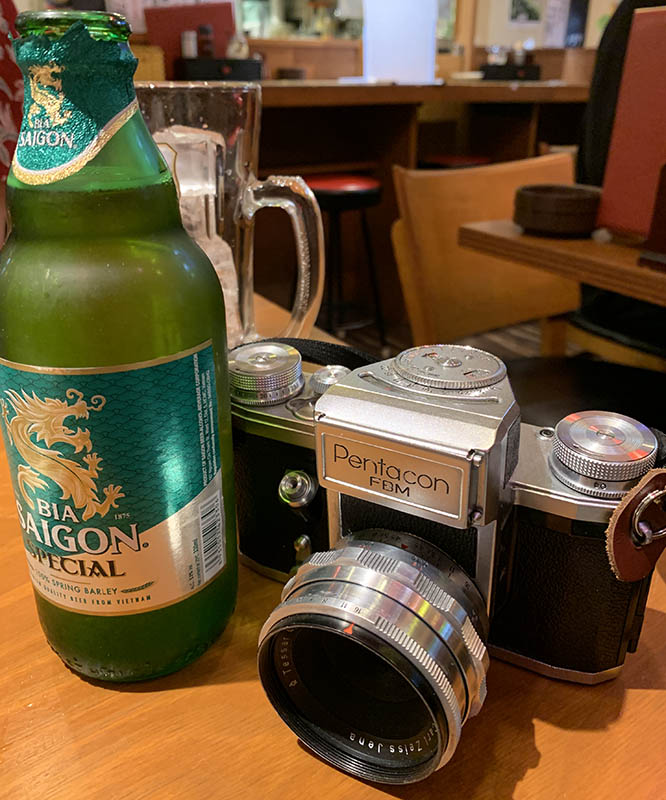
It’s a tiny lens, certainly a lot bigger than the early version but it’s smaller when compared to the Carl Zeiss Jena 58mm f/2 Biotar. The pudgy barrel makes this a cute lens, the only complaint I have is it makes this a bit difficult to read if you’re shooting with a camera with a large overhanging head such as this Zeiss Ikon VEB Pentacon FBM. Even a camera with a smaller head will still cover your view of the scales.
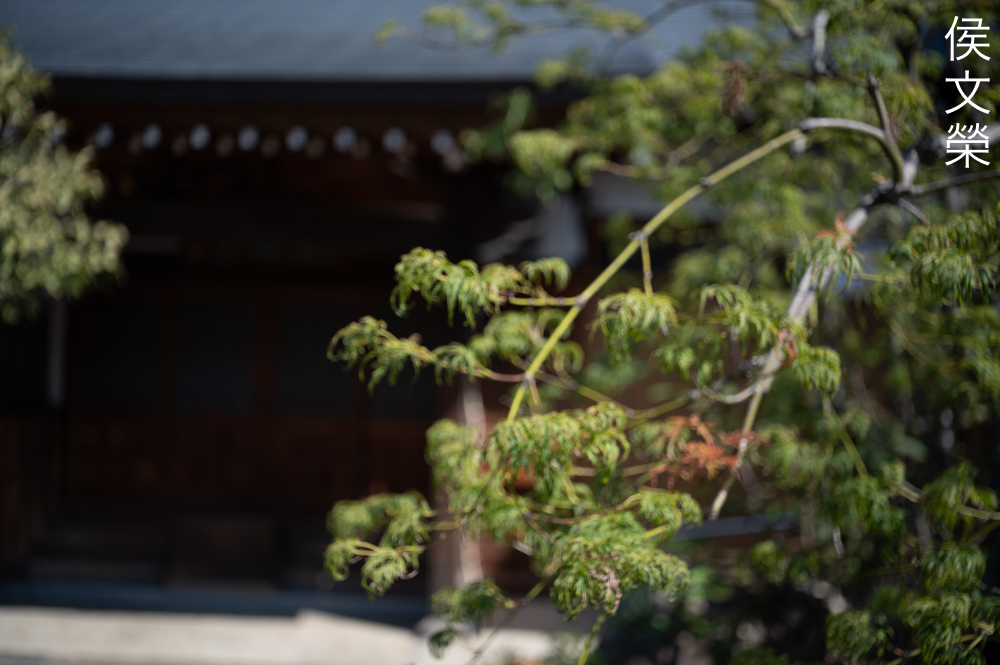
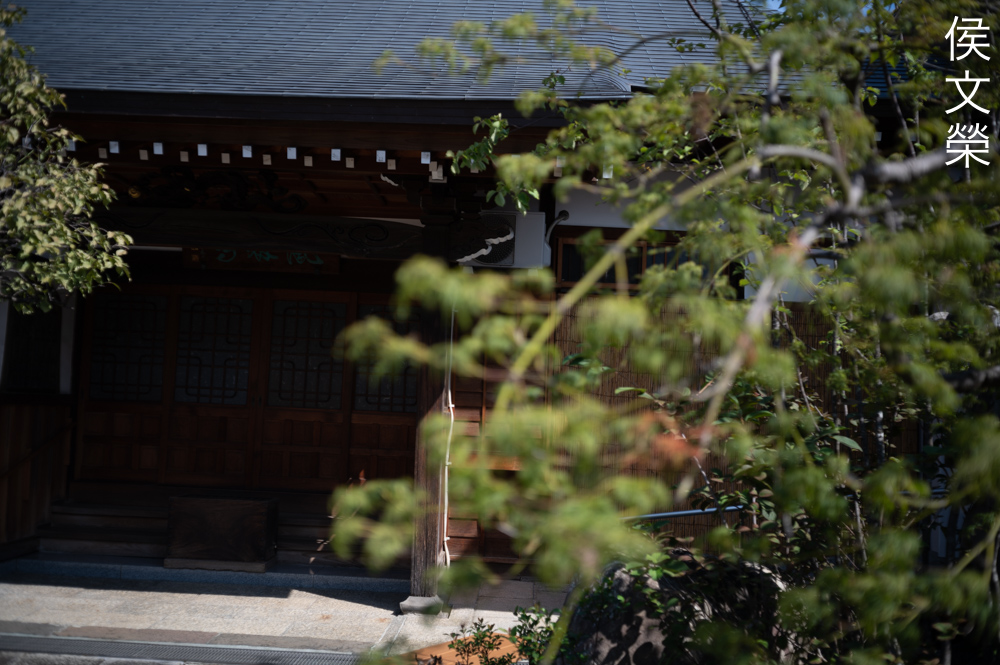
Learning how a lens performs is important so you will maximizing its use. You will learn how to utilize its strengths and avoid its weaknesses. This knowledge helps a lot in determining which lens to bring on an assignment. I shot these photos from f/4.5, f/5.6 and f/8 since these are the most common apertures that people would want to use this, we’ll also get to see the most changes happen with these values. I shot the photos with my Nikon Z6, some of these were cropped close to 1:1 so we could see the details better.

(Click to enlarge)
Vignetting is kind of heavy wide-open but most of it will be gone by f/5.6 and it looks like it’s gone by f/8. You should never shoot with this at f/4.5 if this bothers you. I do not think it will be much of a problem in real use to be honest.
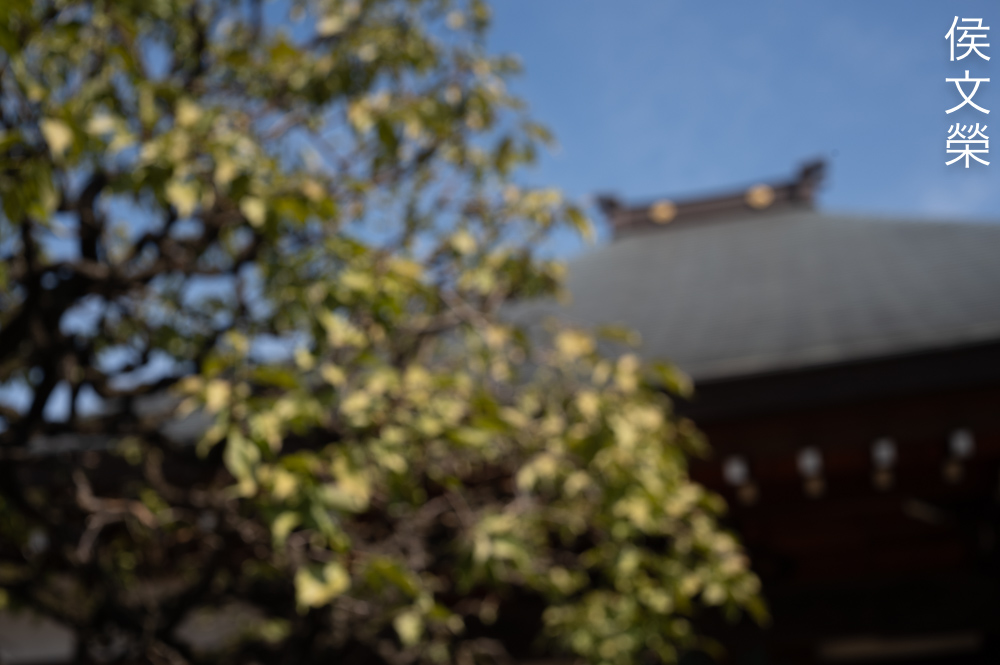
You’ll see a small amount of barrel-type distortion which isn’t going to be obvious in most cases. I won’t be worried at all, this amount is kind of low for a lens this “wide”.
(Click to enlarge)
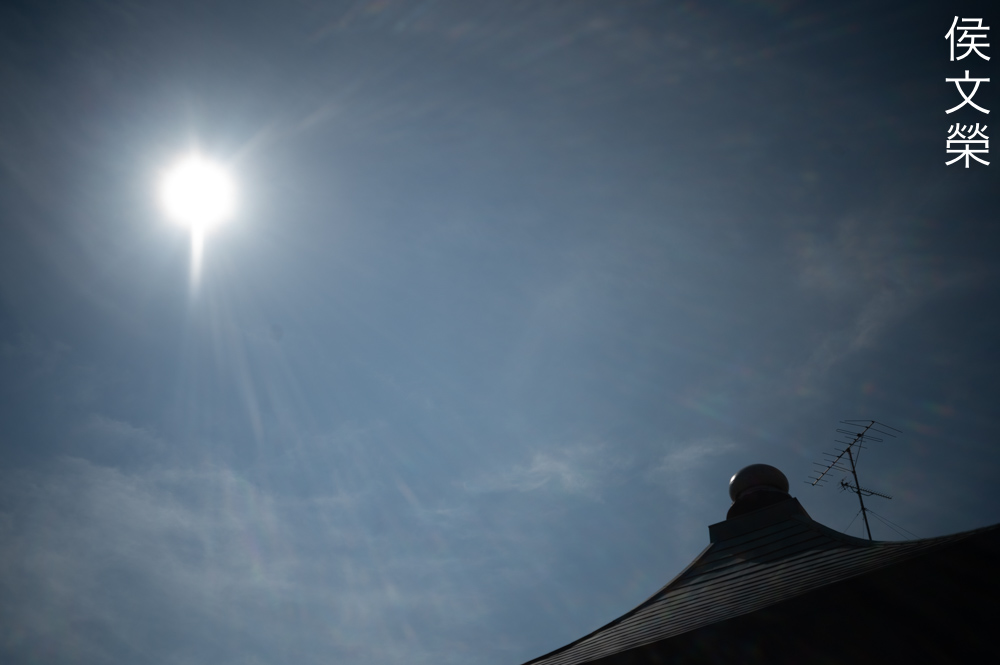
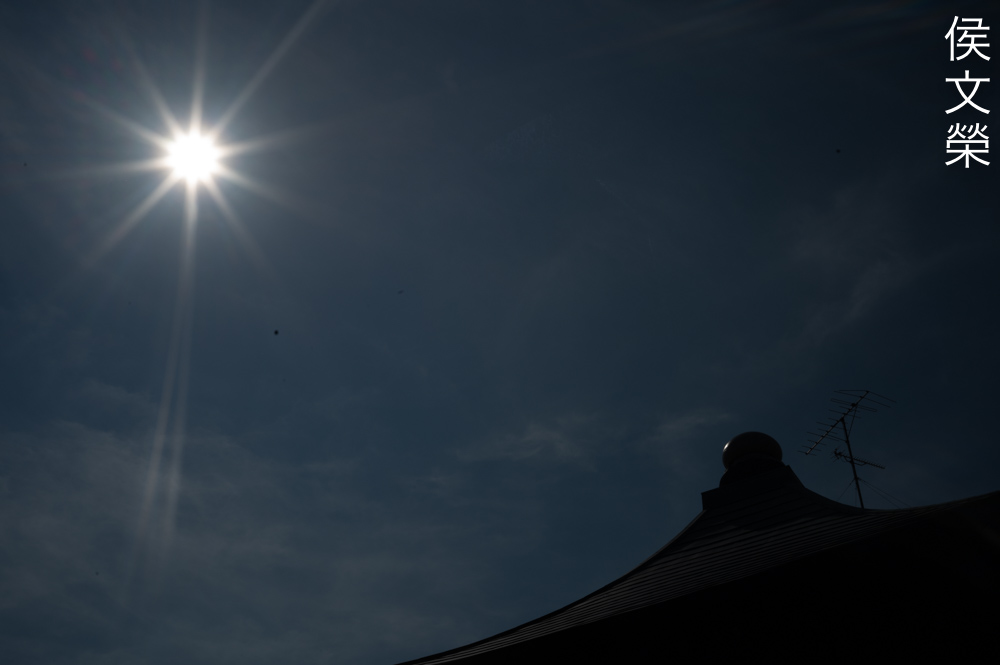
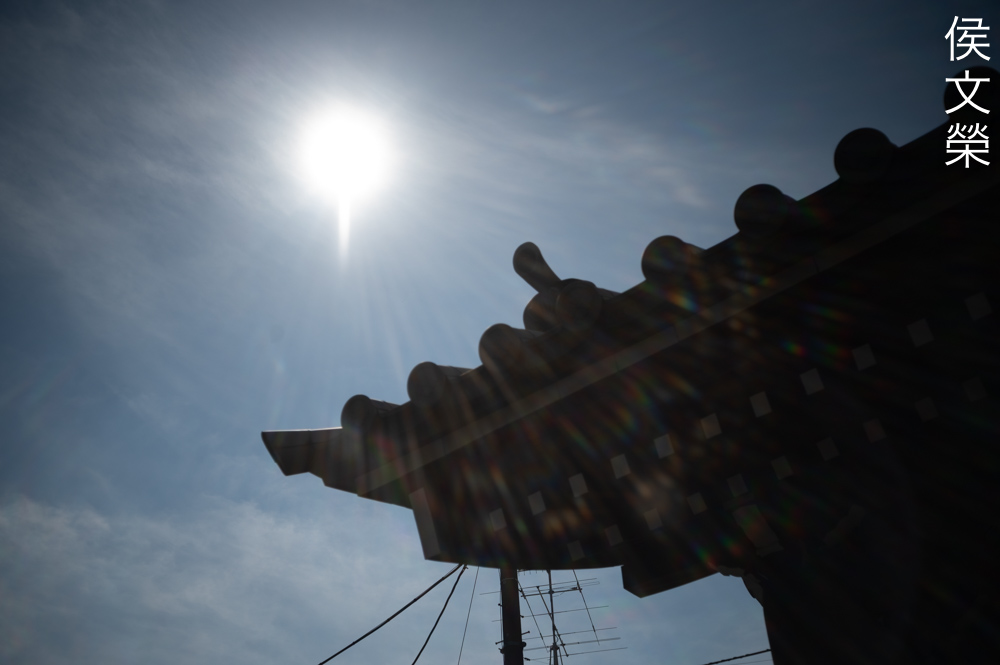
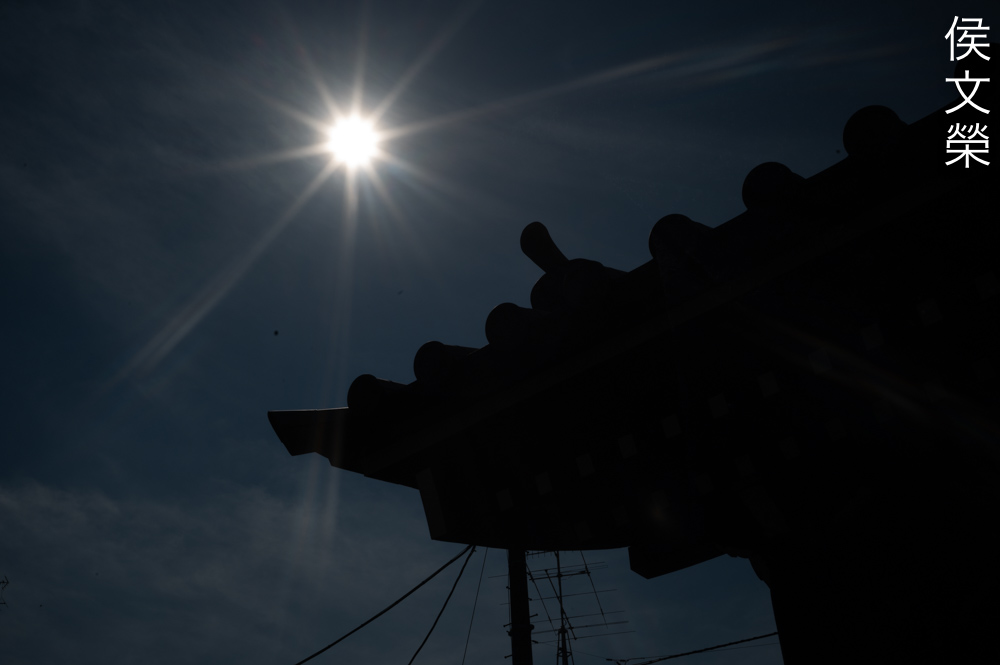
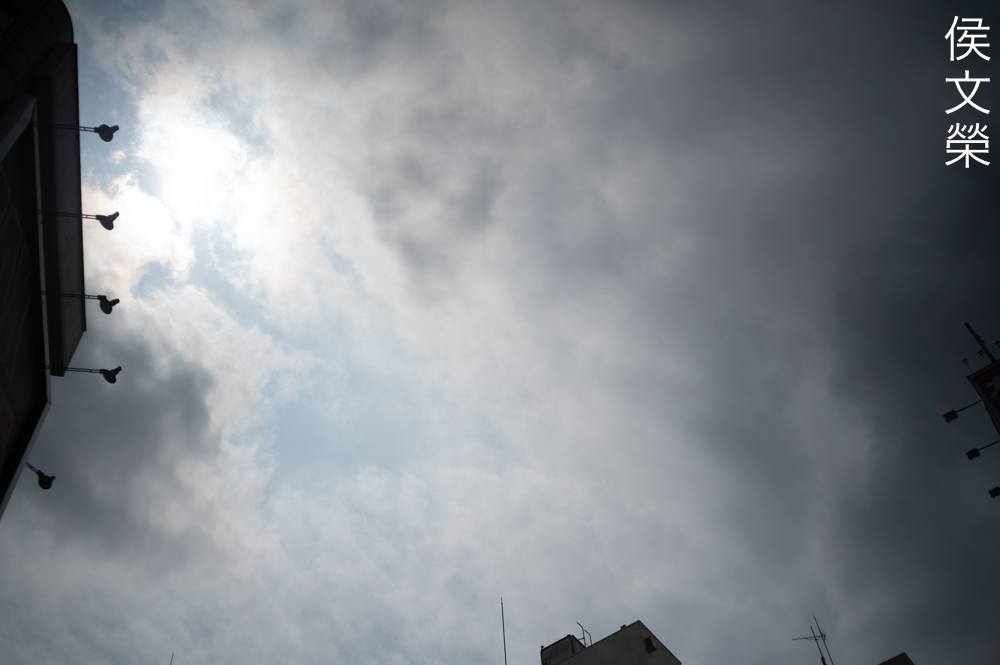
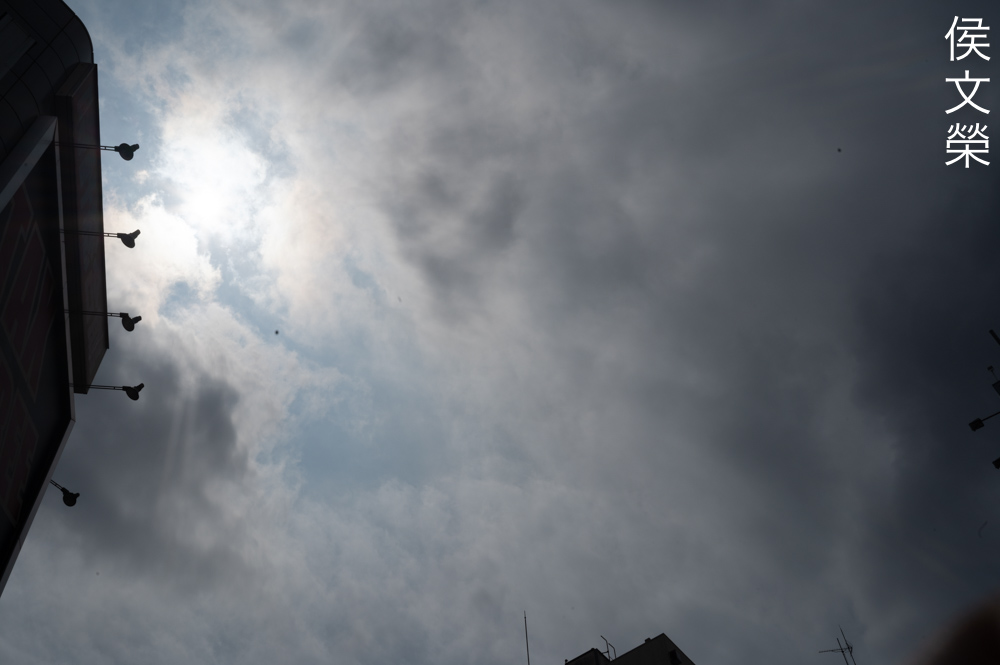
You’ll see some flare when shooting directly at bright sources of light which can look terrible depending on the angle. I couldn’t find any blobs, Tessars only have a few glass-to-air surfaces which helps a lot in preventing blobs from forming. I will be more aware of the flare more than the blobs in actual practice.
(Click to enlarge)
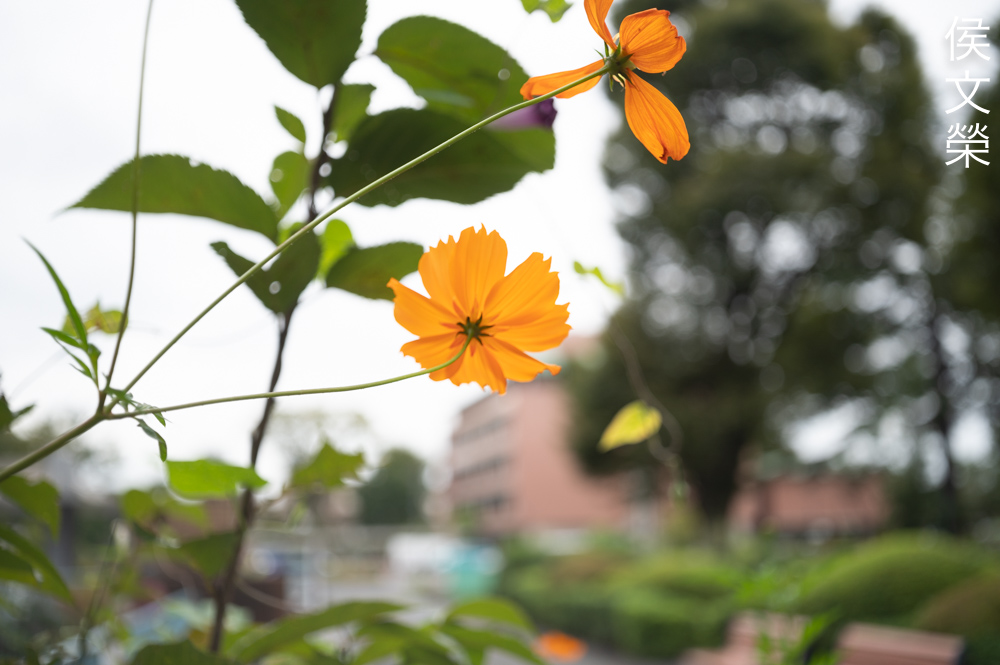
As usual the character of the bokeh isn’t the smoothest you’ll see. It is very typical of this lens design and to be fair I wouldn’t expect the quality of the bokeh to be exceptional.

(Click to enlarge)
Chromatic aberration seems to be controlled rather well and spherical aberration isn’t much of a problem, too. You will see your bright highlights “bloom” instead which can be beneficial to you if that’s the look that you’re after.


(Click to enlarge)
The center looks nice wide-open but the extremities look bad but not to the point that they’re unusable. Contrast looks nice so far and the resolution doesn’t look bad, too. Stopping this down to f/5.6 will make the center look a bit sharper, that’s because it already looks nice at f/4.5, any improvements we see here is caused by the improved resolution. We’re going to see the biggest improvement at the extremities, it’s still not as sharp as the center but they’re certainly nice. It improves some more by f/8, the center doesn’t seem to improve much but the corners now look much nicer except for the extremities which I don’t think will improve even by stopping this down to f/16 but who knows?
The character of the bokeh isn’t the best as we already knew. Even when shooting at closer distances you could observe some smudging specially with linear-details.
It’s very sharp when stopped-down but it won’t help with improving the look of the bokeh. You won’t see much of it here but the original photo shows just how rough the character of the bokeh is.
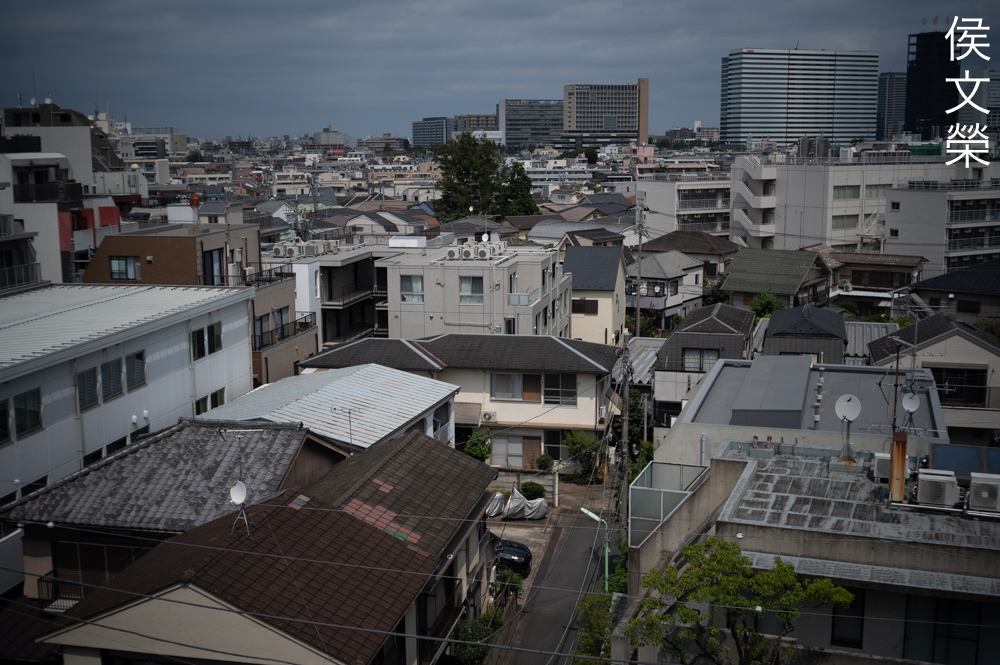
The corners look acceptable even when shooting wide-open but this isn’t true when shooting at infinity.
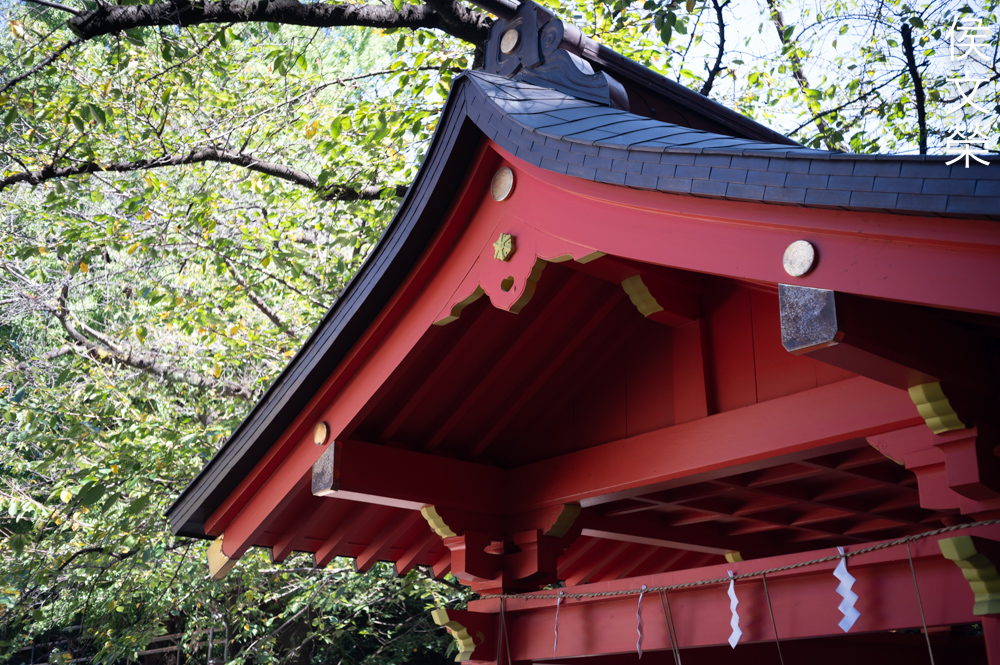
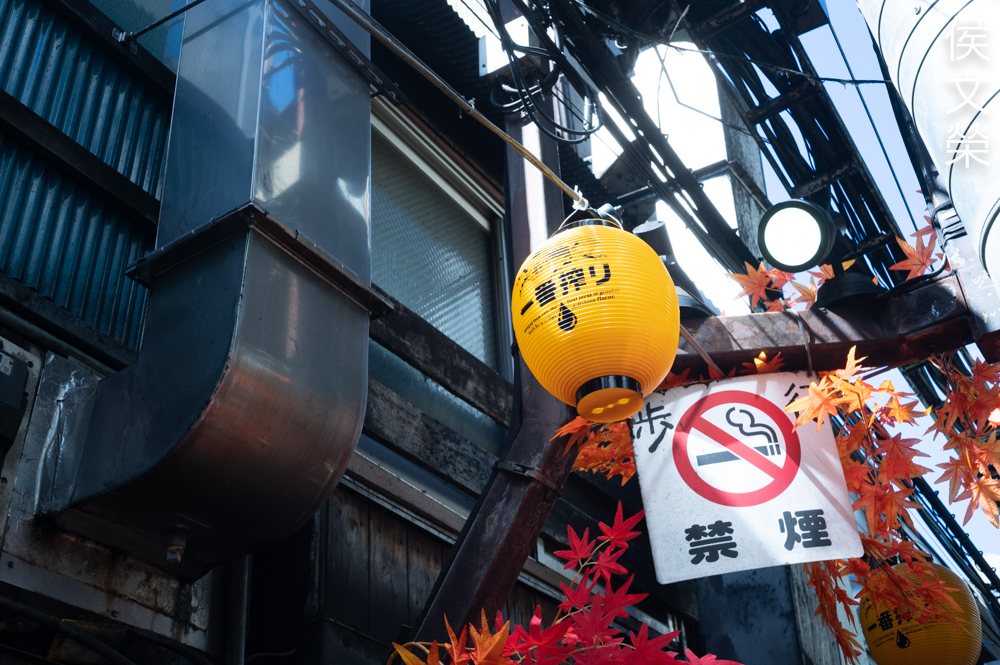
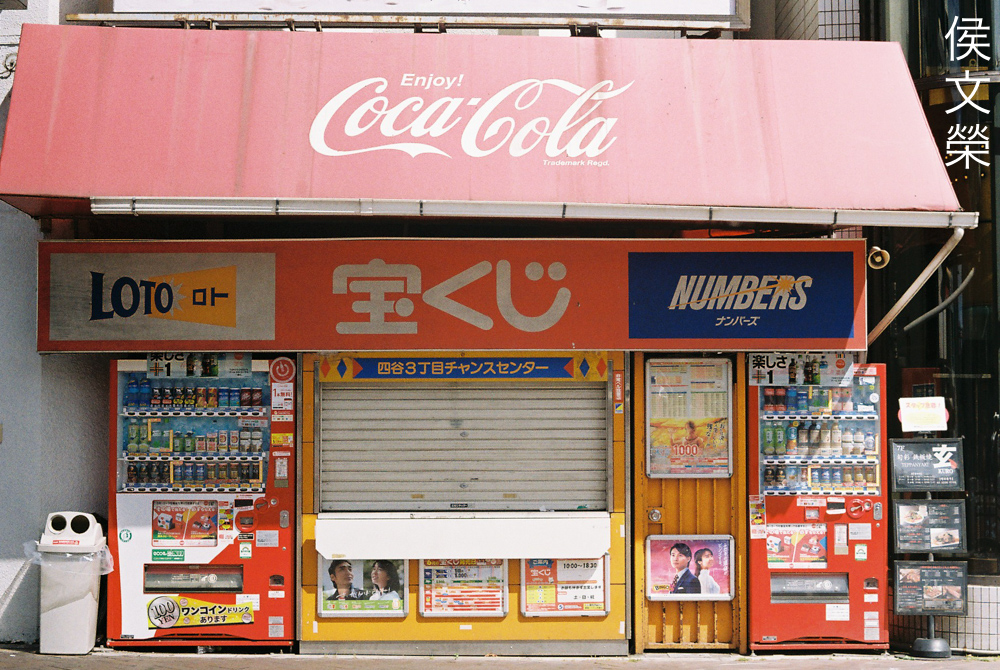
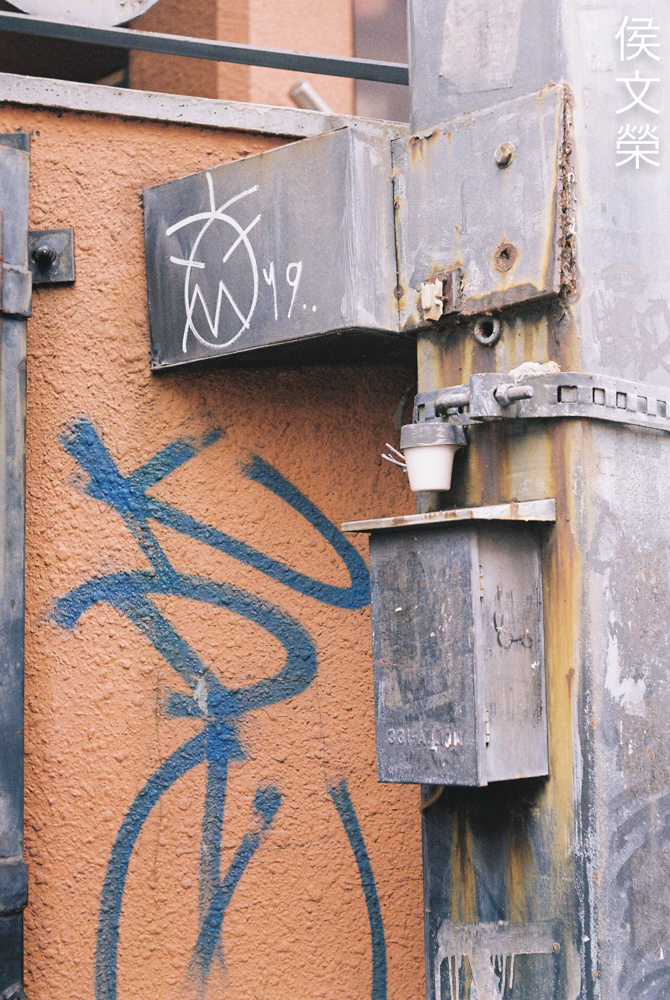
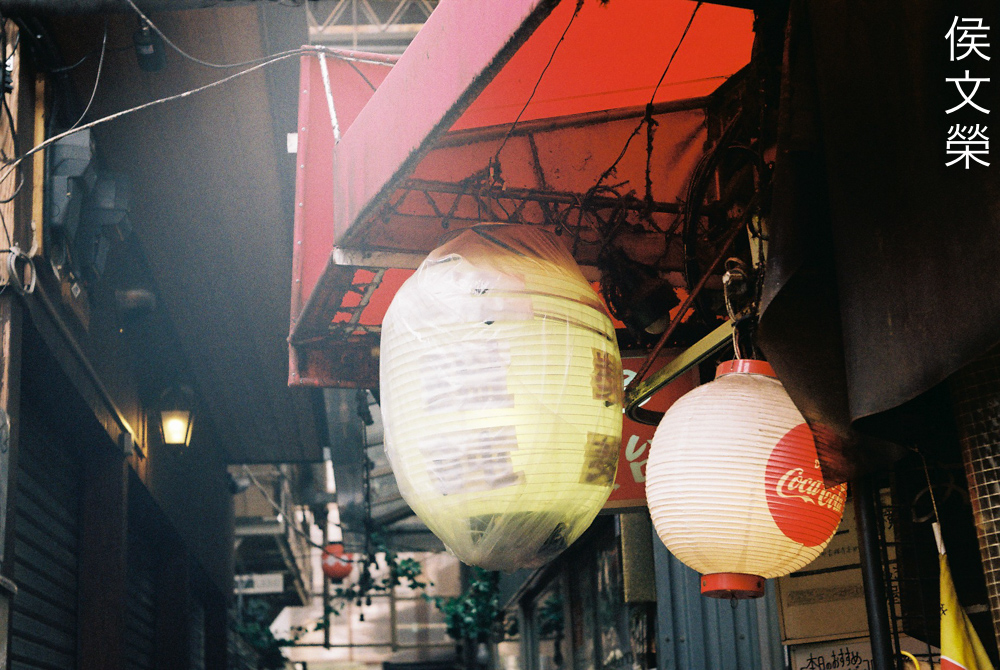
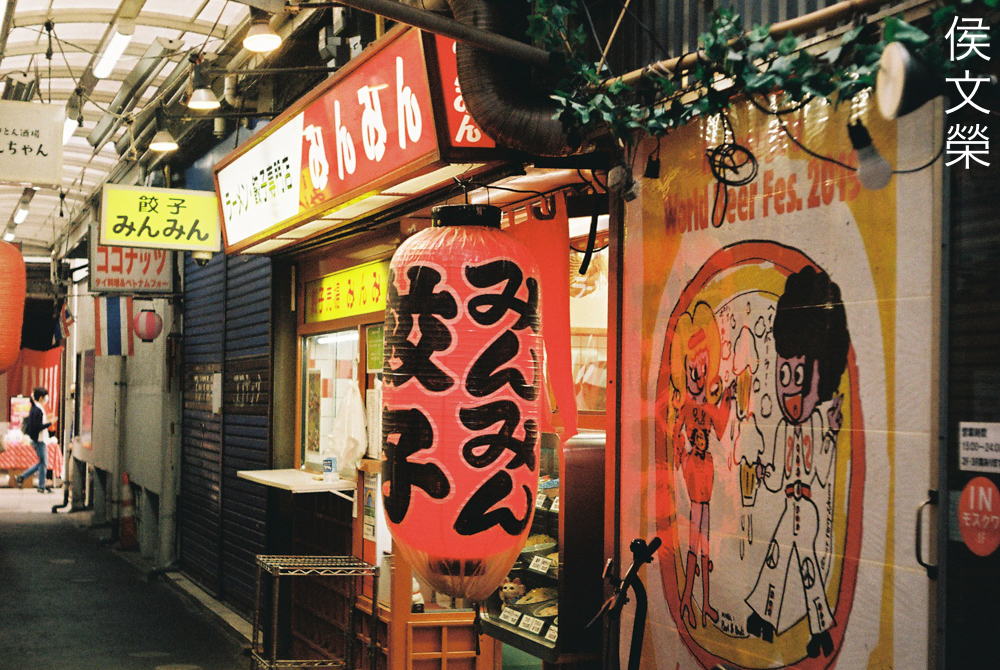
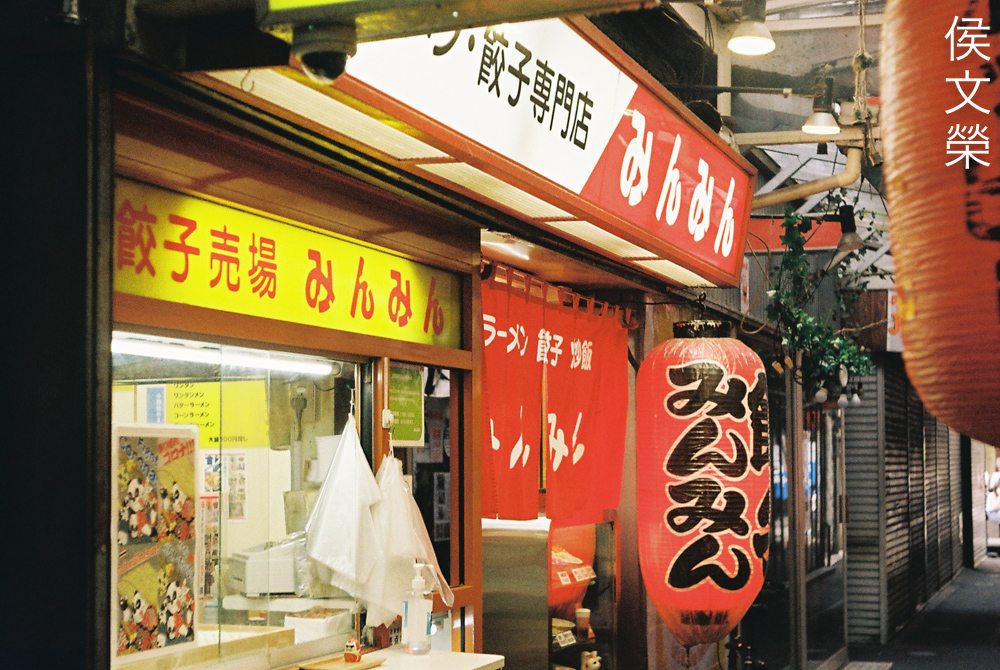
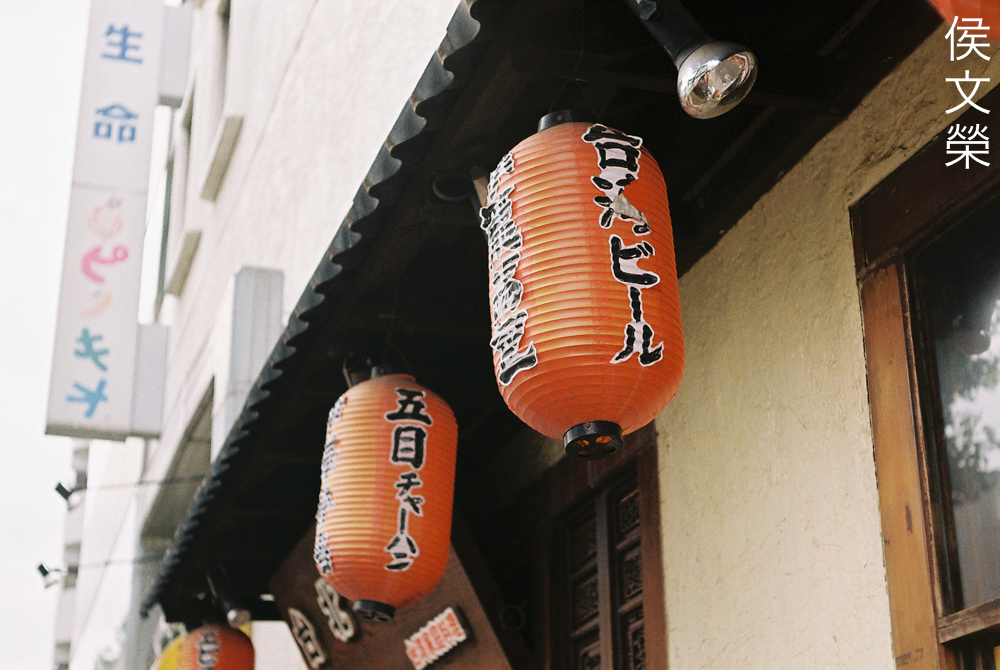
Contrast looks nice and the saturation doesn’t look bad either. I love of how it renders reds and yellows, I occasionally see vintage lenses struggle with these colors.
This lens renders on the slightly-cool side but not as much as some old lenses do. While digital cameras could easily adjust for this you’ll sometimes get a bluish-tint in some of your photos.

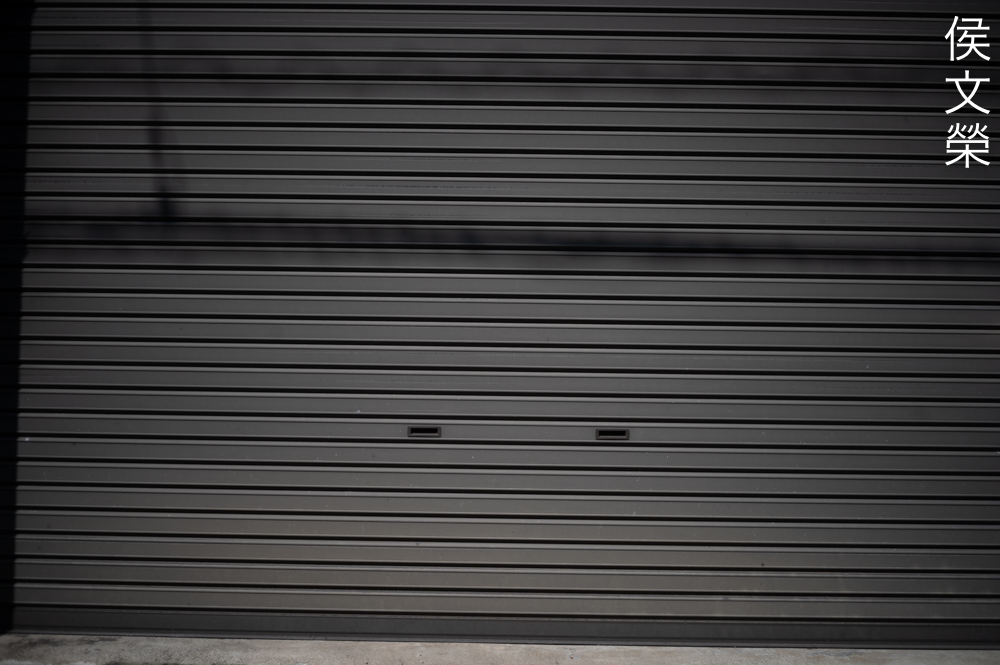
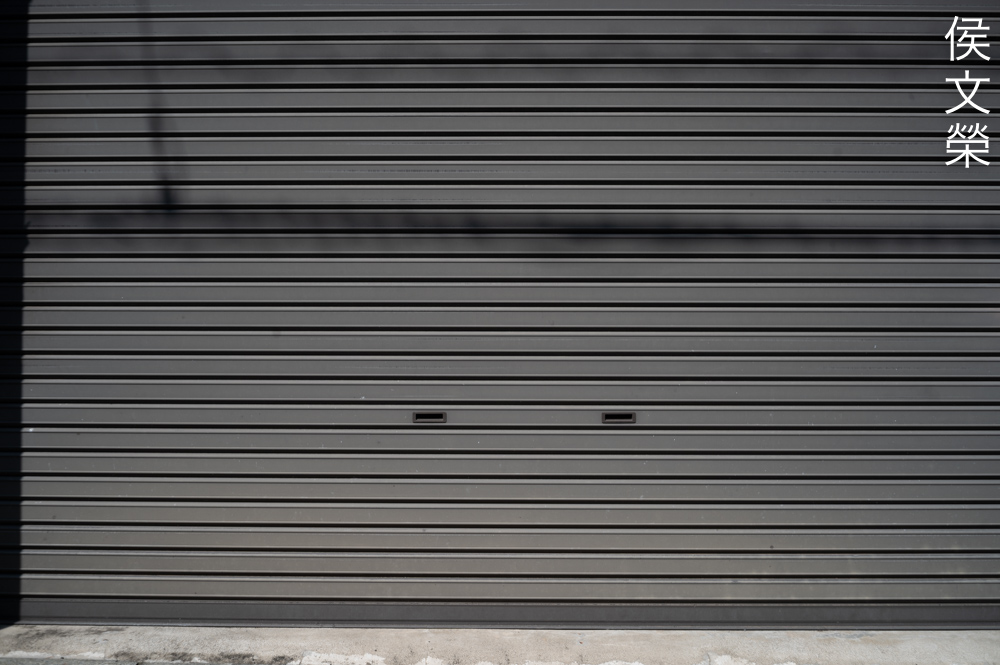
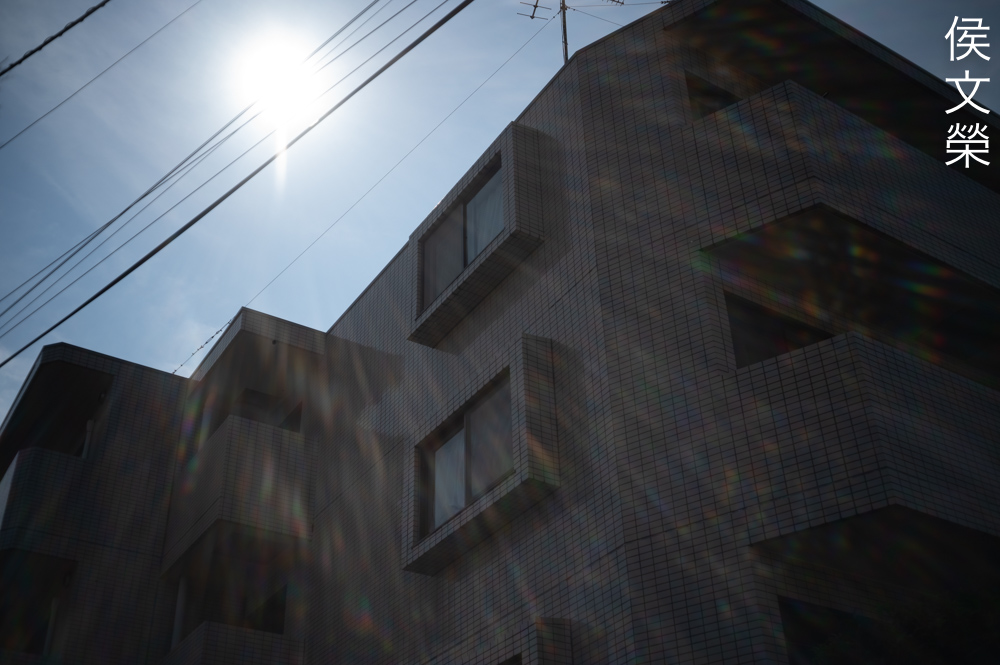
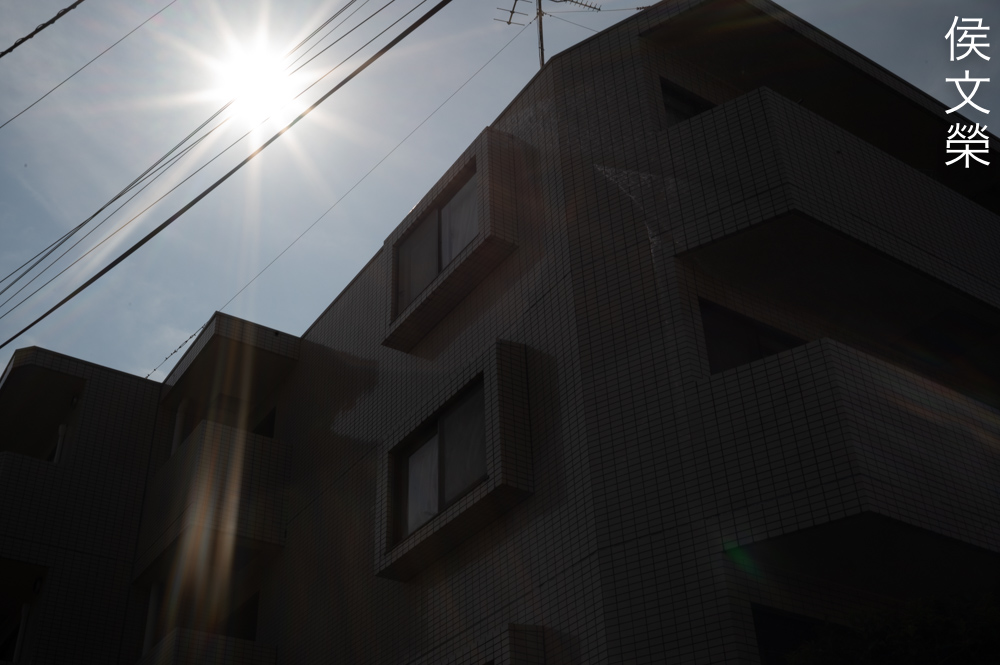
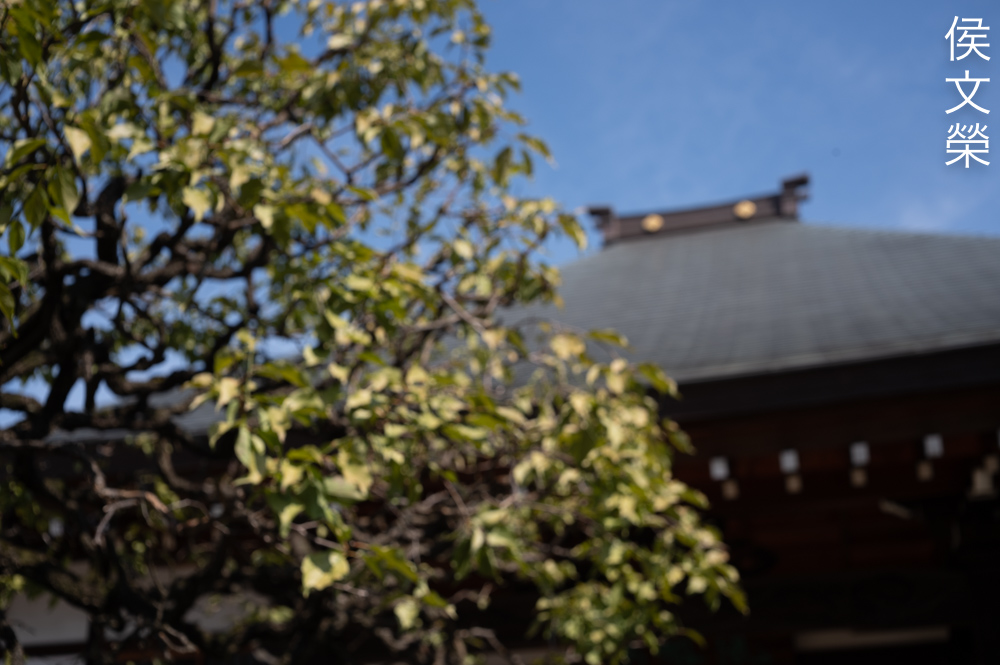
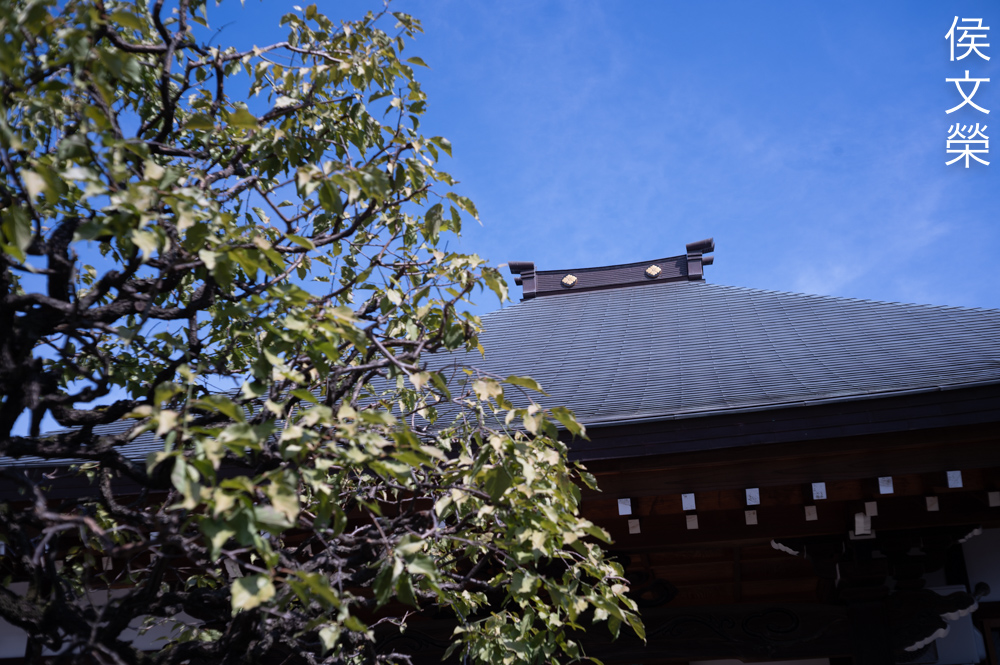
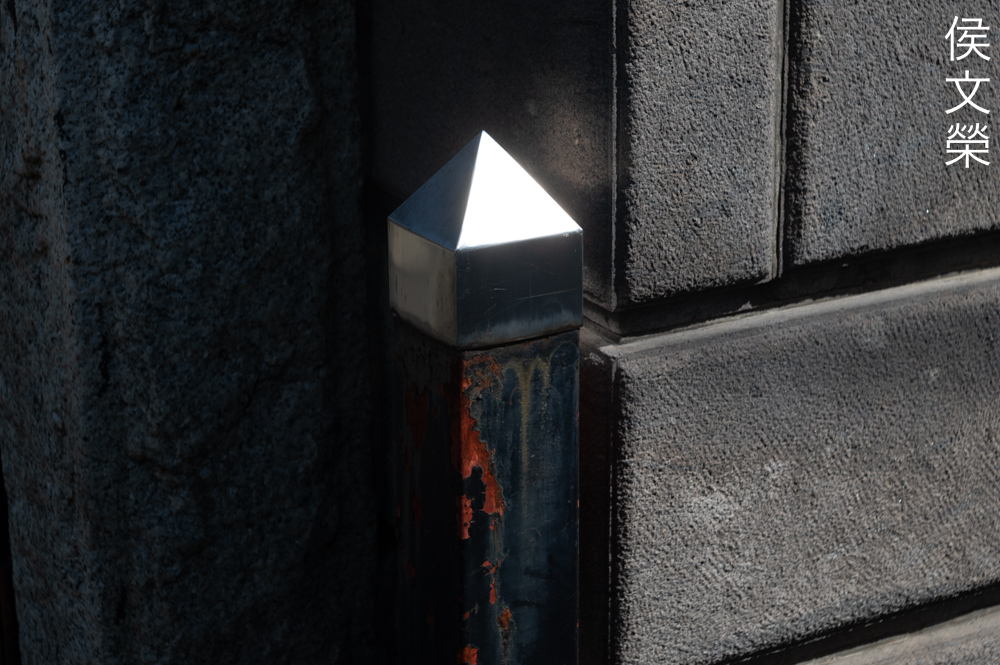
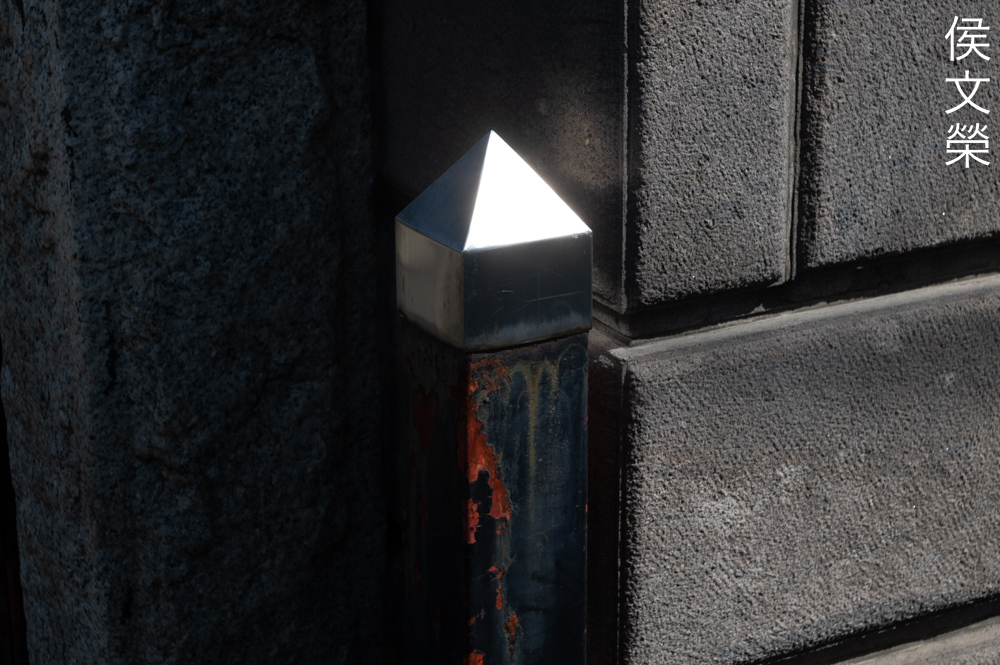
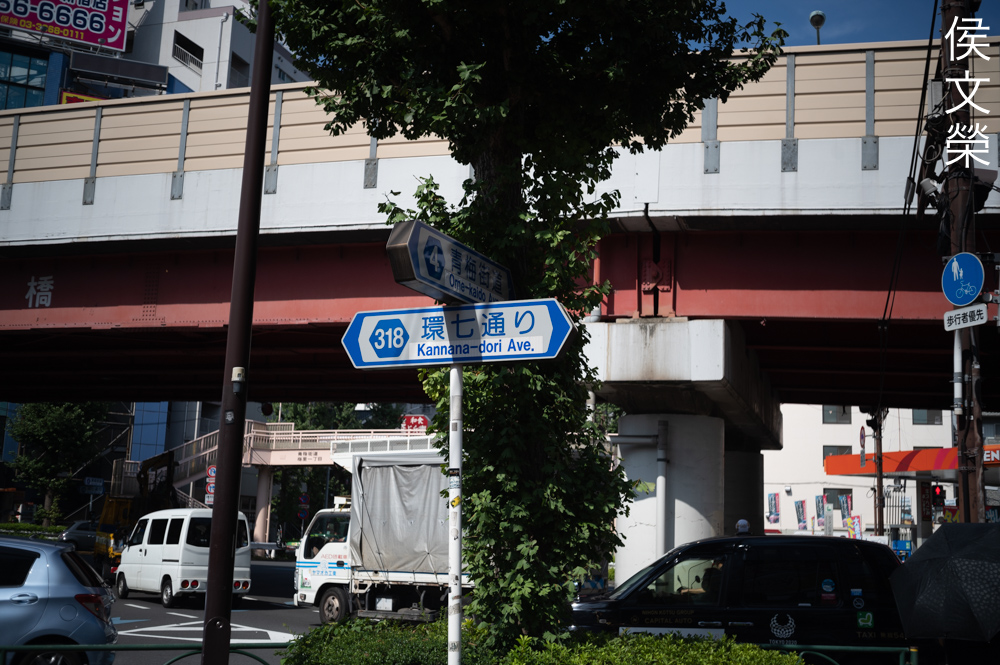
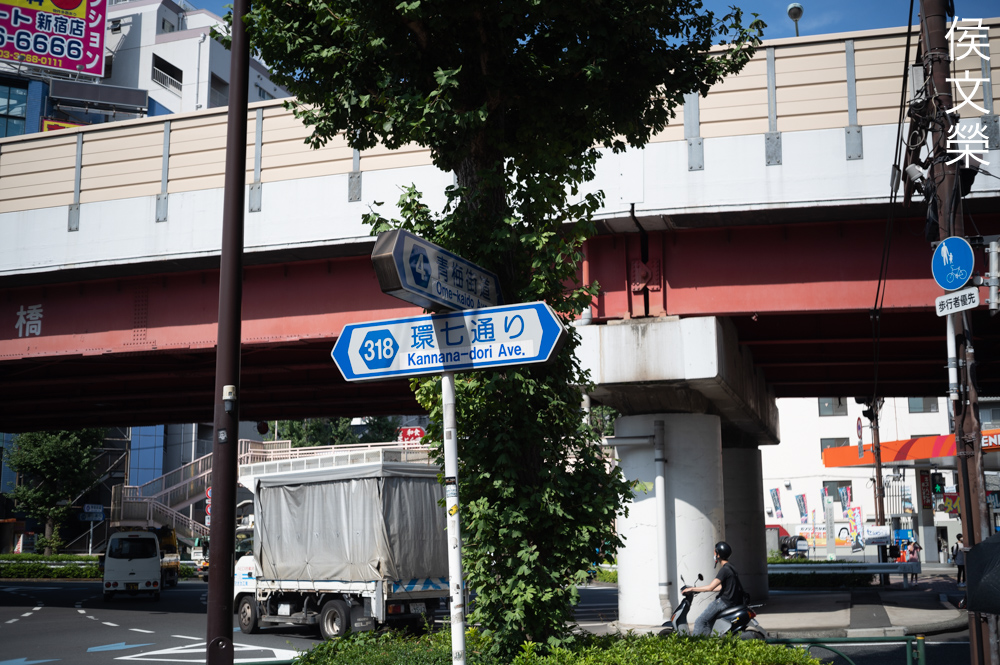
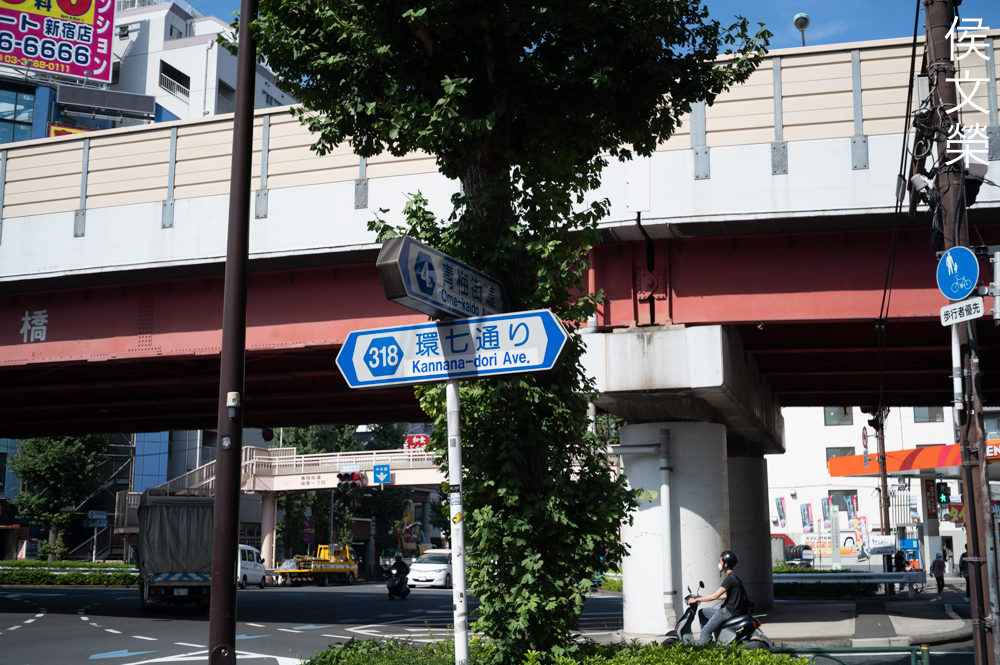
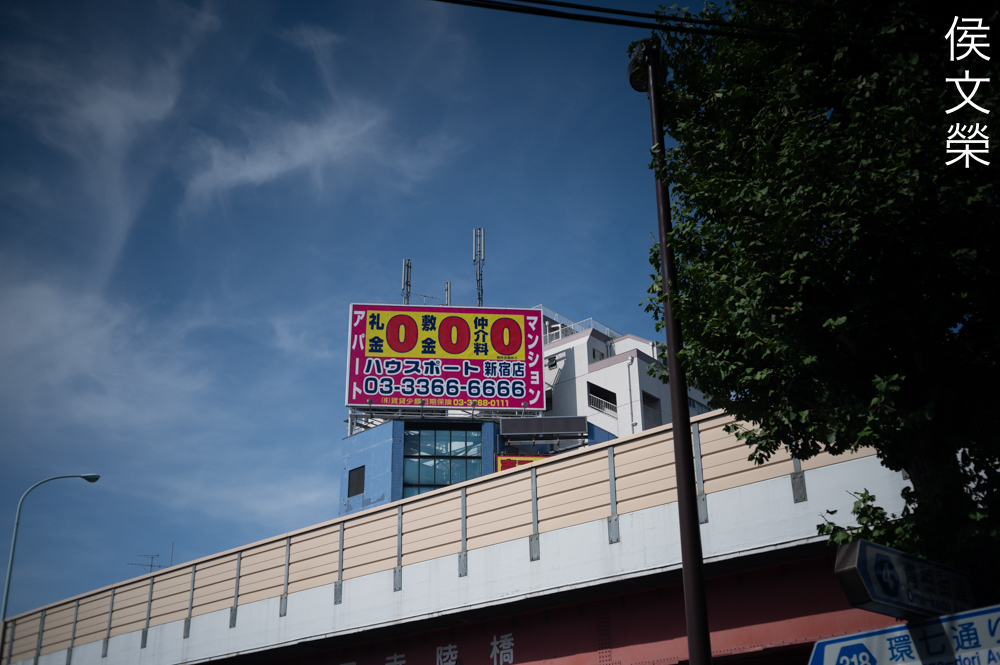
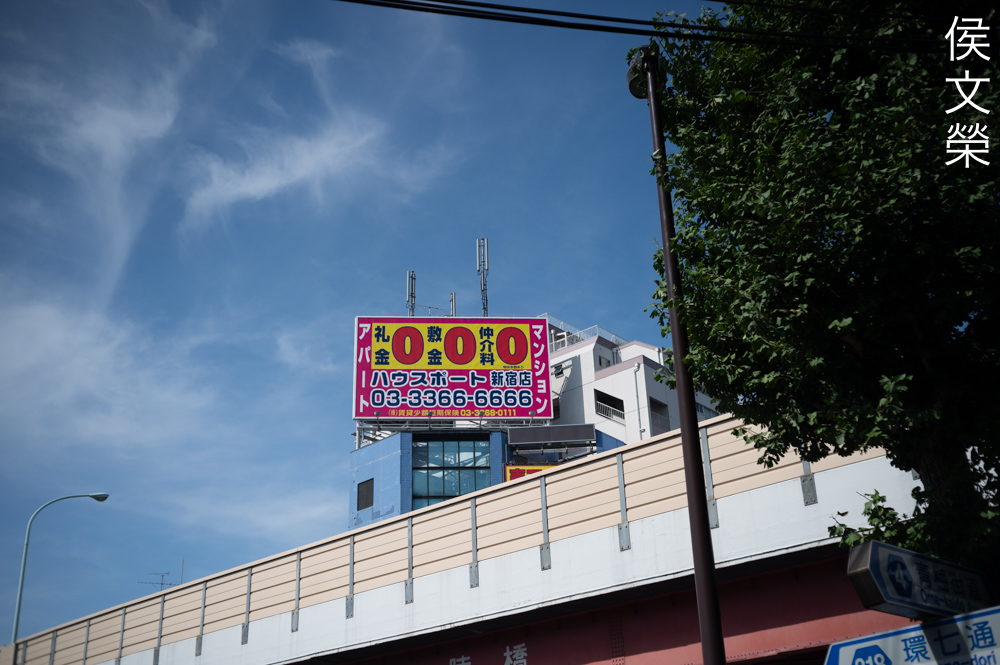
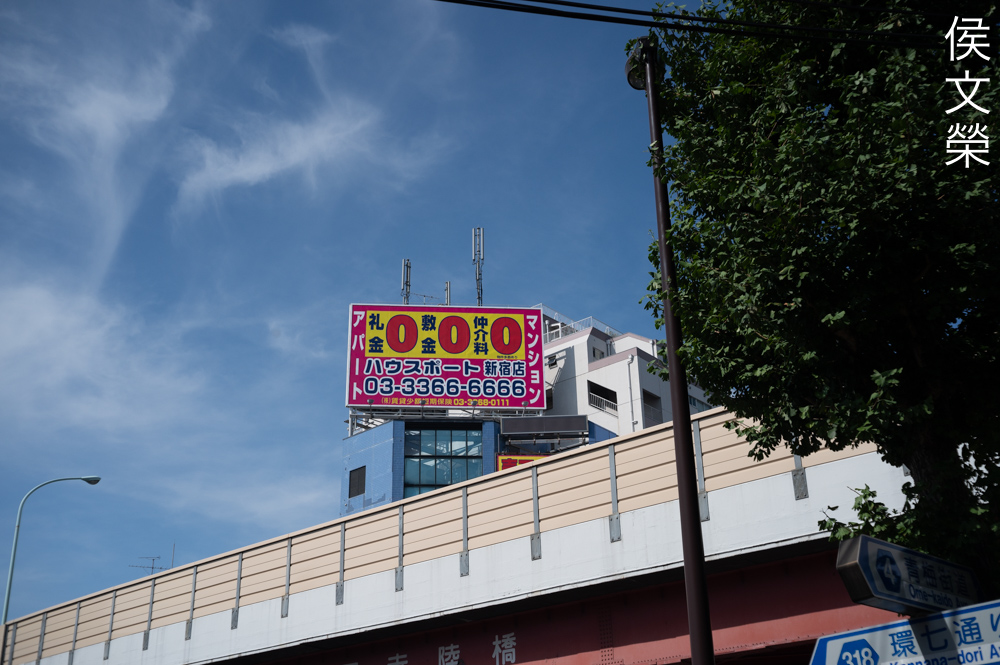
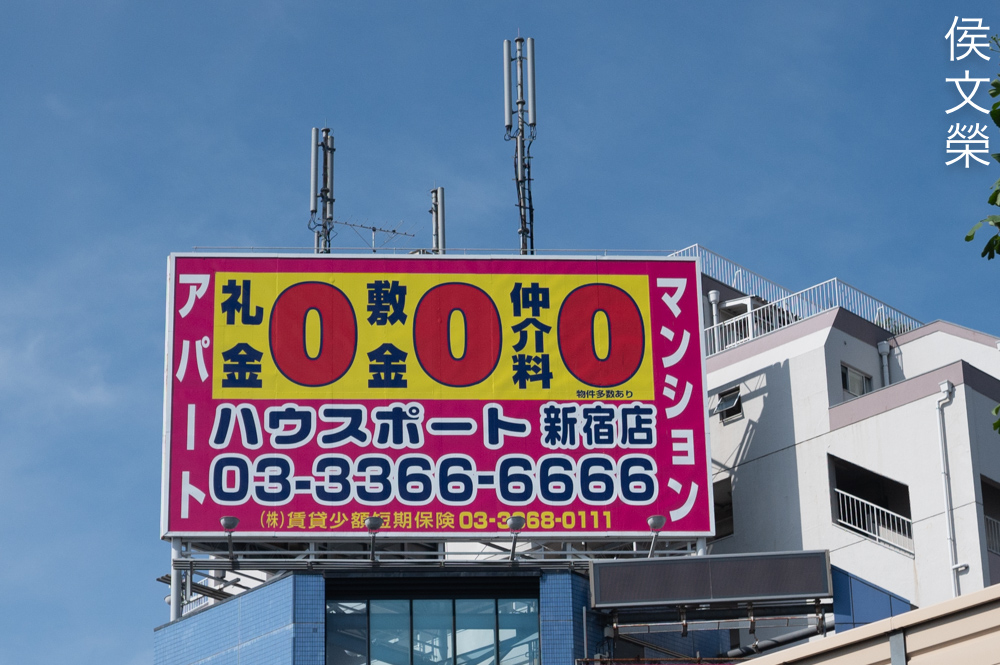
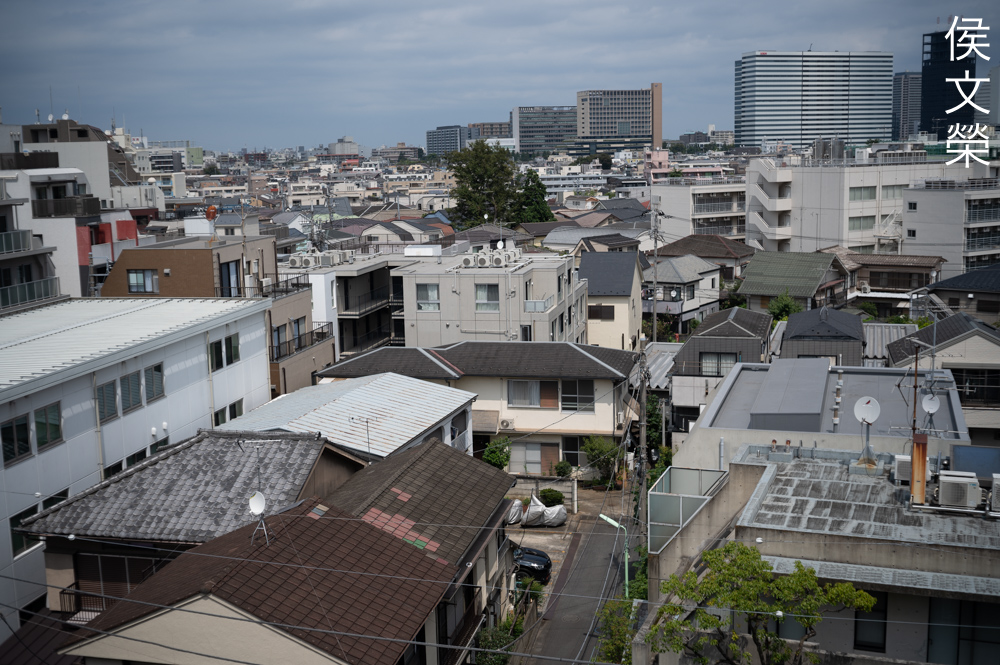
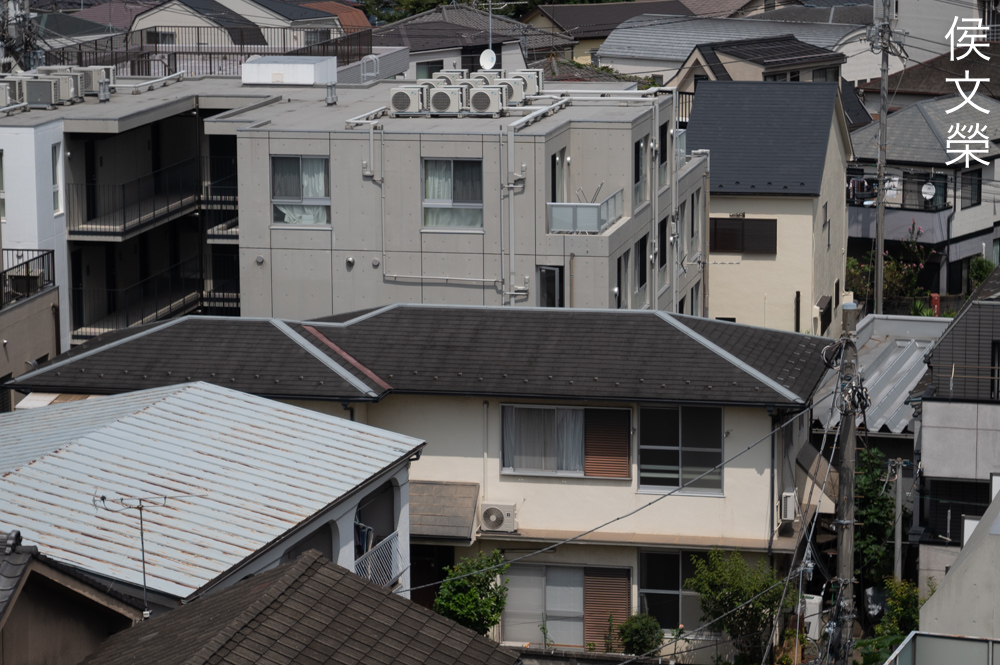
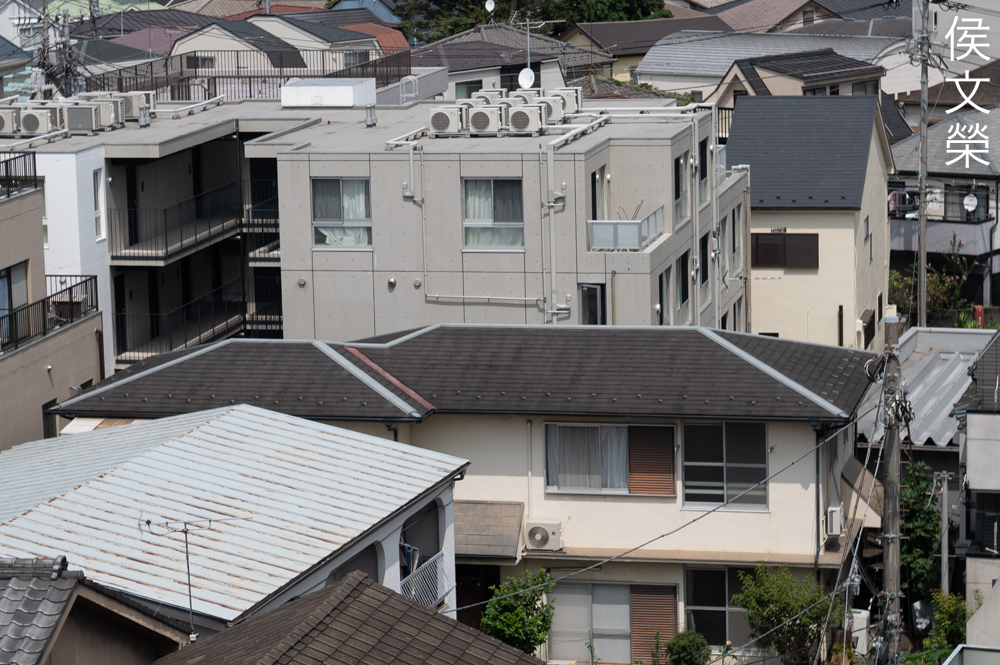
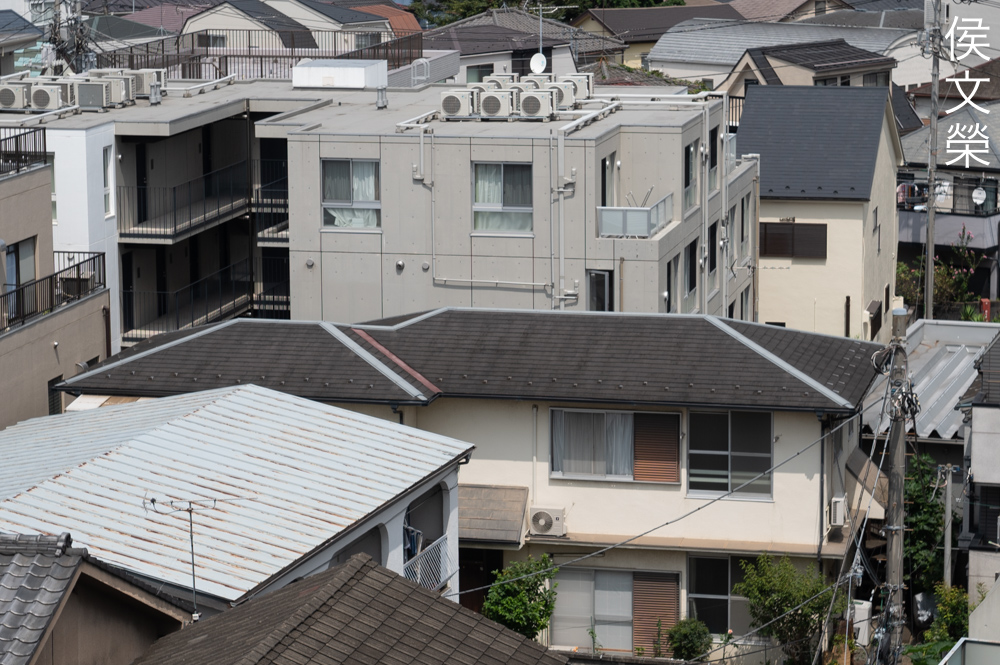
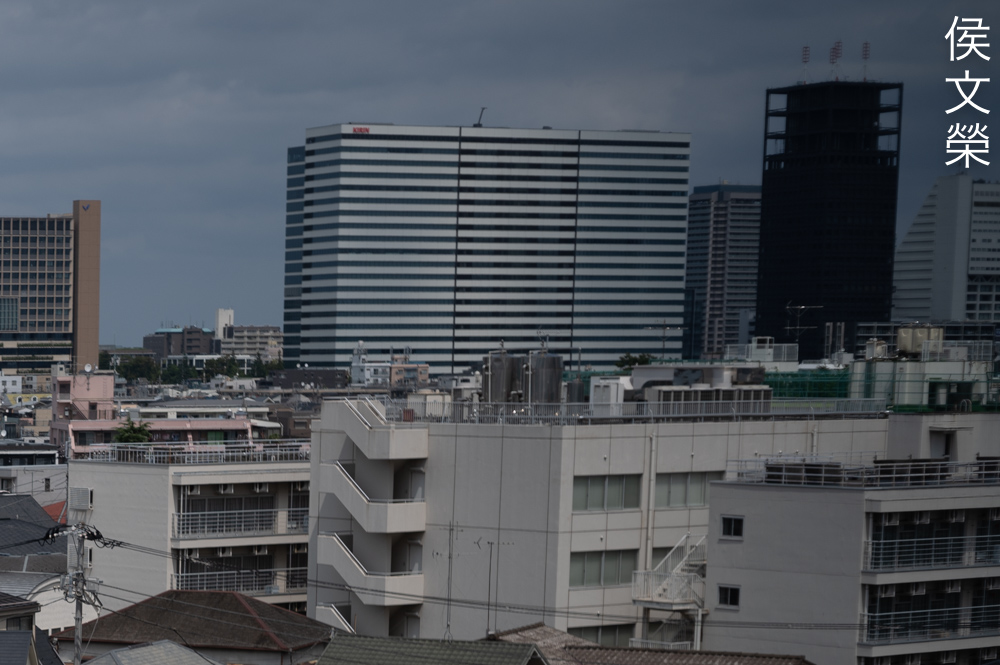
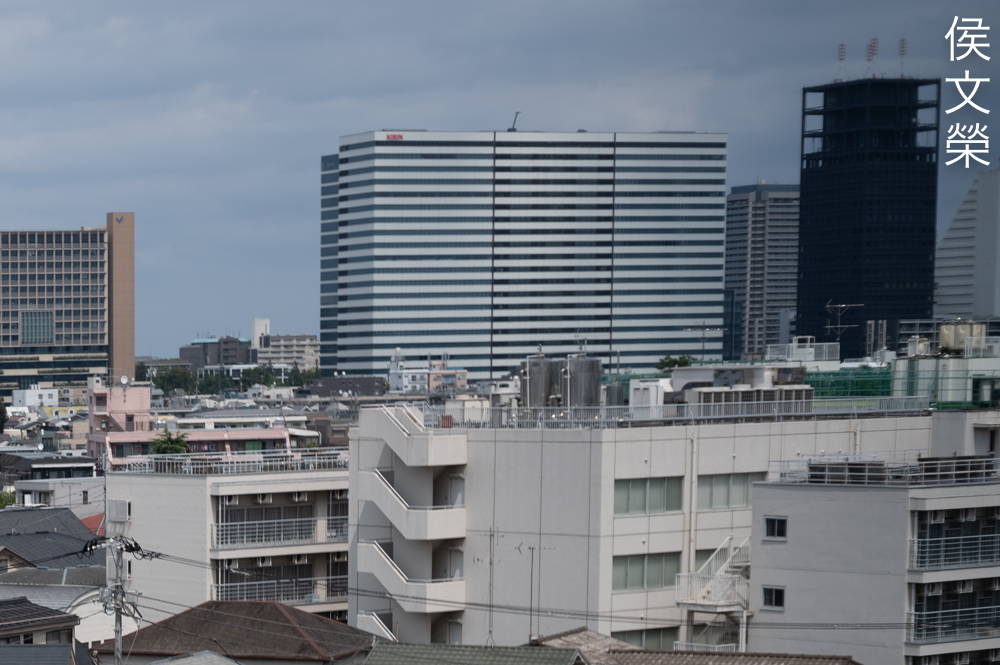
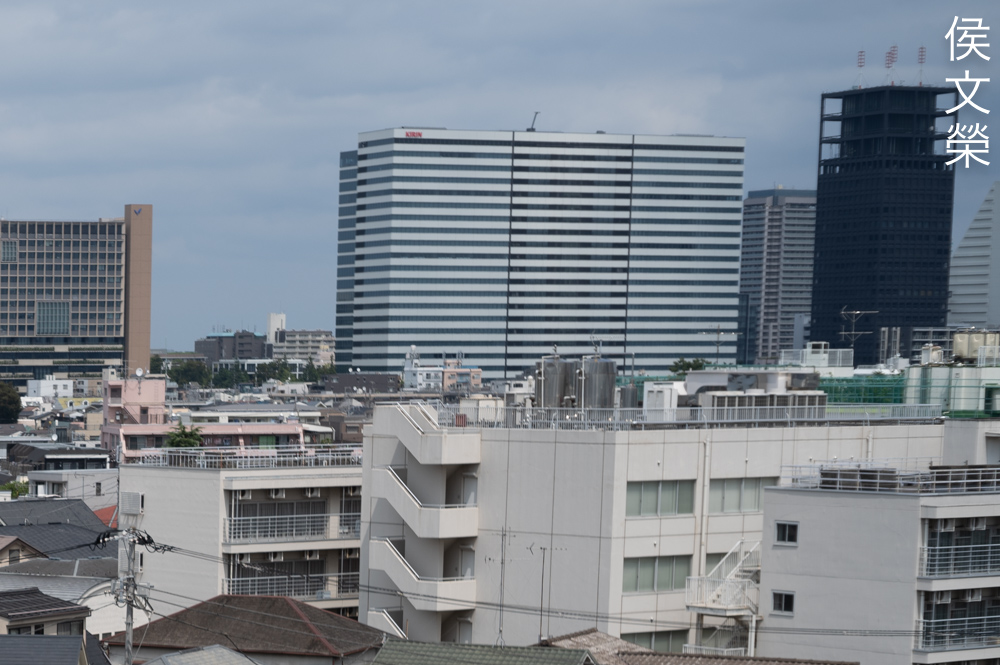
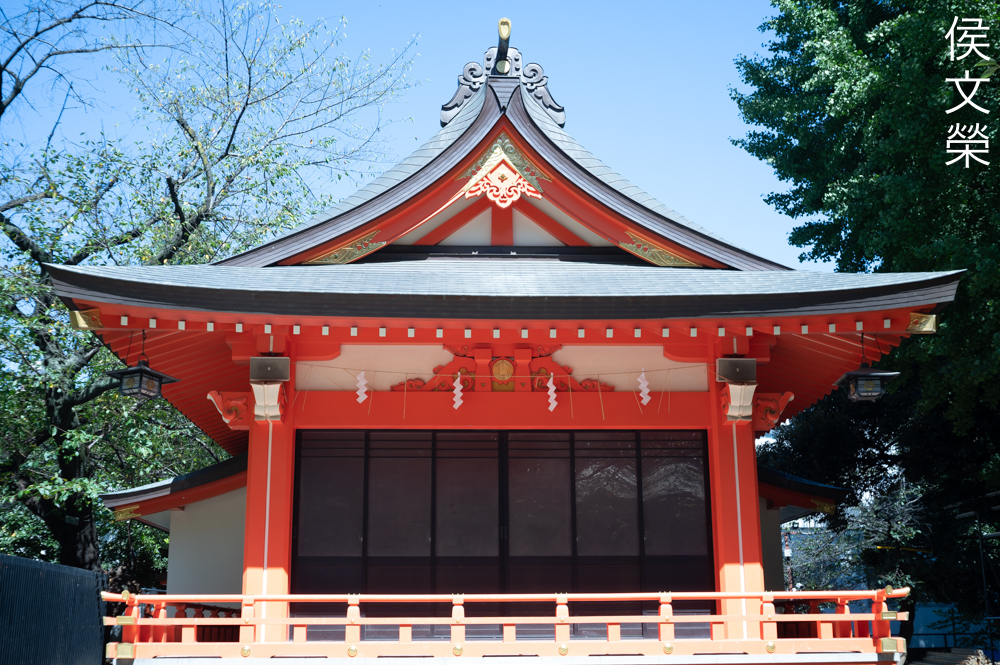
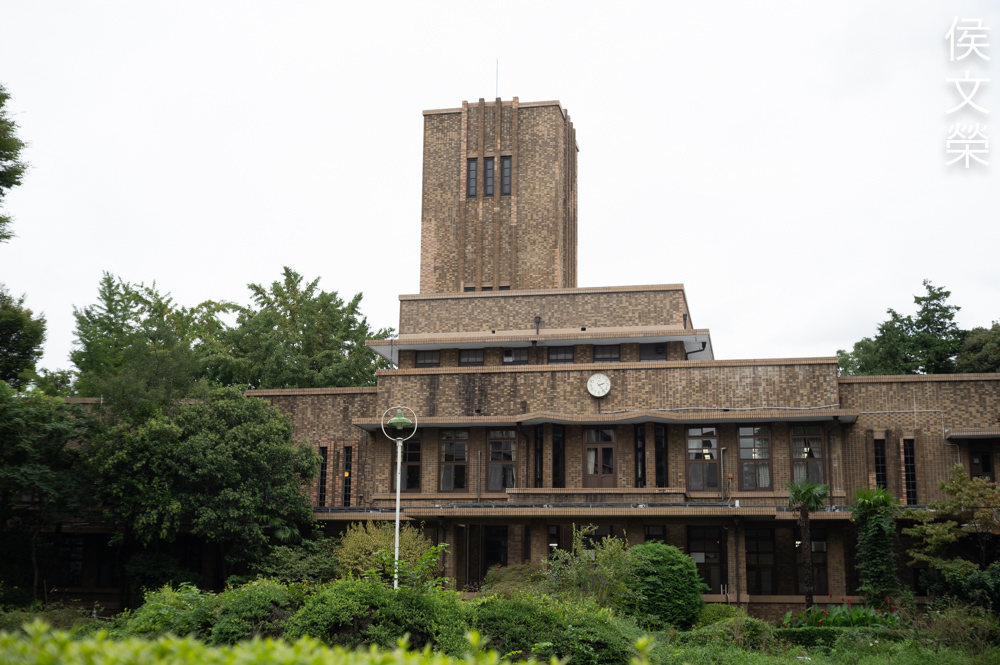
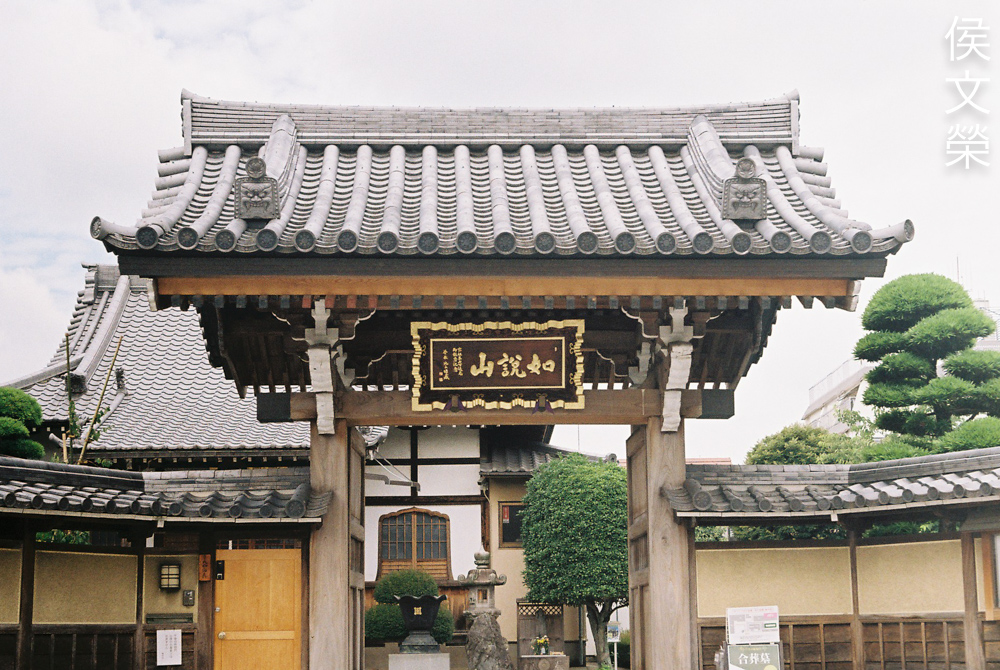
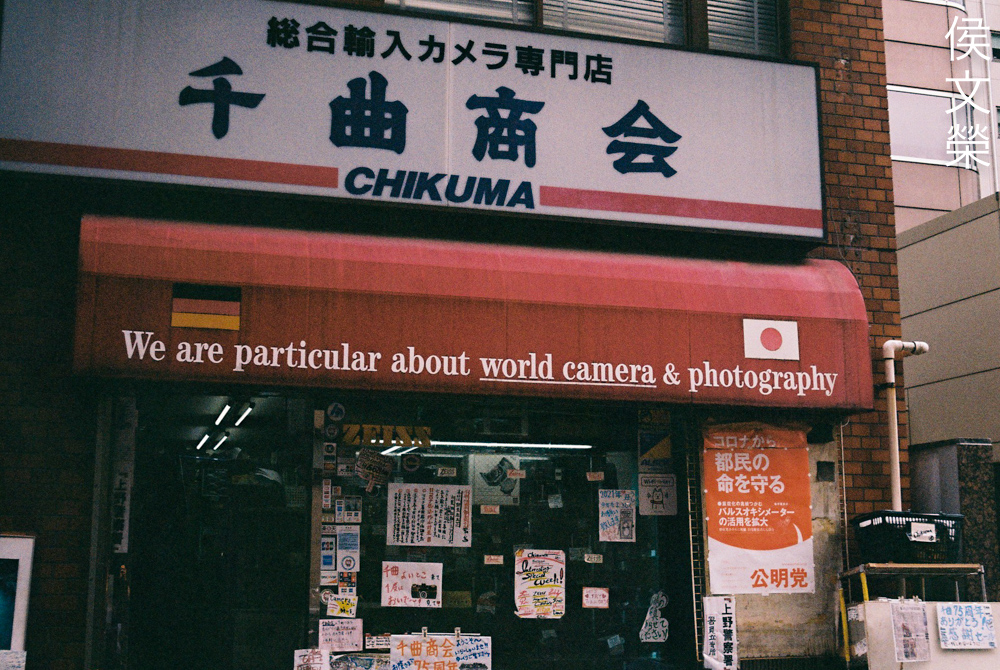
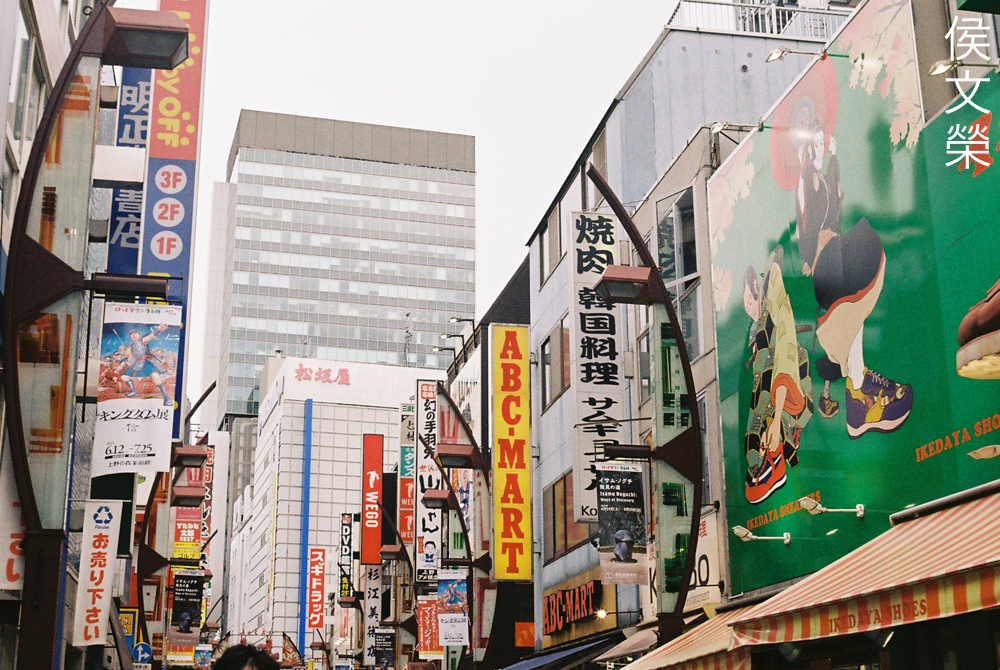
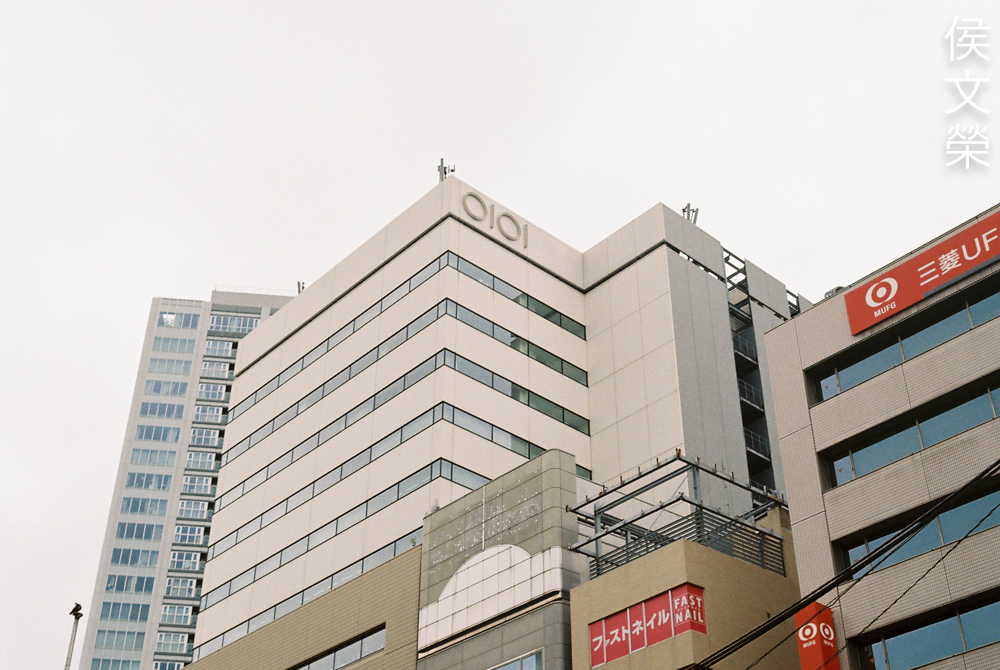
This is very sharp once you’ve stopped the iris down to about f/8, this makes it a great lens for shooting buildings on a sunny day.


(Click to enlarge)
Here are some more photos for you to enjoy. It’s a nice lens for street or travel photography because the field-of-view sits between 35mm and 50mm. I think this is the biggest reason for shooting with this and I couldn’t think of anything else to be honest.
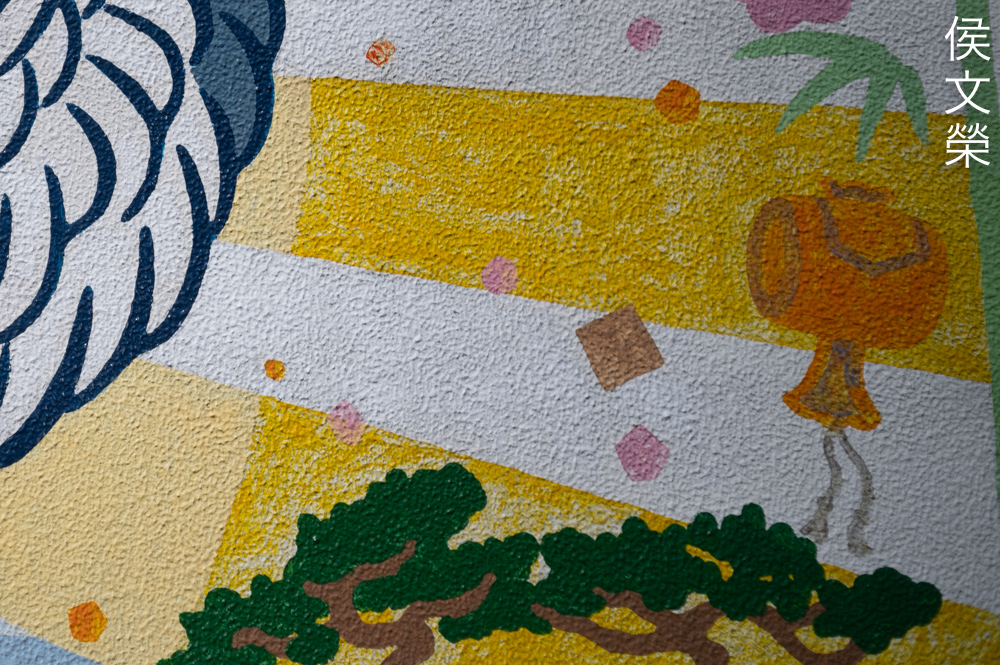
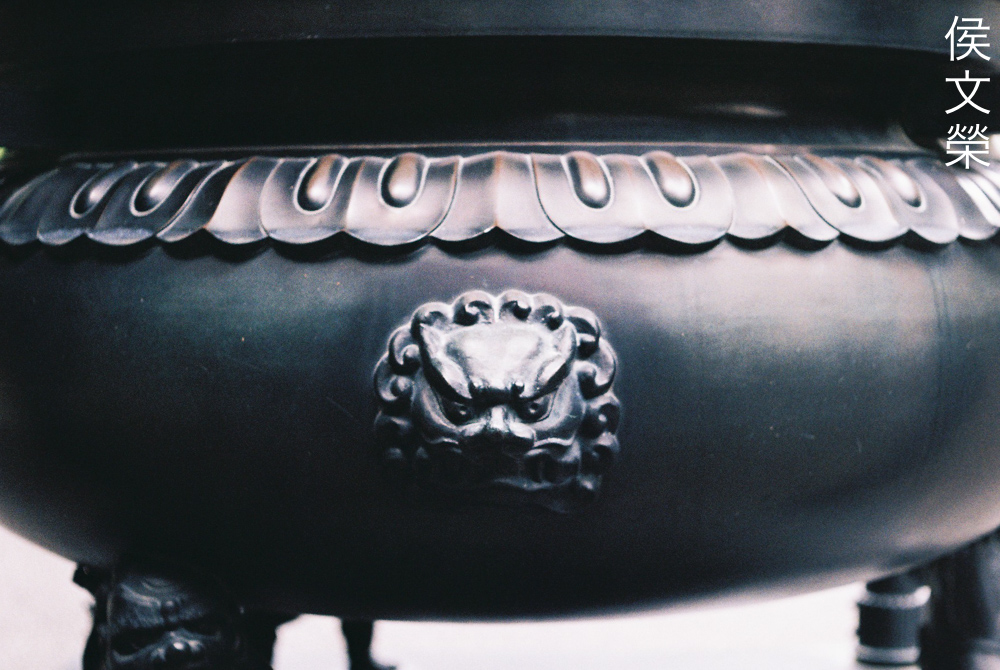
Let’s now check some film photos. Film has a unique look that is hard to simulate with a digital camera thanks to grain. It reacts differently to light, this means that it could mask a lens’ flaws or amplify them. Since this was designed to be used with film, it’s best that we judge this using its intended medium.

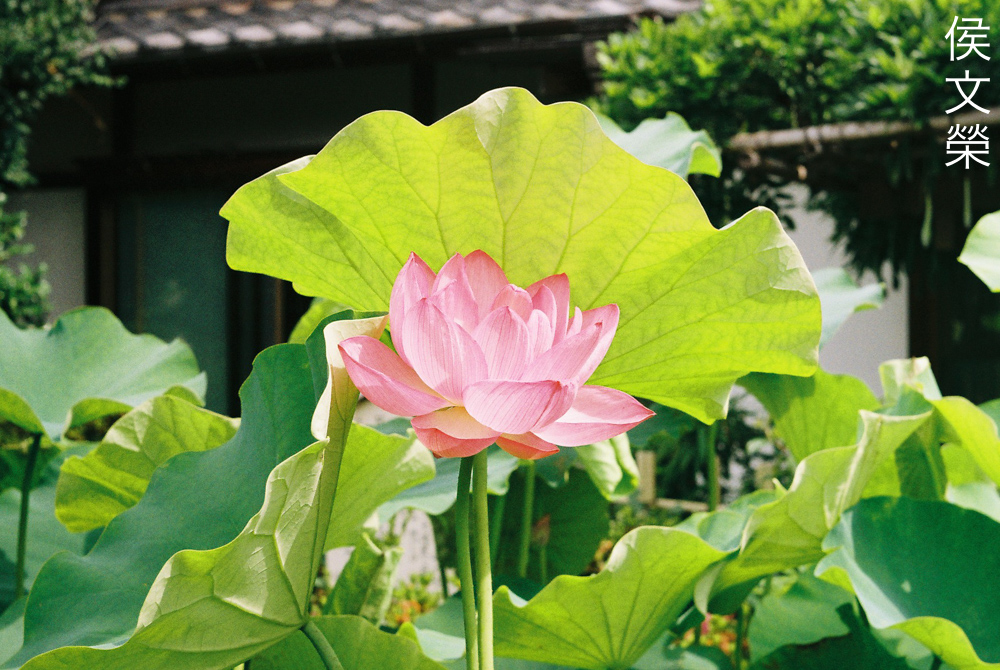
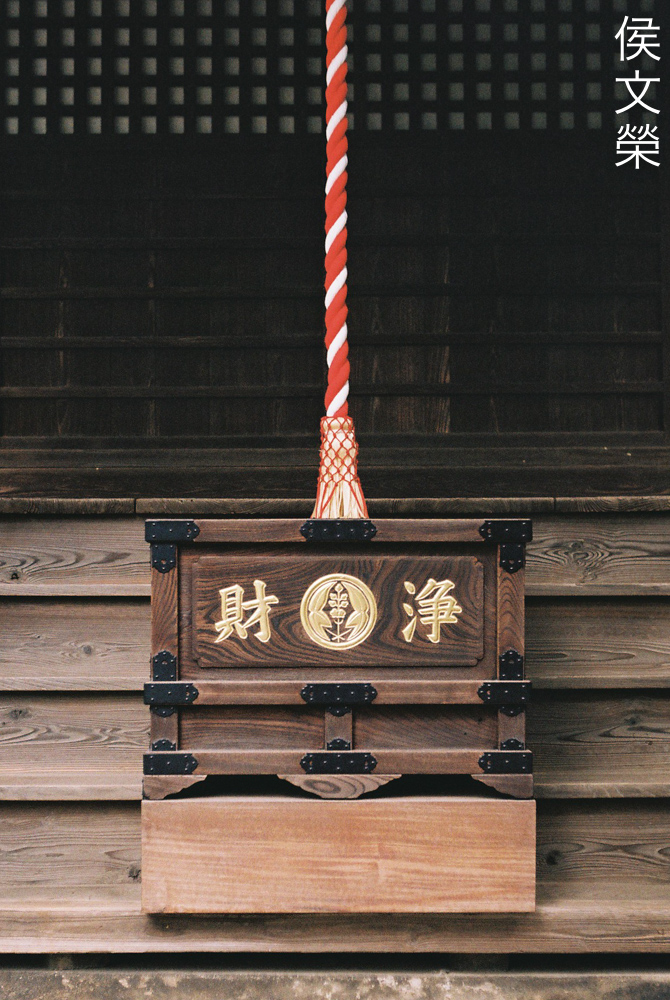
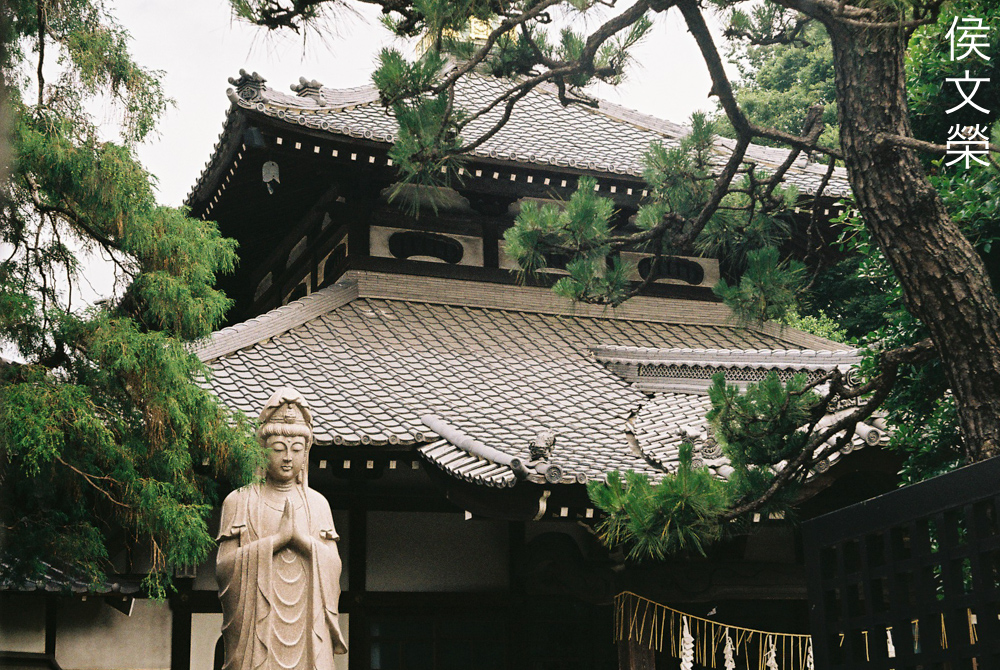
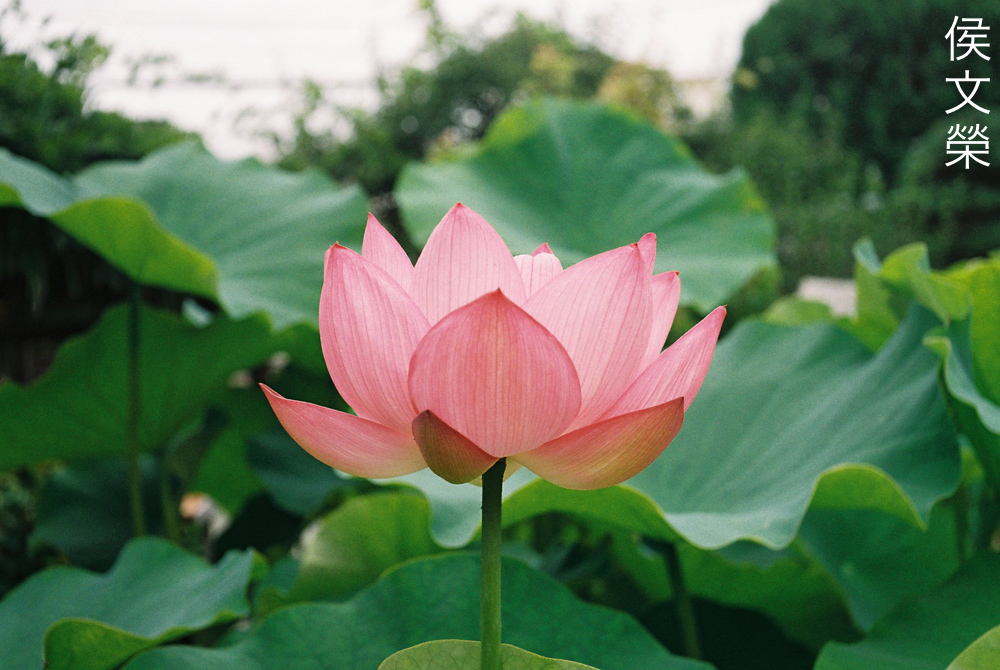
This is how close you could focus with it. I wanted to focus at the center of the lotus blossom but the dim viewfinder made that difficult, having a wide depth-of-field even when shooting wide-open wasn’t all that helpful, too. Despite that I think the photo is nice because it’s sharp where it needs to be.
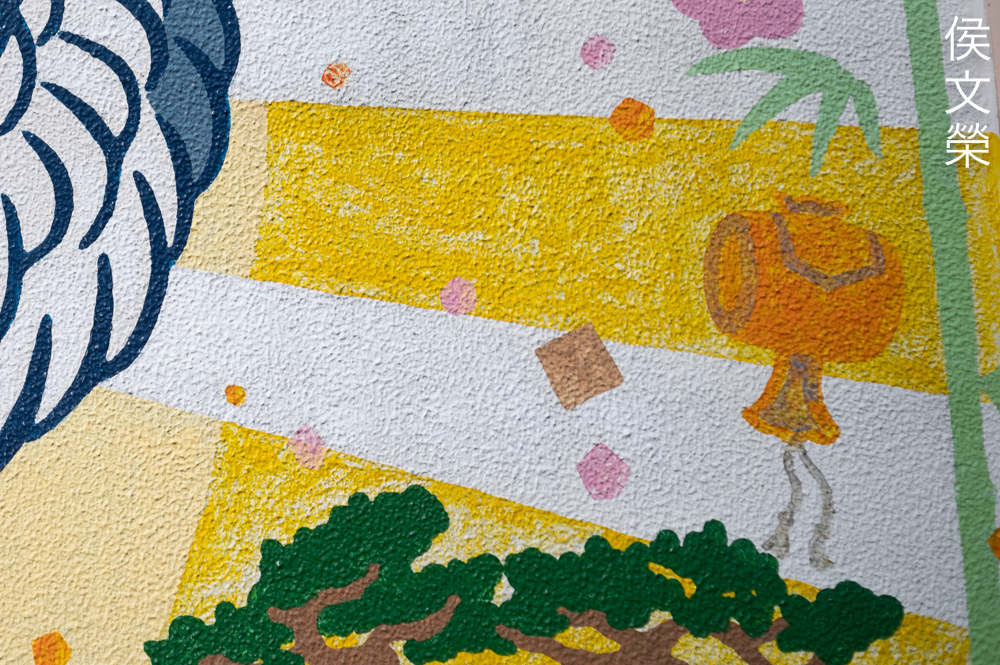
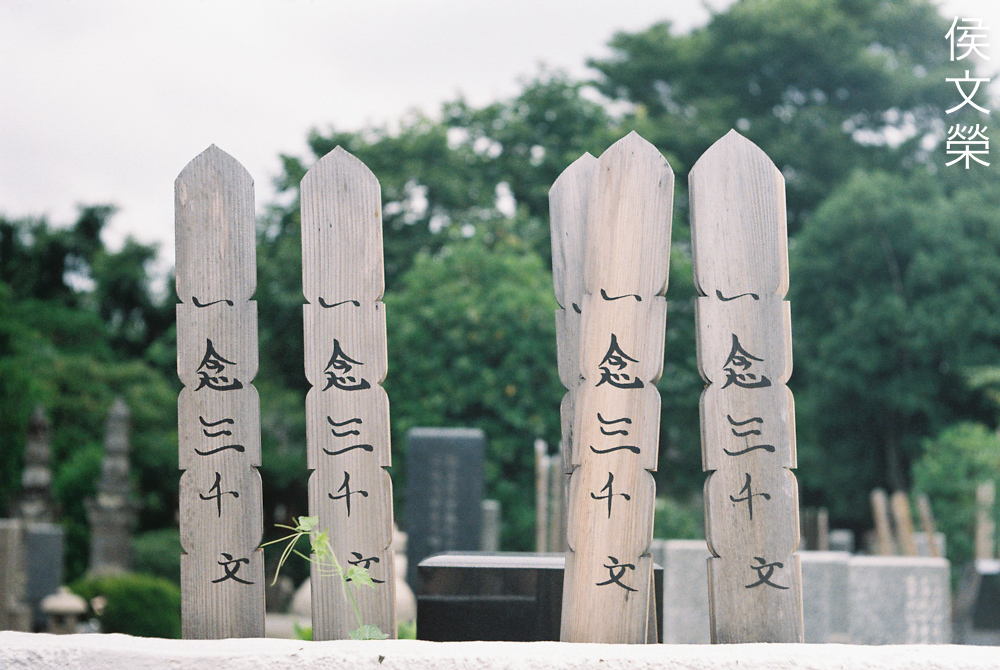
Stopping the iris down to at least f/5.6 results in sharp pictures specially at the center. Its color rendition is neutral and any shifts in color will be the result of the film used, in this case I was shooting with Kodak Pro Image 100 which is known for giving a slight yellowish tint like most of the stocks in Kodak’s portfolio.
Tonality is nice and Kodak Pro Image 100 is known for giving you less-saturated photos which helps a lot if you want to see the how good this lens is when it comes to this subject.
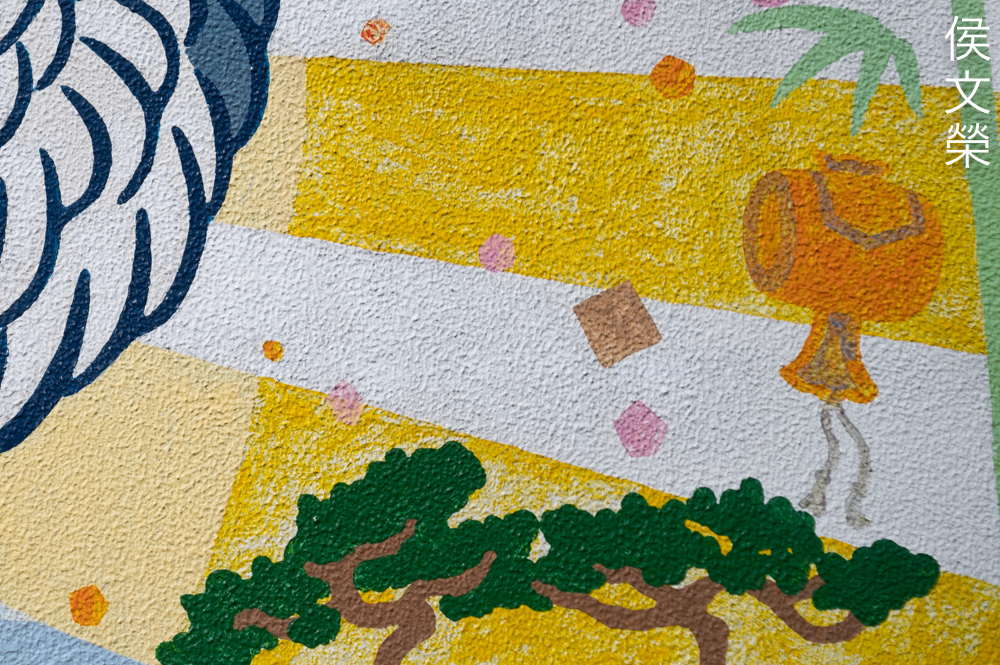
Like most true-Tessars the character of the bokeh isn’t something to write home about and this one does it worse, way uglier than some of its cousins that I’ve tested.

This is definitely too short for use as a portrait lens but nobody will stop you from using it. If you’re really inclined it’s a nice lens for environmental portraits since you could incorporate more of the background inside your frame. This helps give your portrait more context about the subject.
Here’s another picture showing just how hideous the character of the bokeh is, I consider this as a feature instead of a flaw. Stopping the iris down won’t help much but it will clean some of the ugly outlines.

If you knew the characteristics of your lens then you will be able to capitalize on its strengths instead of complaining about its weaknesses. Now that we all know that it’s sharp at the center we should position our subjects closer to the center.
It’s a nice lens for travel photography, 40mm is somewhere in-between wide and standard. It’s awkward for the purists but it means a lot of fun for those who’d like to experiment and just enjoy photography as it should be.
This is not the lens for lowlight photography, not by any stretch. Even if you are using a fast film the dark viewfinder will make focusing tedious.
The focus-transition looks smooth but certainly not at the same level as the 50mm Tessars. It’s enough to give your photos a nice, natural look and I think that’s all that counts for some people.
It does have the characteristic “boldness” of a Tessar’s rendering so this may not be the best lens to use if you wanted to render soft, beautiful skin.
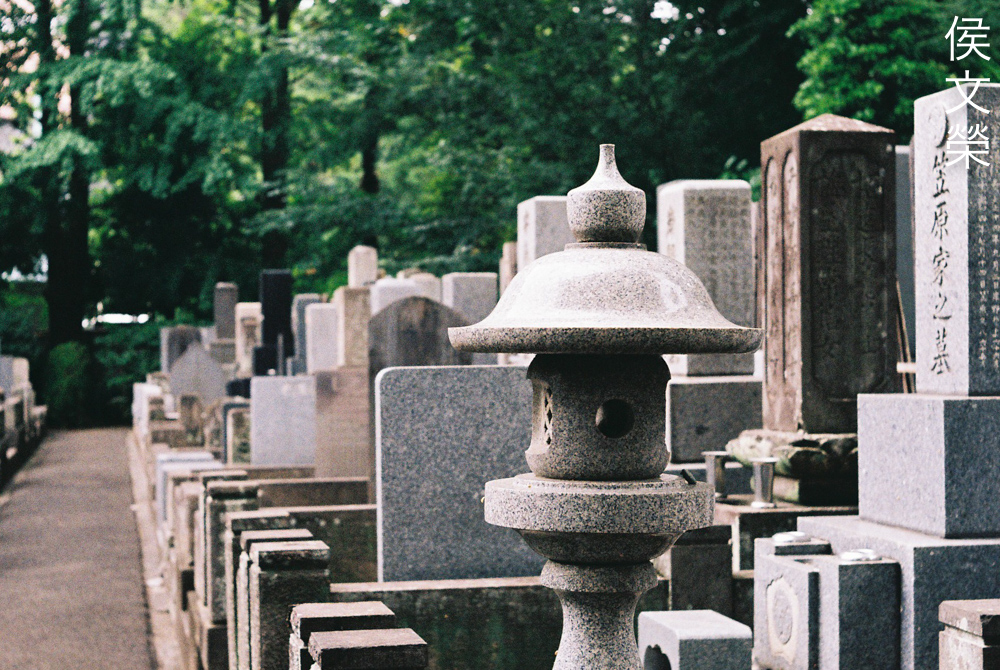
The best way to enjoy shooting with this is on a sunny day so you’re allowed to stop the iris down which results in very sharp photos once it gets to f/8 or so.
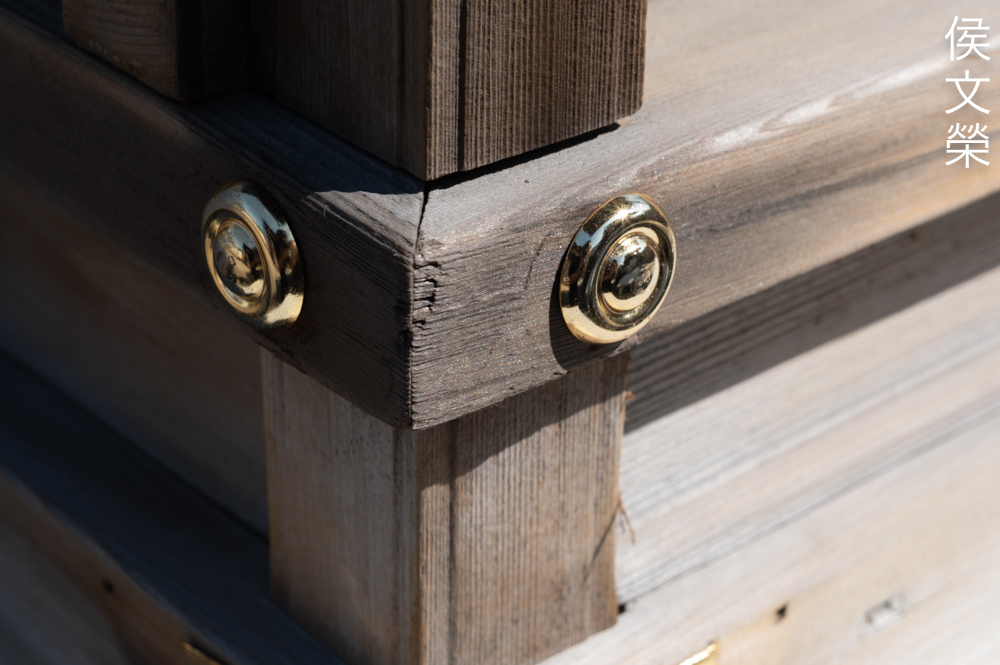
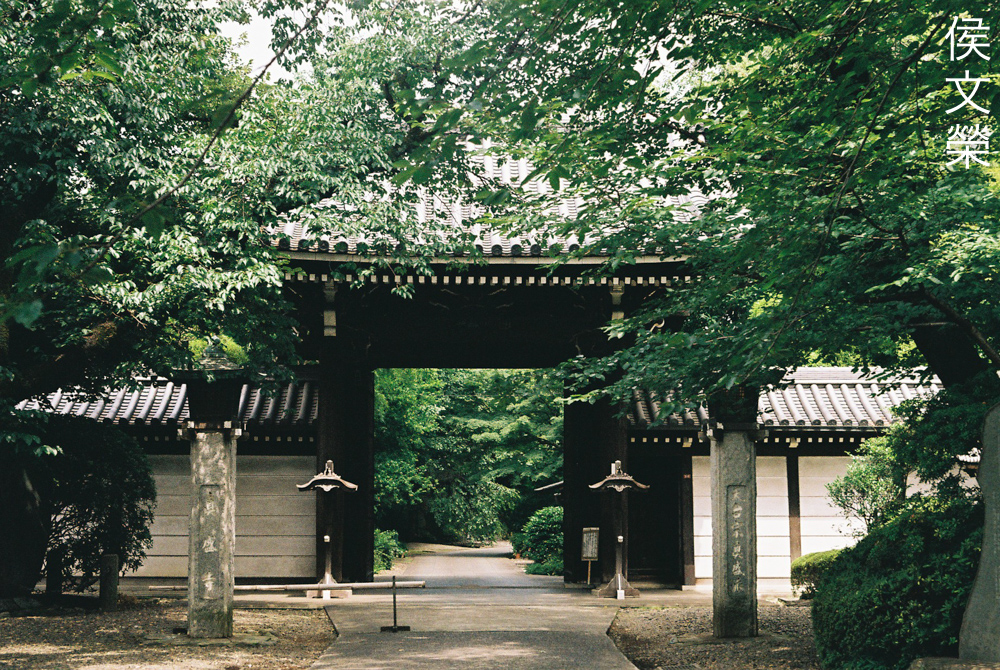
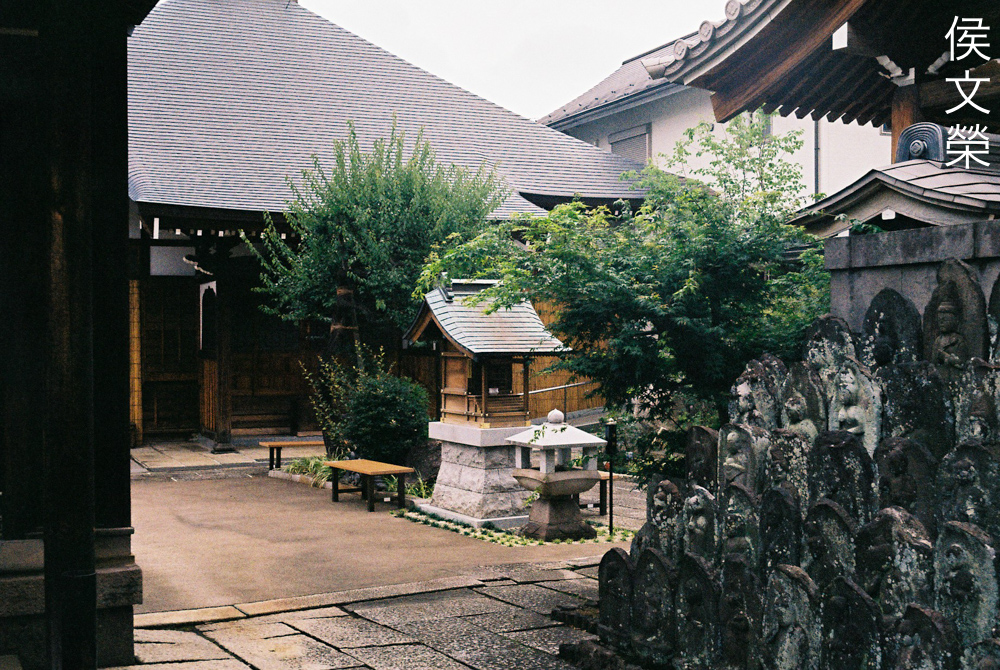
Despite not being a distortion-free lens you could get away with it most of the time because the falloff is shallow. It’s a nice lens for shooting architecture or art if you’re a photographer from the 1950s.
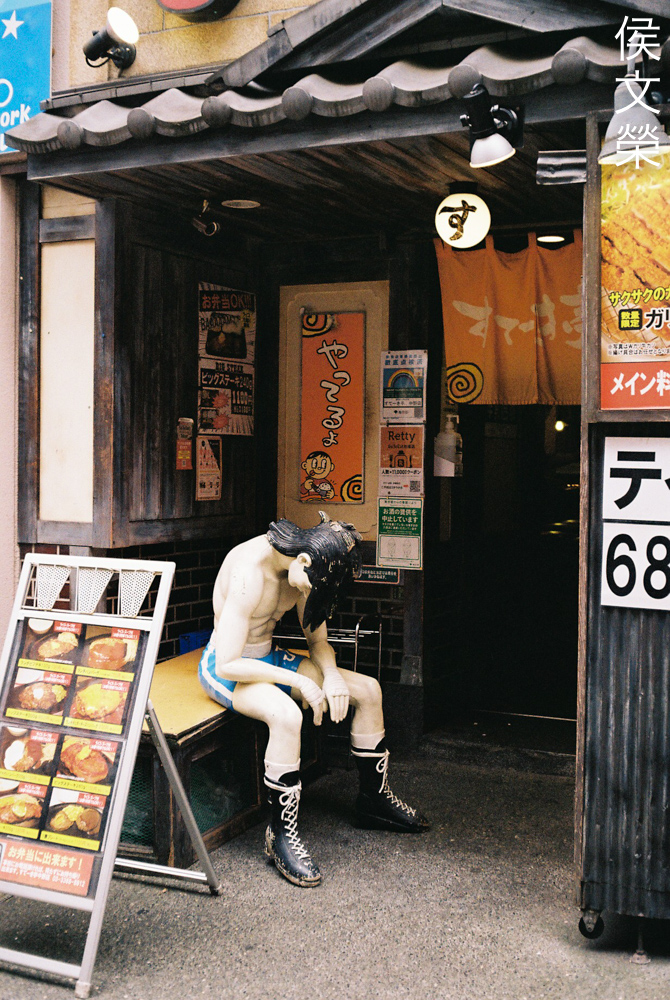
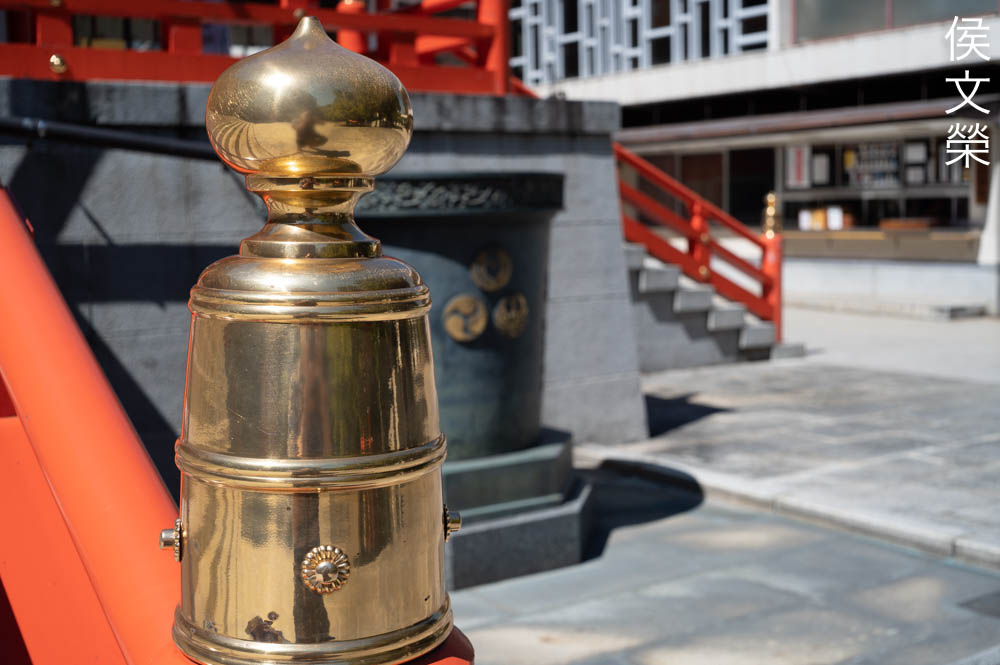
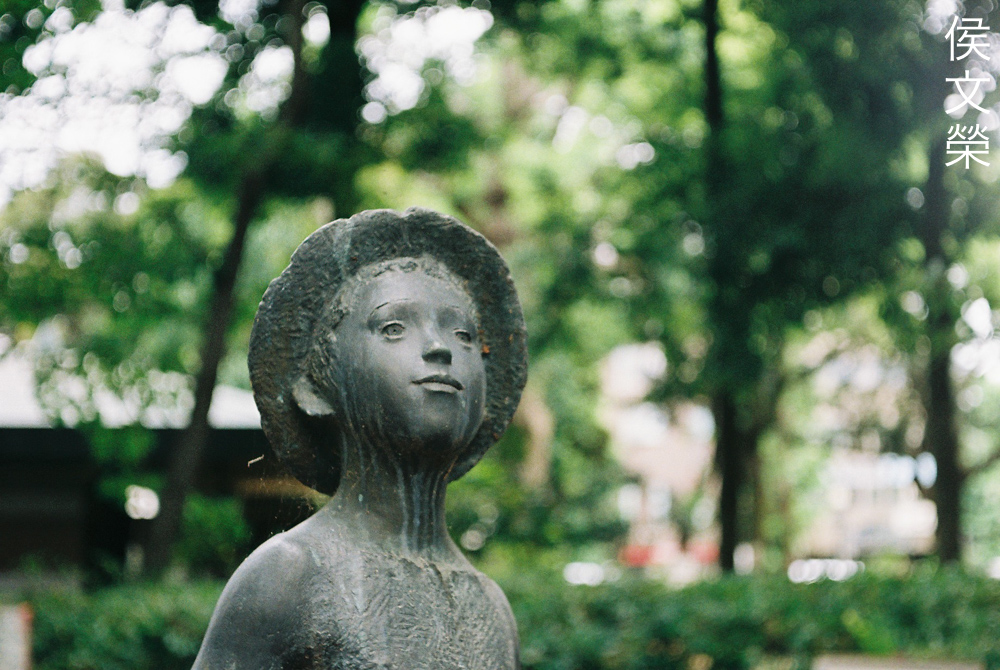
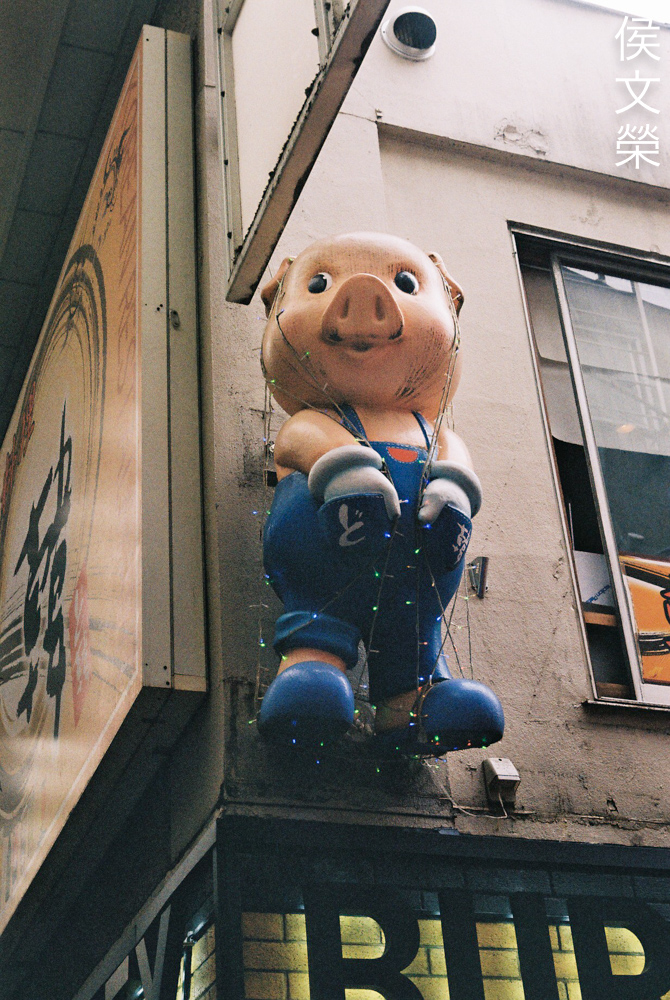
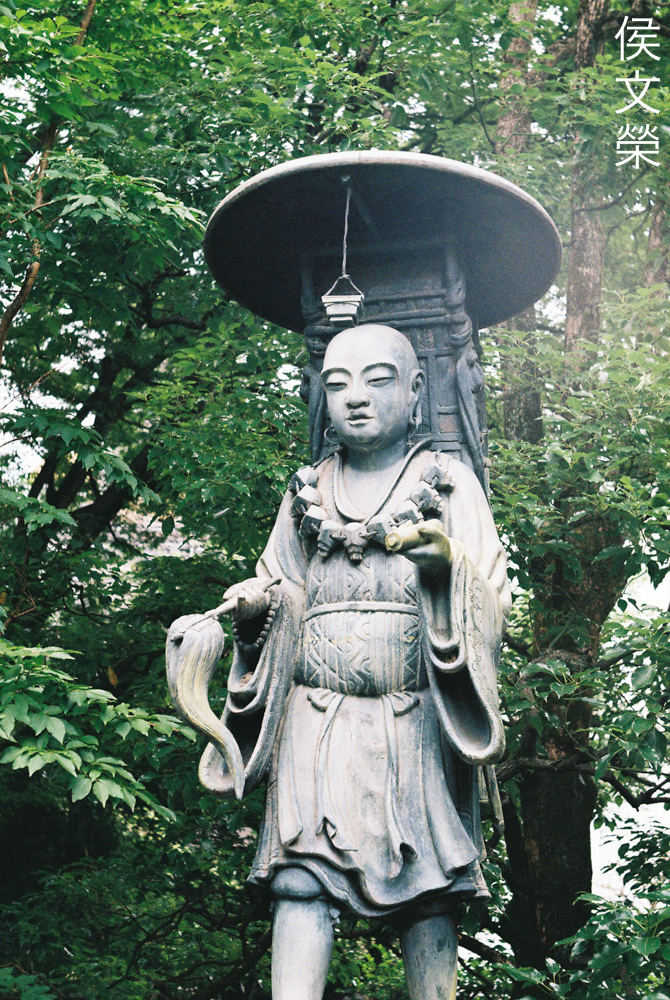
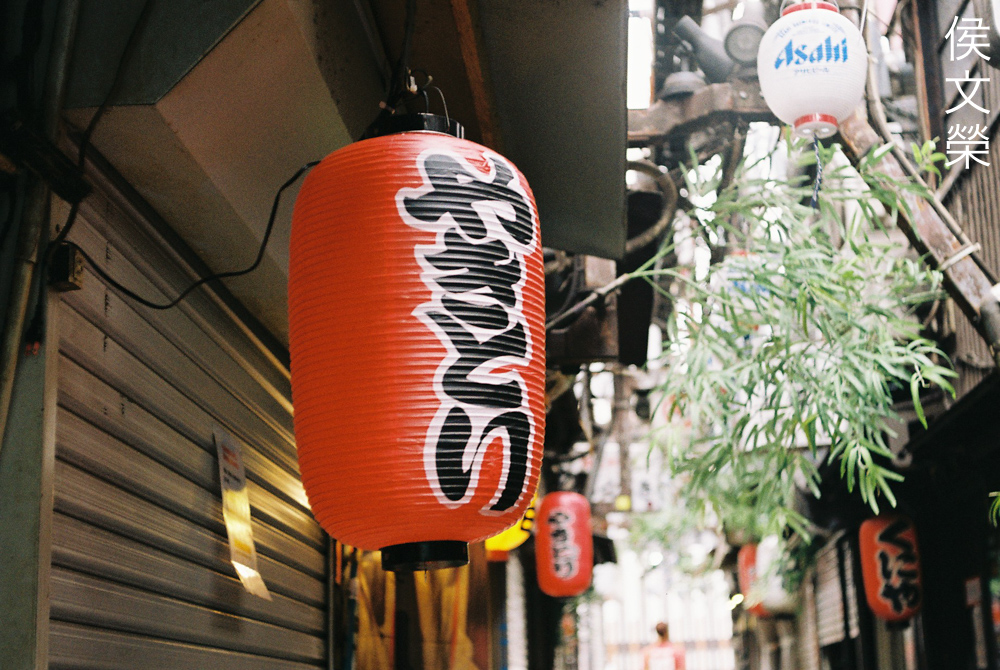
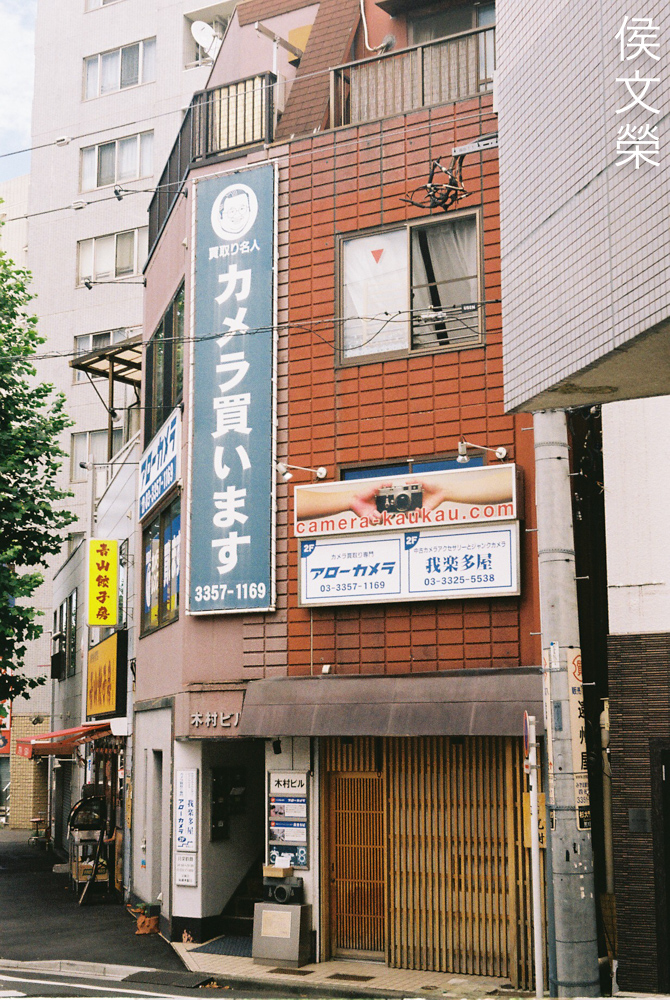
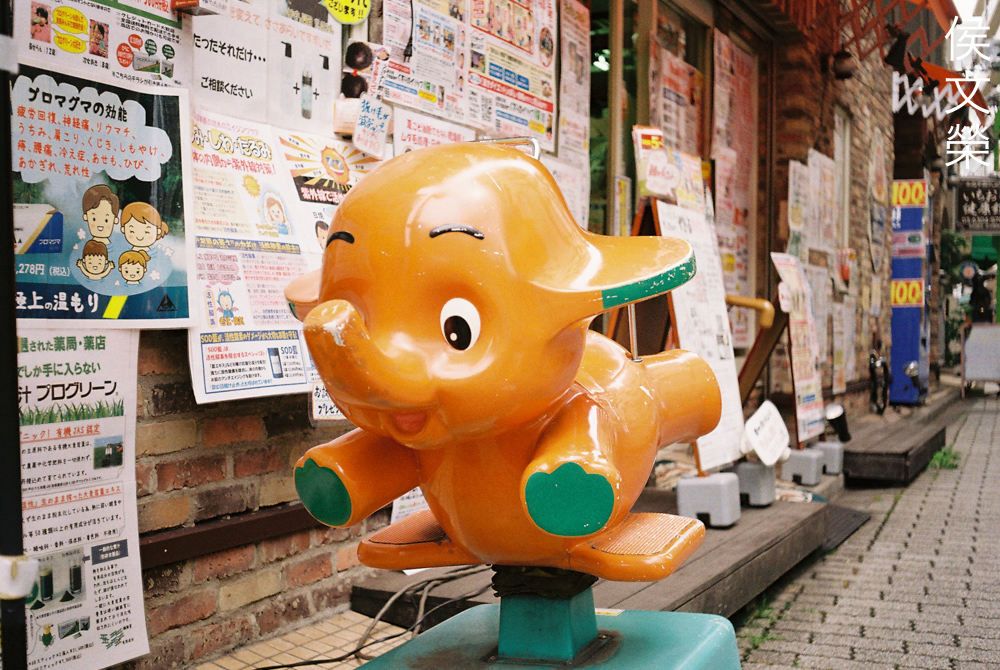
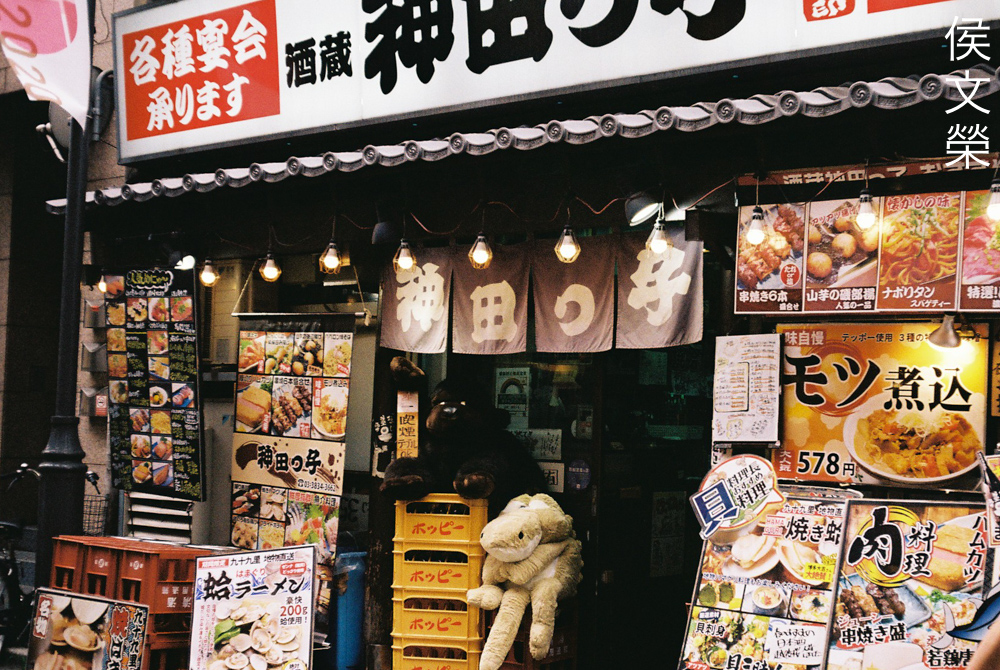
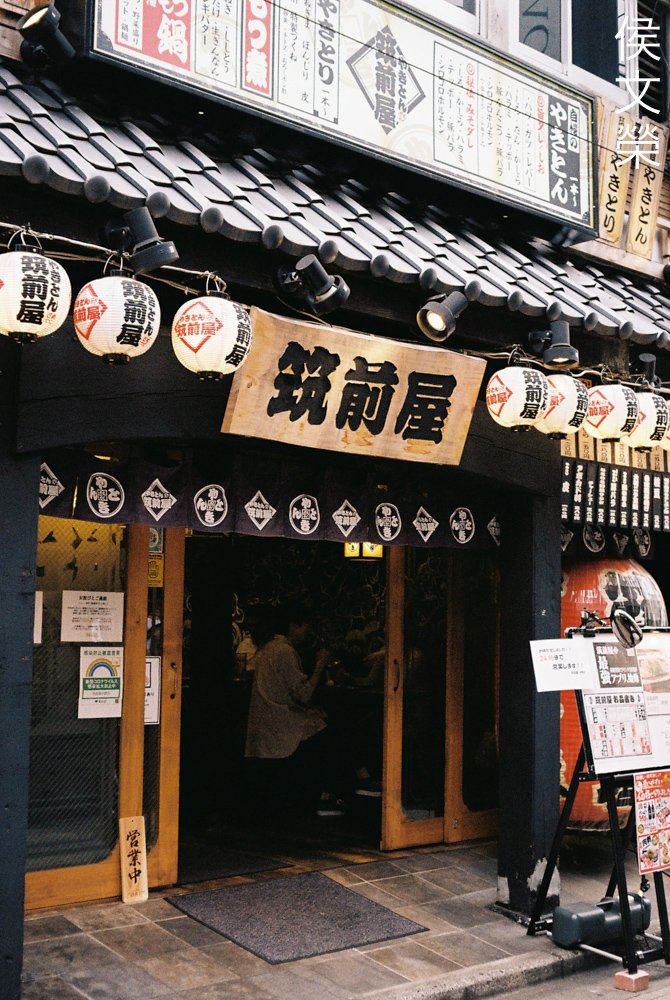
This is probably a nice example of an environmental portrait despite the subject being a sculpture of Jo. If you didn’t see the surroundings you would not think that Jo was disappointed and decided to sulk at the front of a restaurant.
Clarity is another trait of Tessars which extends to this lens but you’ll have to stop it down a bit.
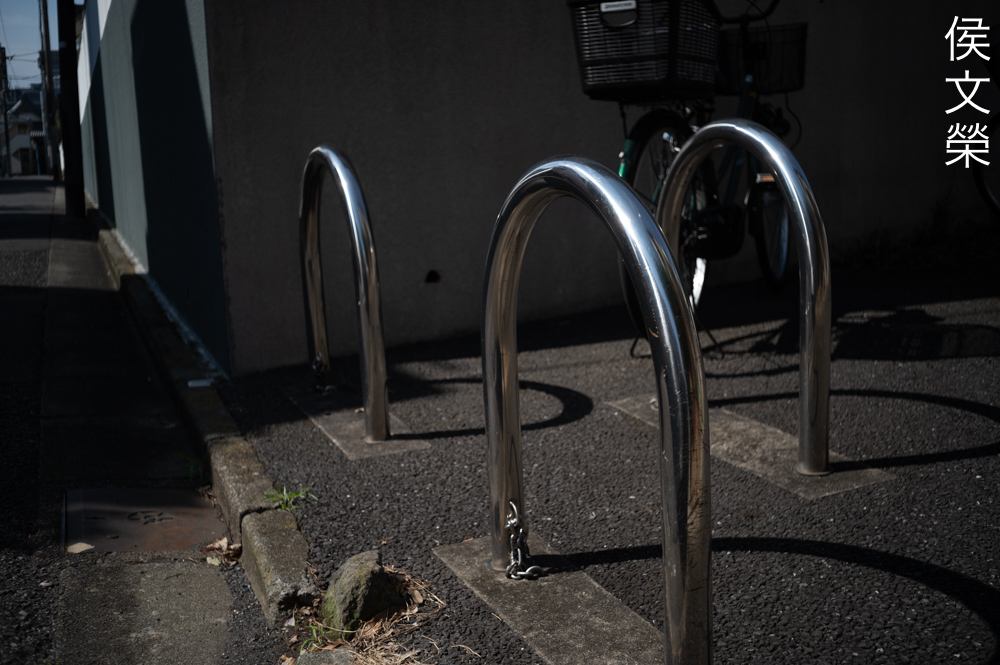
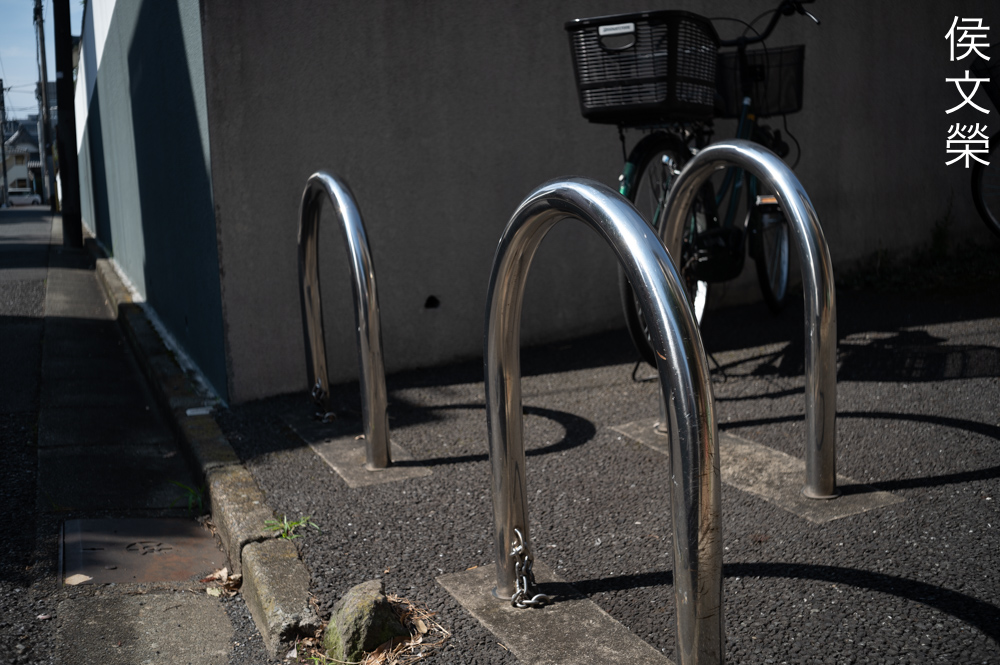
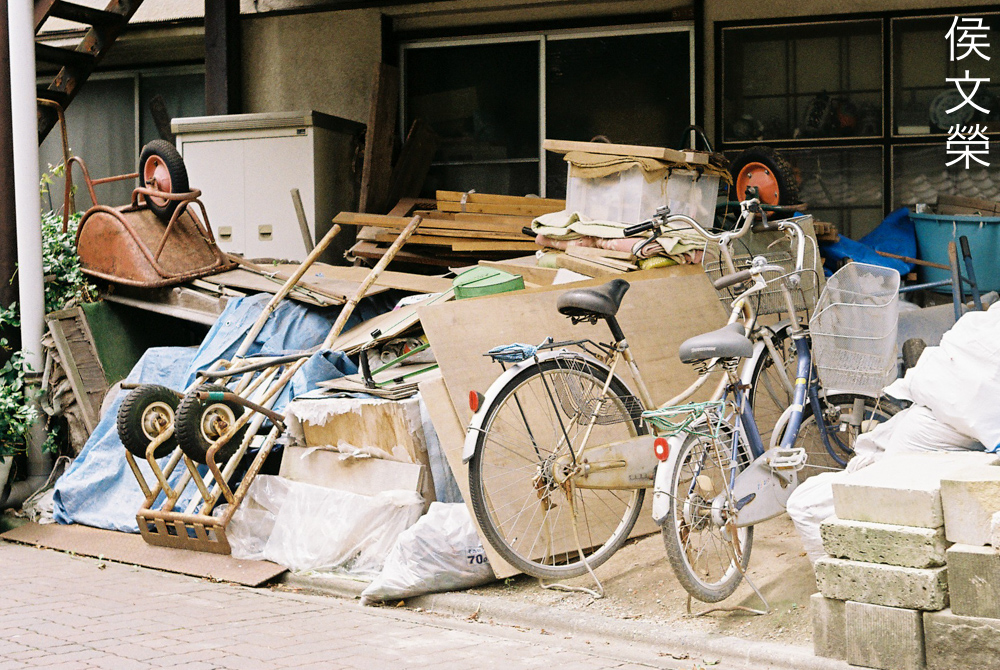
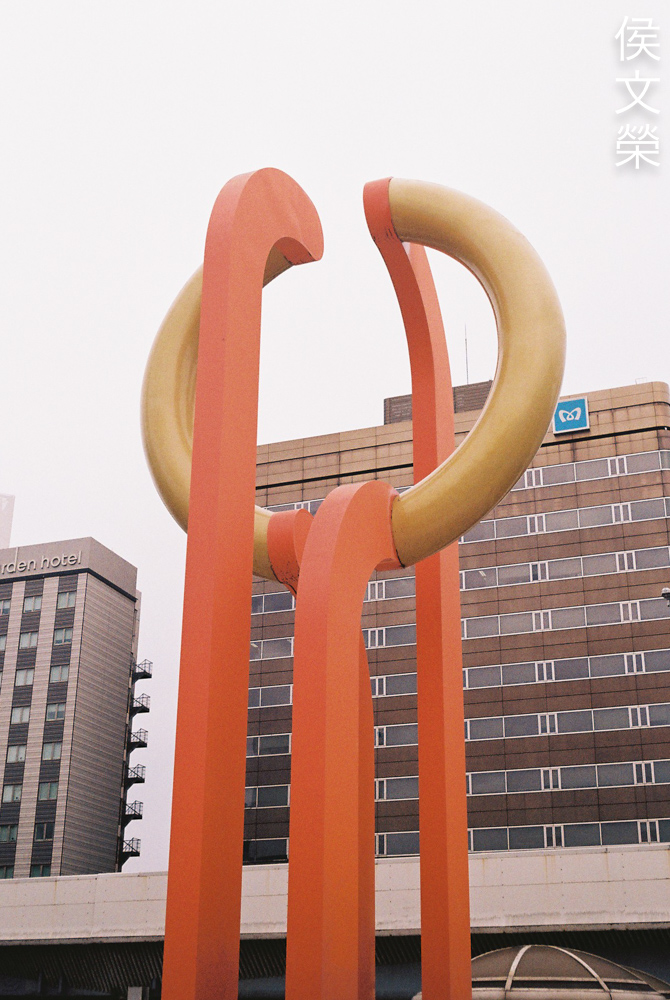
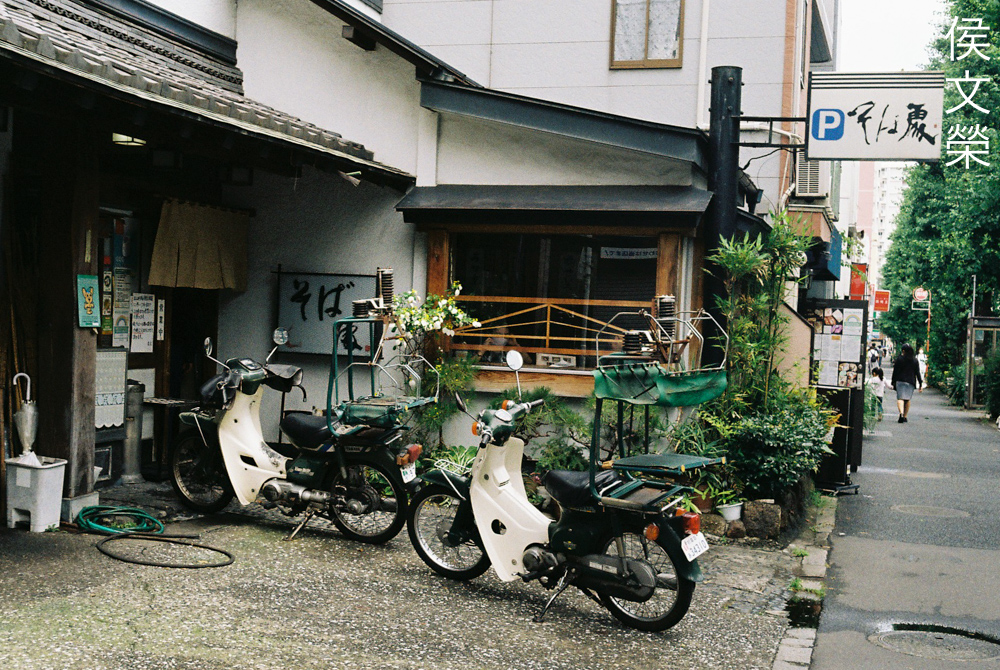
This is probably the worst example I have when illustrating the effects of distortion. Notice how the curb bows, it’s a bit too-close to the edge of the frame where it’s easiest to see distortion at work.
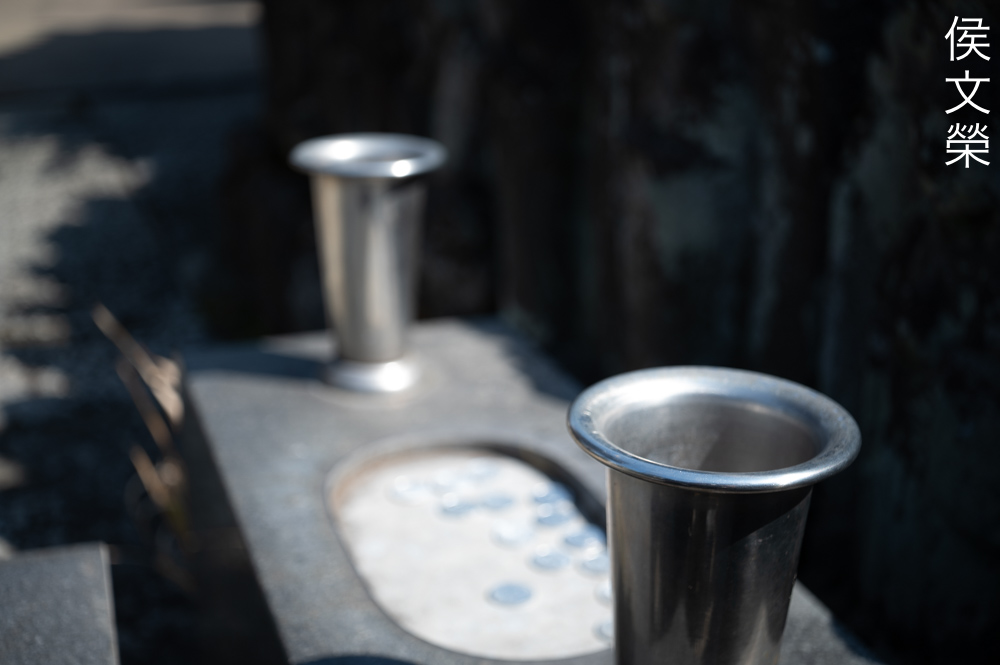
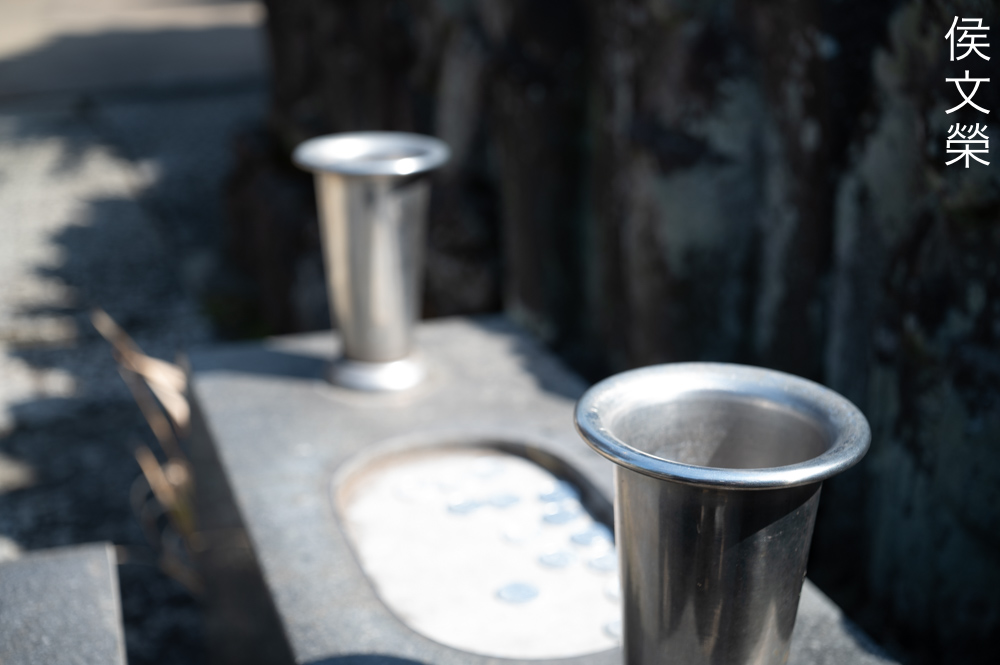
The subject-isolation properties of this lens isn’t great when shooting at normal distances because of its slow aperture but it’s enough at times if you have enough of the foreground to blur with.
Being a 40mm lens means that you could use slower speeds when shooting at night and still have a sharp photo at the end of the day. You could even shoot at 1/20s if needed but that’s the slowest speed that I’m comfortable with when I am shooting without using a tripod or any support.

This was shot with a slower speed setting, you could brace your elbow on your gut if it’s big enough. I should know, it’s sometimes a convenience rather than a handicap.
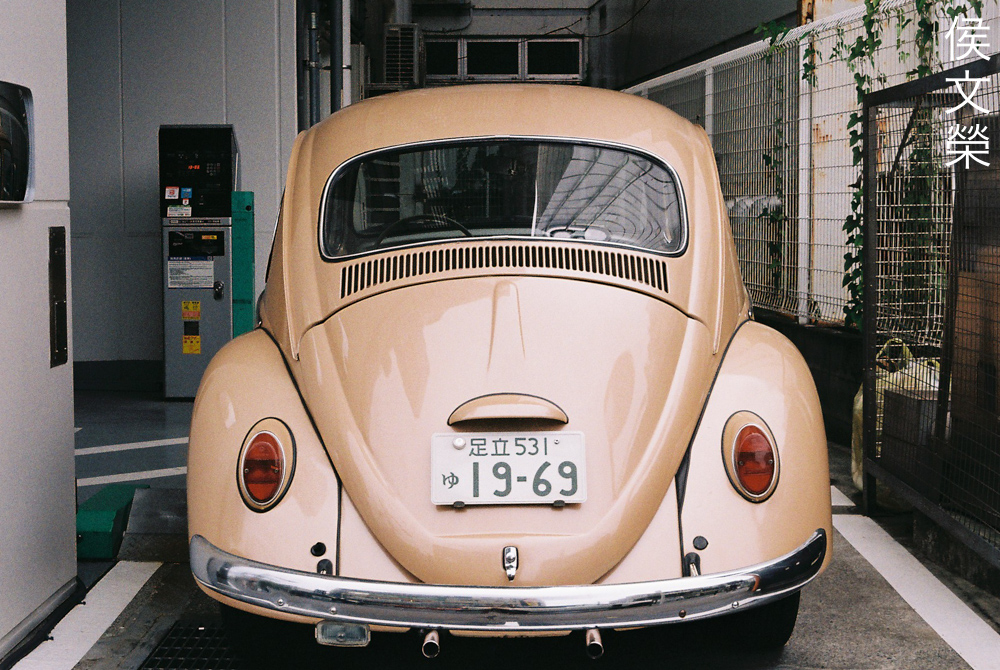
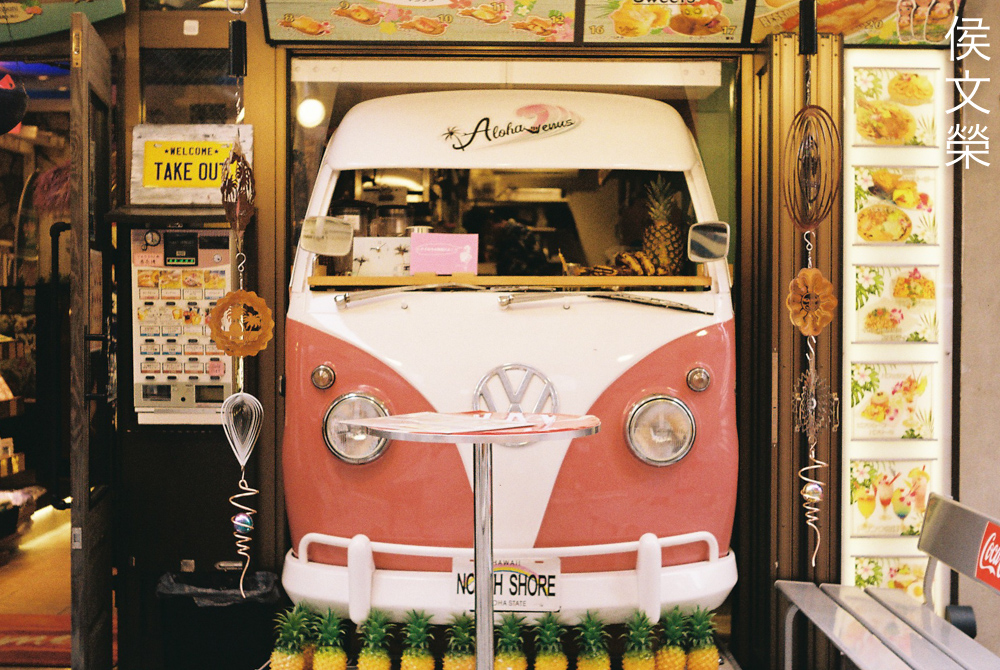
It’s certainly a nice lens when all you want to do is shoot a roll over the weekend, very much like driving a Beetle during a lazy Sunday afternoon.

The contrast is quite high but it will be useless if it’s cloudy.


(Click to enlarge)
Here are more photos for you to look at. This is certainly an enjoyable lens to shoot with, I’m sure you will have plenty of fun with it just like I did. I think shooting this with film is the best way to enjoy this lens.


(Click to enlarge)
Since I really had a great time with this I shot more photos with it. It certainly has that “vintage-look”, why simulate the use and look of film when you could get that authentic look and experience instead by using the real thing?
If this focal length excites you then this is the lens to get. The older Carl Zeiss Jena Tessar 40mm f/4.5 is certainly a nice alternative to this but that one’s rarer than this. As far as handling is concerned I think this one feels a lot better. There will be people who will prefer a larger lens to grab and this one will give you just that despite not being big in itself. Its performance seems to be near-identical to the Carl Zeiss Jena Tessar 40mm f/4.5 since they both share the same optics so the basis of your decision should never be that from an optical one. These are not rare at all but you won’t see these for sale readily. These usually cost around $150.00 or so but I got mine for $65.00 if I recall just because it was sold for parts. If you’re looking for one of these be sure the iris is dry and it works perfectly. Operate the rings, they should be a bit damped, not dry nor stiff. The optics should be clean and clear, too. Finally, it’s best if you could check if the focus is correct. These are the most important things to look for, just check what’s for sale regularly and you will be able to find one that fits your standards and budget, happy hunting.
Before We Begin:
If this is your first attempt at repairing a lens then I suggest that you see my previous posts regarding screws & drivers, grease and other things. Also read what I wrote about the tools that you’ll need to fix your Nikkors.
I suggest that you read these primers before you begin (for beginners):
Reading these should lessen the chance of ruining your lens if you are a novice. Before opening up anything, always look for other people who have done so in YouTube or the internet. Information is scarce, vague and scattered (that is why I started this) but you can still find some information if you search carefully.
I highly recommend that you read my working with helicoids post because this is very important and getting it wrong can ruin your day. If I can force you to read this, I would. It is that important!
For more advanced topics, you can read my fungus removal post as a start. It has a lot of useful information, it will be beneficial for you to read this.
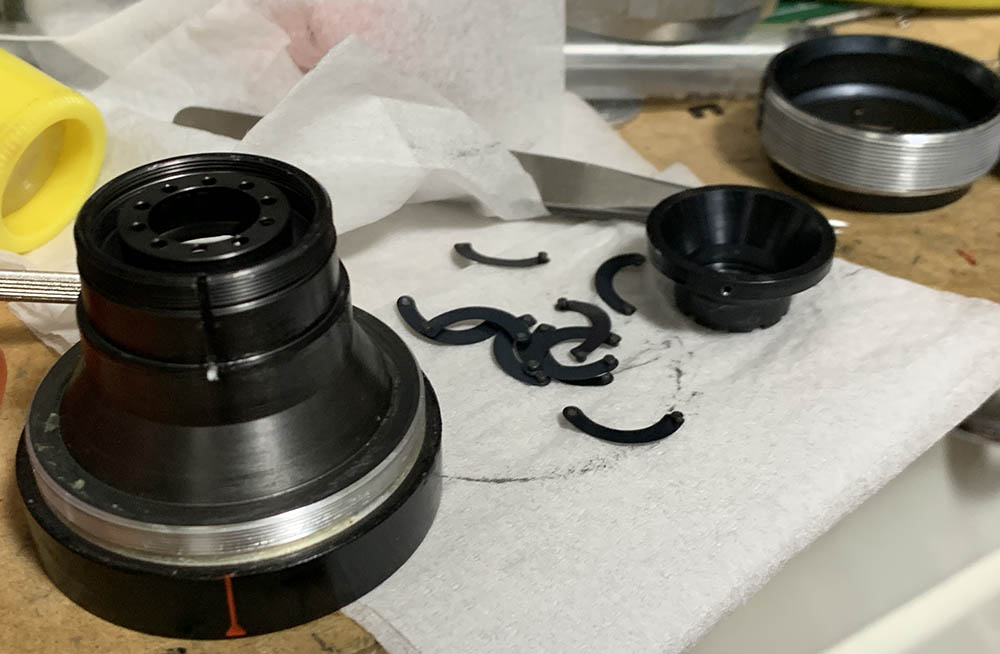
Disassembly (Main Barrel):
The construction of the barrel is conventional so it’s not going to be puzzling for people who are familiar with Carl Zeiss Jena lenses of this vintage. Despite that I’ll never recommend this to any novice, it requires special tools, skills and experience in order to service this successfully. If your lens needs to be repaired be sure to send it to a repairman, I’ll also caution you because there are many bogus operators around so be sure that they’re legit. If you’ve found one but they’re not familiar with these, show my article, this should help ensure that the job gets done the right way.
Unscrew the outermost retention ring to separate the barrel into its main components, do this without scratching anything.

Remove the front barrel and don’t lose that thick shim, that’s the only thing used for adjust the focus.
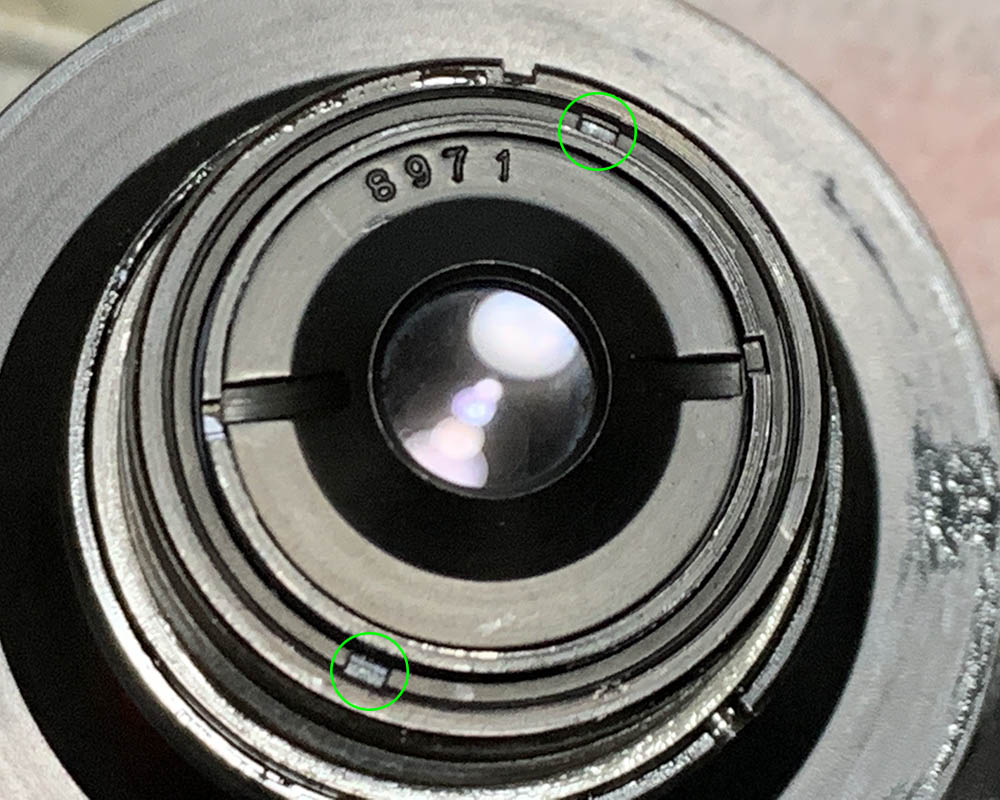
Unscrew this retainer with a lens spanner to remove the rear optics assembly.

Pull the rear optics assembly’s housing off with your fingers if your nails are long enough, set this aside in a safe place.
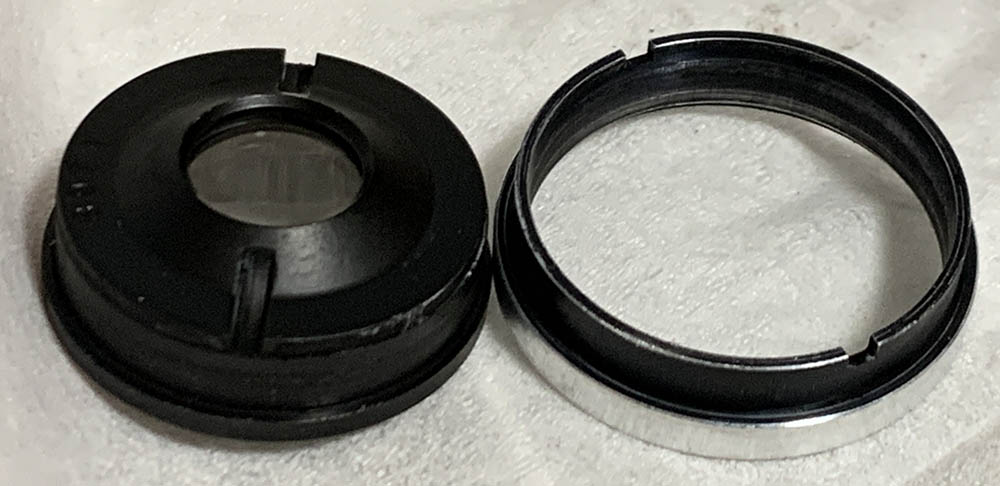
Use a rubber cup to unscrew the front baffle/bezel.

Use a lens spanner to unscrew the front optics assembly’s housing which also acts as a baffle. Store this in a clean and safe place while you work on the barrel.

Unscrew this so you could turn the helicoids beyond their range.
Unscrew the lower helicoid from the central one and never forget to note where they parted since this is also the same place where they should mesh. Many people get stuck because they don’t know where the helicoids should mate, read my article on servicing helicoids so you will know how this is done.
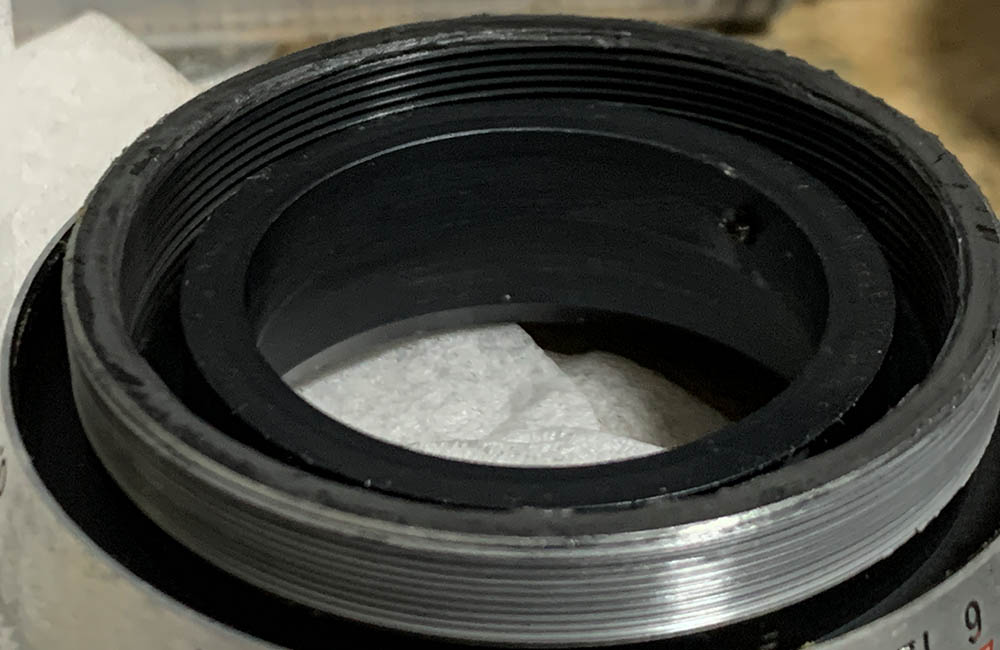
This is how deep the inner helicoid should be when it’s at infinity.

Unscrew it too and never forget where these parted. Clean these very well and never leave any residue.
Scrub the helicoids with a strong toilet cleanser to remove the old grease, clean them well with alcohol to remove any residue. Polish the threads carefully so you won’t scratch them then use a type of grease with moderate resistance. Using a thick one will make this difficult to turn and a thin one will make it feel a bit gritty. Never apply excessive amounts, a thin film is enough. Put the helicoids back, measure them again to make sure that you’ve reinstalled them properly.
Disassembly (Front Barrel):
Most of the work involved with overhauling this can be found here and the iris mechanism will take the most time and attention. Do not dismantle it if it’s clean and dry because it will take a lot of time to put it back again. Since this is my personal lens I’ve made it a point to overhaul everything as best as I could so I have something to show you.
As far as the optics is concerned never dismantle anything that doesn’t need to be removed. If it’s merely dirty just do a simple cleaning. The only reason to remove anything is to clean terrible fungus damage or haze. If you did be sure that you note which side should be facing the front so you’ll know how to put it back again later.

Carefully unscrew this so you could unscrew the aperture ring. Also note the height of this screw so you’ll know how many turns it takes to put the aperture ring back to its original position.
Once the screw is gone you can proceed to removing the diaphragm cup, the screw is the only thing that is securing it. The iris can now be dismantled, pick the blades off carefully and clean them very well.

The front element can be removed by unscrewing its collar, only do this when necessary because you may need to do some precise adjustments to this so the lens could perform optimally.
There’s a collar around the the housing of the rear optics, this is an adjustable part so only remove this if it’s absolutely necessary.
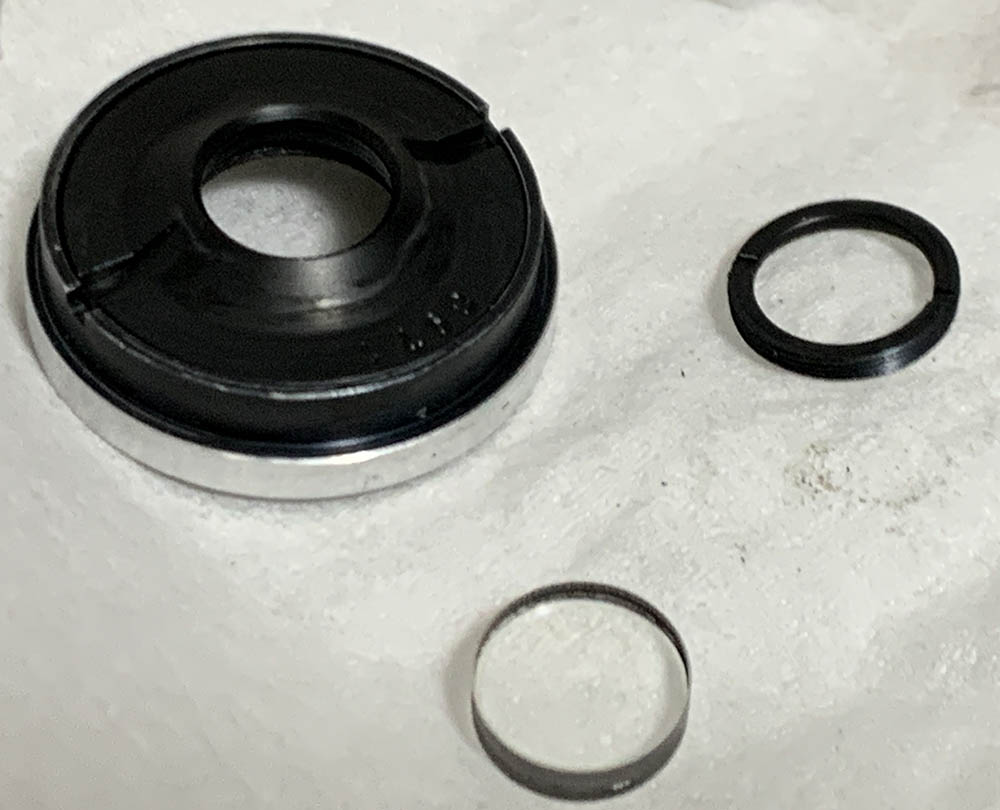
The rear group is secured by this collar. Do not forget to note which side this should be facing so you will be able to put this back facing the right way later.
Clean the blades carefully with Q-tips saturated with solvent and be careful not to warp any of them. The iris should be dry, never lubricate it.
Carefully clean the glass, follow my fungus cleaning article in case your lens needs it. Thin the solution so you will never damage the coatings. Be very careful with wiping the glass, German coatings of this period or earlier are soft, it’s easy to wipe them clear if you’re not careful. Only blow the glass clean if there’s no grime, haze or fungus.
Conclusion:
It didn’t take me a long time to service this because this is one of the simplest Carl Zeiss Jena lenses that I’ve repaired. I spent a night on it. Cleaning everything thoroughly took the most time and putting the iris back took me 15 minutes. It is so simple that I couldn’t believe that I was done in a single session. This is not a simple lens at all if you had to repair the iris otherwise this is a nice lens for someone with a little bit of experience. Beginners should never consider this, it’s best to start with an even simpler lens that cost very little such as a junk Canon or Soviet lens. It’s still a Carl Zeiss Jena lens no matter how you look at it and that alone makes it special.
It’s now time to enjoy shooting with this gem. Since there’s no way you could calibrate this thing’s focus you’ll have to make sure that you’ve reassembled it properly. I like the simplicity it gives because I could enjoy shooting with it as soon as the reassembly is done.
Thanks for following my work, if you liked this article please share this with your friends so it will get more views. This site earns around $0.40 a day, we are totally reliant on views. You can also support this site, it helps me offset the cost of maintenance and hosting. You’re also helping me purchase, process and scan film. This site promotes the use of film so we are all in this together. See you again in the next article, Ric.
Help Support this Blog:
Maintaining this requires resources and a lot of time. If you think that it has helped you or you want to show your support by helping with the site’s upkeep, you can make a small donation to my paypal.com at richardHaw888@gmail.com. Money isn’t my prime motivation for this blog and I believe that I have enough to run this but you can help me make this site (and the companion facebook page) grow.
Buy me a roll of film or a burger?
Thank you very much for your continued support!
$2.00
Helping support this site will ensure that this will be kept going as long as I have the time and energy for this. I would appreciate it if you just leave out your name or details like your country’s name or other information so that the donations will totally be anonymous. This is a labor of love and I intend to keep it that way for as long as I can. Ric.

1 Comment (+add yours?)