
Hello, everybody! Do you like Haribo? The tasty little bears are a classic, even grown-ups enjoy a mouthful of the fruity treats. I could eat a whole tub in a single sitting, they’re sweet but they’re not as sweet as a Creme Egg so I prefer these at every occasion. Gummi bears, sausages and beer aren’t the only German products that I couldn’t live without. There is also a German lens that is valuable to me and just like Haribo, it’s now approaching its centennial soon but of course, the delicious German candies are just a bit older.
Introduction:
The Carl Zeiss Jena Biotar 58mm f/2 is known to every person who has an interest in vintage lenses. There are several versions made, from the original one made around 1936 to the last one made until the early 1960s. We will talk about the 2nd post-war version in this article which was made from the early 1950s up until 1959 where it was succeeded by the short-lived last version of this amazing optic.

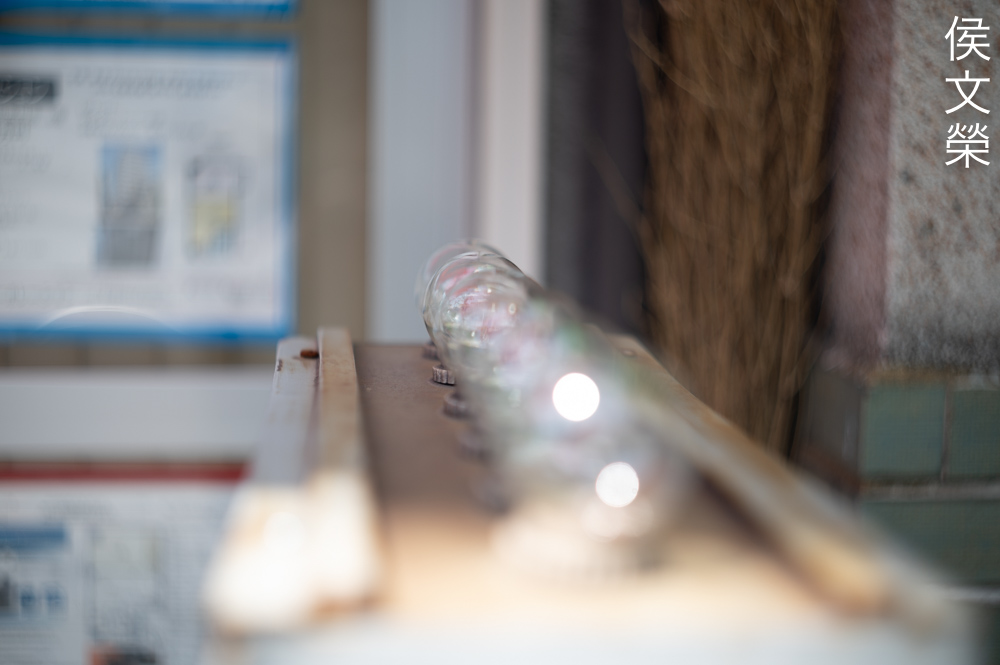
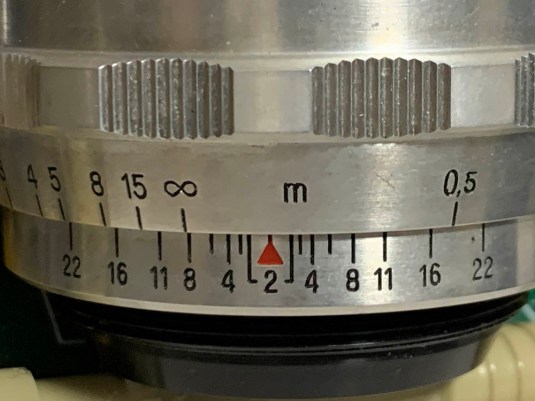
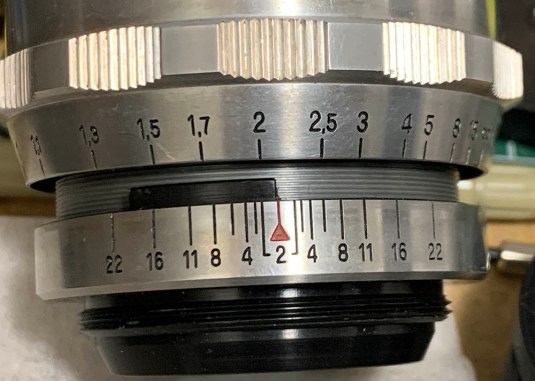
It’s a huge lens for its time, making the Zeiss Ikon Contax D look tiny. The barrel is all-metal, this is heavy despite using aluminum alloy. Handling is excellent due to the large focusing ring. The iris is of the preset-type much like what you’d see from many lenses made in that era. It has a limiter which allows you to constrain the range of the aperture ring, it’s something that I only see with post-war Zeiss lenses. Engraved in the bezel is a red “T” denoting that it’s coated and it means “transparenz“, a war-time secret developed by Zeiss. In fact, they were the first ones to master this deposition-type method which is effective but not as durable as what Nikon developed during the war that is the reason why the coating in Nikkors are tougher than what the Germans had since it was developed for use with submarine periscopes.
The optical formula is a 6-elements-in-4-groups one of the Double-Gauss type. The optical formula remained the same since the first version up until the last but nearly-all versions are unique in some way, each iteration improving over the last and the final version is said to be the best in terms of image quality. The number of iris blades varies, too. You’ll see 17-bladed ones from the earlier versions to the common 12-bladed ones as seen in this version. There is even a thrifty 10-bladed one. Of all the variations I’ve mentioned the one we have here is considered to be the best version in terms of usability. That’s because it has an M42 mount compared to the early ones which were made in Exakta-mount and its price isn’t prohibitive unlike the earlier ones which will appeal more to collectors. The final version is annoying to use, it has a quirky semi-automatic way to actuate and set the iris which makes it cumbersome to use unless you are planning on using it wide-open most of the time. All versions create a round-looking pupil which translates to smoother blurring of unfocused elements in your scene. Speaking of blurs, the character of its bokeh is unique, it will give you wild, swirly-looking bokeh due to how astigmatism is handled. That is what I consider to be Wheelie Walter Melte’s signature, you’ll also see it in the Carl Zeiss Jena Biotar 75mm f/1.5, another lens he designed apart from this one.

You won’t be able to use this properly with a Nikon SLR since the flange-distance is different and you will also have to deal with the rear hitting the mirror. It’s only possible if you modify the rear baffle and adjust the focus. When used in the manner you see here which is merely mounting an unmodified lens to a cheap adapter you won’t be able to focus to infinity so it’s only exclusively used for taking photos of close-ups and things that’s closer than 2m. The mirror won’t be interrupted or damaged by the protruding rear when used this way. You’ll see some photos that were shot with this setup in this article.

The safest way to enjoy this with a digital camera is to mount it with an adapter. However, not all adapters will allow it to reach infinity since some have a ridge just after the mount. You will have to shave an extra 1-2mm of material off to allow some clearance. It was added to many adapters so M42 lenses with actuator-pins would always operate with the iris stopped-down, that’s the reason why some people purchase separate adapters for use with different lenses.
Learning how your lens performs is crucial to maximizing its use. You will learn how to utilize its strengths and avoid its weaknesses. This knowledge helps in determining which lens to bring on an assignment. I shot these from f/2, f/2.8, f/4 and f/5.6 since these are the most common apertures that people would want to use this and we’ll also get to see the most changes happen with these values. I shot these with my Nikon Z6, some of the photos were cropped close to 1:1 so we could see the details better.


(Click to enlarge)
Vignetting is rather heavy wide-open but not something that I would consider to be unacceptable. Stopping it down to f/2.8 will alleviate most of it. You’ll still see traces of it at f/4 and it’s practically gone by f/5.6. Shooting this from f/2.8 is recommended in order to prevent dark corners from showing in your photos.
Distortion levels are undetectable unless you use a software, you won’t basically see it but if you strain yourself you are able to see a very slight barrel-type distortion with a shallow, complicated curve. This is impressive for a post-war lens, I didn’t expect it to perform this well here.


(Click to enlarge)
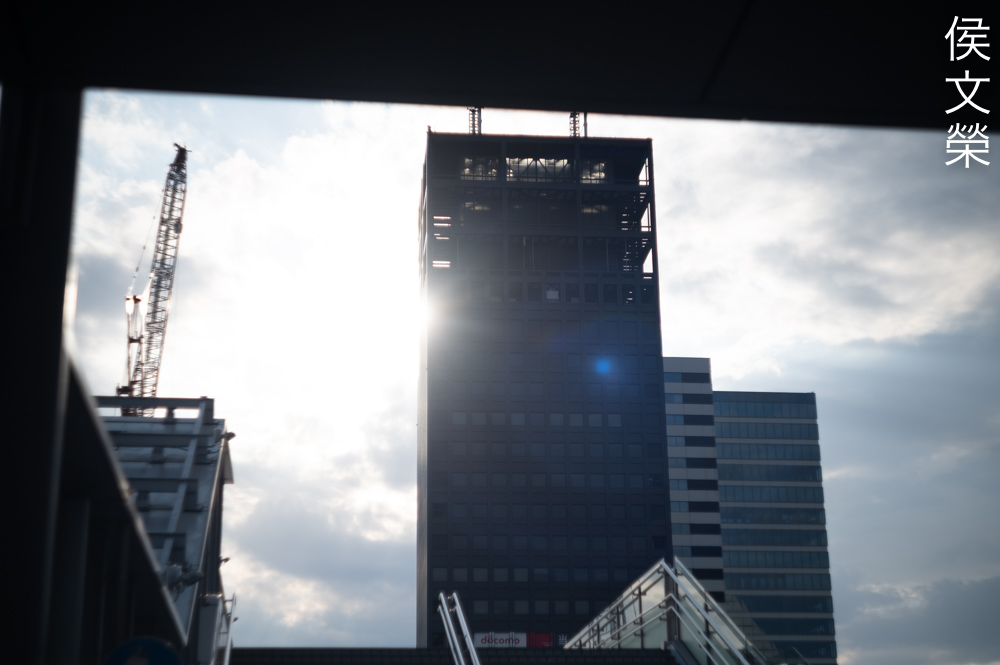
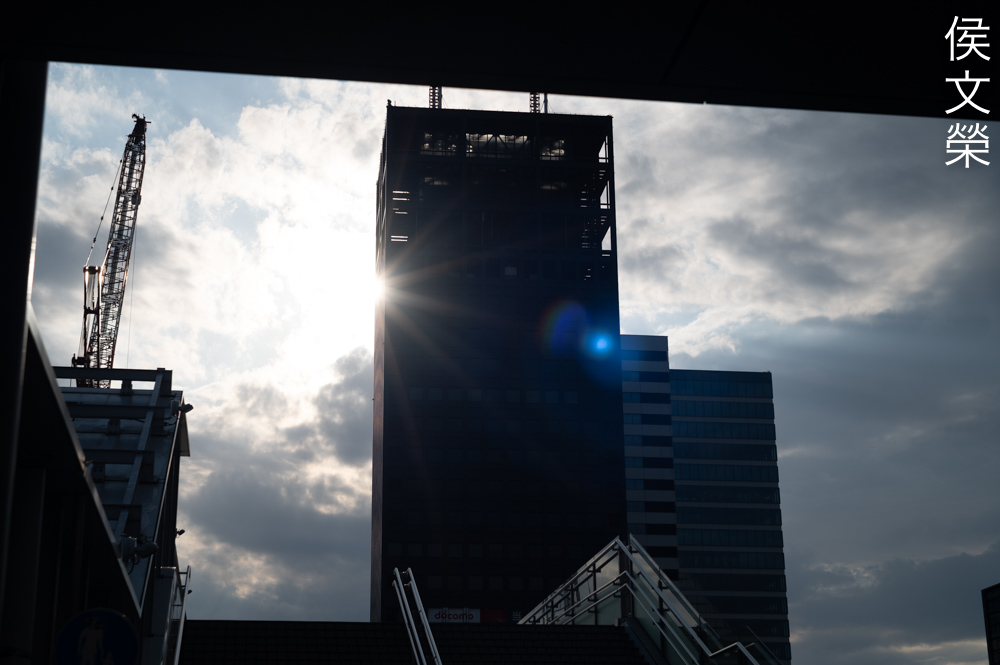
It flares terribly wide-open as expected from a lens of this vintage. Stopping the iris down helps in improving contrast, I would use this from f/4 at the very least when shooting in contra-light. It’s susceptible to ghosts so you’ll see huge and well-defined blobs form. You could use this to your creative advantage if you wish but I’d rather not have them at all in my photos. It also produces exquisite sun-stars due to its 12-bladed iris.
I think there are no coatings left in my lens, it appears to have been wiped-clean before so what you see here isn’t the best example of how resistant it is to flare and ghosts. Also remember that this was shot with a digital camera and that will also mean more internal reflections and the lowpass filter will add aberrations to the resulting photos as well.


(Click to enlarge)
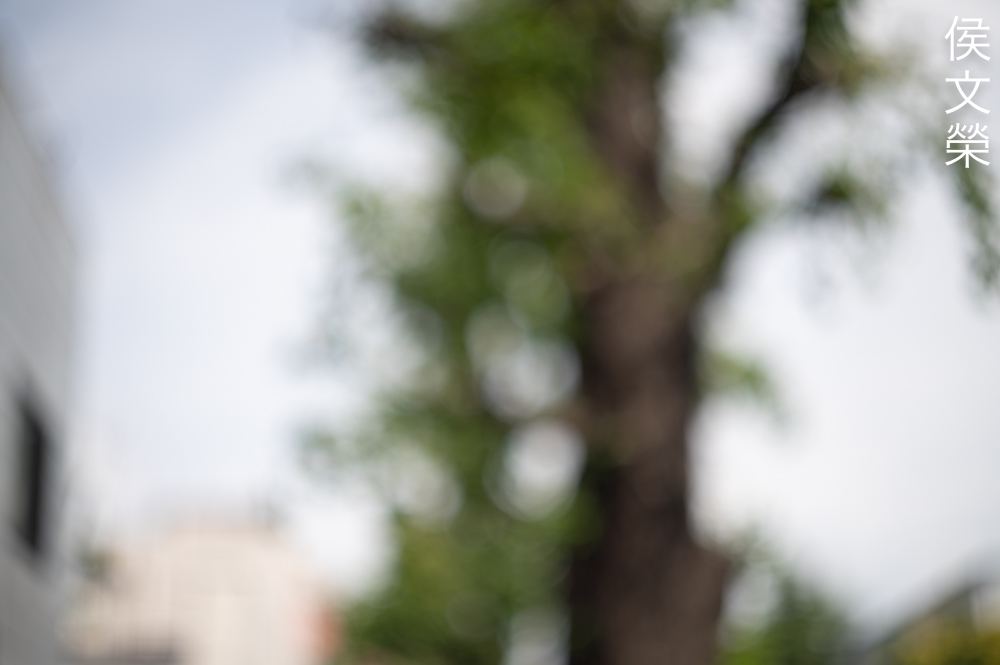
The character of its bokeh is subjective and also the main point in shooting this lens nowadays. If you ask me I think it’s great in this regard as it appears to be rather smooth with no ugly-looking artifacts despite looking unrefined in some cases. It’s able to produce that disorienting swirly-look that some people like, I personally do not like it at all unless it’s rendered by this lens since it’s able to render it in a more pleasing manner compared to other lenses. It was masterfully incorporated into the lens design unlike other lenses which merely treated it as the side-effect that it really is. How this was deliberately used in the lens design is genius, who would’ve thought that astigmatism could be used artistically in this manner, this is what makes it a masterpiece in my opinion.


(Click to enlarge)
Chromatic aberration appears to be controlled rather well but you’re able to see it when shooting wide-open specially in difficult cases. Spherical aberration is also observable and it appears to be stronger than the former. Stopping the iris down to f/2.8 helps clean them both but you’ll still be able to observe them easily in severe cases. Things look better at f/4 and you’ll only see traces of these aberrations in severe scenarios and only stopping the iris down to f/5.6 will tame them to the point that you won’t be able to notice them easily unless you look at the problem areas with a loupe.


(Click to enlarge)
It’s exquisite wide-open, it’s sharp and the contrast is excellent but resolution is lacking a bit despite being adequate to render smaller details. Stop it down to f/2.8 and the contrast improves due to flare being controlled better and you will also notice a nice jump in resolving power. Sharpness is nearing its peak at f/2.8, it’s amazing how it performs so well in this aperture. You’ll see a subtle improvement at f/4 where it appears to be performing at its peak at the center. You’re going to see more changes as you get closer to the corners where it starts to look better. I didn’t notice any changes at the center at f/5.6, maybe it looks marginally sharper due to the wider depth-of-field. The extremities benefit the most from stopping the iris down to f/5.6 and beyond. This is impressive considering the age of this lens. It shows who was the best German optics manufacturer at the time and it’s not Leitz, at least not until several decades later.
The following photos show the lens in actual use. Some of the photos here were shot with my Nikon Df in the manner that I described previously but most of the photos were taken with my Nikon Z6.

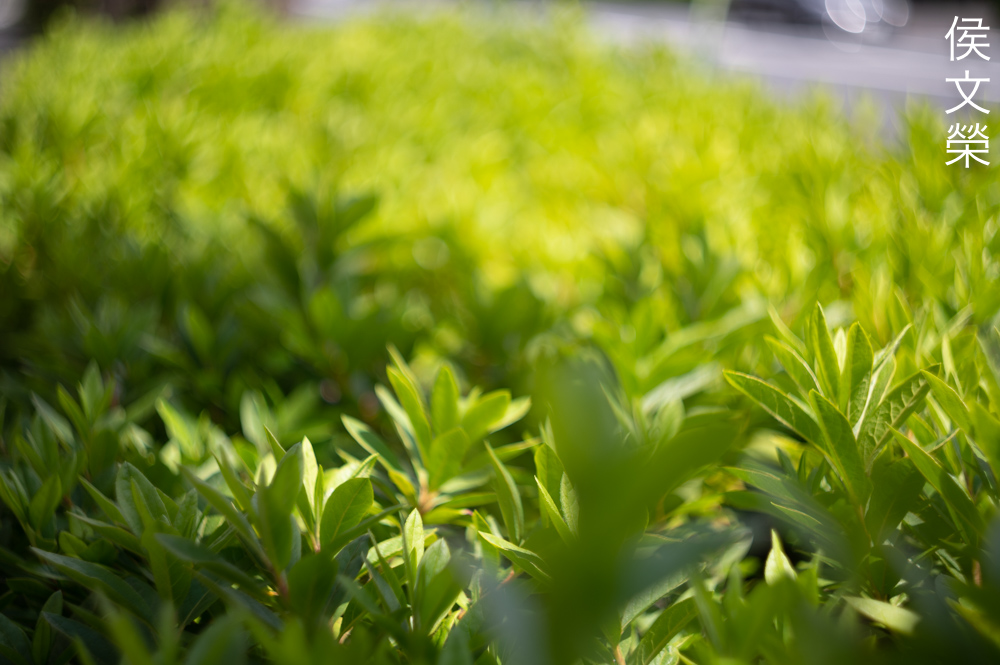
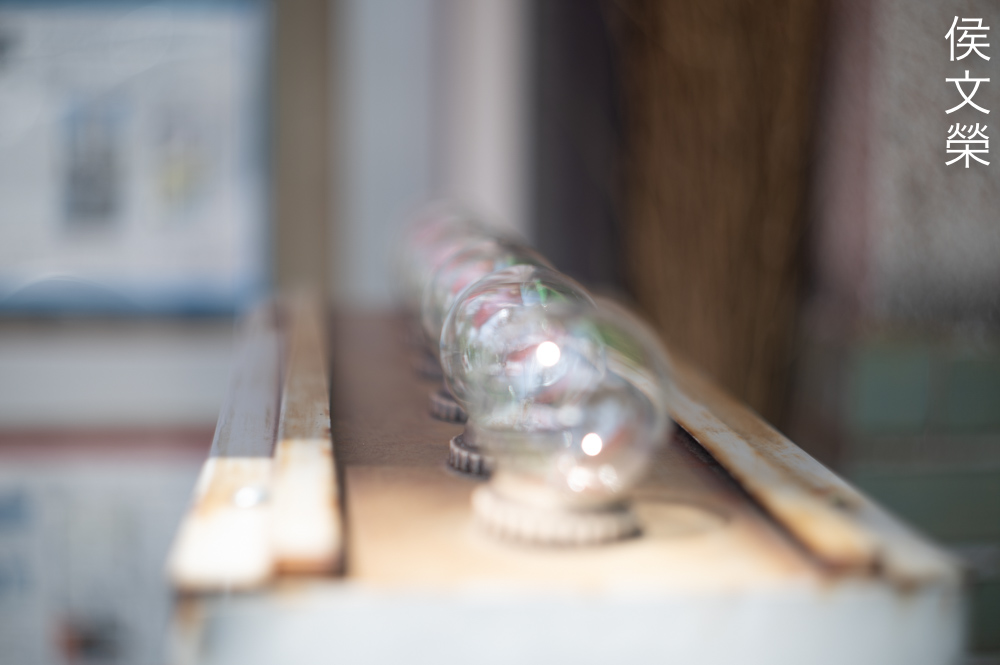
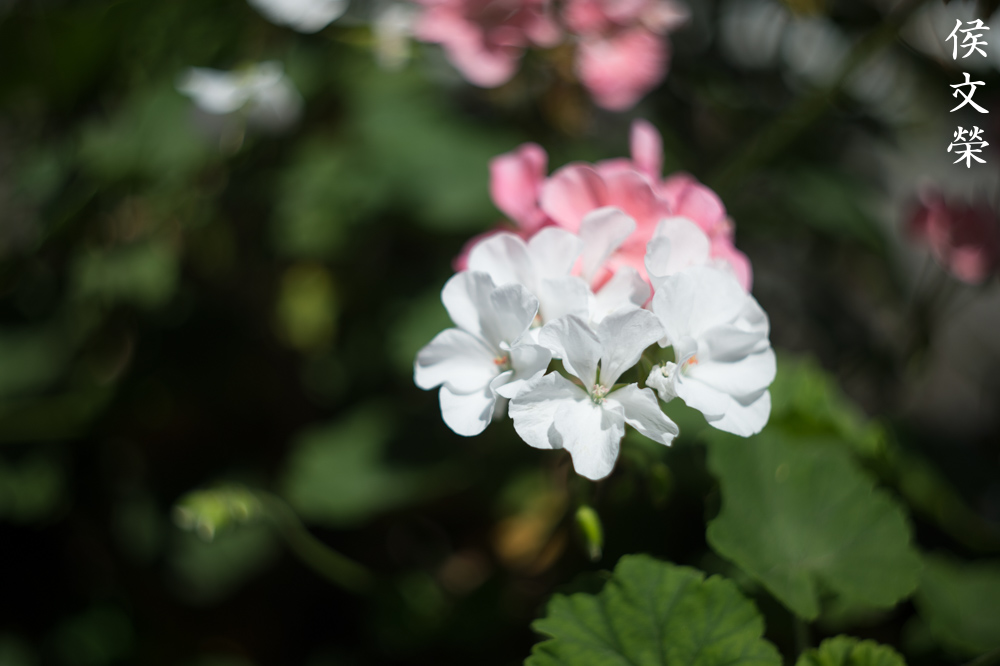
The character of the bokeh is unique, some people are able to tell that a photo was shot with it merely by looking at its blurry areas. There are cases where you’ll see some roughness but it looks more “painterly” than ugly.
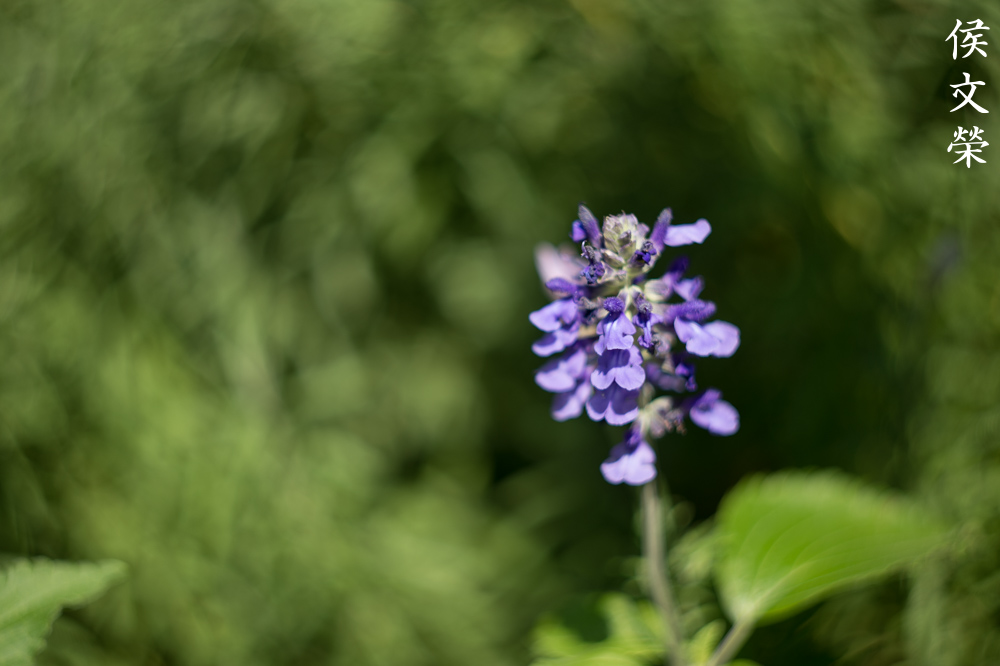
Lovers of the “soap-bubble-look” will be satisfied by this lens. Many people get their first experience of it by using this or its Russian-made derivative, the Helios 44 series.
The discs appear to be rather clean for its time with no harsh outlines that are common with many lenses from this era. This enables it to render with more refinement.
One of the reasons why I love Zeiss lenses from this era is how they render primary colors. The contrast is quite high so they’re able to render strong primary colors in a bold, surreal way.

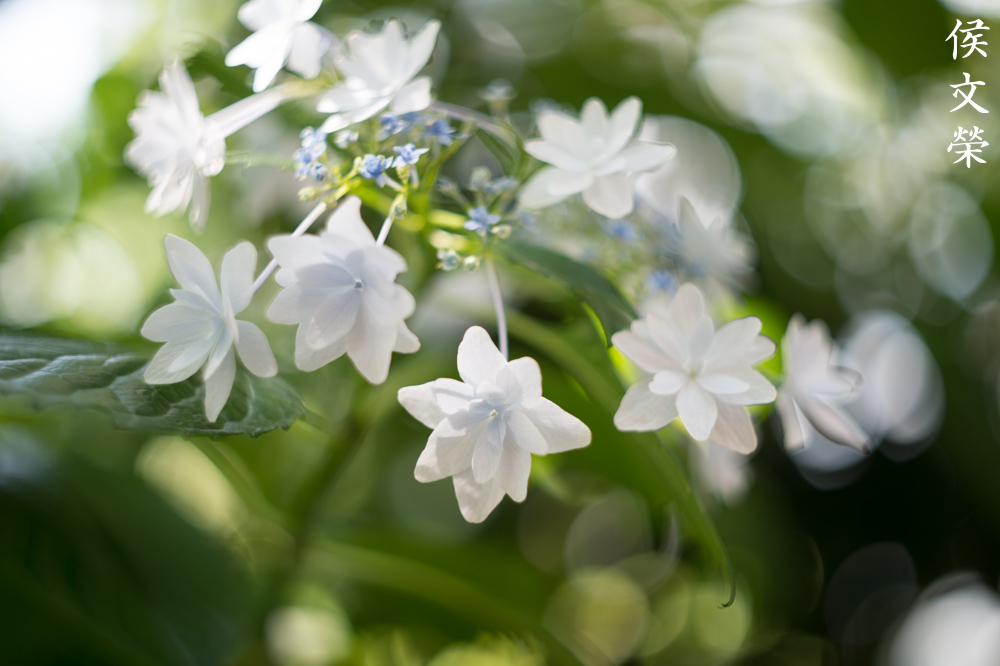
This lens is able to render sharp details along with smooth, exquisite blurry areas harmoniously. This gives you a pretty, balanced-looking photo. How it blends these 2 extremes is one of the immeasurable traits that makes this a great lens.

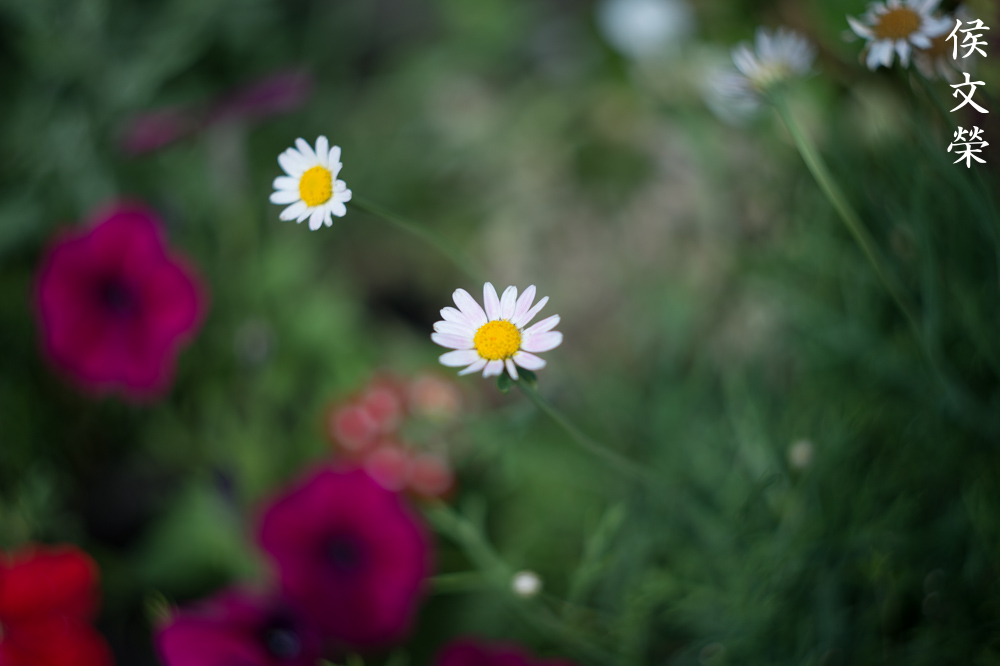
Focus-transition is rather smooth so you won’t get a “wall-of-focus” effect common with many modern lenses. It makes your photos look more natural. You’ll be able to see chromatic aberration here but it doesn’t look ugly at all, it actually makes the photo look more “organic” if you ask me.

See how delicate the focus-transition is? You won’t be able to see a demarcation line between what’s blurred and what is in-focus, everything just transitions smoothly, it’s as refined as good German beer.

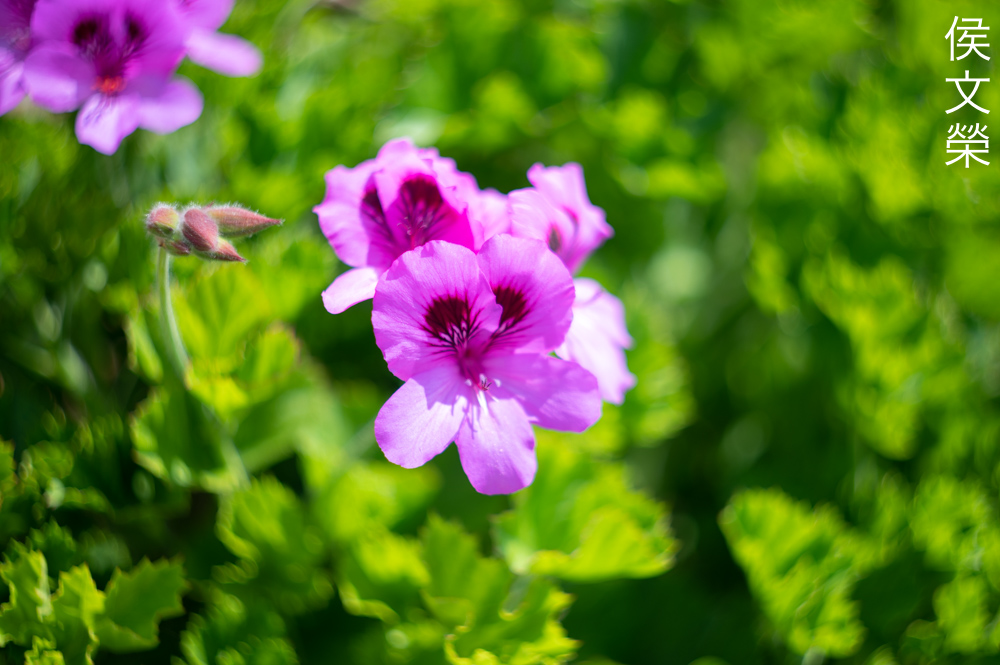
The character of the discs looks more akin to the ones rendered by many modern optics in the sense that they appear a lot cleaner with no harsh and ugly outlines or cores.

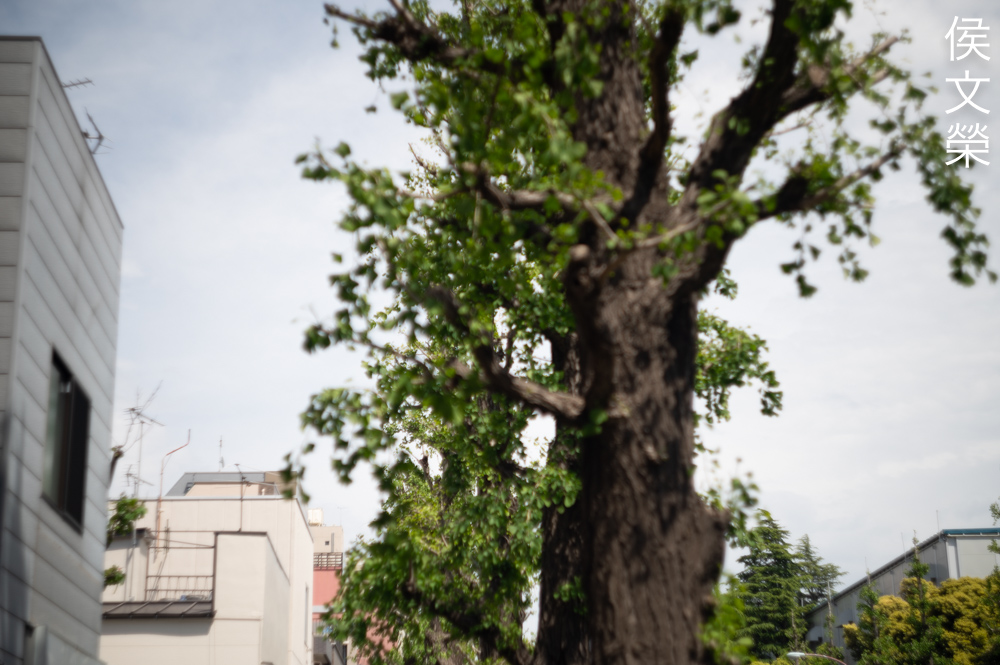
It’s a great lens for shooting in the night, it’s able to render a lovely scene with soft, exquisite details. The low-levels of detectable distortion enables it to render nice portraits, making your subjects look pretty.

The thin depth-of-field when shooting wide-open is useful for isolating your subjects from the background. It’s also an interesting tool for storytelling that’s why many videographers use this lens for that purpose. The click-less aperture is another feature that makes this an attractive lens for videography.

Its subject-isolation quality is remarkable not only because of the thin depth-of-field at wider apertures but a lot of the effect is due to how that “swirly-look” helps amplify that effect. The unusually-high contrast of this lens also helps a lot in giving you that impression.

The effect varies from being subtle like what you see here to something that’s more in-your-face like what we have in the previous photo. Both are beautiful and it will all depend on the distance between your subject and the background and what’s in your scene or where the light is coming from and at what intensity.

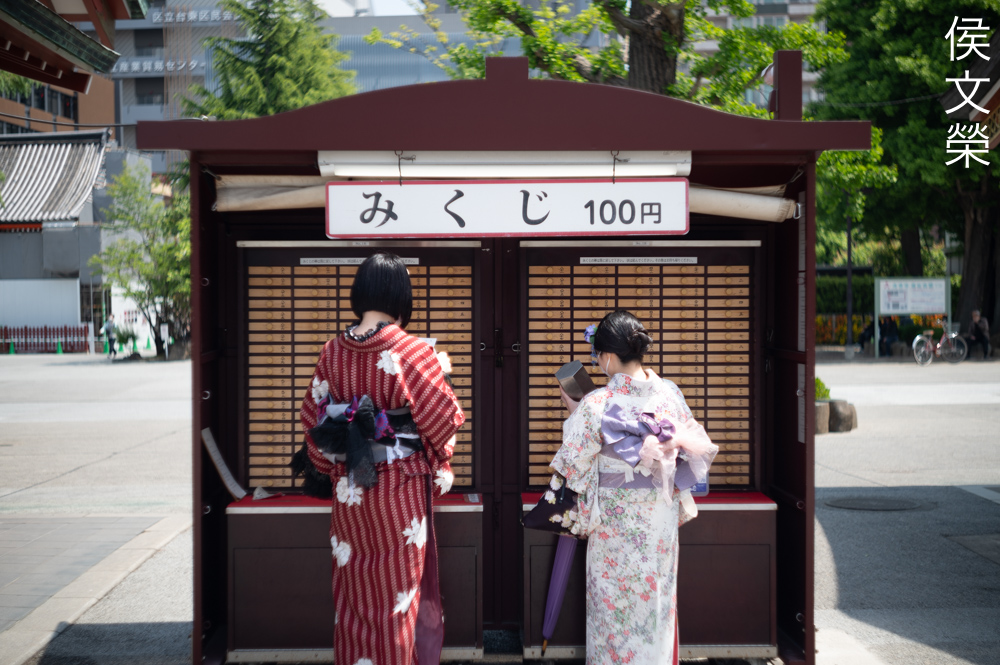
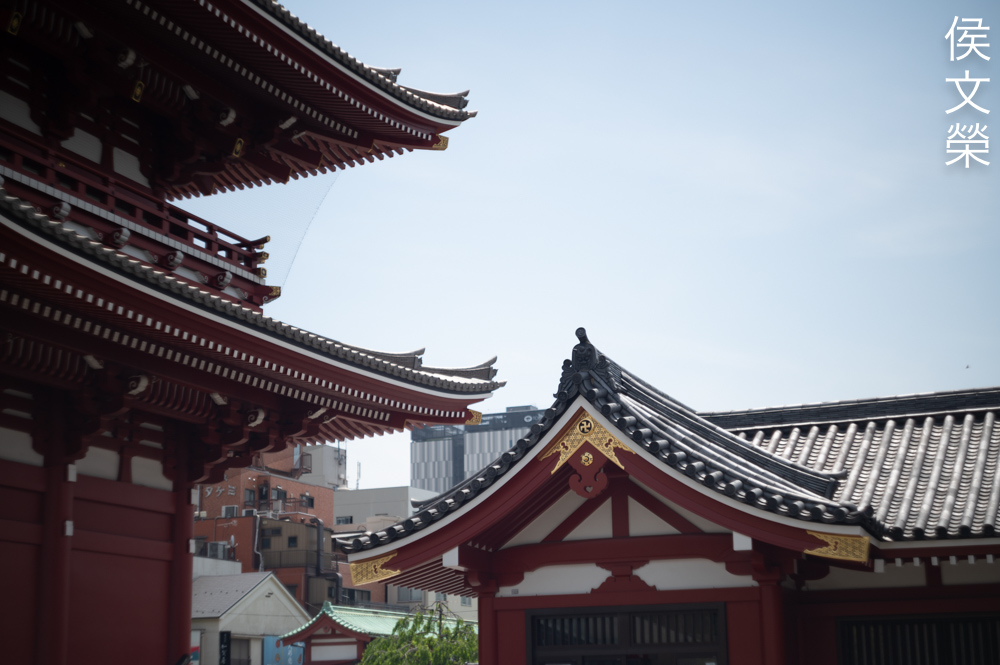
It’s a great lens for portraiture since 58mm is ideal for taking environmental portraits.

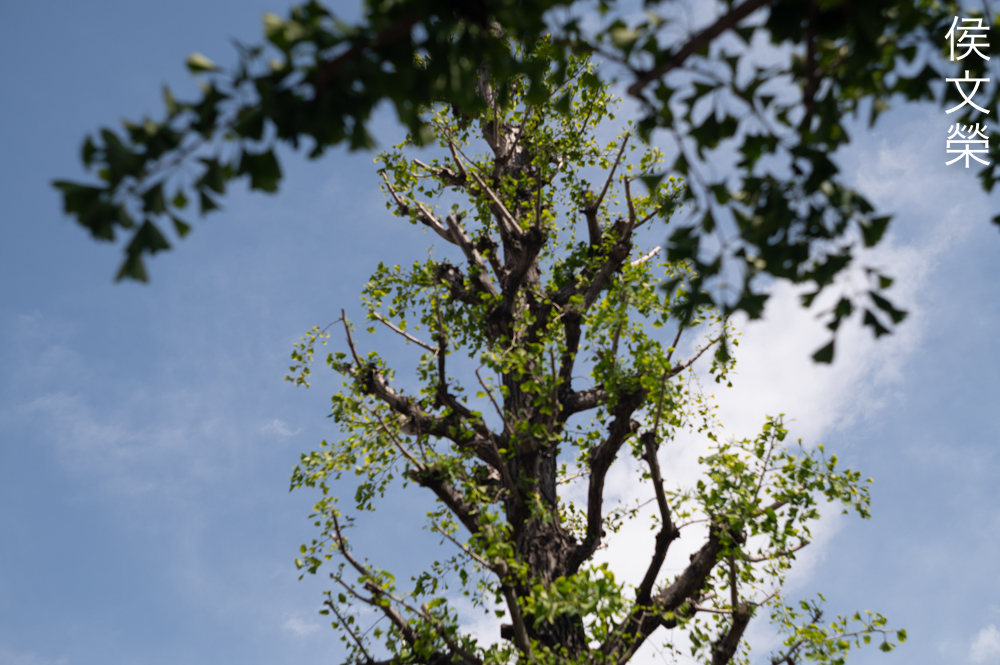
From my experience with it, this is about the furthest I would focus it since it doesn’t seem to perform as well when you focus it further than this. The performance gradually drops as you reach infinity.

Despite looking nice this photo isn’t really as “magical” as the one shot at closer distances. It’s probably safe to assume that this lens was calculated to perform at its best at closer distances up to about somewhere around 8m or so. This is the approximate range that a lot of portraiture and reportage photos are shot so it hints that this lens was designed for these applications more than anything.


(Click to enlarge)
Check these photos out to see what else this lens can do. This is an amazing lens, certainly a masterpiece of its time. It is still a viable option today as it was in the 1950s. If you’re tired of seeing the same look being rendered by virtually all lenses made in recent years then this lens will help give you the creative fix that you’re looking for. It’s an entry-drug to the wonderful world of vintage lenses.
I highly recommend this lens to anybody who understands what this is for. They’re not expensive but not cheap either, prices range from $120.00 up to $300.000 for this version depending on the condition and what’s included. If that’s an expensive deal for you then look for a Helios 44-2 instead, the Soviet copy will give you the same things that you look for in this lens for a fraction of the price and the older the lens is, the better. The later ones do not perform as well and the quality isn’t consistent. I was told that they’re still being made to this day but the quality has dropped considerably so they’re not the best ones to look for unless your taste in coffee is as exquisite as the photos they produce. Looking for a good sample is hit-or-miss unless you’re able to test it yourself. Avoid ones with the oily-iris problem, it can mean that the lens is an oily-mess inside. The glass has to be clean and clear, too. It’s common to find these with cleaning or swirl marks but they shouldn’t be too-deep. Bubbles are commonly seen in vintage lenses so don’t worry about that if you saw several of them. Having pristine-looking and even coatings is a bonus, you could easily see it by the blue-tint of the glass when viewed at an angle. I said that it’s a bonus because it’s not unusual to find these stripped-clean. The coatings are delicate and even the slightest contact will leave a mark. That means that nothing is left when the lens has been cleaned from fungus or other things. This is a lovely lens, it’s certainly worth your time and money to look for an excellent sample so take your time and you’ll be able to find one that’s suits your needs, happy hunting.
Before We Begin:
If this is your first attempt at repairing a lens then I suggest that you see my previous posts regarding screws & drivers, grease and other things. Also read what I wrote about the tools that you’ll need to fix your Nikkors.
I suggest that you read these primers before you begin (for beginners):
Reading these should lessen the chance of ruining your lens if you are a novice. Before opening up anything, always look for other people who have done so in YouTube or the internet. Information is scarce, vague and scattered (that is why I started this) but you can still find some information if you search carefully.
I highly recommend that you read my working with helicoids post because this is very important and getting it wrong can ruin your day. If I can force you to read this, I would. It is that important!
For more advanced topics, you can read my fungus removal post as a start. It has a lot of useful information, it will be beneficial for you to read this.
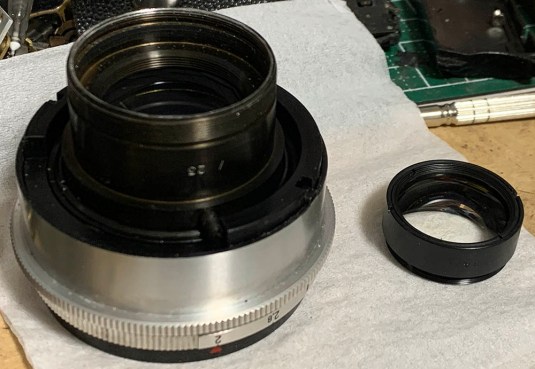
Disassembly (Focusing Unit):
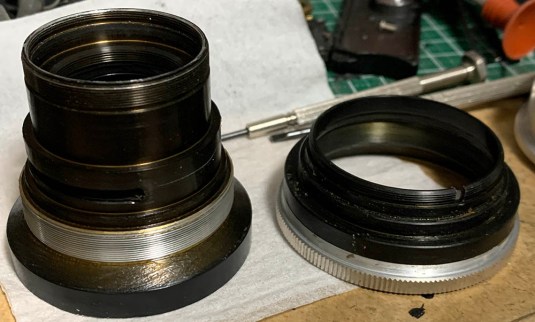
This follows the same scheme as most Zeiss M42 lenses made in the same era which means that you could separate the whole thing into 2 separate assemblies, the focusing unit and the front barrel. You can work on them independently, it makes things a lot easier this way as you could plan your operation better. I will show you how to separate it here and how to work on the helicoids. You will require special tools for this so do no attempt to repair this if you do not know what to do.
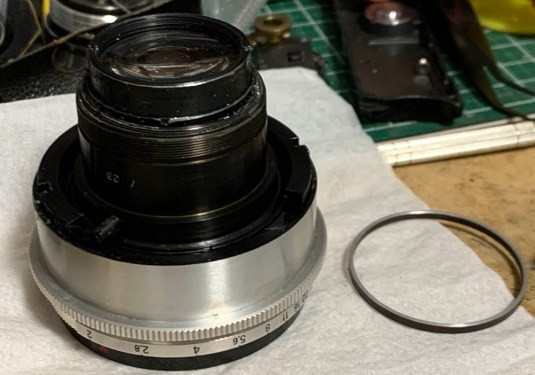
Set the lens to its minimum focusing distance so you could access this ring. You will have to look for the one that sits at the outermost part which is difficult to detect unless you look carefully. You will require a special tool to unscrew this, it is also important that you go at it carefully since it can be tight and using force will just strip the slots.

Once the ring has been unscrewed you’re able to separate the front part from the focusing unit. Do not bother to get it out since the ring won’t fit through the narrow hole.
There’s a shim here, do not misplace or damage it as this is used for adjusting the focus.
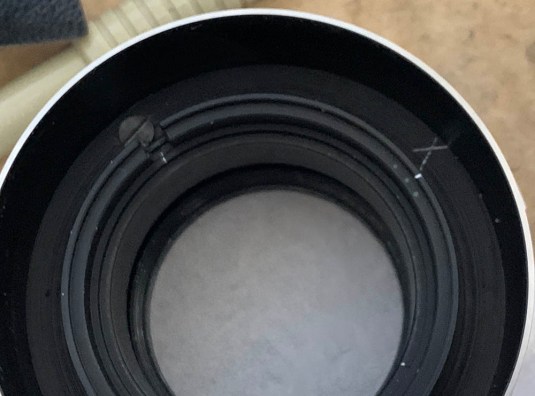
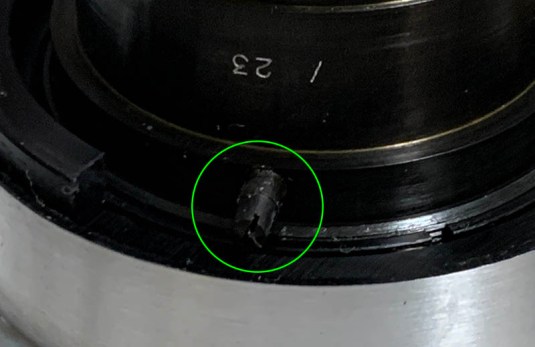
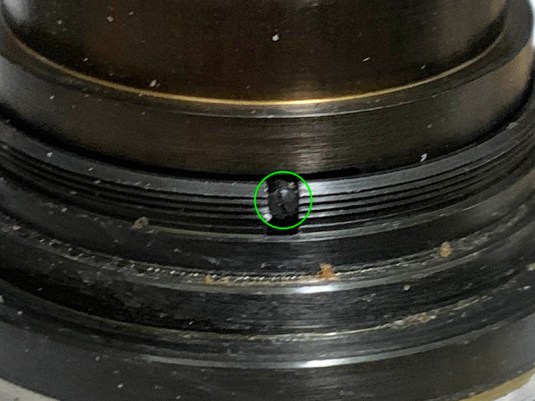
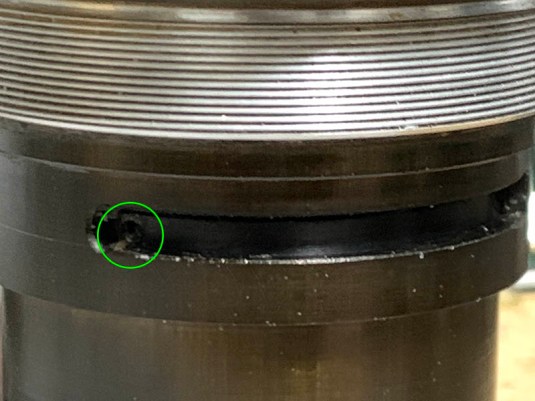
Somebody was here as evident by the mark inside the focusing unit. Extract the screw you see here so you could turn it beyond its range until the barrel separates.
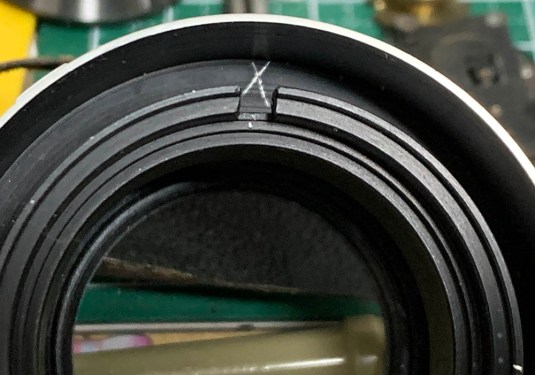
The inner helicoid separated here exactly where the mark was made. Never forget to mark where the helicoids parted as this is also the same spot where they should mate. Many people get stuck at this point, read my article on working with helicoids to prevent this from happening to you.
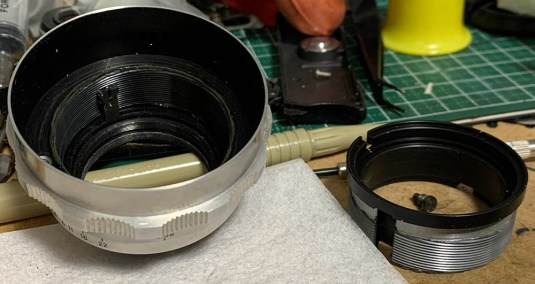
Here’s how it looks like. Be careful when cleaning the threads so you won’t scratch them.
Turn the outer helicoid until it’s collapsed and note its position, you should be able to recreate this later.
Separate the central helicoid (focusing-ring) from lower one. Mine parted at this point, despite it being a single-entry thread it’s best to be safe.
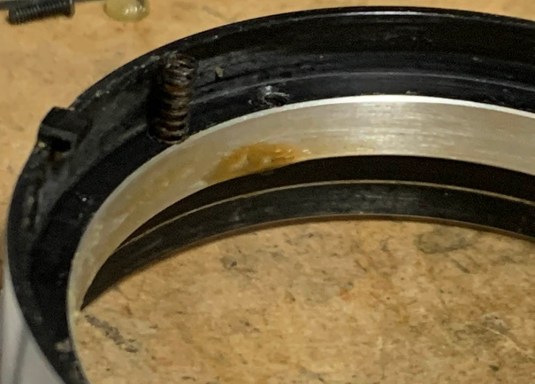
Once the helicoids have been dismantled you’re now able to access that retainer ring that we talked about in the first section. When putting the helicoids back do not forget to put this ring back facing the right direction or you will have to open everything up again just to correct it.
Clean the helicoids well and never leave any residue. I scrubbed them with strong toilet cleanser and pickled them in a tub of alcohol to remove stubborn grime and residue. Polishing the threads with rubber polishing wheel helps create a smooth sensation. Only apply a thin film of light grease so you won’t create a mess.
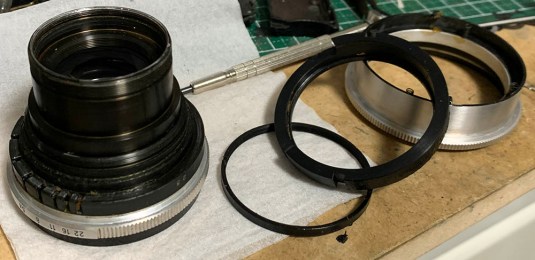
Disassembly (Front Barrel):
Most of the work is done in this section since this is where everything happens. I don’t think it’s complicated but there are things that you should remember such as noting the directions of the elements and not touching the surfaces with no special equipment since the coatings are soft.
Working on the iris mechanism is the most difficult part of servicing this lens. You can read my article on how to service a preset iris to see the work involved.
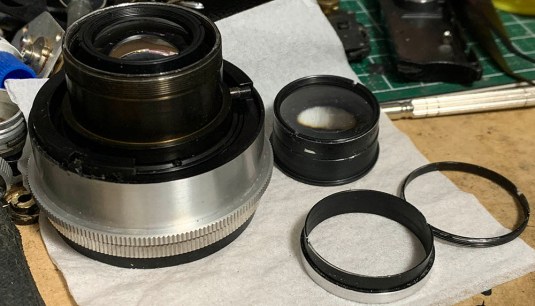
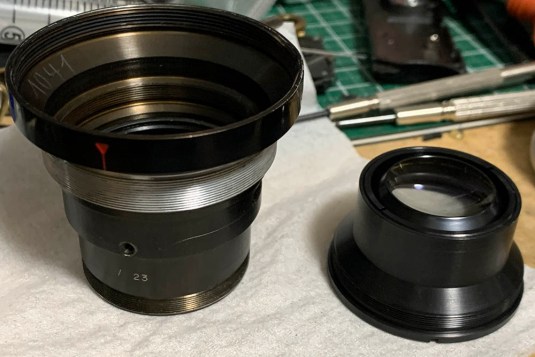
Unscrew the retainer to remove the collar and the rear group, you simply pull the whole thing off once the ring is out.
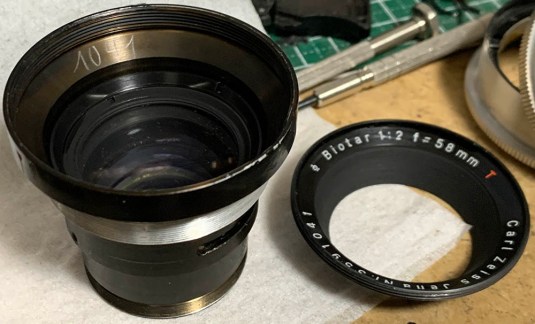
Unscrew this assembly to remove it from the objective’s housing.
Carefully remove it, the coating is situated at the inner surface so do not let it touch anything as it’s soft and you could easily rub it off.
Carefully extract this so you won’t snap it.
Once that is gone you’re now able to dismantle the aperture limiter ring.
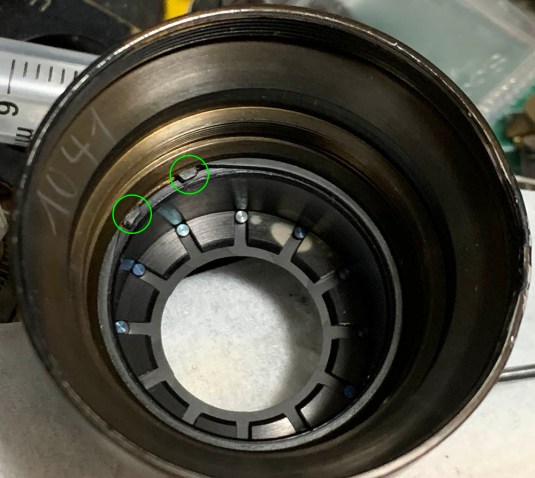
You will find these springs, be sure that they don’t fly-off and get misplaced. Remove and clean them well then put the springs somewhere safe.
Extract this to remove the aperture ring, it couples the ring to the iris mechanism inside so you could modify it. Do not forget to note how high the screw sits so you will know how much to turn the aperture ring when putting it back.
Unscrew the aperture ring and clean it well.
Unscrew the bezel with a rubber tool.
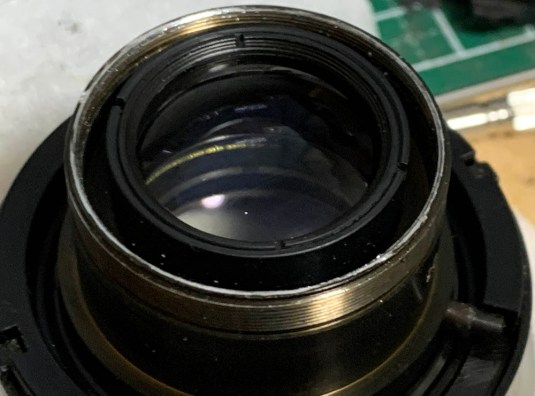
The front elements assembly could be unscrewed. Prevent anything from touching the inner surface of the lens as it’s where the coating is usually situated. Unlike Nikkors, the Germans use coatings that are soft.
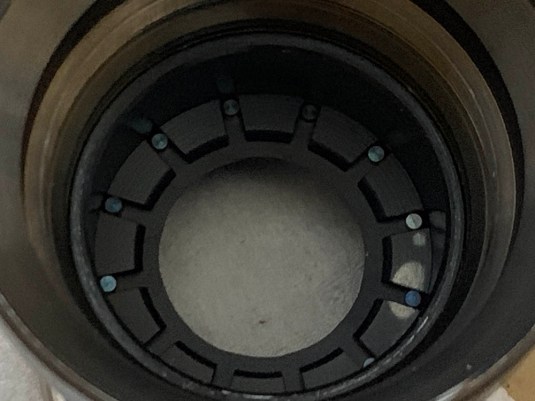
Do not forget to note this part so you’ll know where it should be when the iris is wide-open.
Carefully remove this circlip to dismantle the iris mechanism.
You’re now ready to dismantle the iris mechanism, simply pull the rotator cup off with your fingers.

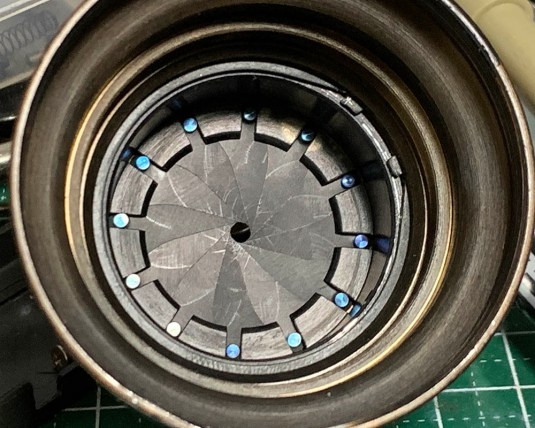
The iris can now be dismantled and cleaned properly.
Never lubricate anything apart from the threads of the aperture ring and even with that you only need to apply a very thin film of grease. A light one is best so you could turn the aperture ring effortlessly. Since German glass is way softer than Japanese ones I dilute my fungus-cleaning solution thinly when working with them. Read my article on cleaning a lens with fungus to know what my routine is.
Conclusion:
This was my 2nd time to overhaul this lens and both occasions would have been pleasant if it didn’t involve working on the iris. Putting the iris back took the most time. Apart from that it was enjoyable to overhaul this because it was made with great precision. Each part fits perfectly with no mechanical-slop at all. Having said that, it’s not a lens that a person with little experience repairing camera gear should work on. Leave this to the professional, it’s worth it.
The iris is now clean, it looks pretty now without that thin film of grime that used to coat it. Since there’s nothing that will allow you to adjust its focus apart from the shim shown in the previous section you won’t need to do anything with it if you got everything right.
This is a popular lens, I am sure that many people made articles about this but I would like to show you my version. It may have some things that the others may have missed. I hope that this will benefit those who have interest in vintage Zeiss lenses, this is my gift to the community.
Thanks for following my work, if you liked this article please share this with your friends so it will get more views. This site earns around $0.40 a day, we are totally reliant on views. You could also support this site, it helps me offset the cost of maintenance and hosting. You are also helping me purchase, process and scan film. This site promotes the use of film so we are all in this together. See you again in the next article, Ric.
Help Support this Blog:
Maintaining this requires resources and a lot of time. If you think that it has helped you or you want to show your support by helping with the site’s upkeep, you can make a small donation to my paypal.com at richardHaw888@gmail.com. Money isn’t my prime motivation for this blog and I believe that I have enough to run this but you can help me make this site (and the companion facebook page) grow.
Buy me a roll of film or a burger?
Thank you very much for your continued support!
$2.00
Helping support this site will ensure that this will be kept going as long as I have the time and energy for this. I would appreciate it if you just leave out your name or details like your country’s name or other information so that the donations will totally be anonymous. This is a labor of love and I intend to keep it that way for as long as I can. Ric.

3 Comments (+add yours?)