
Hello, everybody! Which Rocky movie is your favorite? I love the original one but part IV has a special place in my heart because Dolph Lundgren was there. It illustrated the rivalries between states during the Cold War, something my young readers won’t be able to comprehend. It was a nervous time even in the 1980s just before the former USSR collapsed. I recalled how weary I was because a nuclear war might happen anytime. I wasn’t born yet when it started in 1947 but I’ll introduce to you a witness to that. If this lens could only talk I would love to hear what it has to say about the stories it took just before the “Iron Curtain” went up. Let’s find out what this lens is all about.
Introduction:
The Carl Zeiss Jena Tessar 40mm f/4.5 was made so that the Contax S and the Ihagee Exakta could have a lens that will go wider than 50mm. These predate Harry Zöllner and Rudolf Solisch’s Flektogon so Carl Zeiss Jena had to improvise a bit just to satisfy the need to get wider. If you’re an avid follower of this site you’d already know that it was difficult to design wider-lenses for 35mm SLR cameras back then so optical engineers had to resort to a few stop-gaps until there were suitable designs that could deliver what the market wanted which resulted in a few oddball lenses. This particular lens was made in the late 1940s and it represented that.

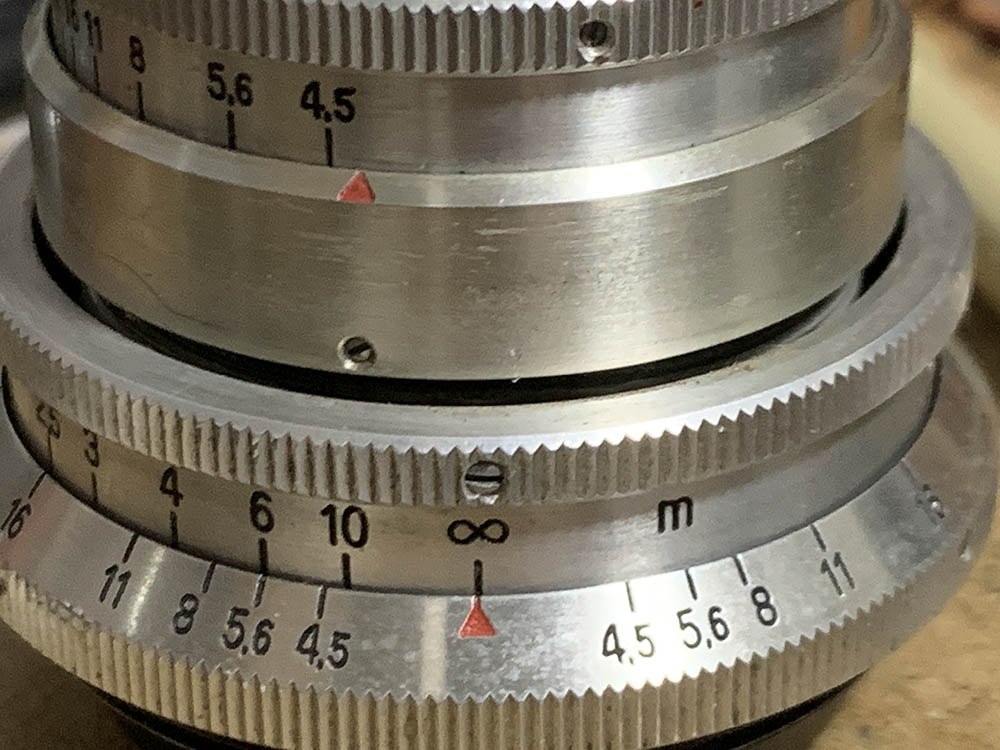
Construction is very good, the parts fit precisely and the level of machining is exceptional. The all-metal barrel is shiny with a thin coat of clear varnish. The iris could be stopped-down to f/22 which is not possible with the later version as far as I recall.
It has a 4-elements-in-3-groups design because it’s a Tessar. This layout is very famous and is certainly the most-used design in optics history. It has great center performance even at wider apertures but the corners don’t look so good. It has mediocre blur smoothness, too. All of what I mentioned are typical traits of true Tessars so I already knew what to expect from it and you will soon see what I mean when viewing my samples.
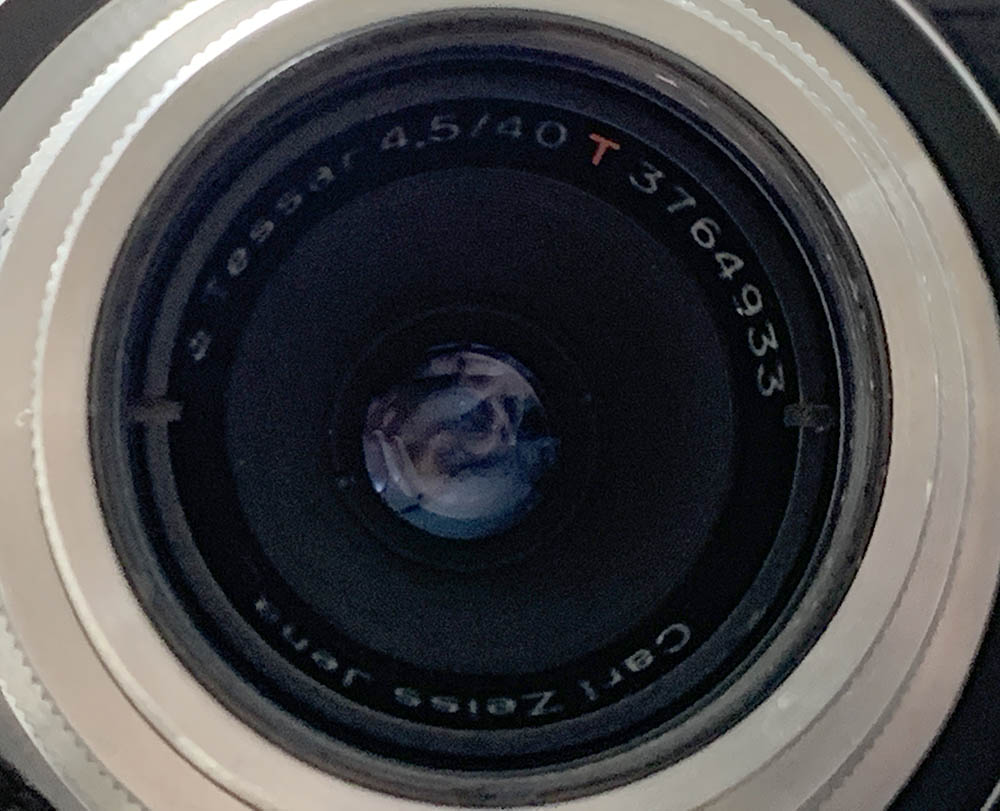
The front element sits really deep so you won’t require a hood in most cases. What’s interesting is these have the red T engraved on their bezels which denote that they’re multicoated. I do not know to what extent but mine does not have any when I opened it, perhaps somebody cleaned it off? The German coatings are notorious for being delicate and this is no exception.

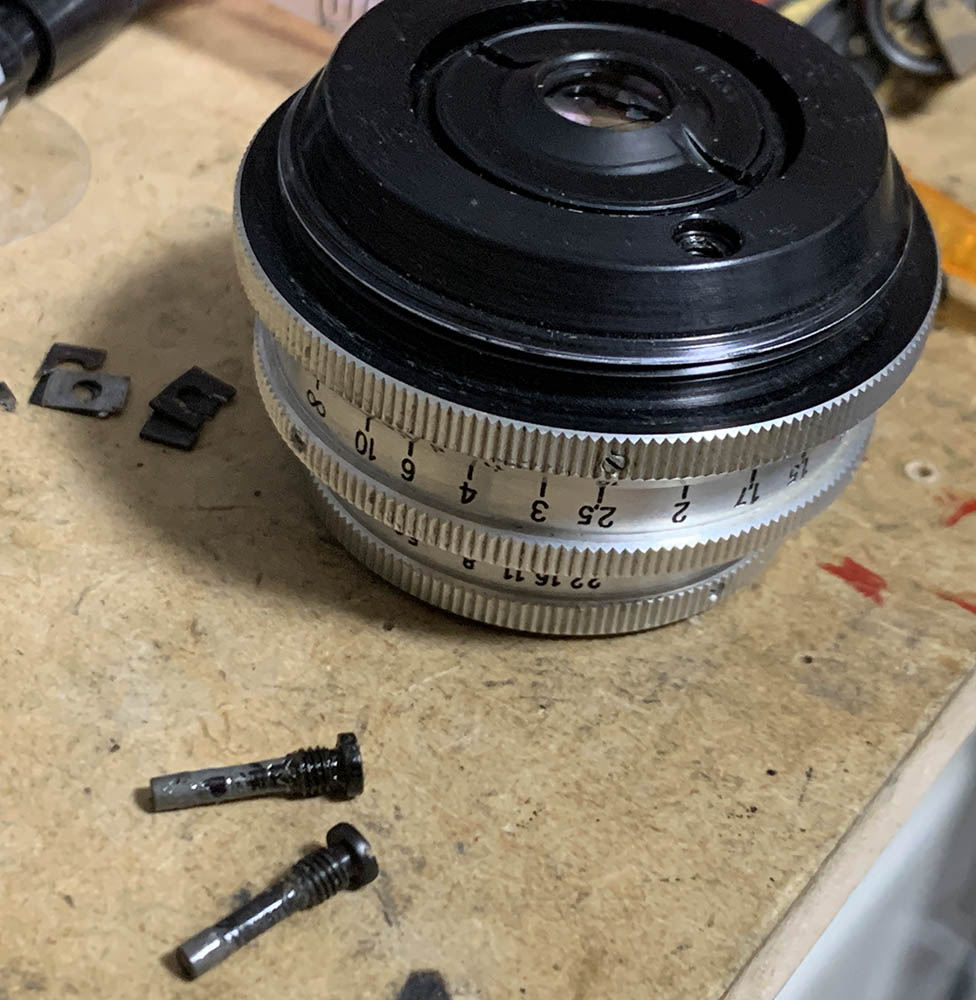
Unlike later Carl Zeiss Jena lenses for the M42 mount the ones made in the late 1940s have smaller barrels. They do not have preset-apertures so they turn freely from end-to-end. They also have visible screws which are usually absent when compared to the later ones made in the 1950s, they’re also a lot smaller, too.
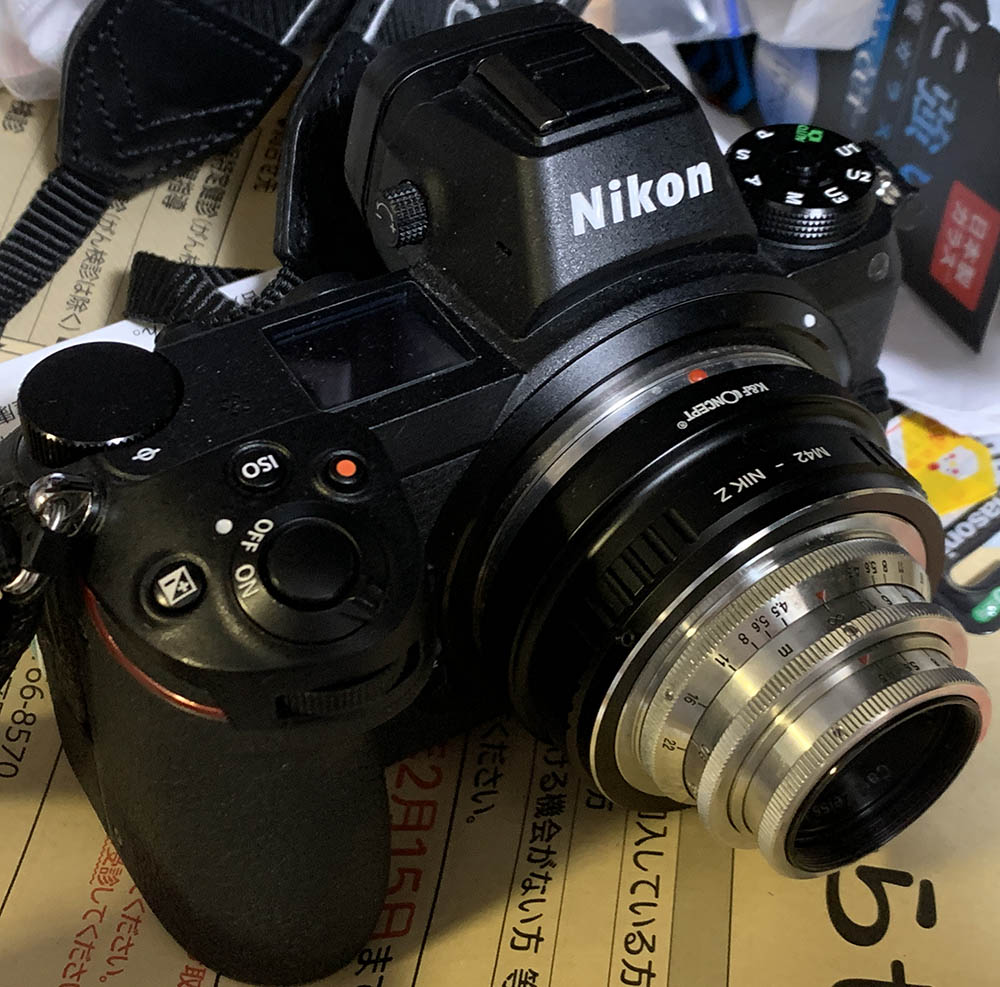
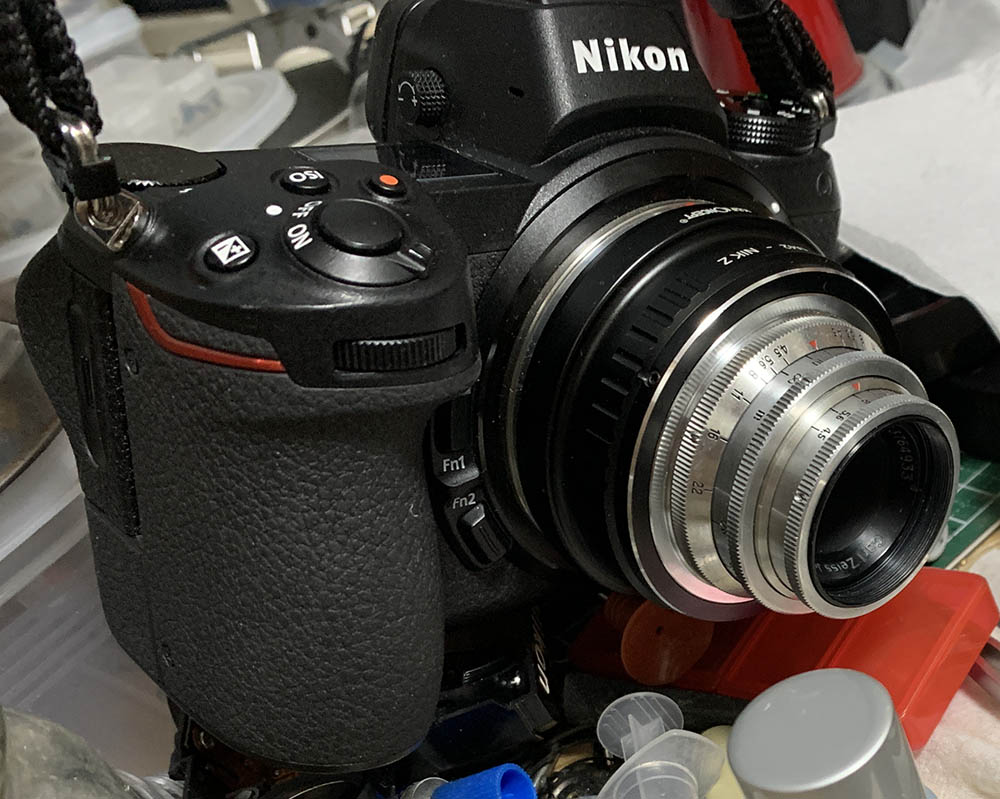
This is a tiny lens, the Nikon Z6 dwarfs it. This balances perfectly with a Contax D or any of its variants so it’s best to use it with those cameras instead when shooting with film. Avoid using these with later film cameras, the rear protrudes so it may potentially damage the mirror or impede the movement of anything.
Learning how a lens performs is important so you will maximizing its use. You will learn how to utilize its strengths and avoid its weaknesses. This knowledge helps in determining which lens to bring on an assignment. I shot these photos from f/4.5, f/5.6 and f/8 since these are the most common apertures that people would want to use this, we’ll also get to see the most changes happen with these values. I shot these with my Nikon Z6, some of the photos were cropped close to 1:1 so we could see the details better.
(Click to enlarge)
It has a shallow barrel-type distortion, this shouldn’t be a problem and it could be corrected easily in post. The profile’s simple so you should get away with it in most cases.
Vignetting is obvious wide-open and the falloff isn’t smooth. Stop the iris down to f/5.6 and things look a lot better. It’s going to look much better by f/8 but you’ll still see traces of it at the extremities. I’m a bit disappointed by this because I expected to see none of it at f/8 but it’s not going to affect your photos much unless you’re shooting the sky or you gave an even-colored backdrop.


(Click to enlarge)
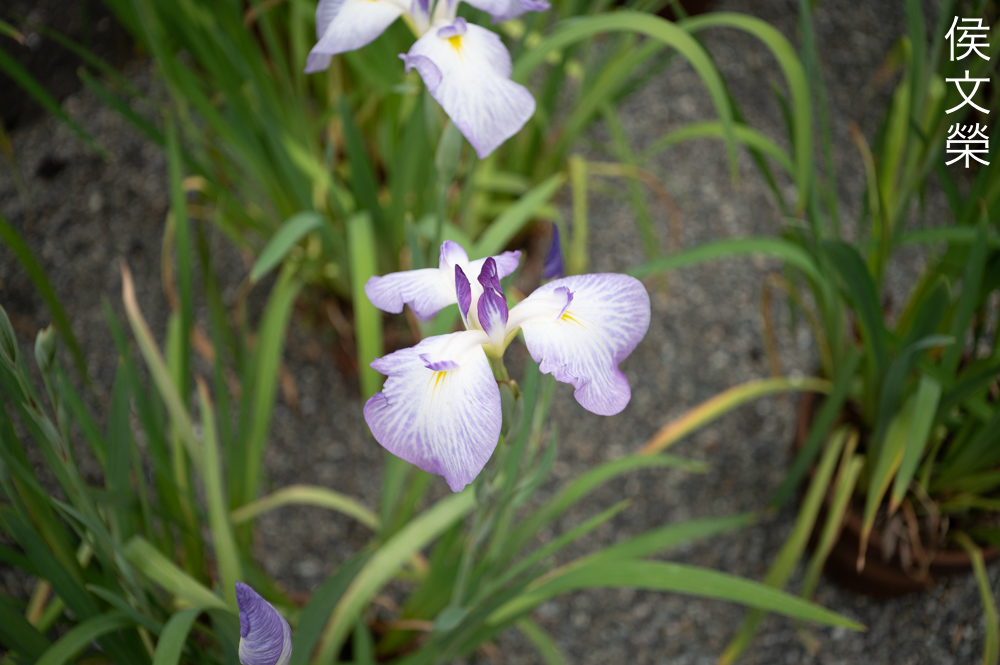
The character of the bokeh isn’t the best but you don’t shoot with this expecting smooth blurs anyway. Just be careful with what you have at the background specially when shooting at closer distances.

(Click to enlarge)
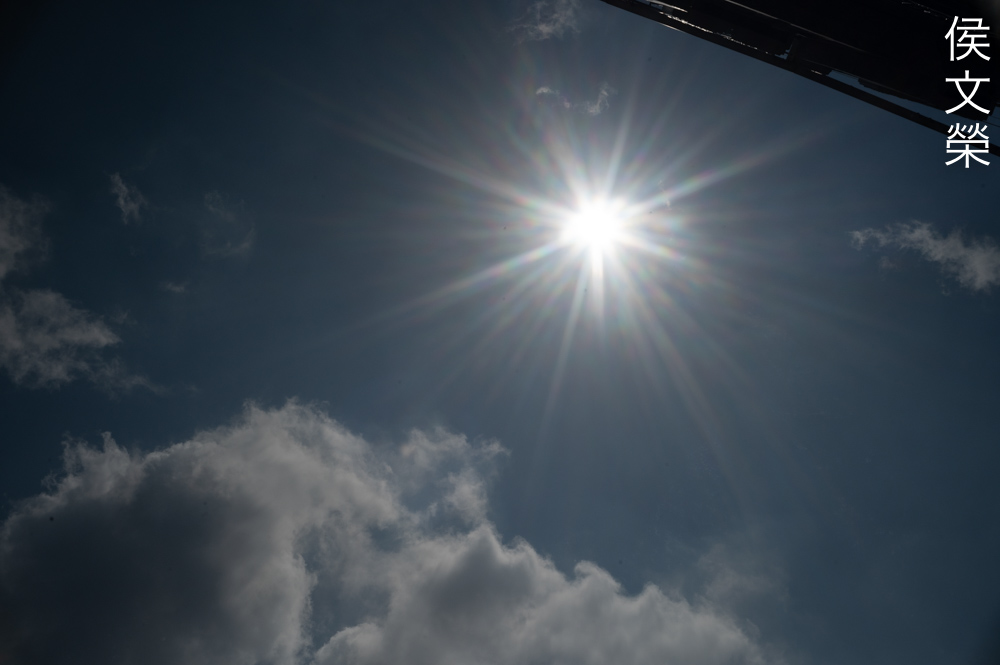
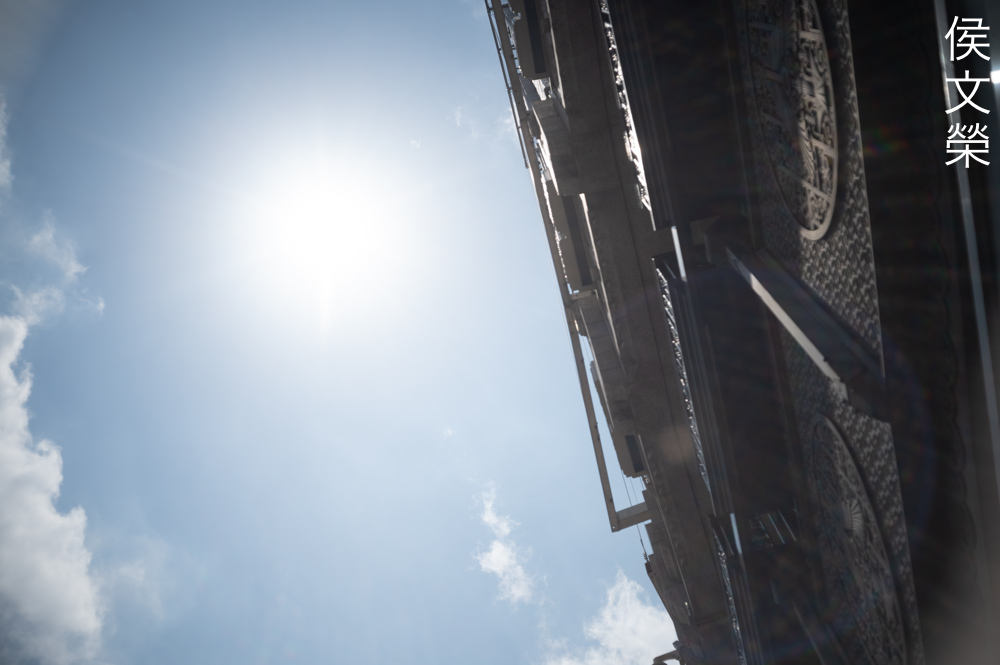
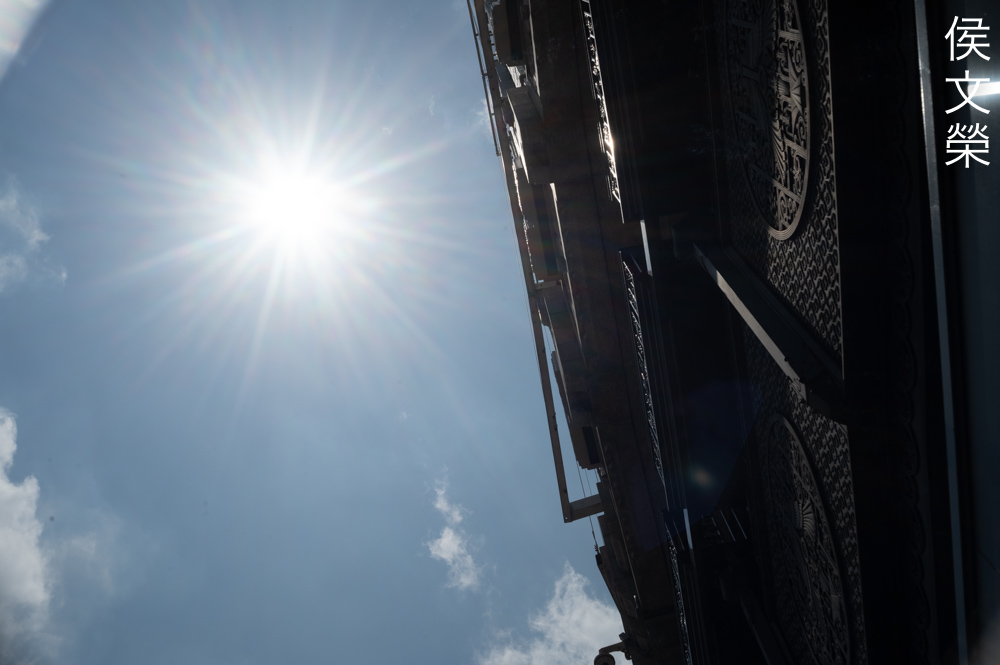
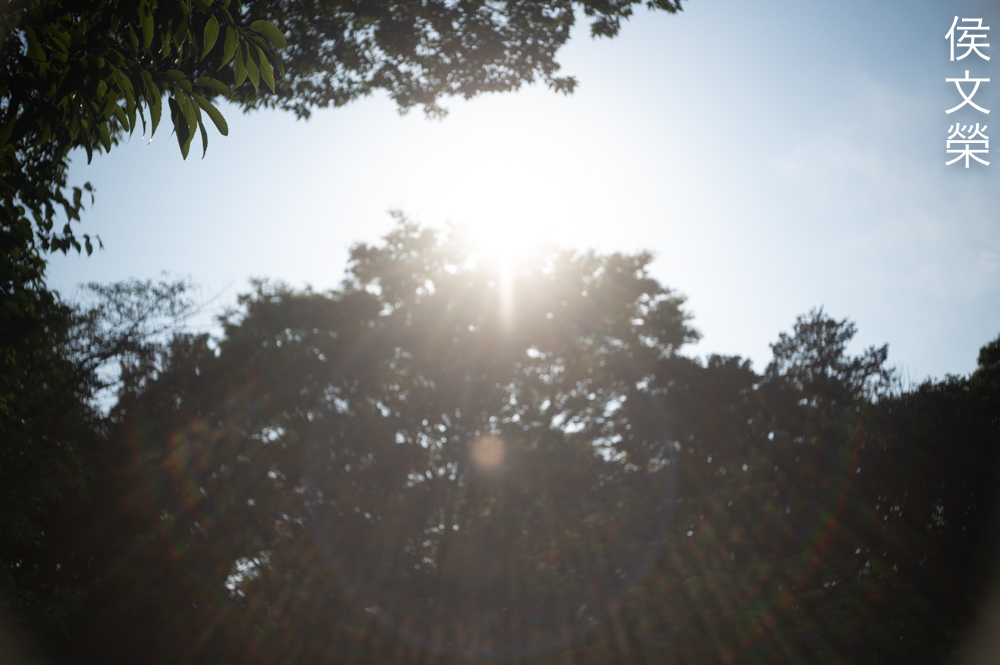
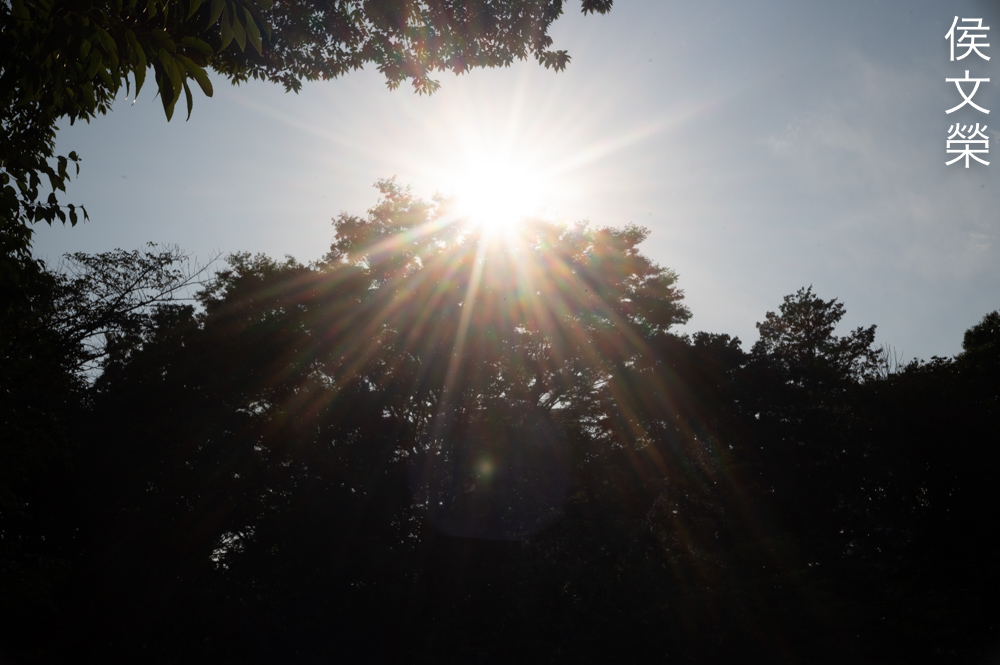
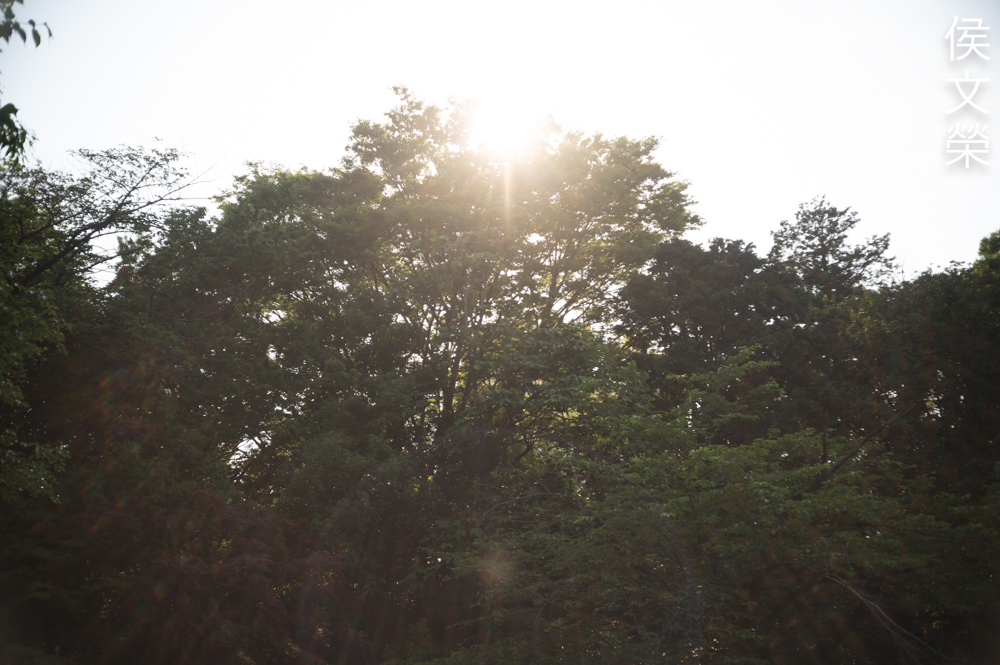
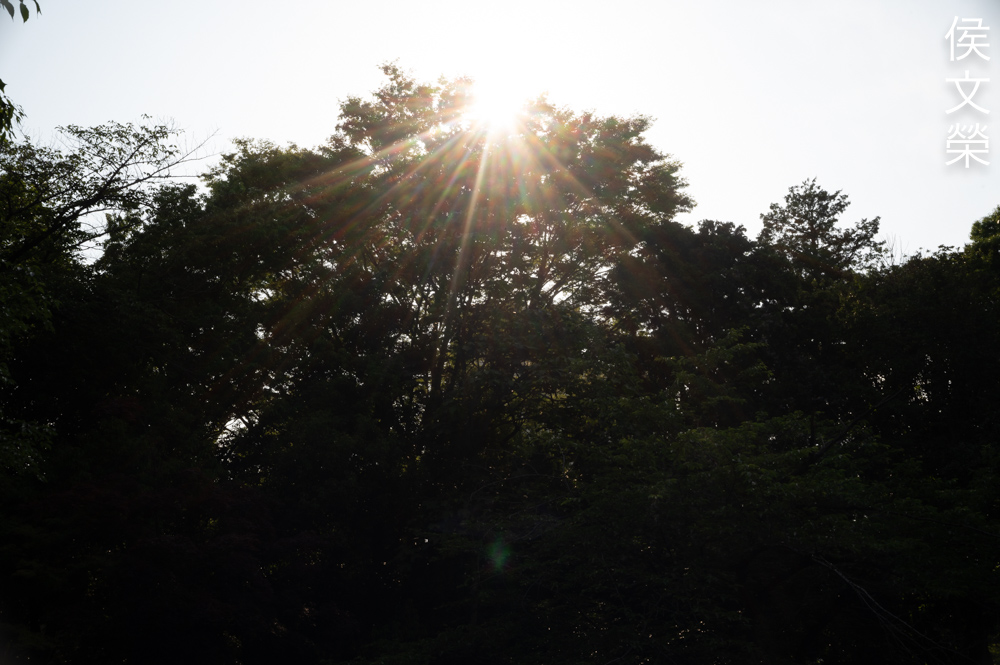
It flares horribly and you’ll get a large blob. This is a lens from the late 1940s so I won’t make a big issue out of this, its coatings are rather simple which results in a huge dip in contrast when shooting it against strong lighting.


(Click to enlarge)
Chromatic aberration appears to be controlled very well and spherical aberration is near-absent. The blooming you see here is the result of flaring more than anything else.


(Click to enlarge)
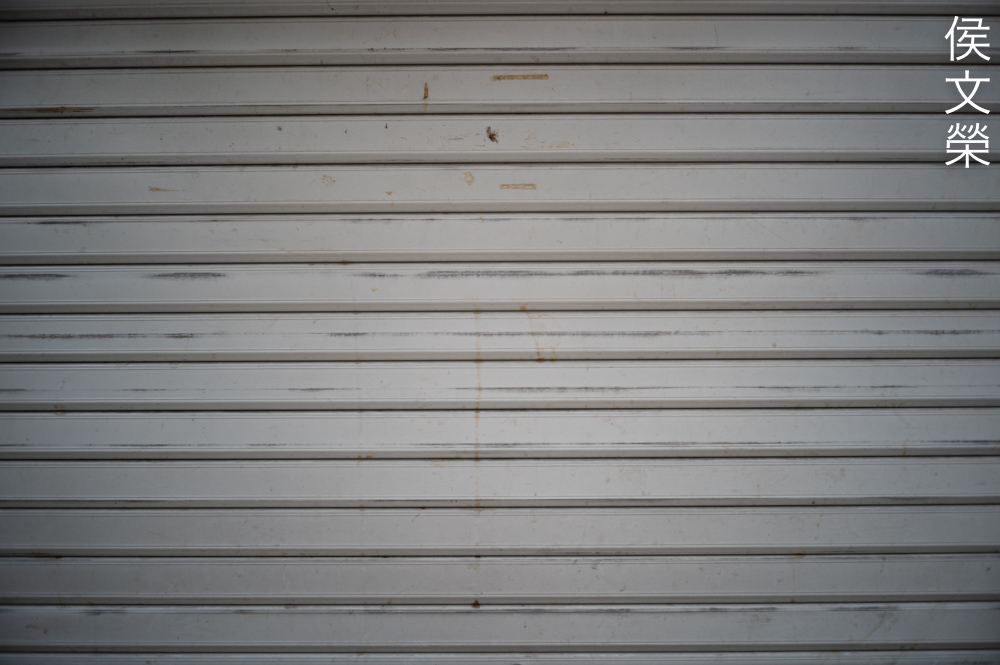
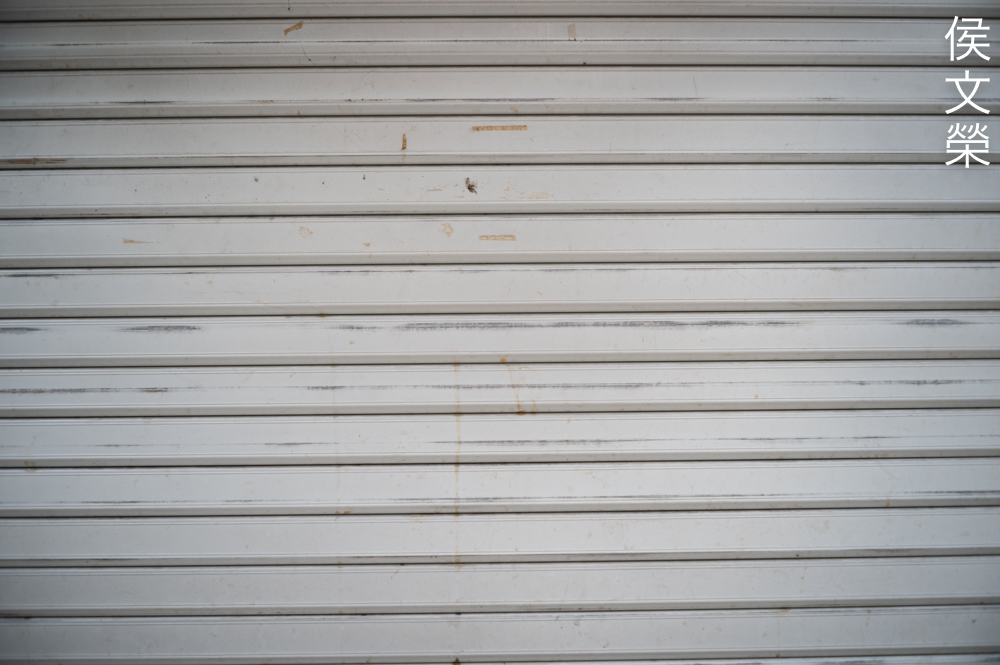
Sharpness at the center looks great wide-open and the resolution seems adequate. The corners look poor compared to the center at this aperture. Stop the iris down to f/5.6 and you will notice improvements in resolution which in turn will help give you sharper photos. The corners improve somewhat but are still poor but the center looks really nice. You will see a bit of improvement due to the better resolving power because it’s already quite sharp wide-open. The center will show very little improvement by f/8 but the extremities look a lot better but still a bit poor. You stop this down further just to get deeper depth-of-field or to get better corners.
Notice that it’s a bit overexposed when shooting this lens stopped-down, this is caused by vignetting. This is why you should meter your scene with the iris stopped-down if you’re using a through-the-lens meter.

(Click to enlarge)
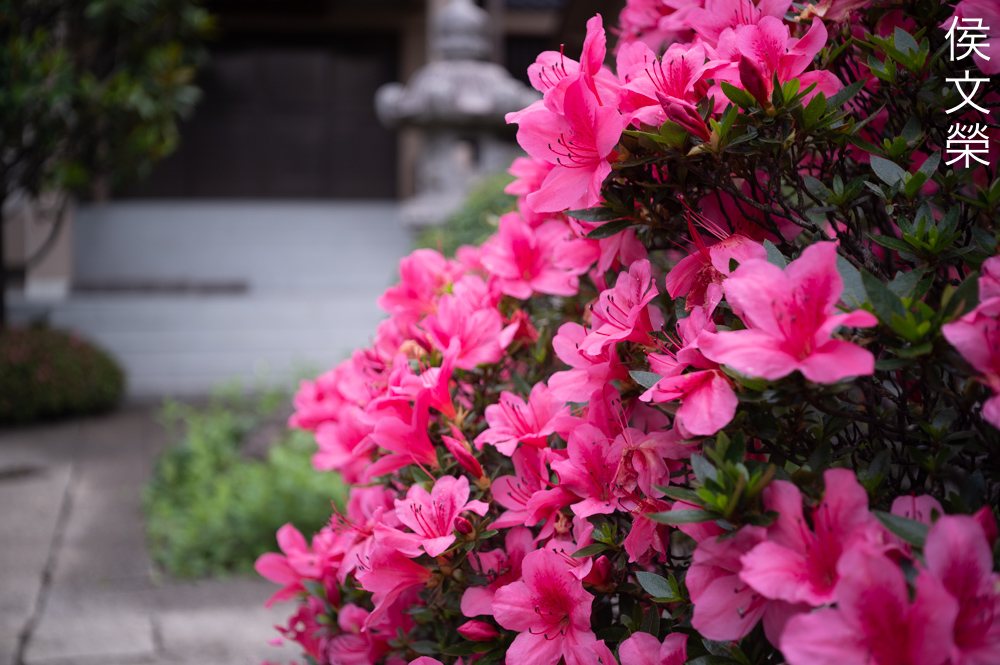
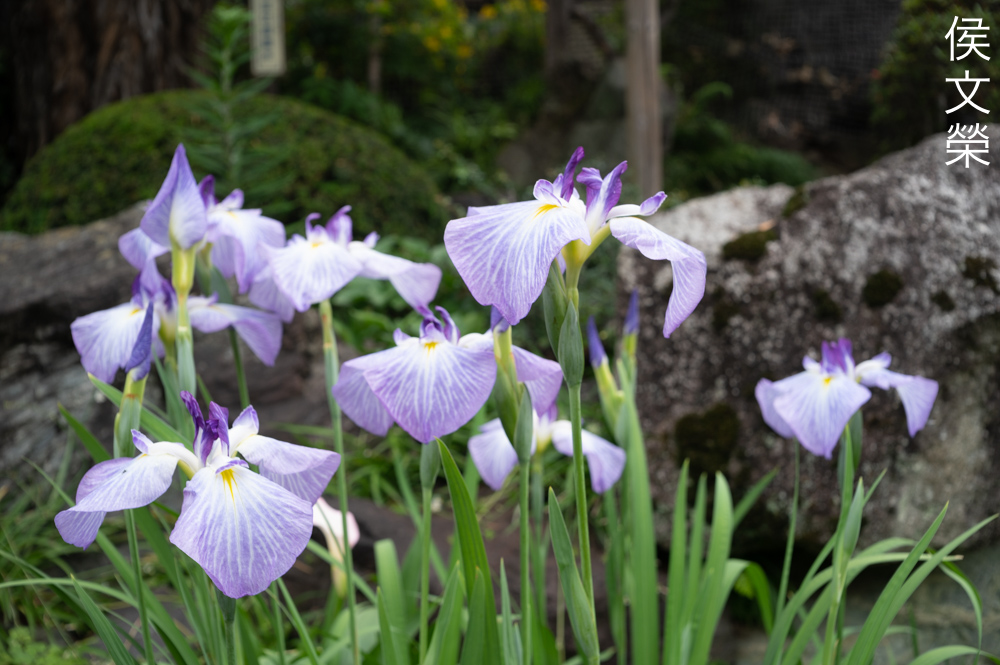
This lens doesn’t focus close but attaching a slim extension ring helps you get some reach. Despite the character of the bokeh not looking the smoothest the sharp parts look absolutely beautiful. I don’t think this lens is great for flowers, it doesn’t have the rendering qualities of the Carl Zeiss Jena Tessar 50mm f/3.5.
All Tessars are known for their clarity, this is the reason why they’ve sold really well for many decades despite not being fast.
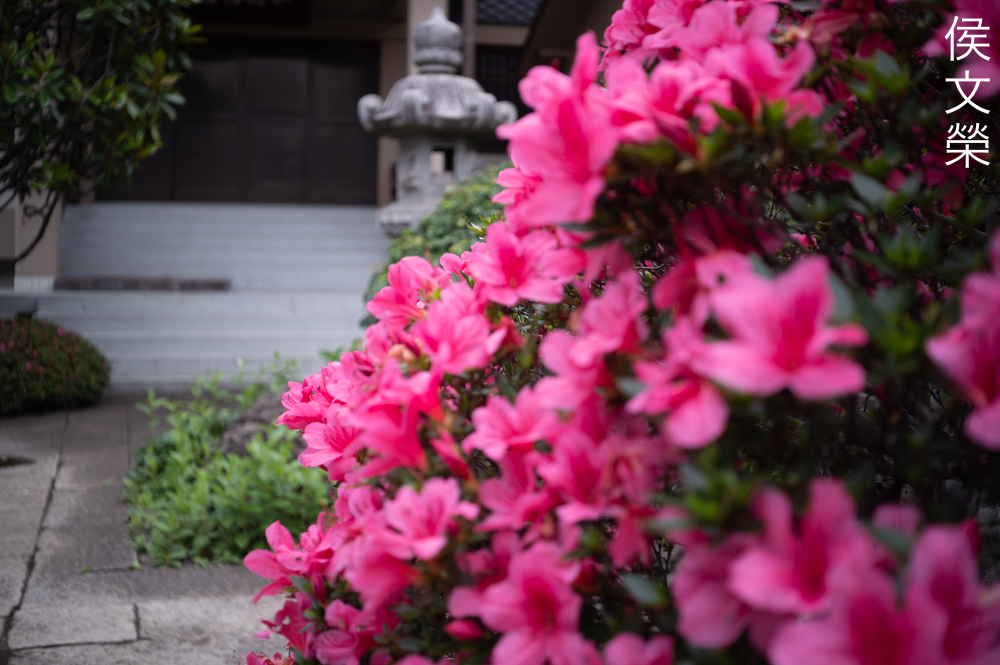
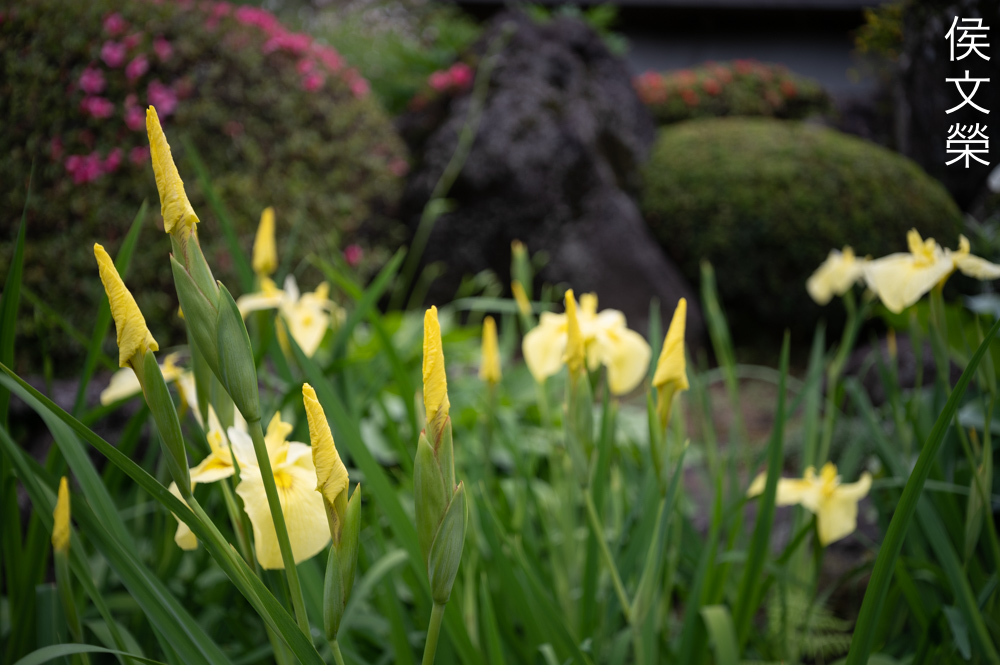
Many postwar Carl Zeiss Jena lenses have high-than-normal contrast without sacrificing tonality. This is why I like them a lot. If there’s one thing that I don’t like about the Tessars it’s the character of their bokeh, they’re usually not as good compared to other designs. However, there are some versions that do render the blurry parts rather well so this is not a trait that affects all Tessars.

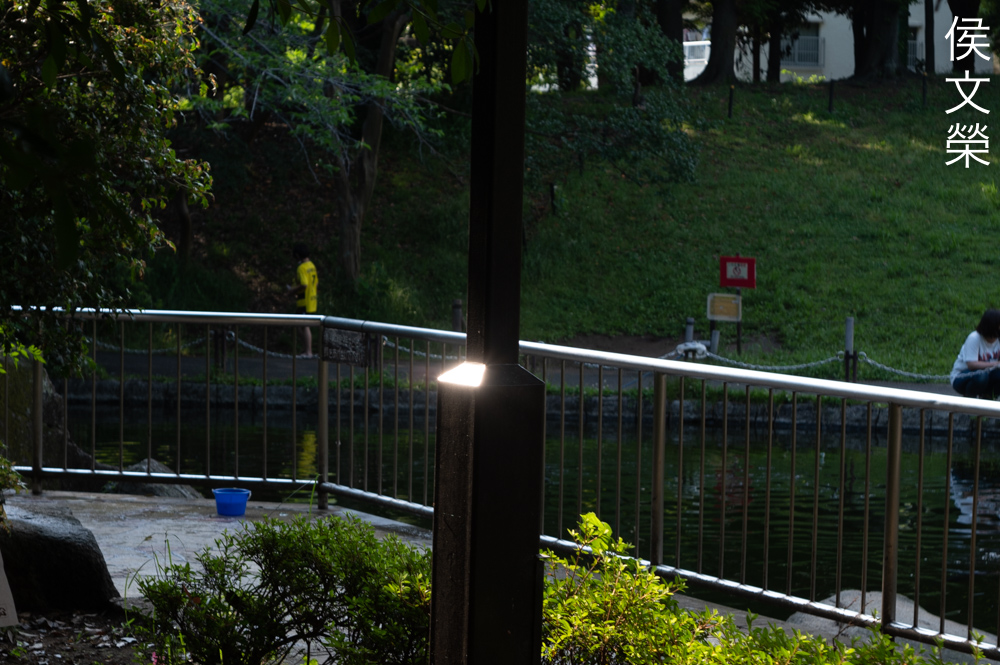
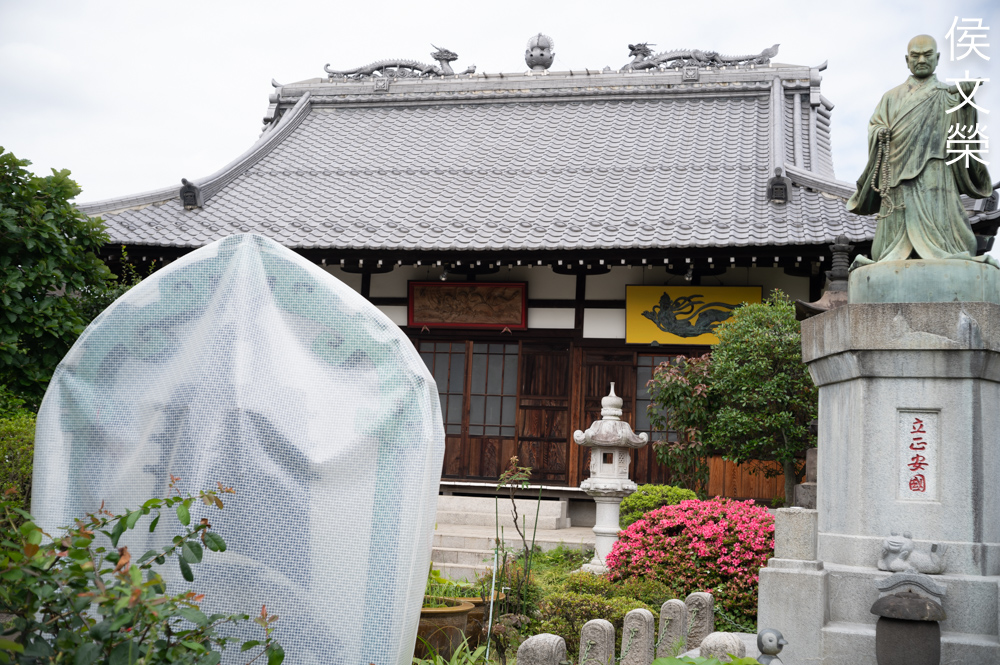
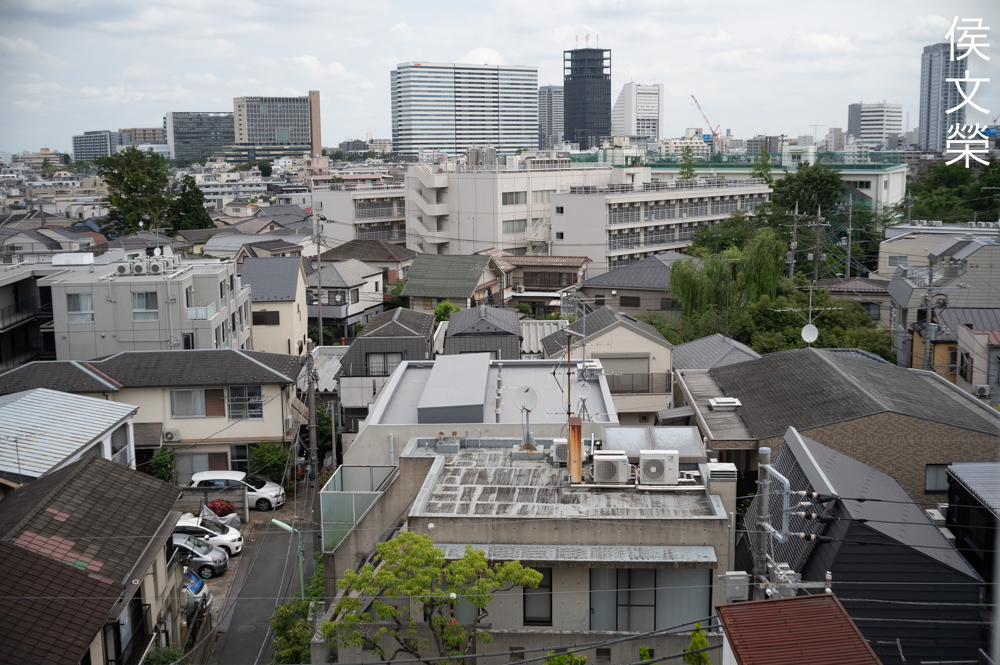
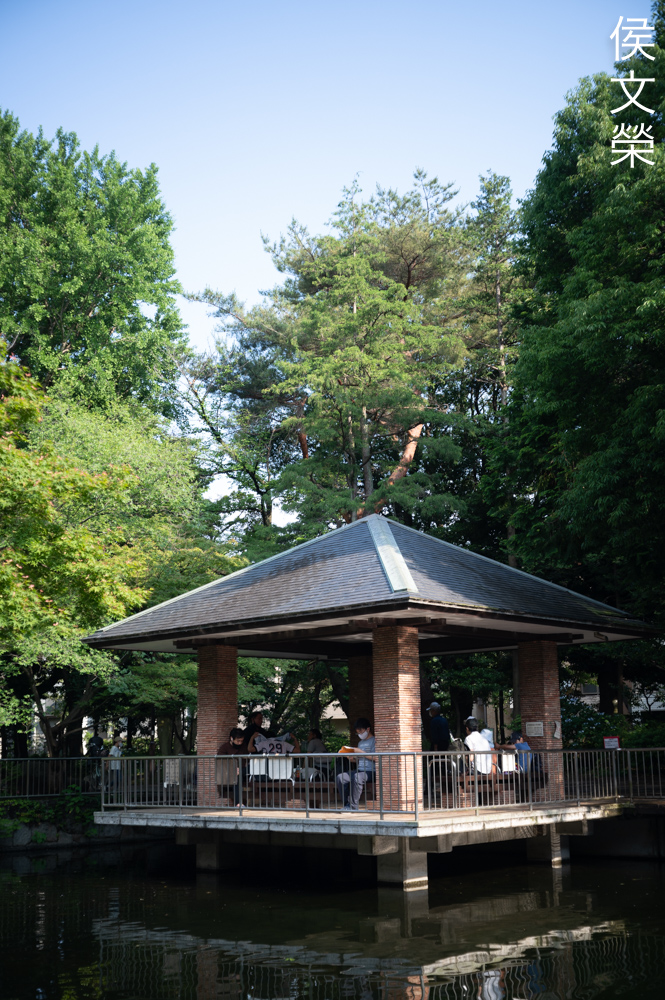
The lighting isn’t the best but an overcast sky is best for examining how a lens renders tonality.

The field curvature doesn’t appear to be flat at all. To be fair to this many wider lenses from this era don’t either.
The slow maximum aperture is a handicap so why not be at peace with it? The Nikon Z6 has built-in stabilization, I was able to shoot this handheld.
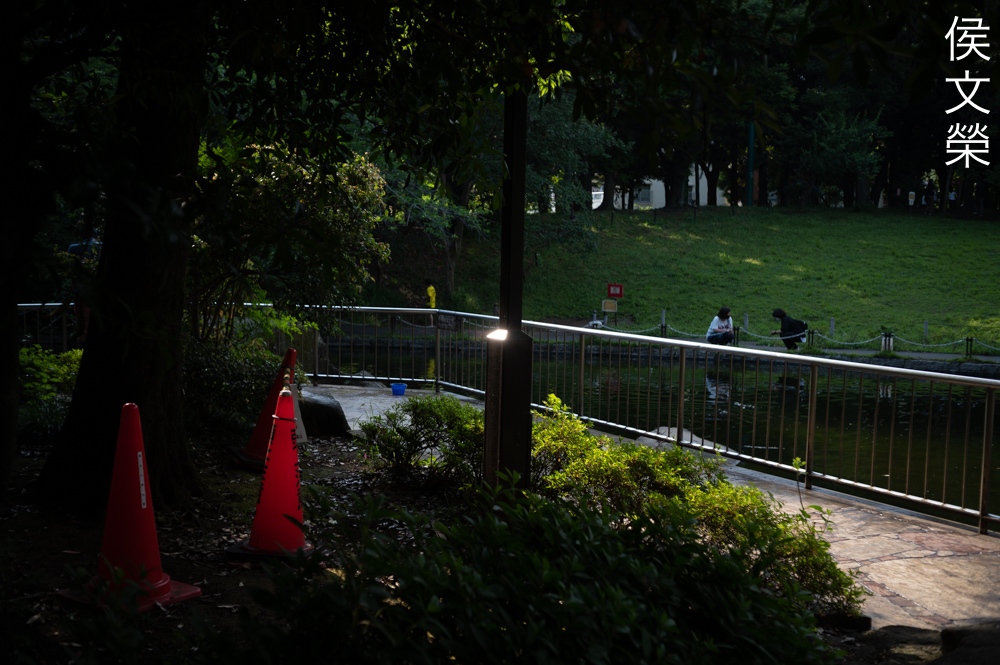
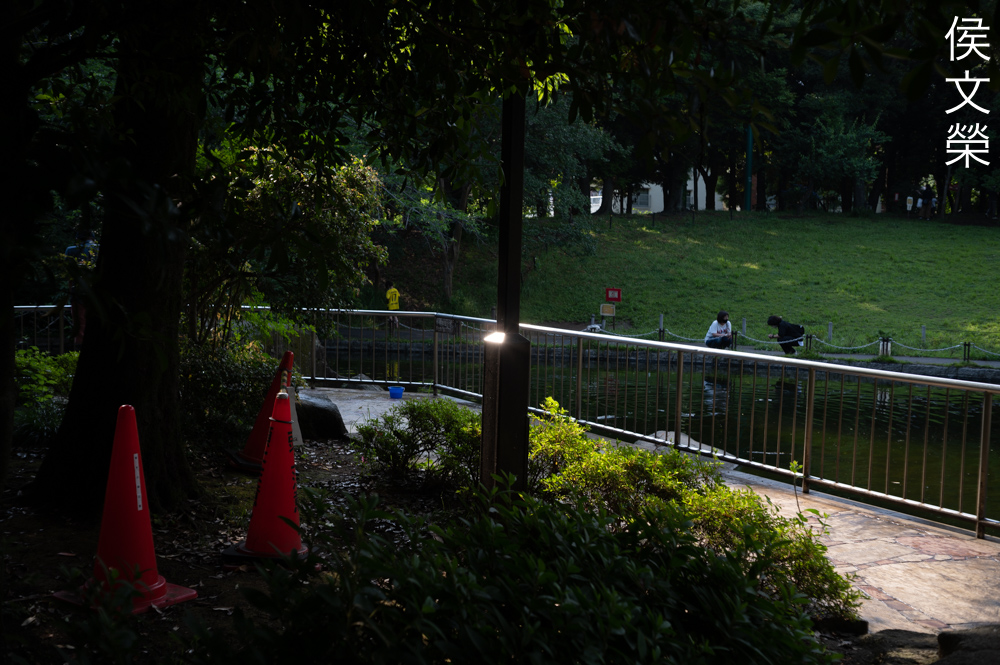
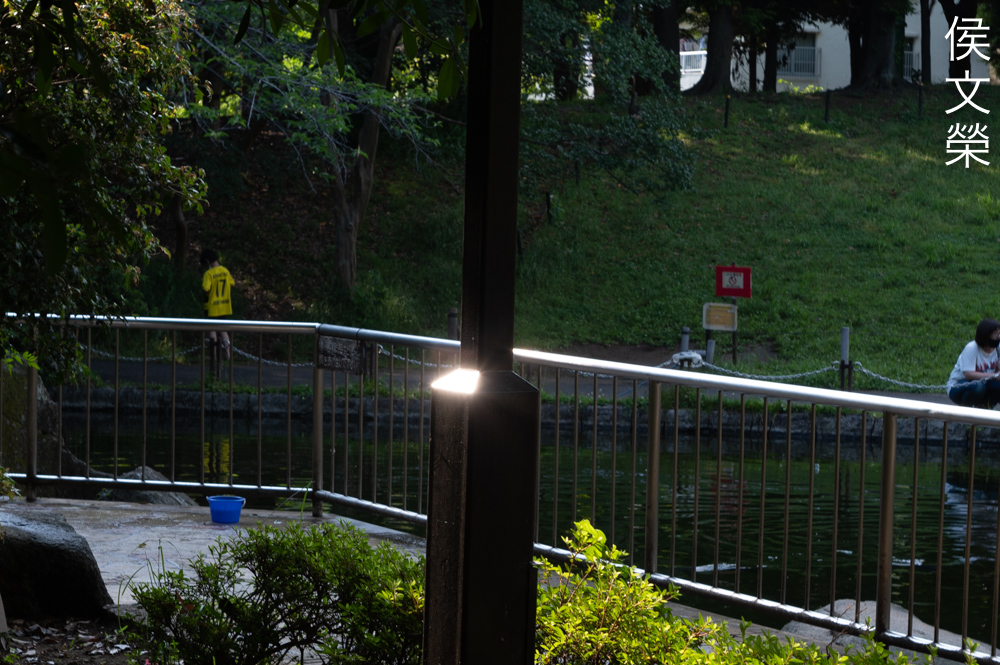
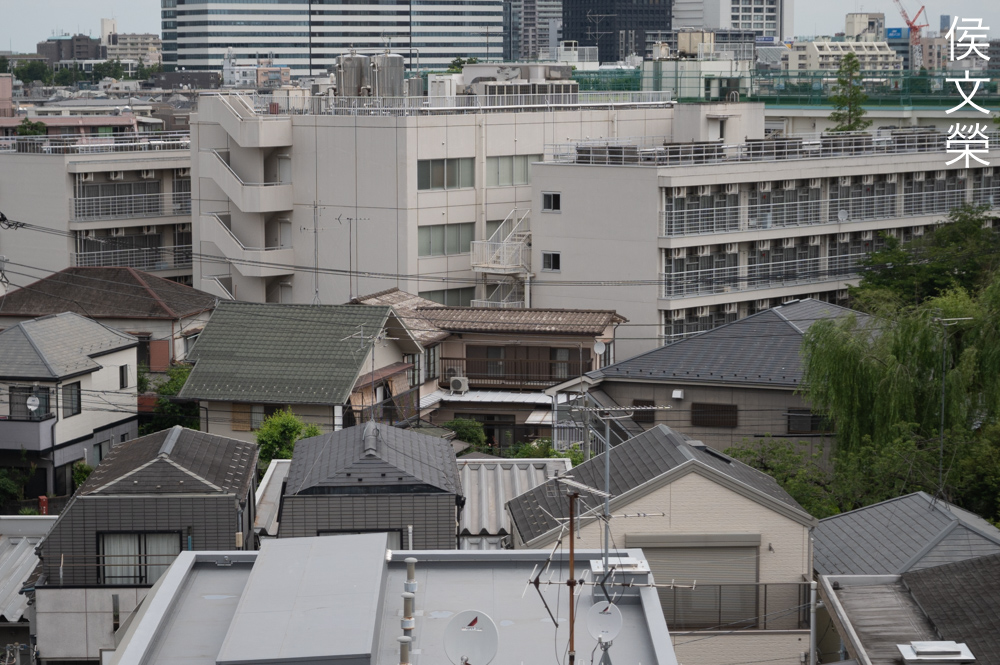
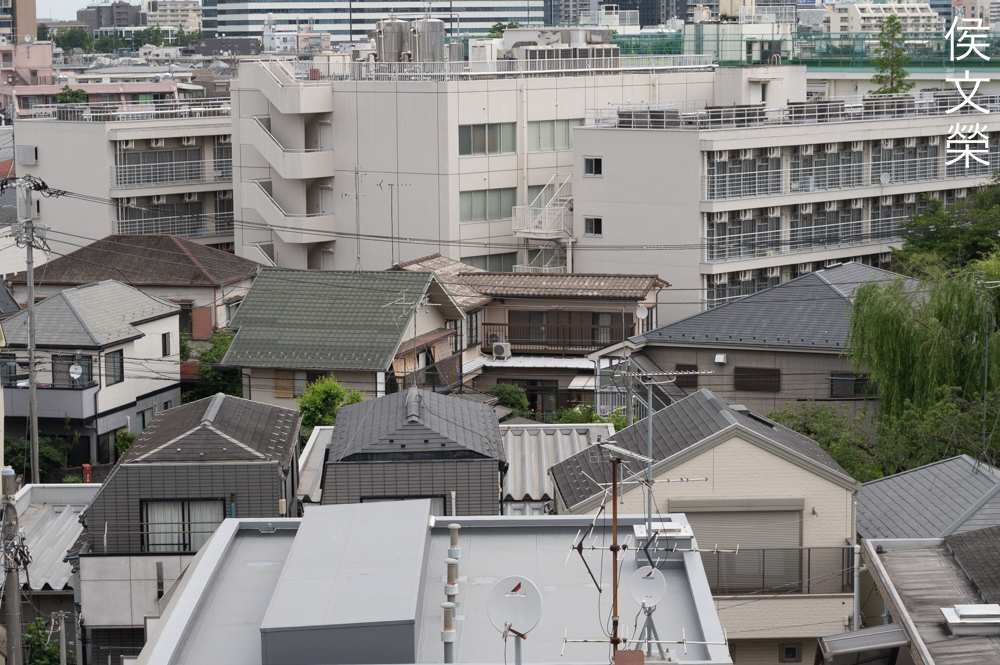
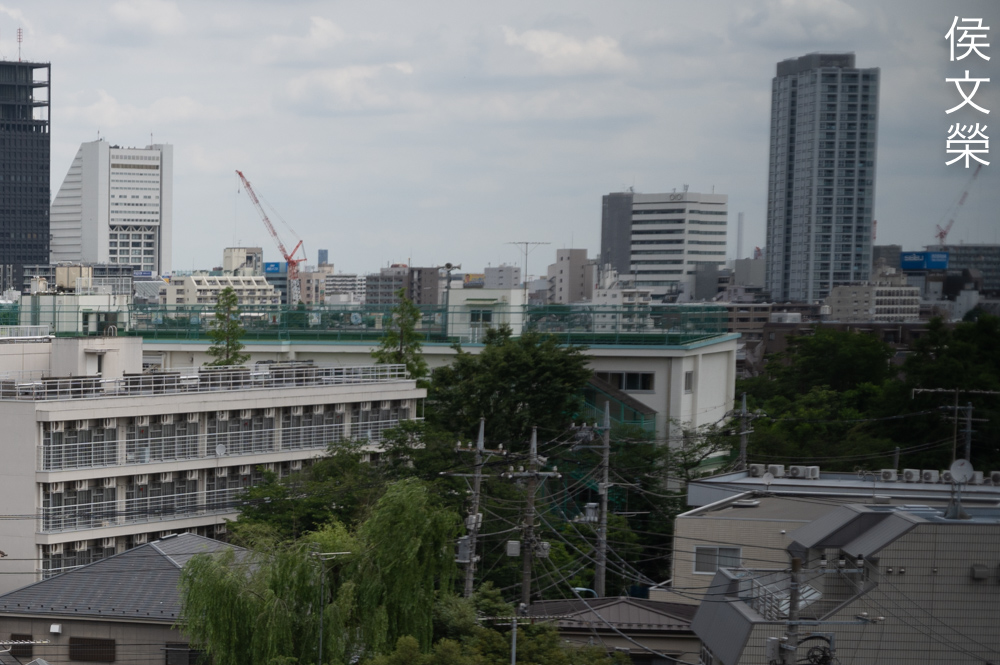
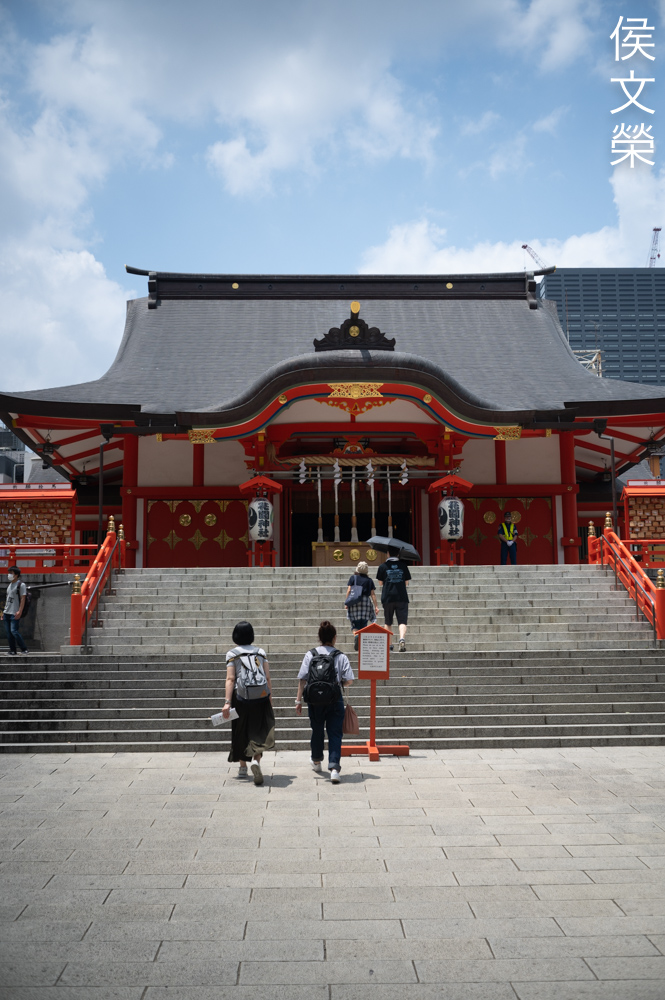
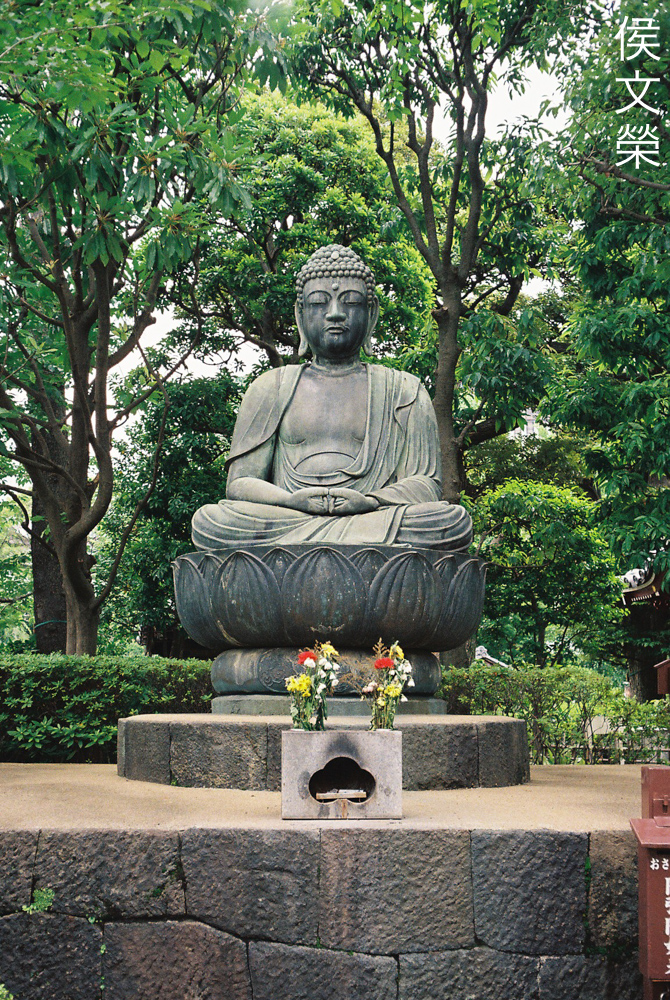
This lens shines on a sunny day, you’ll be able to get nice saturation from it. Your photos won’t look cartoonish despite the high-contrast.
I love the 40mm focal length, it feels natural to me and it makes for the perfect walkaround-lens.

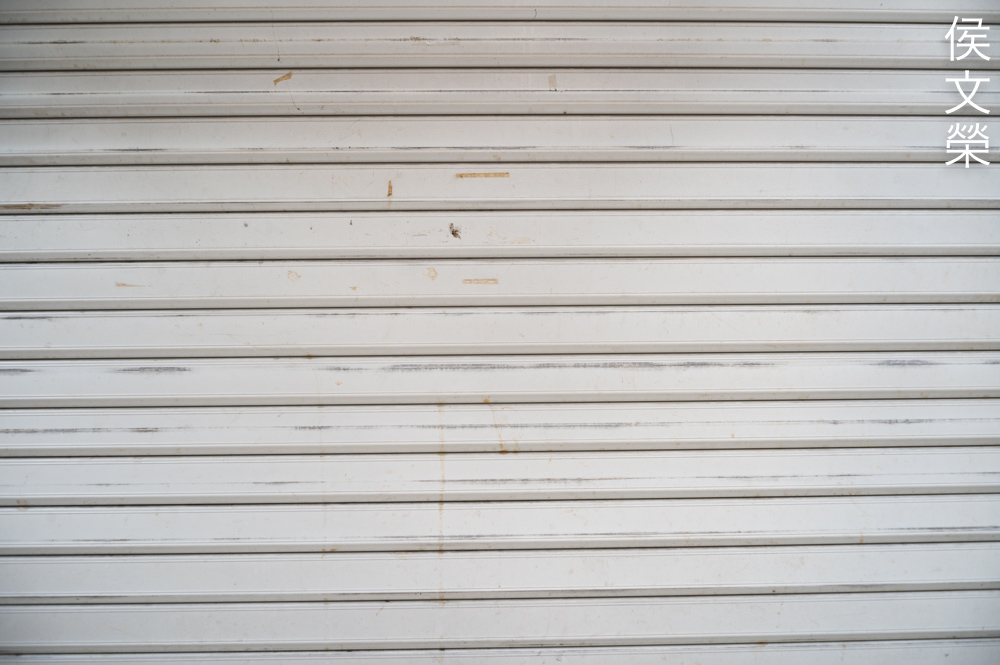
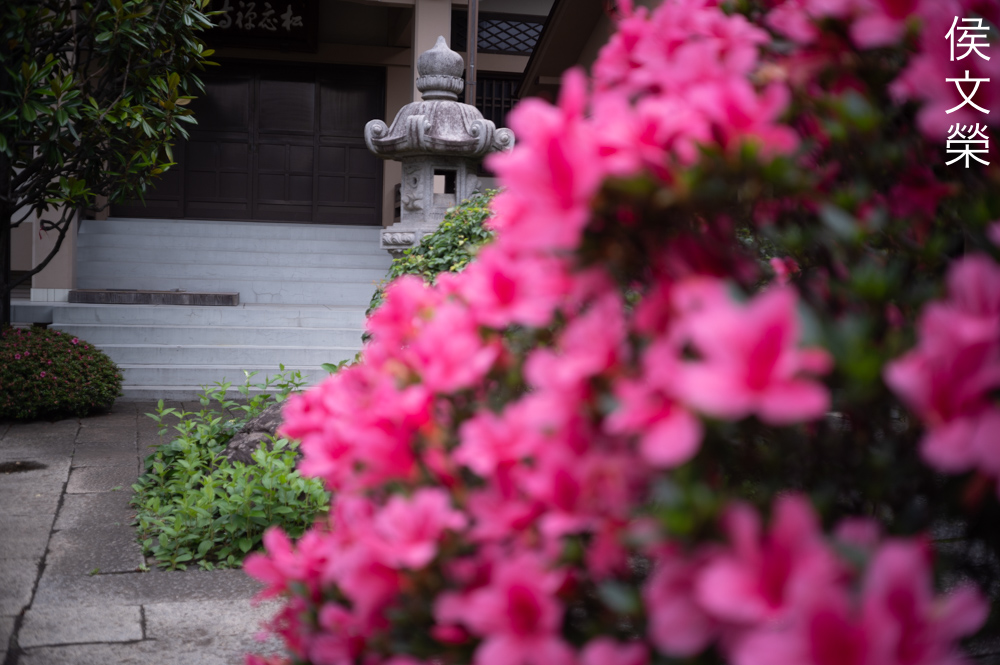
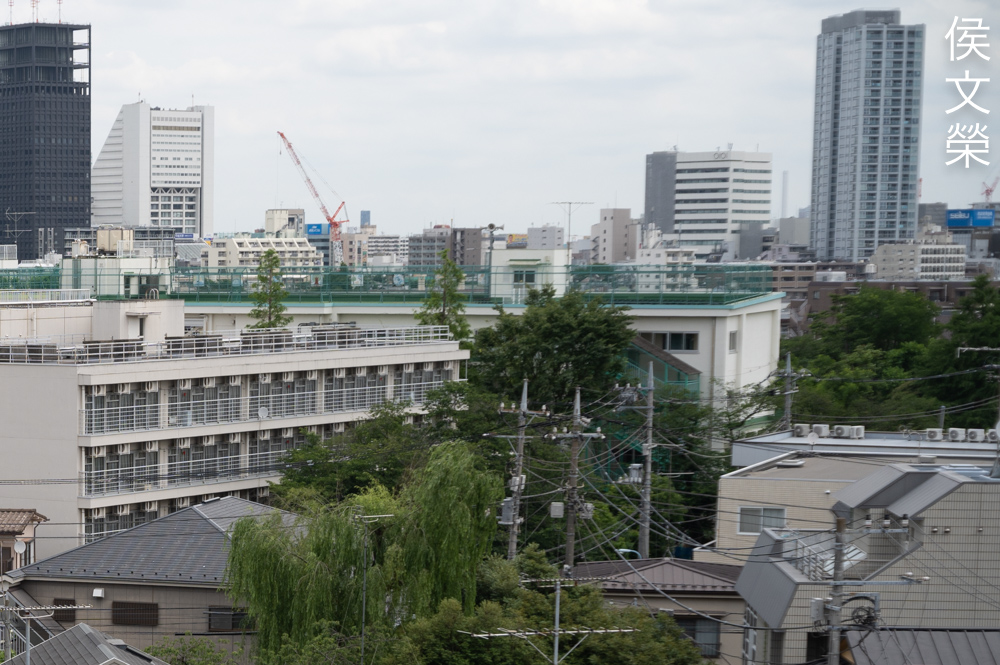
Despite not rendering the straightest lines you’ll be able to get away with it most of the time. You can see a slight curve in the first flight of stairs but it’s only noticeable if you took your time to look for it.


(Click to enlarge)
Here are more photos for you to observe, these should help you decide if this lens is for you. I personally like this a lot, if I were to bring a single lens on a trip then this will be high on my list. I believe that this is still a nice lens when using it with a digital camera despite having some traits that makes it render obsolete-looking photos. This is what some call the “vintage-look”, some people like it but some people hate this.
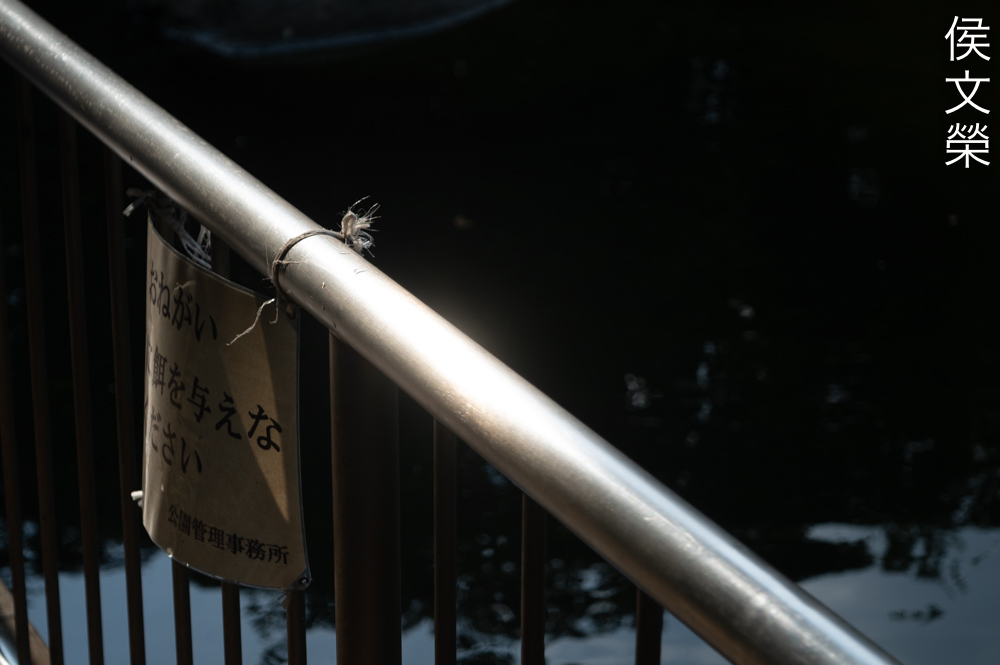
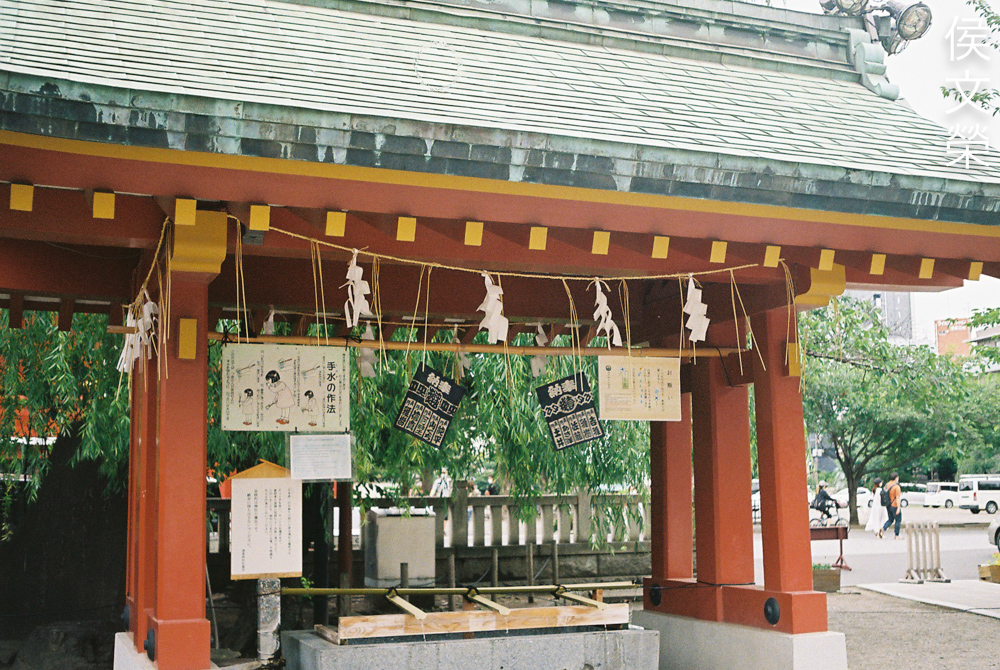
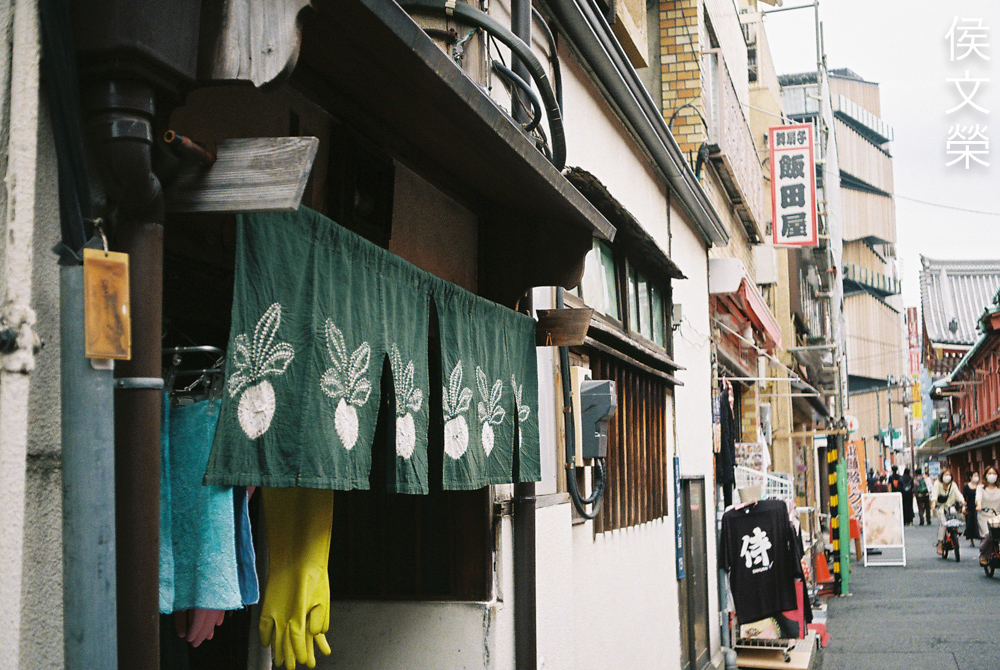
Let’s now check some film photos. Film has a unique look that is hard to simulate with a digital camera thanks to grain. It reacts differently to light, this means that it could mask a lens’ flaws or amplify them. Since this was designed to be used with film, it’s best that we judge this using its intended medium.

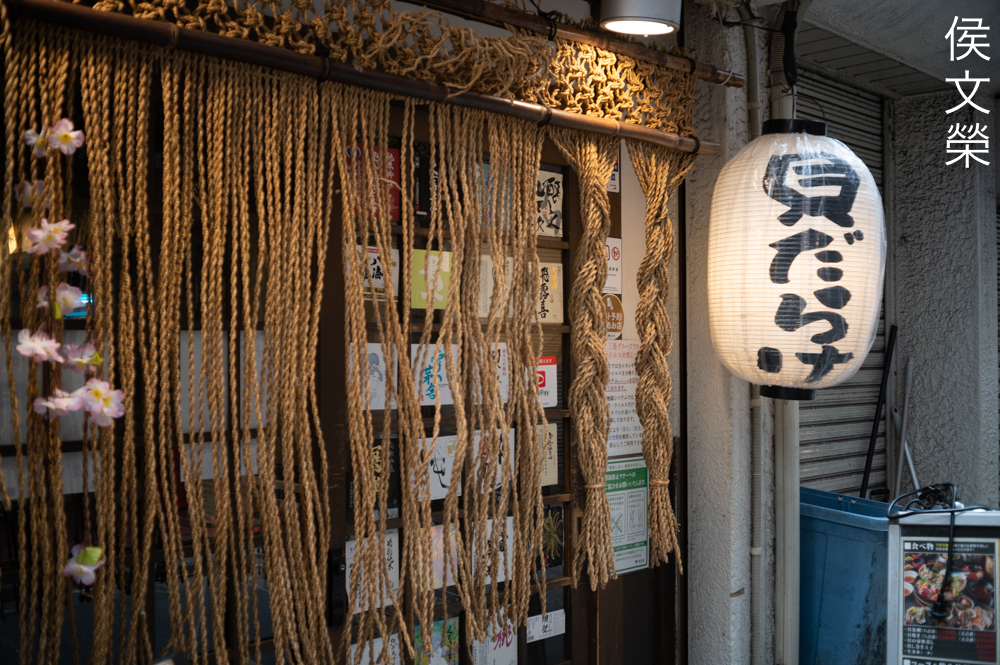
I like this focal length because it’s not as long as a 50mm but not as wide as a 35mm, it’s able to give me something a little bit moderate so I don’t have to bring a 35mm and a 50mm separately since it could somewhat fulfill their roles in most situations. Of course, it works great with film, I love how it renders with film as evident in this photo.

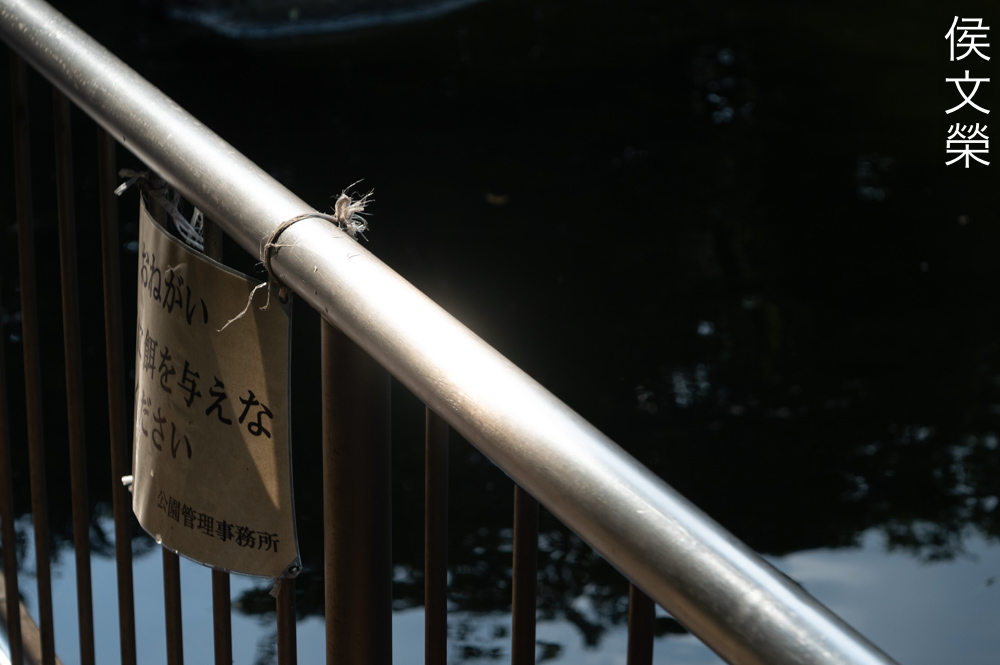
You won’t get great subject-isolation properties from this so you shouldn’t treat this like an ordinary 50mm lens, you’ll have to remember this since it performs closer to a wide-angle lens than a standard 50mm lens.
It’s able to resolve details quite well with film even when you’re shooting wide-open but it really shines when you stop it down a bit, at least from f/5.6 and on.
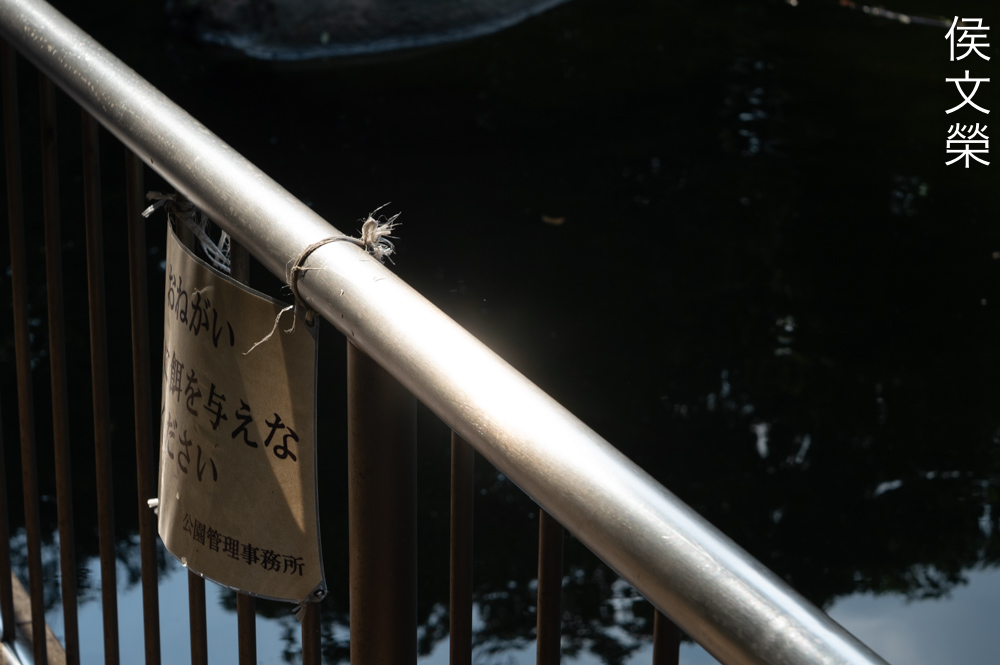
The photos it creates look natural, you won’t get forced, cartoonish photos with it because it’s not overcorrected in any way. This is the reason why I like shooting with it.

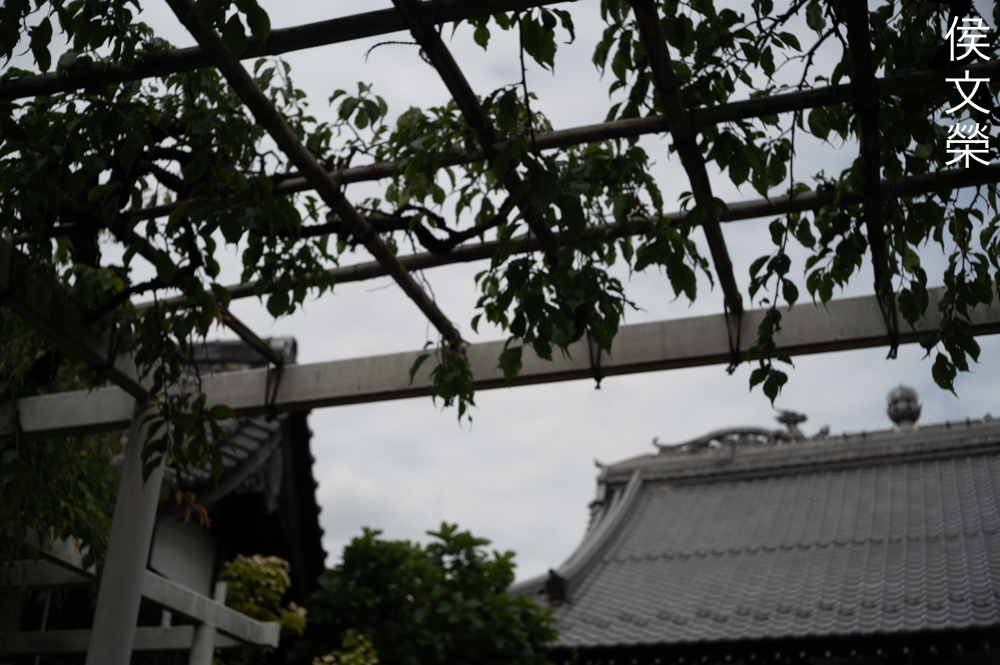
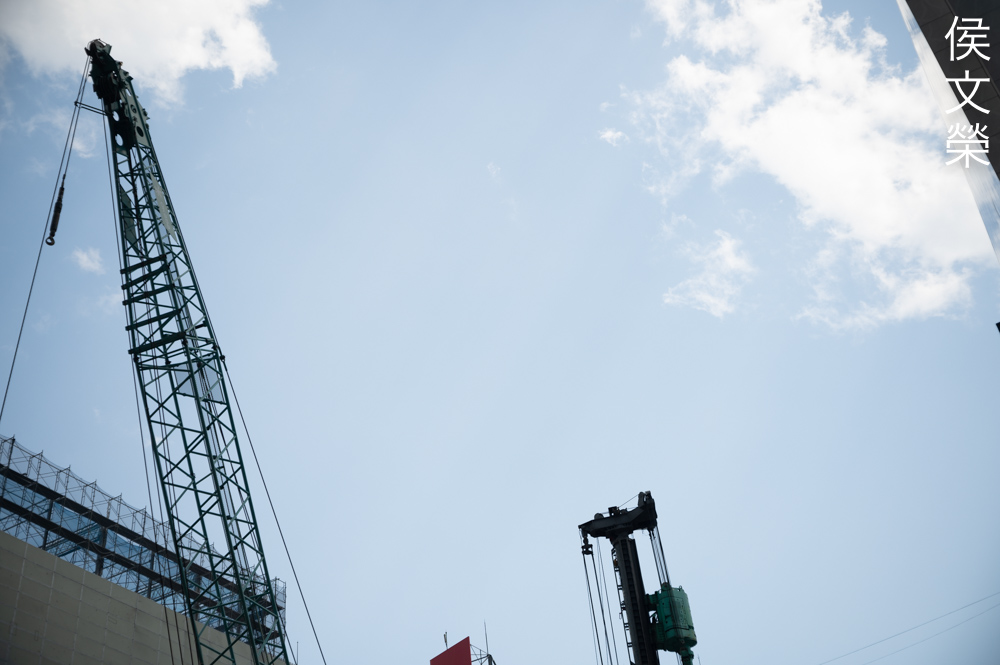
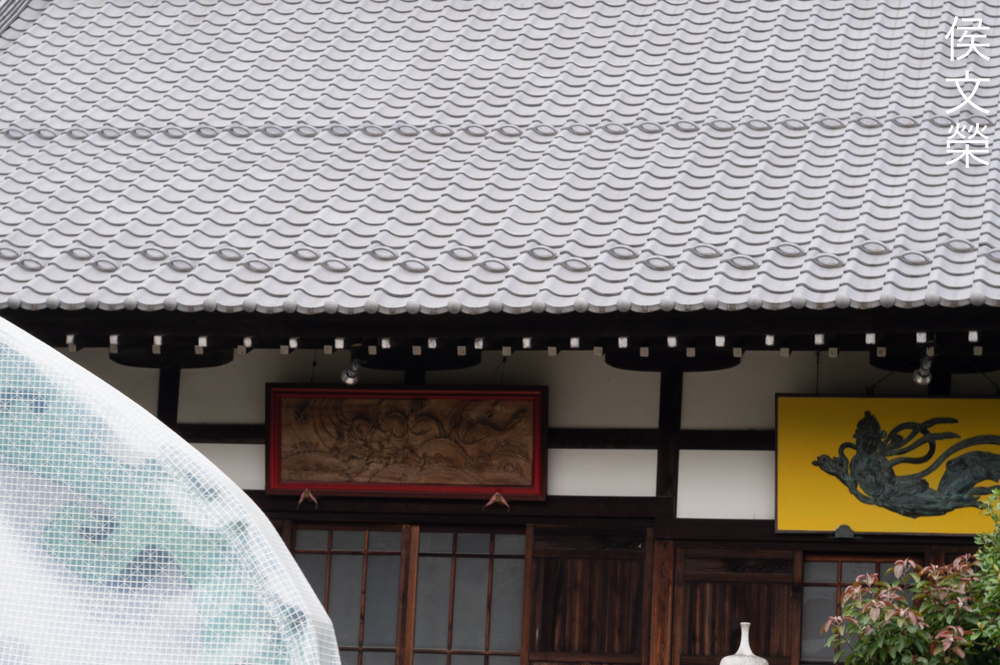
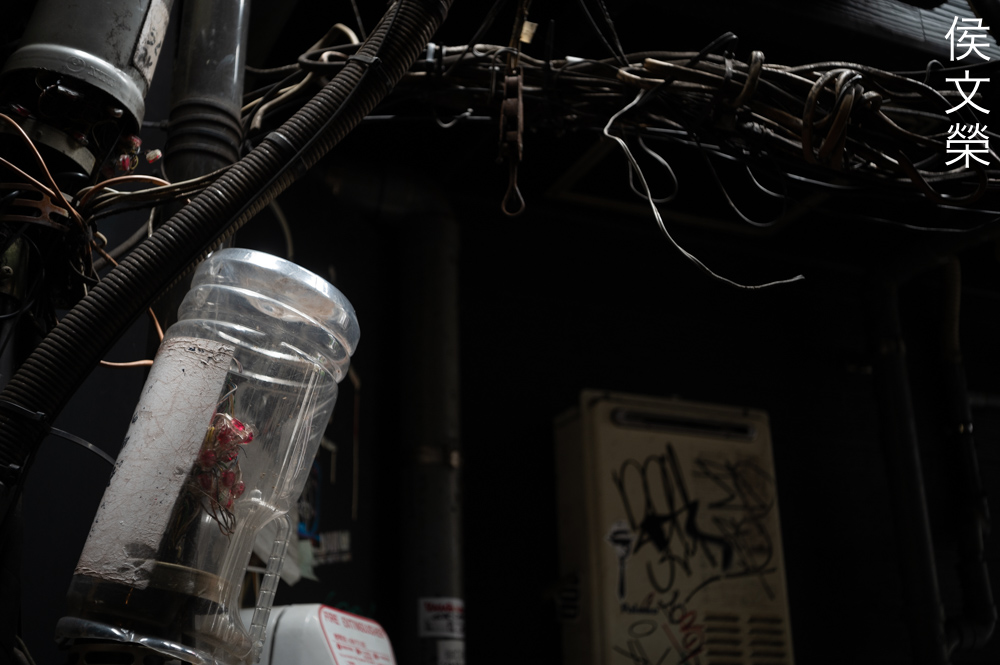
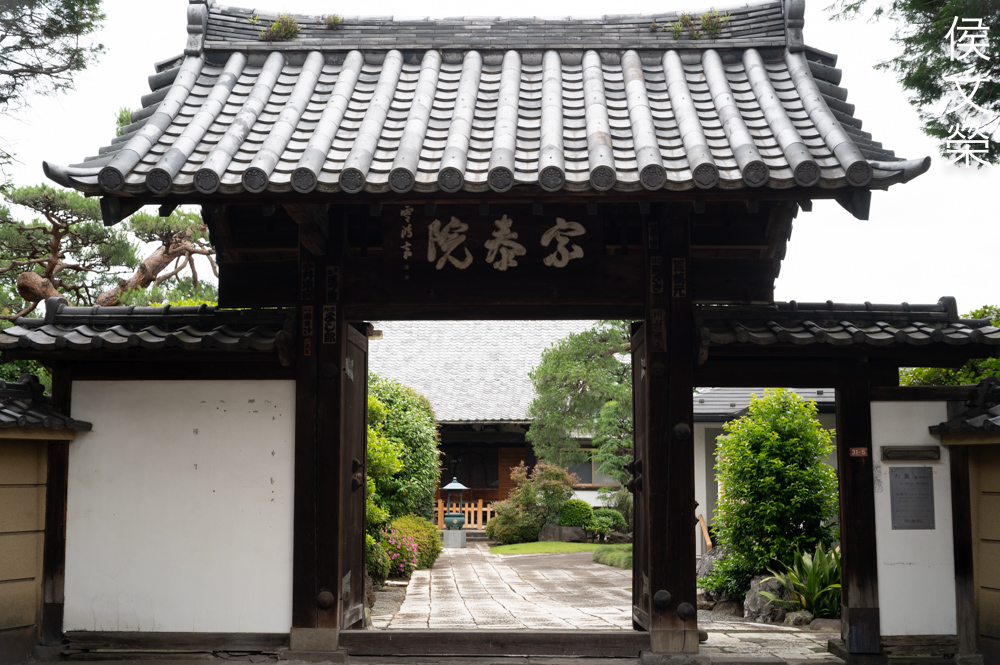
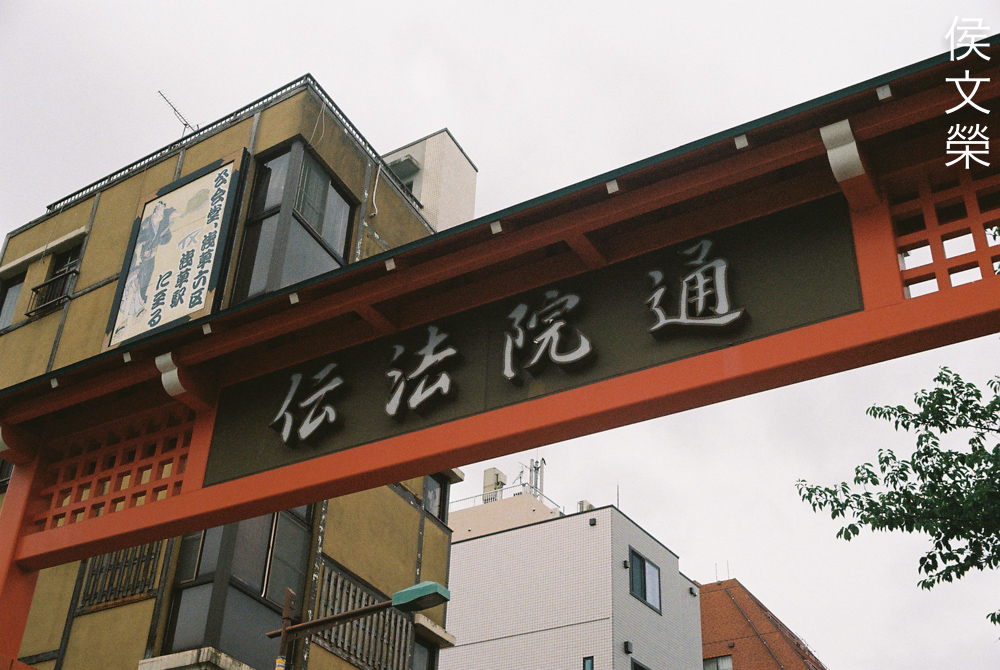
Despite having noticeable amounts of distortion you won’t see much of it unless you took your time to look for it. The beams at the top curve a bit, if this bothers you then angling your shot a bit will help make this less obvious.

This focal length is great for reportage and travel photos but using it can be frustrating at times because you’ll have to manually stop the iris down unless you’re always shooting with it wide-open. Tracking your subjects aren’t hard since it has a rather deep depth-of-field even at f/4.5 but using it with older East German cameras will test your patience, you’ll have to deal with darker viewfinders compared to Japanese cameras made from the 1960s and later. The Ihagee Exa or Exakta series of cameras are the exception because they have large, bright mirrors that helps give you a bright view.
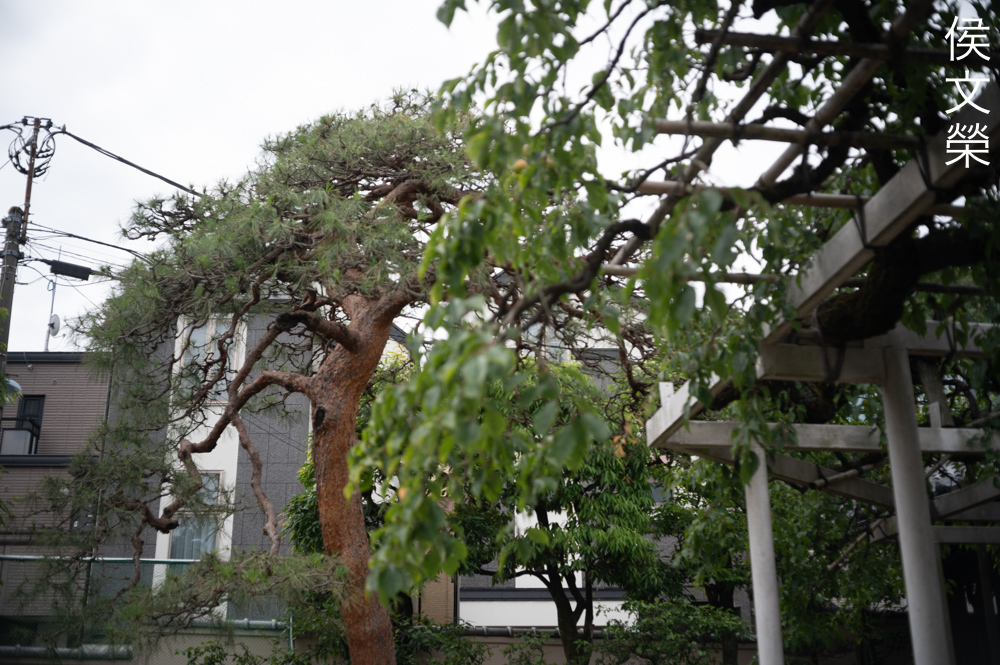
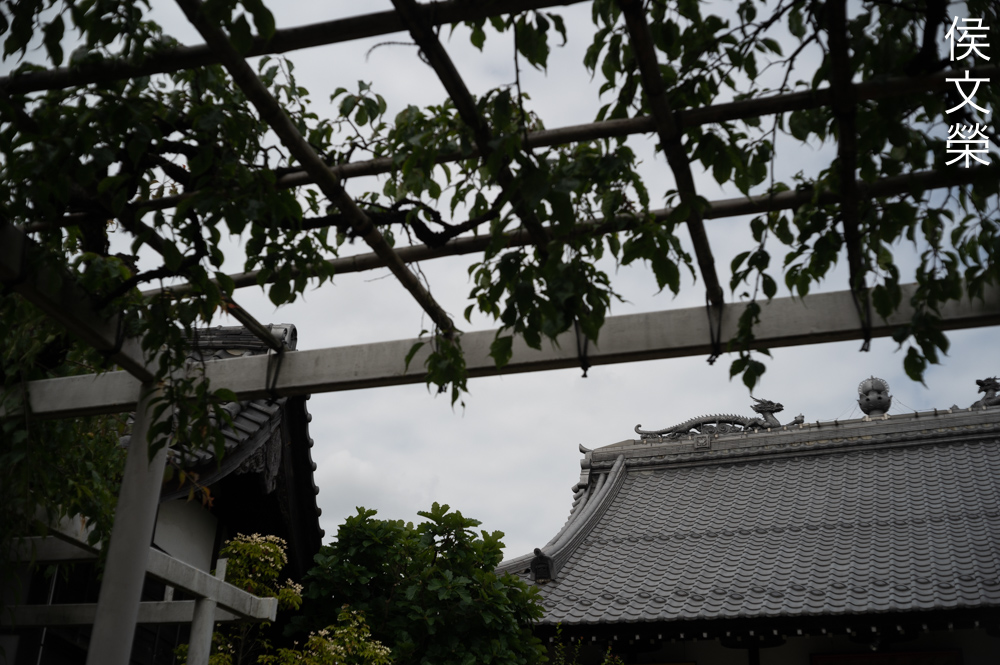
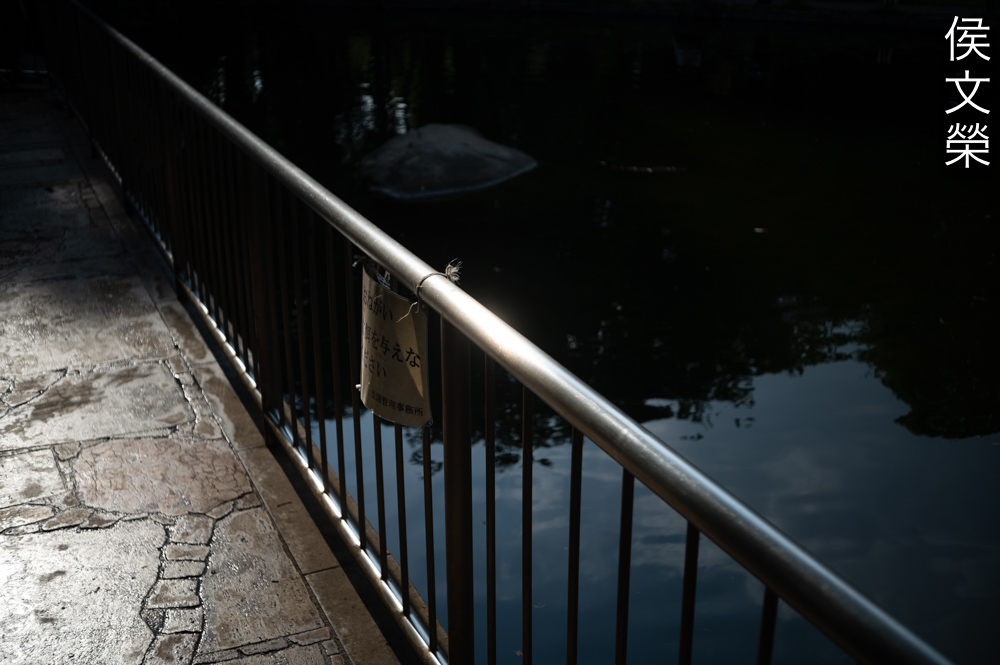
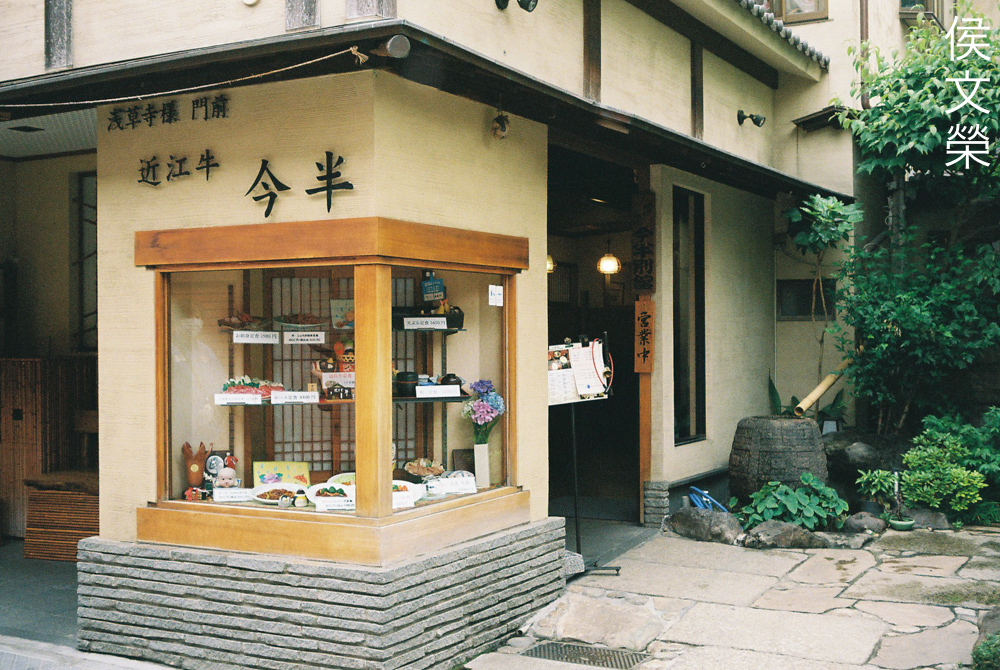
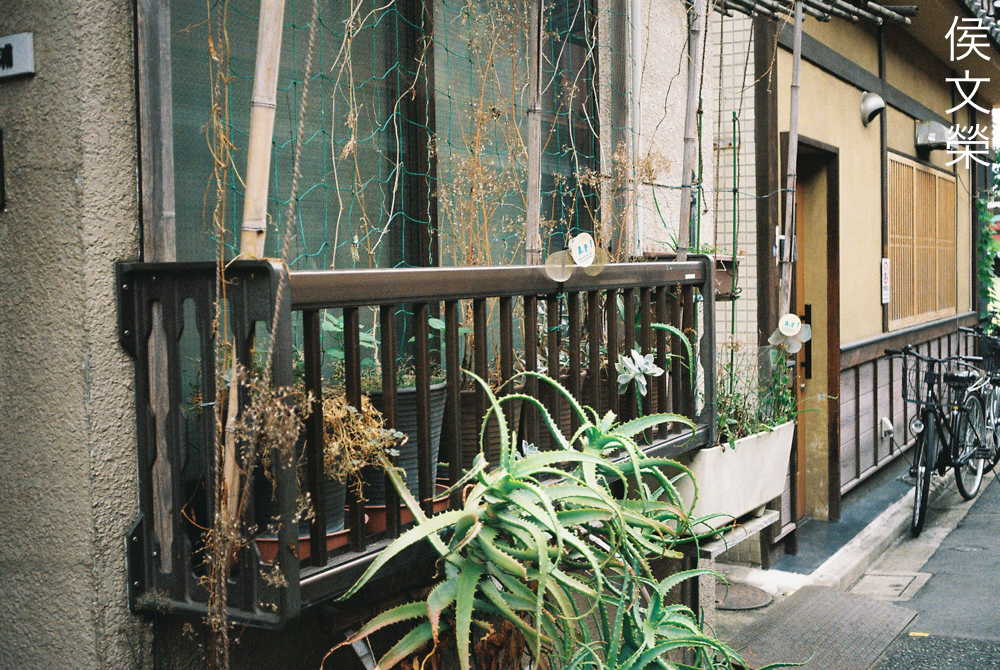
The rendering is subtle when shooting in overcast weather, it helps give you better tonality because the light won’t be as harsh compared to clear, sunny day.
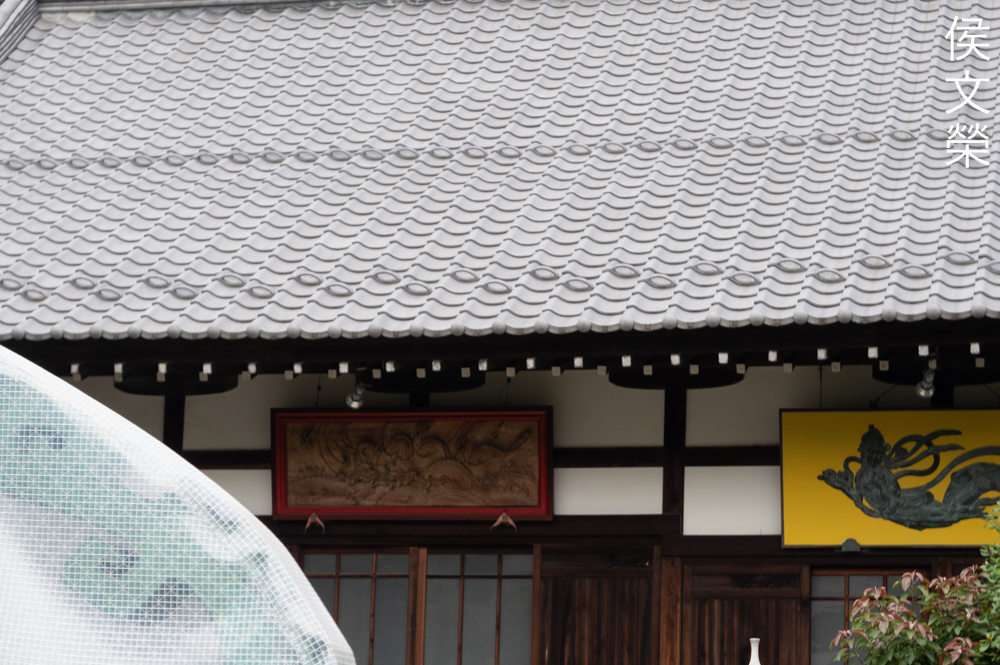
Since the center performs much better compared to the corners, frame your subjects at the center to make the most of it. It has decent resolution wide-open when you’re shooting with film and the center looks great so use this feature to your advantage.

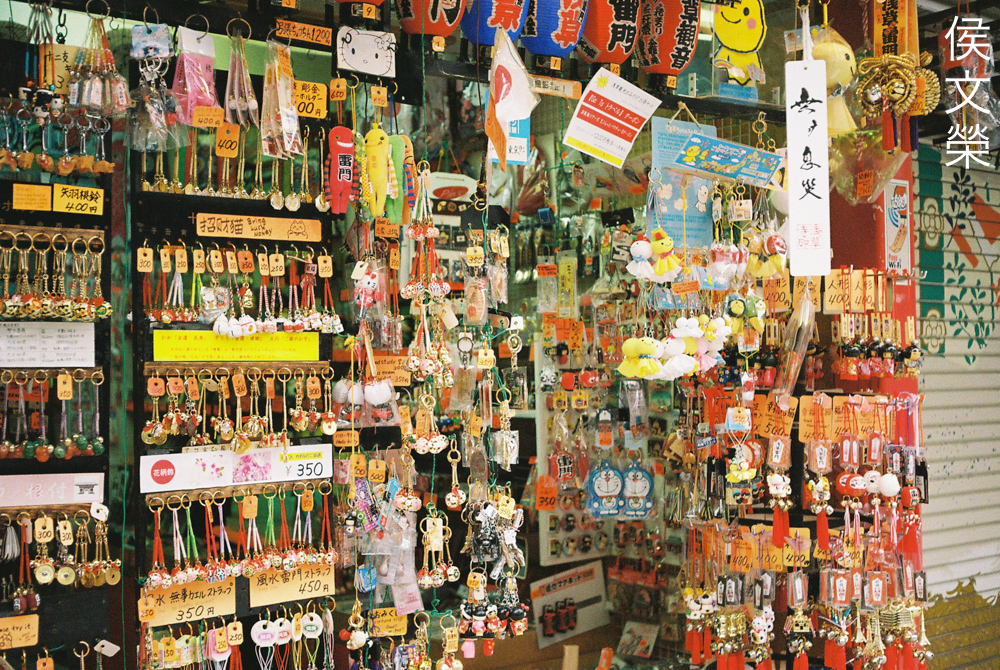
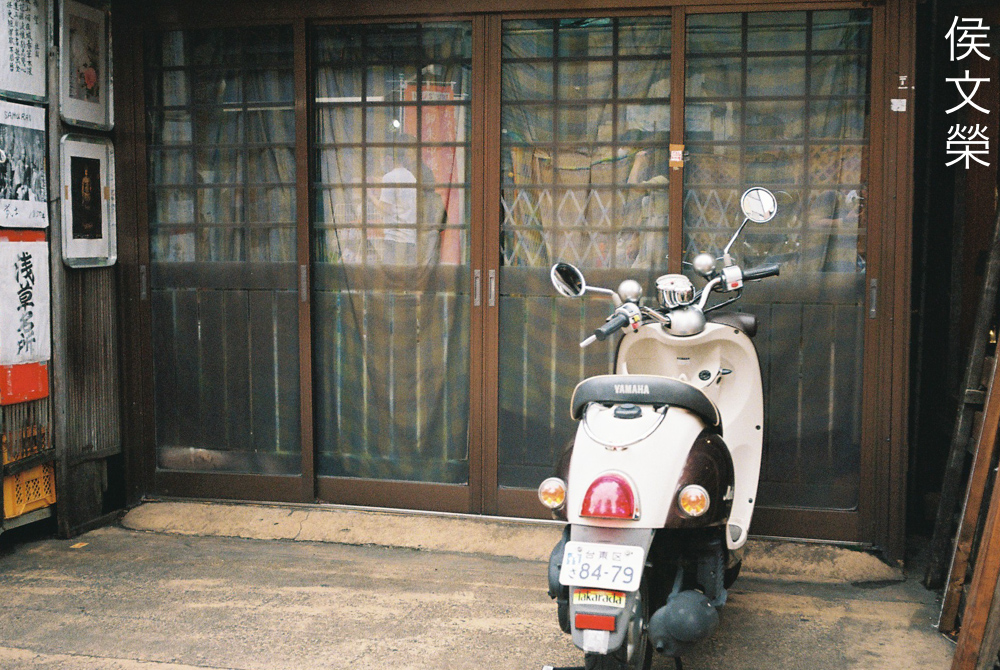
Since I am shooting this with cheap film the screens aren’t rendered in great detail but you’ll still be able to appreciate the details to some extent. This is a fact of shooting film, nobody pixel-peeps their photos, if resolution is important all we did was shoot with a medium-format camera. Learning to accept things as they are is part of leading a happy life.

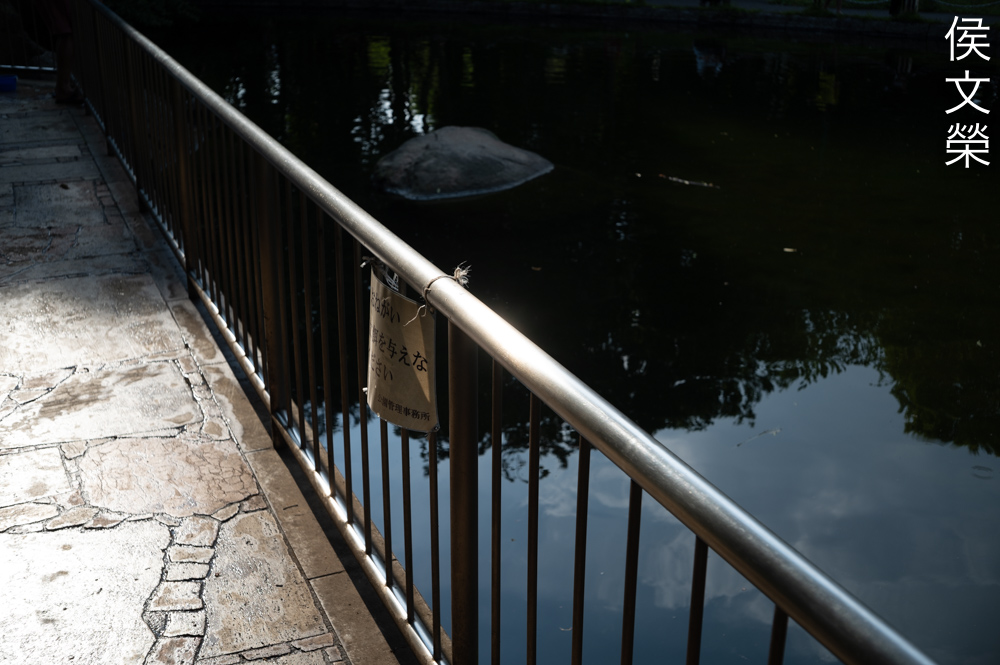
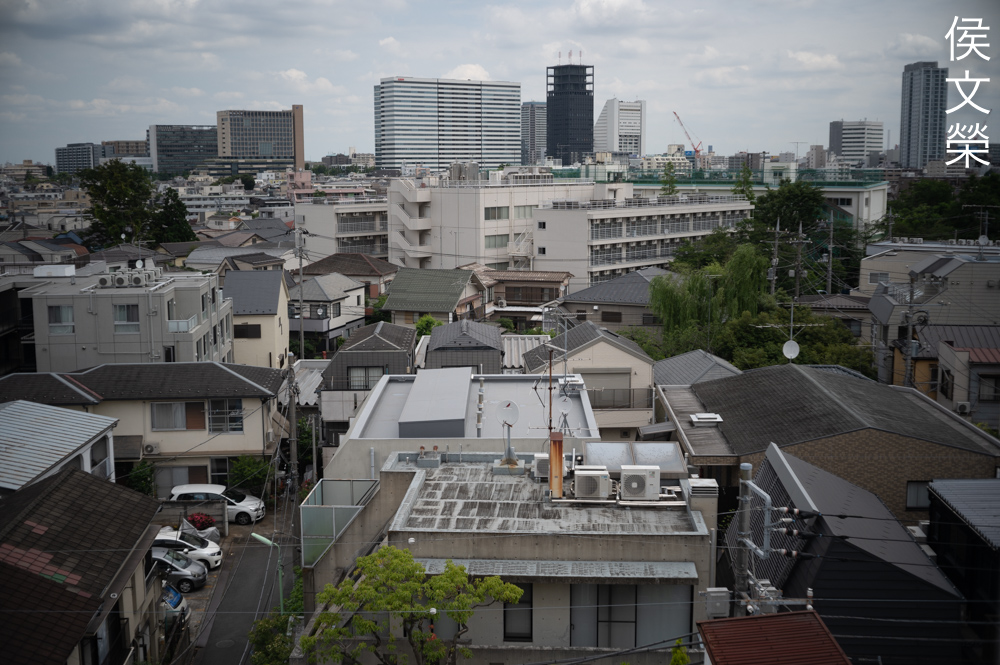
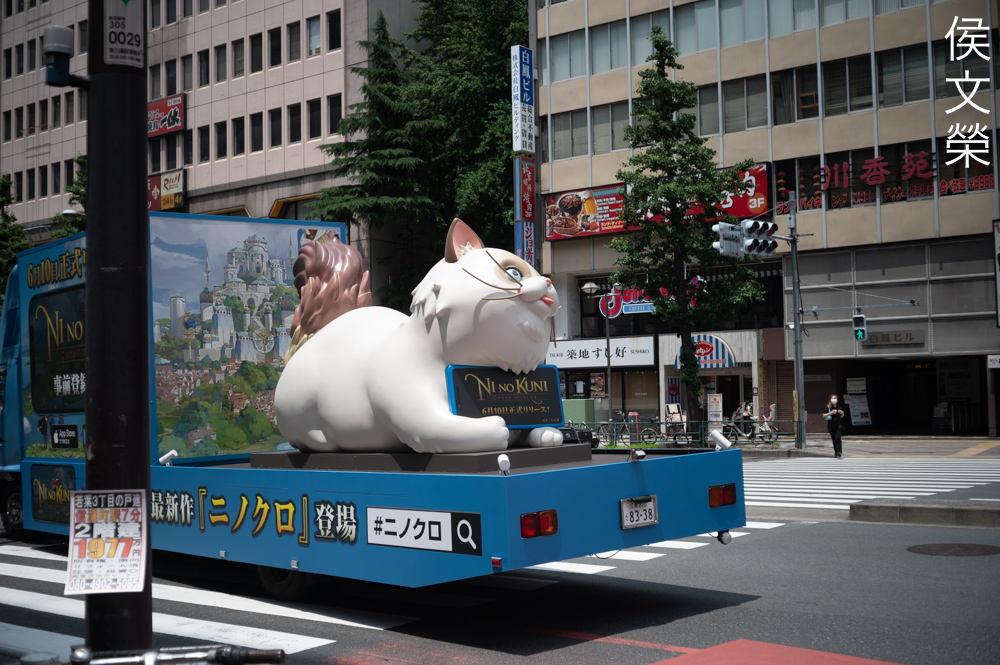
Since the focal length is sort of a hybrid between a wide-angle lens and a normal one it’s sometimes difficult to judge a scene, in this case it performs closer to a standard lens in terms of foreshortening but it’s generally safe to treat this as a “longer” 35mm in most cases.


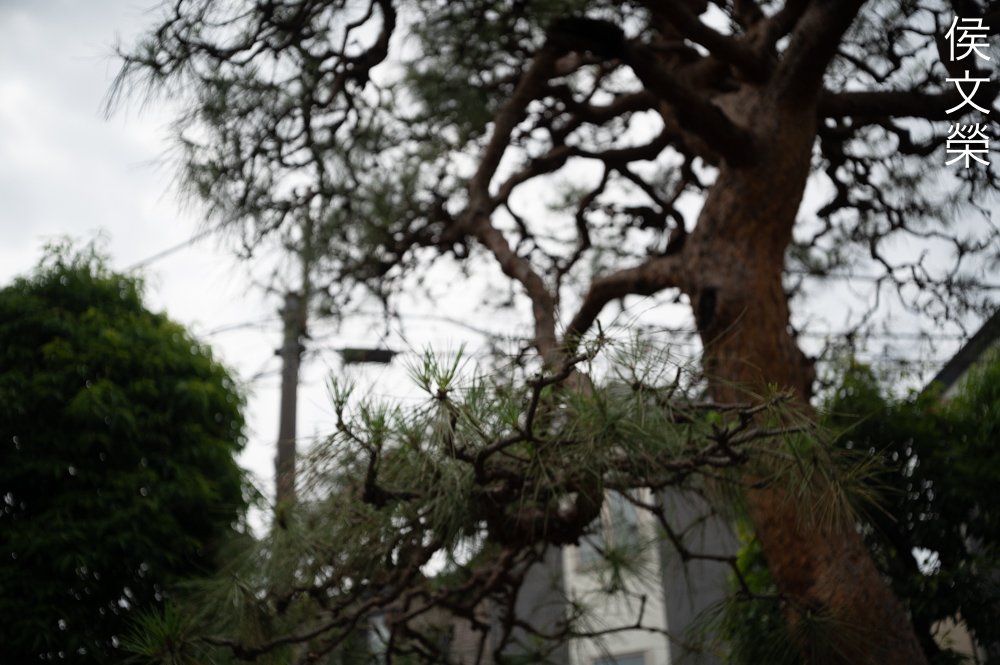
(Click to enlarge)
Here’s the rest of the roll for your enjoyment, these should give you a better idea as to how to use this lens. It performs really well with film, I can’t wait to shoot this with black-and-white film and share with you the results. If you prefer film photos over digital ones then this lens should give you a great time so long as you’re fine with slowing-down, losing a couple of shots in the process, too.
I enjoyed shooting with this lens a lot. It’s not the best option out there but it will give you a new perspective to help you regain your passion. This is mainly a lens that will interest collectors instead of the casual shooter, there are many better options out there but if you really want a focal length that’s neither-here-nor-there then this lens is for you. It’s not a rare lens at all but it’s not common either. They used to cost a lot but they’re now a lot cheaper. If you want one be sure to check the condition of the glass, it should be clean and clear. Mine has a small crack at the rear but it won’t affect my photos (I hope). The rings should also perform properly and the iris should be dry, too. Since these are old it is important to overhaul them so they will be usable for more decades to come. Owning one of these is like owning an inseparable part of German optical history, you can now boast of owning a lens that was made at the dawn of the Cold War and how a once-powerful optics company was split into different entities.
Before We Begin:
If this is your first attempt at repairing a lens then I suggest that you see my previous posts regarding screws & drivers, grease and other things. Also read what I wrote about the tools that you’ll need to fix your Nikkors.
I suggest that you read these primers before you begin (for beginners):
Reading these should lessen the chance of ruining your lens if you are a novice. Before opening up anything, always look for other people who have done so in YouTube or the internet. Information is scarce, vague and scattered (that is why I started this) but you can still find some information if you search carefully.
I highly recommend that you read my working with helicoids post because this is very important and getting it wrong can ruin your day. If I can force you to read this, I would. It is that important!
For more advanced topics, you can read my fungus removal post as a start. It has a lot of useful information, it will be beneficial for you to read this.
Disassembly (Main Barrel):
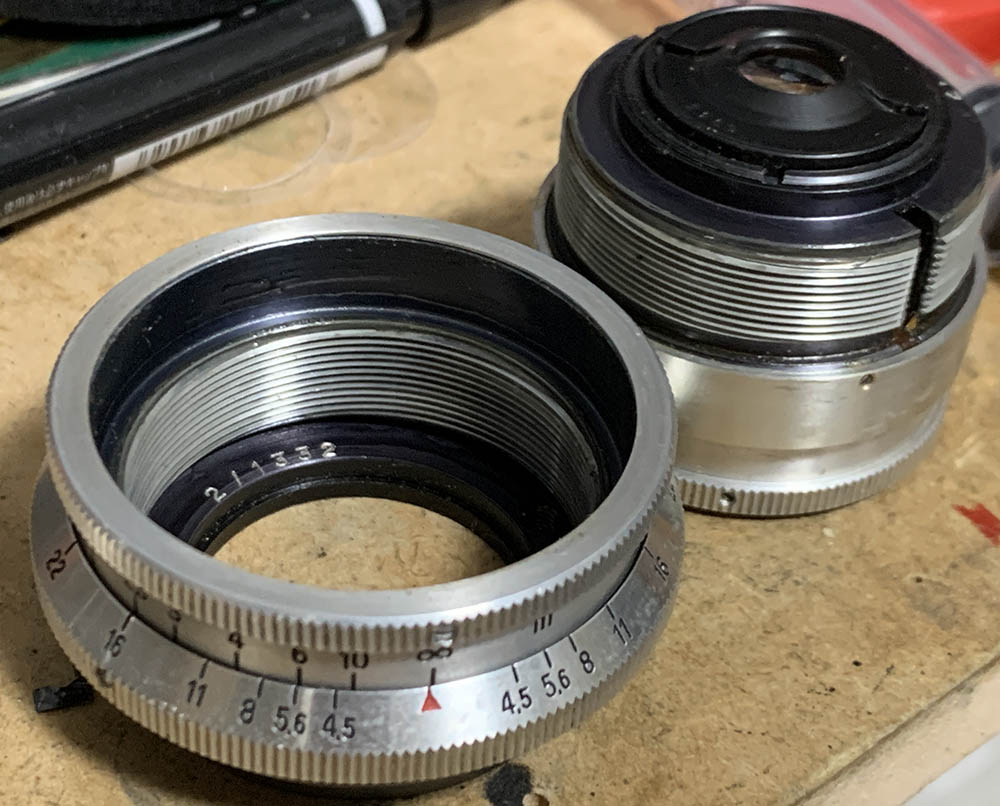
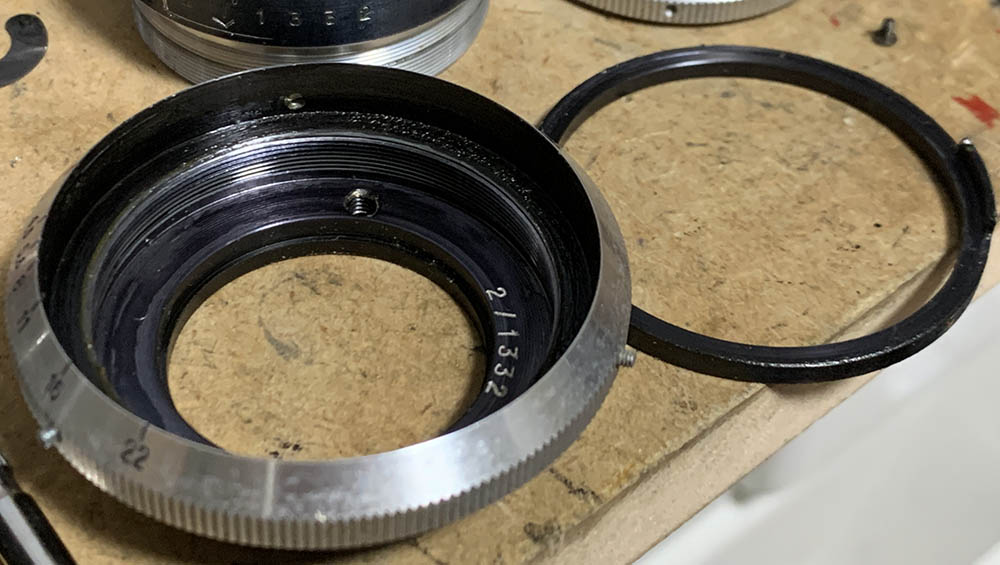
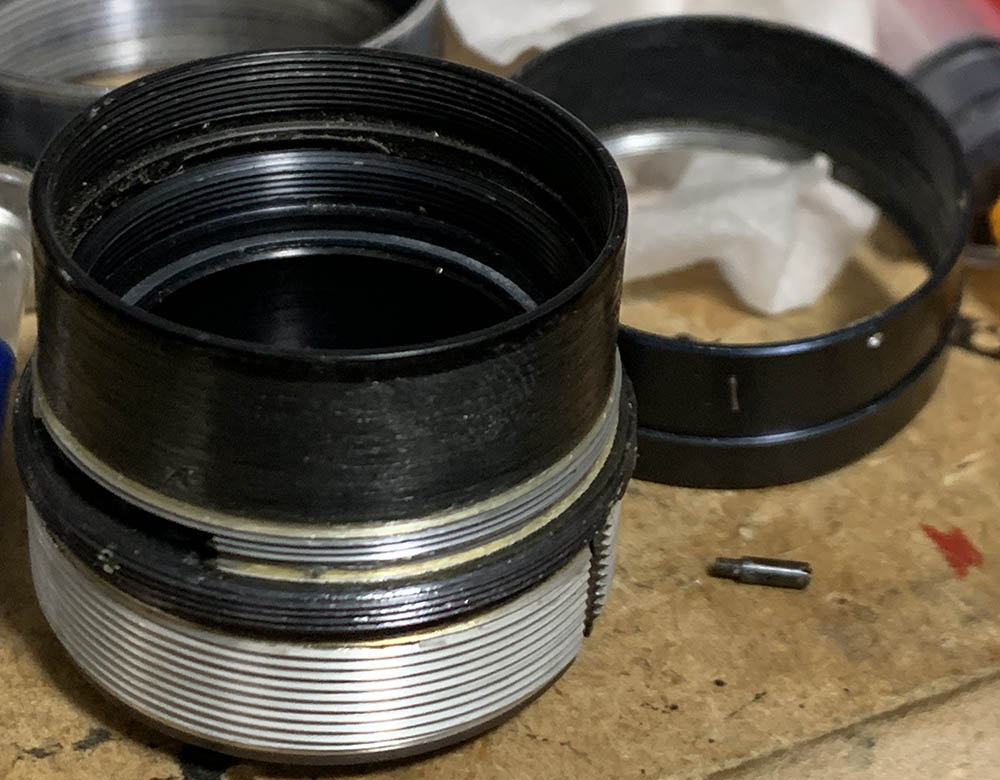
The construction of the barrel is typical of many older Carl Zeiss Jena lenses but there are some things that you should be careful with. You will have to separate the lens into its 2 basic components in order to work on them separately, it’s not difficult to do at all but you will need a few special tools for the job such as several types of lens spanners, a couple of drivers in different sizes and maybe even a pipe-key if you have one that fits.
Like most lenses you will want to remove the optics first so you could safely work on the rest of the barrel without the thought of damaging the delicate optics. This can be done easily and I will show you how. Take plenty of notes before you remove anything so you will know how to put things back.
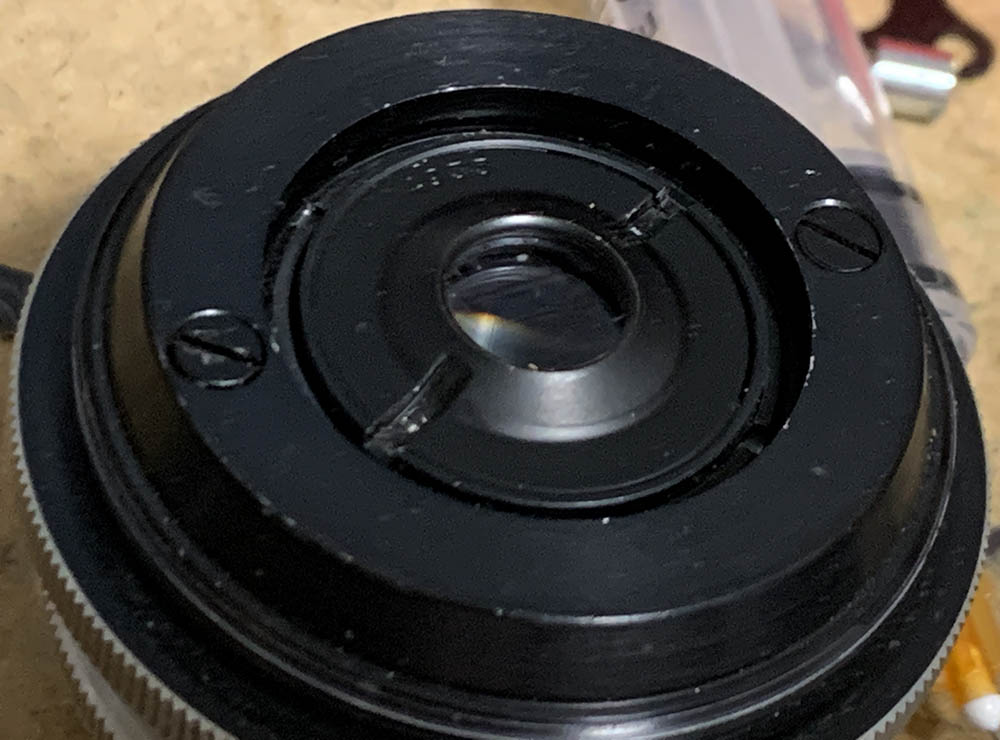
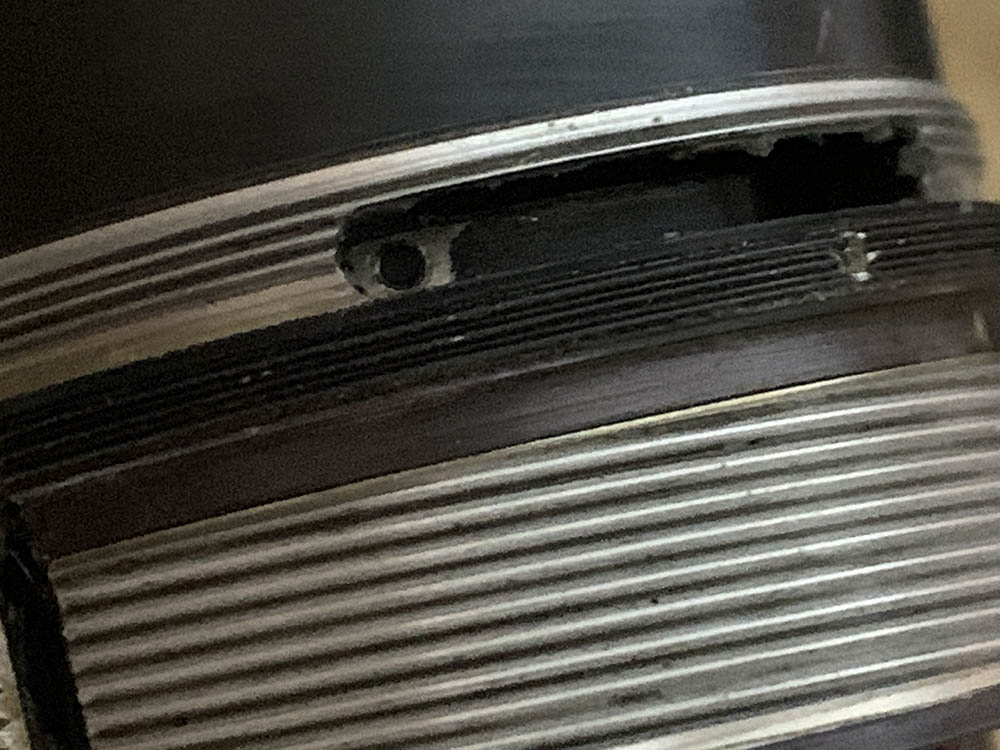
Carefully extract these long screws, they serve as the helicoid keys so the helicoids will turn at the same rate when you turn the central one which is attached to the focusing ring.
You can also remove the rear group at this point by unscrewing its retainer, I removed it much later since it’s sealed.
Clean these very well so they’re smooth and shiny. Never warp or damage these or the focusing won’t be as smooth.
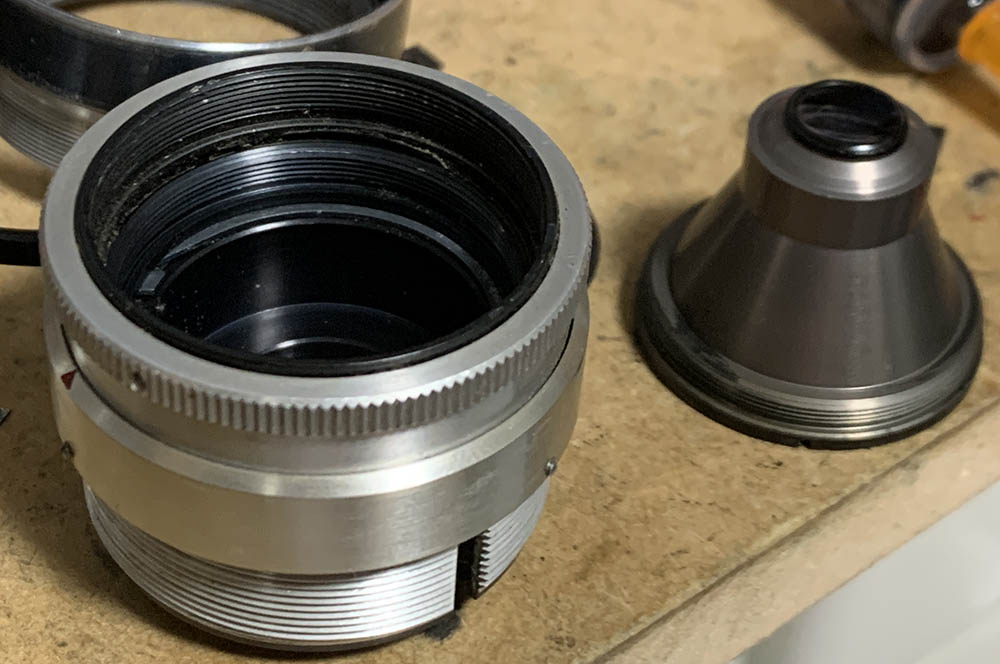
Once the keys are gone you’ll be able to separate the helicoids, begin with the front one. Don’t forget to not where the helicoids parted because this spot is also where they should mesh. Many people forget to do this so they get stuck. It’s important that you read my article on how to work with helicoids so you won’t get stuck.
The front helicoid is part of the front barrel so you can’t separate them. Set that aside while you work on the rest of the barrel.

Loosen the screws of the focusing ring so you can pull it off from the central helicoid. The focusing ring also constrains the range of the helicoids so note the alignment of the helicoids before you remove this.

Before you separate the central helicoid note its original alignment and height so you’ll know how to put it back later. I may have scratched my marks a little bit too-deep here. As with the previous one, never forget to mark the spot where these parted.

There is a ring with a notch here to constrain the range of the helicoids, it’s adjustable to an extent so note the original position.
Loosen the screws at the lower barrel in order to remove this adjuster. Lower helicoid is part of the lower barrel so you won’t be able to dismantle this any further.
Scrub the helicoids really well with a strong detergent and clean any stubborn dirt off by soaking them in alcohol for a few hours. Polish the helicoids with a stiff brush and use lapping compound to ensure that they work smoothly. This is only necessary if the helicoids are damaged and should only be done if you know what you’re doing. Once they’re all clean apply a thin coat of grease, this benefits from grease with some resistance in order to give it the right amount of damping when you turn the focusing ring. Never apply excessive amounts of grease or it will migrate to the iris in the future, causing a big mess.
Disassembly (Front Barrel):
This is where most of the parts are contained. Carefully study how things work so you will know how to put them back properly. The upper helicoid is part of the front barrel so you will have to dismantle everything just to clean it properly. Wiping the old grease off will never be enough.
The optics are really simple as expected from a true Tessar so it is not going to be difficult to clean the optics. You will need to dismantle the iris mechanism if it’s oily, never flush it to clean the oily parts, that is never enough. The only way to clean it completely is to dismantle it, if you don’t do that then you’re merely delaying any problem.

The rear optics can be removed once you’ve unscrewed its retainer. Notice that the housing of the rear group is slotted so you’ll be able to adjust it for optimum sharpness.

Pull it off and do not bother to remove the optics from its housing. Place it in a safe and clean box.
Unscrew the front optics assembly with a rubber tool and be careful not to damage the rear. Set this aside in a secure, clean place while you work with the rest of the lens.
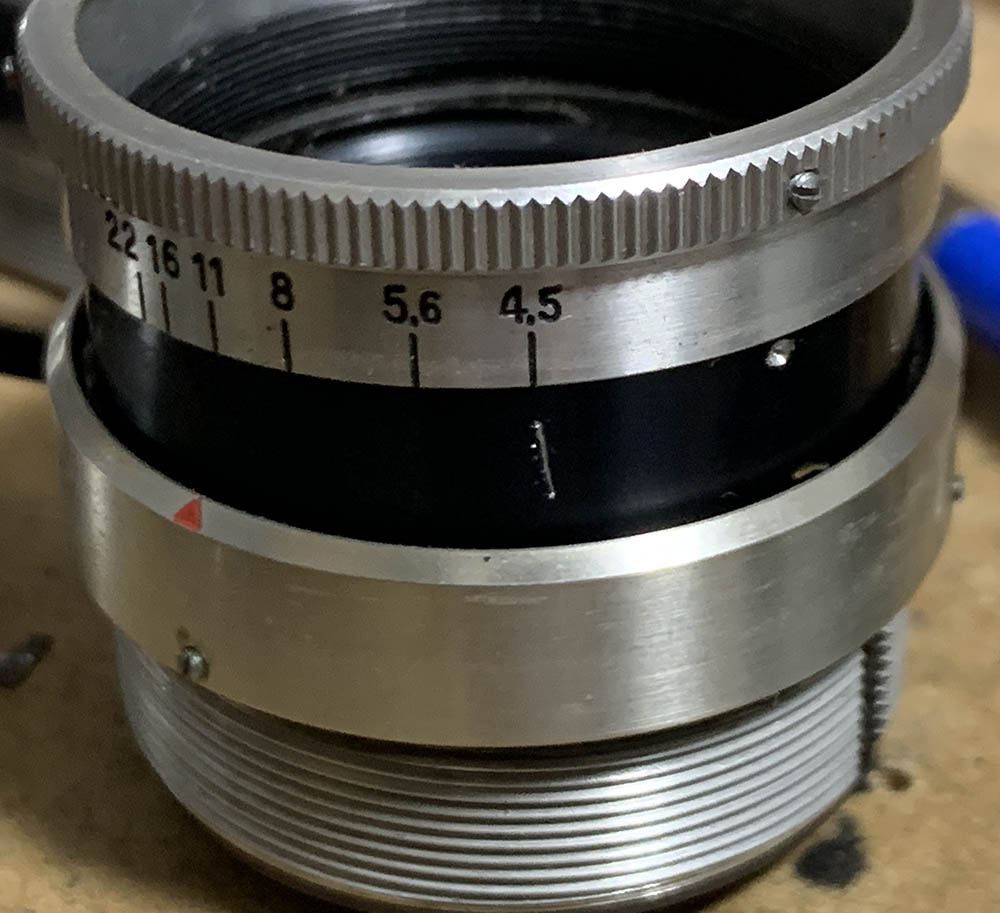
Loosen the set screws of the aperture ring and pull it off from the assembly.
Unscrew the sleeve by loosening its set screws.

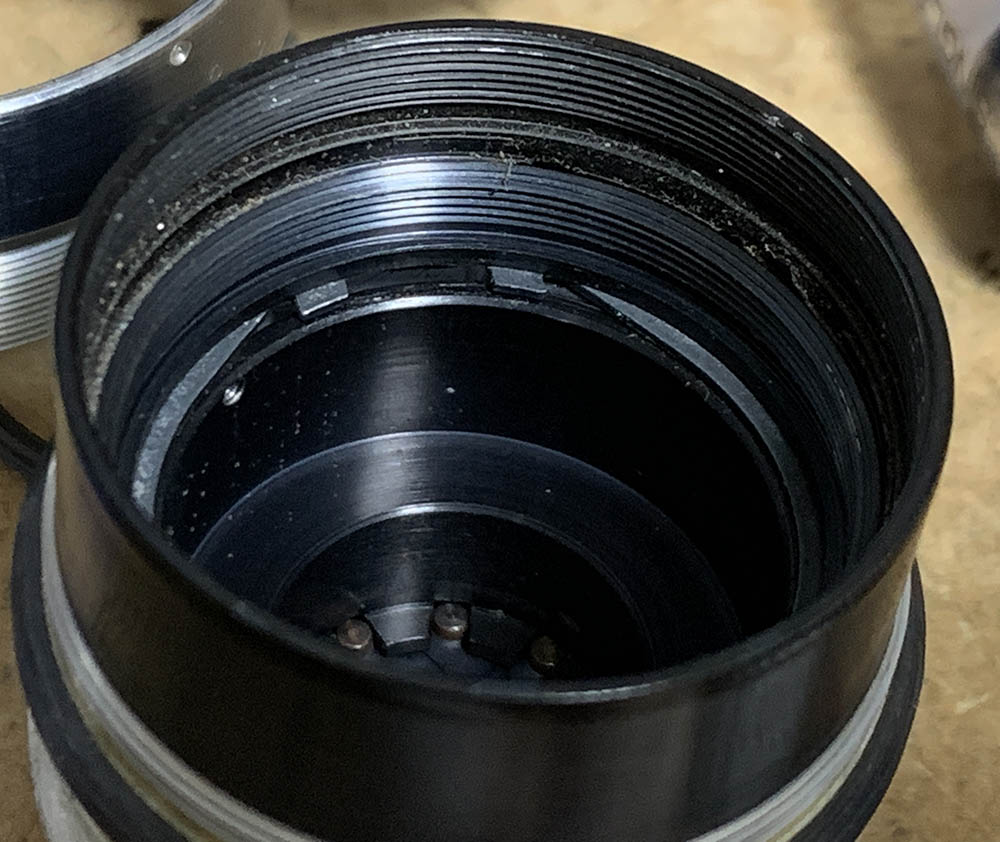
Locate and carefully extract the screw coupling the collar to the iris mechanism, this screw makes it possible for the iris mechanism to be controlled by turning the aperture ring.
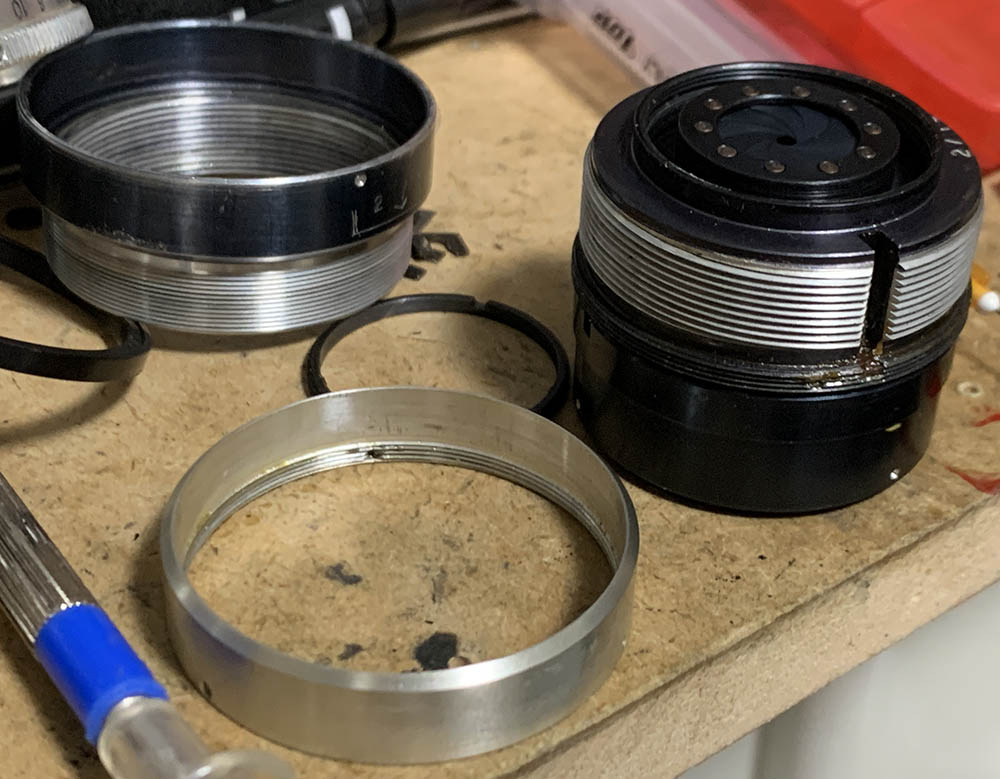
Unscrew the collar from the front barrel.
Note the range of the diaphragm cup so you’ll know how to put it back later.
The iris mechanism is secured by this circlip, extract it with a pair of sharp tweezers.
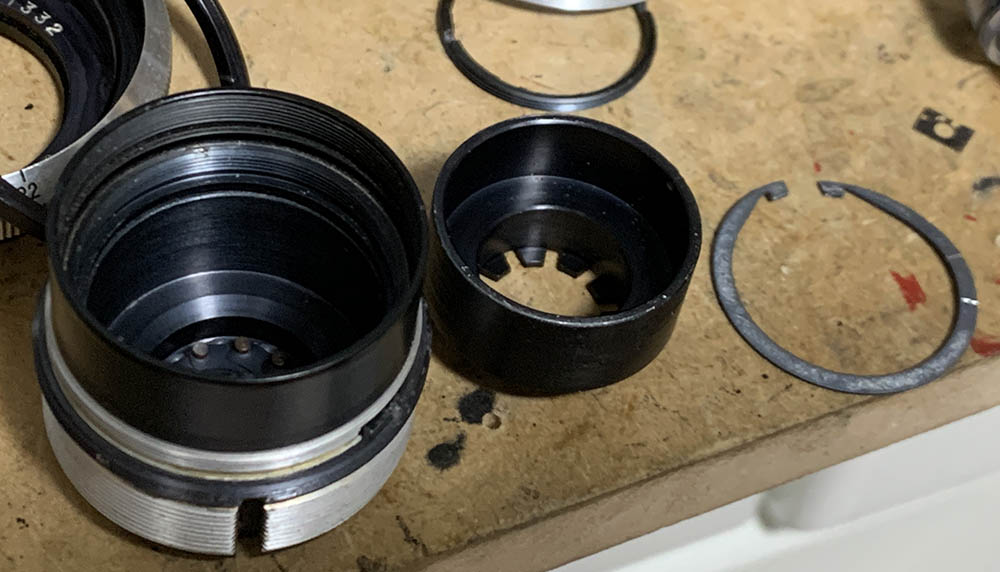
Remove the diaphragm cup with your fingers once the circlip is gone.

Carefully study how the iris looks like so you’ll know how the leaves should be laid-out. The pins were rusty, I wiped the rust off with a Q-tip saturated with solvents after I got them off.

I popped the leaves off over a soft, padded surface so they won’t get damaged.
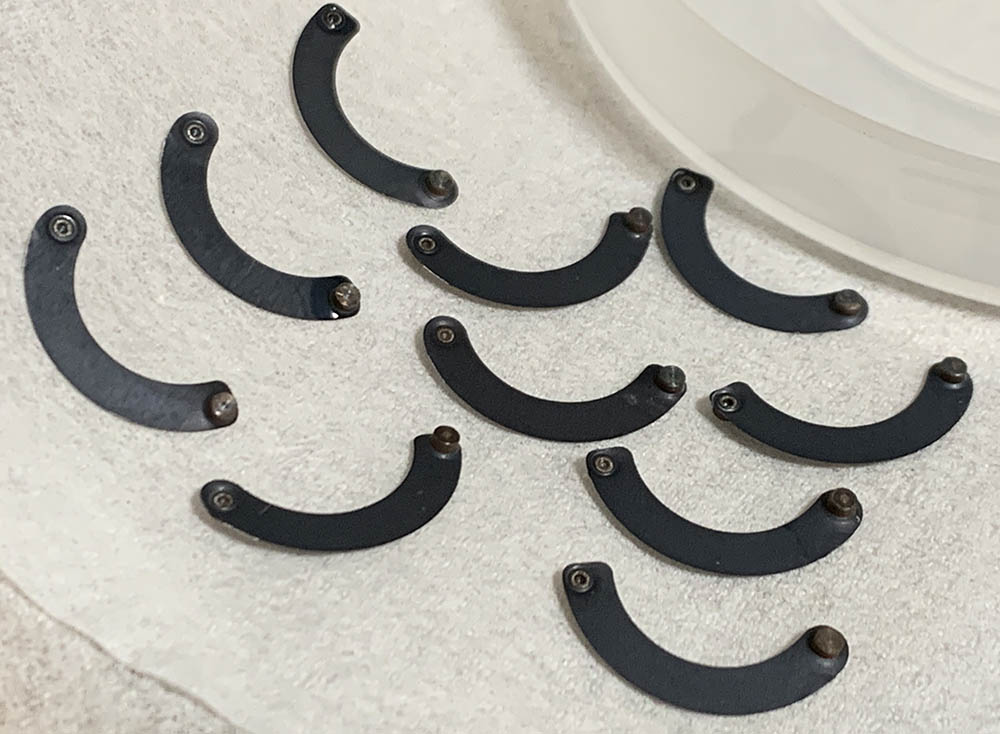
I soaked them in solvents with a little bit of oil in order to soften the rusty bits. They were carefully cleaned before they are reinstalled. Since there are still a few rusty parts left some of them were cleaned even further with oil and solvents.
Carefully clean the optics, if you need to clean any fungus read my article on how to clean lens fungus, dilute the stock well so it won’t damage the glass permanently.
The iris is the most difficult part of the lens to put back, read my article on working with a preset-iris so you’ll know how this is done. Never lubricate the iris, the only place that you should lubricate here are the threads of the aperture ring. I only applied a very thin film, so thin that you won’t even notice it.
Conclusion:
It’s refreshing to work with this lens because this is the first time I ever got the chance to service such an old M42 lens, I am sure that there are older examples but this is probably the oldest one that I’ve got. Many people are curious about it so I hope that this article will help scratch that itch for many Carl Zeiss collectors and historians.
Now that you’ve seen how much effort it takes to service one, if yours need to be repaired be sure to send it to a good repairer because this is something that should be revered as a historical artifact. Servicing the iris is not something that I will recommend to a novice, too. This one took me a whole night to overhaul with most of that time spent cleaning or polishing helicoids and other things. Putting the iris back took me a few attempts but it’s not as bad as I thought since I am used to servicing these.
Since this was adjusted at the factory to focus precisely at infinity there’s no need to adjust it if you’ve reassembled the helicoids properly. There are no adjustment points anyway, if you’re not able to focus properly to infinity then the lens was reassembled incorrectly. If you want to know more about adjusting a lens’ focus read my article on how to adjust a lens’ focus, that article should show you how it’s done in a DIY setting with tools that are available to you.
Thanks for following my work, if you liked this article please share this with your friends so it will get more views. This site earns around $0.40 a day, we are totally reliant on views. You can also support this site, it helps me offset the cost of maintenance and hosting. You’re also helping me purchase, process and scan film. This site promotes the use of film so we are all in this together. See you again in the next article, Ric.
Help Support this Blog:
Maintaining this requires resources and a lot of time. If you think that it has helped you or you want to show your support by helping with the site’s upkeep, you can make a small donation to my paypal.com at richardHaw888@gmail.com. Money isn’t my prime motivation for this blog and I believe that I have enough to run this but you can help me make this site (and the companion facebook page) grow.
Buy me a roll of film or a burger?
Thank you very much for your continued support!
$2.00
Helping support this site will ensure that this will be kept going as long as I have the time and energy for this. I would appreciate it if you just leave out your name or details like your country’s name or other information so that the donations will totally be anonymous. This is a labor of love and I intend to keep it that way for as long as I can. Ric.

2 Comments (+add yours?)