
Hello, everybody! There are many classic movies that were remade in the past couple of years. Some were good but the majority is rubbish, never surpassing the originals in terms of impact and reception. I think it’s unnecessary to do remake great movies such as Ghostbusters and Willie Wonka and the Chocolate Factory because I consider them to be “perfect” but The Fly benefitted from an overhaul. Today, I’ll show you one such “remake”, unlike Ghostbusters this lens had to be updated and resulting lens is a lot better than the original. Read the whole article to know more about it.
Introduction:
The Cine-Nikkor 25mm f/1.4 is an upgrade of the older Cine-Nikkor 25mm f/1.4 with the smaller, old-style barrel. It has new optics and the barrel is now similar to the concurrent models such as the Cine-Nikkor 10mm f/1.8. I don’t know when this was made but I assume that production ran from 1962 up to an unknown date. It’s difficult to date these because there’s no data available. The only information available are from leaflets and there are no dates available. Regardless, it’s apparent that the older Cine-Nikkor 25mm f/1.4 had to be replaced for an unknown reason and this lens replaced it in the catalogs. It’s the premium option for a “normal” lens for the 16mm format and it gives a field-of-view close to 67mm if you were to consider its crop-factor. Crop-factor is a rather new concept, people who shoot movies don’t even think of it. It may sound like a super-fast lens but it’s sort of mediocre for this format and it’s not unusual to find lenses with an f/1.2 aperture for shooting with 16mm.

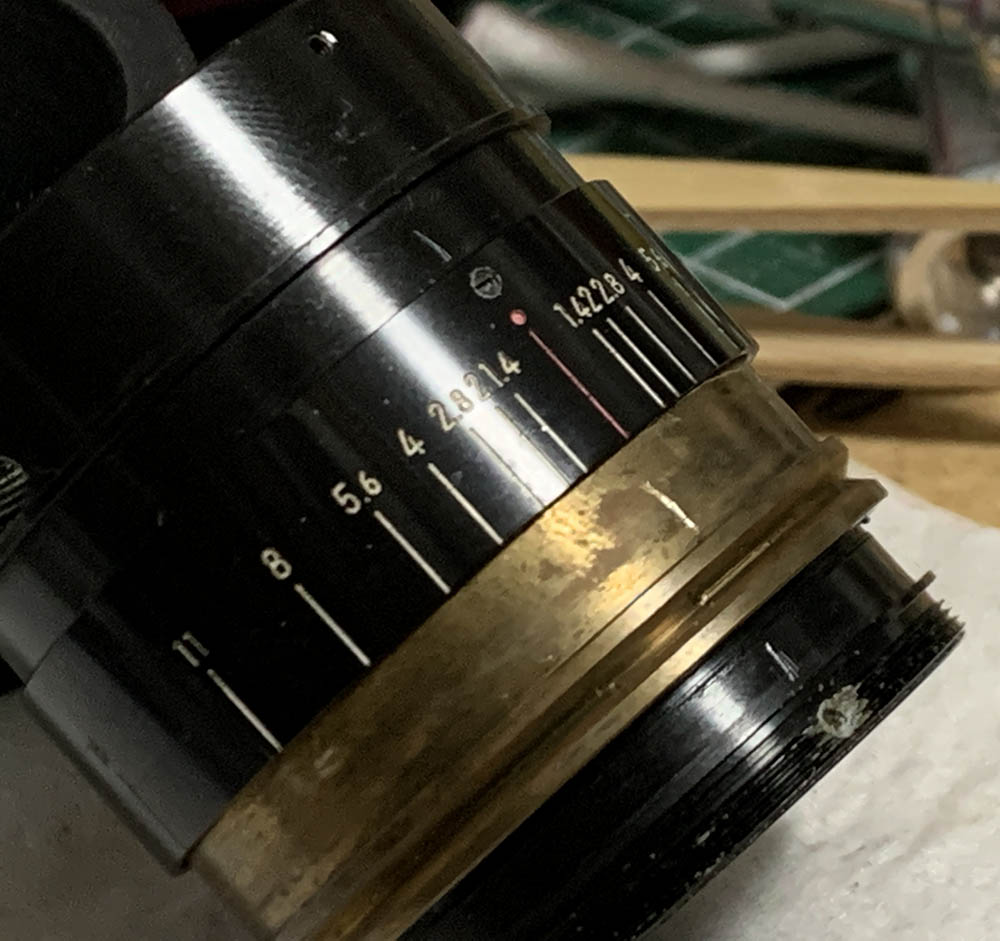
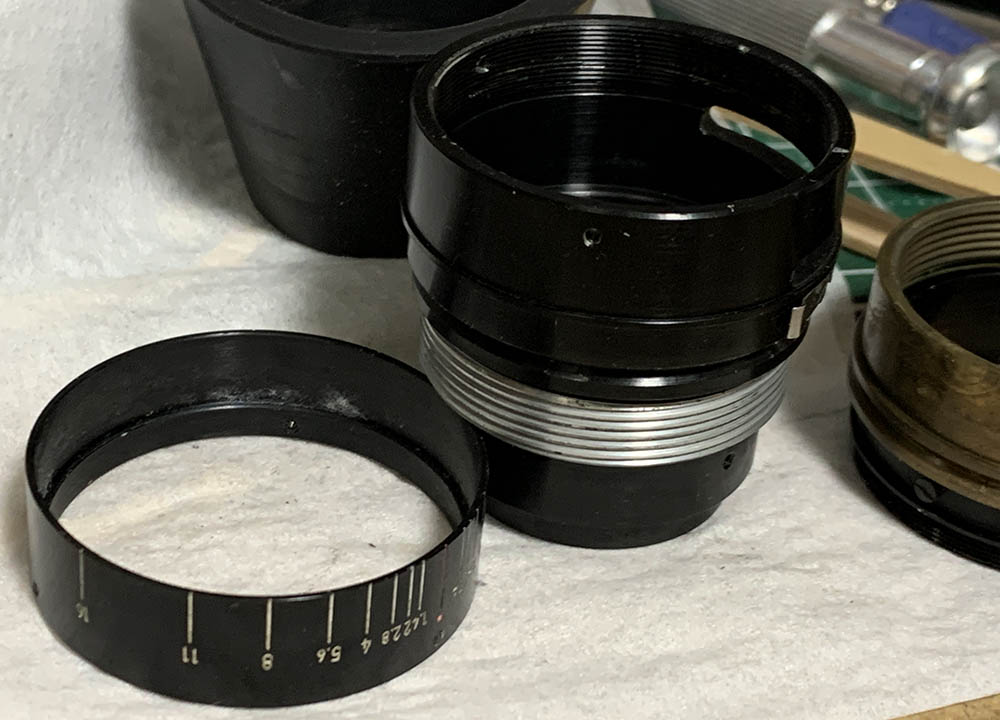
The barrel is built like most C-mount Cine-Nikkors, it’s solid and feels substantial despite being tiny. These were popular lenses so it’s not unusual to find these with scratches and heavy-wear. The scales are easy-to-read and you will need to rely on this when you shoot this with a 16mm camera. Focusing precisely without looking through-the-lens can be difficult but you’ll get used to it.
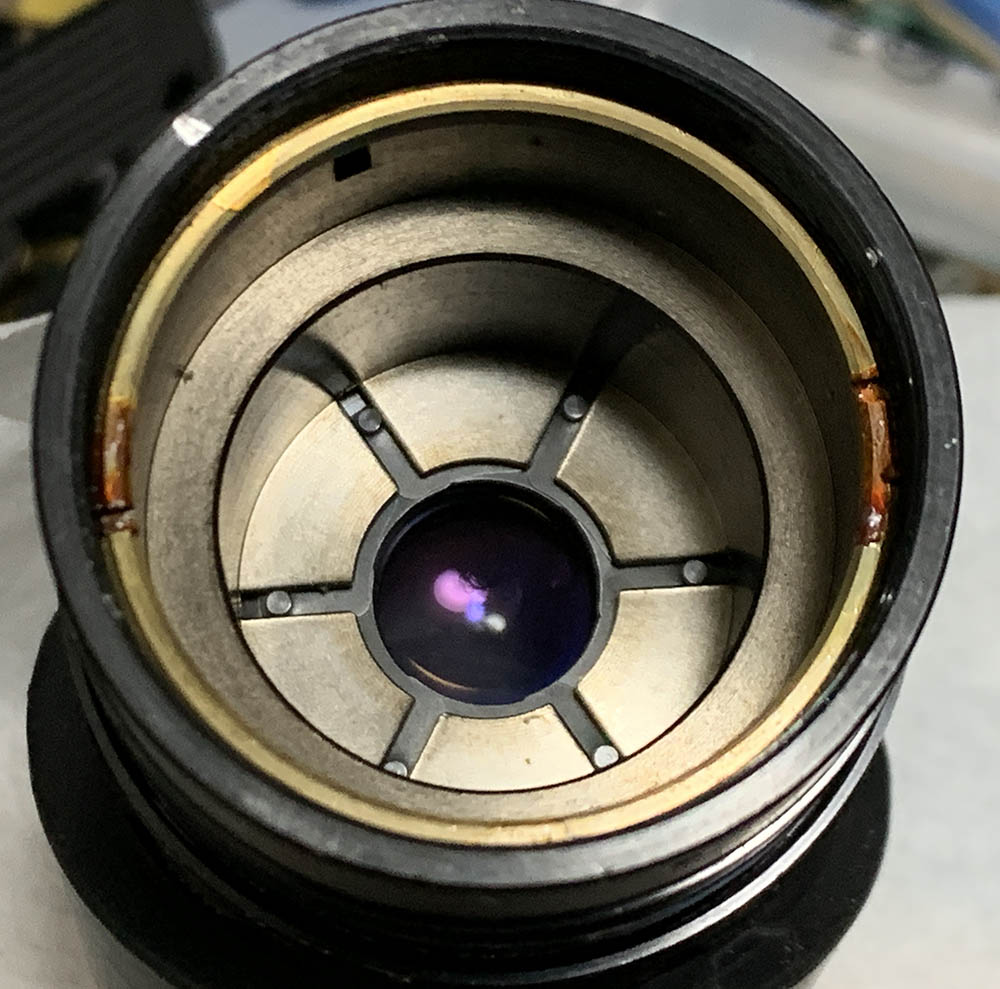
It has a 7-elements-in-5-groups design which is different from older Cine-Nikkor 25mm f/1.4 but they both derive from the same Double-Gauss layout. The size of the objective’s housing didn’t change much despite the barrel being larger. The coatings do look to be somewhat better since the bluish-tint look deeper. In terms of performance it is generally a stop better compared to the Cine-Nikkor 25mm f/1.4 in most cases and the photos look clearer, too. I noticed a difference in clarity and the resolving power appears to be somewhat better as well. This is to be expected since the optics of both lenses are different.

It comes with several types of boxes and this is one of them, I’ve seen the usual golden boxes, too. These aren’t sold to consumers, I was told that they’re considered industrial lenses within Nikon itself. This bit of information came from no other than everybody’s favorite Nikkor engineer when I was exchanging text messages with him asking for data about this lens.

The front is recessed so you won’t have to bother attaching a hood to it. It appears to have a different coating compared to the older Cine-Nikkor 25mm f/1.4. Both lenses have different optics so don’t expect them to perform identically.

Its barrel is similar in size with most Cine-Nikkors for the C-mount and they sort of look the same at first-glance, too. Pairing this with a Nikon 1 J4 makes for a tiny setup for both stills and video, the only concern I have with this setup is it can be challenging to focus precisely because the LCD’s resolution isn’t enough.

A Nikon 1 V3 is the best camera to shoot this with or anything that has an EVF. You will notice immediately how comfortable it is and you’ll be able to focus a lot better with it. Don’t bother using this with the M4/3 system, people who do this are known to fudge with the focus to the point that it won’t focus correctly when mounted on a 16mm camera. At least the Nikon 1 system will allow it to be used without any modifications so long as you’ve got a good adapter.
Learning how your lens performs is crucial to maximizing its. You will learn how to utilize its strengths and avoid its weaknesses. This knowledge helps in determining which lens to bring on an assignment. I shot these from f/1.4, f/2, f/2.8 and f/4 since these are the most common apertures that people would want to use this with and we will also get to see the most changes happen with these values. I shot these with my Nikon 1 V3, some of the photos were cropped close to 1:1 so we could see the details better.


(Click to enlarge)
Distortion is rather high but the profile is not complicated and it sort of plateaus at the center, making it less obvious. It should not be difficult to correct in post but you should frame a bit wider to allow more space for the software specially if you need to use this for VFX, your camera-tracker will be very thankful that you did.
Vignetting isn’t bad at all but you’ll still get dark corners when shooting wide-open. The falloff is smooth but it tapers closer to the center in a gentle manner. Stop the iris down to f/2, that will alleviate most of it, you’ll only see faint traces of it at the extremities. The frame looks much cleaner at f/2.8 which is amazing, it’s gone from this point on. This is a bit better compared to the old Cine-Nikkor 25mm f/1.4 by about a stop.


(Click to enlarge)
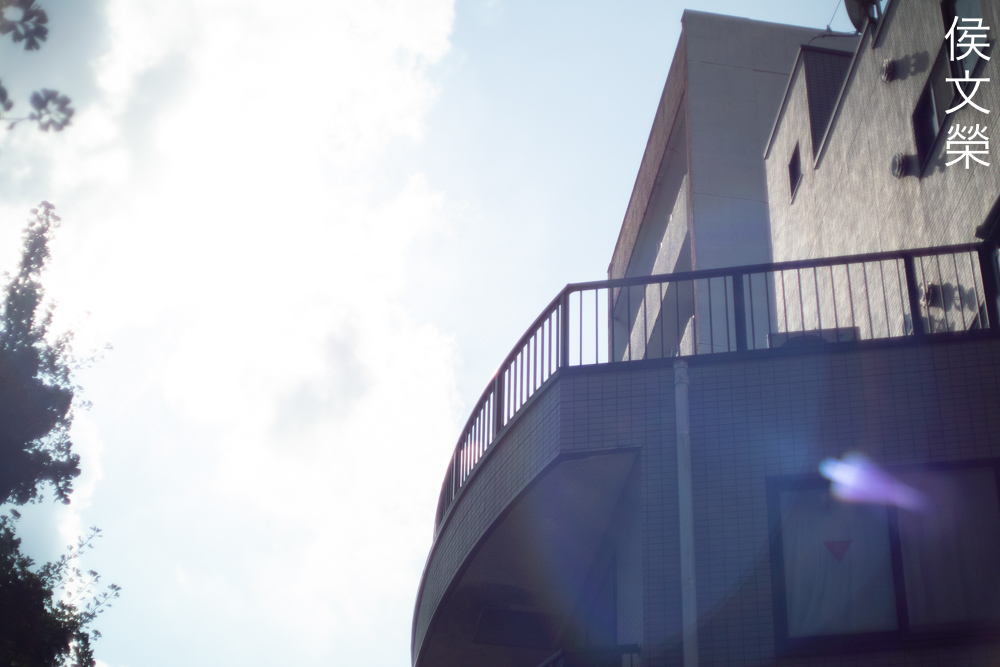
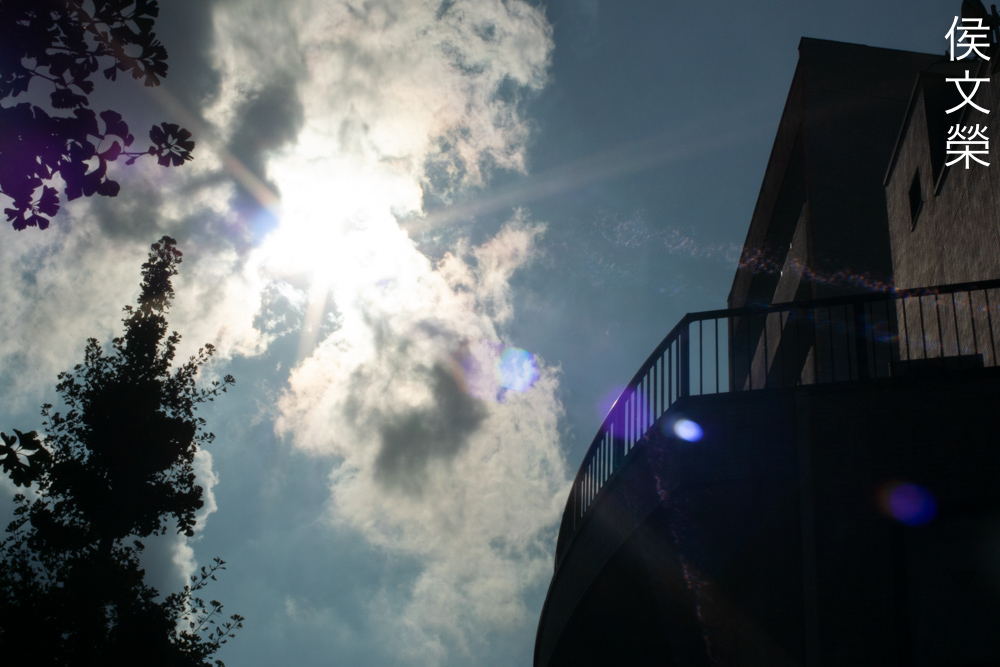
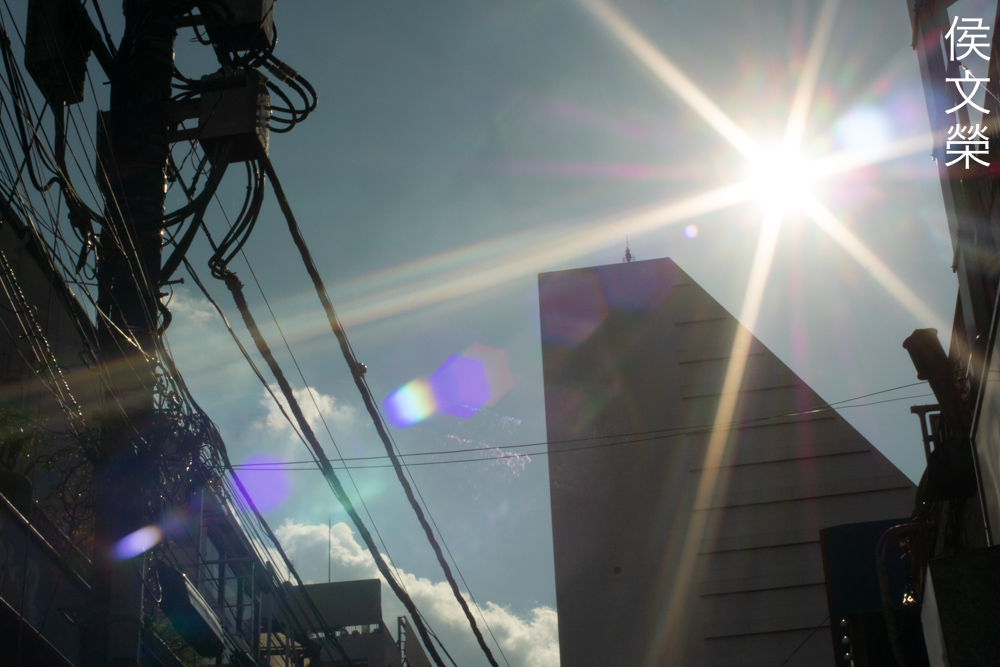
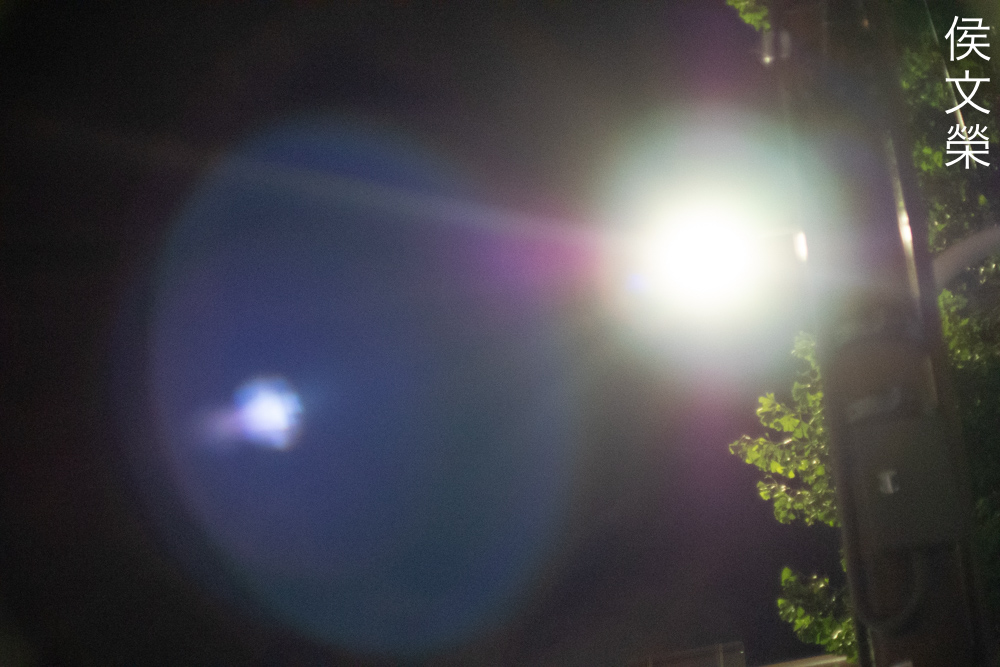
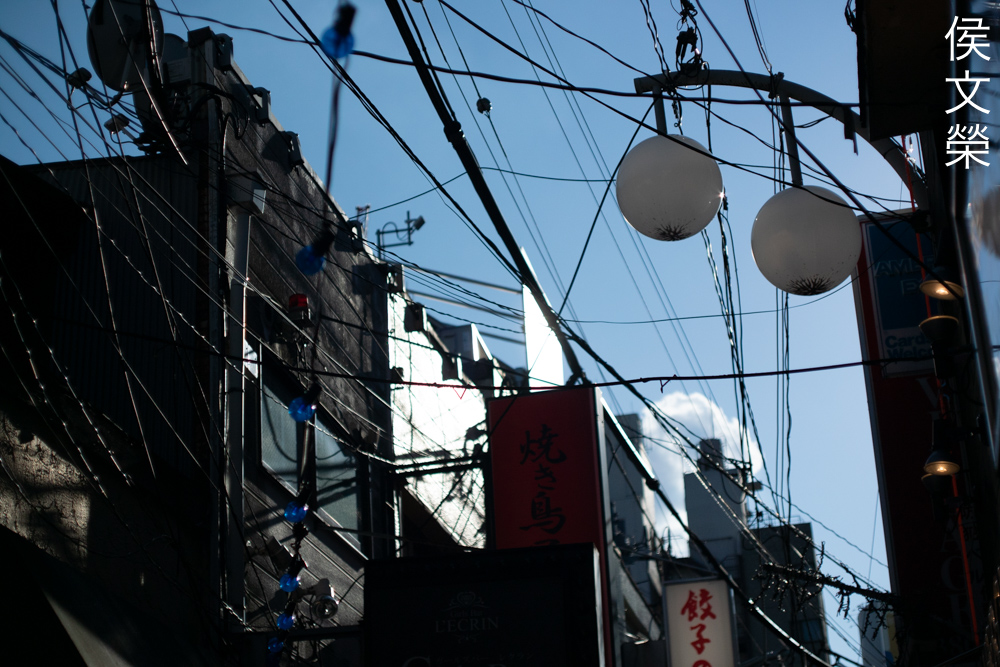
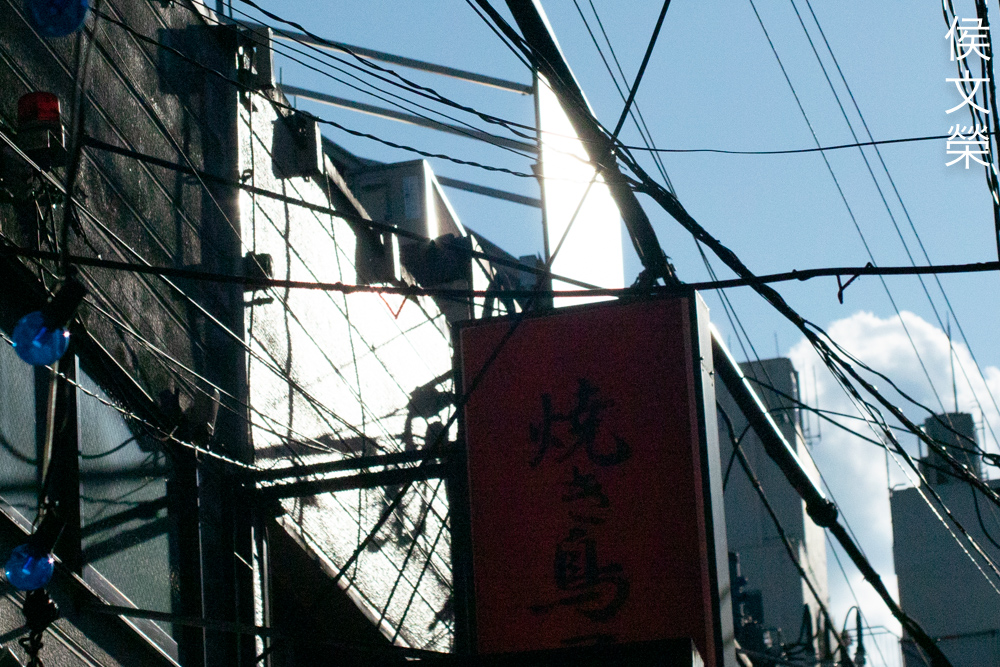
It flares terribly and the blobs look wild just like what we saw with the early Cine-Nikkor 25mm f/1.4. The blobs are not easy to avoid specially if you have bright sources of light within the frame or just outside of it. Some directors love this but I personally don’t. The weird artifacts you see here are caused by the shiny edges of the iris, they will reflect light and end up being registered. Painting the iris black helps a lot, a light overspray will certainly do the trick. Don’t add an extra coat to prevent adding thickness to them and also mask the pins, too.


(Click to enlarge)
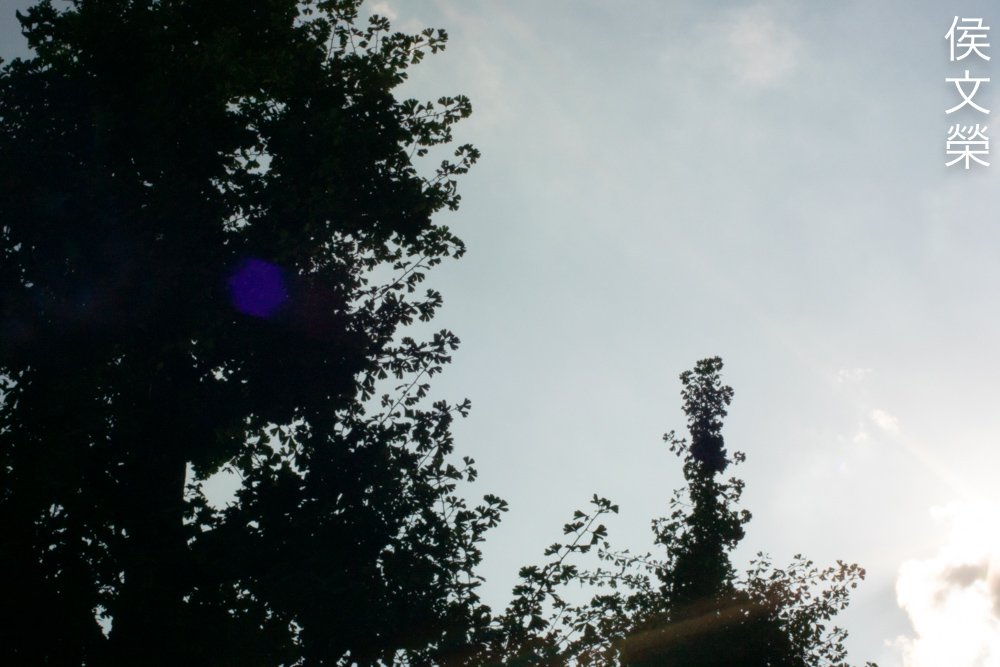
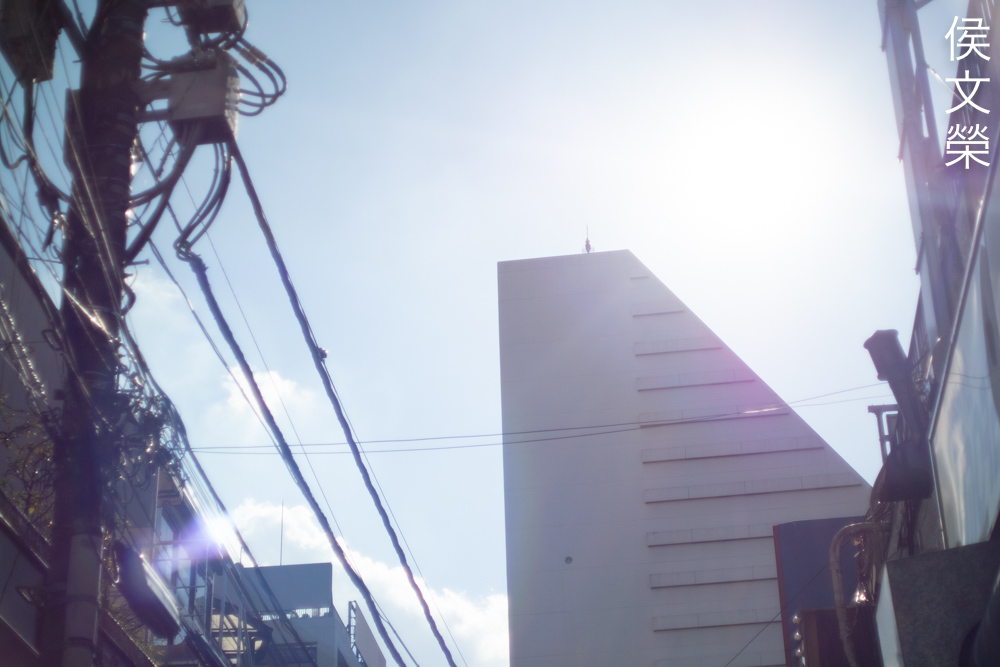
This is how the blobs and sun-stars look like as you stop the iris down. The sun-stars look nice wide-open and they take on a more-defined look as you stop the iris down which gives you long rays and a sharp core. The blobs look formless and starts to look more angular as the iris is stopped-down. The iris is hexagonal so the resulting blobs take-on the shape of the iris. I personally don’t like how it looks, a heptagonal iris should make this look better.


(Click to enlarge)
Coma turns your tiny point-lights into bat-shaped globules when shooting wide-open. It looks a lot nicer at f/2 where the wings are now gone. They look more like point-lights from f/2.8 on, you should use this from f/2.8 if you need to render your point-lights as round as possible.
(Click to enlarge)
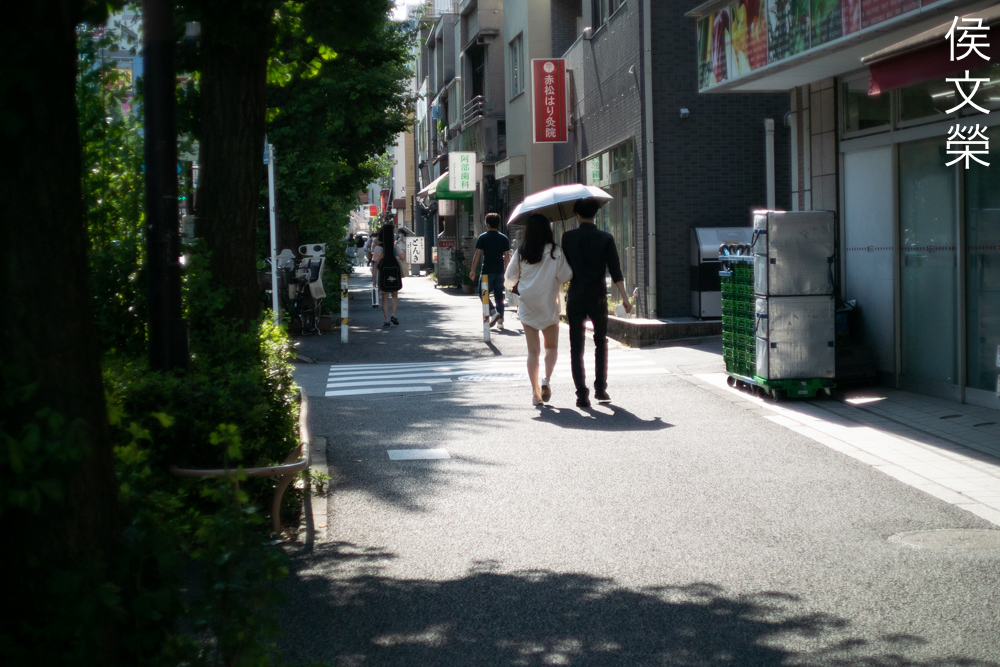
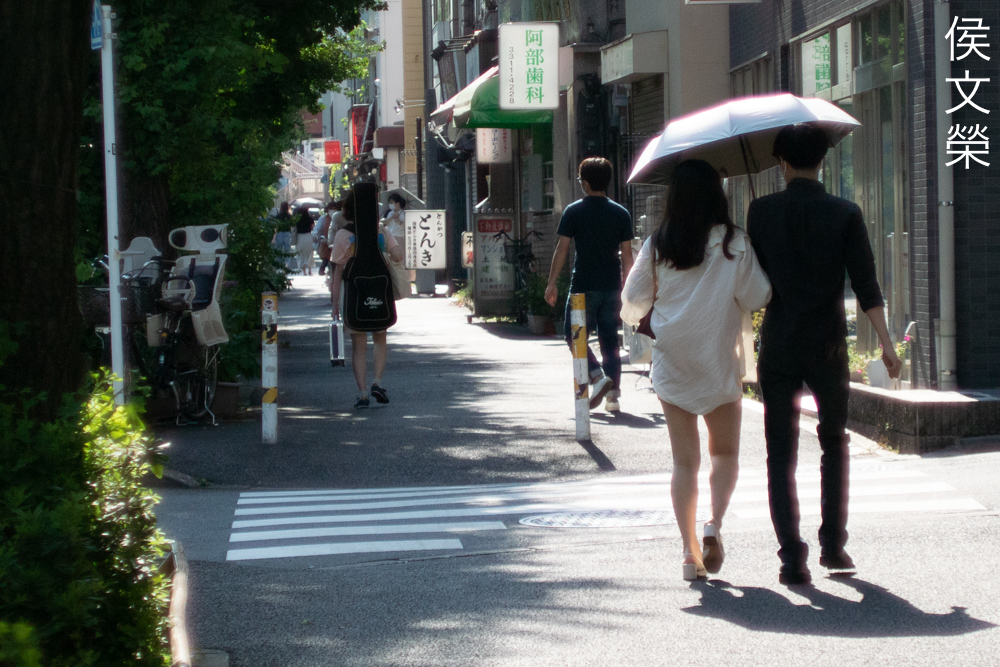
The character of the bokeh is smooth in most cases even when the background contains plenty of clutter. It is generally a pleasant lens in this regard but that does not mean that it’s not capable of rendering rough-looking artifacts. It does that occasionally so you should still be aware of this. The discs have outlines when shooting wide-open but cleans-up once you have stopped the iris down from f/2 and smaller. Stopping the iris down won’t always clean the look of the discs and this may sometimes even make the blurry bits look rougher because the iris’ shape is merely hexagonal.
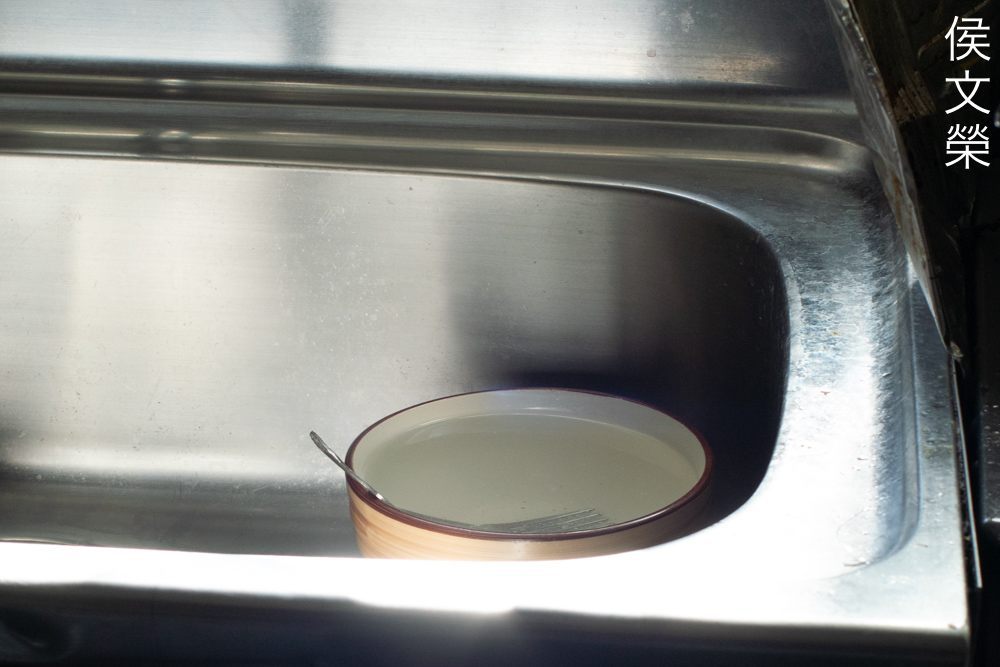


(Click to enlarge)
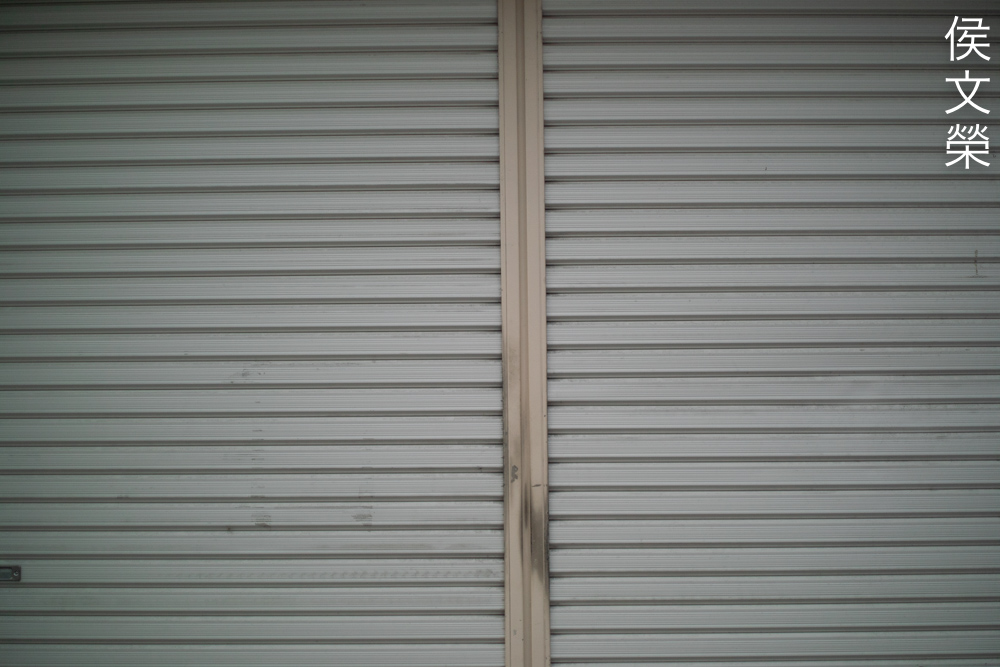
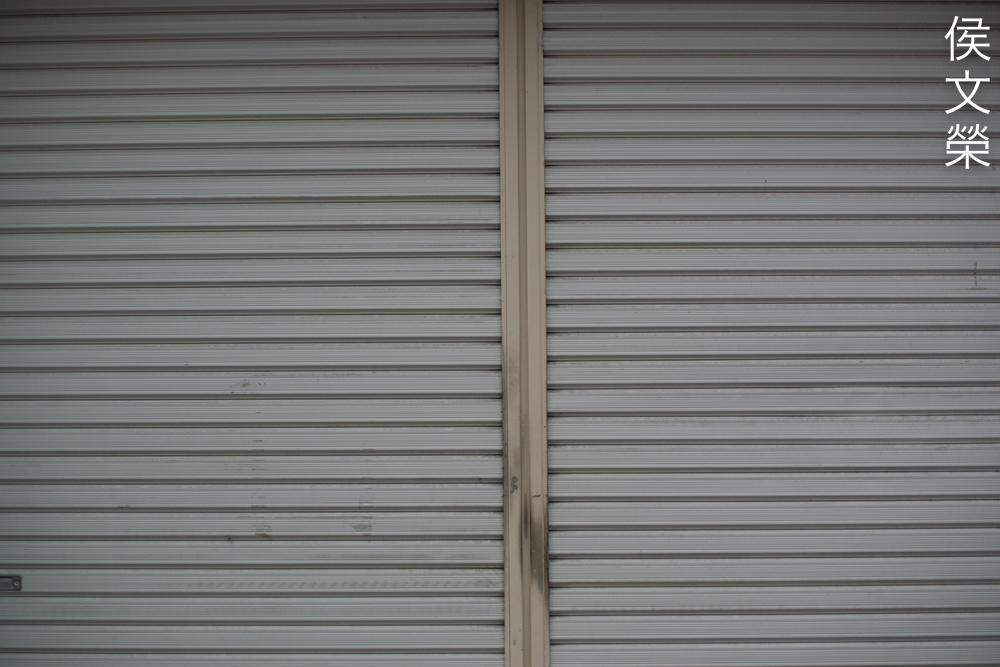
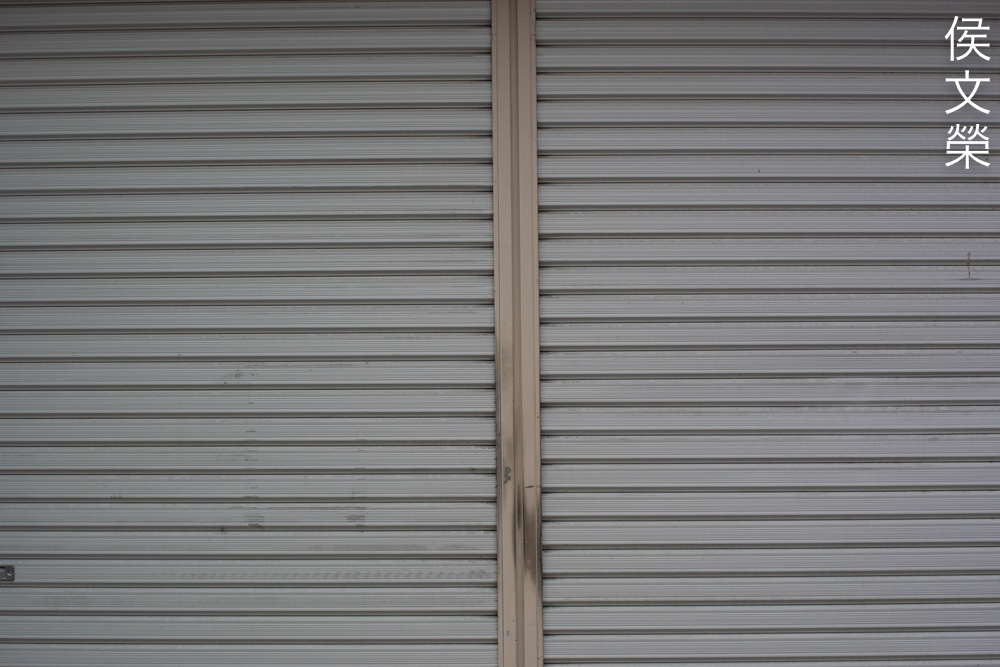
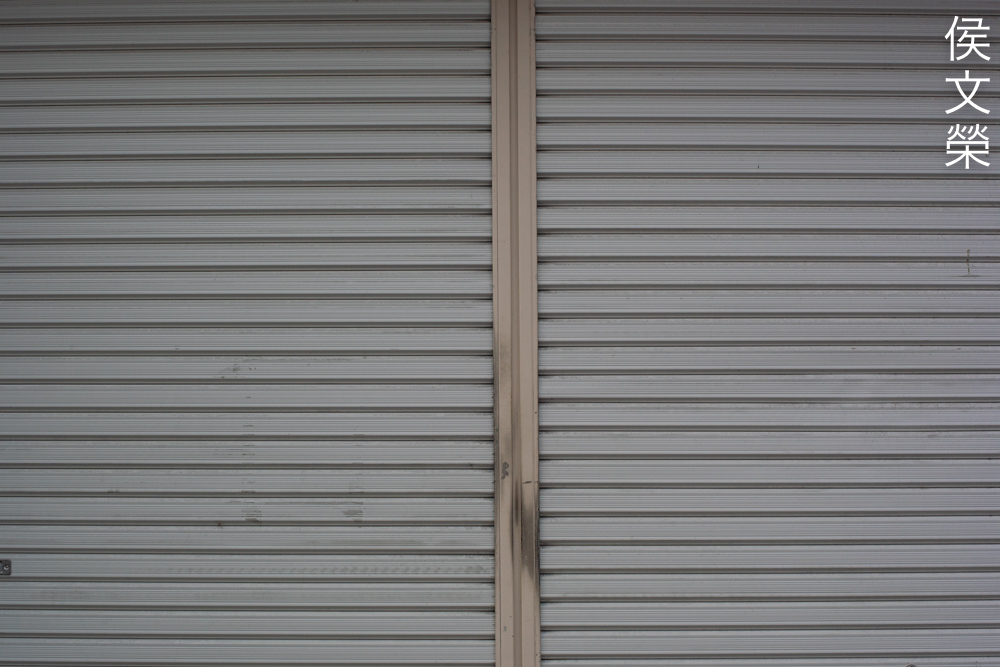
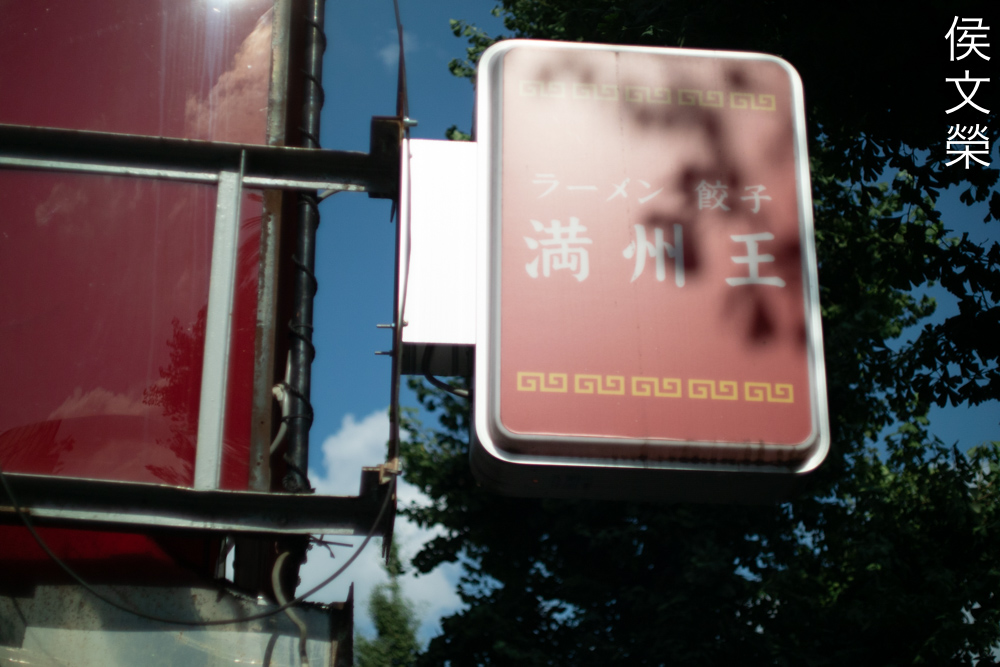
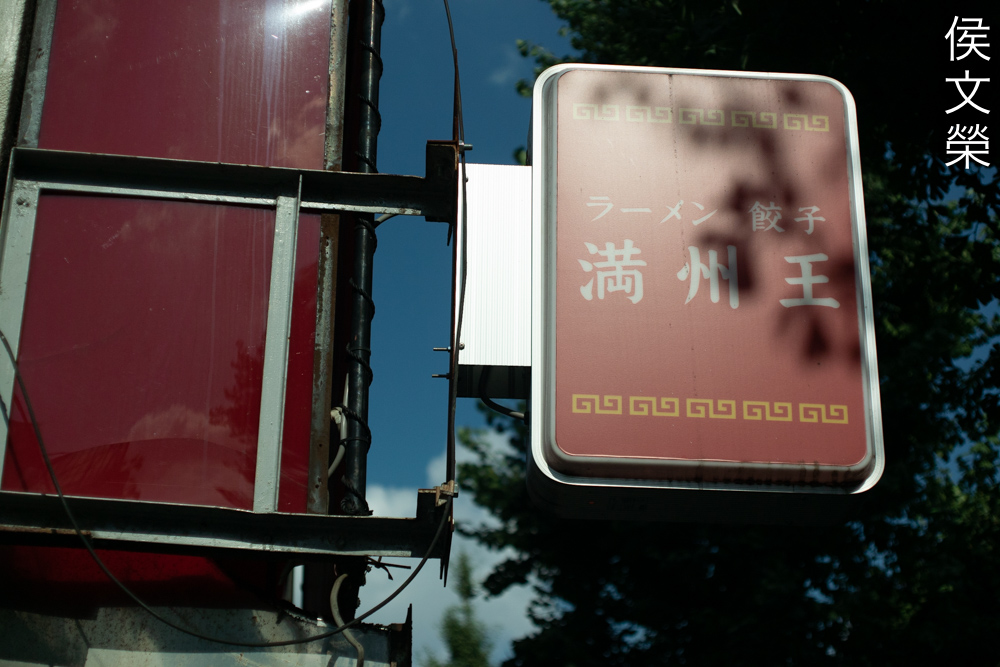
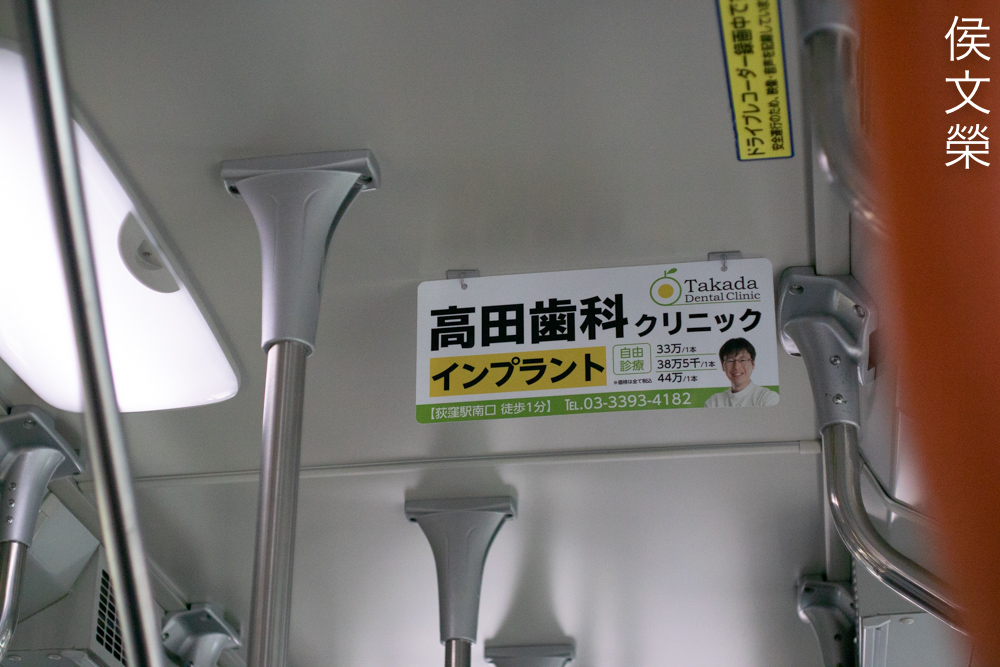
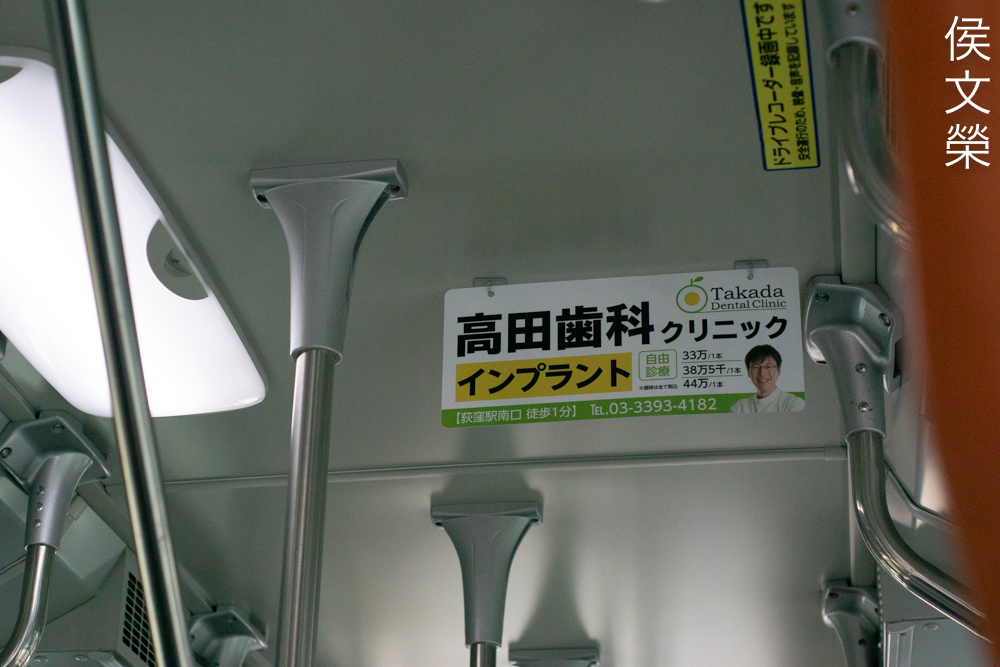
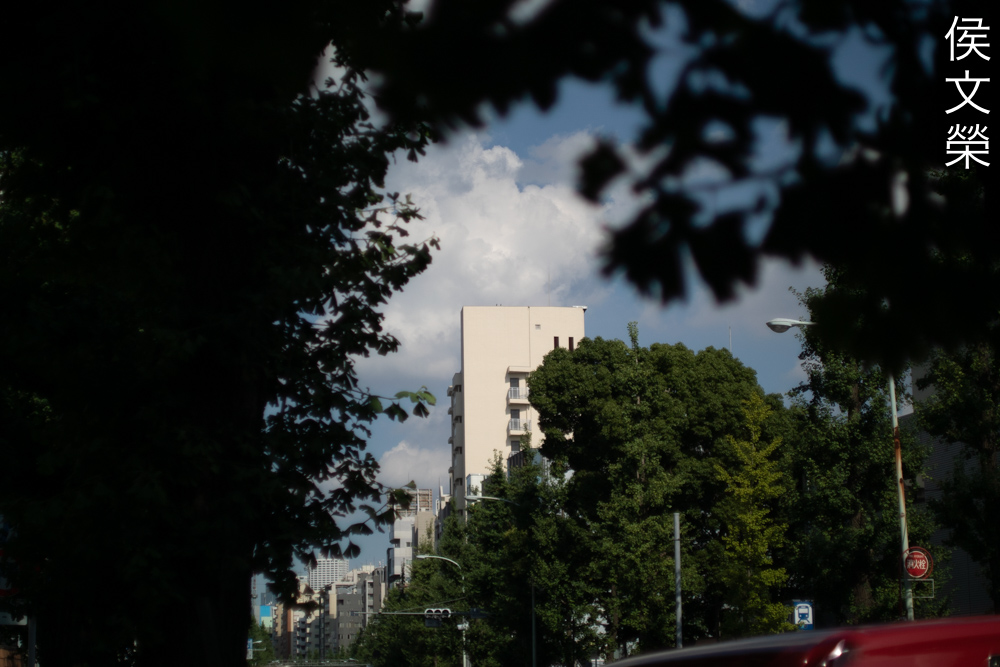
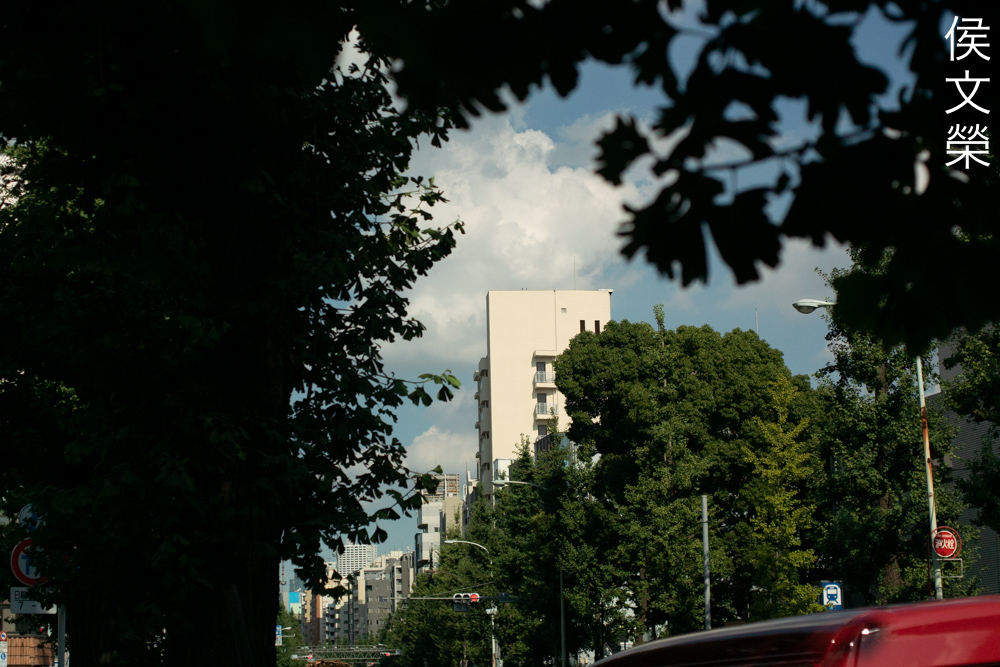
Chromatic aberration is quite high when shooting wide-open in difficult situations, it’s otherwise tolerable in general. It has plenty of spherical aberration but it does not look as bad as the former. Stop it down to f/2 and you will notice that chromatic aberration is now controlled much better while spherical aberration could still be seen in similar levels. They’re still visible in difficult situations despite the improvement. Things get better by f/4 but you’ll still see purples-and-greens in tough cases, you’ll only see faint traces of these in manageable situations. It gets a bit better by f/5.6 but you will still see small levels of aberrations at this point but some wild blooming and what I assume to be stigmatism are still obvious in overblown areas of your scene. I doubt that it will get much better by stopping it down further. It is a shame because this is the biggest flaw to this otherwise nice lens.
(Click to enlarge)
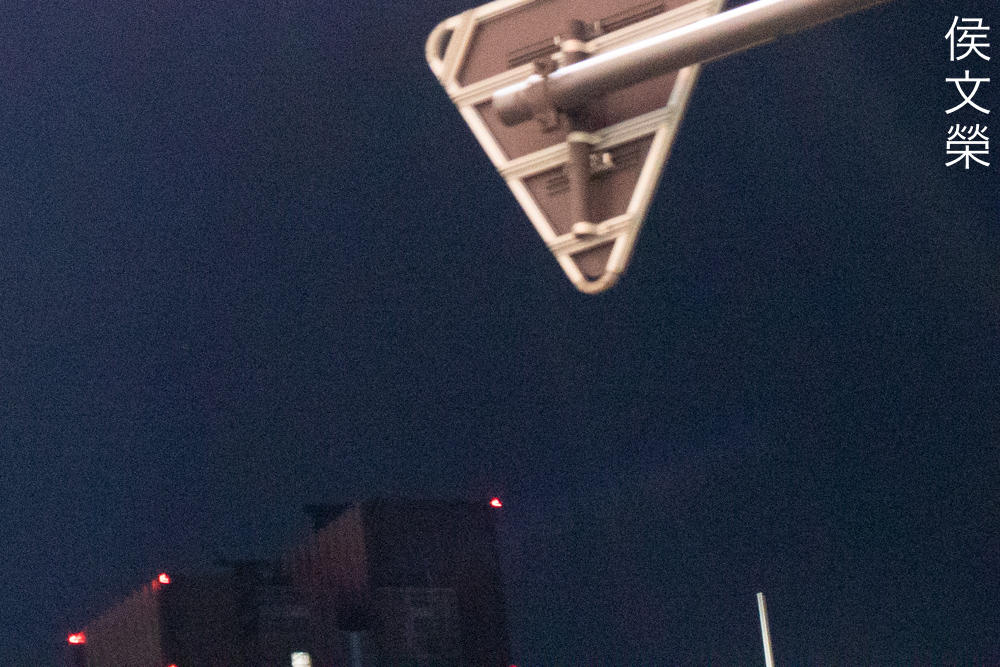
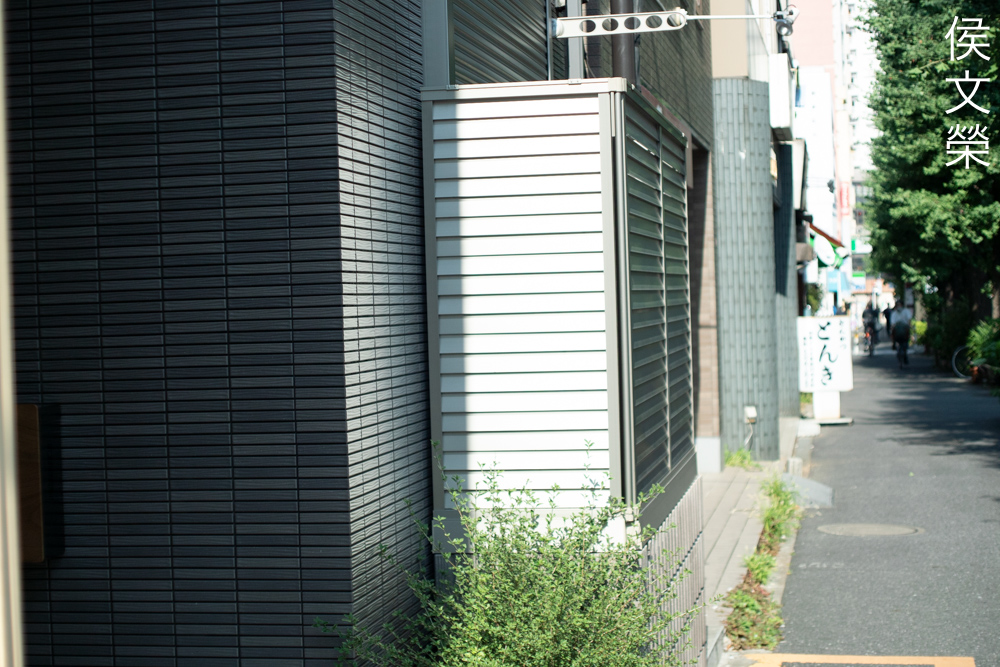
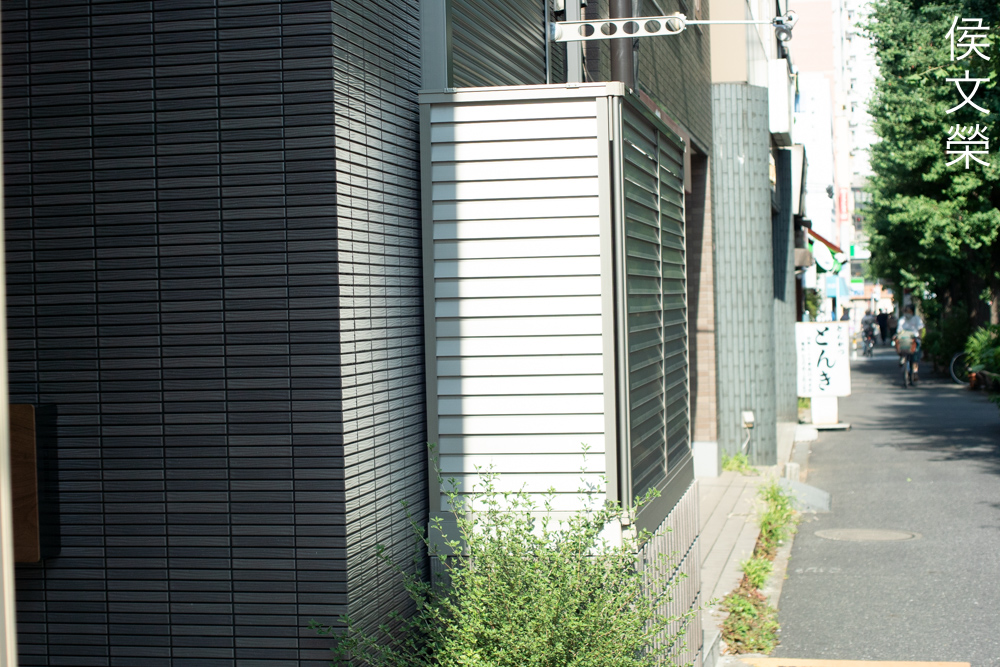
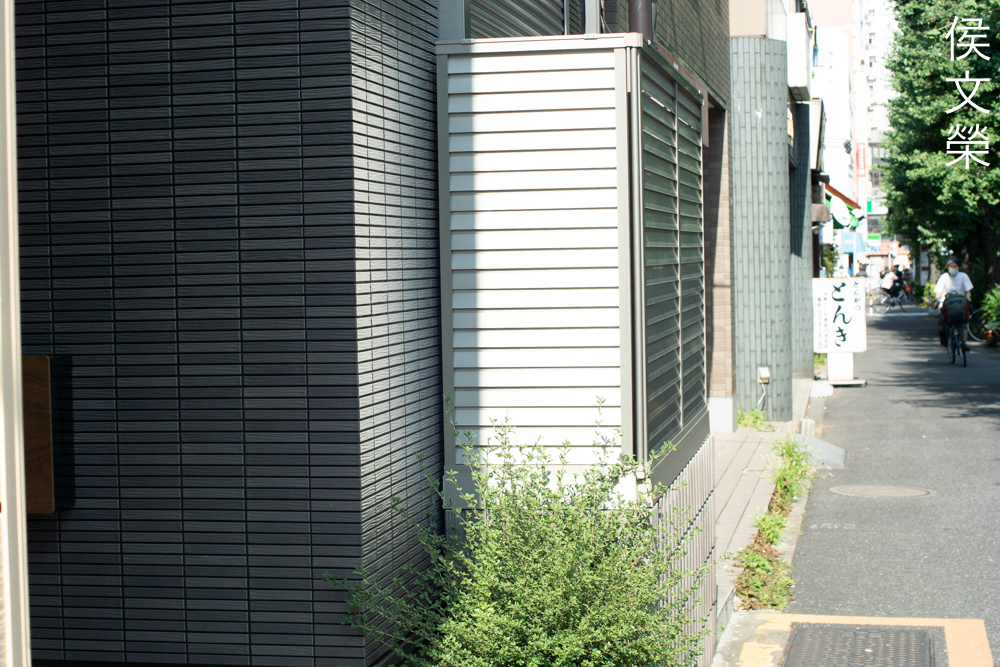
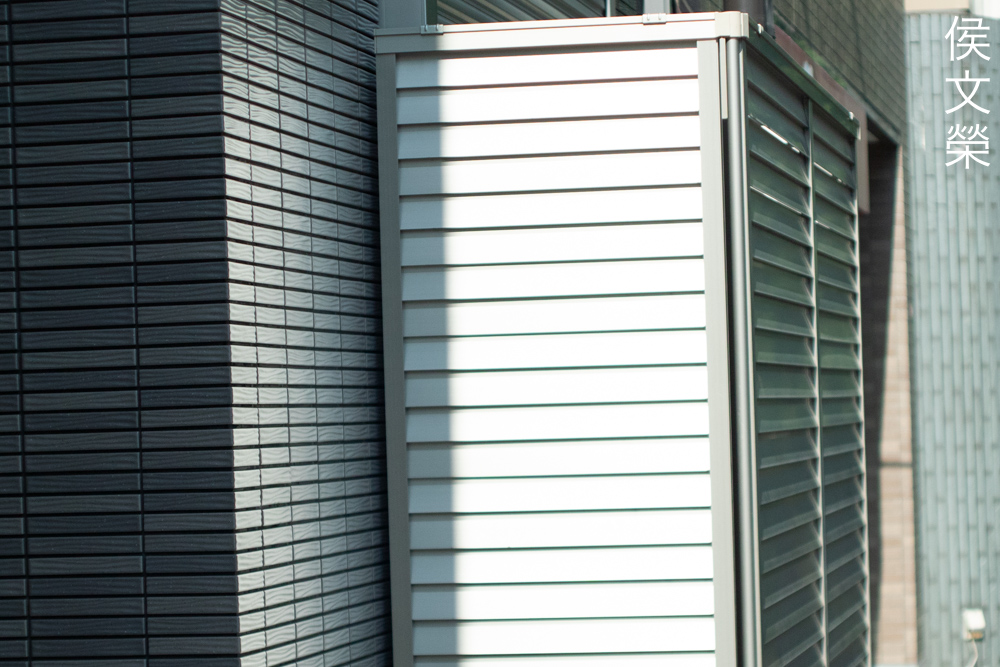
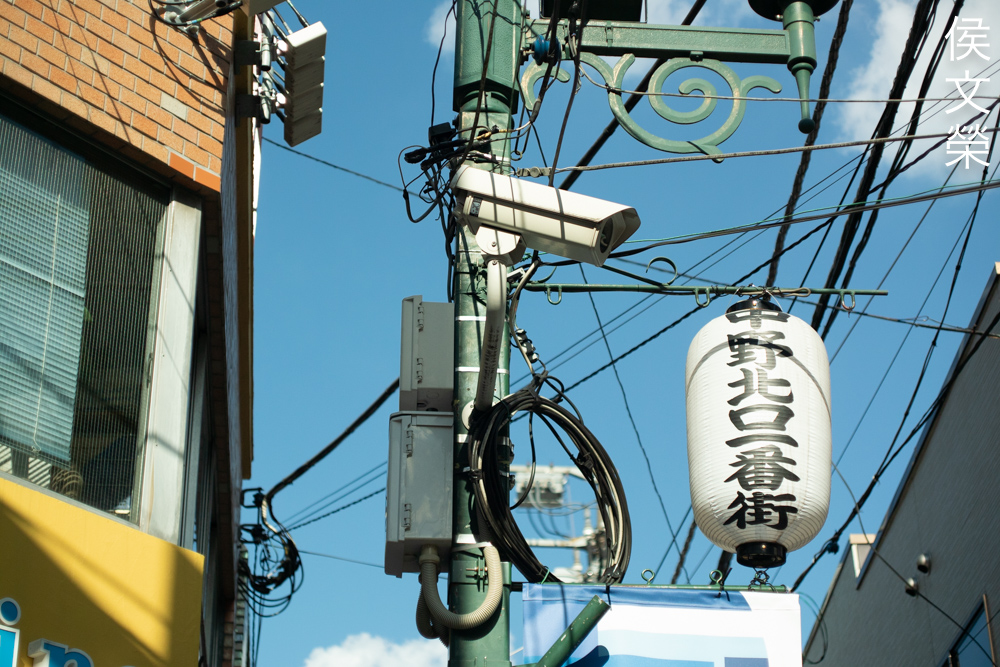
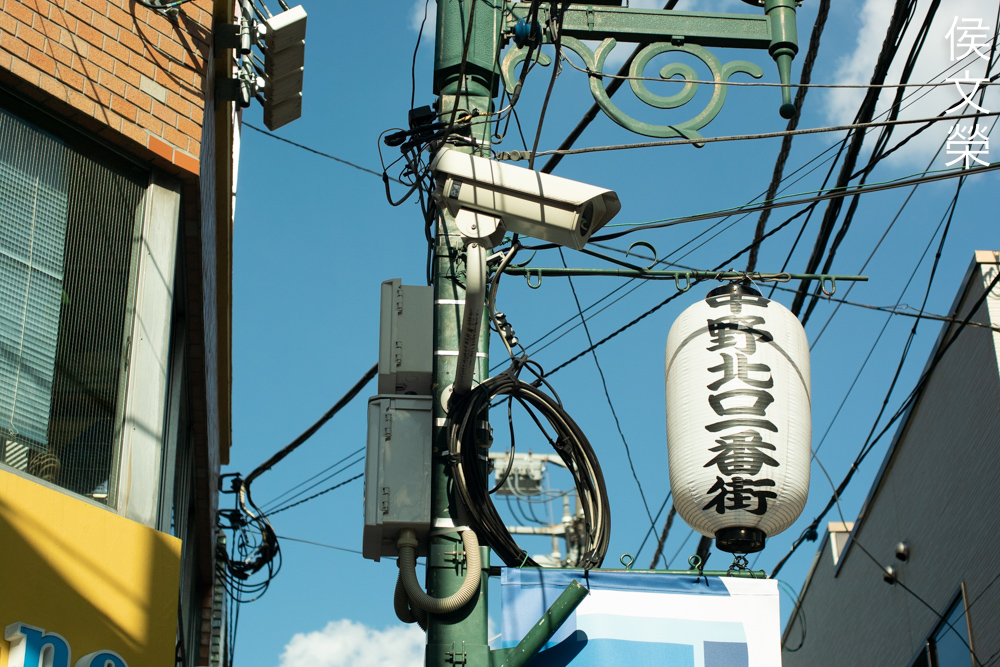
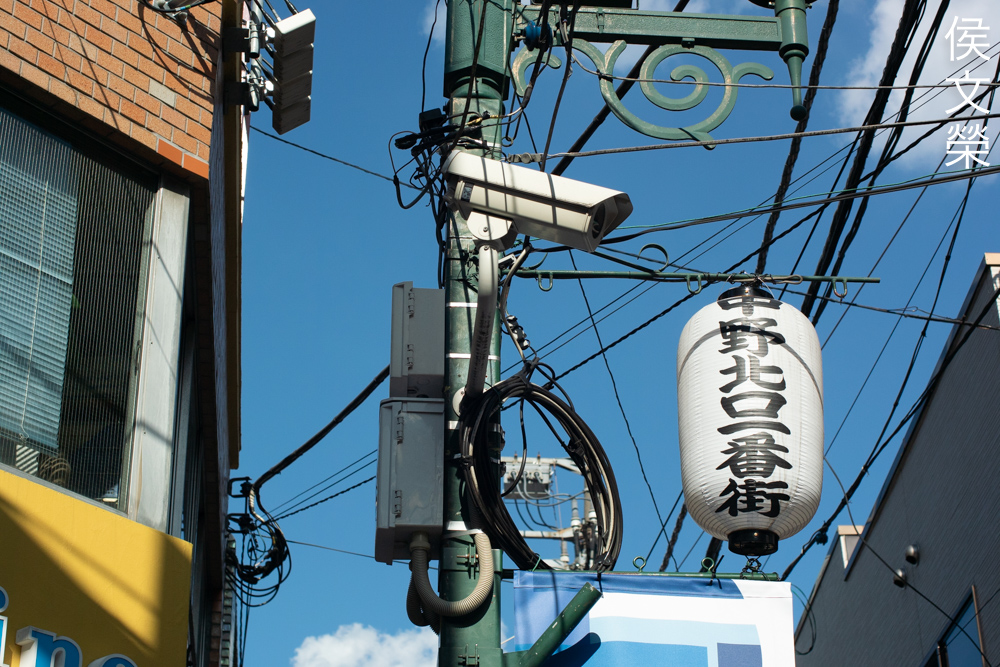
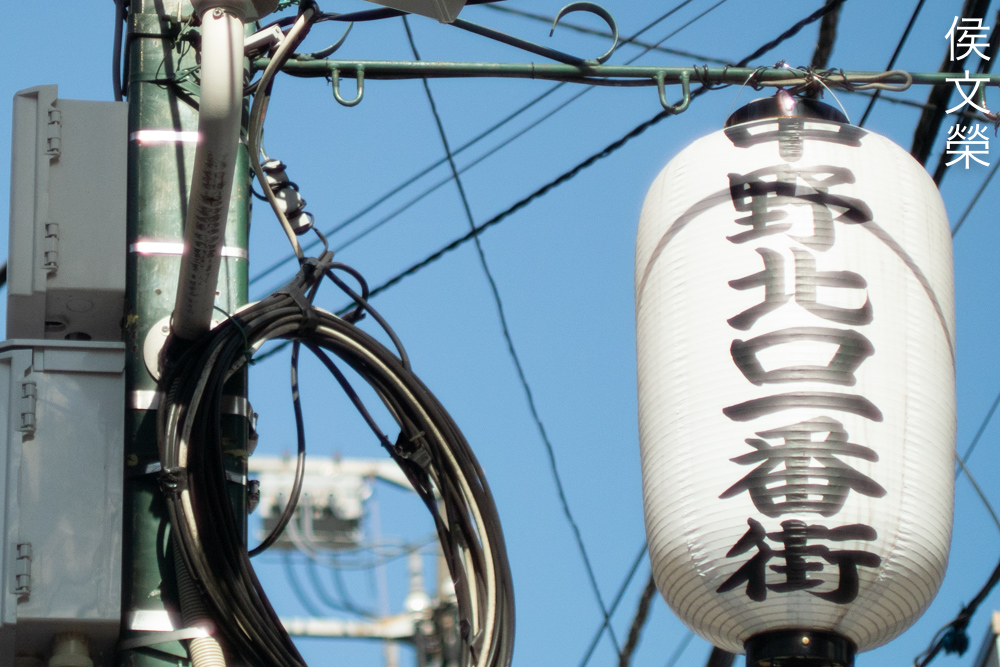
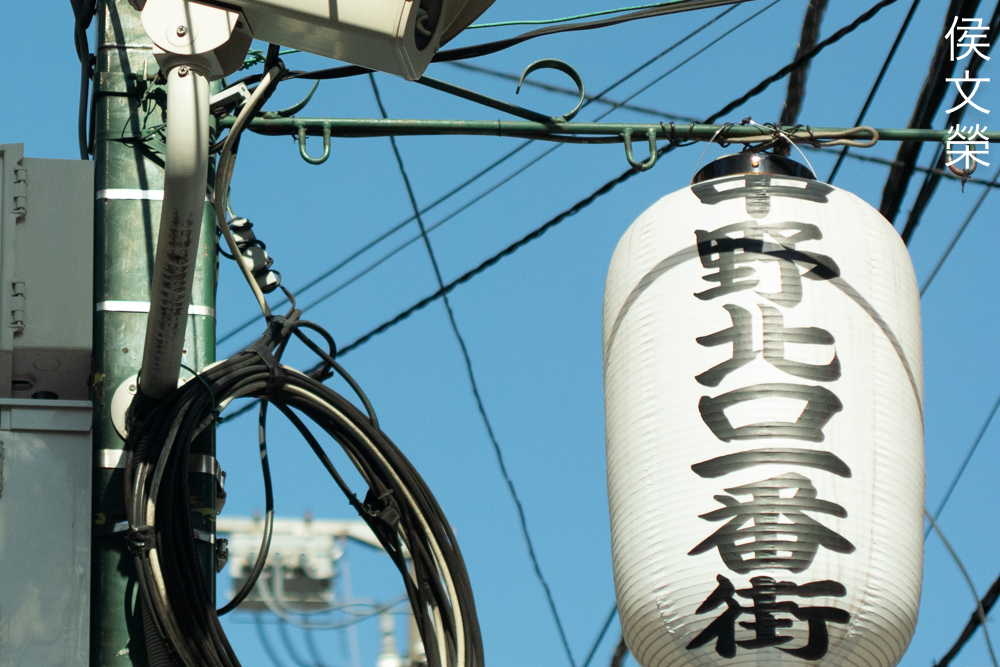
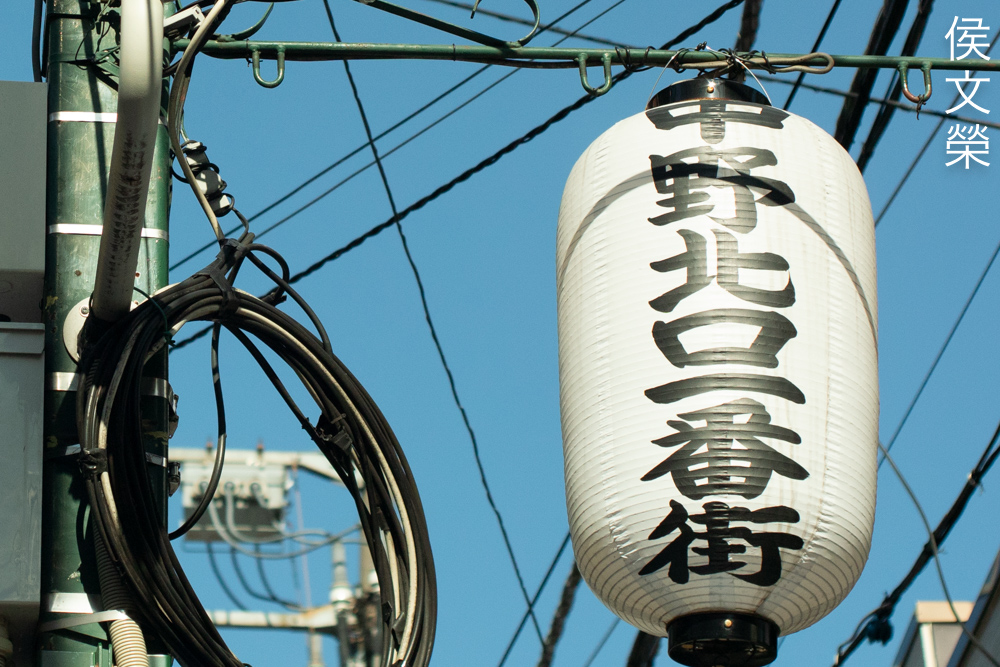
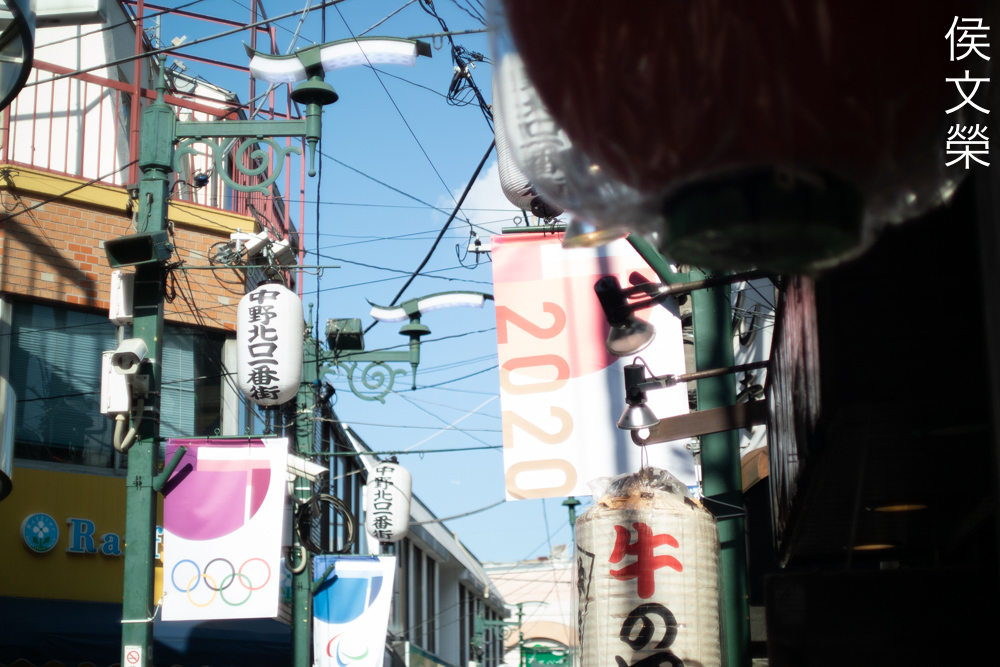
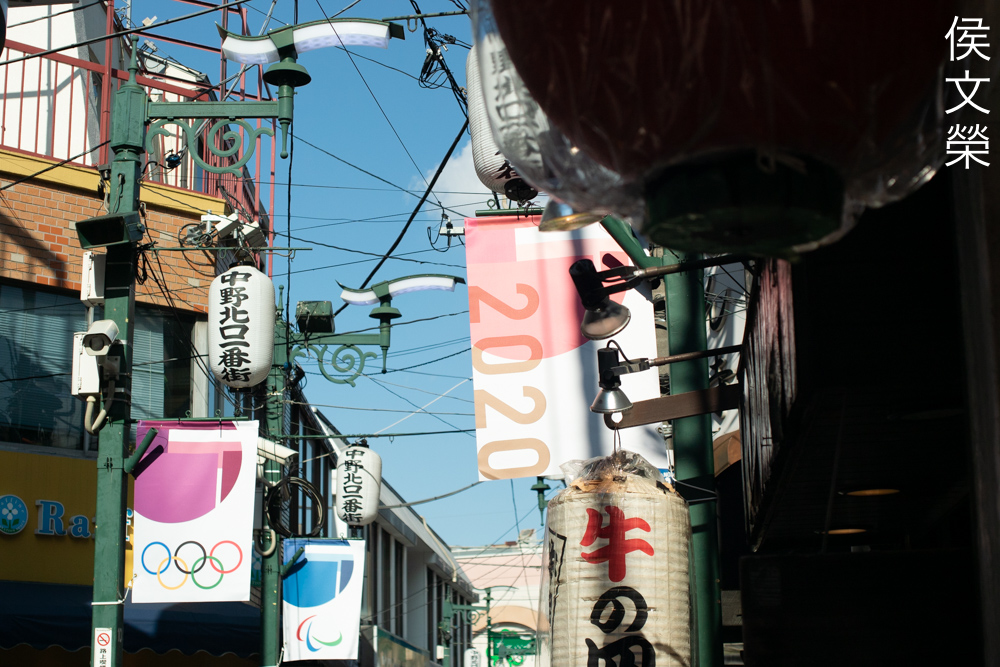
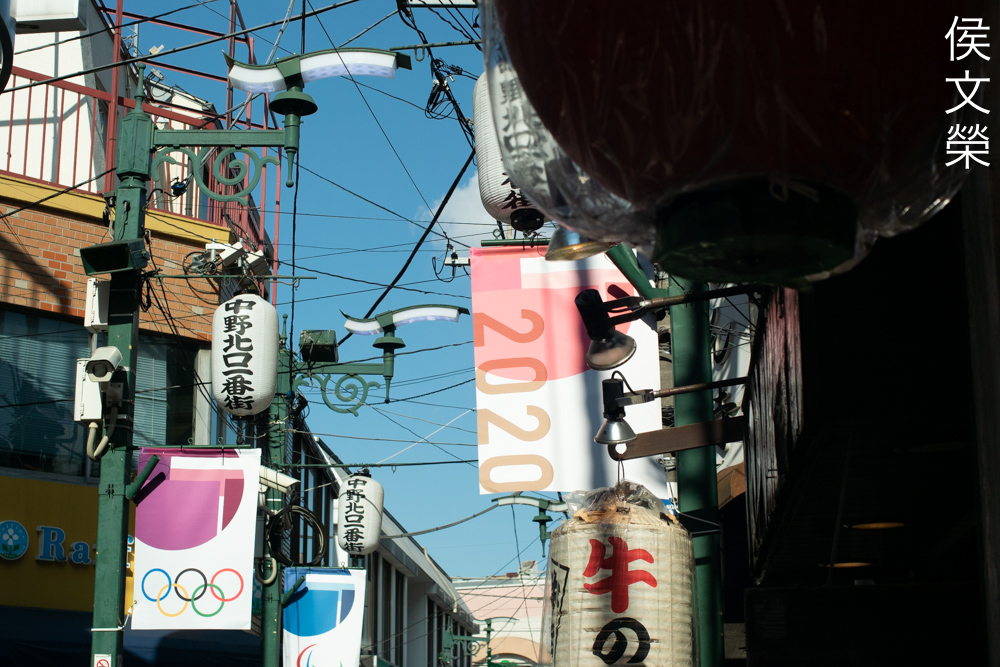
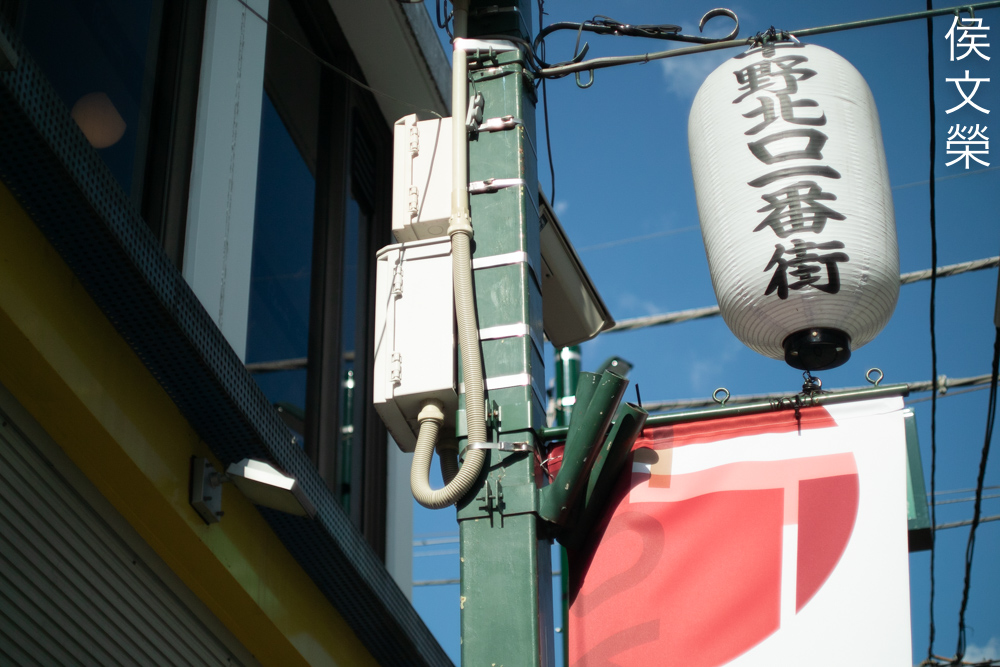
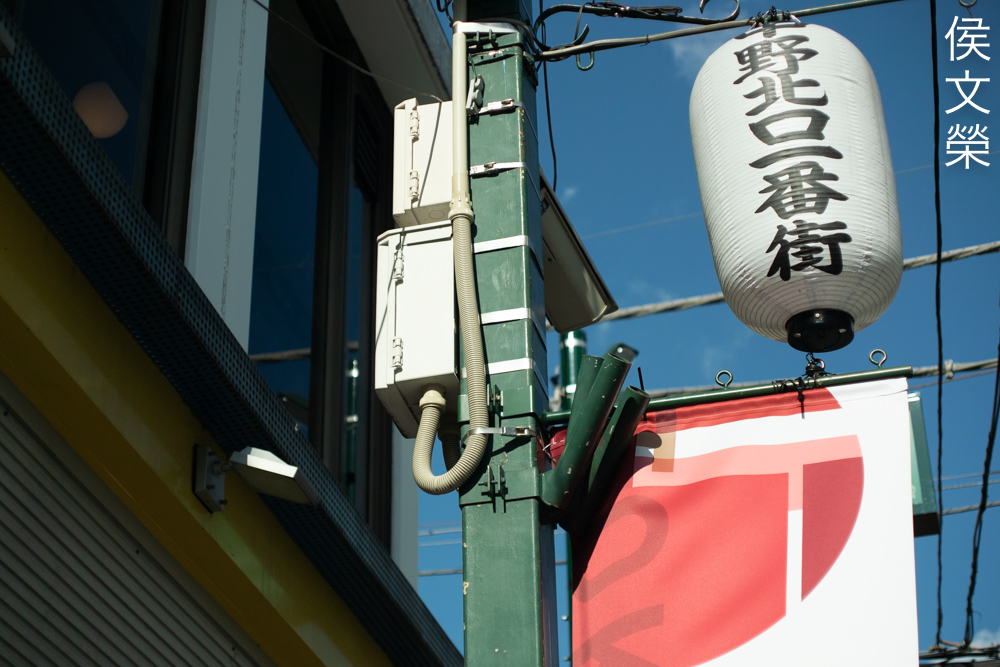
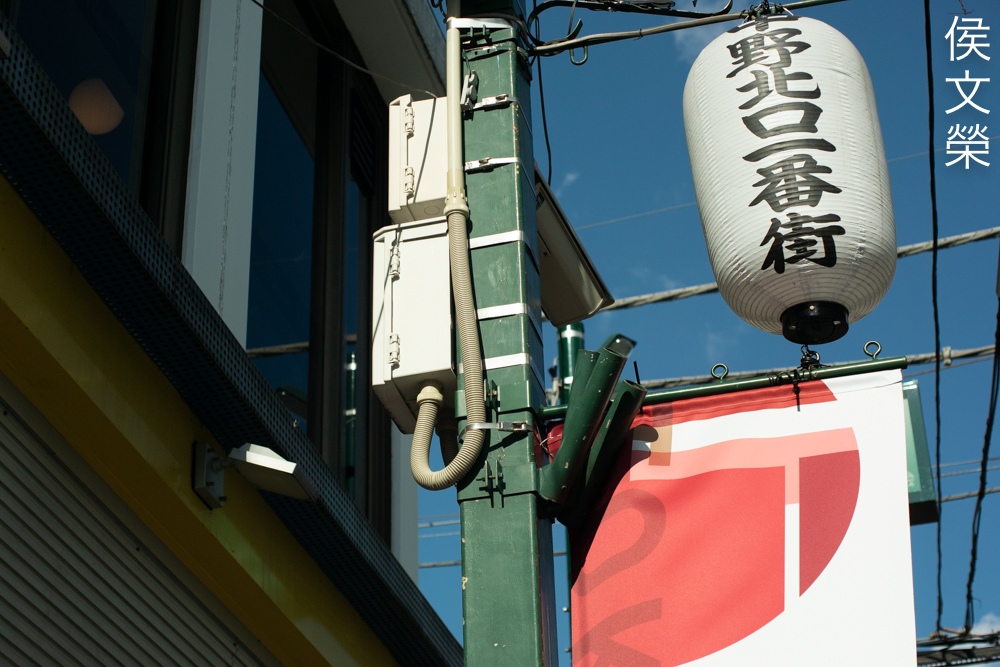
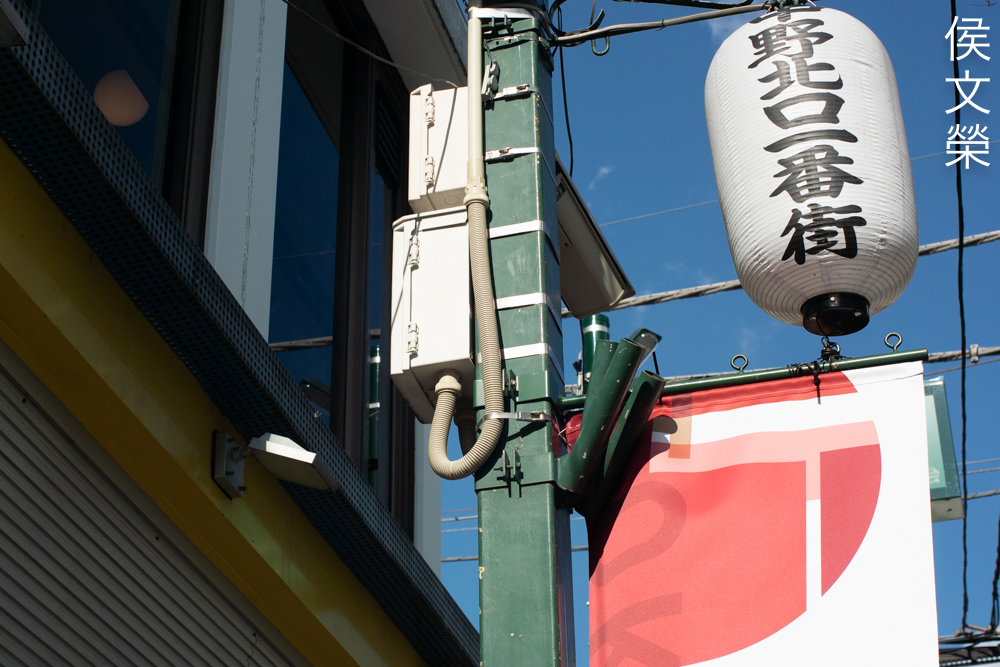
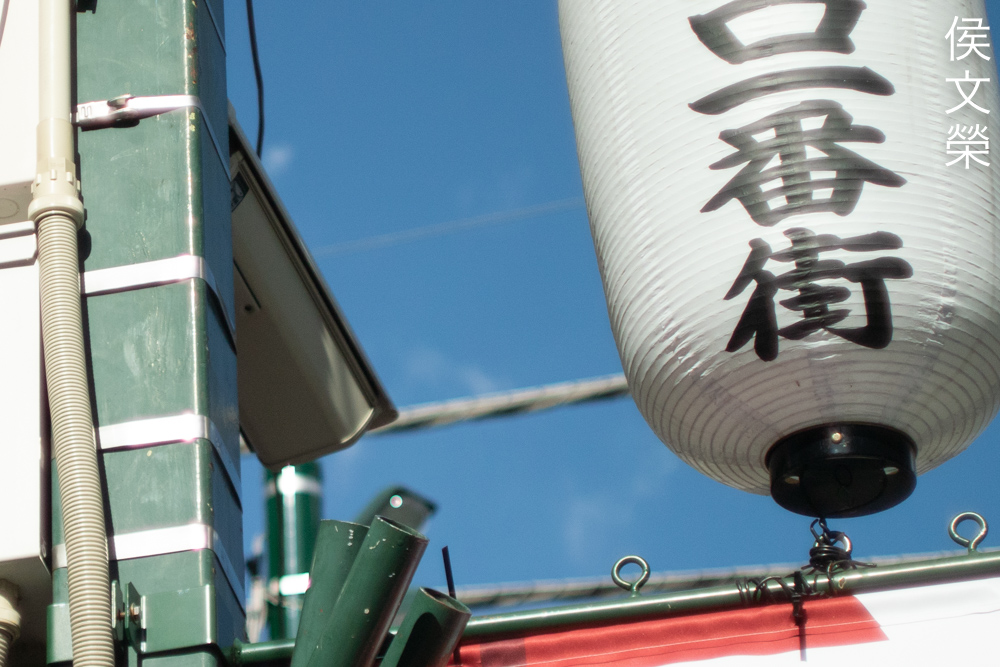
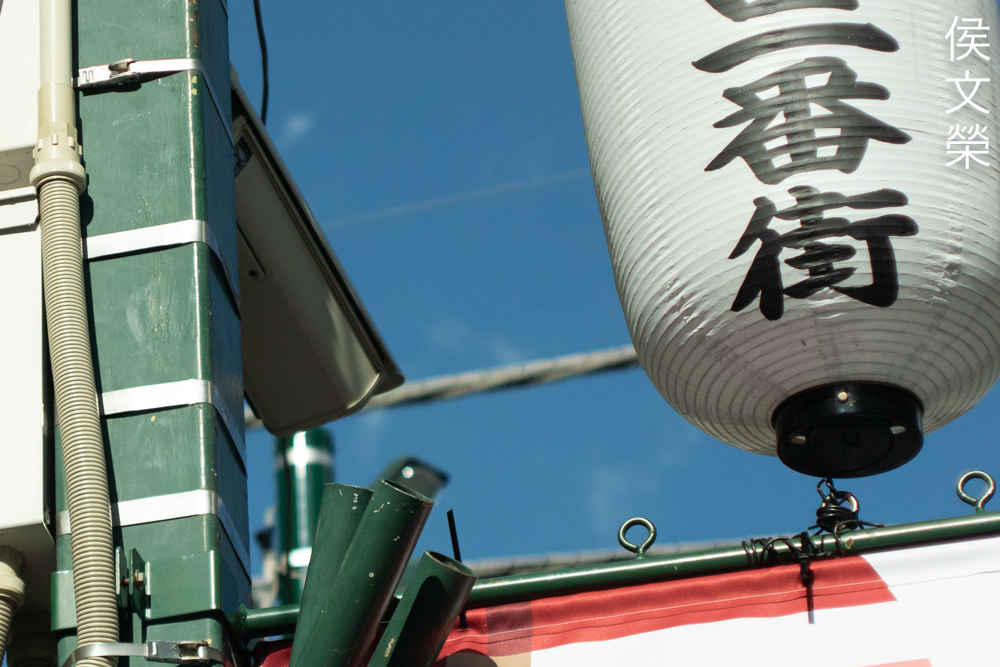
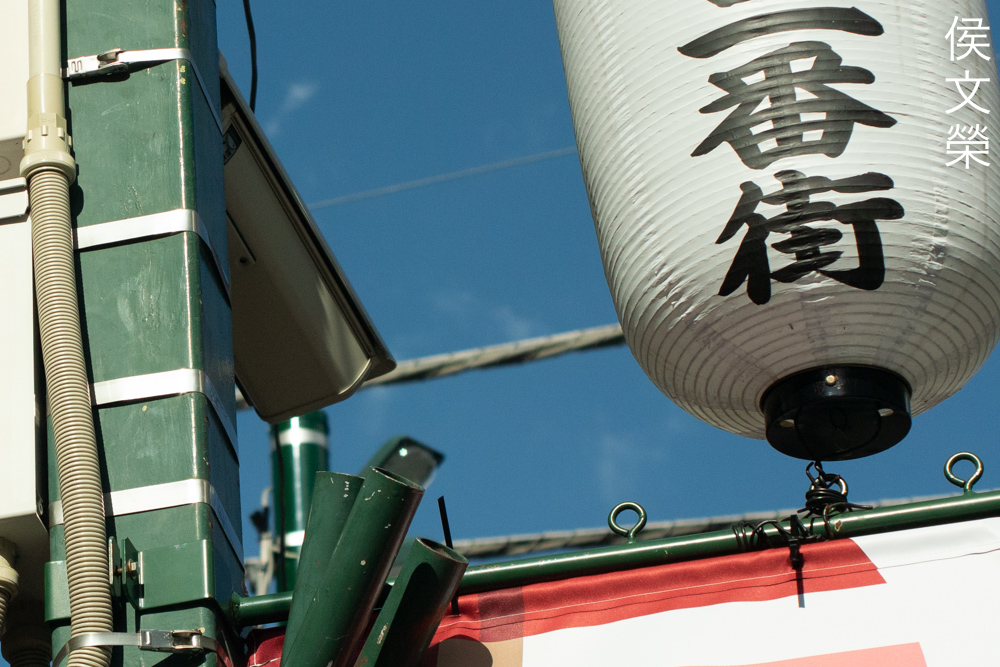
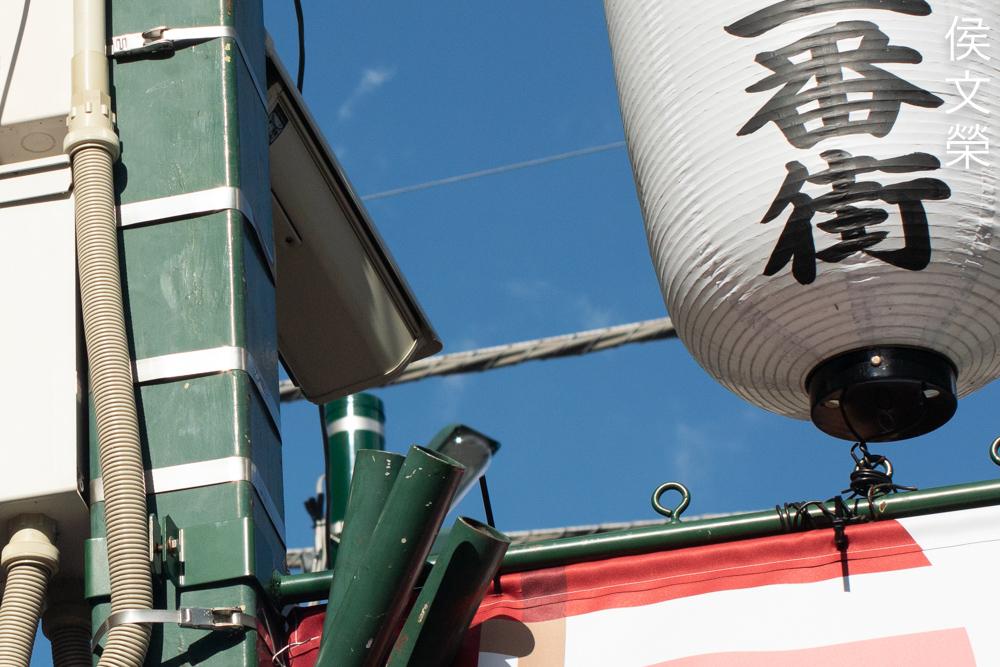
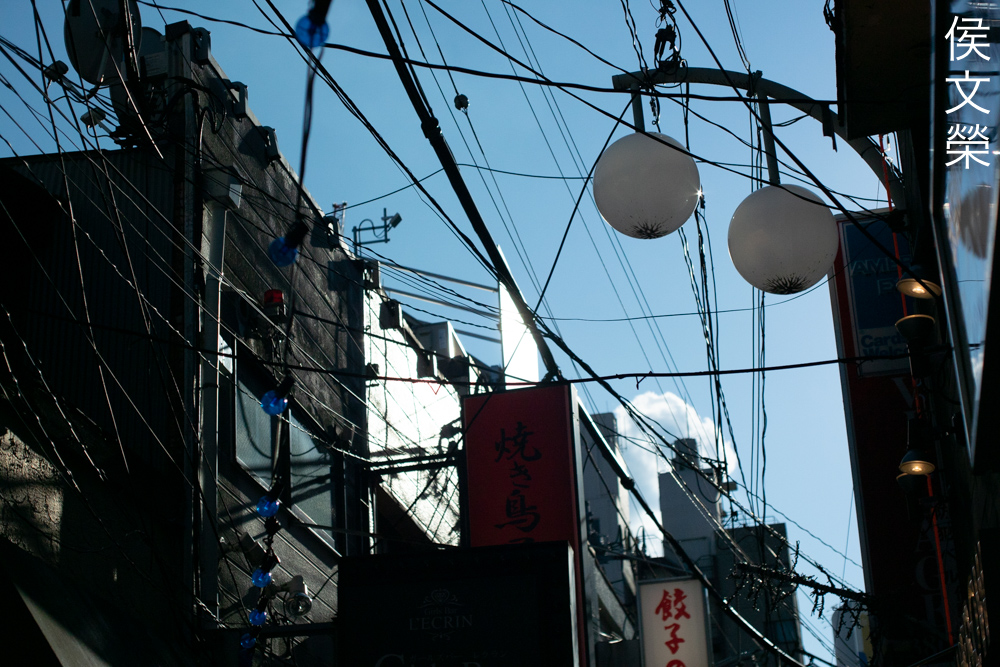
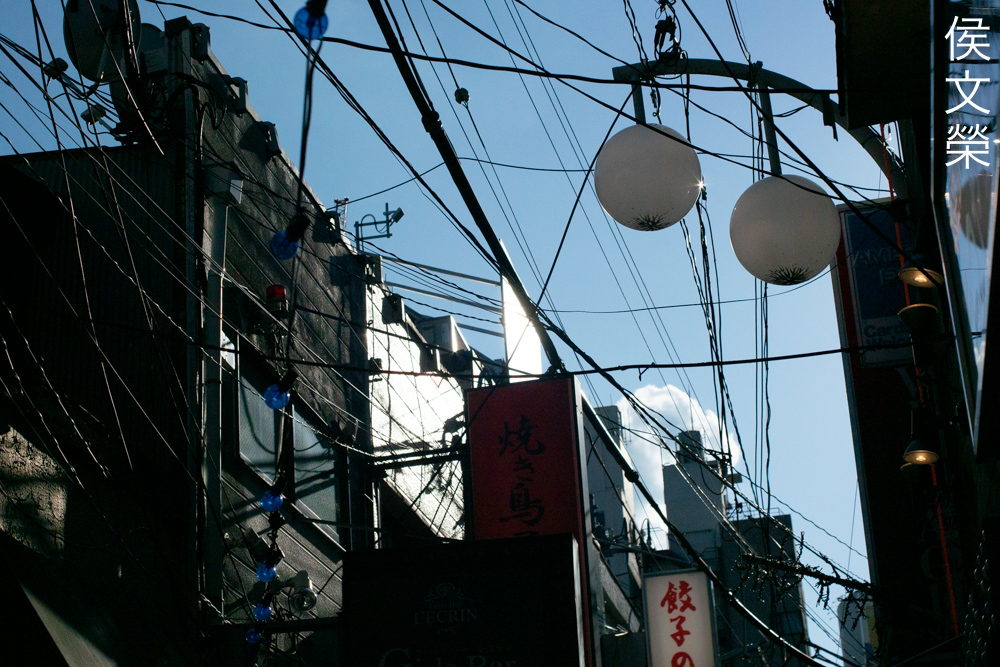
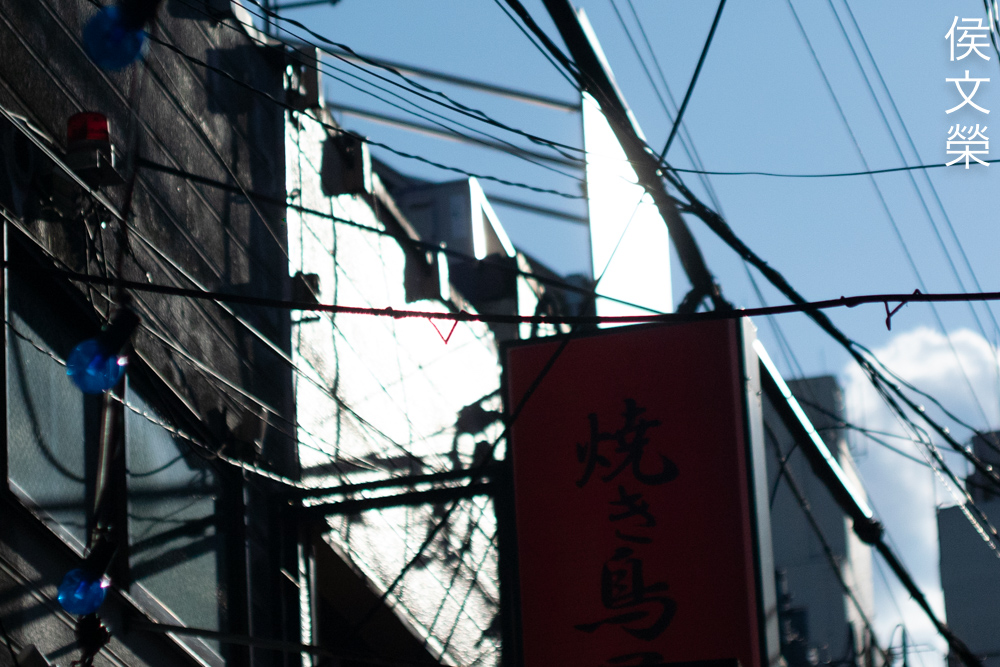
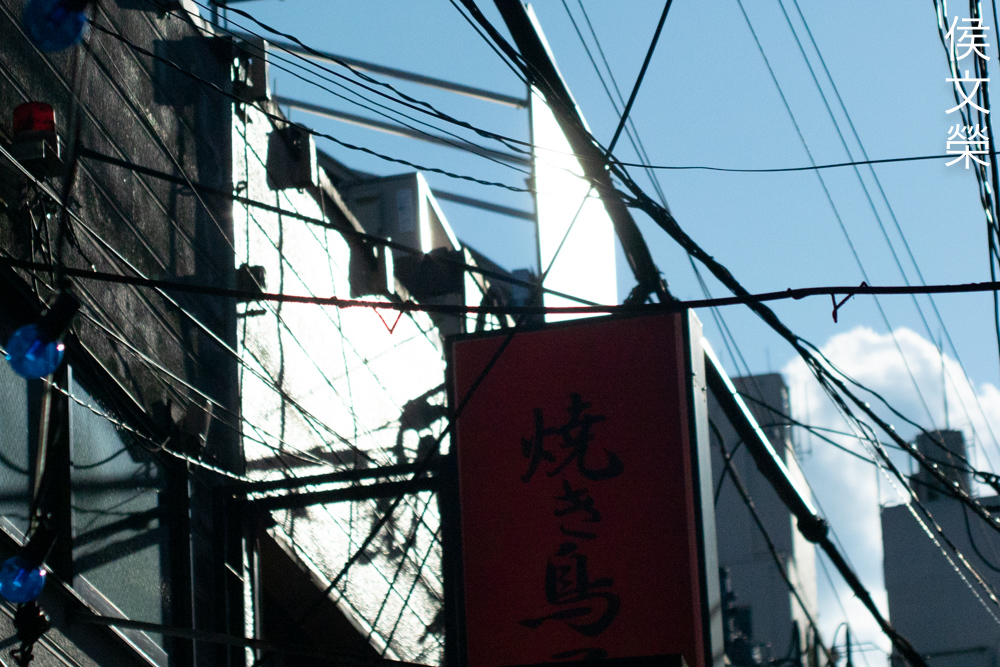
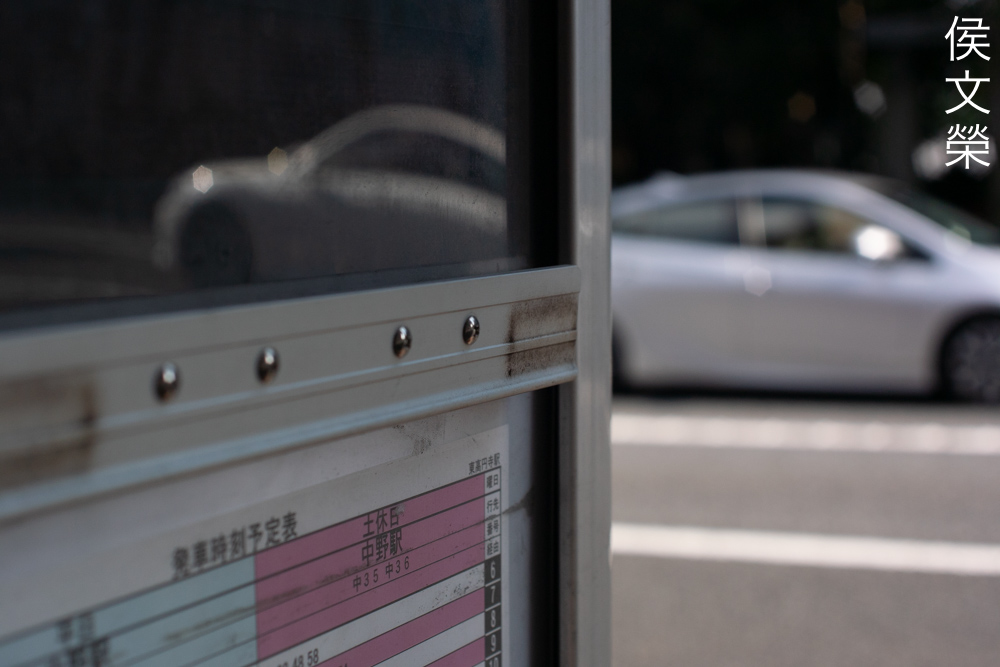
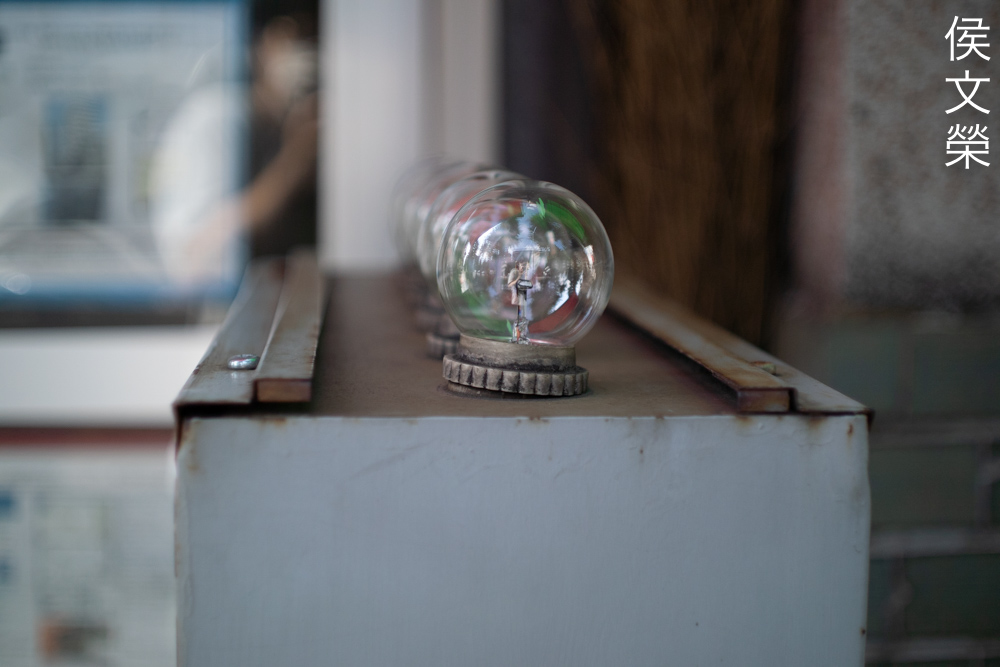
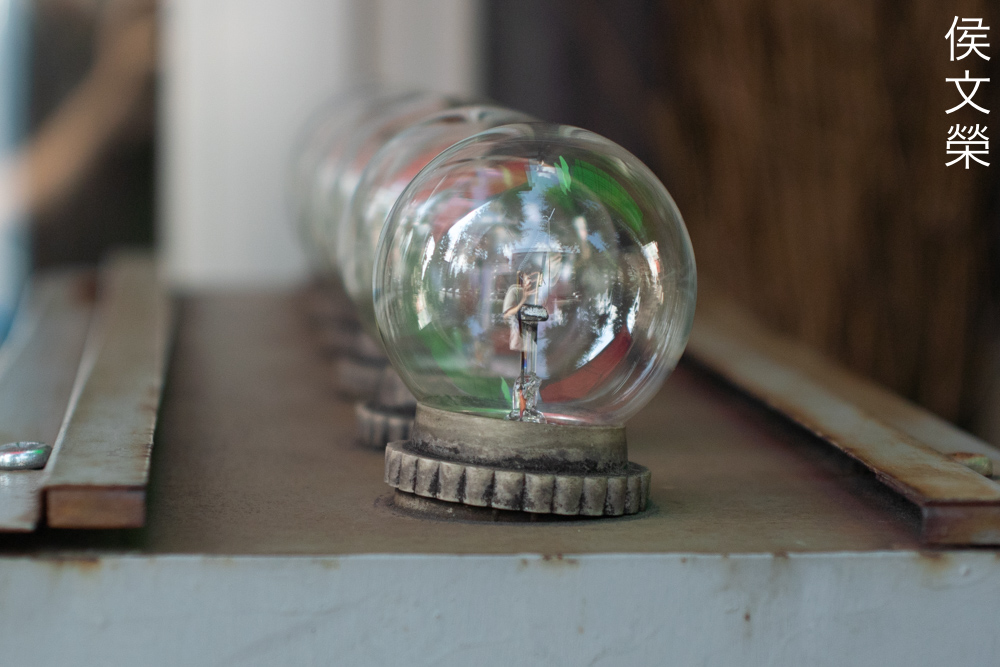
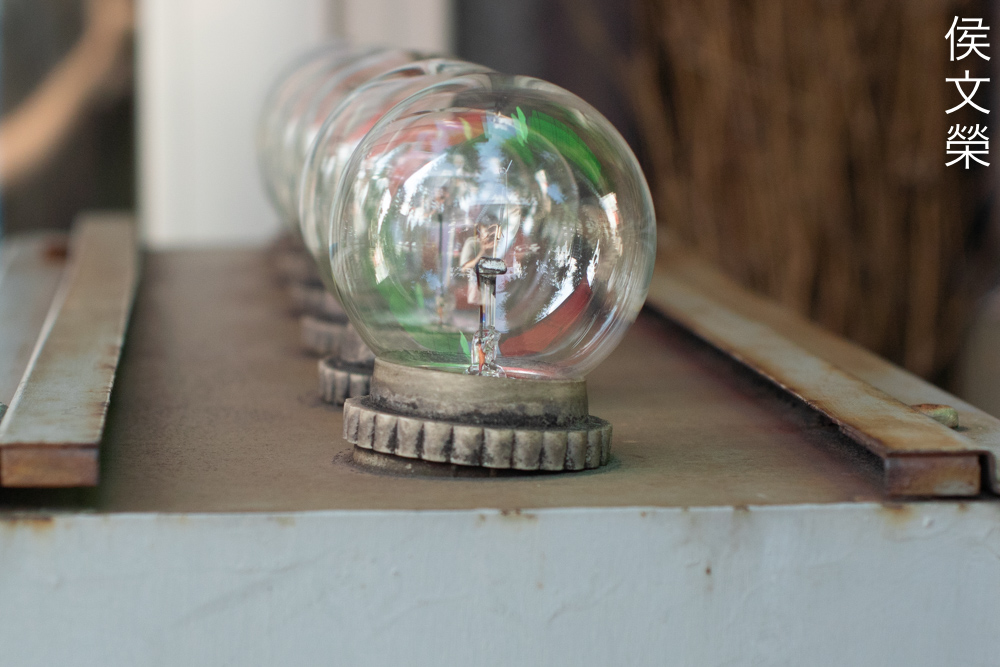
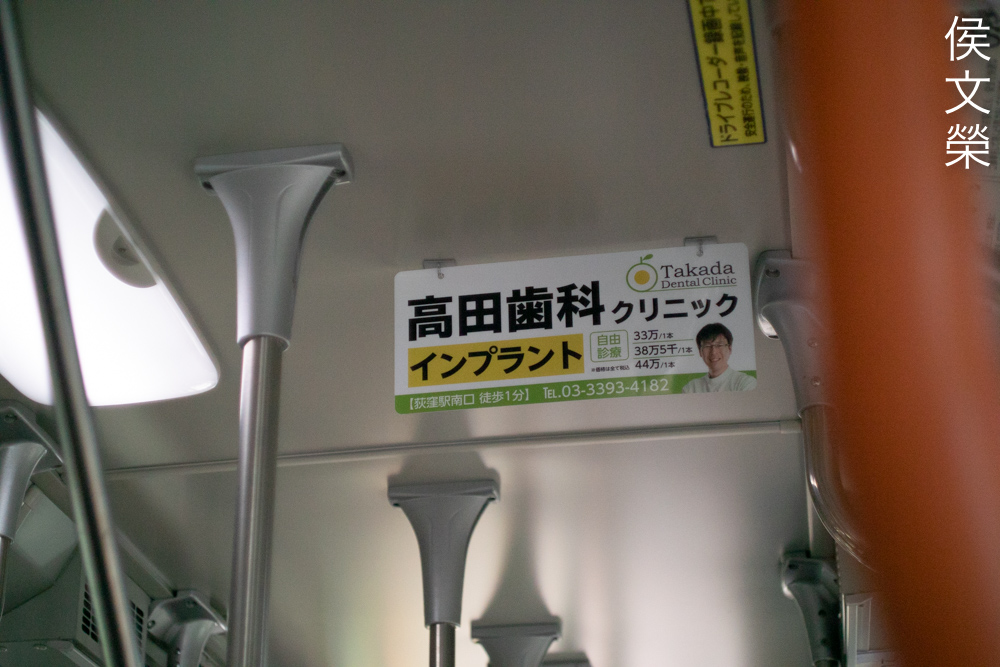
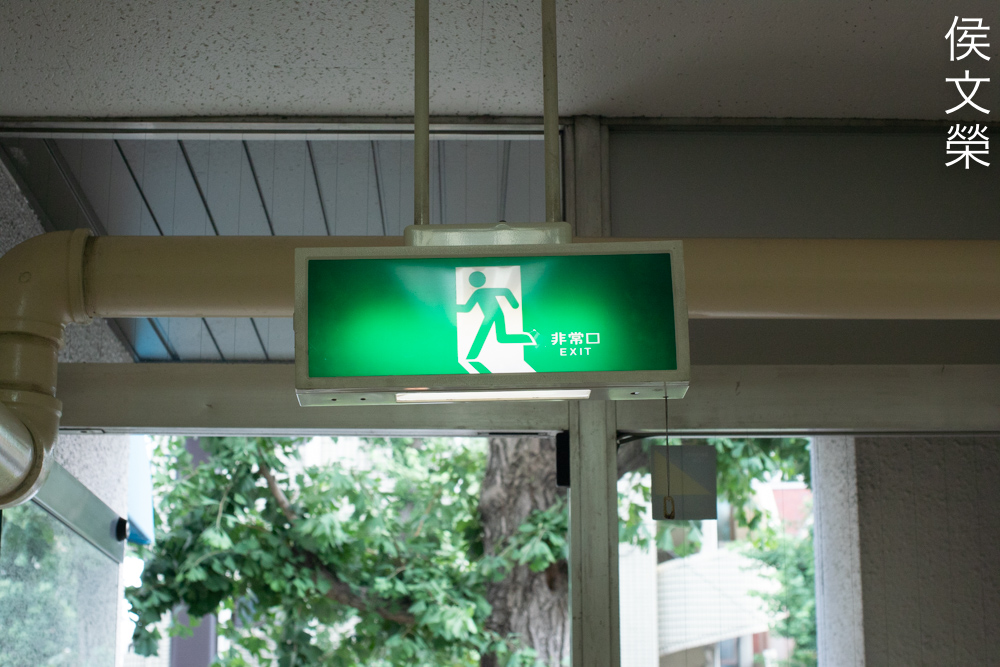
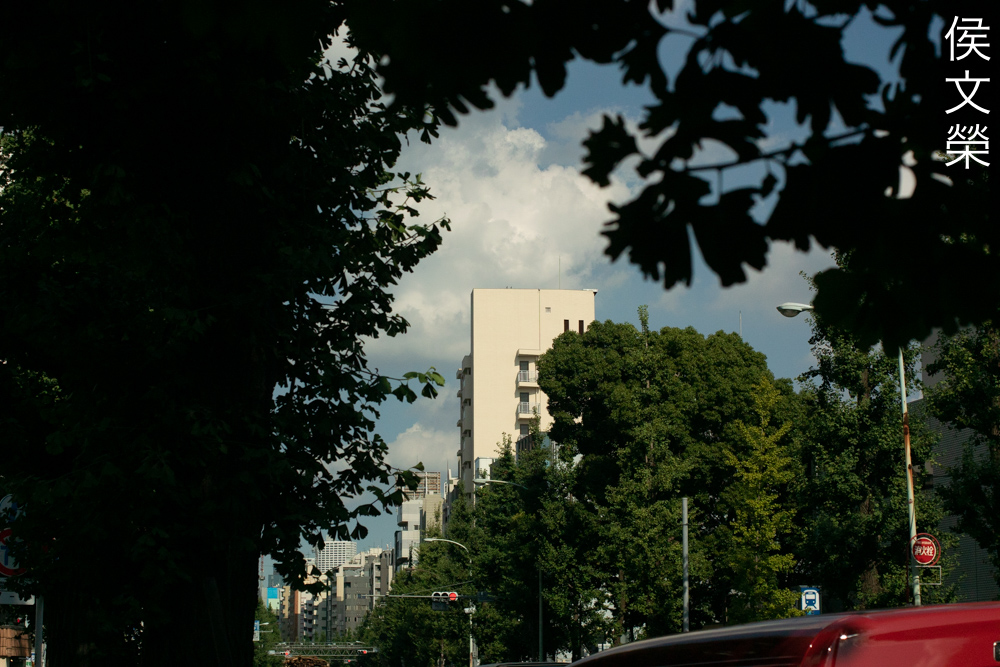
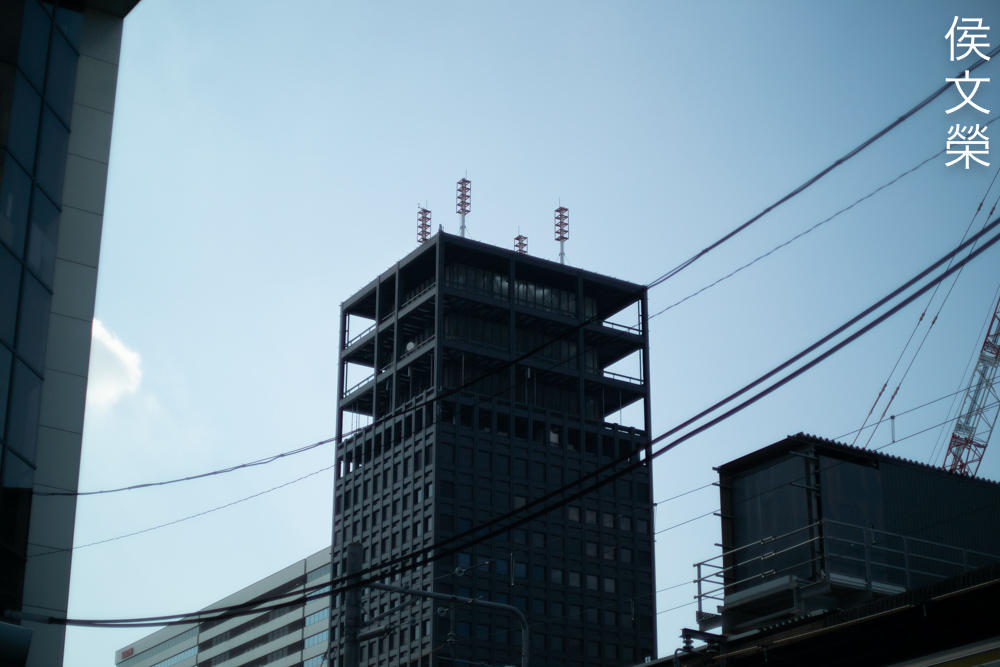
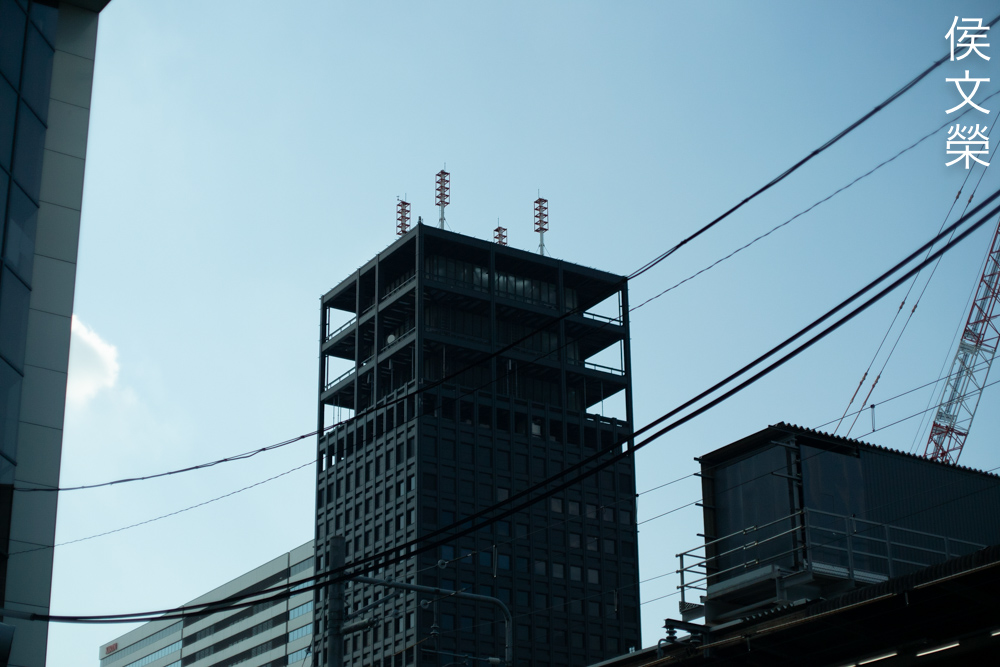
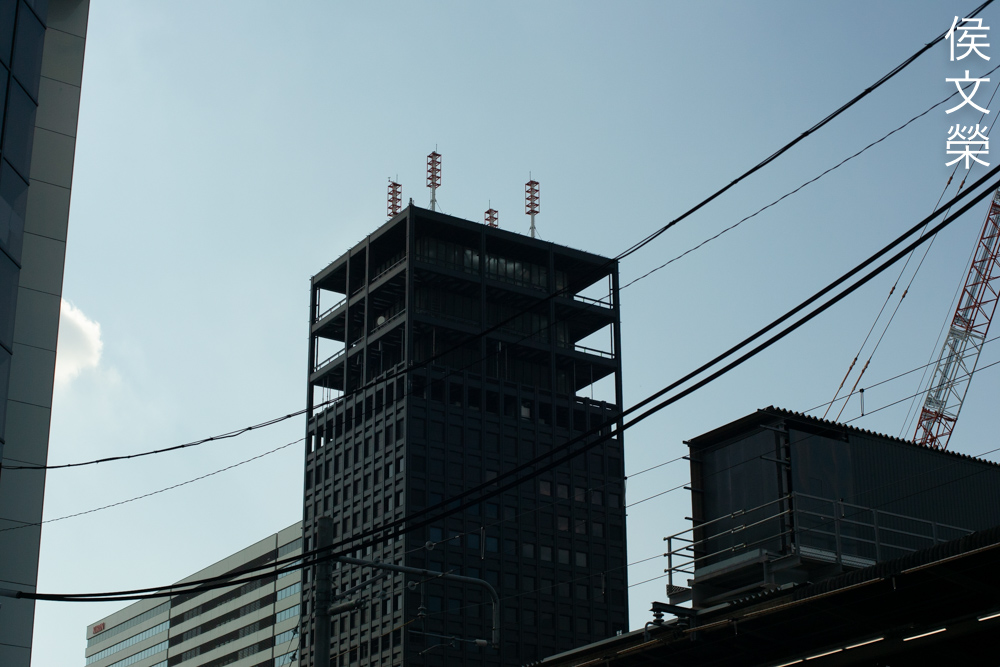
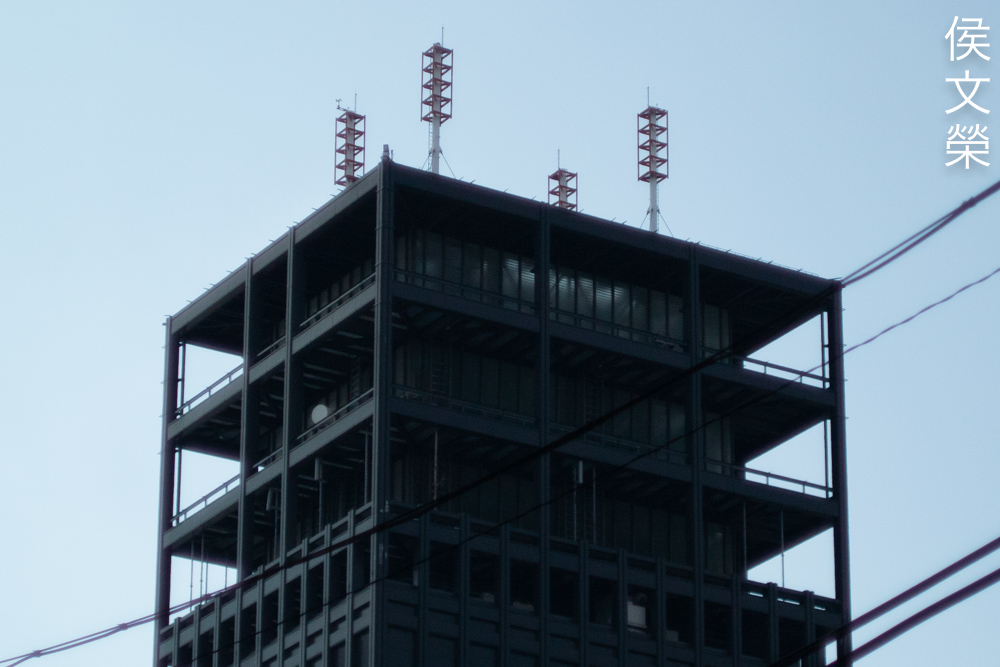
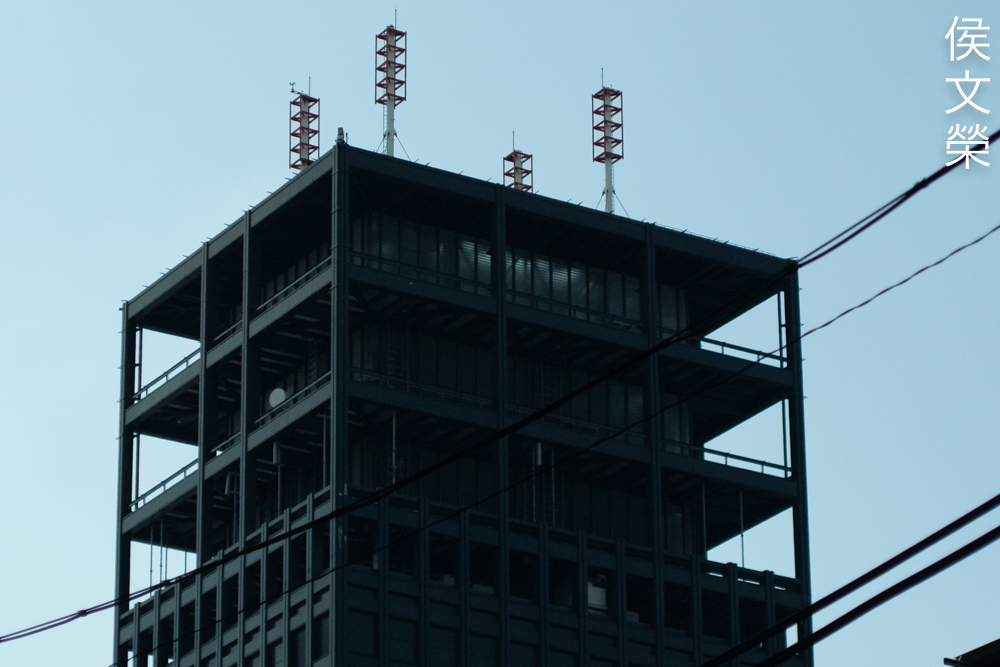
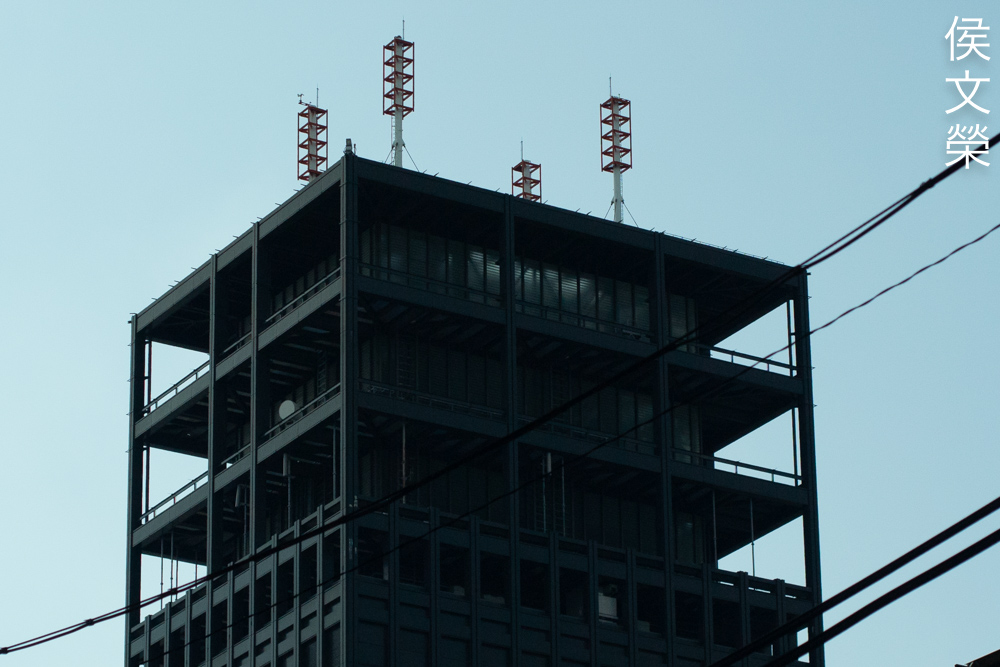
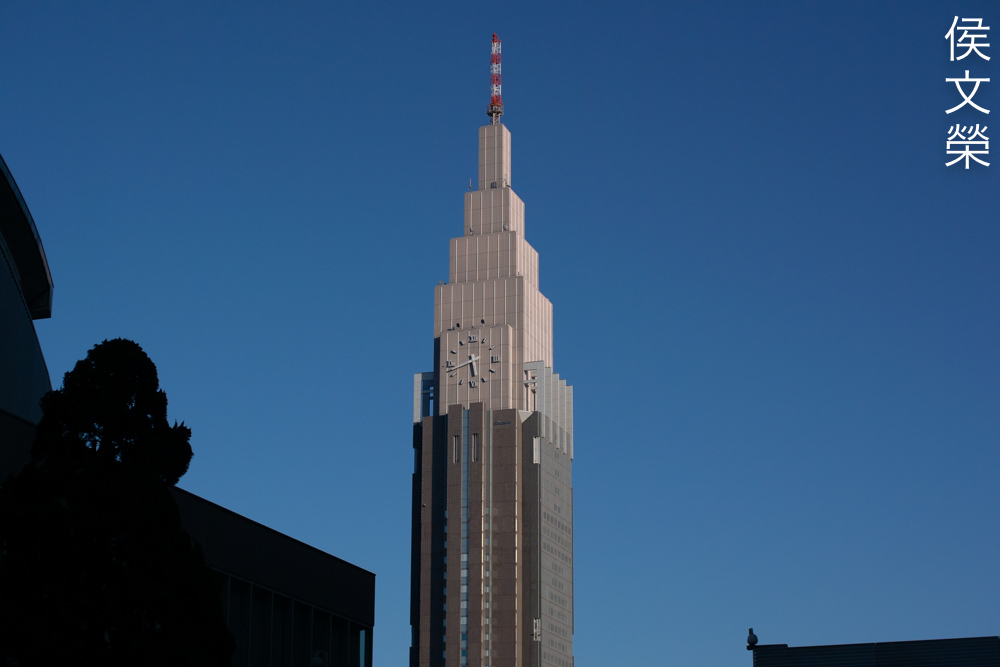
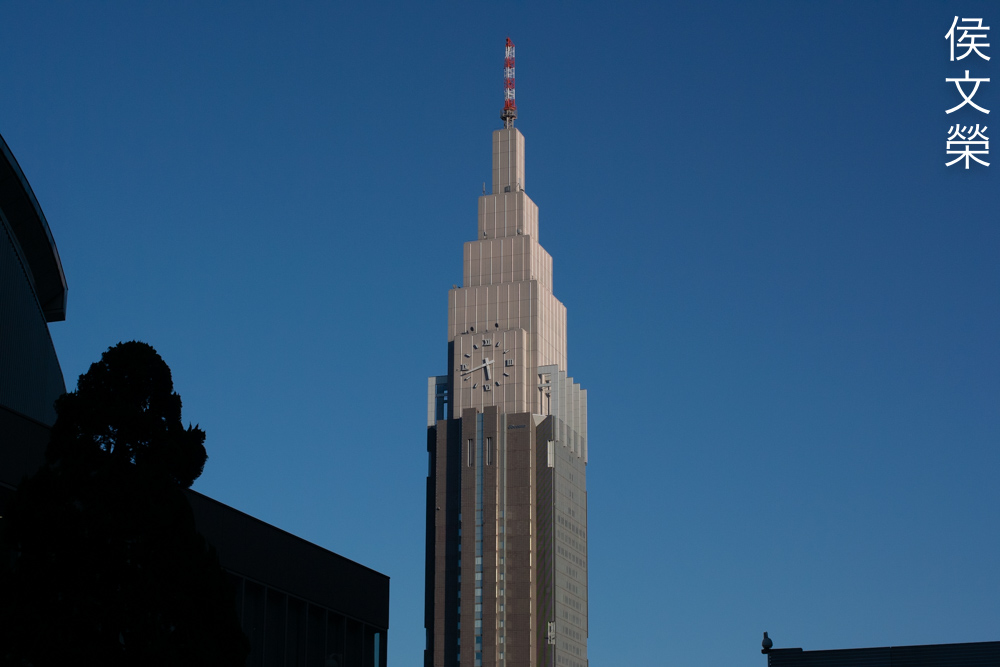
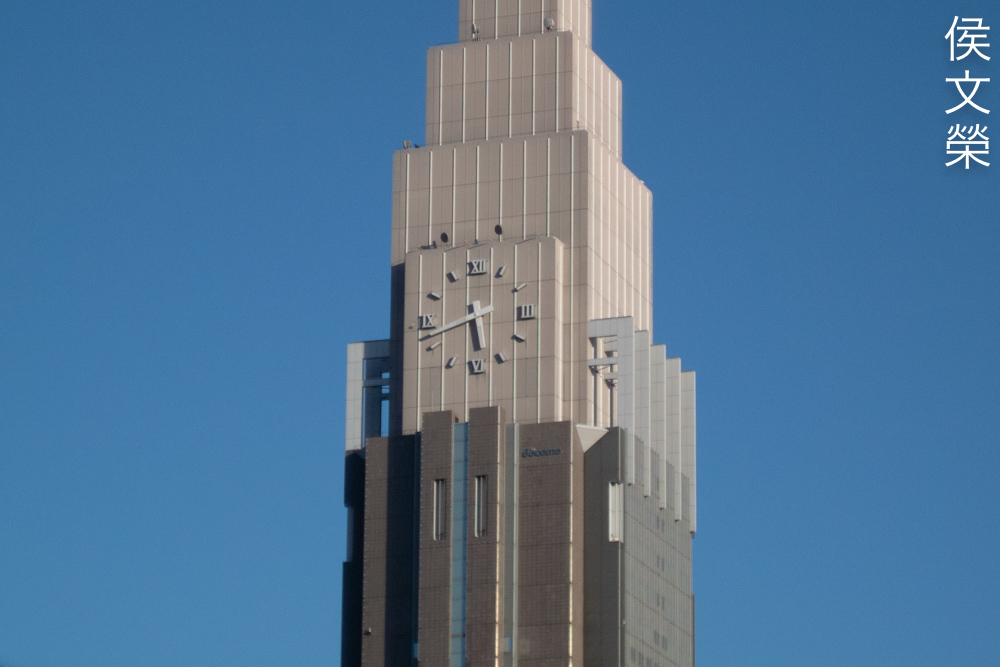
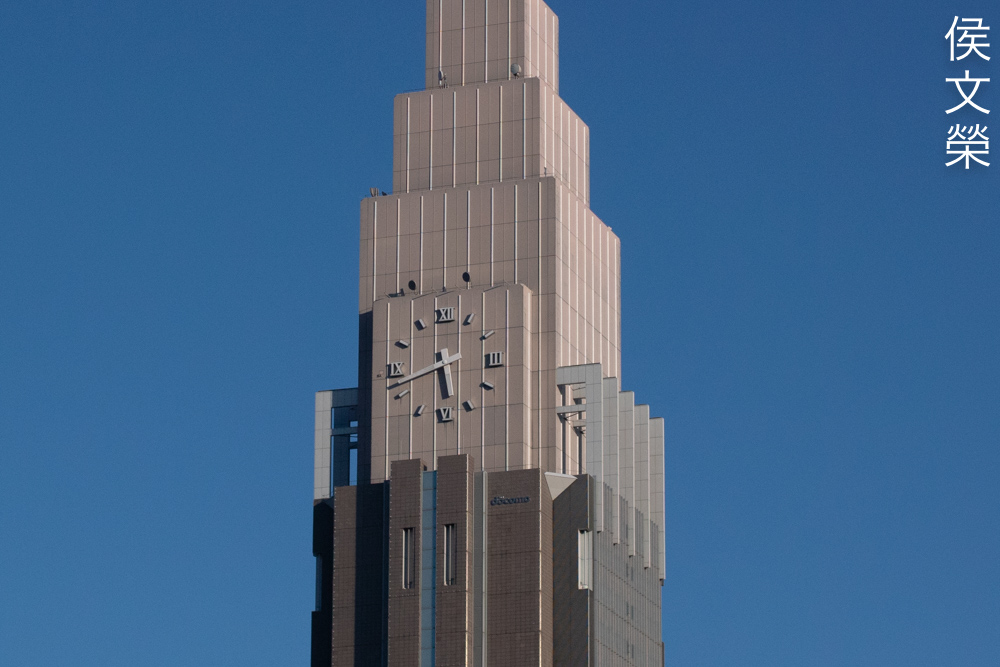
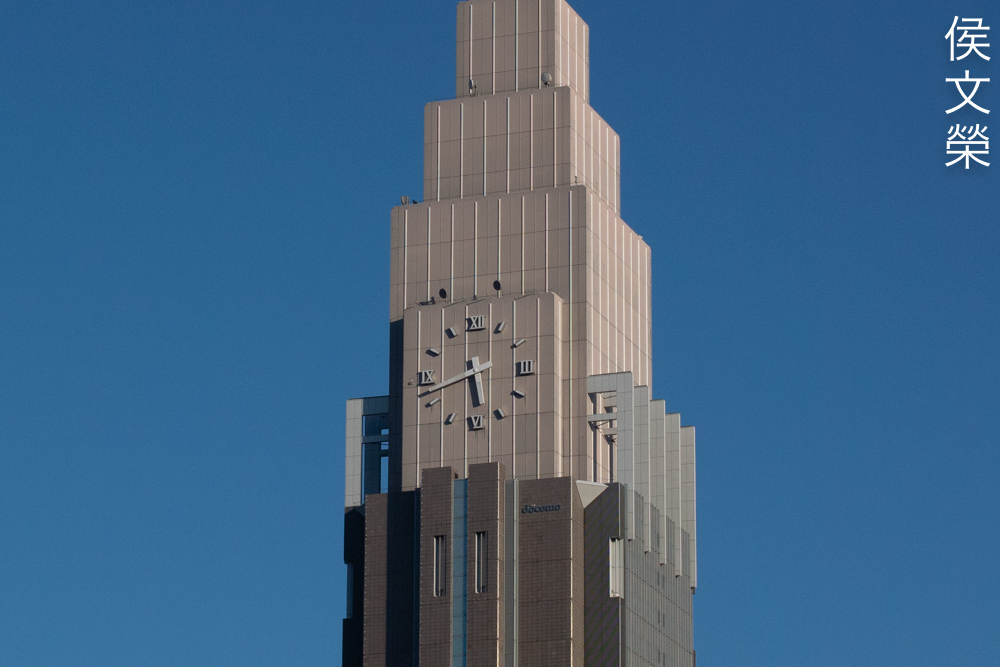
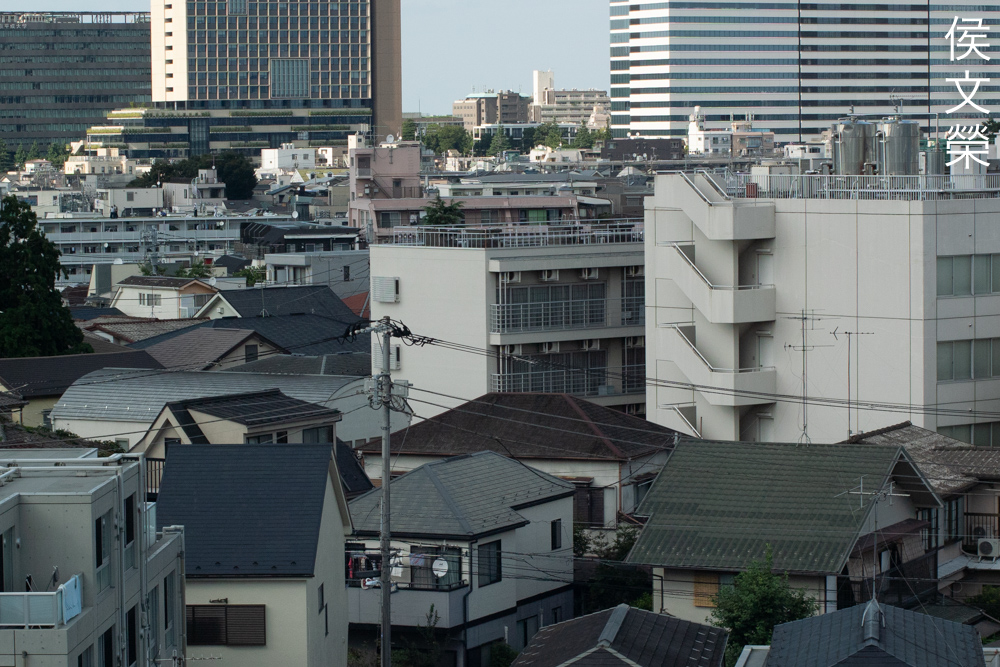
This is how horrible it is in real-world scenarios. The focus is on the distant green sign so what’s outside of it will show plenty of aberrations. It’s trivial to correct in post these days but I’d rather not have these at all, it’s wild and distracting. At the same time it also adds a layer of interesting atmosphere to your photos which you could exploit creatively. Shoot it on a sunny day with light showers and you’ll get nice, surreal glows when the rainwater hits anything. This is also nice for shooting white-gown weddings, too.


(Click to enlarge)
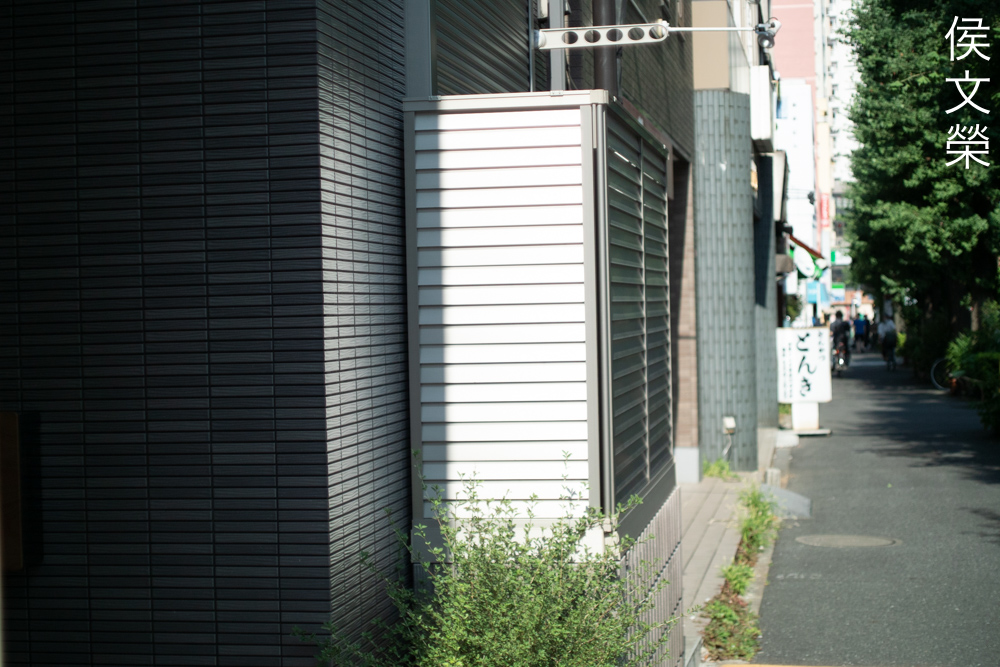
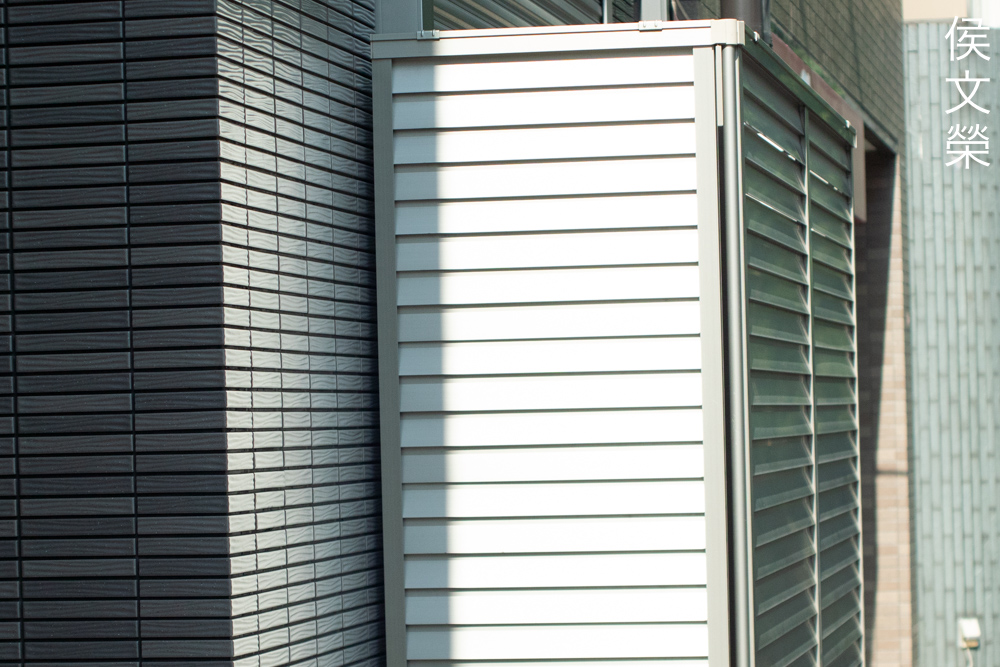
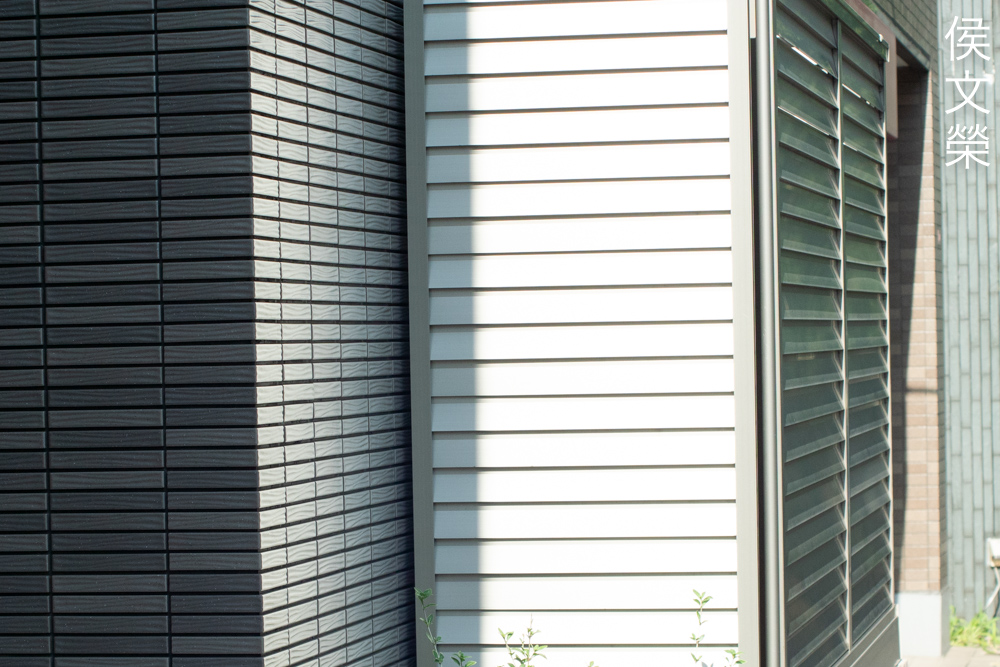
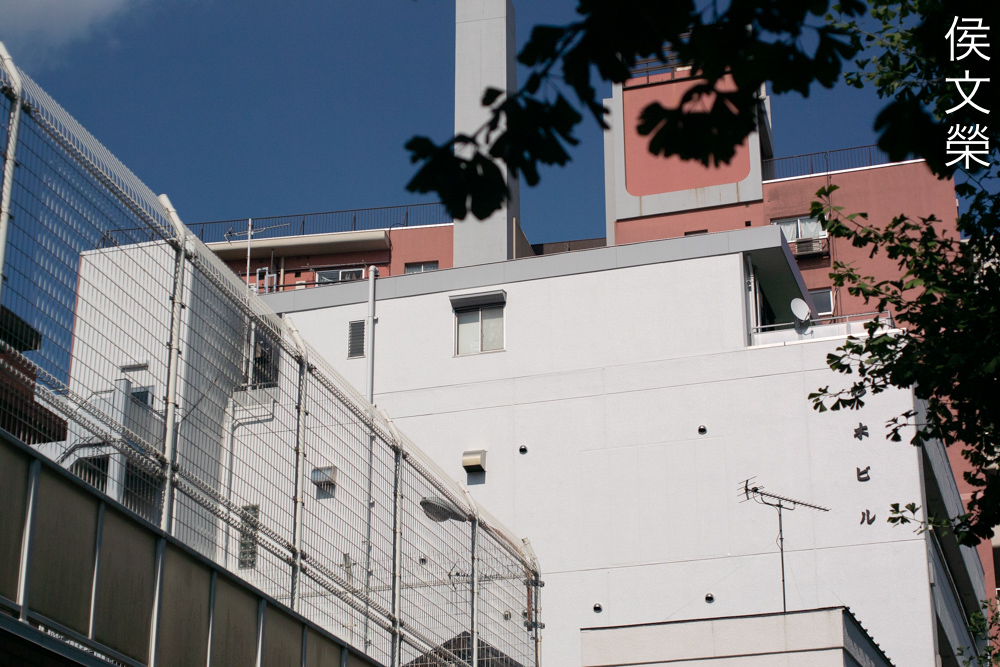
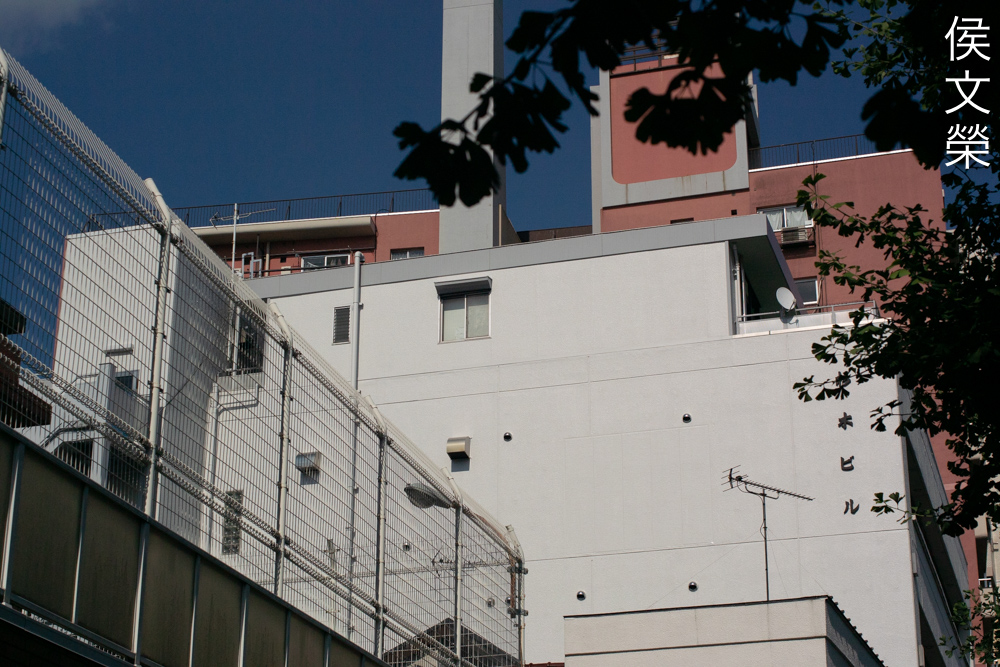
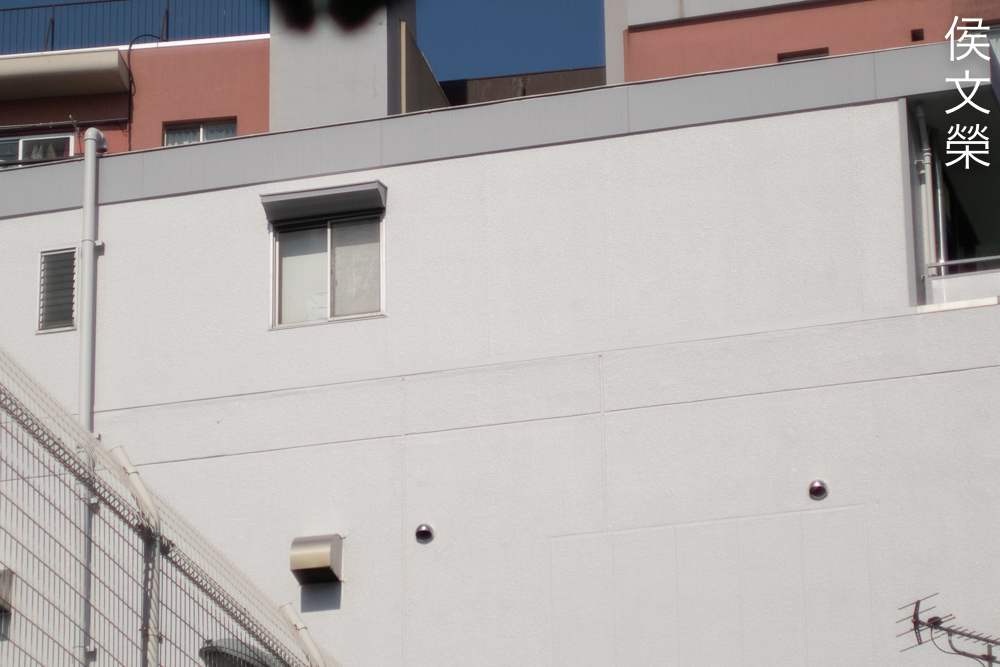
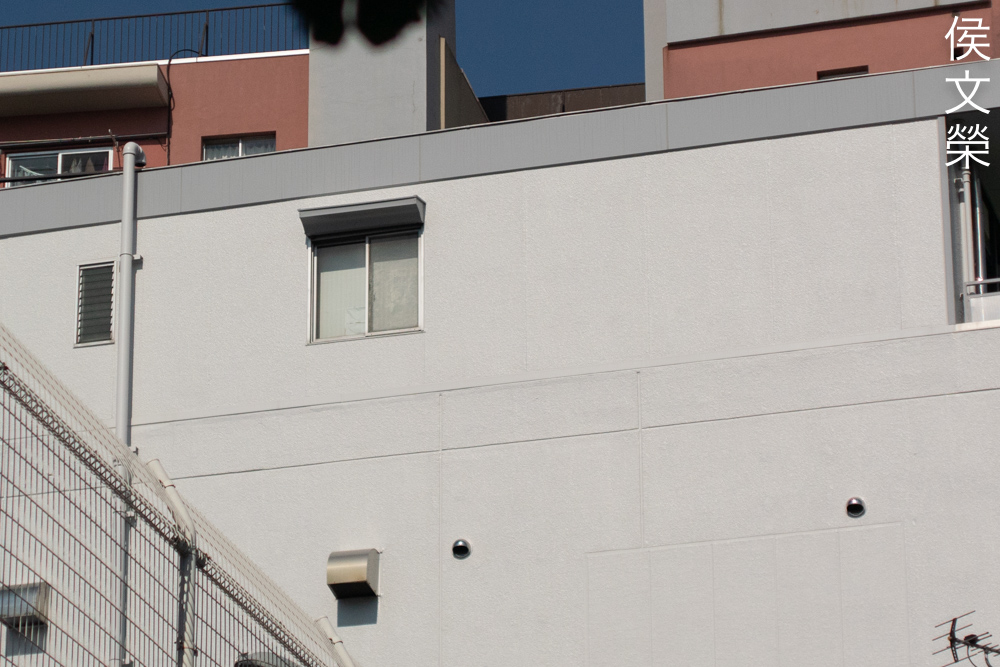
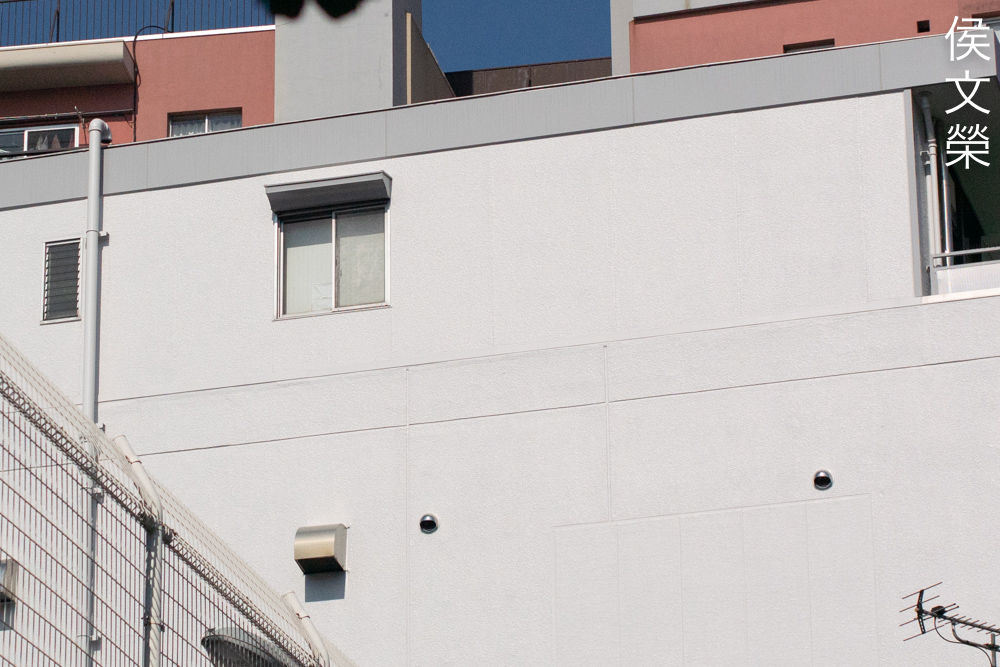
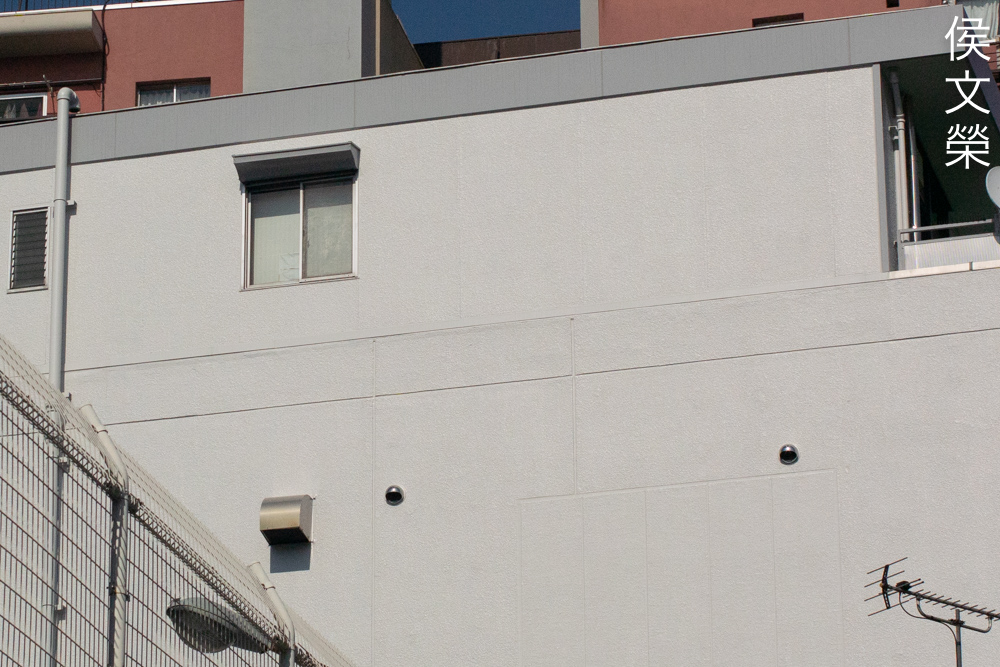
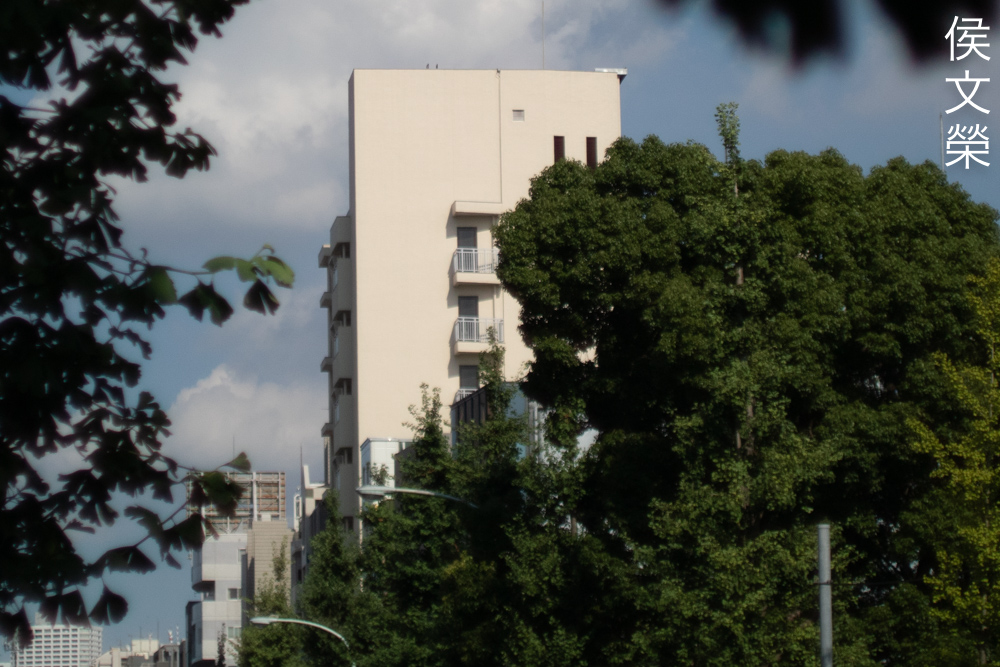
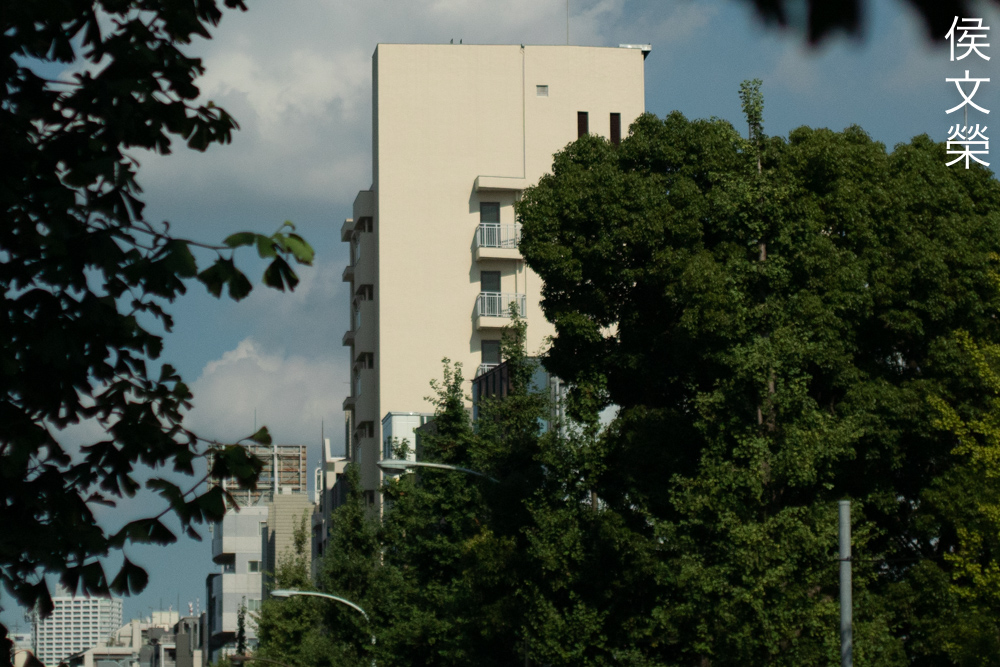
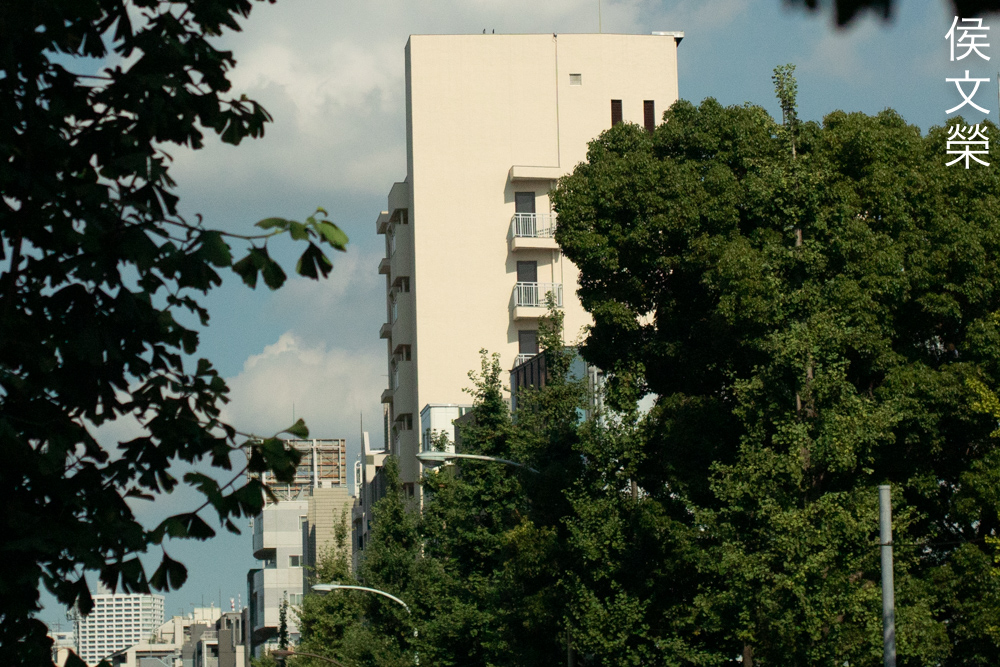
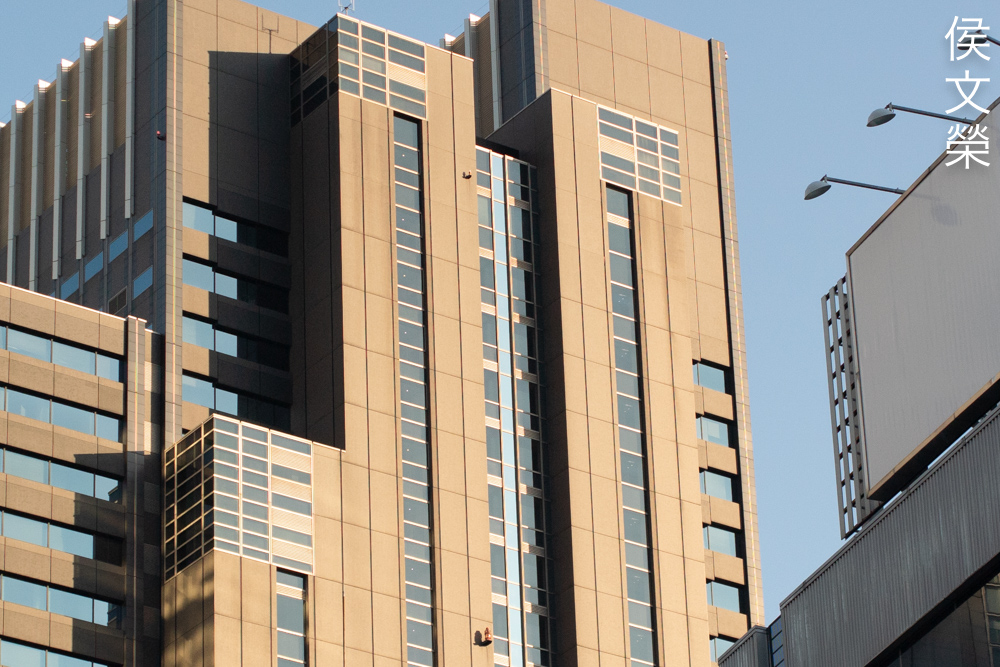
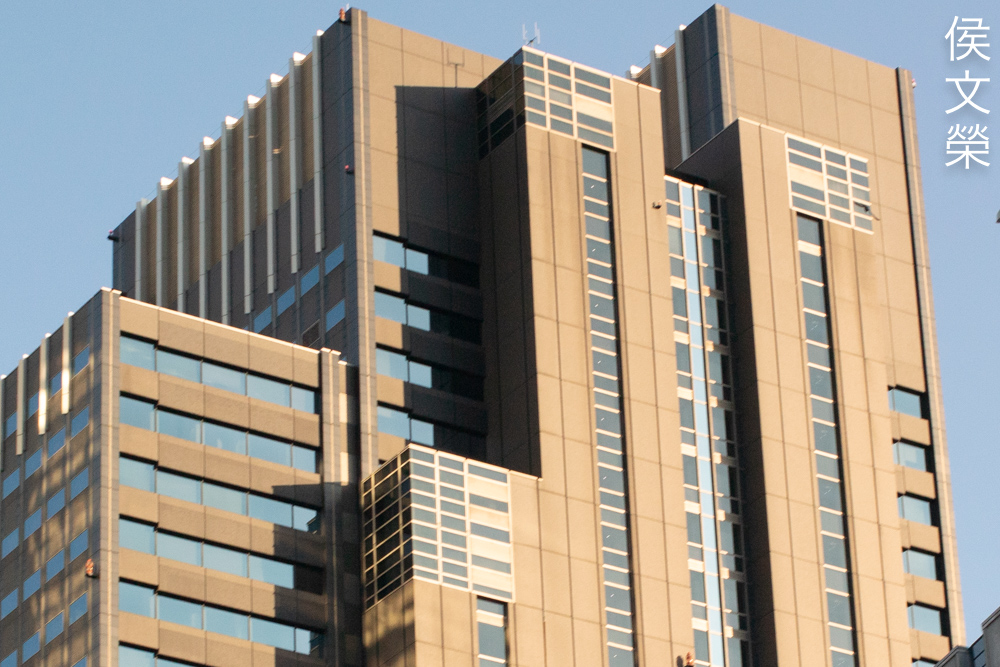
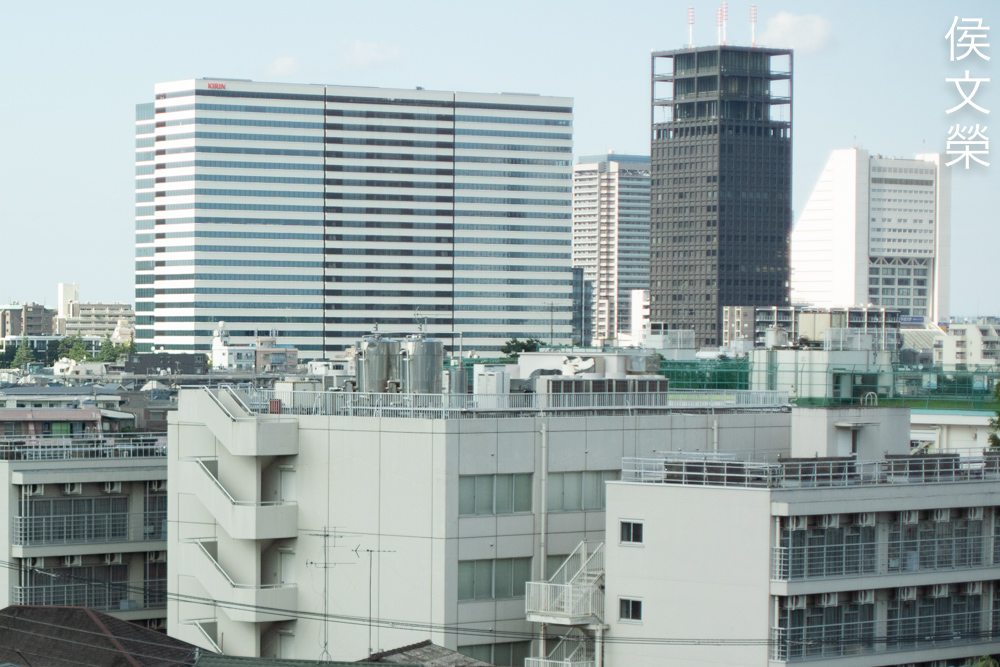
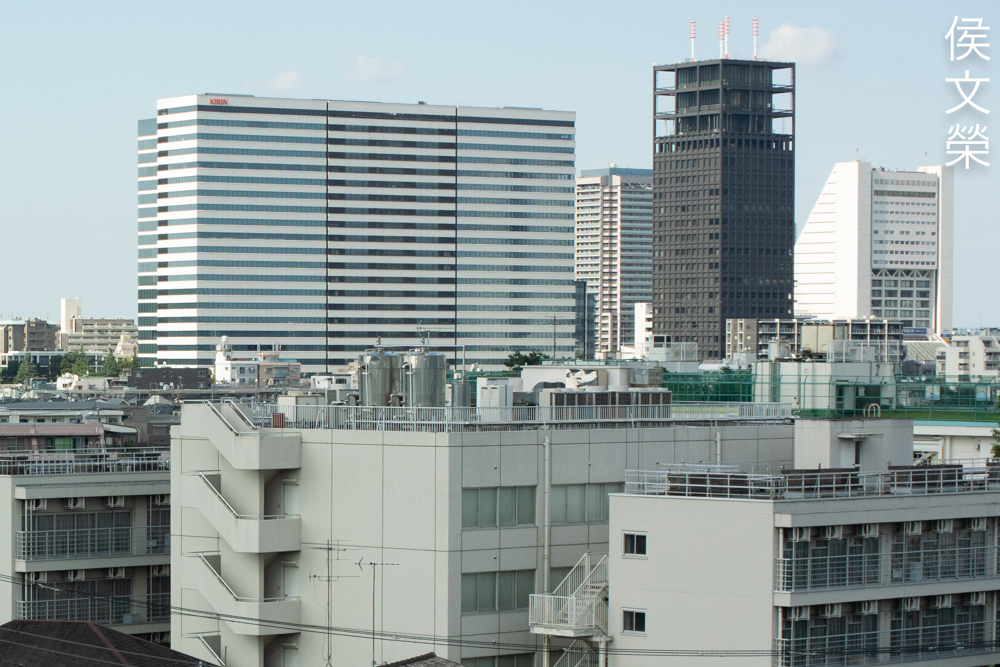
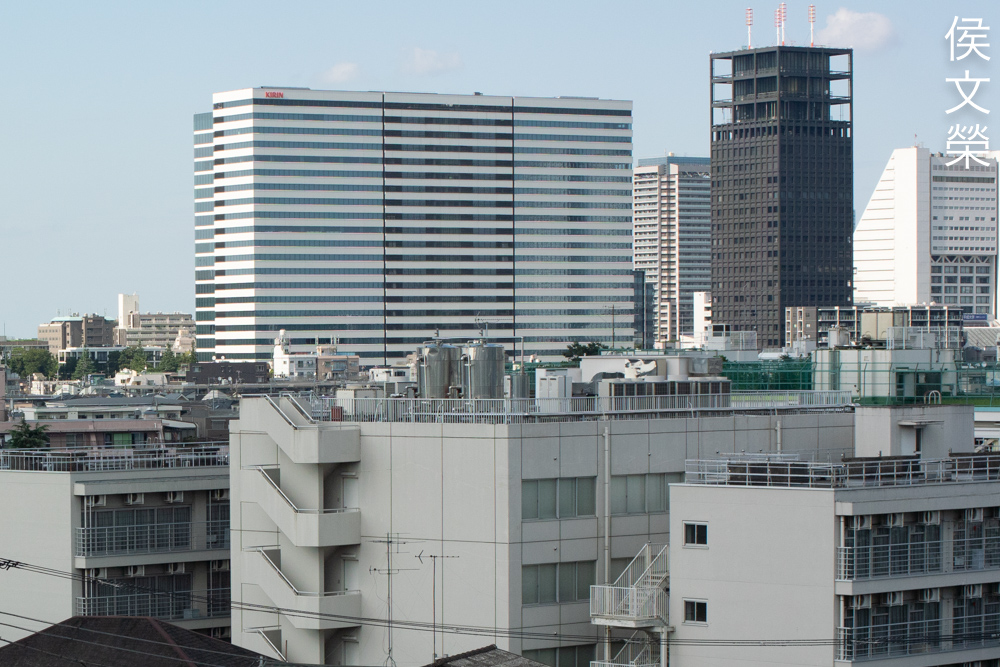
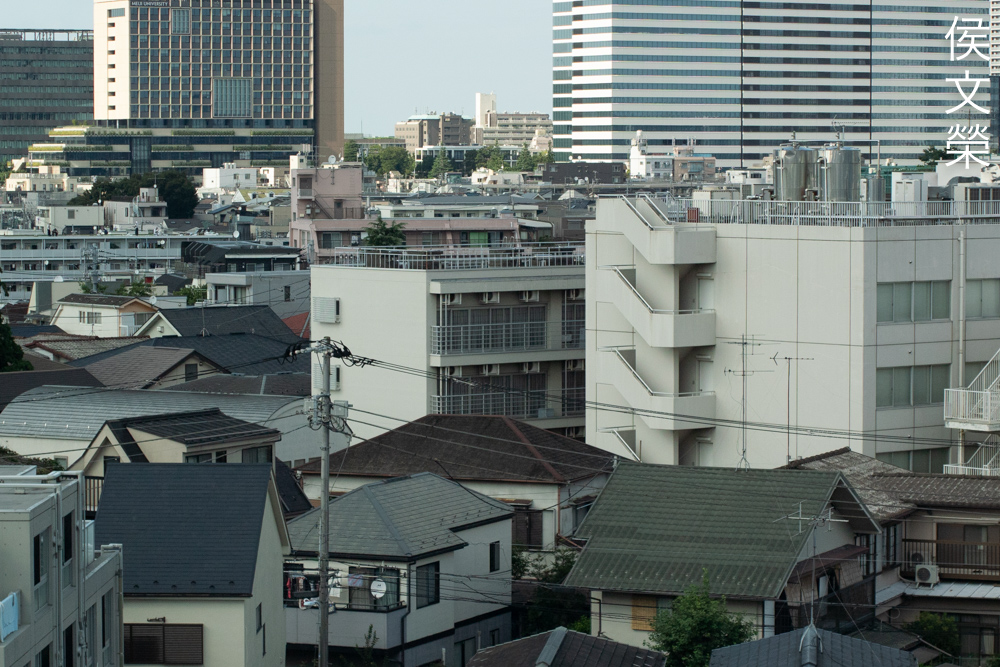
It appears to be quite sharp wide-open at the center, the corners don’t look bad, too. The impression here is how clear the pictures looks like. Spherical aberration can make some parts of your photos appear soft but it’s good in the general sense. Resolution isn’t bad, it’s adequate for most cases. Stop the iris down to f/2 and the center will improve a lot with the biggest changes happening at the corners which looks much better now, maybe similar with what we saw near the center at f/1.4. The resolution near the center improves some more by f/2.8, it now looks very good and the corners look great even to the extremities. The whole frame looks sharp in a uniform manner at f/4, this has already reached its peak performance it seems. You may get more improvement out of it by stopping this down to f/5.6 but I doubt that it will be significant.
Its performance is impressive in terms of sharpness, contrast and saturation. This is a great lens and the performance is exquisite, giving your photos a “premium” feeling. This is very impressive, I think it is the best Cine-Nikkor I’ve tested so far if we’re talking about C-mount lenses. Mine performs marginally better at closer distances than it does at infinity, it isn’t much so you won’t notice it unless you’ve pixel-peeped. You won’t even find a big difference even if you did.

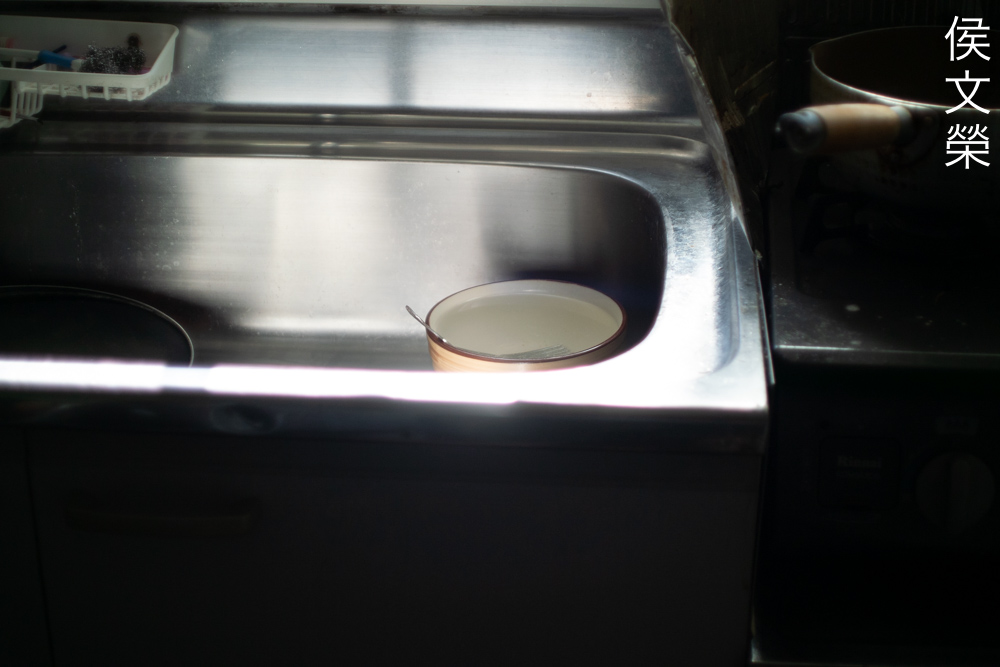
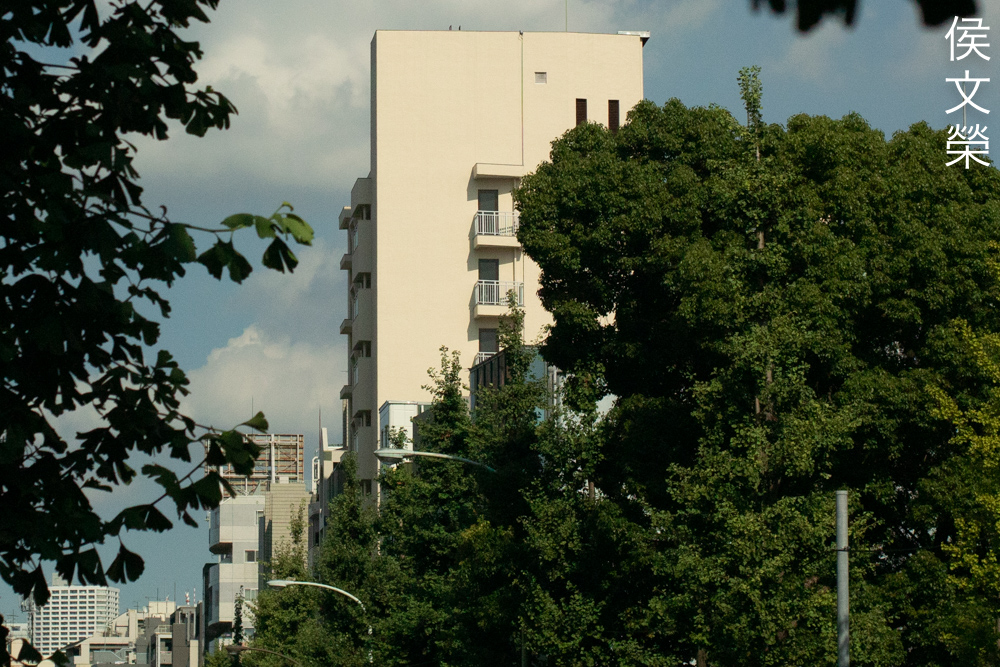
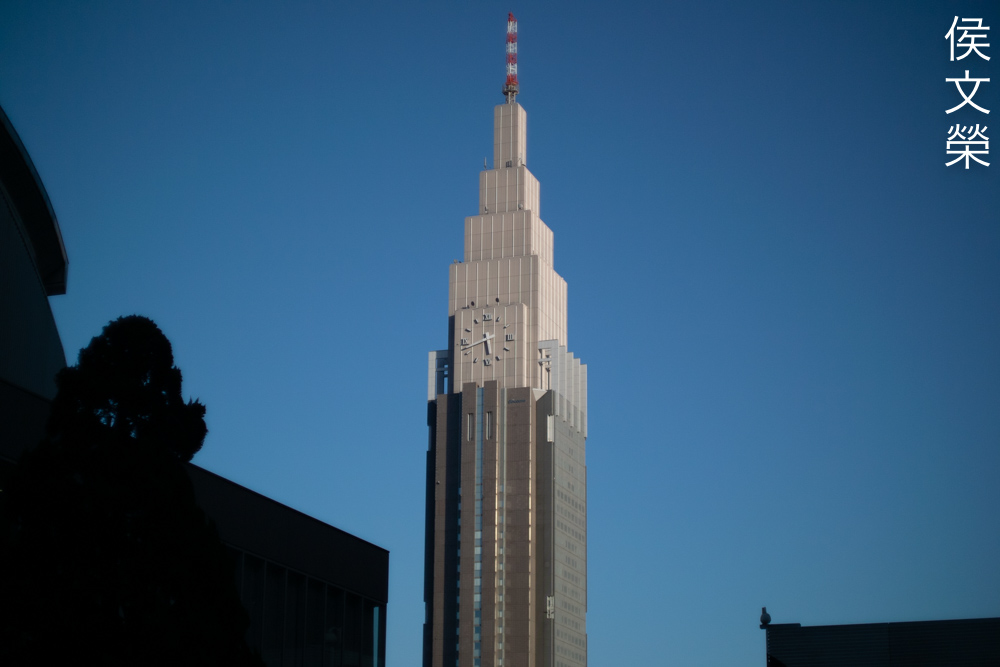
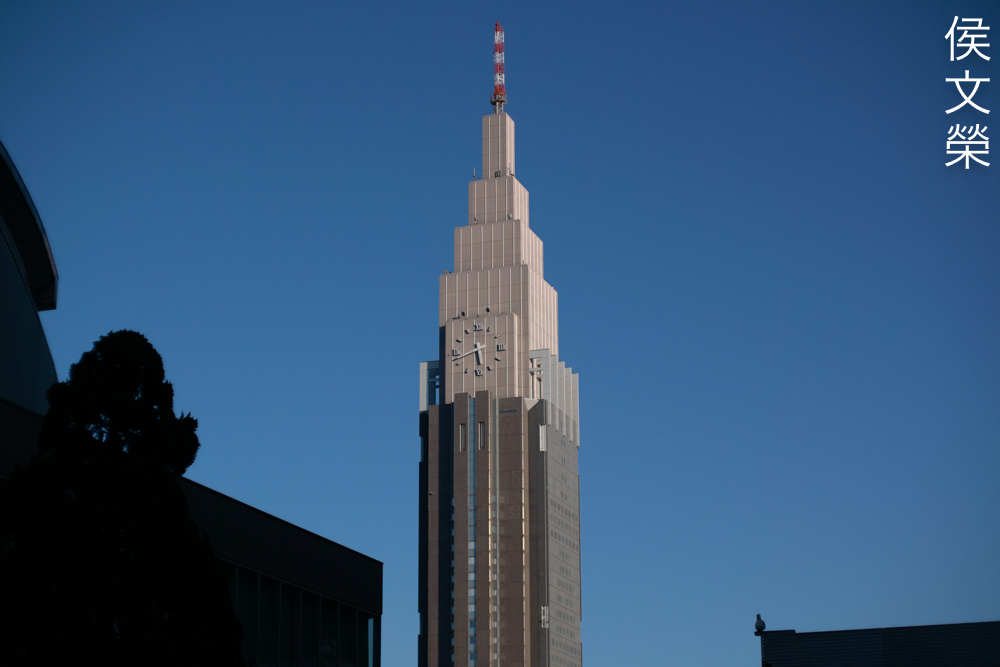
The best attribute of this lens is how it’s able to render photos that have great clarity, almost performing like a modern optic in this regard. It may have been the coatings but I cannot be sure of this. The high resolving power reminds me of what I see from the old Nikkor 50mm f/1.4 Ai-S, the photos look so vivid and clear as illustrated by this photo.

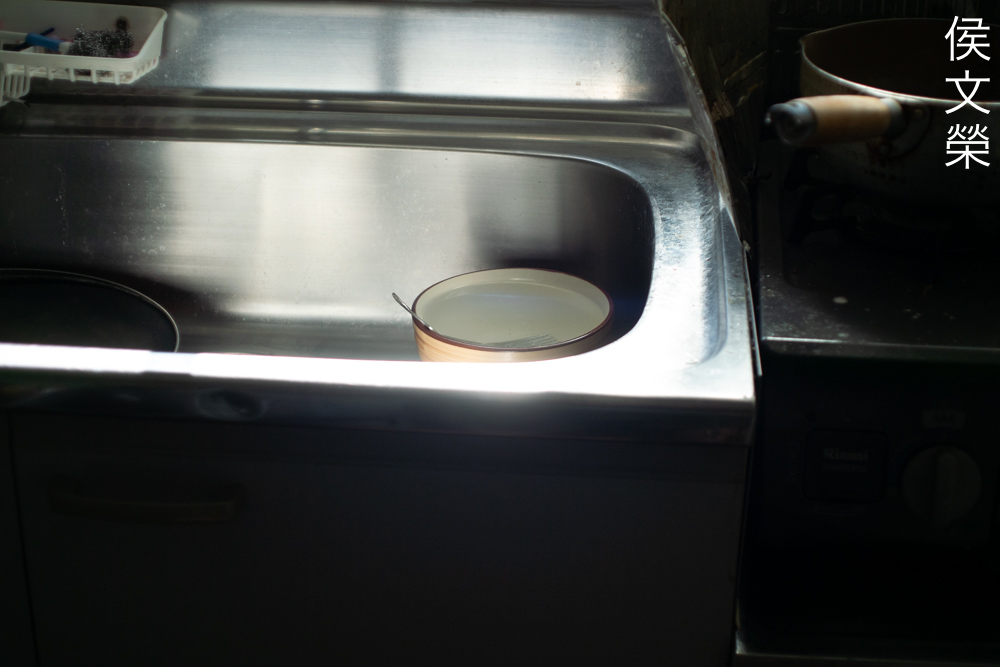
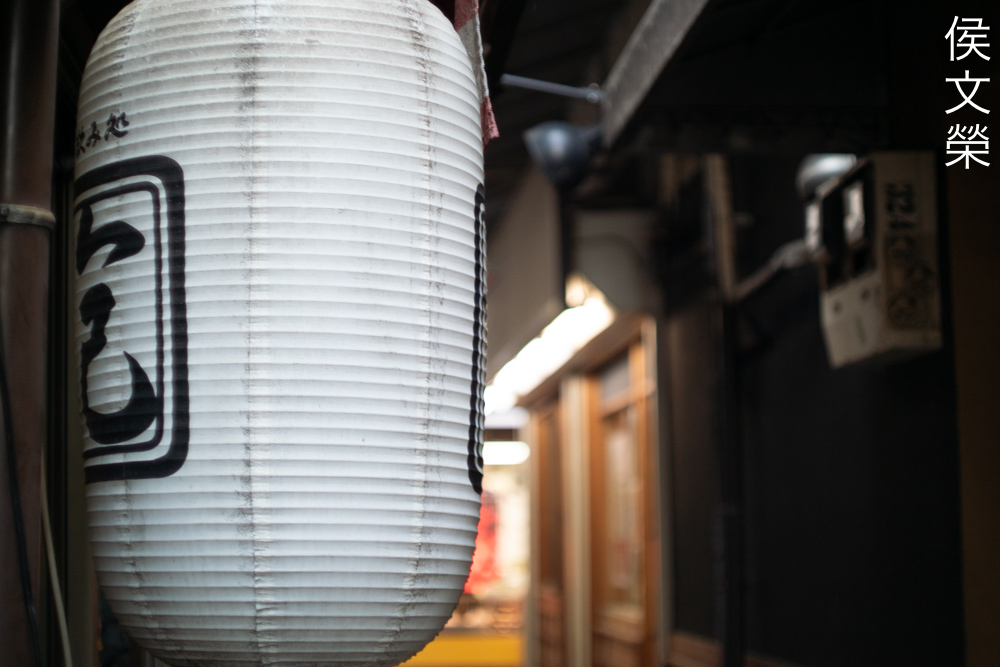
It won’t focus close but it’s good-enough for most things and you’ll able to take detail-shots with this.

It has a fast maximum-speed of f/1.4 which helps a lot when shooting in lowlight situations. It gives you a nice, dreamy look when shot wide-open which is perfect for portraiture. Since it performs much like a 68mm on 35mm format it’s able to double as a short-telephoto or a long standard-lens.

The biggest issue I have with this is the high amounts of chromatic aberration which can be difficult to avoid. It’s simple to correct in post these days. I find lenses with under-corrected aberrations will render beautifully despite the purples-and-green mess, they usually give nice, natural-looking photos with a lot of depth and clarity. Of course, this isn’t always the case, I am oversimplifying things here by my statement.

Compared to the cheaper and slower Cine-Nikkor 25mm f/1.8 this gives you better photos in terms of rendering. I could not point-out the exact reason but the overall feeling is this one renders a lot cleaner.

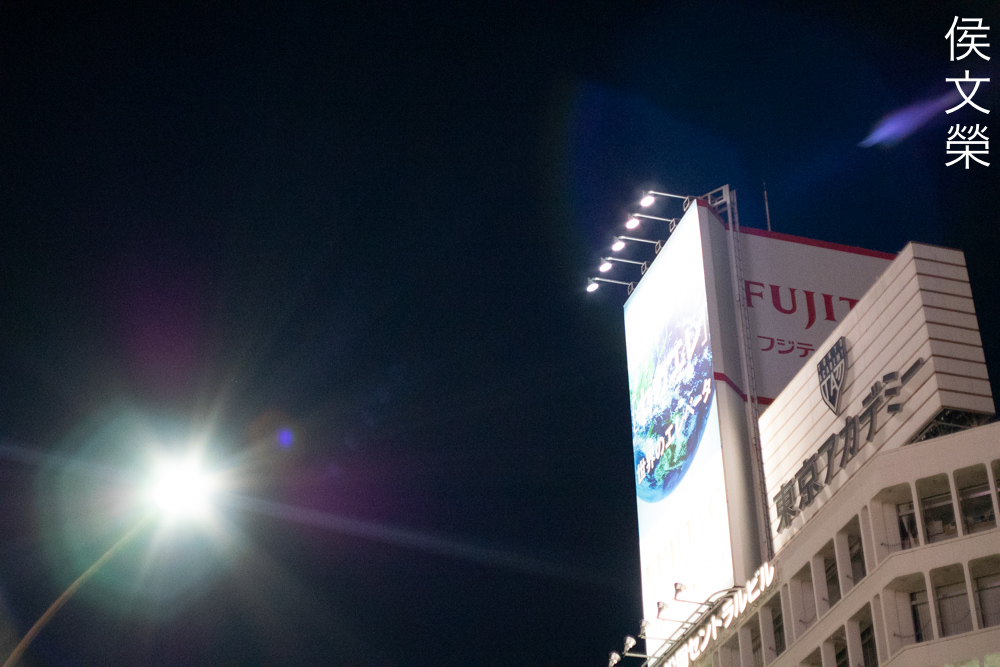
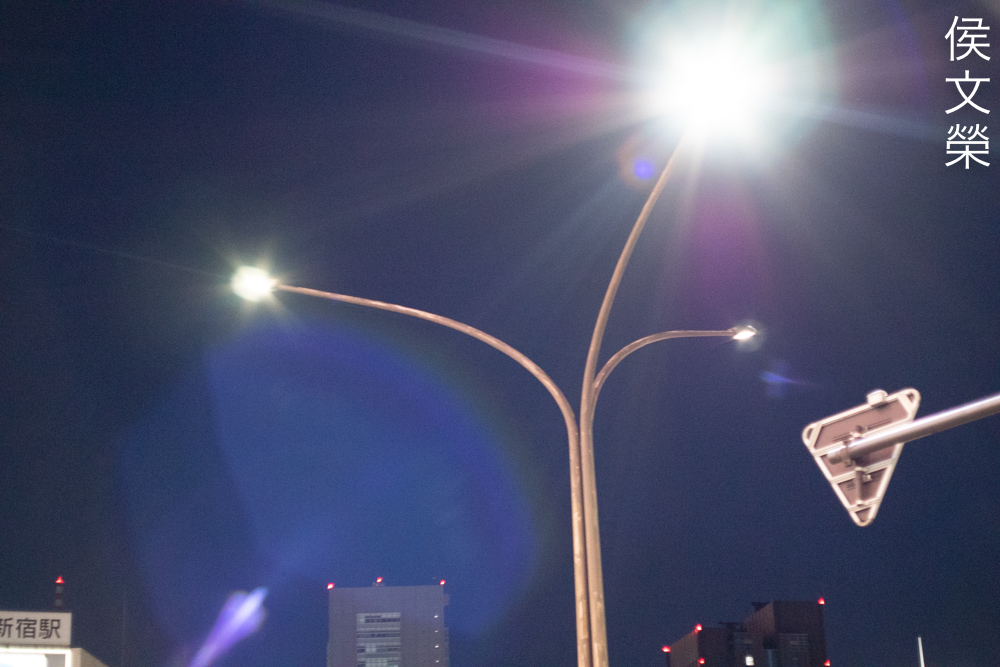
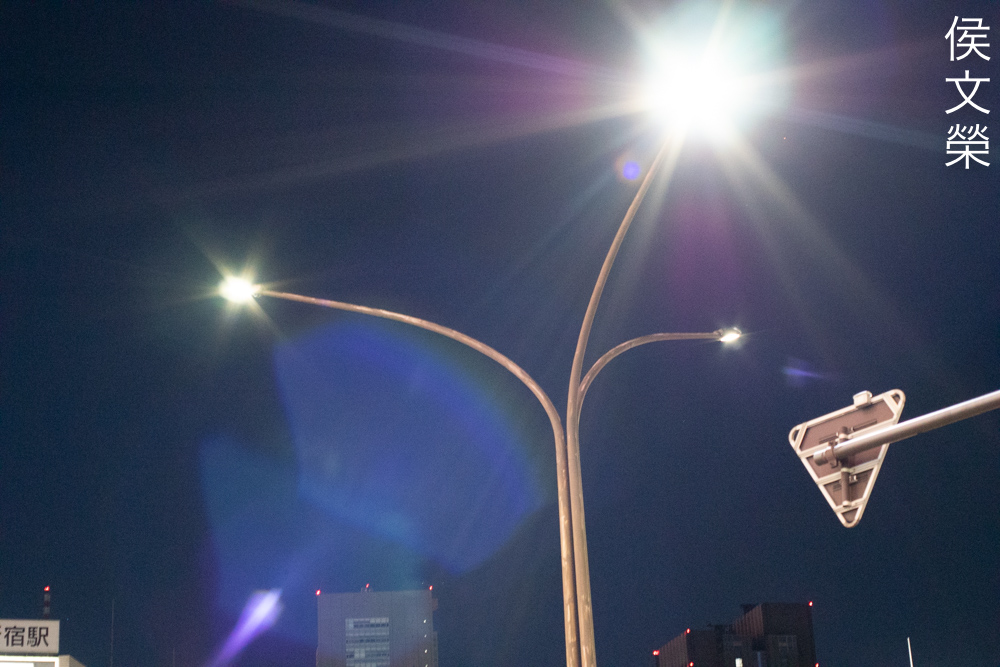
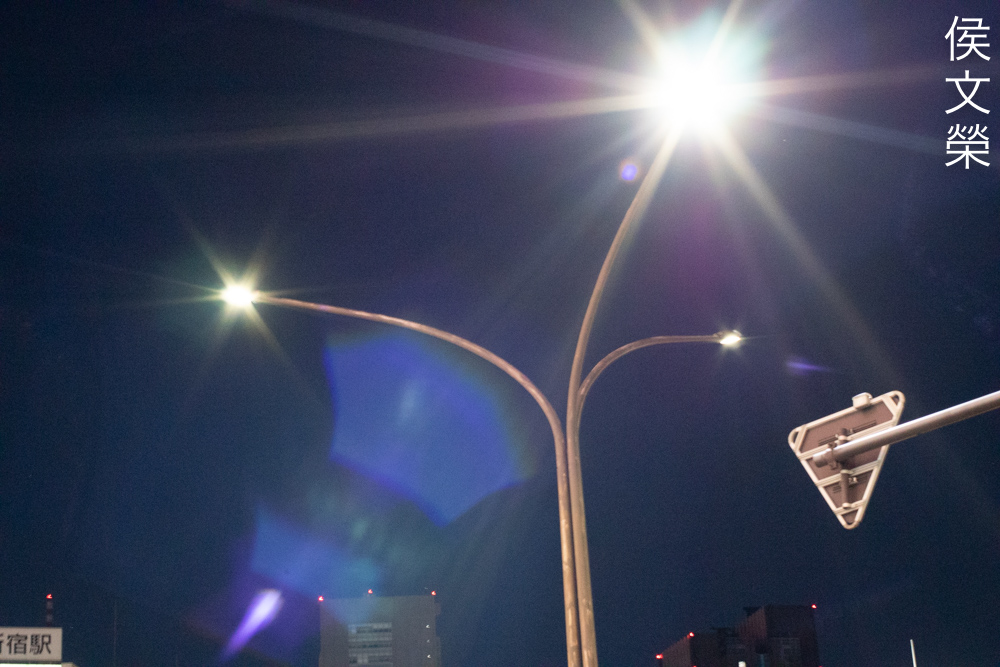
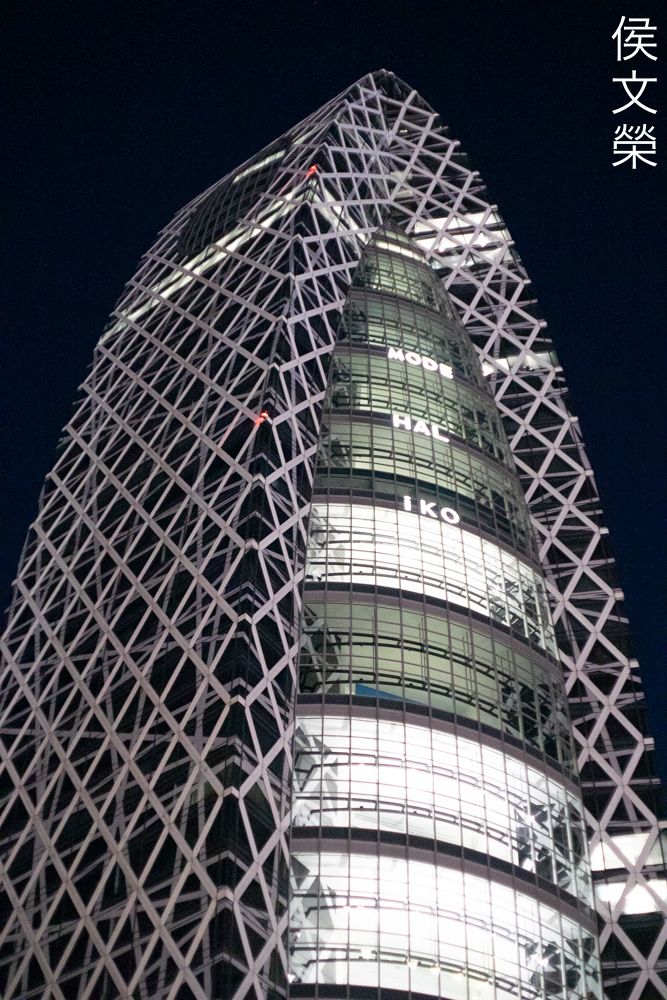
It works very well for shooting at night. The subtle softness you will get from shooting this at f/1.4 helps a lot to create a surreal or dreamy mood which is nice for telling a story.

It’s not immune to bad photos, though. Stopping the iris down to f/2 will make this look even better but that won’t be possible all the time specially if you are shooting at night and you need to freeze motion by using a faster shutter-speed without boosting the ISO up to unreasonable levels.

It doesn’t come as a surprise that this lens takes nice portraits. It acts like a short telephoto lens, akin to an 85mm one. At f/4 it has very a sharp center but it still retains the ability to blur backgrounds in a pleasing way. This is probably the best portrait lens for a Nikon 1 setup dedicated to Cine-Nikkors for this mount.

Focusing with it can be challenging specially if you do not have access to an EVF. Moving subjects can frustrate you so shooting with a smaller aperture should help compensate for focusing errors, that is if you have good light. All of the Nikon 1 EVFs have the same reputation and that’s poor resolution or refresh. This will only be resolved with the advent of the Nikon Z cameras. It’s such a shame that we would never see the full potential of this system since it was prematurely stopped before it even matured. However, it did provide important data on which the newer mirrorless Nikons all benefit from.

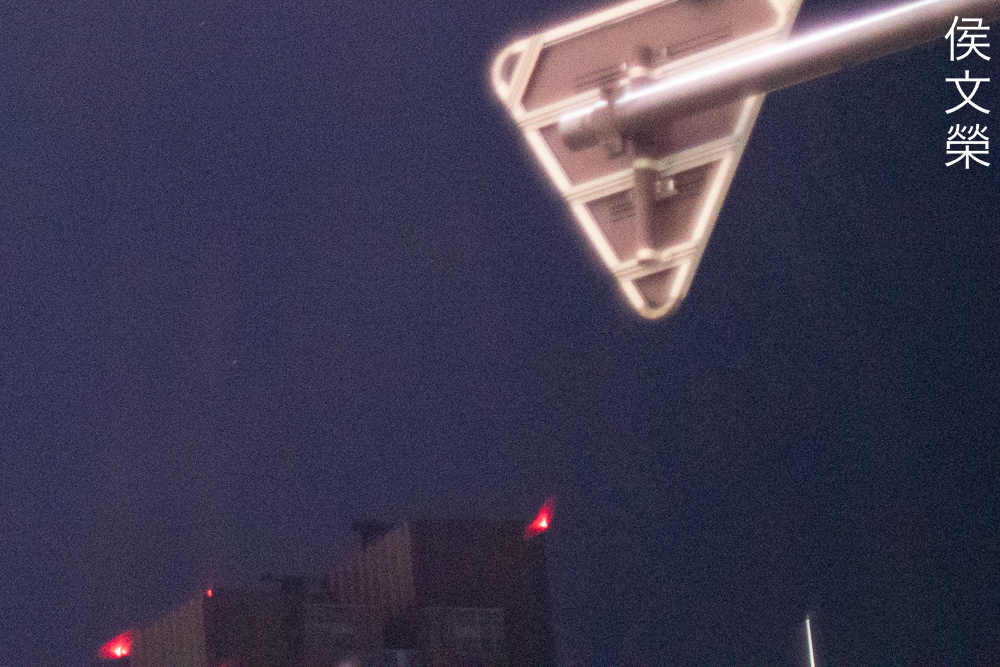
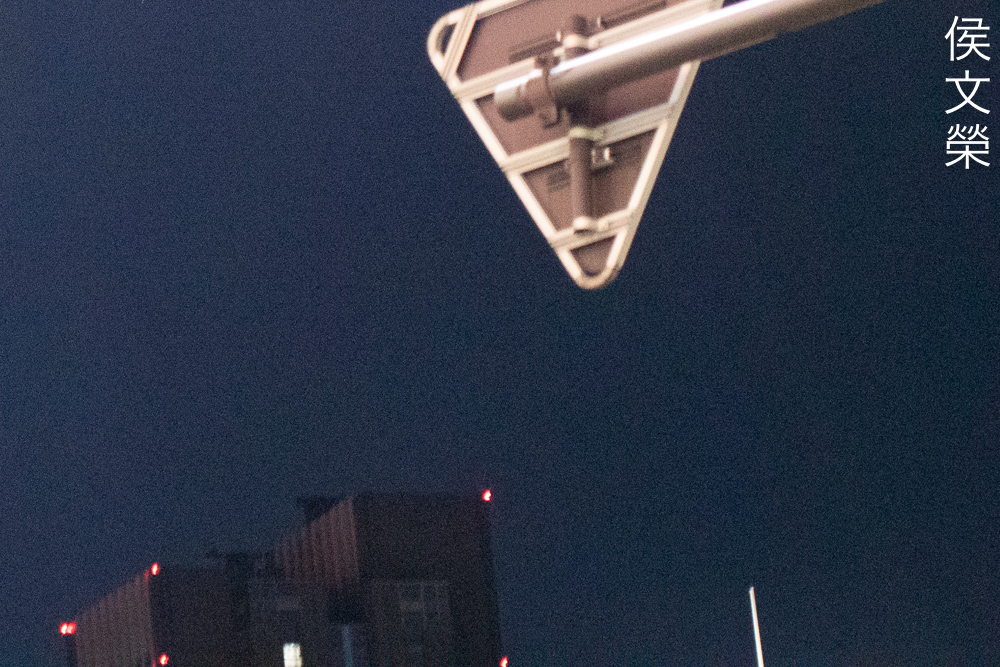
Even with such a small sensor and shooting at a modest aperture of f/4 it was kind of difficult to take this shot. This is only good if your subjects stay cooperative. Using this as a videography lens is another story but it’s still not going to be so easy.


(Click to enlarge)
It’s a nice portrait lens if you have the patience to use it as such. Its refined rendering sure looks amazing considering how old this is. There’s not a lot of people who shoot with this kind of setup, if you’re one of us then you know that you’re part of a special club that knows what you’re doing.


(Click to enlarge)
Check these out, I think this is a great lens for shooting stills and I am sure people who shoot movies will find this indispensable if they want to portray a scene with a certain look that remind you more of a classic 50/1.4 lens. This is a specialty lens if you ask me and I’m sure that it used to be expensive in its day because the results speak for itself.
This is an amazing lens, I consider it to be the best in the 25mm class of Cine-Nikkors (for the C-mount). The cheaper and slower Cine-Nikkor 25mm f/1.8 is a lot better at handling chromatic aberration, it resists flare and ghosts much better but this one has an intangible quality to the photos that it takes. I think it’s safe to have both if you could afford them so you’re able to switch between them depending on the situation. These aren’t rare at all but you don’t see them always, the prices vary from $60.00 up to an absurd $500.00 depending on the condition. Predatory pricing is common for these along with many Cine-Nikkors so you should just wait for one that’s under $100.00, they show-up occasionally so you will need have to check what’s for sale regularly. When looking for one you should check the iris, it should work perfectly and not oily. It is also important to check all of the rings and make sure that they all work. Check the optics to see if it’s clean and clear. A couple of scratches at the front-element is not uncommon and it’s up to you if this is something that acceptable to you for the price. I loved shooting with this, I am sure that you’ll be very happy with yours, too. Happy hunting.
Before We Begin:
If this is your first attempt at repairing a lens then I suggest that you see my previous posts regarding screws & drivers, grease and other things. Also read what I wrote about the tools that you’ll need to fix your Nikkors.
I suggest that you read these primers before you begin (for beginners):
- Essential tools
- Best practices 1
- Best practices 2
- Best practices 3
- Ai conversion
- Working with Helicoids
Reading these should lessen the chance of ruining your lens if you are a novice. Before opening up anything, always look for other people who have done so in YouTube or the internet. Information is scarce, vague and scattered (that is why I started this) but you can still find some information if you search carefully.
I highly recommend that you read my working with helicoids post because this is very important and getting it wrong can ruin your day. If I can force you to read this, I would. It is that important!
For more advanced topics, you can read my fungus removal post as a start. It has a lot of useful information, it will be beneficial for you to read this.
Disassembly:
The construction of the barrel is pretty standard as far as Cine-Nikkors go so you can also read my articles that are similar to this to get yourself familiar with how things are done. This is not a complicated lens to service at all but you should still be careful with a few things like the iris mechanism. I would never recommend a beginner to service this because this is not a common lens. If your lens needs to be fixed send it to a professional. Many repairers are not familiar with cine-lenses so be sure to show my articles and that will make sure that the repairs are done properly.
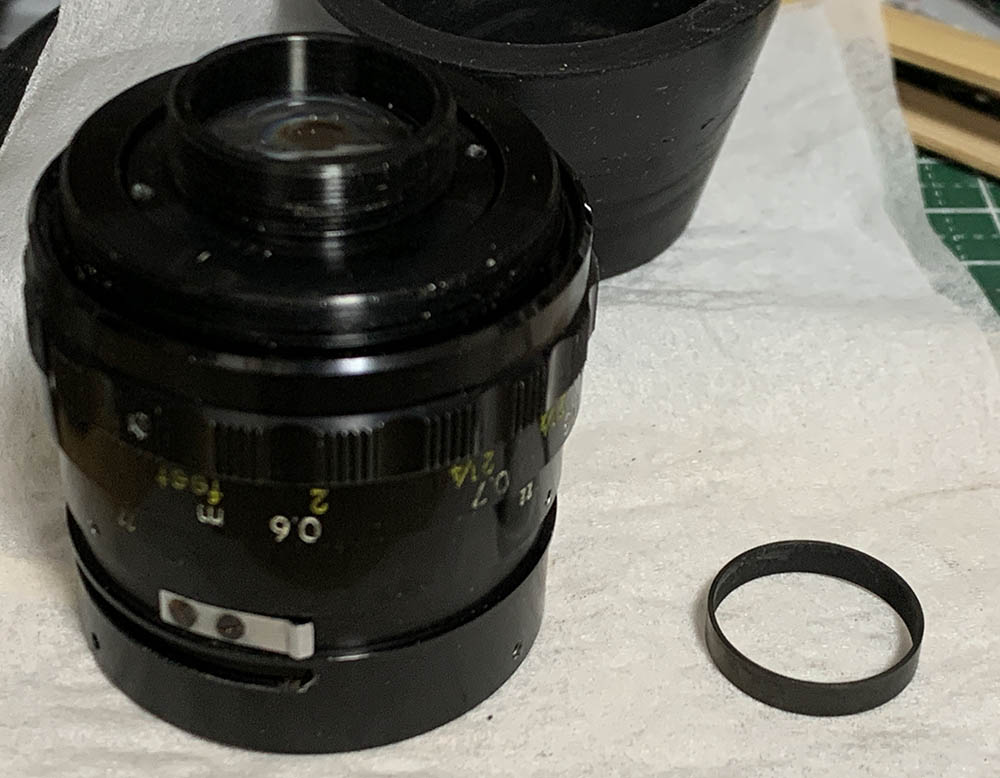
Like most Cine-Nikkors of this type we will begin with the front and remove as many things there before we get to the back. Don’t bother removing anything that doesn’t need to be serviced.
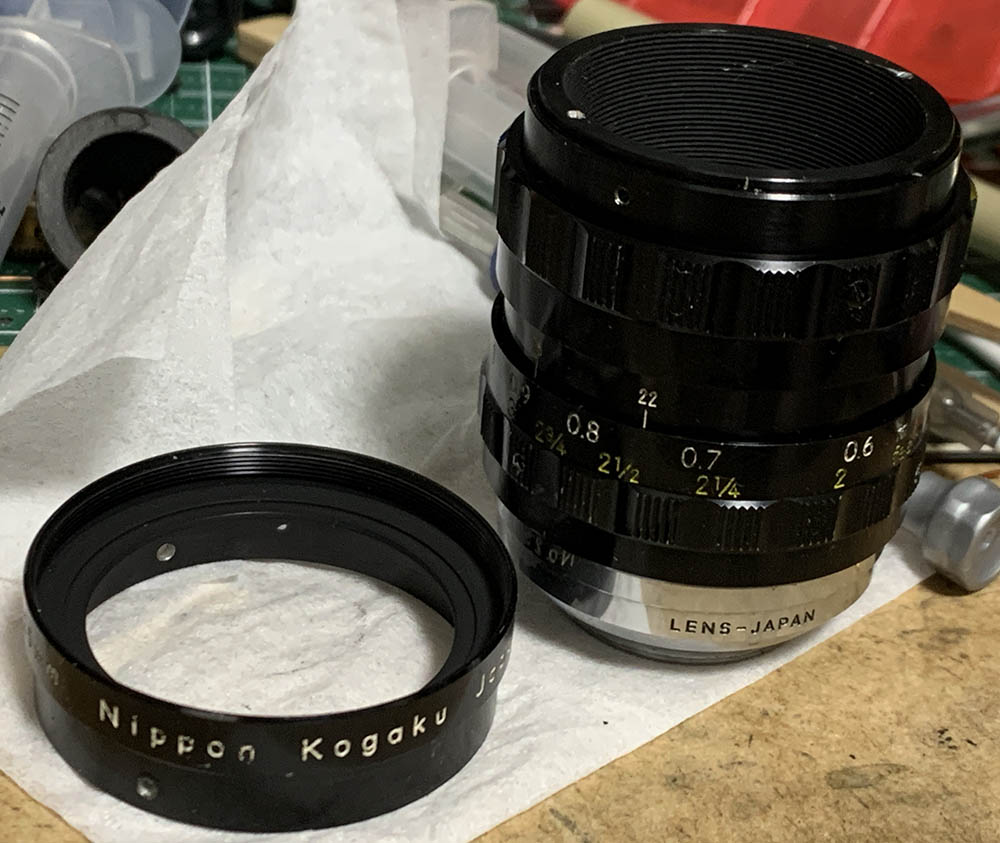
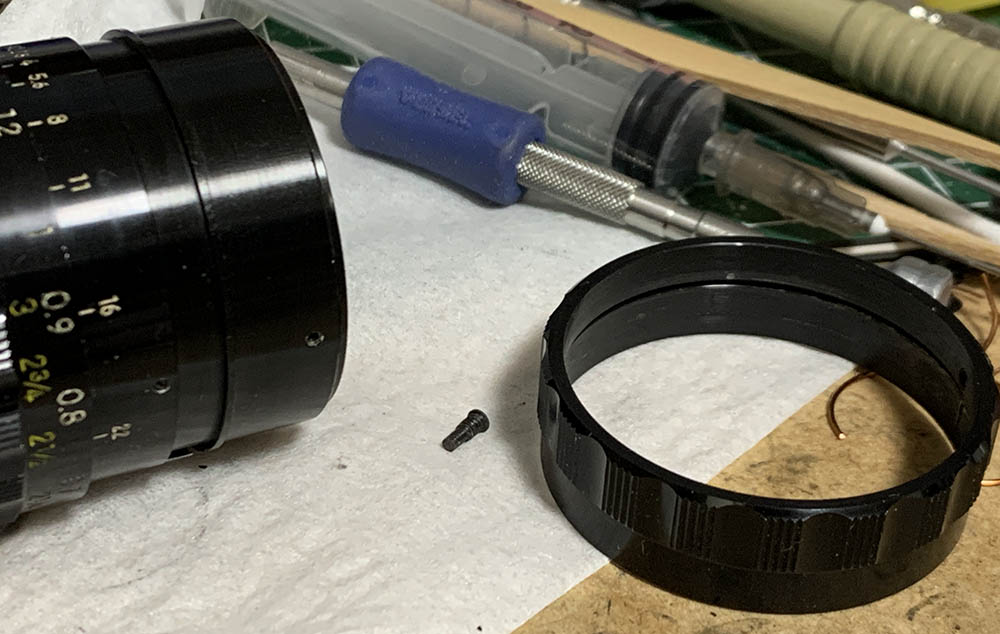
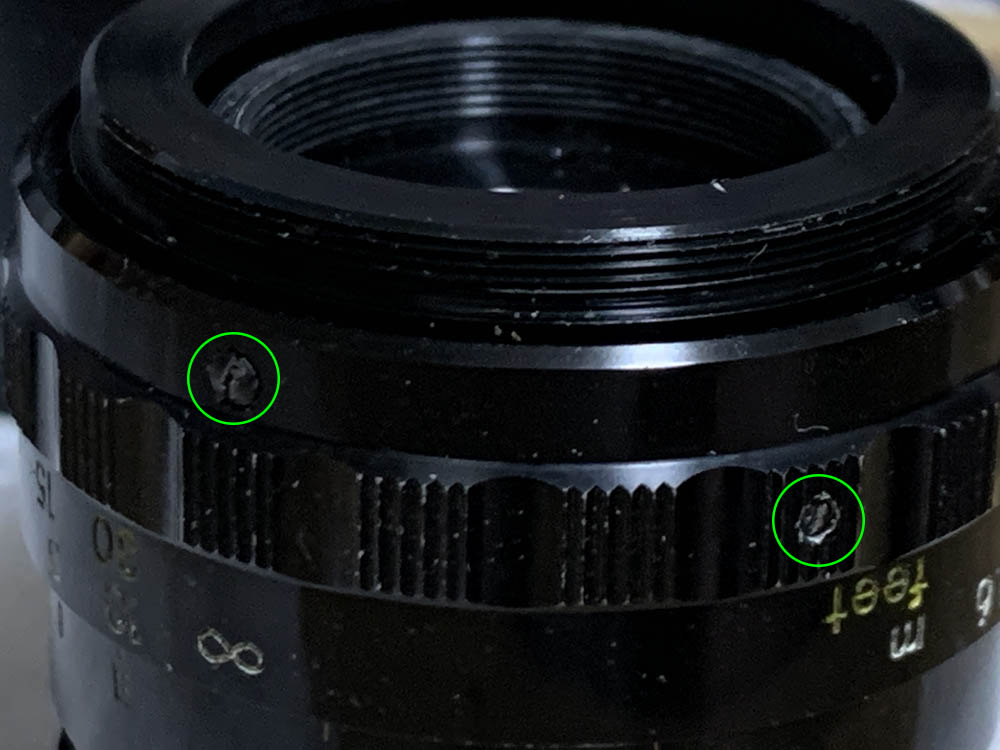
Extract the screws of the front barrel and remove it carefully. This shouldn’t be difficult to remove.
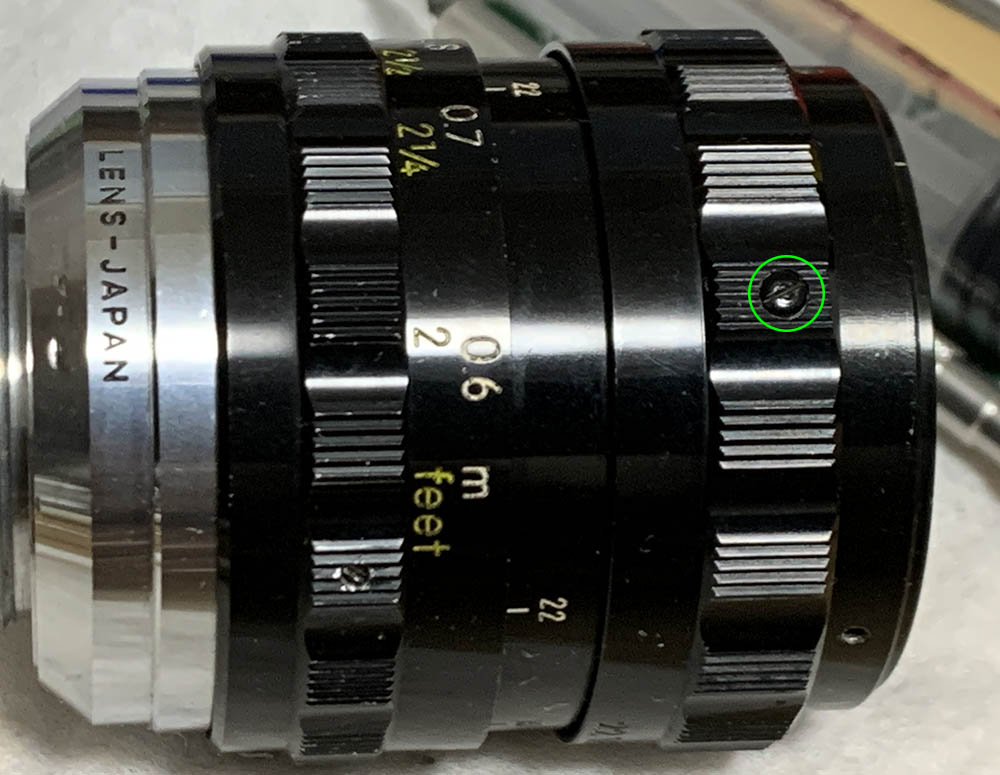
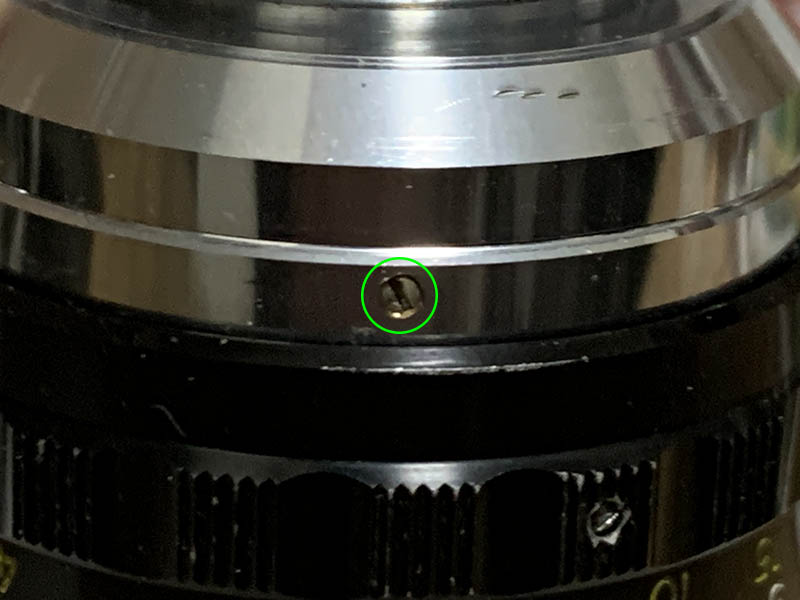
Extract this to remove the aperture ring. This screw serves as a pin to couple the aperture ring to the iris mechanism.
It’s best to remove the aperture ring as soon as possible in order to keep the iris safe.
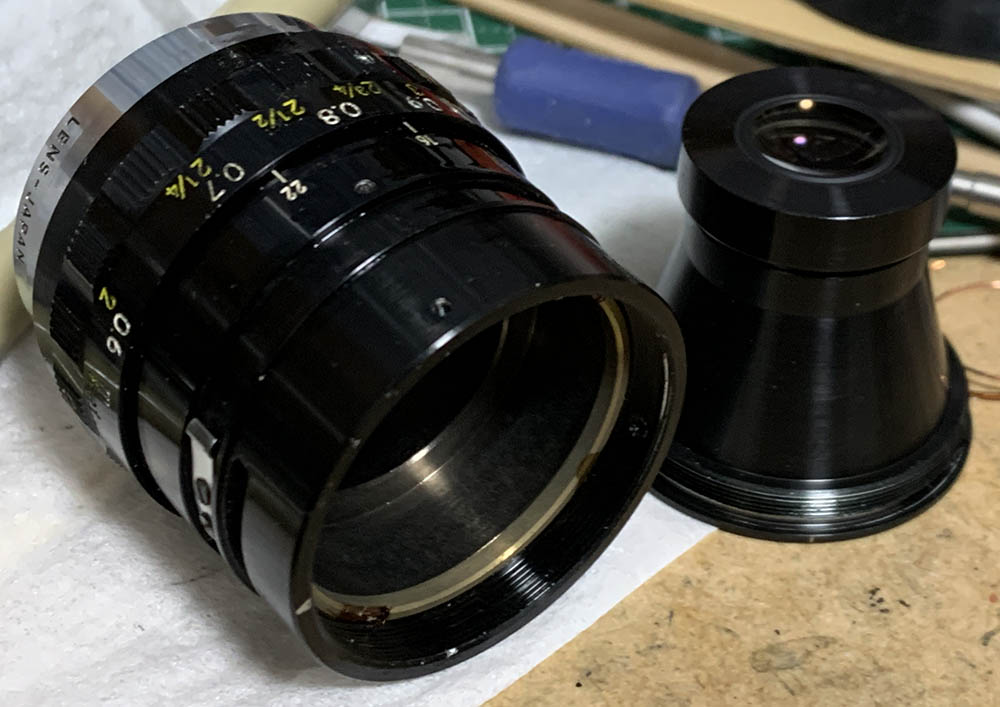
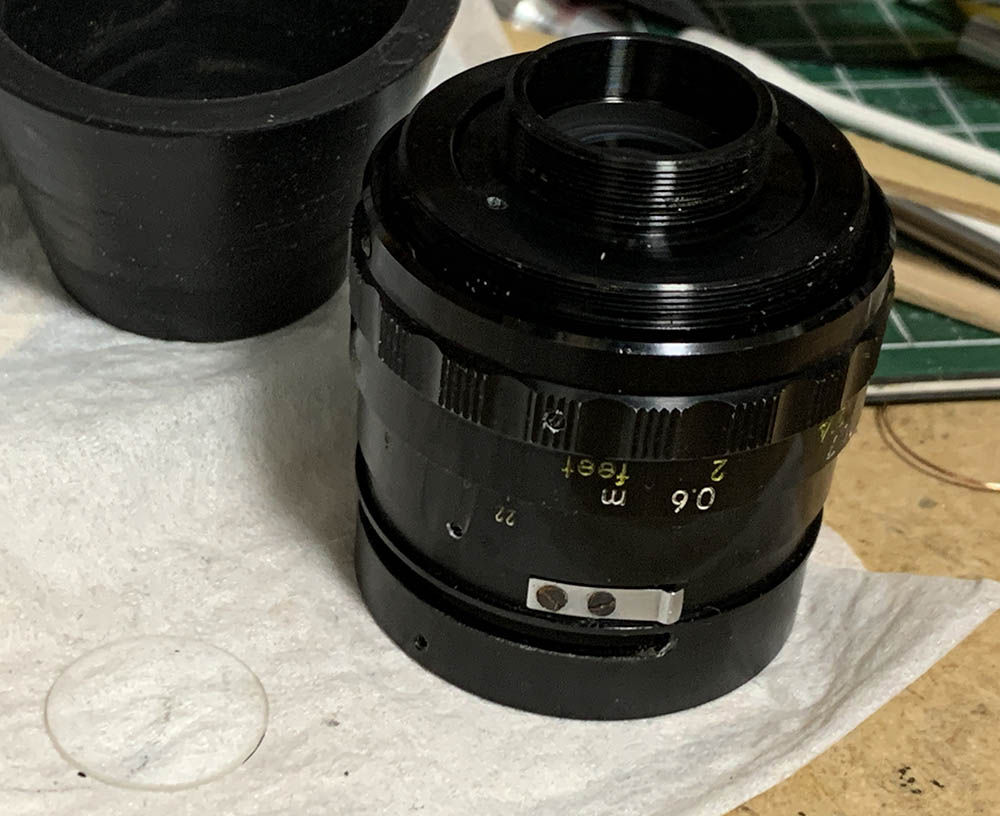
Unscrew the front optics assembly with a lens spanner an be careful not to damage anything.

Unscrew the housing of the 2nd group an don’t bother removing this because it’s sealed to its housing. Never flood it with solvents or alcohol since this is a cemented group.
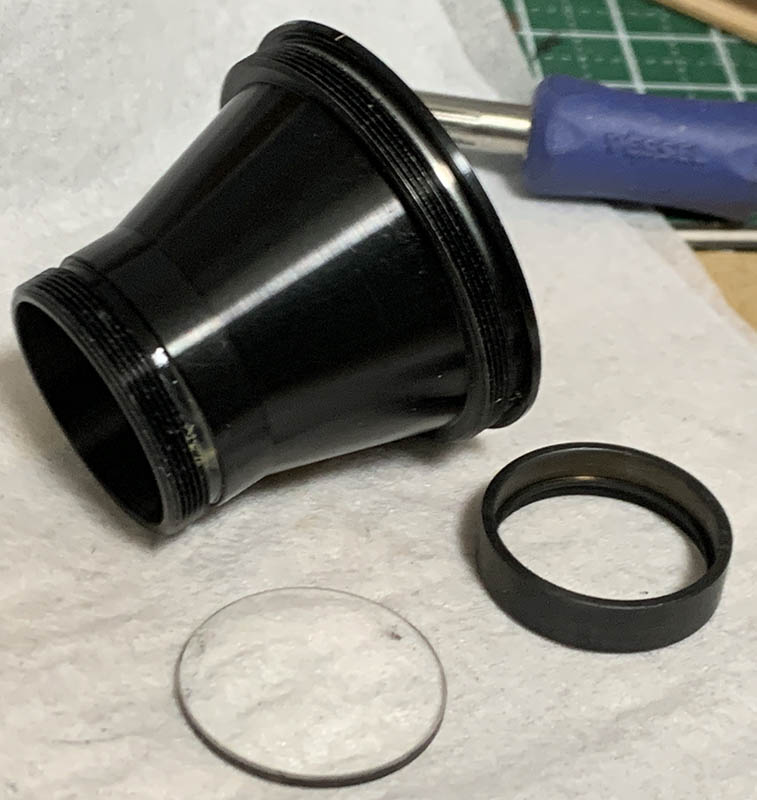
The front element can be removed easily after pulling its spacer off. Never forget to note the direction of the spacer so you’ll know how to put it back later.
Be very careful with this step so you won’t destroy the iris. Dissolve the seal of the retainer and use a lens spanner to unscrew it. If you see that the iris is turning as you turn the spanner, stop! You will destroy the iris if you continue.
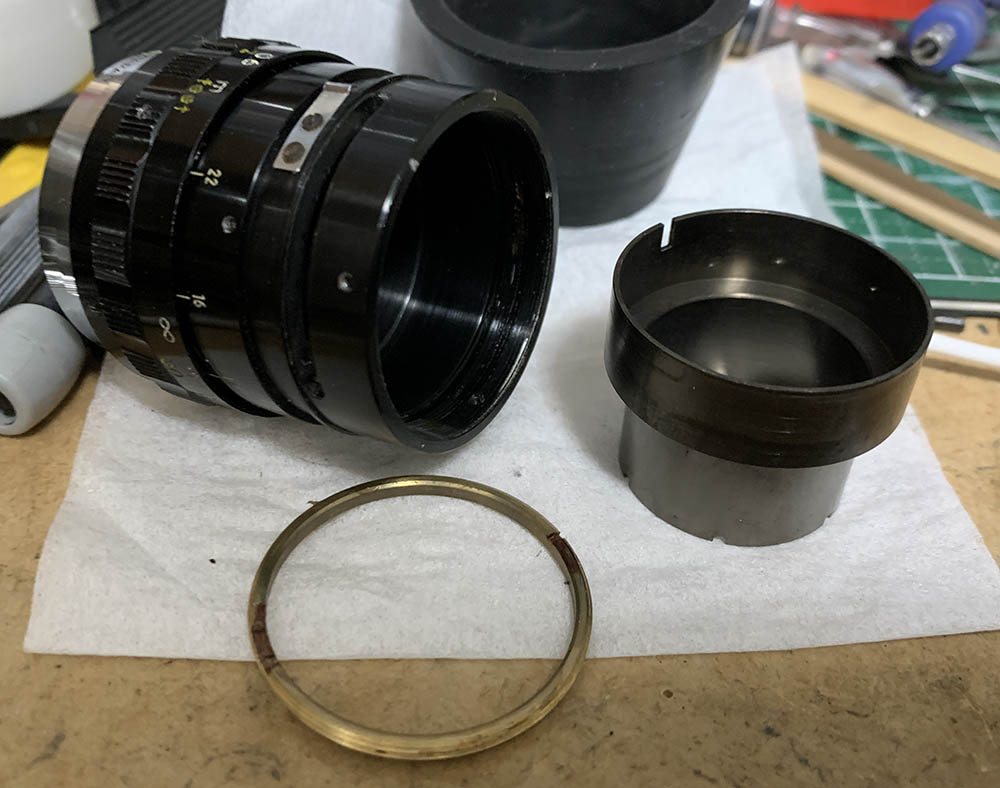
The diaphragm’s cup could be easily removed once the retainer is gone.
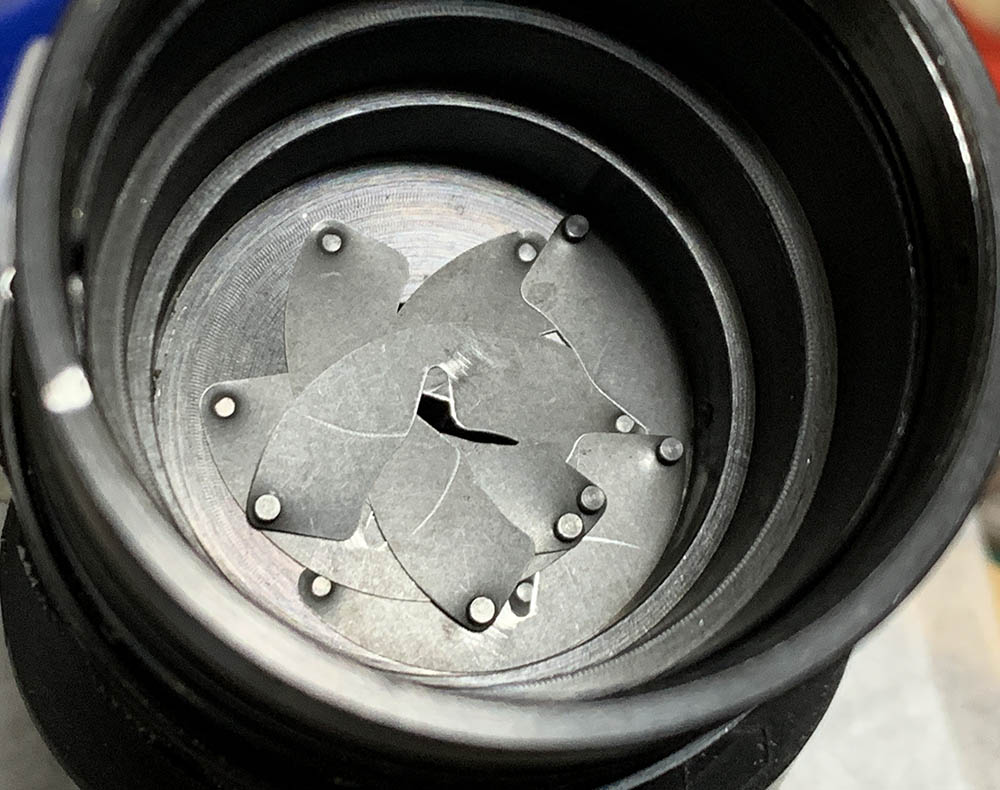
Take a photo of the iris so you’ll know how the leaves are laid-out.
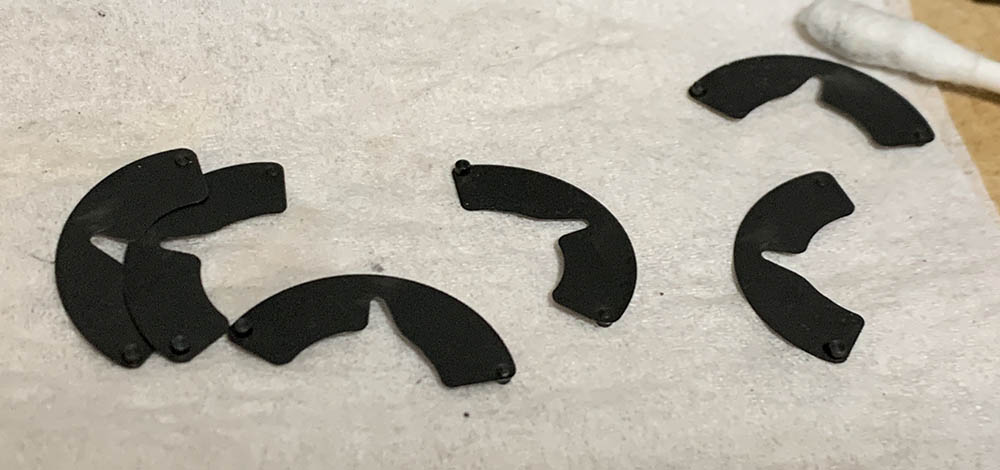
Carefully remove each leaf, these are very delicate and they will break at the center where they’re weakest.
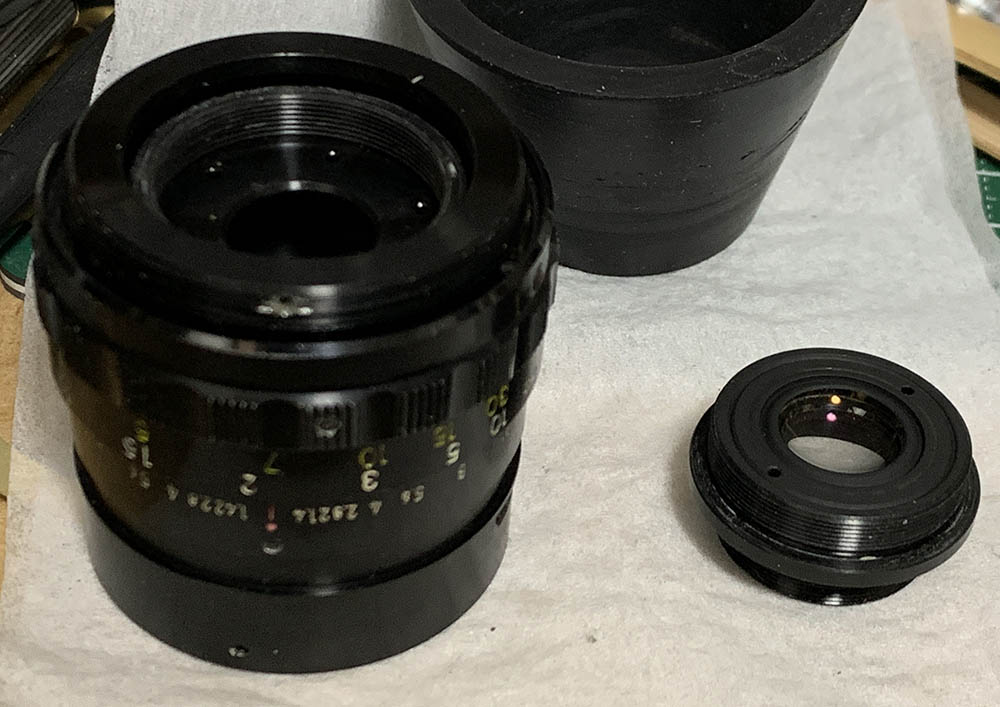
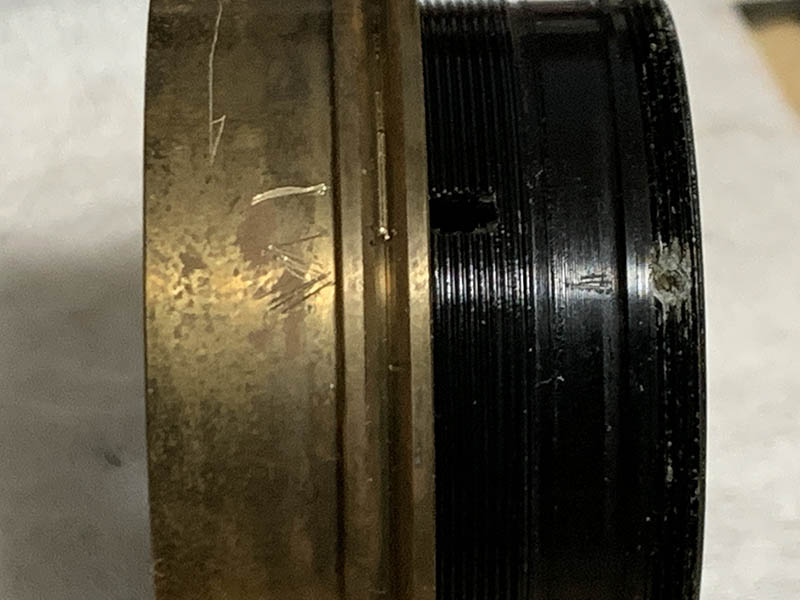
Loosen this so you’re able to unscrew the mount.
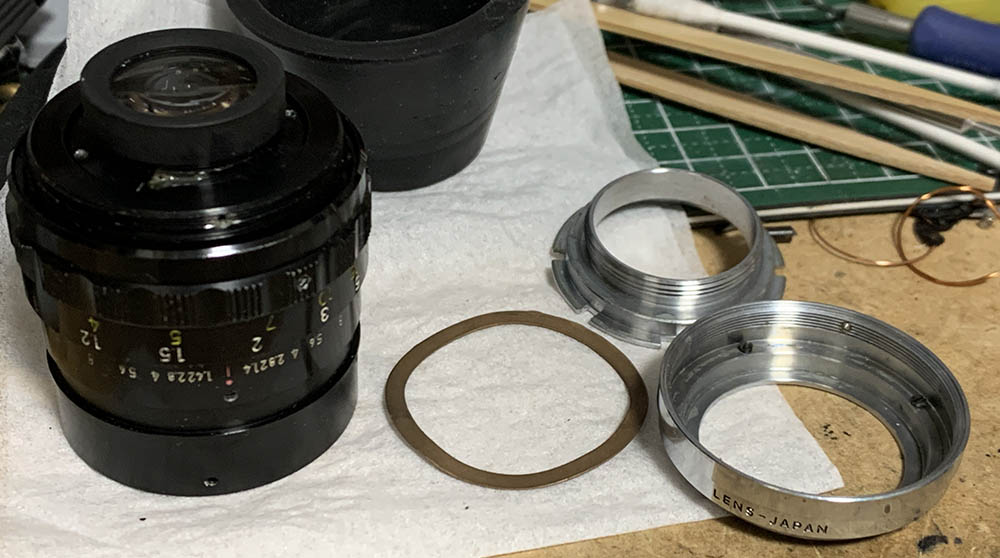
Unscrew it and you’re able to dismantle the rear. Clean everything very well because this area tends to be greasy.
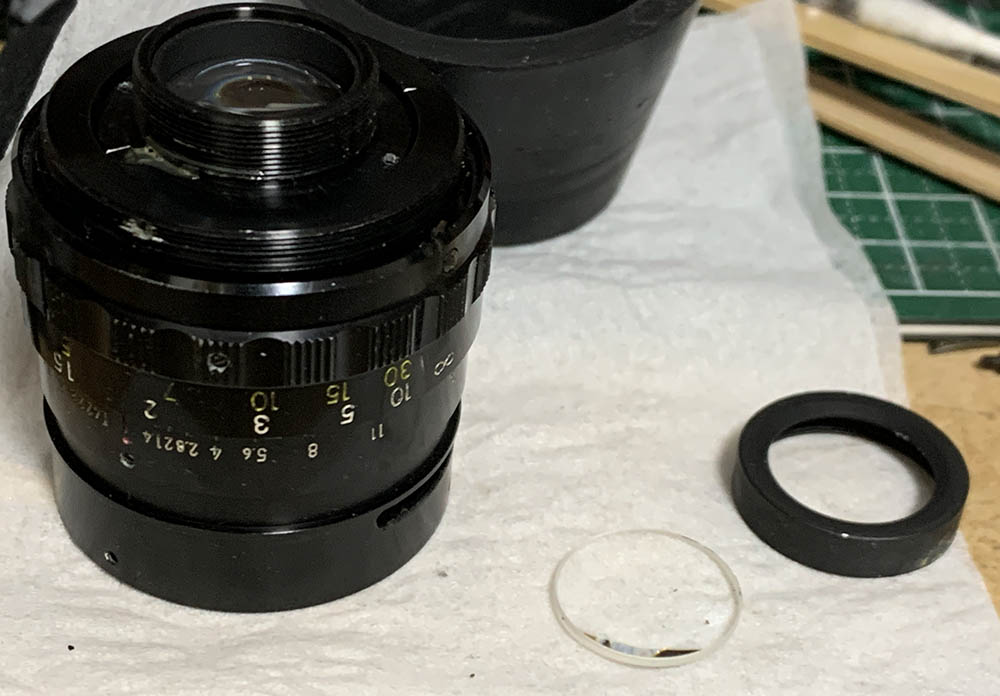
Unscrew the rear baffle and extract the rear element with a lens sucker. Mark the edge of the element so you’ll know which side is facing the front, this will help you later during reassembly.
Remove its spacer and don’t forget to mark its direction, too.
Carefully extract the 4th group and don’t forget to mark its direction.
Unscrew the housing of the rear optics assembly and be careful not to damage anything.
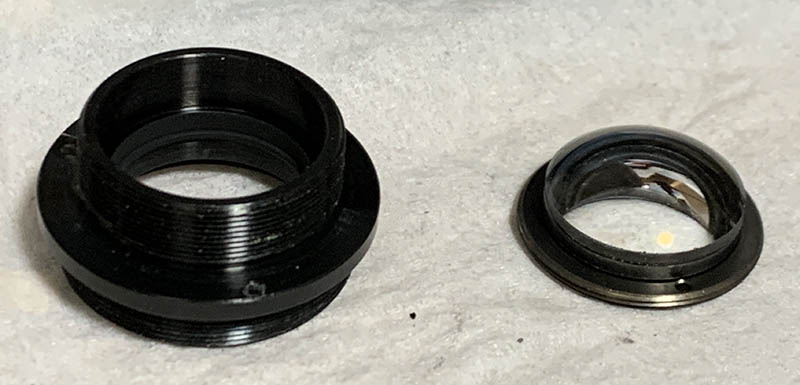
You’re able to extract the 3rd group from the housing but don’t remove it from its ring as it’s sealed with it. Only remove this when thing from the housing id it is necessary.
Turn the barrel to infinity and be careful not to disturb this configuration, you will want to maintain this so you will have a point-of-reference when taking your notes.
Extract the line screw closest to the mount, it limits the range of the focusing ring, be sure not to lose this. Loosen the 3 screws at the knurling, enough to enable you to remove the focusing ring from the rest of the barrel.
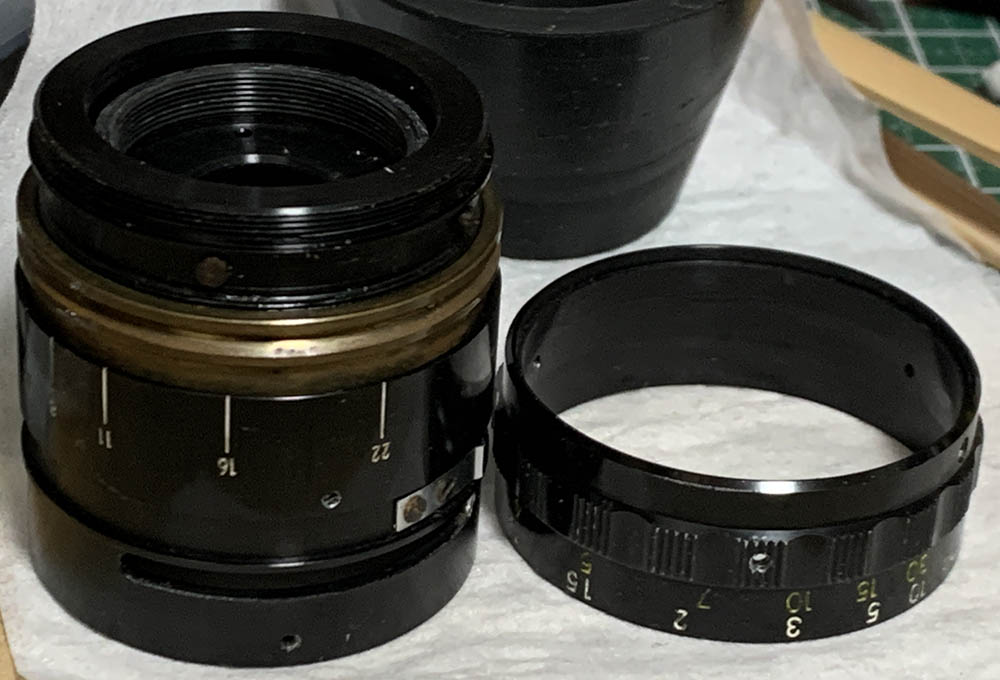
Carefully remove the focusing ring while the barrel is still at infinity.
At this point it’s the best time to take measurements and photos, you will also want to make a small mark so you will know which part is the centerline of all the helicoids when they’re at infinity. It’s also a great idea to take measurements, too.
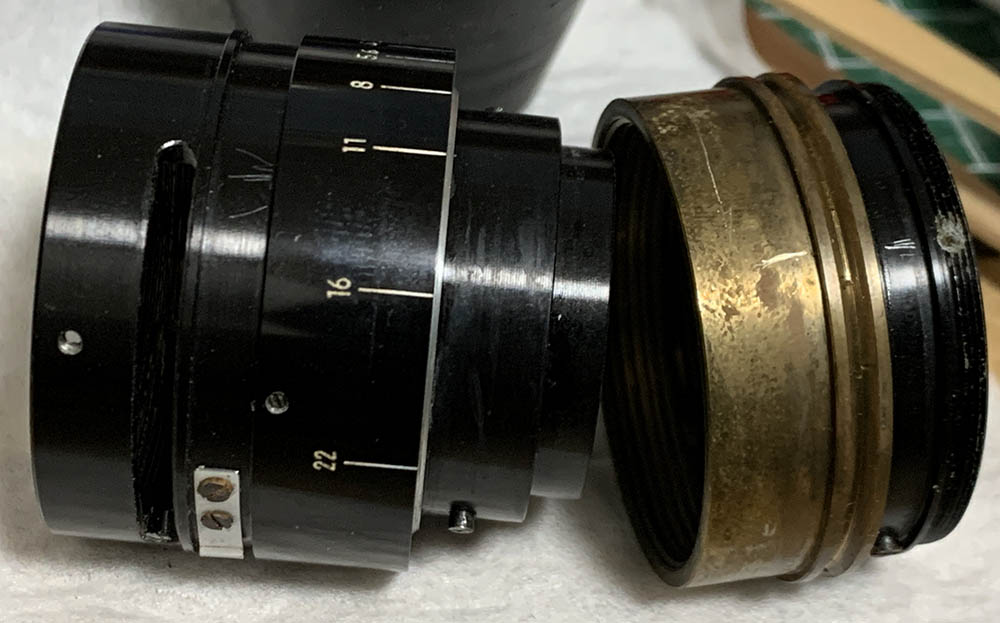
Carefully turn the central helicoid until the main barrel parts an don’t forget to mark where this happened because this is also the same configuration where it should attach. Do note that it could be attached in 2 directions so remember that, too.
Since this is a helicoid never forget to note where it separated because this is also the same place where they should mesh. Many people forget to do this so they spend a lot of time guessing the correct position. I’ve written an article on servicing helicoids and be sure to read that so you will know how this is done.
Loosen the screws of the sleeve and remove it from the rest of the barrel so you’re able to clean the helicoid thoroughly.
Unscrew the lower helicoid from the central one and never forget to mark where they parted. This is a single-entry helicoid but it is still important to take notes because you can never be too-sure of anything.
Clean everything very well. Scrub the helicoids very well with a strong detergent and brush them with an alcohol-based solution to remove any residue then finally clean them with pure alcohol just to make sure that nothing is left. This lens works best with a type of grease that has moderate resistance, never use a grease that’s on the thick-side or you won’t be able to focus this easily and don’t lubricate anything close to the iris mechanism or the excess grease will migrate to the iris and cause an even bigger problem later.
As far as the optics are concerned never dismantle anything that does not need to be removed. If it’s merely dusty just do a simple cleaning. The only reason to remove anything is to clean terrible fungus damage or haze. If you did be sure that you note which side should be facing the front so you’ll know how to put it back again later. Carefully clean the glass, follow my fungus cleaning article in case your lens needs it. Thin the solution so you won’t never damage the coatings.
Conclusion:
This one took me about a whole night to service. At this point I’m already familiar with Cine-Nikkors and their repair so it did not confuse me at all and I was able to service this without any issues. Before you put everything back be sure to adjust its focus, read my Cine-Nikkor 25mm f/1.8 repair article to find out how this is done. Their barrels are similar enough so that should also help you service this lens, too.

This is an enjoyable lens to use, it’s certainly Nikon’s best 25mm Cine-Nikkor. I will be shooting with this more so please visit this article in the future to see if I added anything new.
There’s not a lot of articles online showing how this lens performs and there’s virtually nothing about its repair so I hope that it will be a welcome addition to camera repair community’s repair database. Never download my work, this site earns peanuts from visits and clicks so sharing my work online will definitely help this site survive.
Thanks for following my work, if you liked this article please share this with your friends so it will get more views. This site earns around $0.40 a day, we are totally reliant on views. You can also support this site, it helps me offset the cost of maintenance and hosting. You’re also helping me purchase, process and scan film. This site promotes the use of film so we are all in this together. See you again in the next article, Ric.
Help Support this Blog:
Maintaining this requires resources and a lot of time. If you think that it has helped you or you want to show your support by helping with the site’s upkeep, you can make a small donation to my paypal.com at richardHaw888@gmail.com. Money isn’t my prime motivation for this blog and I believe that I have enough to run this but you can help me make this site (and the companion facebook page) grow.
Buy me a roll of film or a burger?
Thank you very much for your continued support!
$2.00
Helping support this site will ensure that this will be kept going as long as I have the time and energy for this. I would appreciate it if you just leave out your name or details like your country’s name or other information so that the donations will totally be anonymous. This is a labor of love and I intend to keep it that way for as long as I can. Ric.

Mar 17, 2022 @ 19:58:05
I hope you are well, because since some month there is no new post here.
Best regards
Bernhard