
Hello, everybody! Do you like eating instant noodles? I don’t eat them much because there are healthier alternatives, I only eat them for convenience or when I occasionally crave salty, savory food. Some of them are quite tasty specially if you’ve added more extra ingredients such as fresh vegetables and seafood. The fancier ones even come with expensive chunks of meat and special sauces. For the most part I just see them as a necessity for certain people. You’ll get full and they’re cheap. Today, I’m going to show you something that’s not really remarkable but it’s the only option you have if you want to stick to Nikon. Unlike junk-food these are not cheap and they used to be quite expensive, these were sold as specialty lenses in their days. Read my article to know more about this rare gem.
Introduction:
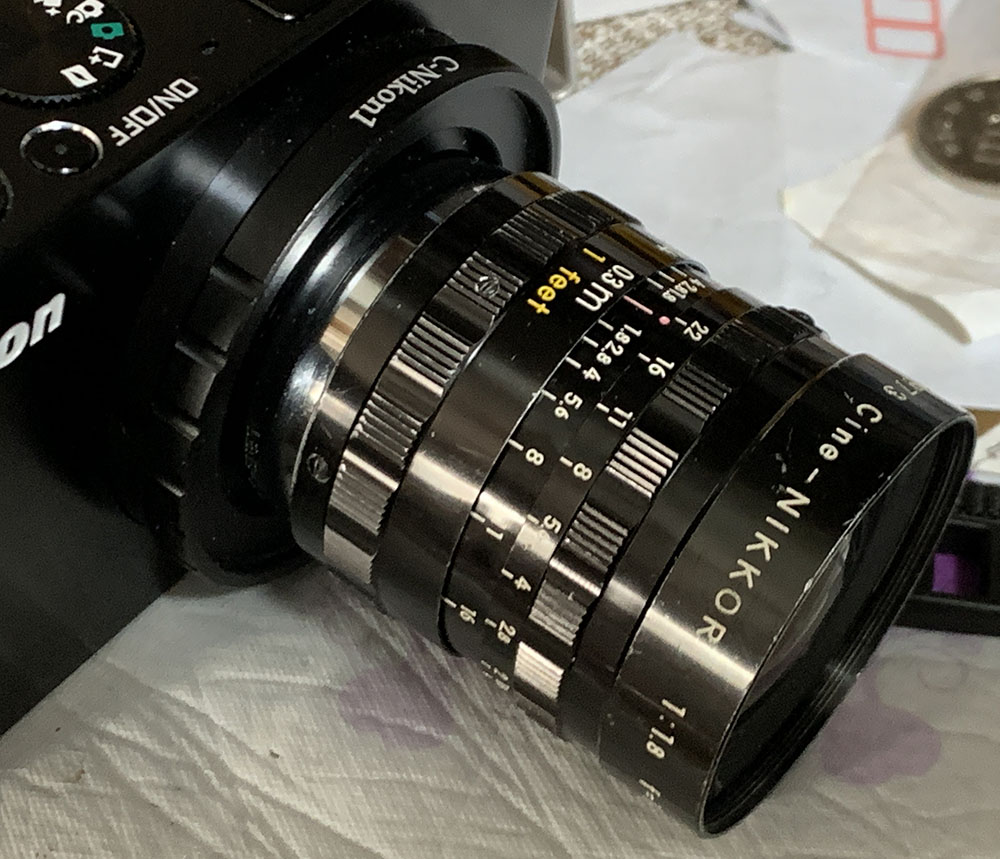
The Cine-Nikkor 10mm f/1.8 is the widest Nikkor for standard 16mm apart from the Cine-Nikkor 6.5mm f/1.8 which is a specialty lens. Its production date is unknown but I suspect that it was made from the 1960s up until the 1980s. I could not find any information about this so I’m going to speculate a lot here. Even the engineers at Nikon don’t know much about it.

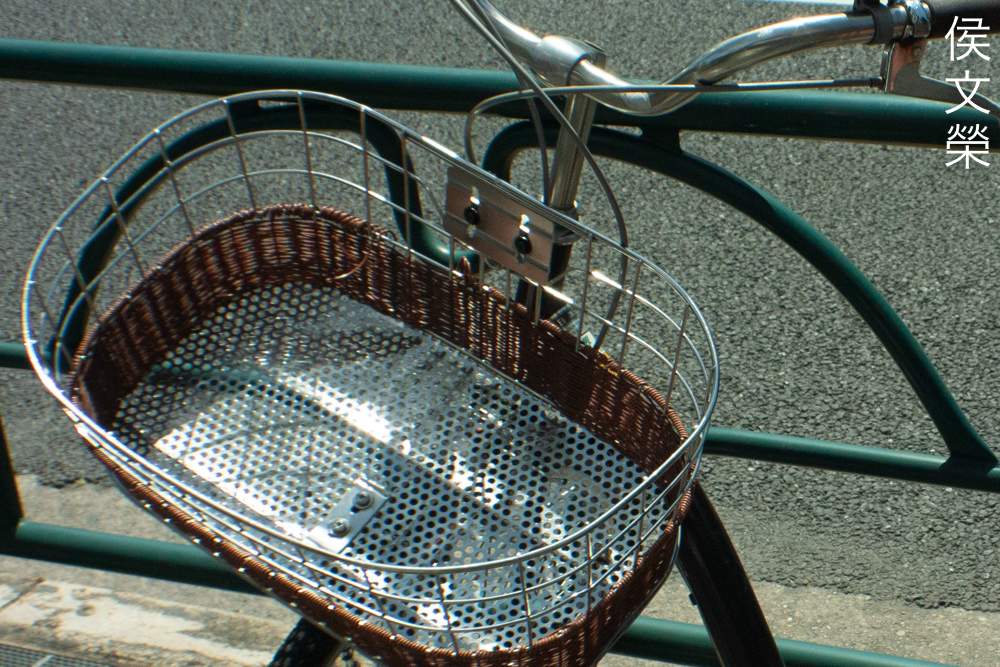
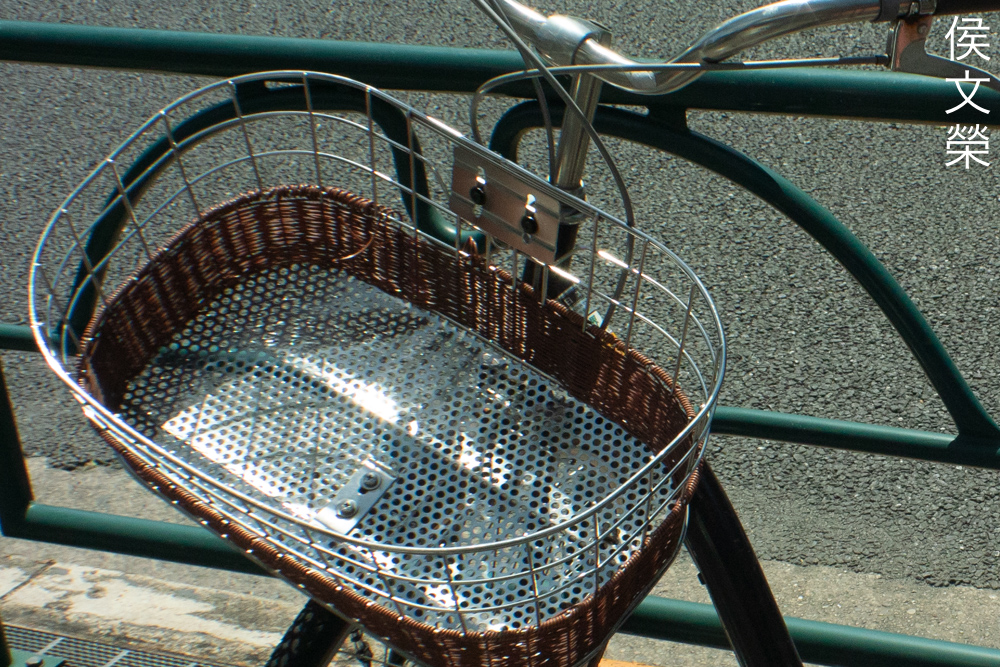
The barrel is all-metal, it’s beautiful and the build-quality is rather high as expected from a Cine-Nikkor. This was made for professionals that’s why many Cine-Nikkors today look the way they do. This was certainly used extensively for a lot of assignments evidenced by the scars you see here.
It has a 10-elements-in-9-groups design which I found unusual because most of its peers have simple formulas. This is a very useful lens because it gives you the same field-of-view of a 28mm lens on the 35mm format. It’s not fast at all, it functions like an f/3.5 lens on 35mm in practical use if you consider the crop-factor. Crop-factor as a concept is rather recent and moviemakers don’t even think about this. I am only mentioning this for your convenience because most of you are still photographers. It’s multicoated but some surfaces are either bare of single-coated evidenced by the colors they make when viewed at an angle.
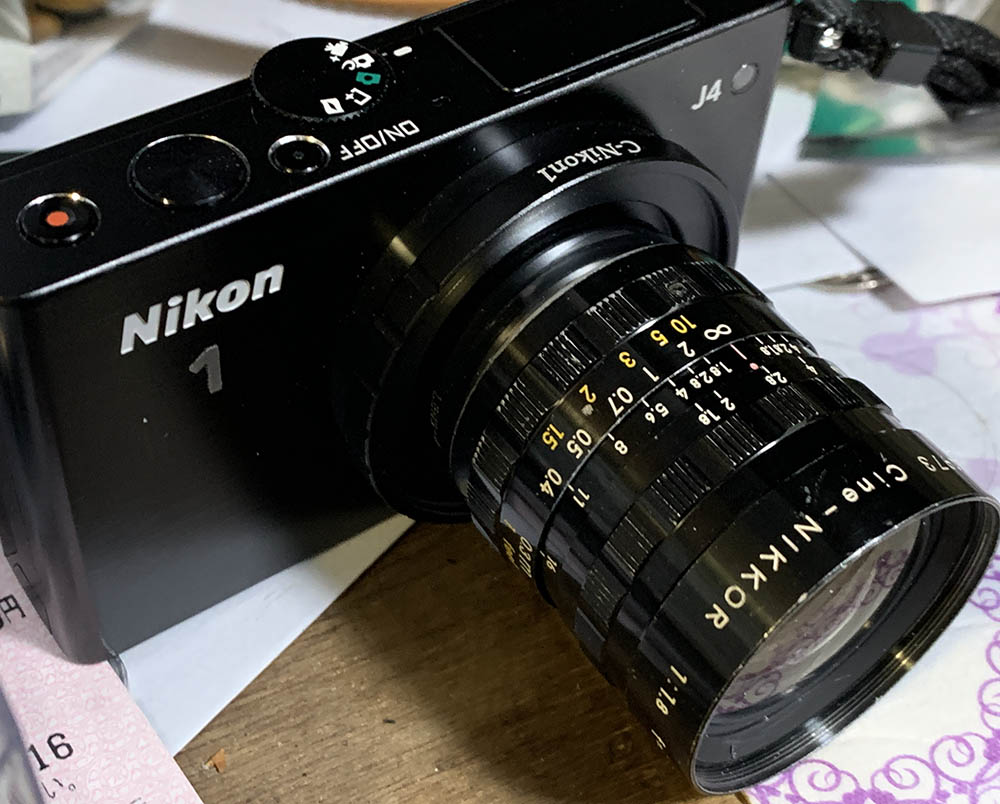
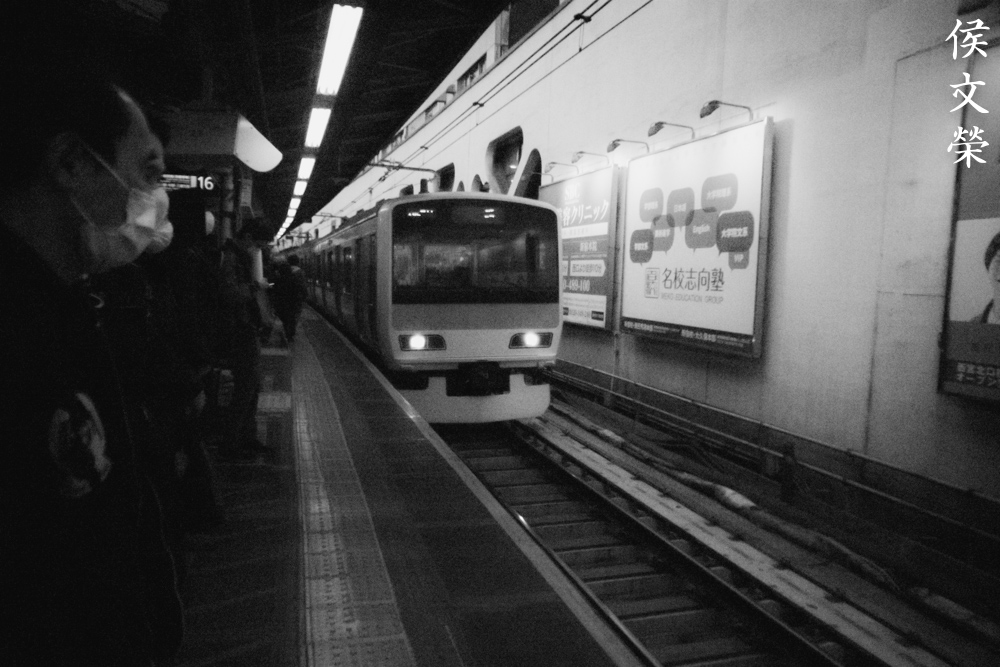
Since I don’t shoot movies we’ll be talking more about this through the context of photography. Using it with a Nikon 1 J4 is nice but you’ll want to shoot with a viewfinder as you could focusing more accurately. I don’t think using it with a Micro Four Thirds system camera makes any sense, just stick with CX as the usable area is closer to standard 16mm.
Handling is rather standard because the barrel of most Cine-Nikkors for standard 16mm are similar in terms of layout, girth and feel. You won’t mistake either rings, it’s easy to identify them by-touch and location. Its informative scales are useful, you could easily focus without even looking-through any finder thanks to the depth-of-field scale.
Learning how a lens performs is key to maximizing it. You’ll learn how to utilize its strengths and avoid its weaknesses. This knowledge helps in determining which lens to bring on an assignment. I shot these from f/1.8, f/2.8, f/4 and f/5.6 since these are the most common values that people would want to use this and we’ll see the most changes happen within these apertures. These were shot with my Nikon 1 J4, some of the photos were cropped close to 1:1 so we can see the details better. You’ll need to understand that the sensor’s usable area is actually a bit bigger compared to that of 16mm so the areas closer to the edges look terrible since this lens is rendering beyond its intended image-circle.

Distortion amount is rather high as expected from a lens this wide. The profile is complicated and it may be difficult to correct in post without losing a good amount of pixels at the edges. This may be a problem if the footage is meant to be used for camera-matching because it’s hard to track a scene with plenty of distortion.

(Click to enlarge)
Vignetting is quite high when shooting wide-open, up to about 3-stops’ worth of light or more. Stop this down to f/2.8 and that should get rid of most of the vignetting but you’ll still have plenty of it. Things will only look better from f/4, it looks more acceptable now but you’ll still see traces of it and it won’t look any better at f/5.6, I was hoping to see none of it by this point and I doubt that it will look better by stopping the iris down any further.


(Click to enlarge)
It flares terribly and the blobs look wild, almost psychedelic. This is probably how it feels when you’re high in acid. The coatings certainly did a poor job but still better compared to what older Takumars have. Avoid shooting this when you have bright sources of lights within your frame or just outside of it. You can get creative with this if you chose to do so but I’d rather not have any of it. Remember, these photos were shot in a way that shows the lens at its worst.


(Click to enlarge)
The character of the bokeh is ugly to put it lightly. If that bothers you then this is not the right lens for your project. It’s hard to avoid this if you have distracting elements in the background that could trigger this such as foliage, twigs and cables. Stopping the iris down might help somewhat but it’s generally going to look poor.


(Click to enlarge)
These should show you how the character of the bokeh and its general rendering changes as you stop the iris down. It also shows you how much the depth-of-field changes which could help you visualize things better. It appears soft and dreamy when shooting wide-open and the bokeh character looks distracting but you’ll see a huge shift by the time it’s stopped-down to f/4 so you’ll get cleaner photos and the blurry bits won’t look as bad.


(Click to enlarge)
Chromatic aberration is very high when shooting wide-open, spherical aberration is also prominent when you have any overblown objects in your scene. Stopping the iris down to f/2.8 takes care of most of the chromatic aberration, you’re only going to see some traces of it by this point. Spherical aberration is still observable in difficult cases. Stopping this down to f/4 eliminates chromatic aberration to large degree but spherical aberration is still present in small amounts. It will only look better by f/5.6 which is rather late. This is not unusable at all but you should be careful when you shoot a scene with bright highlights or abrupt changes in contrast such as a black-and-white checkerboard.


(Click to enlarge)
Sharpness looks adequate at the center and the corners look terrible. Resolution is lacking which makes it appear soft but it’s enough for many cases. Stopping the iris down to f/2.8 improves the resolution at the center where things now look much sharper but the corners still look ugly and unusable. The center looks rather good at f/4 and the corners are now looking a lot better but still quite soft. Sharpness is very good at the center by f/5.6 and the corners are now good but still not at the same level as the center. I’d say that the corners are behind by at least 4-stops and I doubt that they will look considerably better by stopping the iris down further.
I’d use this from f/4 in most cases unless when shooting in lowlight situations where speed is premium. This is not the lens you’ll want to use when you have important elements near the corners but it’s fine when you frame your subjects closer to the center where the performance is rather respectable for a lens of this type and vintage. I think my lens is a bit sharper at closer distances up until 15m or so until it gets to infinity.


(Click to enlarge)
In actual practice the flaring and blobs don’t look terrible as long as you know how to prevent them from showing by reframing your shot. They’re still there, just not as ugly.
It’s a very useful lens when shooting indoors because it gives you an equivalent field-of-view as a 27mm lens on 35mm or a full-frame sensor.

When shooting in lowlight situations f/1.8 won’t be very helpful because it functions somewhat like an f/3.5 lens for the 35mm format, giving you less light in actual practice. I know that this affects the depth-of-field characteristics and how the effective-ISO value looks like but I’m not sure about its light-gathering abilities but let’s assume that’s the case.

When shooting architecture with no defined lines that are straight and parallel to the edges of the frame the effects of distortion won’t be as apparent.

Here’s an example showing how distortion made the lines closer the the lower-edge of the frame look curved. Just be careful with positioning your lines and you should be fine most of the time.
Also notice that vignetting is rather strong near the extremities, be aware that the CX-format is slightly-larger than the surface area of a standard 16mm frame so we’re basically looking at areas that were not meant for us to see.

Notice the dark part at the top-left part of the frame. I think I cropped this a bit so it only appeared at that spot. Again, the extremities are beyond the intended projection-area of this lens.

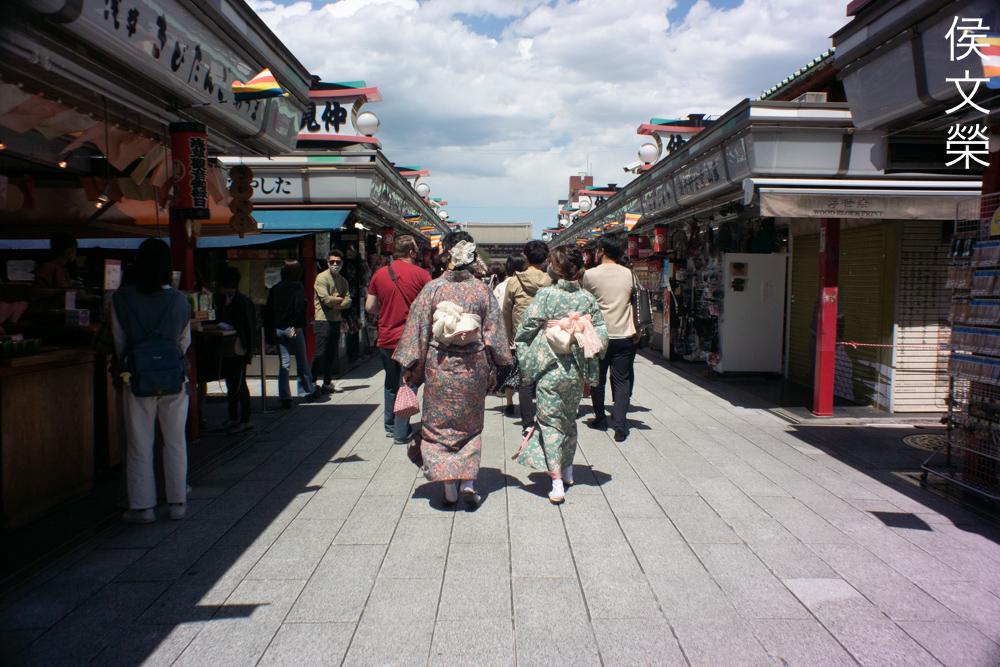
It’s a nice lens for shooting travel photos and focusing with it is easy when you stop the iris down but acquiring critical-focus can be difficult even if you’re looking-through an EVF, this is much more difficult if you’re only relying an LCD.
It also adds a slight green-blue tint that’s common with many lenses that were designed to be used with monochrome film. This helps give your photos a “vintage” look so you don’t have to color-correct as much if this is what you want.

Tracking moving subjects won’t be much of a problem specially if you’ve stopped the iris down, the depth-of-field can help you get more things in-focus. This is a forgiving lens when it comes to this so videographers will be happy with it.

If you’re shooting documentaries this should be part of your kit, it’s wide but it won’t give you exaggerated lines. You’ll also be able to use the effects of foreshortening to help you tell a story.

It’s great when shooting on a sunny day since you could stop the iris down further which results in sharper photos. See the dark part at the corner again?

I love this photo a lot because it’s sharp. If you know how to work with a lens you’ll be able to avoid its weaknesses.

It’s not so nice when shooting in ugly light like most lenses but this one looks even worse. Chromatic aberration can be seen at the top of the main structure where it meets the sky. Stop the iris down to about f/8 to help avoid this look.


(Click to enlarge)
Here are more photos for you to look at. Despite its shortcomings I’ve enjoyed shooting with this a lot. While it is true that we don’t have much of an alternative to this when we’re sticking to Nikkors I still think that it’s worth giving this a shot. It’s not worthless by any stretch, just limited due to its constraints which you’ll learn to work with and accept.
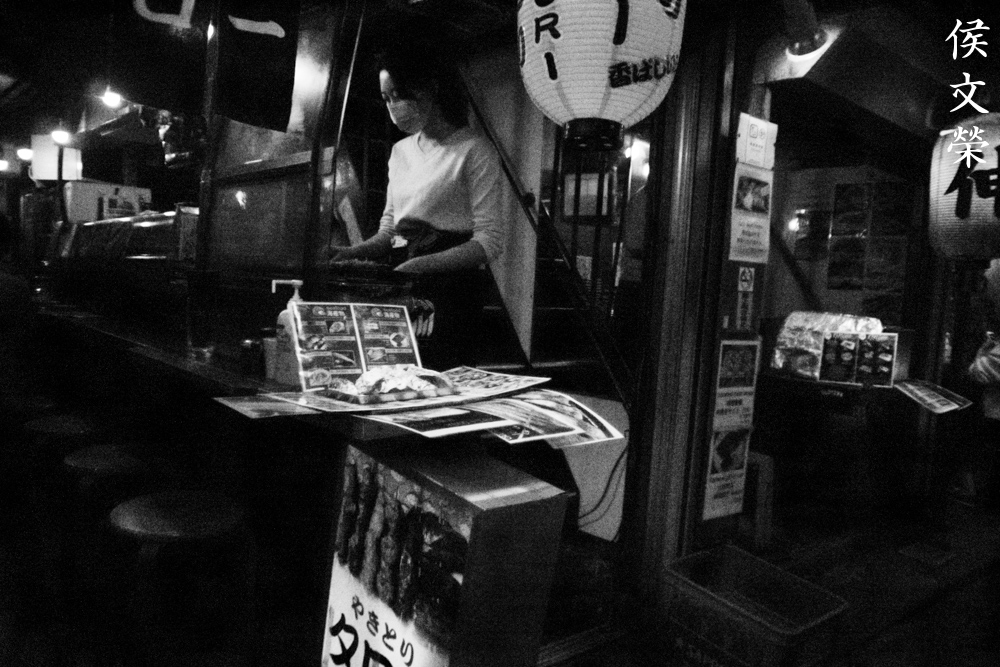
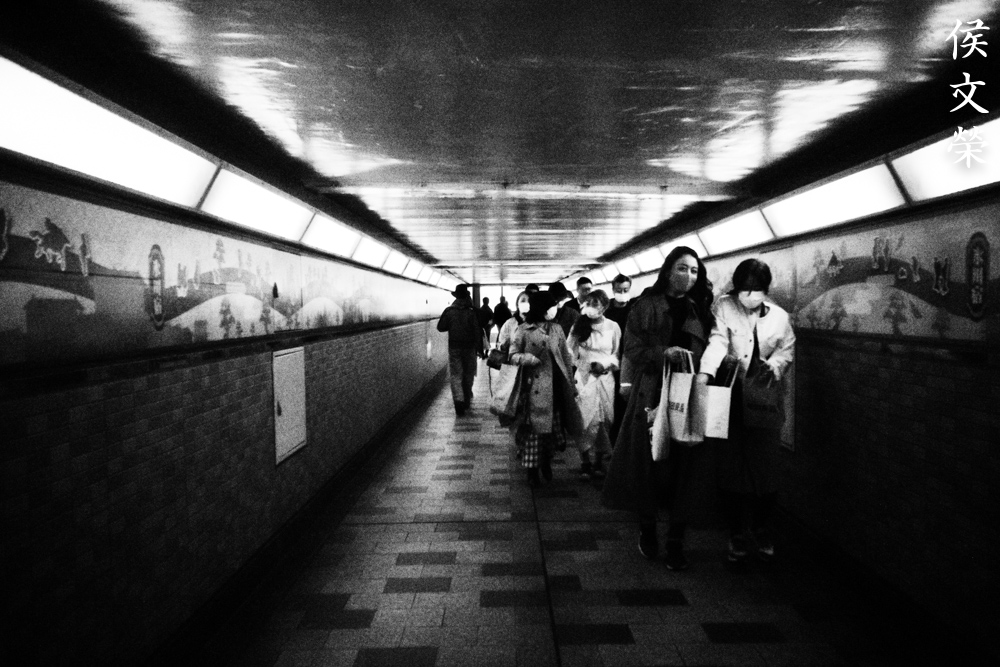
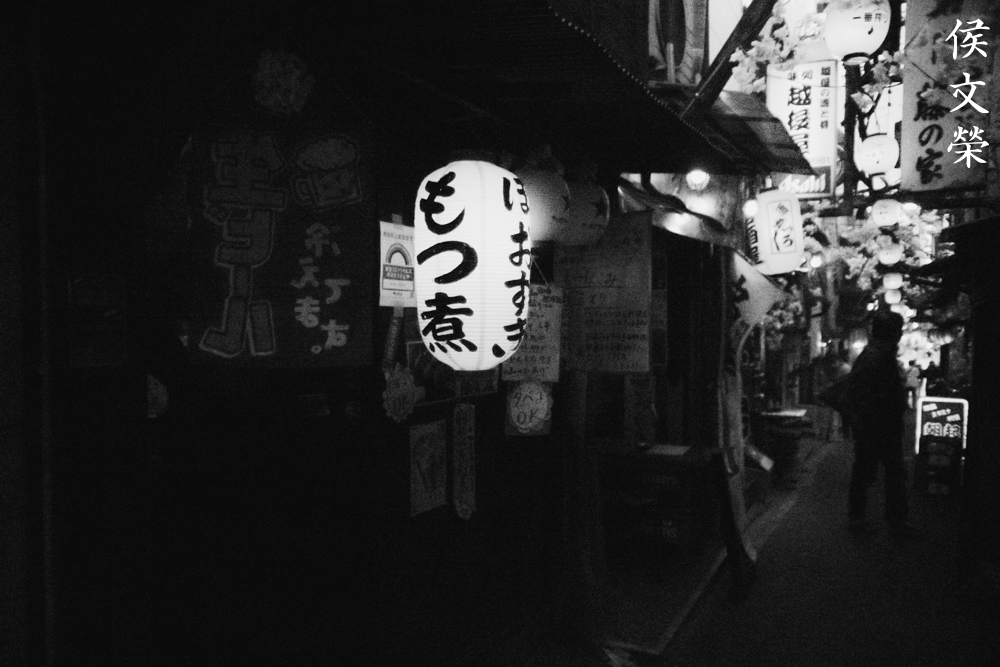
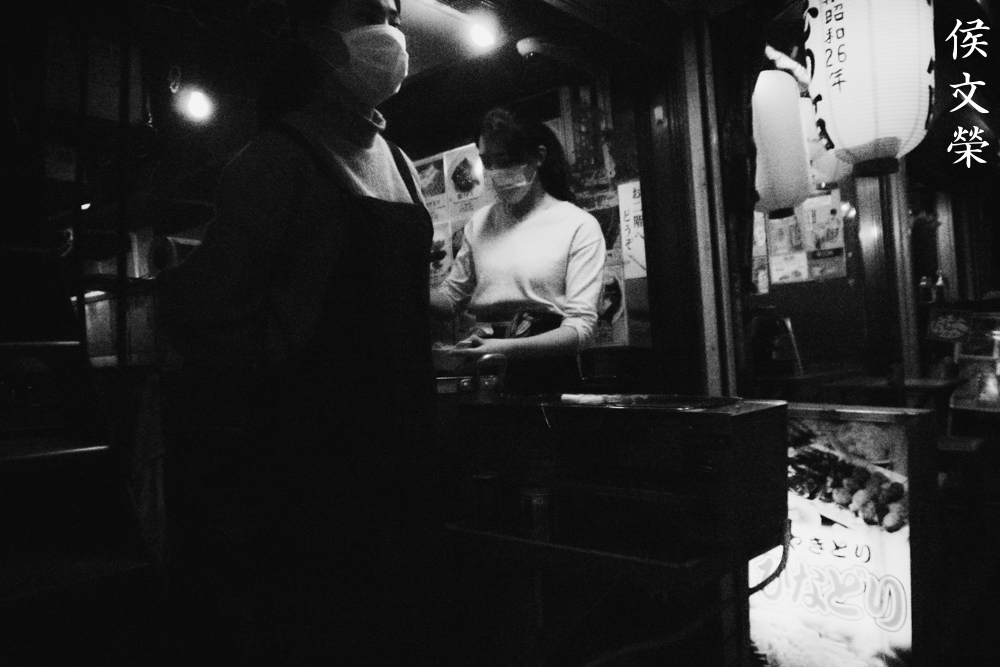
Here’s a bonus. Since the small sensor of CX is rather poor at gathering light and is rather grainy at anything above ISO values from 800 let’s try mimicking shooting this with pushed-film. The noise of Nikon’s CX cameras are blocky and the look is reminiscent of the chunky grain you’d get from pushing ISO400 film to crazy levels. I shot these with the highest available ISO value to me then converted them to black-and-white. I’ll concentrate on sharing my experience with this as a lens for copying master Moriyama Daido’s style.
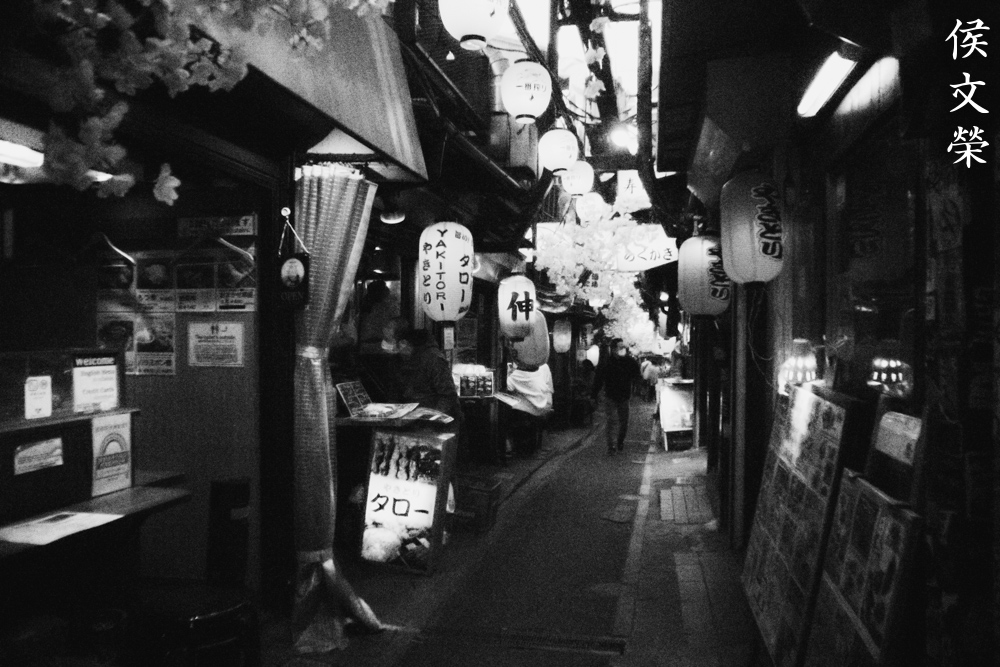
Since this set is not about image quality but more about having fun with this thing the optical aberrations we saw here don’t matter at all.
You’re able to shoot without even focusing with it so long as you’ve stopped the iris down and set the focus correctly.

Shooting in this manner allows you to be stealthy since nobody knows that you’re taking a photo of them. Shooting it without even looking at your scene can give you surprising results because you won’t know what to expect until you’ve seen the results.


(Click to enlarge)
This is a creative way of embracing your setup’s shortcomings and enjoying whatever results you get. This is not for all people I am sure that many people prefer to shoot the orthodox way.
I liked shooting with it, it’s able to give you acceptable photos despite being mediocre at best. I don’t think there’s any alternatives to this, the Cine-Nikkor 13mm f/1.8 is the closest Cine-Nikkor to this in terms of focal-length but that isn’t really a real equivalent to this one. I guess you should just stick to this and take great photos with it instead of thinking about its flaws. It’s not totally useless so if you couldn’t make anything with it then the problem is probably you. If you are set on buying this be sure to check the iris and be sure that it works perfectly and it’s dry. Turn the rings, make sure they both turn properly, if not smoothly. The glass has to be clean and clear, too. These aren’t expensive at all but they are sometimes sold at an exorbitant prices, sometimes reaching $500.00 or more. These should only sell for $100.00 at most, I got mine for much cheaper than this, I paid $70.00 or less. Keep an eye open so you’ll find one that’s cheap and decent, happy hunting.
Before We Begin:
If this is your first attempt at repairing a lens then I suggest that you see my previous posts regarding screws & drivers, grease and other things. Also read what I wrote about the tools that you’ll need to fix your Nikkors.
I suggest that you read these primers before you begin (for beginners):
Reading these should lessen the chance of ruining your lens if you are a novice. Before opening up anything, always look for other people who have done so in YouTube or the internet. Information is scarce, vague and scattered (that is why I started this) but you can still find some information if you search carefully.
I highly recommend that you read my working with helicoids post because this is very important and getting it wrong can ruin your day. If I can force you to read this, I would. It is that important!
For more advanced topics, you can read my fungus removal post as a start. It has a lot of useful information, it will be beneficial for you to read this.
Disassembly:
I don’t think this is a difficult lens to service if you’re familiar with servicing Cine-Nikkors but it’s still enough to give you a good challenge even if you’re an experienced repairer. This is not something that a beginner should tackle because it requires special tools to service and the experience to make the right decision when things don’t go as planned.
This is one of my first Cine-Nikkors so I wasn’t familiar with it, the sequence you’re about to see here isn’t the best but it’s enough to show you how this is done. Since we couldn’t separate the housing of the objective from the main barrel like what we’re used to doing here I’ll just consolidate all of the sections into a single one. This makes it easier to follow and should make more sense considering that I didn’t dismantle this in the correct order. Be sure to take notes before you remove anything so you’ll know how to put them back later. Never forget to mark the side of each element so you will know which side should be facing the front, putting them back in the wrong direction and order will damage your lens and there’s nothing you could do to undo it.
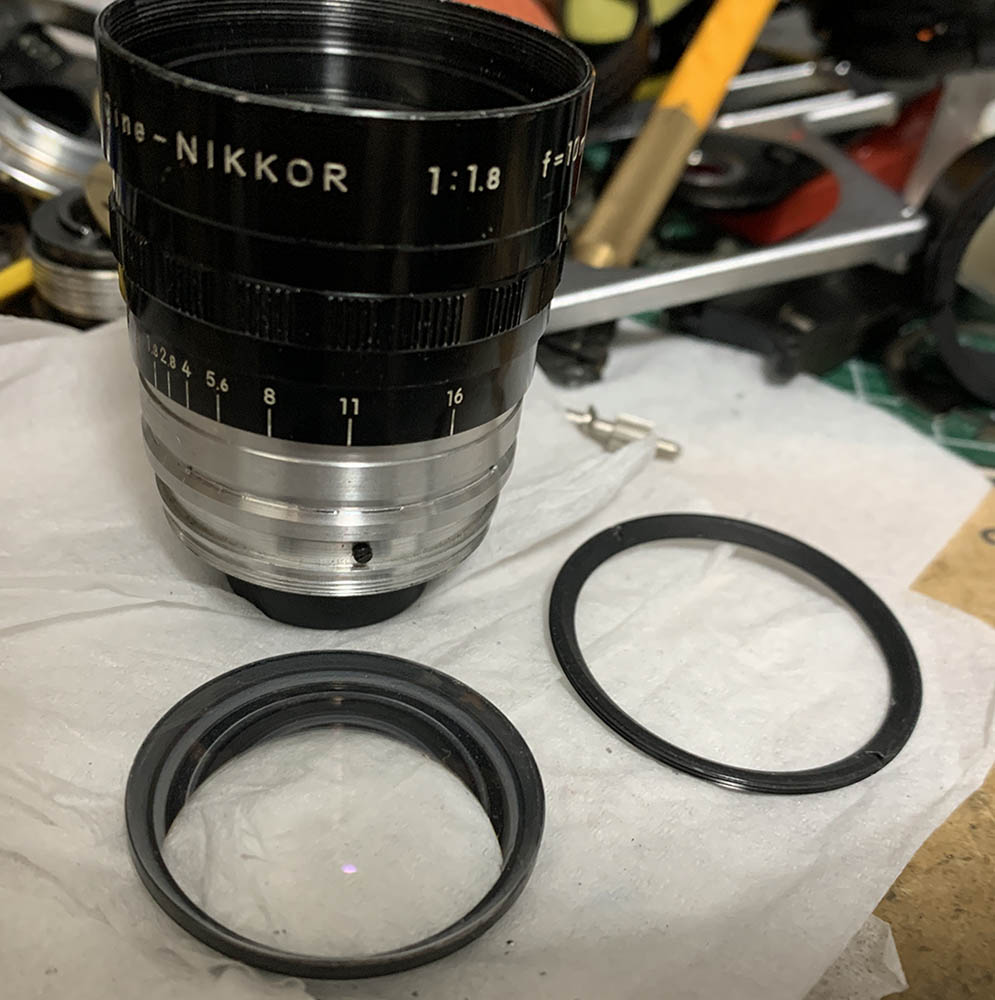
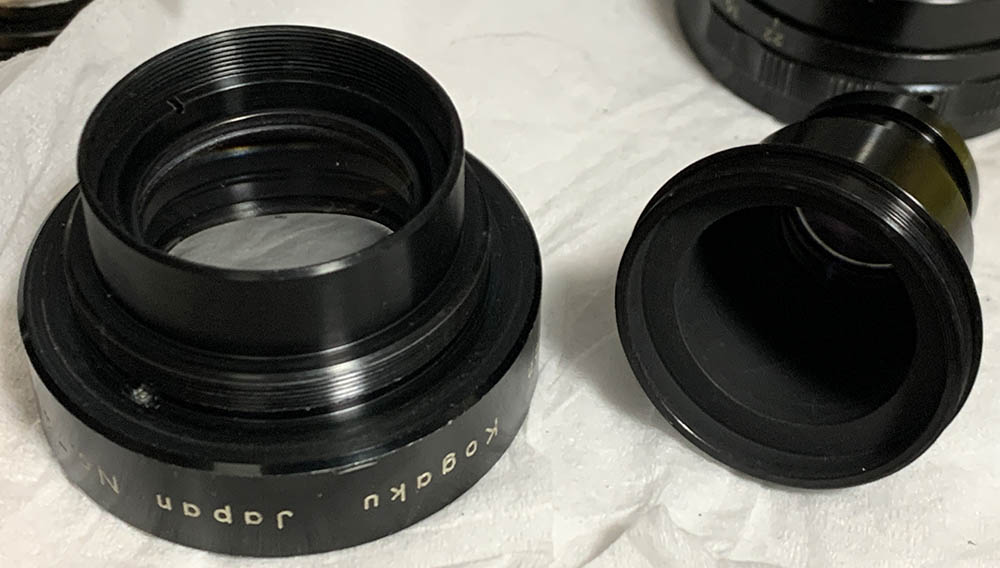
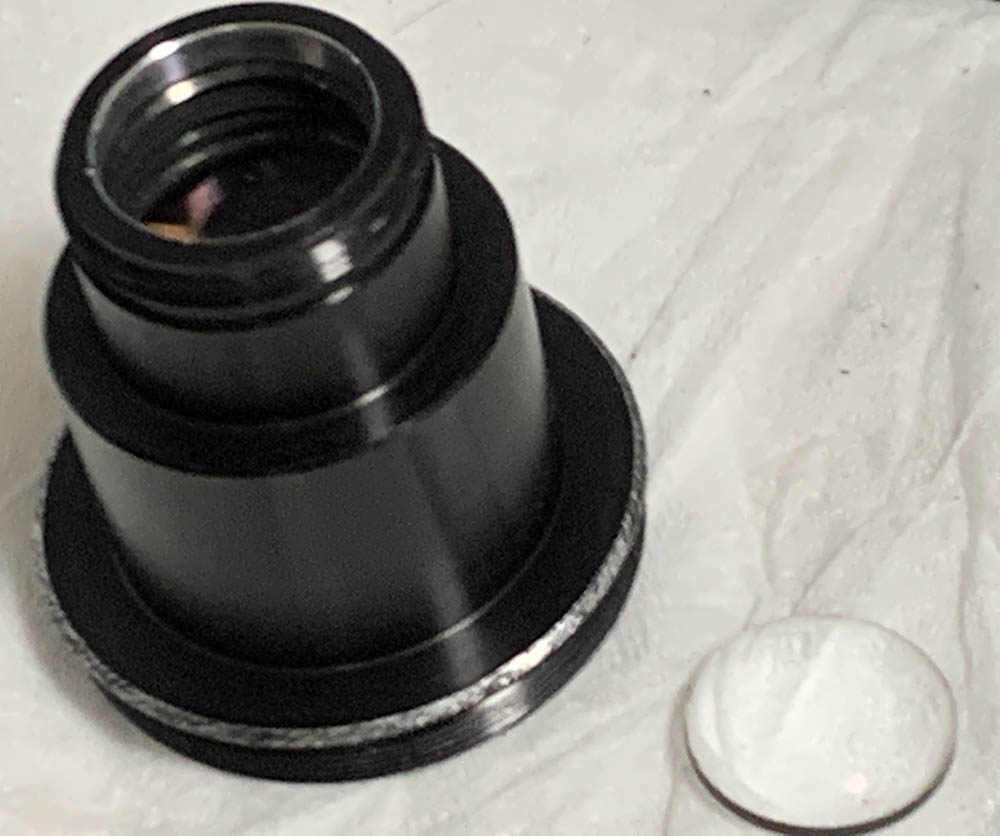
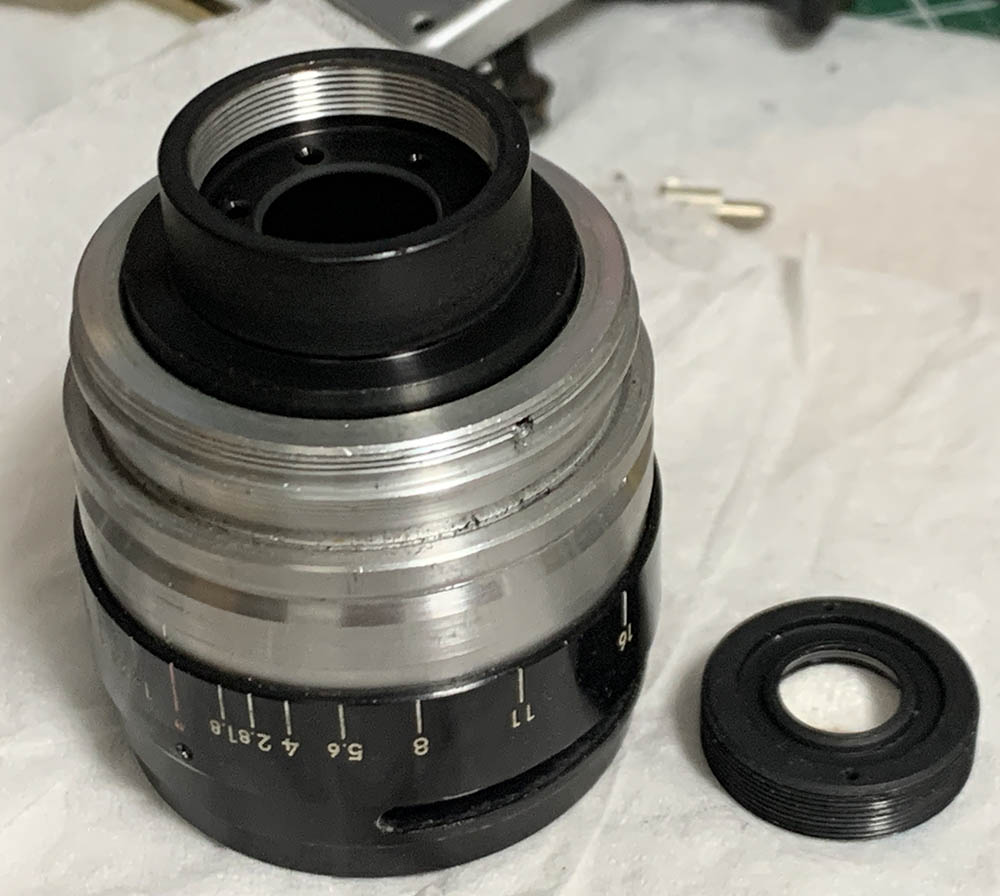
Loosen this so you could unscrew the base from the rest of the barrel.
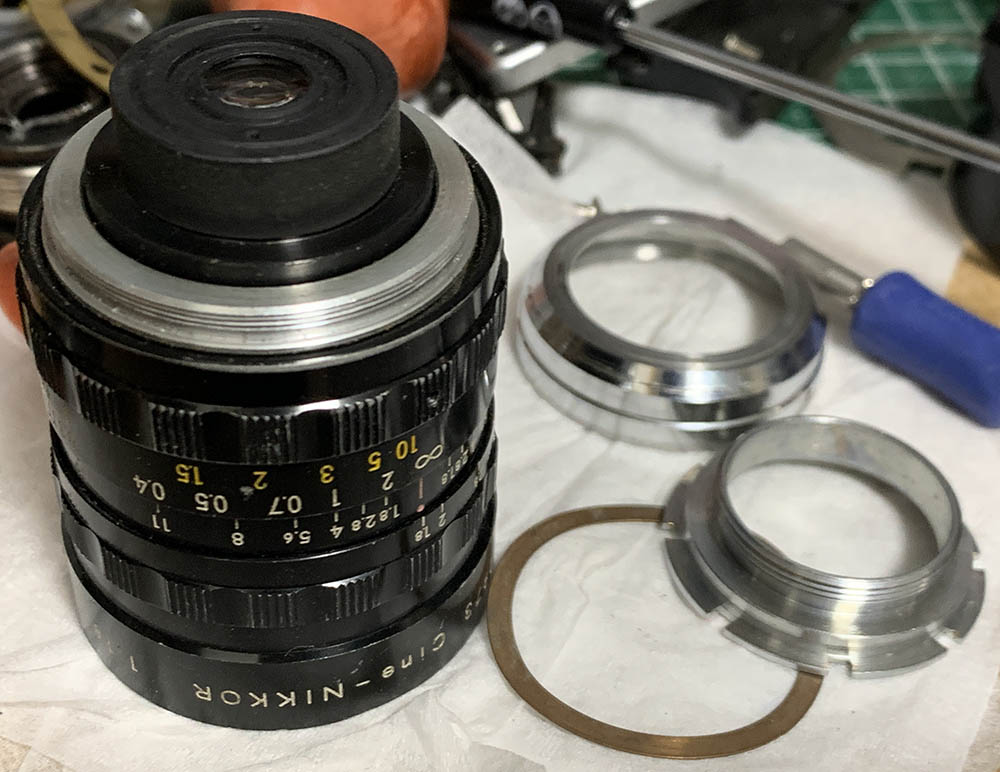
Carefully remove the spring and the mount while making sure not to scratch the rear glass.

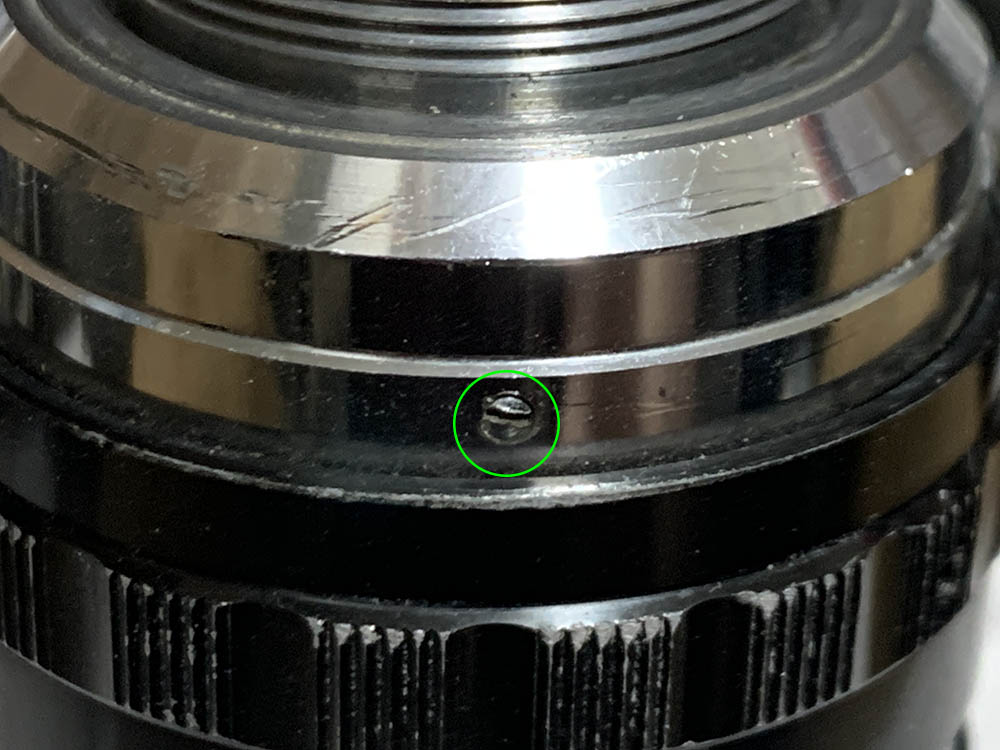
Extract this, it serves as a pin so the focusing ring won’t turn beyond its range.
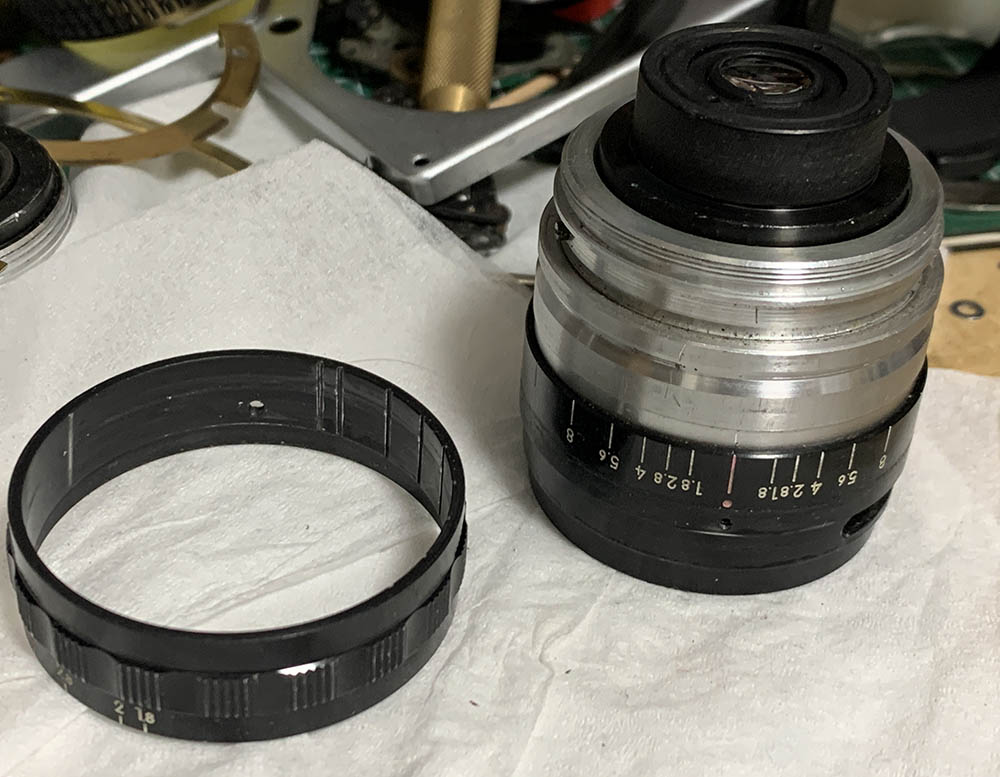
Loosen these so you can remove the focusing ring.

Pull the focusing ring off while making sure that the helicoids are still configured to infinity.
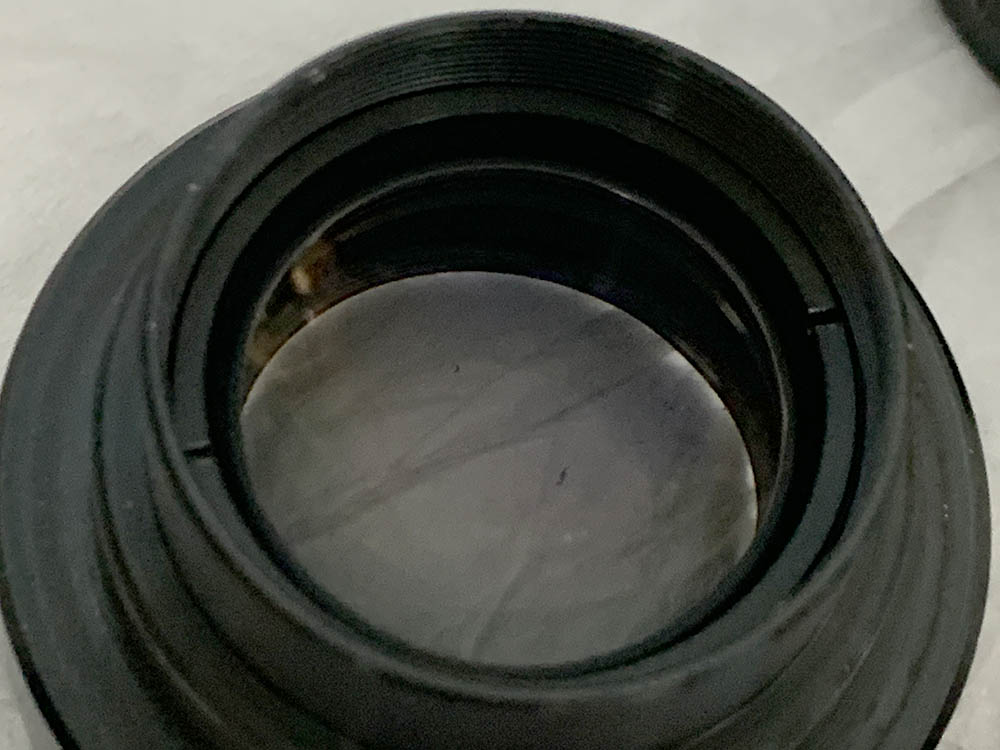
Unscrew the retainer of the front element and extract it with a lens sucker.
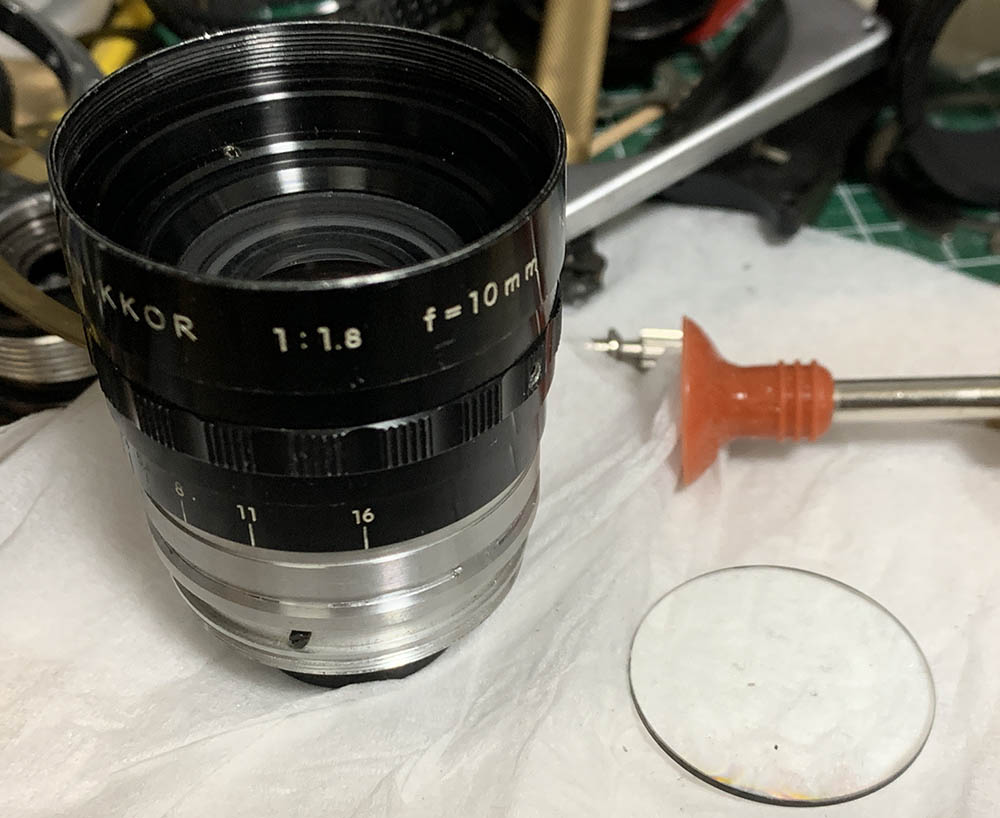
Carefully extract the 2nd group with a lens sucker.
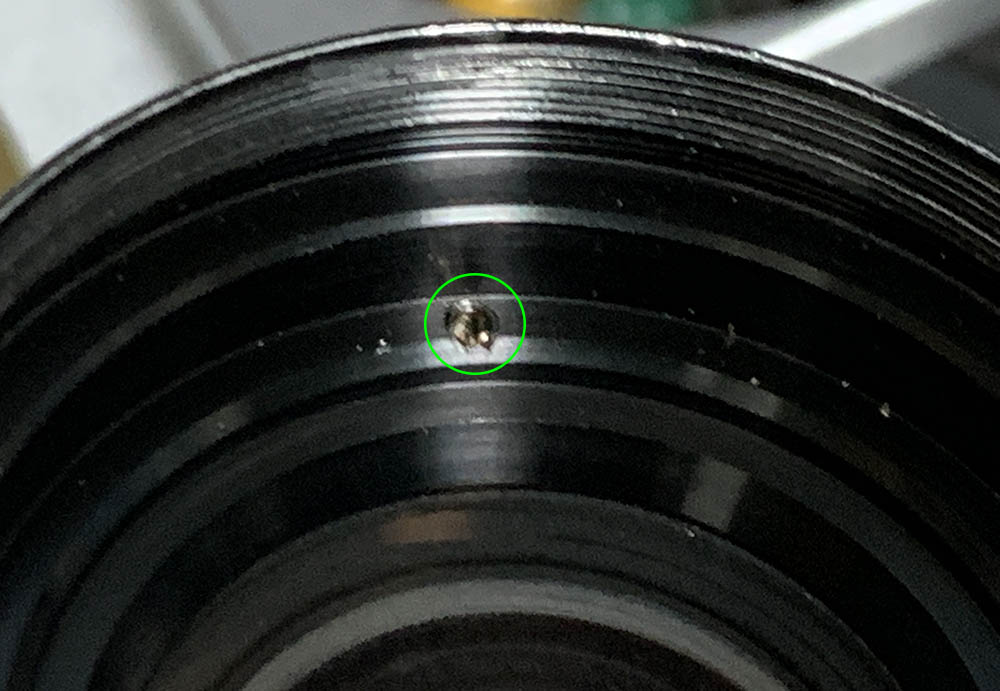
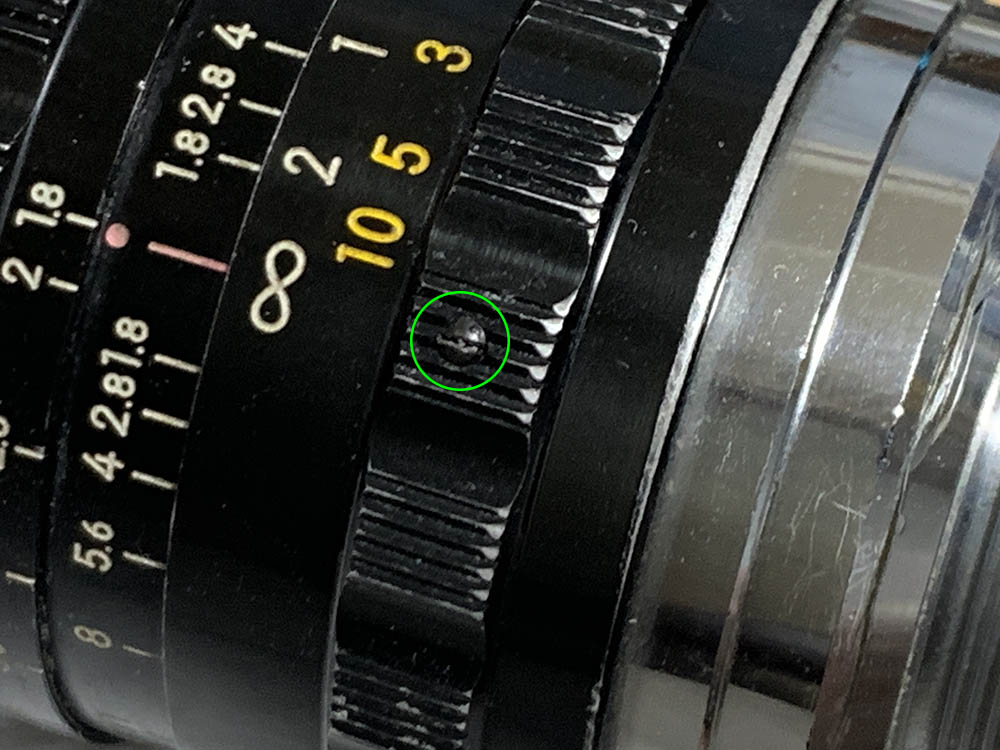
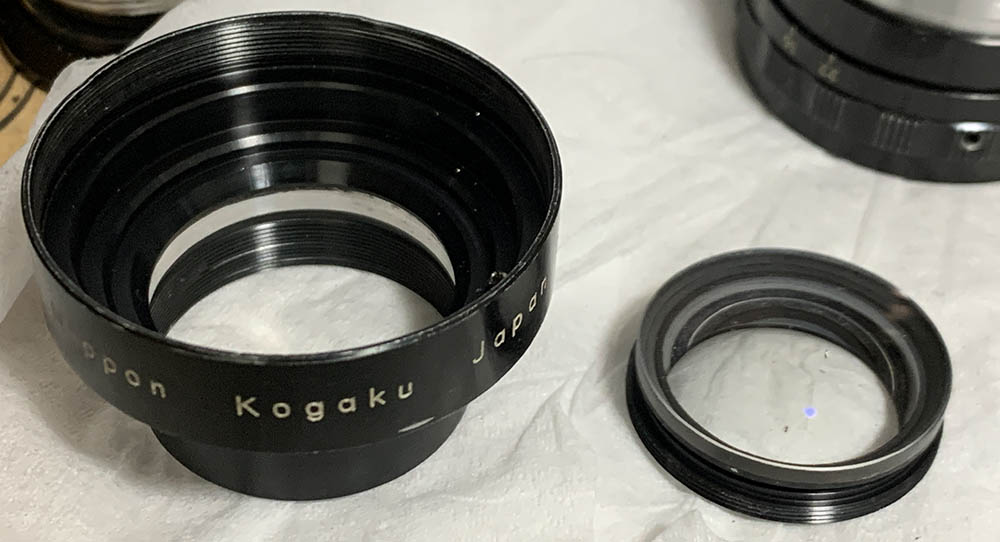
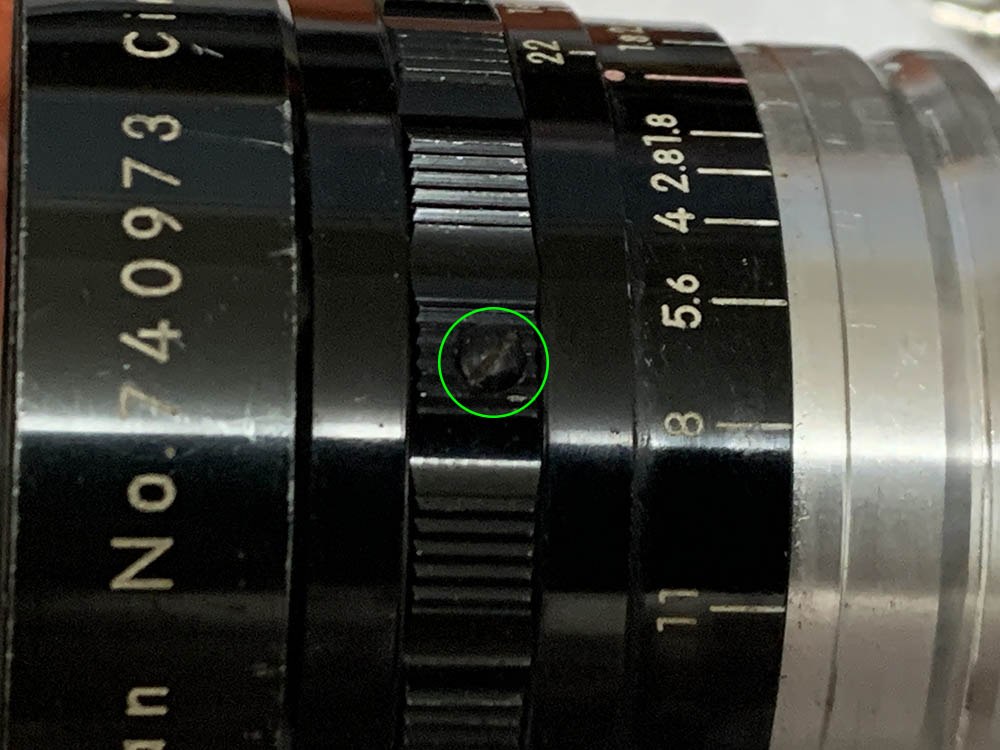
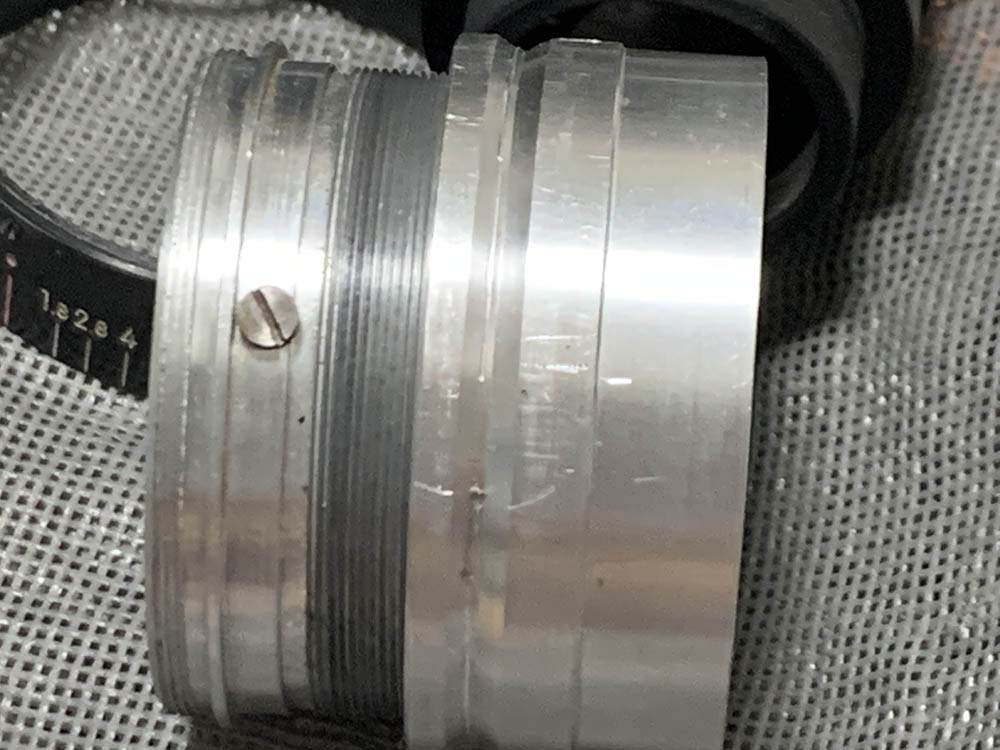
Loosen this set screw so you can unscrew the front barrel. Note that mine has been stripped by the previous repairer.
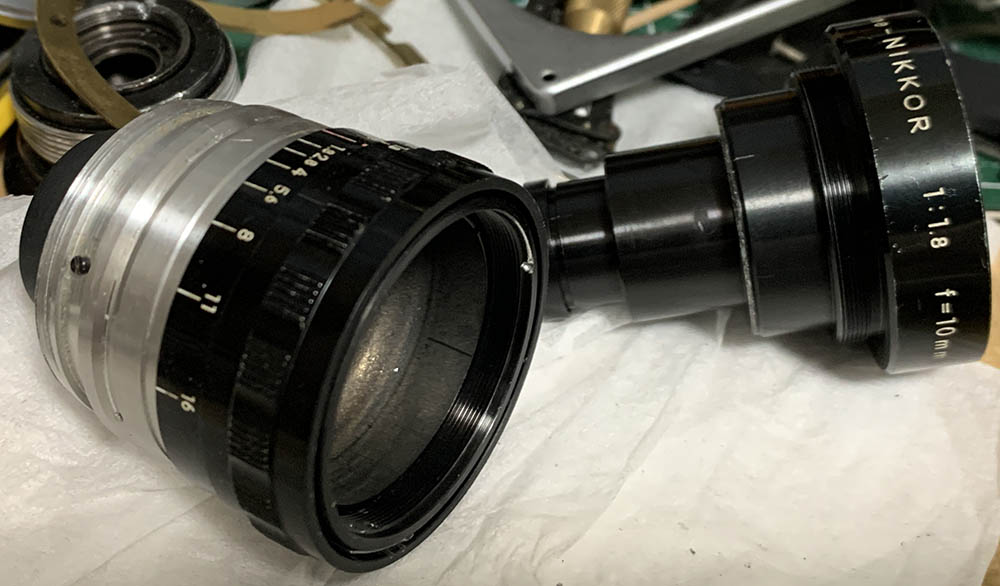
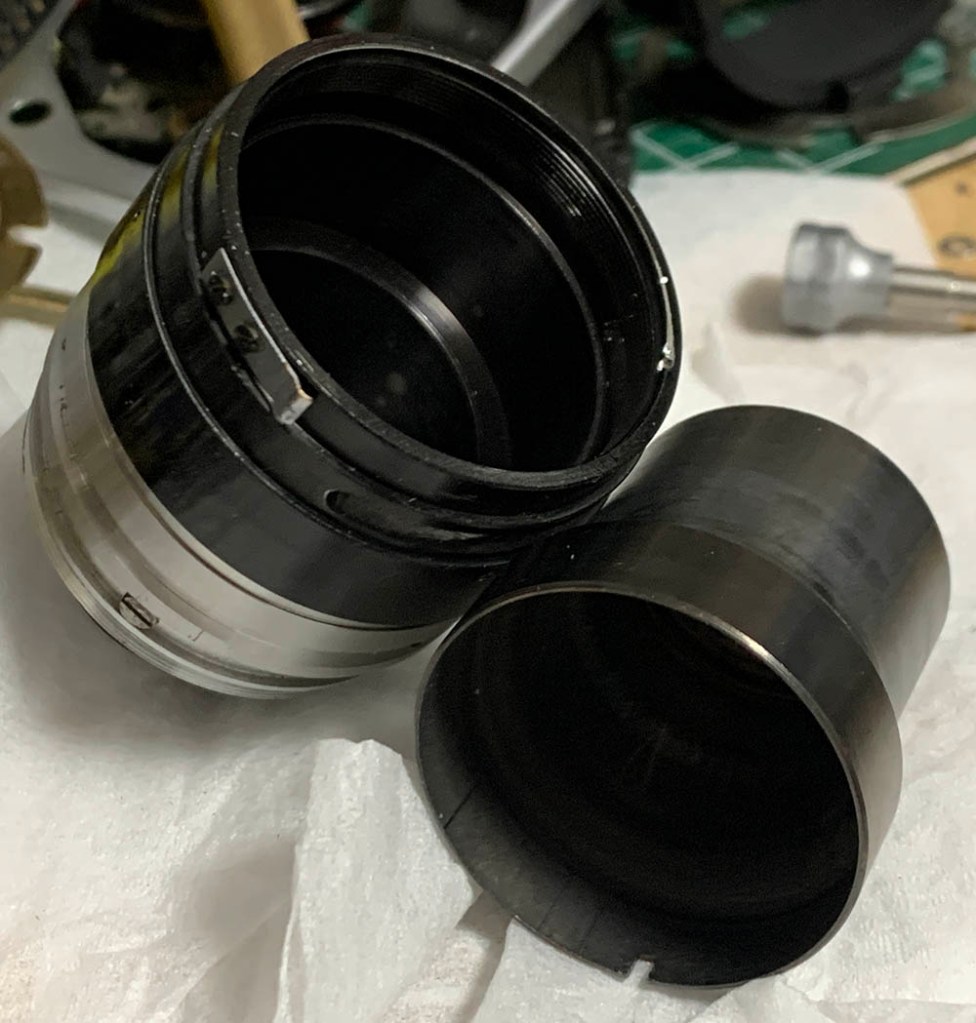
Unscrew the front barrel and be careful not to damage the optics.
The front barrel can be dismantled further like this.
Unscrew this retainer to remove the optics.
Mine was sealed with the retainer so I just left it alone. There’s no point in separating these so just let it be.
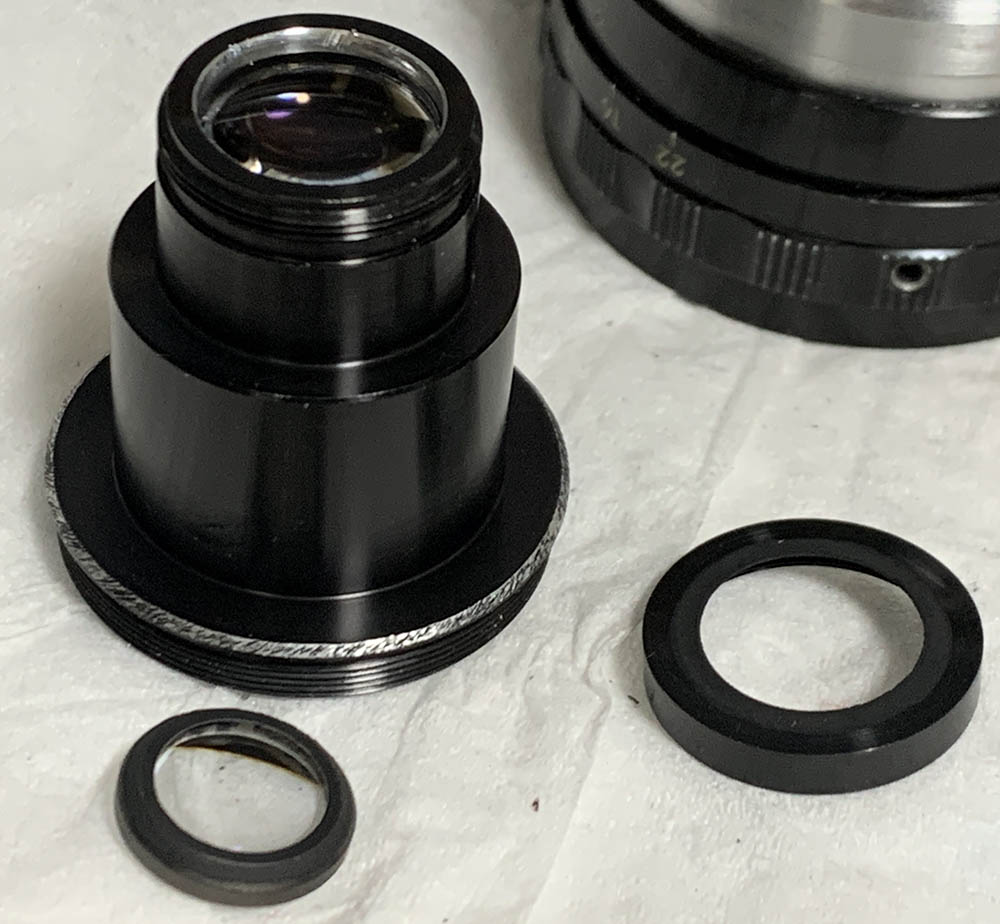
Unscrew the collar at the rear to remove this group. I think it’s supposed to be sealed with the collar but mine was not so I suspect that it may have gotten loose.
Carefully extract this element and don’t forget to note its direction so you’ll know how to put this back later.
Extract this in order to remove the aperture ring. It serves as a pin coupling the aperture ring to the iris mechanism, it’s delicate so be sure not to damage it.
Pull the aperture ring from the rest of the barrel.
Carefully pull the diaphragm cup so you can access the iris.
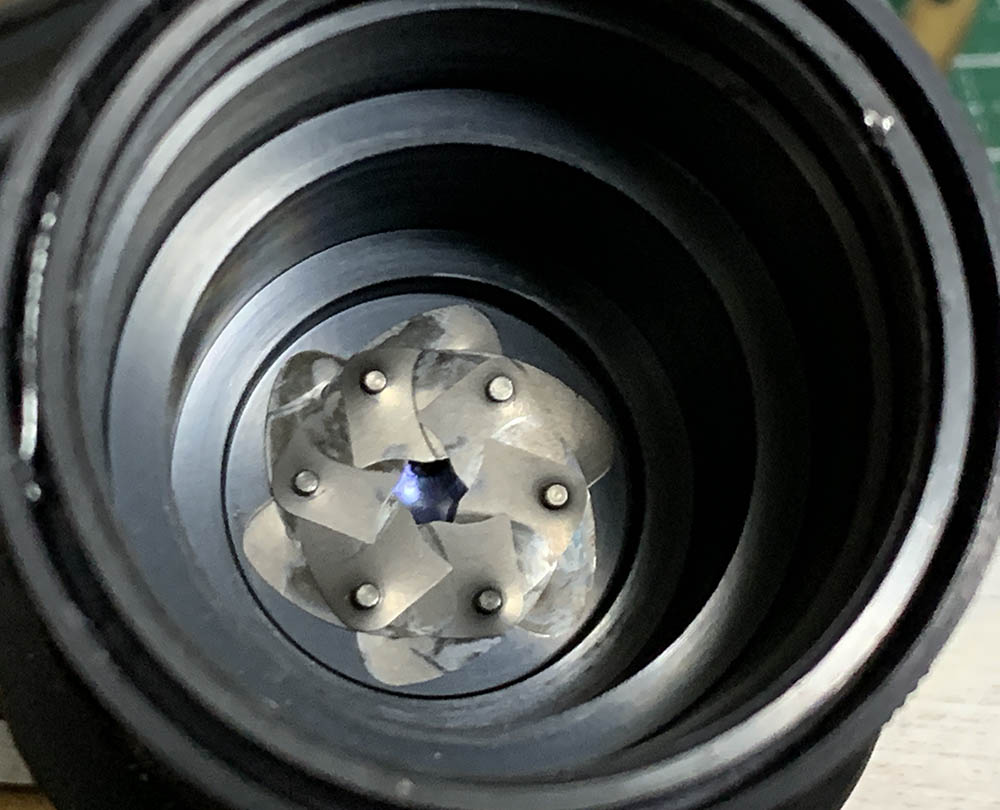
The leaves are delicate so be careful when handling them. Mine looks very oily so they’re stuck to their holes, I gently tapped them out of the barrel and caught them with a vat of alcohol to cushion their fall.
Carefully unscrew the housing of the rear group. You could’ve done this much earlier if you wish, as soon as you could access it.

Loosen these so you can remove the sleeve.
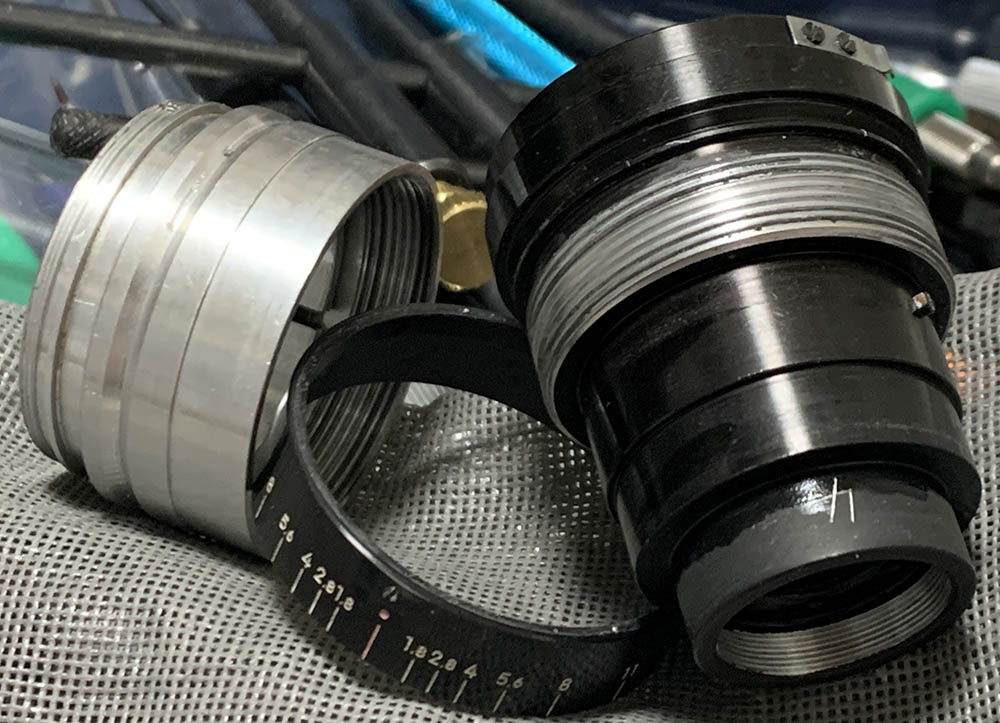
Unscrew the front helicoid and be sure to note where it parted, many people forget to do this so they get stuck trying to guess how the helicoids should mesh. To avoid this happening to you read my article on how to work with helicoids.
Do the same for the lower and central helicoids and never forget to note where they separated since it’s also the same spot where they should mesh.
Each blade of the iris has to be cleaned thoroughly with a Q-tip saturated with solvent, be sure that they’re not oily and they should not leave any mark on a fresh tissue before you put them back. Many Cine-Nikkors have blades that thin, a narrow neck also makes them even more delicate so handle them with care. Never turn the diaphragm cup beyond the designated range or you’re going to snap these. When testing them it’s best to go at it slowly, lubricate them using the best powdered graphite available to you to make them glide-over each other smoothly then blow the excess off.
Clean the helicoids really well by scrubbing them with a strong toilet cleanser and cleaning them with alcohol very well in order to remove residues. The optics should be wiped-clean and reinstalled carefully so you won’t damage them. It’s important to put them back at the same order and direction or you’ll damage the optics. It’s not easy to put them back and you will need a small lens sucker with a long neck so you could reach deep-within the housing. This benefits from a grease with a little bit of resistance. If it’s too-thin the focusing won’t be damped and it’s going to be difficult to turn if the grease has too much resistance. Never apply too much or the excess grease will migrate to the iris.
Conclusion:
Despite being of conventional design for a Cine-Nikkor I’ve really enjoyed working with this because this is one of the C-mount Cine-Nikkor that I’ve repaired. It’s not that difficult to repair but it’s equally easy to mess-up specially if you’re not careful with the iris. It would’ve been even easier if the optics is simpler, though. If your lens needs to be repaired it needs to be serviced by somebody who has experience with cinema lenses. Never attempt to repair these if you do not know what you’re doing, you could destroy an invaluable lens.
There’s not a lot of information regarding this lens so I hope that you liked this article. I try to give you as much data as I could and what you saw here is everything that I knew about this lens, including how to repair it. This blog is the only site that tackles these “unknown” Nikkors and I will try to give you the best information around for your entertainment and information.
You’ll have to adjust its focus before you use this, read my Cine-Nikkor 13mm f/1.8 article because that lens is similar to this one. My article on focus calibrations should show you how it’s done in a DIY setting with tools that are available to you.
Thanks for following my work, if you liked this article please share this with your friends so it will get more views. This site earns around $0.40 a day, we are totally reliant on views. You can also support this site, it helps me offset the cost of maintenance and hosting. You’re also helping me purchase, process and scan film. This site promotes the use of film so we are all in this together. See you again in the next article, Ric.
Help Support this Blog:
Maintaining this requires resources and a lot of time. If you think that it has helped you or you want to show your support by helping with the site’s upkeep, you can make a small donation to my paypal.com at richardHaw888@gmail.com. Money isn’t my prime motivation for this blog and I believe that I have enough to run this but you can help me make this site (and the companion facebook page) grow.
Buy me a roll of film or a burger?
Thank you very much for your continued support!
$2.00
Helping support this site will ensure that this will be kept going as long as I have the time and energy for this. I would appreciate it if you just leave out your name or details like your country’s name or other information so that the donations will totally be anonymous. This is a labor of love and I intend to keep it that way for as long as I can. Ric.

1 Comment (+add yours?)