
Hello, everybody! Do you remember Fred Rogers? He is an amazing person who seem to see something good in all of the things that happen in this world. When an awful situation happens it’s nice to remember him and his show. There’s also a good story by Ajahn Brahmawanso about how he almost destroyed a brick wall just because there’s brick that’s not looking quite right. What stopped him was the thought that it’s not worth destroying a whole wall just for a single brick since the rest are obviously fine. In this life we’re sometimes faced with annoyance and it’s important to see some good in any situation. Today, I will show you a similar situation, I’ve received an item that is in otherwise good state but it has a blemish. Since it still sort of works fine I just focused on that fact instead of that blemish.
Introduction:
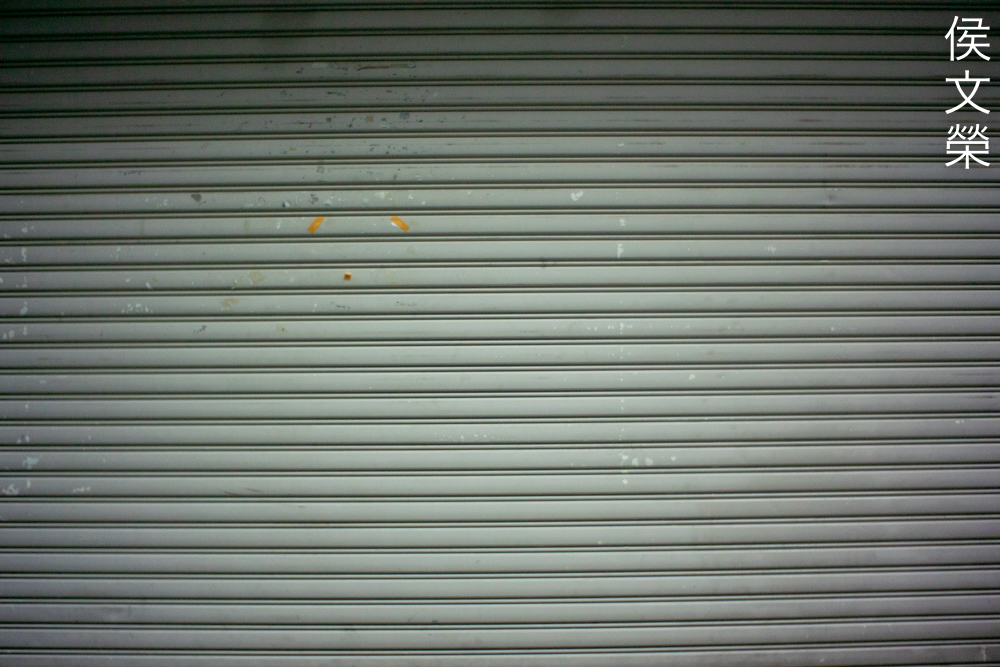
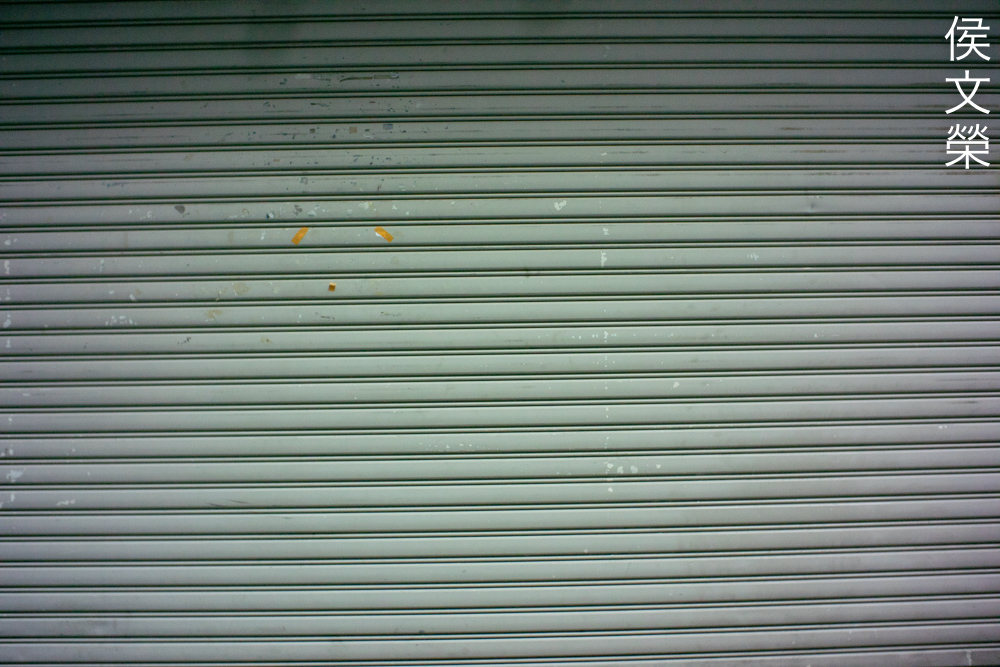
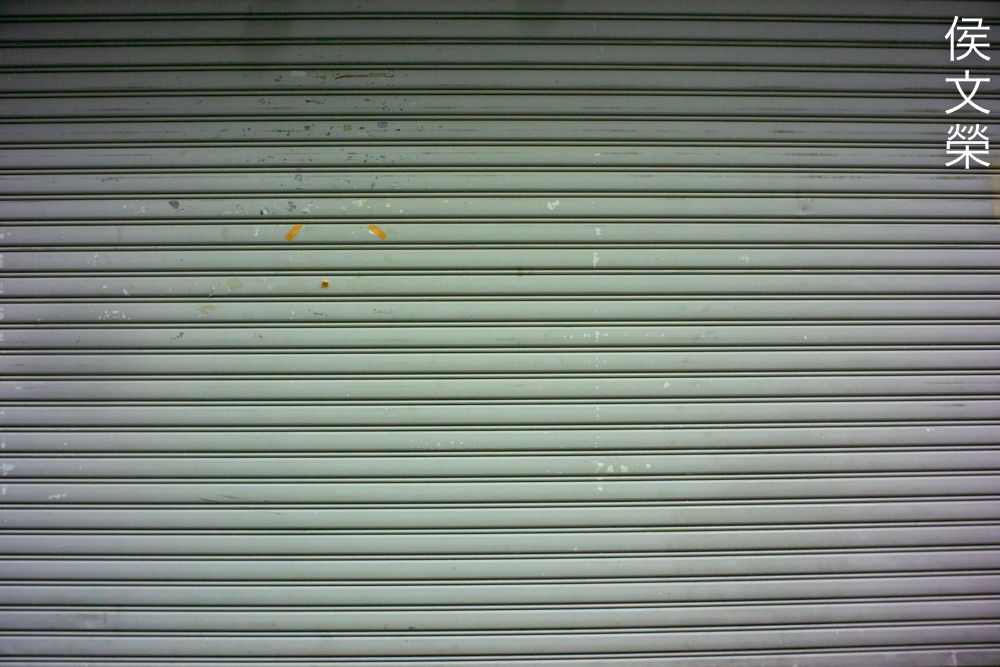
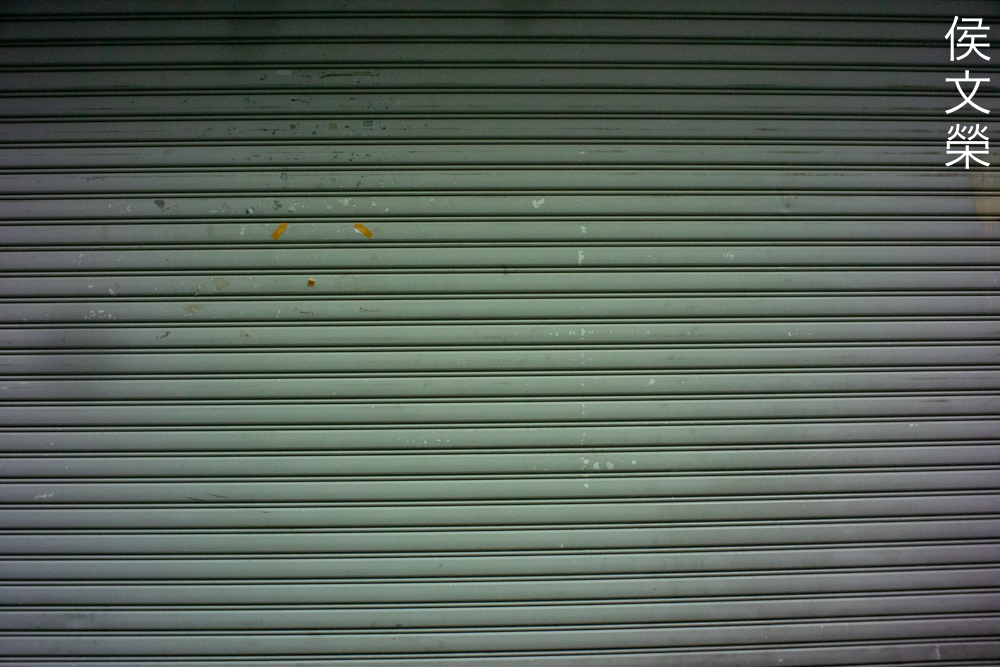
The Cine-Nikkor 13mm f/1.8 was sold from an unknown date. Judging from the types of the boxes I’ve seen these were probably sold from the 1960s to around the latter part of the 1970s and even possibly up to the 1980s. I’ve seen beige and even blue boxes for these. This lens filled an important part in Nikon’s C-mount lens catalog, it gives you a similar field-of-view of a 35mm lens on full-frame. While f/1.8 may sound bright it’s actually rather dim, being merely an f/4.8 lens in actual practice. You’ll have to remember that the 16mm format is smaller than 35mm so it gathers less light and you won’t get shallow depth-of-field with it unless you used a super-fast lens.

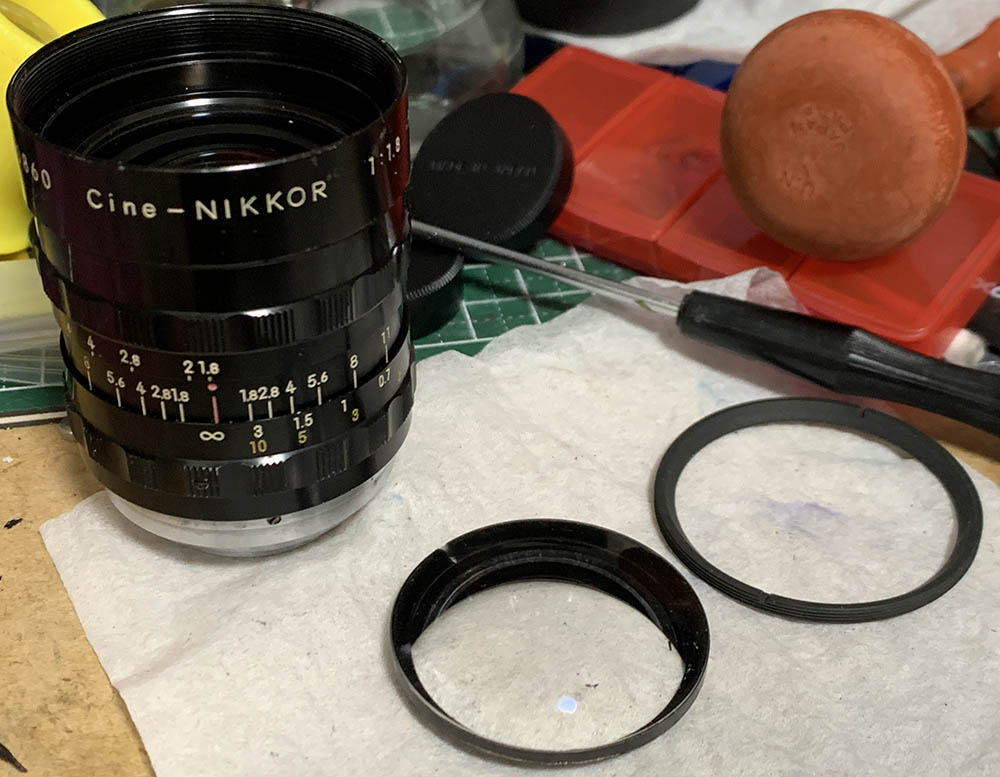
The barrel is engraved with all sorts of informative scales that will be useful for operating this lens. The mount is special in the sense that you can adjust its orientation so the centerline of the barrel will be visible to you. This is essential, not all camera brands will allow you to mount these lenses similarly so the ability to adjust its orientation is important.
It has a 8-elements-in-7-groups design which is slightly more complicated than I expected but I guess that’s need for a lens of this class to achieve the desired focal-length and brightness. The other Cine-Nikkors also have complicated lens designs, some even have 10 elements at most. Despite all this this lens has an annoying property, you’ll get vignetting even at smaller apertures which you’ll see later.

It balances perfectly with a Nikon 1 J4, finding a good adapter can be difficult and the good ones aren’t cheap because they were made in Japan, Taiwan or Europe. They will help you get closer to the correct flange-distance required to get the lens to focus properly.
Learning how a lens performs is key to maximizing it. You’ll learn how to utilize its strengths and avoid its weaknesses. This knowledge helps in determining which lens to bring on an assignment. I shot these from f/1.8, f/2.8, f/4 and f/5.6 since these are the most common values that people would want to use this and we’ll see the most changes happen within these apertures. These were shot with my Nikon 1 J4, some of the photos were cropped close to 1:1 so we can see the details better. You’ll need to understand that the sensor’s usable area is actually a bit bigger compared to that of 16mm so the areas closer to the edges look terrible since this lens is rendering beyond its intended image-circle.

You’ll see a strong barrel-type distortion which is as expected from a lens this “wide”. The curvature is simple and this should be simple to correct in post.


(Click to enlarge)
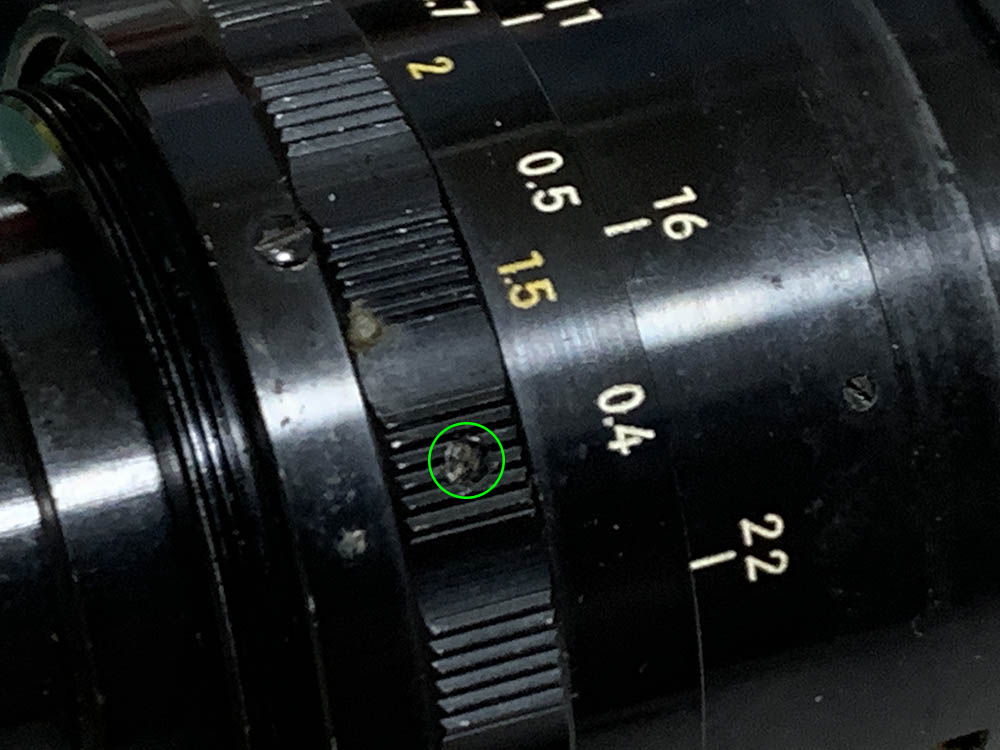
Vignetting is rather prominent wide-open which can lead to several-stop’s worth of light-loss. Stop it down to f/2.8 and it gets somewhat better but unfortunately the frame won’t improve much as you stop the iris down further. You’ll see a dark spot at the left of the frame, that’s caused by a large chip in the front element.


(Click to enlarge)
The character of the bokeh is rather “cheap-looking”, you’ll be able to see some rough-looking artifacts and smearing if you have twigs and other small details in your scene. To be fair, nobody shoots with this expecting for smooth-looking blurs, you’ll want to use a longer lens for that.


(Click to enlarge)
Its high-elements-count made it susceptible to producing blobs when aimed at bright objects, it also flares terribly. It’s all due to the old-tech coating applied to its optics which couldn’t be helped since that’s what was available at the time it was made. I don’t see these as obstacles to enjoying this lens. That black-spot is going to be more pronounced once I’ve stopped the iris down to smaller apertures. I’ll probably just avoid shooting it this way so I won’t see it.


(Click to enlarge)
Chromatic aberration appears to be controlled rather well except in extreme situations such as shooting twigs with the sky as the background and really shiny things. Spherical aberration could also be seen wide-open which is made worse by flare. Unlike the former, you could use this one creatively to suggest glossiness, etc. Chromatic aberration won’t be much of an issue by f/2.8 and spherical aberration is also controlled much better. You won’t see much of these once it has been stopped-down from f/4 and smaller. Overall, I think it performs fine in this regard for a lens of this vintage.


(Click to enlarge)
It’s not sharp wide-open but it’s usable. The subdued contrast and lack of resolving power makes it appear soft. Stop it down to f/2.8 and you’ll notice a big improvement in resolution which results in sharper photos specially at the center. The corners now look better, they’re not bad at all even at f/1.8 to be honest. The center is performing at its peak and the corners improve some more by f/4 and it’s only going to look marginally better at f/5.6.
I think it performs rather well here. Despite not being razor-sharp at f/1.8 it makes-up for it at f/2.8, this is certainly an amazing lens for its time when it comes to resolving detail. Mine seems to perform a little bit better at infinity than it is at closer distances.
You couldn’t focus really close with it, about 0.4m at best. This makes its use rather limited since we’re now all used to seeing wide-lenses being able to focus-down to about 0.25m or so.
It would’ve been for it to focus closer but it is what it is.

Despite being usable wide-open the character of the bokeh is rather ugly to the point of being distracting.

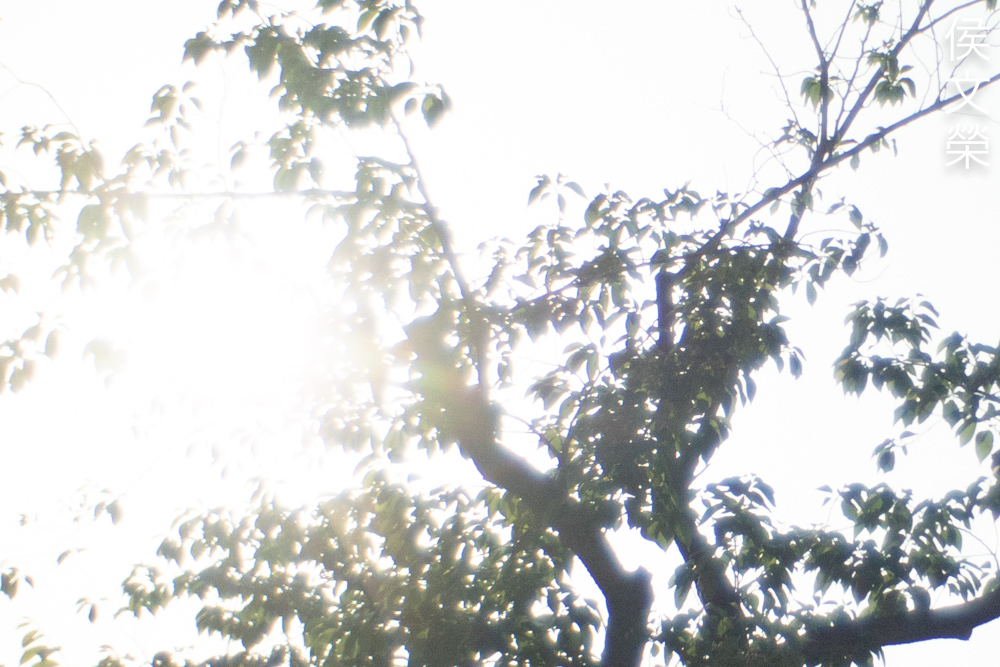
Does this look like something that’s shot with film? The Nikon 1 J4 has a small sensor which produces noisy photos, it’s nice for reproducing the look of grain. This lens produces photos with that “vintage-look” which is going to help make your photos look more film-like because we’re used to seeing or remembering film-photos being shot with old lenses.
I wouldn’t use this for shooting architecture, notice how strongly the straight lines bow.

The focus-transition is rather smooth so you’ll get photos that look more natural. The rendering is “polite”, you will not see anything strong or bold in its rendering, this is a lens that’s made to reproduce things as they really are.

This ability to render in a neutral, natural way is something valuable if you ask me. Its imperfections also help make the photos look more natural.

The overblown parts appear to bloom due to flare and other optical aberrations. While these are undesirable if you are talking in the technical sense these help create a more interesting photo, without them the photo would look “normal”.

The effects of distortion can be seen in this photo but it’s not as strong since the straight lines were angled and they’re not placed anywhere close to the edges of the frame.

That dark spot that you have seen in the previous photos now manifests itself as a white spot.

The contrast is nice when you give it the right light and specially not shooting in contra-light. Colors look rich, vibrant and there’s a subtle quality to it that makes the photos look “vintage”.


(Click to enlarge)
Here are more photos for you to look at. It’s a nice lens but it’s kind of unremarkable in every way which makes this a balanced-lens for use in many occasions but I think it’s best used for taking documentaries as it’s able to render your scene as it is but with a slight “vintage-look”.
If you’re into shooting with C-mount lenses this one should be part of your collection. There’s a reason why you don’t see these for sale often because people still shoot with it but to a lesser extent because there are many modern lenses that replaced it. That’s only true if anyone could afford buying new cine-lenses as they’re not cheap that’s why you are still going to see amateur cinematographers still using older C-mount lenses today. These are rare but they should not be expensive, I got mine for $50.00 just because it has a large chip at the front, I’d probably pay under $100.00 for one that’s in better condition. When buying one of these be sure that the rings operate properly. The glass has to be clean and clear, obviously. The most important thing to check is the iris, it should operate properly, they’re delicate and you could easily damage them if you’re not careful. Check garage sales and the junkshops to look for these. You could be lucky and find one if great condition. Happy hunting.
Before We Begin:
If this is your first attempt at repairing a lens then I suggest that you see my previous posts regarding screws & drivers, grease and other things. Also read what I wrote about the tools that you’ll need to fix your Nikkors.
I suggest that you read these primers before you begin (for beginners):
Reading these should lessen the chance of ruining your lens if you are a novice. Before opening up anything, always look for other people who have done so in YouTube or the internet. Information is scarce, vague and scattered (that is why I started this) but you can still find some information if you search carefully.
I highly recommend that you read my working with helicoids post because this is very important and getting it wrong can ruin your day. If I can force you to read this, I would. It is that important!
For more advanced topics, you can read my fungus removal post as a start. It has a lot of useful information, it will be beneficial for you to read this.
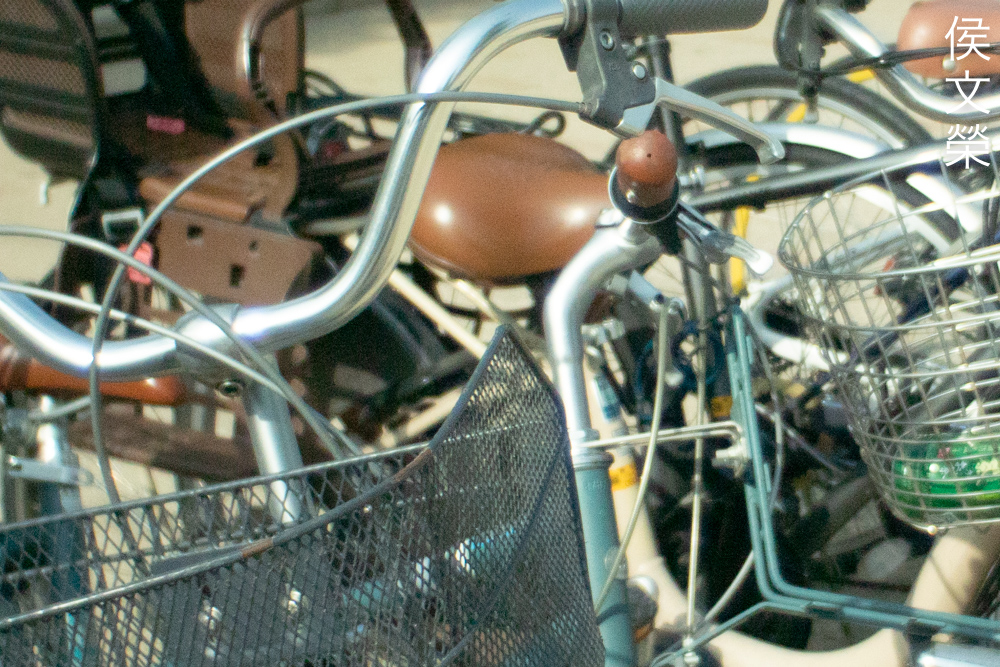
Disassembly:
These lenses differ from your usual Nikkor in terms of construction and that is as expected since these were made for a different mount. You won’t be able to separate the objective from the barrel as you would with the usual Nikkor so you will have to remove the optics as-you-go. Most, if not all C-mount Nikkors have a double-threaded-helicoid in the way that the central helicoid has 2 different sets of threads. This makes it a bit tricky to dismantle because you will have to separate the helicoids in the correct sequence and configuration or you will not be able to remove or put them back in the right manner. When dealing with these sorts of lenses it’s best that you also take measurements along with photos so you won’t get lost later during reassembly.
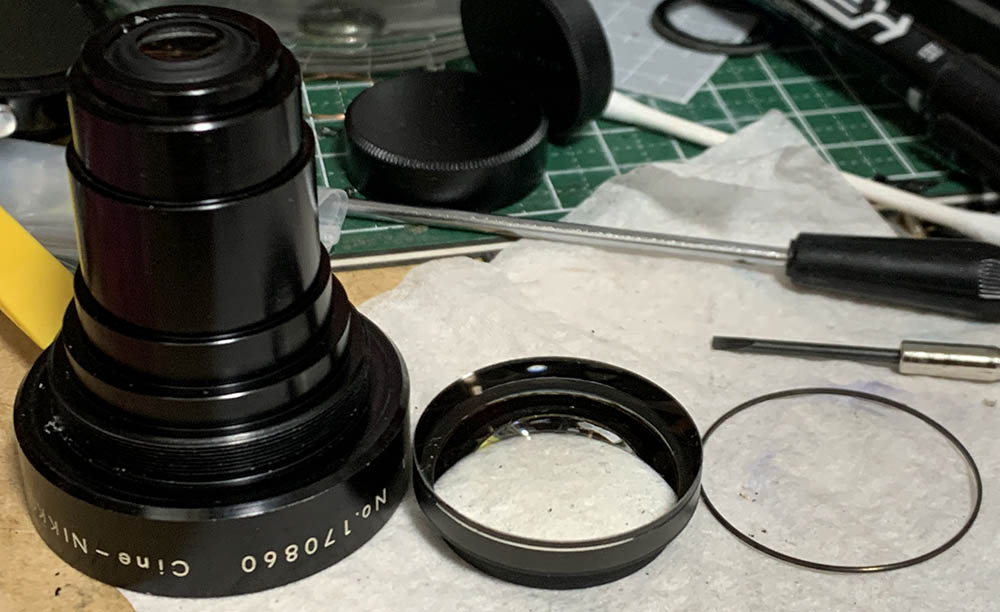
Unscrew this retainer to extract the front element. Use a lens sucker to safely remove it.
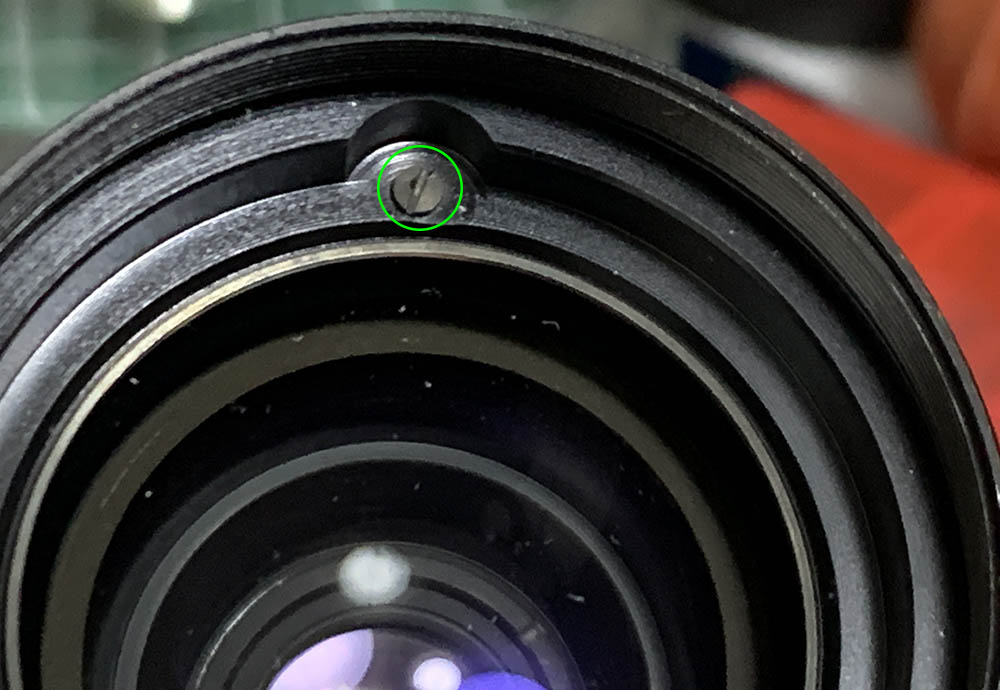
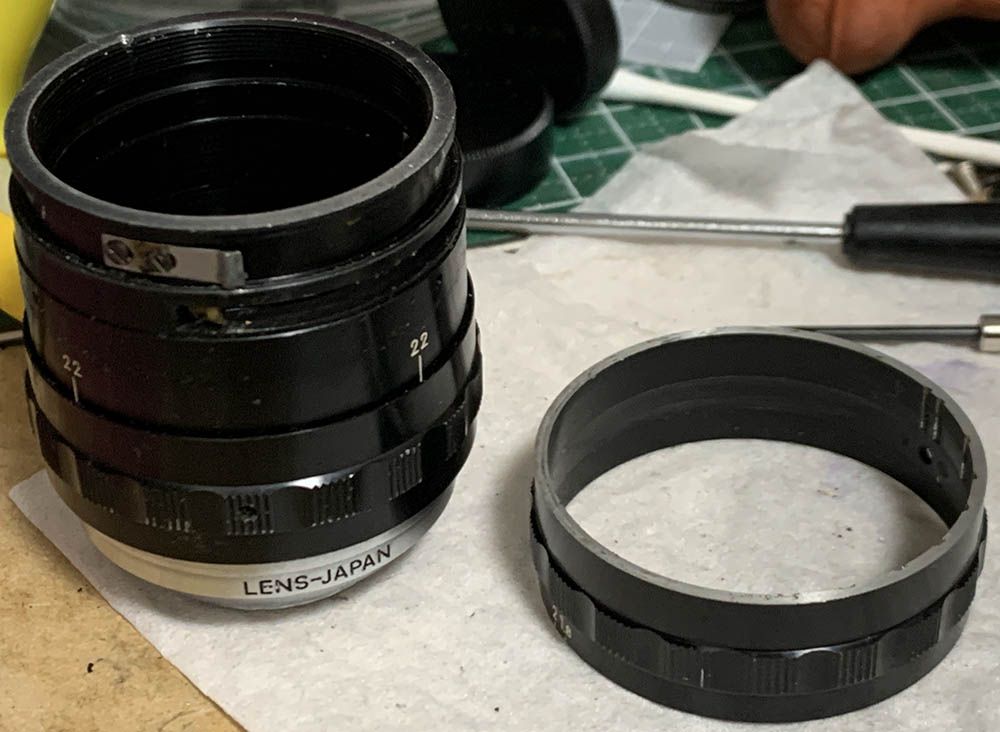
Locate and extract this in order to unscrew the front barrel. Be careful when removing this so you won’t scratch or scar anything specially the glass.

Once that screw is gone you can now safely unscrew the front barrel off. It houses parts of the optics so it’s rather long.
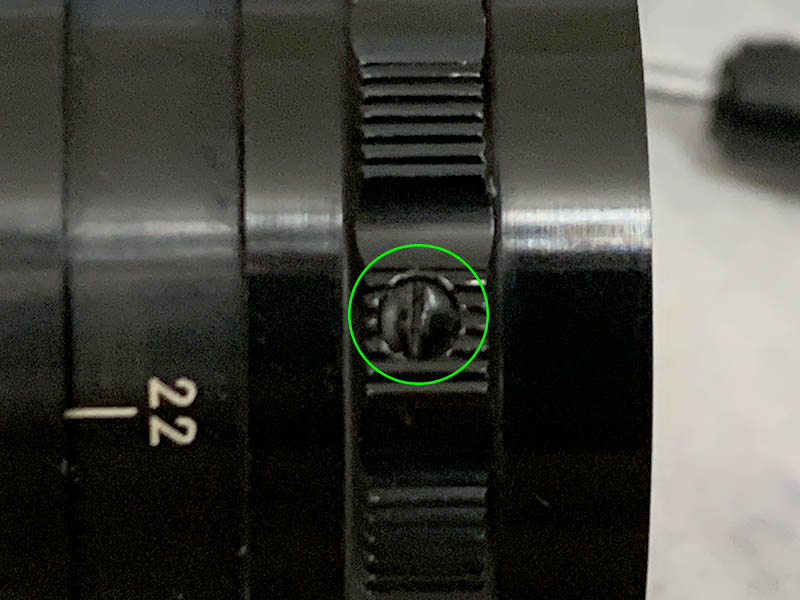
Locate and extract this screw in order to remove the aperture ring. It acts like a pin so you can manipulate the iris using the aperture ring.
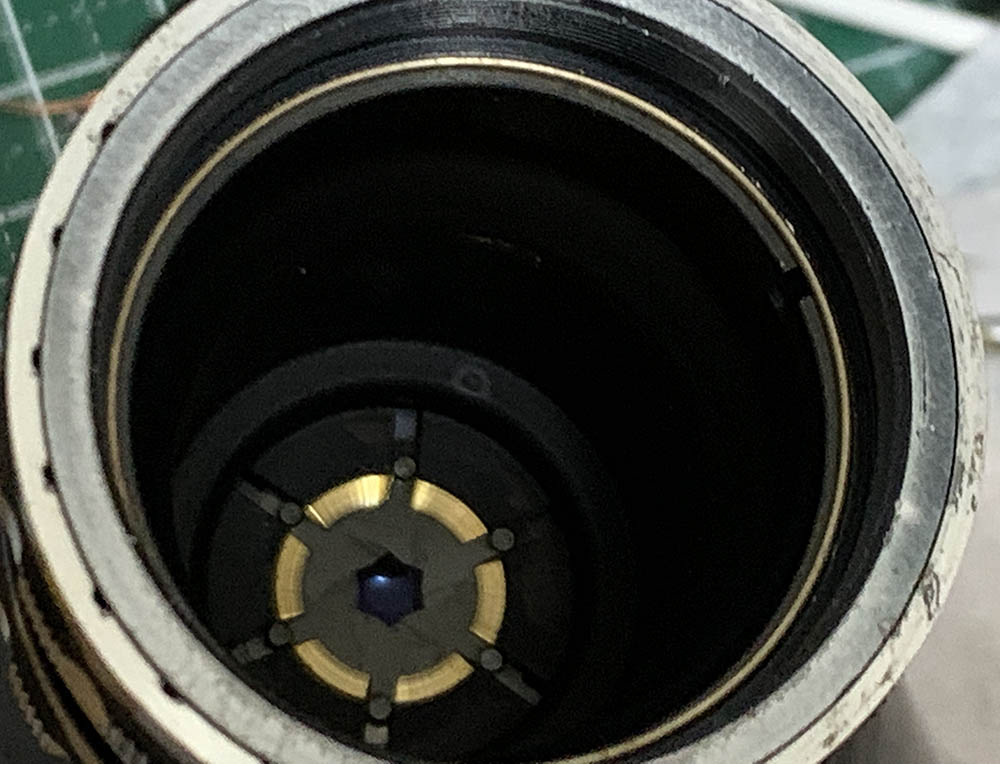
The aperture mechanism is secured by this brass ring. Carefully pick it off with a sharp pair of tweezers.

Carefully pull the diaphragm cup and be sure not to damage the iris leaves.
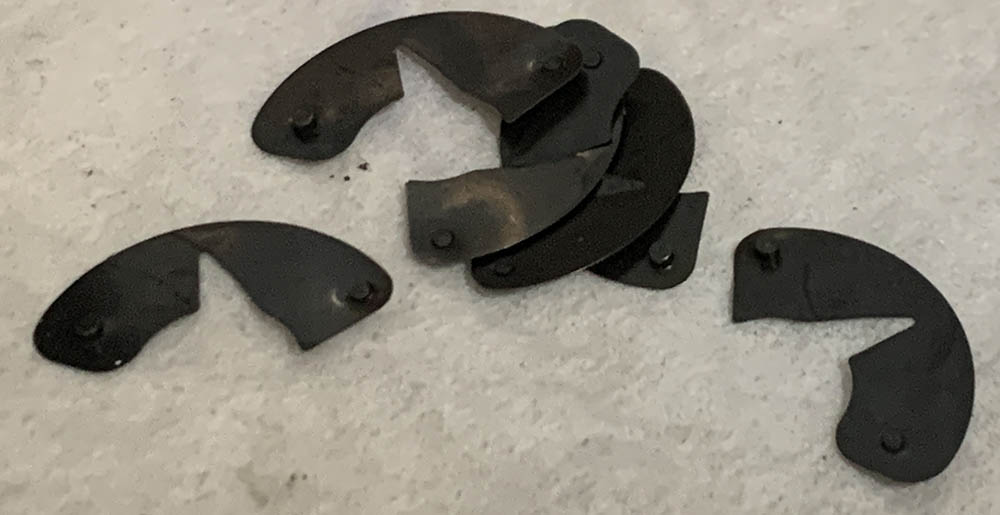
These are very delicate, you can easily snap any of them with very little pressure. Put them in a safe place and set all of them aside after you’re done cleaning them. Carefully clean each leaf with Q-tips saturated with solvents and be careful around the elbows of the leaves where the material is the thinnest.
Pull the aperture ring off once the screw is gone, I could’ve done this earlier to be honest.
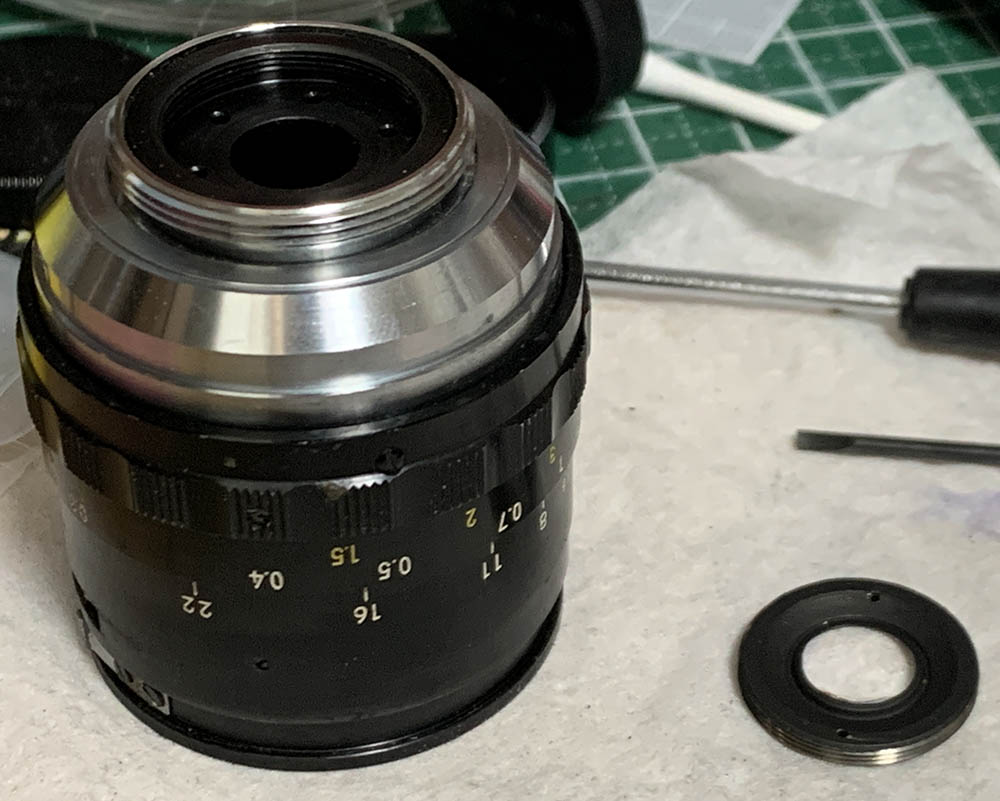
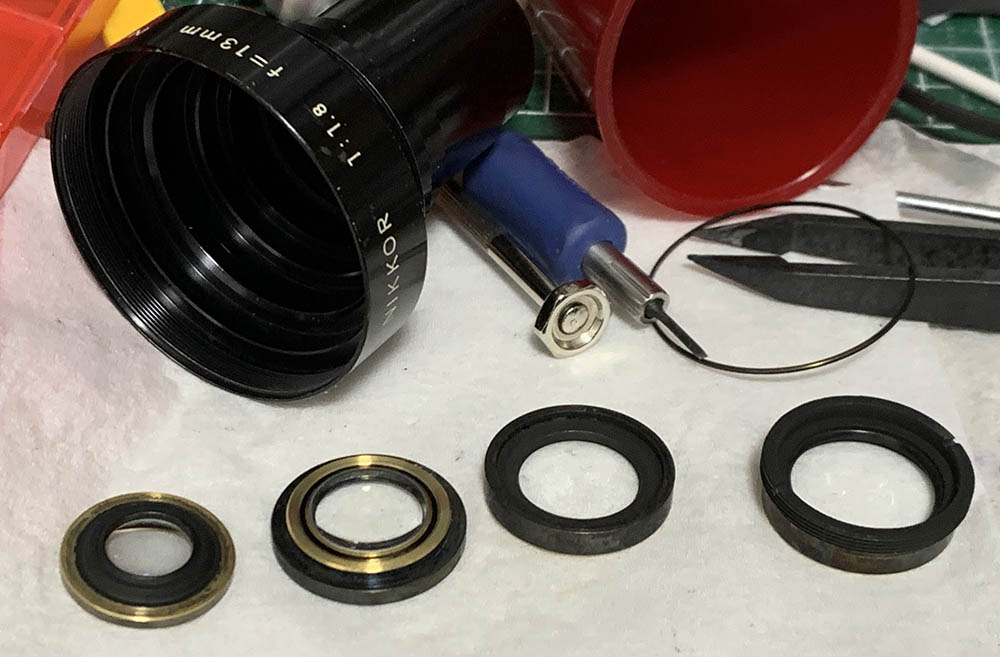
Well, this could’ve been done as early as the first step. Carefully unscrew the rear group with a lens spanner, be careful not to scratch the glass. If it’s stuck simply apply a drop of alcohol to its threads in order to help soften its seal. Do not dismantle the housing of the rear group, there’s no point in doing it.

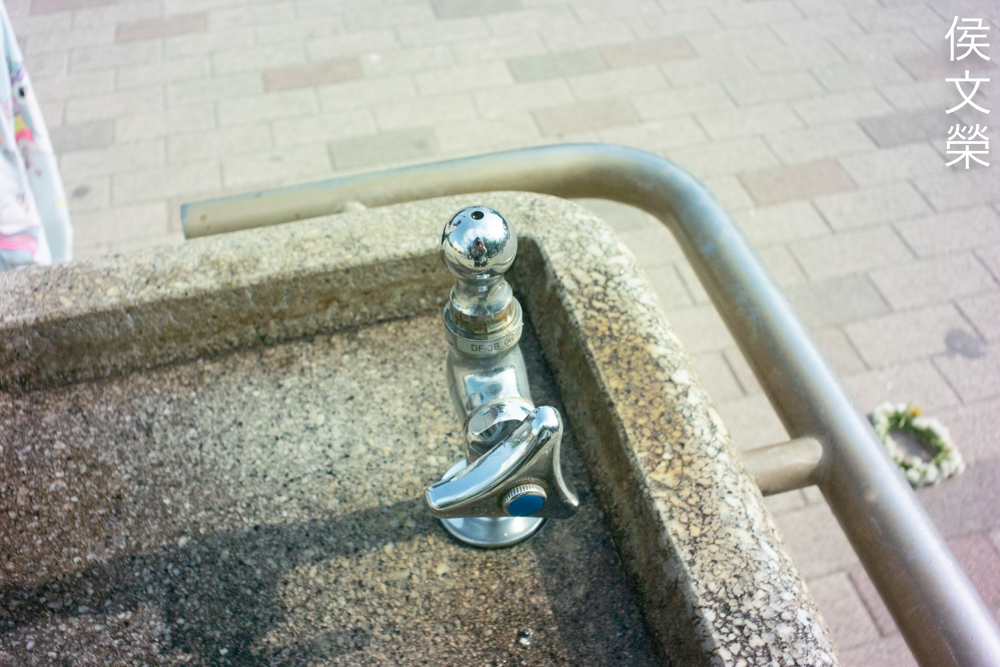
Dismantle the rear by loosening the screw of the base and unscrewing it until it comes off. Note that there’s a spring in this area, it’s there so you can reorient the thread of the mount and that spring helps it click into place.
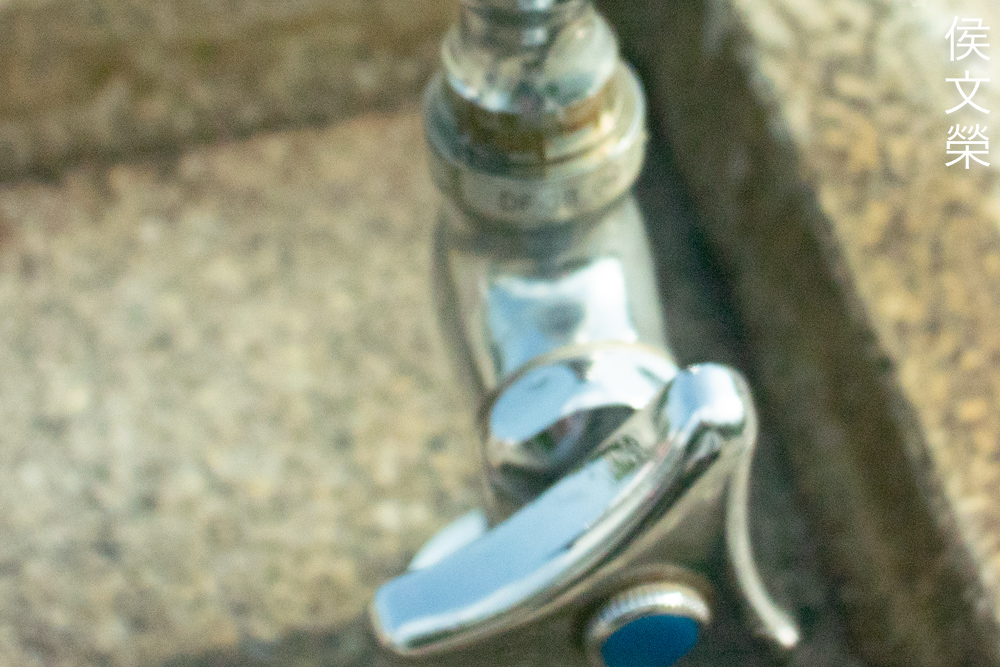
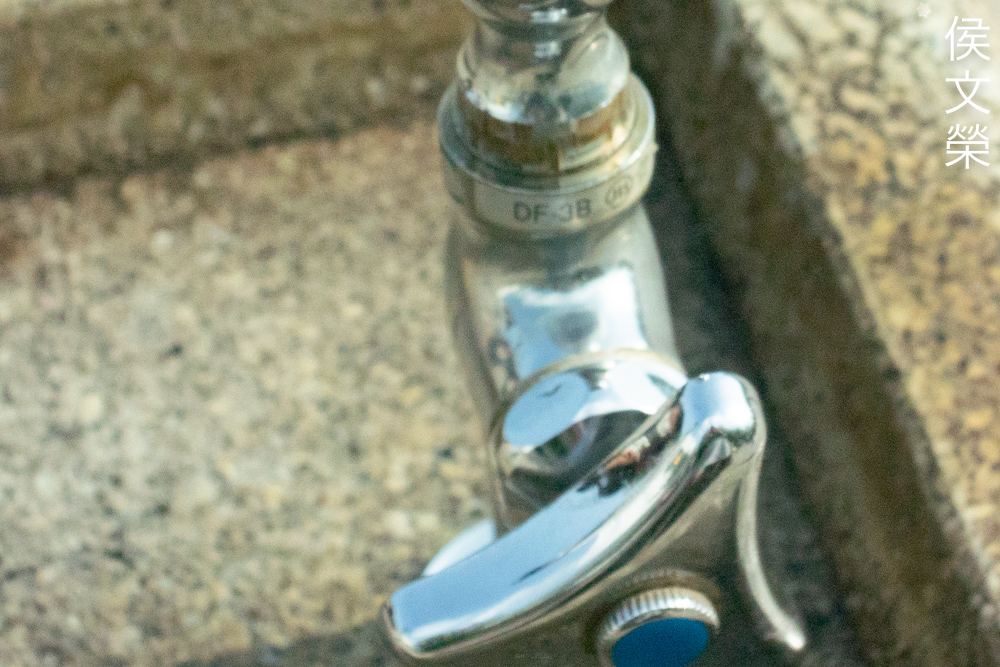
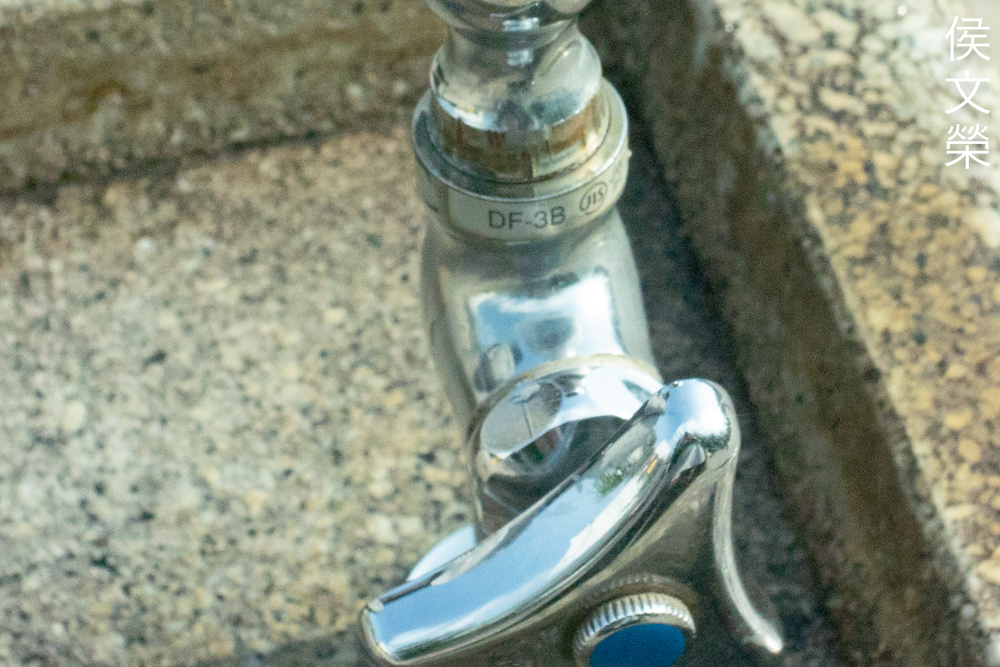
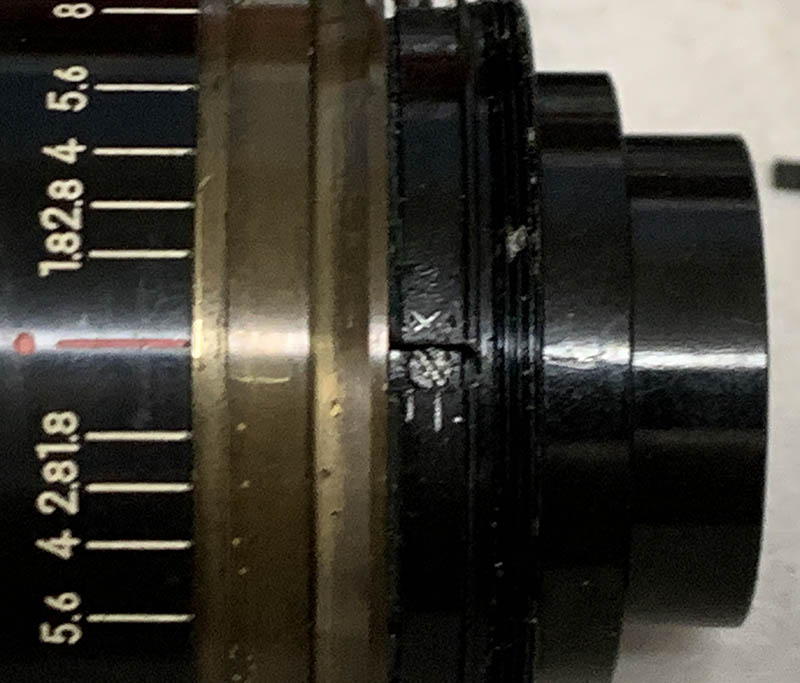
Loosen these screws and then extract the lone screw closest to the rear. That single screw serves as a pin so you won’t be able to turn the focusing ring beyond its range.

Pull the focusing ring off once all of its screws have been loosened and that one screw has been extracted.
While the helicoids are still configured to infinity mark this screw so you will know how high it should be sitting. The marks will help you determine if you have reassembled the helicoids properly.
Turn the central helicoid until the front helicoid separates from it and be sure to mark where they parted. If you did not do this you will spend a lot of time guessing where these should mate. To prevent that from happening read my article on working with helicoids and follow my tips.
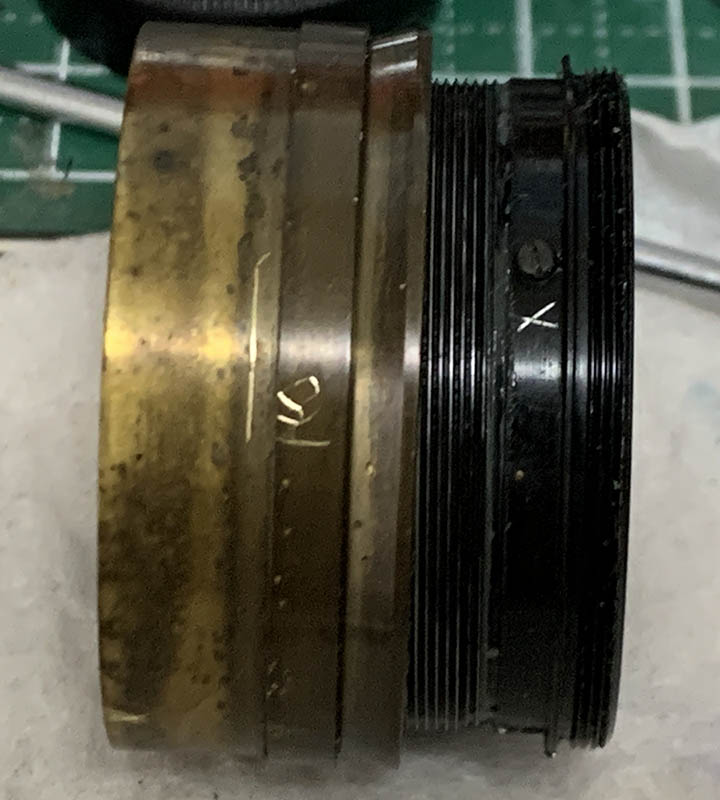
Do the same for the lower helicoid and never forget to mark where these parted.
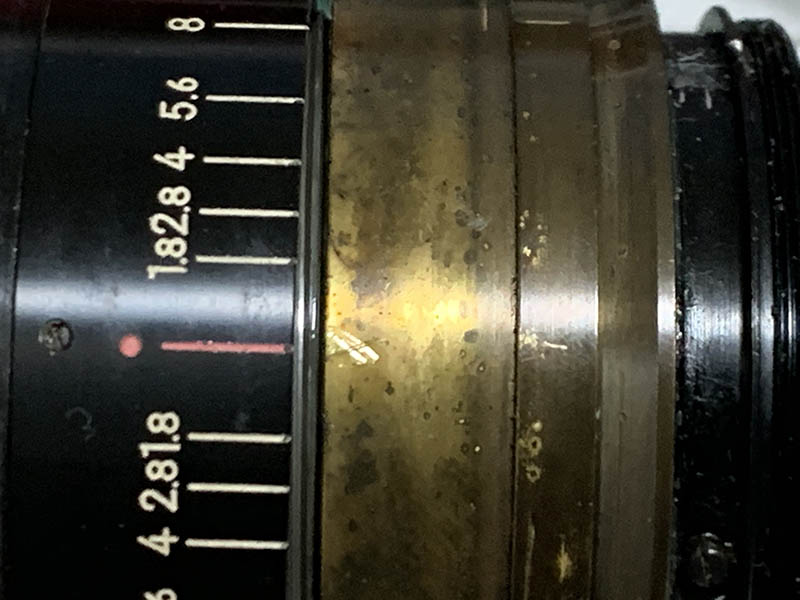
Loosen the screws of the sleeve so you can remove it from the rest of the main barrel. Do note that it’s adjustable, you will have to note its original position so you’ll know how to put it back later.
Extract the 2nd group with a lens sucker. Do note that there’s a spacer here, I’ve forgotten to remove it prior and I was lucky that it didn’t get misplaced. Set the spacer aside and don’t warp it.

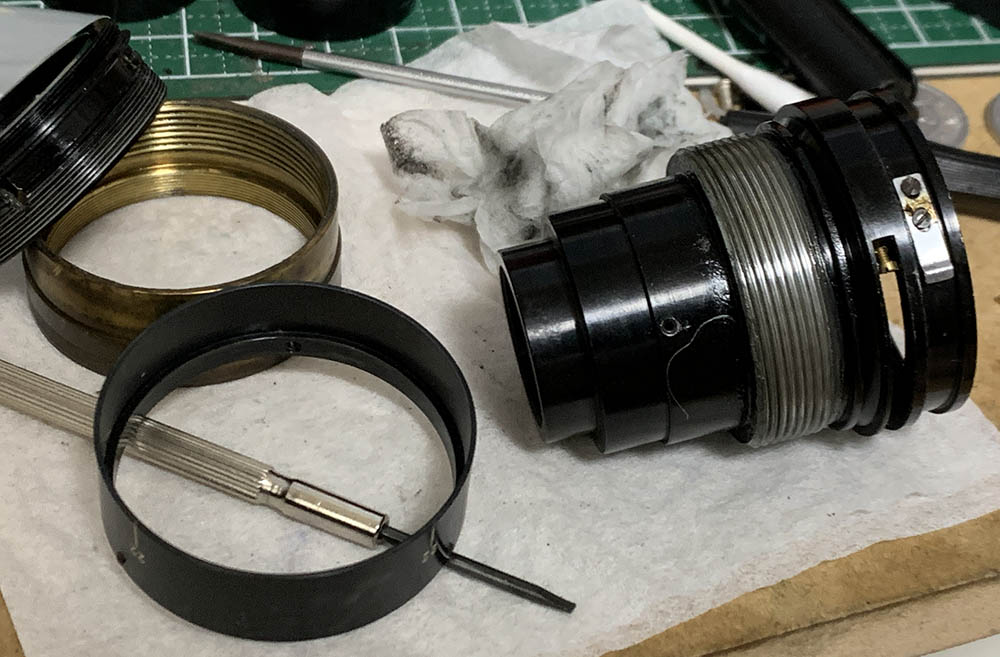
The rest of the elements are situated deep-within this barrel. You will need a special tool in order to unscrew this. Don’t dismantle this if you could help it.
Extract the rest of the optics with a lens sucker and don’t forget to note their direction and order so you will be able to reassemble this back properly and the optics will be facing the right direction.
Clean the helicoids really well by scrubbing them with a strong toilet cleanser and cleaning them with alcohol very well in order to remove residues. The optics should be wiped-clean and reinstalled carefully so you won’t damage them. It’s important to put them back at the same order and direction or you’ll damage the optics. It’s not easy to put them back and you will need a small lens sucker with a long neck so you could reach deep-within the housing. This benefits from a grease with a little bit of resistance. If it’s too-thin the focusing won’t be damped and it’s going to be difficult to turn if the grease has too much resistance. Never apply too much or the excess grease will migrate to the iris.
Conclusion:
I had lots of fun servicing this lens since it presents a new experience for me. It’s not the easiest lens to work on since it has elements that are situated deep-within the housing and the optics are rather delicate, too. You’ll probably spent an hour reinstalling and adjusting the helicoids if you are not familiar with it as it’s a bit different from what we’re all used to seeing.
Adjusting the focus isn’t easy because you will have to find the right configuration that works with your adapter. You’ll probably do a couple of tries until you get to a point where it’s going to be easy to adjust by simply turning the focus ring and tightening its screws. What I did was to adjust the helicoids independently of the focusing ring and once the focus is close-enough I then adjusted the focusing ring’s orientation in order to get a more accurate result. If you are new to this, read my article on how to adjust a lens’ focus in order to help you understand how it’s done with tools that are available to you.
Thanks for following my work, if you liked this article please share this with your friends so it will get more views. This site earns around $0.40 a day, we are totally reliant on views. You could also support this site, it helps me offset the cost of maintenance and hosting. You are also helping me purchase, process and scan film. This site promotes the use of film so we are all in this together. See you again in the next article, Ric.
Help Support this Blog:
Maintaining this requires resources and a lot of time. If you think that it has helped you or you want to show your support by helping with the site’s upkeep, you can make a small donation to my paypal.com at richardHaw888@gmail.com. Money isn’t my prime motivation for this blog and I believe that I have enough to run this but you can help me make this site (and the companion facebook page) grow.
Buy me a roll of film or a burger?
Thank you very much for your continued support!
$2.00
Helping support this site will ensure that this will be kept going as long as I have the time and energy for this. I would appreciate it if you just leave out your name or details like your country’s name or other information so that the donations will totally be anonymous. This is a labor of love and I intend to keep it that way for as long as I can. Ric.

Jun 07, 2021 @ 20:02:15
Thank you very much for a very interesting and extremely thorough post.