
Hello, everybody! I loved watching “The Three Stooges” when I was a child. Their acts were funny, they don’t need any plots to make something worth watching. None of their movies are sophisticated but they did gave us a lot of laughs. Sadly, I don’t think their style of humor works these days and the same could be said for slapstick as a whole. People and preferences change. I still remember them with nostalgia and fondness but I am not going to be as amused today as I was several decades ago. It’s not that I don’t like them anymore, it’s just that I’ve outgrown them. It doesn’t mean that they’ve suddenly became unwatchable, they will still remain as classics and somewhat of a “bible” for how to do a successful slapstick act. Today, I will show you something that I felt outdated but it’s still worth looking at because it’s considered to be a classic by many people. Just like slapstick it still has a niche in today’s world depending on who you ask and the context it’s used.
Introduction:
This version of the Super-Takumar 28mm f/3.5 was made from 1966 and its production continued for 5 years. I haven’t used the earlier version which has a different optical formula but this was made to replace the older one so it must be better, I assume. This series of Takumars were popular so they’re common in the used market. Some people love them while some don’t, they have a mixed-reputation when it comes to performance.

Its build quality is in-line with other Takumars which means that it’s good but not as robust as a Nikkor or Carl Zeiss of similar vintage. Its all-metal construction ensures that it will survive use by professionals. The beautiful engravings were painted well, too. Its smallest aperture is merely f/16 which is a shame because the older version goes down to f/22. It’s important when you’re shooting landscapes, that extra-stop means a lot when trying to shoot moving water, etc.
It has a has a 7-elements-in-7-groups design which is inspired by the Nikkor-H.C 28mm f/3.5 Auto which pioneered the configuration. The older version has a 7-elements-in-6-groups according to sources. Its coating is rather pathetic which made this quite useless for shooting in contra-light as you will see later. I termed this the “Curse of Asahi“, a name I use for Takumars with a lot of potential but hampered by the poor quality of their coatings.

Despite having a huge front element the engineers still managed to give this a 49mm thread so you won’t have to buy new sets of accessories just for it. Handling is rather standard for a Takumar which means that you’ll have to be careful when turning the aperture ring so you won’t knock the A/M switch while doing so. This is the most annoying aspect of M42 Takumars which I’m sure other people will agree with me. The focus-throw is quite short, typical of wider lenses of its time. It also has click-stops between aperture values which enables you to meter more precisely compared to a lens that doesn’t have it but it may confuse you if you’re used to having full-stop-clicks.
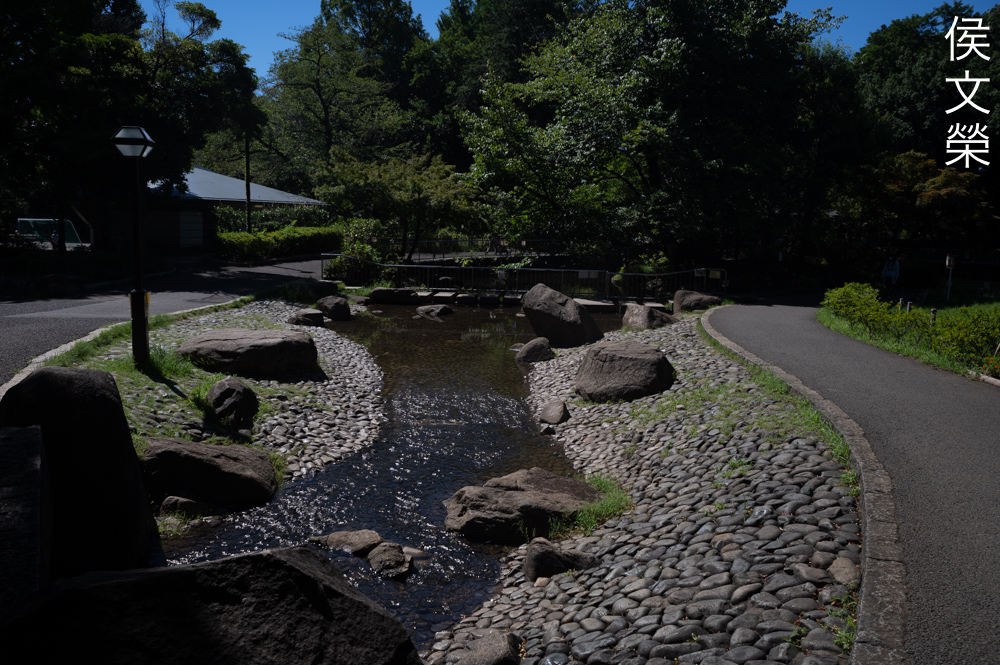
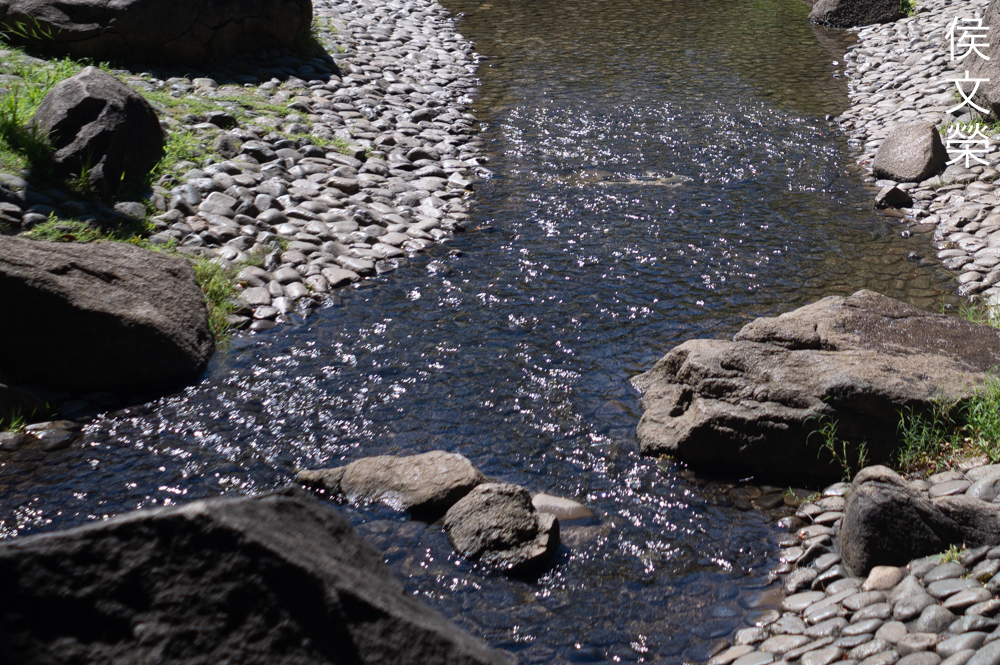
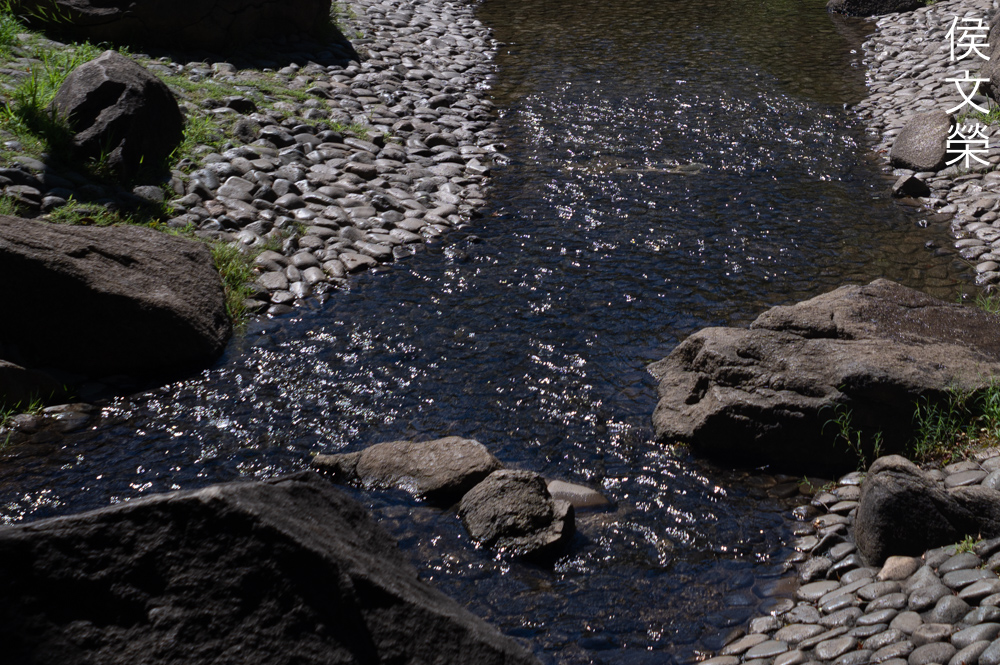
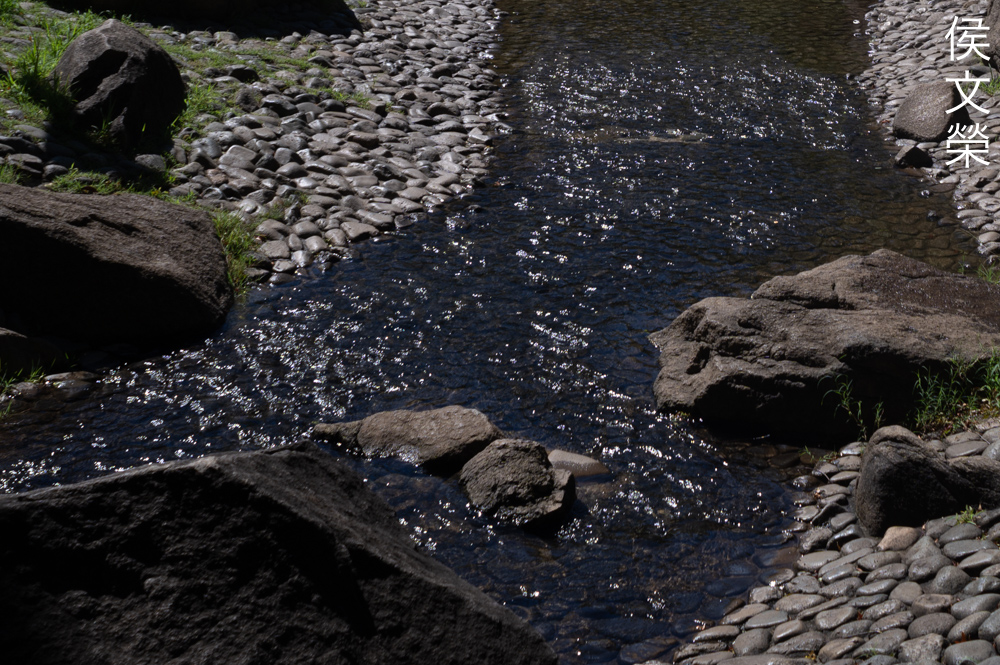
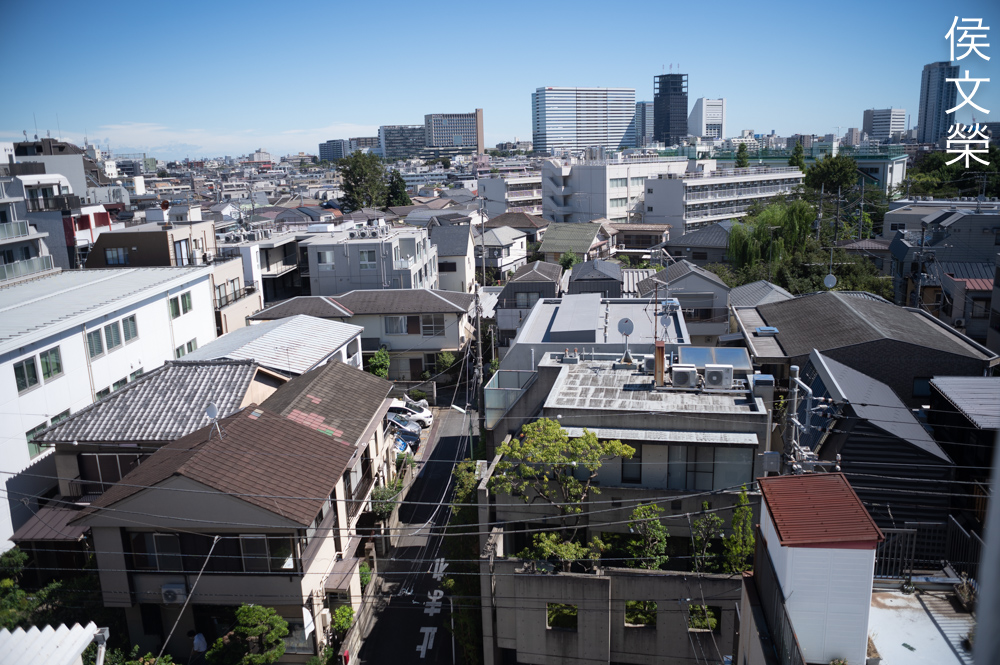
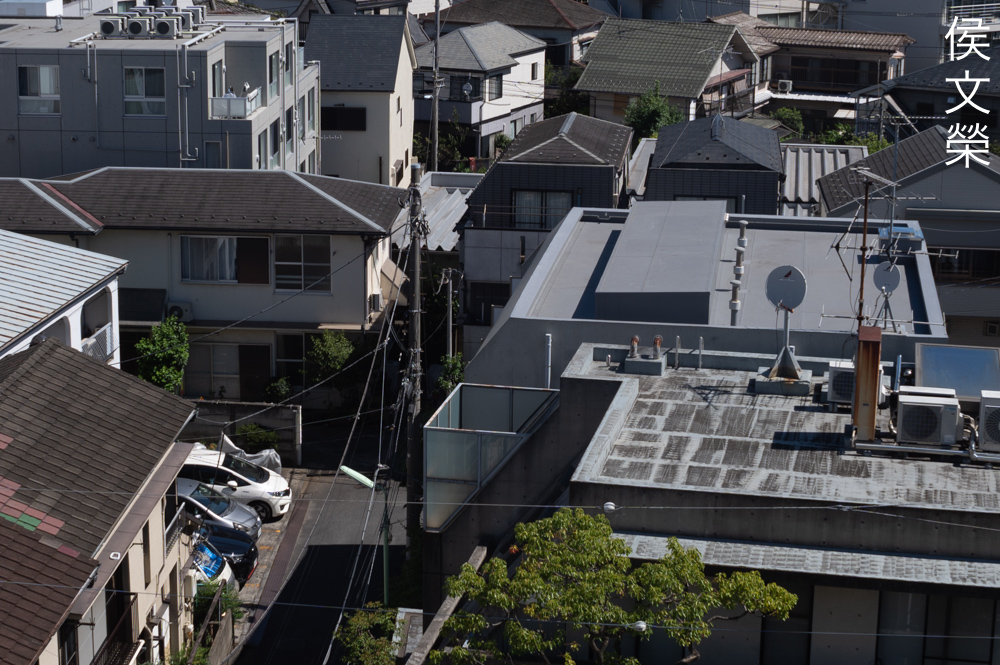
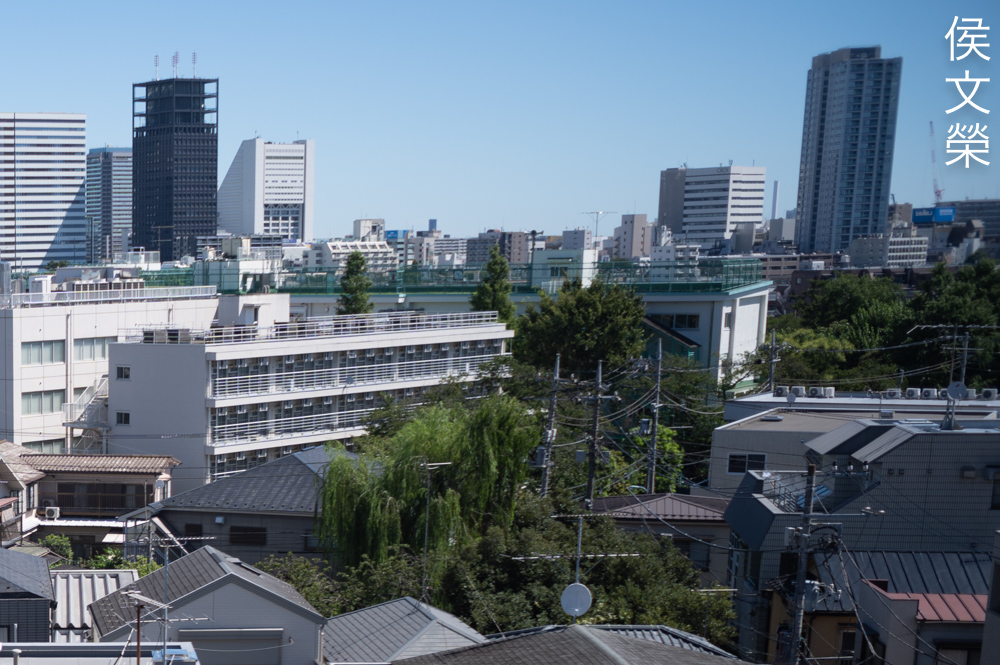
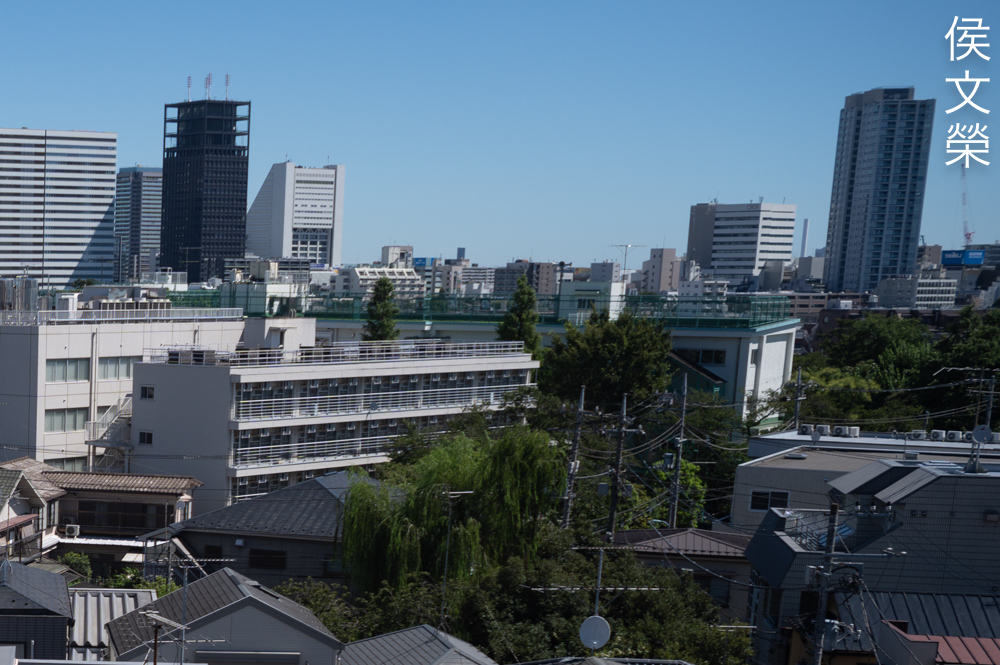
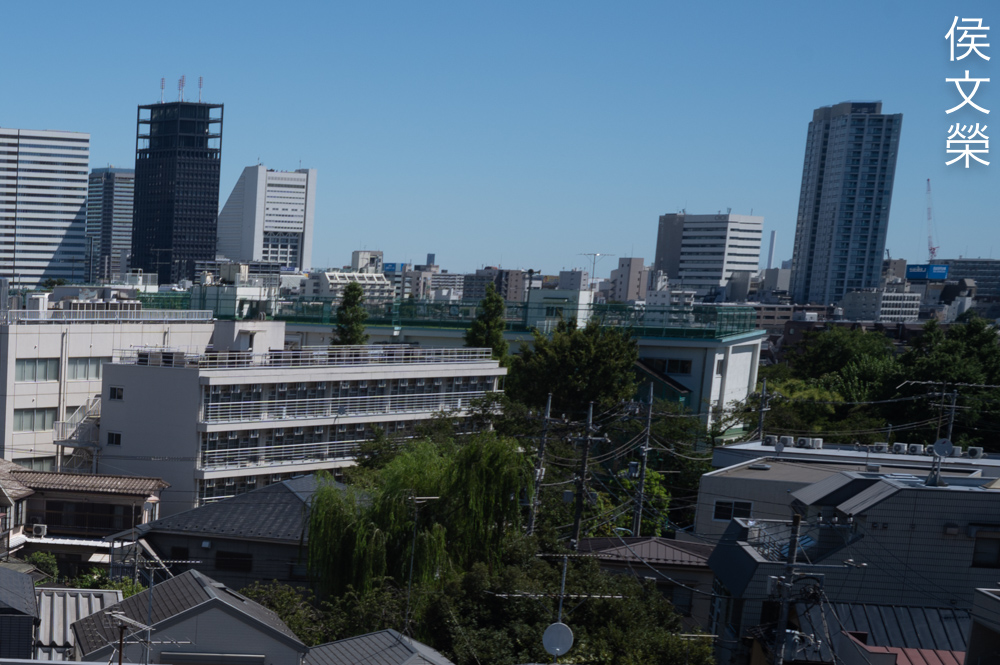
Learning how a lens performs is important so you will maximizing its use. You will learn how to utilize its strengths and avoid its weaknesses. This knowledge helps in determining which lens to bring on an assignment. I shot these pictures from f/3.5, f/5.6 and f/8 as these are the most common apertures that people would want to use this, we’ll also get to see the most changes happen within these values. I took these with the Nikon Z6, some of them were cropped close to 1:1 so we could see the details better.


(Click to enlarge)
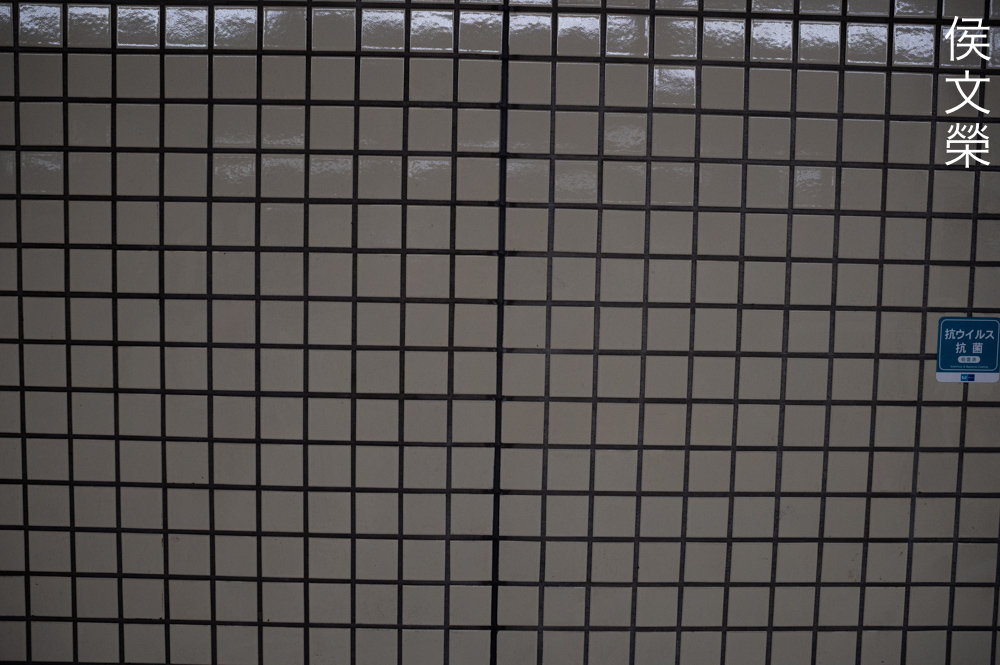
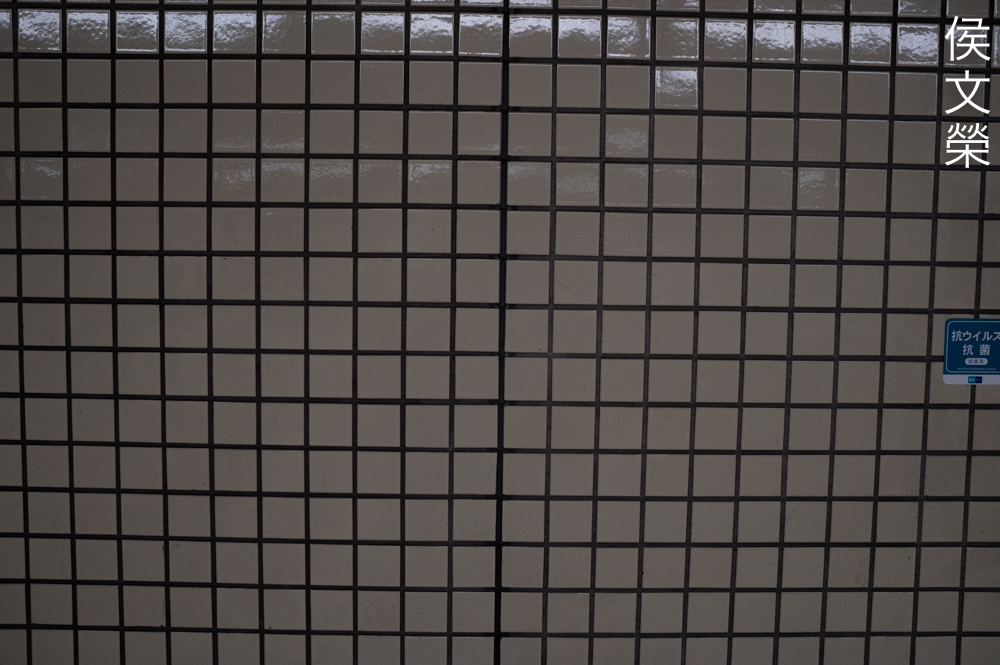
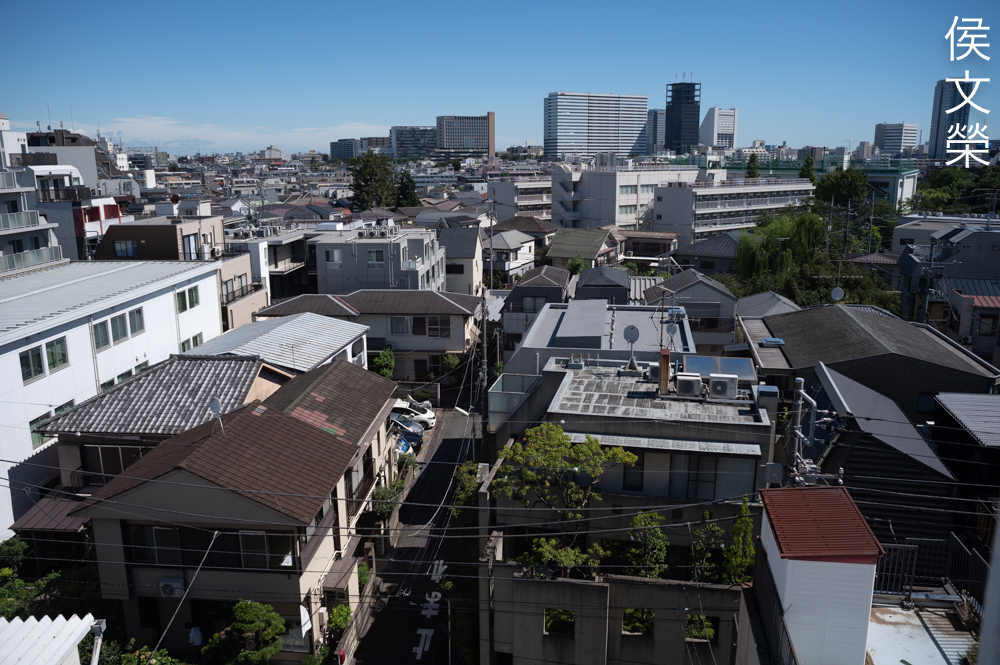
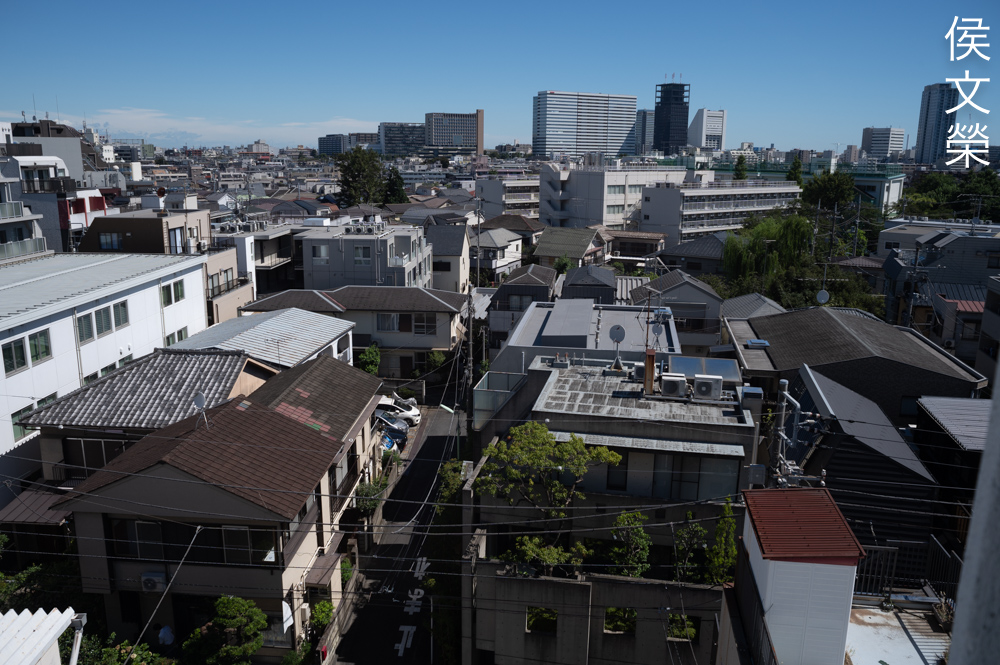
The amount of distortion is surprisingly low for a lens this wide. I’d expect this to have more but I’ll never use this when shooting art or architecture straight-on.
Vignetting is rather high when shooting wide-open where it spreads up to the center. Stop this down to f/5.6 and you’ll see that the corners appear to be brighter and it’s much better by f/8. What’s interesting about my lens is I get darker photos by stopping this down, it feels like my photos are underexposed by a stop from f/5.6 on. I don’t know what the reason for this is but at least the darkening of the corners are mostly gone. You’ll have to compensate for this by using exposure-compensation or just adjusting your speed so it’s overexposed by a stop when metering wide-open. If you’re knowledgeable about this please share your experience with your lens with us.


(Click to enlarge)
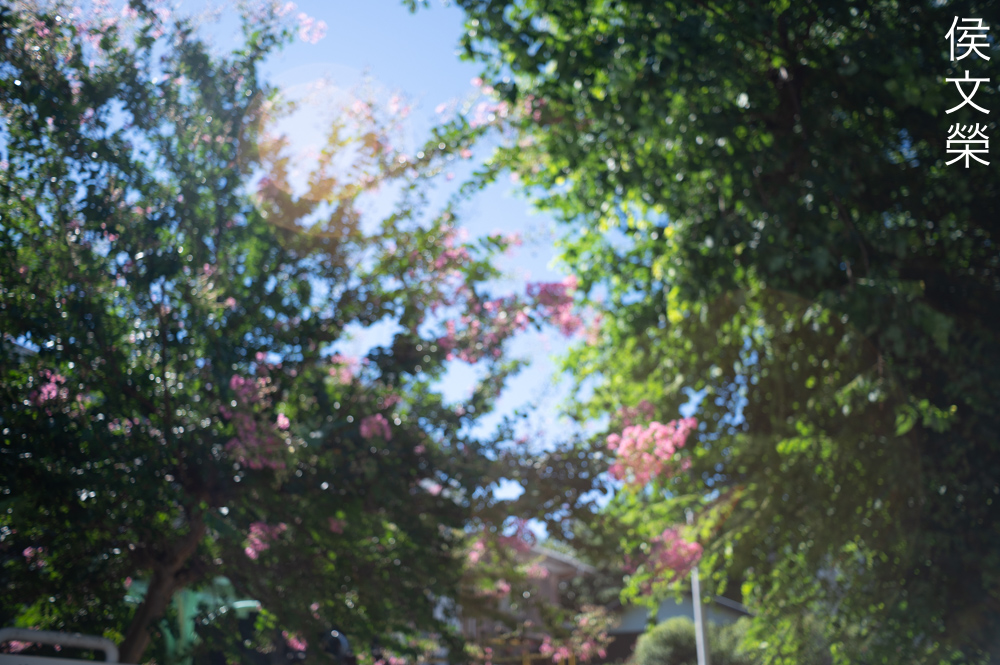
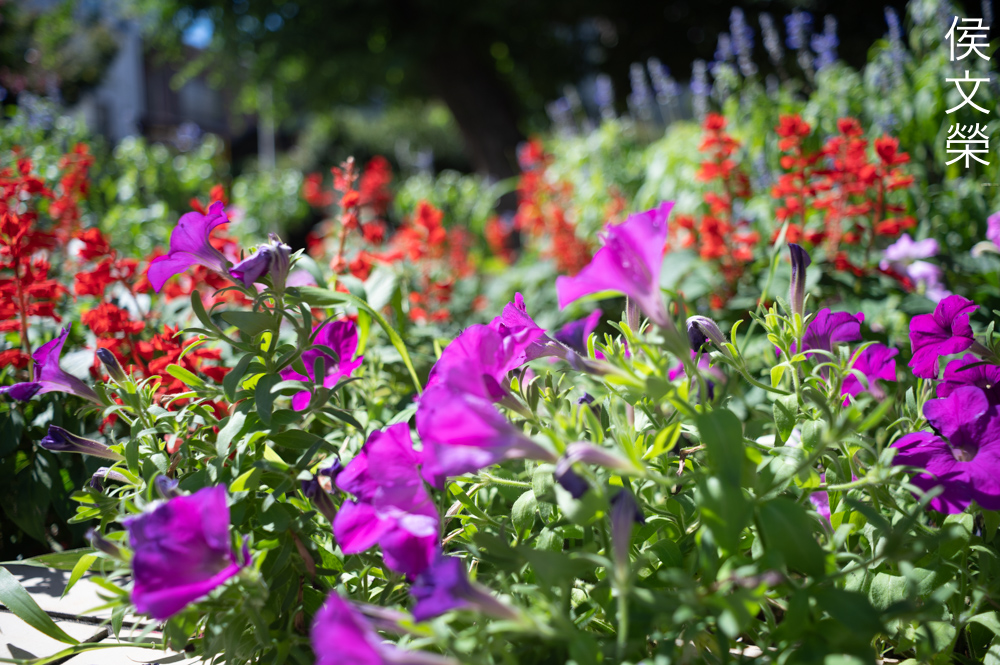
The character of the bokeh is rather ugly, it’s rough, unrefined and distracting. While we don’t usually associate smooth blurs with wider lenses I always wish that it performs better in this regard.


(Click to enlarge)
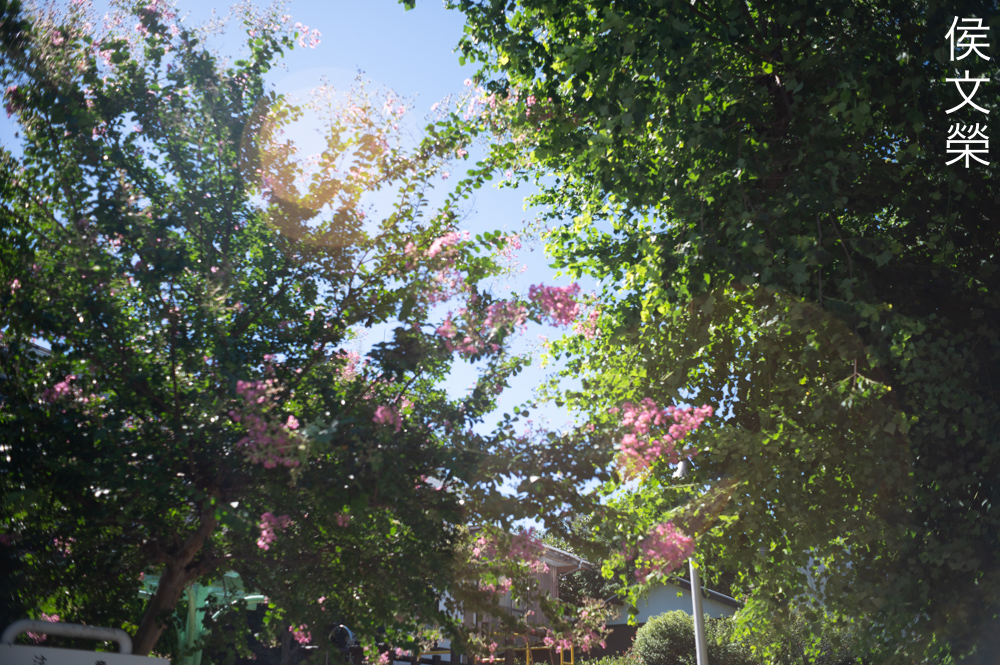
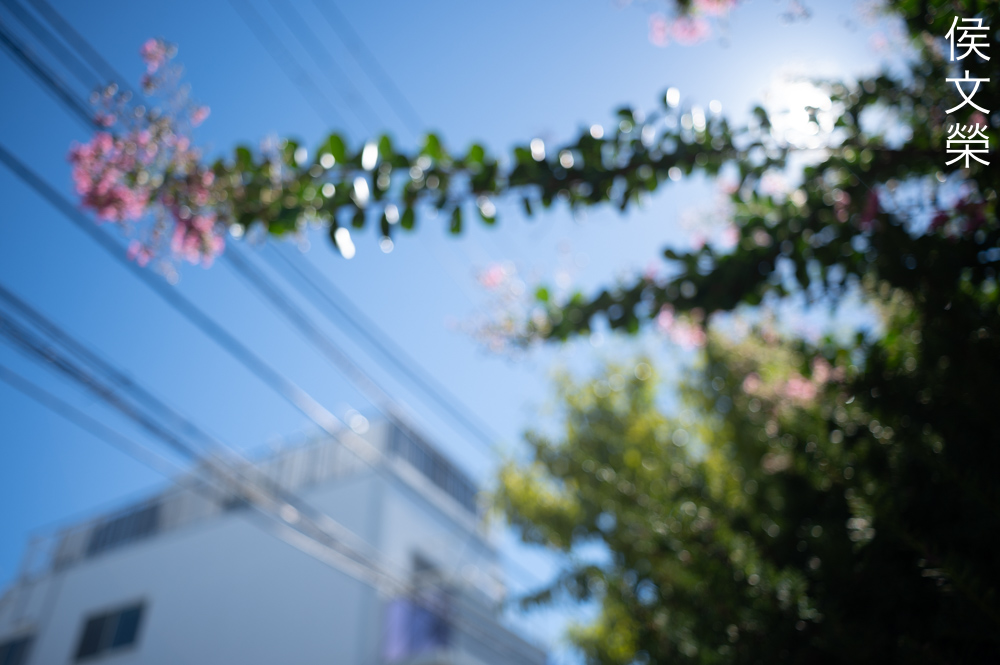
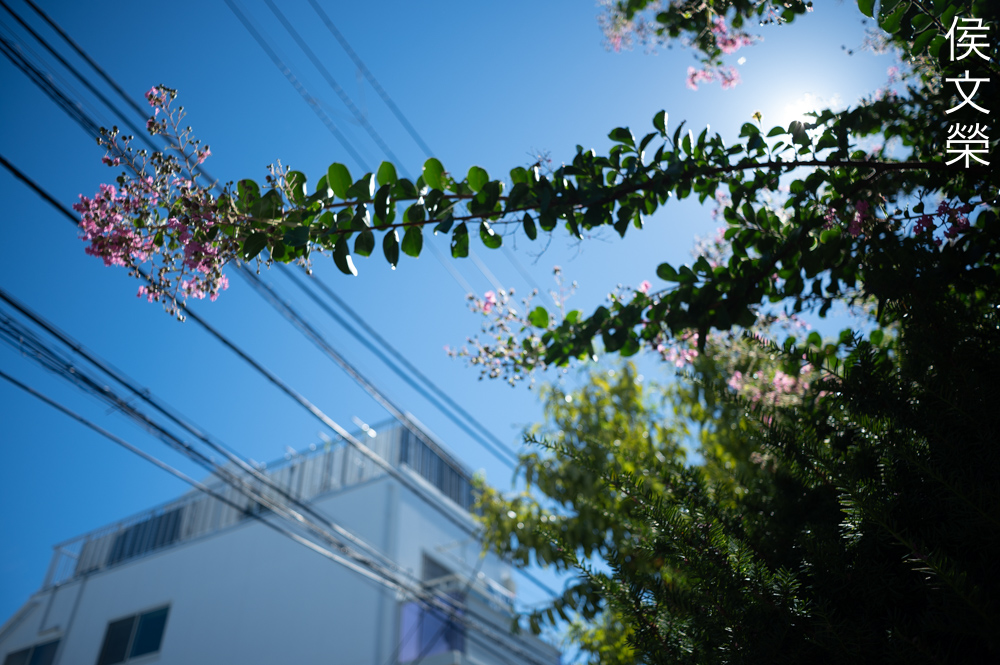
You’ll get large, ugly blobs when you have bright sources of light within the frame, it doesn’t take much to trigger this. You could use this creatively but I’d rather not have them in my photos.
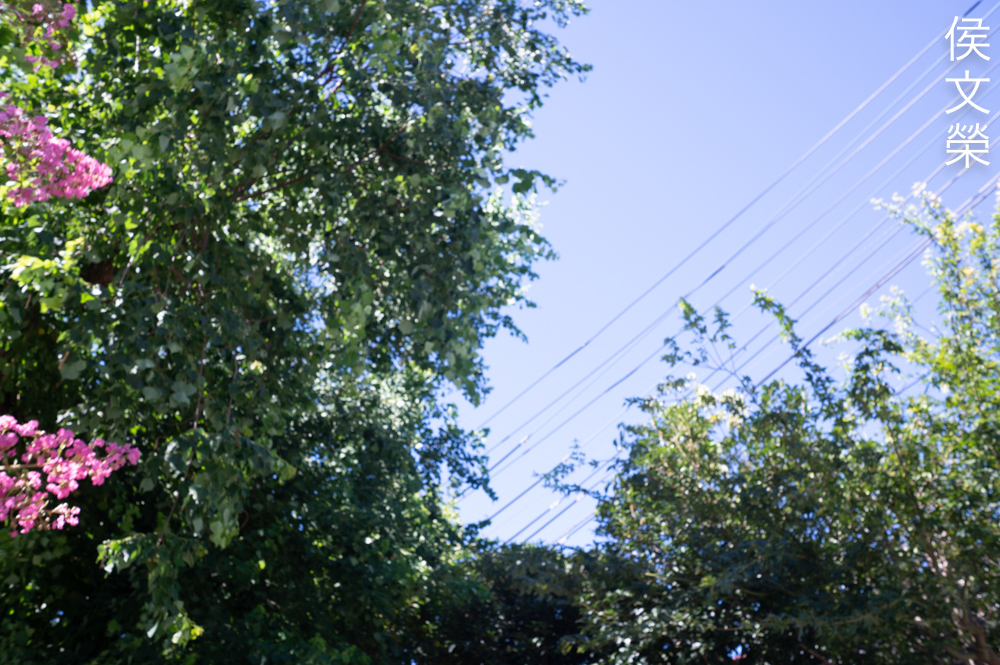
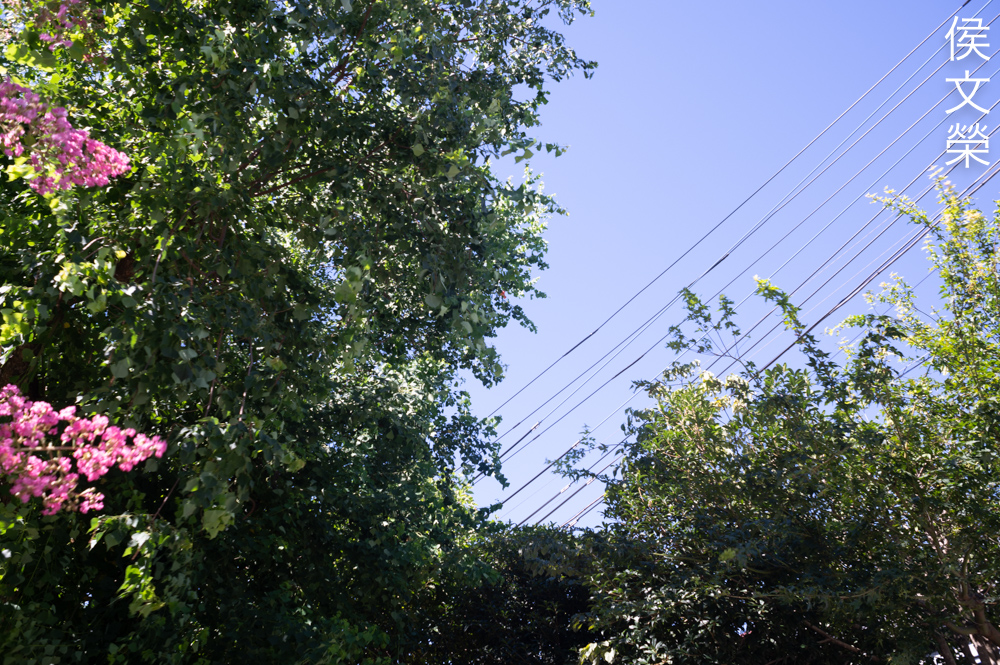
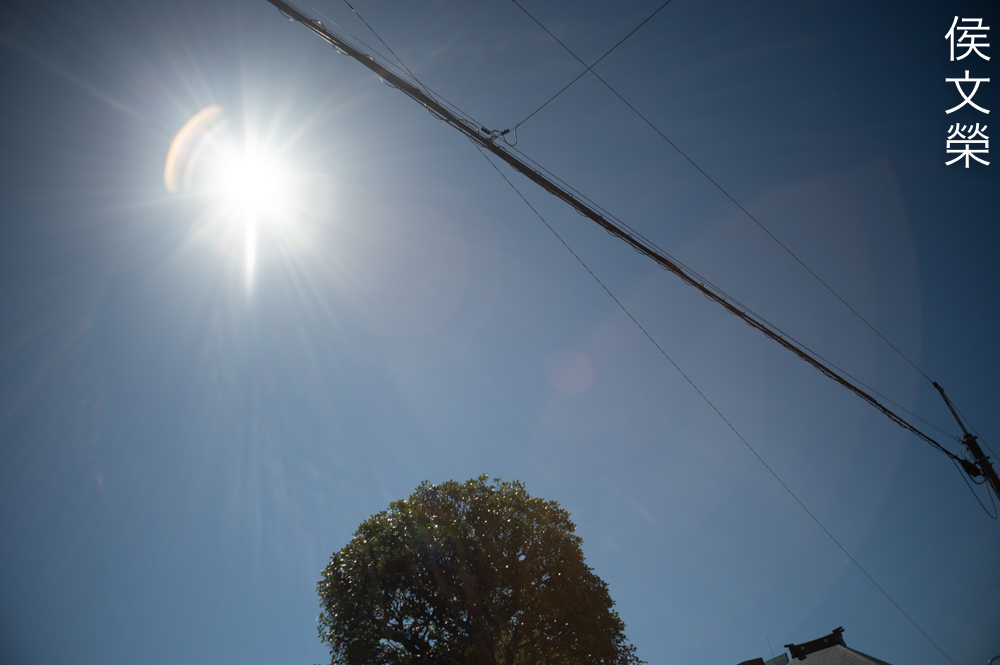
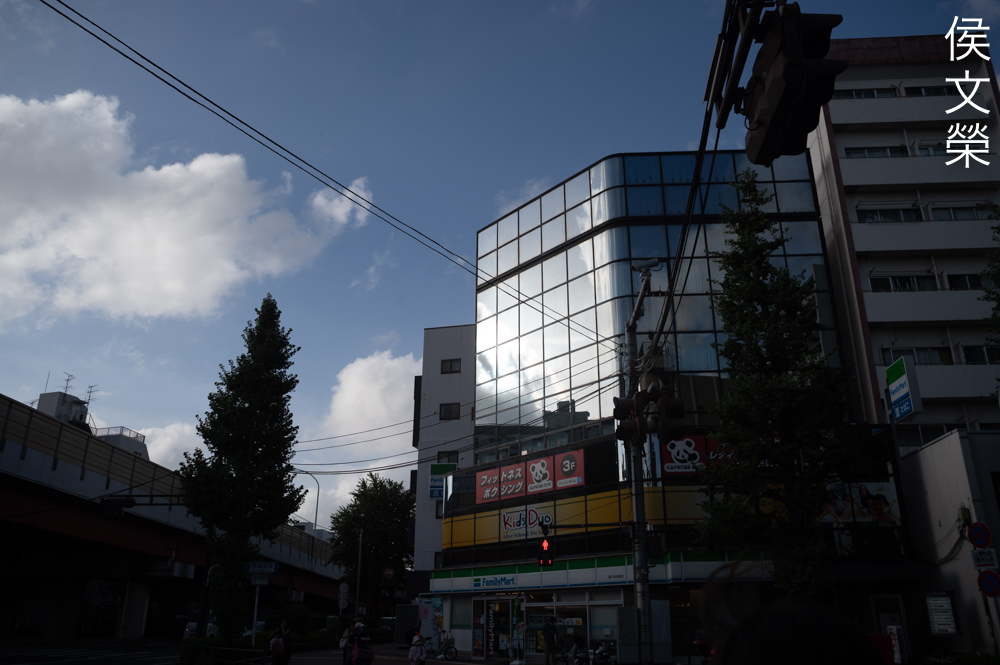
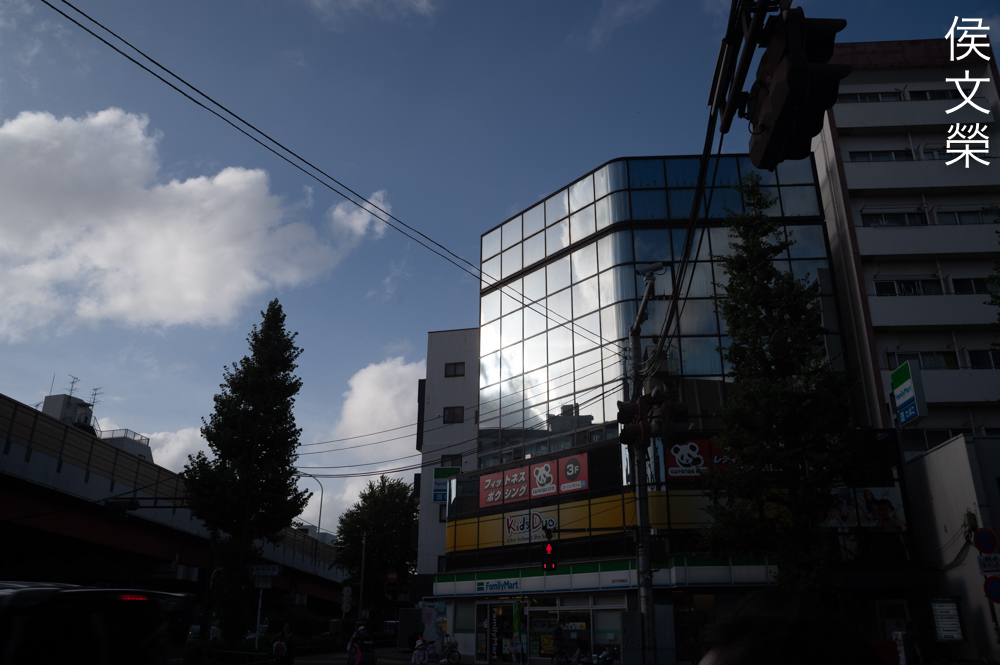
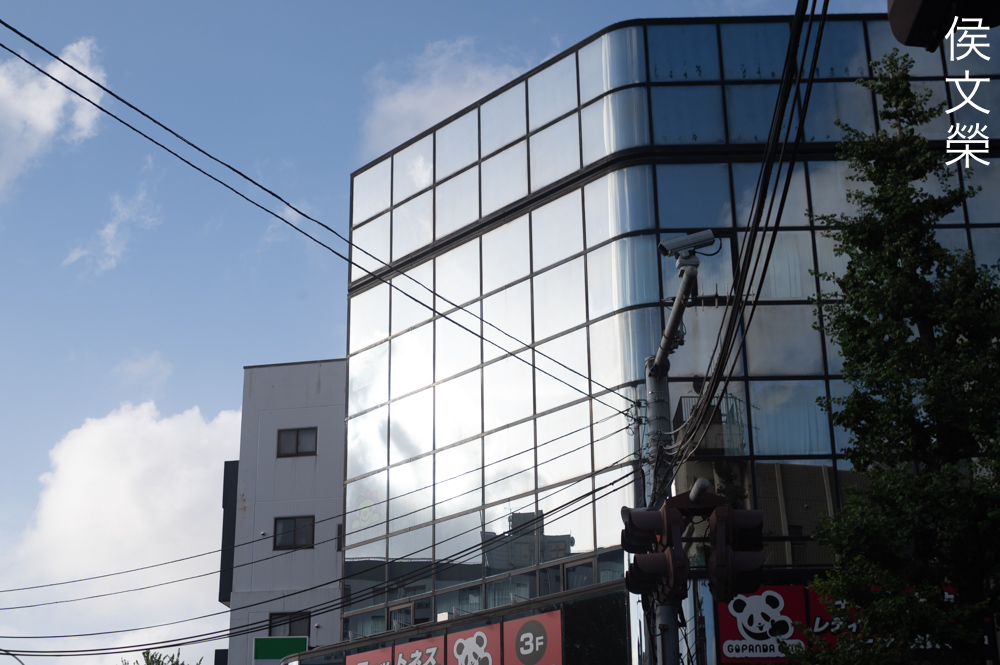
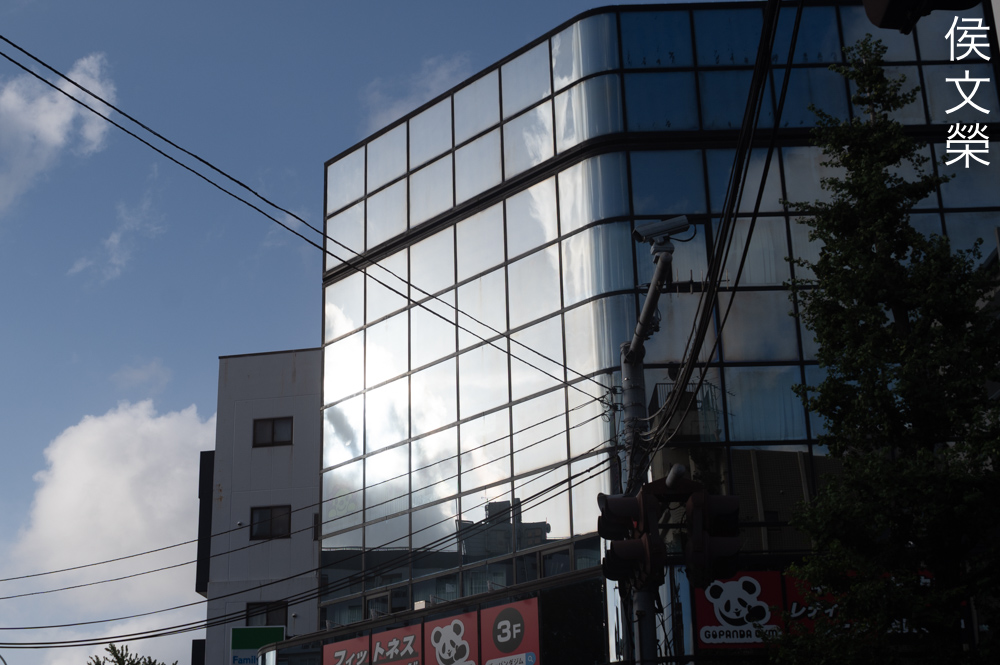
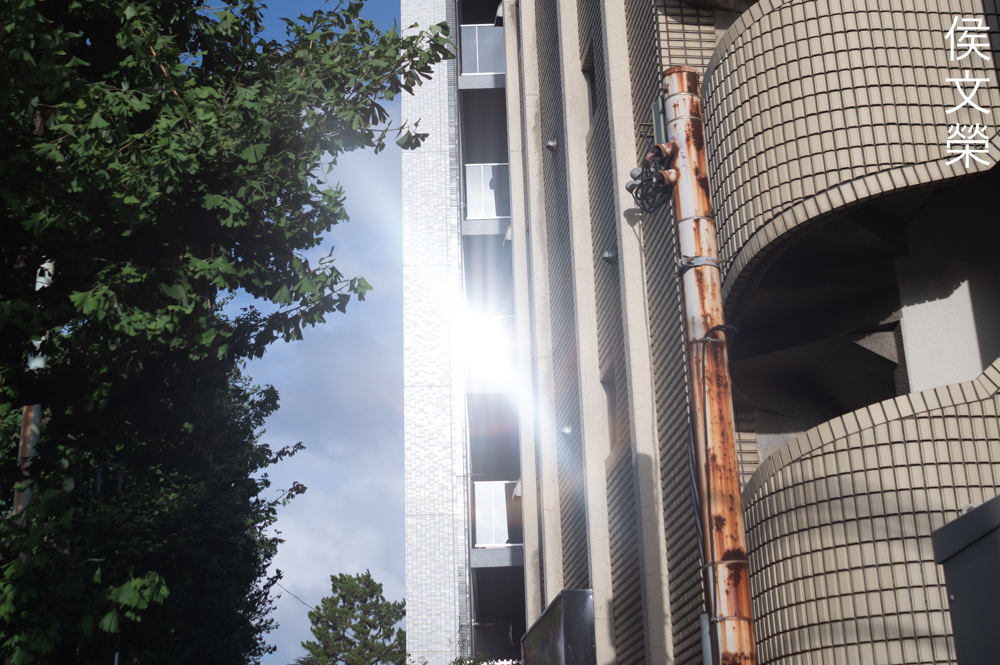
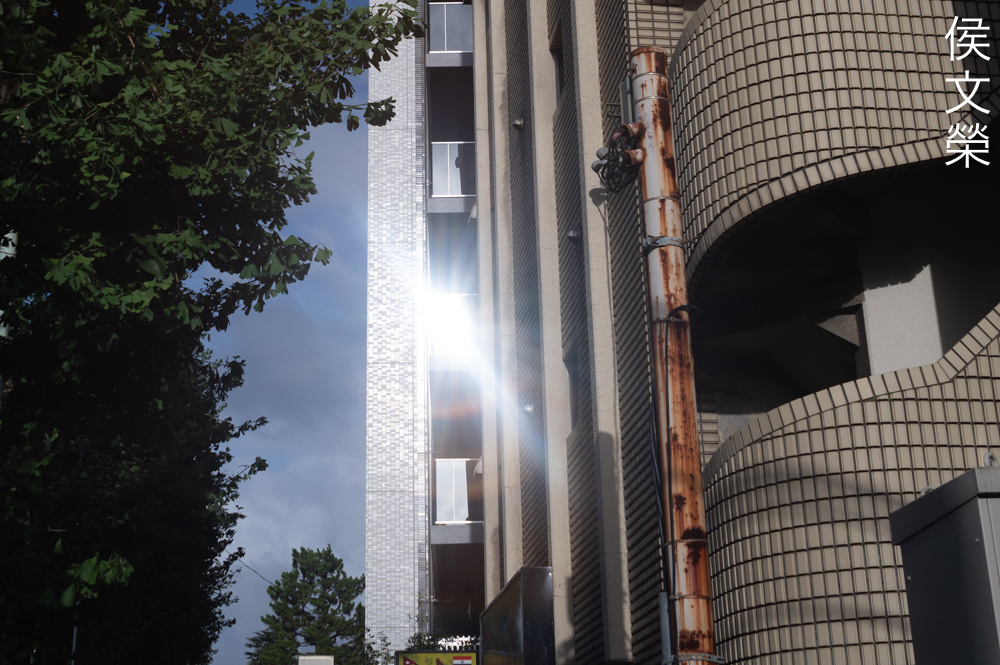
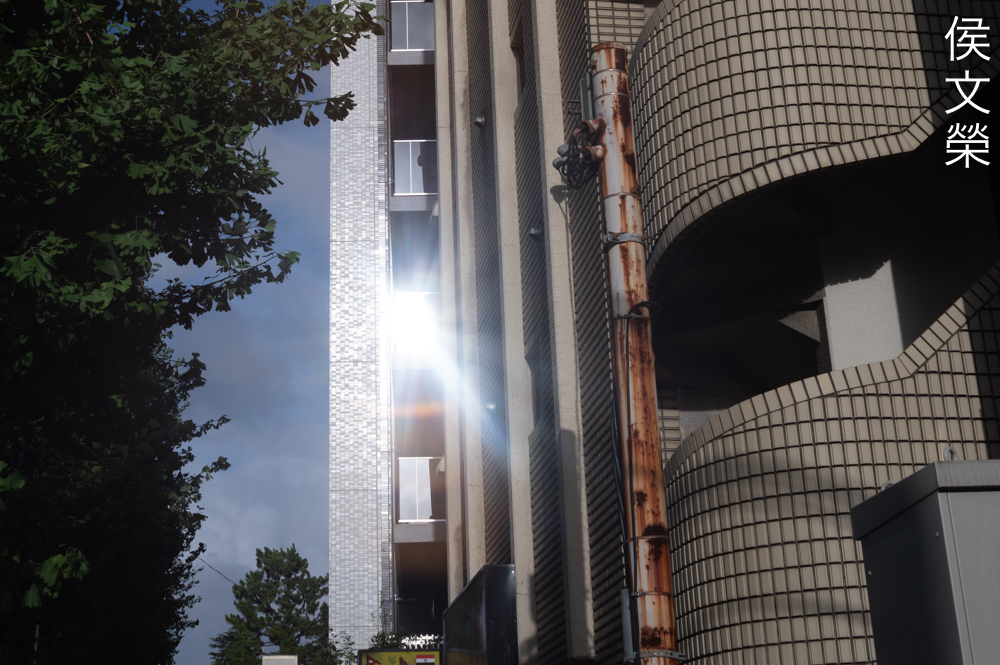
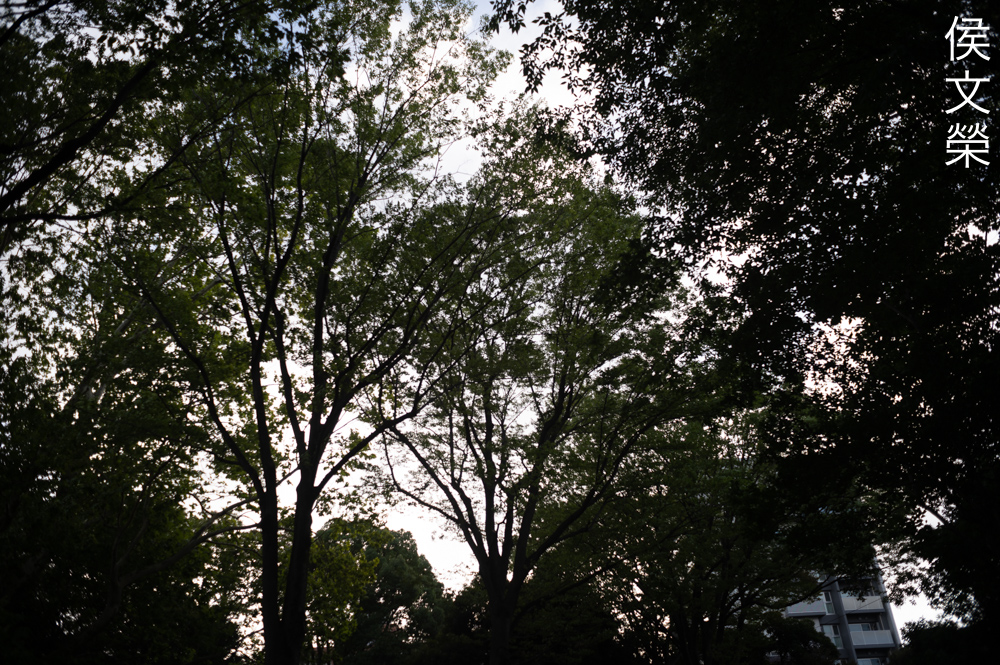
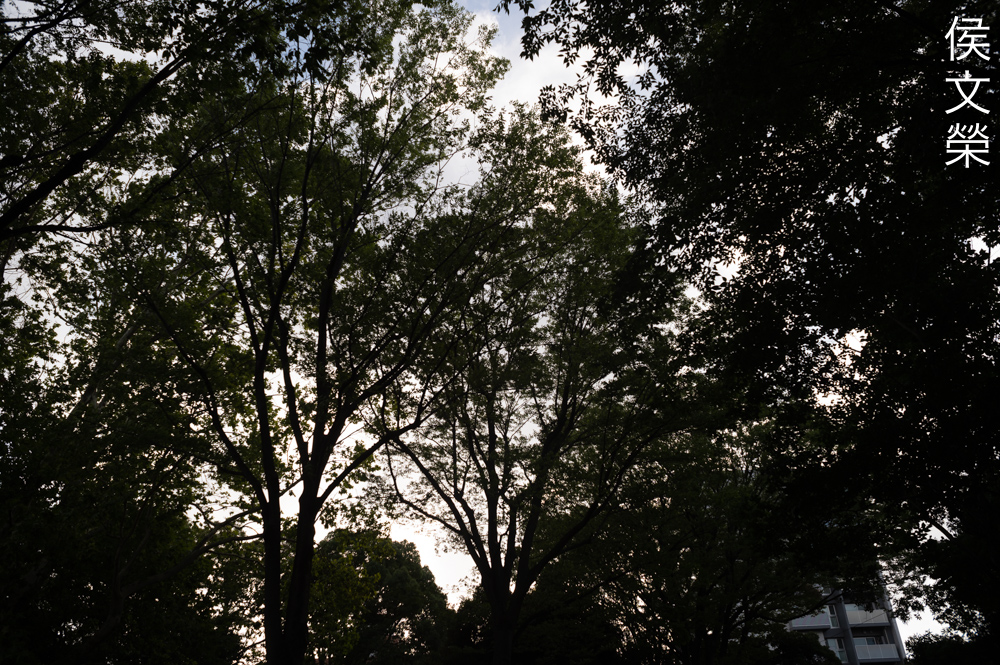
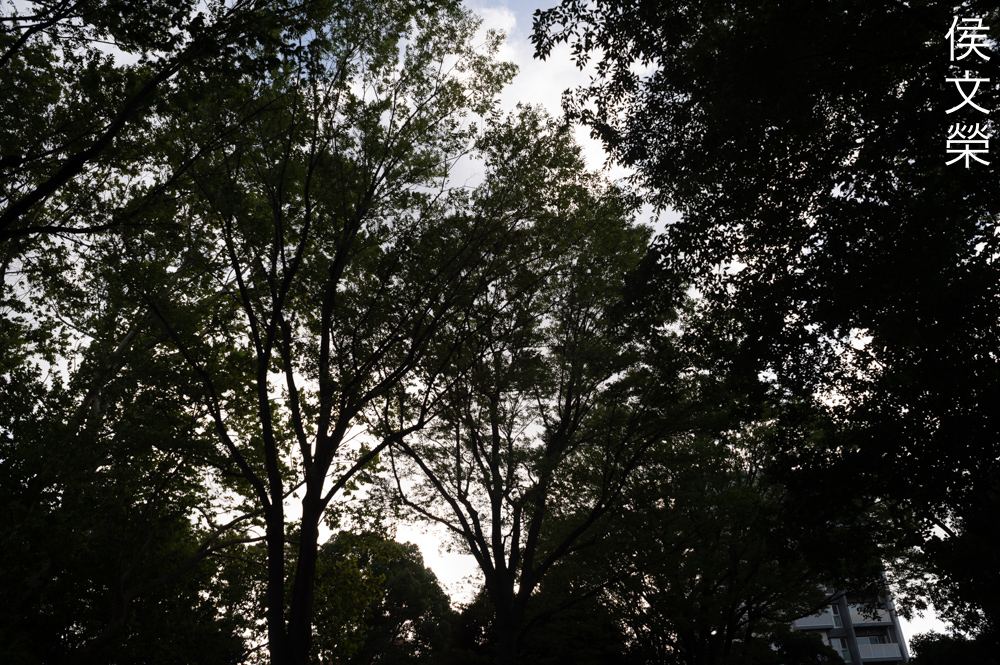
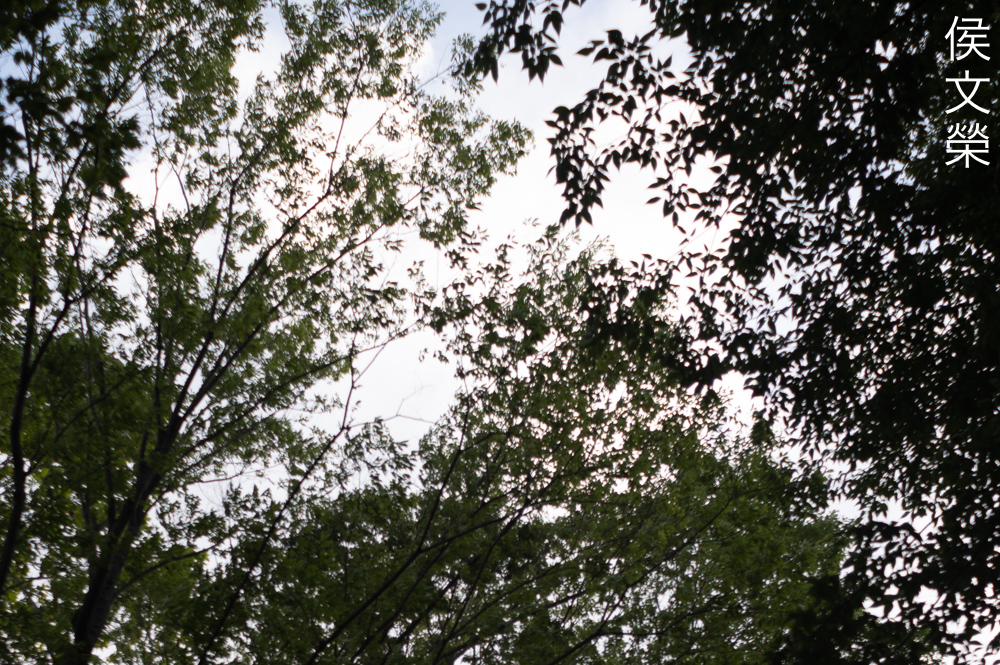
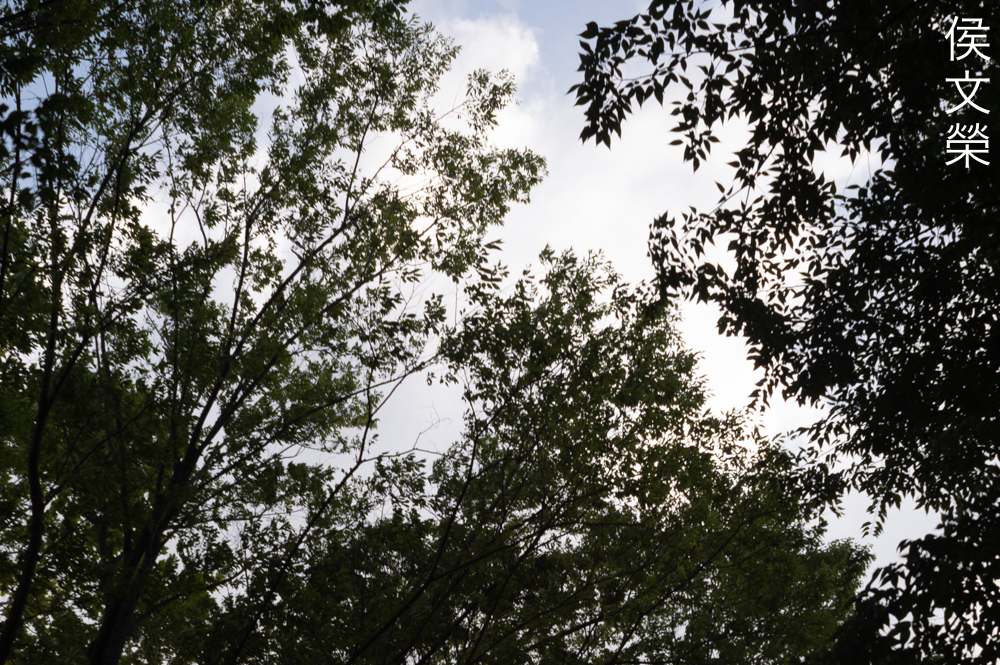
Flaring is horrible, Takumars seem to perform much-worse than their contemporaries, even the old Nikkor-H.C 28mm f/3.5 Auto performs somewhat better despite being susceptible to the same issues seen here.
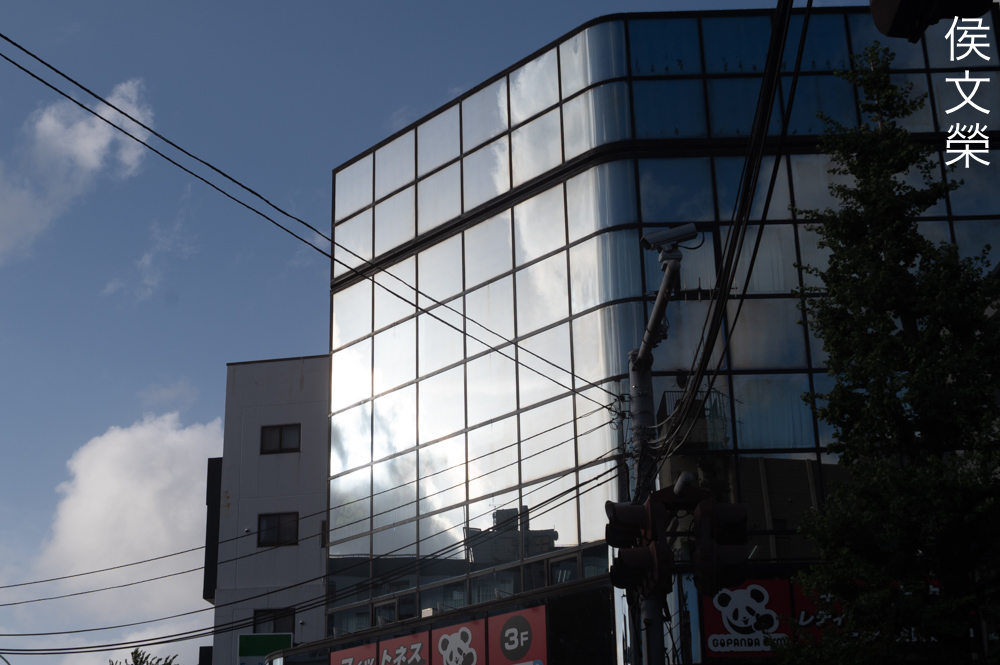
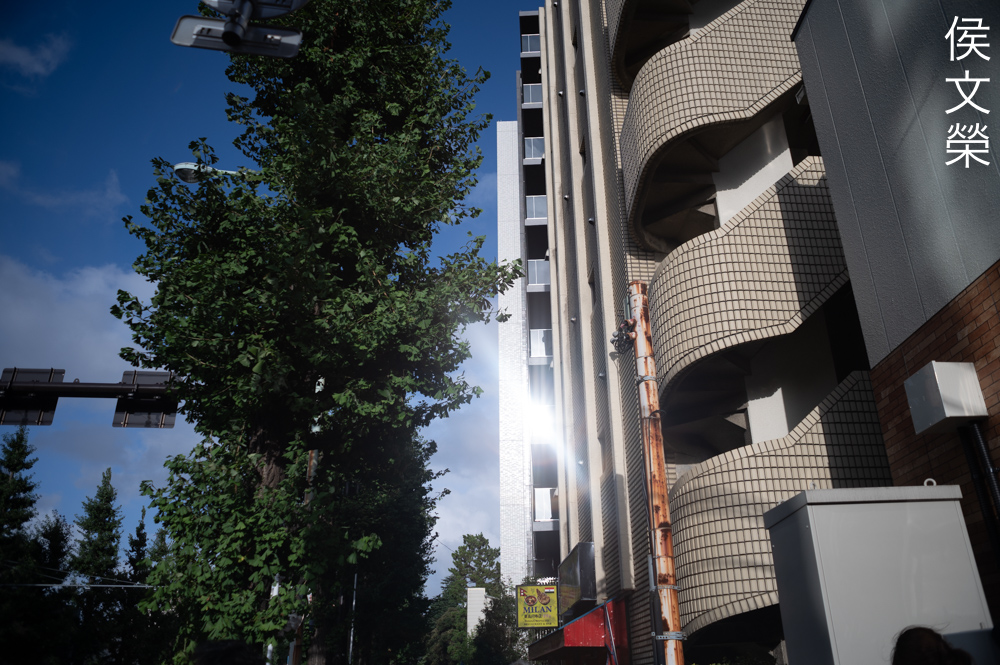
(Click to enlarge)
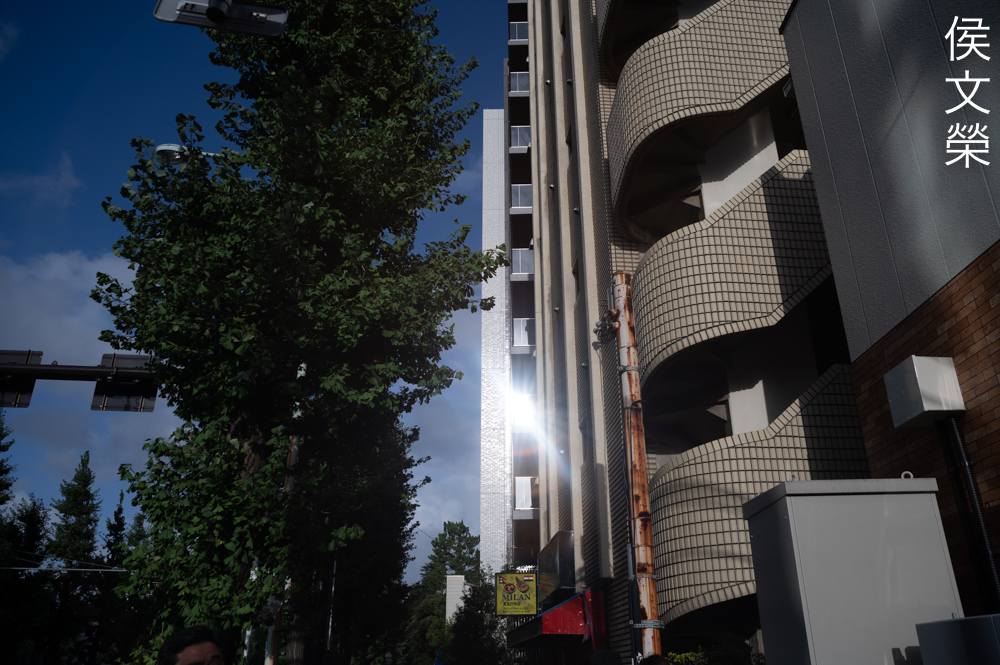
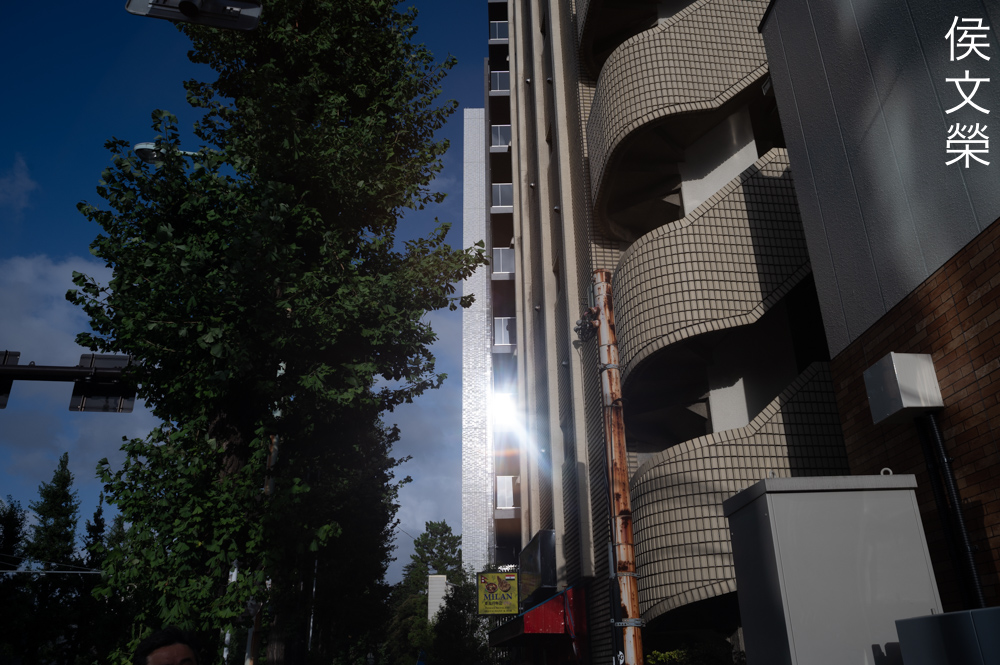
The bright parts of your scene will bloom if you have overblown details in the scene. The coatings certainly are inferior, I consider this rather pathetic because it’s a rather nice lens in terms of sharpness and other attributes.


(Click to enlarge)
Chromatic aberration appears to be corrected rather well, I couldn’t see any strong traces of purple-and-green fringing even when shot in difficult situations wide-open, this is most impressive. I’m sure that it’s there but you won’t find any unless you pixel-peep but it does show some spherical aberration in trace amounts. Stop the iris down to f/5.6 and you will see some improvements and it looks much better by f/8.


(Click to enlarge)
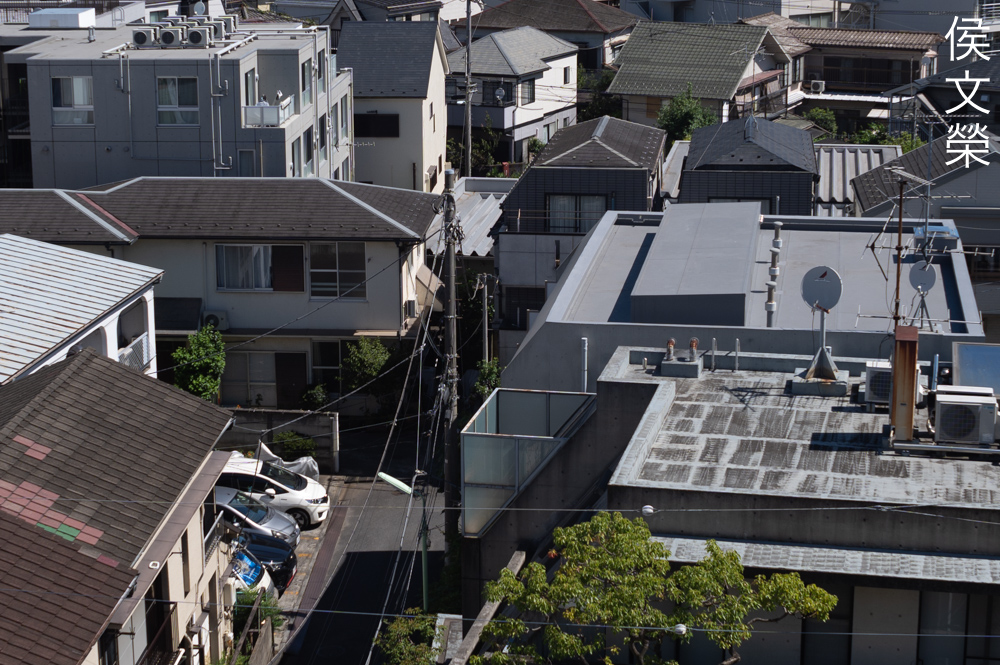
Sharpness and contrast is quite good wide-open, the center looks nice and the extremities are quite good despite not being on the same level as the center. The resolution is not high when shooting wide-open but it’s adequate for most cases. Stop the iris down to f/5.6 to see a boost in resolution. The center looks better but the biggest changes happen at the extremities, they now look a lot better. Stop it down to f/8 and the center improves some more, the extremities now look very good which took me by surprise.
This is a very sharp lens, it’s amazing how good it is in this regard despite its age. It’s definitely usable wide-open but it is best to shoot with this from f/5.6 at the very least if you have enough light. I guess this lens was calculated for this at at the expense of some refinements in the rendering department.
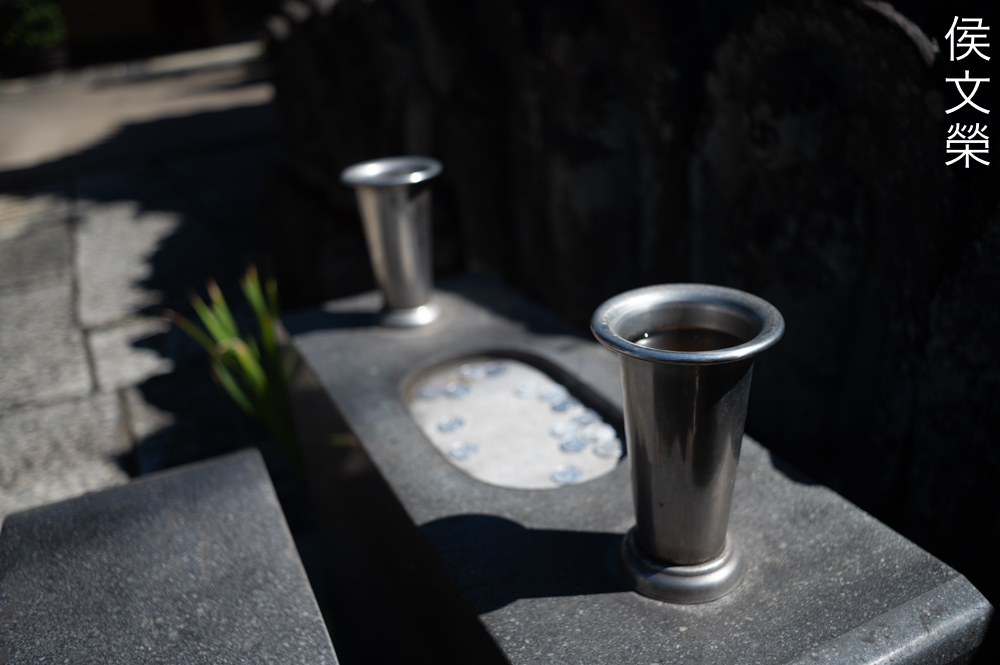
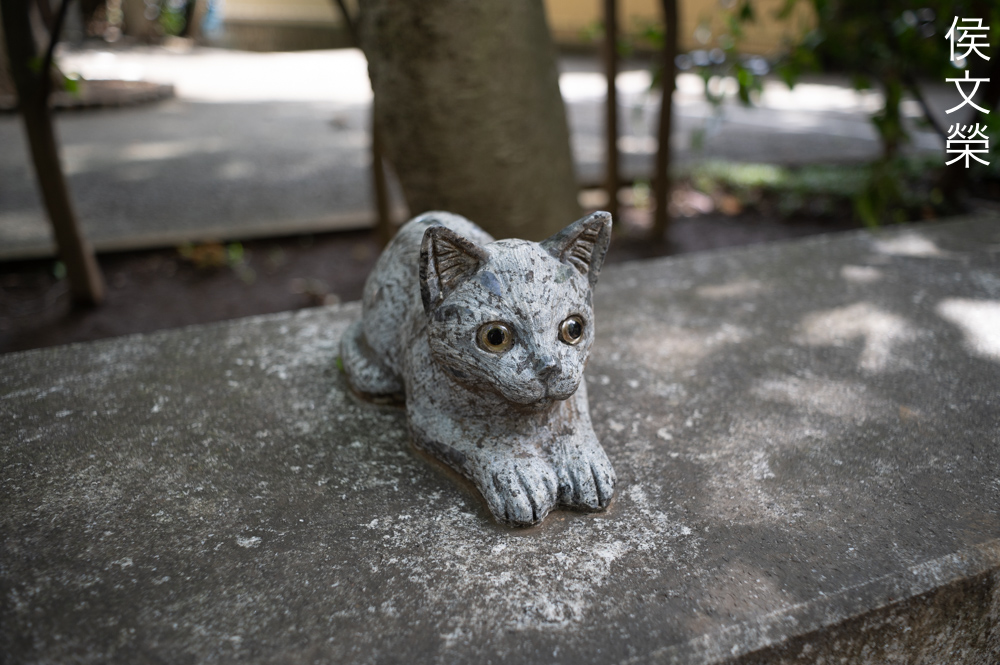
Despite shooting at its closest focusing distance you won’t be able to produce smooth, blurry backgrounds. This is the reality of using this lens. In fairness to this it’s not the lens for this anyway, use the Super-Takumar 55mm f/1.8 if you’re looking for smooth backgrounds.
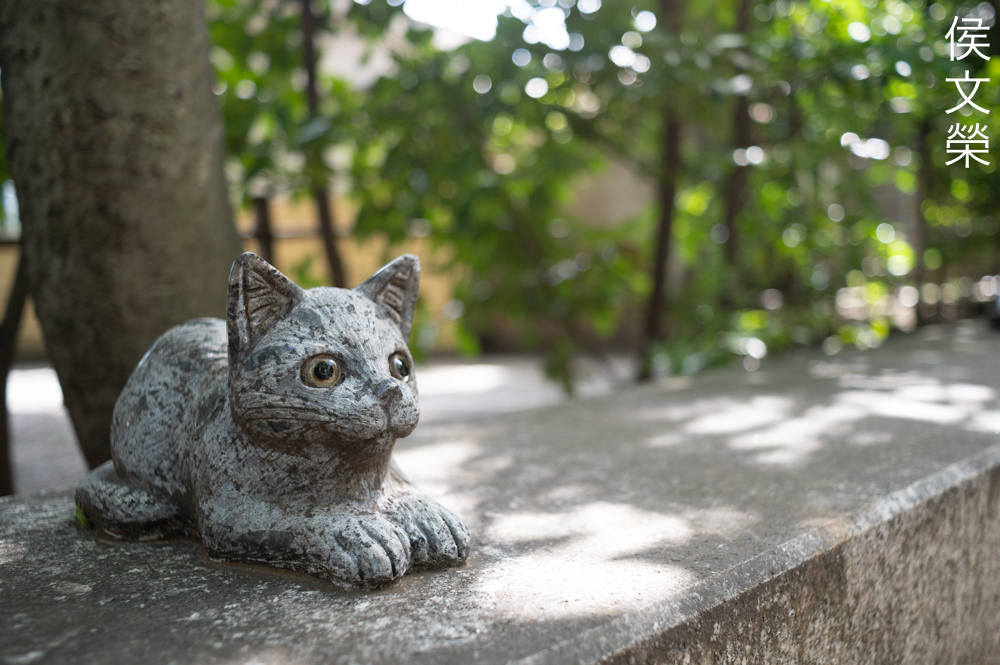
This is probably the smoothest I could get at this distance, it’s not much but at least the cat’s eye is sharp.
The overall feel is rather “cheap”, you’ll know if a lens is overcorrected for sharpness or anything else by the character of its bokeh, it’s either rough, smeared or just ugly.

If smoothness of the background isn’t your concern this lens is capable of producing sharp photos even wide-open. It’s the best attribute of this lens if you ask me.

Contrast and saturation is rather good, above-average for a lens of this vintage.

It’s a nice lens for shooting interiors but just be careful with any bright things within your scene.
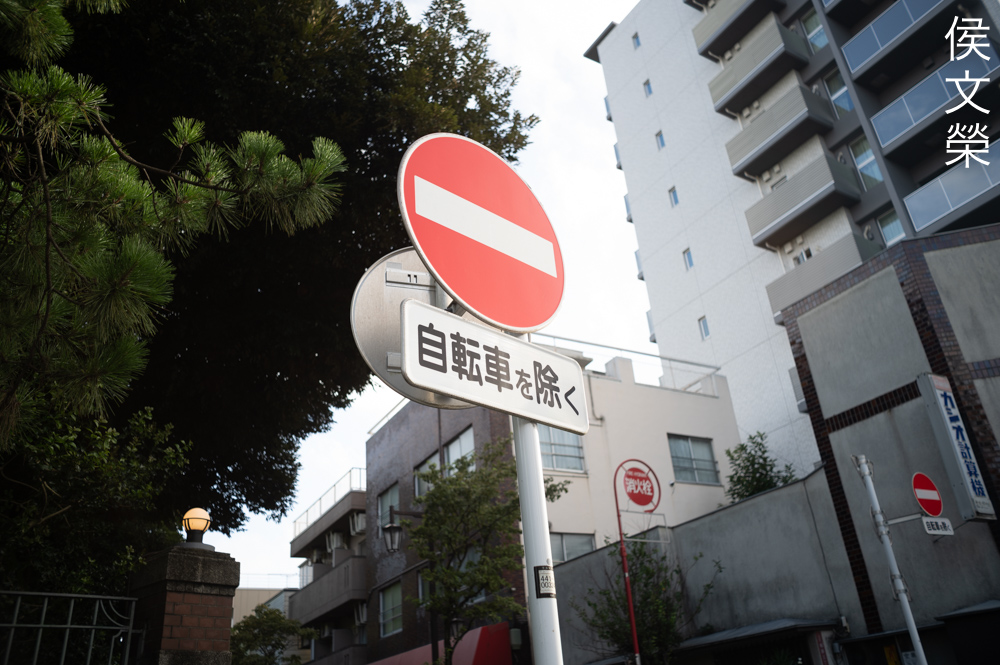
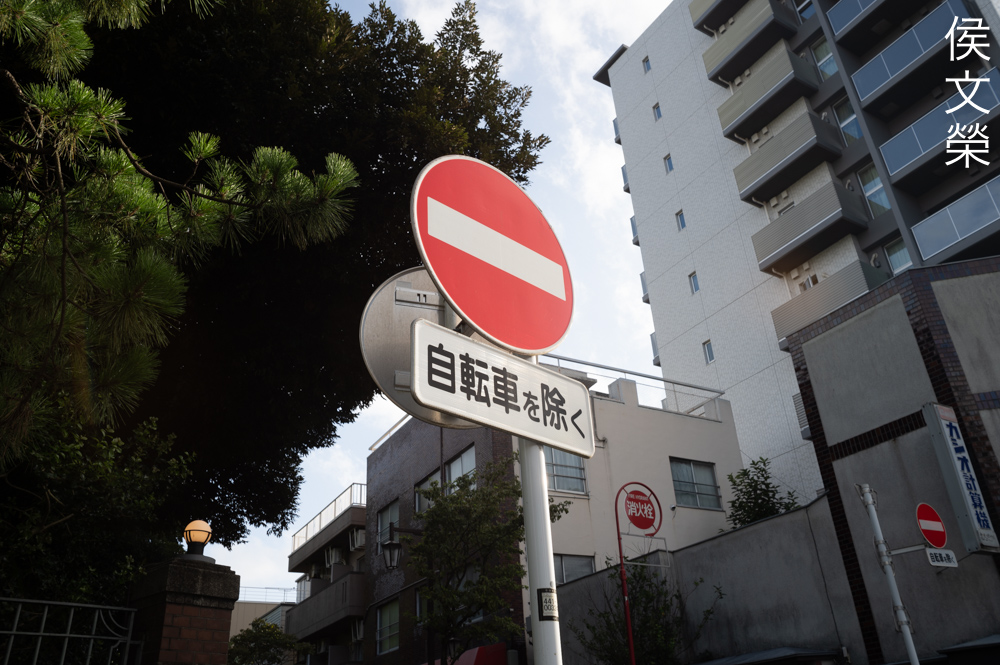
The effects of distortion is most-obvious when you have straight lines in your scene specially if they’re near the edges of the frame.
Angling your shot helps hide the effects of distortion, it’s still there but just not as obvious.
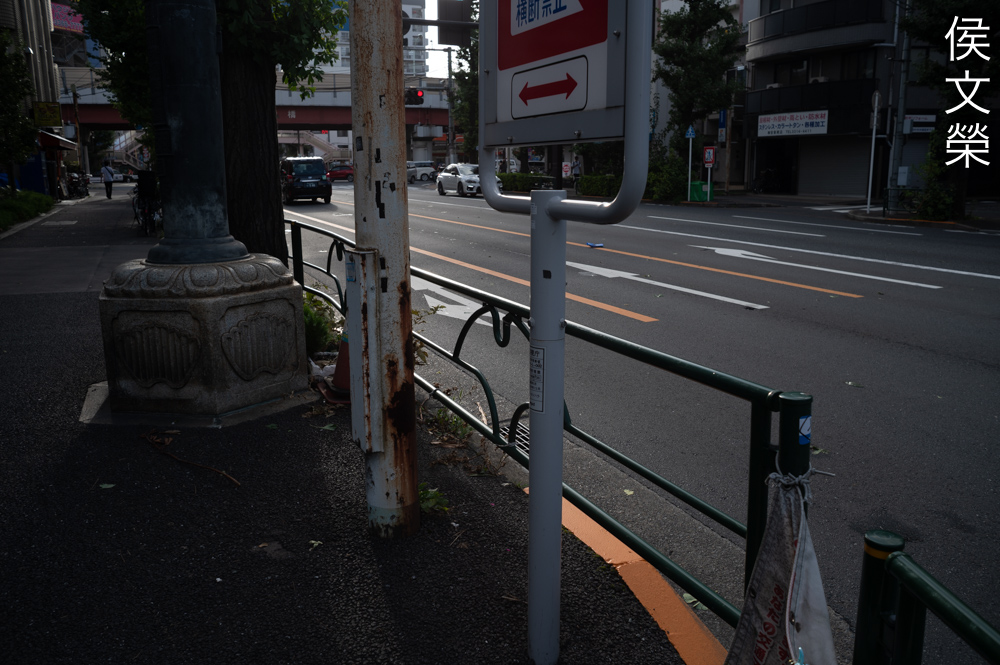
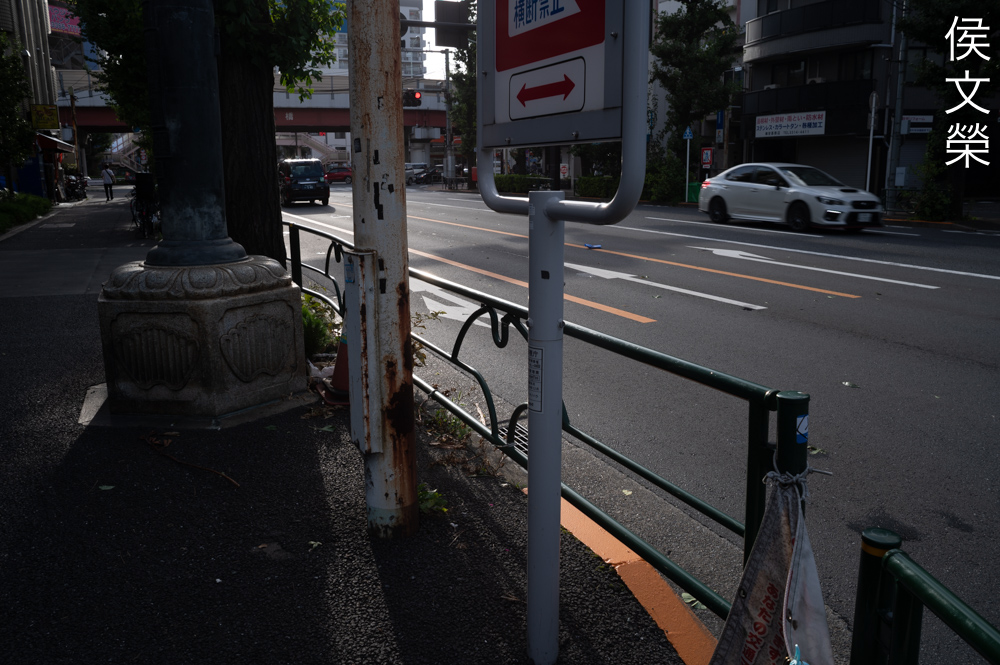
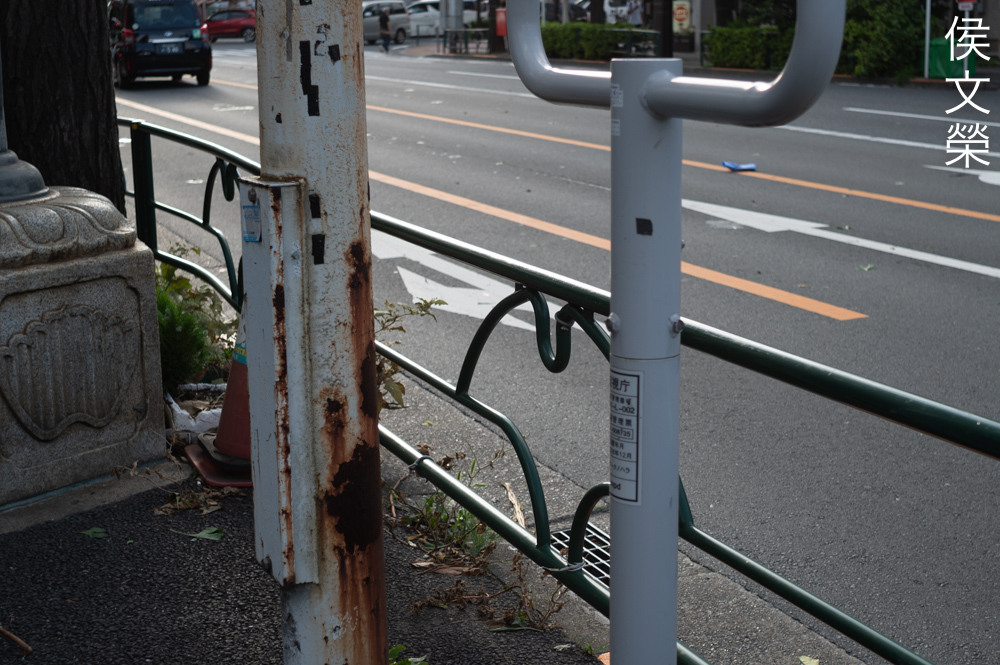
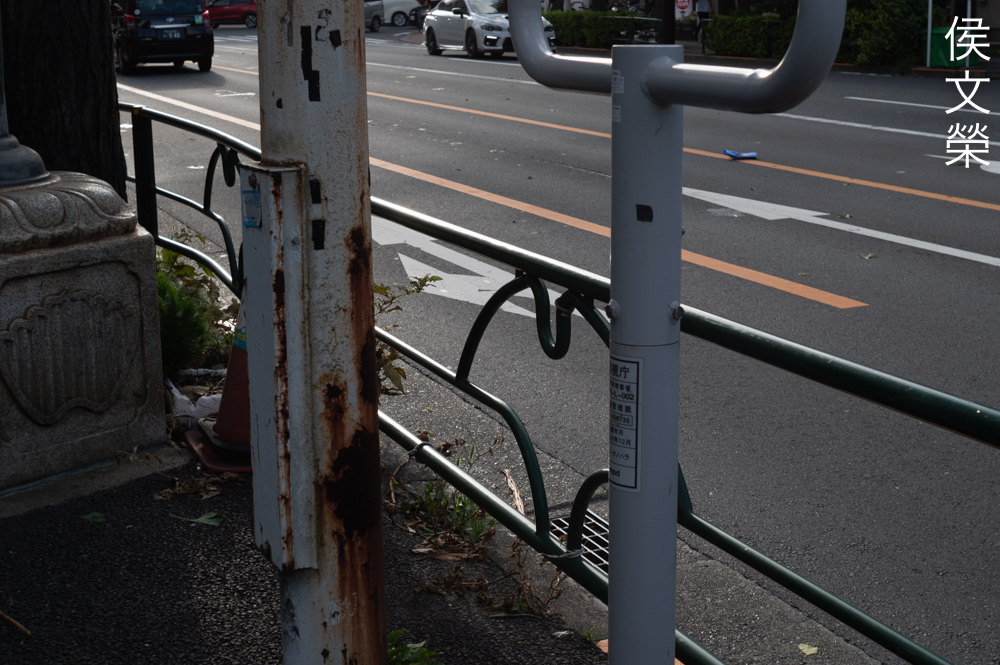
My biggest issue with this lens is how susceptible it is to internal-reflections. It’s ugly, distracting and I don’t what them in my photos. I’ve tested a lot of lenses that are also prone to this issue but this is probably the worst I’ve seen specially if you consider that it has a simple optical formula.

(Click to enlarge)
It’s not a bad lens so long as you work within its capabilities. If there’s nothing that could trigger flare and blobs it’s an interesting lens to play with considering how cheap these are. It’s definitely outdated, there are better options for you to consider if you want to use it with a digital camera.
Let’s now check some film photos. Film has a unique look that is hard to simulate with a digital camera thanks to grain. It reacts differently to light, this means that it could mask a lens’ flaws or amplify them. Since this was designed to be used with film, it’s best that we judge this using its intended medium.


(Click to enlarge)
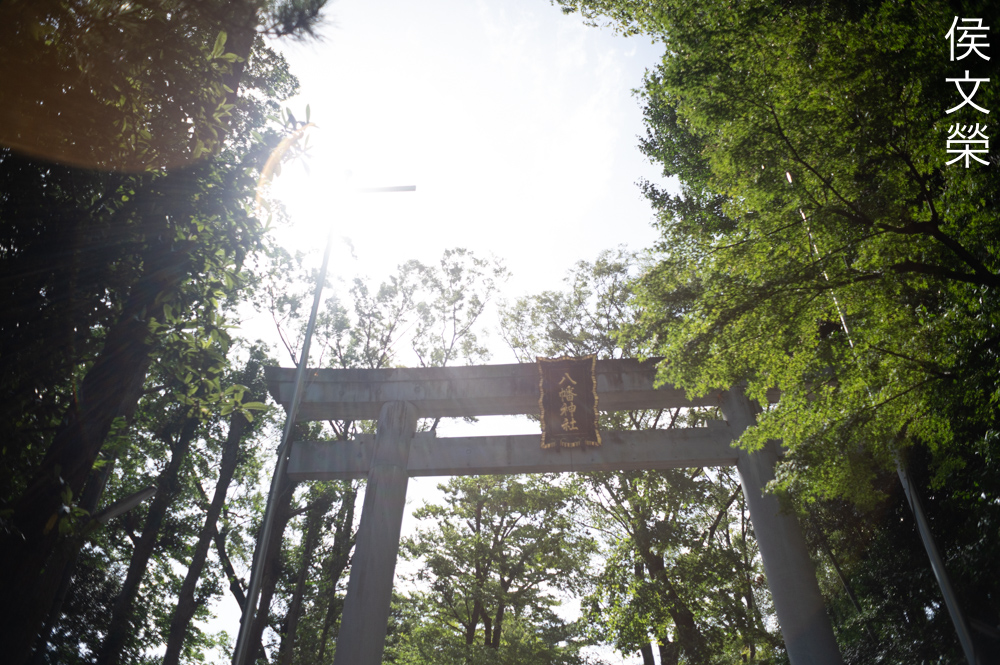
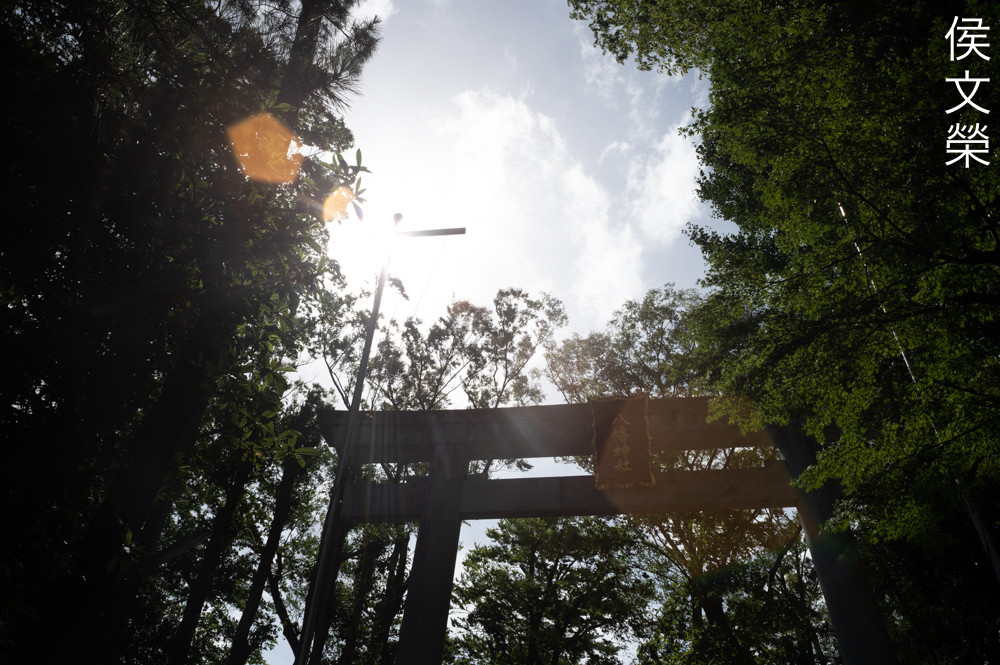
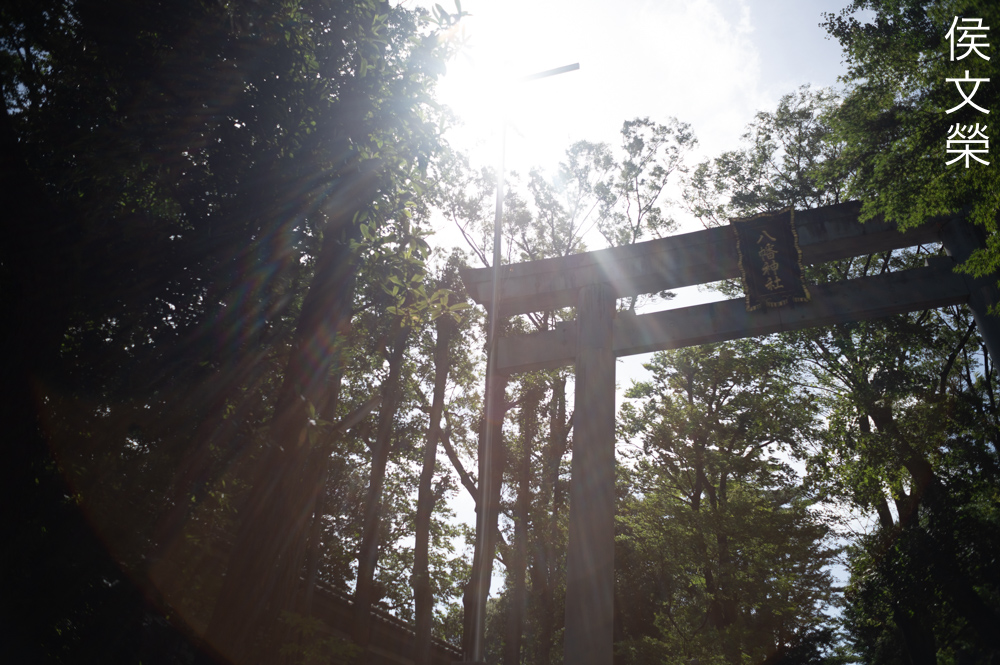
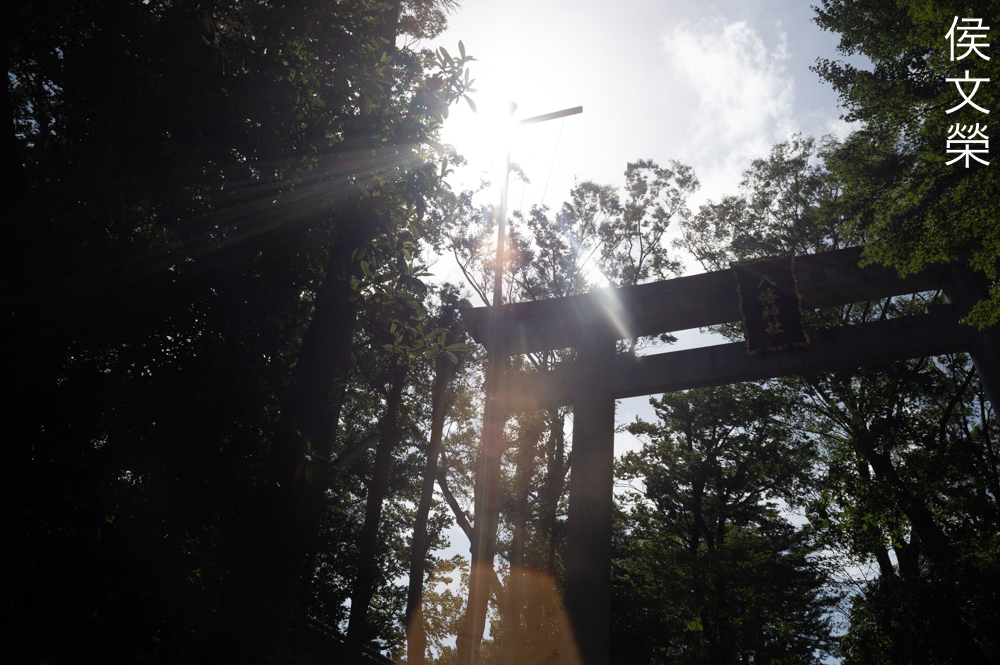
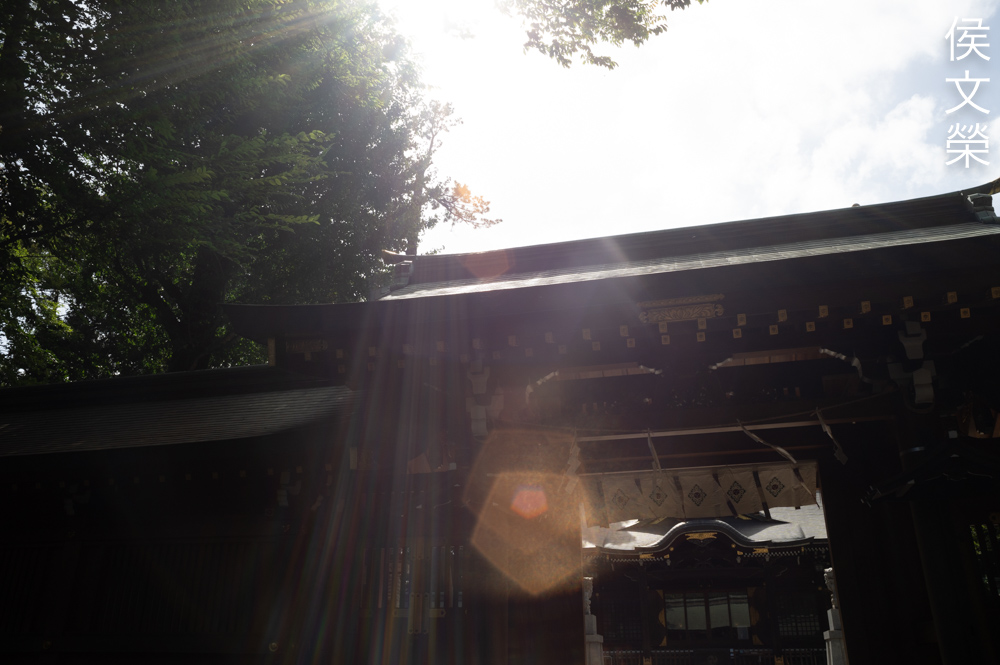
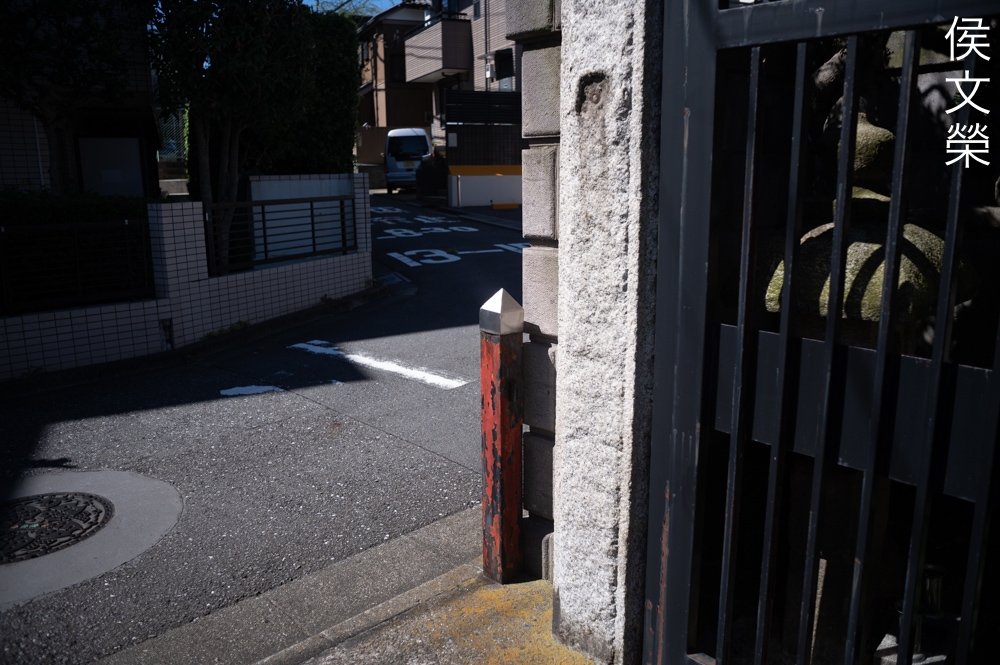
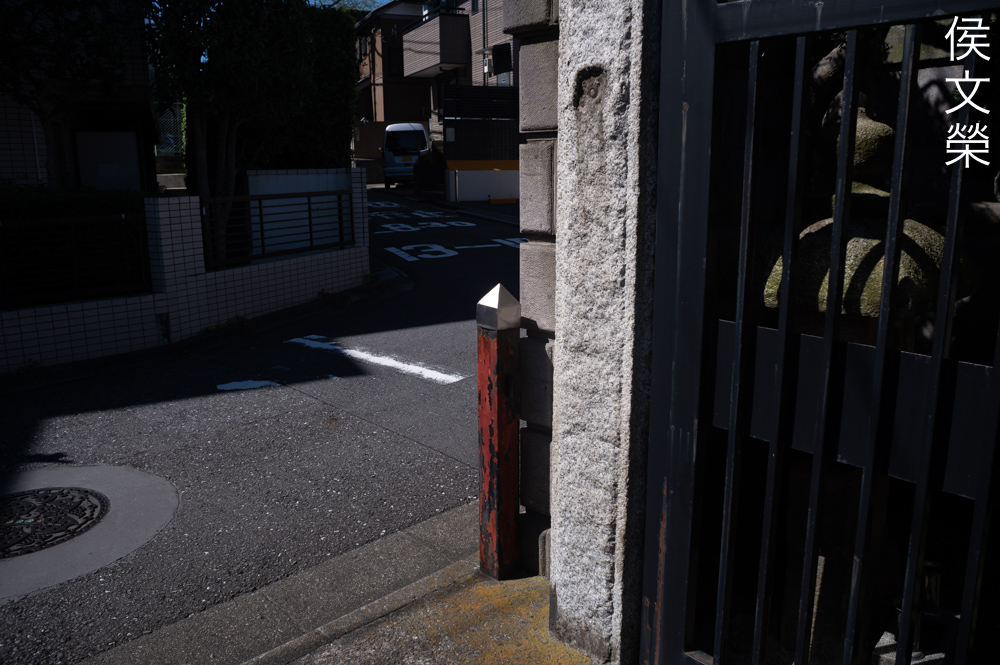
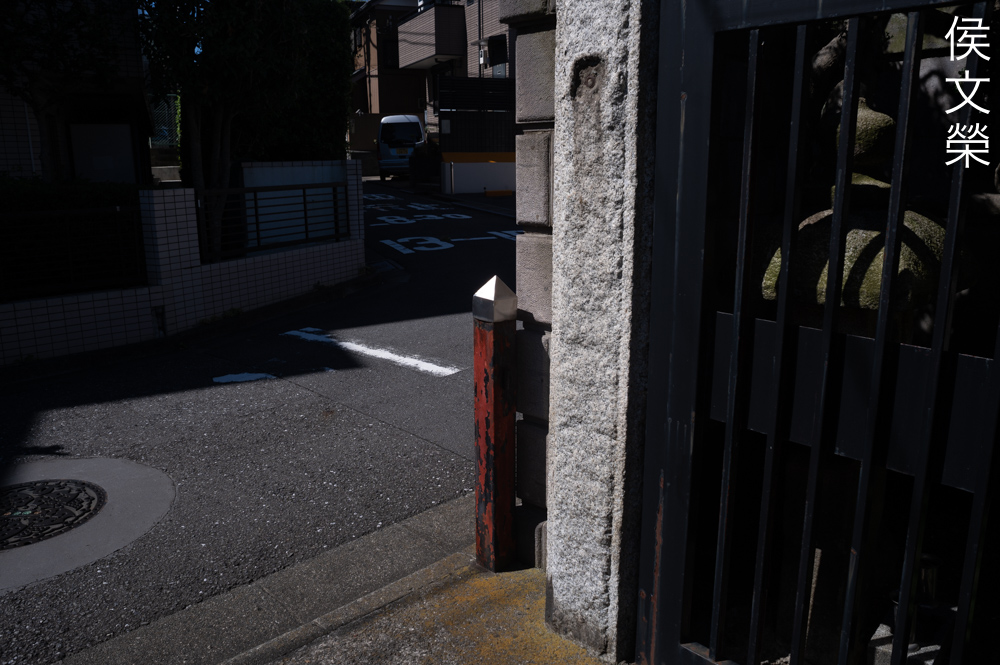
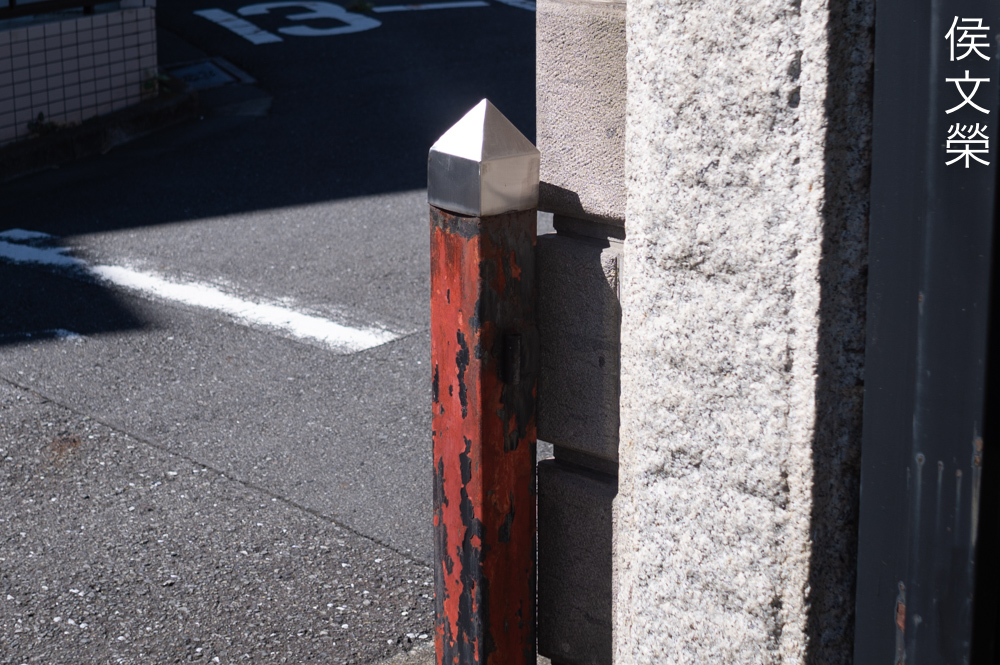
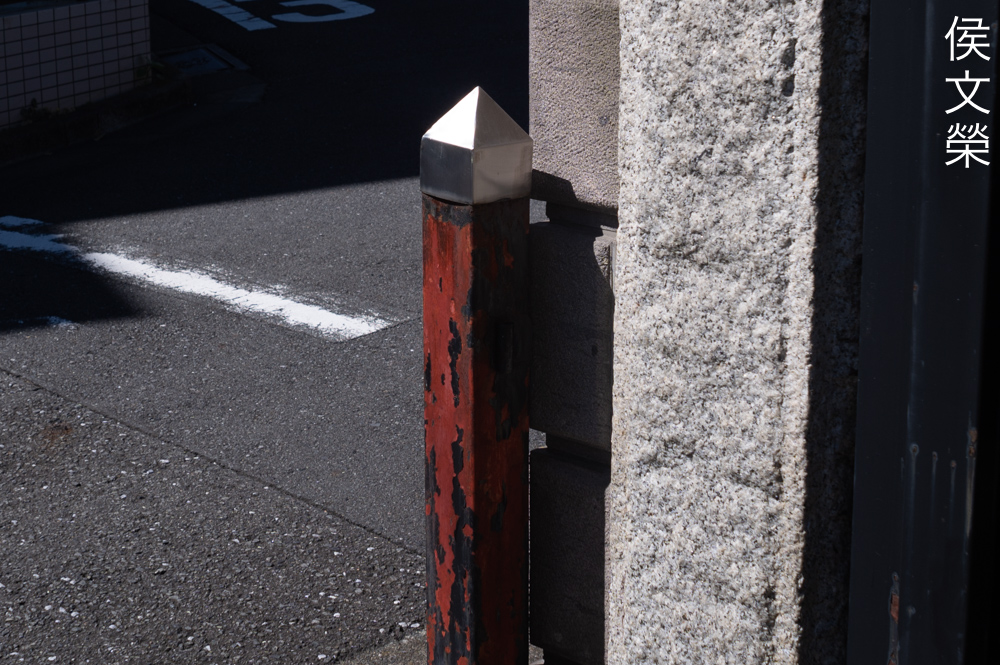
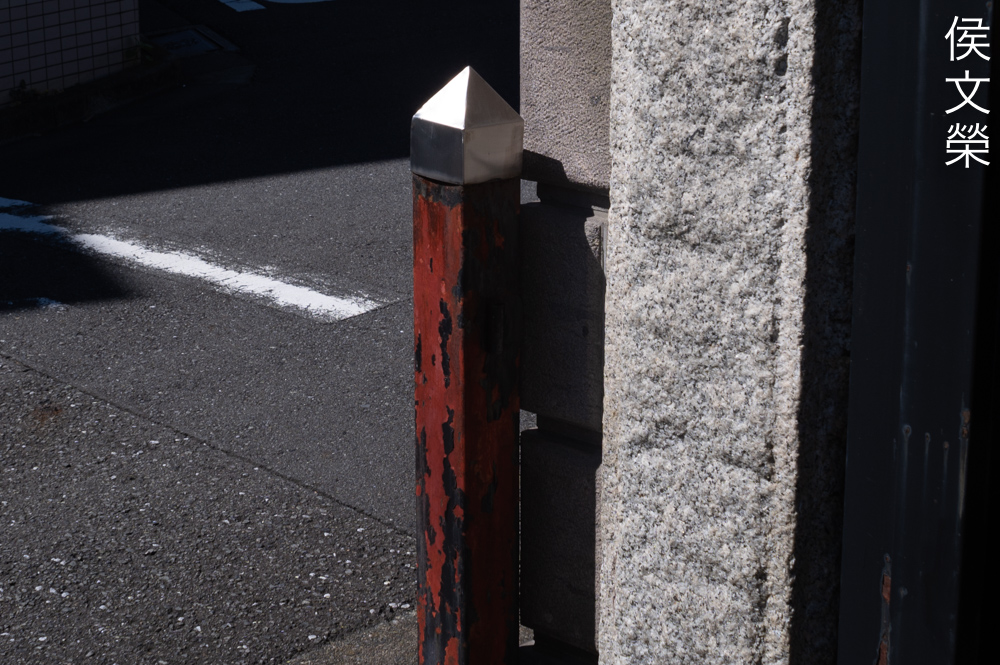
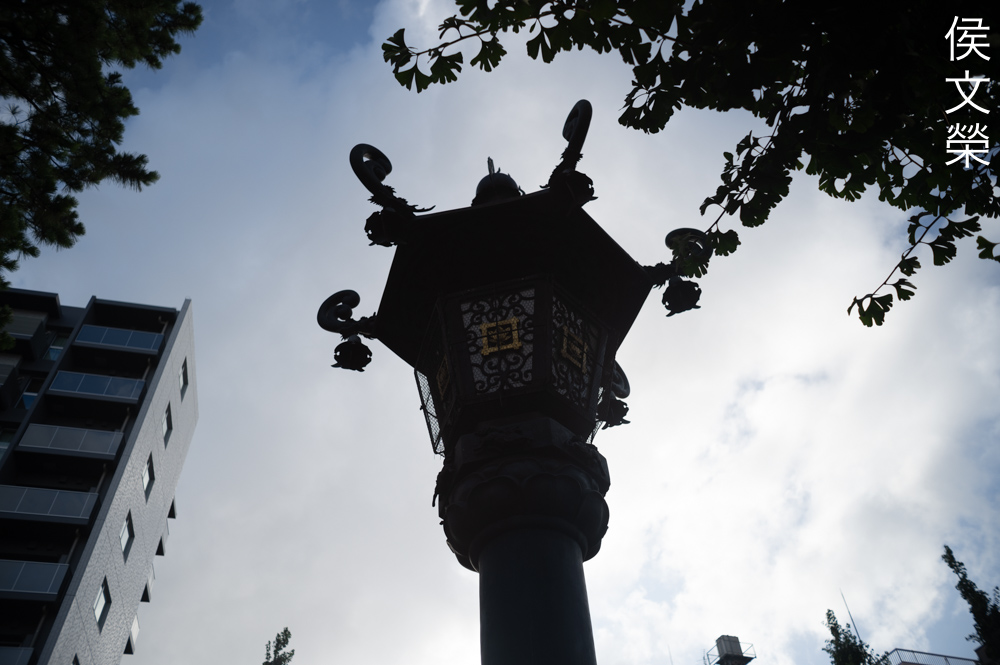
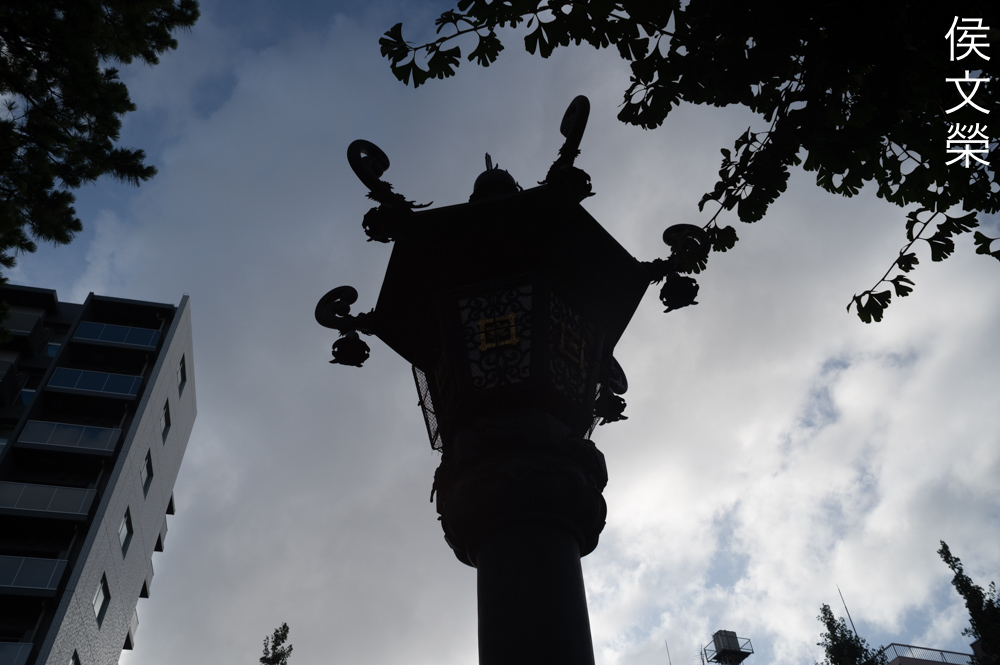
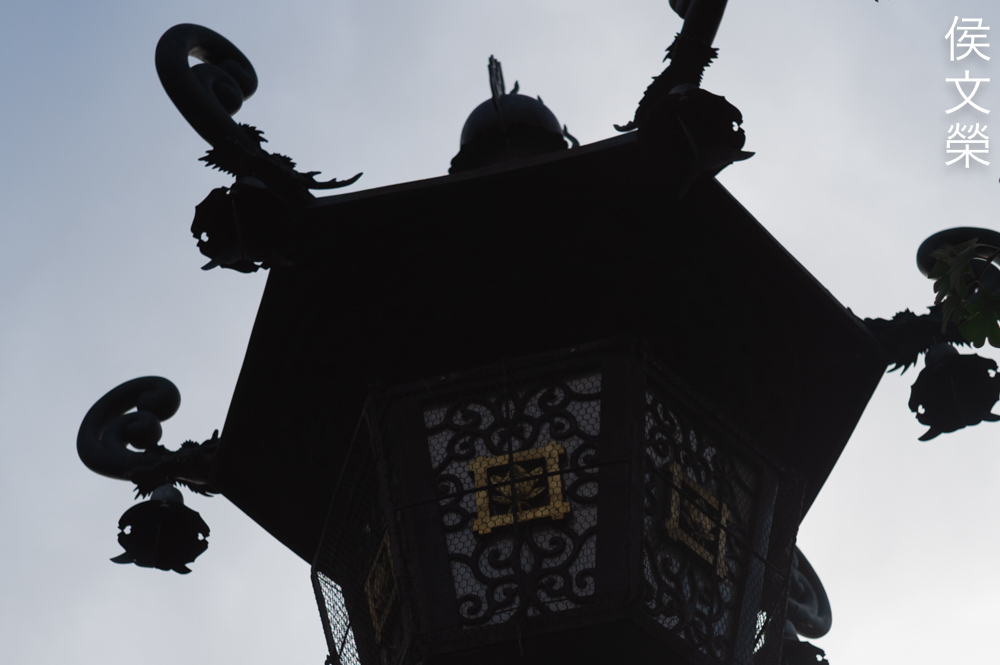
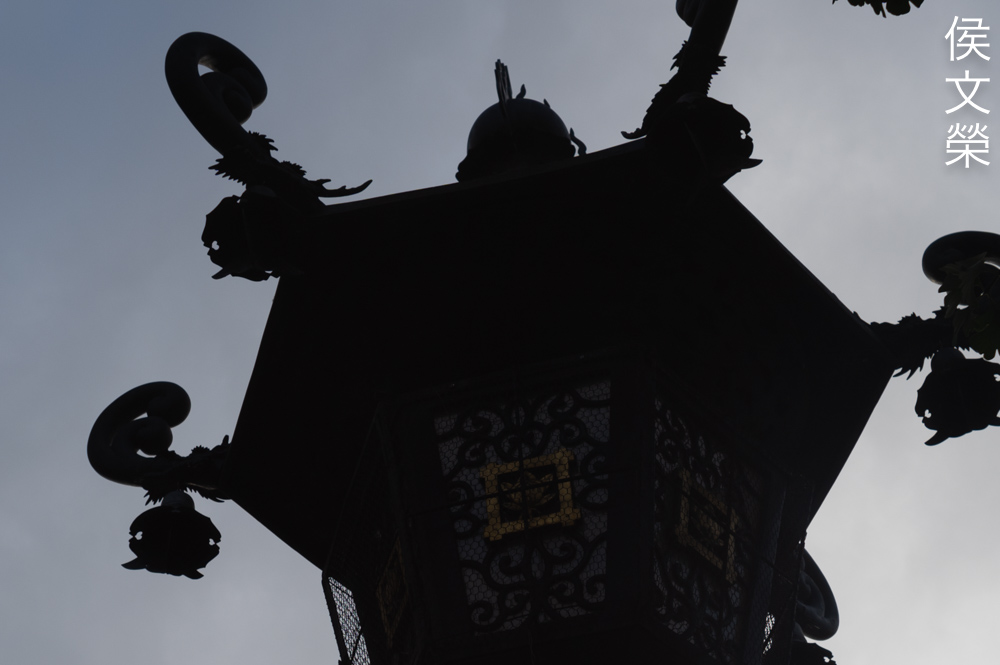
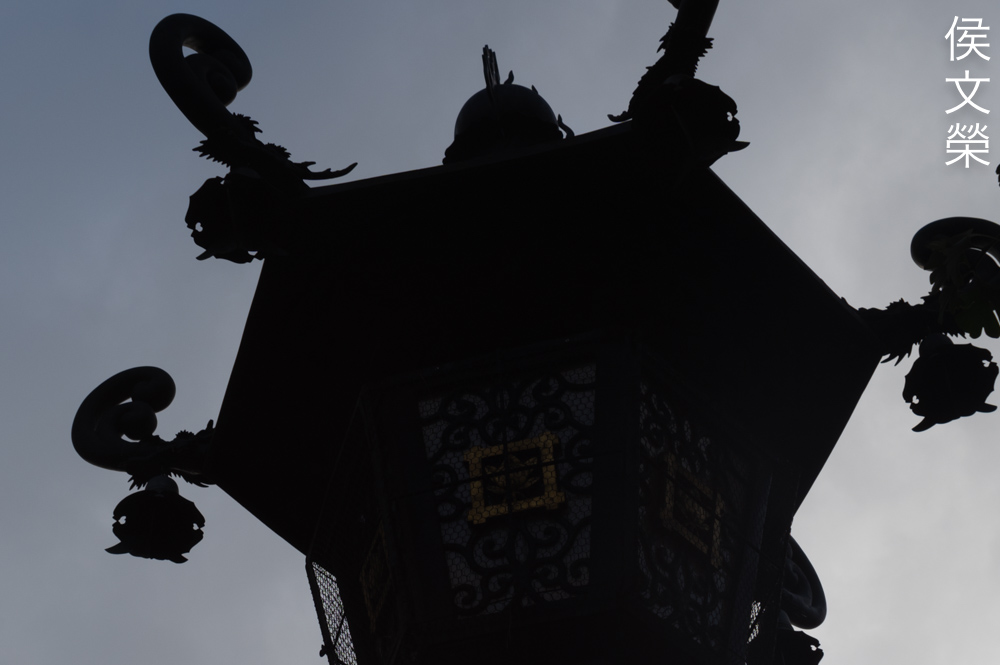
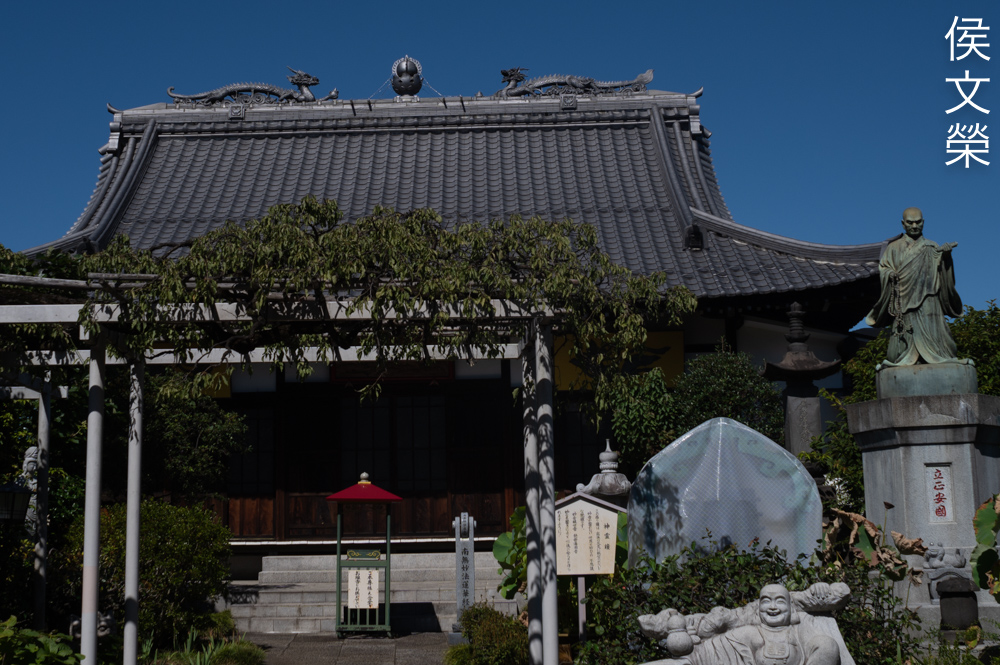
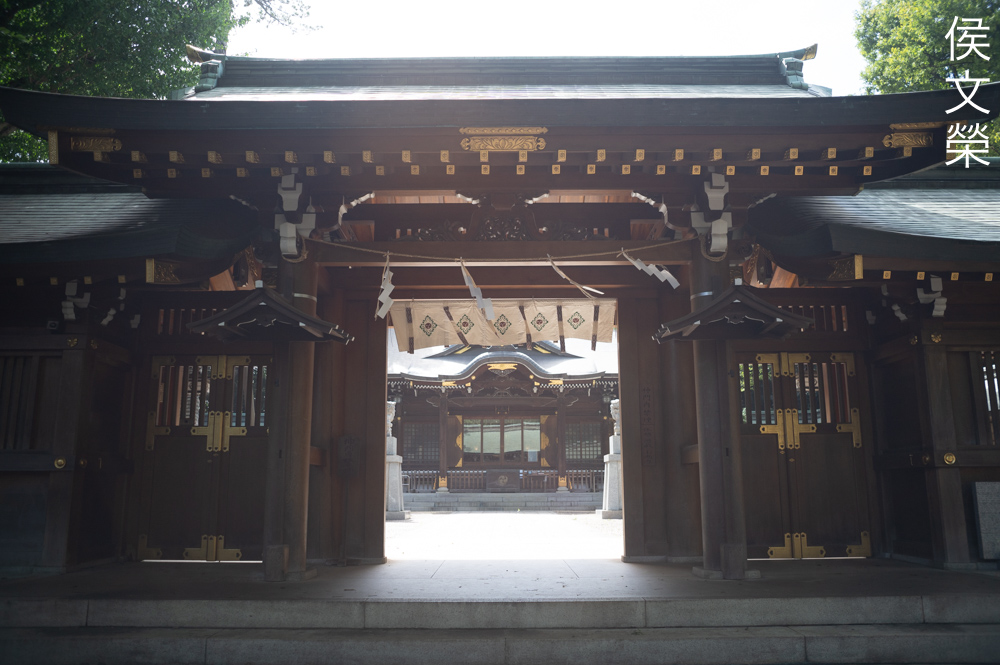
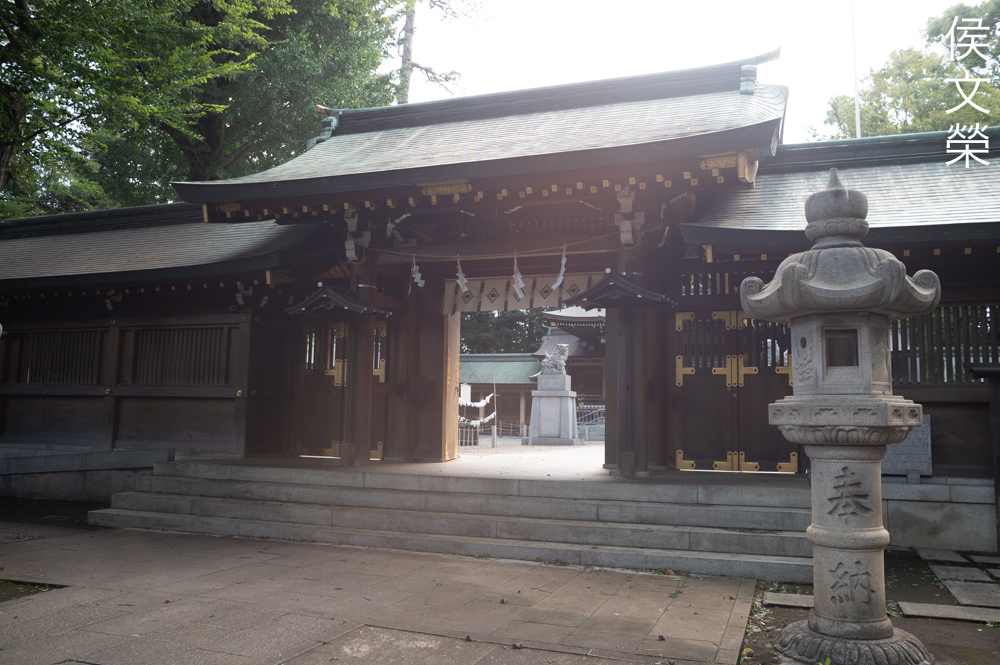
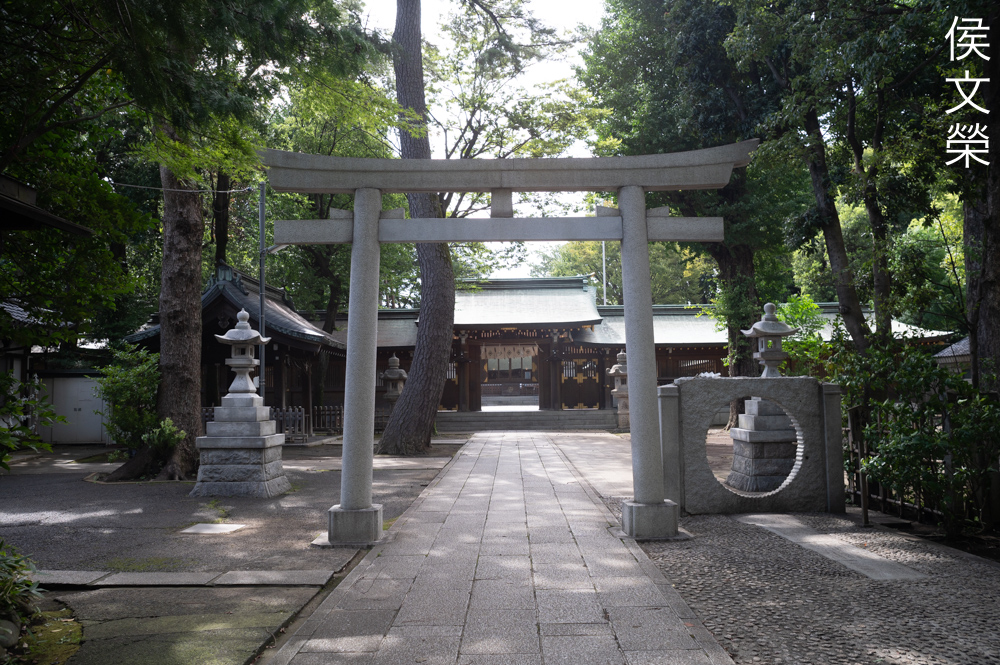
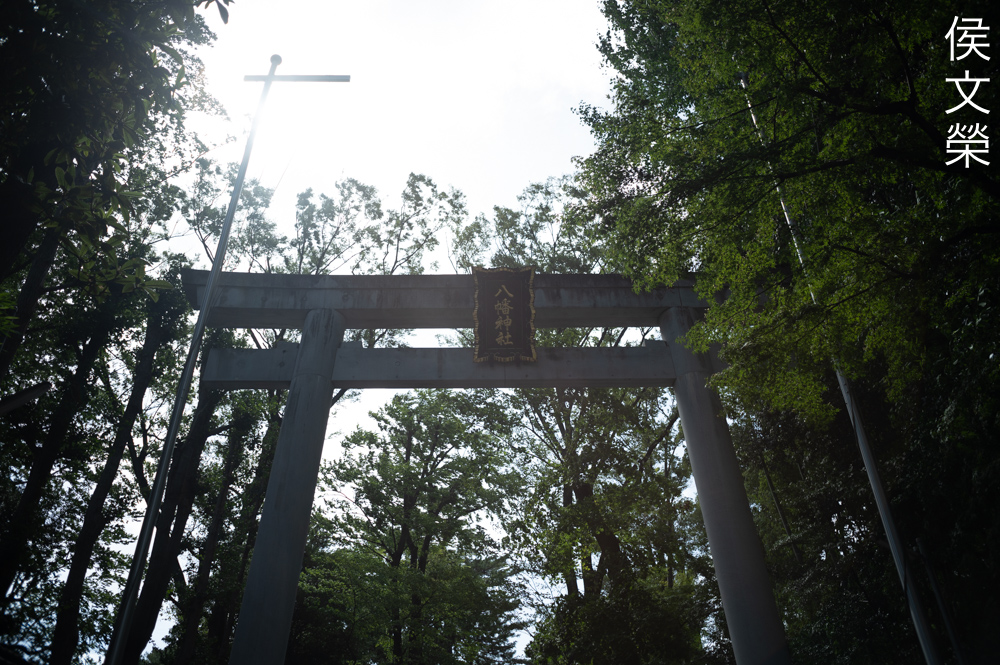
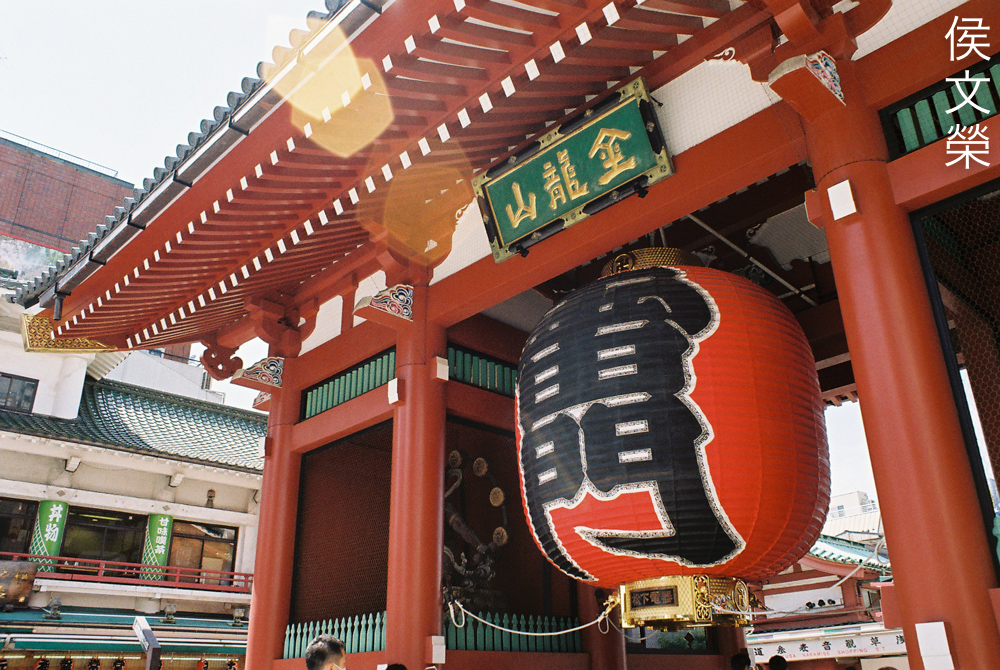
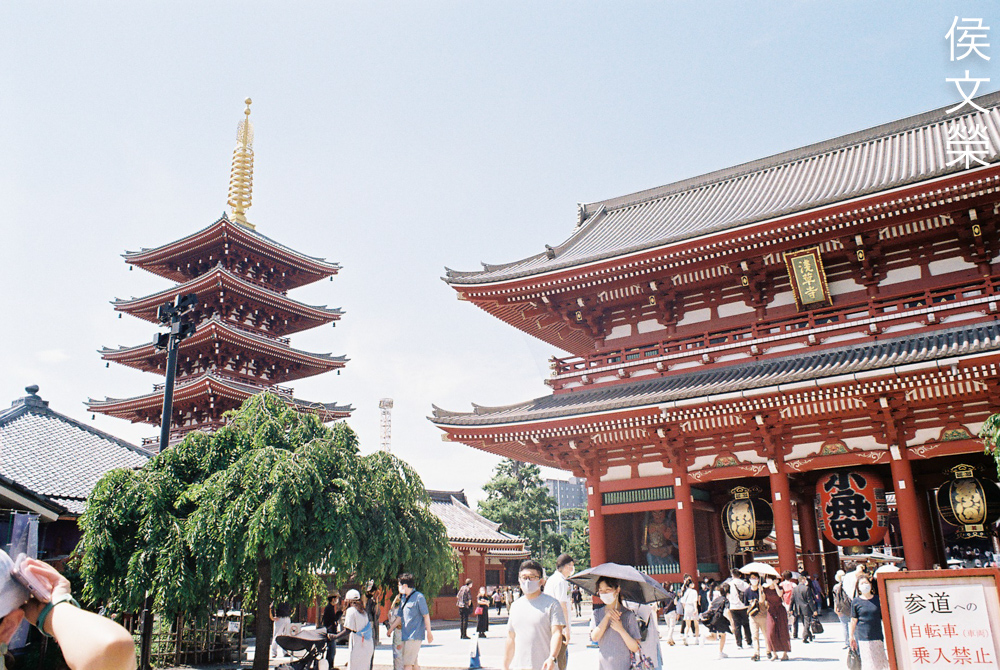
It flares horribly with film and the blobs don’t look any-better compared to what we saw earlier with a digital camera. I really think that Takumars have worse coatings compared to Nikkors of similar vintage. The pentagonal-iris makes this even worse because the blobs look so ugly, if it were to heptagonal then it would’ve made it look a bit more natural. It does look appealing at times like in the photo of the gate with the giant lantern but it usually looks unacceptable.

The character of the bokeh looks horrible but you don’t shoot with this lens for that. The good thing is you could get a bit closer to your subjects but not as close as some specialty-lenses made in later years.
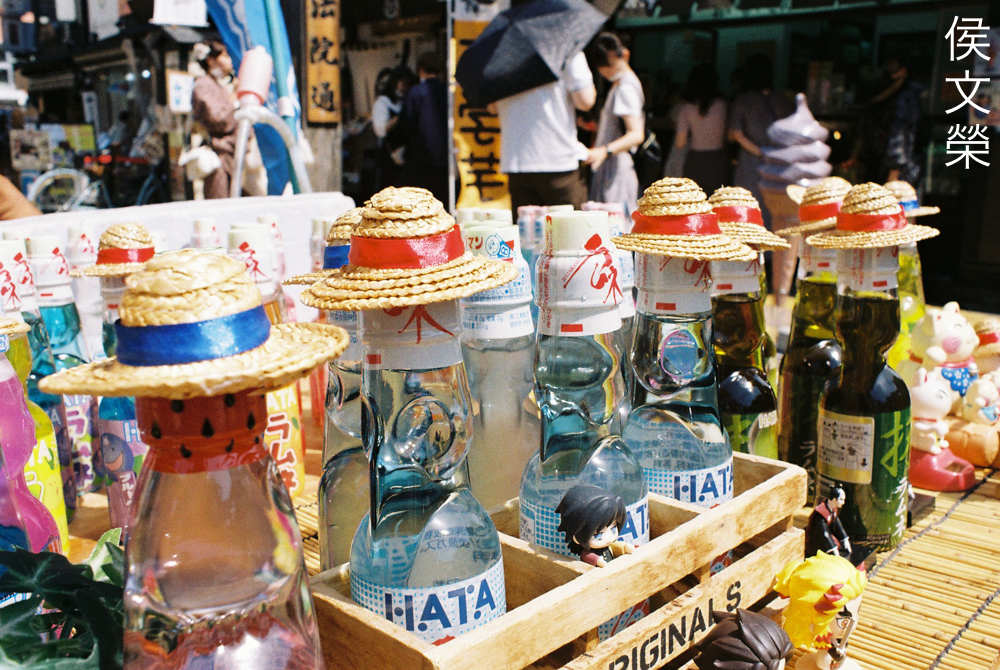
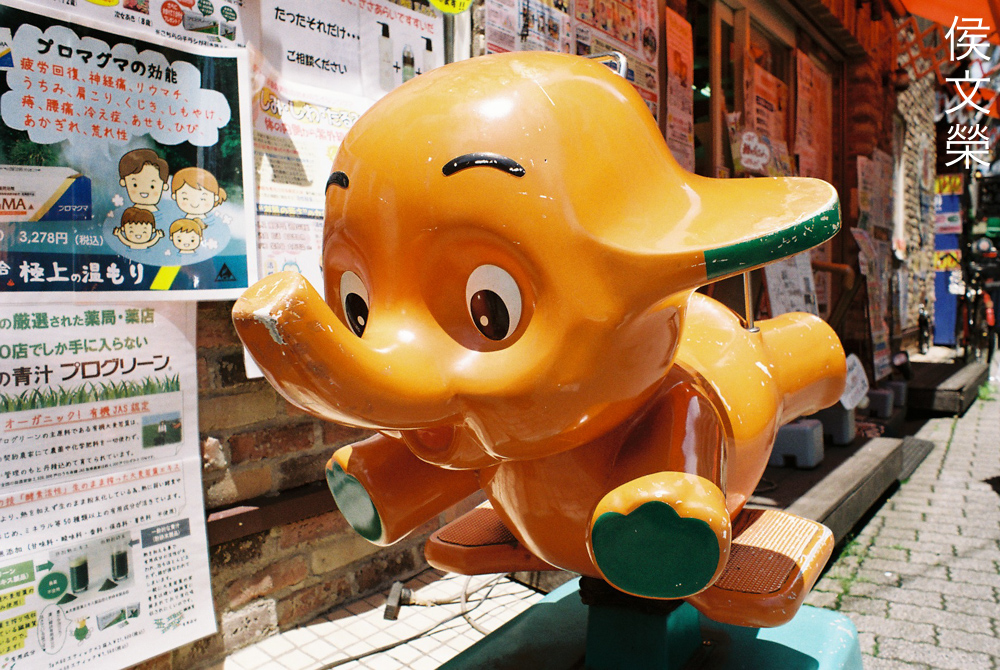
Using a wide lens helps immerse your viewers into the scene as if they’re actually there. This was shot really close, the bottles of lemonade are actually only a couple of inches away from me. It has higher-than-usual contrast, it looks like it has some overcorrected optics if you look at it carefully, maybe that’s just the characteristics of this design.

These Daruma-dolls are red but they look more yellowish here due to the film. Shooting with a 28mm lens allows you to exaggerate your lines so you could make your subject appear larger-than-life. The doll closest to use appear much larger compared to the rest due to the effects of foreshortening, you can use this to tell a story or direct your viewers’ attention to your subjects.
Shooting it with film will certainly give you that “vintage” feel that some people either love-or-hate. There’s no point in simulating how film looks, just shoot with the real thing and get authentic results.

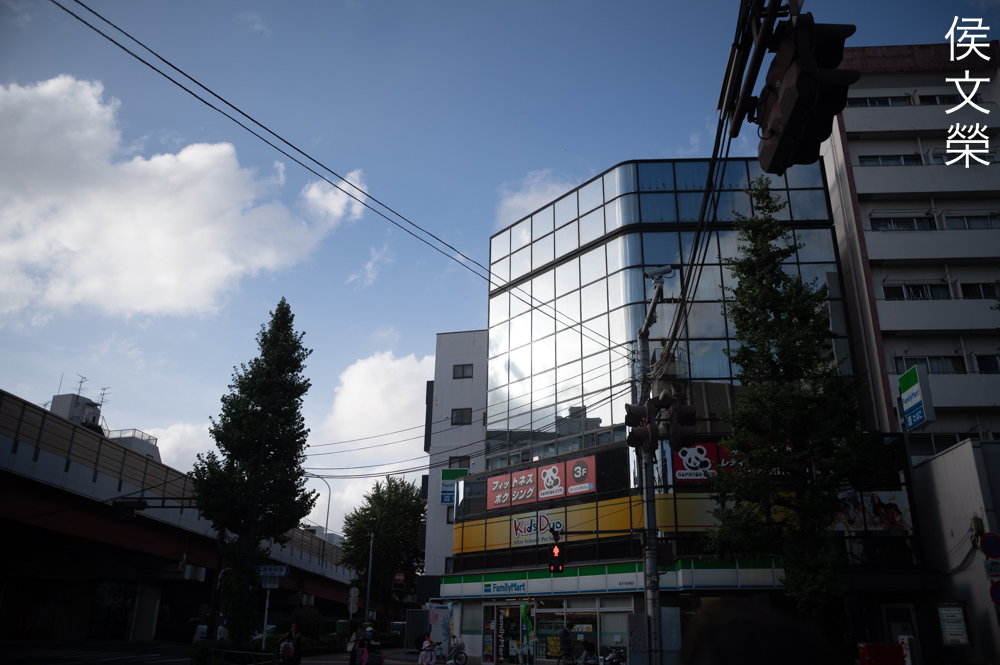
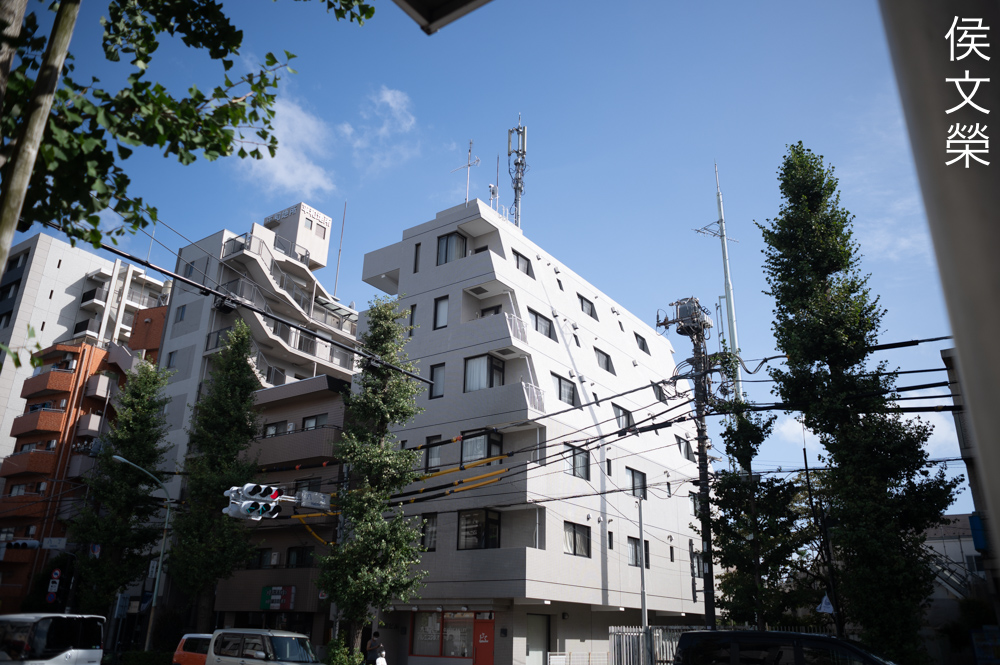
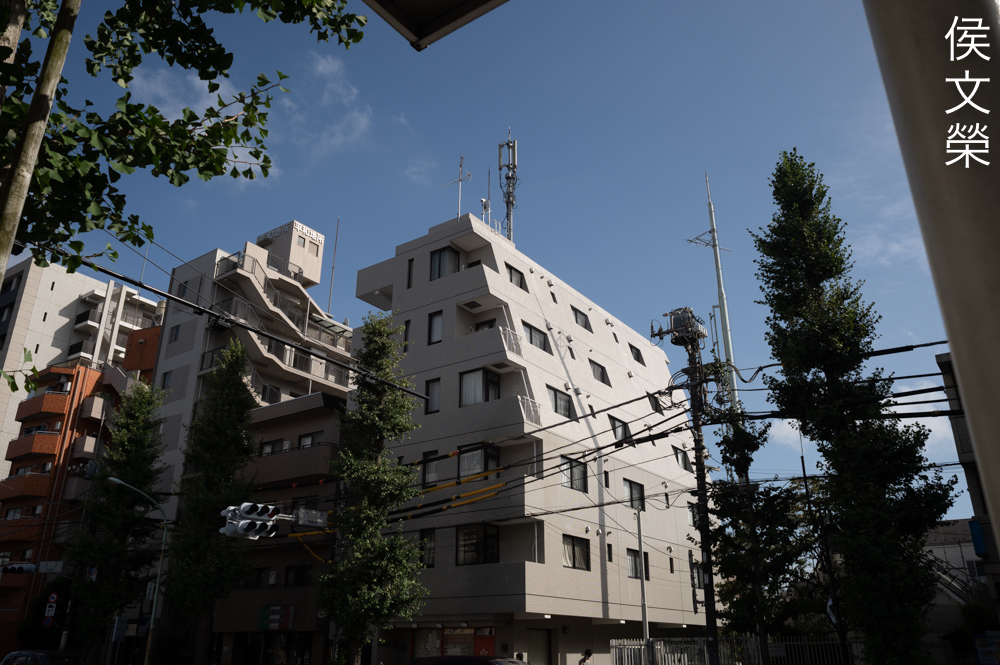
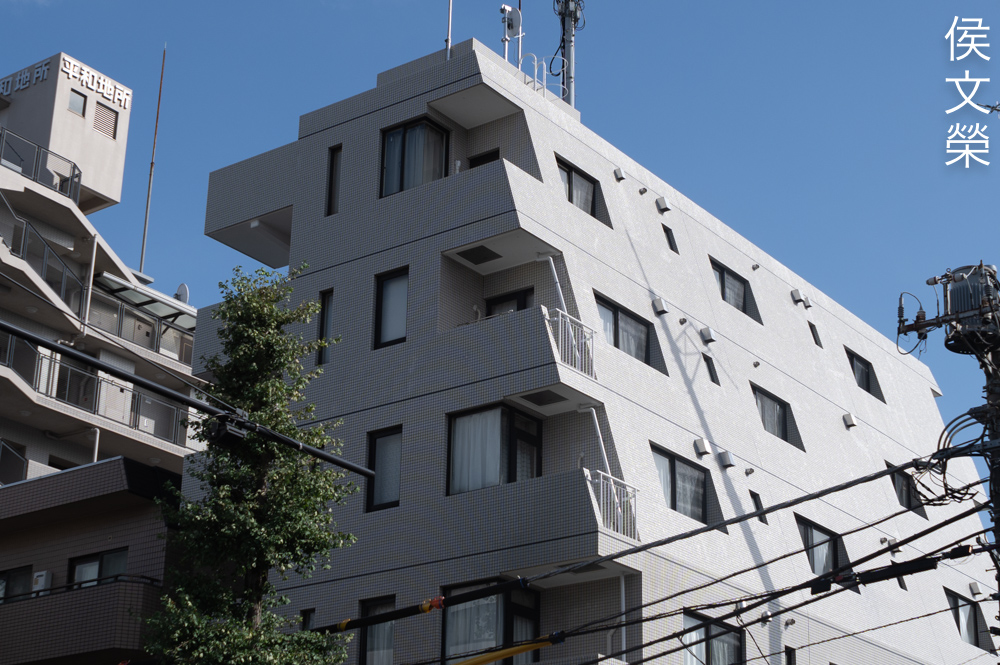
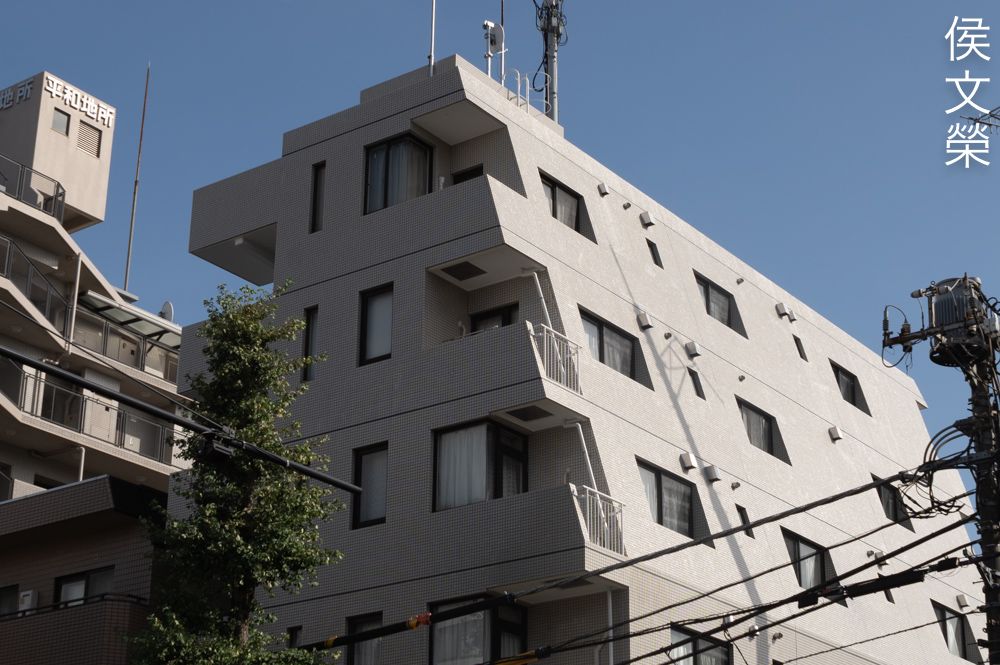
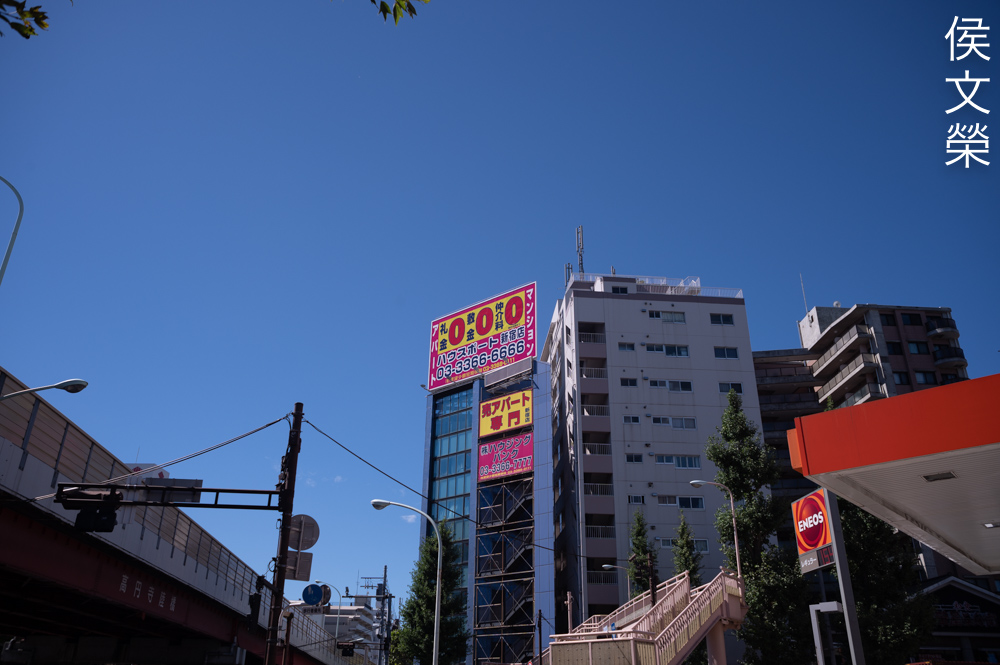
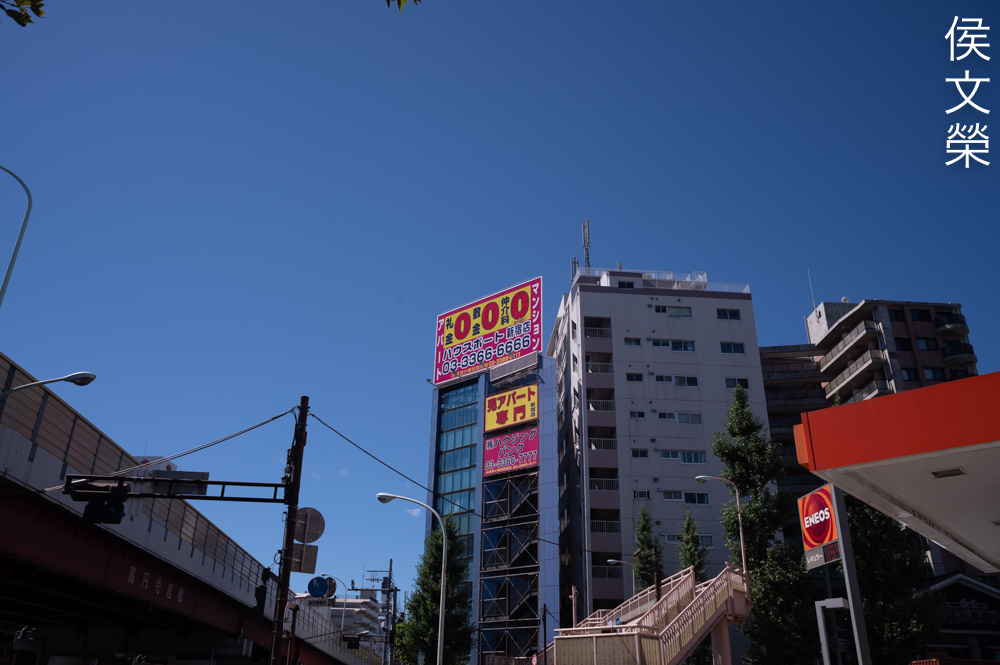
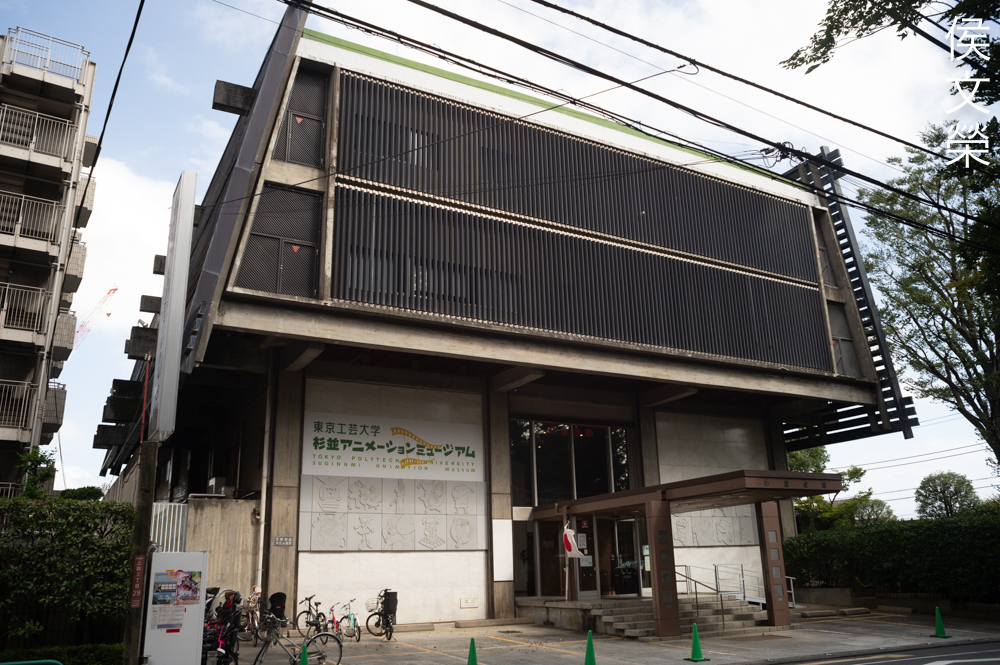
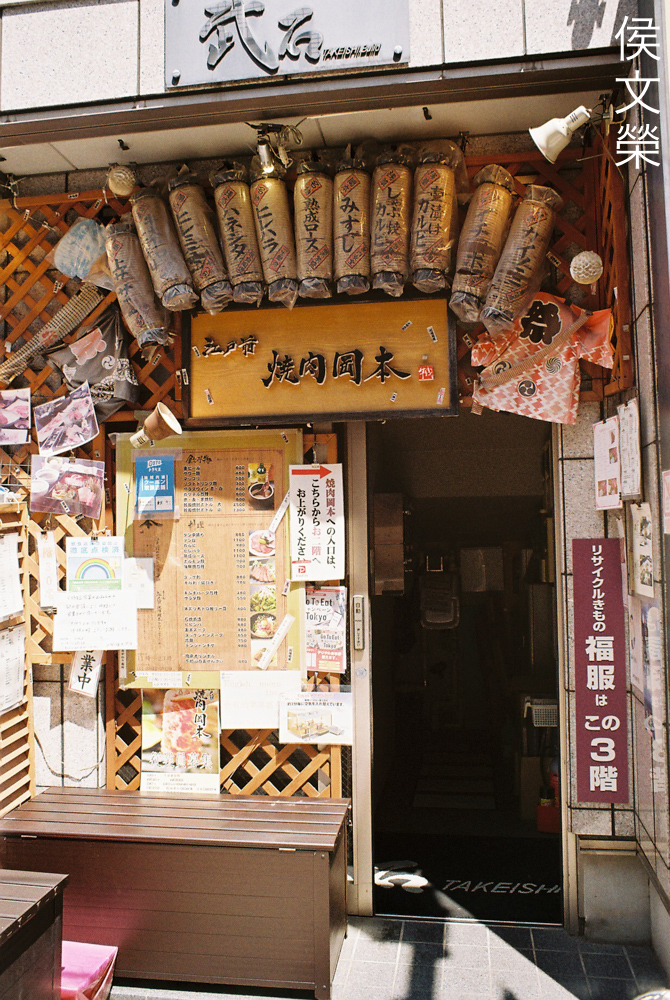
This lens isn’t the best choice for this kind of photography because a 35mm will work better if you ask me, it looks like a surveillance photo because it’s too-wide. Despite what I said, it sometimes works and it will all depend on your skill.

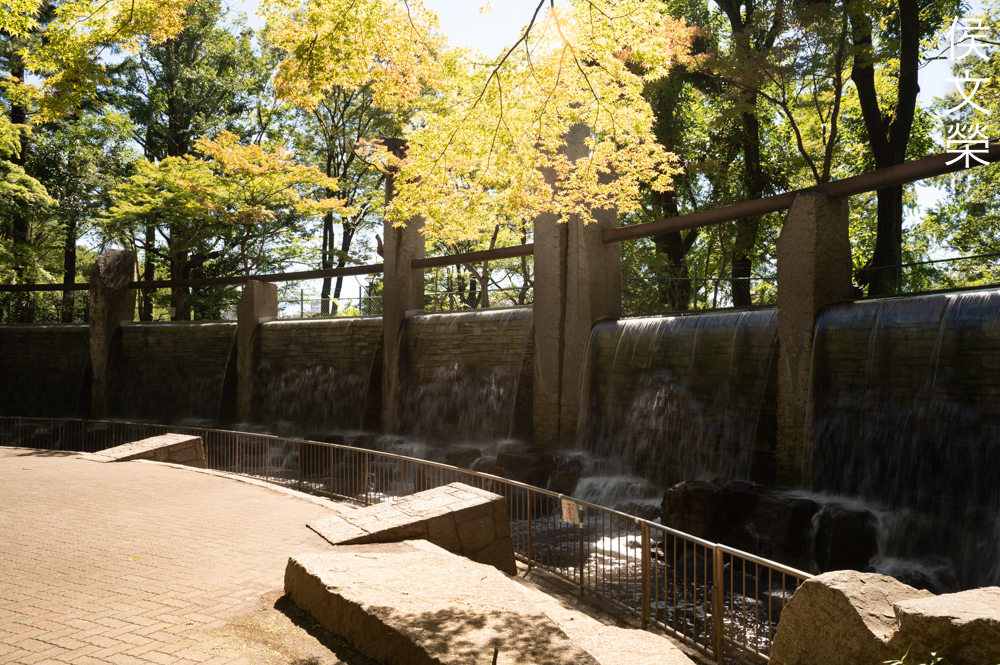
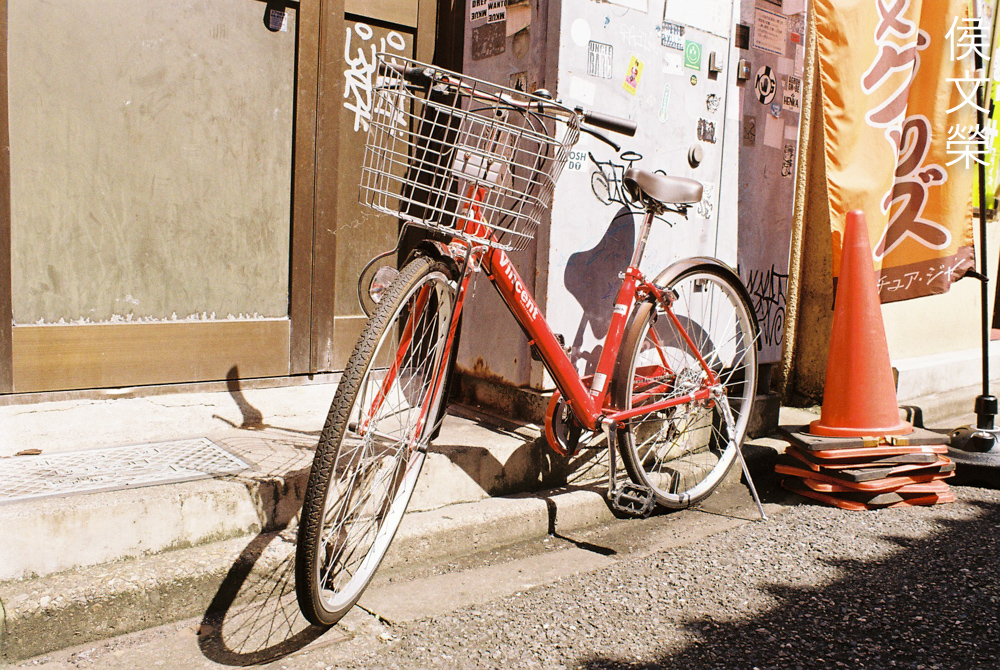
It’s best to shoot with it during a bright day so you’re able to stop the iris down for maximum-sharpness. Shooting this at f/8 will certainly give you sharp photos even with film.
Of course, shooting with film won’t change anything when it comes to distortion. It’s best to avoid using this lens when you need to shoot straight-on with lines that should remain straight.
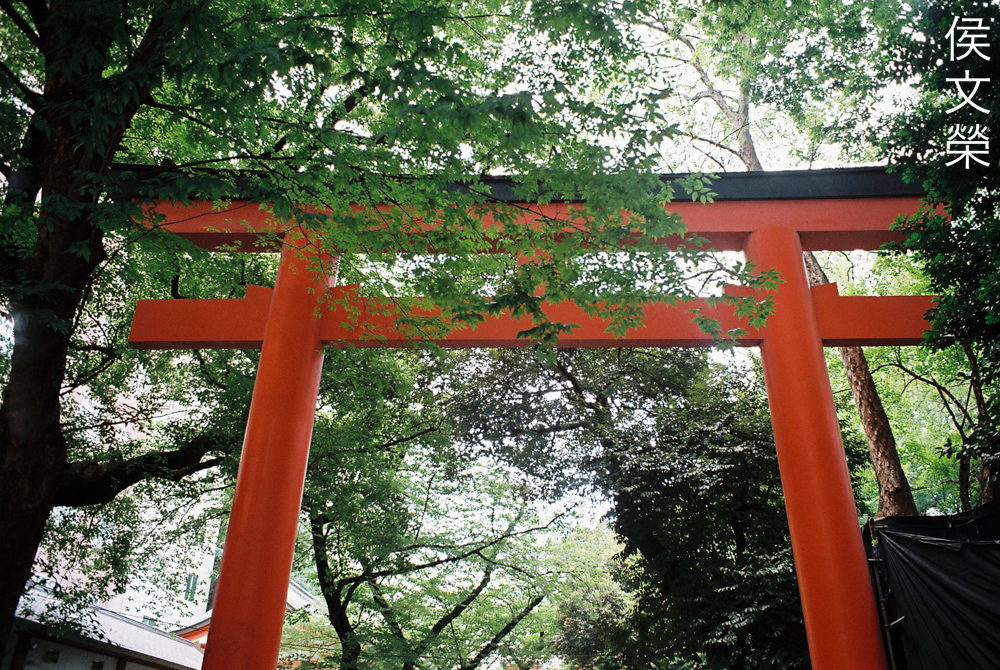
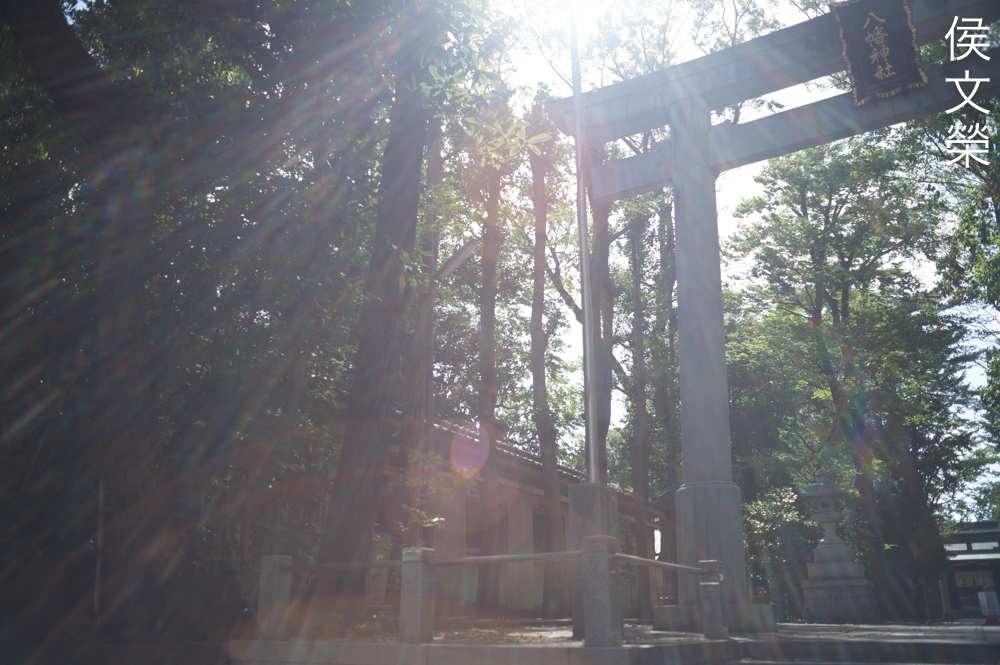
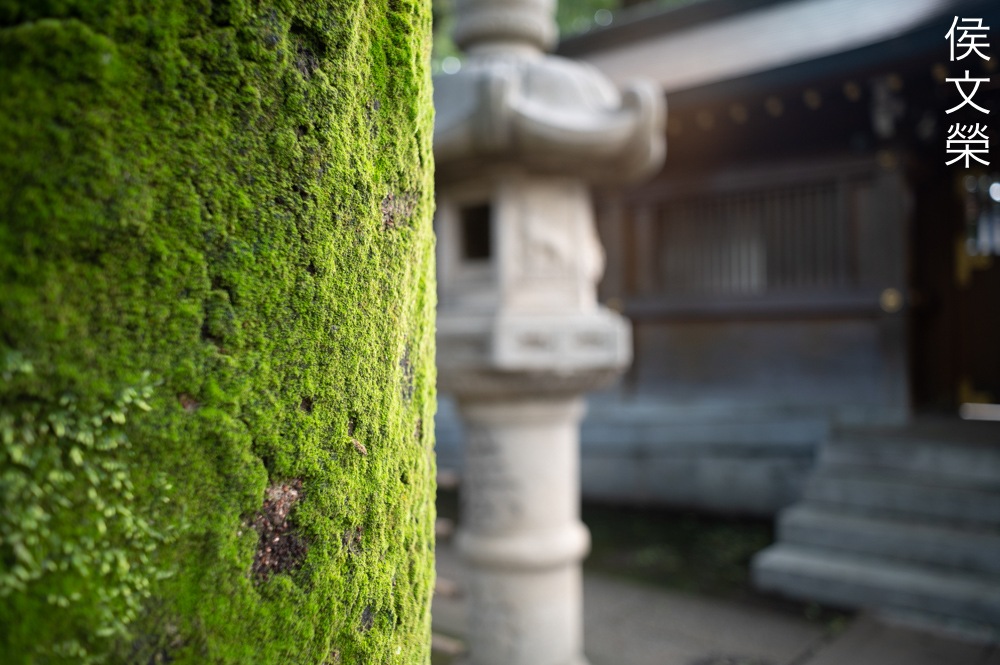
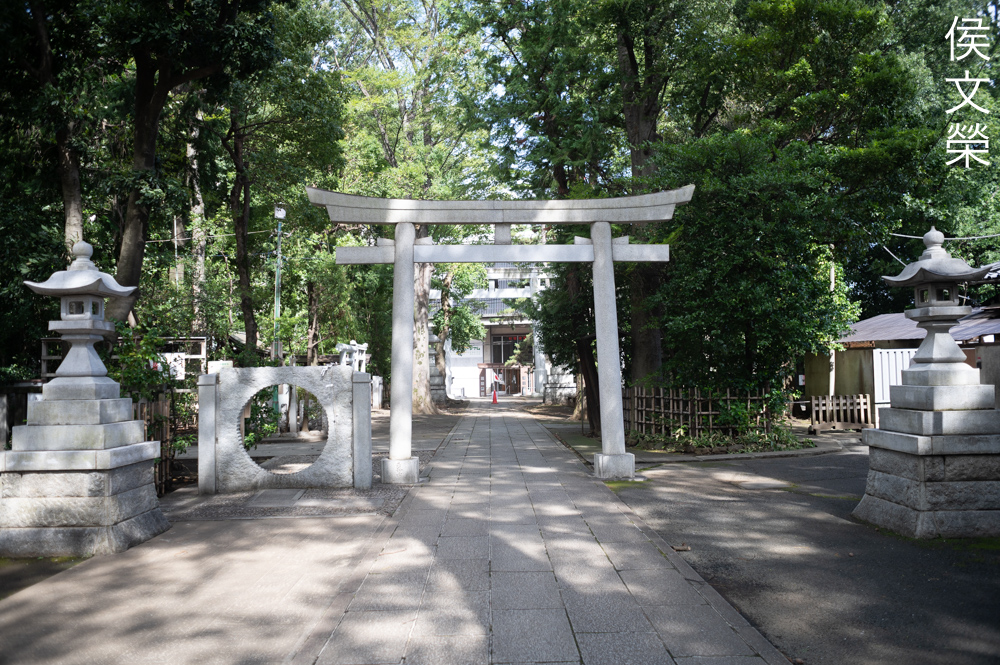
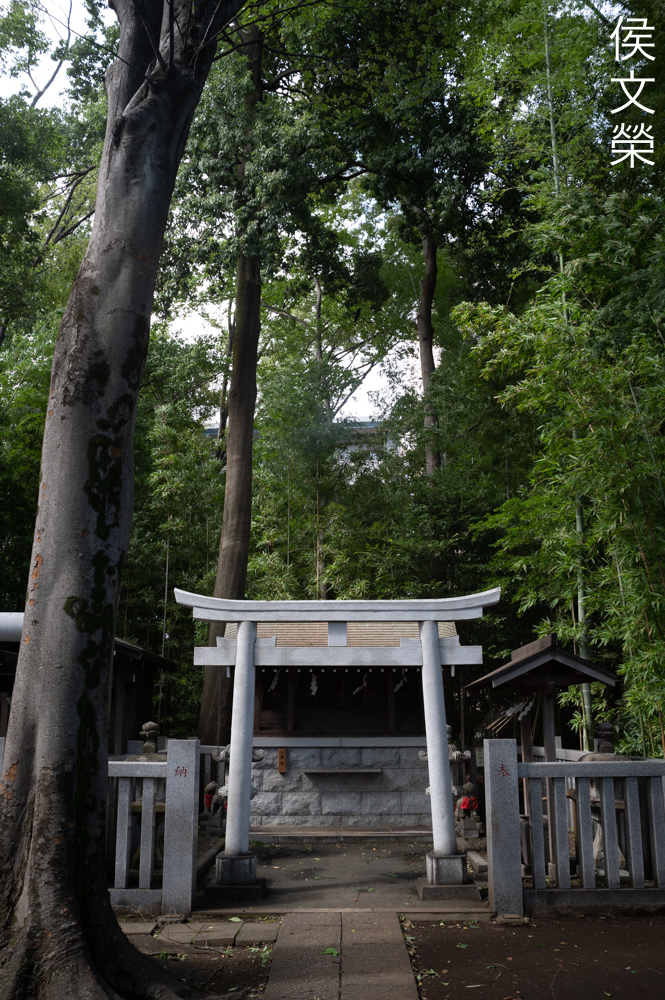
The torii gate’s roof isn’t straight and it’s positioned a bit far from the top-edge which helps make things look better. I could see the lower-beam look curved but it’s not obvious owing to the rustic nature of this scene.
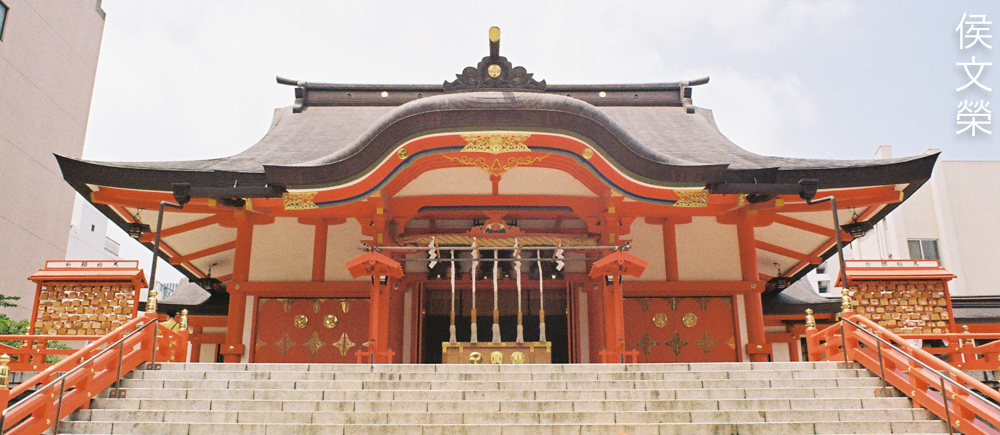
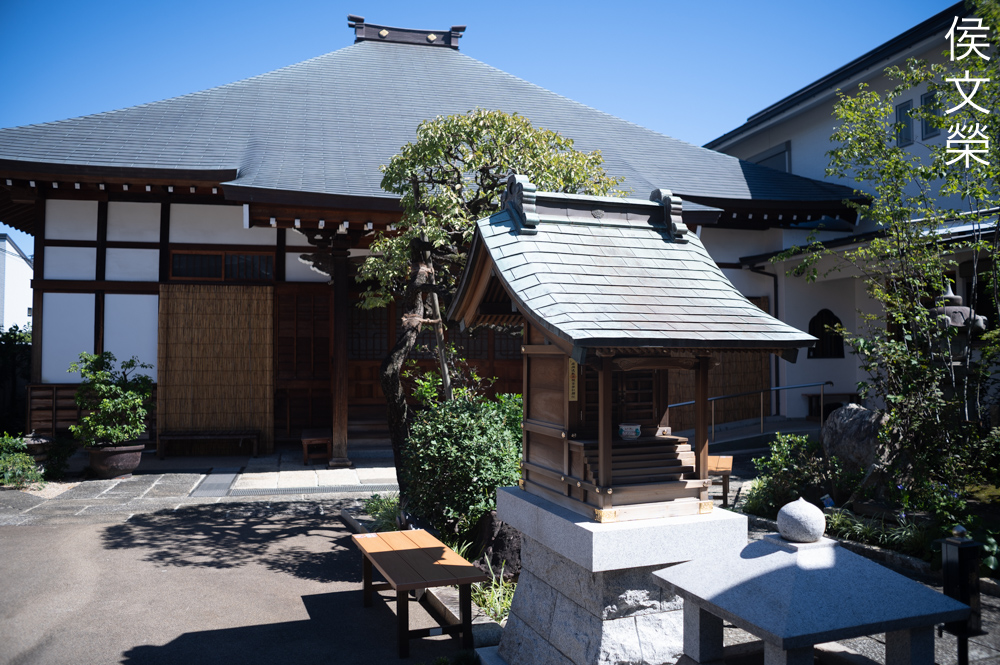
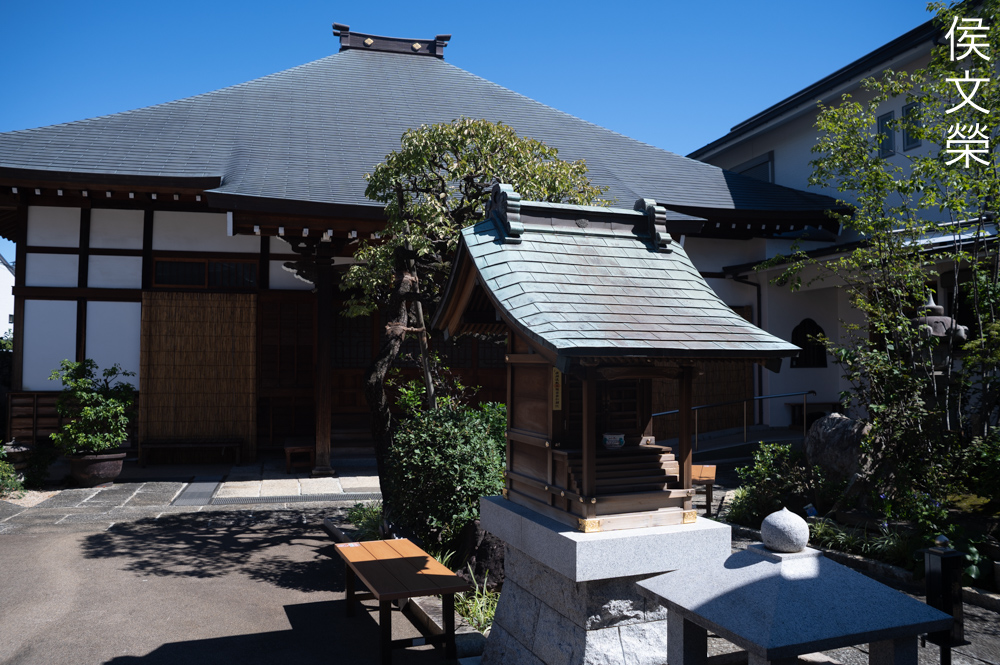
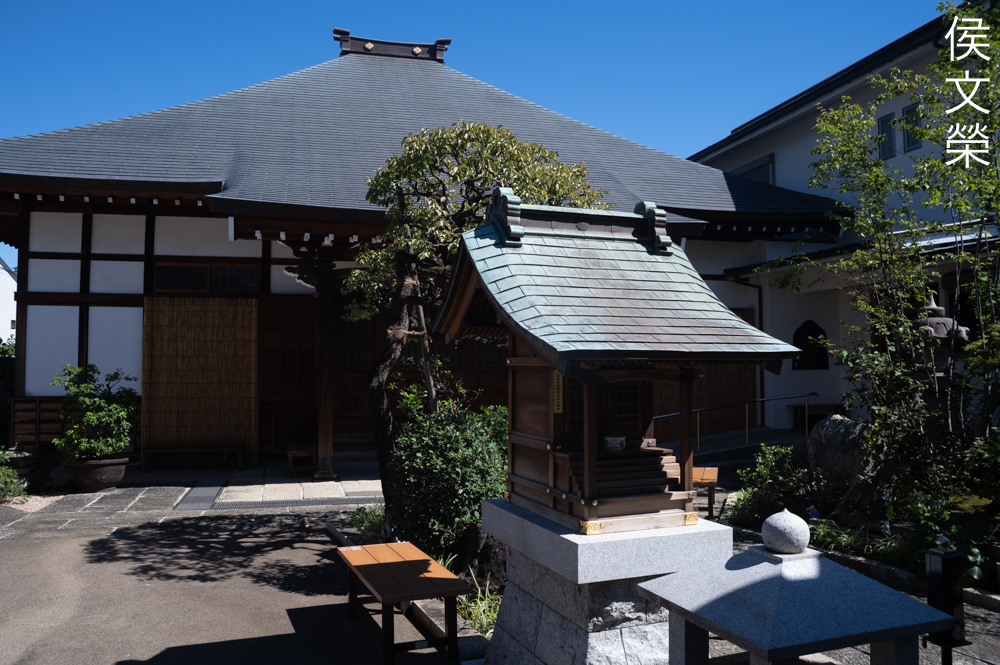
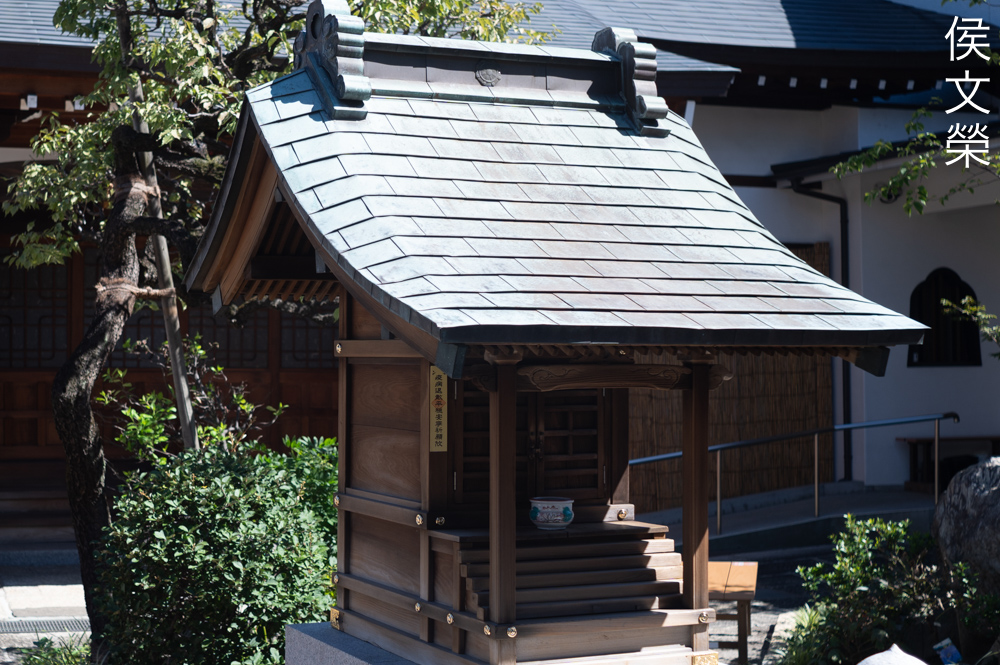
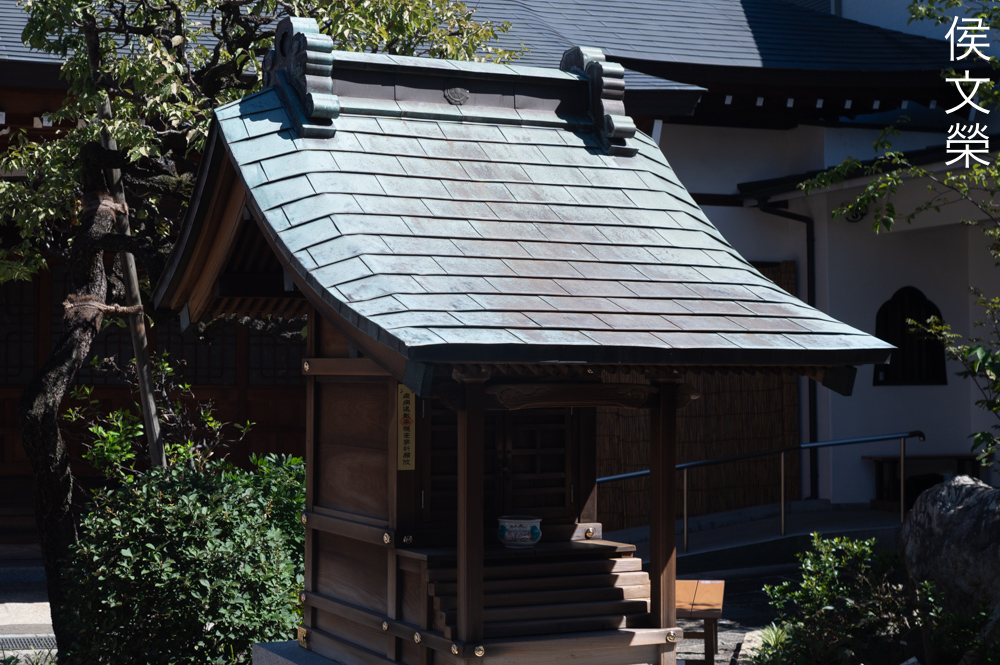
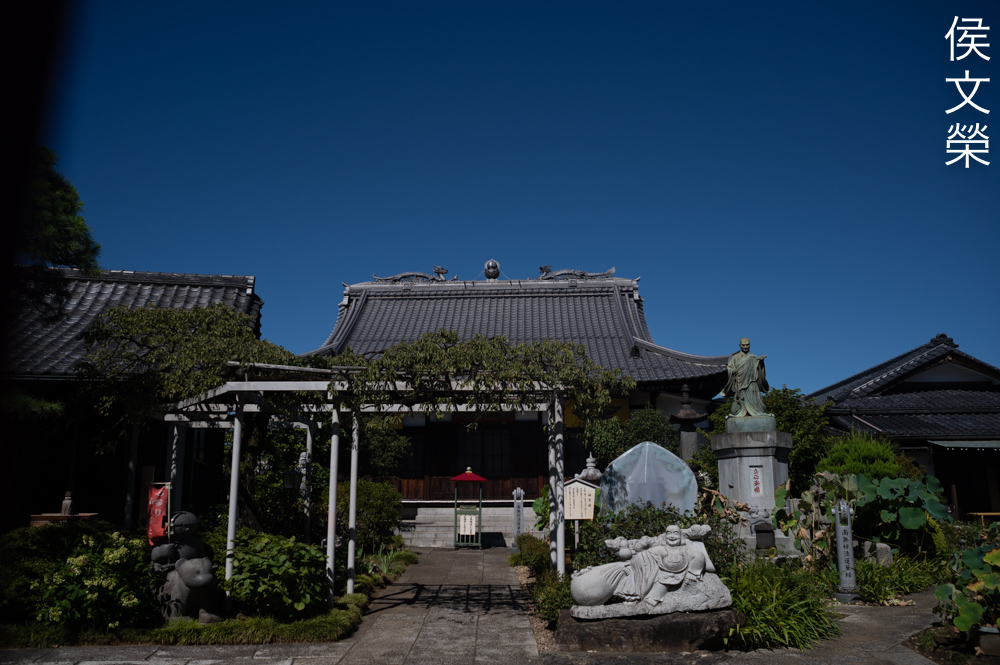
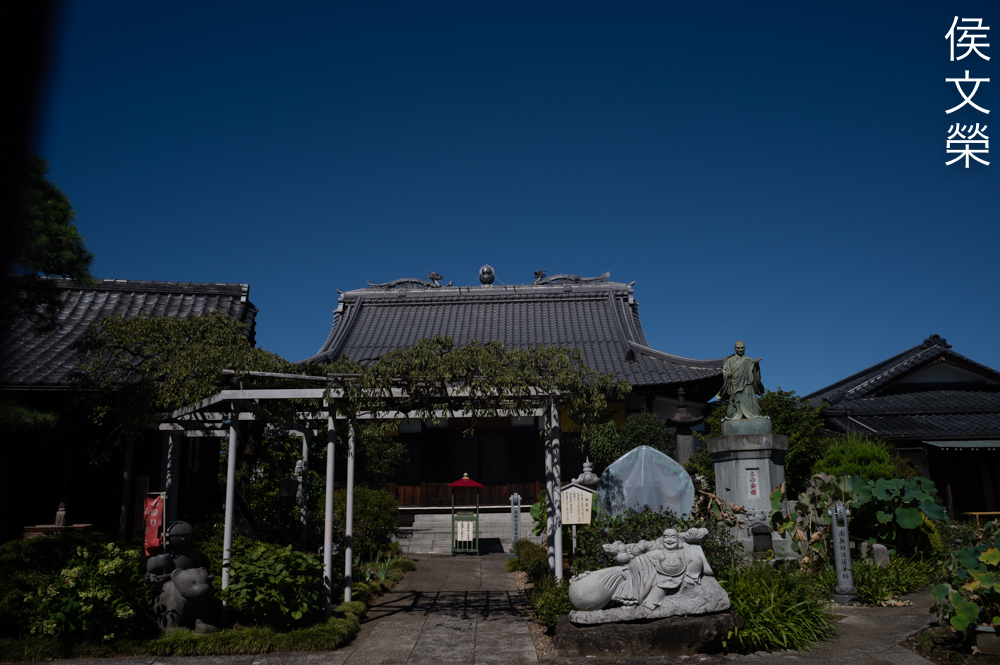
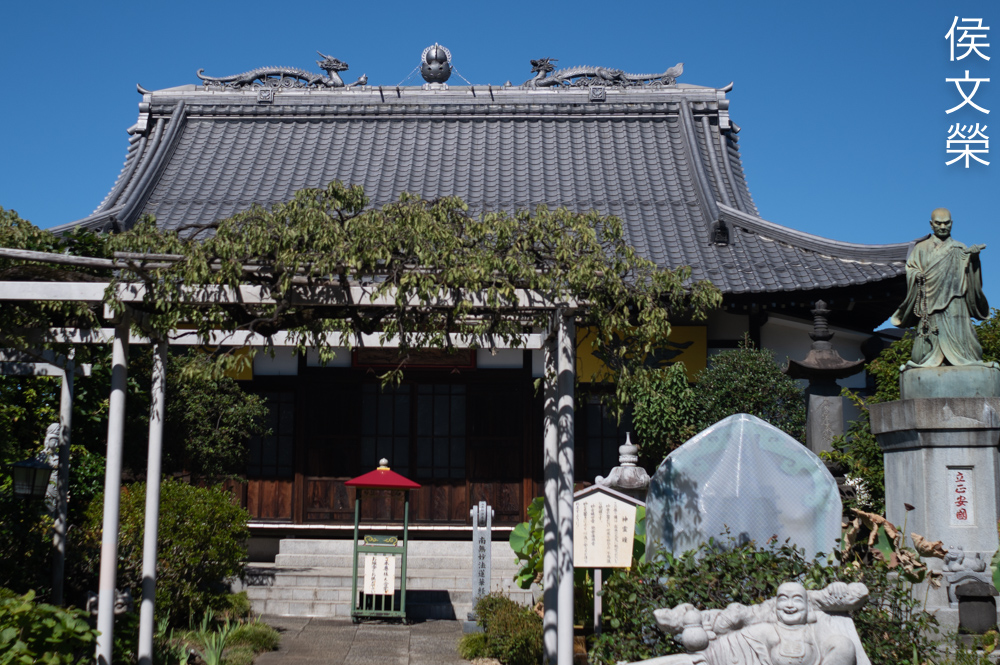
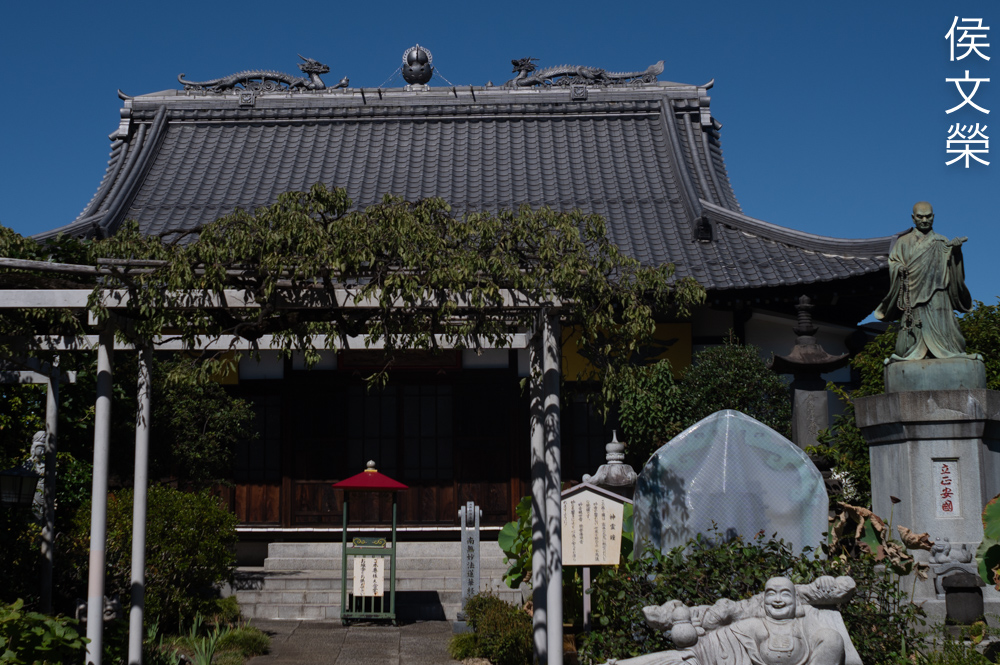
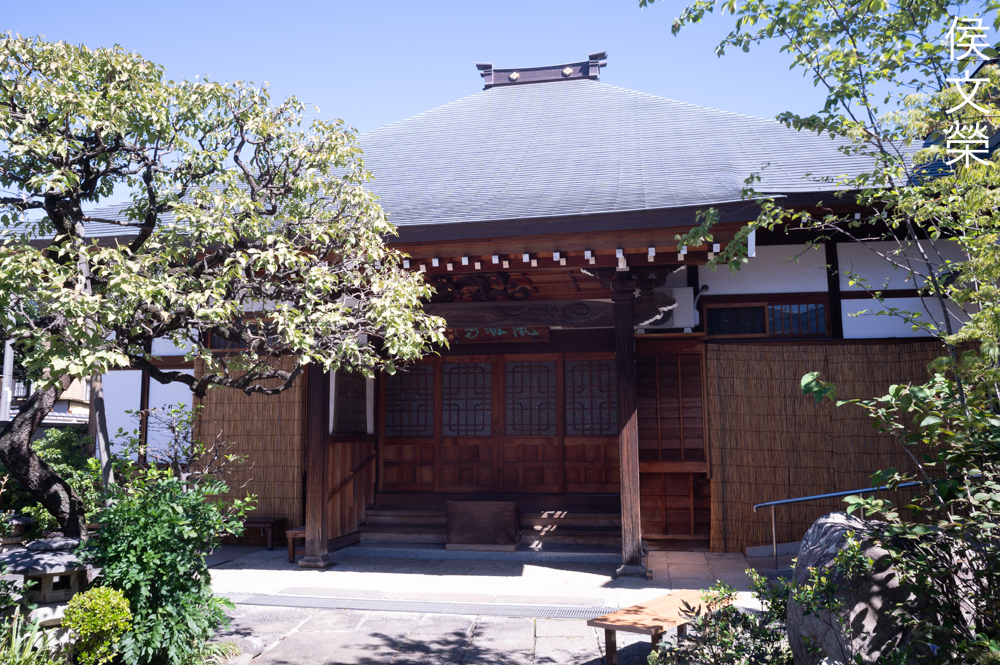
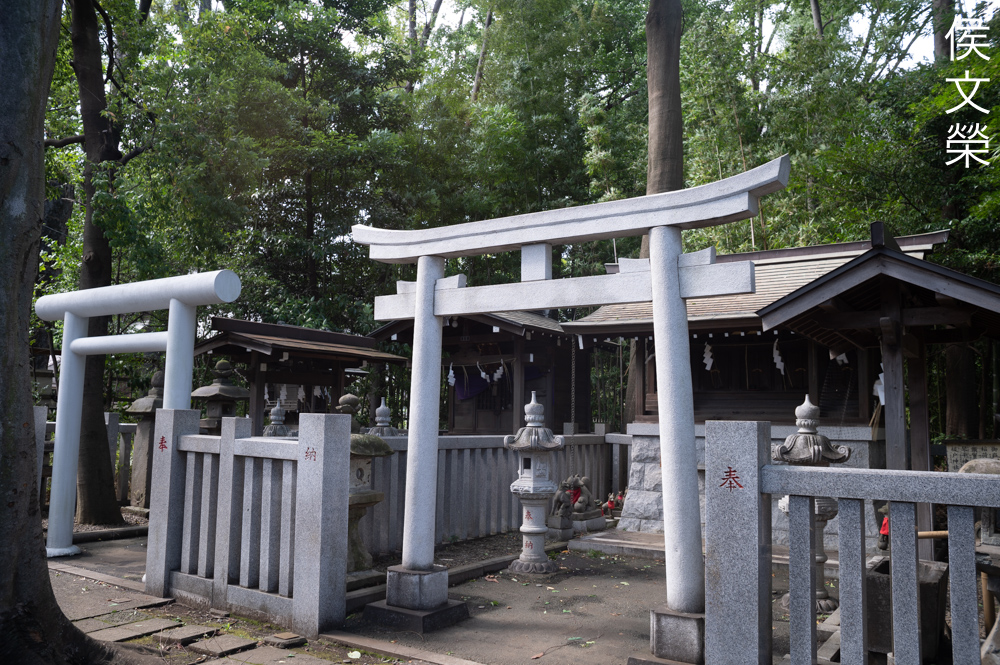
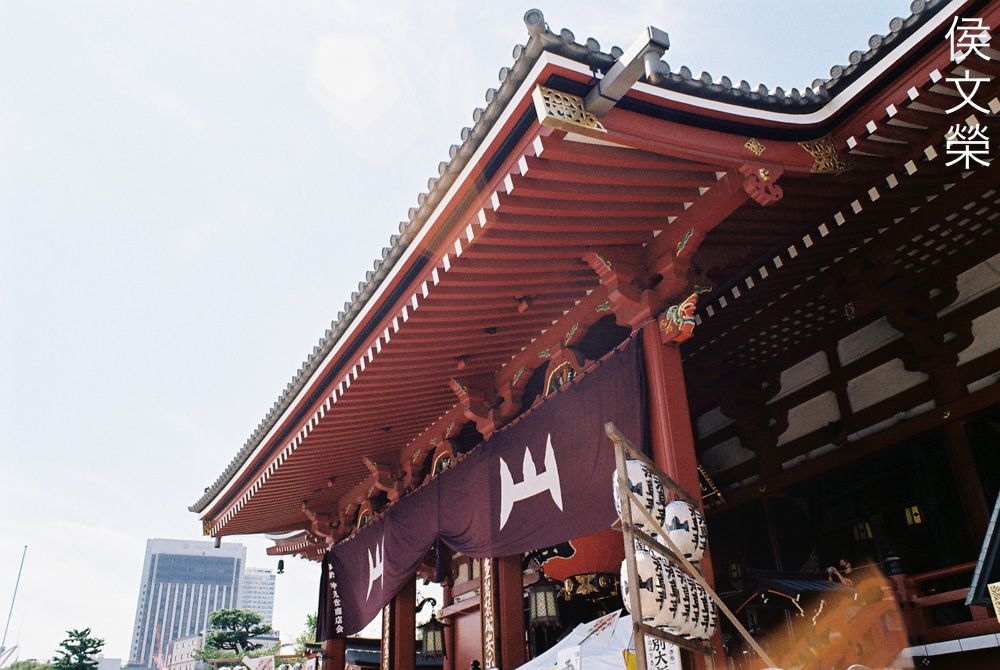
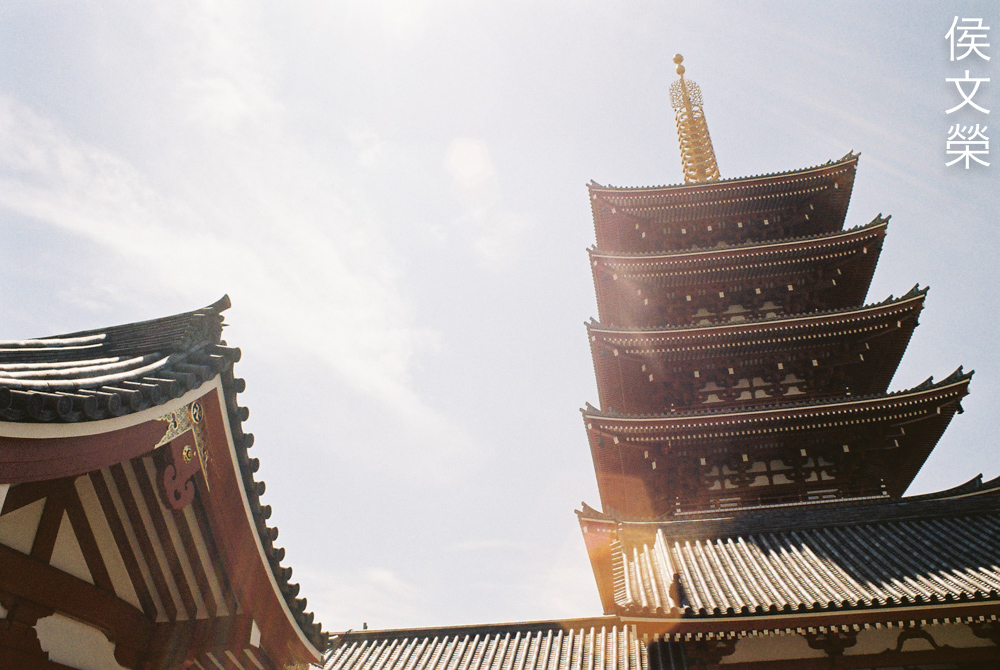
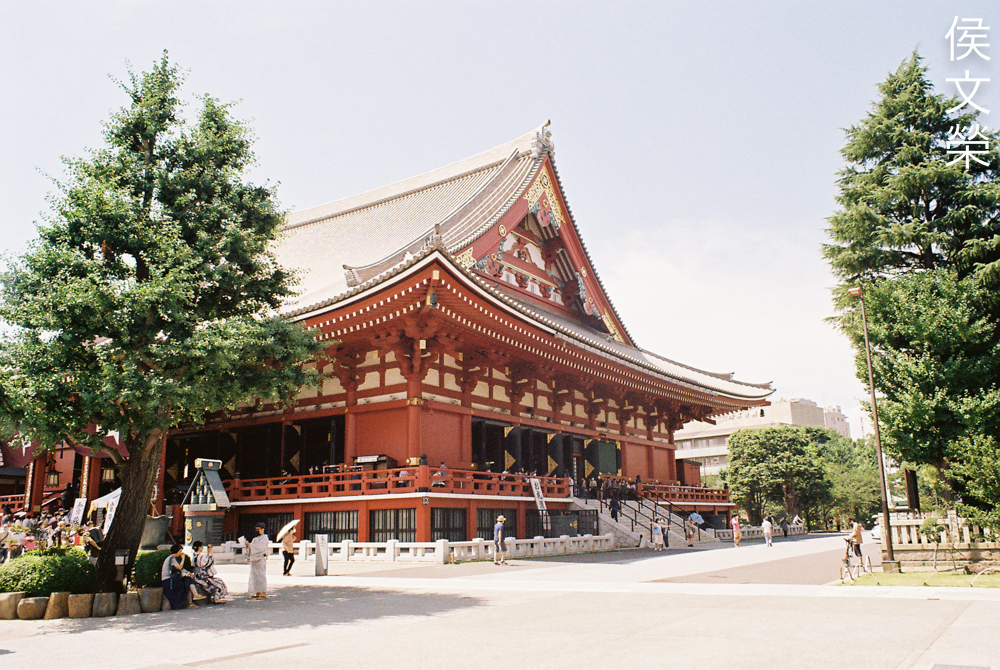
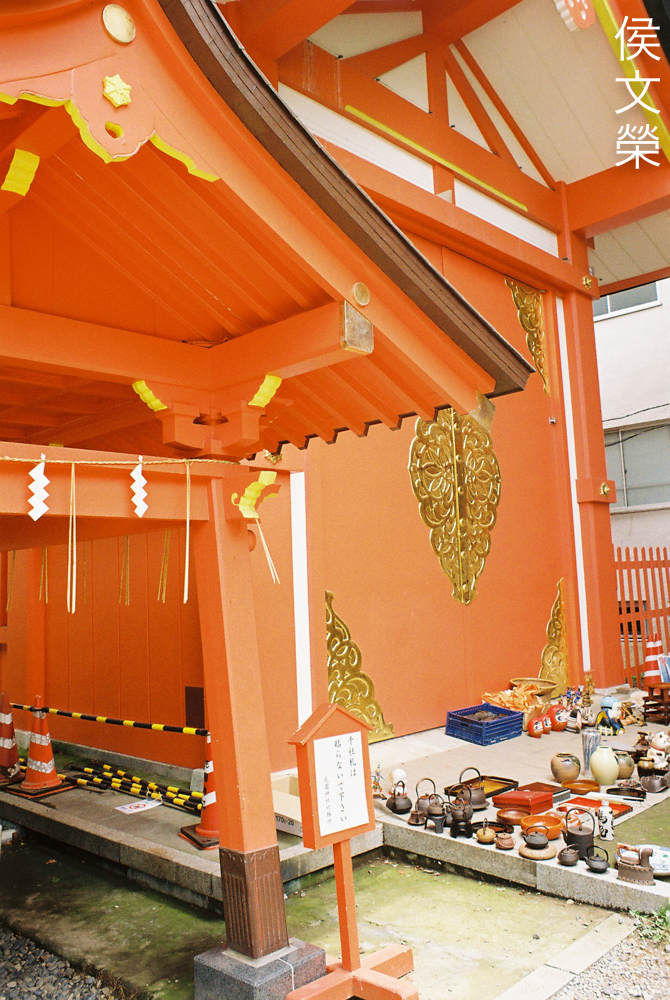
You could get away with it in some cases, this temple doesn’t have straight lines on the roof so it’s not much if an issue here, if this were to be a squarish building then the lines would look curved.
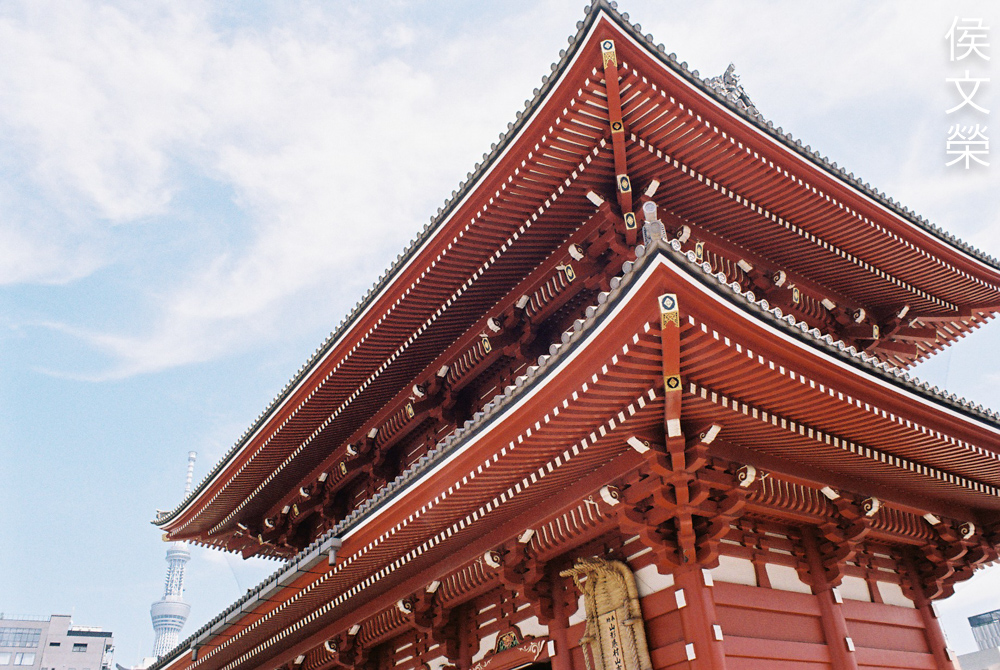
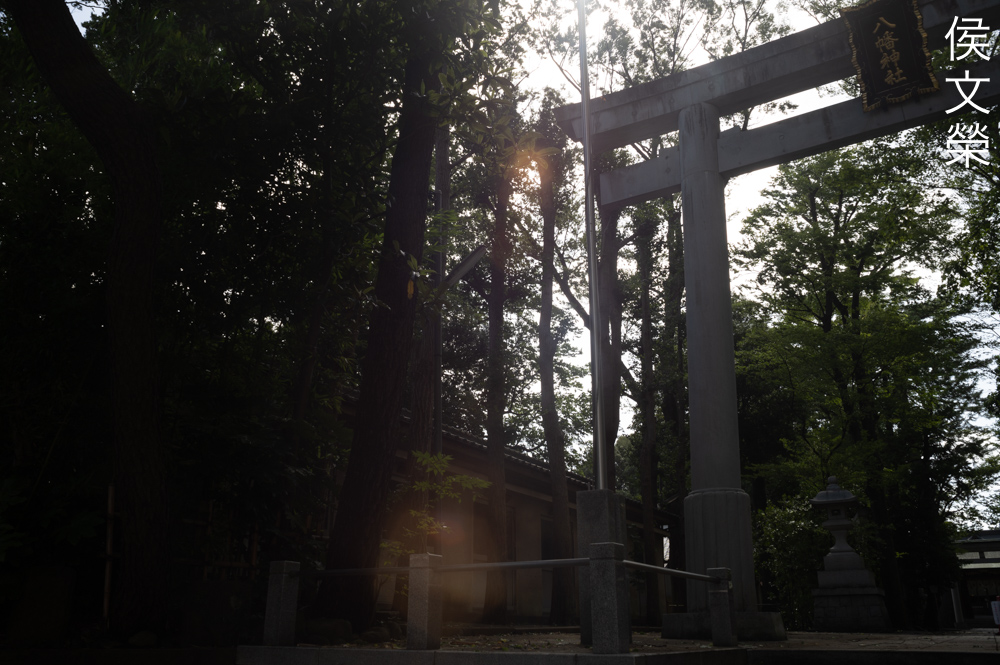
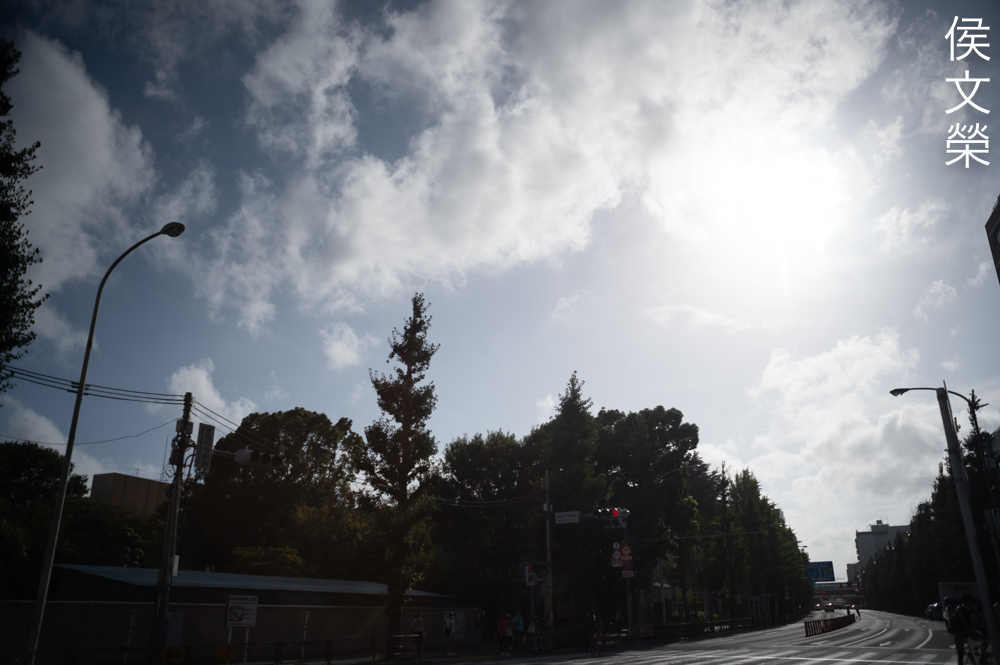
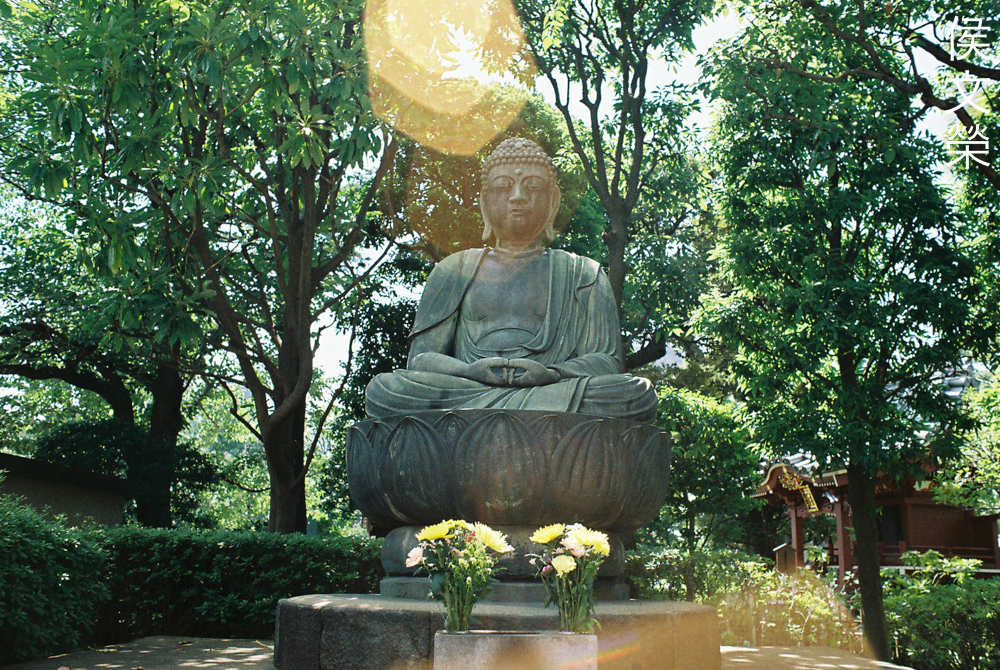
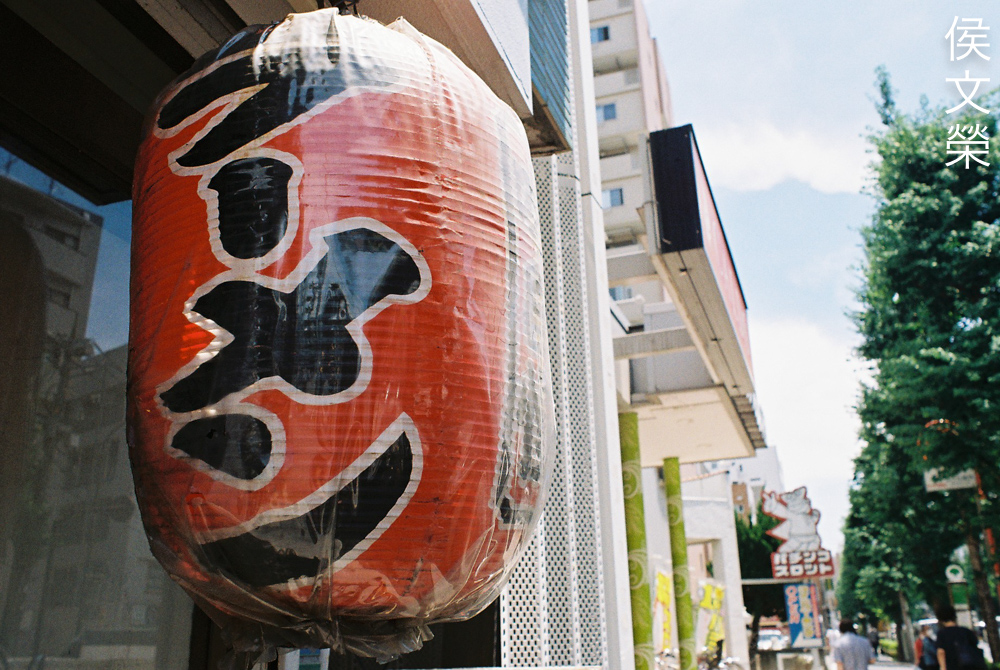
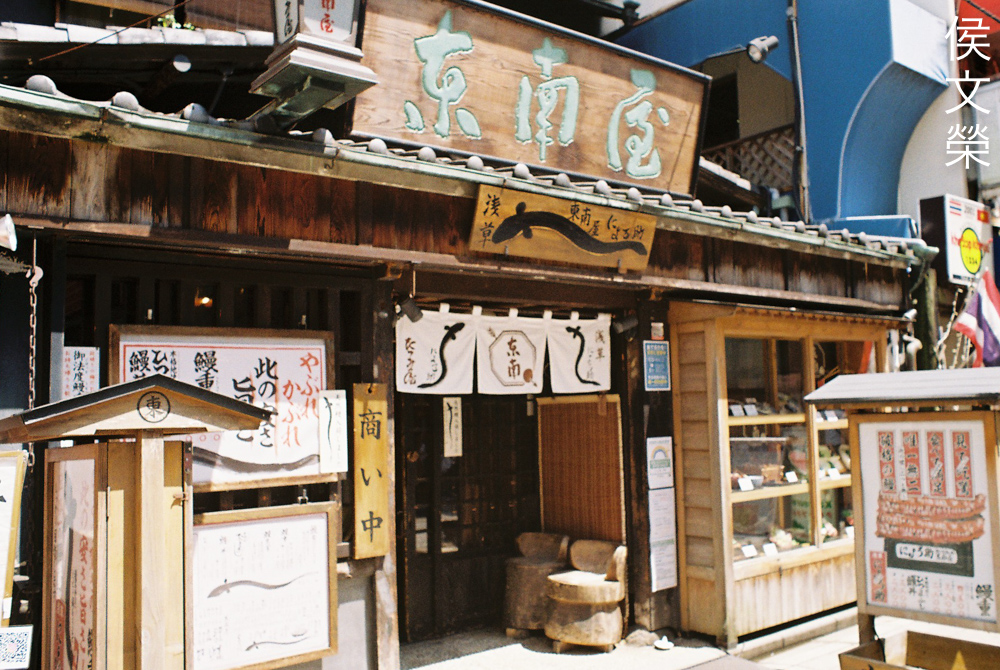
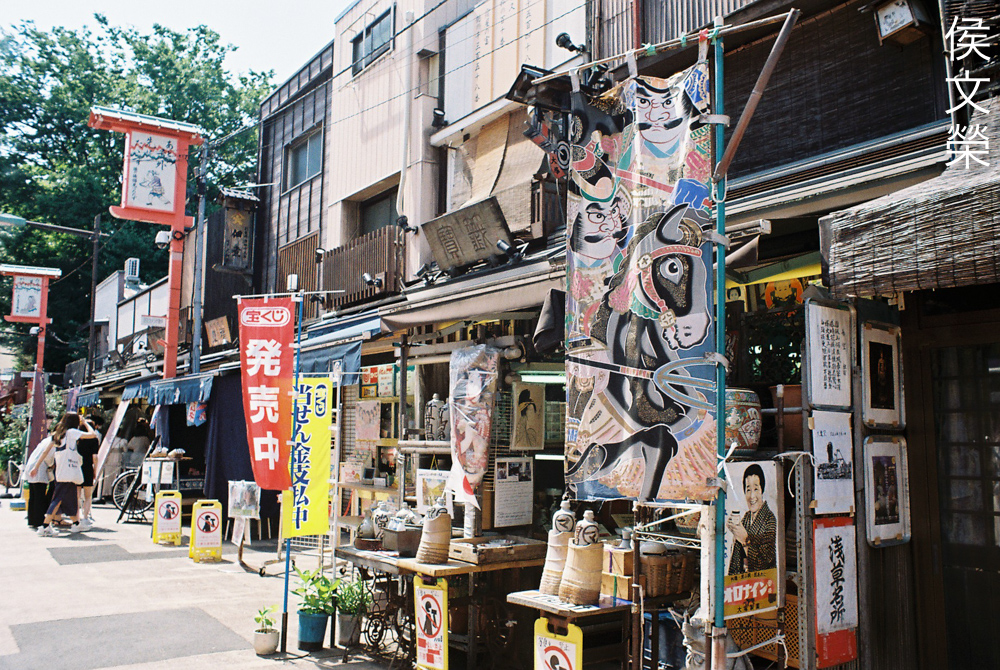
Contrast and sharpness is rather good if you’ve managed to shoot a frame without causing any flare. Avoiding the Sun or any strong sources of light in your frame helps you achieve this. All of the Kodak films I’ve shot have a yellowish-hue so the reds here look more orange than anything.

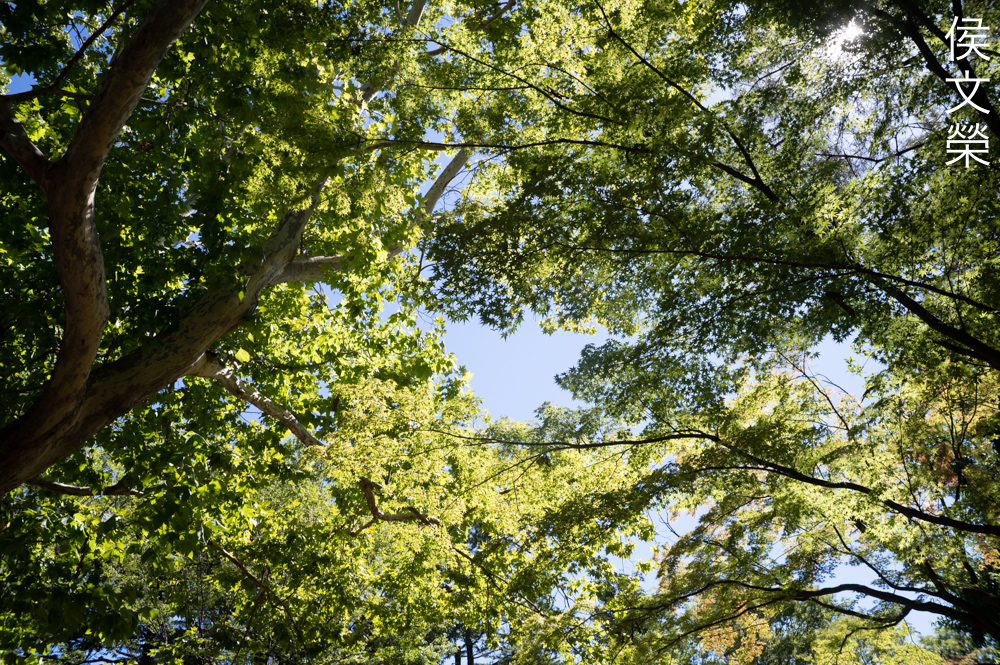
Of course, shooting with a wide lens means that you could fit more of your scene into the frame. This is the traditional use for such a lens but don’t let that limit your creativity.


(Click to enlarge)
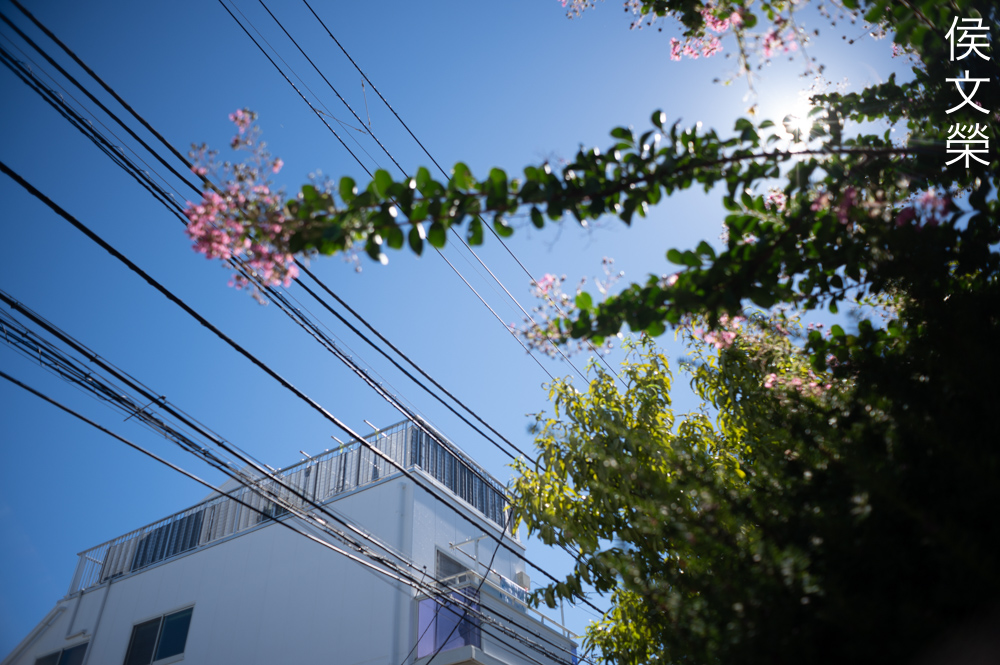
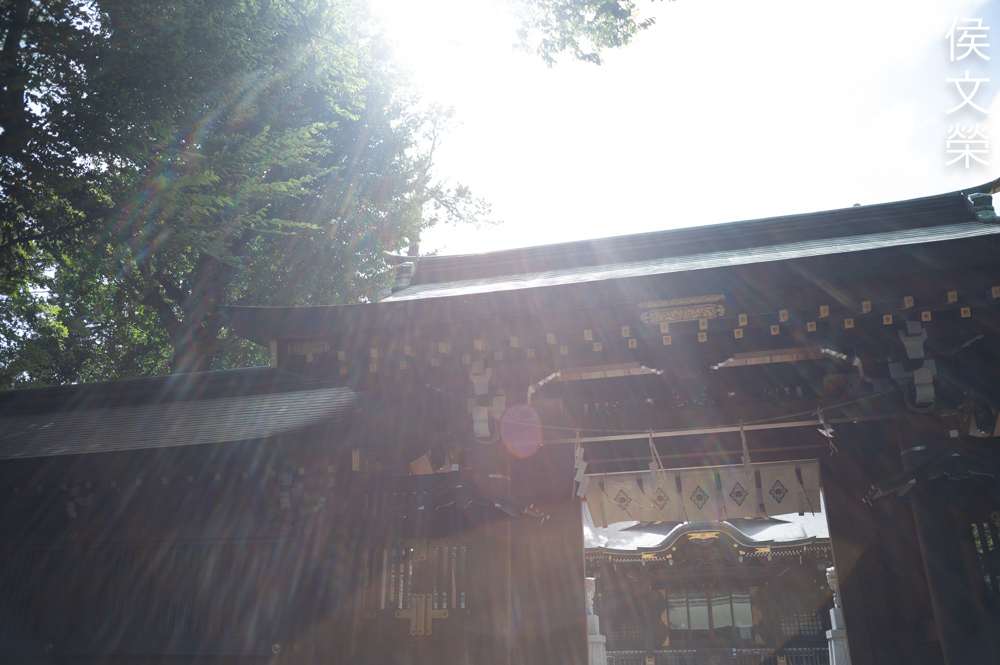
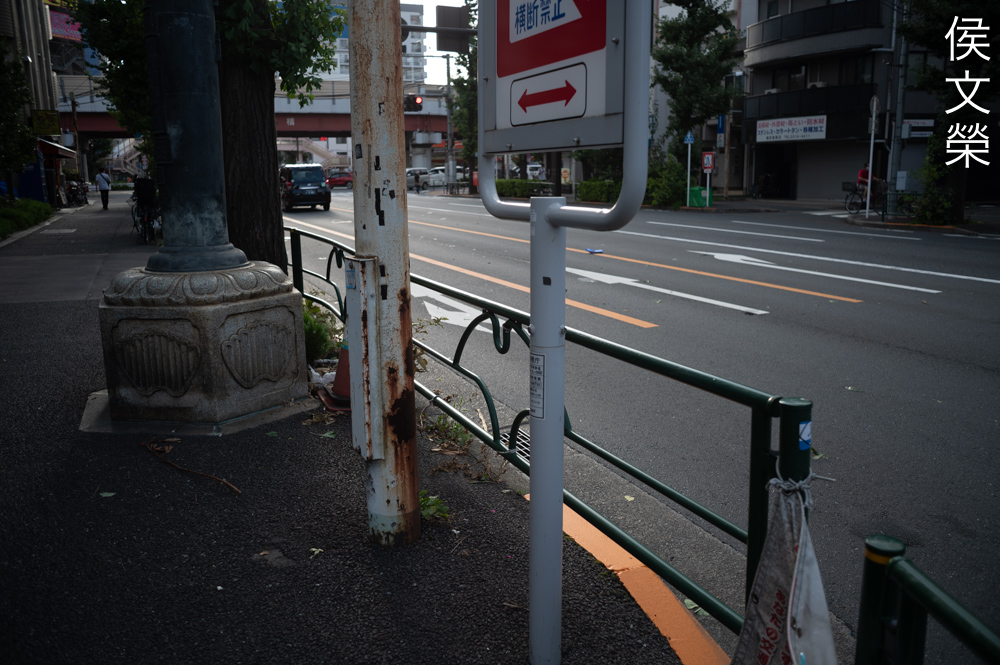
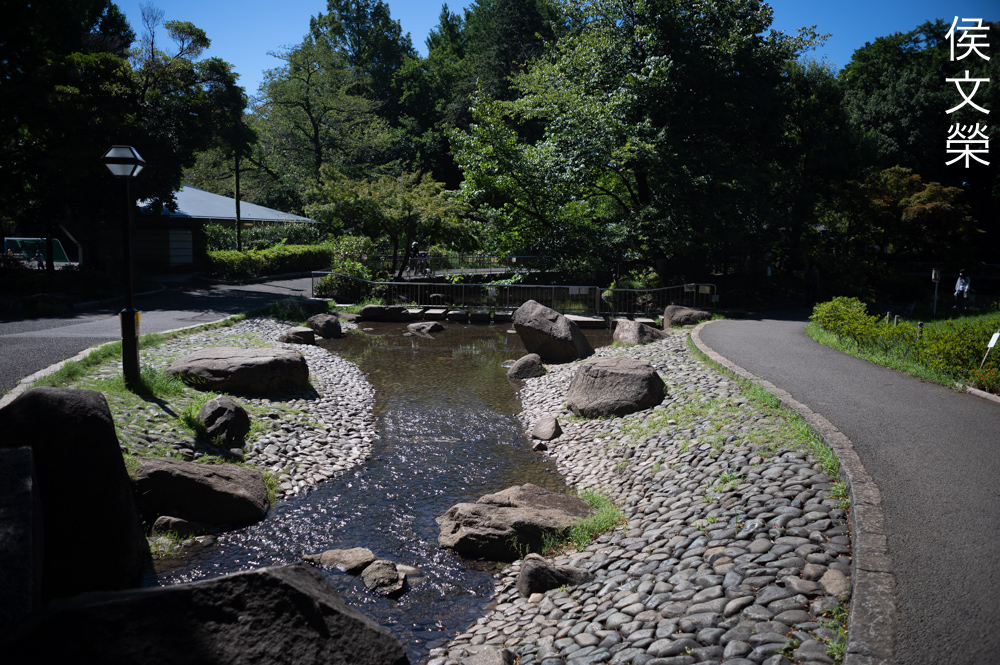
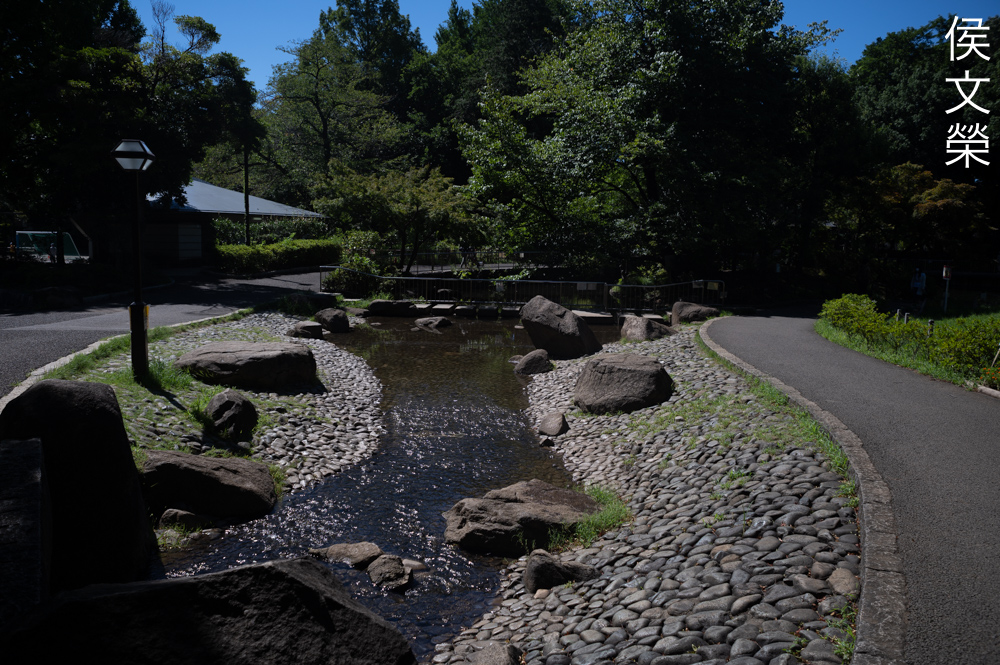
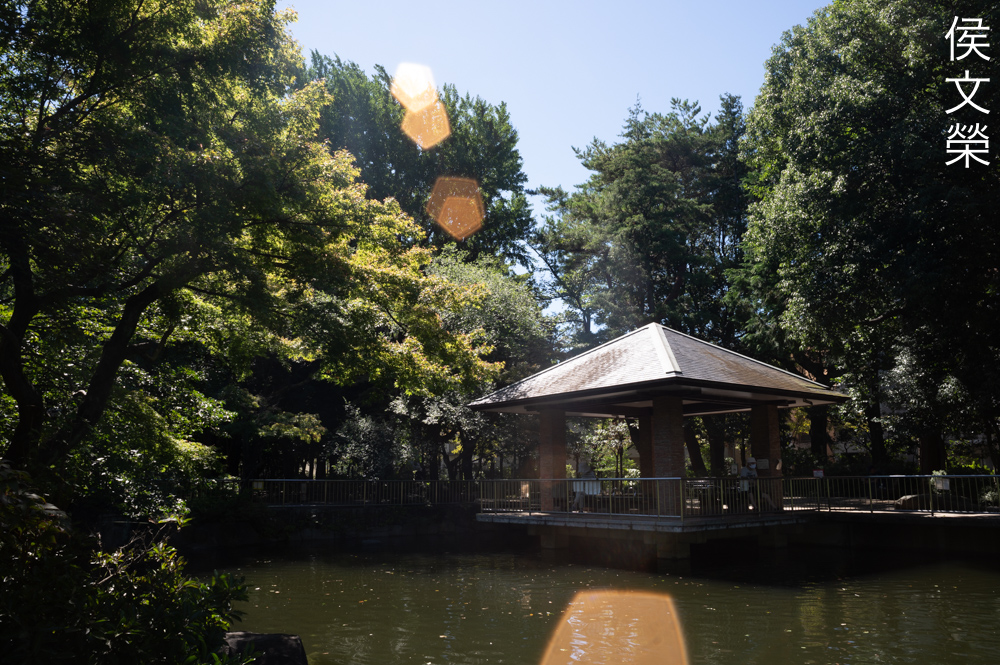
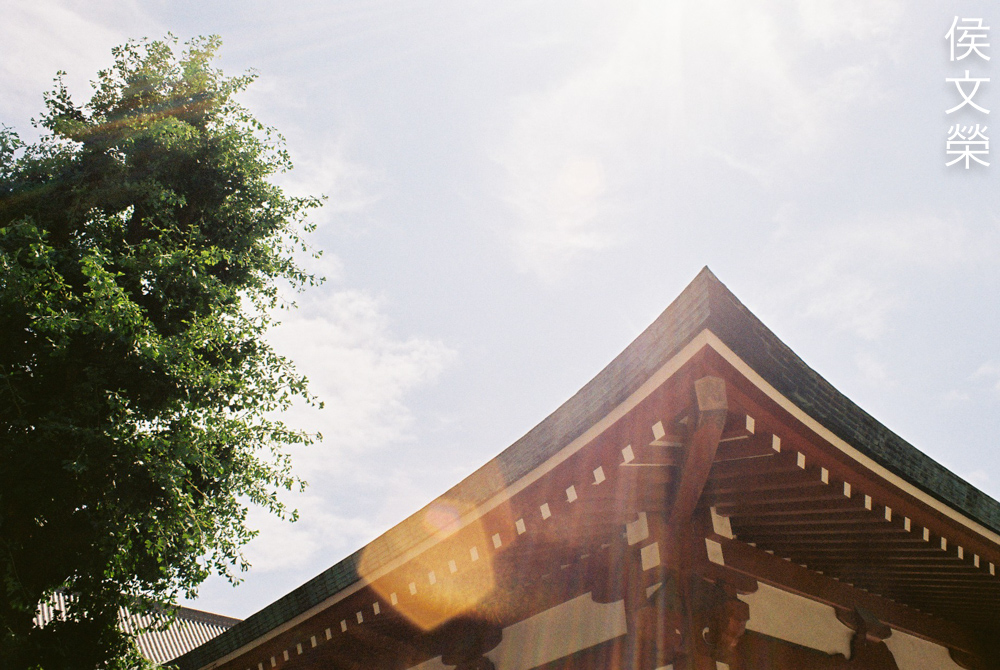
I like shooting this with film more than with a digital camera. It’s possible that the light is better that day but there’s an indescribable feeling to these photos that’s absent with the ones I took in the previous set of photos. As you can see, it still performs terribly when it comes to resisting flare and blobs despite shooting with film which is less-reflective but it is able to produce rather nice photos when you don’t have any bright sources of light within the frame.
I cannot recommend this unless you’re a collector. There are many alternatives to this if you’re into M42 lenses and you even have more options if you’re open to using other mounts with your mirrorless-camera. Shooting this with film will probably give you better results but I’d rather use something else. Being constantly aware of artifacts will just frustrate you and that can also limit your creativity. If you’ve decided to buy this despite what I showed you just be sure that the iris is dry and snappy when actuated. Turn all of it’s rings and A/M switch, they should all operate properly. Be sure that the optics are clean and clear, too. These are quite cheap, you could get one for $20.00 if you’re lucky like me but these usually go for $45.00 and $60.00 at most. Just wait and you’ll get one that fits your budget, happy hunting.
Before We Begin:
If this is your first attempt at repairing a lens then I suggest that you see my previous posts regarding screws & drivers, grease and other things. Also read what I wrote about the tools that you’ll need to fix your Nikkors.
I suggest that you read these primers before you begin (for beginners):
Reading these should lessen the chance of ruining your lens if you are a novice. Before opening up anything, always look for other people who have done so in YouTube or the internet. Information is scarce, vague and scattered (that is why I started this) but you can still find some information if you search carefully.
I highly recommend that you read my working with helicoids post because this is very important and getting it wrong can ruin your day. If I can force you to read this, I would. It is that important!
For more advanced topics, you can read my fungus removal post as a start. It has a lot of useful information, it will be beneficial for you to read this.
Disassembly (Lens Barrel):
Like all lenses that we repair it’s best to remove the optics as soon as possible so you won’t have to worry about doing any damage to them. Like many Takumars of its time it doesn’t have a dedicated housing for the objective so we’ll have to do things in several steps. You’ll definitely spend the most time in this section because most of the parts are here. It is important not to dismantle everything if something still works properly but I am going to go all-the-way here since I am documenting this for you and this is an inexpensive lens anyway.
This is not a difficult lens to service but I won’t recommend this to beginners because some parts may be complicated. You will require several tools that were made specially for lens repair and the skill to make a good judgement. It’s best to document each step with a photo or notes so you will know how to put things back later. Follow the sequence that I am about to show you and you should be able to overhaul this successfully if you’re an experienced repairer.
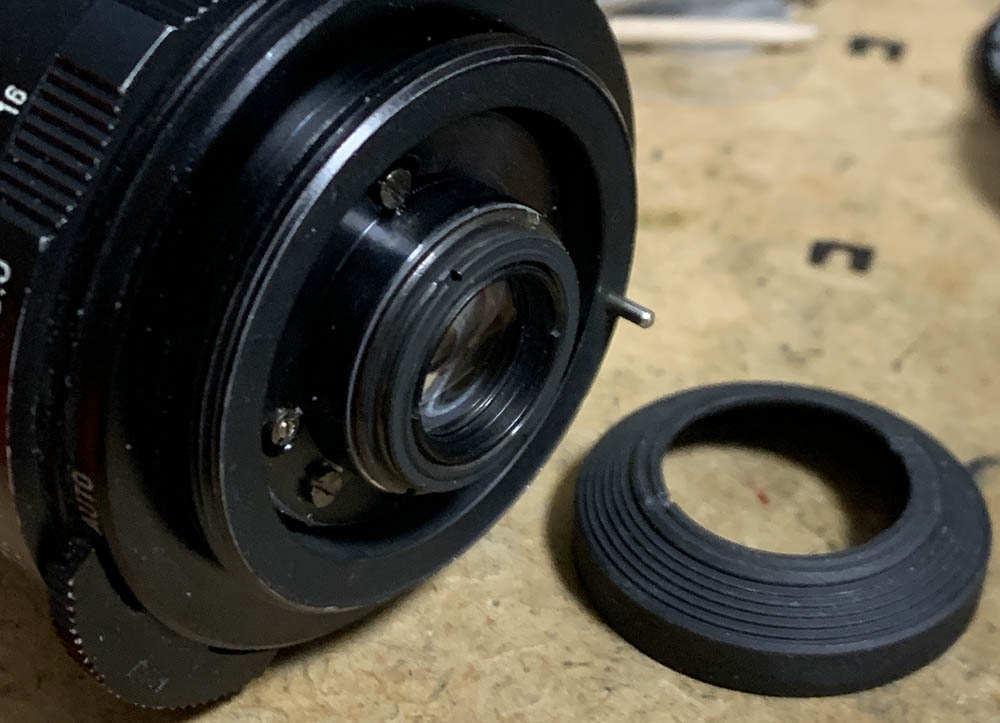
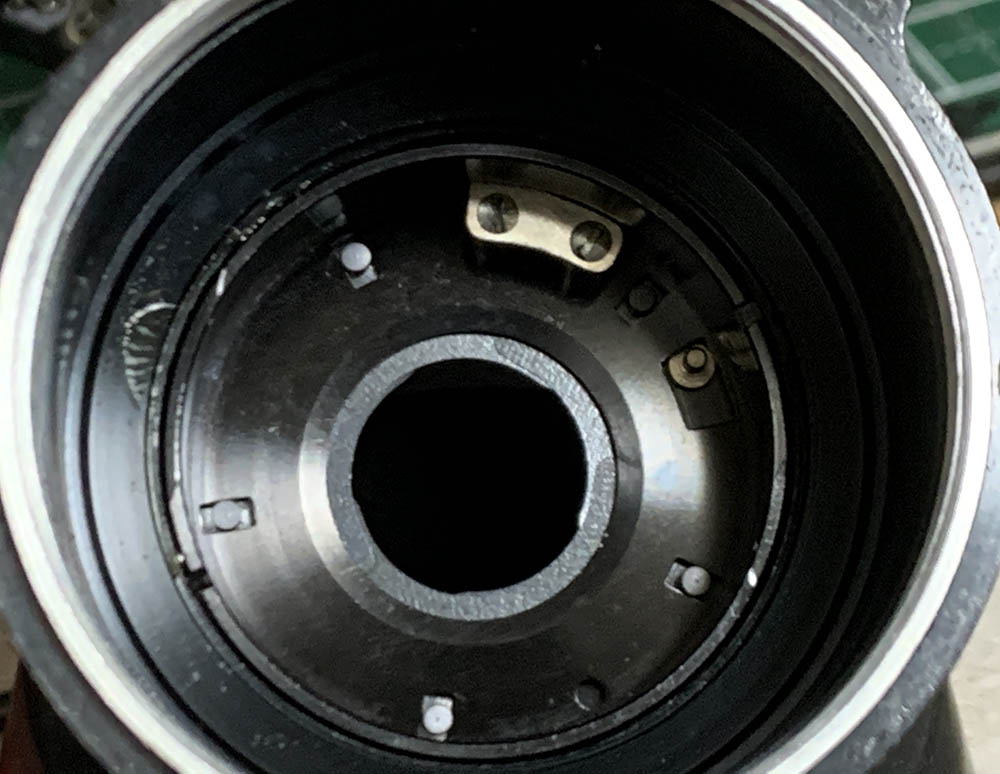
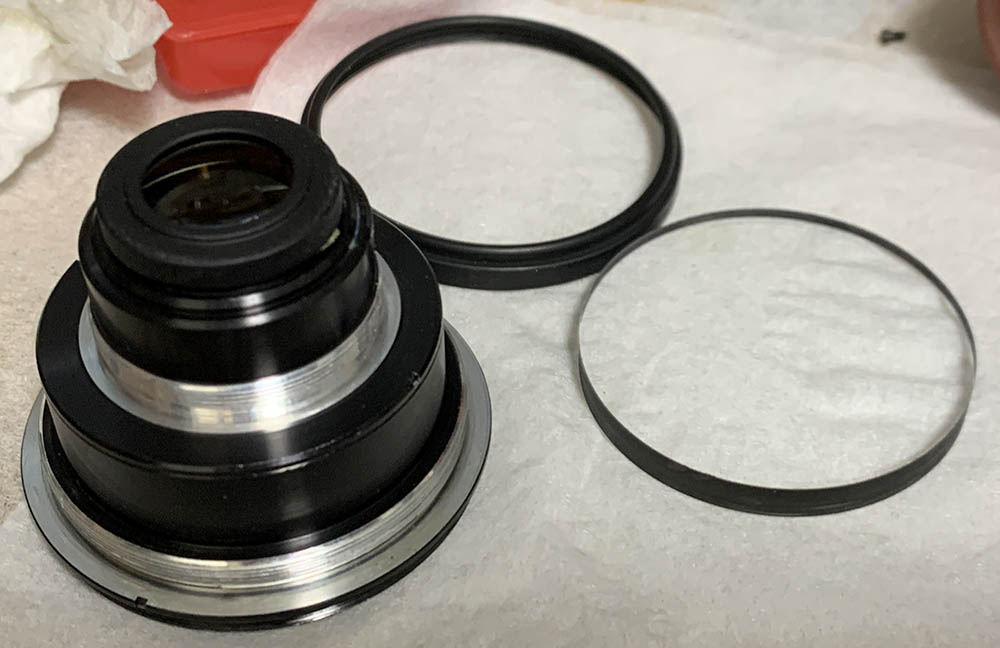
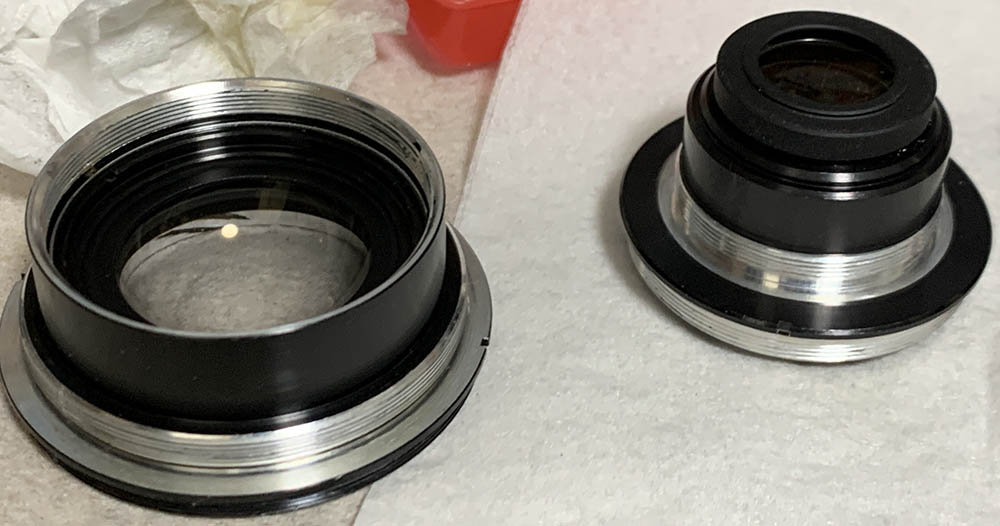
Unscrew the rear baffle with a rubber cup in order to access the rear optics assembly.
Unscrew the assembly with a lens spanner but try using a rubber tool first and see if that would work.
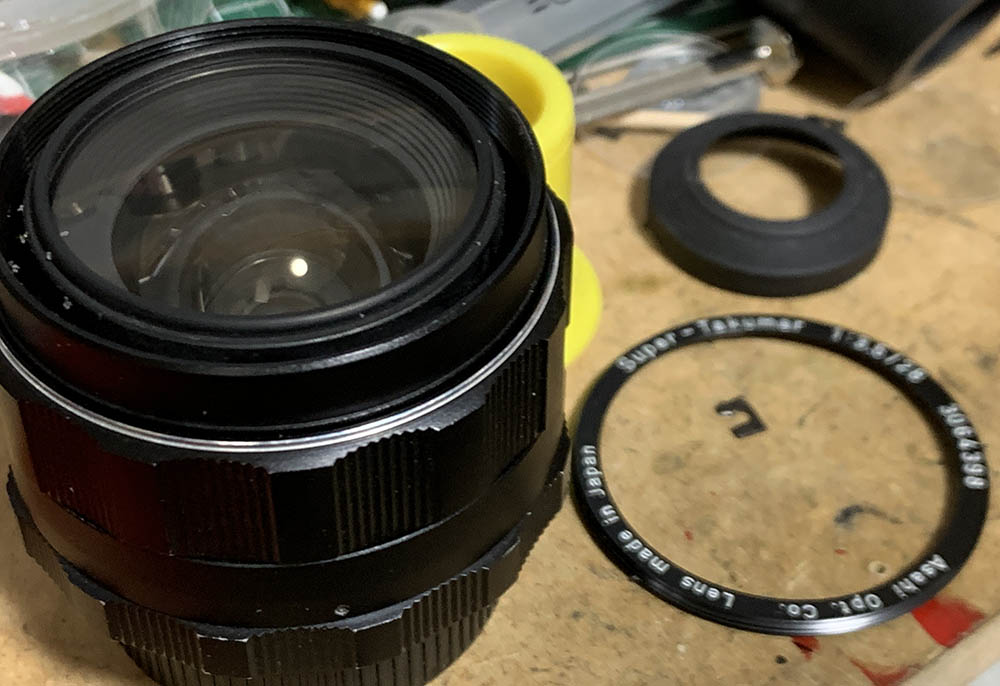
Unscrew the bezel, it can be difficult to remove because it’s thin. I didn’t have the right-sized rubber cup for this and it was only removed with an improvised tool that I made.
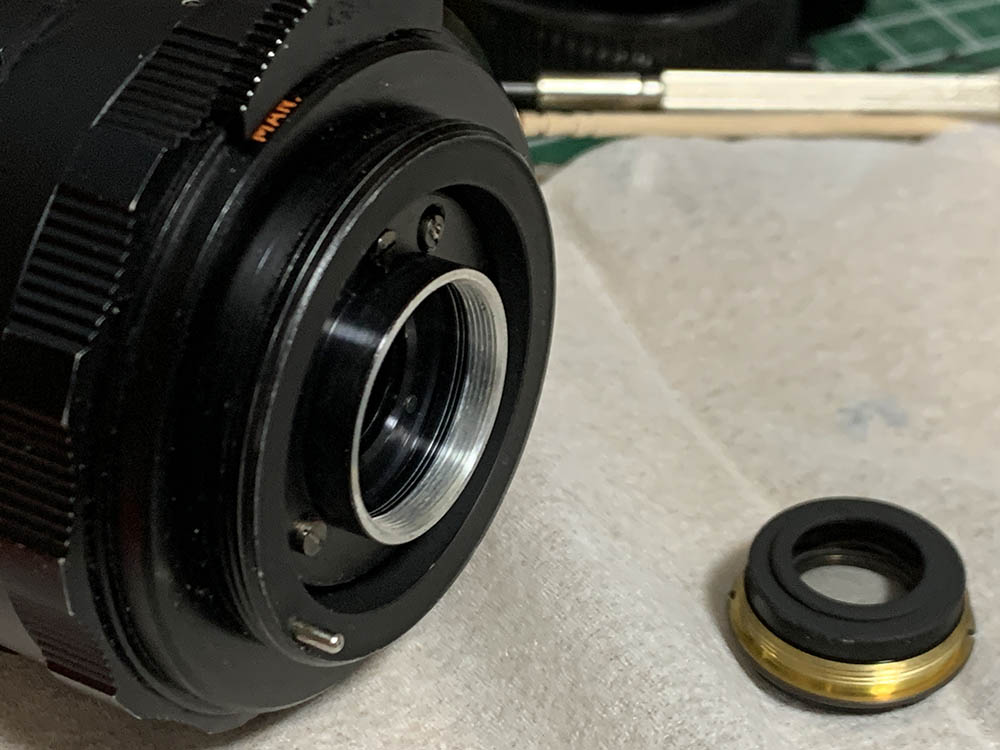
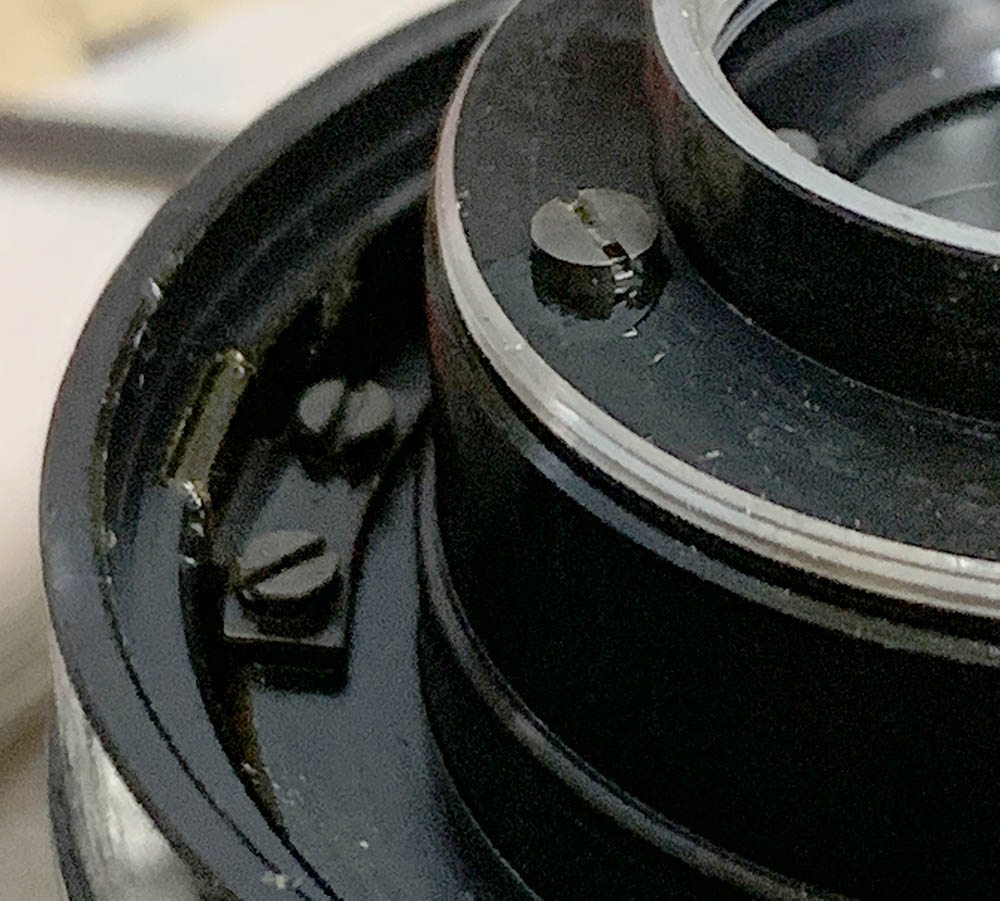
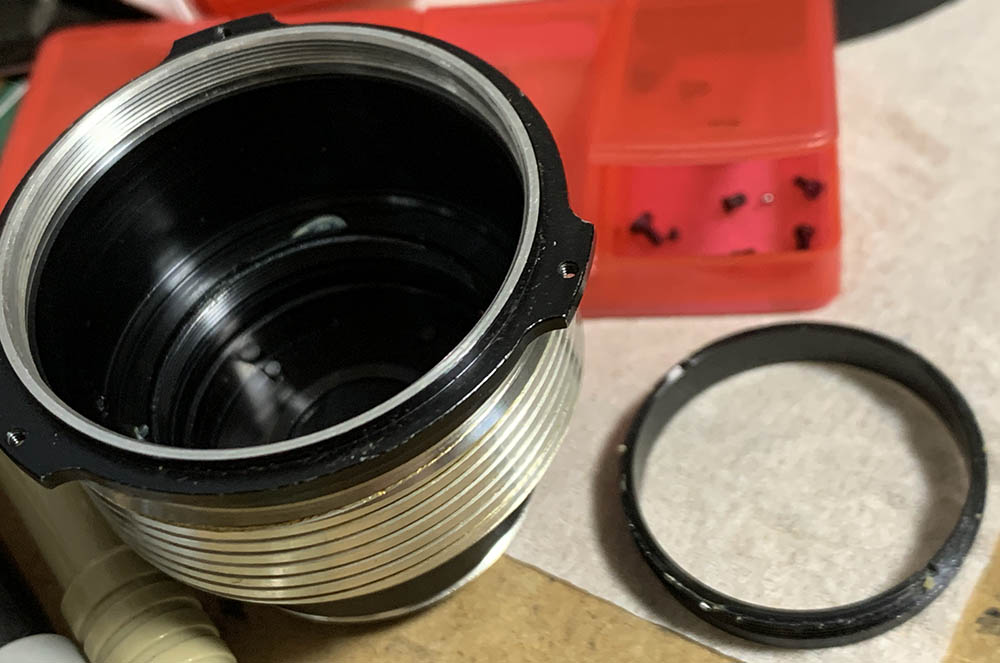
Unscrew the front optics assembly with a lens spanner, it can be hard to remove because the side are so thin. I have an improvised tool for cases like this, it worked perfectly. Unscrewing this with a rubber cup will only remove the retainer of the front group.
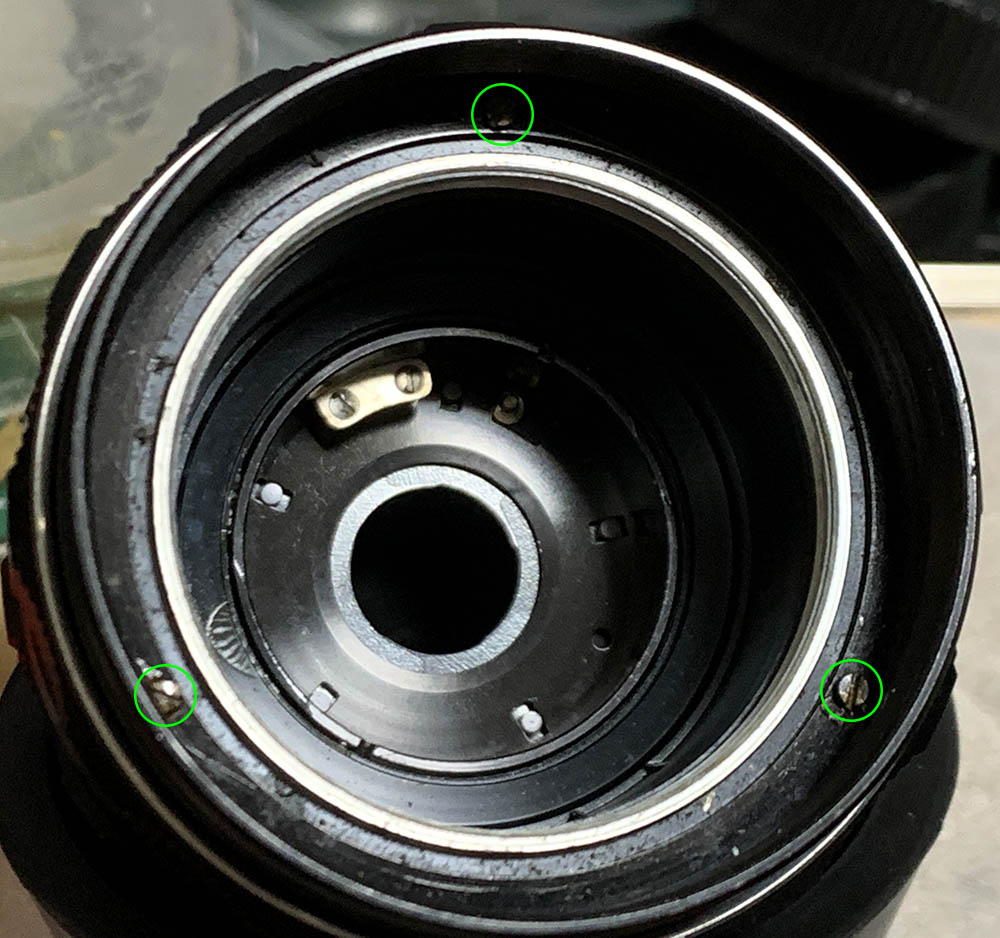
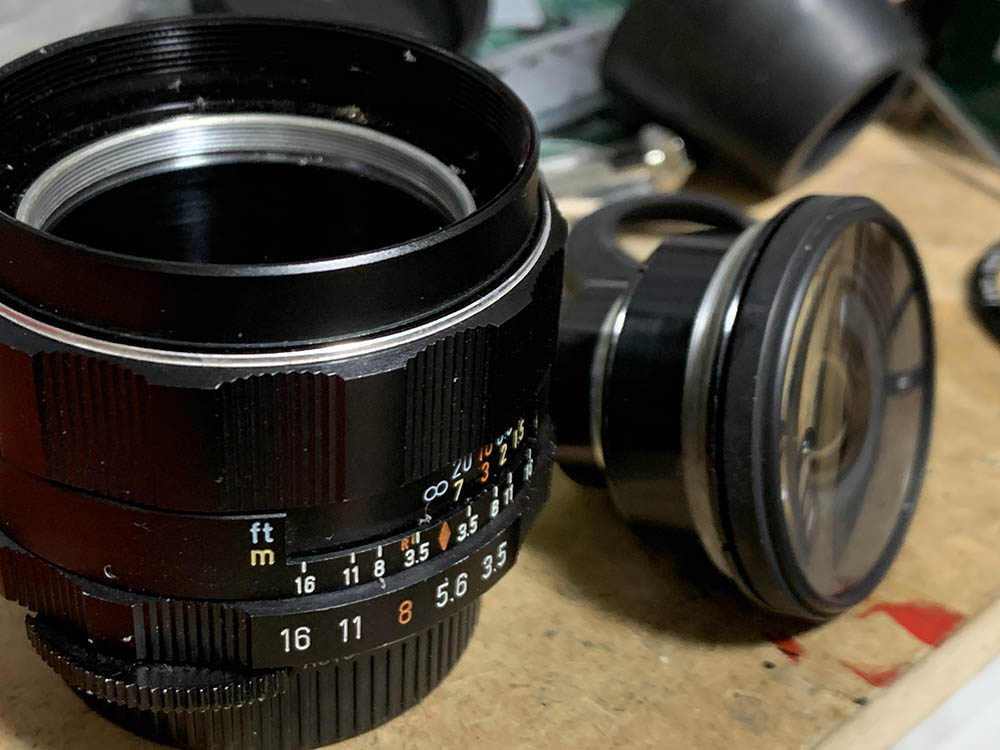
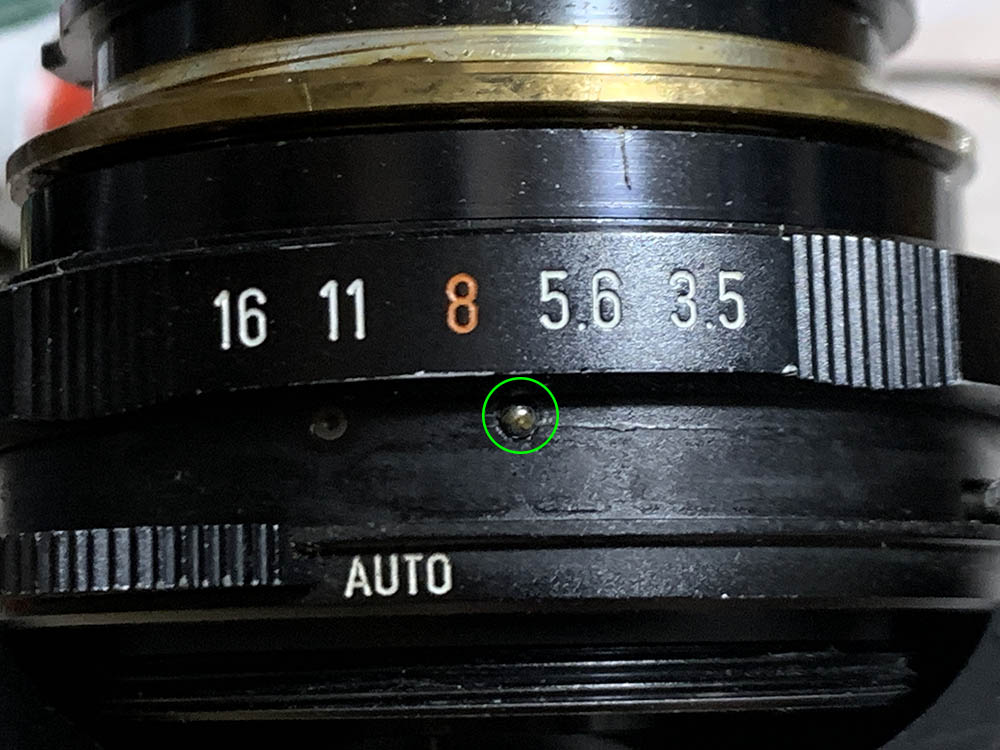
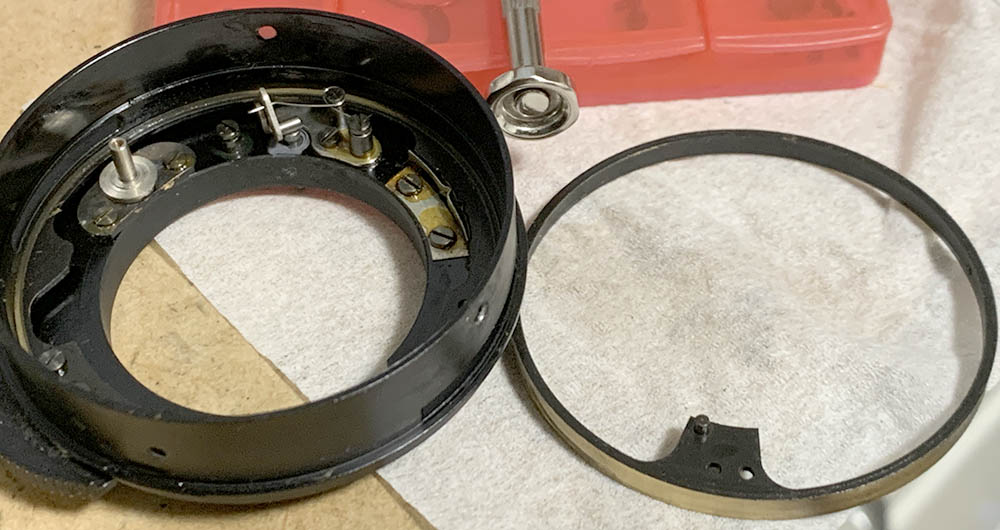
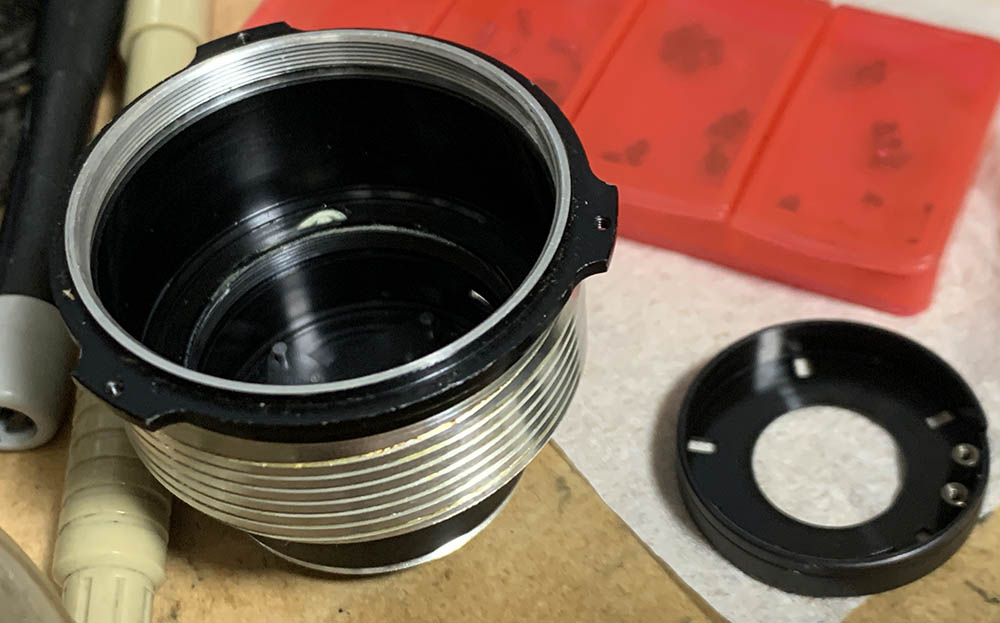
Locate and extract these screws to remove the front barrel.
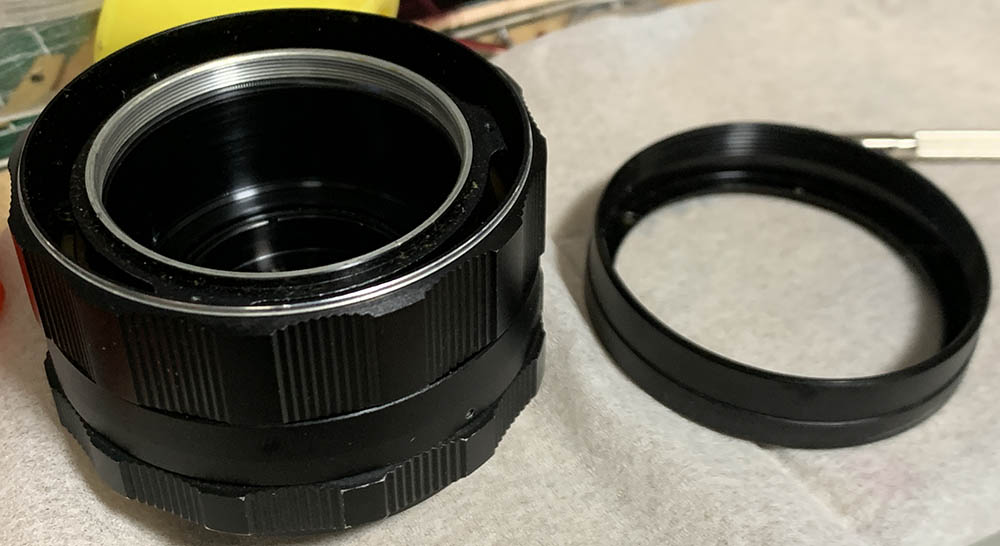
Remove it and set it aside.

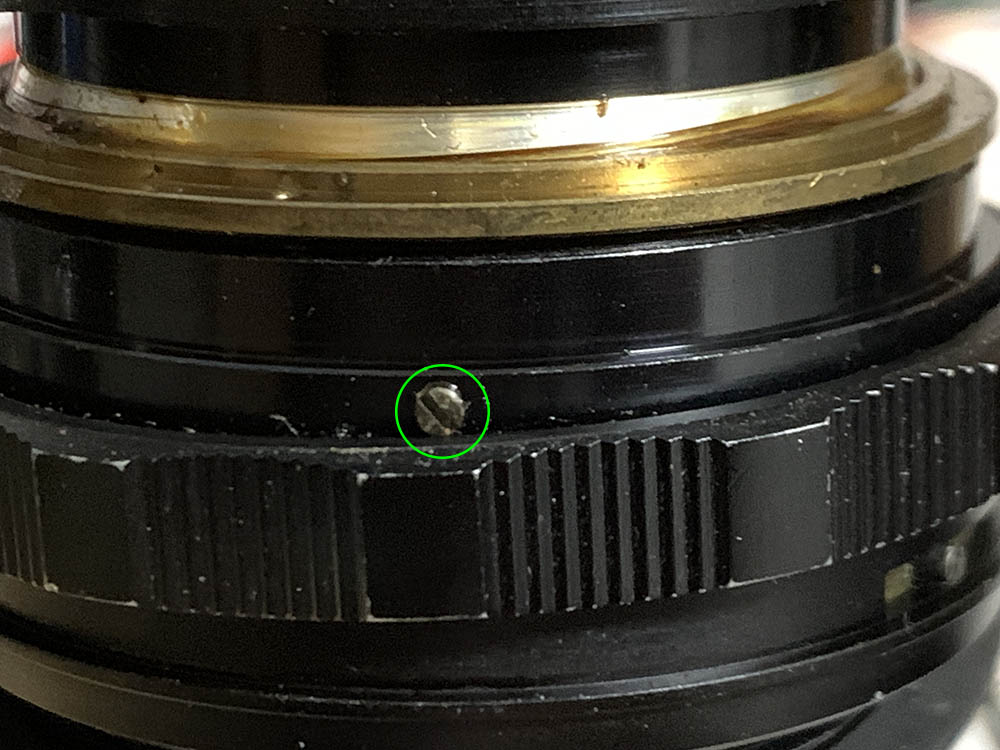
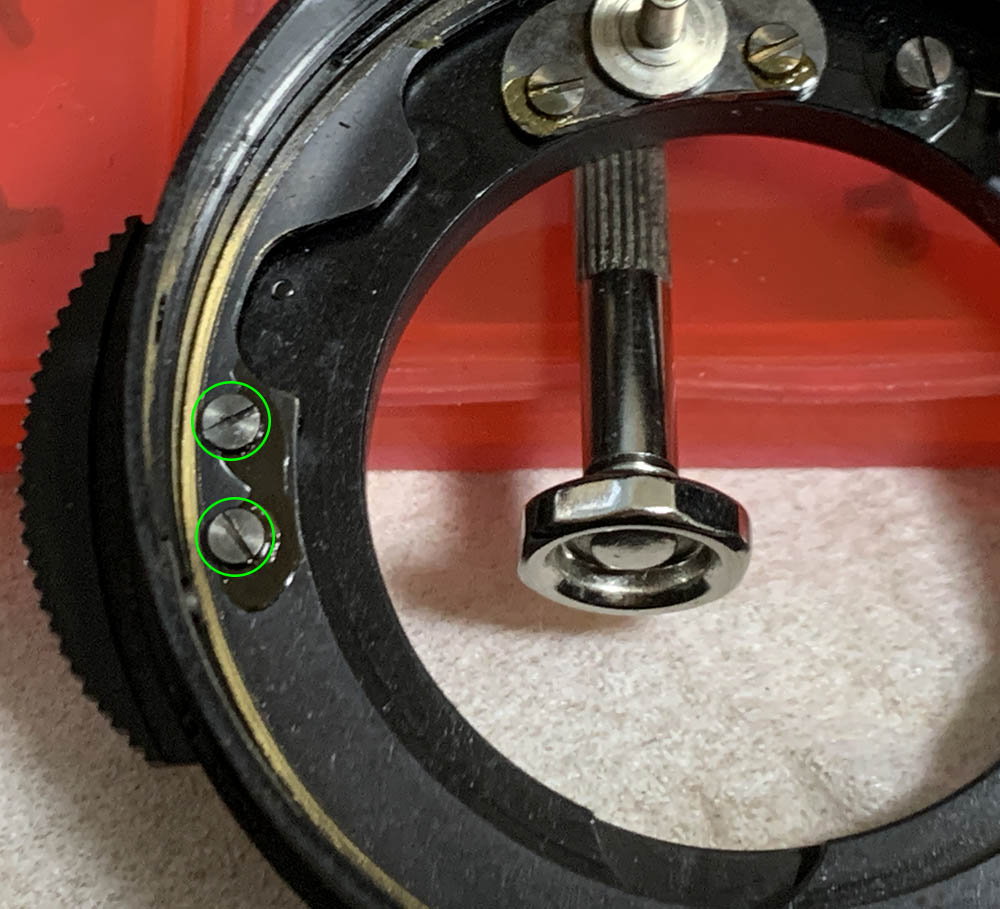
Before you continue, set this to infinity and be sure to make small marks so you’ll know how the focusing ring should be aligned. Be sure not to disturb the helicoids from here on so you’ll have a point-of-reference. Once you’re satisfied with your notes extract these screws to remove the focusing ring.
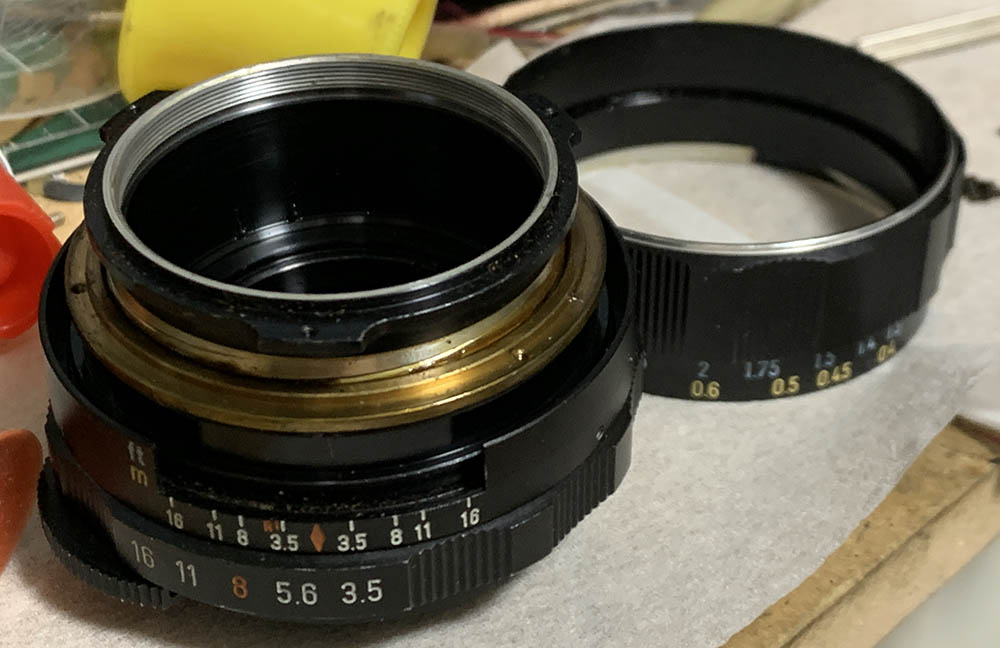
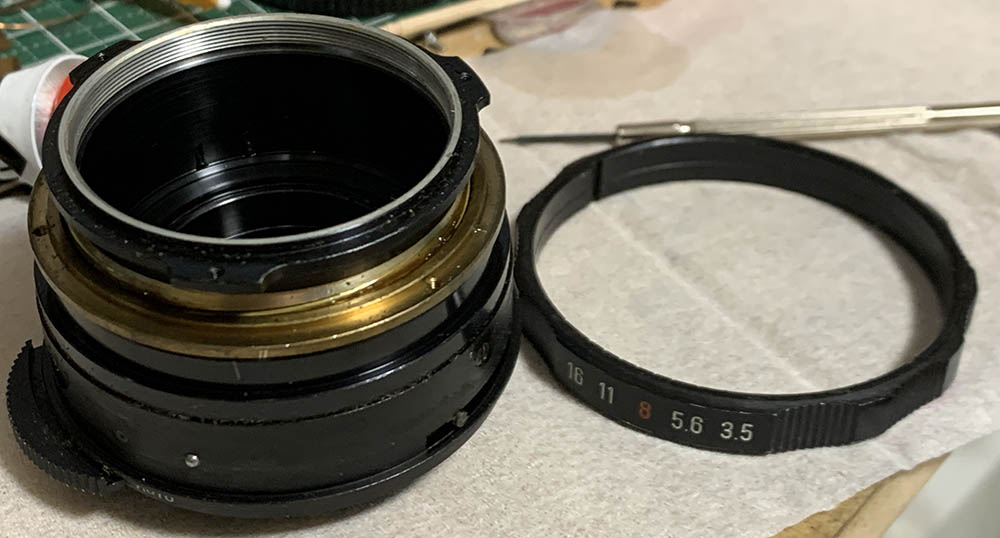
Carefully remove the focusing ring while being mindful not to disturb the helicoids.
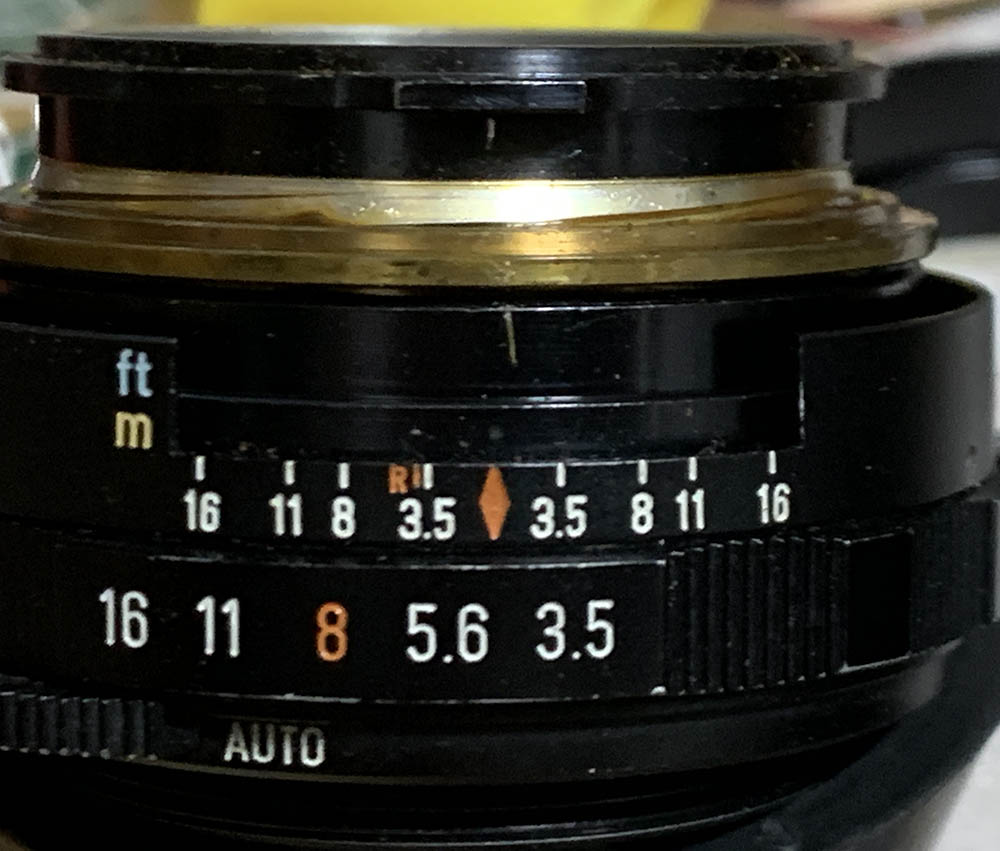
Make shallow marks at the centerline of the helicoids away from the threads, this is how they should align at infinity.
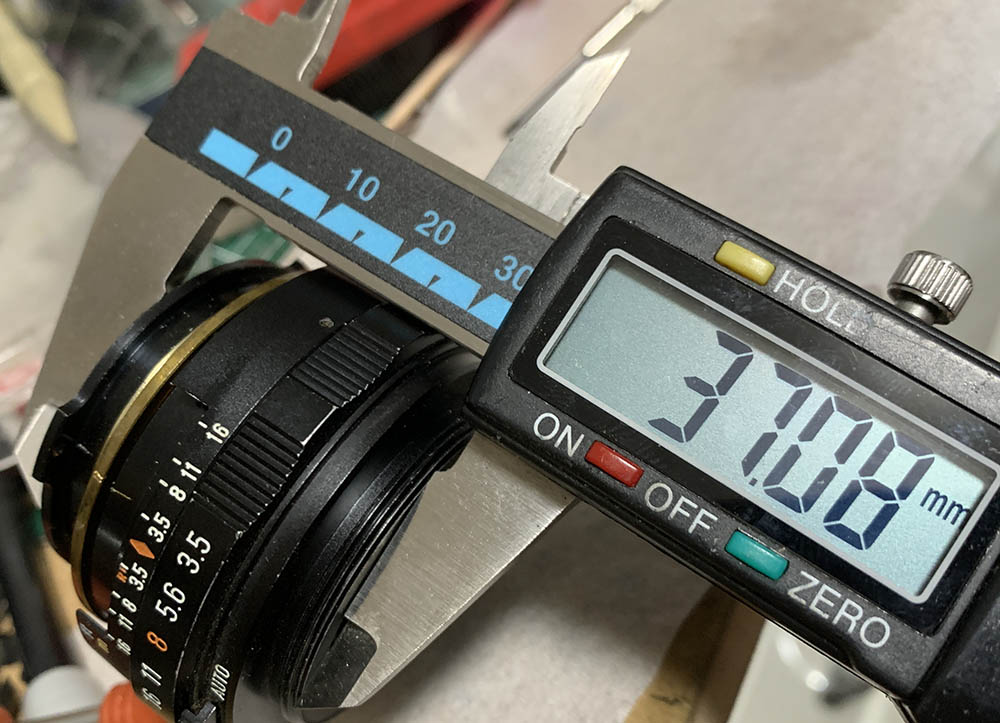
While you’re at it measure the height of the barrel, you should be able t reproduce this later.

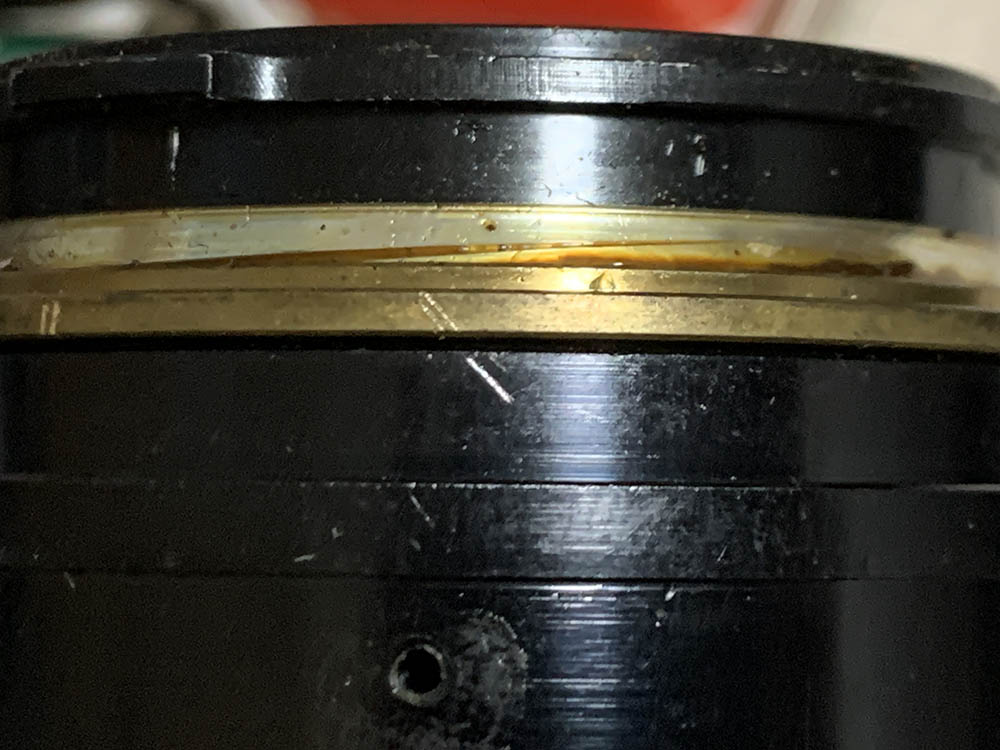
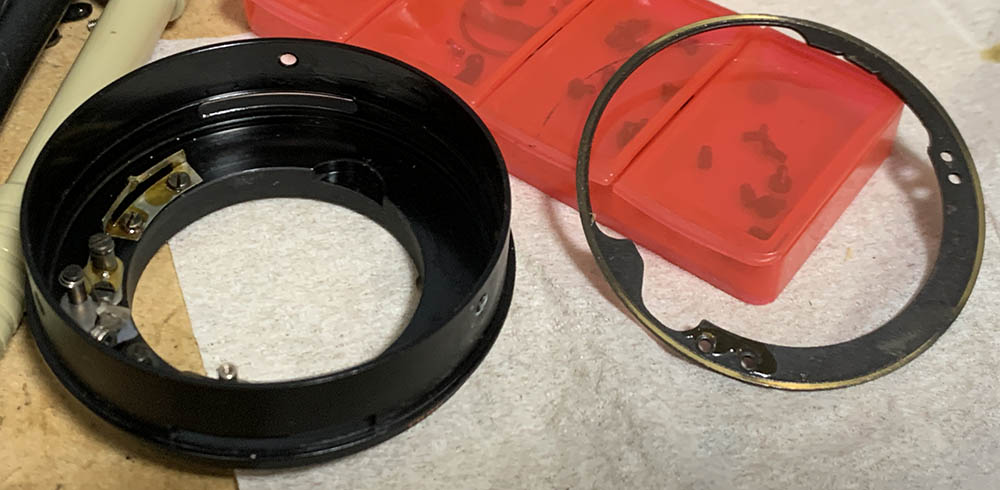
Loosen the screws of the belt and carefully pull it off. You don’t have to remove the set screws, just loosen them so the tips won’t catch anything.
Be careful when removing the aperture ring, there’s a spring-loaded pellet underneath it. Extract this and store it inside a secure container after cleaning it. This is used for the detent-clicks, they’re usually greasy.
You can remove the aperture ring without extracting this but it will make it easier for you to remove this.
Clean the aperture ring very well since they’re usually very oily.

Extract these to separate the helicoids from the base, there are 3 of them.

Remove the helicoids.
Take notes and photos as to how deep the helicoid keys should be when the helicoids are set to infinity, you should be able to reproduce this later. Extract the screws of the keys to remove them, don’t forget to note which key comes from with side because you will want to reinstall them later in the manner you’ve found them.
Once the keys are gone you’ll be able to turn the helicoids beyond their range. Collapse the central helicoid and make a small, diagonal mark, this will help you determine if you’ve assembled everything properly.

Separate the central helicoid from the outer one and don’t forget to mark where they parted. Many people forget this so they get stuck with a lens that will never focus properly. Read my article on servicing helicoids so you won’t get into the same situation. Follow my guide carefully and you should be fine.
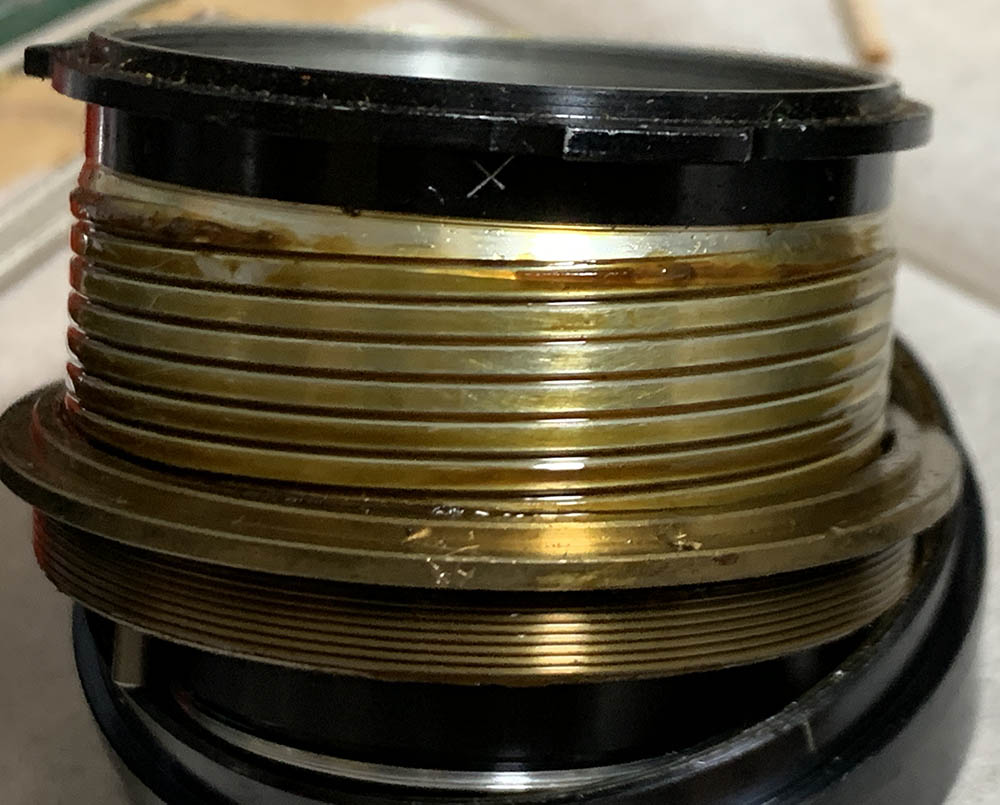
Do the same for the inner one and never forget to mark where they parted. Notice how oily it is, Asahi loves to use this kind of grease. Seeing this almost guarantees that your lens may not have been overhauled previously. This grease will always breakdown to this state after many years and this is the reason why many Takumars are oily inside. This is also the reason many people say that Takumars are the smoothest lenses to focus, what they didn’t know is that the insides are coated in an oily mess.

Take photos of the actuator mechanism and study how it works carefully so you’ll be familiar with its operation. You do not have to dismantle this but it’s almost certain that an overhaul is necessary if it doesn’t move freely.
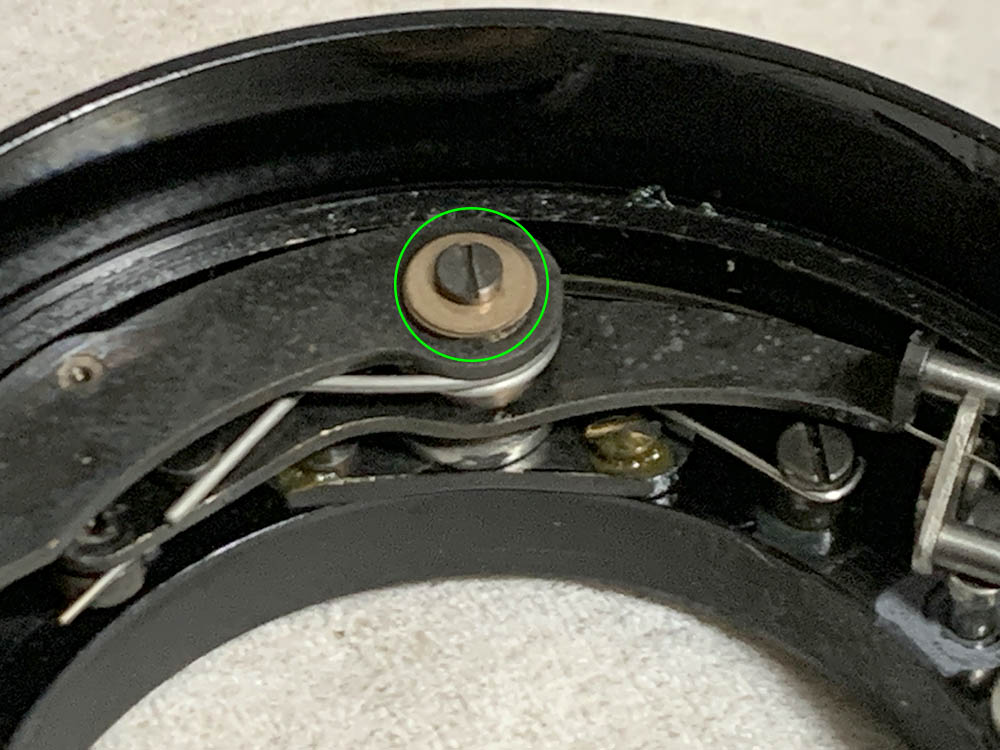
This screw secures the actuator’s arm, carefully extract this and pull the arm off as a single unit. There are shims here so be careful not to lose any of them.
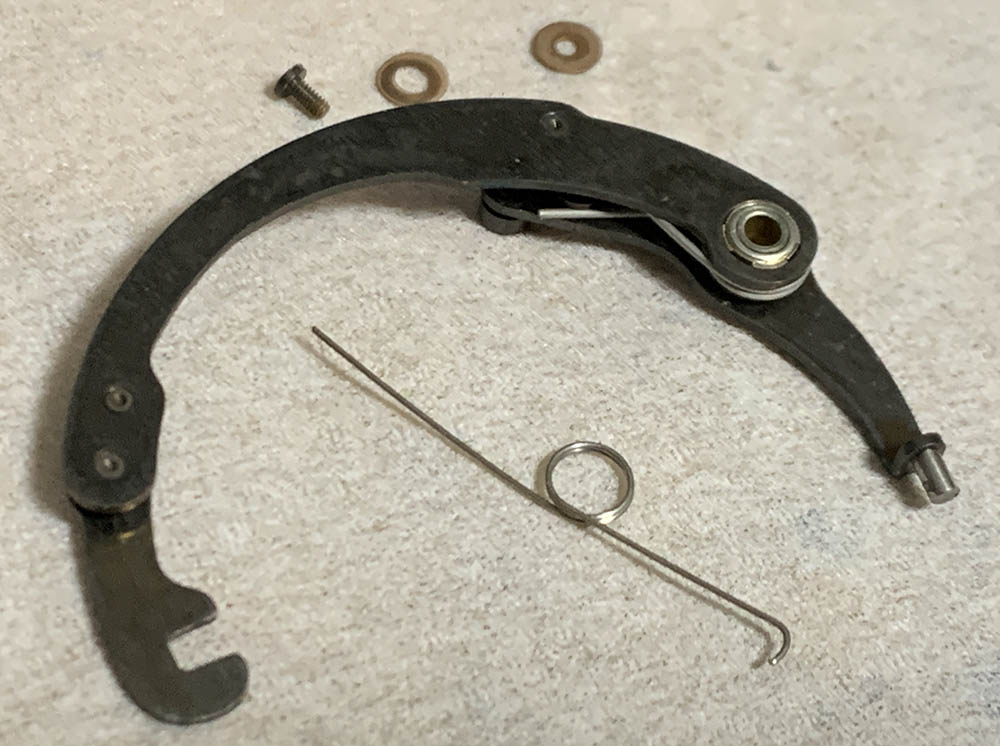
Make sure that the springs won’t fly-off and carefully remove them from the whole assembly. If you took your notes it shouldn’t be a problem figuring out how these should be installed.
Extract these to remove the regulator ring.
Remove the ring and clean it very well, the shiny part should be polished if corroded or dirty.
Extract these to remove the A/M switch’s tab, mine’s sealed as you can see in this photo. Dissolve it with alcohol before you extract them.
Once the tab is gone you can carefully remove this ring.
Since the innermost helicoid is part of the objective’s housing you will need to follow what I did on the next part before cleaning and reassembling the helicoids.
That’s it for the main barrel. Clean everything really well and be sure not to leave any residue. The focusing-ring should never be soaked in solvents because the distance scale is merely glued to it, that will surely remove the adhesives and you will have to carefully adjust it after putting it back. Be careful when handling the delicate mechanisms, you’ll find a lot of small interconnected parts and you should be able to put them back properly so they’ll work. Polish the rings of the A/M switch and aperture regulator so they will turn smoothly, lubricate them with a very thin film of grease. Never lubricate anything else, even the pivots of the actuator-arm mechanism won’t need it. Even if they do, a very small drop of oil is more than enough. The oil will get filthy and turn into a mess so be conservative when applying it.
Disassembly (Iris Mechanism):
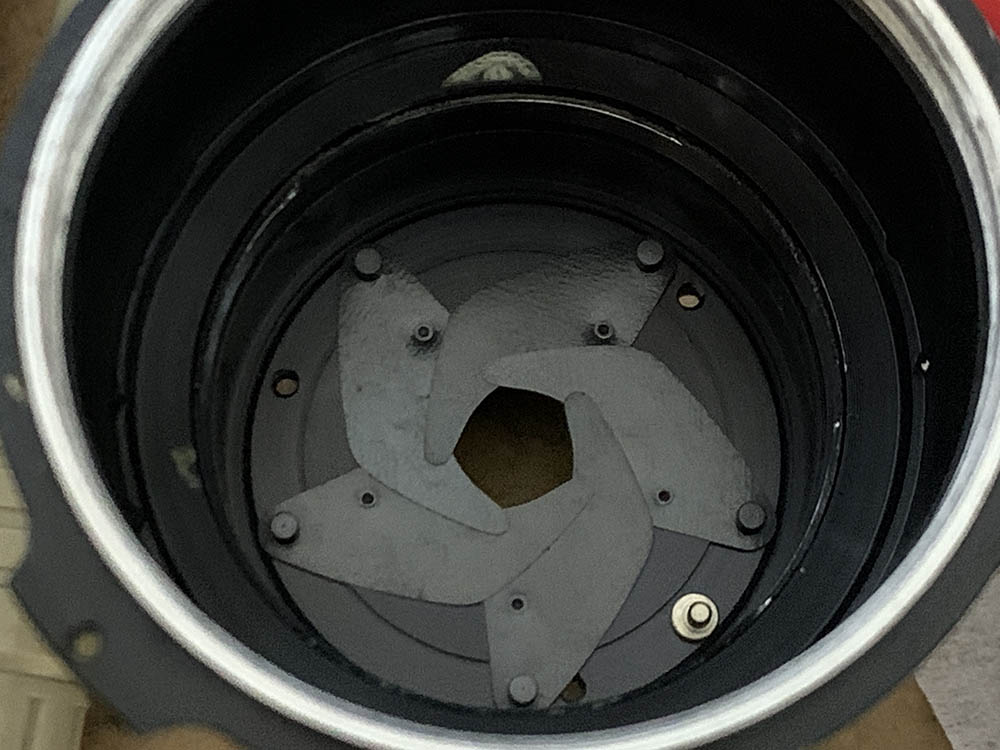
You’ll definitely want to dismantle the iris mechanism in order to clean the helicoids thoroughly. It’s not difficult since it only has 5 blades but putting them back may be a bit difficult due to the thickness of the blades and how they lay. The whole mechanism is rather simple but you should still follow me in order to prevent any problems.
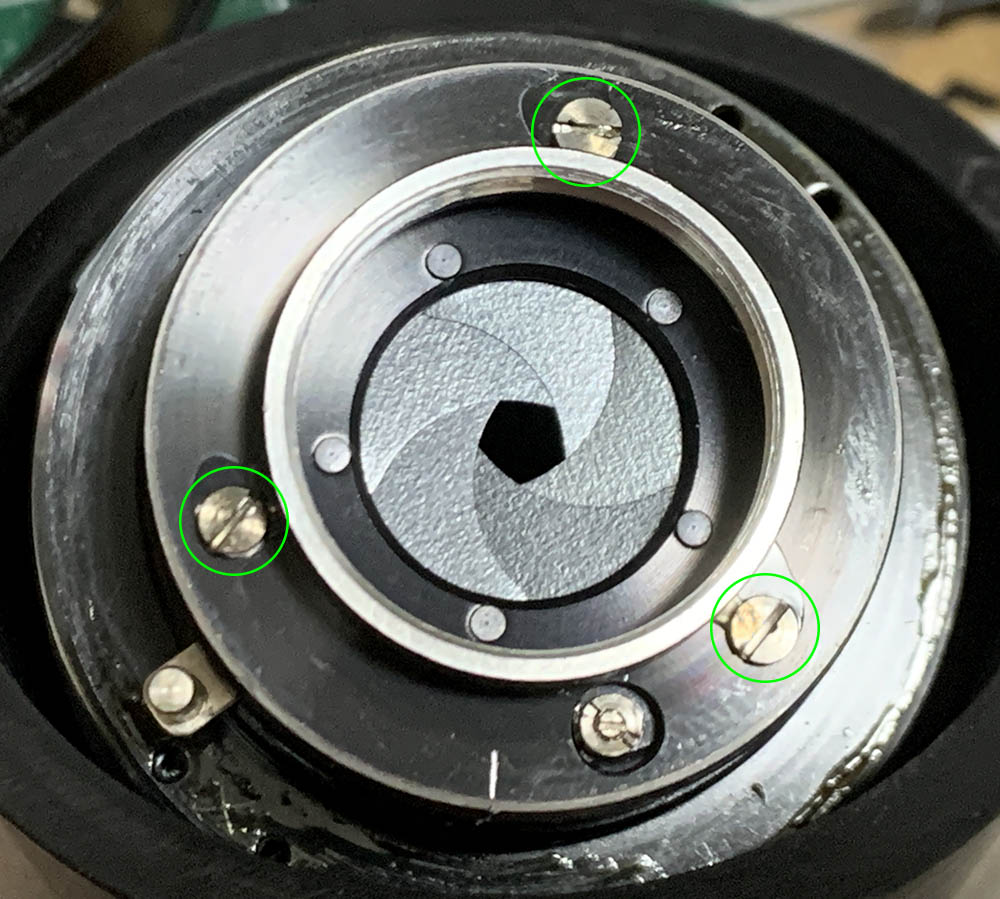
These screws secure the iris mechanism’s plate, do not extract these until much later. I removed them too early but I’m lucky that the plate is secured-tight. The eccentric here should never be adjusted or removed, note its position so you will know how the plate should be adjusted later.
(Click to enlarge)
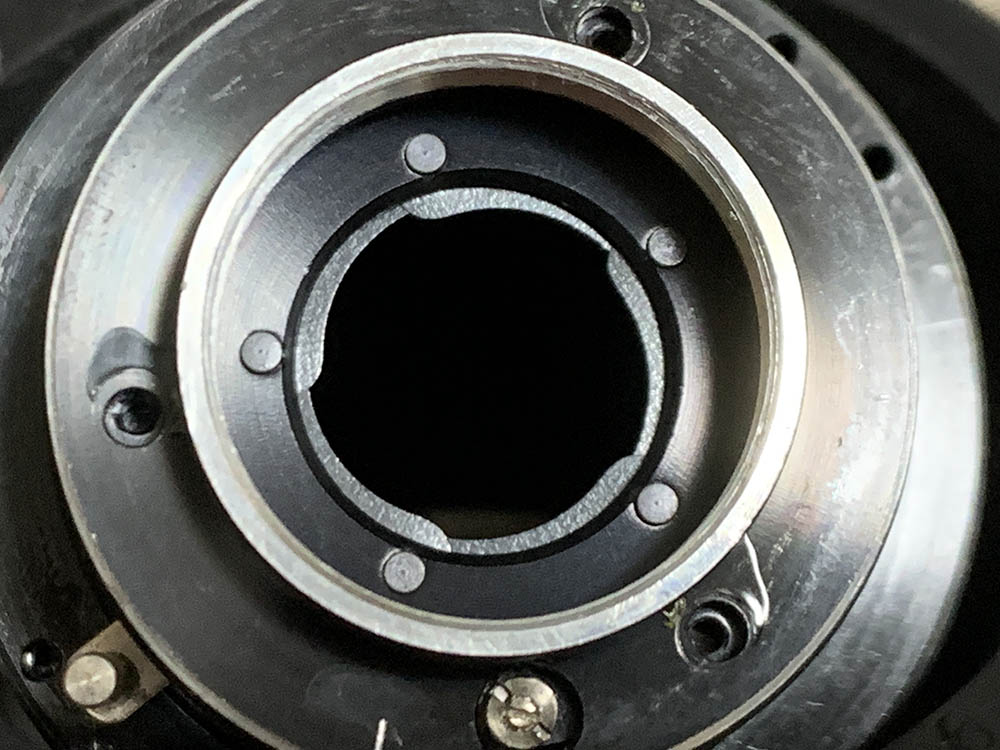
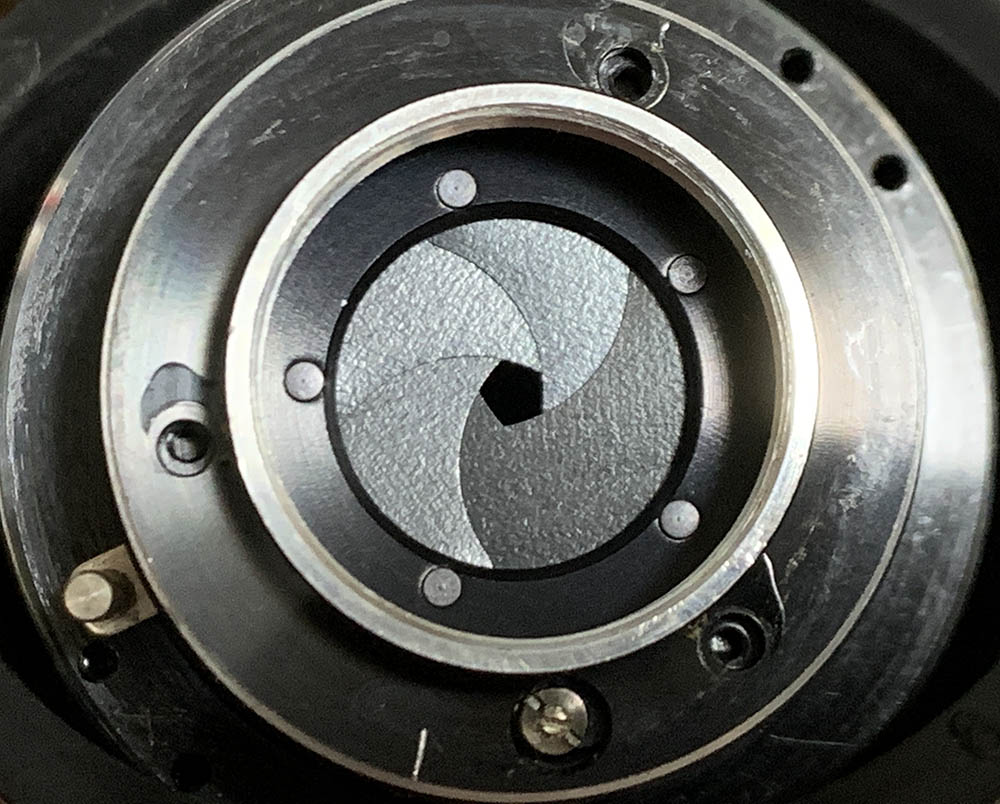
Another way to determine the adjustment of the iris is by documenting its size when they’re open or closed. This is not precise but it’s much better than not having any reference at all.
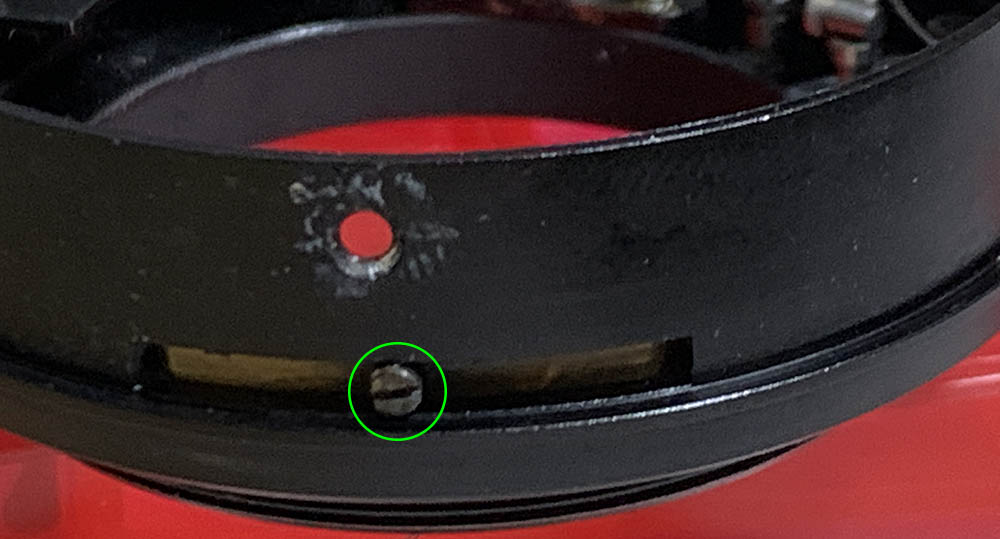
There’s a collar here that secures the iris mechanism, unscrew it with a lens spanner. Mine was sealed at the factory, it’s important to dissolve the seal first before you unscrew this. You can also see 2 screws here that secures the arm, extract them and remove the arm before you proceed.
Once the collar is gone you can now dismantle the whole mechanism.
Pull the diaphragm’s plate off with your fingers.
The blades are some of the thickest I’ve ever seen, they’re quite robust. Carefully remove them by poking their pins at the other side until they’re all off.

Remove the plate and clean everything very well.
Clean the iris mechanism very well and never leave any residue. You should never lubricate anything here, the iris has to be dry in order to work properly. Clean each blade carefully with naphtha and Q-tips and carefully put them back.
Disassembly (Optics):
You could skip all of the steps dealing with the lens barrel and helicoids if all you need is to clean the optics. This is not difficult to clean but there are some things that are best left alone such as the rear optics assembly, only service that if there’s a need to do it. You may scratch the glass there if you try to dismantle it without the proper tools and skill.
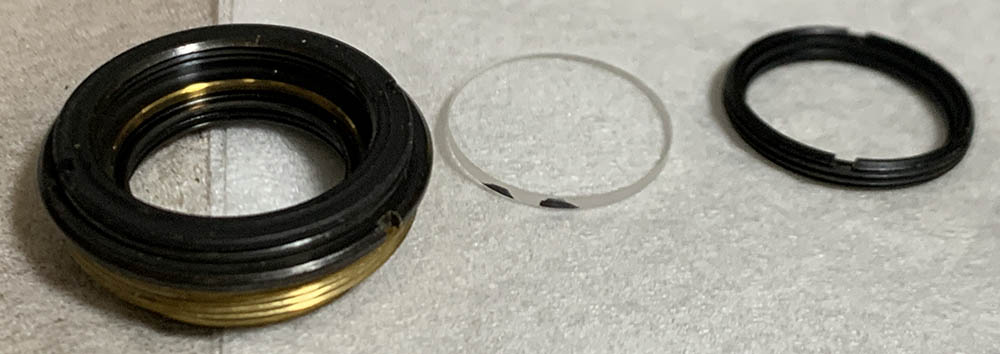
Unscrew the retainer of the front group in order to remove it. Be sure to note which side should be facing the front so you’ll be able to put this back properly.
You can dismantle the front optics assembly like this. If it’s stuck apply a drop of alcohol at the threads to help dissolve the seal.
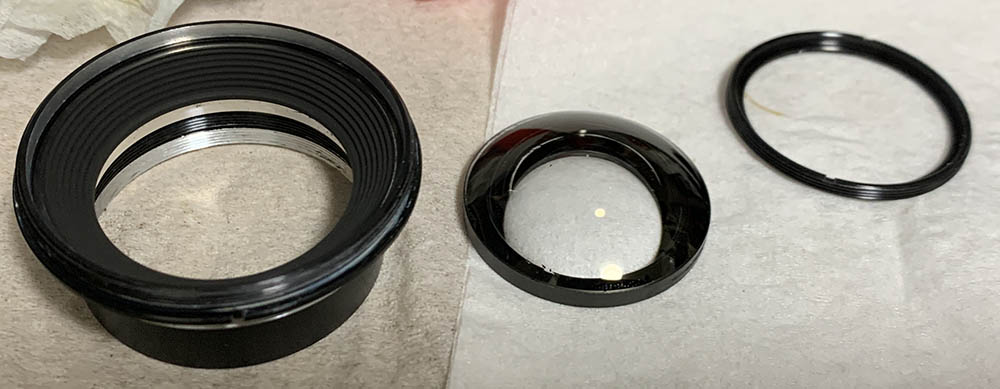
The 2nd group can be extracted once its retainer is gone.
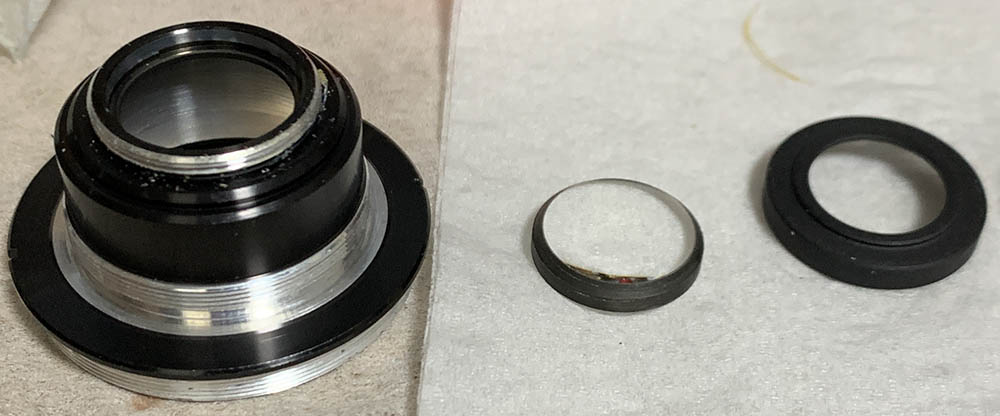
Unscrew the collar of the 4th group to extract it. This is a cemented-group so never flood this with solvents.

The 5th group can be removed once its collar is gone.
Unscrew the ring of the 6th group to extract it. Note that I’ve made 2 small marks with a marker to help me determine which side should be facing the front and which order it is within the assembly.

The rear element can be extracted once its collar is off, note that I also marked it to help me identify this better later.
Carefully clean the glass, follow my fungus cleaning article in case your lens needs it. Thin the solution so you will never damage the coatings.
Conclusion:
I’ve enjoyed working with this despite being similar to most Takumars of the same generation. It took me a few hours to service this since it wasn’t filthy despite dripping with oil inside. Now that you’ve seen how much work it takes don’t attempt to repair this if you’re a beginner, you’ll require special tools and skills in order to do a successful job. If yours needs to be serviced send it to a competent repairer and make sure he’s legit because there are many bogus operators out there.

Before you reassemble everything leave the front barrel off so you could adjust the focus. Loosen all the screws of the focusing ring then adjust the focus. Read my article on how to adjust the focus of your lens in order to learn how to do this in a DIY setting with tools that are available to you. Tighten the screws once you’re satisfied then do another round of testing just to be sure then reinstall the front barrel when you’re satisfied.

I enjoyed shooting with this lens, it’s certainly pleasant to use despite its age and I am sure that you’ll love it, too. Use it with film because I believe that’s it the best way to enjoy this classic lens.
Thanks for following my work, if you liked this article please share this with your friends so it will get more views. This site earns around $0.40 a day, we are totally reliant on views. You can also support this site, it helps me offset the cost of maintenance and hosting. You’re also helping me purchase, process and scan film. This site promotes the use of film so we are all in this together. See you again in the next article, Ric.
Help Support this Blog:
Maintaining this requires resources and a lot of time. If you think that it has helped you or you want to show your support by helping with the site’s upkeep, you can make a small donation to my paypal.com at richardHaw888@gmail.com. Money isn’t my prime motivation for this blog and I believe that I have enough to run this but you can help me make this site (and the companion facebook page) grow.
Buy me a roll of film or a burger?
Thank you very much for your continued support!
$2.00
Helping support this site will ensure that this will be kept going as long as I have the time and energy for this. I would appreciate it if you just leave out your name or details like your country’s name or other information so that the donations will totally be anonymous. This is a labor of love and I intend to keep it that way for as long as I can. Ric.

Aug 20, 2023 @ 14:28:32
Thanks for the article Richard. It’s funny that, 2 years later, these lenses are difficult to find for less than £80 gbp in good condition here in the UK, however popular they remain; a lot of them command £100< on ebay. I managed to pick one up at aution this summer in 2023, with 'slight fungus' for £30. It's a Super-Multi-Coated Takumar and I hope doesn't suffer quite the same performance issues described here; the photographs I've seen from these can be quite beautiful (film). The version I have (sn:5652532) is at least a little different with an externally threaded rear group assembly, but pratically the same & housing the same optical formula I assume?
Fortunately the internal fungus was present only on the external surfaces of the front & rear optical assemblies where they meet at the iris – and could be cleaned in a pinch by removing just the rear group assembly and opening up the aperture to carefully access the rear element of the front group for cleaning.
It is interesting to learn the lens shares its formula with the Nikkor-H 28mm 3.5 – one of my personal favourites – and I look forward to seeing how these compare for myself.
Your site has become a real go-to for most of the lenses in my collection and I thoroughly enjoy the lengths you go in demonstration & effort you put into each write-up. Thank you for your contributions! Ben