
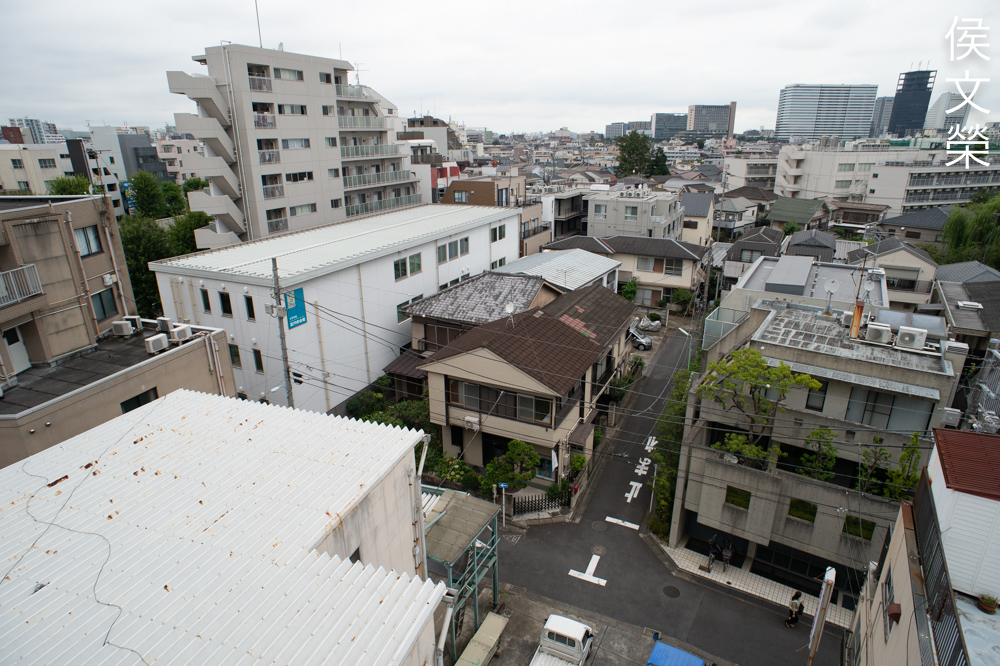
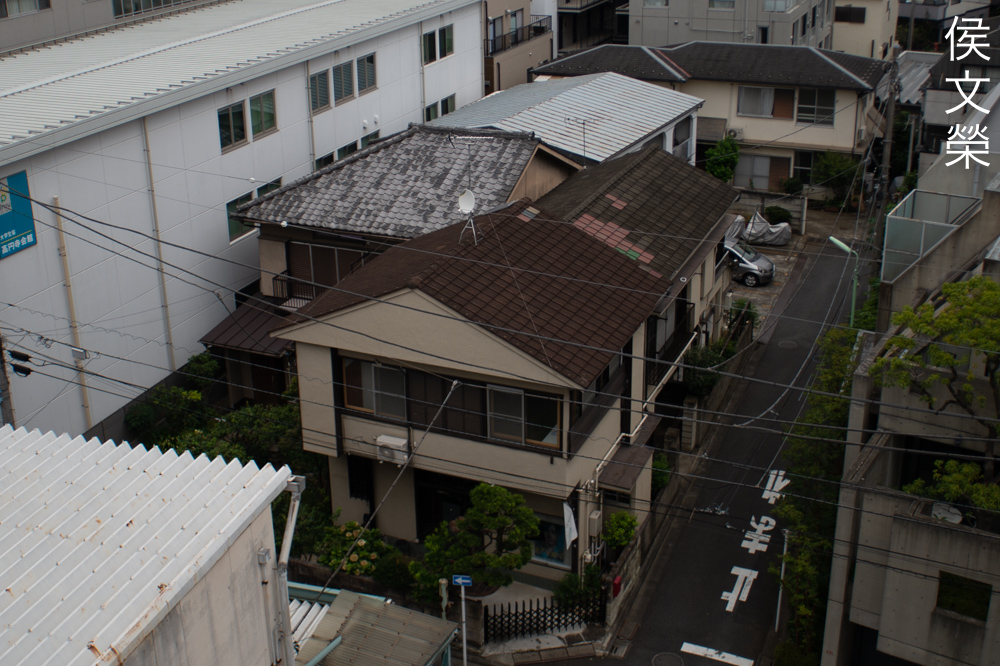
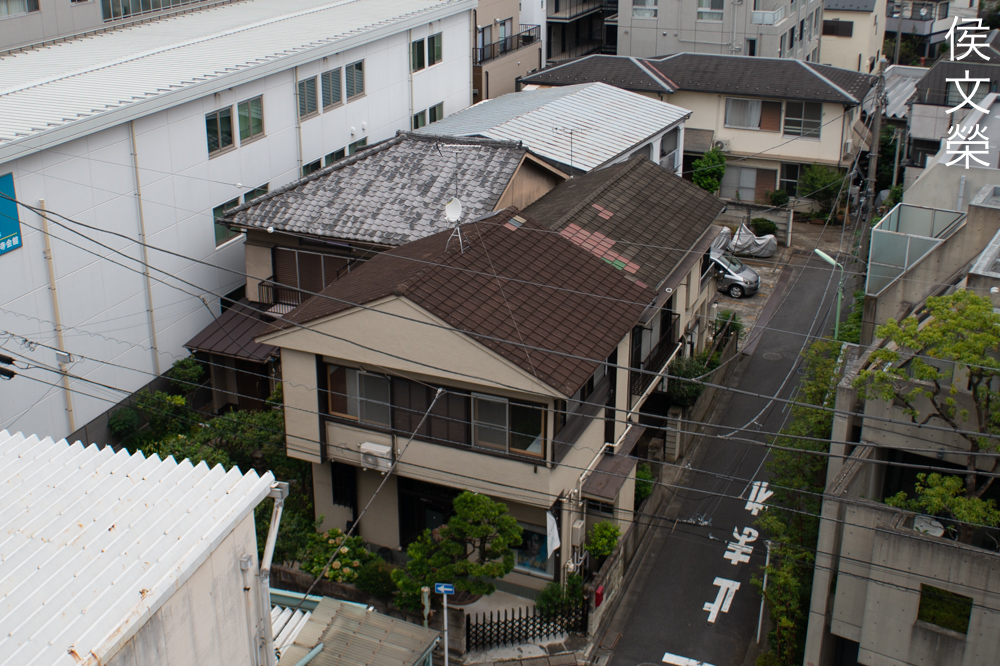
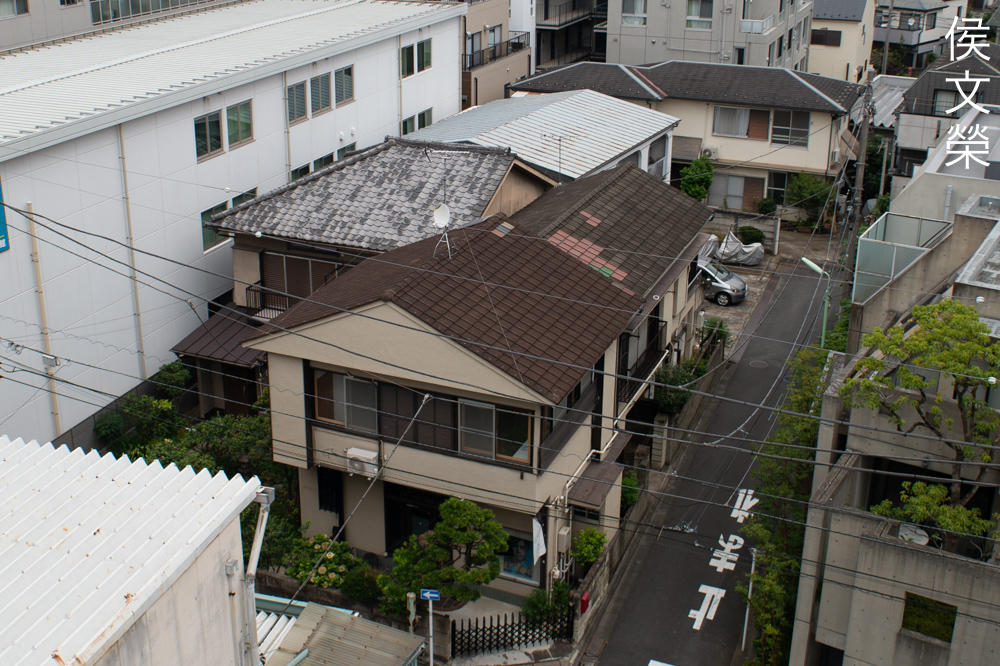
Hello, everybody! Many people today do not recall the glory days of the cassette tape. When I was young it was the only way we could affordably own a record that’s portable enough to be used as audio entertainment media for our cars. Before it we only have radios and we only listened to things that the DJ would play. Owning a cassette player in your meant that you can play whatever you wanted to listen. It was cheap, small and fairly reliable despite hassle of the tape being tangled inside the player. It took a very long time for the compact disc to be perfected which replaced the cassette eventually. There were many trial-and-errors, you’re not supposed to run fast when on uneven road or your song will skip since buffering wasn’t implemented yet and the inconvenience of having to store your CDs at the trunk or under the seats were annoying. Despite those setbacks, early in-car CD systems showed us the way to the future until the technology has been perfected in the late 90s. Today, I will show you something that reminded me of those days. It came in late because the established product was so reliable that it was difficult to replace but as soon as people had mastered the technology this soon became somewhat obsolete, being only remembered as a transition.
Introduction:
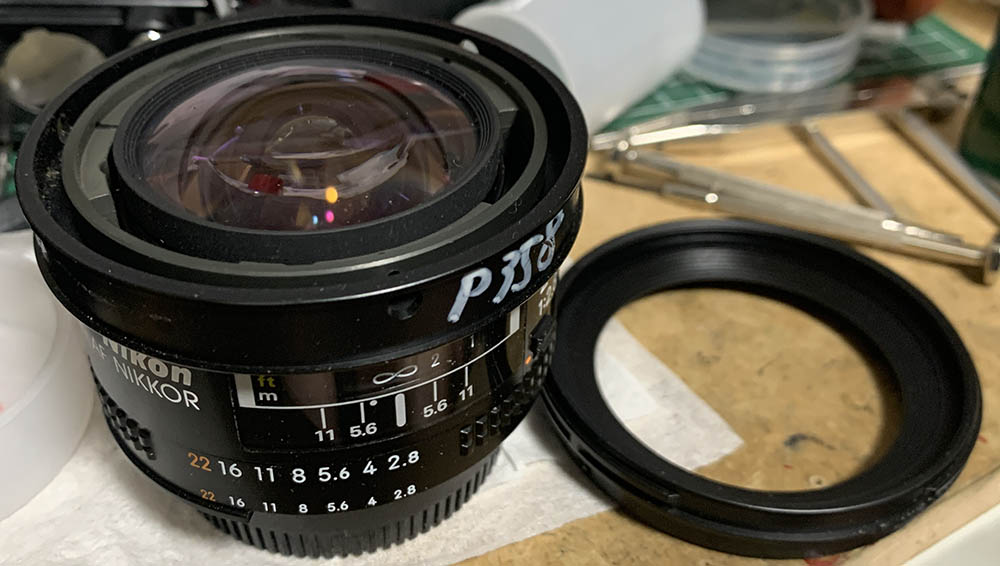
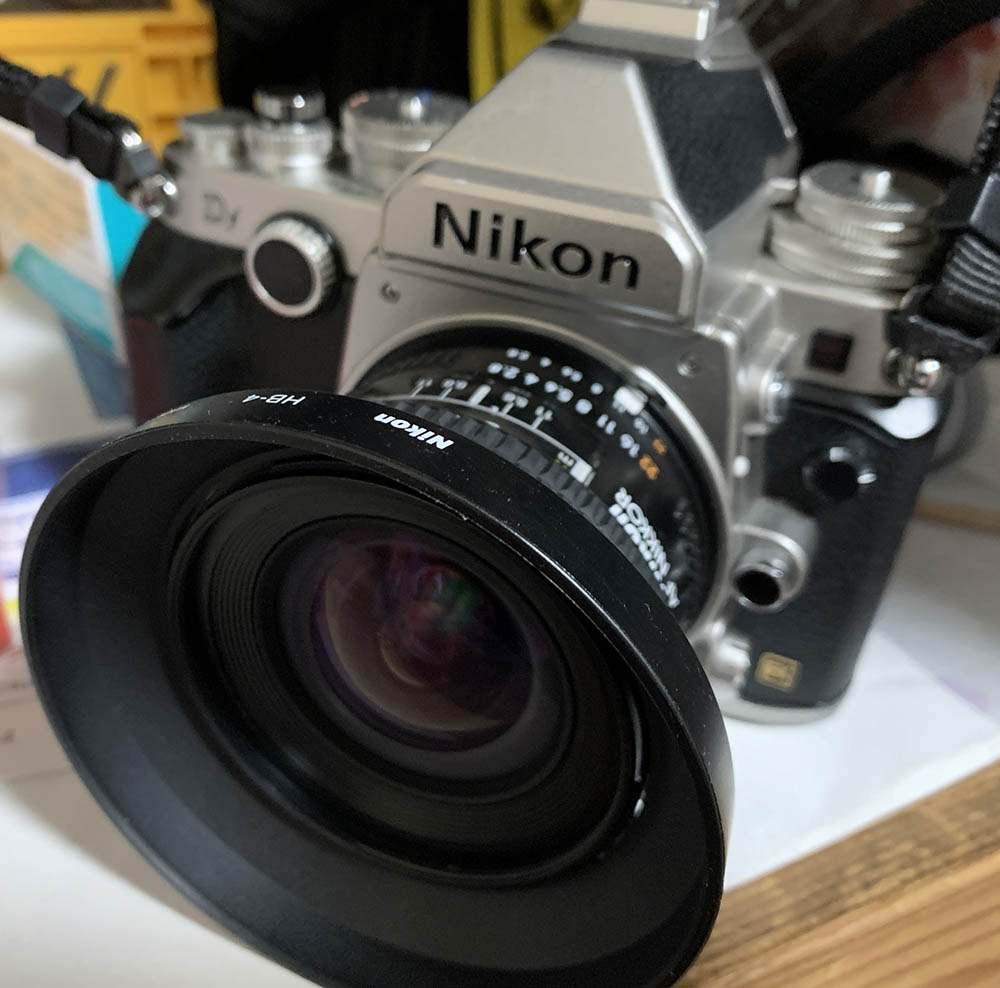
The AF-Nikkor 20mm f/2.8 came out in 1989 and lasted only shy of 5 years in production until it was replaced by the new but very similar AF-Nikkor 20mm f/2.8D. It’s the autofocus version of the popular Nikkor 20mm f/2.8 Ai-S, which outlived it by many years. Its introduction was somewhat late for an AF-Nikkor, probably because of how complicated the mechanisms inside of it are. It has the came CRC system found in the Nikkor 20mm f/2.8 Ai-S. You will see later how intricate the interior of barrel is and how clever the solutions are. Many people thought that this lens and the later AF-Nikkor 20mm f/2.8D are identical apart from the exterior but they’re not really exactly the same in terms of construction internally, with the later lens having more modern characteritics.

While the constructions is all-plastic, at least in the exterior, the lens has a solid feel when held. It may rattle somewhat when you shake it, maybe a little bit more than the usual AF-Nikkor but it’s not flimsy at all. Like all Nikkors of its kind it has a lock for the aperture ring so you can lock it at its minimum aperture of f/22 when using it with autofocusing Nikons. You’ll get an error if it was not setup like this. The focusing ring is of the later type since this was introduced a bit later compared to its contemporaries. It isn’t as wide as I’d like but it’s not pathetic at all.
Optically speaking it retained the formula of the Nikkor 20mm f/2.8 Ai-S and I couldn’t find any major difference. It’s believed by a lot of enthusiasts as a direct-port of its venerable manual focus version which remained popular to this day. Please read my article on the Nikkor 20mm f/2.8 Ai-S for more information. I personally do not think that this upgrade was necessary because autofocus is not essential for a lens this wide and for its intended purpose. I can see how that can be handy when shooting moving subjects like skateboarders for magazine covers but for most cases it’s merely a convenience. Like nearly all AF-Nikkors it comes with the usual screw-drive autofocusing mechanism. It felt fast and reliable as far as I recall. On a DX camera such as the Nikon D7000 it is more like a 30mm len due to the 1.5x crop factor. I enjoyed shooting with it with a DX Nikon because it gave me a compact setup and it’s faster than most alternatives when it comes to autofocusing.
The 62mm filter thread means that it’s cheaper to buy accessories for it compared to the 77mm ones but I find that buying a couple of step-up rings makes it more practical because all you need to buy is a set of 77mm attachments. A filter holder attachment is one of the most useful things you can buy for this along with a polarizer if you love shooting landscapes.

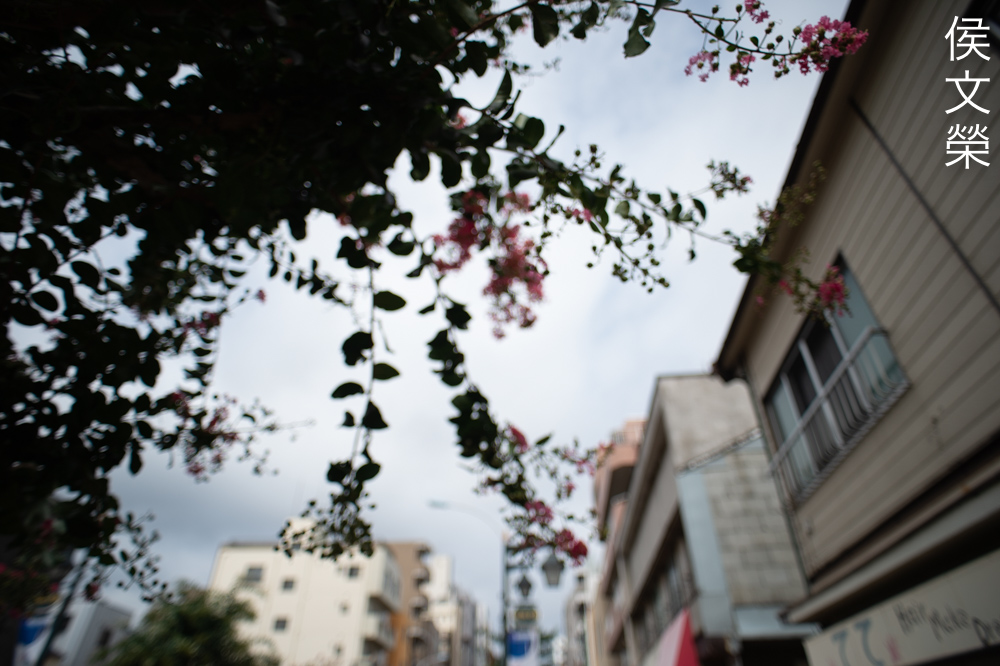
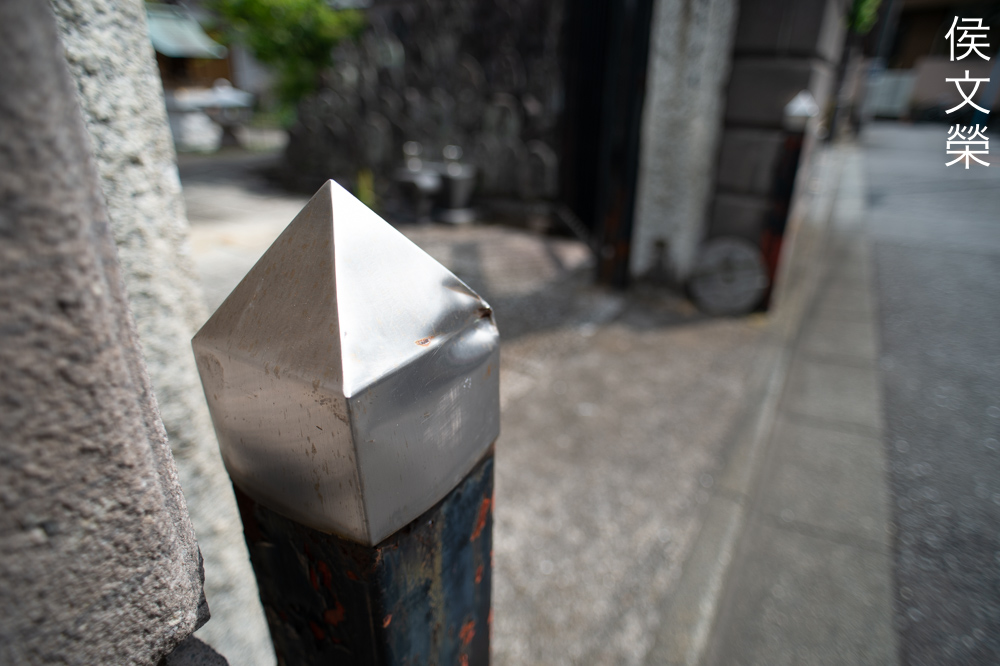
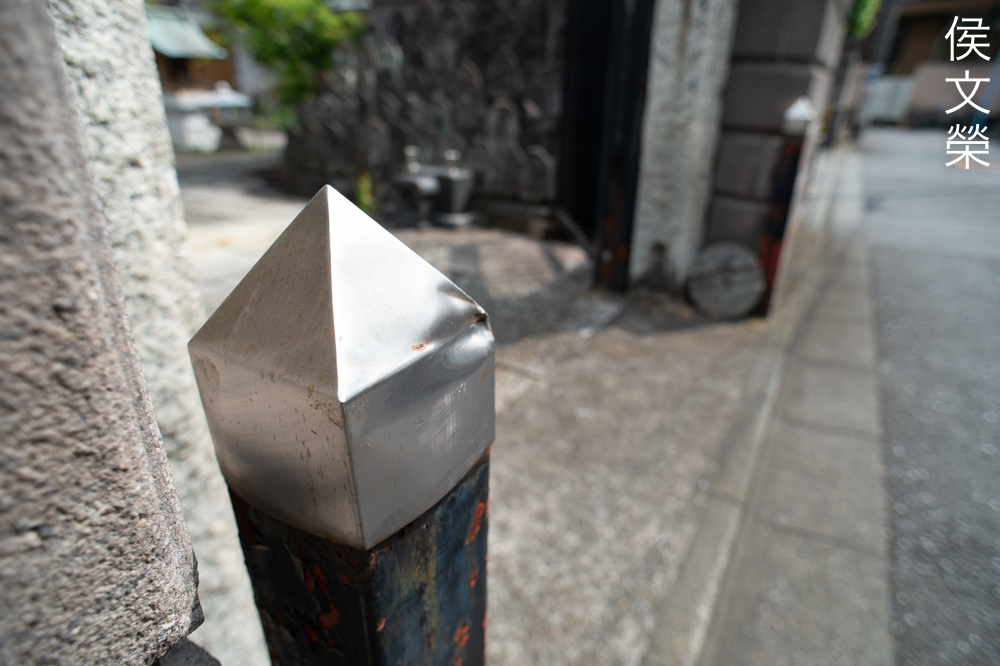
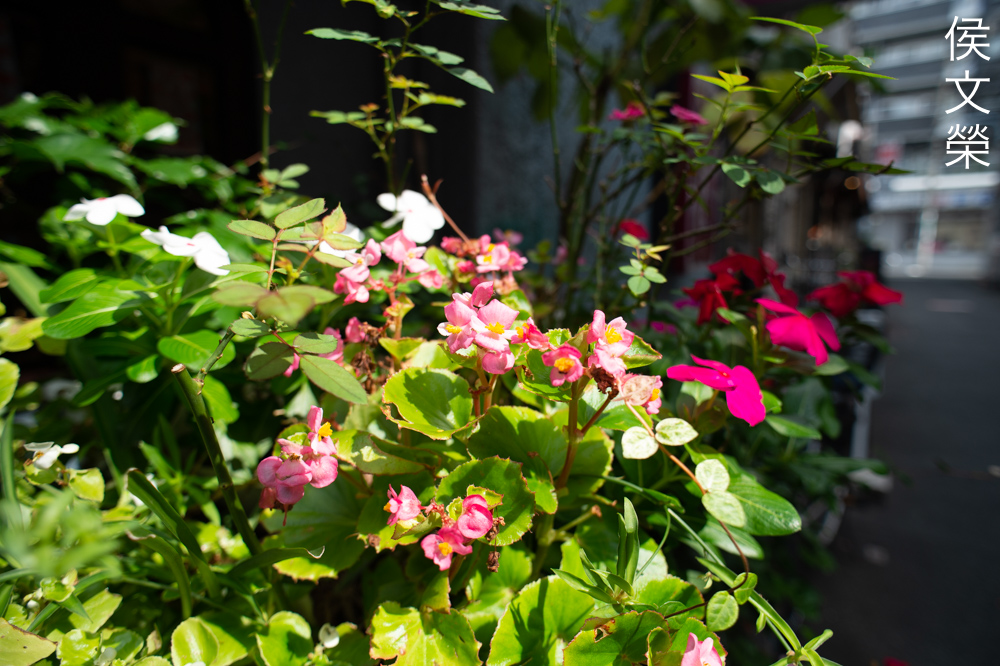
The markings are all informative except for the distance scale which is kind of useless specially on the far-end (please see the first photo). As somebody who shot plenty of landscapes, it’s difficult to make hyperfocal adjustments with this kind of scale. This is a big difference compared to the Nikkor 20mm f/2.8 Ai-S where you actually have a more useful distance scale, but even with that it sometimes felt “lacking” when I use it since the focus throw isn’t as long as I’d like for shooting landscapes. Sure, a wide lens with a somewhat “slow” maximum aperture won’t benefit much from finer focusing but it’s definitely something that a lot of people will want when shooting carefully.

It’s such a joy to use this lens. The mighty Nikon F5 is a great companion for it despite the mismatch in size and weight. The hood is almost useless in dealing with stray light but it’s useful in protecting the front element from oily fingers. It is a must-have item in my opinion and experience.
Learning how a lens performs is important so you will maximizing its use. You will learn how to utilize its strengths and avoid its weaknesses. This knowledge helps you determine which lens is best for the task. I shot these from f/2.8, f/4, f/5.6 and f/8 since these are the most common apertures that many would want to use this with, we’ll also get to see the most changes happen within these apertures. I shot these with a Nikon Df, some were cropped close to 1:1 so we could examine the details better.


(Click to enlarge)
The corners look very dark wide-open but improves somewhat at f/4. You will still see some darkness at f/5.6 but it will only clear out by f/8 despite having slight darkness which can only be seen if you look carefully. This hints at its optical performance which I agree with judging from my very long experience of shooting with this lens family, it never really gets super-sharp at the corners. I am only able to get satisfactory sharpness at the extreme corners at f/11 but it’s still not as good as I wanted.
The distortion profile is rather complex and is of the bulging type. It may be a bit more challenging to correct in post but it’s not as bad as some lenses which have a way profile.


(Click to enlarge)
It’s not resistant to flare at all and ghosts will be your persistent problem. I have struggled with this when I was still shooting a lot with it on my trips to the beach where I would always like to have the sun within my frame.


(Click to enlarge)
It doesn’t have pleasing out-of-focus character at all, you don’t shoot with this lens expecting to get nice, refined blurs.


(Click to enlarge)
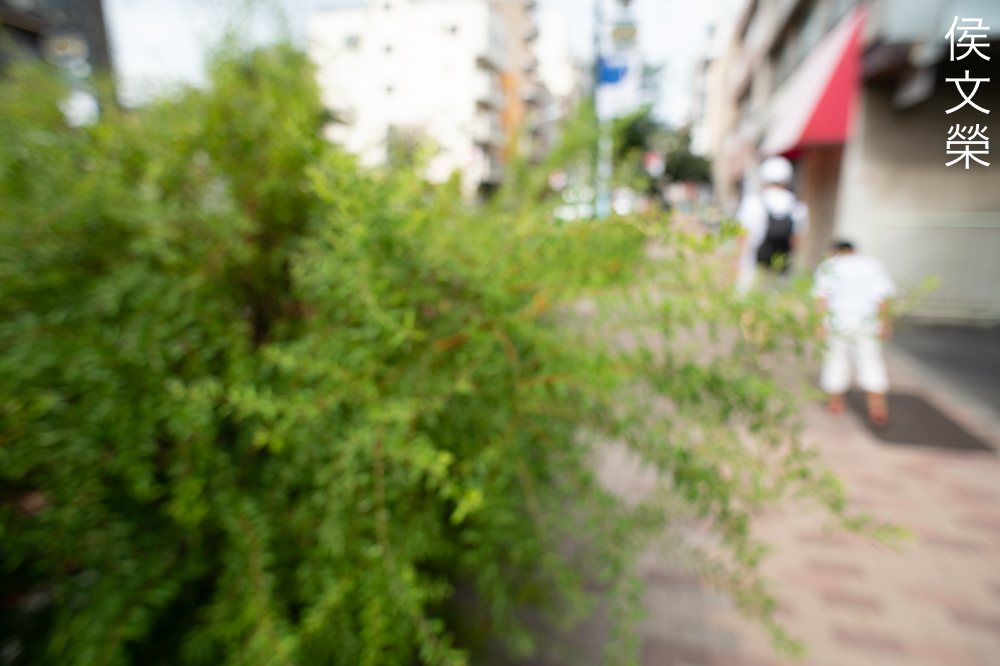
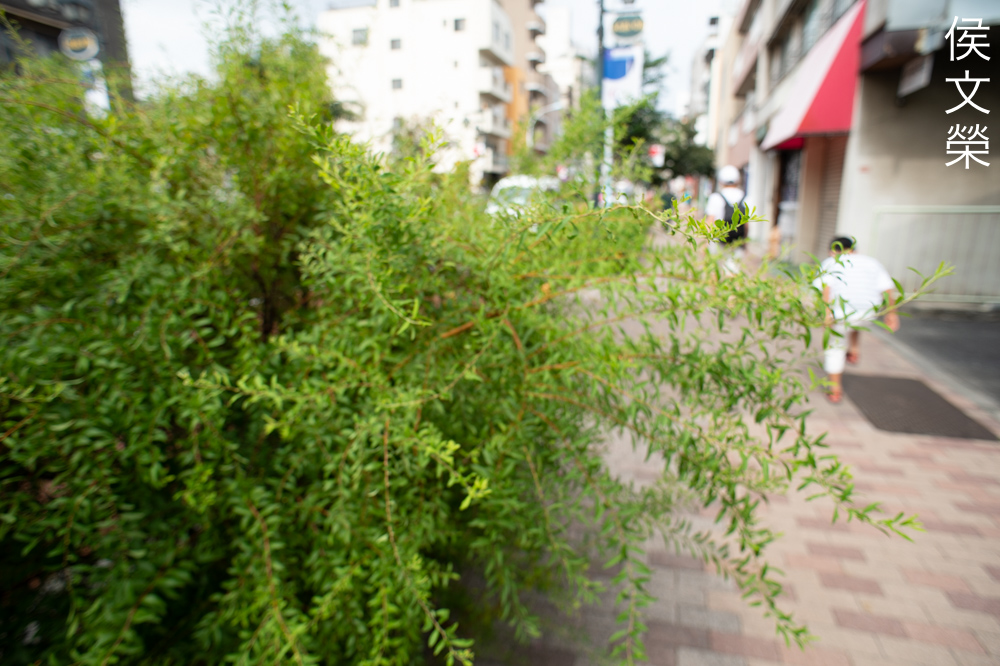
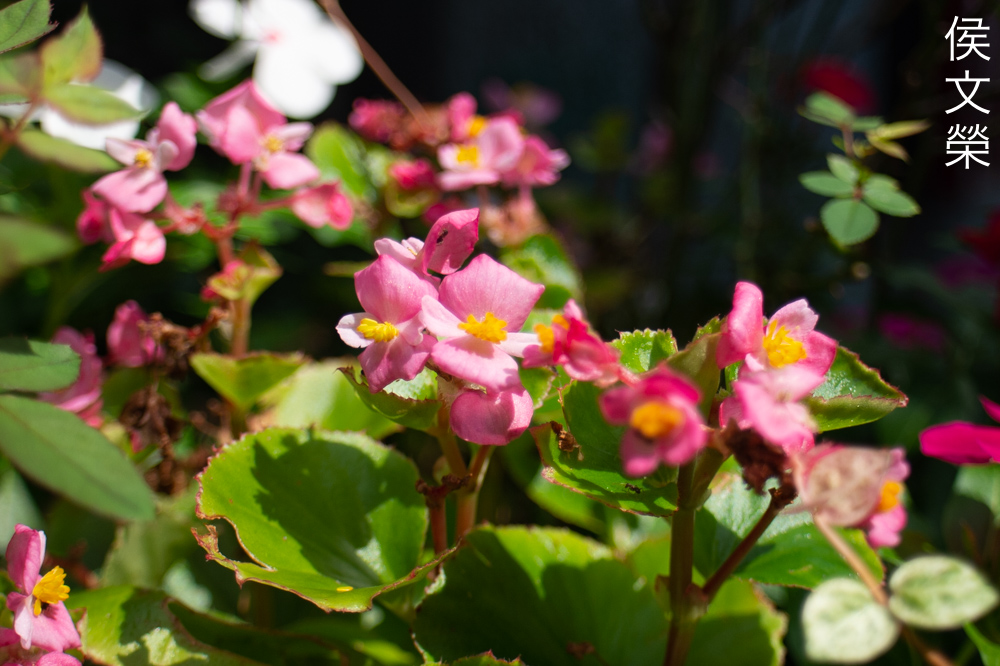
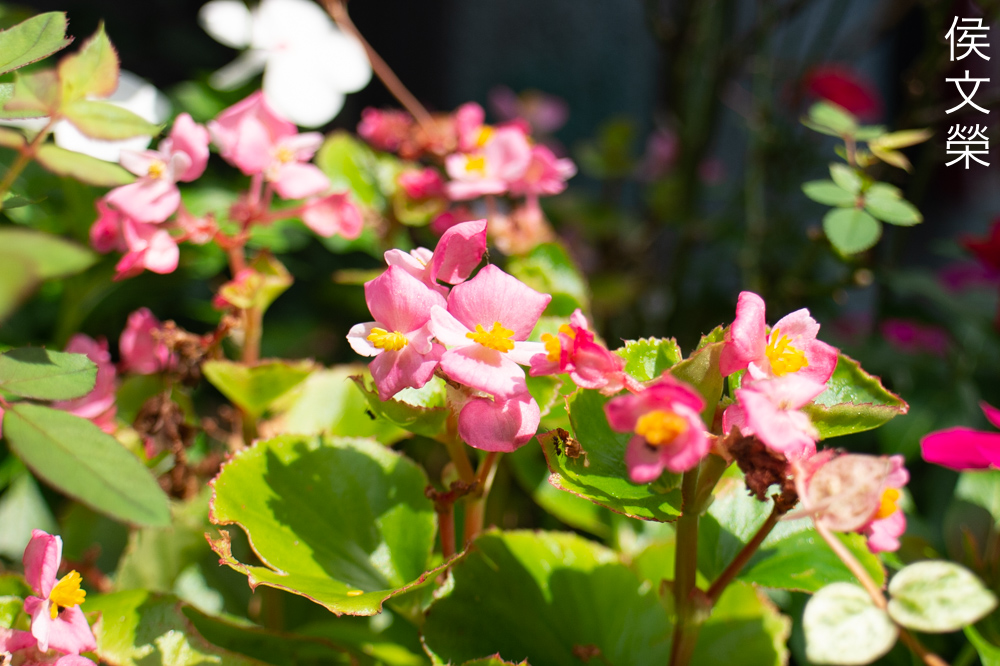
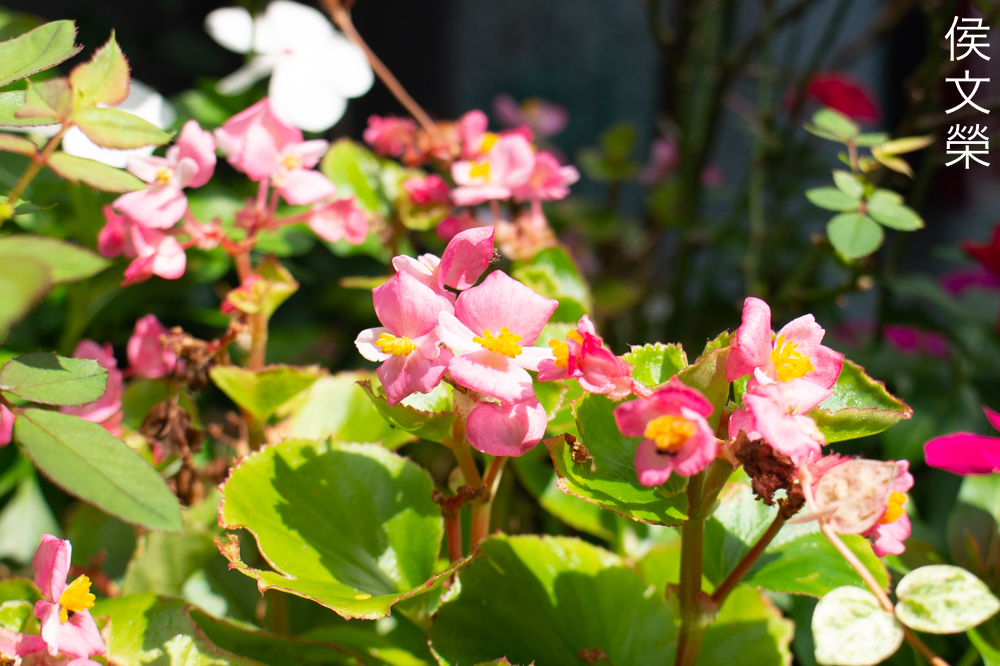
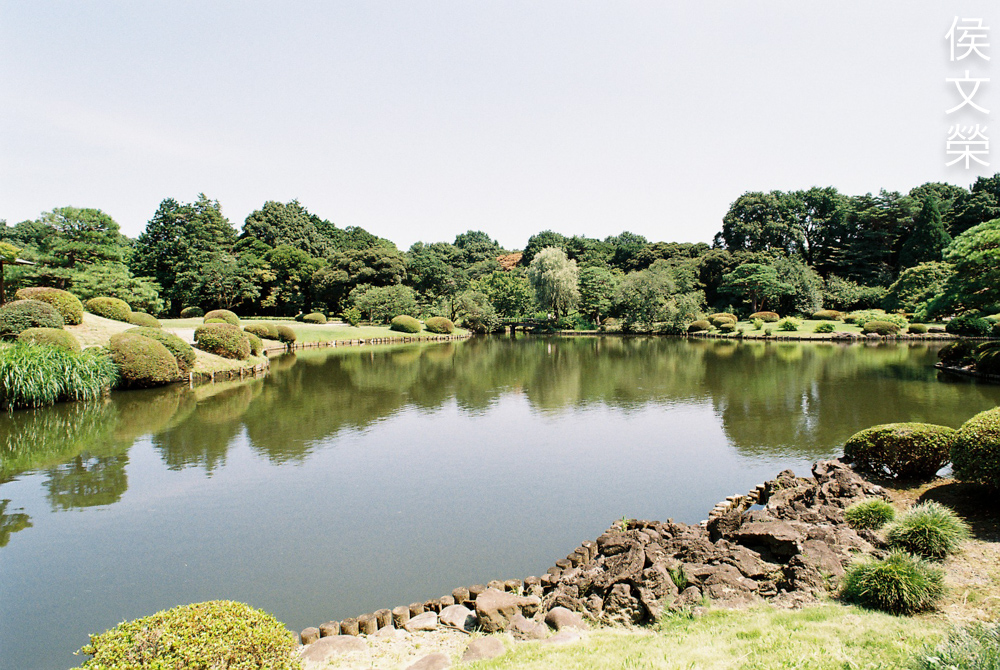
Here are more examples showing how the blur looks like. It’s not so bad when shooting at more moderate distances. Unfortunately, most landscape photos will require you to focus close in order for you to get the foreground, midground and background elements all in one shot. I shot these photos with foliage on purpose because this is a common element of many landscape photos.


(Click to enlarge)
Overall, this seems like a well-corrected lens without much visible chromatic aberration even when shot wide-open. It looks nice at least in these scenarios shown in my examples. The true test will be shooting foliage against the sky, specially if we have pine or the like where it is easier to see these issues. Despite what I said you will find that it can perform poorly in extreme conditions, I have another photo that you will see later in this article that demonstrates this.


(Click to enlarge)
Sharpness around the center is never a problem for this lens and its kin. Sharpness is rather poor wide-open around the center but it is more than adequate. The corners look horrible as expected. Stopping it down to f/4 helps bring out the sharpness of this lens, the center now looks much better. The corners improve somewhat but they still look poor. The center looks much better at f/5.6, this is probably as good as it gets for this lens and stopping it down further won’t make it much better. Doing so will only give you more depth-of-field. The corners only starts to look somewhat usable by f/8, in my long experience shooting with this you’ll have to stop it down to at least f/11 just to get it to look sharp but performance begins to drop considerably beyond that if I recall.
The performance near the extreme corners do look better at closer ranges due to CRC but I don’t think it helps much when focused on something far. This is something that you will have to be aware.
This was shot close to the minimum focusing distance and cropped so we could see the details better. It’s sharp where needed, the CRC mechanism sure does its job but you’ll only ever notice its benefits near the corners when shooting at closer distances.
This is how I remember my photos shot with my old AF-Nikkor 20mm f/2.8D to look like. It’s sharp but the character of the bokeh leaves a lot to be desired.

Sharpness looks great even near the corner thanks to CRC. It’s not going to be useful when shooting at further distances specially if you approach infinity. The rendering looks subtle with a natural feel, this is its only merit if you ask me.

It flares when you’re not careful even when using its hood which is quite pathetic to be honest. You’ll lose a lot of contrast this way so it’s best to plan your shot properly.

Contrast is good when you’re not shooting in contra-light, saturation looks nice without making your photos look “cartoonish”.
Like all lenses this thing loves to be shot with good-light and you will be treated with beautiful photos. It was shot with a smaller aperture, around f/8 for more depth-of-field.

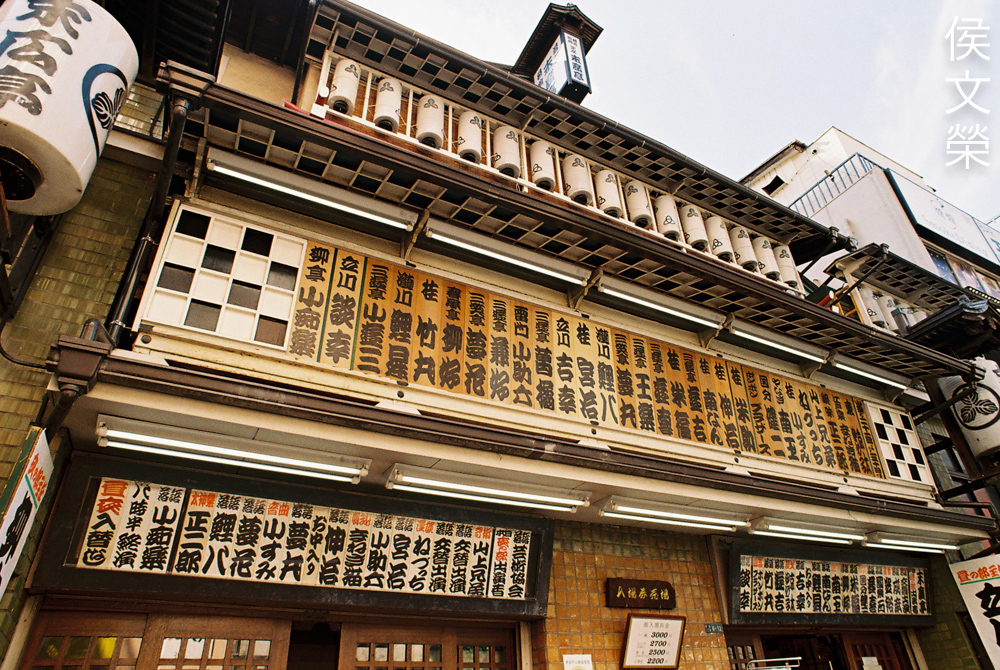
This is nice for shooting pictures interiors if you want your photos to look like they were taken several years ago because of the aberrations. A more recent lens will give you better aberration correction. This sounds a bit negative but I think this is fine so long as you don’t mind how your overblown areas look.
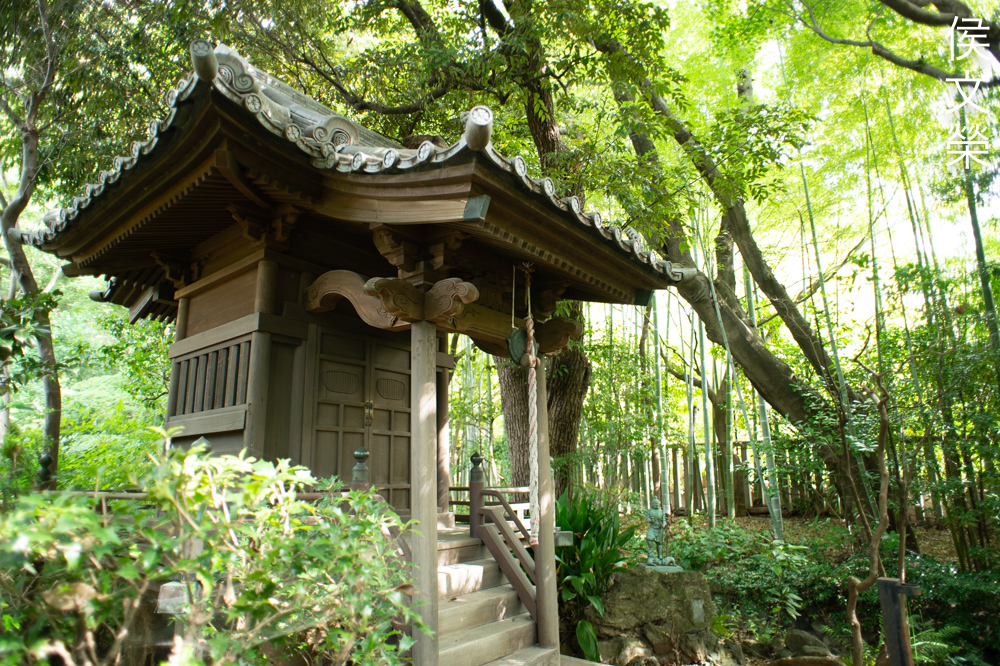
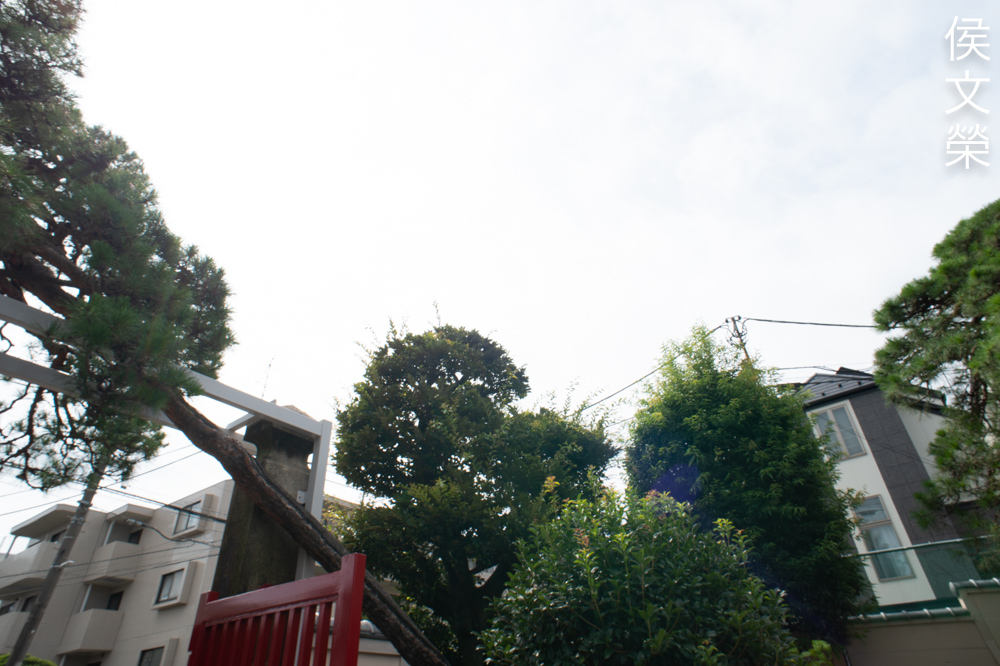
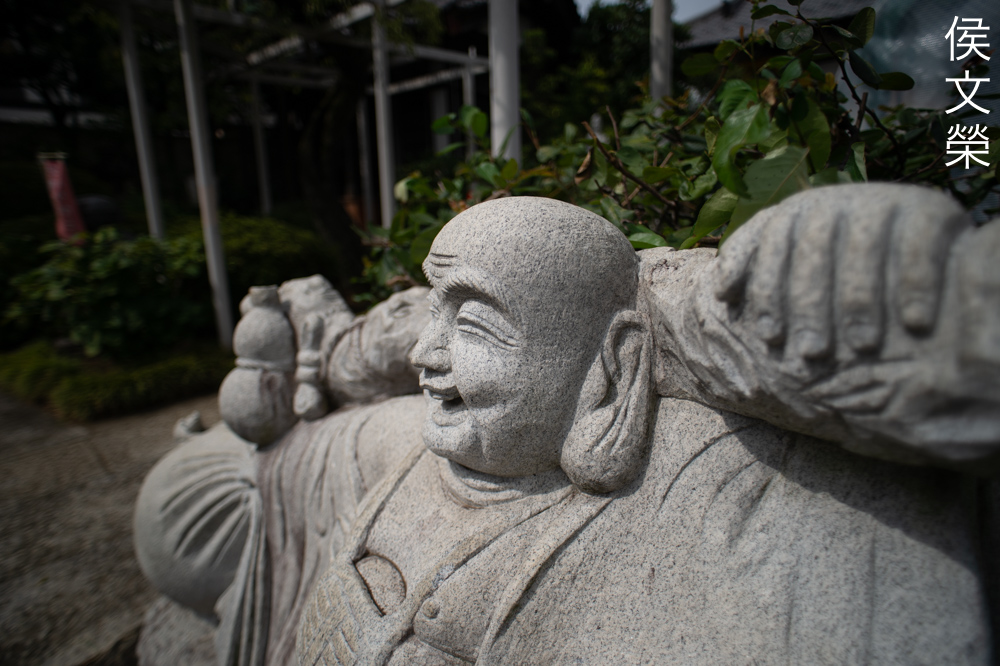
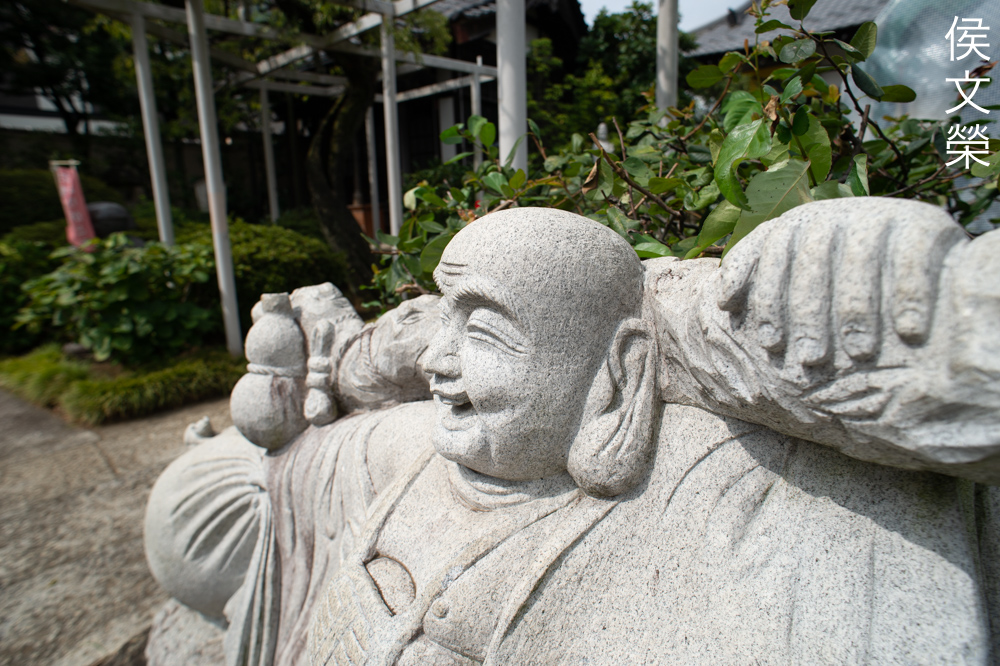
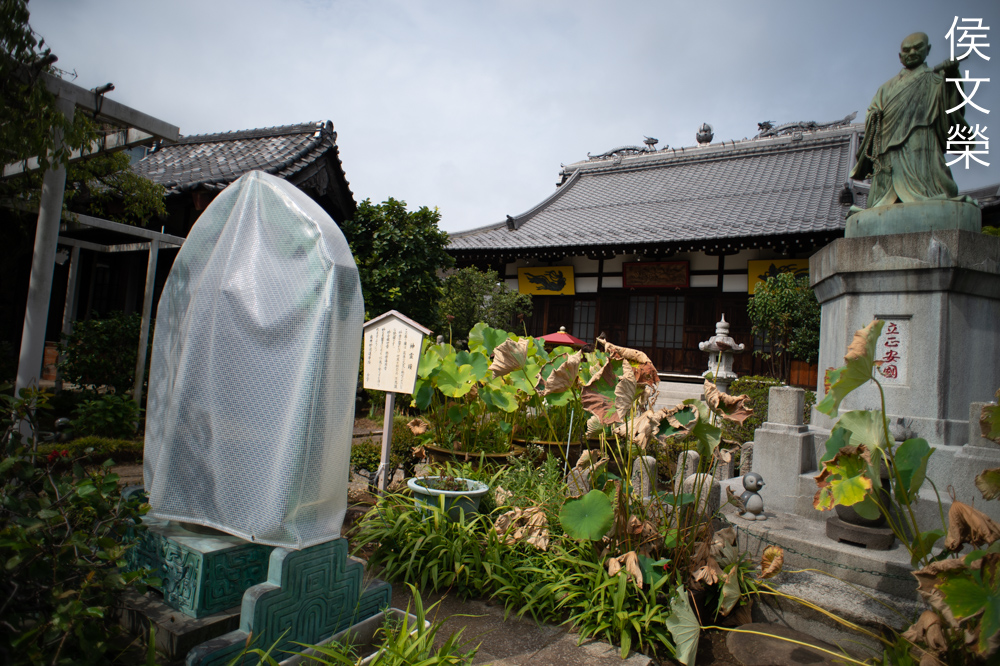
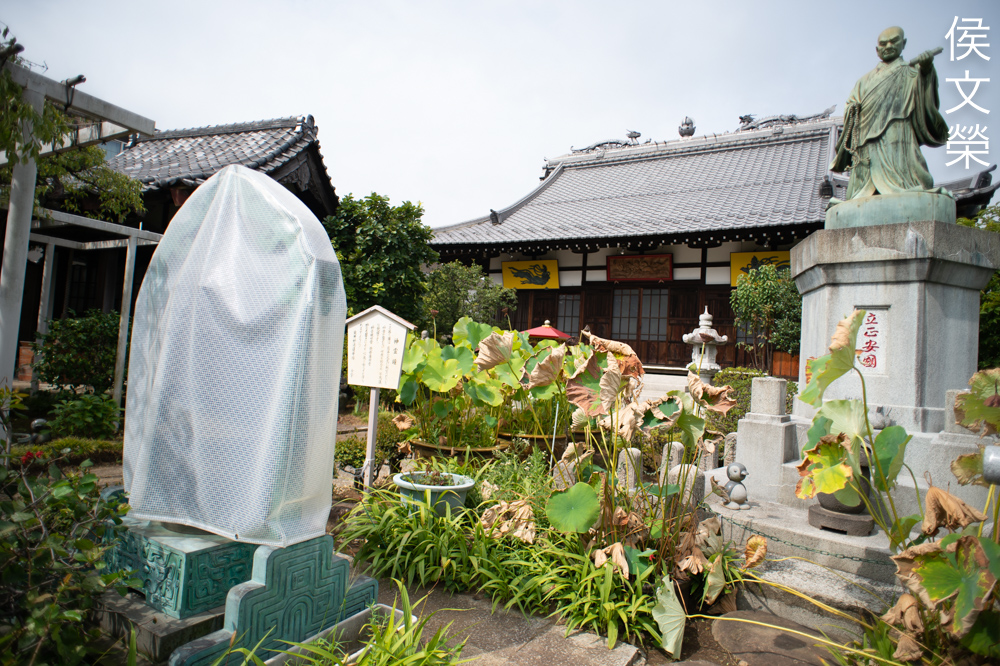
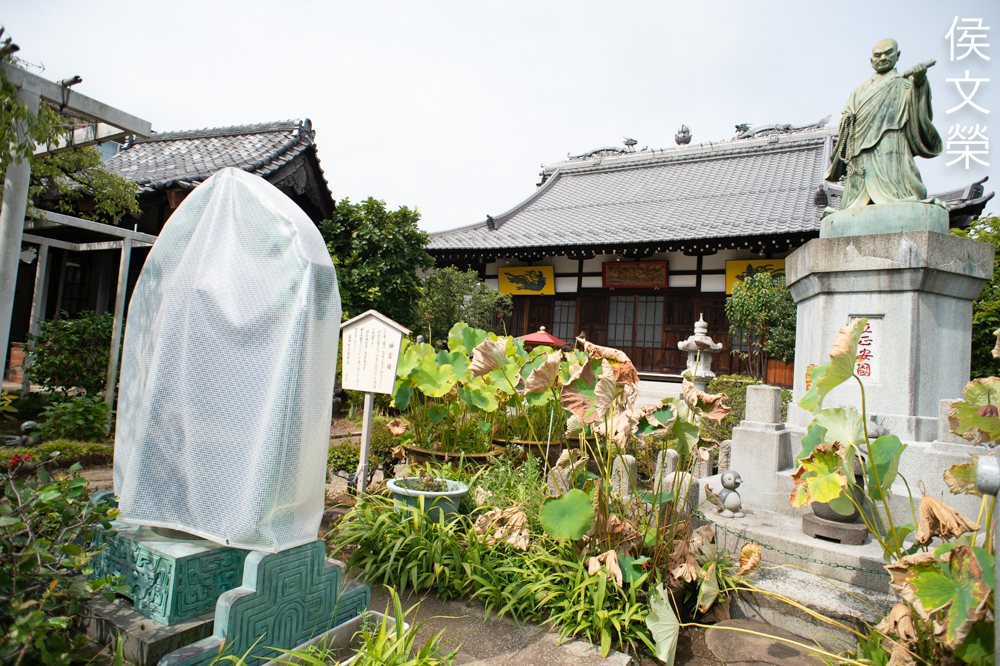
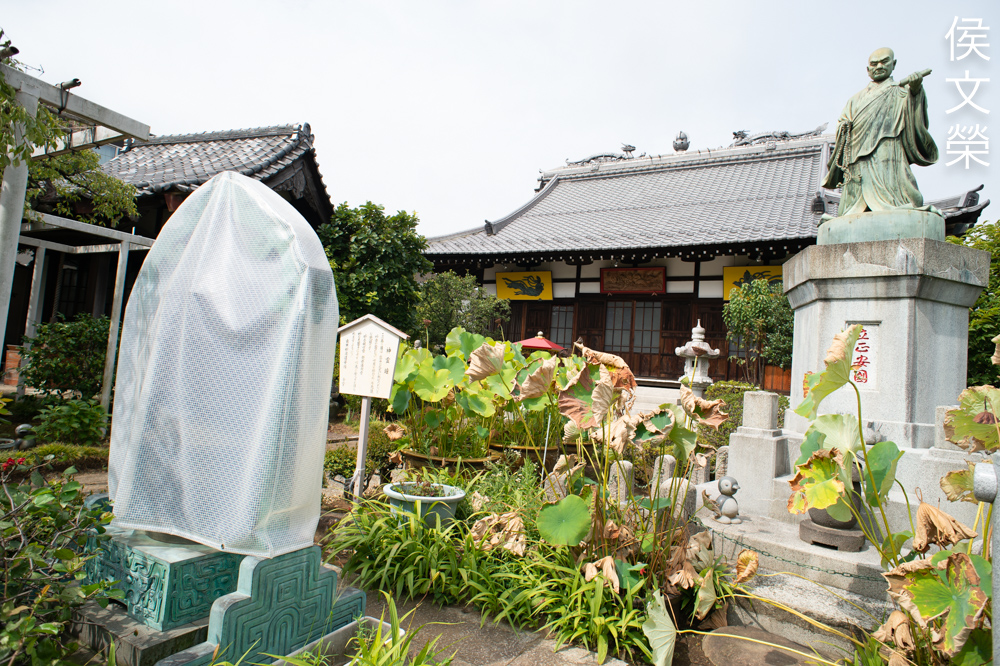
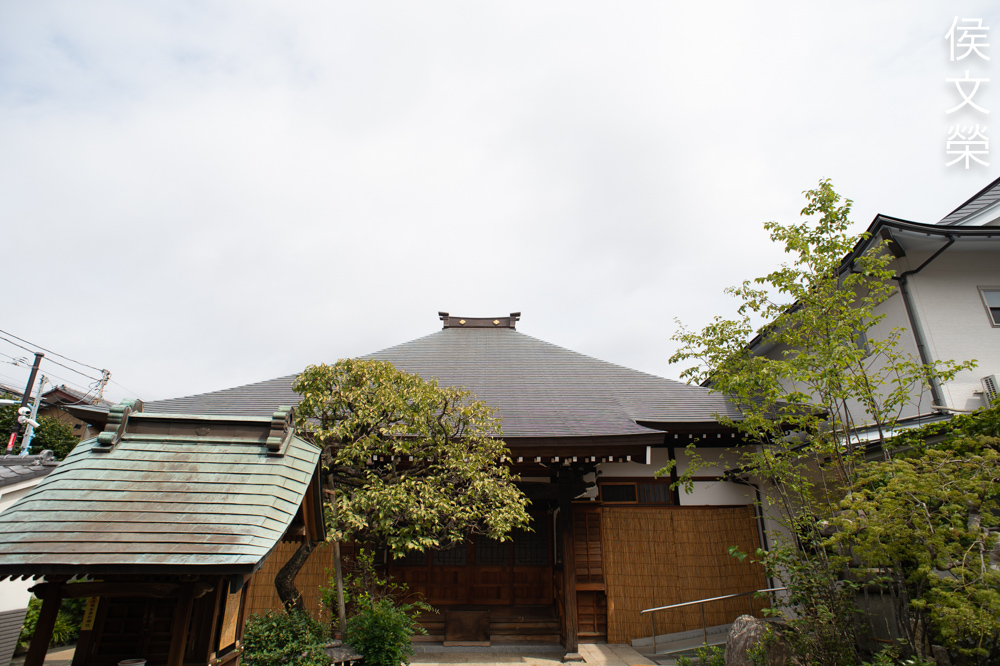
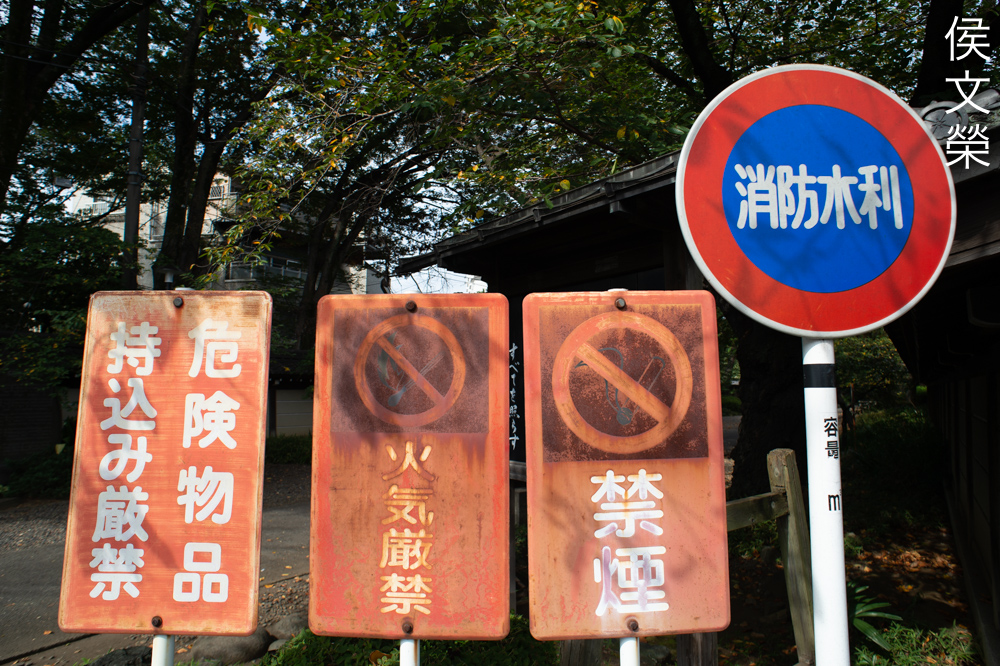
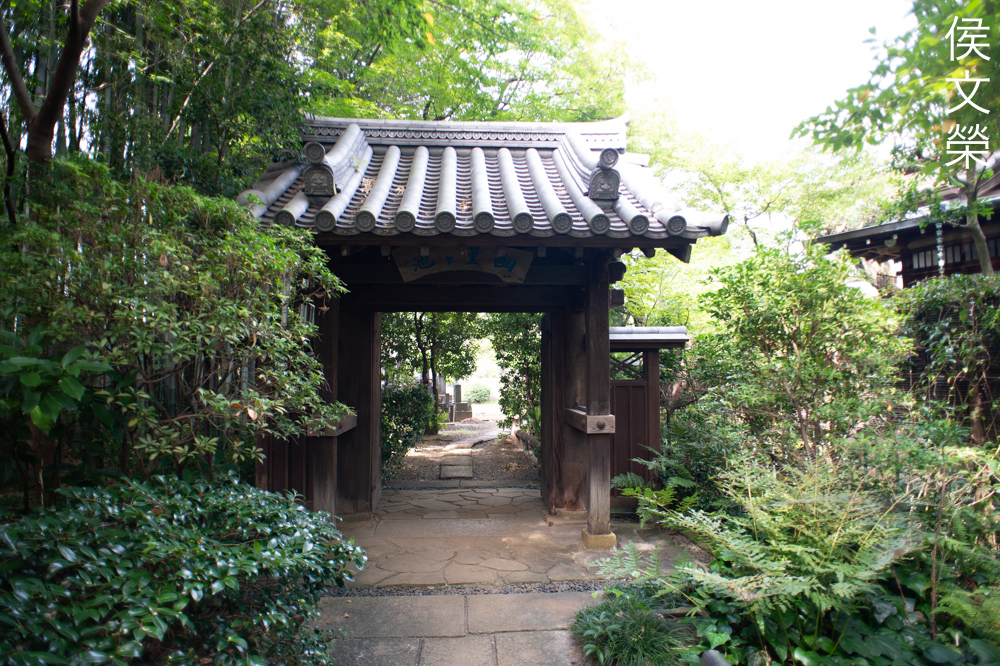
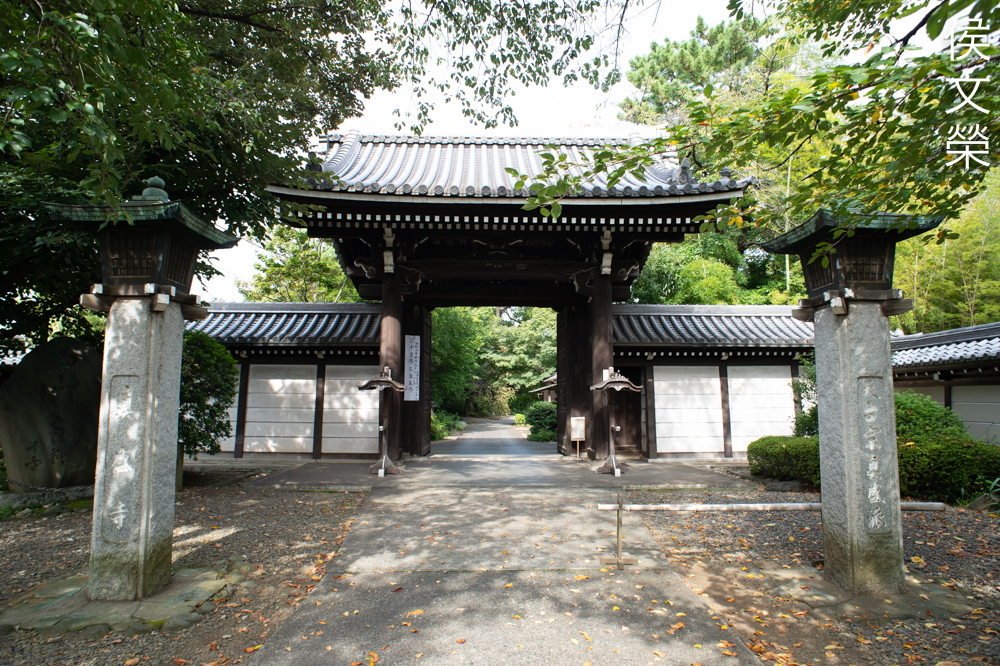
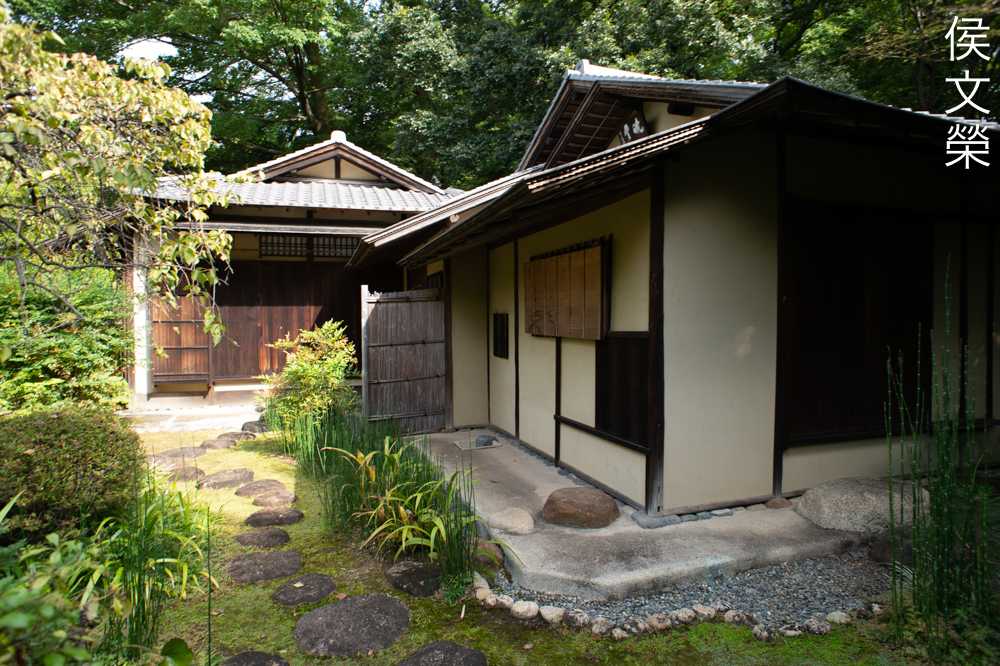
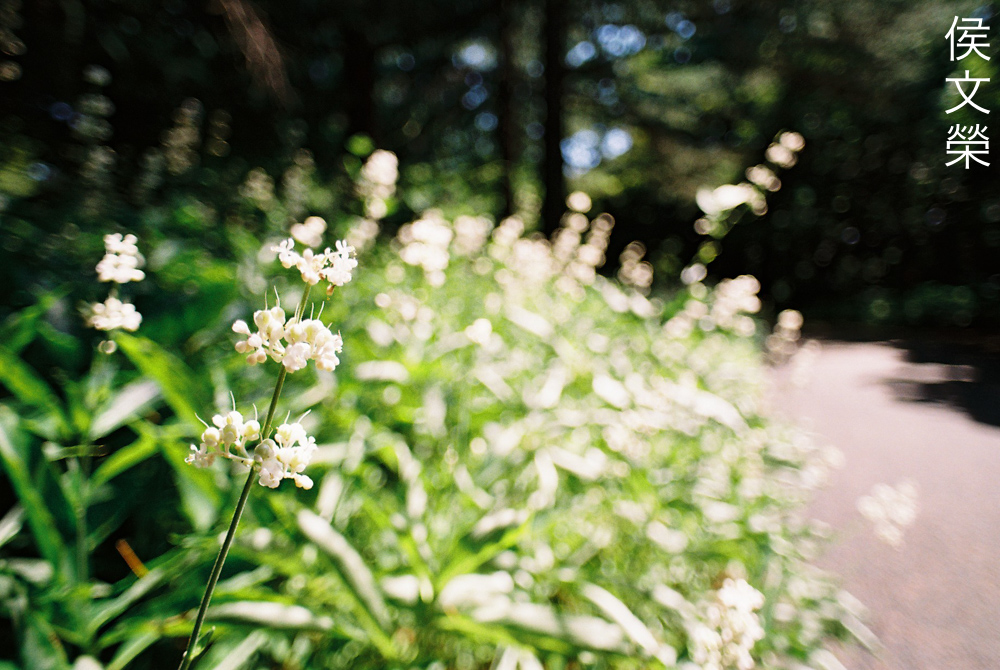
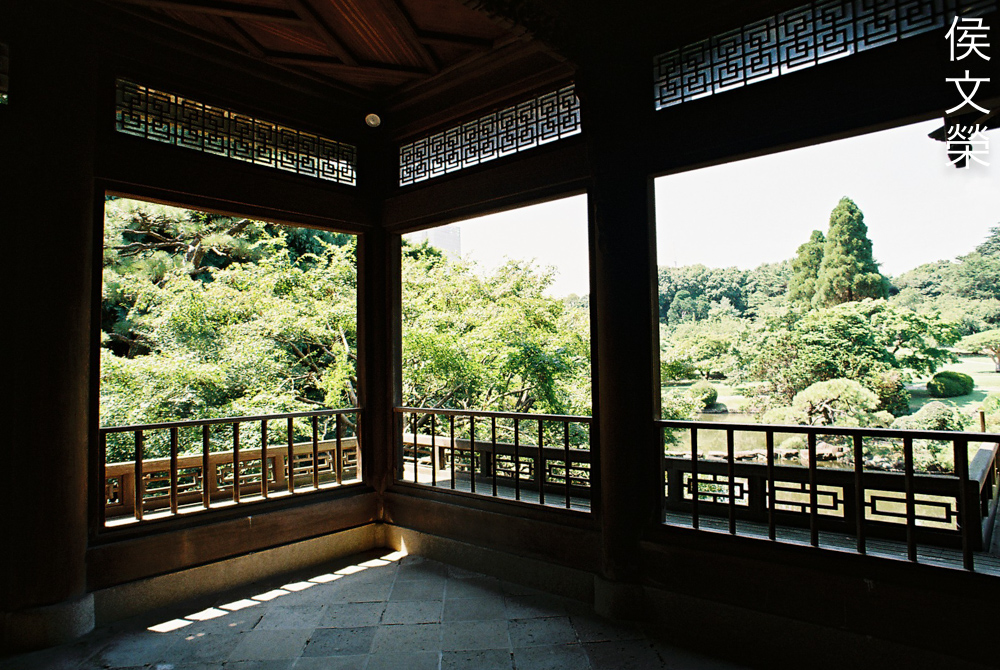
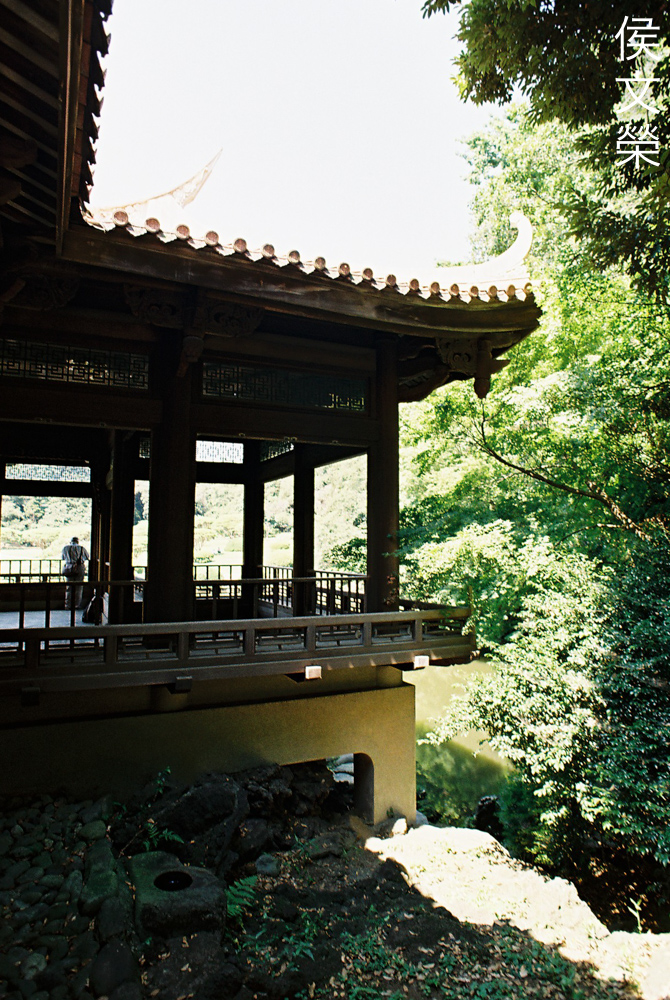
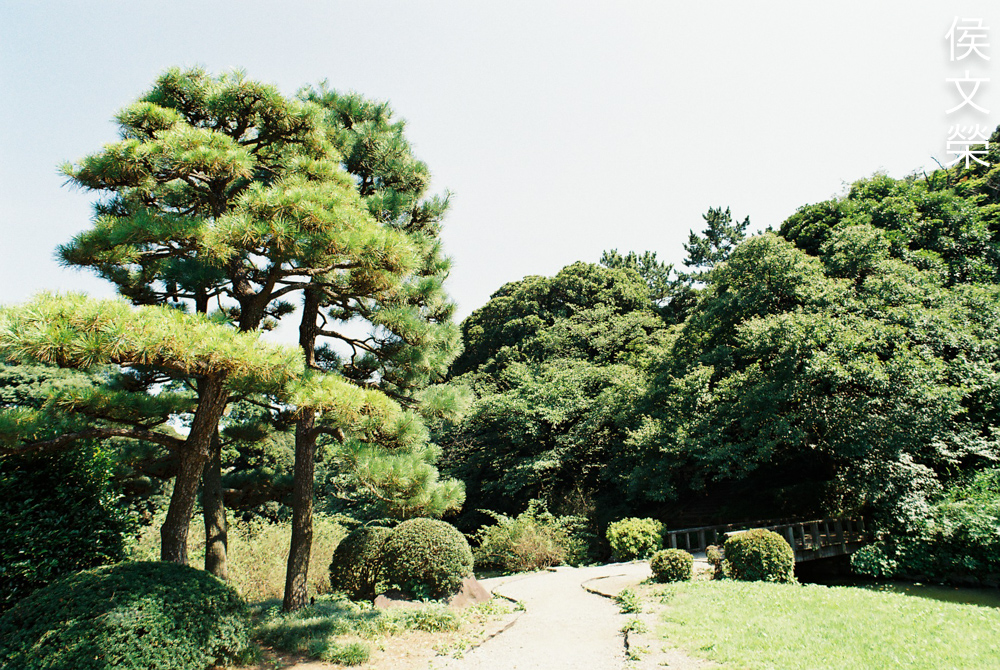
Its ability to help you shoot in confined spaces is amazing as to be expected from a 20mm lens. This spot is located at a hidden part of the temple’s gardens, nobody visits this shrine much so the place is covered in cobwebs. It’s a little corner where I recharge my mental energy if I feel exhausted.

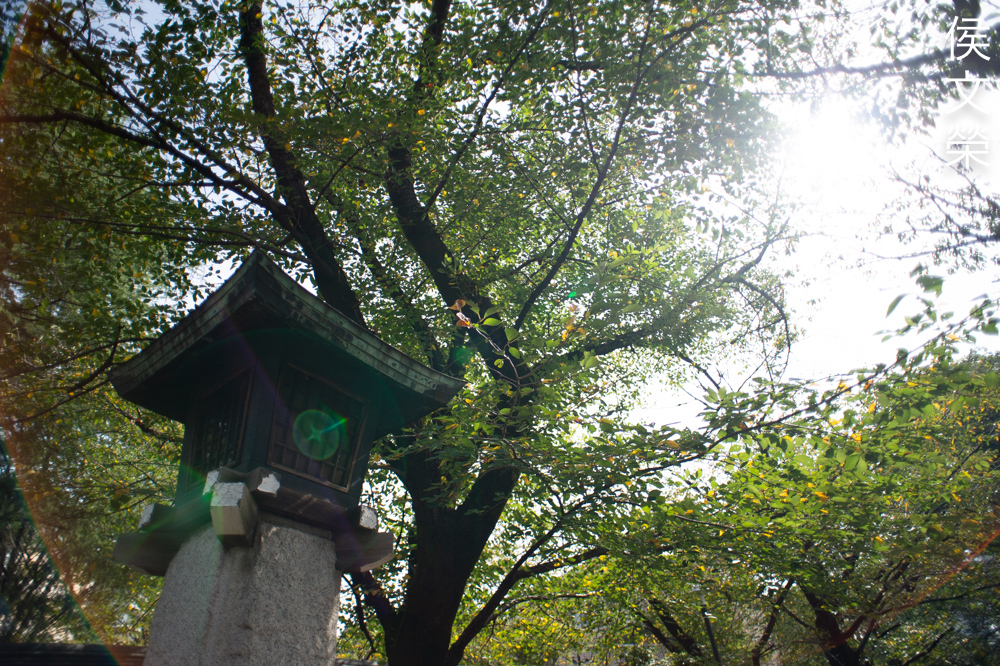
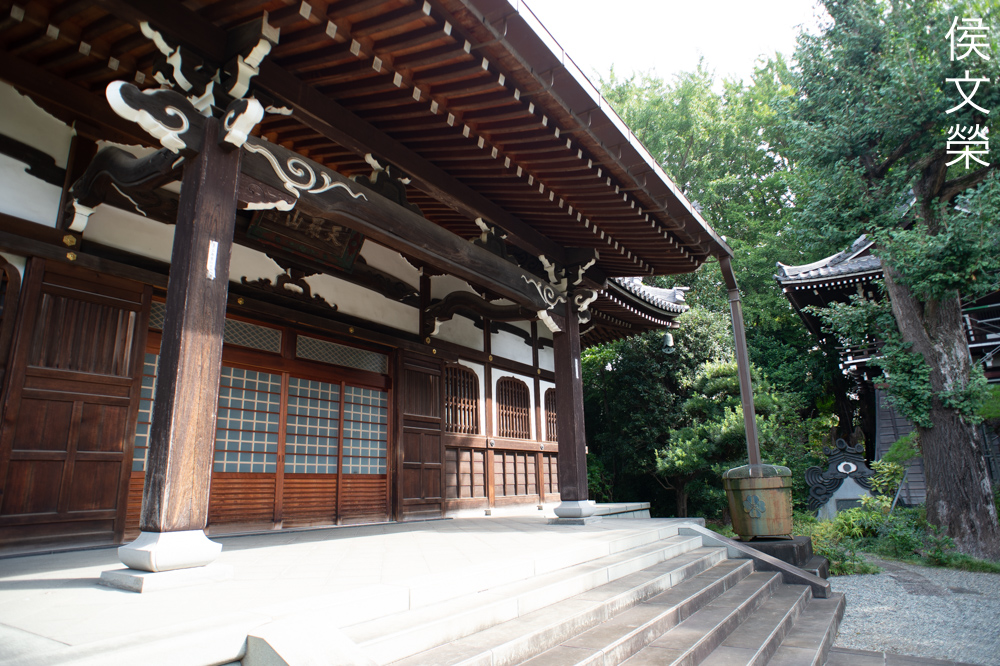
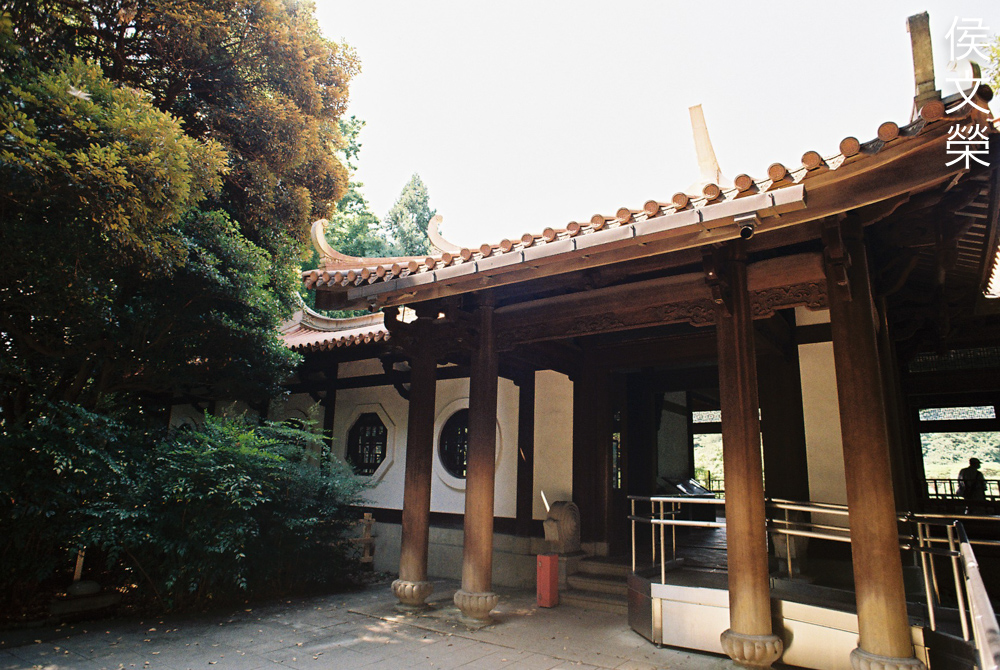
This was shot at f/5.6, this is where the lens starts to show how sharp it truly is. Shooting it from f/8 will ensure that you get sharp results at the center. Notice how ugly it renders pine needles, I’ve always had problems shooting them. I consider a wide lens to be a success if I am able to render them cleanly. This means that the resolution at the corners is enough to resolve the needles and aberrations are kept under control there.
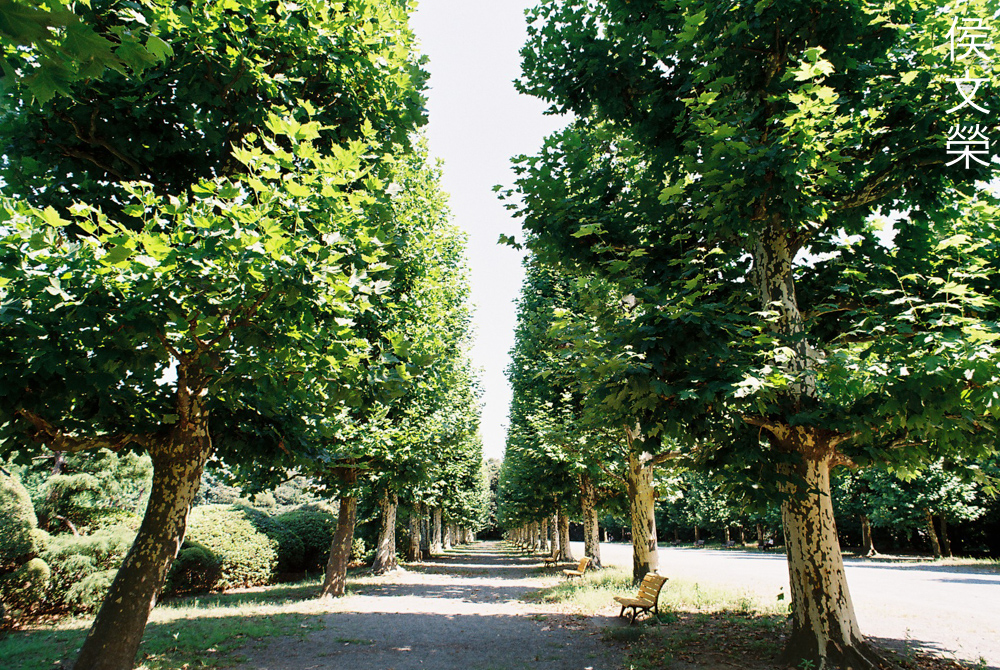
It’s a nice lens for shooting travel photos because of its compact barrel. It’s the reason why I always took my old AF-Nikkor 20mm f/2.8D with me instead of the much better AF-S Nikkor16-35mm f/4G ED VR with me.
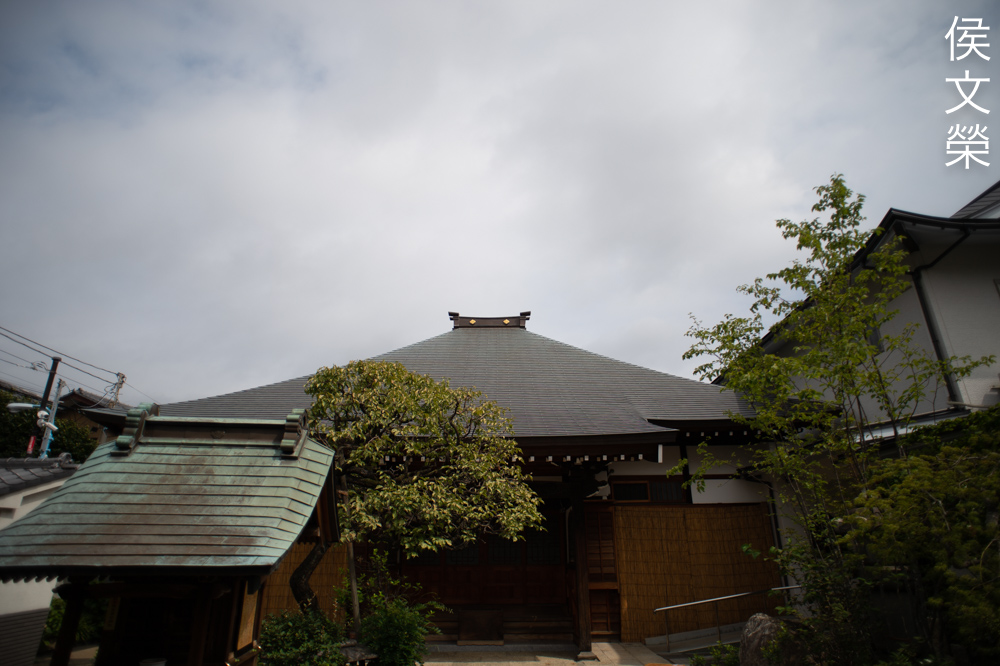
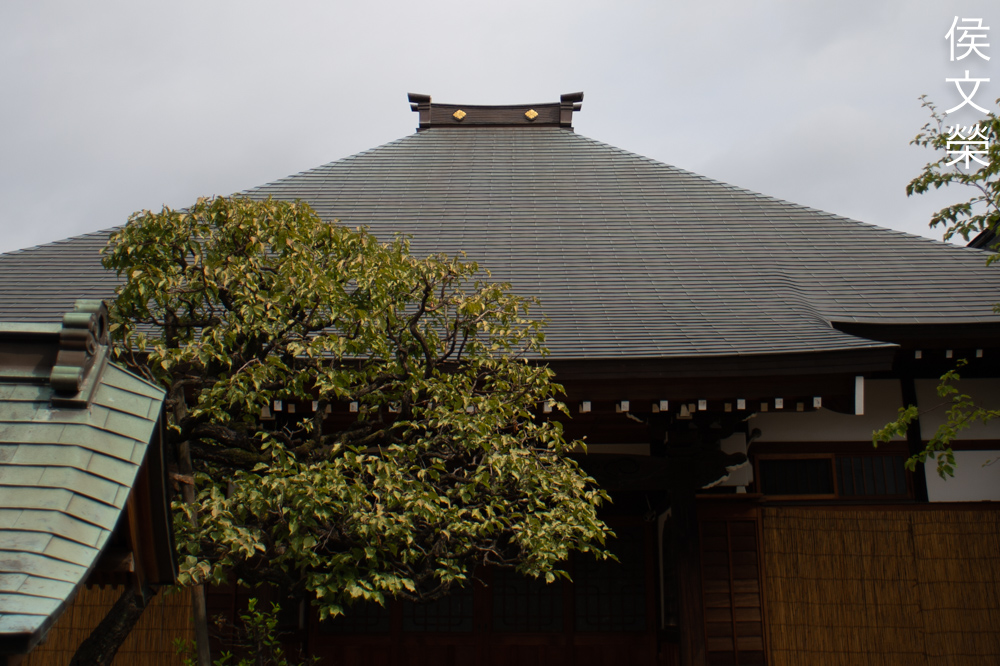
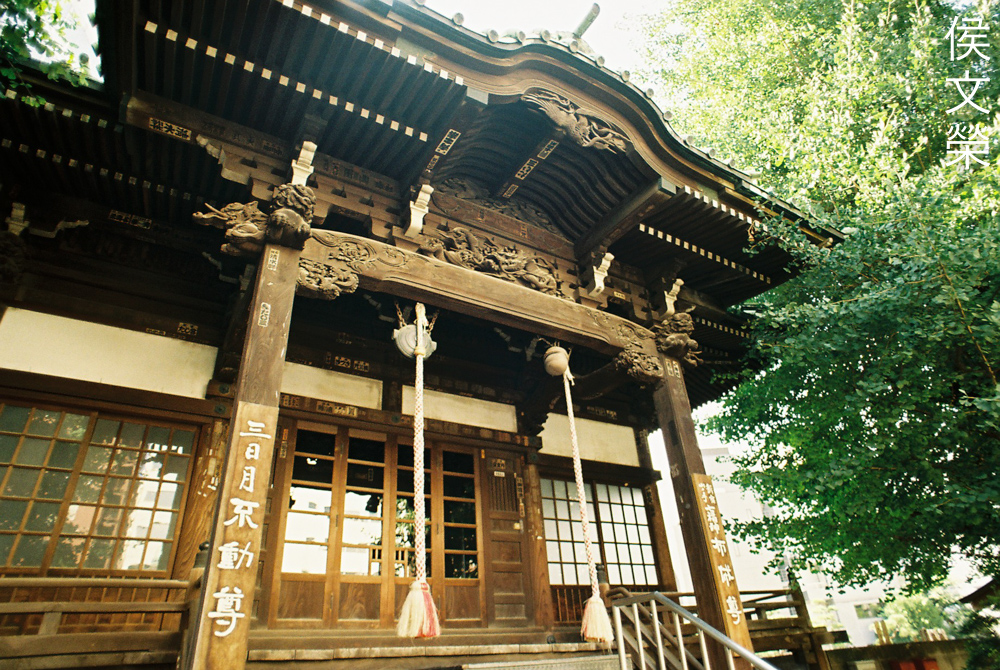
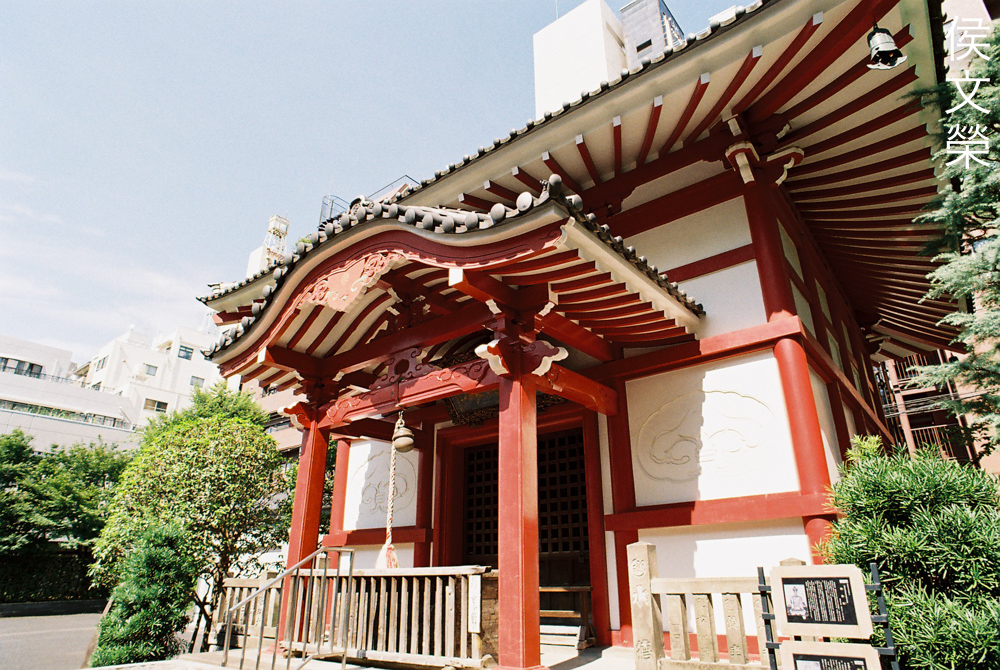
It’s not apparent in this photo but the roof has plenty of chromatic aberration if you look closer. It’s easy to correct this in post but it’s a huge problem when shooting with film. It’s not easy to avoid because the chromatic aberration shows-up easily specially if you’re shooting under f/11.

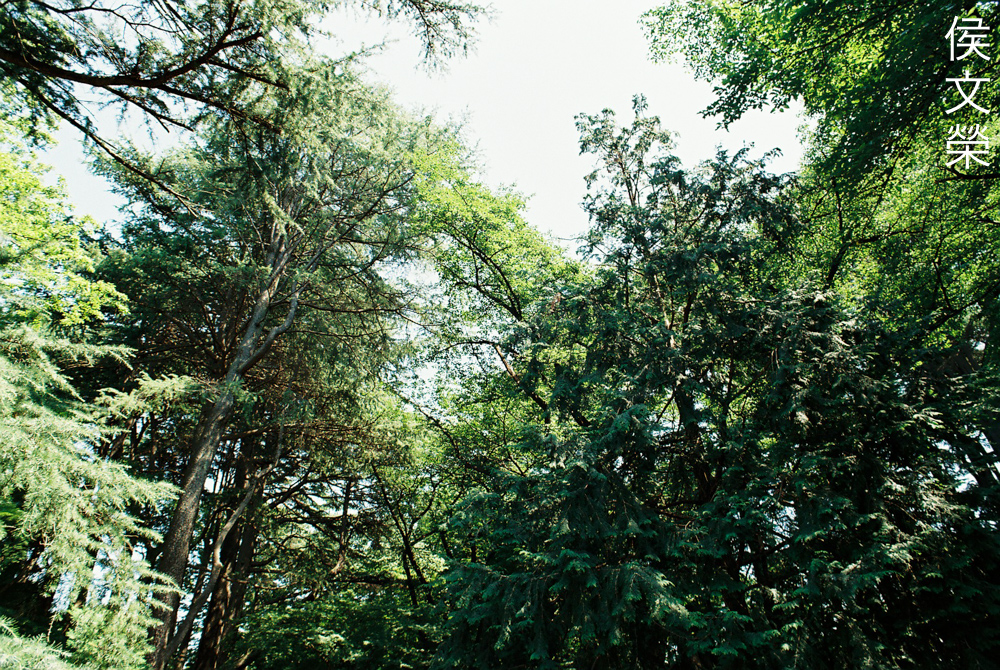
I used to shoot a lot of photos in the woods, if you looked at my album from a decade or more ago you will see many photos that looks similar to this, all taken with my old AF-Nikkor 20mm f/2.8D and Nikon D700.
This lens has some of the ugliest distortion profile that I have seen from a 20mm lens but you could hide it somewhat if your scene looks rustic. Avoid placing your straight lines close to the edges, too.
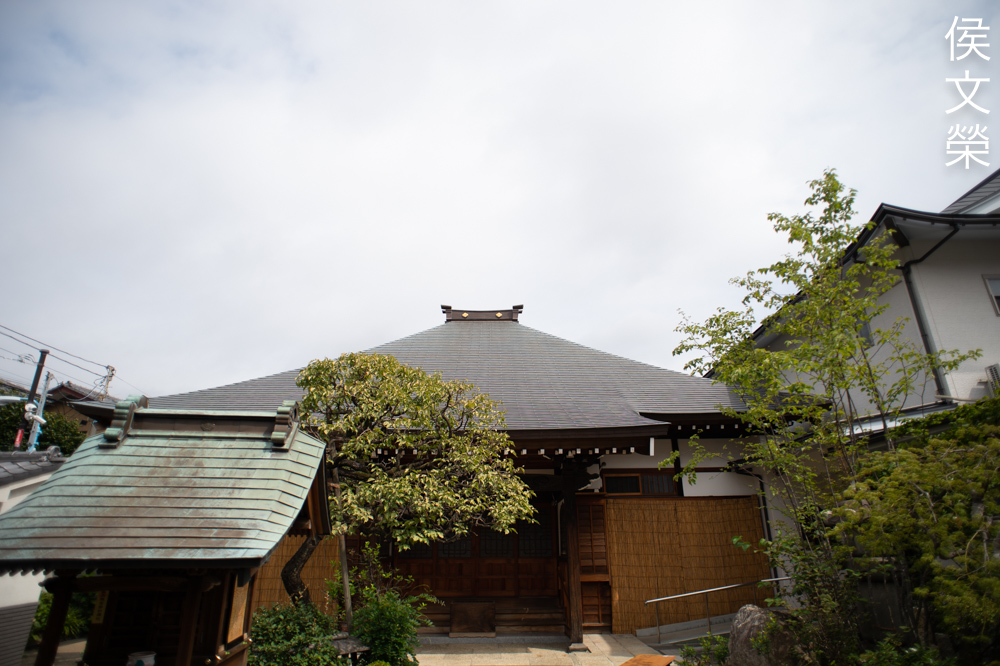
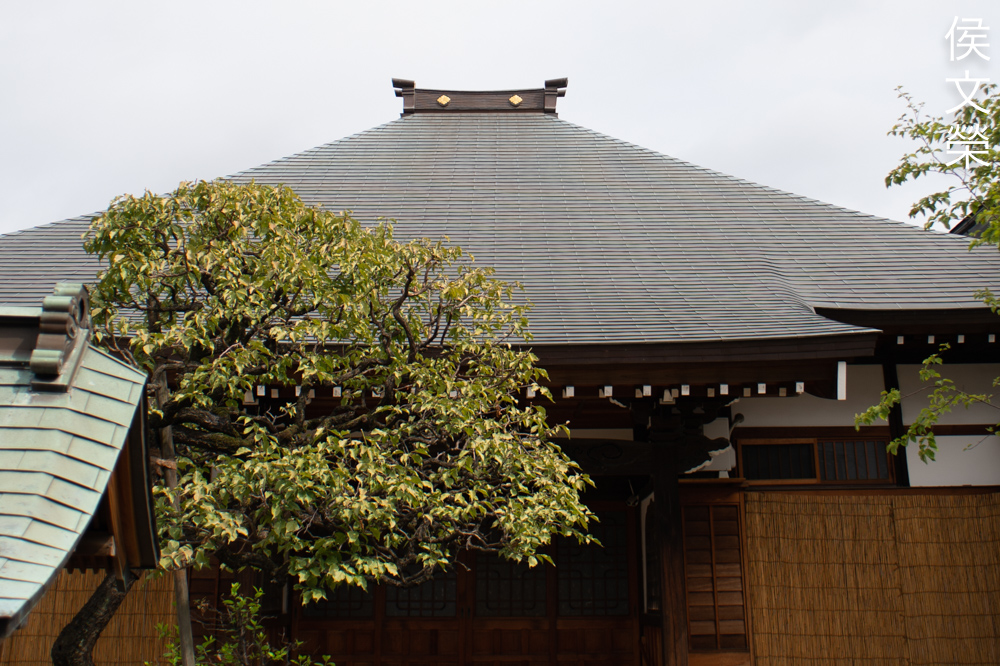
The pine-needles in the foreground looks smudgy and the roof has plenty of chromatic aberration. It isn’t easy to see the purple fringing at this size but it’s obvious when you look closer. I’m sure that it’s not the best lens to pair with a camera that has a sensor that’s higher than 20MP.


(Click to enlarge)
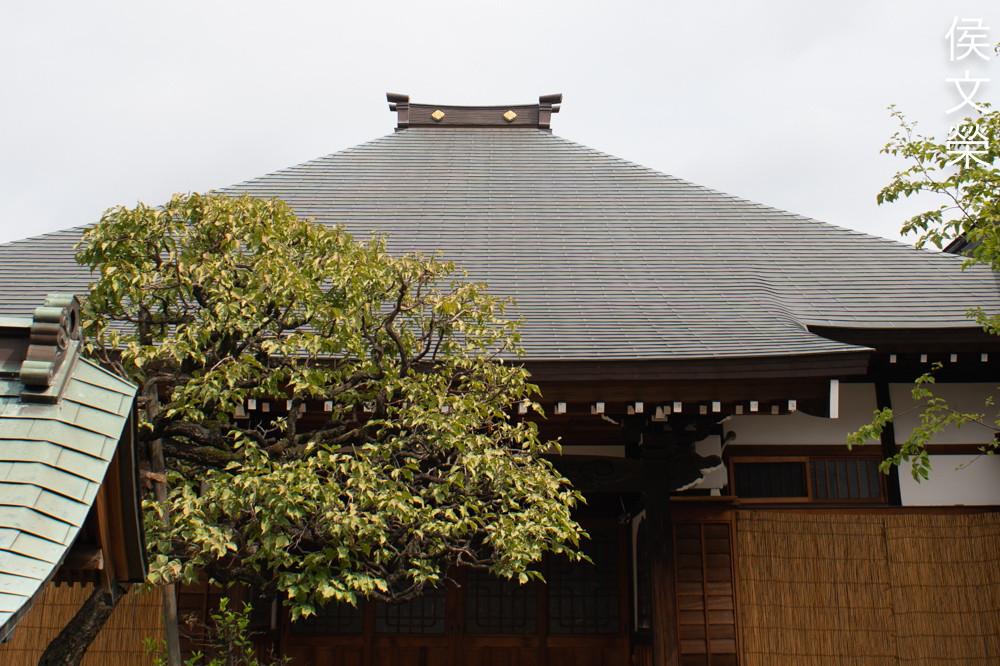
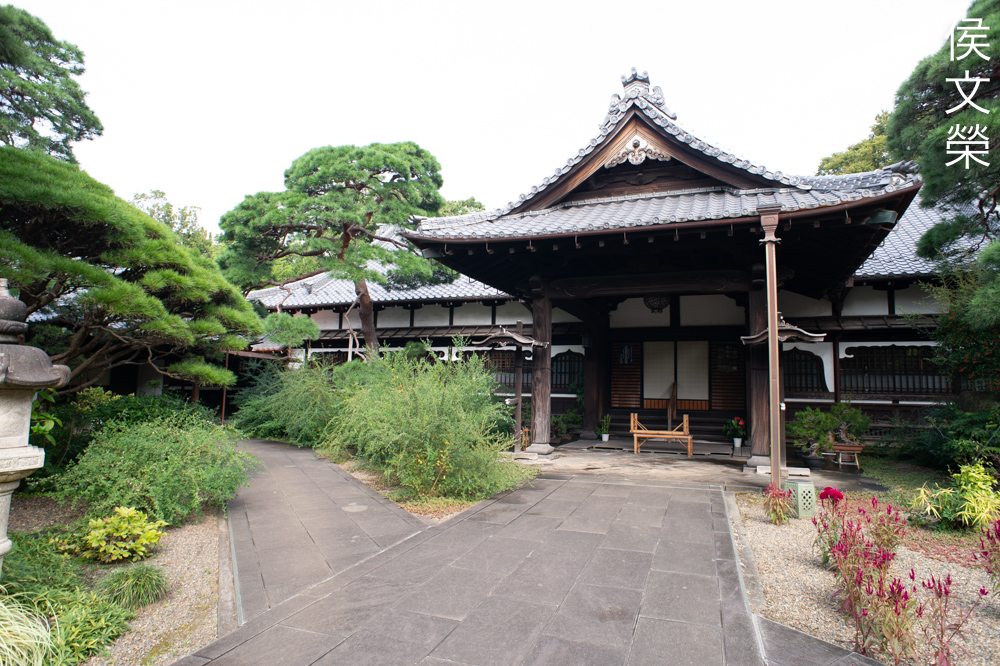
Here are more pictures for you to check. It’s very nostalgic for me because my old AF-Nikkor 20mm f/2.8D used to be my most-used lens but I am willing to admit that it’s not the best option out there. The older Nikkor 20mm f/2.8 Ai-S is assumed to have the same optics as this but I think that performs a bit better, I don’t know why but that’s just what I’ve observed.
Let’s now check some film photos. Film has a unique look that is difficult to simulate with a digital camera thanks to its grain. It reacts differently to light, this means that it could mask a lens’ flaws or amplify them. Since this was designed to be used with film, it’s best that we judge this using its intended medium. I took these with Kodak Pro Image 100, it’s a film that I’m using more these days.


(Click to enlarge)
Here’s how the flare and blobs look like when shooting with film. I think this is its biggest weakness as it’s unavoidable to frame your photos like this specially when shooting landscapes where the Sun is likely to be within or just outside of the frame; but I did notice that the blobs do not look as prominent, perhaps this is because film is not as reflective as glass.
The character of the bokeh is nauseating, some people claim that tuning the CRC mechanism helps but I am not sure how much of a difference that will actually make. Even specimens that have never been fixed or tampered with exhibit this and you’ll find a lot of discussion online about how ugly the blurry bits look.
Here’s another example showing the nauseating look of its bokeh. This would have been nicer if not for this, it is something that’s difficult or even impossible to avoid in most cases when shooting up-close.

Even stopping the iris down won’t help much, maybe the people who like the “soap-bubble” effect will be thrilled to see this.
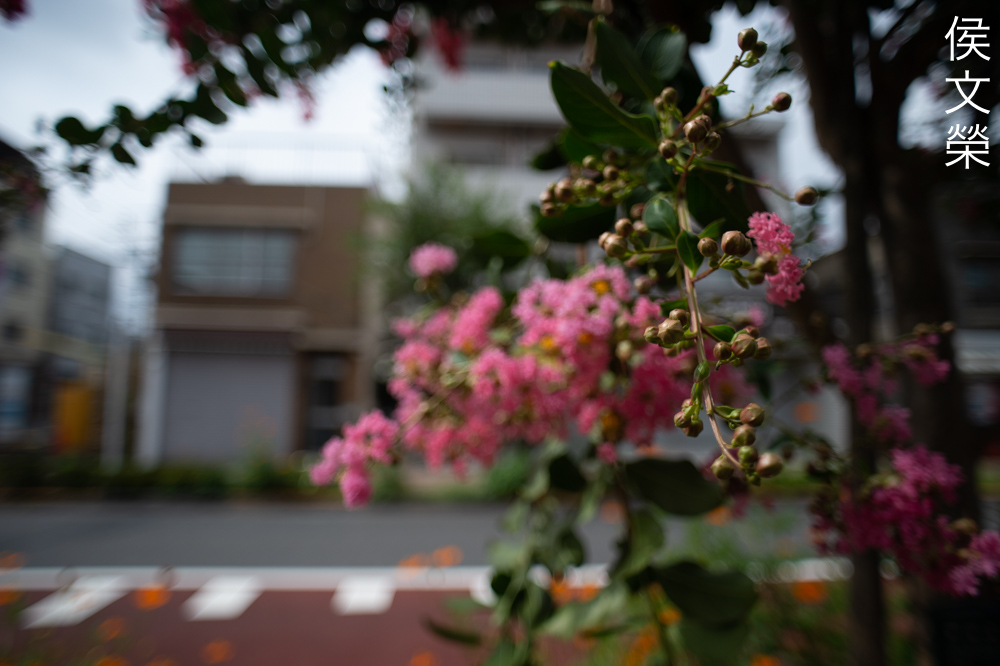
This is a sharp photo and the colors look great but the background looks unrefined. Even when a scene has nothing that will trigger ugly-looking blurs the character of the bokeh is still quite poor.

It renders photos with nice focus-transition which looks natural but the rough-looking bokeh doesn’t look appealing at all. For me, it’s more of a distraction.
It’s a nice lens if you don’t have to deal with its rather disappointing bokeh quality. Its resolving power will be more than adequate when shooting with film.

It appears to overexpose by 1/3 of a stop when shooting in bright situations. I don’t know if this is caused by the camera’s meter or the iris of this lens having been adjusted incorrectly (by me).
This is nice for shooting interiors 2 or 3 decades ago but we have a lot of choices these days even if you’re still shooting with film. The biggest difference you will probably get is better contrast in these situations due to better lens coatings.
You’ll get a bit of flare even if the Sun isn’t in the frame, so long as a part of the scene is overblown you’re going to see some flare somewhere in the frame.
The flare doesn’t look bad but it’s enough to affect the contrast around the areas affected by it. It’s still an acceptable photo if you ask me, it actually adds a bit of “uniqueness” to this photo.

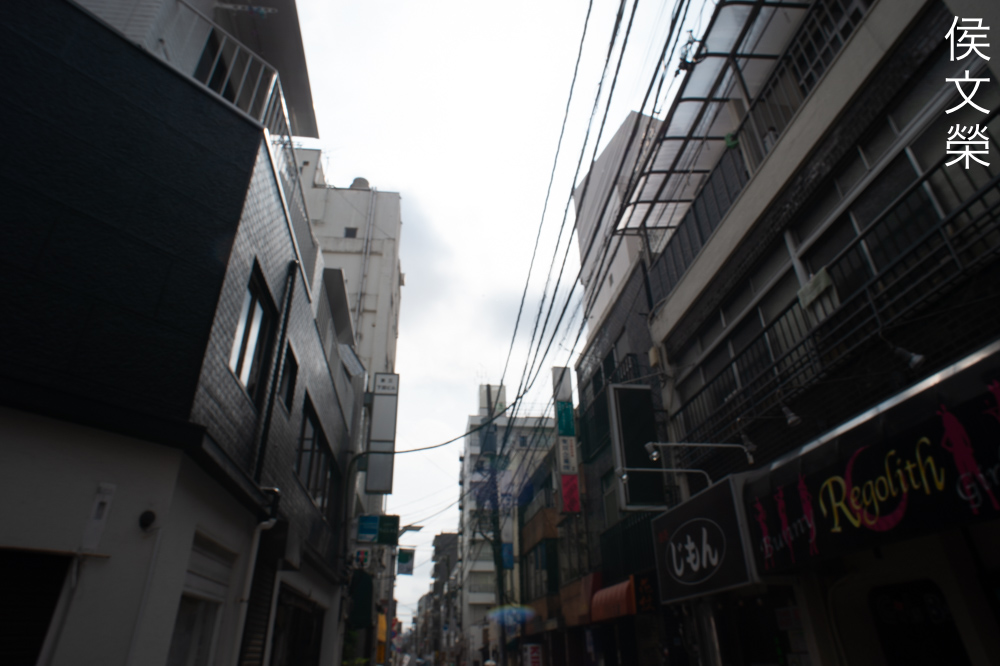
This is not the best lens to use if you need your lines to remain straight. Angling your shots or positioning the lines away from the edges of the frame helps a lot, the distortion is still there but it won’t be obvious.

The important lines were positioned far from the edges so they’re not as curved but if you look closer you will see the lines bend near the top-edge of the frame.

Angling your shot helps somewhat but it’s still not enough sometimes. Again, notice how the scene looks overexposed a bit.

The field-of-view is immense and you’ll be able to get more of the scene inside your frame. Even when shooting with film you will get ugly corners because the resolution is poor. Film is usually more forgiving of this but not this time.


(Click to enlarge)
Here’s the rest of the roll. Despite being one of the earlier AF-Nikkors I think it’s still a nice lens but I won’t use this for a paid job. Shooting with this for fun is acceptable and it is the smallest 20mm AF-Nikkor so it will certainly appeal to some of the people reading this article.
I used to love my old AF-Nikkor 20mm f/2.8D which is similar to this lens but that was 11 years ago. There are many alternatives to this unless you want an autofocus 20mm for use with your screw-drive Nikons. This is compact but if size and weight are your only concerns the Nikkor 20mm f/2.8 Ai-S will suffice. That lens also performs somewhat better for some unknown reasons despite having the same optics. Even the old Nikkor 20mm f/3.5 Ai-S is a nice choice and that is even smaller. I think this has outlived its usefulness today as sad as that may be even for someone who loves AF-Nikkors like me. If you’re still determined to buy this it is important to check the iris, make sure that it’s dry and snappy when actuated because this lens is prone to developing the oily iris problem. It’s normal for this lens to exhibit an unusual grinding sound when it’s focusing via the motor of your camera so do not worry so much about that. It gets even louder with Nikons that have a weak motor but it’s negligible when using a Nikon F5 where the sound is more like a loud hiss instead of something that sounds like a worn transmission. Check its sharpness at both infinity and about 0.3m, it should be sharp at the center. Finally, turn the aperture ring and the iris should work perfectly. It is not a pricey lens at all, I usually see these being sold for around $120.00, I got mine for $70.00 since it was sold as junk. The AF-Nikkor 20mm f/2.8D is more expensive but it’s really too-similar to this that buying it is just a waste of money. If you have $100.00 to spare and you want a nice, small 20mm lens with AF then this lens is for you and you’ll like this even more if you shoot with a DX camera such as a Nikon D7000, so long as it’s screw-driven you’re sure to enjoy using this as a travel lens, happy shooting.
Before We Begin:
If this is your first attempt at repairing a lens then I suggest that you see my previous posts regarding screws & drivers, grease and other things. Also read what I wrote about the tools that you’ll need to fix your Nikkors.
I suggest that you read these primers before you begin (for beginners):
- Essential tools
- Best practices 1
- Best practices 2
- Best practices 3
- Ai conversion
- Working with Helicoids
Reading these should lessen the chance of ruining your lens if you are a novice. Before opening up anything, always look for other people who have done so in YouTube or the internet. Information is scarce, vague and scattered (that is why I started this) but you can still find some information if you search carefully.
I highly recommend that you read my working with helicoids post because this is very important and getting it wrong can ruin your day. If I can force you to read this, I would. It is that important!
For more advanced topics, you can read my fungus removal post as a start. It has a lot of useful information, it will be beneficial for you to read this.
Disassembly (Part 1):
This is certainly one of the more complicated of the small AF-Nikkors, I would not recommend this to a novice because of all the precise adjustments and delicate parts. Be very careful when using heat to loosen the screws as many of the parts are made of hard plastic. You may require to flex some parts but normally things should come off in a sensible way, just follow my notes and you’re safe. A word of caution, the front optical group is very delicate so handle it with utmost care or you will damage it beyond repair.

Carefully remove the rubber grip to expose these and extract them. Be careful not to tear this part since it’s usually cemented to the focusing ring.
Once the screws are gone you’re now able to remove the front ring.
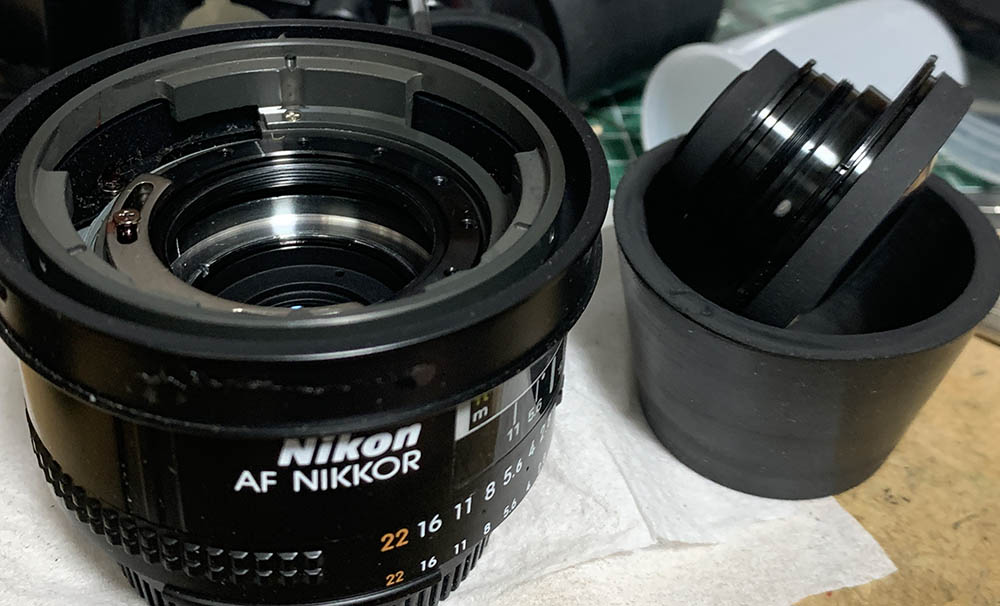
Unscrew the front optics assembly with a lens spanner or ideally with rubber cup. Store this carefully in a clean place so it’s safe while you work with the rest of the lens.
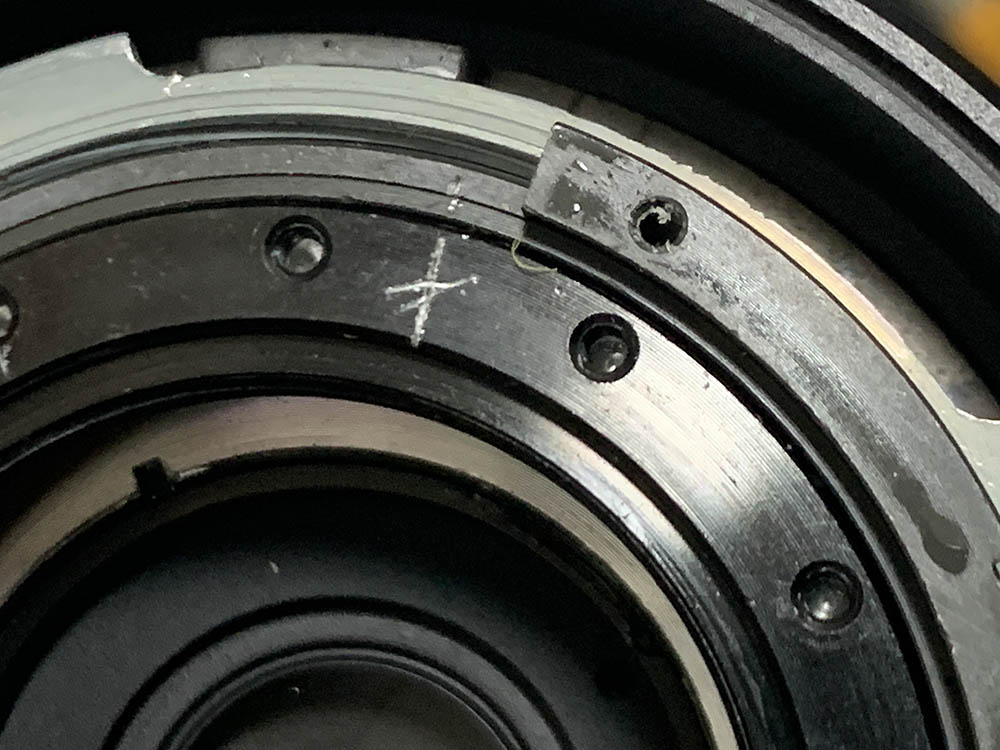
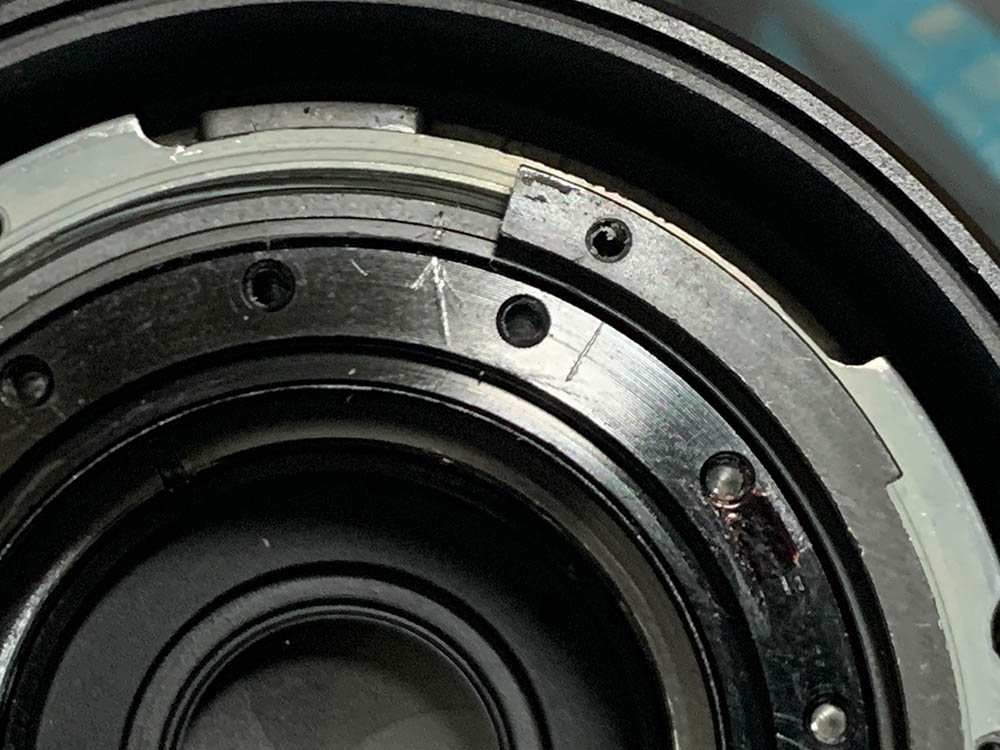
Study how the CRC mechanism works by turning the focusing ring and note its original position.
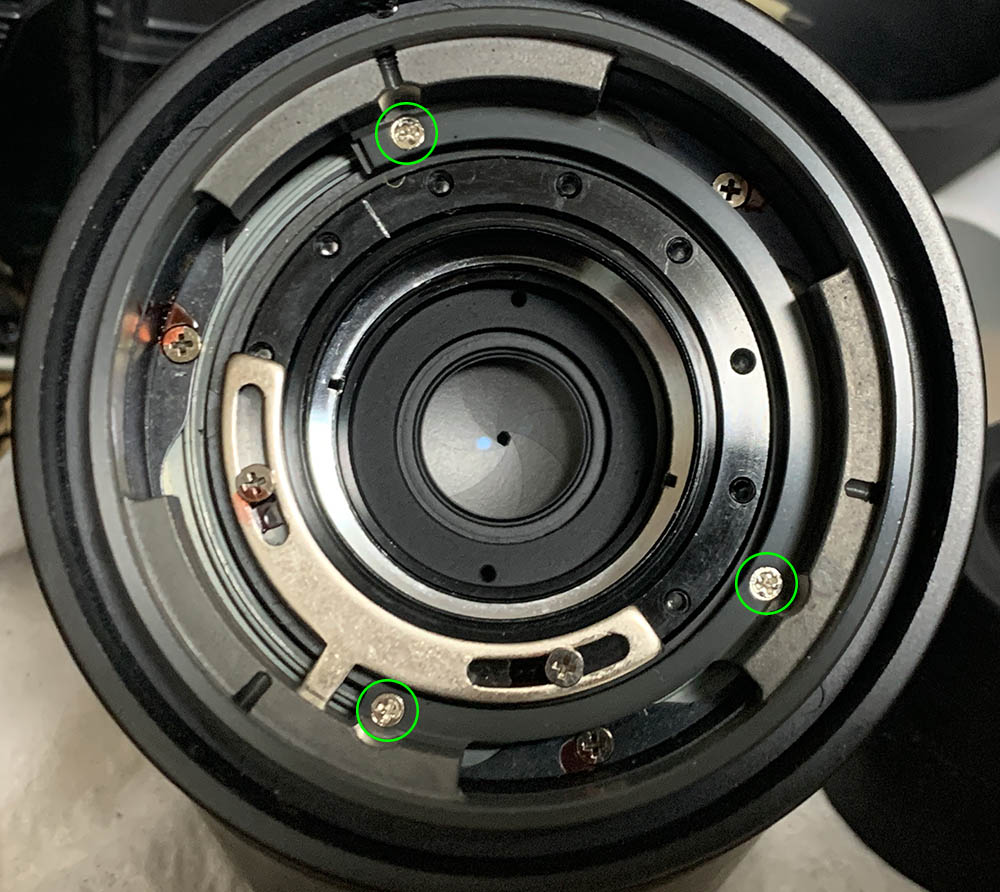
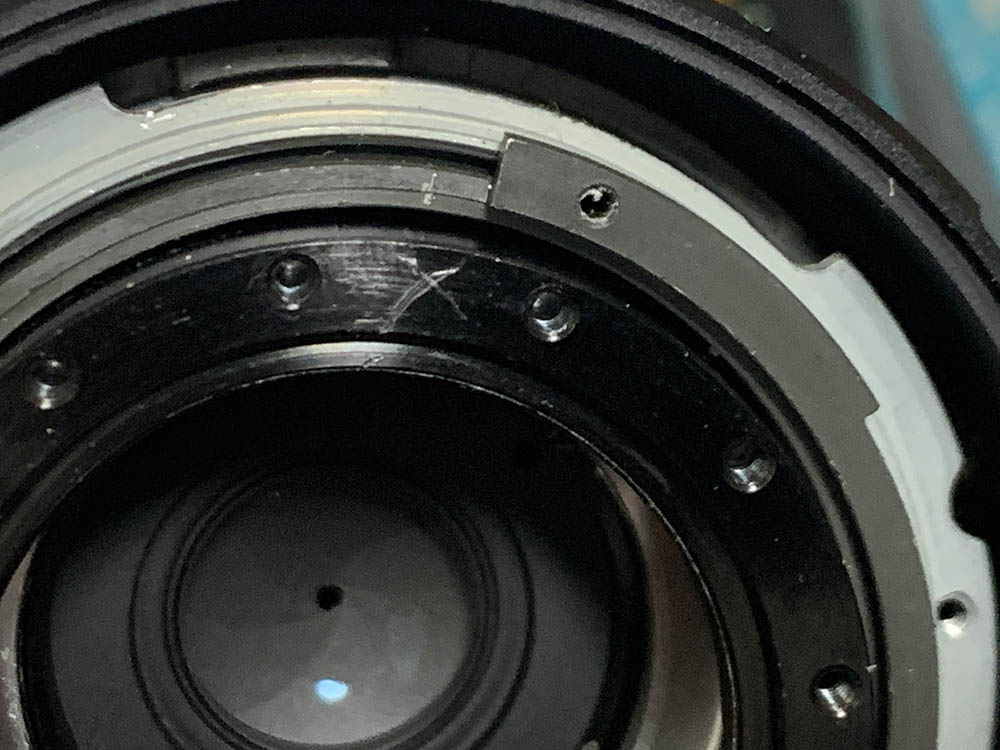
Extract these to remove brace of the front ring.

Carefully remove it.
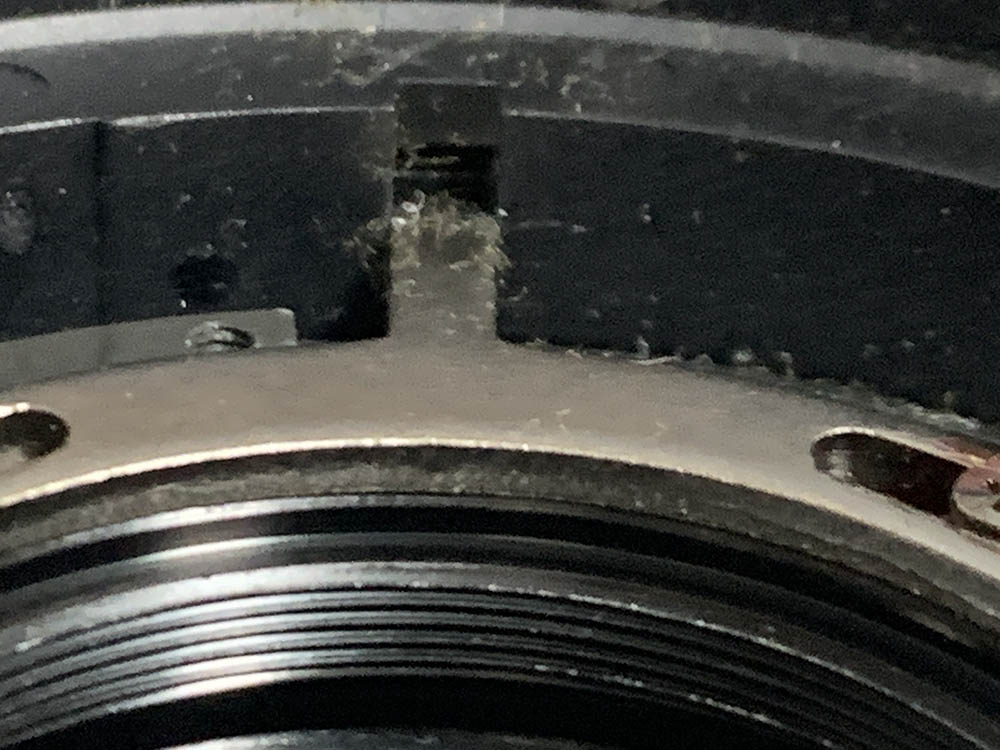
This is how deep the key of the CRC mechanism should be when at infinity. Note its position, you should reproduce it later during reassembly. I usually scratch a fine line to indicate how high the tab should be.

Once you’re satisfied with your notes extract the screws of the CRC mechanism’s key and remove it. Next, extract all of the screws of the focusing ring. The screws are sealed with lacquer, a small amount of alcohol should be able to soften the seals.
Remove the focusing ring carefully. The metal ring secures this to the rest of the lens, clean it very well.
This is your last chance to take notes.
This is the exact alignment of the CRC mechanism’s helicoid at infinity.
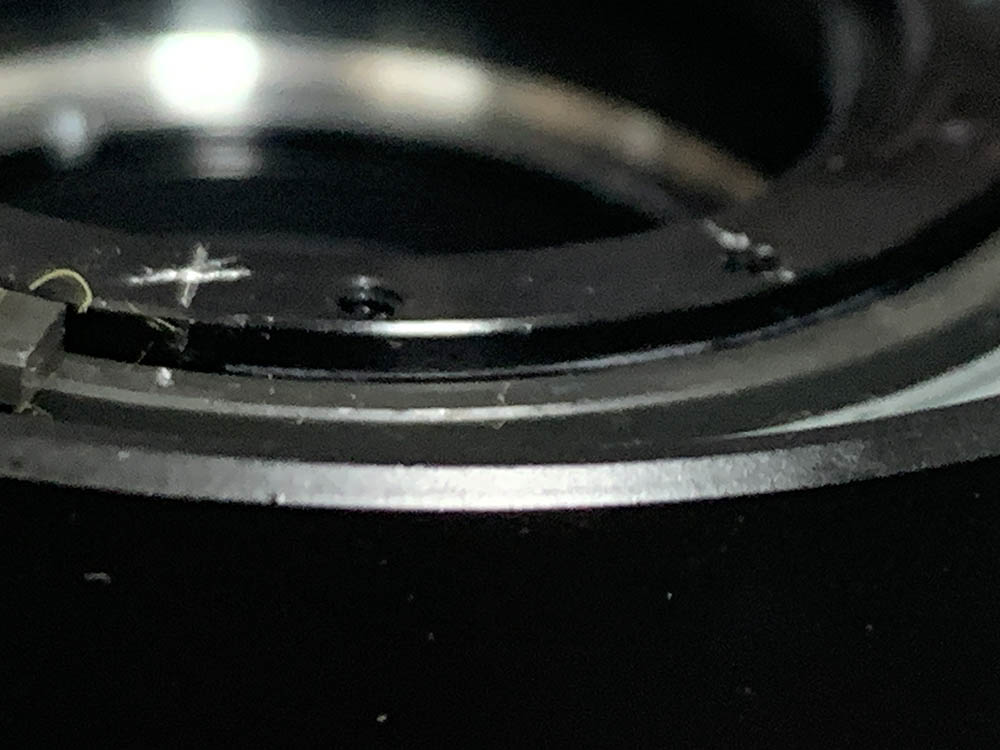
This is how high it should be.
Collapsing the helicoid of the CRC mechanism all-the-way gave me this position.
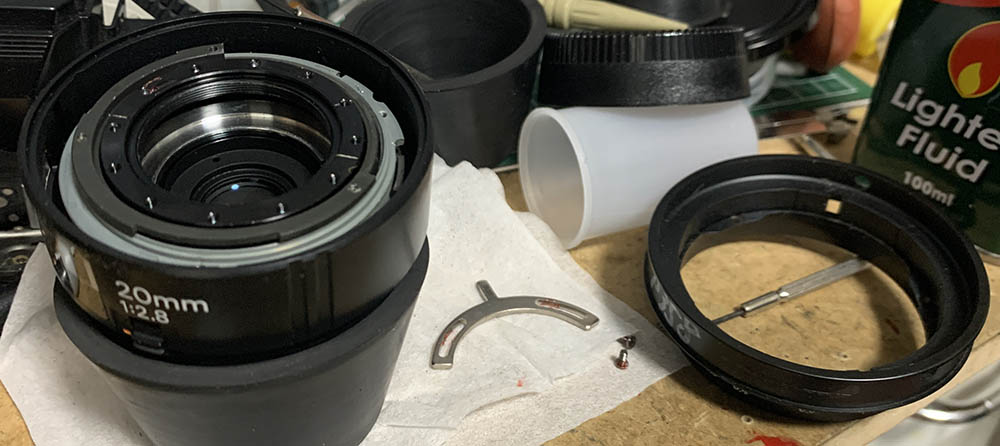
Unscrew the CRC mechanism’s helicoid until you’re able to remove it. Don’t forger to note where it parted since it’s also the same place where they should mesh. Many people get stuck here because they forgot to mark the position of the spot where the helicoids separated. Read my article on servicing helicoids so you won’t get stuck, follow my guide and you should be fine.

The female helicoid can be unscrewed but it’s tight. Lacquer has been used to secure this so you should remove it with care.
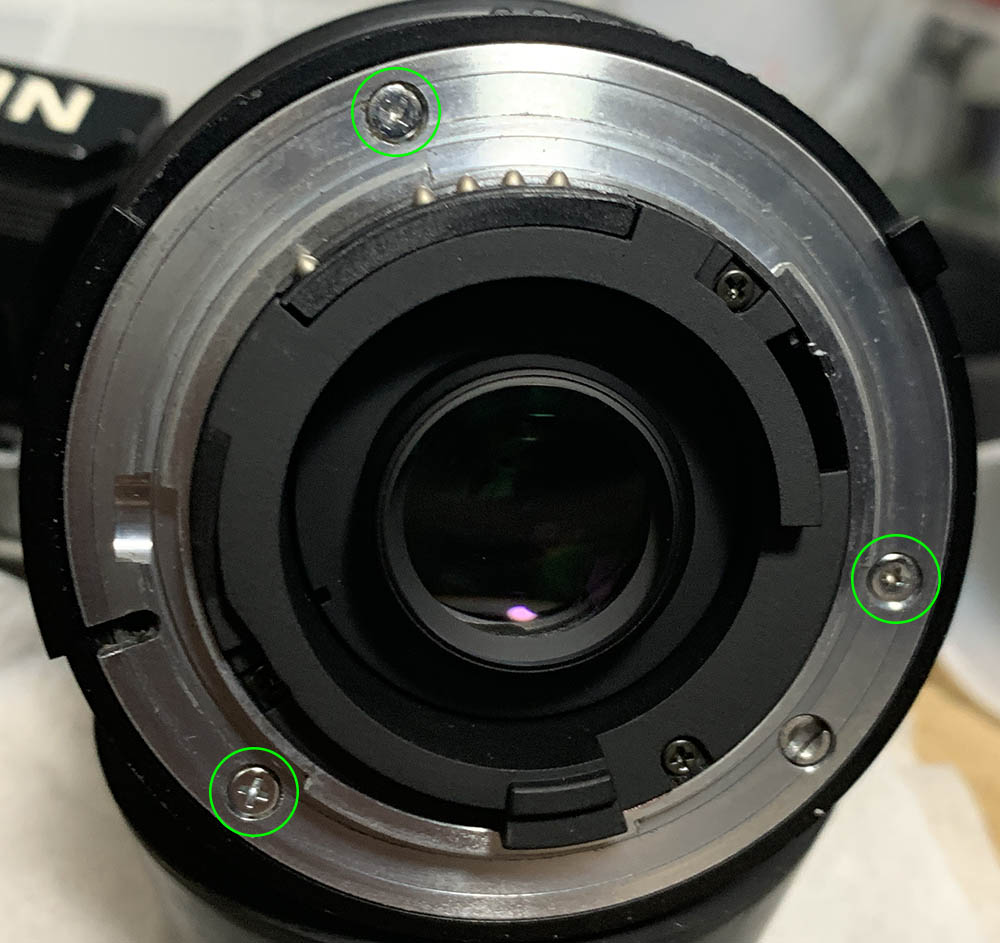
Carefully extract these to remove the bayonet mount. Many people get stuck here because they do not have the right tools and strip the screws. To prevent this from happening, read my post about how to remove bayonet screws. Follow my guide and that should help educate you on how its done and which drivers you should use.
Since this is not an AF-D lens you don’t have to remove the contact-block so just leave it alone. I don’t know about the other lenses but most non-D primes don’t have ribbons that go deep-within the lens.
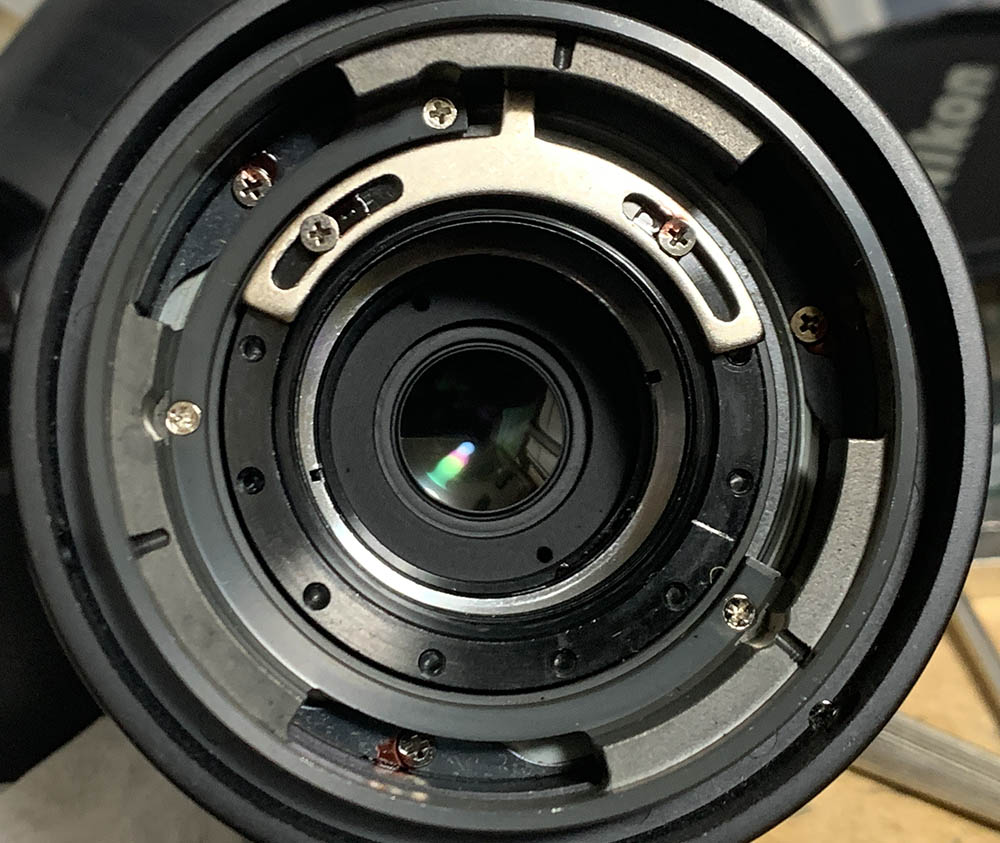
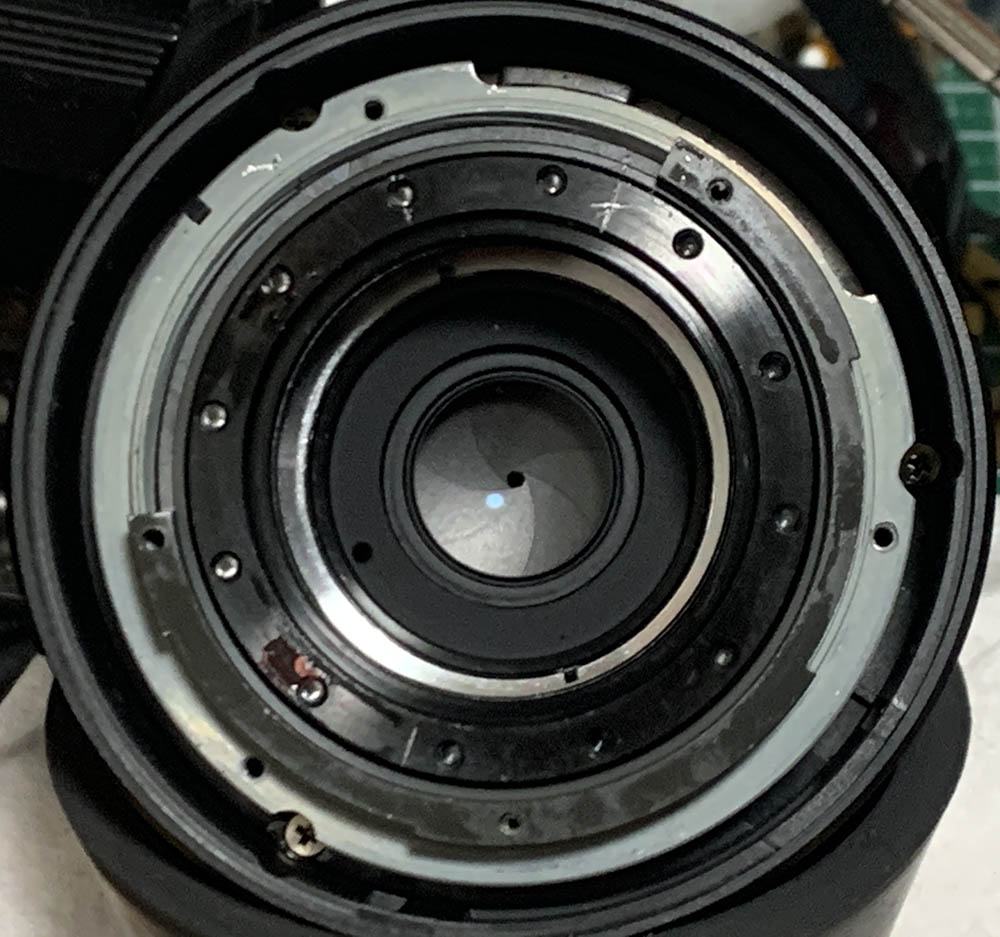
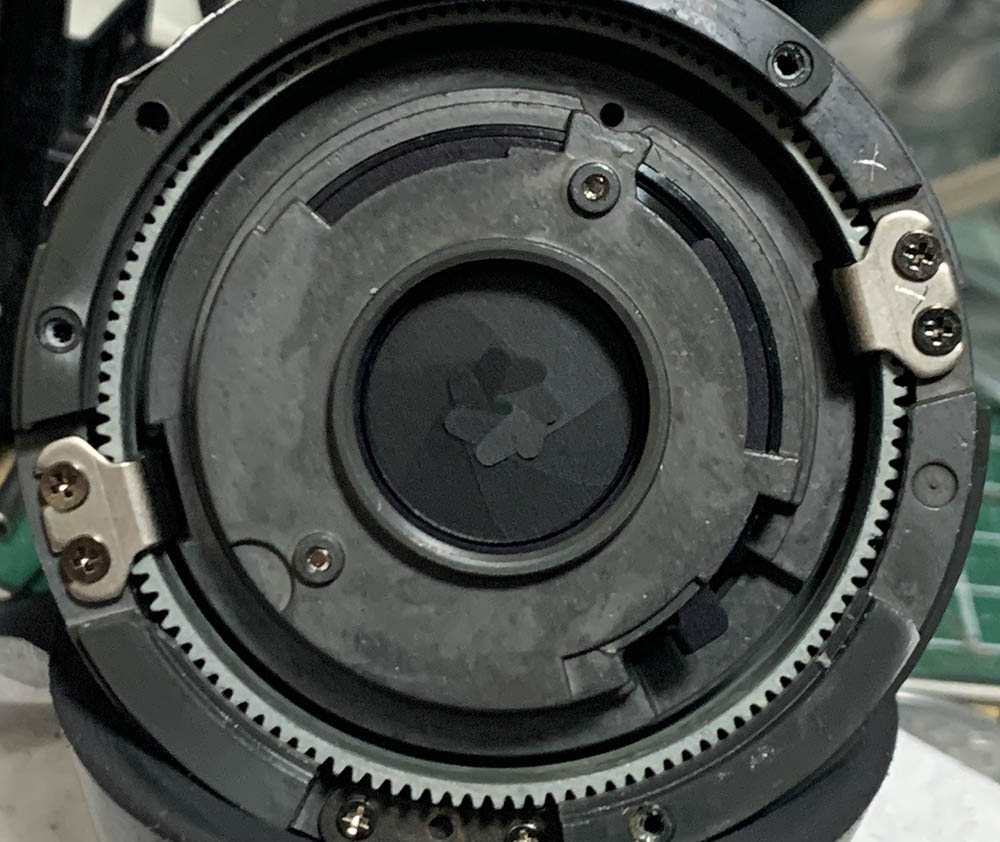
Carefully the bayonet and be careful not to scratch the rear element or the electronics at the bayonet.
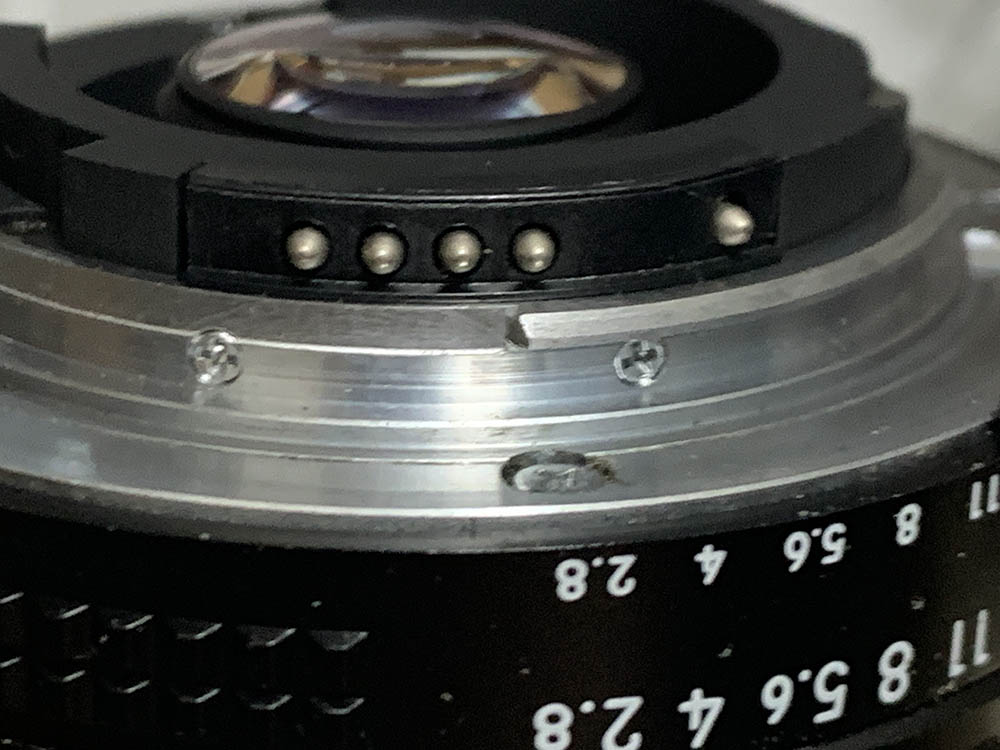
Study how the iris regulator works by turning the aperture ring. Take plenty of notes before you proceed.
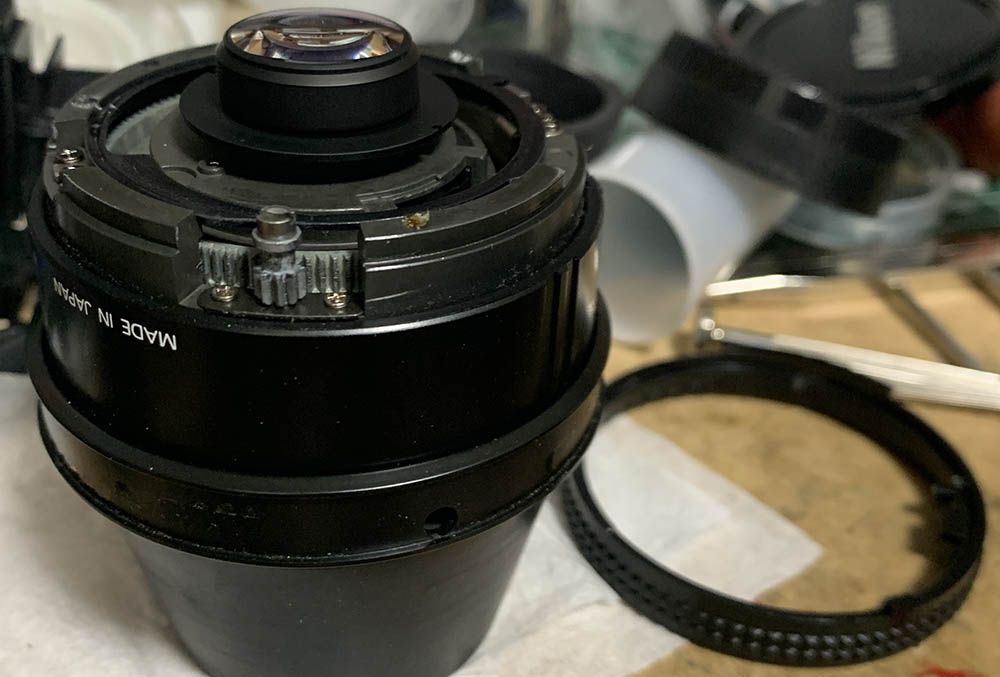
Remove the aperture ring carefully.
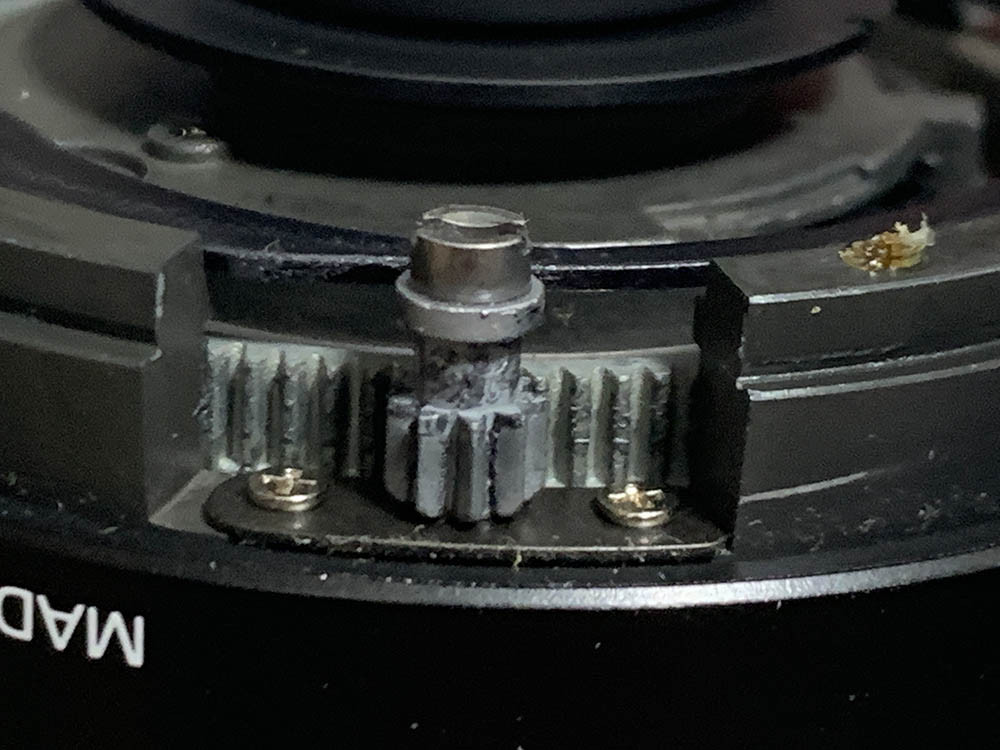
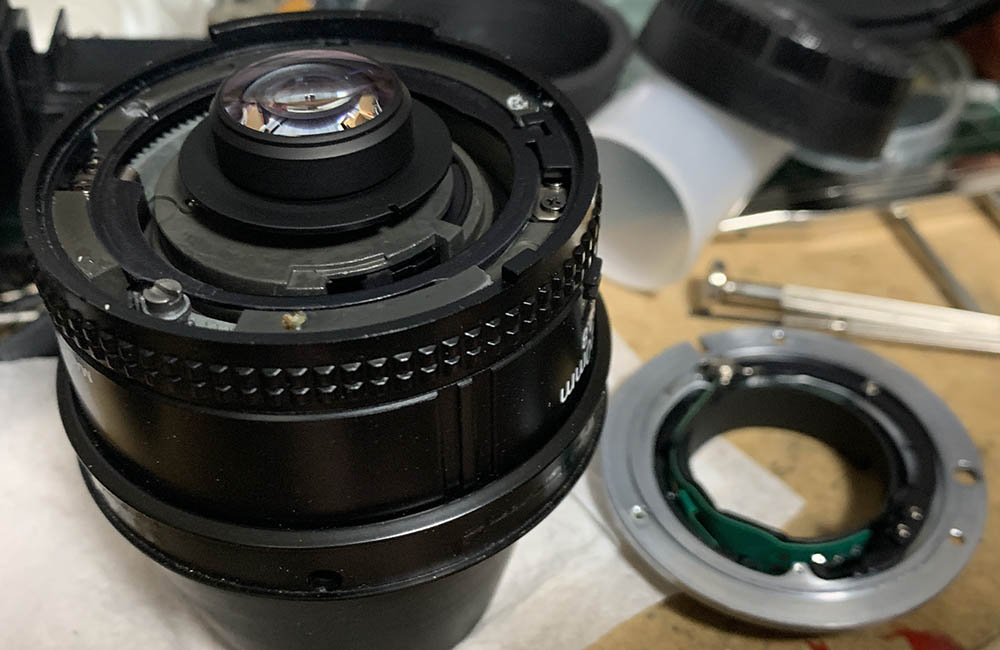
Carefully remove the drive-screw, never remove its base because that was carefully adjusted at the factory. You may clean this is you wish but never apply too much lubrication around this part, all you need is a very thin film of fine grease.

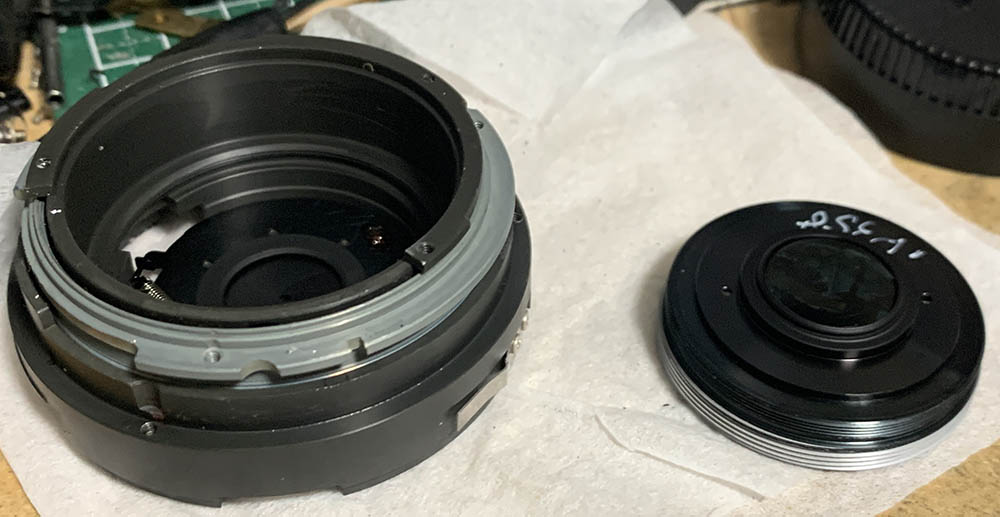
Unscrew the rear optics assembly with a rubber cup, store it in a safe place.
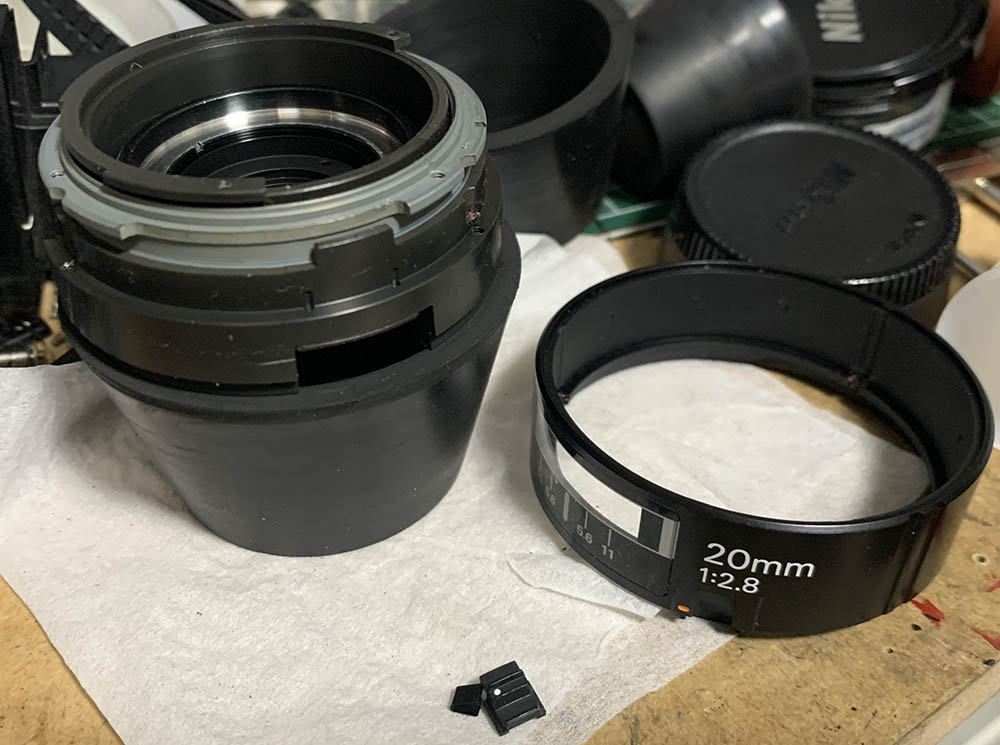
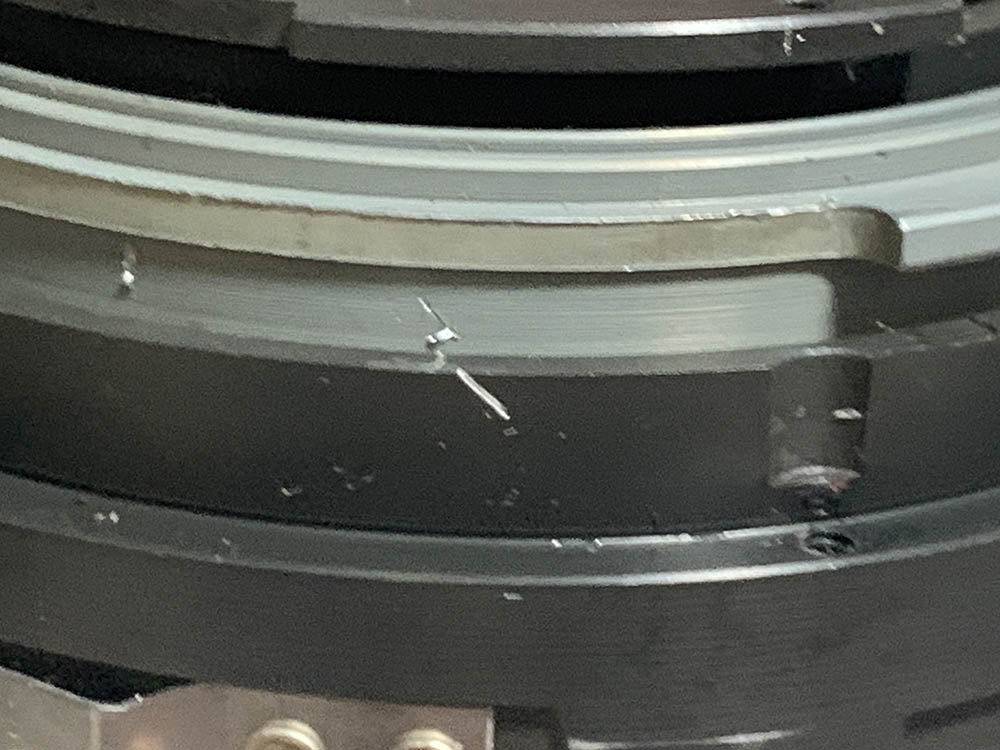
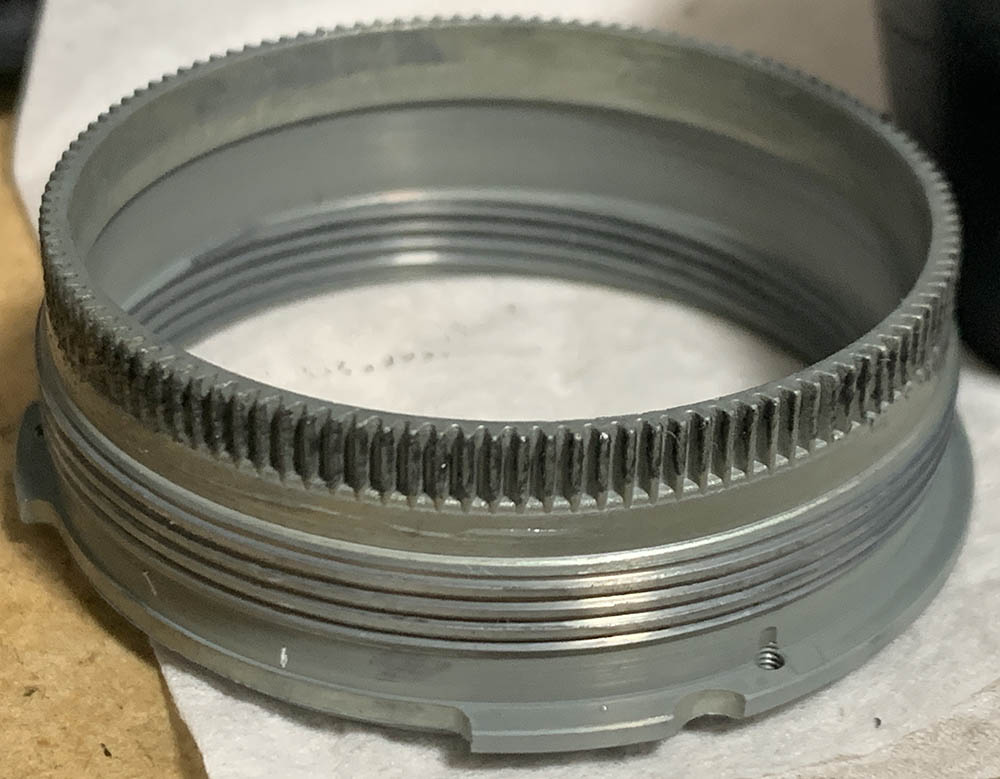
Remove the outer-barrel but be careful not to remove the lock. I’ve accidentally removed it, if this happened, be careful when you put this back, the direction of the spring is important.
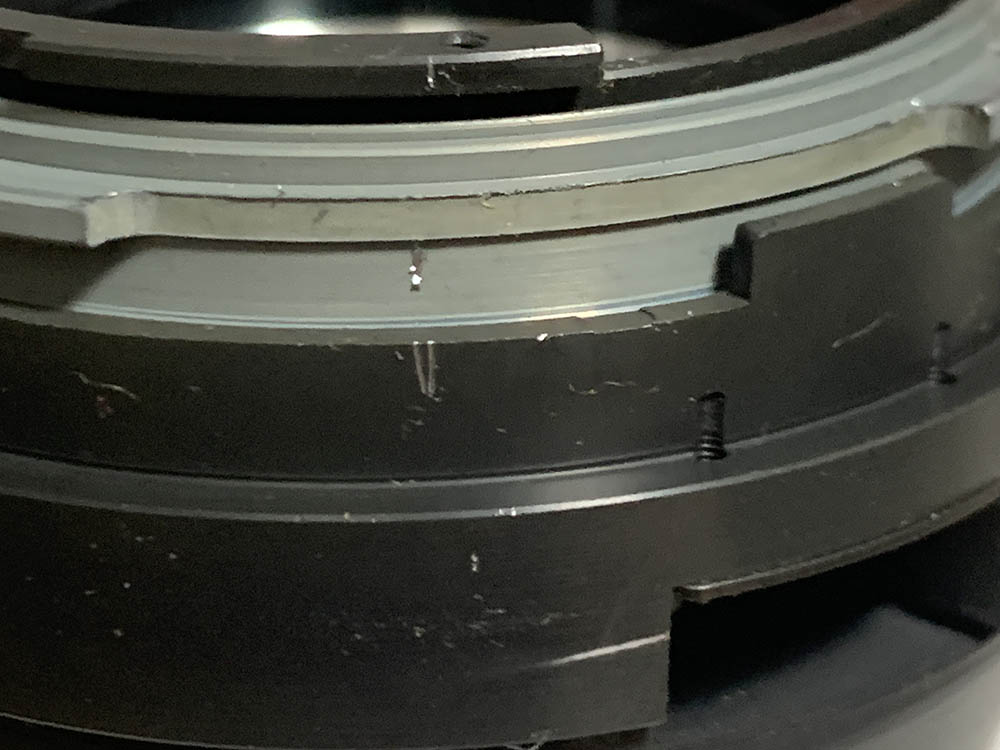
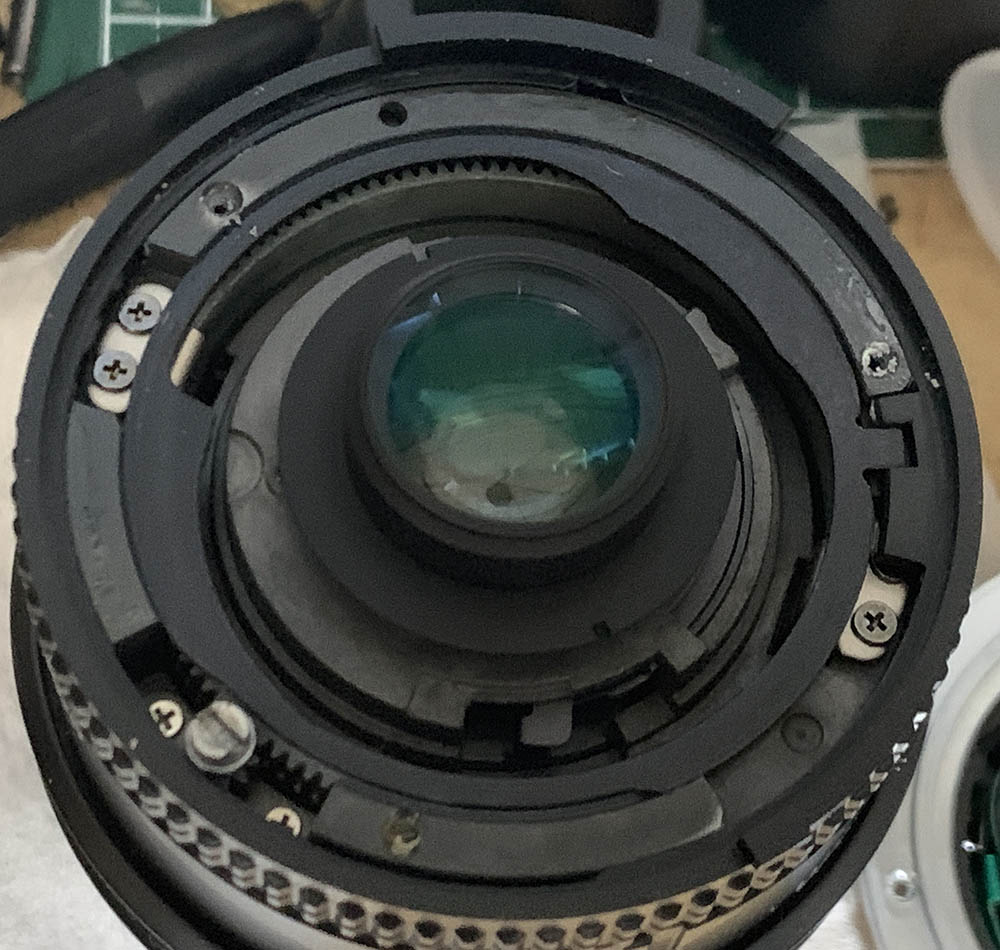
I’ve almost forgotten to mark the alignment of the helicoids. Simply set the barrel to infinity then scribe some lines to not how the helicoids should align, this should help you later when it comes to reassembling the barrel.
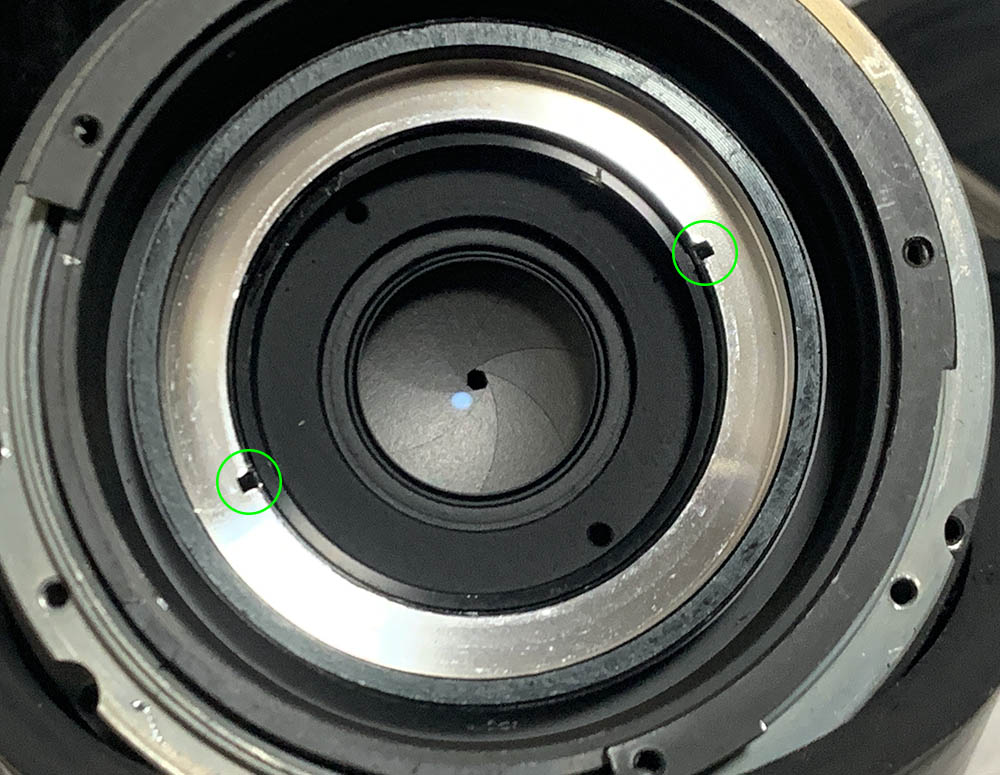
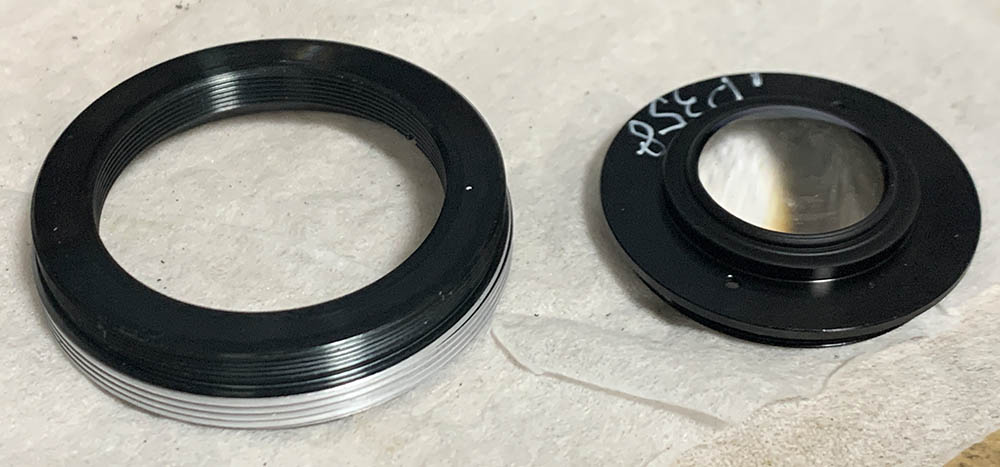
Carefully extract this part with a lens spanner and be careful not to scratch the glass. Make sure that the tips of your lens spanner are positioned in the slots shown in the photo.
This is how it should look like when you remove it.
Carefully extract the housing of the glass, count how many rotations it took because I suspect that it is adjusted at the factory. Put it in a safe place so the glass won’t be damaged.
If your lens has fungus, read my article on how to remove lens fungus. Only clean what you have to and never use the solution in full-strength, dilute it with pure distilled water and never let the solution act on the lens for too long. For many people this will be all that they need to do, proceeding any further is only intended for more serious problems.
Disassembly (Part 2):
We’re going deeper into this lens in this section. This is where things get complicated so you should measure or mark everything if you can before you dismantle anything. Dismantling the iris mechanism or the helicoids are optional but they are required if you’re faced with an oily iris problem, you can’t just clean the iris and leave the cause of the issue alone. What you’re about to see here is considered advanced and should only be attempted by an experienced repairer.
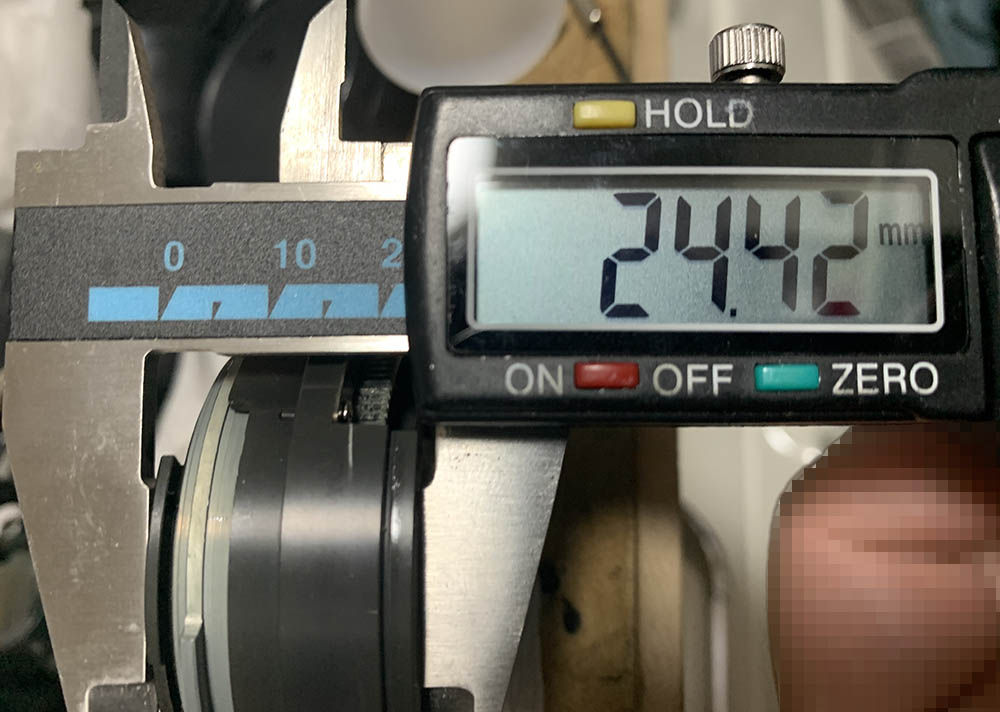
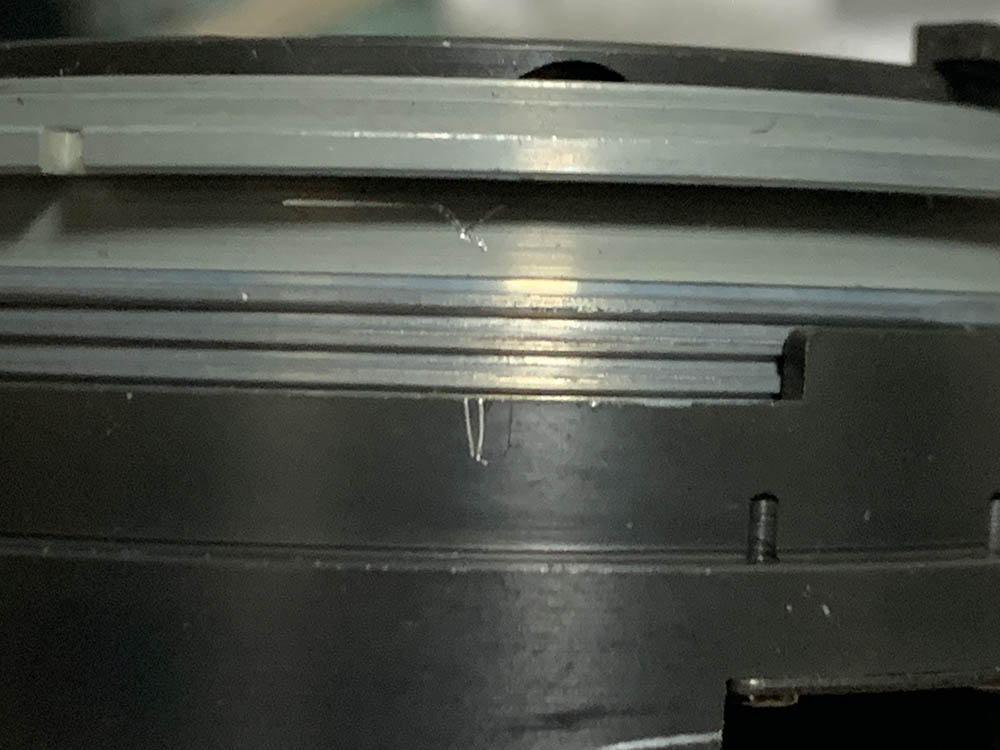
Measure the height of the barrel and make sure that you are able to reproduce this later during reassembly.
Carefully extract the screws of the helicoid keys, do not forget to mark which key comes from which side so you will know where they should exactly be when you put them back.
Collapse the helicoids all the way and make a mark as reference. You should be able to reproduce this later.
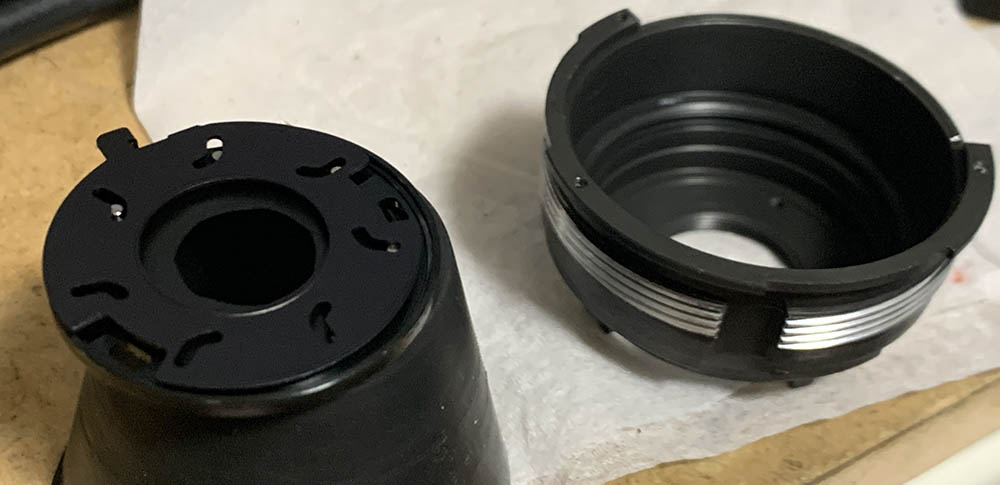
Separate the central helicoid from the lower one and do not forget to mark where they part. Many people forget to do this so they get stuck. To prevent this from happening to you, read my article on how to work with helicoids.
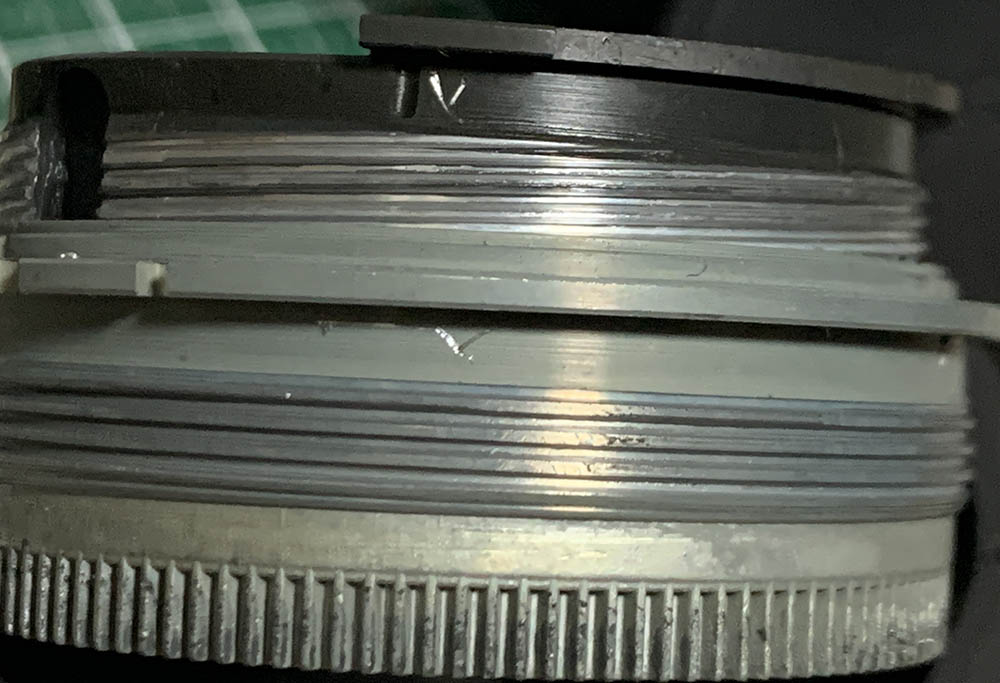
Do the same for the inner helicoid and never forget to mark where it parted.
Turning the central helicoid will extend or collapse the barrel so the teeth for the AF-drive is molded here. Notice that the grease is of a dark color, indicating that it’s probably molybdenum grease. You only need to apply a very small amount and that’s going to be enough to last for several decades to come.
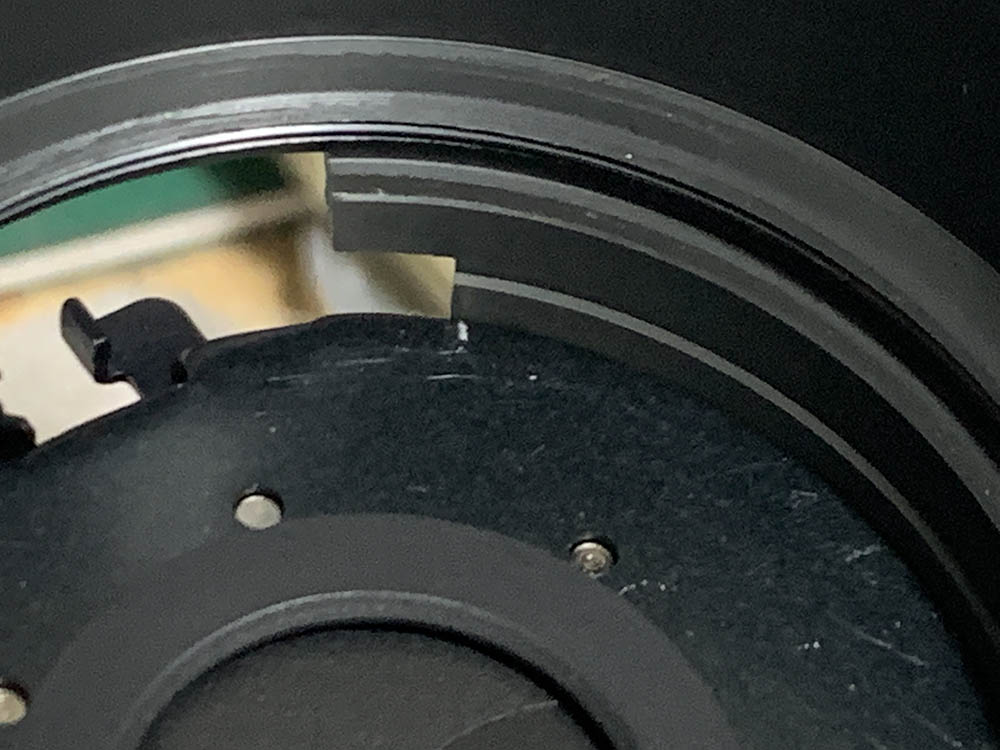
Before you remove the iris plate mark its alignment first.
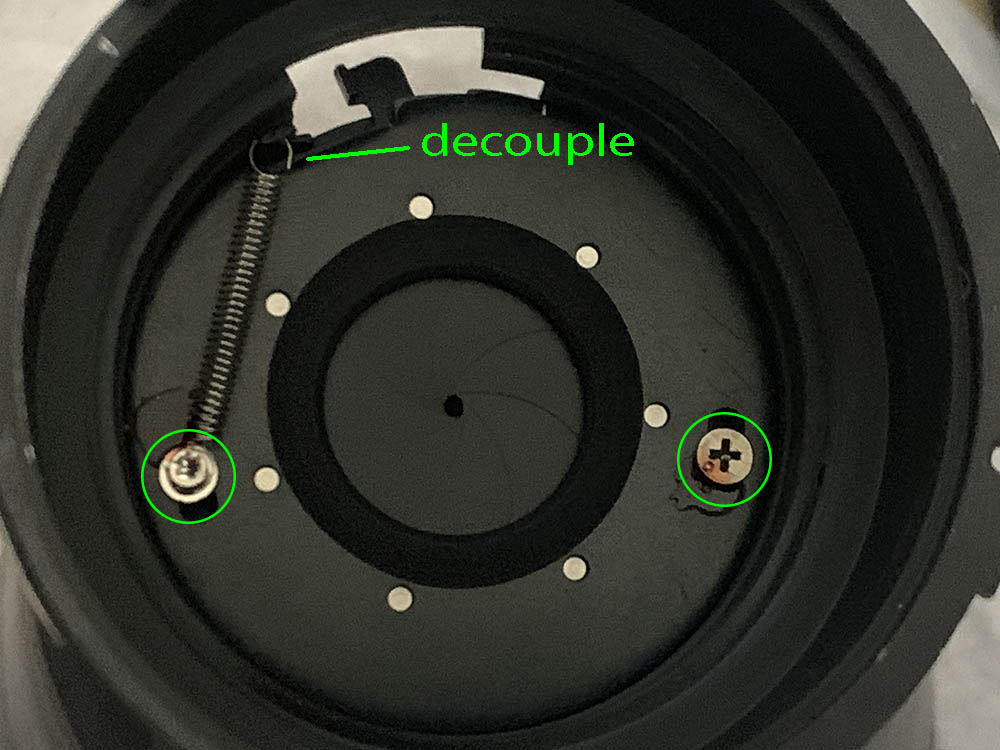
Carefully decouple the spring and remove the screws.
Carefully insert something atop the iris mechanism and invert it carefully to remove the whole thing safely. I use a rubber tool just so that it won’t damage anything.
Carefully scrub the helicoids clean with a stiff toothbrush and some toilet cleaner. Rinse them very well and do a final rinse with alcohol to remove and residue. Dry everything up and reassemble the helicoids. You do not need a lot of grease to lubricate them, specially the ones for the CRC mechanism. Simply apply a very thin film of the thinnest grease you have and that should last you more than a lifetime! If you’ve applied too much then all you do is risk having the iris soaked in oil and that will lead you to open the lens up again for another overhaul.
Conclusion:
Reassembling this lens isn’t difficult, just backtrack your steps and you should be able to put it back in no time. Make sure that all things align and the CRC mechanism’s alignment is spot-on. You can do that by checking the corners, they should not appear soft at all when focusing close. If the shape of the blurry spheres look elongated, it’s a sign that the CRC mechanism wasn’t installed or adjusted properly. Simply go back again readjust it. Of course, before you adjust the CRC mechanism it’s best to calibrate the focus of your lens first. If you want to know more about how it is done in a DIY setting please read my article on how to adjust the focus of you lens. All you need is a digital camera, a view and plenty of patience.
I’ve had a great time working with this because it taught me a lot of new things. There isn’t a lens quite like this in the whole AF-Nikkor collection which makes its construction somewhat unique. It certainly is a blessing that I’ve cross my path with this lens. It brought back lots of fond memories.
To me, this lens is the best option I have when I want a light and compact autofocus 20mm to use for travel photography. This lens has seen better days but I am sure that someone somewhere will still want to get one.
I hope you enjoyed this article. I am currently very busy with my life, having just moved to another country meant that I hade to let go of so many things such as my collections and some of my tools. It was not an easy decision to make since I’ve made this a core part of my being but it’s still a decision that one had to make. This should explain why I am not so active lately. There were many photography resource sites that have shutdown completely but thanks to you this site remains up. If you like my work, share it with your friends. Please do not download my content because I mostly count on the views I get for the upkeep of this site. I will try my best to keep this site up because I know how much this means to so many people. Thank you very much, Rick.
Help Support this Blog:
Maintaining this site requires resources and a lot of time. If you think that it has helped you or you want to show your support by helping with the site’s upkeep, you can make a small donation to my paypal.com at richardHaw888@gmail.com. Money isn’t my prime motivation for this blog and I believe that I have enough to run this but you can help me make this site (and the companion facebook page) grow.
Buy me a roll of film or a burger?
Thank you very much for your continued support!
$2.00
Helping support this site will ensure that this will be kept going as long as I have the time and energy for this. I would appreciate it if you just leave out your name or details like your country’s name or other information so that the donations will totally be anonymous. This is a labor of love and I intend to keep it that way for as long as I can. Ric.

Nov 29, 2023 @ 16:51:37
Hi Richard, Thank you so much for your excellent description of this lens.
Just wondering how and where inside the lens do you adjust infinity focus? Is it done by adjusting the key of the CRC mechanism?
Thank you.
Jan 23, 2024 @ 04:08:21
Hello Richard, a question for you. Do you think I could interchange parts of this 20mm with the AIS f2.8? What I want to do is replace the rear glass. I’ve been searching for parts for the AIS, but I’ve only been able to find this version (AF-D). Do you know if the design scheme is the same? Do you think I could somehow interchange the rear lens? Thanks in advance; your knowledge is incredible.