
Hello, everybody! Do you know what is a “Billiken“? It’s The unofficial mascot of Osaka but with American roots, it was said that rubbing the feet will bring you good luck. His devious smile makes him appear a bit naughty and mischievous, but that’s just how he is. He said to be the god of “things as they ought to be“, helping you accept the trials of life in a more light manner. Today, I will show you a lens that will help you accept things as they are, it has its imperfections but they’re not so bad as to the degrade the photos you take, it’s kind of Zen-like shooting with this lens using a film camera. Read the whole article to know what this lens is all about.
Introduction:
The W-Nikkor•C 3.5cm f/2.5 came in two distinct mounts, one for the native Nikon S-mount and another for the Leica Thread Mount, this article will showcase the latter. This lens family was made from 1952 up to 1959, while the Nikon S-mount version was made with multiple variations, the Leica fit one came in two minor variations, one with a silver focusing ring and another with a black focusing ring, that’s it. These are highly collectible not only because of their importance in Nikon’s history but also due to their practicality. I think this is the most practical W-Nikkor, it’s really good for many things. It’s a very popular lens so these are not rare at all.

The barrel is all-metal, made from top-quality brass, that makes the lens heavy despite being compact. It’s not a big lens at all and you can hide it inside your palm. The engravings are helpful and clear, making the work of focusing much easier.
It is identical to the W-Nikkor•C 3.5cm f/2.5 in terms of optics so it has the same 6-elements-in-4-groups design. I won’t comment too much about the optics because they’re identical, just read the article for the other lens to see how it performs optically.

This is its less fortunate sibling. While I was able to overhaul it thoroughly, I was not able to rebuild it in a complete manner because I lack parts. The good thing is it performed really well after my treatment, but I had to let it go since I do not have enough space in my collection.

The best way to adapt it is with a Nikon Z camera, specially the full-frame ones because they have IBIS or In-Body-Image-Stabilization. It will look a bit odd because of its tiny size but a lot of great things come in small, cute packages.

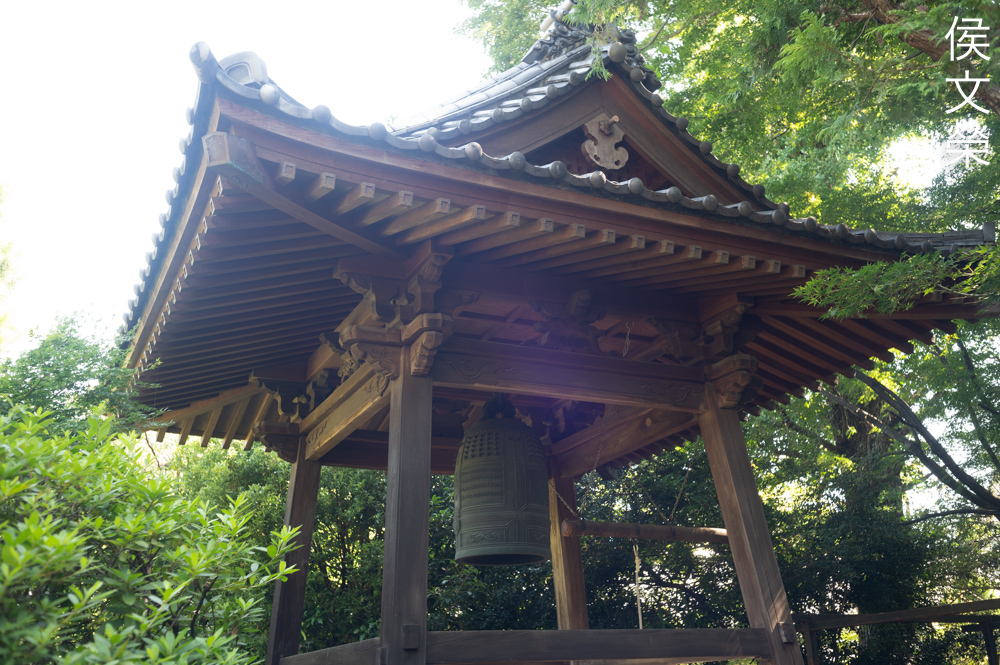
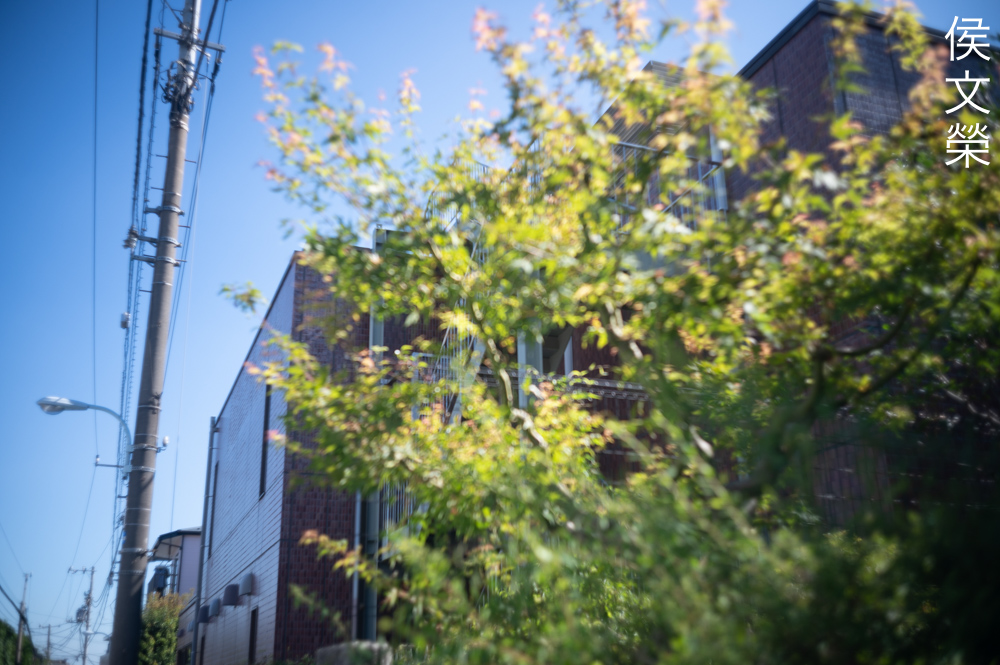
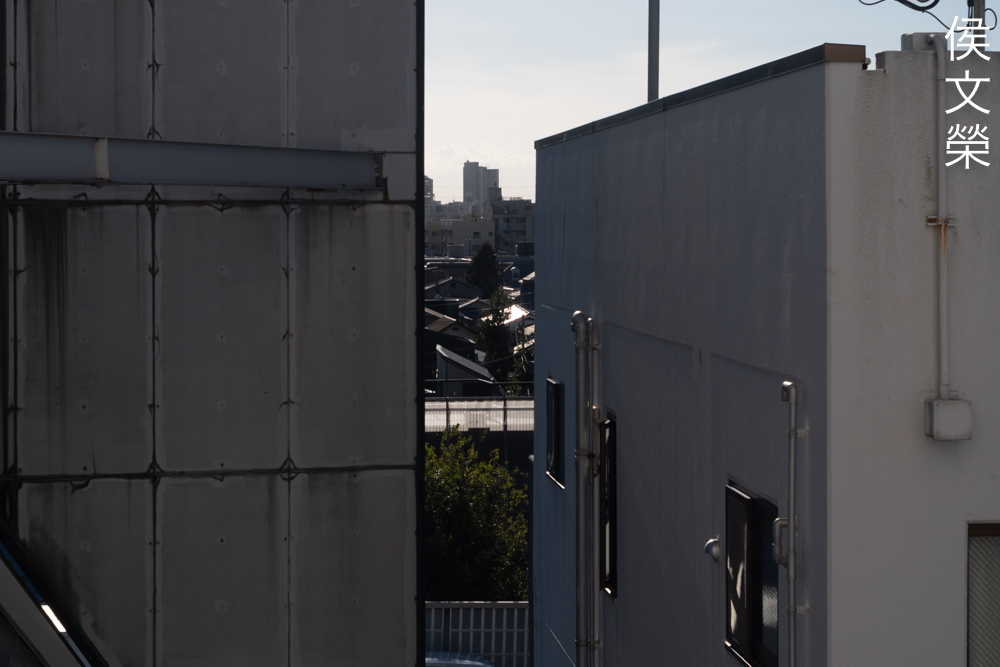
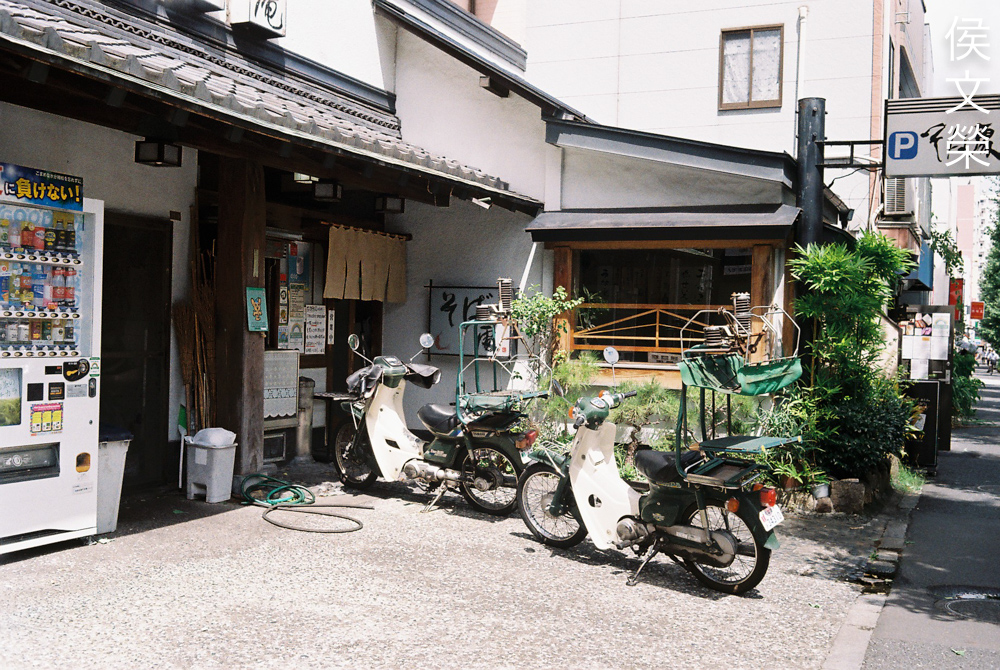
Shooting it with film will be the best way to enjoy this because the Barnack clones are just as small. Here, I have a Nicca Type-5 with an original 3.5cm finder. It’s such an elegant setup, I had a great time with it the last time I went out shooting with the same setup, it’s a slow workflow for sure but it was a lot of fun.
It’s important to study how a lens performs, this will give us an idea on how it renders. It will also help us understand its strengths so we can exploit the merits of this lens and avoid or work-around its flaws. The following pictures were taken from f/2.5, f/4, f/5.6 and f/8 so we can see how much it changes across its most commonly-used apertures. I took these with a Nikon Z6.


(Click to enlarge)
The amount of distortion this lens has is typical of many 35mm lenses from this period, while it’s not a lot, it’s not completely absent either. I would not worry about it, even for taking professional interior photos.
Vignetting is on the heavy side when shooting wide-open, a little bit too much towards the extremities. It improves considerably but f/4 and you will still see traces of it right up to f/8, which is unfortunate, I can’t see any improvements at all by stopping the iris down even further.


(Click to enlarge)
It’s obvious that the coatings are old so resistance to flare and internal-reflections aren’t as good. Despite that, I do not think that the ghosts look ugly, the orbs look somewhat charming, adding to the photo and you can certainly use them in a creative manner.


(Click to enlarge)
Foreground blur appears to be pleasing but the background blur is hideous. This is an old lens so I’m not faulting it too much for the unrefined blur characteristics at the background, it’s also a wide lens so this is not something that it should perform with exceptional points, too.


(Click to enlarge)
I will not comment too much in this section because chromatic aberration appears to be well-corrected. I struggle to find any alarming amounts to show you, even with difficult cases. Spherical aberration doesn’t look too bad either, I am very pleased by its performance in this regard.


(Click to enlarge)
The center looks sharp but lacks resolving power when shooting wide-open, the corners don’t look good at all. Stopping it down to f/4 will make the center look a lot better due to the improvement in resolution but the corners still look poor despite looking just a bit better. The center improves just a bit more at f/5.6 and appears to have reached its peak performance and the corners begin to show some potential. There’s nothing much to improve at the center by stopping this down to f/8, the only reason to do this is for the corners because they only begin to look acceptable at f/8. Maybe the corners will look better if you stop it down even further, who knows.
I am pleased by how sharp this lens is where it counts. I am not sure who this lens was designed for but I suspect that it’s mostly for press photographers and general use. If this is something aimed for a specific group of professionals that value sharpness at the corners then this would have failed miserably. I am not sure if Nikon had been designing specific lenses for a target market that early in its history, maybe I’m just overthinking things a bit.

The rendering is somewhat subdued but it is not unsaturated in an exaggerated way. The colors look very natural, I prefer this look compared to oversaturated, unnatural looking photos.

Flare will make things worse, if it covers the whole frame just like what you see here everything will look a bit washed out, lacking contrast. Some people may like this though.

When not shooting against any bright sources of light you’ll get crisp looking photos, the colors are deep and rich without looking oversaturated.

I like how it renders tonality, it’s smooth and refined, it’s perfect if you want a lens with that “classic look”.
The bloom looks good, too. It adds another interesting layer to your photos, giving you the perception of a hot day. Optical imperfections aren’t always a bad thing so long as you know how to use them.

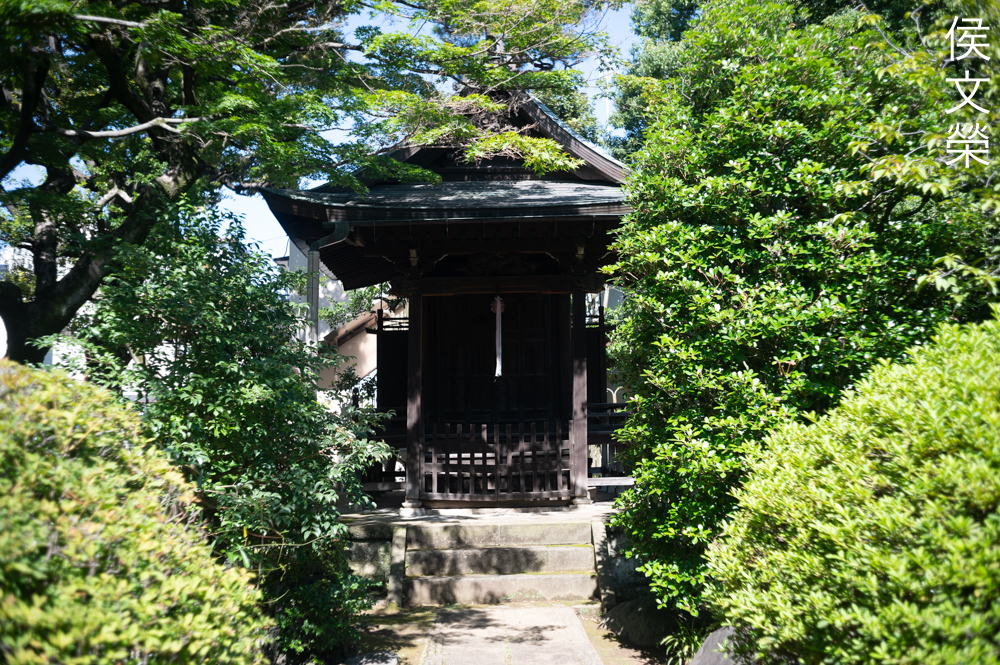
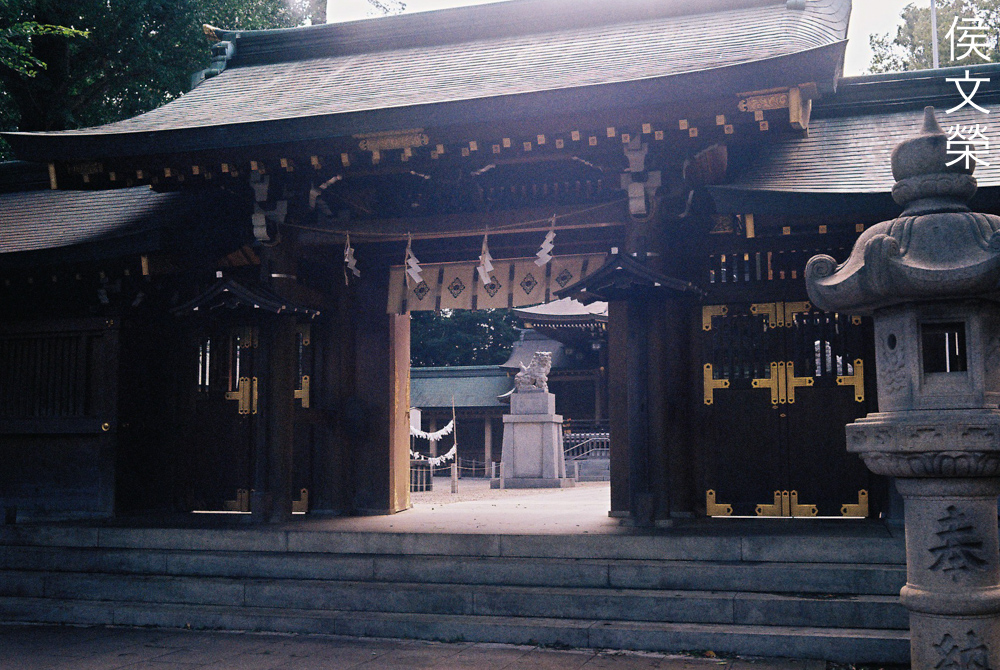
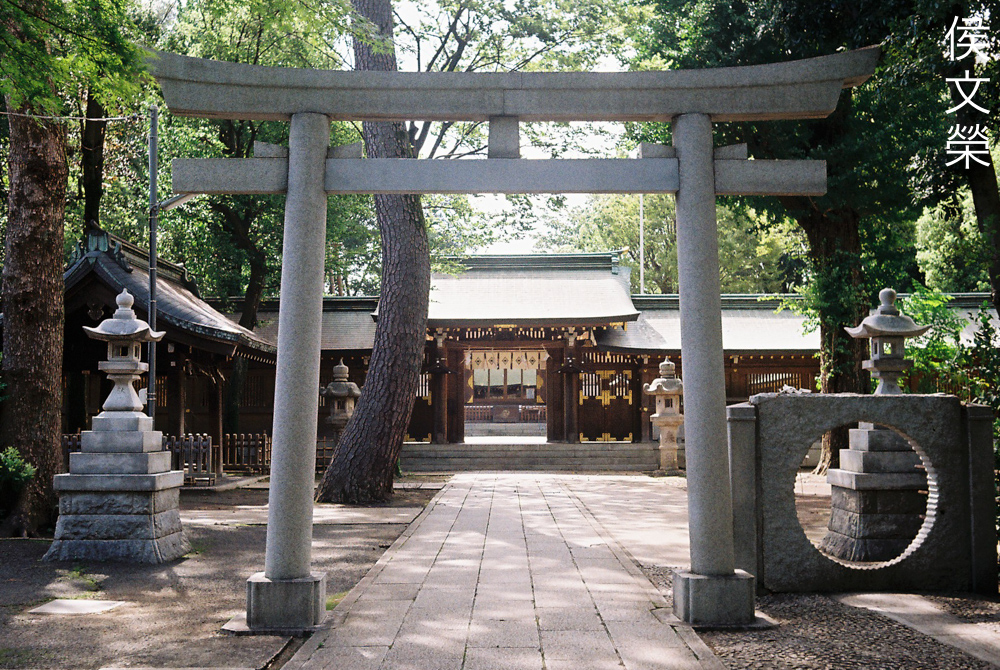
This photo shows two extremes, one in the shade and another under strong sunlight. Perfectly exposing it isn’t easy and you must determine which parts are more important, in this photo, it’s the gate that is more important compared to the background.

Just like many lenses that were made during the days of black and white film, this lens adds a cooler tone to to the photos. This is so that black and white photos will have more contrast, like adding a filter.


(Click to enlarge)
I had a great time shooting with this lens despite its awkward handling with the Nikon Z6. Imagine if I am shooting with a Nikon Zf instead, that should make things feel much better in terms of handling. It was a lot of fun shooting with a digital camera but in order to truly enjoy this lens you must shoot it with film.
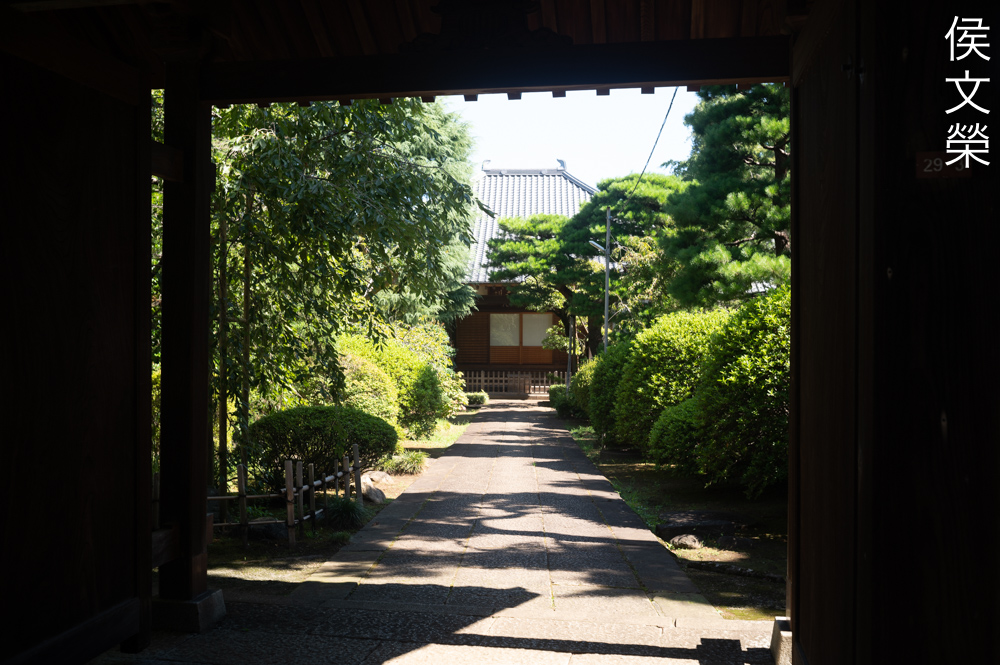
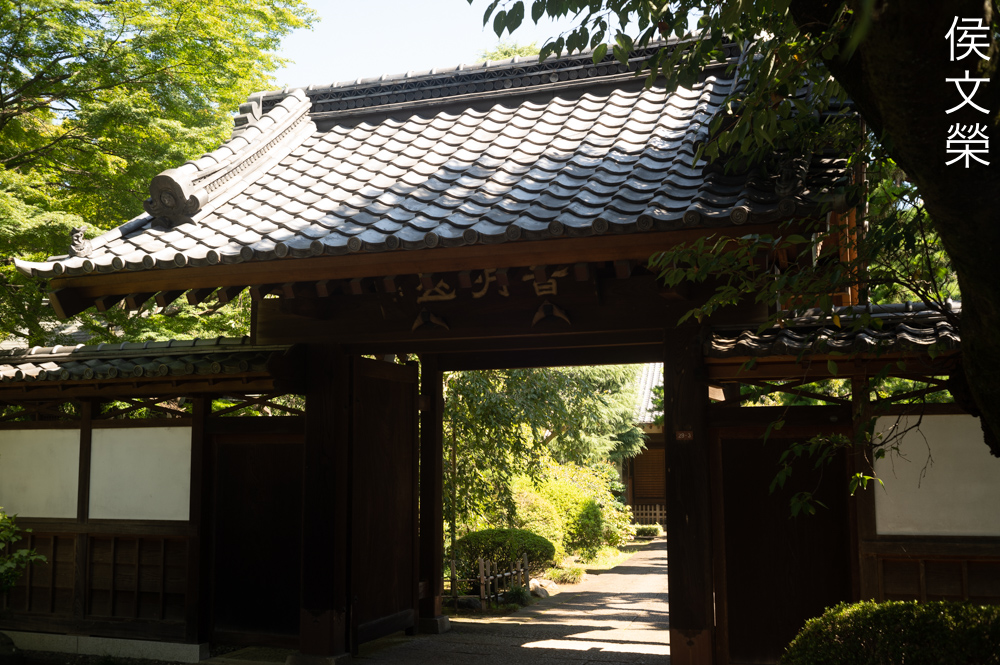
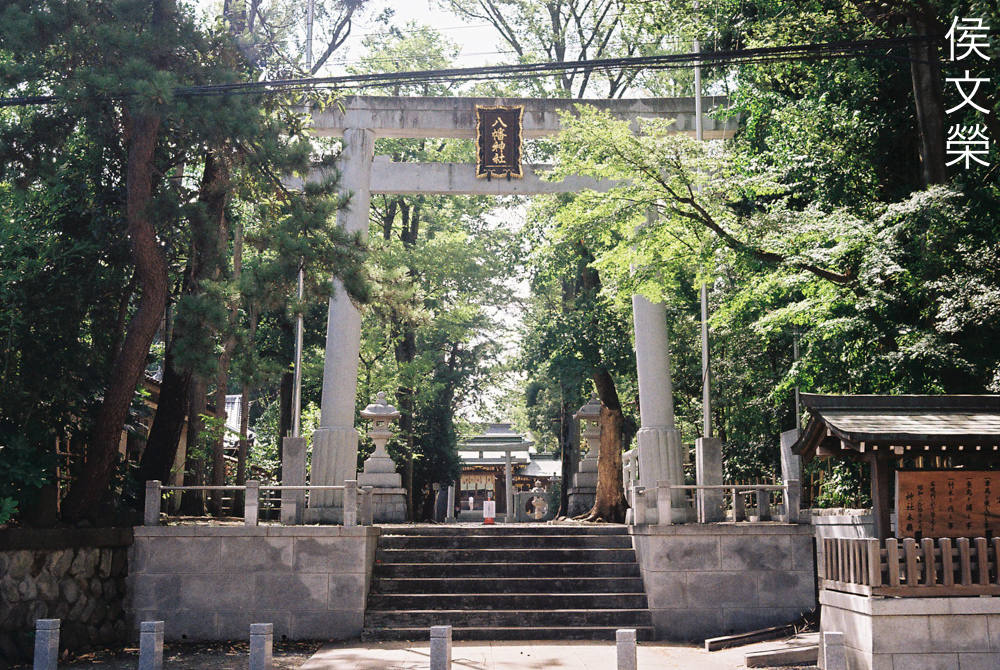
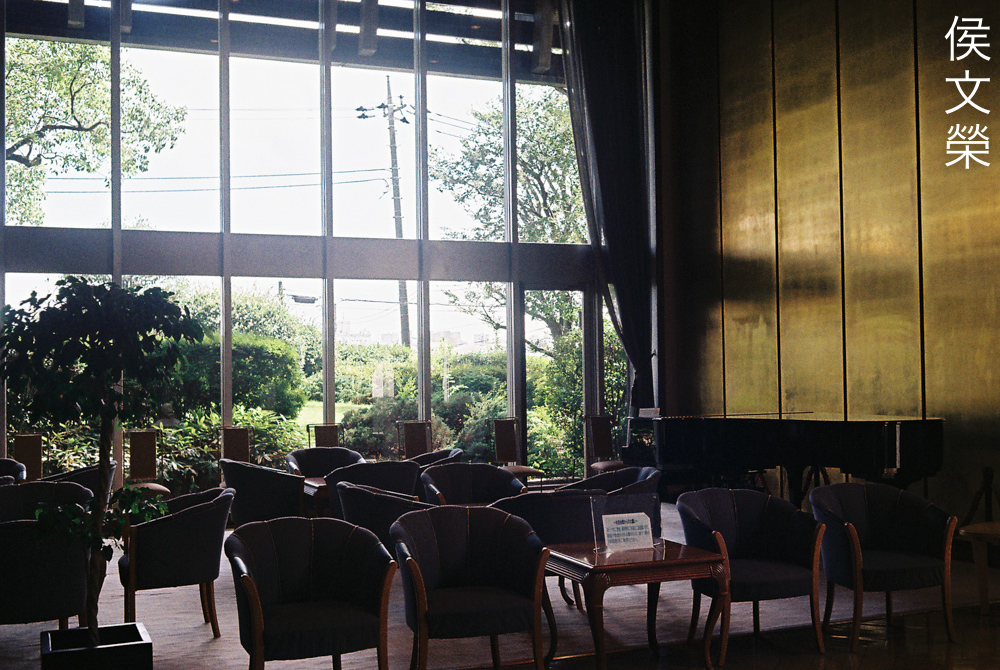
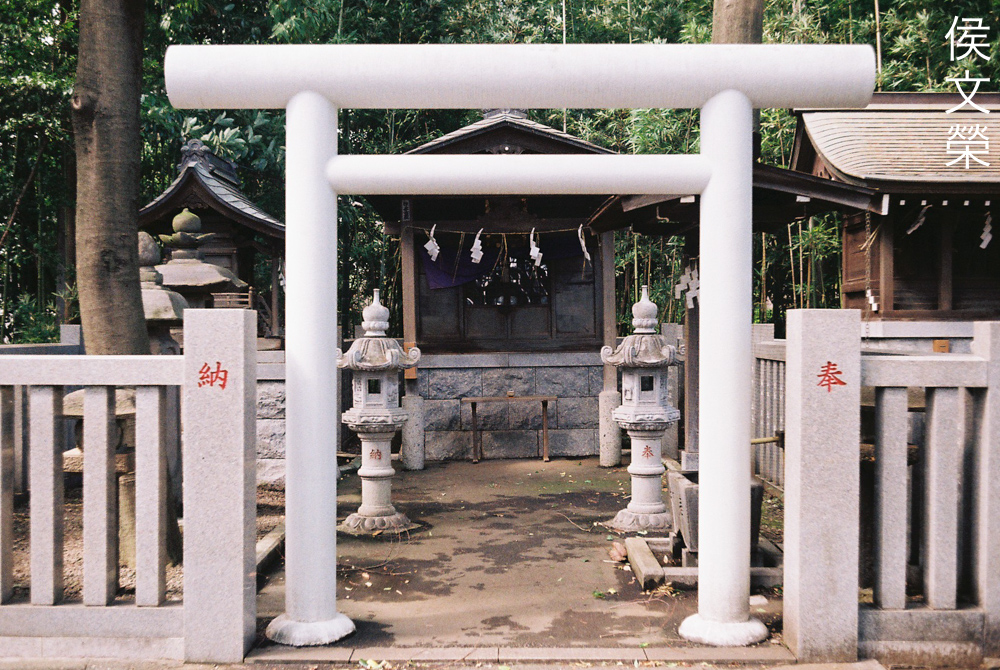
Let’s now check some film photos. Film has a unique look that is hard to simulate with a digital camera, thanks to grain. It reacts differently to light, this means that it could mask a lens’ flaws or amplify them. Since this was designed to be used with film, it’s best that we judge this using its intended medium.


(Click to enlarge)
The photos look very nostalgic, as if they were taken many decades ago. You will learn to embrace every flaw of the lens and you will accept things as they are, shooting with classic photography equipment will help you become more patient. It sounds a bit philosophical but our hobbies should help us develop and improve our lives.

I don’t like how this lens renders background blur, it looks a bit too rough for me. I have seen worse so I am just going to accept it as it is.


(Click to enlarge)
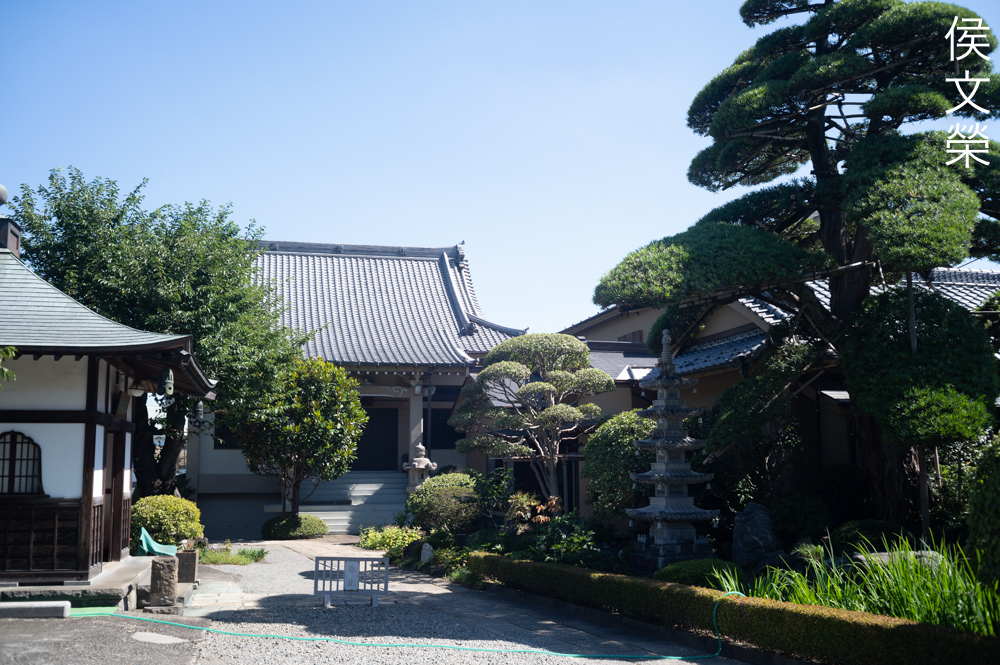
Here are more photos that I have shot with film. I can say that I have enjoyed shooting with it more using a film camera because that is the main point of using this lens. I think the next best solution if you want to shoot with the digital camera is to use one of those expensive Leica cameras, I cannot afford any of them, even the used ones.
I can recommend this lens to anyone looking for a small 35mm lens for shooting with Leica cameras. It is cheaper compared to Leica lenses. If you like shooting with Barnack cameras then you should have one of these instead of buying cheap Chinese crap, add a little bit more and buy something with more pedigree. If you are looking for one, look at the glass and the iris. The iris should be dry and complete, the glass is clean of fungus. A few lens cleaning marks is acceptable for a lens of this vintage, but they should not be deep as to be easily visible when you shine a torch through the glass. Many vintage lenses have seized or unusually heavy helicoids, this is due to the old grease deteriorating and the only way to fix this is with an overhaul. If your lens needs to be serviced, please do not do this on your own, send it to a real repairer. It is a very common lens design that’s similar with many Soviet and early German designs. You can show my article so there will be no surprises and that will help him do a better job. These are not expensive today, you can find one for $200.00 easily, do not overpay and if it reaches upwards of $300.00, it should be of exceptional quality. Do not feed the price manipulators, there’s plenty of them from Asia, even Japan. I think that they are the scum of the hobby and it’s easy to spot them through their ads. Just wait for a lens to appear in the auction sites with the right price and quality, you should be patient in this game. My lens was bought for $150.00, and in overall good condition, too. It will be nice if you can source the hood for it, but that will add to the price unless you get super lucky. Happy hunting.
Before We Begin:
If this is your first attempt at repairing a lens then I suggest that you see my previous posts regarding screws & drivers, grease and other things. Also read what I wrote about the tools that you’ll need to fix your Nikkors.
I suggest that you read these primers before you begin (for beginners):
- Essential tools
- Best practices 1
- Best practices 2
- Best practices 3
- Ai conversion
- Working with Helicoids
Reading these should lessen the chance of ruining your lens if you are a novice. Before opening up anything, always look for other people who have done so in YouTube or the internet. Information is scarce, vague and scattered (that is why I started this) but you can still find some information if you search carefully.
I highly recommend that you read my working with helicoids post because this is very important and getting it wrong can ruin your day. If I can force you to read this, I would. It is that important!
For more advanced topics, you can read my fungus removal post as a start. It has a lot of useful information, it will be beneficial for you to read this.
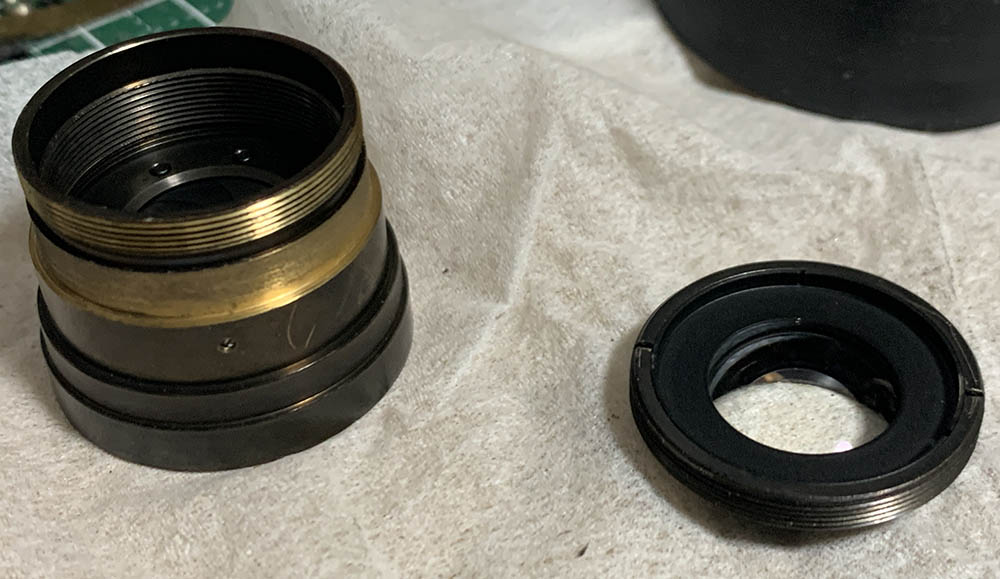
Disassembly (Main Barrel):
I don’t think the construction of the barrel is complicated at all but it still requires some amount of skill in order to do a good, thorough job. You’ll need special tools for this task such as a good set of rubber cups, not the cheap ones sold by Chinese sellers, the best ones are sold by a Japanese seller. One of the things that you should look out for is the focusing coupler at the rear of the lens, you’ll need to match it exactly as it should be or else you won’t be able to focus properly with it. Follow my instructions carefully so you won’t mess it up.
The main barrel shares many thing in common with the W-Nikkor.C 3.5cm f/3.5 (Leica Thread Mount), you should also read that article for reference.
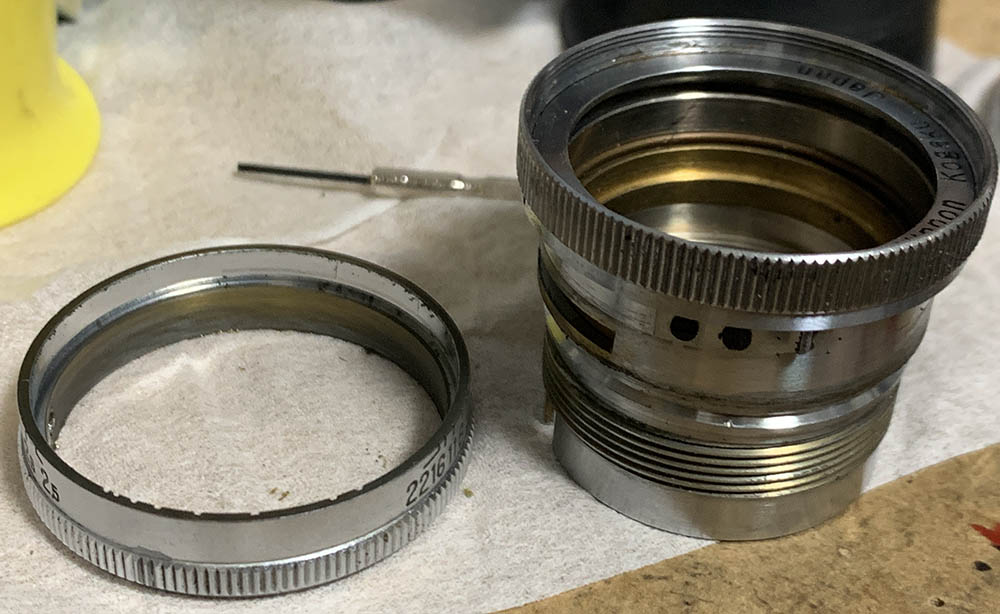
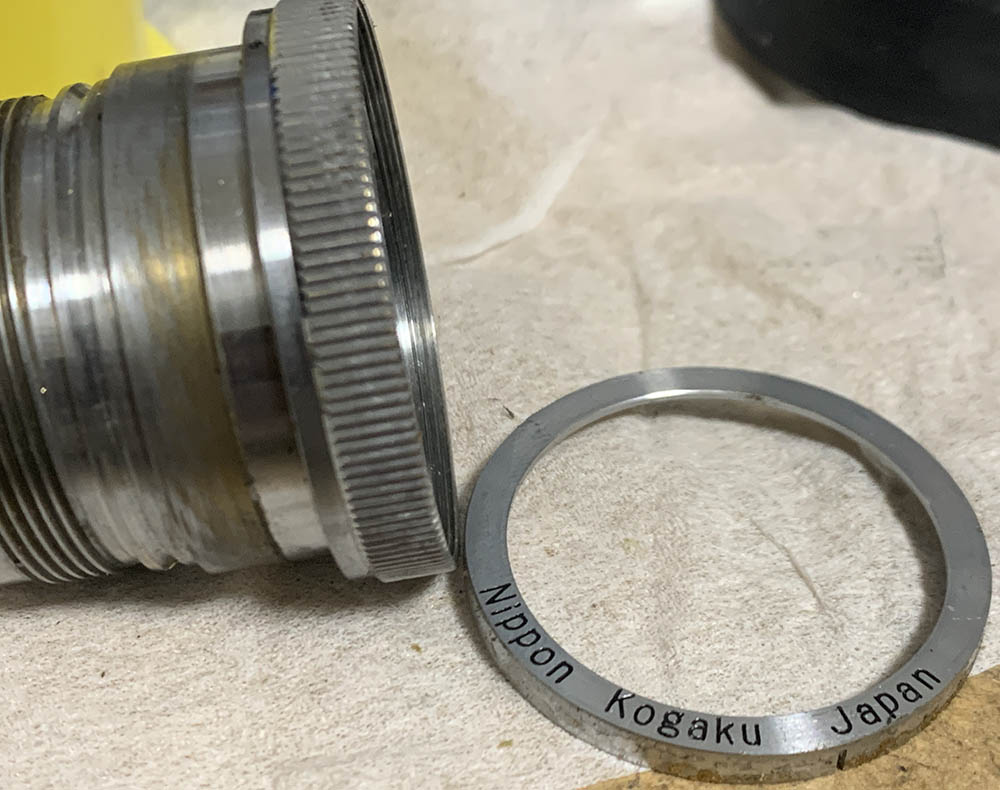
Carefully unscrew this retaining collar with a lens spanner, make sure that your tool won’t slip and scratch the rear element.

That collar secures the objective’s housing, remove it carefully. Don’t lose the shim, it’s used for adjusting the focus.
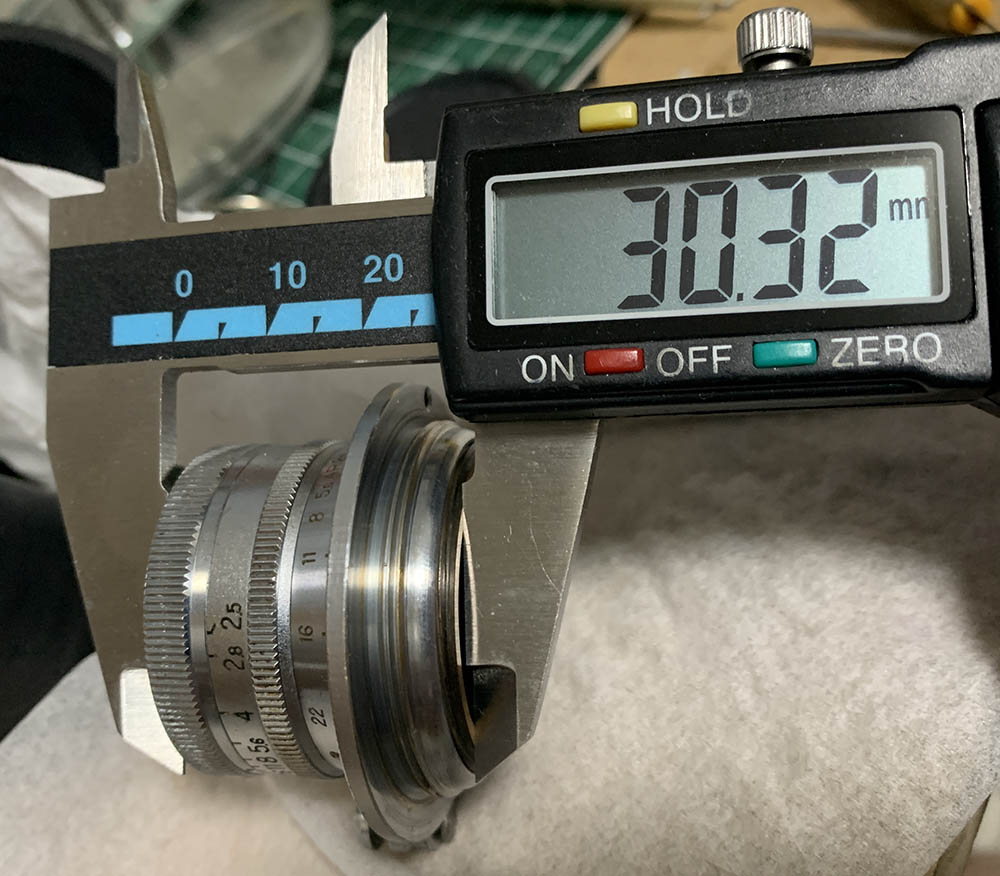
Before you dismantle the whole thing, measure its height first. You should be able to recreate this later, if the measurements later are off by a large amount then you have screwed yourself because you didn’t see and follow my article on working with helicoids.
Also take note how far this tube juts out when the barrel is at infinity.

And don’t forget to note its orientation, too.

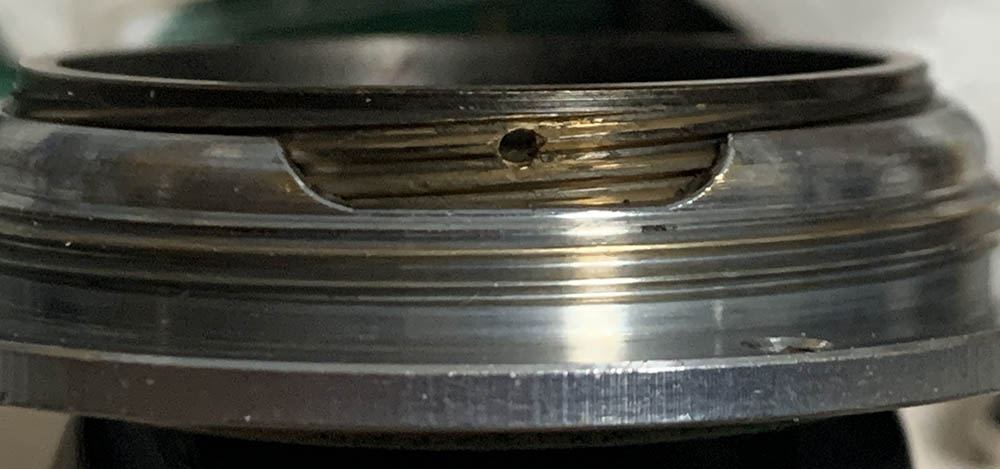
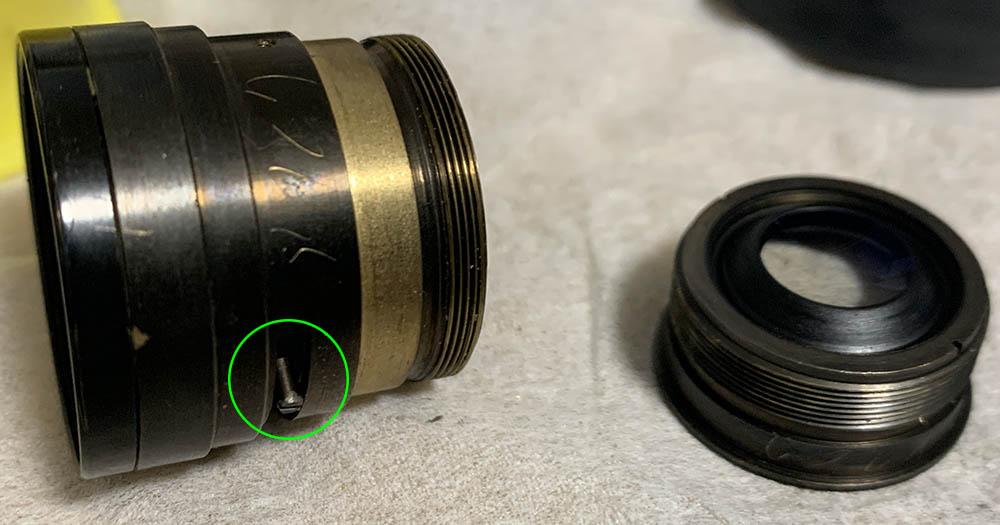
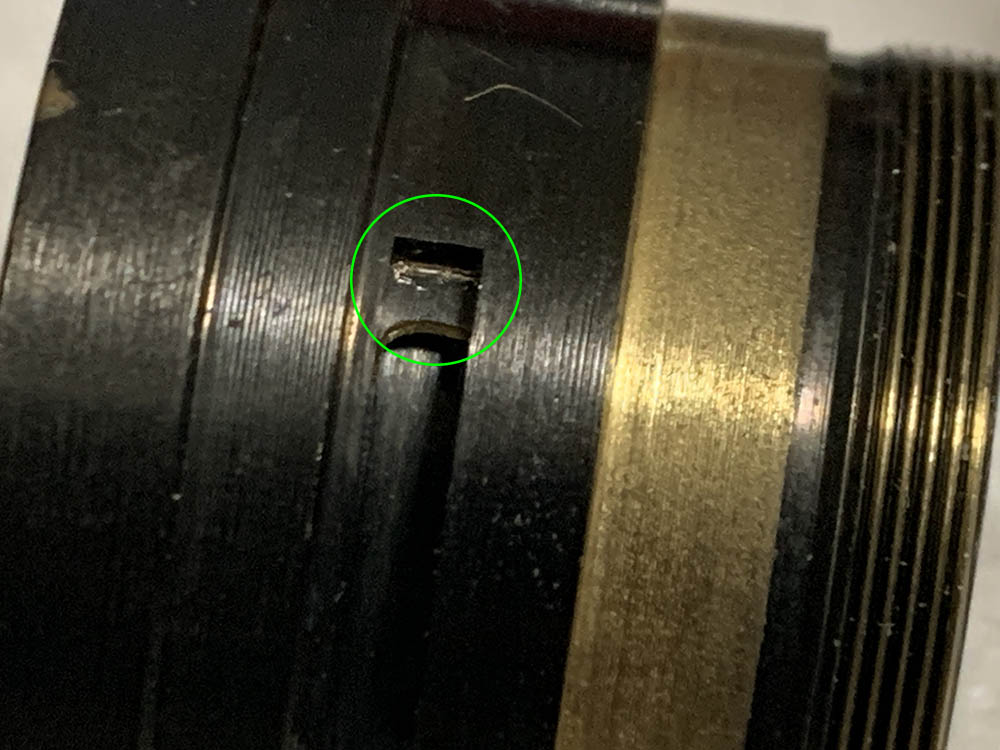
Extract this screw so you could turn the focusing ring beyond its range.

You can also extract this to make your job easier but make sure that you note which face should be facing forward. This block constrains the whole barrel.
Turn the focusing ring until you are able to separate the helicoids. Make sure you note where they parted, mine separated at this point. This position is the correct point where the helicoids should mesh, if you’ve forgotten to do this, you risk putting everything back incorrectly. To prevent it from happening to you, go read my article on how to work with helicoids. Many people disregard this warning and end up in a sorry state, messaging me for help, too bad for them because I rarely read my mail.

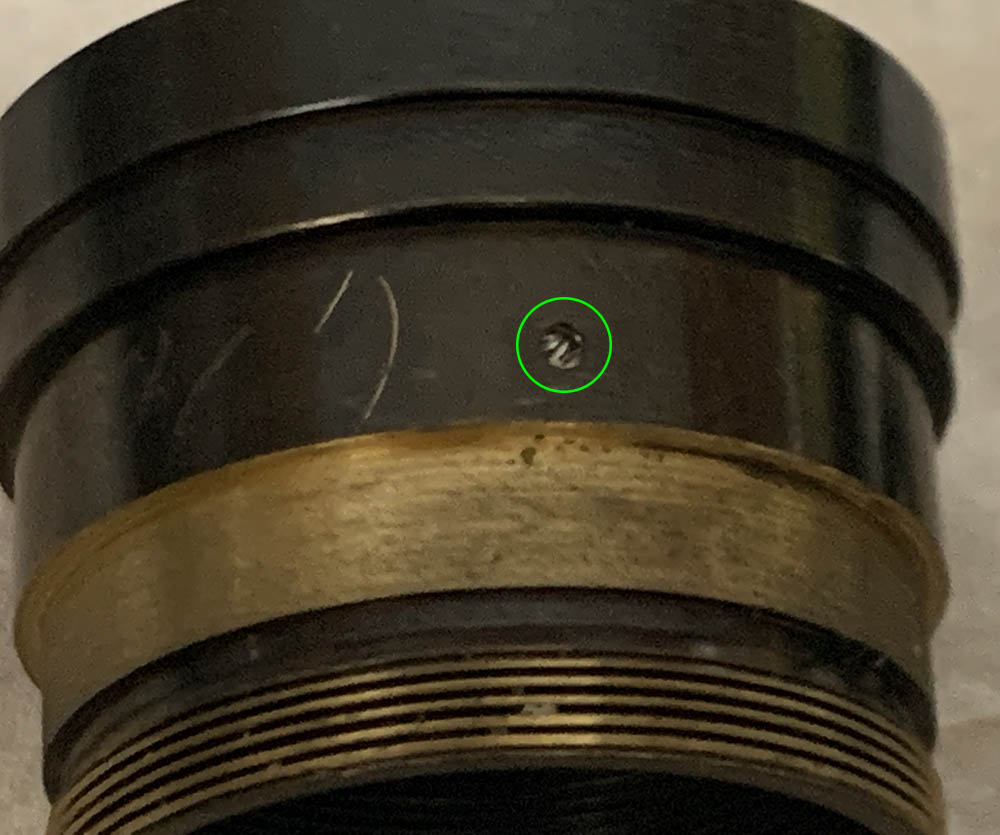
This screw is now accessible to you, extract it so you can dismantle this assembly to clean it thoroughly.
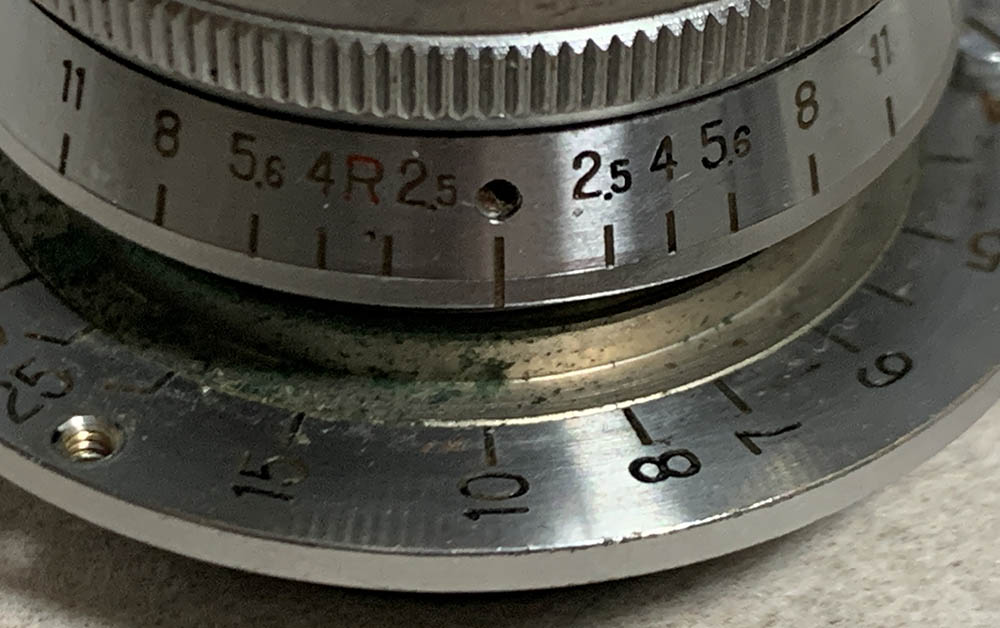
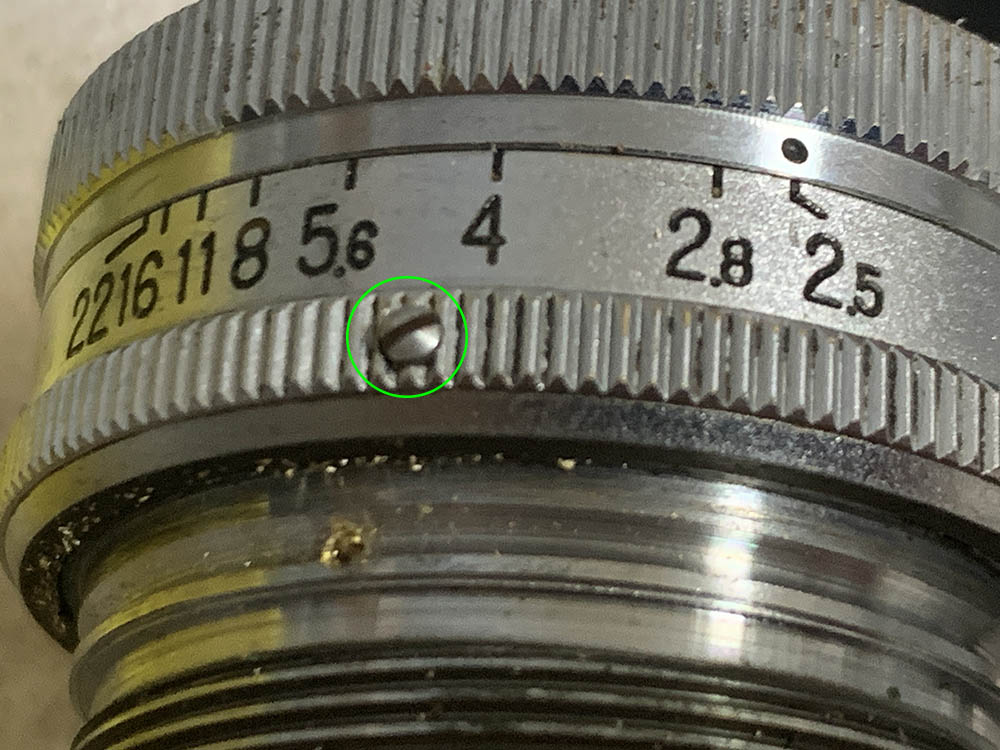
Loosen the screws of the focusing ring so you’re able to remove it. You don’t have to extract them, loosen them enough so it’s possible for you to slip the focusing ring off. It’s adjustable so you will want to know its original position, too.
The lock can be dismantled in this manner, only do this if you have to because the screw is delicate.
The crown comes off just like this.
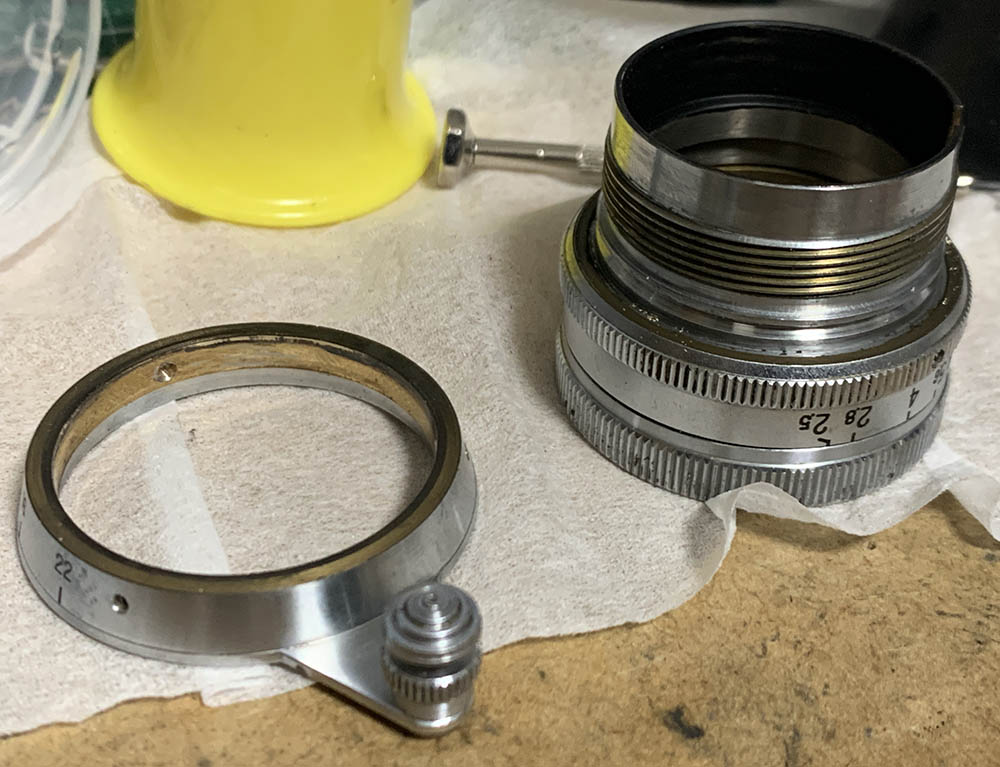
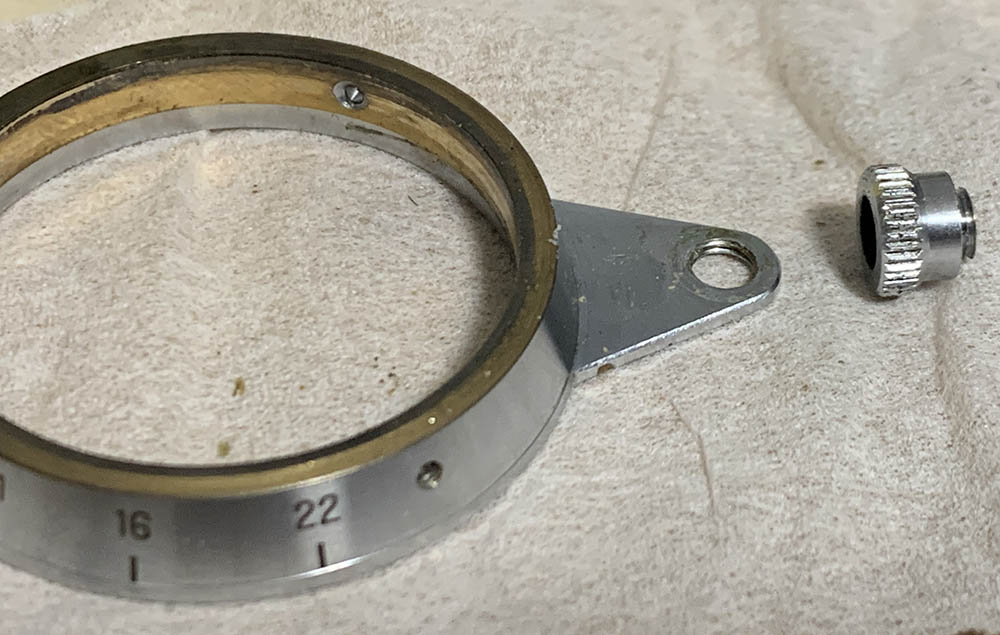
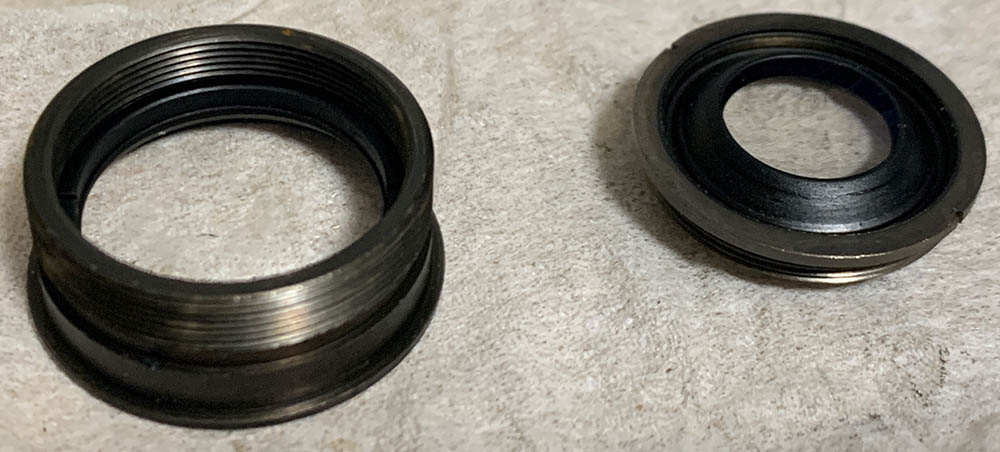
Loosen these screws a bit so you can slip the aperture ring off from the front barrel.
Slip it away from the front of the barrel to remove it.
The bezel can be push from the rear with a rubber tool, this will allow you to clean everything. It may be secured in place with glue at the back so soften it up first by pickling it in an alcohol bath.
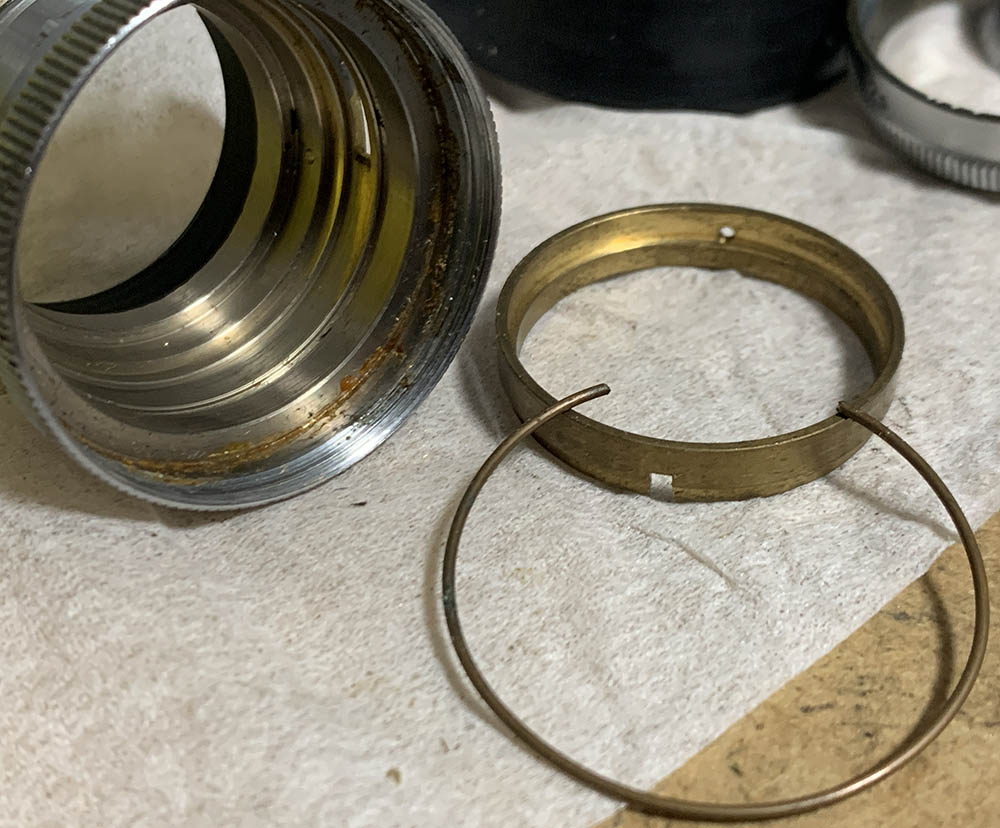
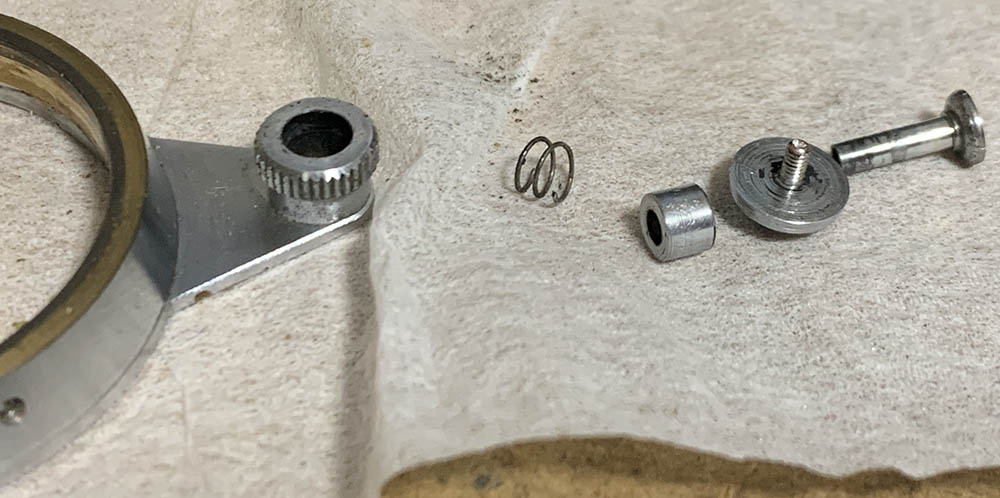
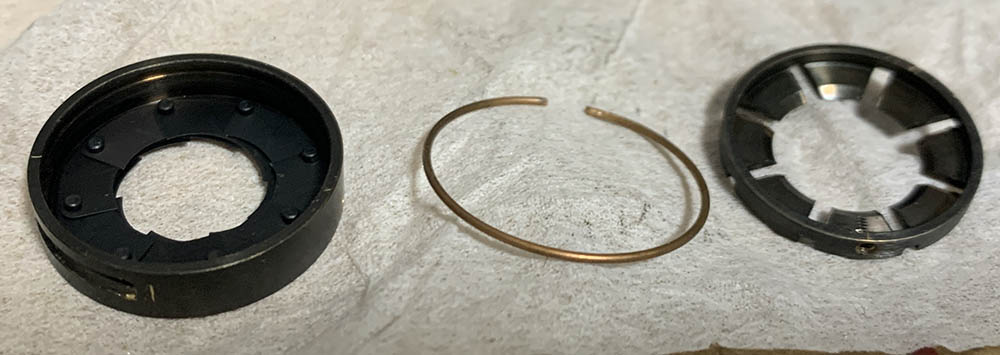
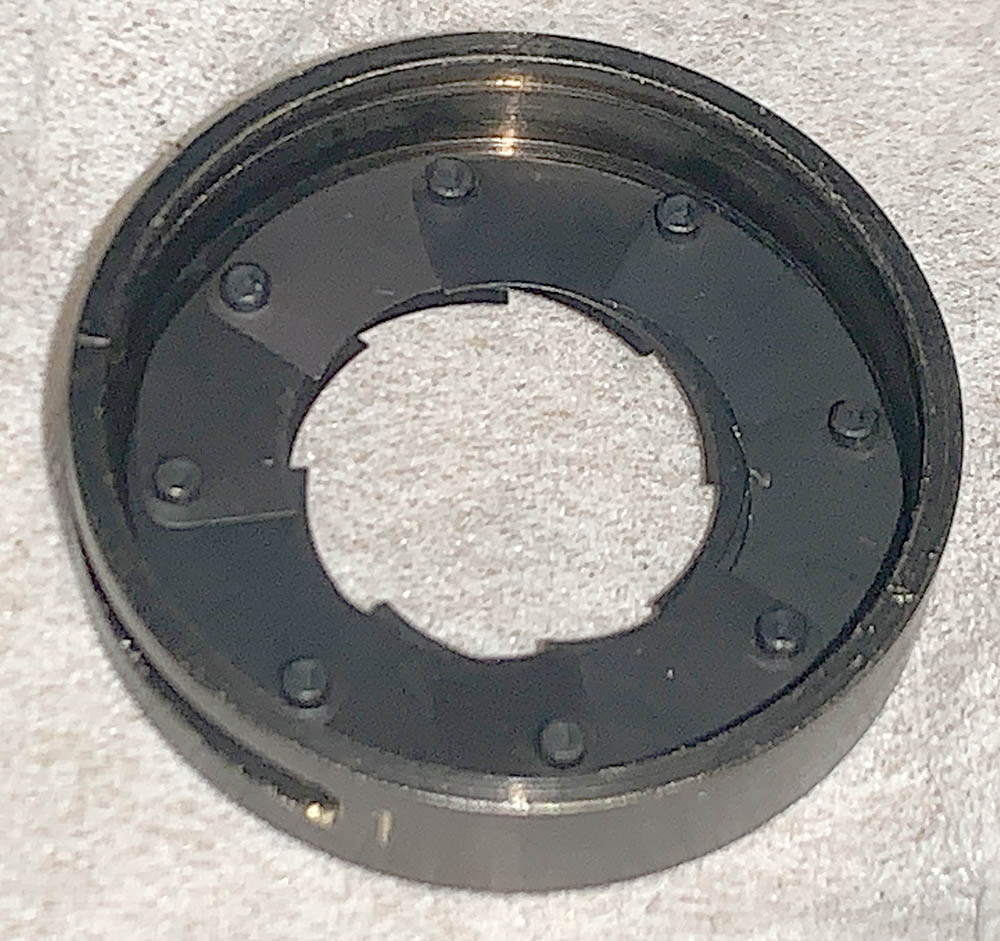
Finally, you can remove the aperture coupling ring by removing this clip.
I cleaned all of the big parts with a strong toilet cleanser – the grainier, the better. I scrubbed everything using a brush then rinsed them all very well with hot water before making a final rinse with pure alcohol to remove any remaining residue. Special care must be used when cleaning the helicoids, the threads are fine in some places and they can be caked with gunk, using a wooden toothpick helps here for stubborn deposits. Dry them well before you continue. When lubricating, be sure not to apply too much, all you will need is a thin film of fresh grease. Mate the helicoids then exercise them by turning several times, this will ensure that the grease is evenly distributed. Wipe away any excess. If you have applied too much grease it will settle in the iris mechanism eventually, necessitating the need to open it again, just to give everything another overhaul.
Disassembly (Objective):
Since the iris mechanism is part of this major assembly I will include that here in this section. If you have a lens with an oily iris, the only way to correct it is to do a complete overhaul, there’s no reason not to do it and I will show you how it’s done. There’s nothing really complicated about this section apart from the iris mechanism itself, which is one of the most complicated I have ever seen from a tiny W-Nikkor. It is similar to many German designs so you know where that overcomplicated way of thinking comes from. You will need special tools for this and it’s not an easy task for somebody with insufficient experience. If you have an oily lens, send it to a repairman and show him my website to help him do a better job.
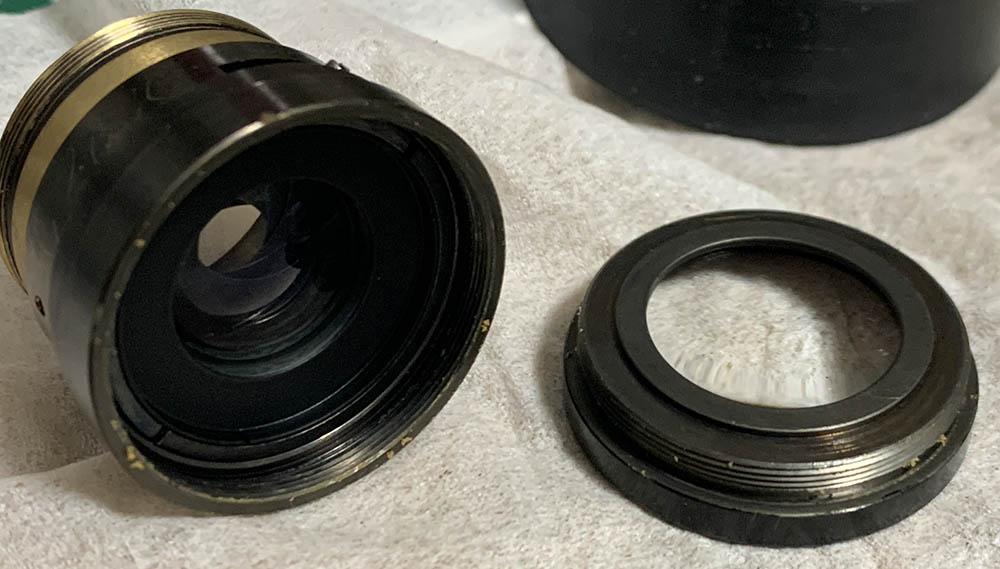
Extract this first before you begin working on anything. The front optical assembly can be unscrewed with a rubber tool, be careful not to scratch the optics.
The 3rd group’s housing can be unscrewed like this, do not bother dismantling this, there’s no point and it’s sealed.

The rear element can be removed after unscrewing its retainer ring.
The front element and its housing can be unscrewed in this manner, unscrewing the bezel will enable you to remove the front element from its housing.
The 2nd group’s housing can be unscrewed using a small lens spanner, but be careful not to scratch the glass.

It has a baffle that’s pressed into place, it’s hard to remove it without a special tool.
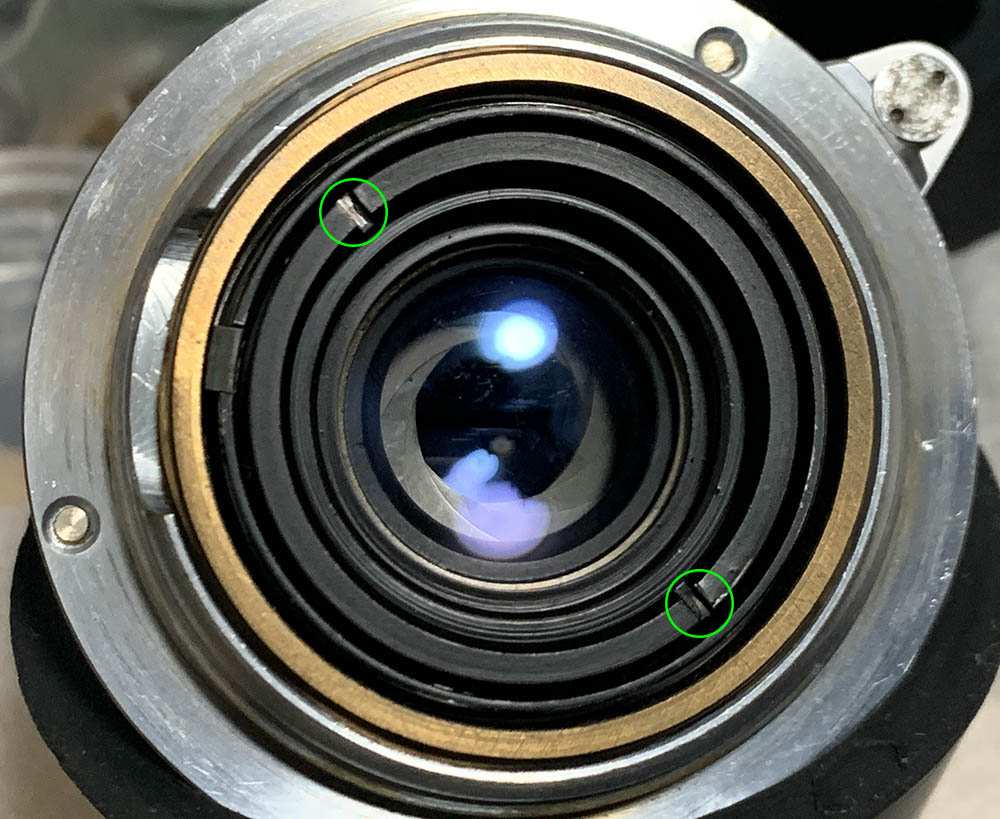
Before you completely dismantle the iris mechanism, mark its position so you’ll be able to put it back later at the correct position, it’s adjustable.
Loosen these so you can remove the iris assembly, be careful not to misplace any of these.

The iris mechanism can now be safely removed.
It’s held in place by this clip, removing it will allow you to completely take it apart.
Inspect the iris properly before you remove the blades.

Poke the rear of the blades by their pins to safely remove them, these are delicate so carefully handle the blades by their pins and not by the flat part of the blades themselves.
Like what we did with the main barrel, clean everything really well. You do not need to lubricate the iris at all because it’s designed to operate without grease. If you must, a small amount of powdered graphite is enough to make it operate a bit smoother, just don’t forget to blow any excess powder off. The only part that will need a bit of lubrication is the aperture selector ring, be sure to only apply the bare minimum, it’s too close to the iris mechanism. Even a very thin film is more than enough, you will not notice it but that’s all that’s needed for the part to turn smoothly.
If your lens has fungus, read my article on how to clean lens fungus, just make sure that you dilute it with distilled water so it’s not going to be too strong as it may damage the coating.
Conclusion:
This is an easy job for me, it took about a night for a complete overhaul, with most of that time spent on cleaning the parts thoroughly. Putting the iris mechanism back also took some time but I am used to it after doing this for years. Read my article on how to work with preset or manual iris mechanisms to know more about my method.
While the whole job of overhauling was sufficiently satisfactory, I felt really good because I now own one of my must-have lenses. It certainly filled a hole in my collection.

It’s such a little gem, so unobtrusive yet eye-catching. This is how a gentleman enjoys life and all the nice things that come with it. A refined hobby for a refined person of culture.
That’s it for this article, I have been meaning to write this for a very long time but it seems repetitive since I have written several articles of lenses that has a similar construction to this. That is counterproductive if you think about it but it’s important to document each and every Nikkor. If you have enjoyed this article, please share it with your friends. If you want to support my life’s work, do consider helping me with a little tip. Unlike the uncontrollable tipping culture here in North America, this website is free for all and it’s just an option if you want to leave a tip. That helps me offset the cost of hosting the site, this is a media heavy site and the hosting can get really prohibitive at times due to the required bandwidth. This site would not have lasted this long without your support. Thank you very much and see you again next time, Rick.
Help Support this Blog:
Maintaining this requires resources and a lot of time. If you think that this has helped you or you want to show your support by helping with the site’s upkeep, you can make a small donation to my paypal.com at richardHaw888@gmail.com. Money isn’t my prime motivation for this blog, I believe that I have enough to run this but you can help me make this site (and the companion facebook page) grow.
Buy me a roll of film or a burger?
Thank you very much for your continued support!
$2.00
Helping support this site will ensure that this will be kept going as long as I have the time and energy for this. I’d appreciate it if you leave out your name or details like your country’s name or other information so that the donations will totally be anonymous. This is a labor of love and I intend to keep it that way for as long as I can. Ric.

1 Comment (+add yours?)