
Hello, everybody! Do you know about the story of “Long Long Man“? It is a love story about a woman who is torn between his lover and a third-wheel in their relationship, a love triangle like no other with a twist at the end. It is an amazing story that can be considered a modern classic, it’s something that we should all watch at least once in our lifetimes. Watching that very short movie will help you appreciate what you are about to read in this article today. It’s also about something long, but unlike “Long Long Man“, it does not end in tragedy but there’s a little bit of a plot twist with this lens’ barrel construction.
Introduction:
The Nikkor 400mm f/5.6 ED-IF Ai-S is a masterpiece. It was made from 1982 up until 2002, a long 20-year run which is kind of unusual for a lens of this kind in my opinion. On the other hand, it’s understandable because it’s considered to be an exemplary performer. The Nikkor 400mm f/5.6 ED-IF Ai that came before is optically similar to this one except that the tripod collar is narrower. At least that’s the most obvious of all external distinction between both lenses. There may be some differences internally but I can’t confirm. This lens has a huge following amongst bird shooters and train spotters because of its weight and stellar optical performance. Very few lenses of this type could match it in terms of popularity, these are always in demand. For that very reason, it’s not easy to find a cheap one but I got really lucky and I’ll tell you why.

It is long, huge and black. The build quality is exceptional, fit for professional use. It is also very heavy so a tripod collar is supplied with the lens. Unfortunately, mind did not come with it so I was able to buy it for a very cheap price. There are three rings that you manipulate with – the aperture ring, a focusing ring and another ring that allows you to sort of constraint the range of the focusing ring, we’ll talk about it later. Its barrel never extends nor retracts as you focus because it’s an IF (internal focusing) design, this is helpful if you mount it on a tripod and doing precision work since the balance of the lens doesn’t change.
It has a 7-elements-in-6-groups design, the second element is the ED glass, the ED in this context means extra-low dispersion glass and not erectile dysfunction as some of my middle-aged readers may assume. It just means that the glass is composed of a special blend of materials that help correct aberrations. The lens is legendary amongst many photographers and is fondly remembered for its amazing performance. It also has a good reputation for performing beautifully with teleconverters but I do not know the exact combinations, it is something that many photographers keep as a secret formula.

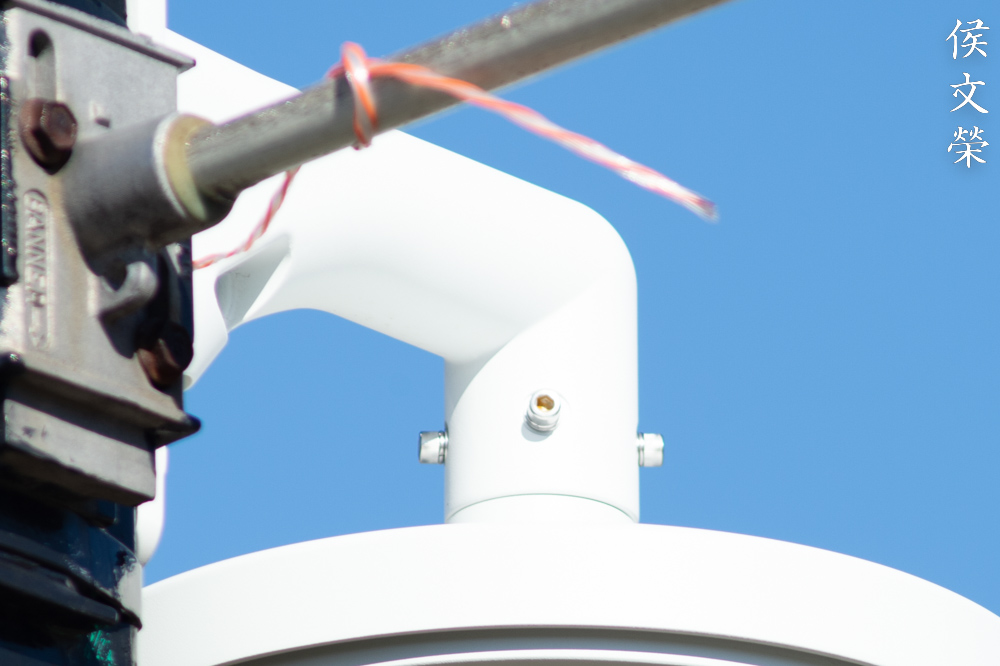
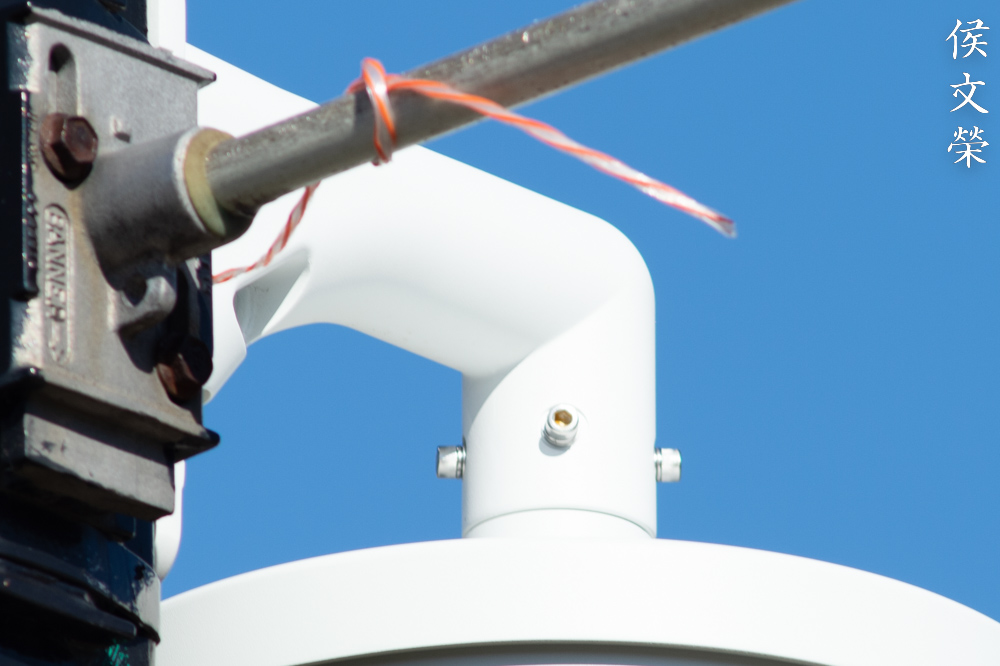
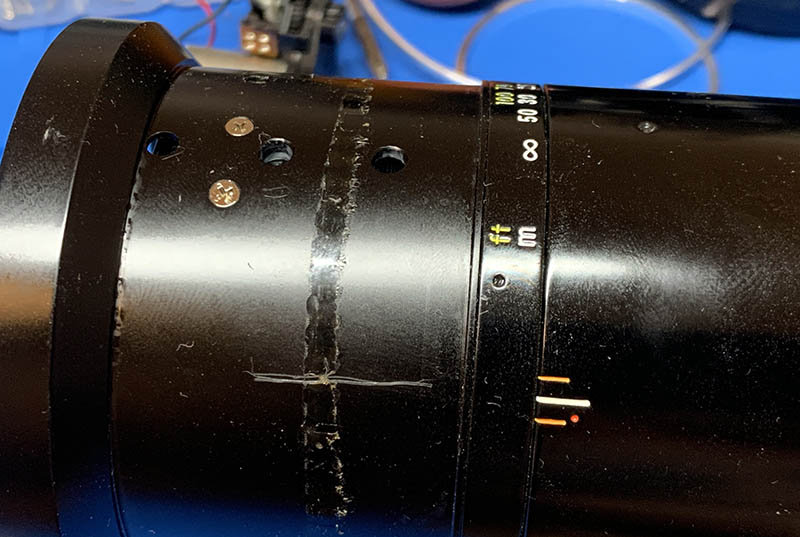
As you can see in this picture, there is a knob that secures the ring closest to the front of the lens. That is for applying a click-stop to the focusing ring, it will not prevent you from focusing beyond it but serves as a reminder that you are turning beyond a given distance. A use case for this is when you have your setup on a tripod and you have pre-focused on a subject, like a bird’s nest. You may want to focus elsewhere if you are tracking the bird coming back to its nest but you need to quickly go back to focusing at the nest for the perfect moment. Just think of it as a “memory feature” of some kind, or maybe as a reminder that you are focusing way past infinity. Sports and race track photographers are all familiar with its use.
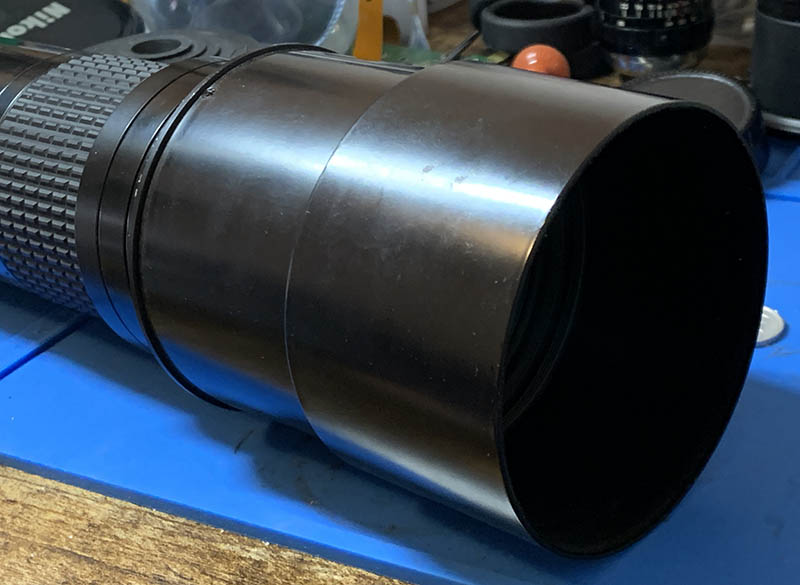
It comes with a built-in shade which causes more trouble than being helpful, that is because it does not lock into place so it’s easy to retract it with the slightest contact. I highly advise purchasing a third party hood that you can screw-in instead. This is really stupid, a simple clicking mechanism would have been a good solution but Nikon never made it.

A Nikon D4s is a great partner for this lens because of its weight. Everything balances well in your hands, I just need the strength to carry this all day.

It makes for a very good lens for shooting birds when you pair it with a Nikon Z fc. The cropped sensor is able to allow you to get more reach. This is how long it looks like with the hood deployed. I really like it a lot because I don’t need to carry a separate accessory just to shade my lens from stray light.

This is my favorite setup. A Nikon F3 is the best film camera to shoot with this in terms of ergonomics, if a full manual kit is your thing. Otherwise, any other automatic film Nikon will do.
Learning how to use your lens is the best way to maximize it. You will know when to use it and for what. It will also help you create better pictures because you will know which settings will produce better results. I shot these photos from f/5.6, f/8 and f/11 because these are the most common aperture values that we’ll use this with, and we will see the most changes here. For my convenience and back health, I used my old but reliable Nikon Df to take these photos since it has the same sensor as the Nikon D4, while the rest of the photos in the gallery were taken with the latter. There should be not a lot of differences between the cameras in terms of image quality so this should still be valid.

I’m not sure about this since my test subject isn’t the best. I wasn’t able to see any traces of distortion, at least I don’t think it will be enough to register in most images.


(Click to enlarge)
There’s noticeable signs of vignetting at f/5.6 but it’s not that bad at all. It improves considerably by f/.8, it will be hard to find any traces of vignetting at this point in actual use but it’s still there if you looked for it. The whole frame looks very clean by f/11, you should never find any dark spots at this point. This tells me that you should at least shoot this from f/8 for best results, we’ll see about that later.


(Click to enlarge)
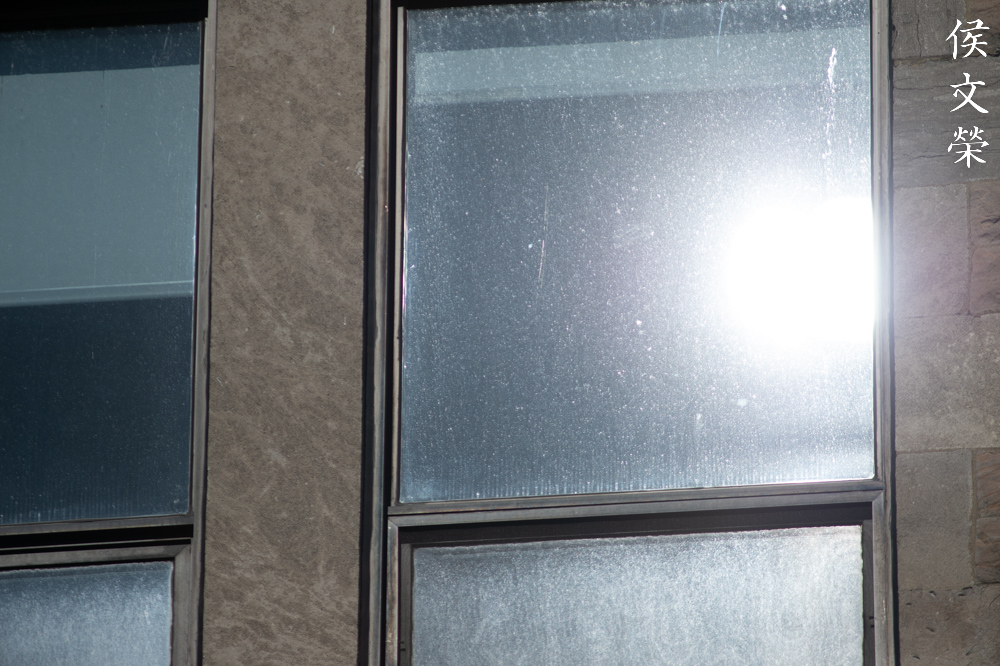
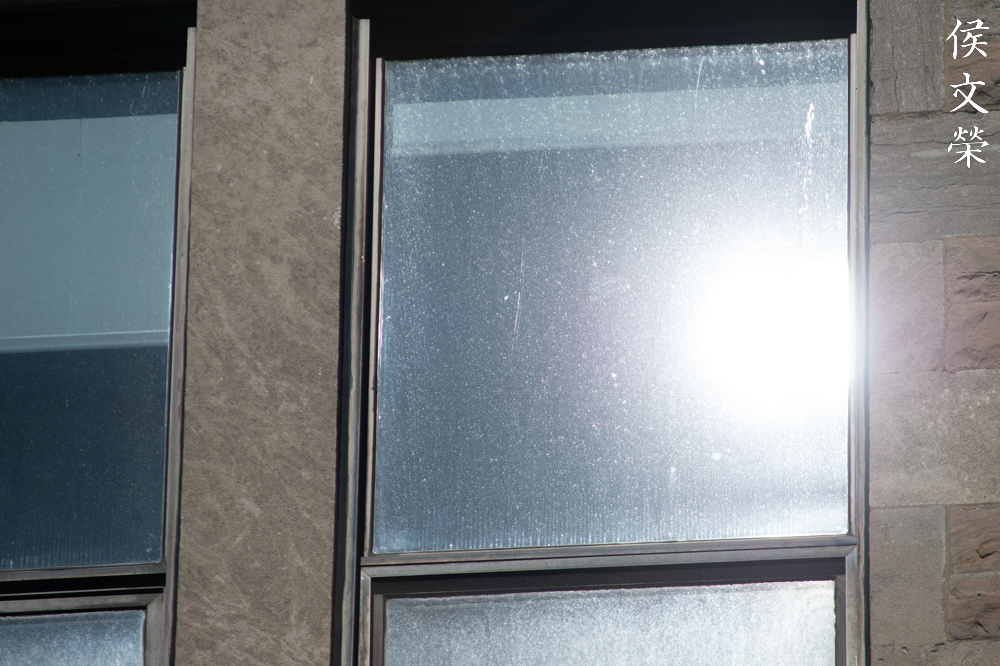
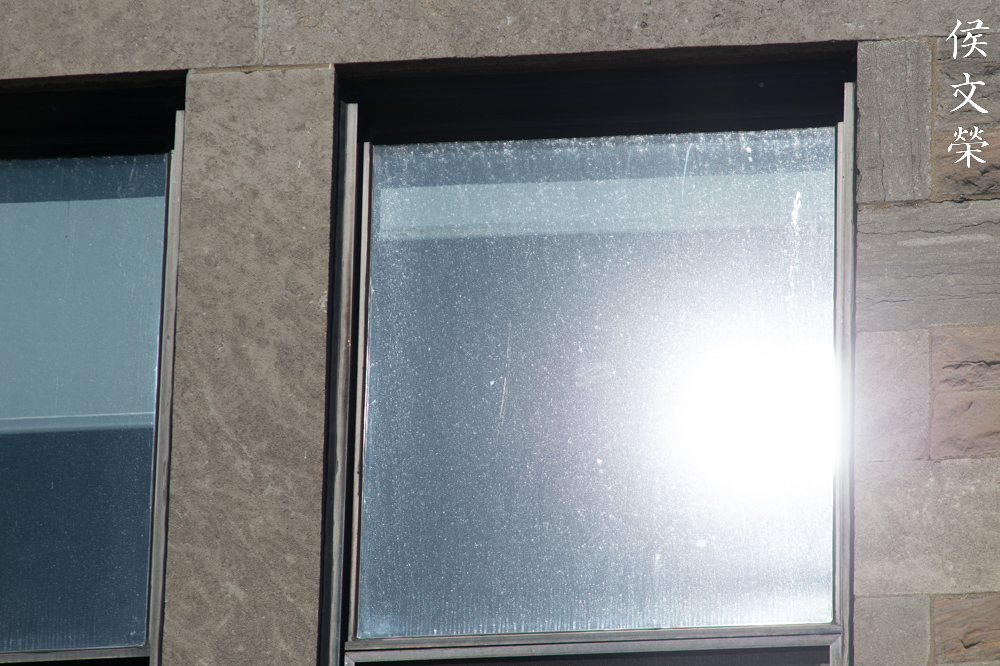
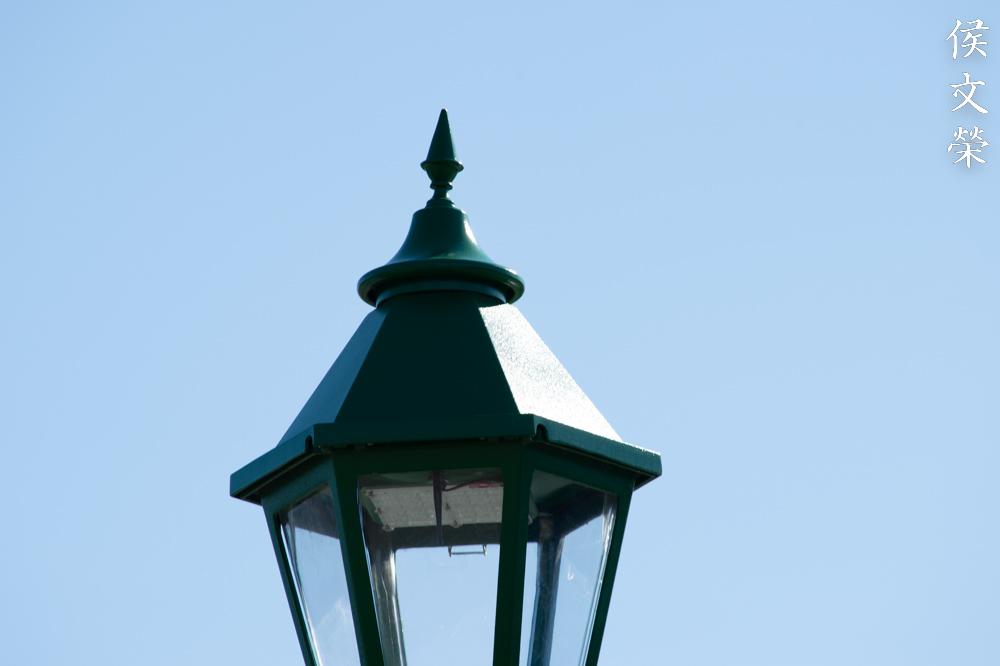
It looks to me resistant to internal reflections but can be susceptible to flare when shooting at the Sun or at least having it close to the frame. I wouldn’t worry too much about it as it’s not that critical for shooting wildlife or most of its use cases, unlike landscape photography where this is going to matter the most.


(Click to enlarge)
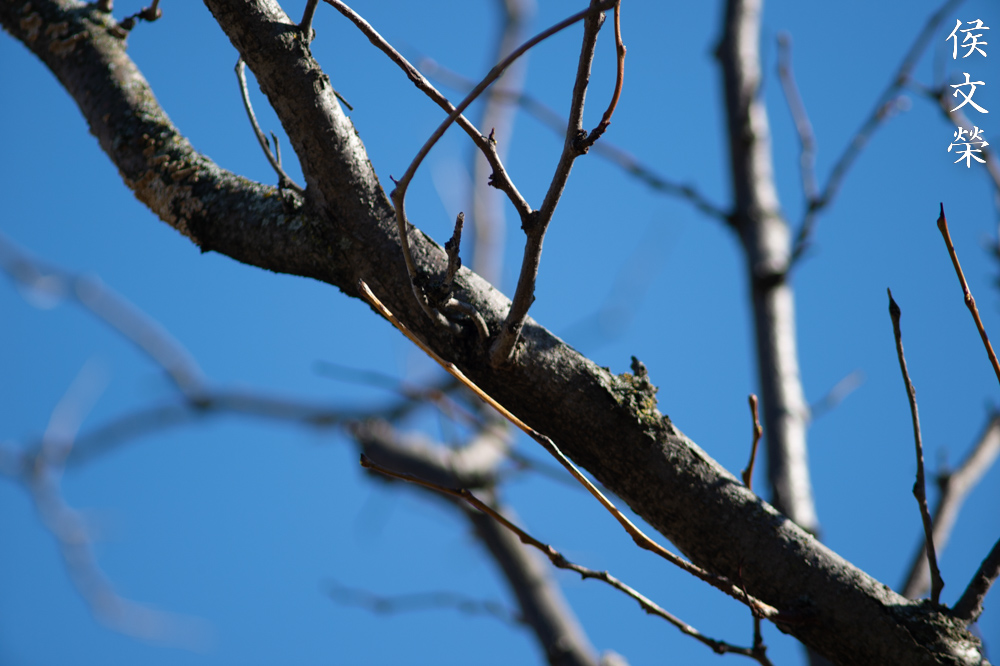
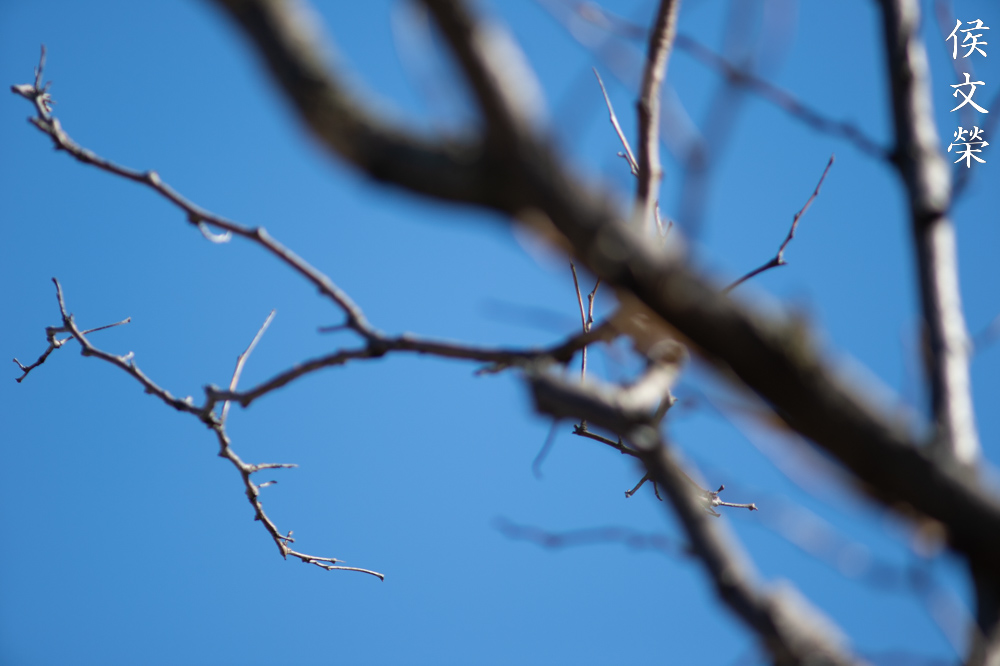
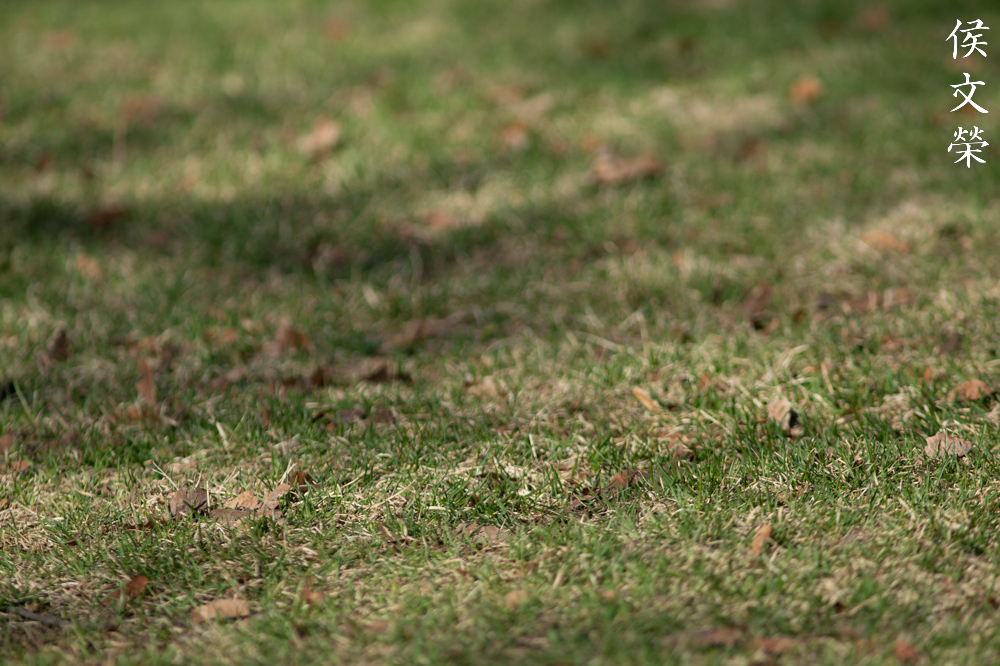
The characteristics of the blurry parts of the frame looks so smooth and clean as it should be because it’s a very long lens where it’s easier to render these things compared to a lens that is shorter than 70mm. It’s able to give you some of the smoothest blurs you’ll ever see from any lens.


(Click to enlarge)
Chromatic aberration is handled wonderfully only if you are able to focus perfectly. Anything that is barely out of focus will bloom in magentas and greens. This is very frustrating because acquiring focus using this lens isn’t the best nor the easiest so any slip will result in a ruined photo. It’s ugliest at f/5.6 but you’ll still get plenty of it at f/8 in extreme cases and it won’t go away even at f/11. This sucks and this is the biggest issue that I found with its performance. I’m not saying that it’s a deal breaker, it just makes it unforgiving. You will surely lose a lot of good shots because of this.

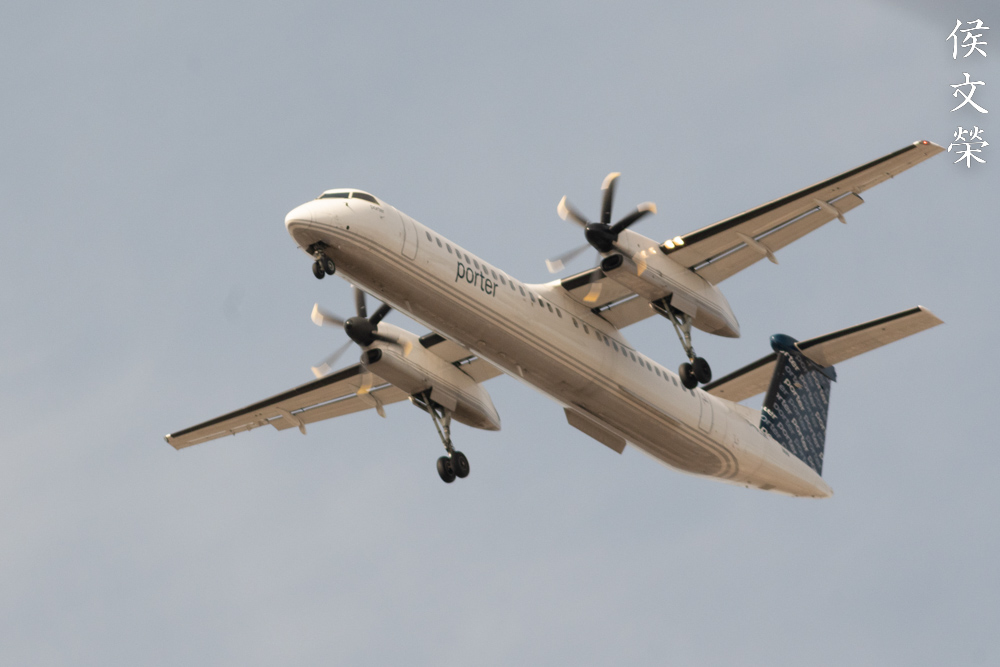
This is a good example. While it’s not obvious because of JPEG compression you can still see the magenta highlights around the tail of the plane. It looks terrible when viewing the RAW file using a high resolution monitor. This photo isn’t focused perfectly so the magenta bloom looks exaggerated. You’ll see more of it later with my sample photos taken in the field.


(Click to enlarge)
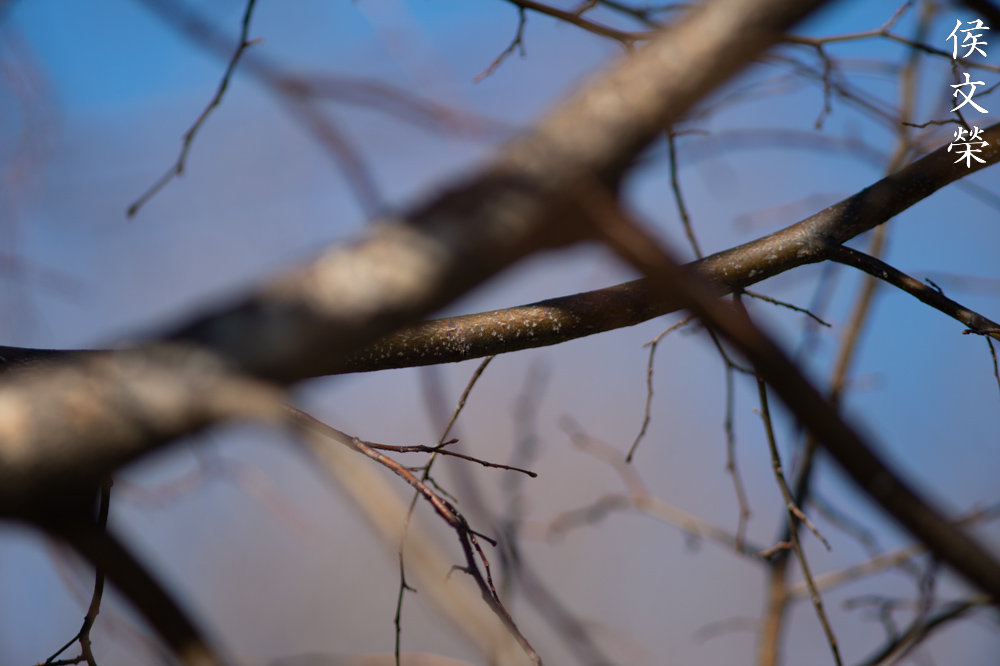
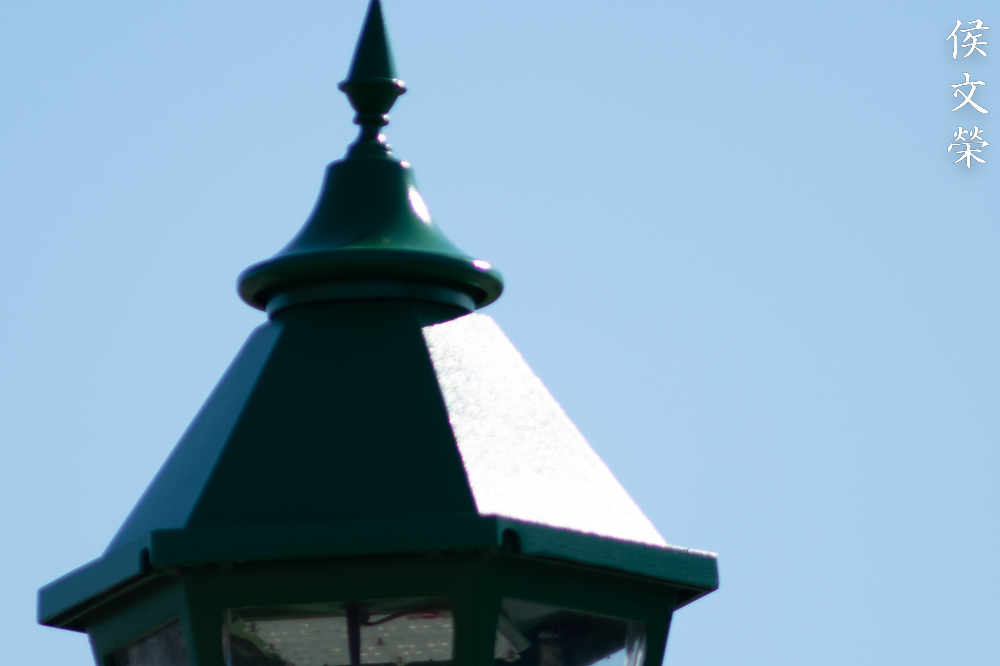
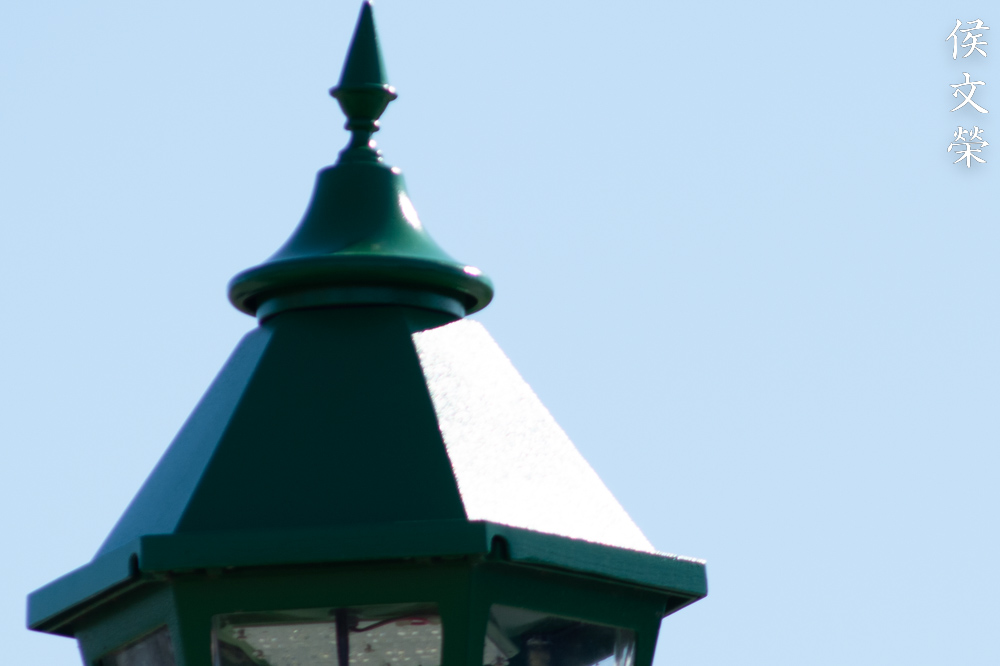
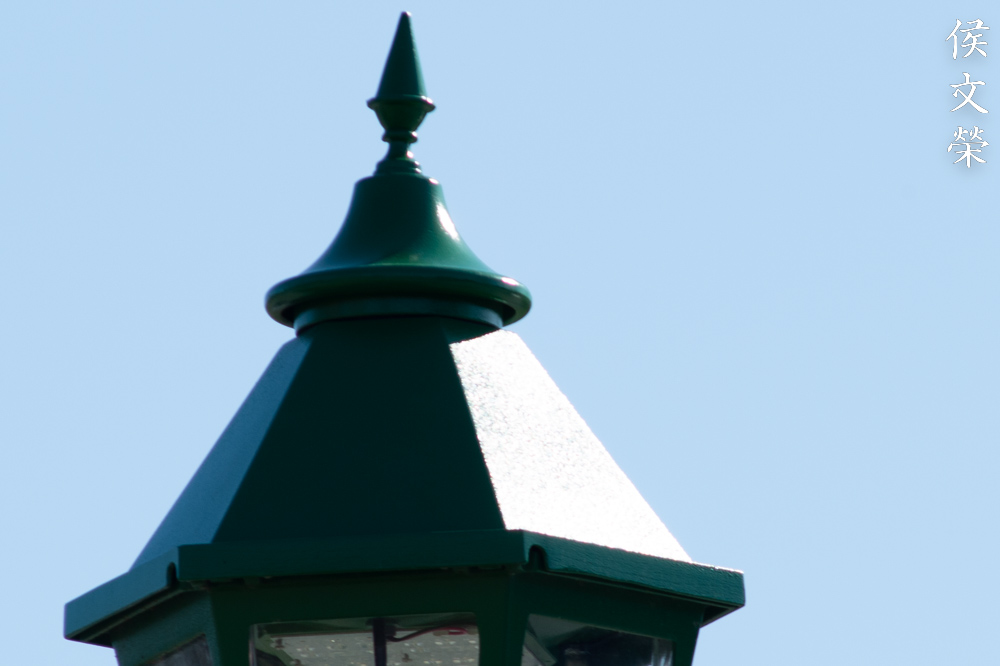
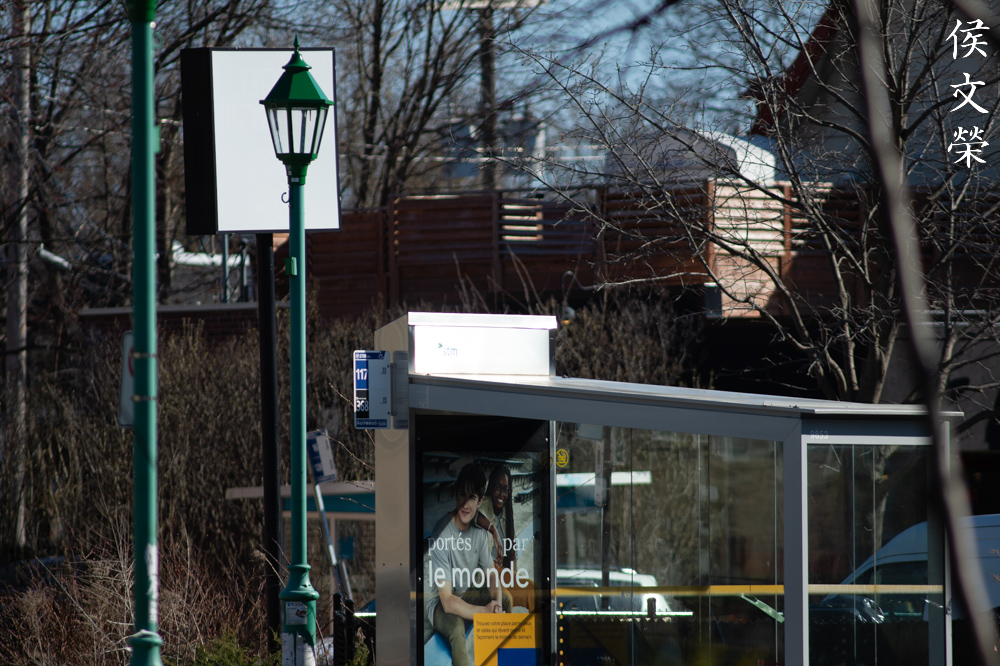
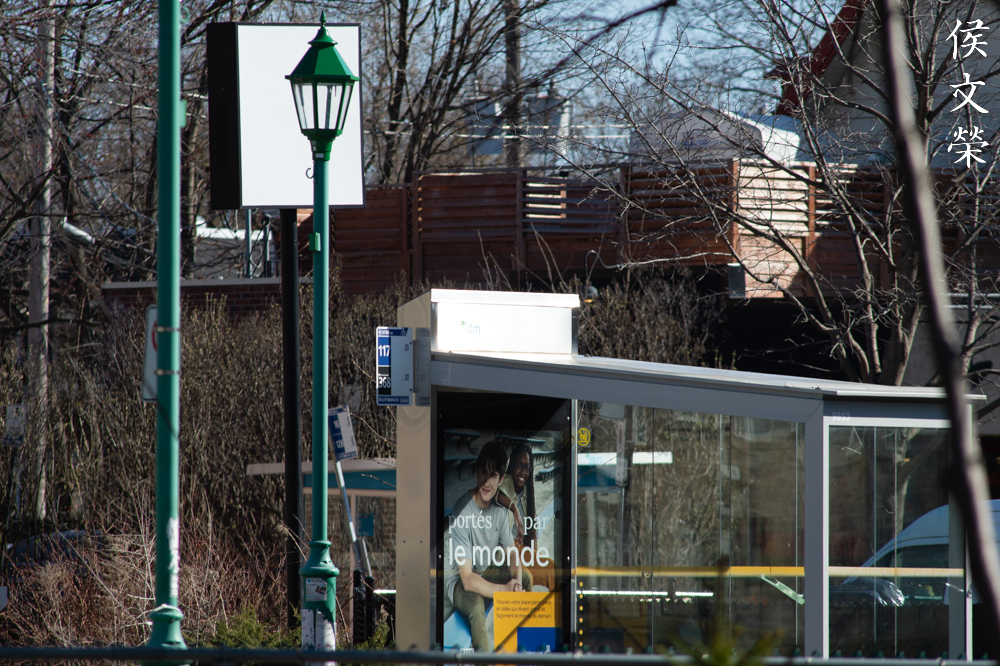
Center sharpness is pretty good at f/5.6 but the corners don’t look as great. Stop it down to f/8 and you’ll see some improvement at the center because the resolution is better, the corners now look much better. I can see that the center still improves at f/11 but not so much, the corners now look good. With this test, I can say that we should at least shoot this from f/8 in most cases if the light allows for it. Shooting this at f/5.6 will still give you good looking pictures but the “uncooked” resolution will be obvious when printing large or viewing your photo with a large monitor.

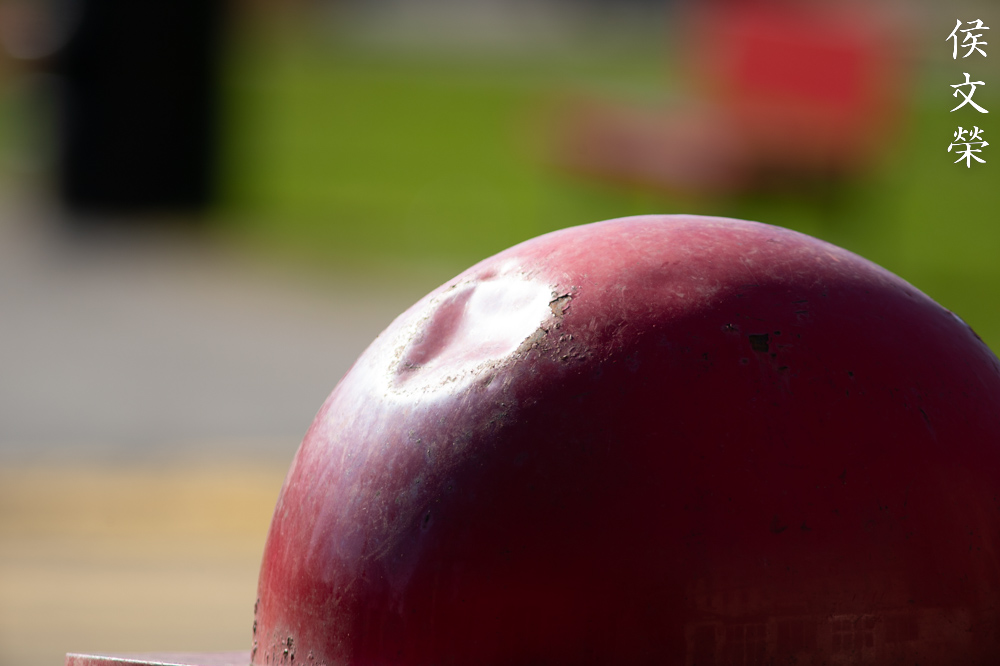
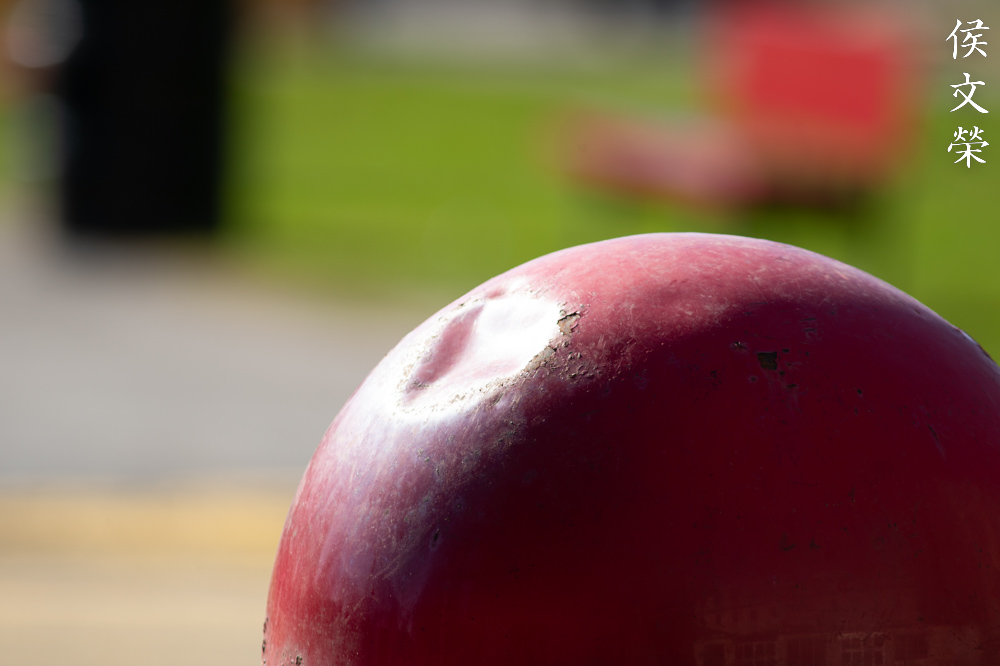
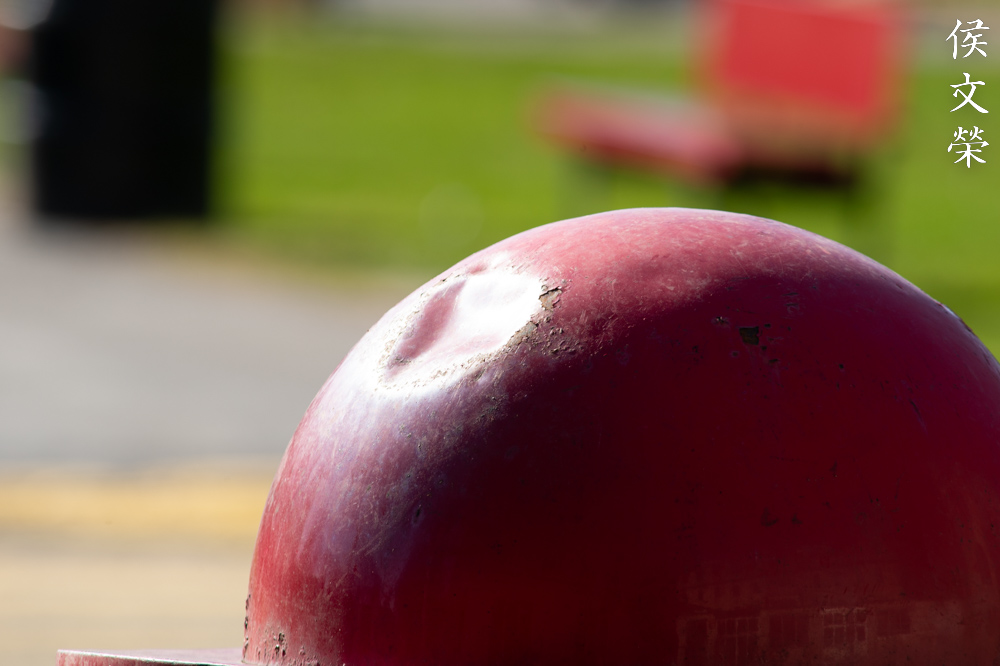
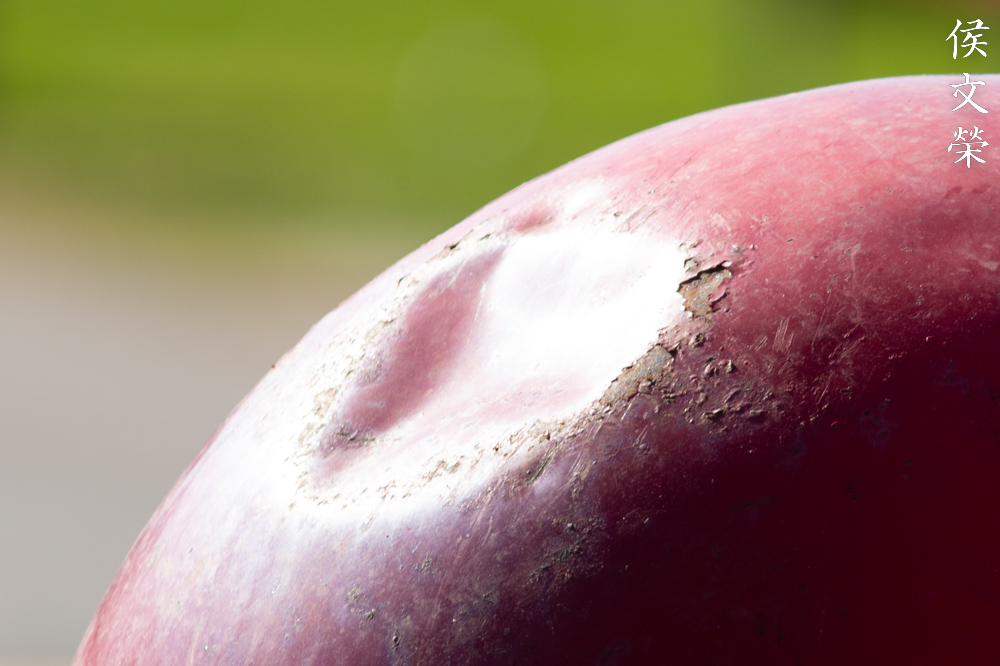
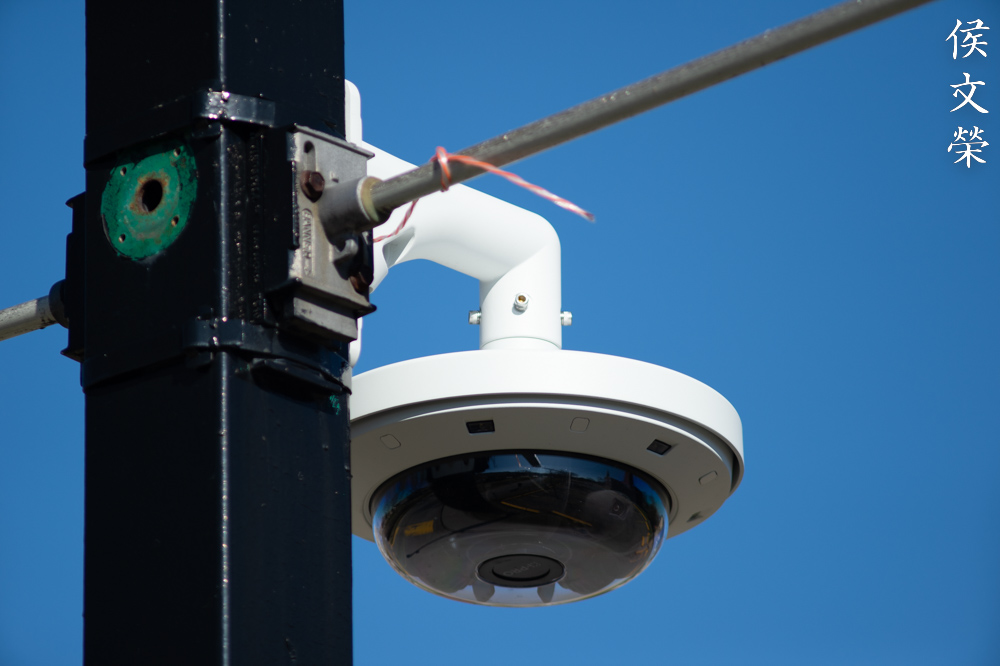
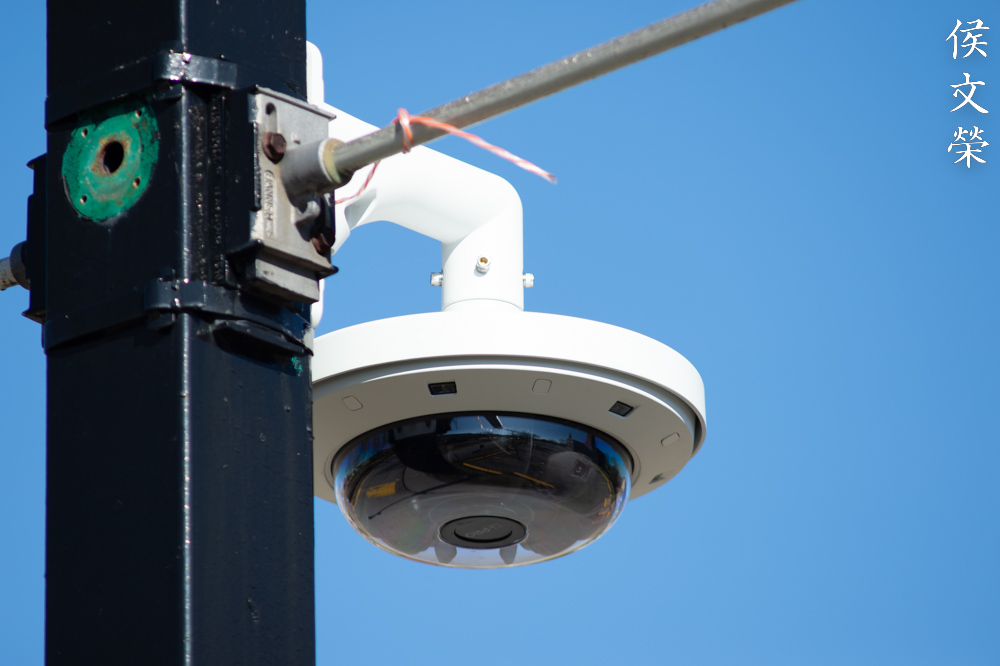
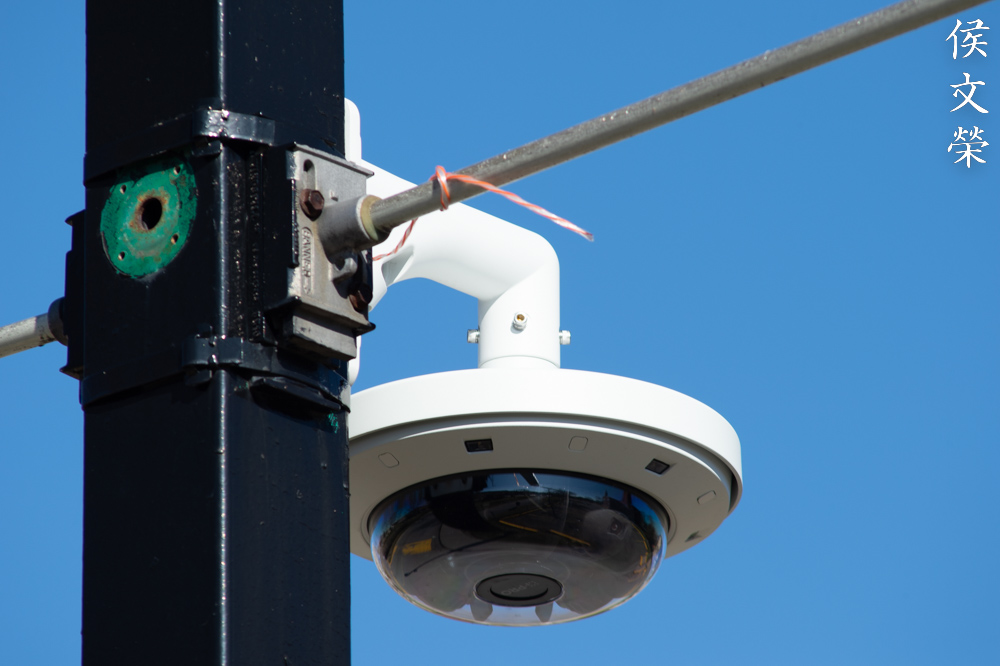
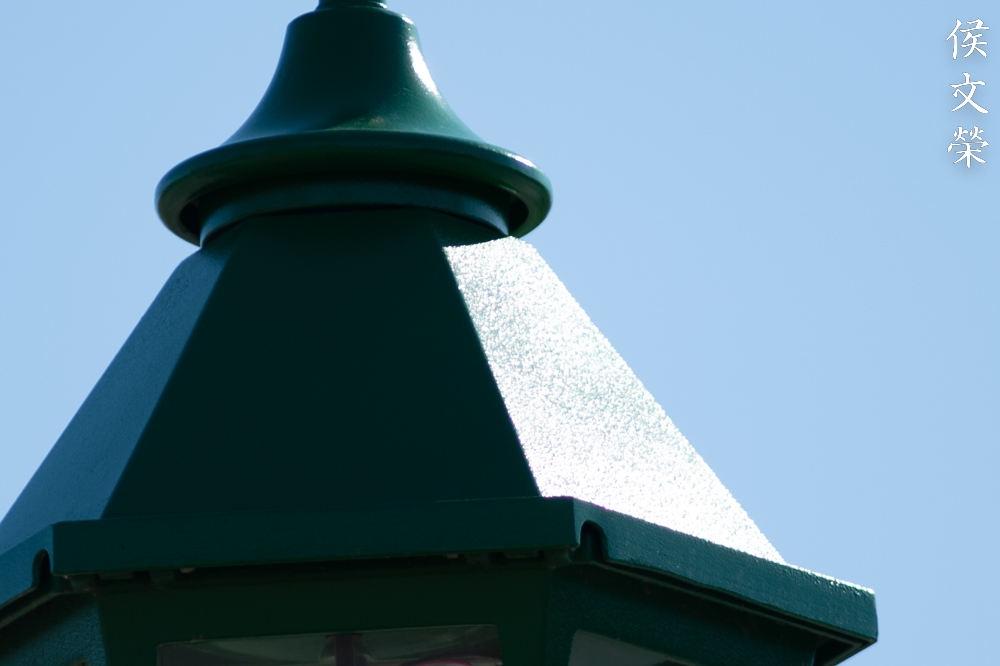
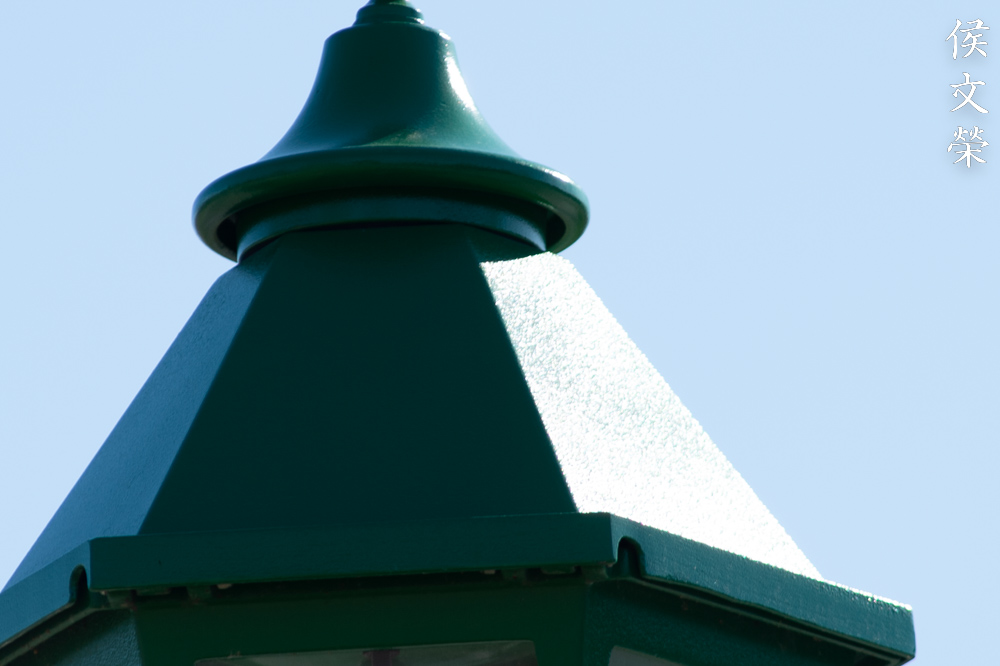
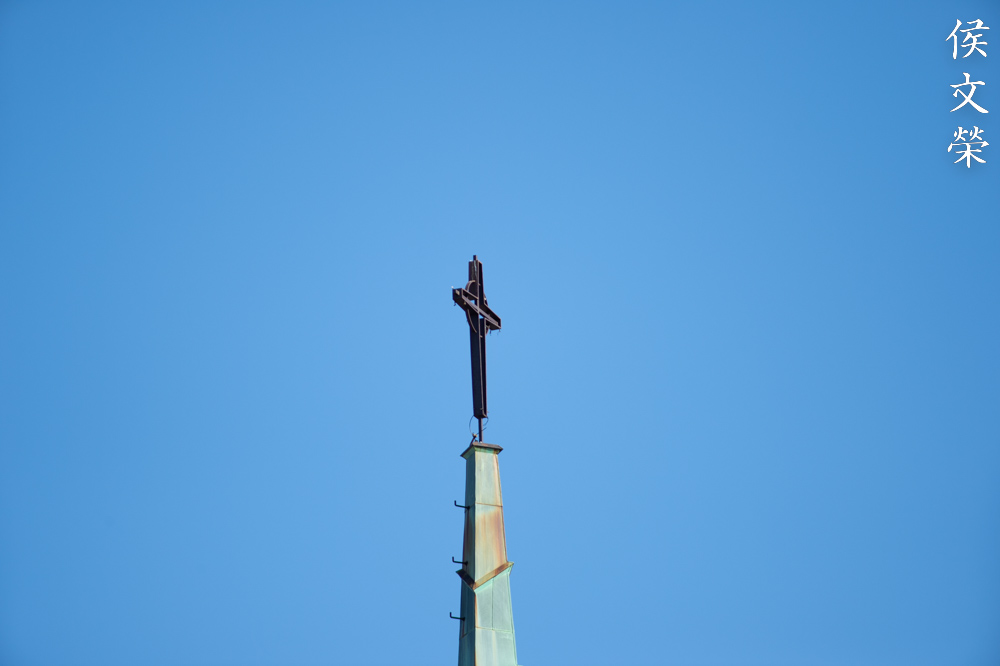
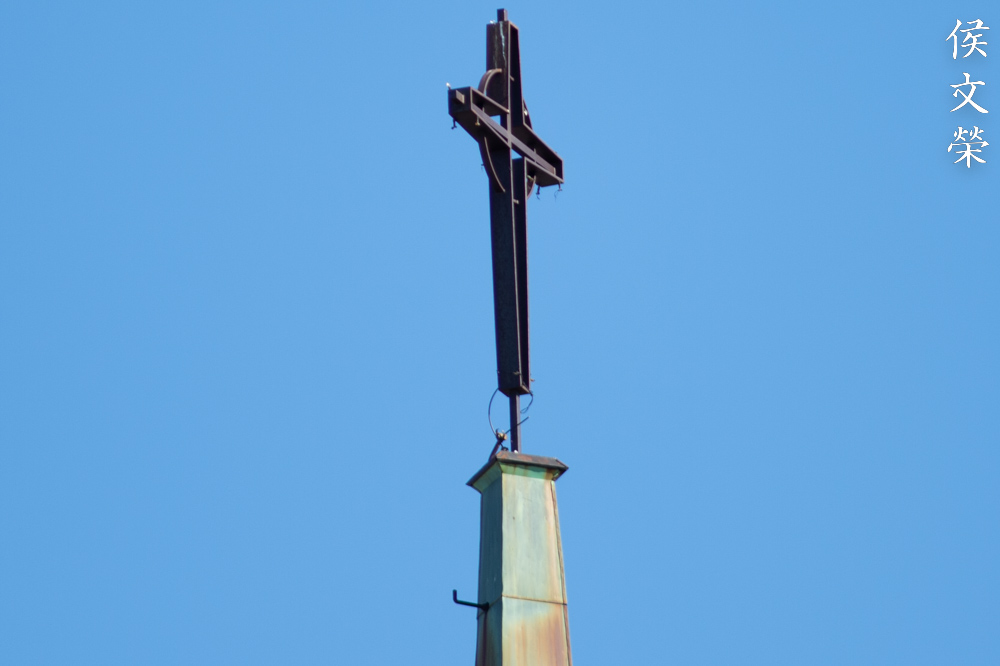
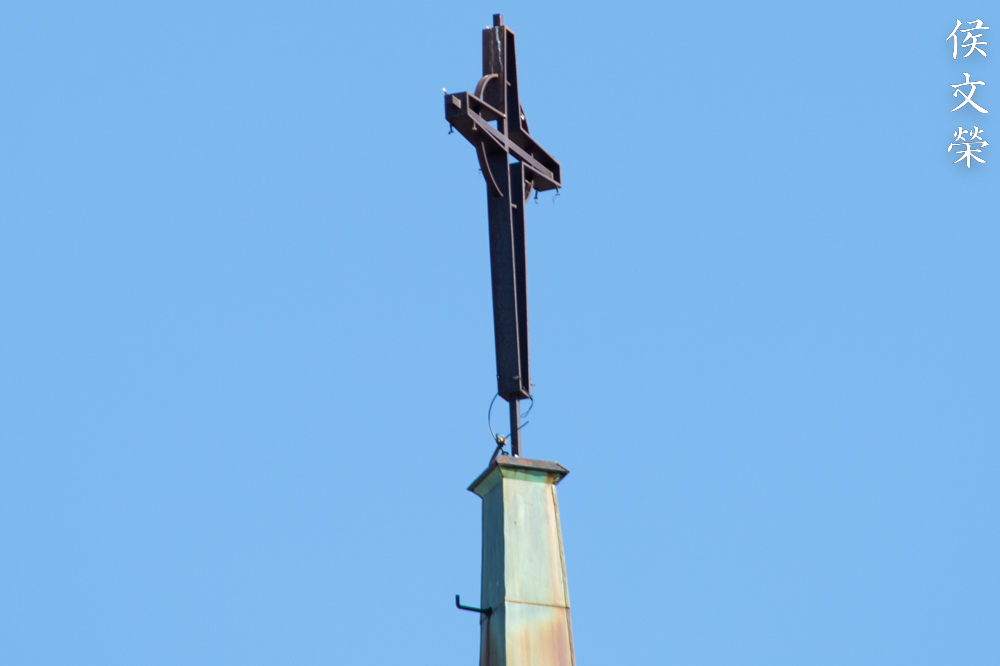
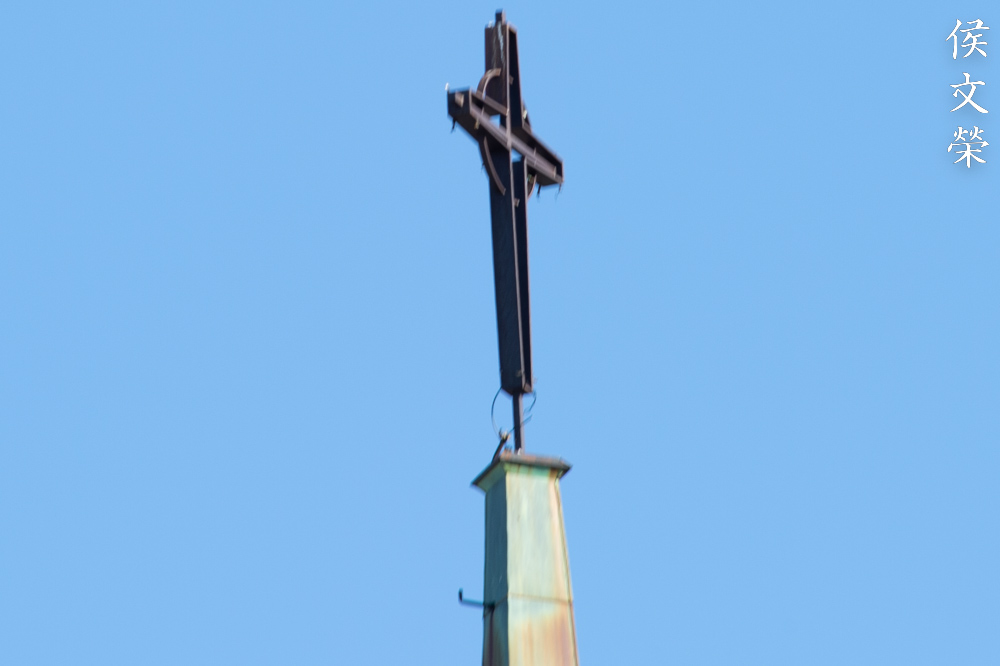
It is a bit difficult to see here in this little photo, but I want to show you how chromatic aberration affects the overblown part of the dome. This is probably one of the worst that I have seen from this lens. Having an ED element doesn’t automatically translate to zero aberrations, it just means that you will see less of it.


(Click to enlarge)
I took these at f/16 and f/8, I think. They were both taken just shy of the minimum focusing distance. I did not have enough reach, which is rather unfortunate. From my experience, I would need at least a 600mm lens just to be able to maintain a good distance between me and the birds. Cropping is very common for many bird photographers, newer sensors these days will allow you more freedom when cropping.

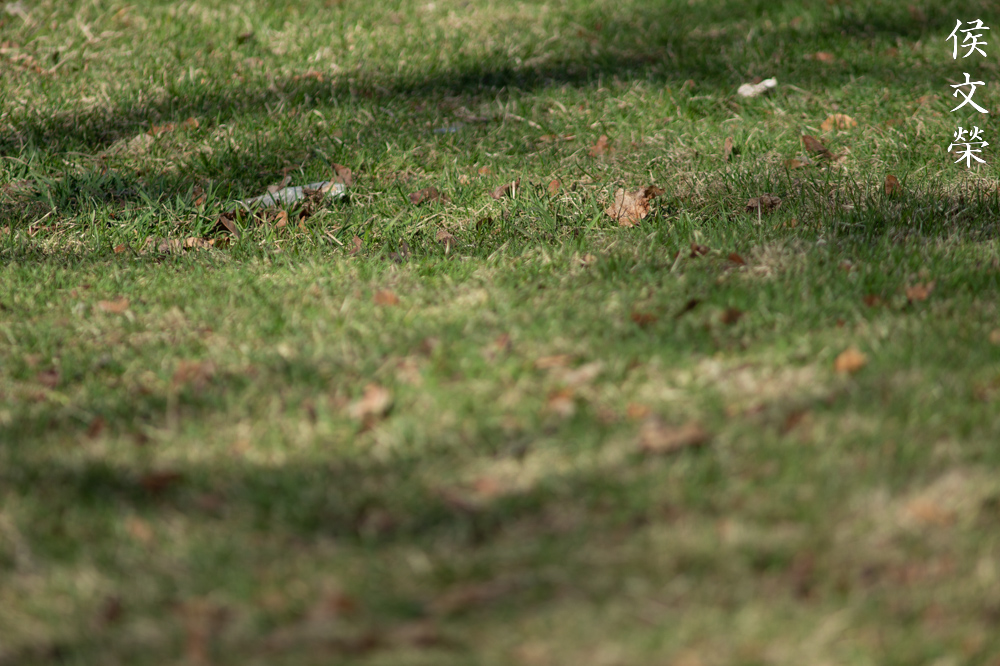
I’m not sure how far the squirrel is from me but I was able to frame it this tight. I love how sharp it is even at f/5.6, it’s just not obvious here in this photo. The amount of separation you get from this lens is so thin, you will definitely be able to separate your subject from the background easily, especially when shooting at closer distances.

Sports photography is also another great use case for this lens so long as you are patient enough. You are going to get great photos out of it so long as you know how to anticipate your shot. Tracking fast moving subjects will be very challenging so you should shoot in bursts just to ensure that you get the perfect shot or at least something that is usable.

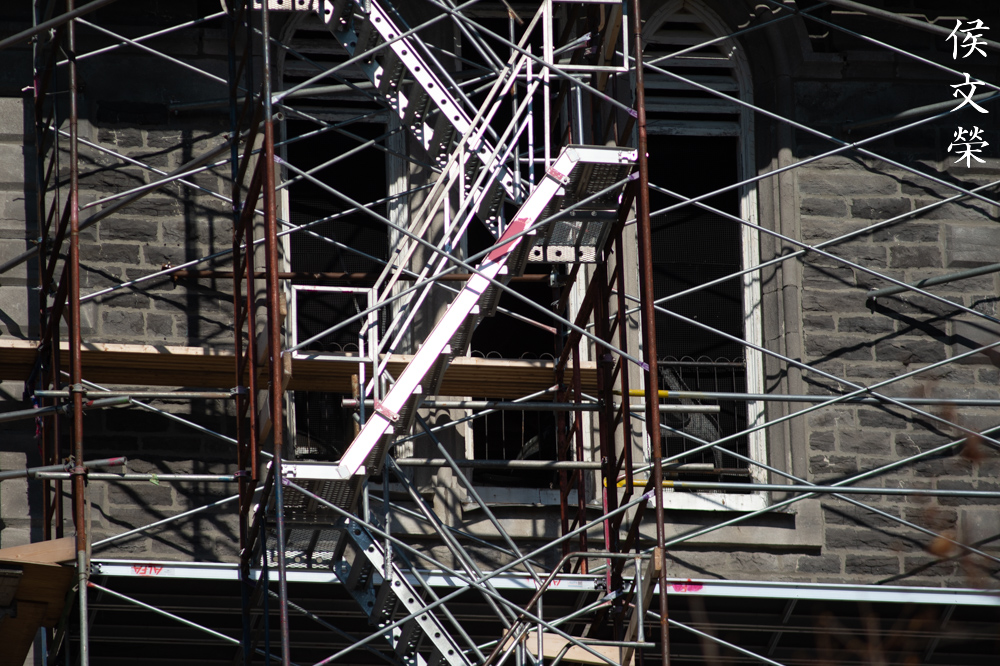
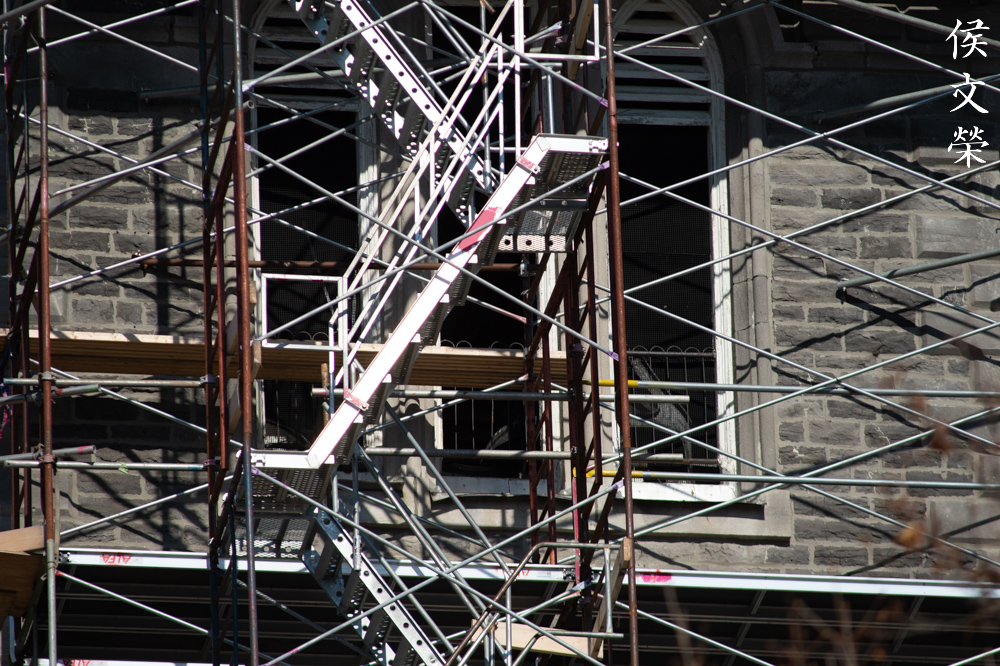
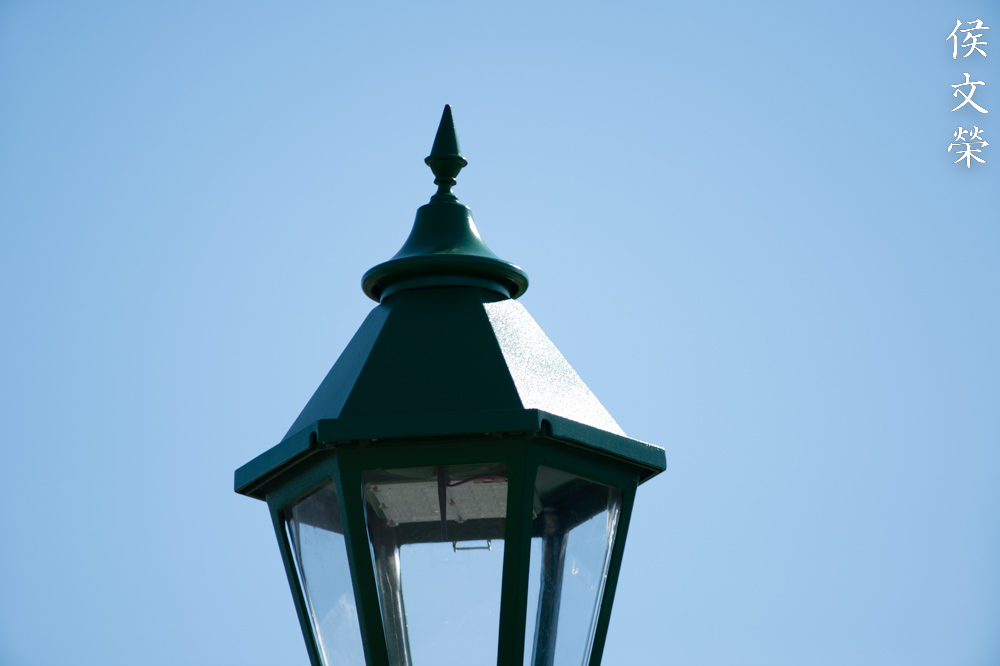
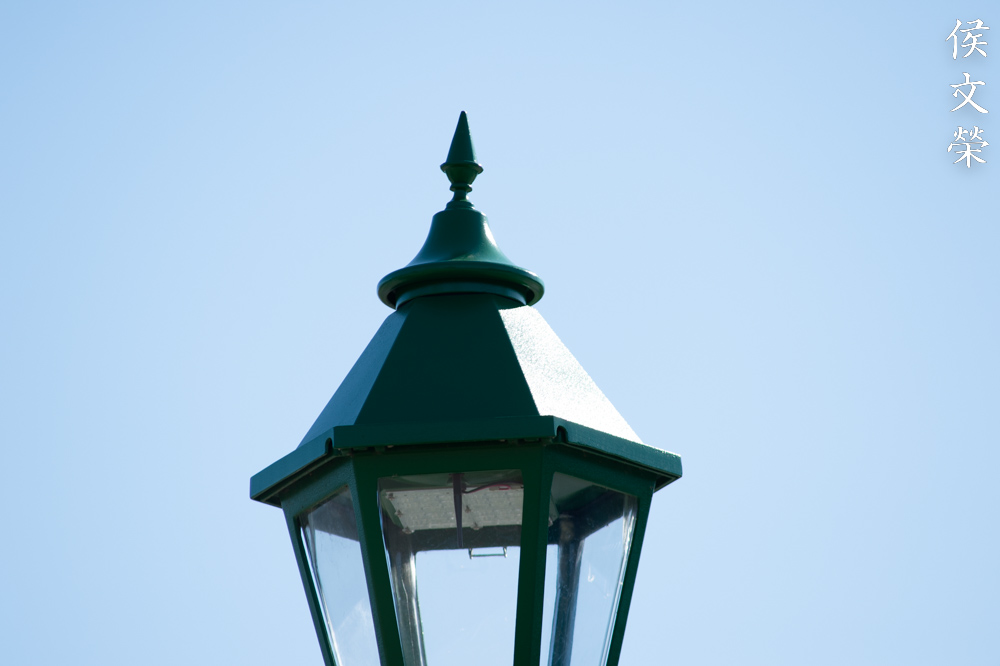
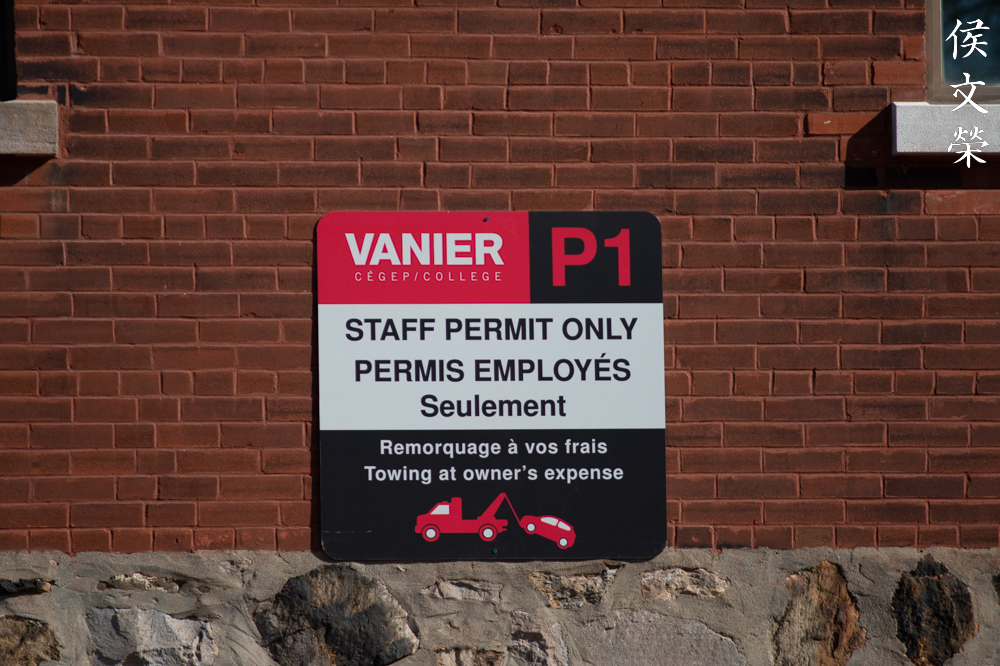
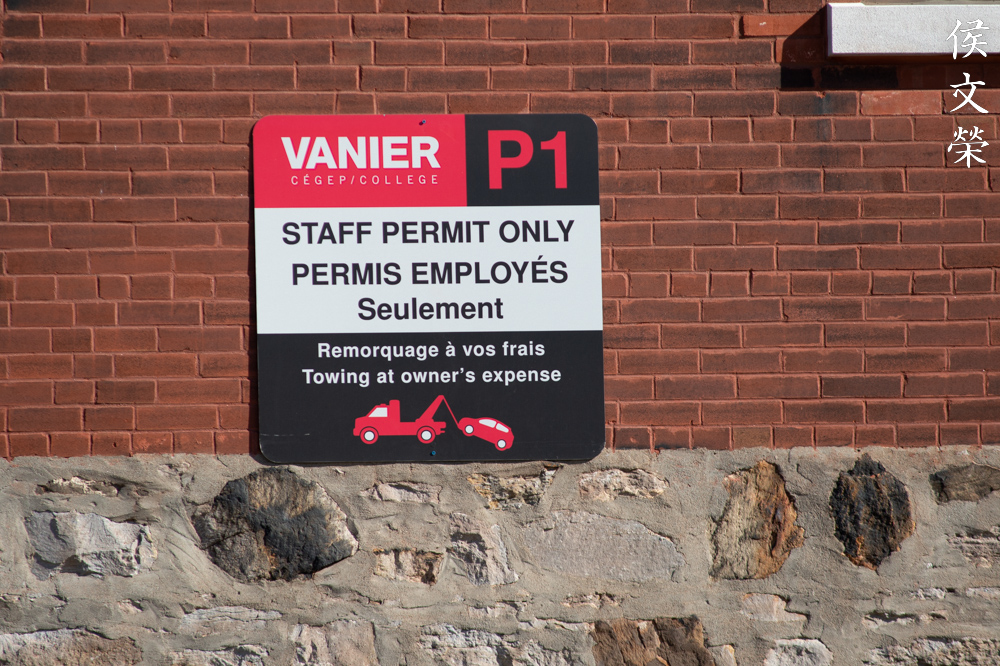
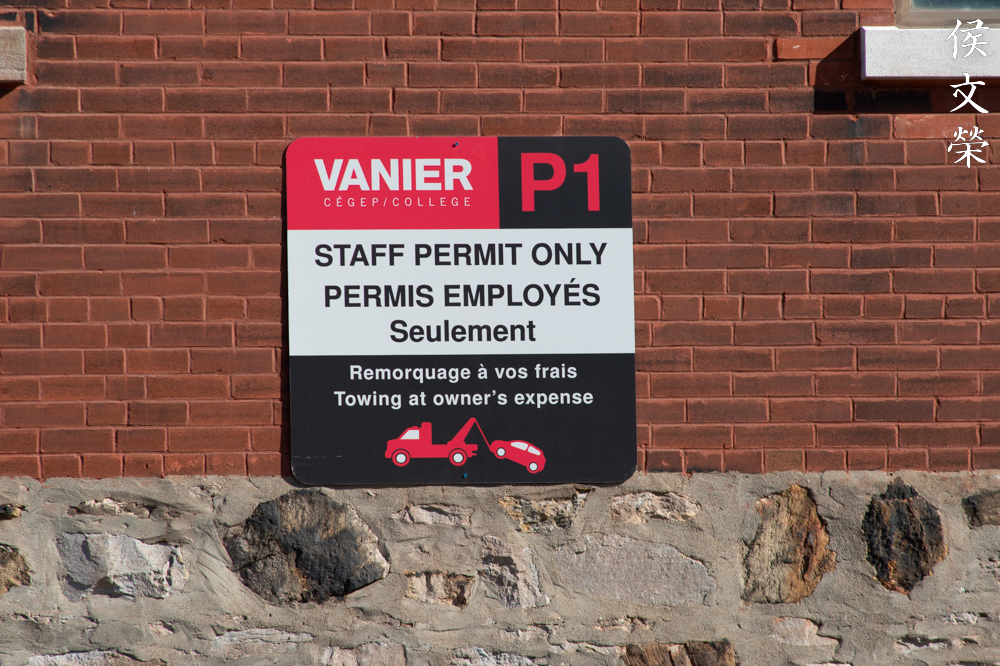
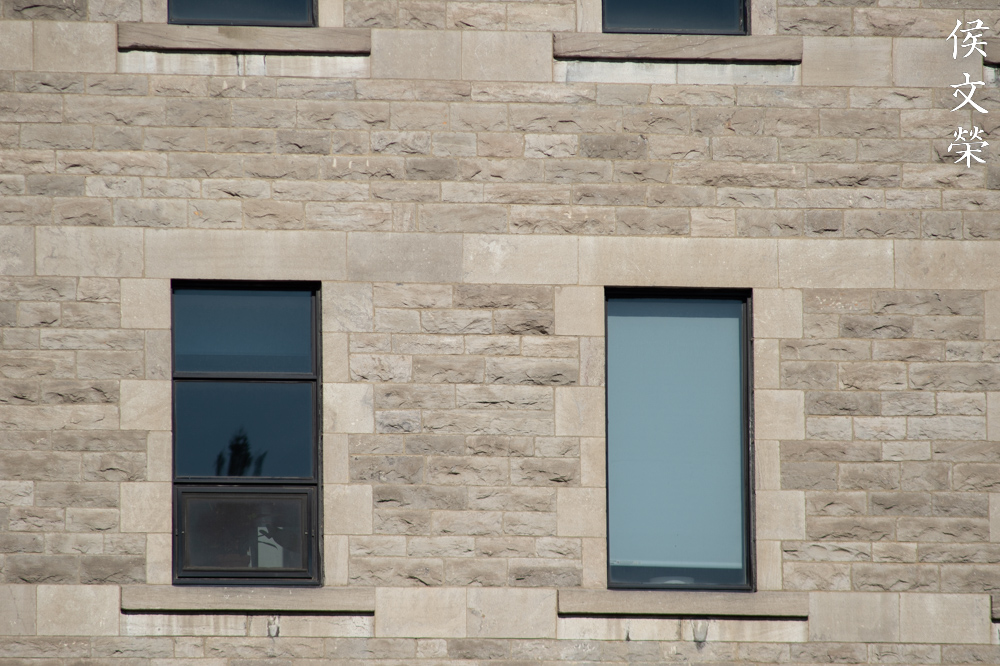
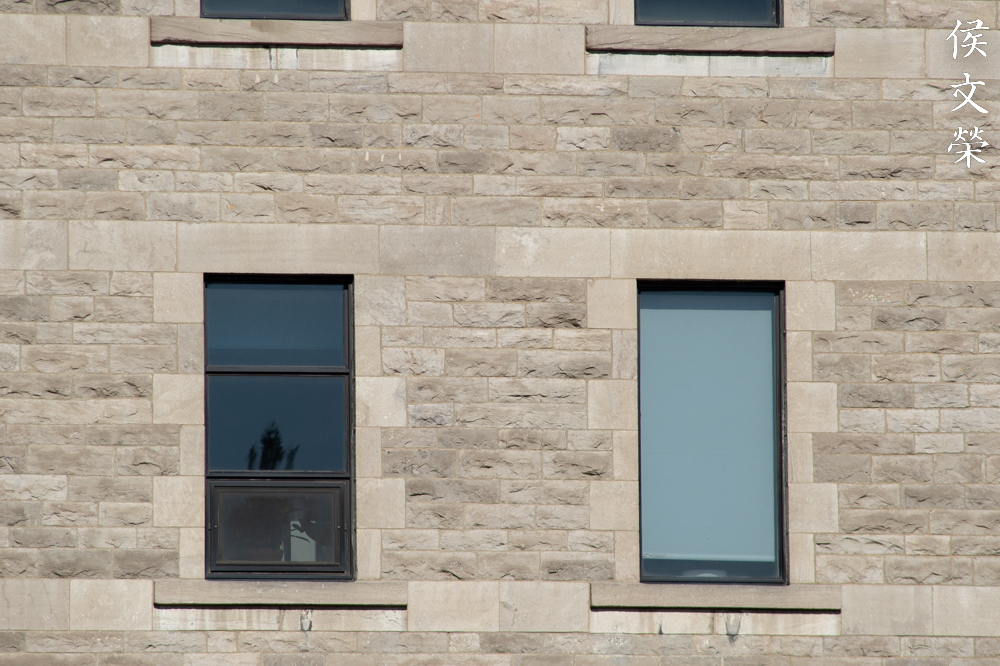
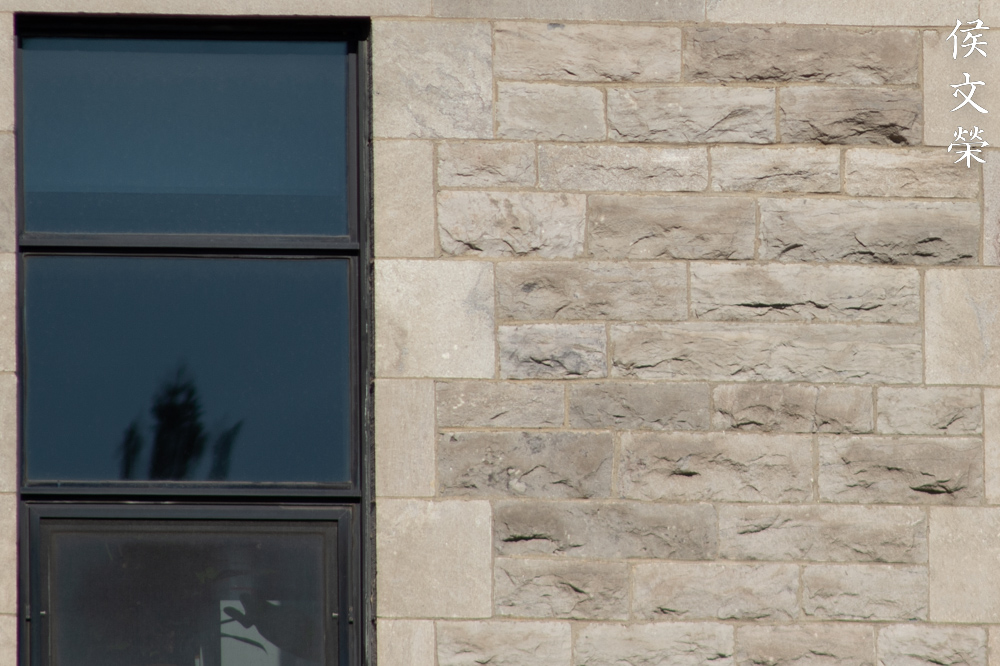
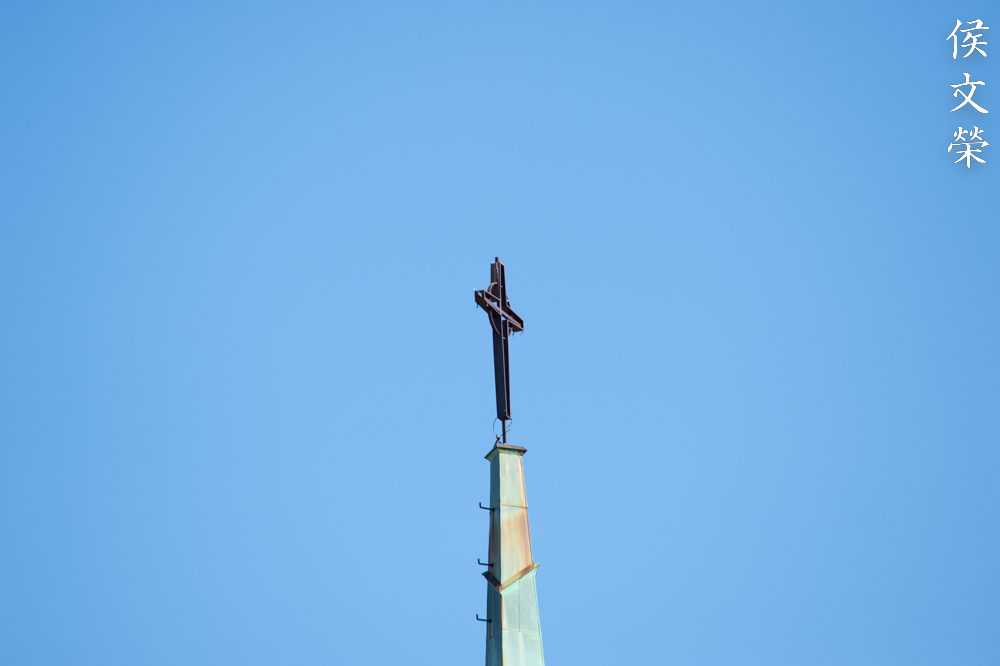
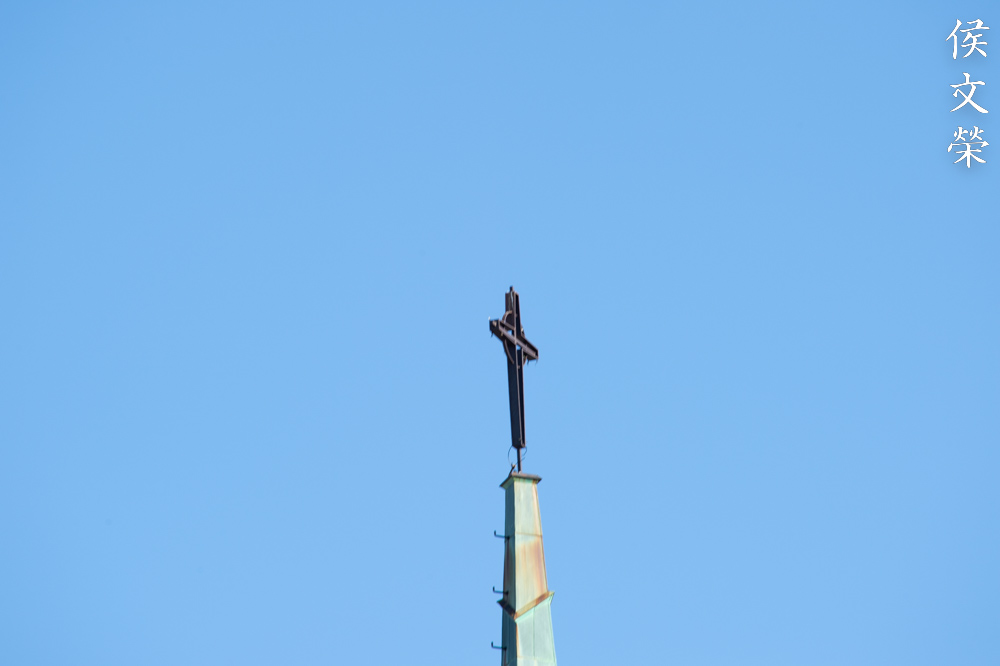
It will never outperform many newer lenses when shooting wide-open but it’s still a very sharp lens. It’s a very good lens for shooting architecture from a distance, this is just one use case for this lens.

It is unfortunate that this picture is tiny and compressed, the RAW file shows the red bricks in great detail. You can actually see and count them individually. I am very impressed by how it performs when shooting at f/5.6, it’s as if this lens performs much better when shooting at things that are further into the scene. At least this is what I have observed from my copy.
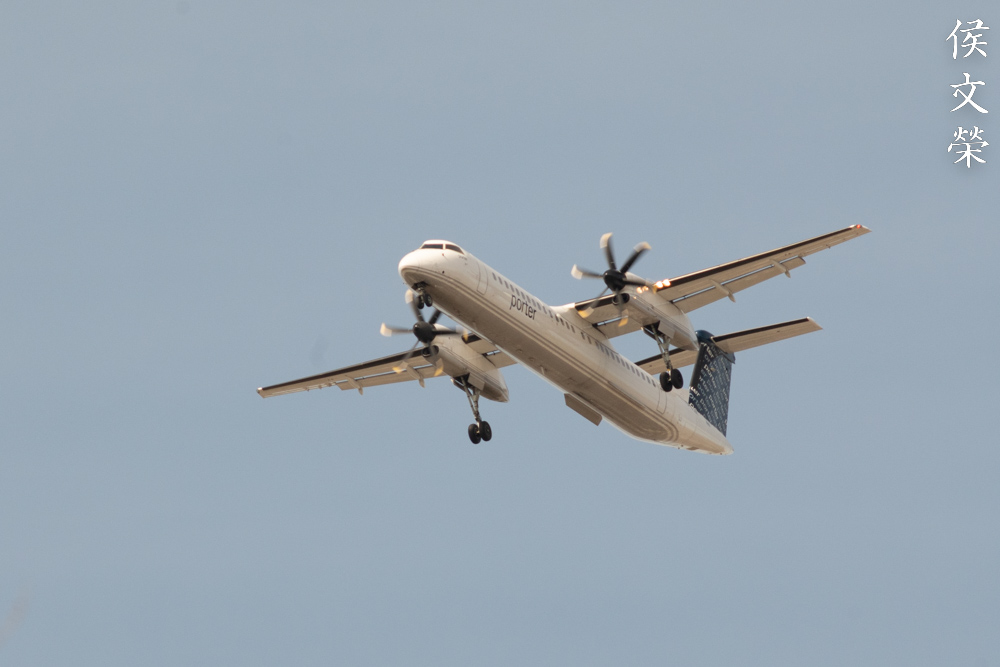
It can be difficult to focus on a flying plane even if it is moving at a slow pace. The best technique here is to pre-focus close to where you anticipate the plane to be. Even a small amount of error will will make the photo blurry, you can also play with using a smaller aperture and a faster shutter speed. I was not able to capture a perfectly sharp photo because I did not expect that a plane would fly above me.

Here is something different for a change. I captured this with my Nikon Z fc, I wanted that extra reach so a cropped-sensor camera will be beneficial. This is slightly cropped, but even with the original photo I was able to frame the shot close to how I wanted it to be.


(Click to enlarge)
And here are some photos from Birna Rørslett. The first photo shows how good the resolution is, while it’s easy to that chromatic aberration is indeed a problem with this lens as Illustrated in the second photo.


(Click to enlarge)
I had a great time shooting with this lens, it certainly is still useful to this day. Despite being huge, it is the smallest Nikkor of its kind. This makes it a good companion for hiking if you don’t mind the extra weight. I don’t think this is a lightweight lens by any stretch but it’s still smaller compared to the other monsters at the 400mm and above class. I’m sure that the newer plastic ones may be lighter than this but they cost so much more. At least they have autofocus, which is something very useful for longer lenses. If you cannot afford the latest and the greatest, this may be a good alternative.
Let’s now see some photos that were shot with film. Film has a unique look that’s difficult to replicate with digital cameras, you can simulate all you want but it’s still going to look different. This lens was designed to be used with film so it’s best to evaluate it using its intended medium, too. I’ll focus on my experience with shooting this using my Nikon F3 and how challenging it was when using a full manual setup. The film I used is the Fujifilm Industrial 400.
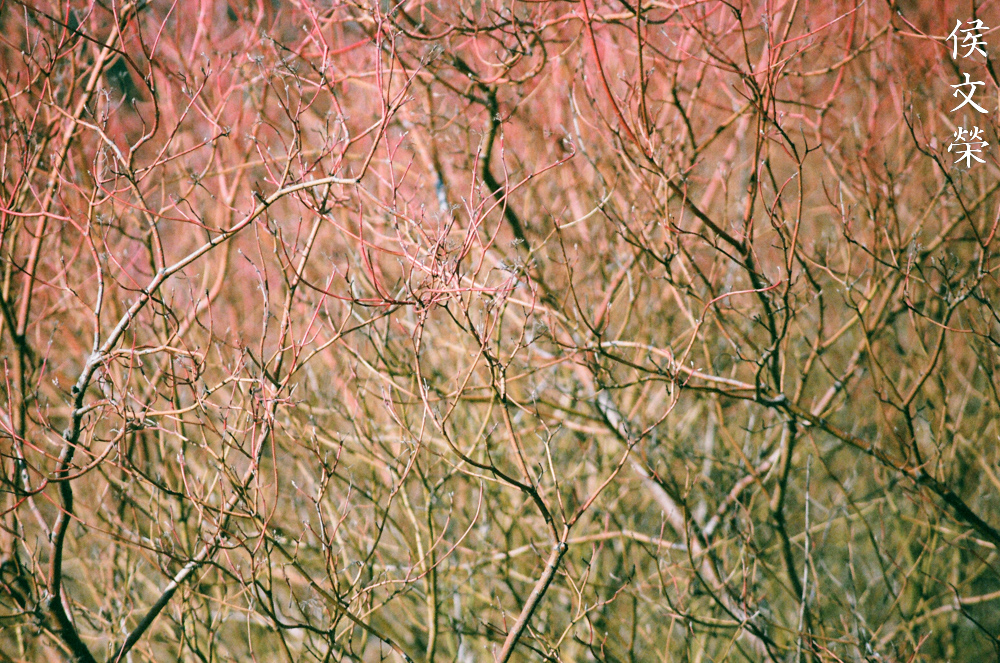
The long focal length enables you to compress your frame, it enables you to get a very flat-looking photo in the sense that you won’t see a lot of foreshortening. This is useful for shooting art and things like this. I should have defocused everything so that this will look more like an abstract painting.
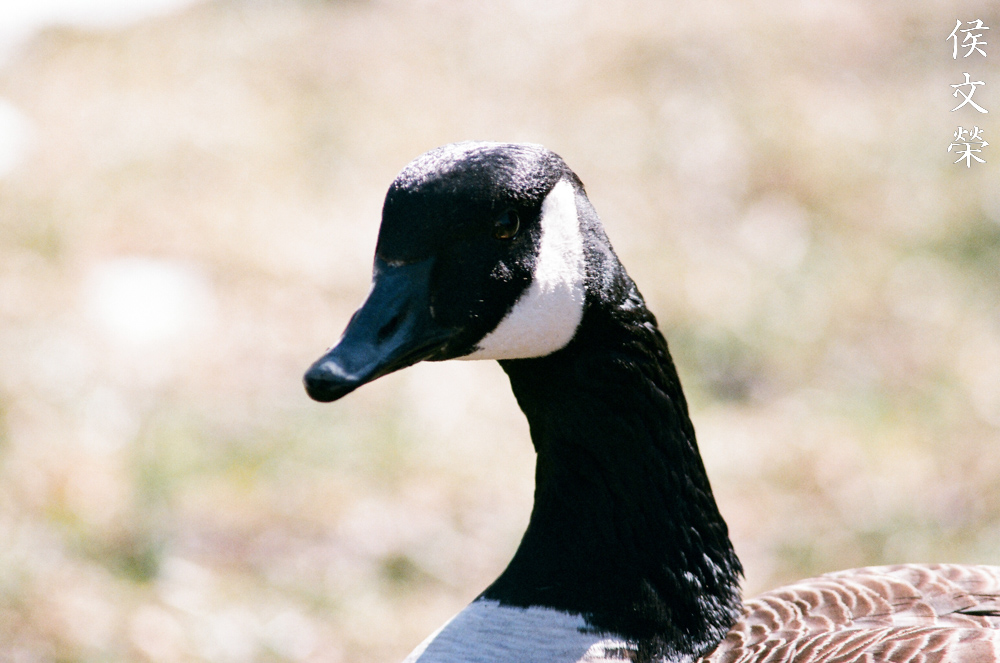
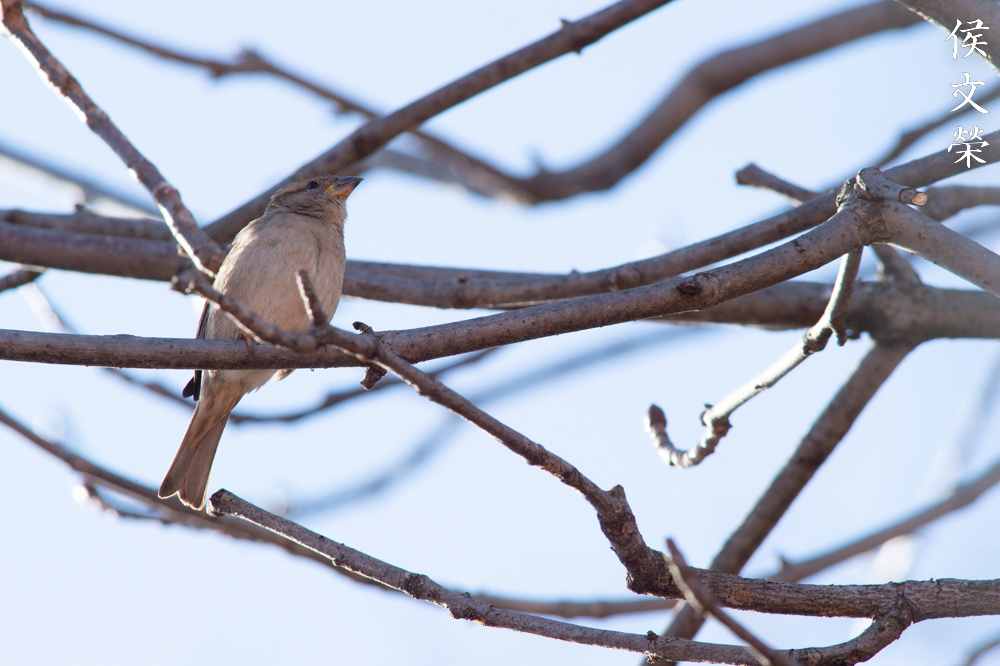
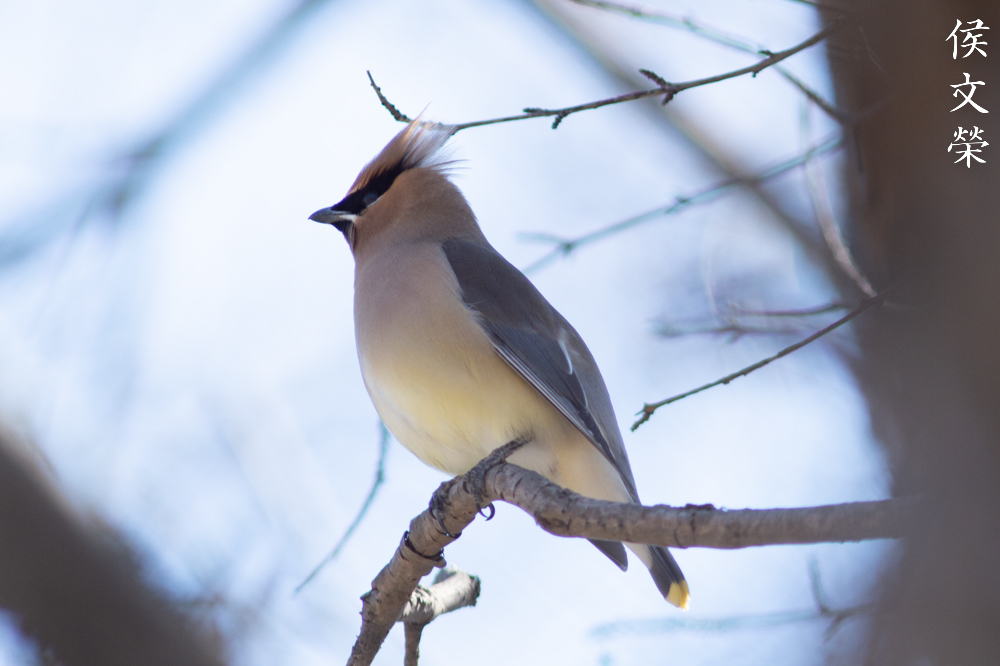
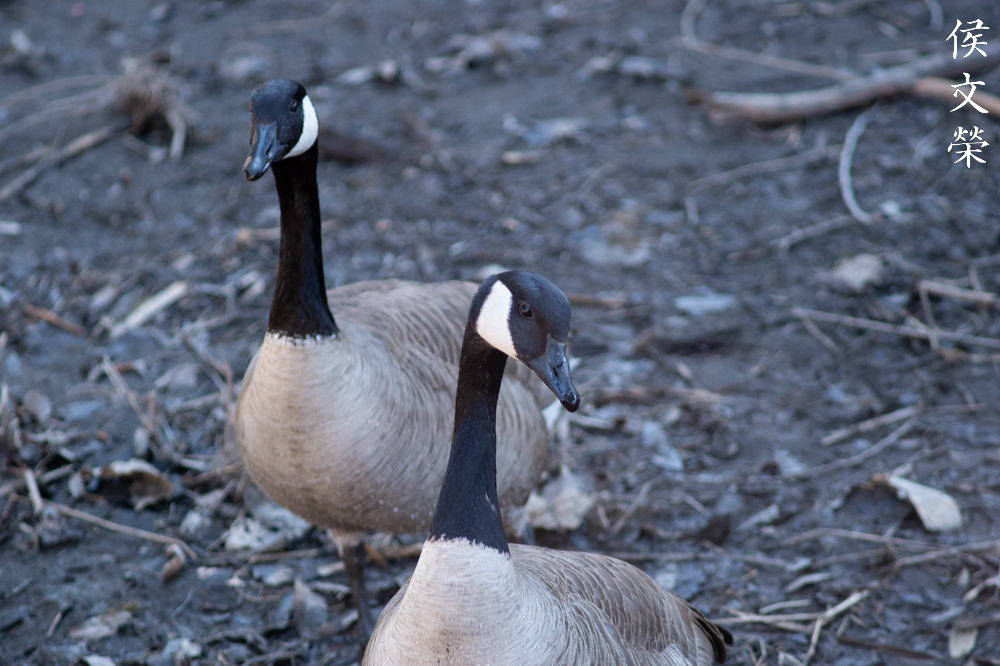
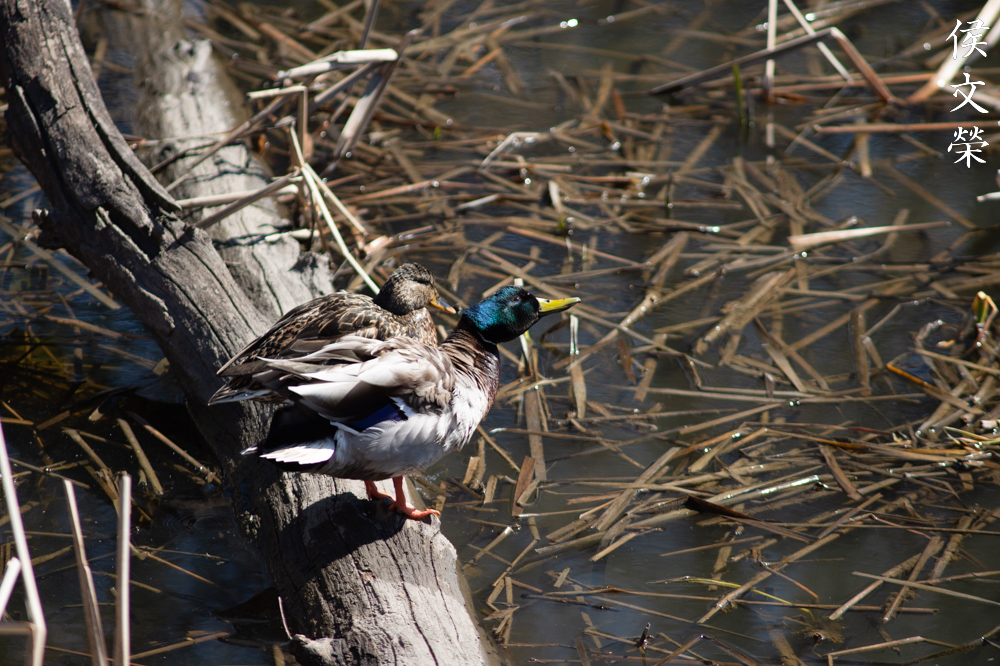
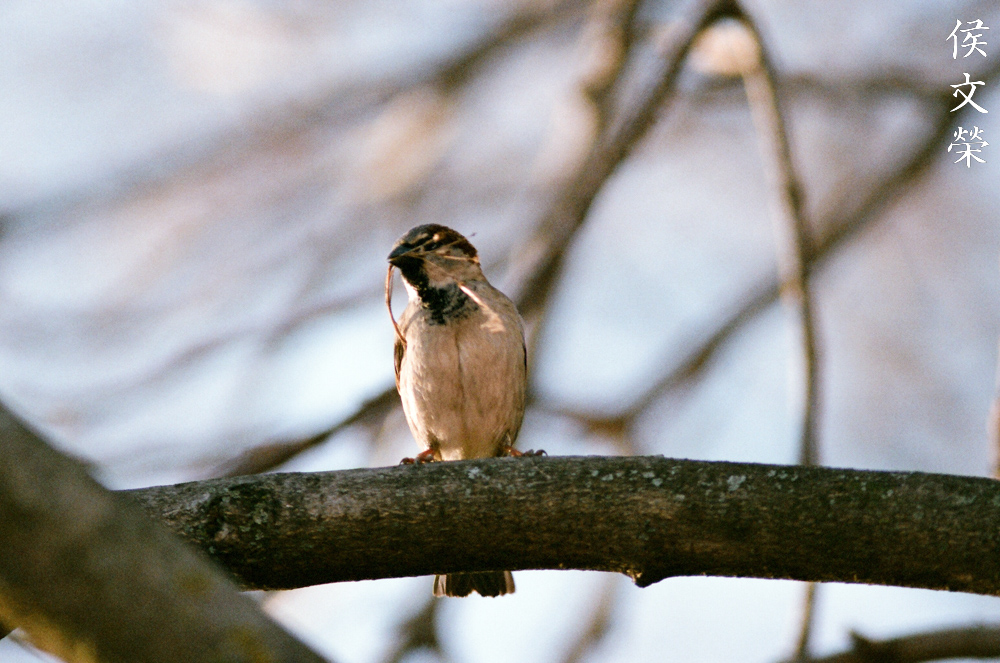
You are able to fill your frame with your subject so long as you can get close enough. This is a docile bird so I was able to walk closer to it. Notice how smooth the blurs look, it’s so beautiful.

You will have to hide behind a blind so shy animals won’t notice you. This squirrel would not have stayed for that long if it were to notice me taking photos. Metering can be challenging without a spot meter but the Nikon F3 did a great job with its heavily-centered metering. This is not always the case when you have the sky as your background, you will end up with an underexposed photo so always shoot in manual.
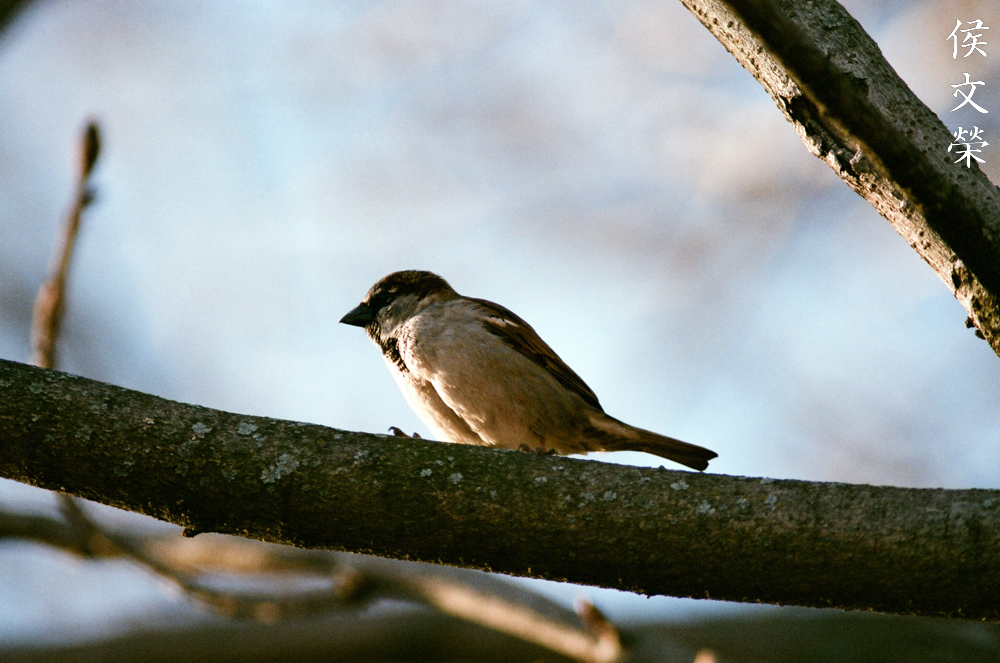
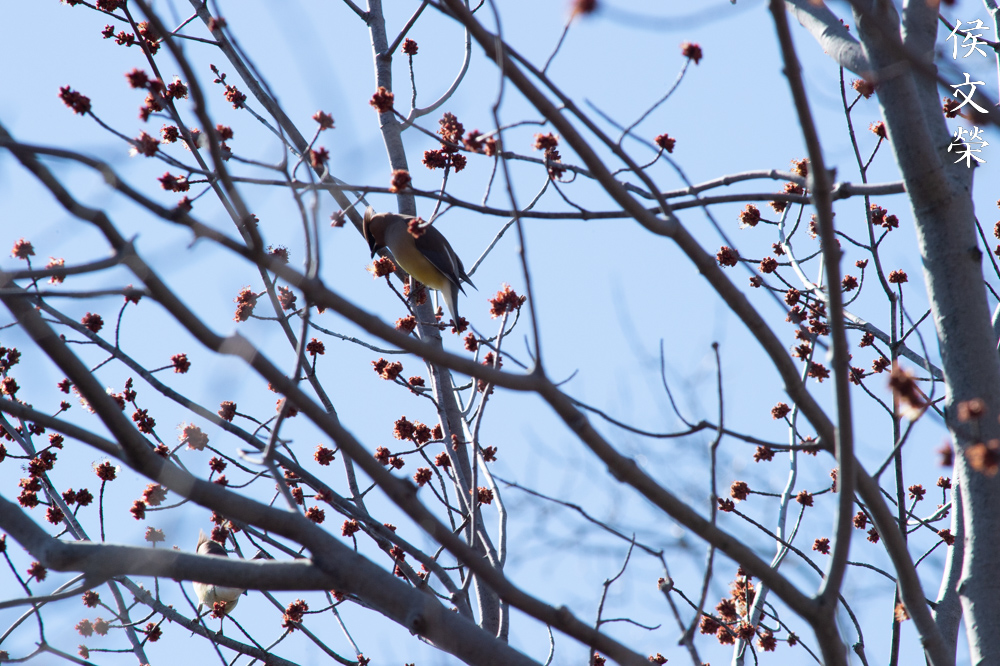
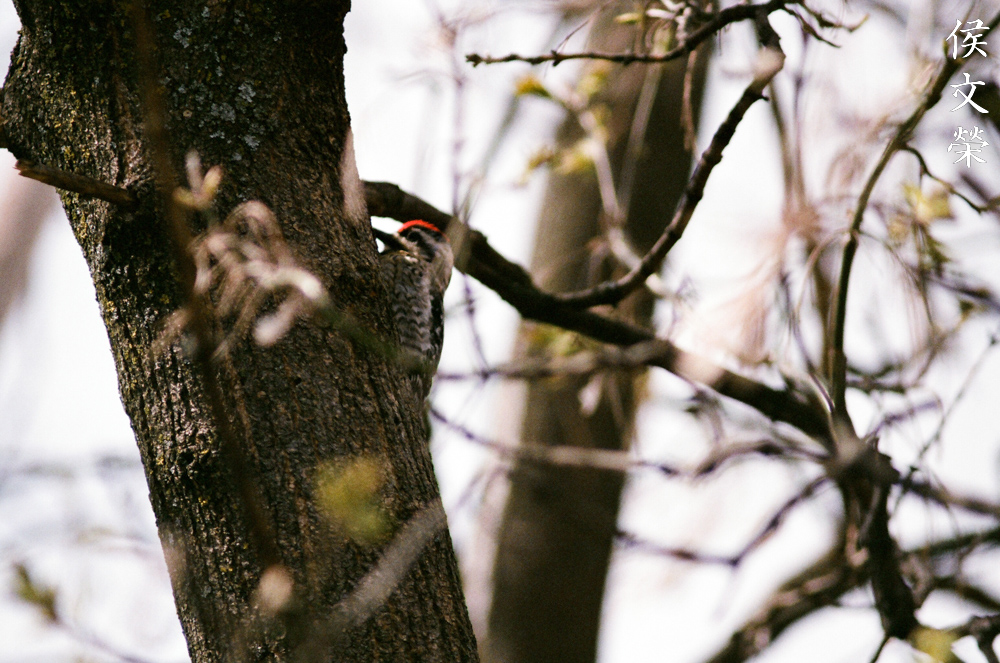
It is a game of luck when photographing shy birds, you are lucky if you can get close enough. The curtain I was hiding behind in helped a lot so I could approach this little fellow.

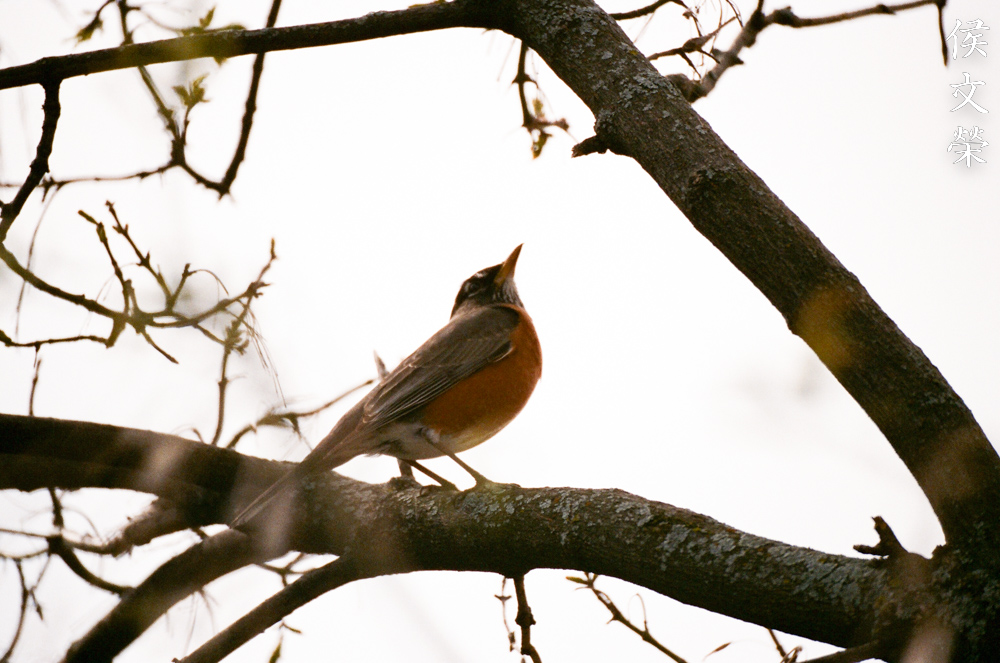
This scene was a nightmare to expose, the meter kept on underexposing it because of the sky. This robin is so pretty and not too shy at all so I could get closer, but I wish I could get even nearer.

Notice that you can see high amounts of chromatic aberration in the near background. It is not that big of a deal because we don’t see that in the bird.


(Click to enlarge)
I love this robin a lot, it comes to visit me every morning to sing outside of our kitchen. Such a handsome little bird. I took these between f/5.6 and f/8.

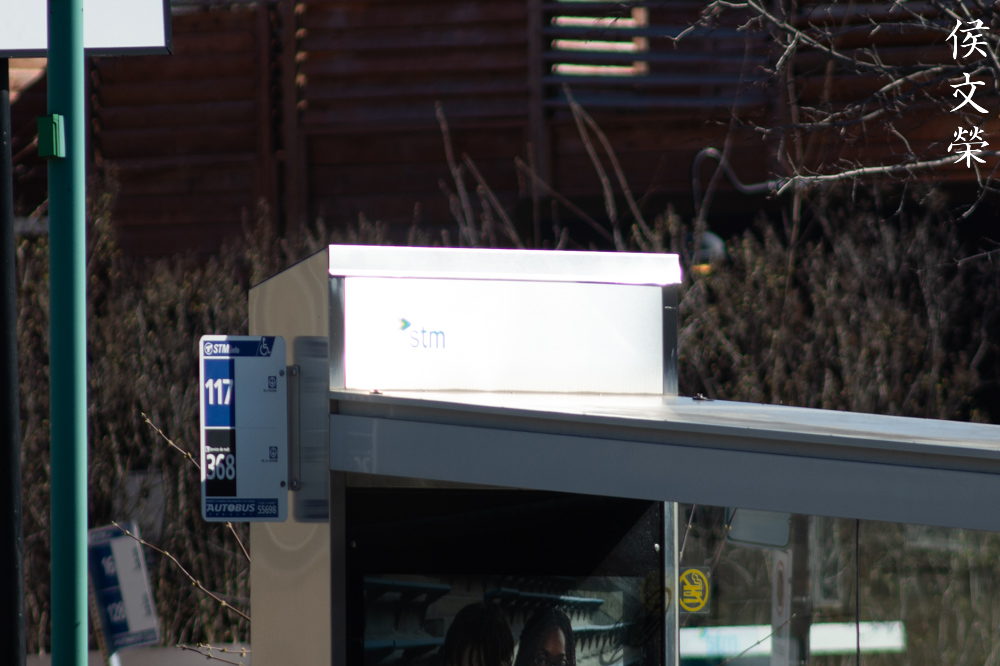
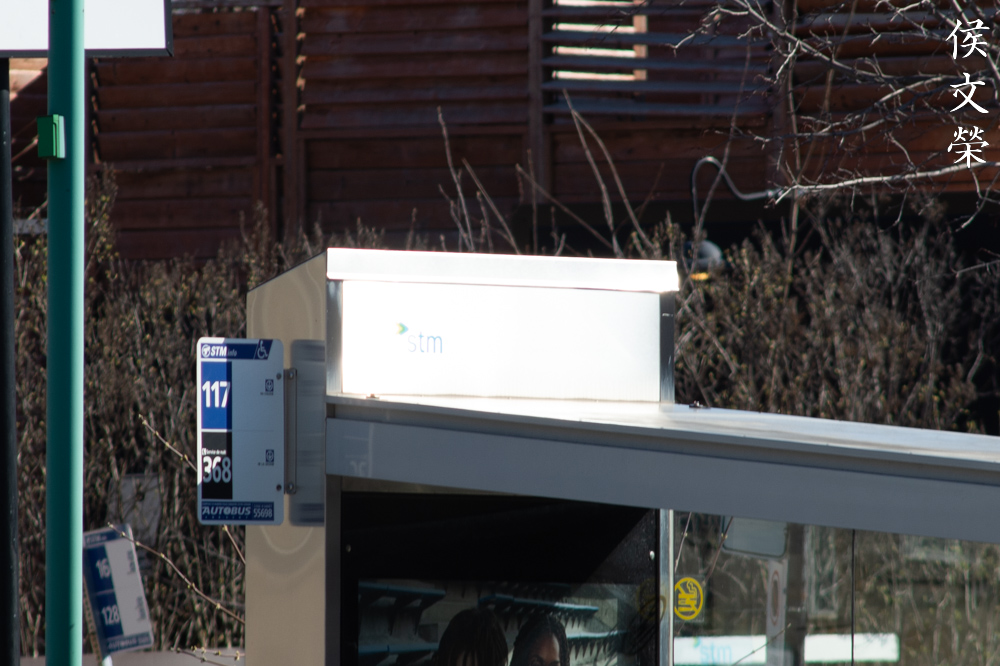
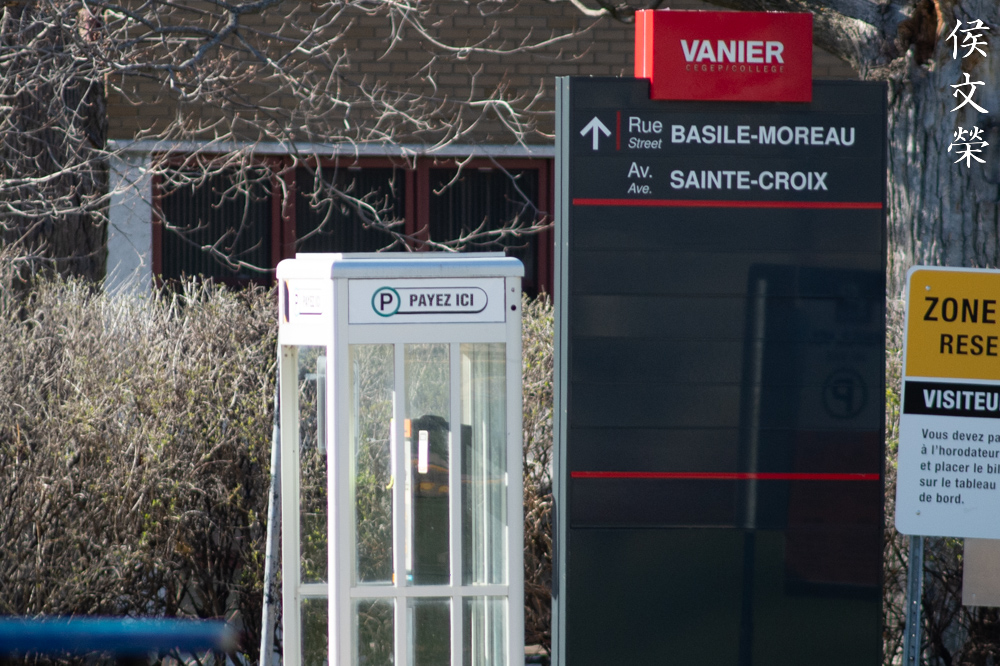
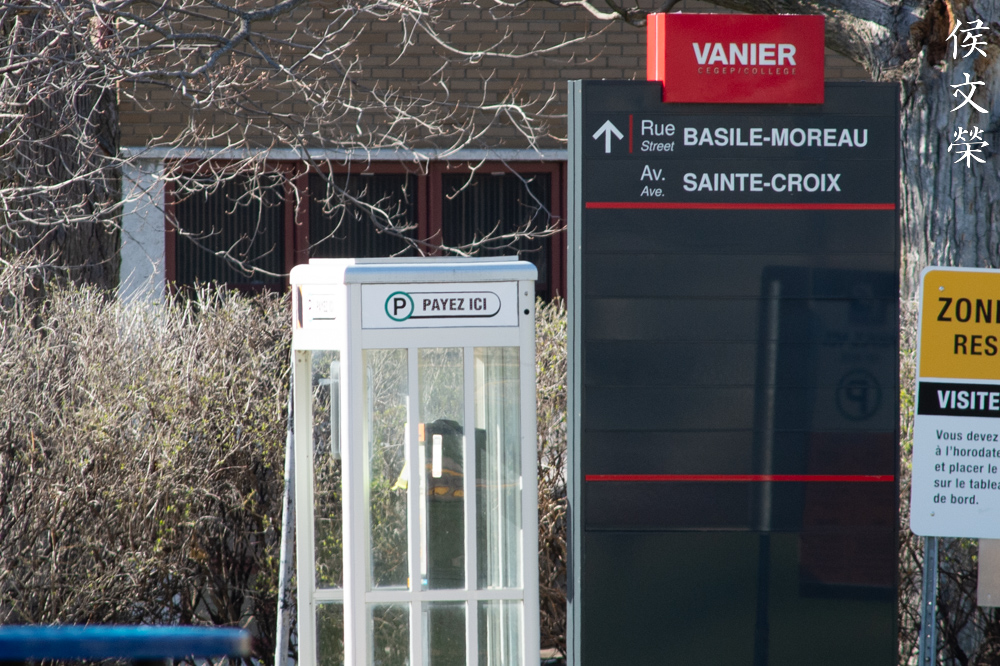
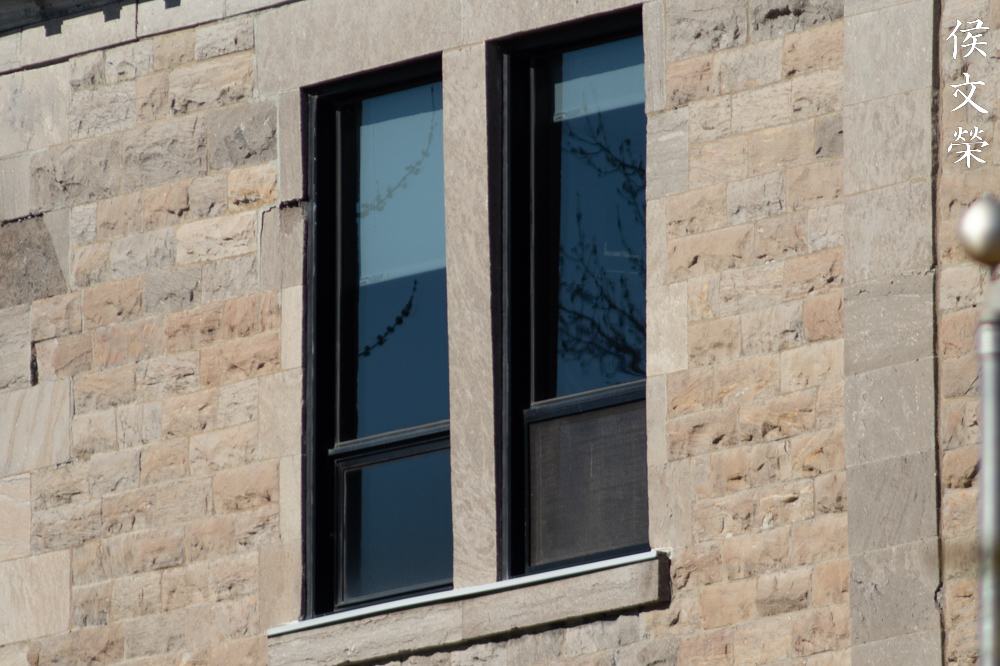
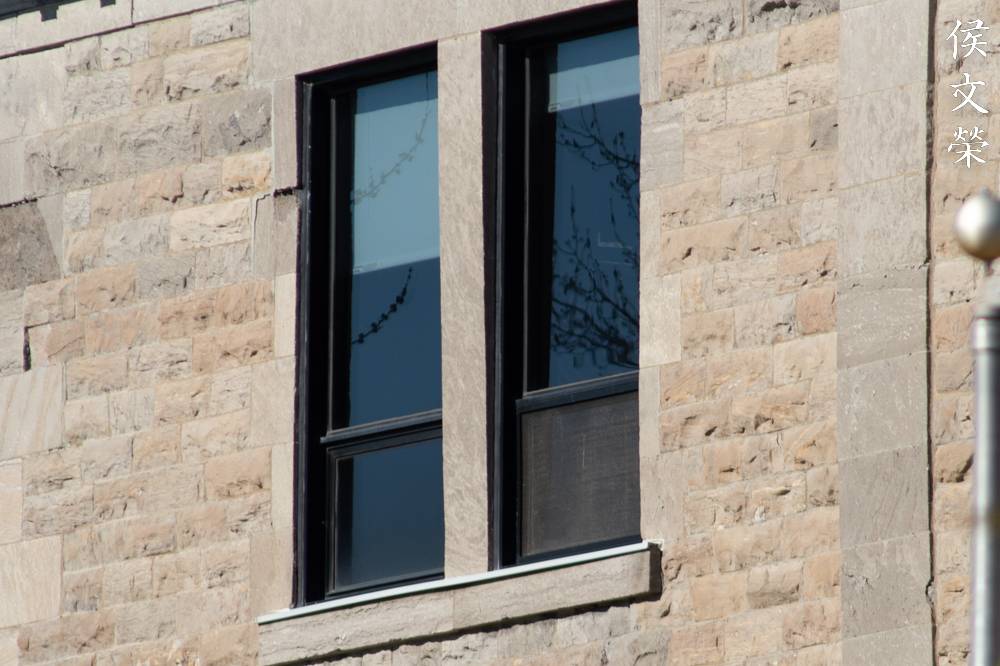
Another use case for a lens this long is for shooting architecture from a distance. This will give you a good perspective because you won’t see the effects of foreshortening as much, that will enable you to present a building in its entirety. This is not a very good photo because of the obstructions but you get the idea.

(Click to enlarge)
Here are more bird photos. Shooting birds is the domain of digital cameras because you do not have to think too much about wasting film, you can essentially “spray and pray”. The same can be said for sports photography, that’s why film photographers used to bring large capacity cassettes with them. You are not going to worry about the cost too much with a digital camera, each frame is essentially “free”. However, it is very rewarding when shooting birds with film because it feels so good when you nail a good shot. I find it really difficult to focus this lens quickly when shooting birds because they move so much, autofocus is a great convenience but it’s not a necessity. Everybody shot manually back in the day without complaints.
I can definitely recommend this to anyone looking for a cheap prime lens for birding, trainspotting or for shooting sports, so long as you have the patience. The image quality is amazing, and the hype about it is true, there is a reason why many people swore by it. Unfortunately, these aren’t cheap and you can easily find them going for about $350.00 in great condition and complete with the valuable tripod foot. Mine is missing the tripod foot so I was able to buy it for $80.00, you should never pay more $250.00 for one in good condition, complete with the tripod foot, anything above that price should be exceptional. Be sure that the iris is dry and snappy when you press on the aperture lever. The glass should be clean and never show any signs of fungus, scratches or damage. It may be common to find these with dusty internal glass because the aperture is exposed when you look at it from the rear, that is not so much of a problem. The rings should all function correctly, it is also acceptable to find these with focusing rings that feel a little bit sloppy because this lens does not have a helicoid. Finally, you should never see any signs of separation in the glass, balsam separation may be common with these lenses because they are usually used under very hot conditions for long periods of time, specially if it’s been used professionally. It’s not difficult to find a good copy, all you need is patience and try to avoid the price manipulators online. Happy hunting.
Before We Begin:
If this is your first attempt at repairing a lens then I suggest that you see my previous posts regarding screws & drivers, grease and other things. Also read what I wrote about the tools that you’ll need to fix your Nikkors.
I suggest that you read these primers before you begin (for beginners):
- Essential tools
- Best practices 1
- Best practices 2
- Best practices 3
- Ai conversion
- Working with Helicoids
Reading these should lessen the chances of ruining your equipment if you’re a novice. Before opening up anything, always look for other people who have done so in YouTube or the internet. Reliable information is scarce, vague and scattered but you can still find something if you search carefully. Just make sure that whoever makes those videos know what they’re talking about and are showing the correct techniques or tools, if not, then they are just teaching you how to destroy your equipment.
I recommend that you read my working with helicoids article, it’s very important. Doing it incorrectly is a sure recipe for disaster, you may end up in a situation where you won’t be able to reassemble everything back together again correctly because your lens won’t be able to focus properly.
For more advanced topics, read my fungus removal post as a start. It has a lot of useful information, it will be beneficial for you to read that.
Disassembly (Front Barrel):
This is not an easy lens to take apart, you must remove things in exact sequences in order to prevent any damage. The construction is unorthodox so I was unfamiliar with it and made a few mistakes. In order to prevent anything from happening to you, read my instructions carefully. There’s a few traps here that you should be aware of, and I will show or tell these to you in this article.
This section is the most complicated part of this article because all of the important components can be found here. You must take as many photos as possible before removing anything.
I will never recommend this lens to anybody who is not an expert in fixing things, you’ll need special tools to open things up and the expert judgment required to put things back together.

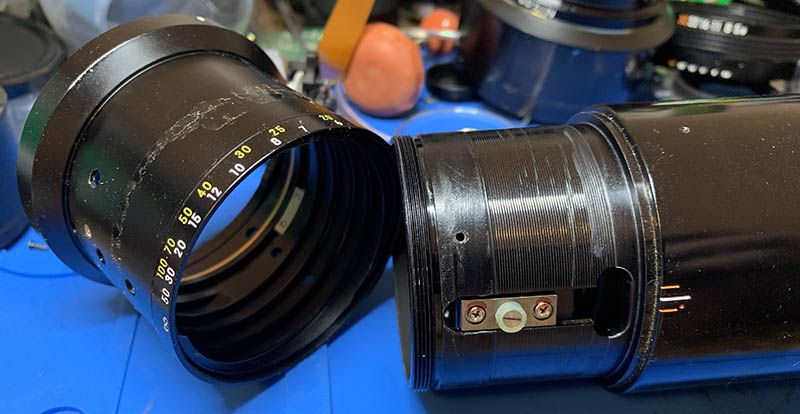
This is the ideal way to separate the lens, you split this between the front and main barrel. I did not know about this sequence so I went ahead with my instincts. Now that you know how things should be, please follow every word that I say so you won’t ruin your lens.
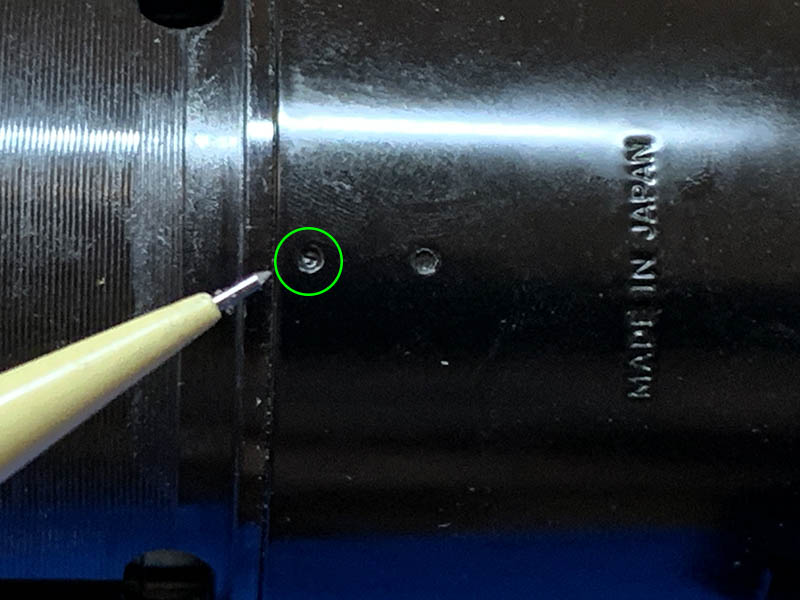
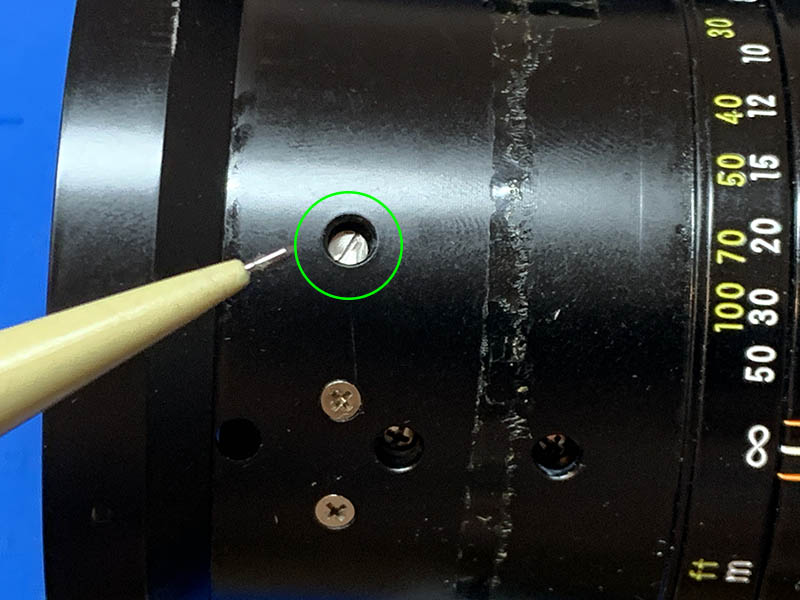
Look for this set screw and extract it so you can separate the lens into its two major components. As you can see from the picture, mine was sealed under a thick layer of lacquer, I had to dissolve it with alcohol.
The above step should be the first thing that you should do, scroll through the steps so you’ll know how I got to this point. Once you have separated the major parts, you can just follow the article. There’s another trap here and I will mention it as soon as we get there.

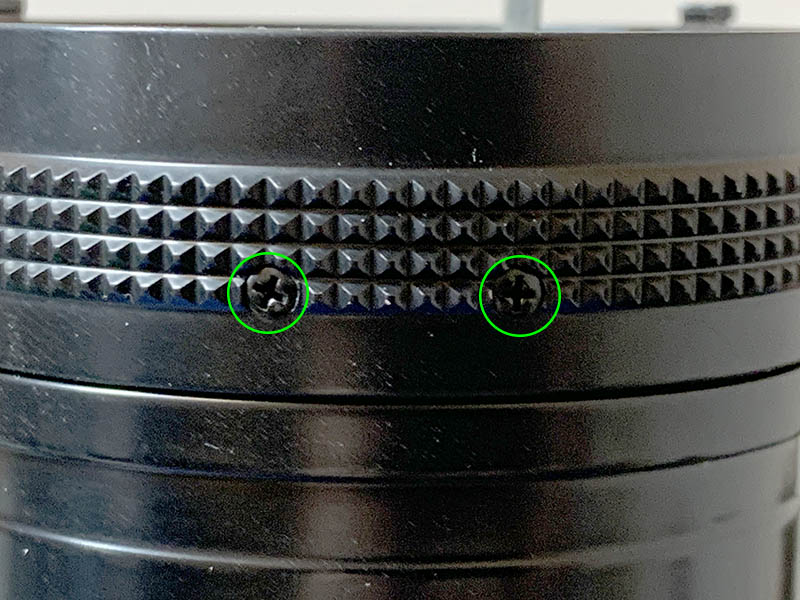
Locate these and unscrew them, they’re easily accessible once you have deployed the hood.
Peel off the tape securing the front optical assembly. In my sample, there is a hole for a set screw but the screw isn’t there. The hole has not been threaded so I assume that it’s a spot to drip lacquer into, if this part won’t easily turn in your lens, you can apply a drop of alcohol into the hole and wait for it to soften any seal or adhesive used for securing it.
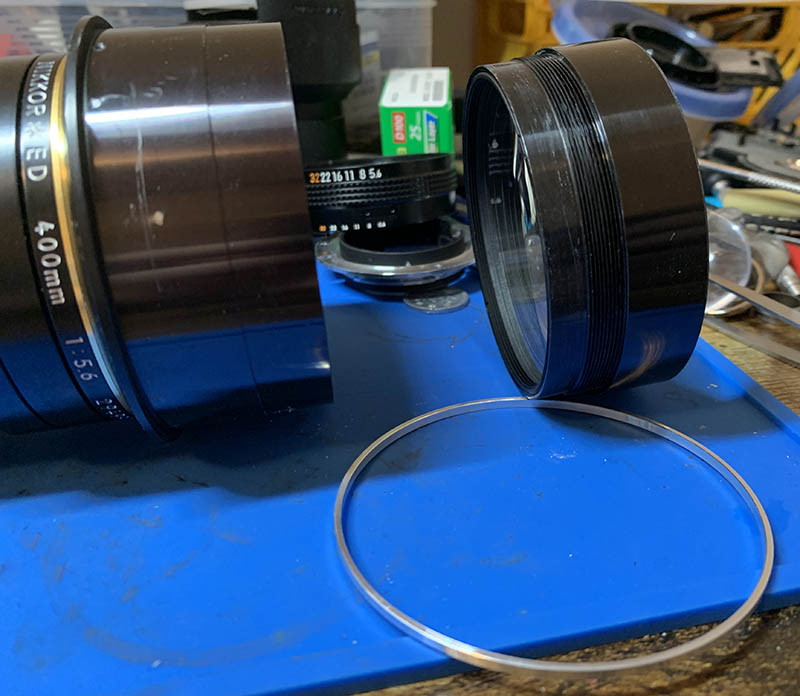
Unscrew the whole thing, store the optics and its housing inside a plastic container so you won’t scratch it while you work on the rest of the lens. There’s a shim here, never misplace or warp it, it’s for adjusting the front focus of the lens.

You may be tempted to remove anything here, please be patient because you don’t need to do anything here just yet.

Remove the rubber grip carefully by running a toothpick under its whole circumference to lift it off from the glue. Carefully pull the rubber grip towards the rear in order to slip it off from the focusing ring. This shouldn’t be difficult to do if you have separated the whole barrel as I said in the first step of this section.
Turn the focusing ring until you can access this set screw, carefully unscrew it. Mine was sealed so I had to apply a small drop of alcohol in order to dissolve the lacquer.

Turn the front assembly off and set it aside.
You should remove this as soon as you’re able to, once the front assembly is gone. Again, do not misplace the shim or damage it. Store the optics in a safe place so you won’t scratch it.
It’s now time to dismantle the front assembly. Carefully remove this clip with your nails, it’s made of soft aluminum so be careful not to bend it.

Remove the focus limiter. You do not need to dismantle anything further, there’s no point in doing so.
Turn the focusing ring until you can access this screw. Extract it so you can turn the focusing ring beyond its range, this screw limits the movement of the focusing ring.
Collapse the focusing ring until it reaches its limit, then make a mark. You should be able to reproduce it later during reassembly.
Turn the focusing ring the other way until you are able to separate it. Note that this lens does not use any helicoids for focusing, it uses a cam instead.

There are shims inside the focusing ring, carefully remove them and keep them safe.

Locate and extract these screws so you can remove the guides, clean them very carefully because they are oily. You do not need to remove the rollers, just be careful not to dissolve them when using solvents.

Pull the focusing cam off. Mine was dripping with oil, it is not a good sign since it means that the grease has turned bad, there’s a chance that the oil may have evaporated and condensed on the surface of the glass. Clean this part very well later, you should never apply too much grease here, only a very thin film is enough to make this travel smoothly.

Once the cam is gone, you can unscrew this off with a lens spanner. Pick this out using a lens sucker and store it in a safe place.
If you are paying attention to what I said then you have already seen this at the opening section. Please do not forget to dissolve any seals using solvent.
Separate the barrel once the set screw is gone. The iris mechanism is now exposed so be careful not to damage it.
Set everything aside so you can work with the rest of the barrel without worrying. For most people, this is as far as they need to go because everything that matters can be found here. You can also service the iris mechanism just by removing its screws. Remember, only remove things that had to be fixed.
When putting back the 2nd optical assembly, be sure that the focusing ring is reinstalled and the screw that serves as the focusing ring’s stop is there. It’s important, it will prevent the focusing cam from sliding too much towards the rear. If you have reinstalled the 2nd optical assembly without doing what I just said, the glass will come into contact with each other, causing a scratch, or worse.
Take it easy with the lubricants, I only had to apply a really thin film for the focusing cam and the internal grooves of the focusing ring. The rollers were also greased but I did not apply too much. You should use a heavier type of grease to get the correct feel when turning the focusing ring. A lighter type of grease isn’t going to give you enough resistance and it will feel a bit gritty.
If your lens has fungus, read my article on how to clean a lens with fungus to know how it is done. Never use the solution in full-strength, always dilute it with some distilled water
Disassembly (Main Barrel):
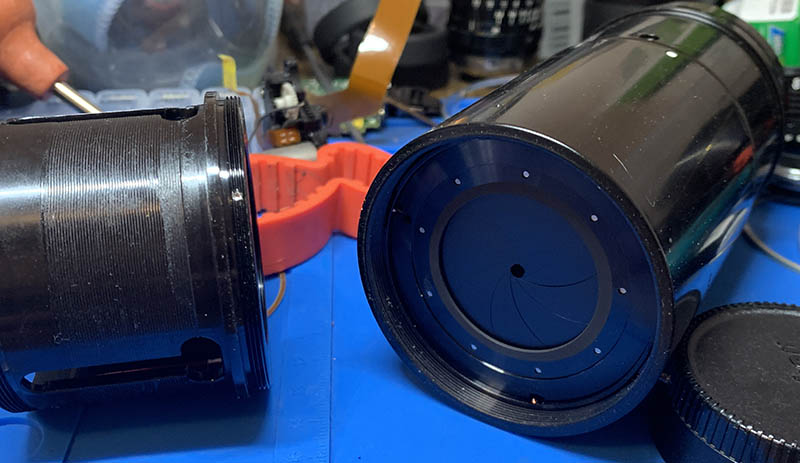
There isn’t much going on here because everything important can be found in the previous section. The only thing that you should be aware of here is how to carefully remove the iris mechanism. Things aren’t so straightforward here so you must pay attention.

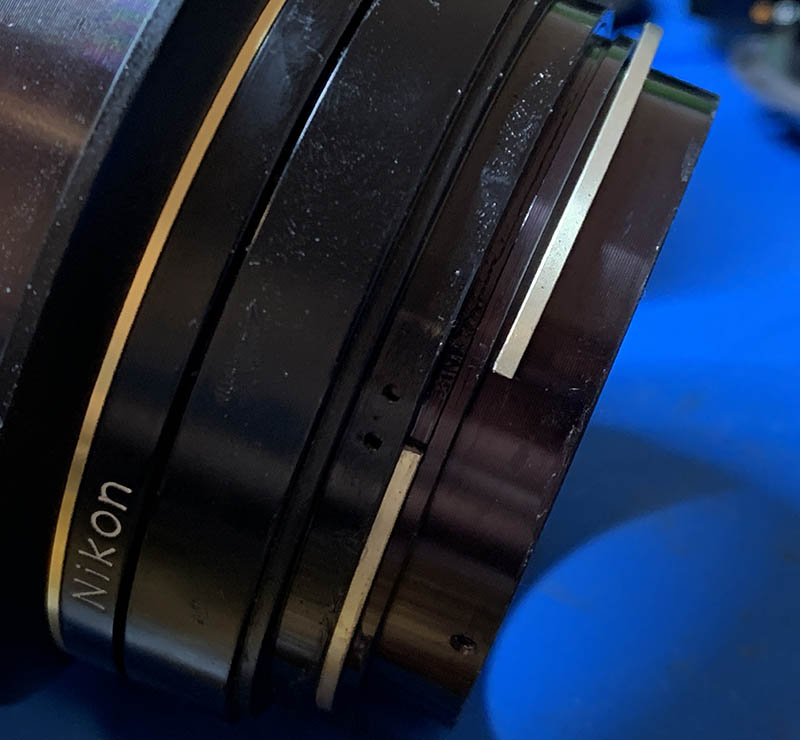
Before you remove the iris mechanism, make a mark so you will know how to put it back again later. It’s adjustable and you will never be able to set it back as precisely as how the workers did at the factory. In my photo, it is not so obvious because of the lighting but the mark extends to the threads. The scratch is very shallow so the threads are safe.

It can be difficult to remove the iris mechanism because there’s nothing to hold on to, I had to dislodge it slightly then pick it out using a special tool.
The iris mechanism looks moderately complicated, it can be a bit challenging to put back. Don’t dismantle it if you don’t have to, only tear it apart when dealing with an oily Iris or a lens with severe fungus.
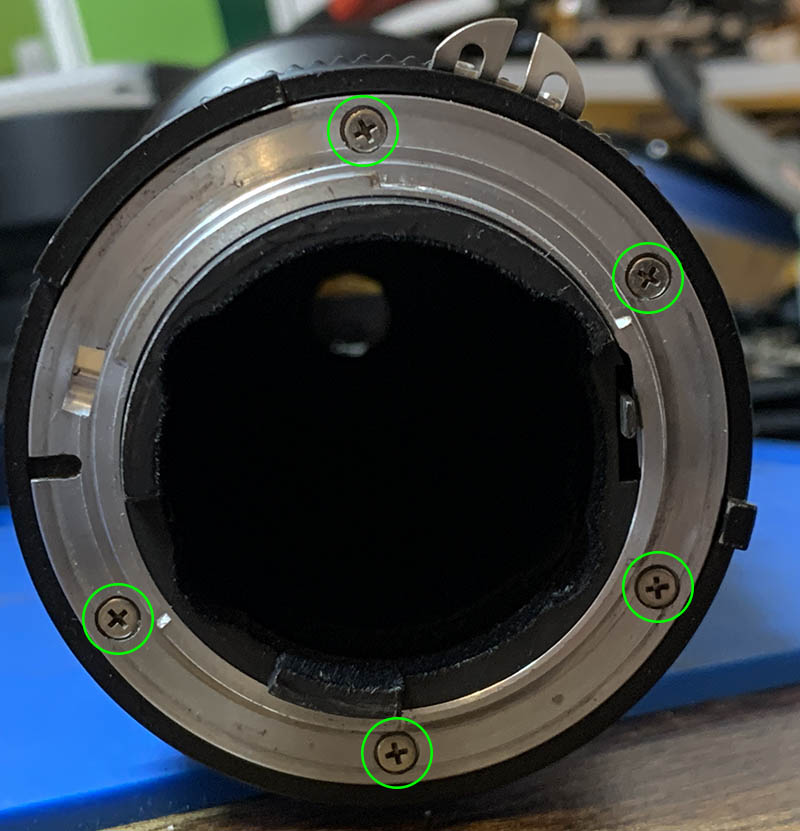
Carefully extract these screws from the bayonet, read my article on how to remove screws so you will not strip their heads. My screws were all sealed with epoxy at the tips, they did not come off easily, but I was able to remove them without using heat or solvents because I have good tools and experience.

Remove the bayonet mount from the barrel, there’s nothing here that can get caught.
Extracting these can sometimes be risky, so I usually heat them up first with a soldering bolt or a torch for precision repair before I extract them. They’re sometimes secured with epoxy as evident by the smell they give off when heated.
Once the screws are gone you can safely remove the aperture ring.

Locate and extract these screws so you can remove the inner barrel.

Pull the inner barrel out from the front. You do not need to go any further than this, just be careful not to warp the stop-down lever. Mine was somewhat stiff so I cleaned it and applied some oil to make it move freely. The inner barrel also serves as a baffle, it has a felt lining which can be difficult to replace. If you are dealing with a severe case of fungus infestation, it may be best to replace the lining.
I cleaned everything really well, all of the big parts that are safe to get wet were cleaned thoroughly using a strong toilet detergent and a stiff brush. They were all rinsed with hot water and treated using alcohol, it will ensure that no residues are left.
Conclusion:
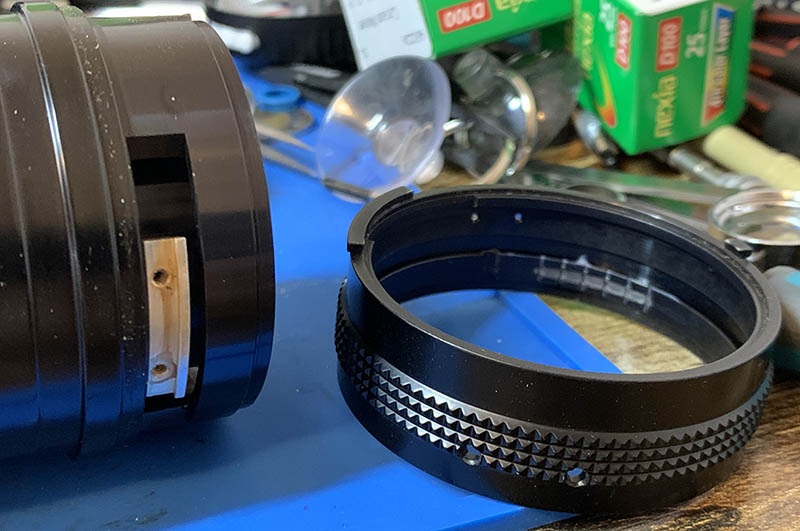
This has been one of the more enjoyable experiences that I have had for a long time. I say that because it offered a challenge to me, like a puzzle of some kind. I have always wanted to repair one of these so that I can present it to you in a complete article about this legendary Nikkor.
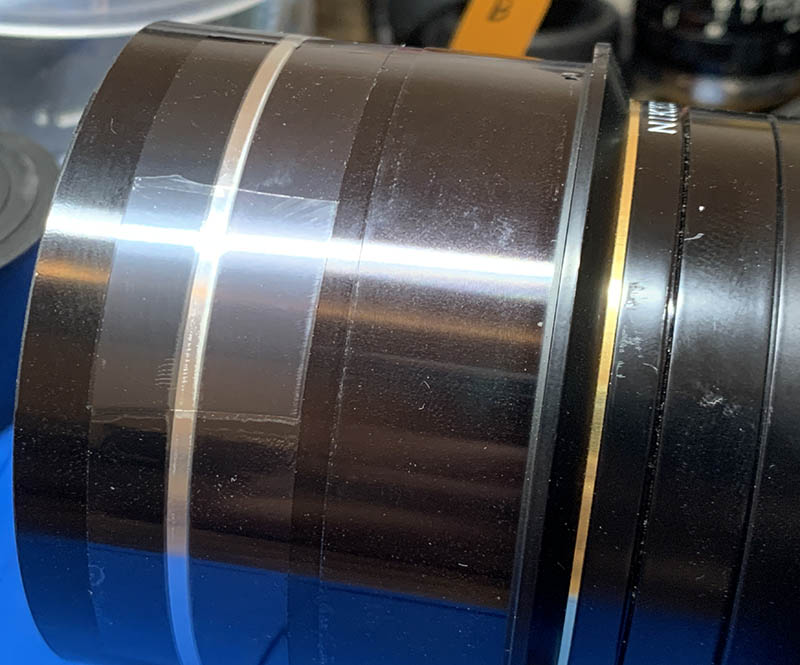
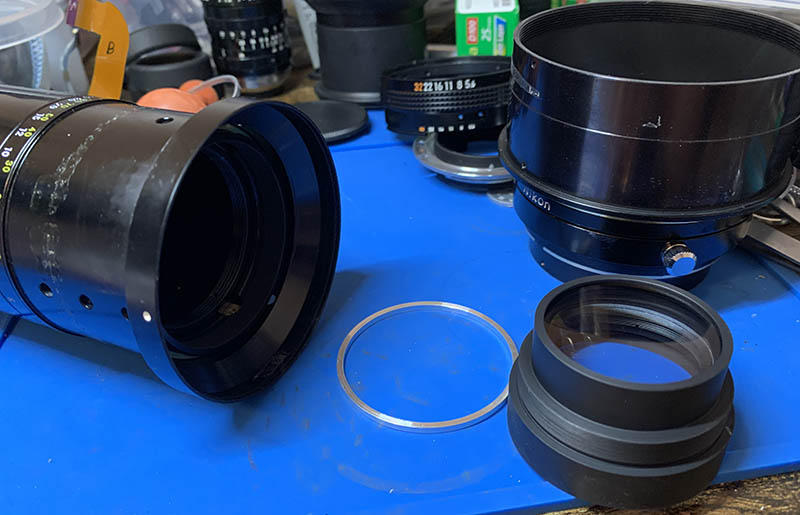
I find it interesting that you can service this lens in a modular way like how you see in this photo. If only I knew about this fact earlier, it would have made my life easier. If you have not tampered with the distance scale and kept all parts aligned as they should then you don’t need to adjust its focus.
I really like this lens a lot it’s just that I don’t like carrying it around with me even if it’s the smallest lens of its class. I’m getting older and I don’t want to carry heavy things all day anymore. I’d probably use this for playing around with old lenses these days. For a serious or paid work, I’d just by any of those superzooms made by any manufacturer in recent years because acquiring focus will be the biggest thing for shooting wildlife and moving subjects with such a long lens. The addition of vibration reduction also helps but that isn’t the main deal for these kinds of photography.
Thank you for following my work, did you enjoy this article? Please help me out by sharing my work with all of your photography friends, that will help increase my visitor count. I do not accept sponsorships and paid links so I only rely on unique views and the tips that you leave me, that is all that is keeping this alive. I refuse marketing and shill activity so I can say whatever I want without worrying, compared to the rest, I am very outspoken about my views on certain matters because I’m not influenced by any entity. It allows me to present to you the best and honest opinions about any subject matter. You are also the reason why this site has been alive for almost a decade now, thank you again. Your support helps me pay for hosting, film purchases and processing. This country is expensive if you’re a photographer, it’s nowhere like Japan. See you guys again next time, Ric.
Help Support this Blog:
Maintaining this site requires resources and a lot of time. If you think that it has helped you or you want to show your support by helping with the site’s upkeep, you can make a small donation to my paypal.com at richardHaw888@gmail.com. Money isn’t my prime motivation for this blog, I believe I have enough to run this myself but you can help me make this site grow.
Leave me some tip?
Thank you very much for your continued support!
$2.00
Helping support this site will ensure that it will be kept going as long as I have the time and energy for this. I’d appreciate it if you just leave out your name or details like your country’s name or other info so that the donations will totally be anonymous. This is a labor of love and I intend to keep it that way for as long as I can. Ric.

Jun 28, 2025 @ 18:20:23