
Hello, everybody! Do you know the song “Torn Between Two Lovers” by Mary MacGregor? This is a song about a committed woman who is seeing another man. It’s not that she doesn’t love her partner but the other man has “better performance”. I’m not a woman, and I am a loyal husband but I understand what’s going on inside of her because this feeling isn’t always confined to relationships. You can be torn with a lot of things in life, in my case it’s the choice between the de facto zoom lens for my Nikon 1 cameras or a similar one that does much more but lacks something that I need. Have you been in such a situation and what did you do? Of course, we are living in a free world so we get to choose which one we need. You can also choose both if you are so willing. This is the gift of liberty!
Introduction:
The 1 Nikkor 10-30mm f/3.5-5.6 VR was sold from late 2011 to several years later when the whole Nikon 1 system was discontinued. They can even be found new when sold together with old stock camera bundles as late as just a few years ago as of writing. It is the kit lens for the new Nikon 1 system cameras and these were mostly sold together with the cameras as a kit. They have a mixed reputation, some hated it while a devoted group will swear by its optical performance. It’s truly inconsistent in that regard but everyone will agree that this “made in China” lens is flimsy. Things got so bad that Nikon had to offer free replacements of the worn or flimsy parts inside of it without any additional cost. I’m impressed by this because it shows that Nikon has accountability, unlike some other brands.

The whole barrel is made up of plastic to make it compact, cheap, and affordable. It has a minimalist and modern design for its time so you only have a zoom ring with a lock to interact with. You need to turn the zoom ring to the 10mm position in order to use it.
It has a 12-elements-in-9-groups design which is quite complicated for such a tiny lens. Its focal range can be thought of as an equivalent to 28-80mm in 35mm format (2.7x crop factor). It also has VR or vibration reduction which helps when shooting in lowlight conditions, but it feels pathetic in actual use. You can get around a stop of light’s worth of performance from it at least for my experience shooting with it. It can be decent when acquiring focus and I wouldn’t call it slow by any chance, but it does struggle in the dark. It’s nice to get it with the hood because it doesn’t come with one for some reason.

This is how it looks like when fully extended. The telescoping barrel has a little bit of play but it feels solid enough to inspire some sort of confidence when handling it. Having said that, it doesn’t mean that you’re able to bang it around and expect the lens to be okay.

It is the perfect companion to the cheap Nikon 1 S1 – a toy lens for a toy camera. This setup is light and it won’t attract unwanted attention because nobody will take it seriously especially if you put some stickers on the camera that makes it look like something for kids.
Let’s now see how this lens performs. It’s important to understand your lens down to this level. It is going to give you insight on which aperture and focal length your lens will perform at its best. This removes lots of guesswork and you will get more consistent results. I took these pictures where’s a Nikon 1 J5 and the apertures I have chosen are bracketed up to 2 stops worth of light. The focal length are 10mm, 18mm and 30mm. Also, please disregard that some of the photos aren’t focused, I wasn’t able to tell that apart since it’s difficult to see things with a tiny LCD screen. Moving forward, I will just manual focus everything since I don’t trust my setup to work consistently with these “rinky-dinky” lenses.


(Click to expand)
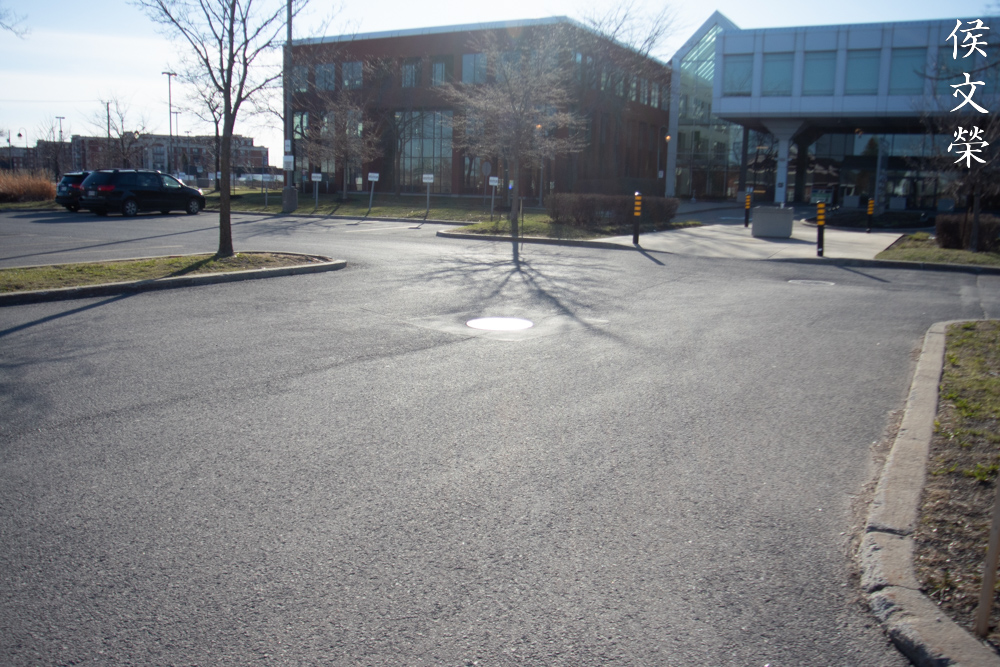
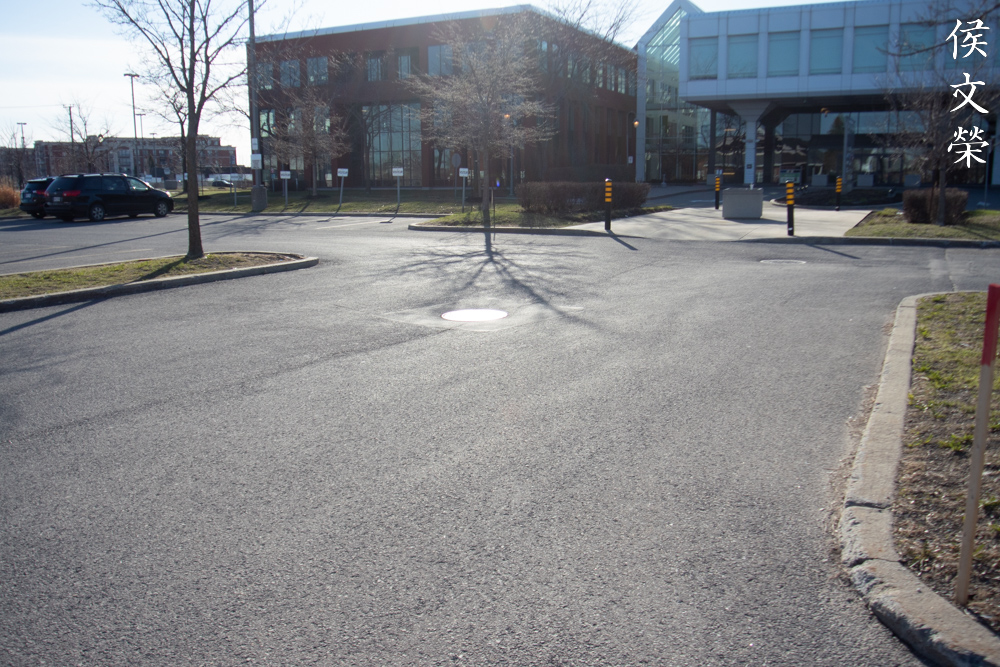
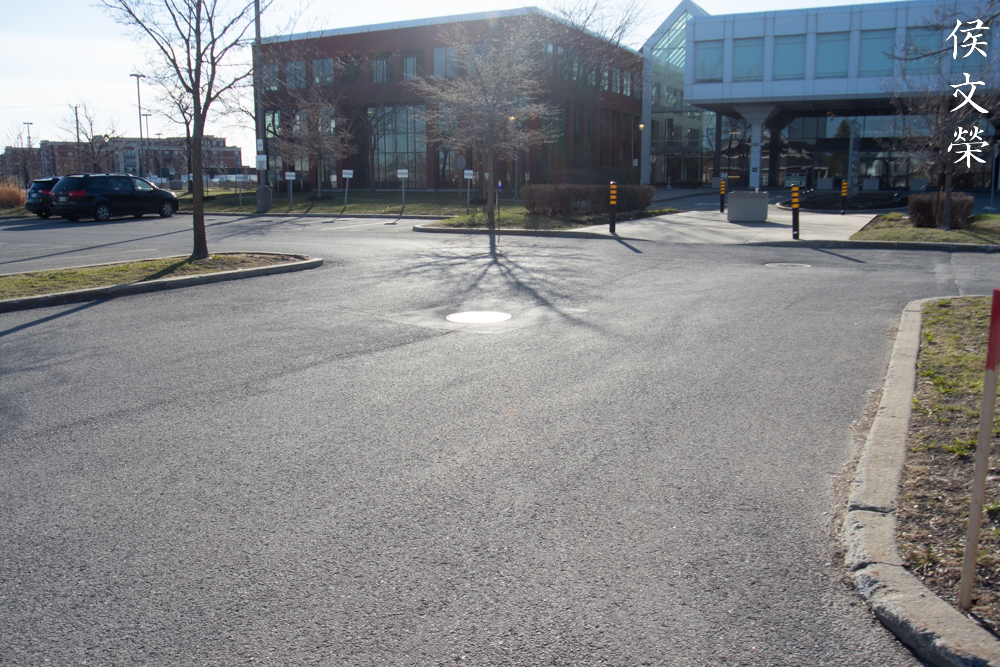
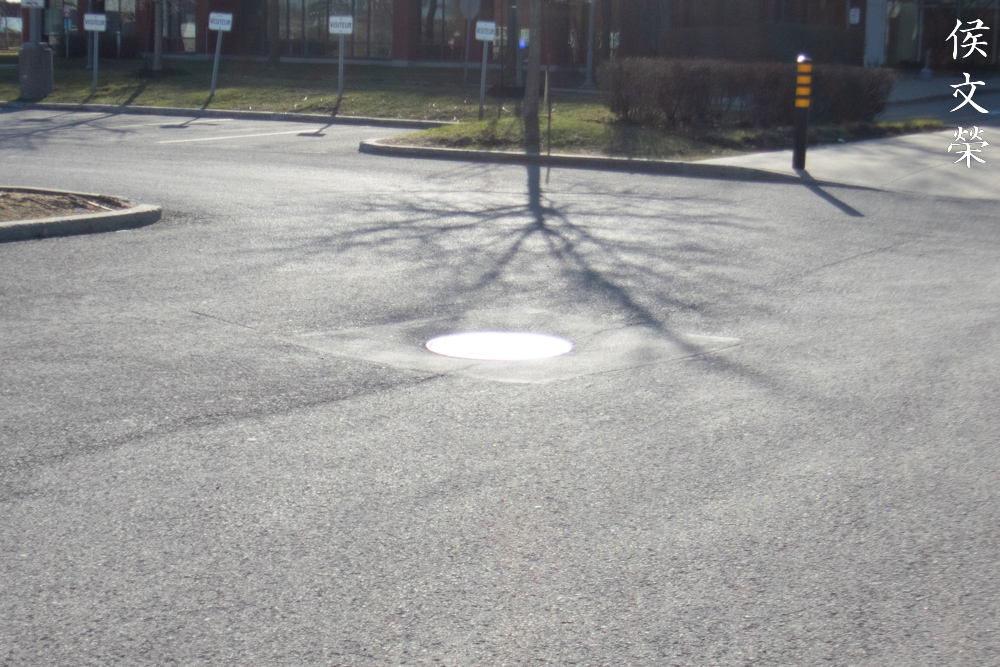
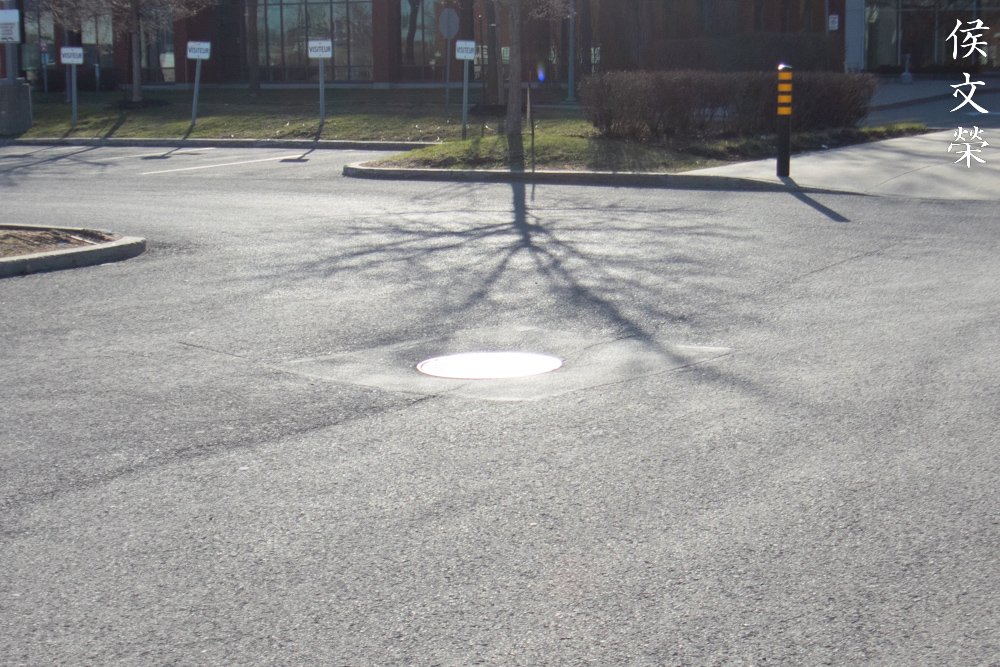
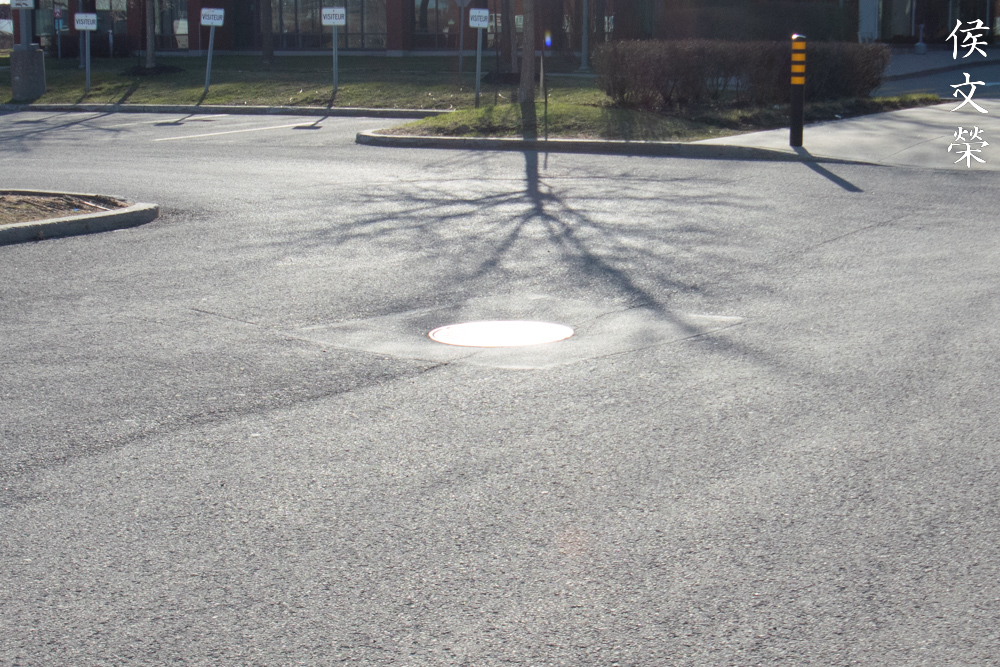
The effects of distortion looks exaggerated at 10mm. It doesn’t look so bad at around 18mm which is the best focal length amongst the set. You’ll notice some more of it coming back at 30mm but it’s negligible. I wasn’t able to find a better example that afternoon apart from this brick wall which isn’t the best pattern for demonstrating the effects of distortion but you get the idea.


(Click to expand)
Vignetting can be observed when shooting wide-open but it’s not so bad and the falloff is a bit linear. It is only when shooting at 10mm where the falloff is concentrated at the extremities. Stopping this down by a stop will alleviate most of the darkness and you will only find traces of it if you look really hard. Things get a lot better when you stop it down by another stop but you will barely notice any change.
What this is pointing out is the lens performs best when you stop it down by a stop at the very least but it will not improve much except for the corners when you stop it down even further. At least that’s what the test is saying, we shall see if this is indeed the case later in the sharpness tests.


(Click to expand)
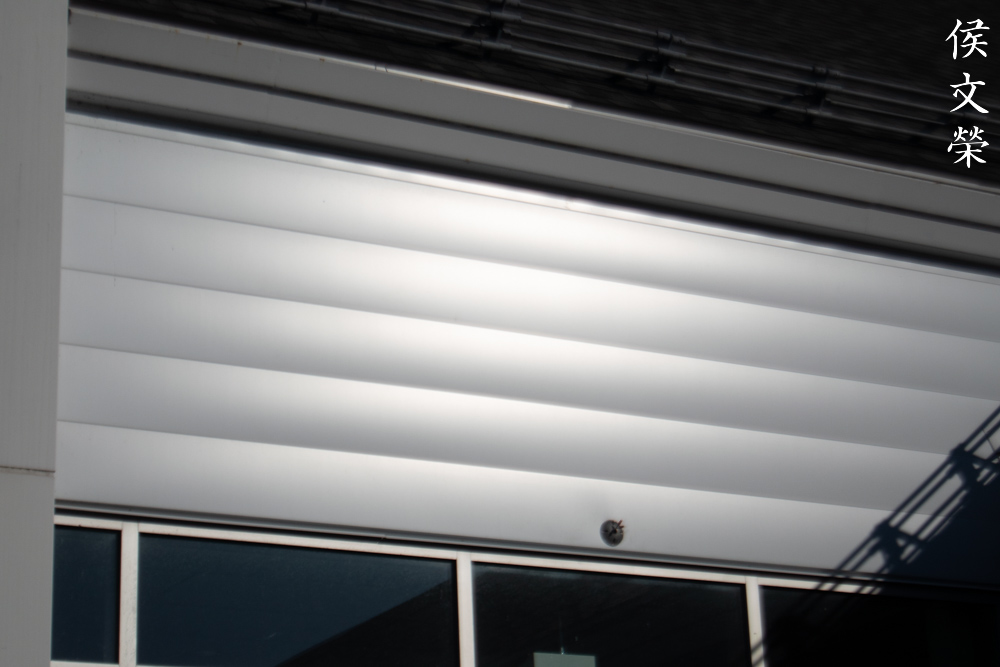
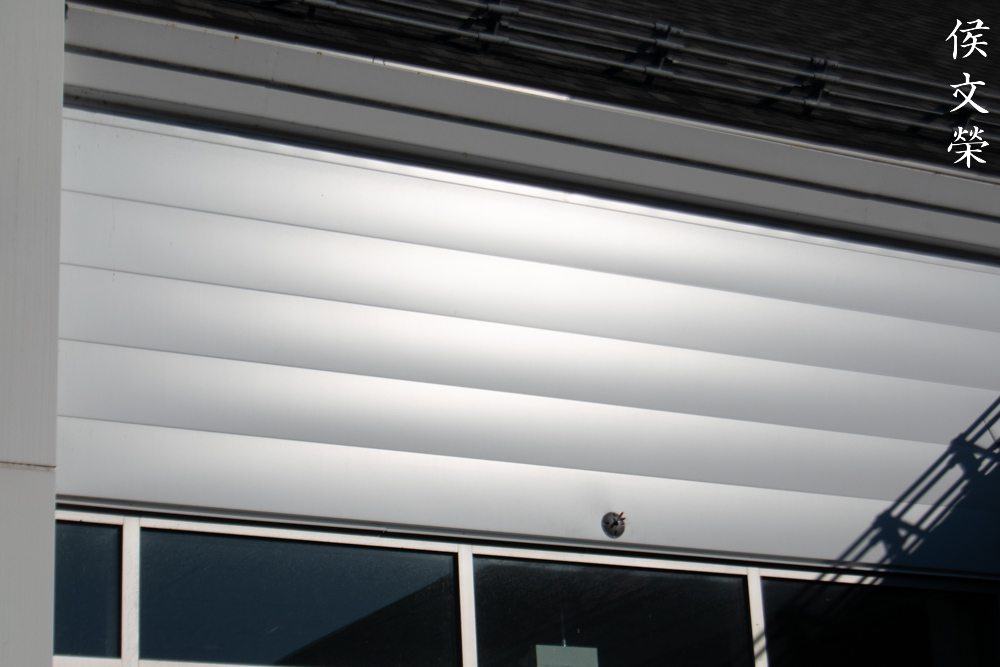
Its ability to resist internal reflections and flare is poor, I didn’t expect it to excel in this regard but I wasn’t prepared to see it fail as miserably as what we are seeing here. I may be exaggerating a bit but it’s bad for a kit lens that’s made in a recent years.

This is how terrible looks like in more reasonable scenarios, I’d imagine that people will take pictures such as this on a regular basis while walking around town. Just be aware of it so you can learn to avoid making pictures that look worse than those that were taken with a smartphone.


(Click to expand)
This is not a good test but I’m surprised that the blurry parts of the photos don’t look that bad at all. I am not disappointed at all nor am I impressed, I’ve seen worse and I’ve seen much better.


(Click to expand)
Chromatic aberration can be problematic when shooting wide-open. It gets better when you stop it down by 1-stop but you will still see traces of it even if you stop it further down, it just won’t go away. The JPEG compression sort of dealt with the majority of the magenta bloom in these pictures but they are obvious when you see the original photos using a large monitor.


(Click to expand)
Sharpness is inconsistent across every variable. There are times when this performs better at the wide end or at the long end of the focal length. This also applies to distance and aperture along with sharpness in certain areas of the frame. Overall, I can say that it generally sucks when shooting wide-open and you will see some tolerable results by stopping it down by a stop. Stopping it down by 2 or 3 stops is mandatory if you want to get some decent performance out of it. Finally, you must be careful not to go beyond f/11 as a habit with this lens because the effects of diffraction shows up quickly, you can even see it at f/8! It’s the usual behavior for many cheaper lenses and this one is no exception.
It is difficult to point out the exact cause of what I’ve just observed. It can come from manufacturing slop, sample variation, the inadequate VR making things worse or anything else you can think of. All I can say is I get the best performance when shooting during sunny days where it’s easy to produce decent photos of just about anything. I’ve heard that some people were lucky enough to get sharp copies of this lens so it’s really a game of random numbers at this point, just imagine how many of these were made.

You won’t be able to achieve macro lens levels of magnification with it but you’re able to focus close. This is how close you can get at 30mm. The lens isn’t sharp at the long end when shooting wide-open at f/5.6.

Stopping it down too f/8 helps a lot and you will get drastically sharper center performance out of it. It’s mandatory to stop this lens down when the light allows it, never shoot with it wide-open if you can.

It works decently as a portrait lens at 30mm but it’s nowhere near what a dedicated portrait lens can do. If you see yourself shooting lots of portraiture, you should buy the expensive 1 Nikkor 32mm f1.2 instead.

This photo is a good example of how the corners look like when shooting at wider apertures at 10mm. It’s sufficient for most cases and10mm kind of translates to 27mm for 35mm photography which is great for a lot of different types of photography.
Shooting indoors is the worst thing you can do with it because the vibration reduction is incompetent. It’s probably only as effective as a stop or two in reality, maybe even less. It’s pathetic but it’s still better than nothing I suppose.

The effects of distortion at 10mm could be hidden by careful framing. Avoid placing important lines near the edges of the frame. Is still here in the photo and you can even see it but it’s not as obvious.

Shooting at an angle will help hide the effects of distortion in your photos. This is important especially for taking photos of architecture and things of similar nature.

It’s a very good lens for travel photography just because it’s light and compact, nothing more. If you want your photos to be sharp or just better in general when it comes to image quality it’s best to use another lens because you will be disappointed by this one. It’s for convenience and budget than anything else.


(Click to expand)
I’ve never been so happy to finish testing a lens. Despite all the pain, I did get some enjoyment out of it. I liked how convenient it is and specially how easy it is on my neck when shooting with it the whole day. It’s definitely not a lens form me and my style but it offers a trade-off that I’m willing to take occasionally. It’s obvious that the convenience it offers outweighs whatever flaws it has (which are many).
I will only recommend this just because there’s no other alternative. There’s another lens that is similar to this called the 1 Nikkor 11-27.5mm f/3.5-5.6 which is optically superior but lacks vibration reduction and it has an unusual focal range. What the latter lacks in the features, it gains in optical performance so you’re going to need both depending on which situation you will be using the lens for. Quite frankly, you can be better off with the 1 Nikkor 11-27.5mm f/3.5-5.6 instead since the vibration reduction of the 1 Nikkor 10-30mm f/3.5-5.6 VR it’s an adequate and may even be a detriment. The 1 Nikkor 10-30mm f/3.5-5.6 VR PD is another alternative but it has the same optical design as this one so I doubt that it will be any better. It does have a more durable build along with a front cover for the lens. It also has a “Powered Zoom” feature so it’s smoother to use when shooting videos. This one is the most reliable of them all because it’s rare to find one with the dreaded aperture problem that many Nikon 1 lenses have, even though most expensive ones. When buying one of these be sure to take a look at the aperture, it should open up when you turn the camera on. It should not be dark when shooting indoors, like unusually dark. Turn the zoom ring and see if you will get any errors in the camera nor should it feel uneven when doing so. Check the optics for any traces of fungus or dirt. Lastly, see if it can focus properly, the vibration reduction should also work. It is very common to find these with one or more issues so prepare yourself, it may be working well today, it may decide to go on strike tomorrow like a French person. These are very cheap, broken ones should only cost $25.00 or so, a decent one shouldn’t go for more than $50.00. You should take into account the cost of paying for repairs when purchasing these, one that has an aperture problem can be easily fixed but the ones that have issues with their electronics will cost much more and are not worth it. If you can find one with the hood that will be better. Lastly, if you’re not fussy with the color you can get the pink or red ones for even less because nobody wants them. The white ones are a little bit more expensive but the silver or black ones are the most popular so be prepared to pay full price for them. These are not rare and it’s easy to find them. It’s a buyer’s market for these lenses so don’t let the predatory sellers take your money!
Before We Begin:
If this is your first attempt at repairing a lens, I suggest that you see my previous posts regarding screws & drivers, grease and other things. Also read what I wrote about the tools that you’ll need.
I suggest that you read these primers before you begin:
- Essential tools
- Best practices 1
- Best practices 2
- Best practices 3
- Ai conversion
- Working with Helicoids
Reading these should lessen the chance of ruining your lens. Before opening up anything, always look for other people who have done so on the internet. Information is vague and scattered but you can still find some information if you search carefully.
For more advanced topics, you can read my fungus removal article. It has a lot of useful information, it will be beneficial for you to read this. I also recommend that you read the working with helicoids article so you will not get stuck because you couldn’t reassemble the helicoids back properly.
Disassembly (Barrel):
This is the most complicated of all the cheap 1 Nikkors that I have worked on. He will have to dismantle it all the way to its core just to access the gear for the aperture motor which is the most common problem of this model. There’s only one correct sequence of disassembly for it and I will show you how, just follow my guide and you should be fine. Before you begin working on this you should be ready, you must have a complete set of tools, experience, and replacement parts or else you’ll just ruin your lens or waste time. It is also important to avoid frying the electronics with static electricity or breaking it with magnets. I use the most basic plastic tools as much as possible when working with the electronics. If you don’t know what to do, send it to a repairman and show him my guide.
Warning, this article will only cover how to replace the worn aperture motor gear, nothing more. If you’re looking to replace any worn ribbons or electronics, this guide won’t be of much help except for teaching you the correct sequence on how to disassemble this lens down to the last screw.
Extract the screws of the rear baffle to remove it.
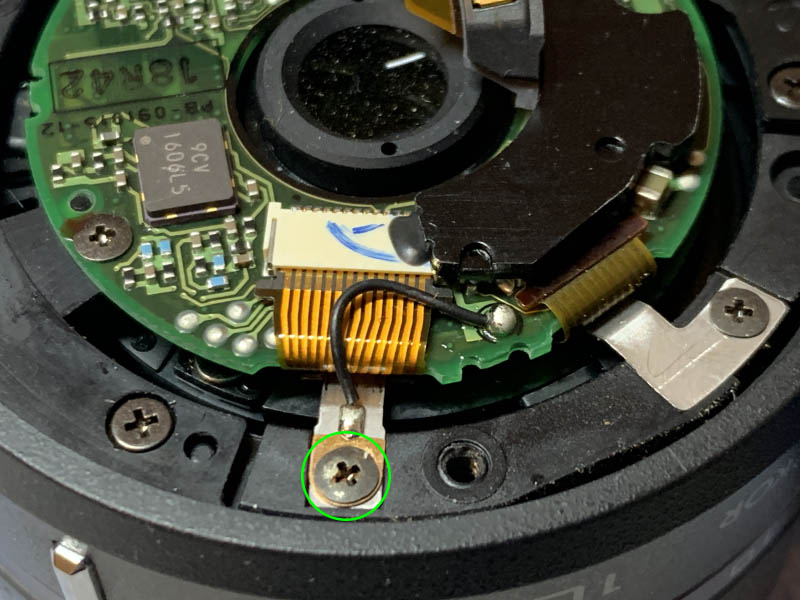
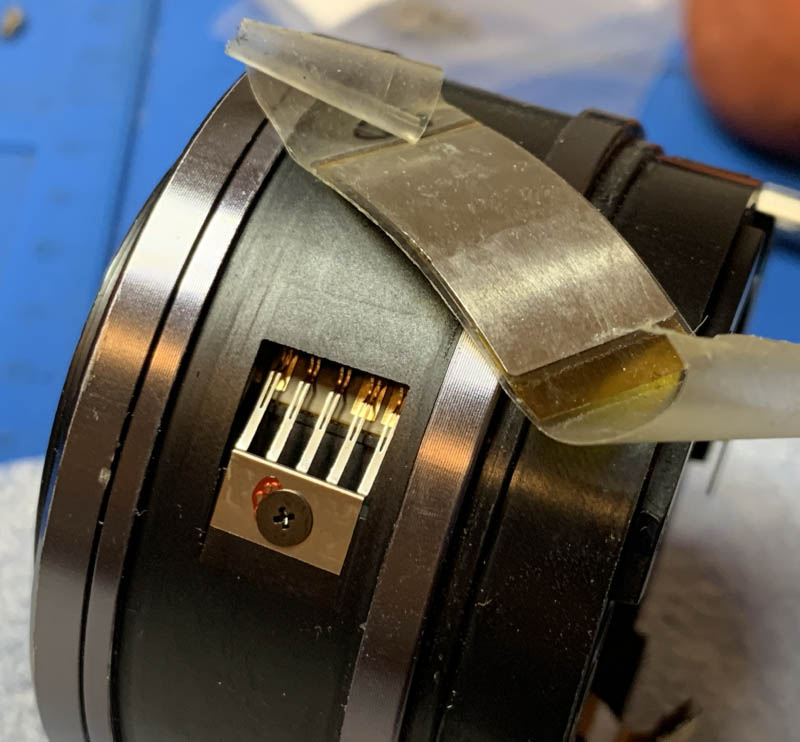
Extract this one so you can free the contact block or you will damage it in the next step.
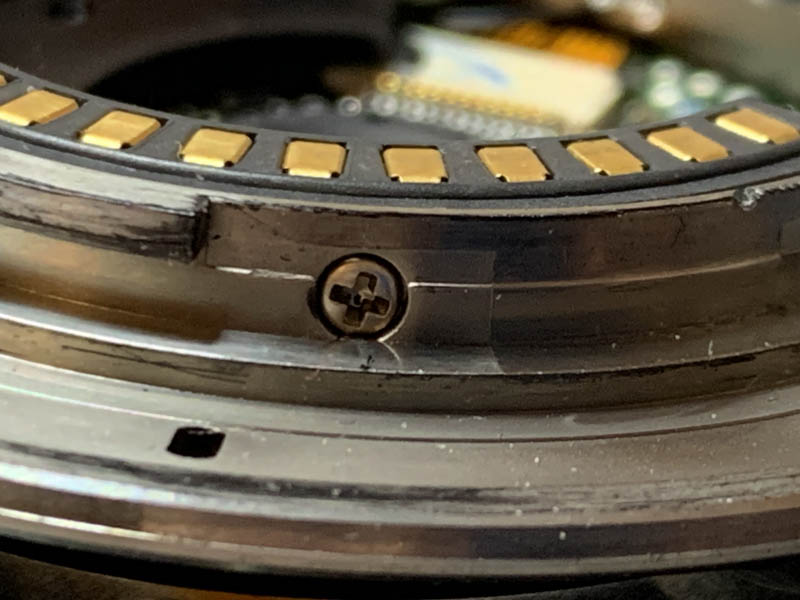
Carefully extract these screws from the bayonet, read my article on how to remove screws so you will not strip their heads. Do not ignore this warning.
Gently pull the bayonet off while being careful with the contact block, making sure that it won’t snag. You will find a couple of shims underneath it, don’t lose any of them and store them in a safe place.
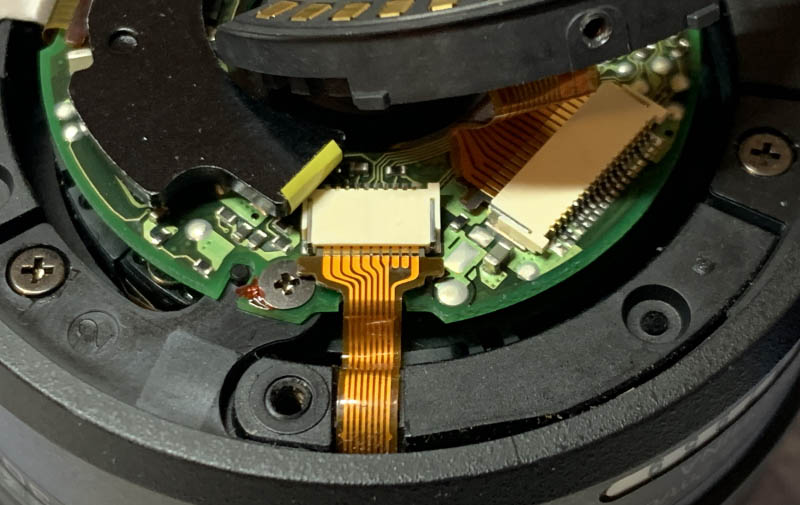
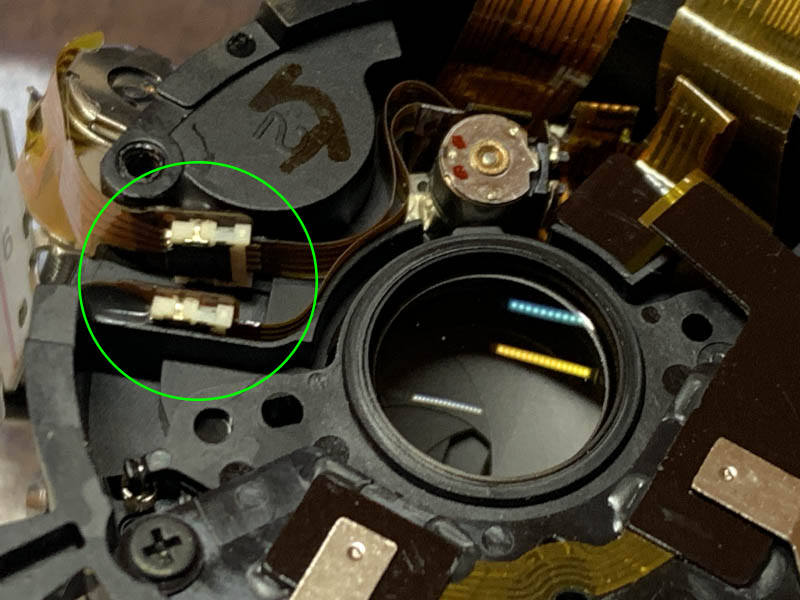
Locate this ribbon and pull it using the extended material that looks like its flaps. You can use your nails if they are long enough or use a plastic tweezer, I used the latter to be hygienic. You also push on the same flaps when putting it back.
Do the same for the 2 other ribbons that you see here, one is just covered underneath that black block. It also has a black wire for grounding that you must remove, you don’t need to unsolder it and just unscrew the other end to get it off. Reinstall the screw so things won’t move around freely and cause an accident.
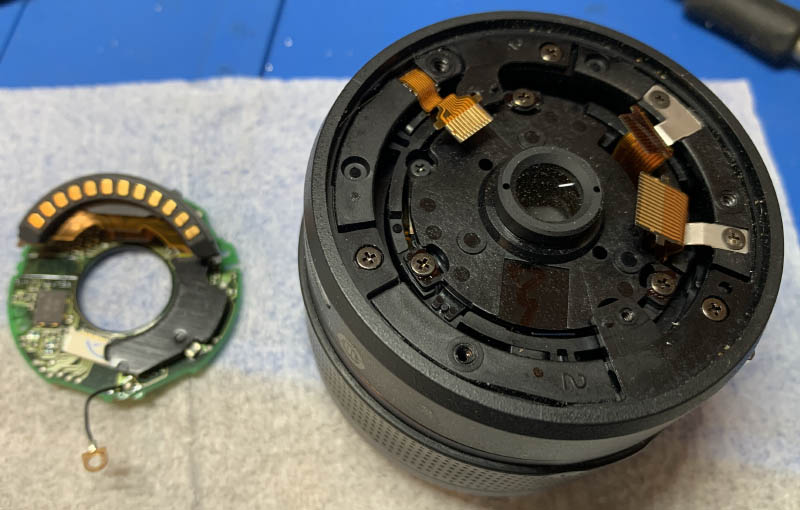
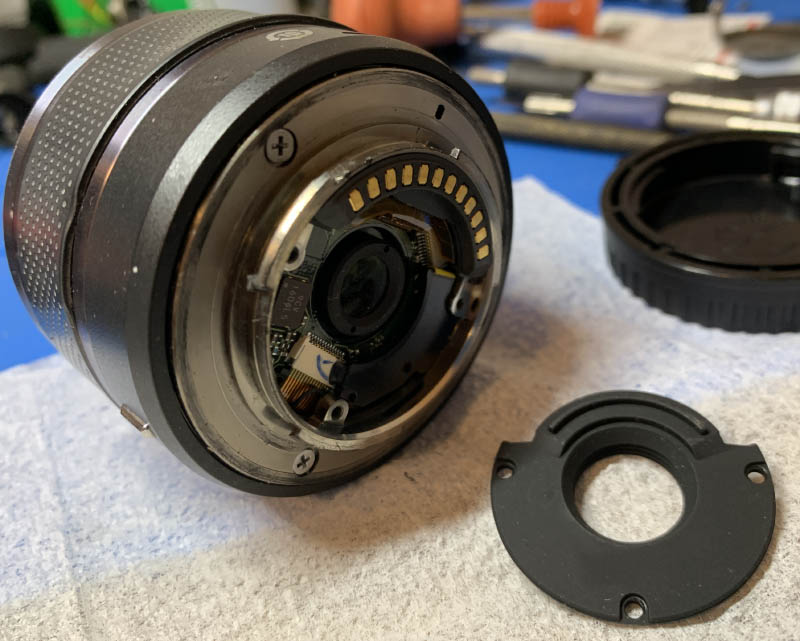
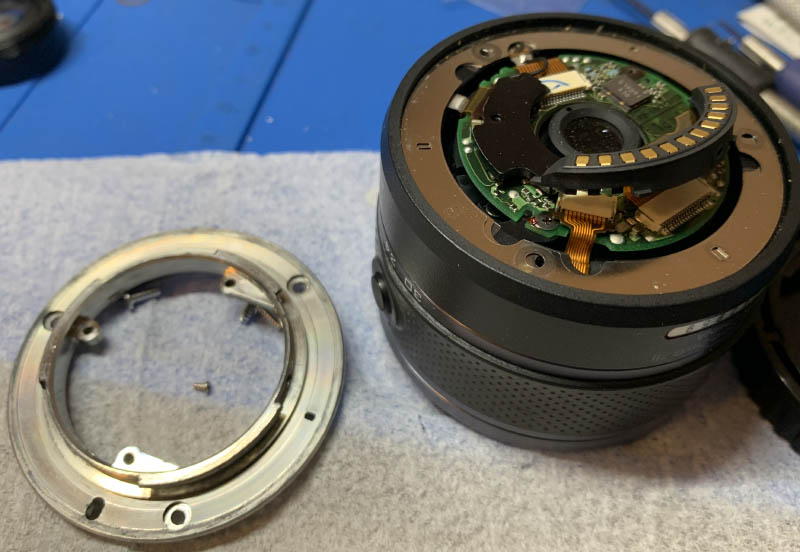
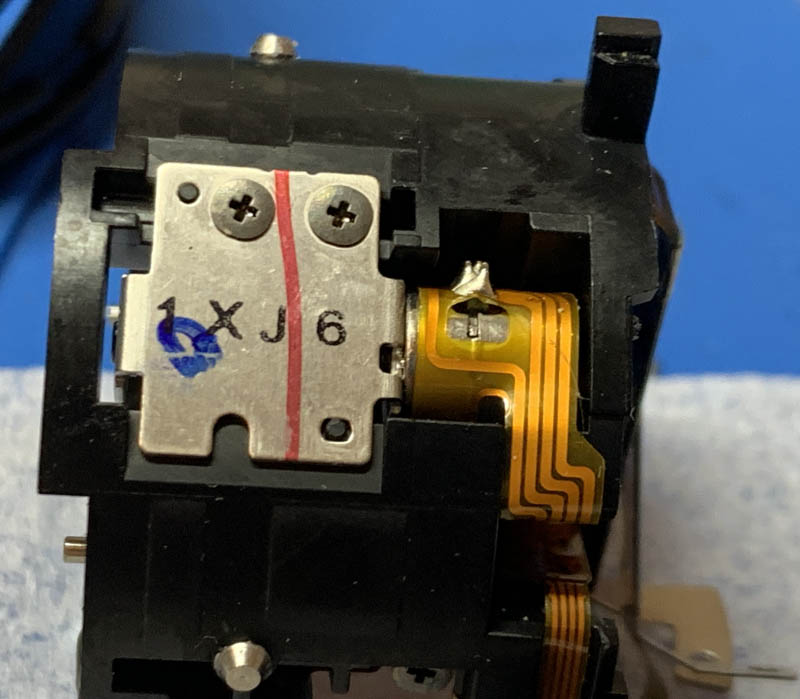
Once you have disconnected the ribbons and ground wire, extract the screws to remove the main board. I left the contact block alone but you can remove it if you wish but I don’t see any merits for doing so.
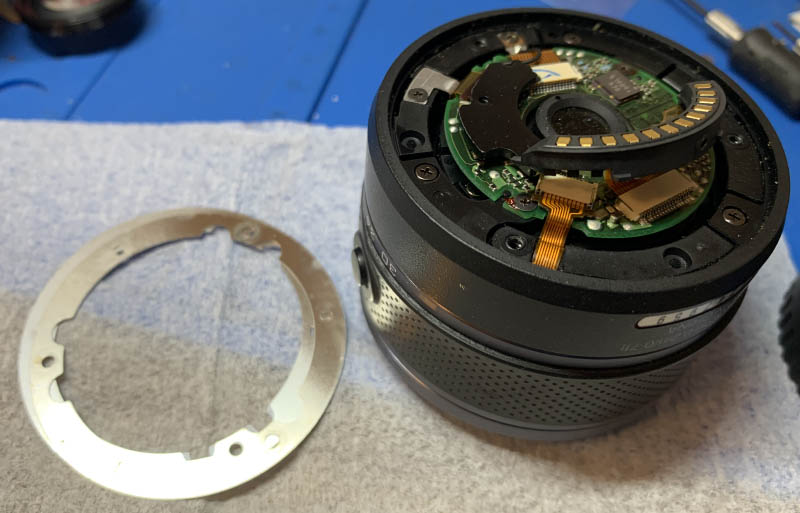
Extract the screws of the base to remove it. It’s usually filled with germs underneath it so clean this part very well. The next step is to remove the rubber part of the zoom barrel, be careful not to tear it.
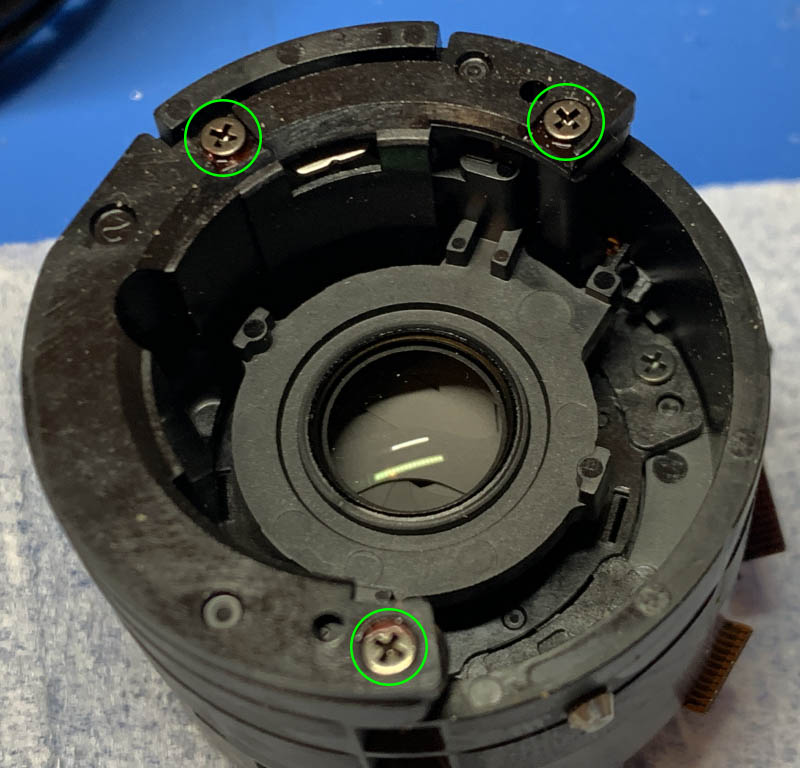
Extract the screws so you can remove the rear assembly containing some optics. You can do this later if you wish, which I think is a better idea because at least the VR mechanism is protected.
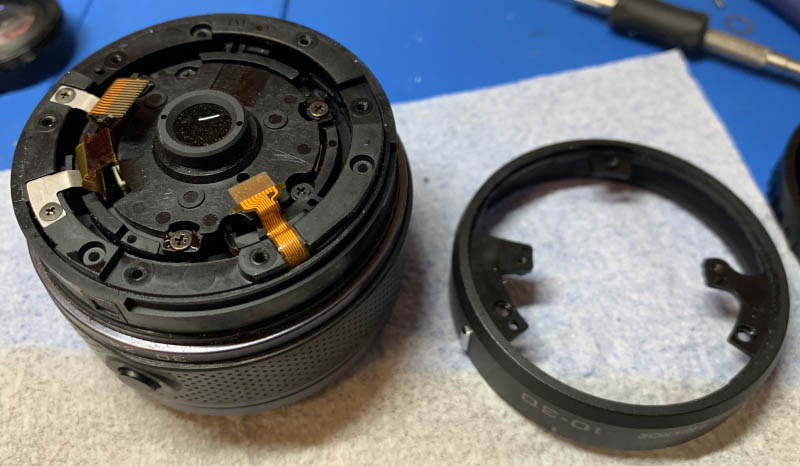
Carefully remove the rubber part of the zooming barrel with a soft plastic tool so you won’t damage it. Peel the tape off to reveal the brush. Note its original position then remove it by extracting its screw. Be careful not to damage the delicate parts of the brush.
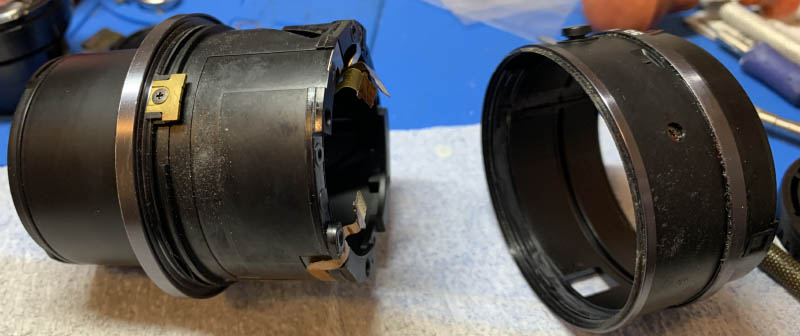
Once the brush is gone, you can now remove the zoom barrel by carefully turning it until you can feel this part disengage.
You can unscrew this collar next. It’s usually filthy underneath this part because there is a rubber gasket in the other side that prevents dirt coming from outside into the internals of the lens. Clean this very well to kill the germs while being careful not to damage the rubber and felt material of the gasket.
This is probably the best time to inspect and study how everything works and how they’re aligned. Take a lot of photos and videos as references.
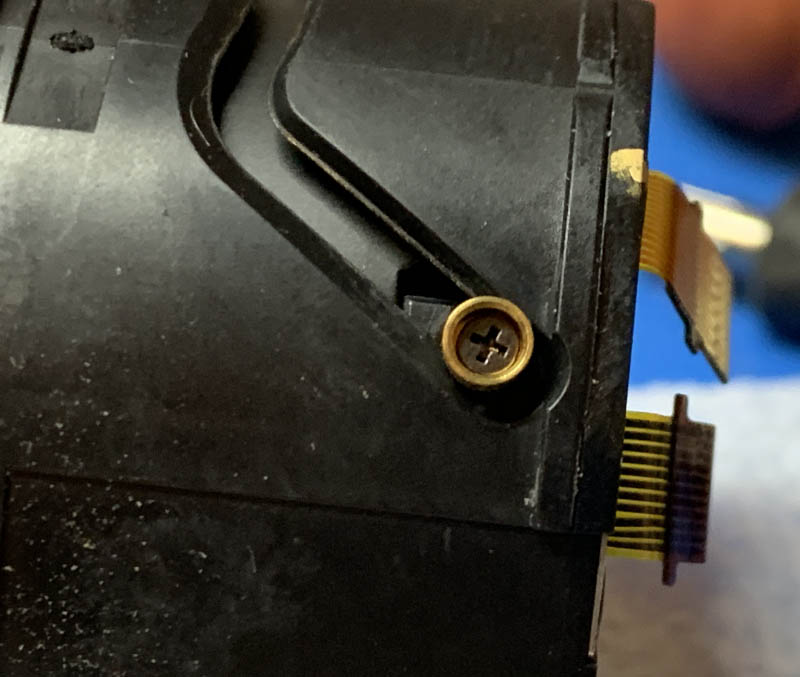
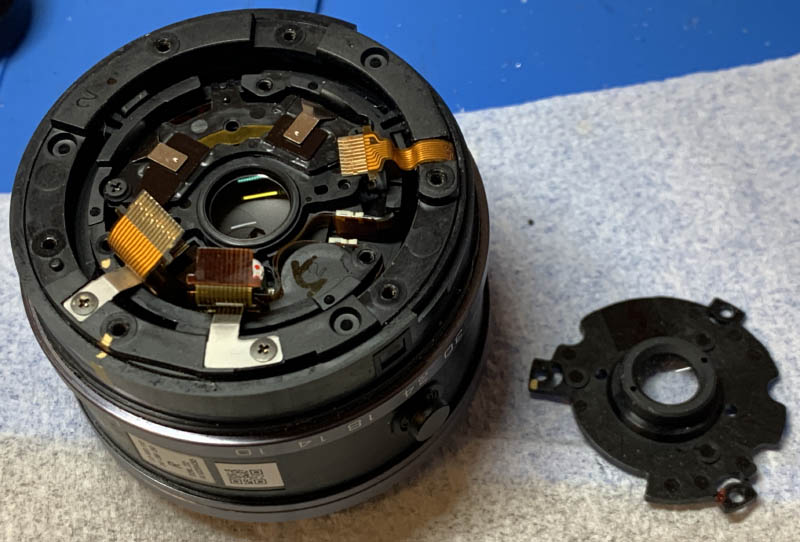
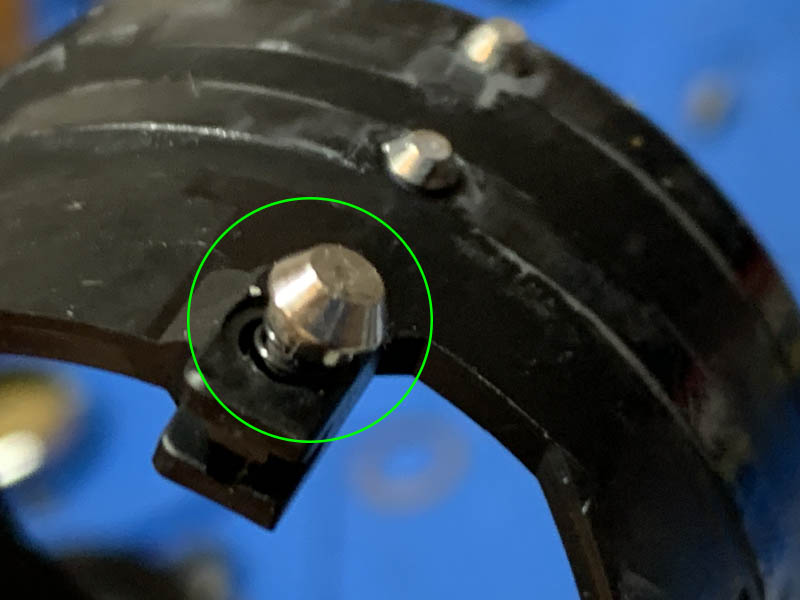
Extract this screw and pull the brass guide off. You will find a stainless part underneath it, leave that alone.

You can finally extract these.
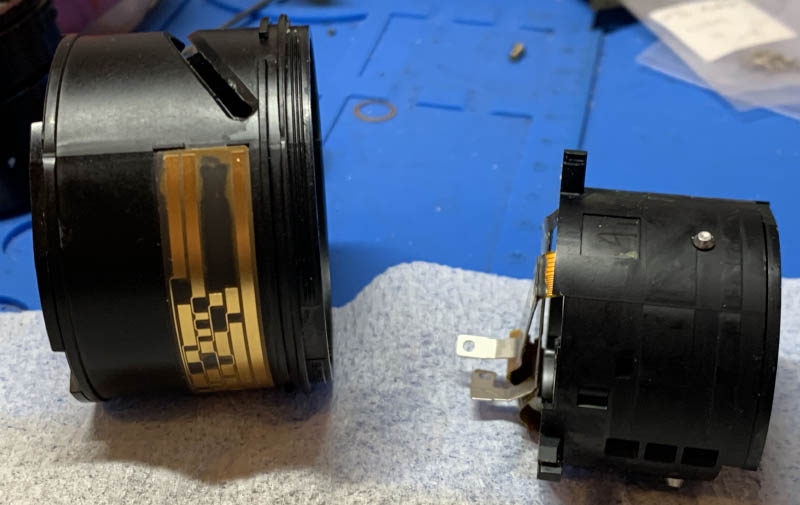
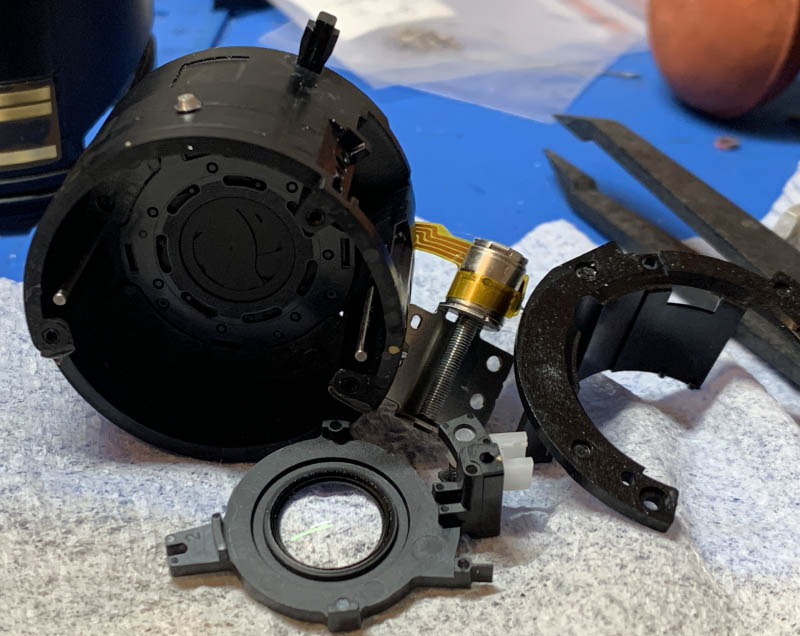
You can pull the internals off at this point. This is not the correct sequence but you get the idea.
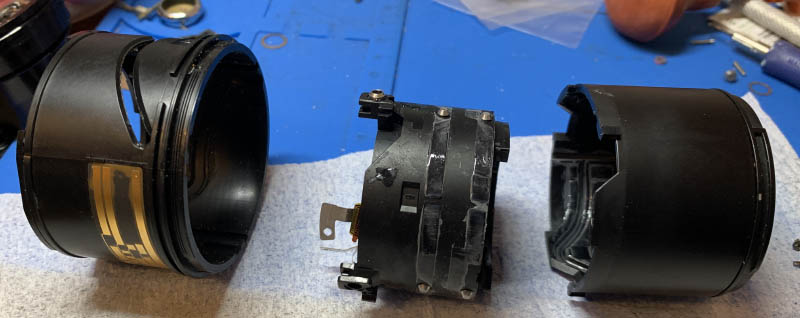
Ideally, you should be able to remove the large pieces comprising the zoom cams out as a single unit. Do whatever you need to do but be careful while doing so because there are parts here with springs that can fly across the room and get lost forever.
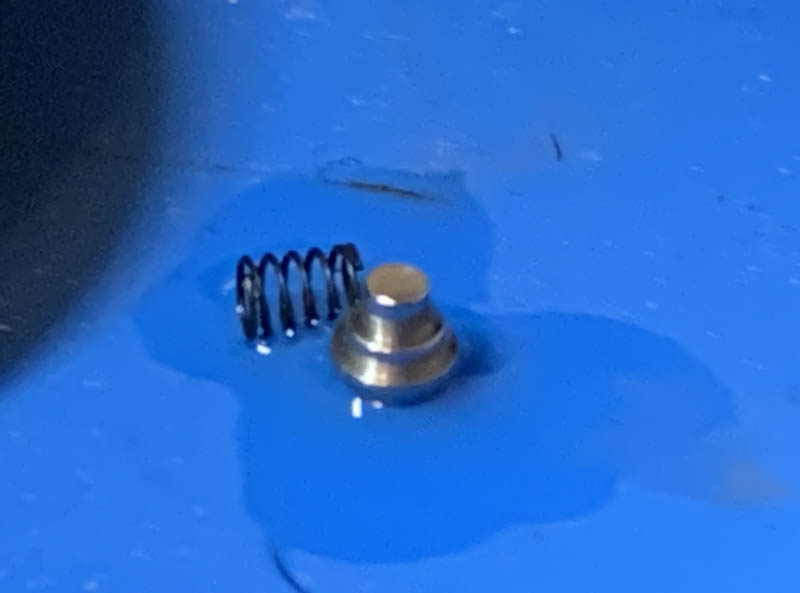
There are 2 sets of these things that you must be careful of. These are guides for the cam.
And this is where they should originally be. You can wrap the whole thing with a sheet of paper to prevent these from flying off.
Set things aside for now so you can continue going deeper. Once you have gotten this far there’s no way for you to go back without achieving your goal, which is to replace the broken gear of the aperture motor with a new part. Be careful when touching some of the parts here because they are greasy and you don’t want your hands to contaminate the glass.
Disassembly (Iris Mechanism):
This is where things actually start to get interesting, this is just the beginning. We’ll only need to get this far if we have the aperture issue going on with our lens. The aperture mechanism and its motor sits deep within the lens and this is the only way we can do it. I’ve seen a slightly different way of doing this and it’s safe to say that my method here is the safest one because we’re not taking anything apart for no reason. It is a challenging process and you should not attempt doing this if you don’t have the right tools. You’re going to need the dexterity of a surgeon to take things apart safely. It’s also important to say that you will need a replacement gear before you even open the lens because you’ve already gotten this far and it will be so frustrating if you don’t even have the part to replace it.
You must disconnect these 2 ribbons. Gently pull the black tabs to release the ribbons, they’re delicate as I’d soon find out for myself because I’ve cracked them! Good thing this is just my practice lens.
Note that the VR mechanism is merely suspended with springs. It’s very delicate, don’t dismantle it or do anything else here because you might brick your lens. Take care with your magnetic drivers and tools and don’t let any of them got close to the magnets and any sensitive electronic parts.
Unscrew these so you can get the autofocus motor assembly out of the way. You don’t have to remove it, just pull the whole thing aside so you will be able to dismantle the interior safely.
Extract these to remove the light baffle.
Pull the motor assembly aside so you can remove this floating mechanism.
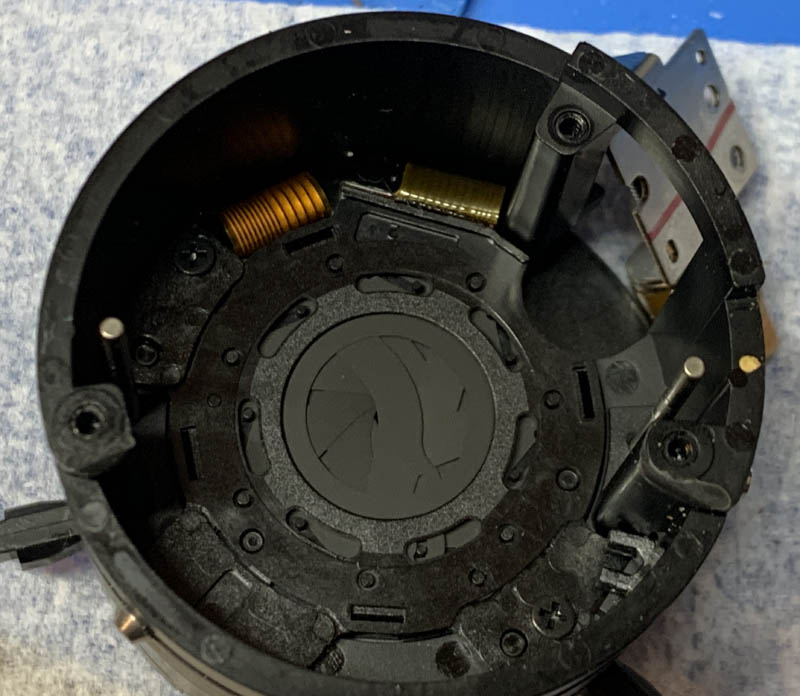
The iris mechanism is now in front of you, ready to be removed. It’s only secured by a few screws. Looking carefully, you will notice that it has a blade running through its center, this serves as a blind to block light from entering the lens aperture when the lens is locked in the “L” position. This is what many people think of as the iris being damaged because it does look like one of the blades have been dislodged, forming an elliptical shape that looks like a crescent.
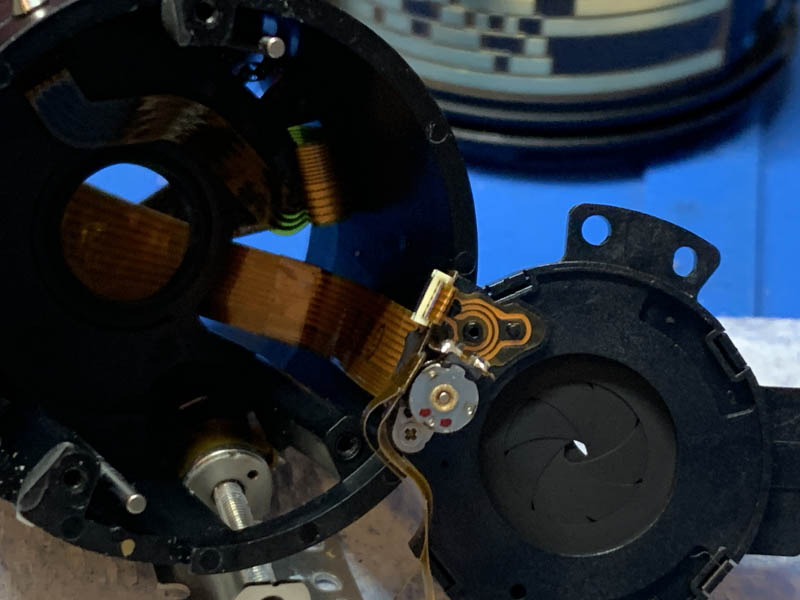
Carefully remove the iris mechanism with a pair of tweezers. The aperture motor is secured with a single screw that’s visible in this photo. Extract the screw and carefully peel off the printed circuit board from the plastic housing of the mechanism.

This is how far you should go if all you need to replace is that fucking plastic gear for the aperture.
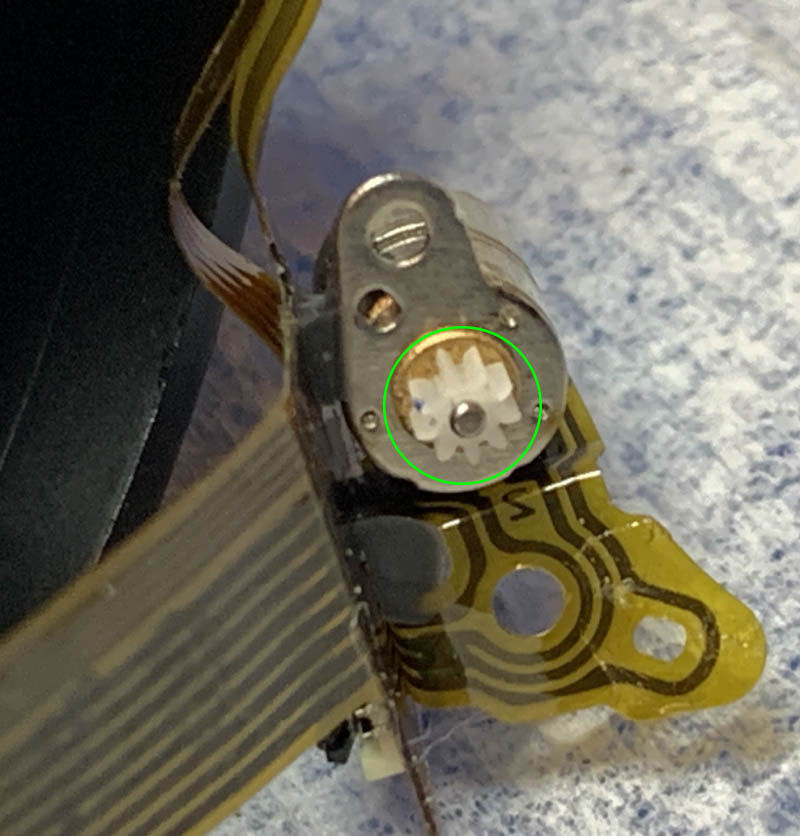
The gear is very small, it’s probably less than 2mm across! You can see a blue mark where the damage is. I don’t know why it’s blue but I suspect it’s just lubricant that got trapped in the chipped tooth of the gear. Pull it off carefully and replace it with a new part. If you don’t have any replacement parts you can just get a fine file and sand it smooth then mount the gear in reverse. I’m not sure if that will work or how long it’s going to last but at least I gave you an idea.
You can test the iris if it can actuate when you feed it some voltage using your multimeter. A low voltage is the safest bet so you won’t damage the electricals, I usually start with 3.5v and see if it responds. This is the only way to test your work as far as I know. As for the gear, I stayed with the plastic replacements just as a safety concern because I don’t want to wear out the opposing gear if I have replaced it with a metal one. If the other one breaks I won’t be able to find a replacement unless I salvage one from a donor lens. It’s a more involved and expensive process which I don’t want to do. I’d rather open this one again after a few years to replace the tiny gear.
Conclusion:
I have finally scratched that itch! Did I enjoy it? I certainly did because I learned how to repair 1 Nikkors. It has always been a curiosity of mine and I figured that it’s one of the biggest category of Nikkors that’s not been covered yet in this blog. Taking this apart is one thing and using it for taking test photos is another. I hated shooting with this lens because it’s imprecise especially for my test shots. The things I would do for you! Overall, the whole repair service took me more than an hour, maybe even two just because it has the most complicated design of all cheap 1 Nikkors. If you are a repairman, this should give you an idea for an estimate to give to your client for labor charges.
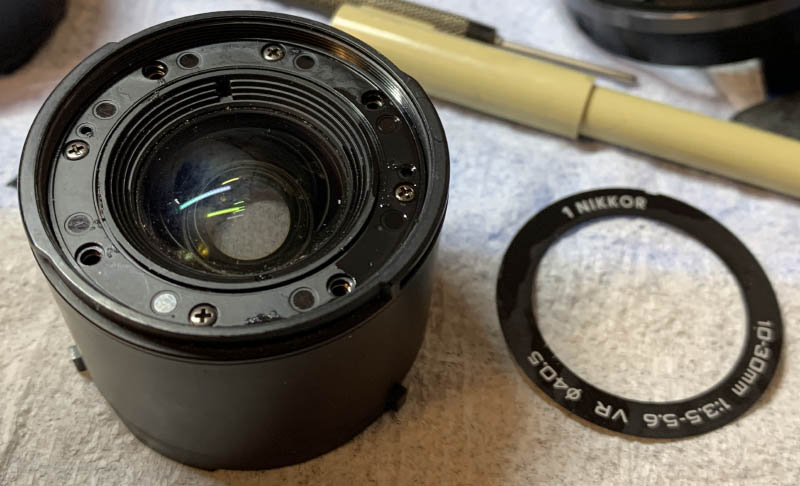
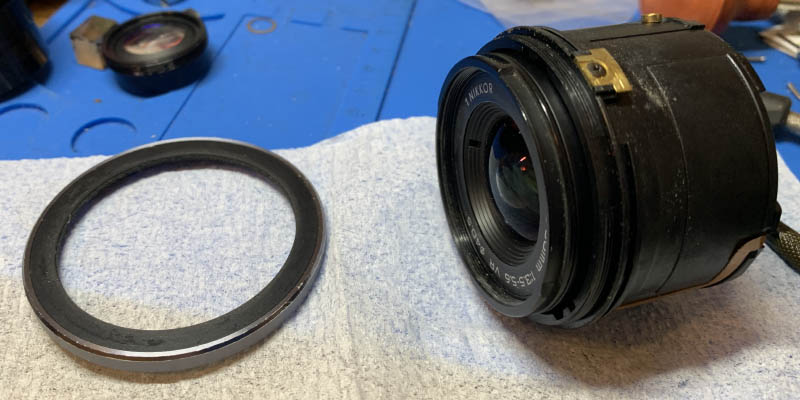
Here’s a bonus, the front part can be opened by saturating the thin cover with alcohol then peeling It off carefully with a special tool. You can remove the optics by extracting the screws so you can clean the back if needed. This is good if you just need to clean some dust or fungus. If you need to clean fungus off, the fungus cleaning article I have written is the best resource for you.
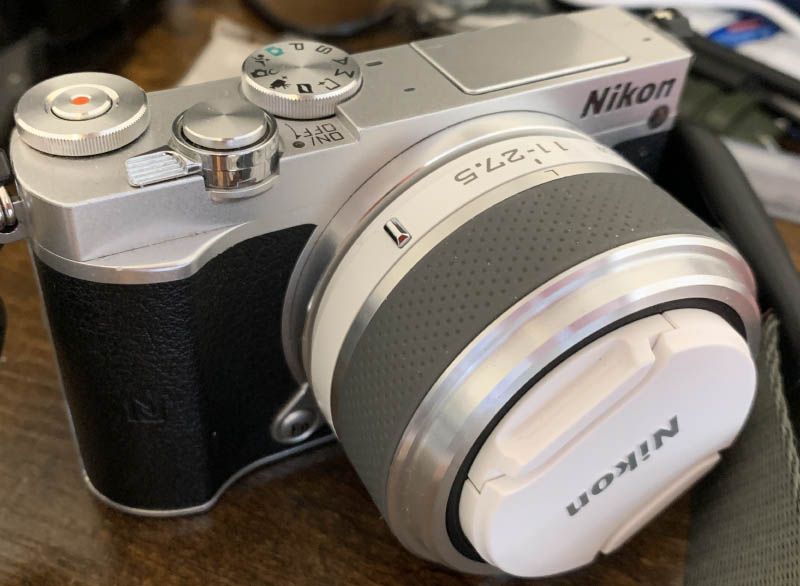
This is the 1 Nikkor 11-27.5mm f3.5-5.6, a smaller but sharper lens. It’s the only other lens that I’ll use on a sunny day as the difference in optical performance is noticeable but you won’t have image stabilization. If ever you have a choice between the two, pick this one instead unless you’re shooting indoors.
That’s all for today, did you like it? I don’t consider this a classic lens at all but I’m pretty sure many of you are curious about how to fix one of these. I hope that this article will be a welcome addition to my blog. If you like what you see here or this blog has helped you, please don’t forget to leave me a tip. That helps a lot because you are helping me offset the cost of maintaining this site which isn’t cheap because it needs a lot of bandwidth and storage for the media. Thanks to your help, this site has been up for more than 10 years and we are still going strong! See you guys again in the next article and don’t forget to share all the good news about this site with your friends. Until next time, Ric.
Help Support this Blog:
Maintaining this site requires resources and a lot of time. If you think that it has helped you or you want to show your support by helping with the site’s upkeep, you can make a small donation to my paypal.com at richardHaw888@gmail.com. Money isn’t my prime motivation for this blog, I believe I have enough to run this myself but you can help me make this site grow.
Leave me some tip?
Thank you very much for your continued support!
$2.00
Helping support this site will ensure that it will be kept going as long as I have the time and energy for this. I’d appreciate it if you just leave out your name or details like your country’s name or other info so that the donations will totally be anonymous. This is a labor of love and I intend to keep it that way for as long as I can. Ric.

Dec 07, 2025 @ 12:32:06
Speaking of the bonus, what glue do you recommend for reattaching the thin cover after saturating it with alcohol?
Thanks for the valuable advice!!