
Hello, everybody! Are you an S or an M type? Do you seek pleasure or do you inflict pain? I most certainly neither of them, or at least none in the extreme sense. Some people get aroused by hurting their partners in intimacy, and it goes the other way around, too. I’m not a psychologist but a friend of mine told me it’s common that these preferences manifest in their daily lives. He’s an M so I’ll take his word for it. You know what? I sometimes undergo a lot of pain myself voluntarily, this has nothing to do with my sexuality at all. I do all that just because I wanted to review really big lenses and cameras for you! This is how much I love my readers, I’m risking a trip to the chiropractor just so I can give you great content. Please read this post with love and compassion to your dear servant, I shall serve the Nikon community forever like a slave.
Introduction:
The Zoom-Nikkor 80-200mm f2.8 ED Ai-S was released in 1982 and stayed in production for 3 years, a tad short for a professional zoom as far as Nikkors are concerned. This was made as a statement that Nikon is able to produce something like this. It’s the first of its kind, a true 80-200/2.8 that nobody else had at that time, showcasing just how good the F-mount is. It set the trend for the popular 70-200/2.8 lenses we have today. However, there is an even earlier variant of this lens with 2 separate rings, as opposed to the single one we have here. That lens is widely speculated to be a prototype, so we won’t consider it to be the first.

It’s a huge lens, the largest/fattest of its kind. It’s definitely bigger than all 70-200mm lenses that I know of and it’s by far the heaviest one. Every part is made of metal, the only plastic parts in this lens are those small bushings inside the lens.
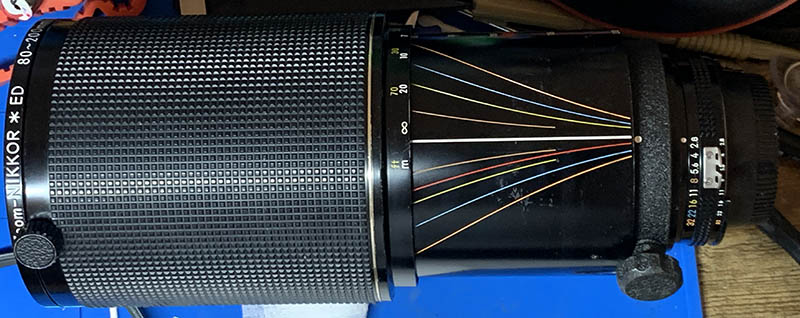
It has a 15-elements-in-11-groups configuration, which is different from the prototype I’ve mentioned in the introduction. Both of them have the gold band which means that ED glass has been used, making the lens part of Nikon’s premium line of products. It has the usual type of coating as you can see from how its glass is tinted when you look through it. This is a very ambitious lens at the time, but its dominance won’t be long because all of its successors performed a lot better in almost every metric.

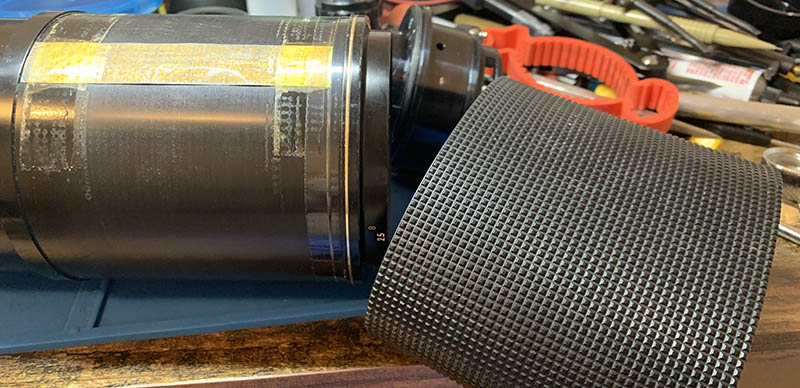
The front element is humongous, necessitating a filter size of 95mm! This makes it expensive to purchase accessories for it. The front element is recessed but it moves as you operate the lens, you can think of this as an IF or internal focusing design, too.
(Click to enlarge)
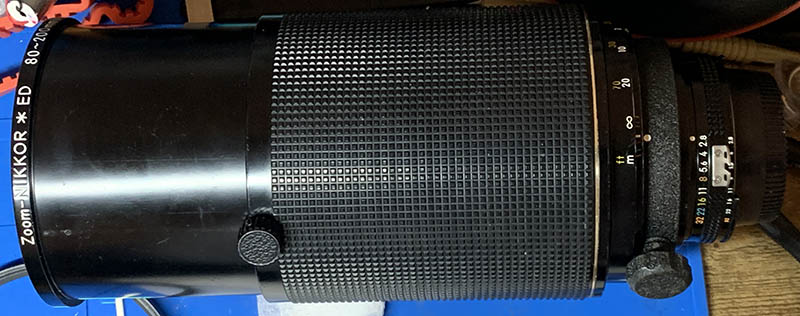
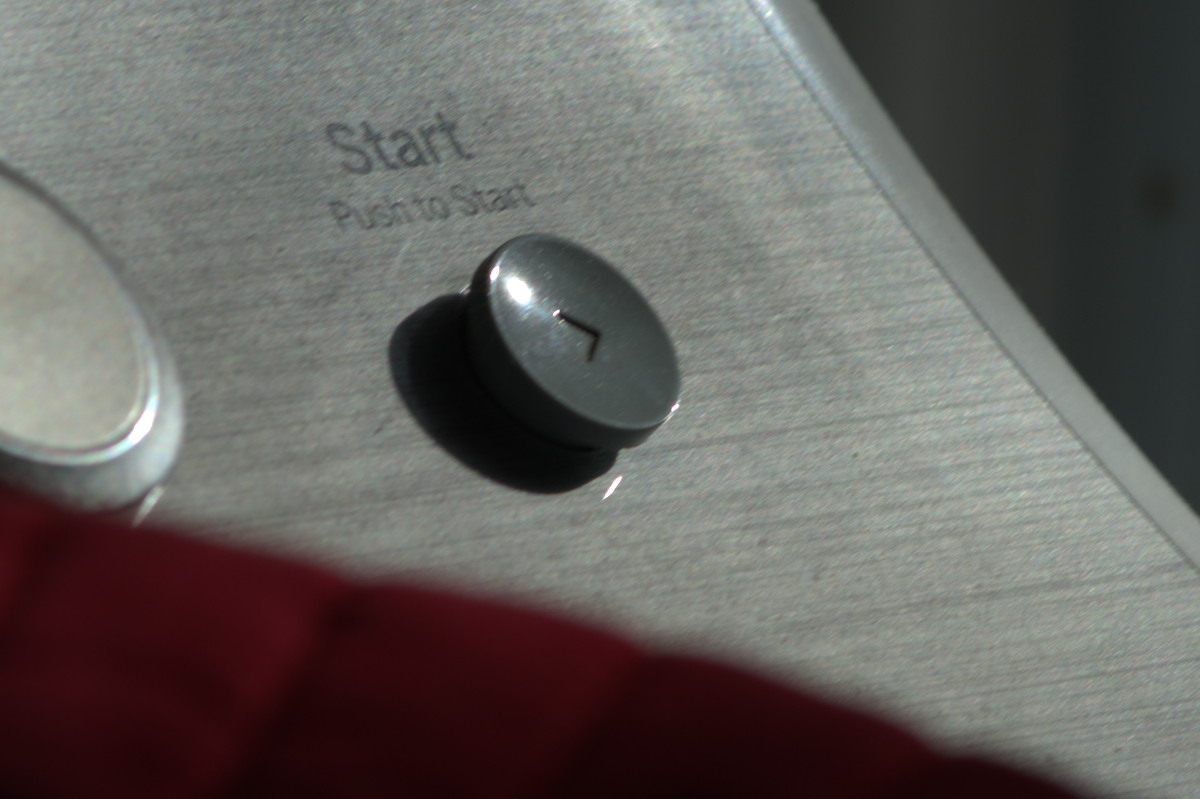
The barrel is beautiful, it has many engraved details that will be useful for manual focusing. The length of the barrel does not change as you zoom so the balance won’t change much when you mount this using a tripod. There are two knobs that you can operate, one for the tripod foot and another for the huge barrel. Since this is what I would call a “pumper-zoom”. That huge focusing barrel will move on its own thanks to gravity, resulting in what we call “zoom-creeping”, that knob will prevent that from happening.

You are able to rotate the whole lens (and your camera) when it is mounted on a tripod by loosening the knob of the tripod foot. The foot itself is kind of tiny, some will even say that it is inadequate. I dislike it a lot because it gets in the way when you are shooting with it handheld.
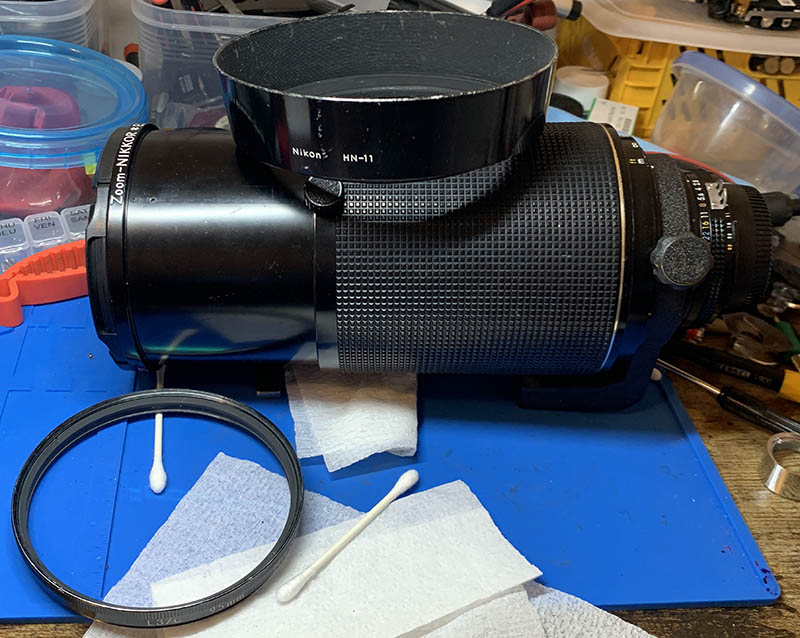
Be sure that the accessories are complete when you purchase this lens. The carrying case or the leather cover may be difficult to obtain but you should at least have the filter and hood with it. Buying them all from third-party sources will never be a problem because 95mm is a common filter size these days, but I still prefer to have the original ones in my collection.

Your setup will become a lot longer once you have attached the filter and shade. For actual use, you buy a petal-shaped hood or anything that is deeper than what you see here. That will be more useful to prevent any straylight from reaching the front element at an angle.
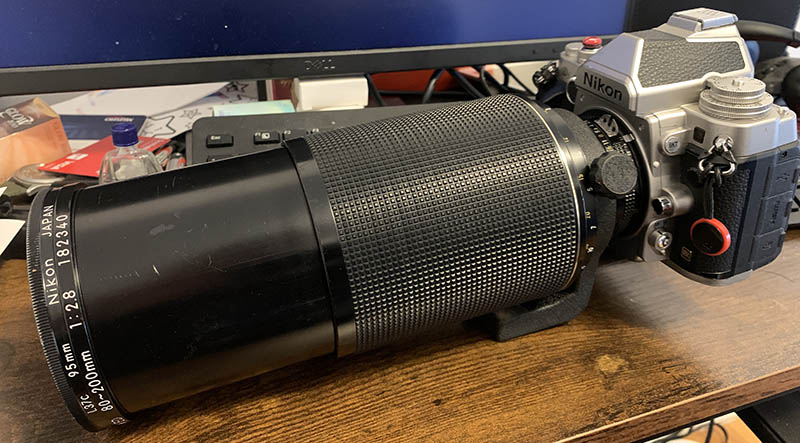
It’s so heavy that the Nikon Zf feels like a toy compared to it. It’s probably best to use a heavy camera or at least attach a grip to your setup to help balance things out. You should never handle this by holding the camera, always support this by holding the whole setup instead. It’s very easy to damage the camera by cracking the part that supports the lens mount.
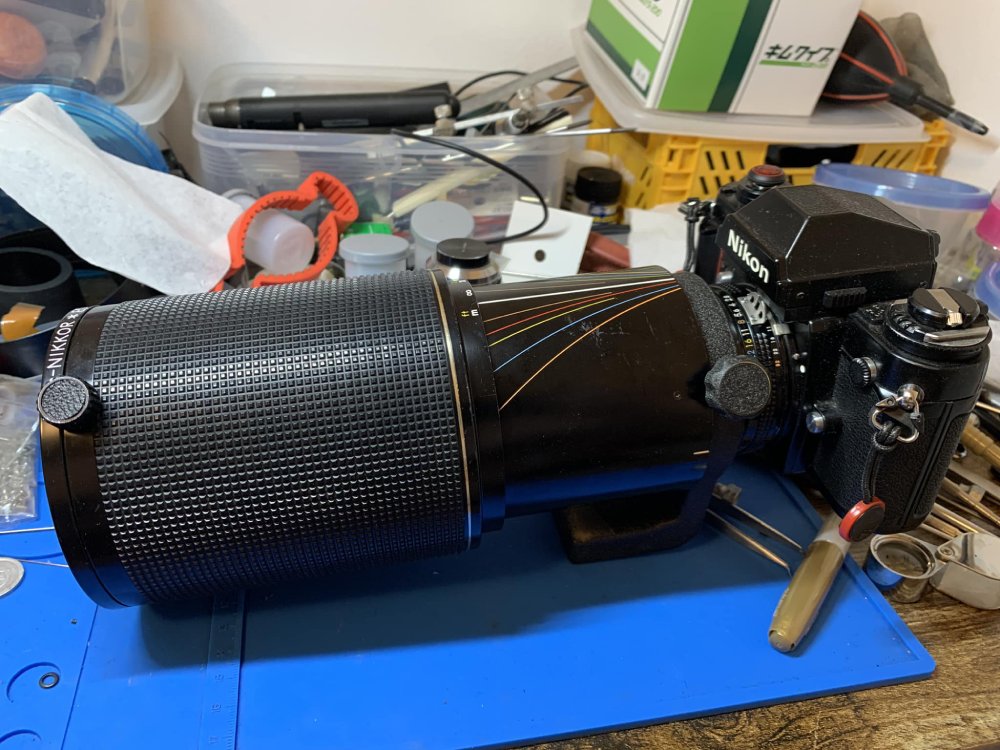
The Nikon F3 is dwarfed by this humongous lens. The ergonomics of the setup is perfect, the compliment each other but I would imagine that a Nikon F4 will be better because of its size and weight. You will not need special focusing screens when shooting in lowlight because its maximum aperture is bright enough. The slower Zoom-Nikkor 80-200mm f4 Ai-S will require special screens for this purpose, one that does not have a split-prism at the center.

You won’t be able to focus really close with it. At 2.5m, this lens is definitely limited for portraiture or just about anything outside of sports and landscape photography. You will get used to it, and it’s not good at all. This is the first of its kind anyway because the issue will get resolved in the next lens of this family.

This thing is so heavy, we will need a real heavy-duty tripod setup in order to keep it stable. Not only that, it’s almost impossible to keep it from sliding because the barrel is so heavy. That makes it less desirable if you need the focal length to stay the same. You won’t be able to fix it 100% even if you’ve changed all of the lining material underneath it. Yes, it’s just that heavy. However, it does offer quick operation when you are shooting action since you could manipulate it simple with one hand and it doesn’t need to get off the lens.
Learning how to use your lens is the best way to maximize it. It will help you take better pictures because you will learn which settings produce the best results. I shot these from f/2.8, f/4, f/5.6, and f/8 since these are the most common aperture values that we’ll use this with, and we will see the most changes here. The focal lengths I chose are 80mm, 135mm, and 200mm. I used my old but reliable Nikon Df.


(Click to enlarge)
You can observe some bulging at 80mm but it’s gone by 135mm. It changes to a pinch-type distortion at 200mm but it’s shallow enough so you won’t notice it much. This is what I have expected because most of the zoom lenses of this type behave this way even to this day. I am more impressed that it has such a very low amount of distortion overall given that it’s the first of its type.
You’re going to see some light falloff at f/2.8, it’s kind of heavy and it can reach towards the center. It will improve considerably by f/4 so you will only notice it at the extremities. It’s as good as gone by f/5.6, you will have to try really hard to notice it in actual use. You’re superhuman if you’re able to see it by f/8. You can also see that it has less vignetting at the wider side, it’s not much but there’s a difference.
From this little test, I am able to predict that this lens performs slightly better at the wider end. It also tells me that f/5.6 is what you should be using as much as possible. We will see if this prediction is correct later when we take a look at my sample photos.


(Click to enlarge)
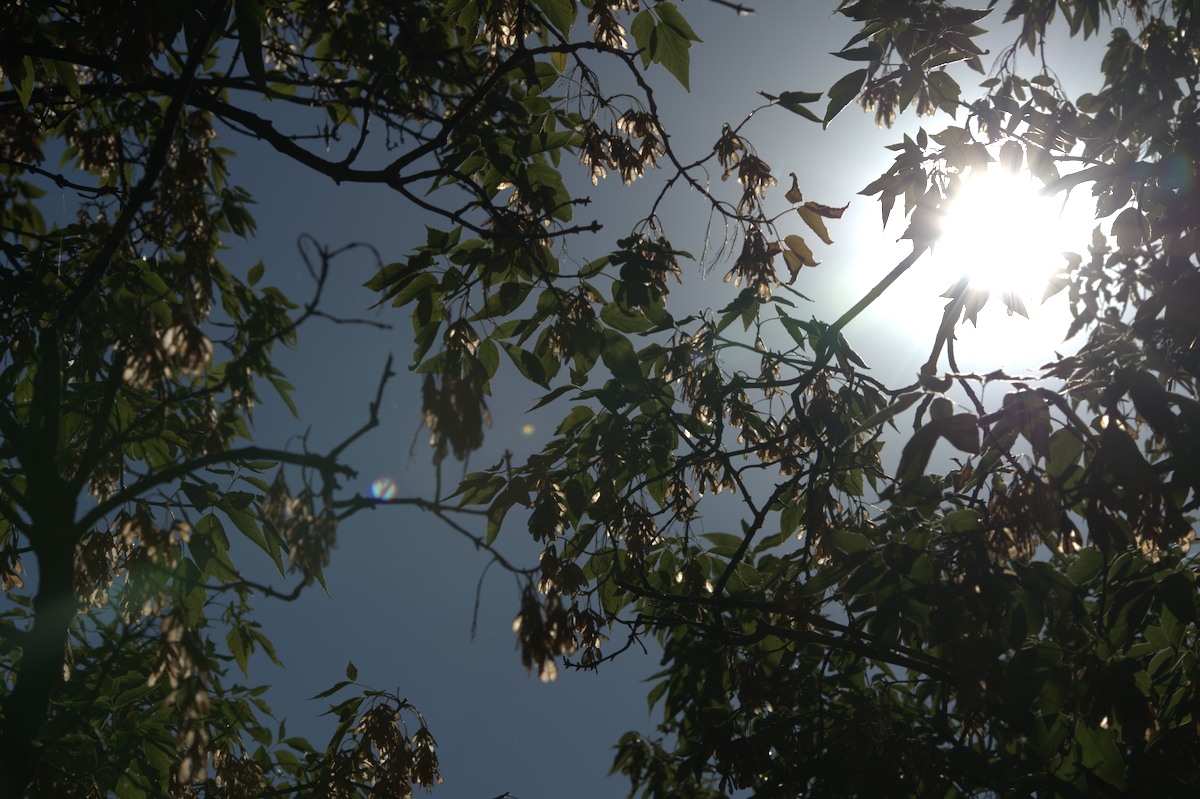
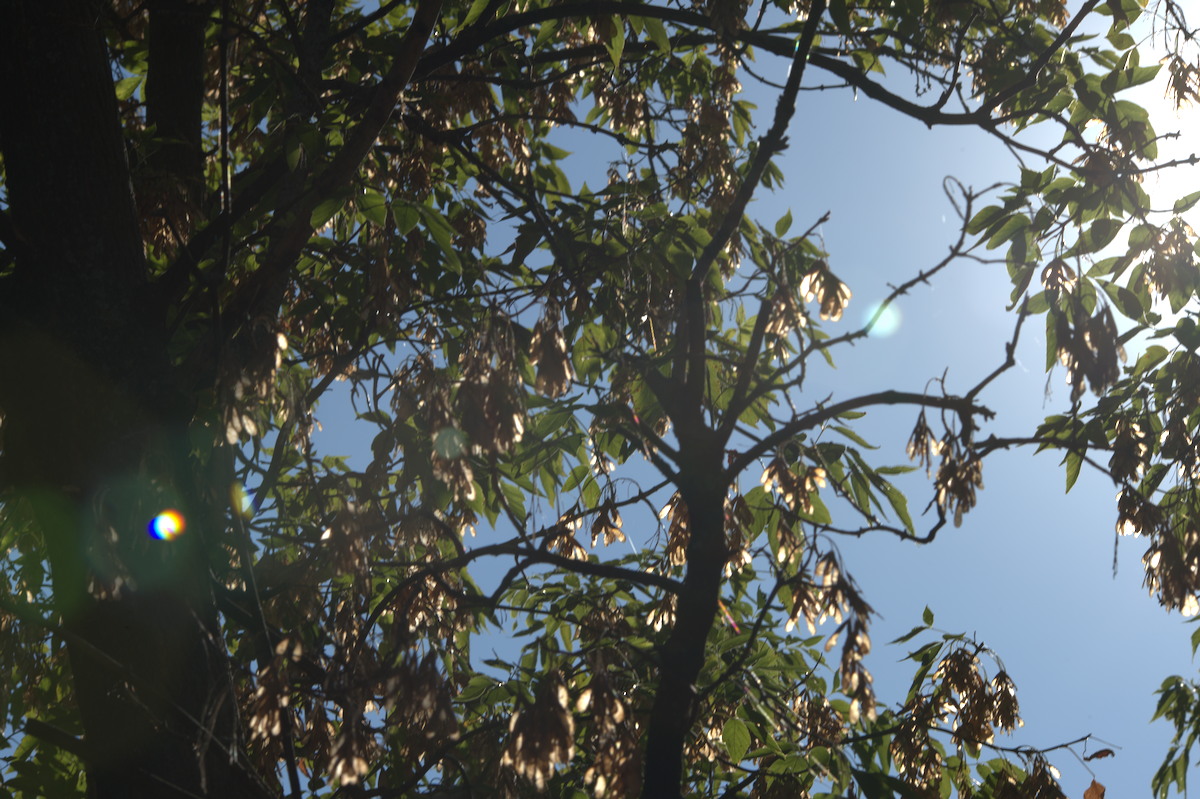
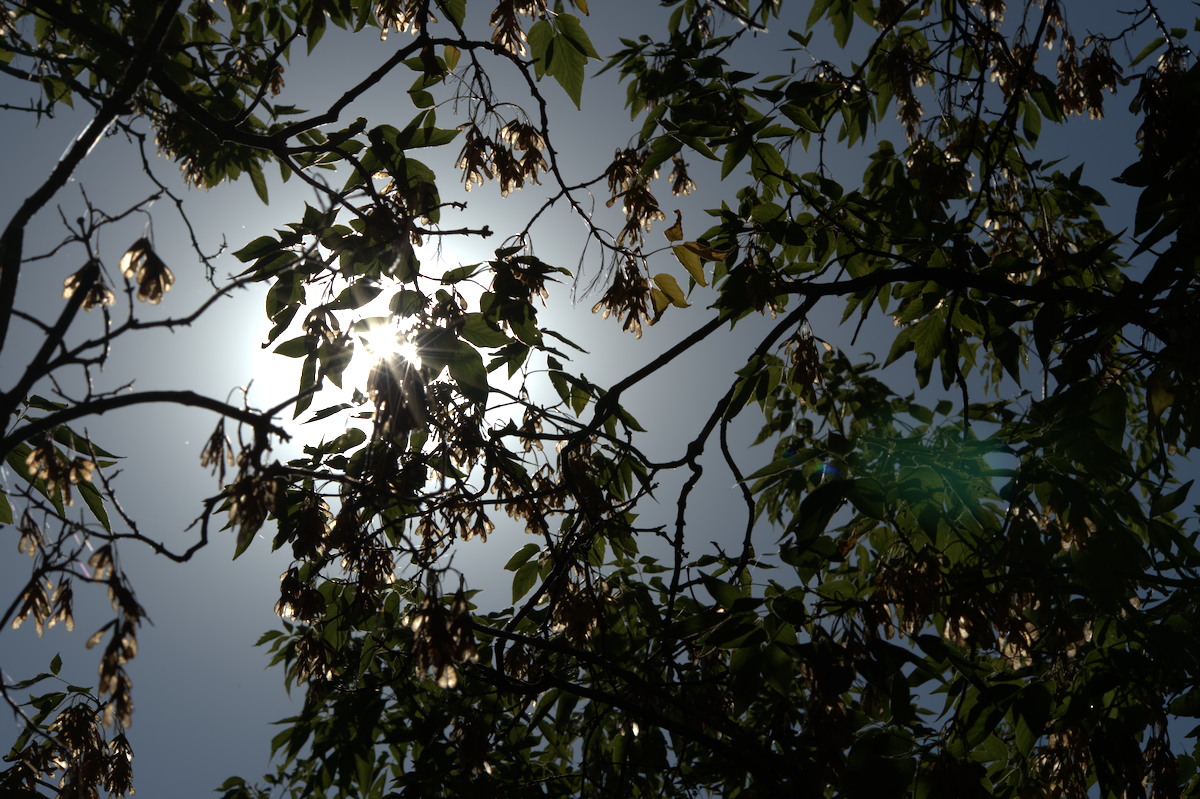
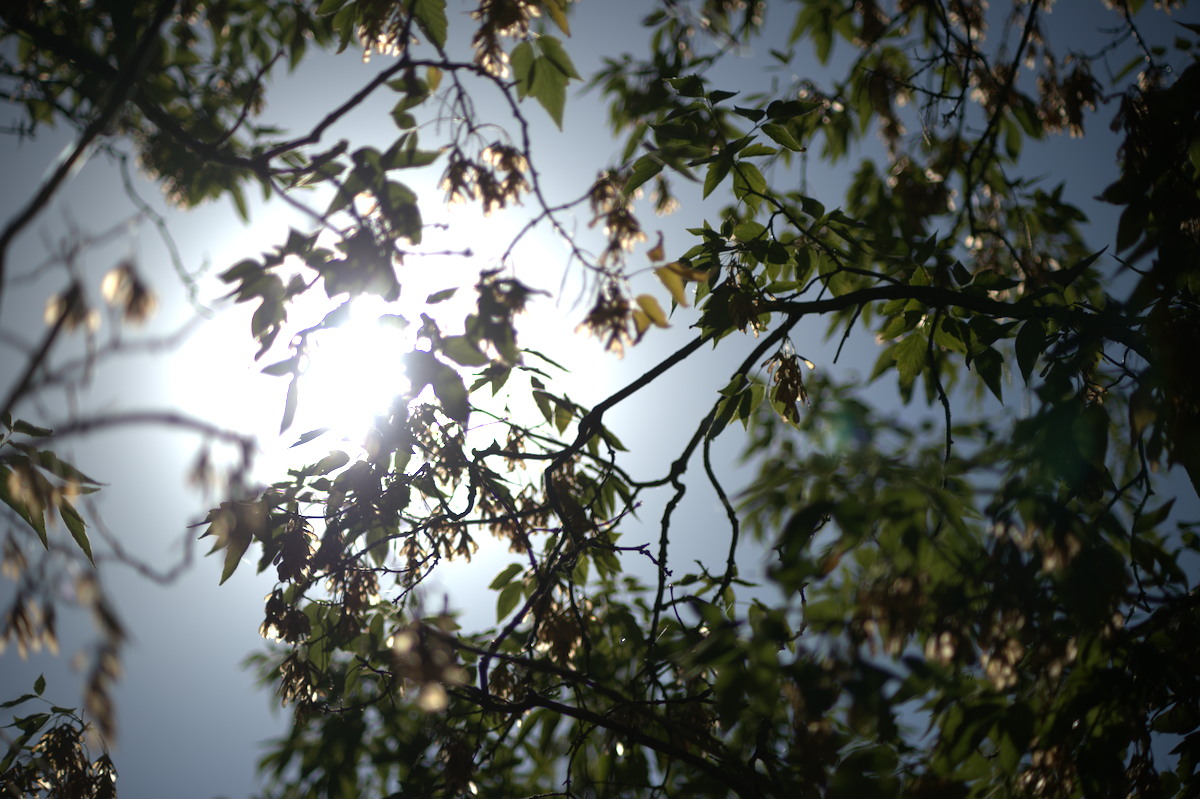
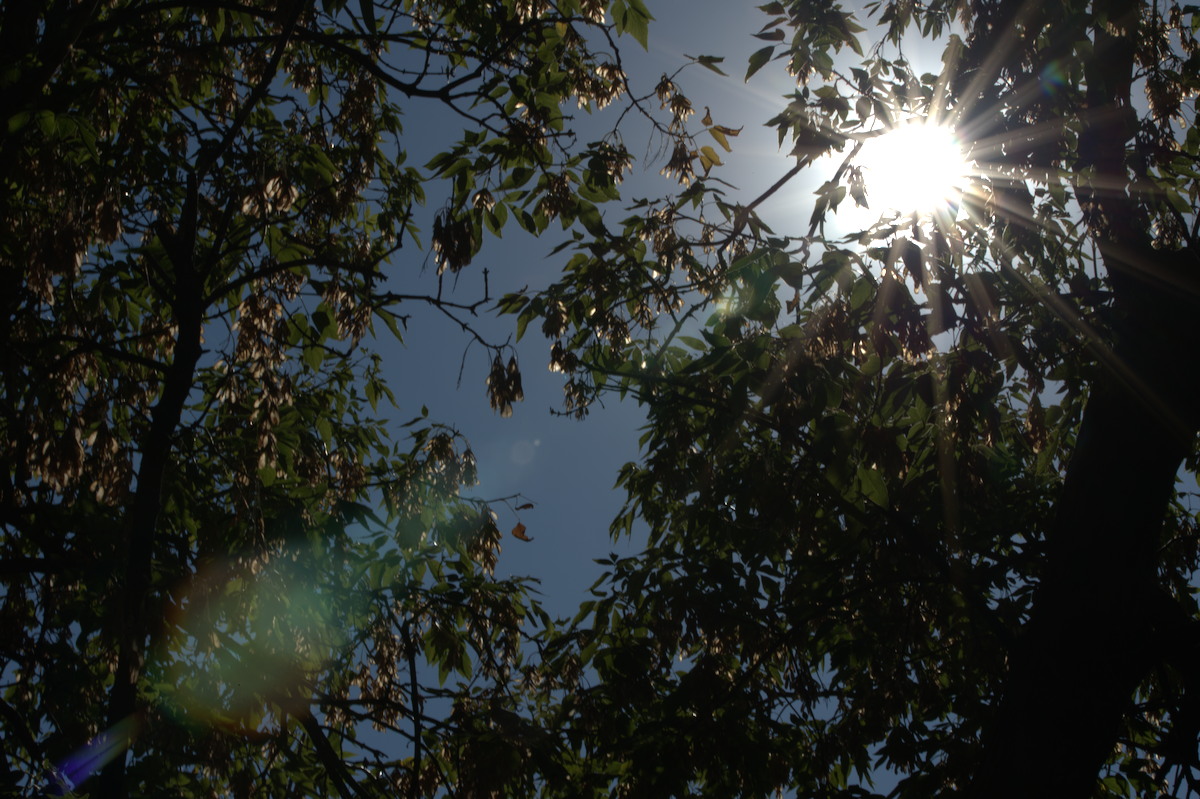
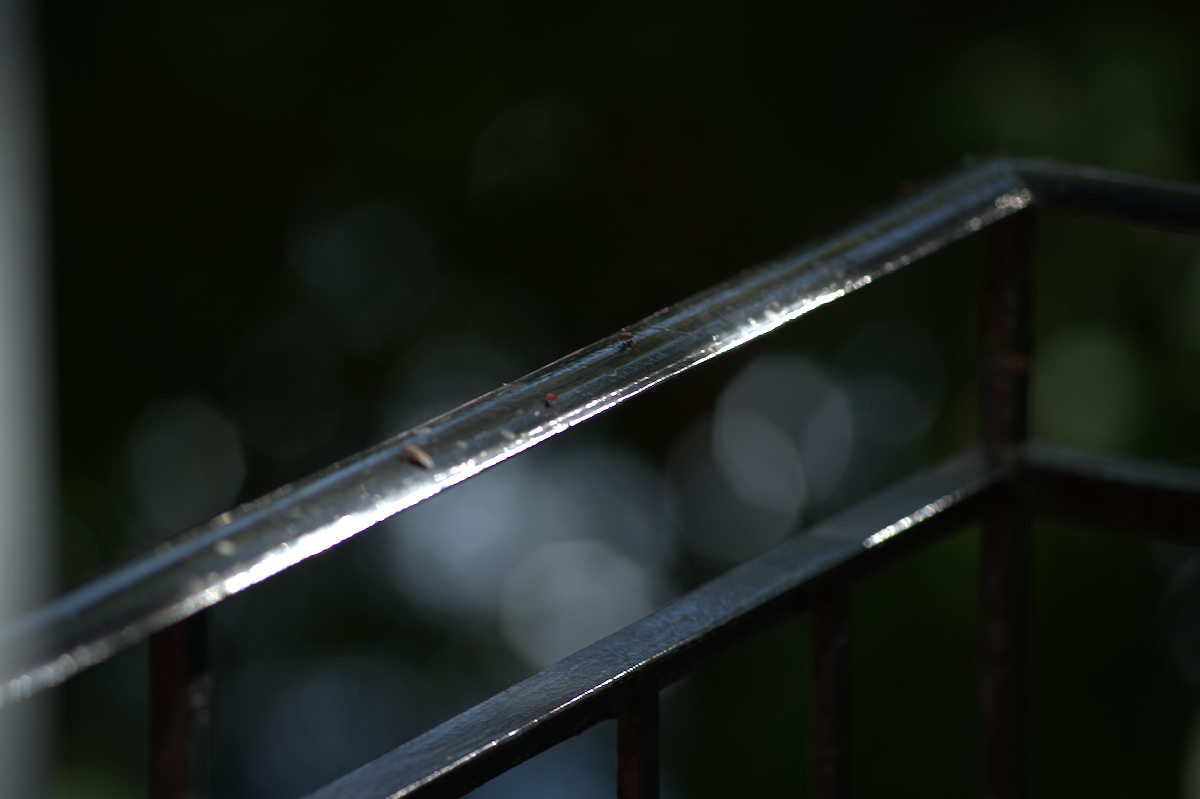
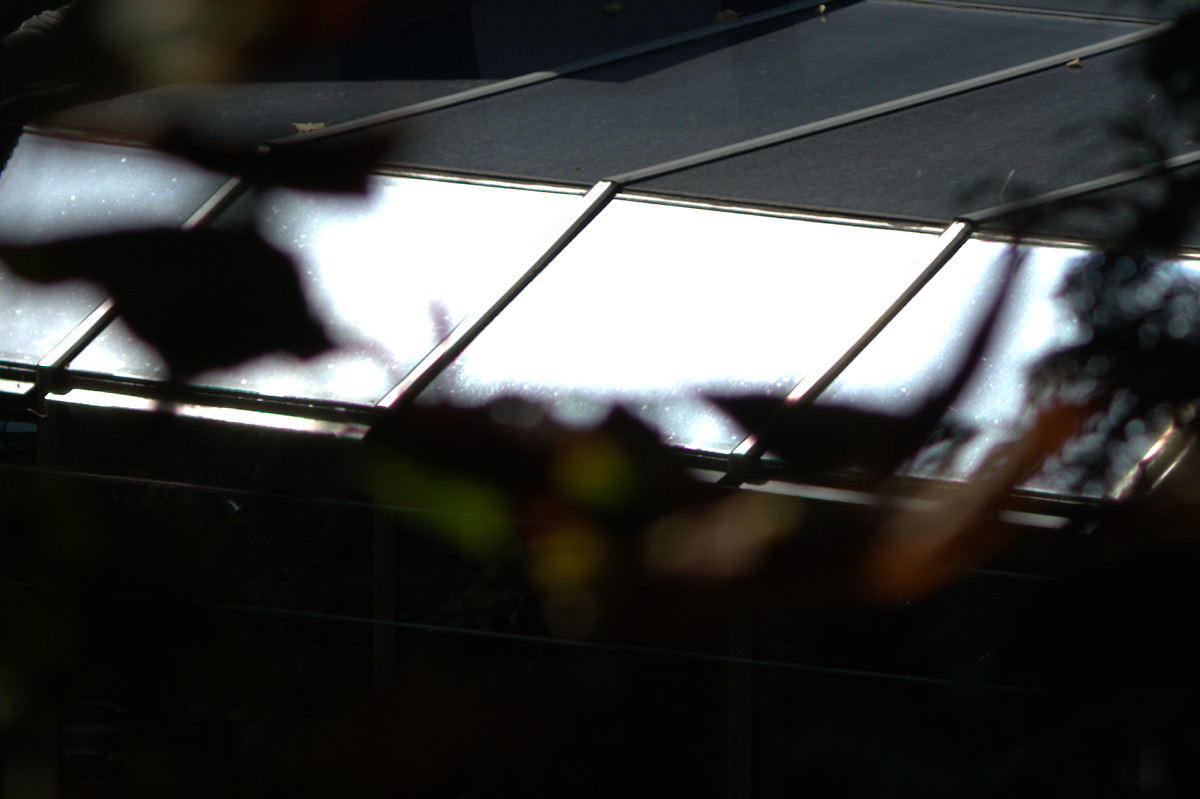
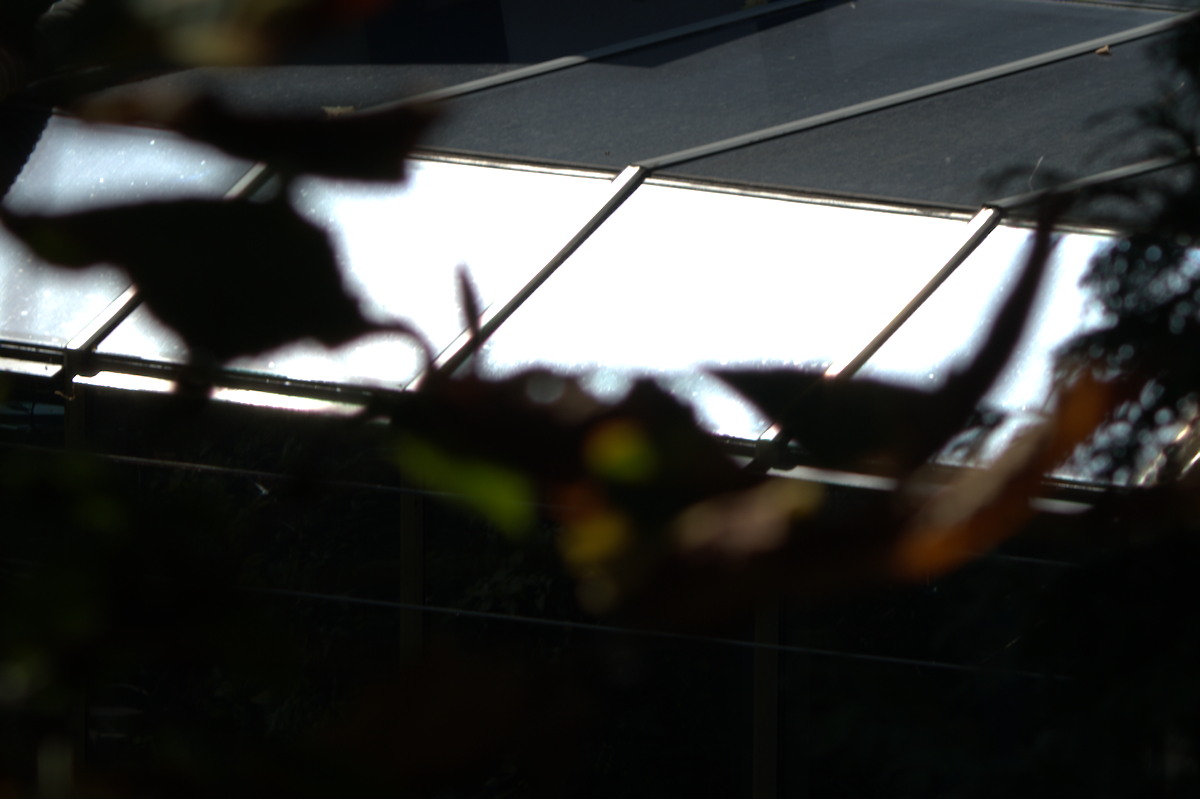
It’s susceptible to flare if you’re not careful, and internal reflections will be an issue because it has a lot of glass surfaces to reflect from. Stopping the iris down significantly improves the situation. I’ve intentionally took these to exaggerate the effects, it shouldn’t be this bad in actual use. Additionally, it produces pretty stars when you stop the iris down.


(Click to enlarge)
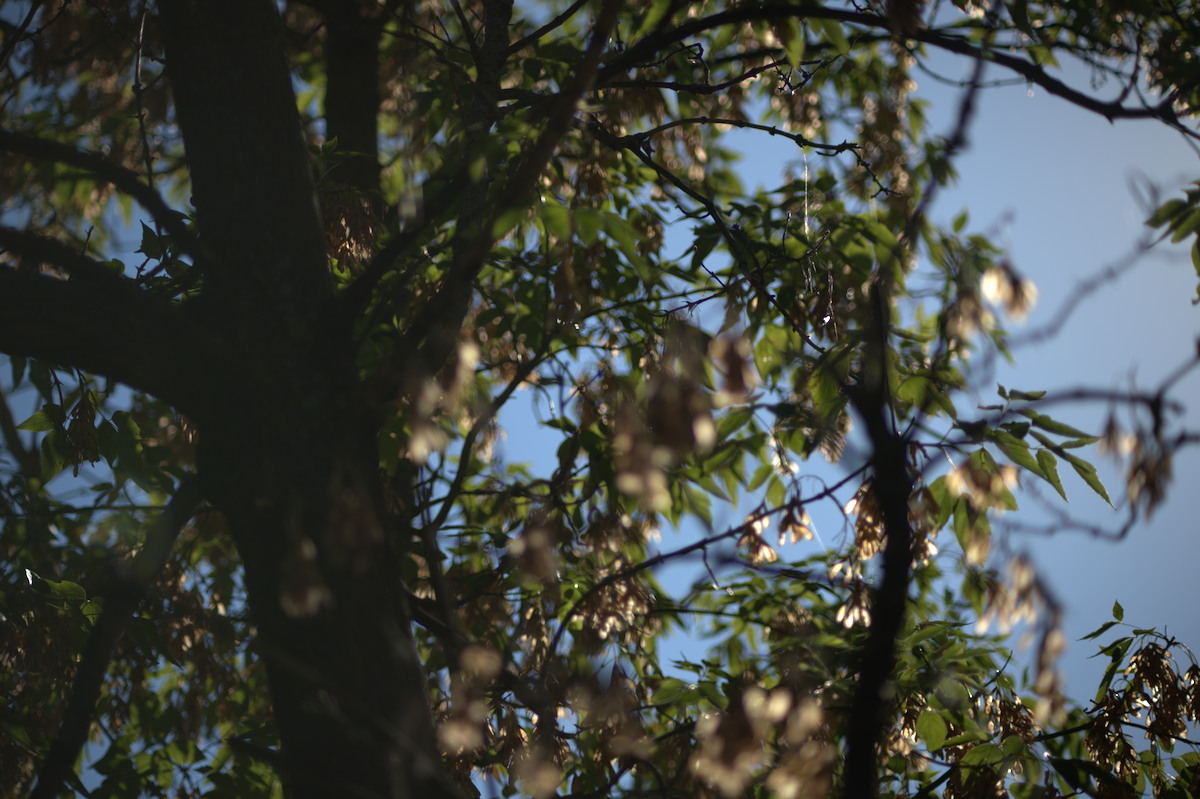
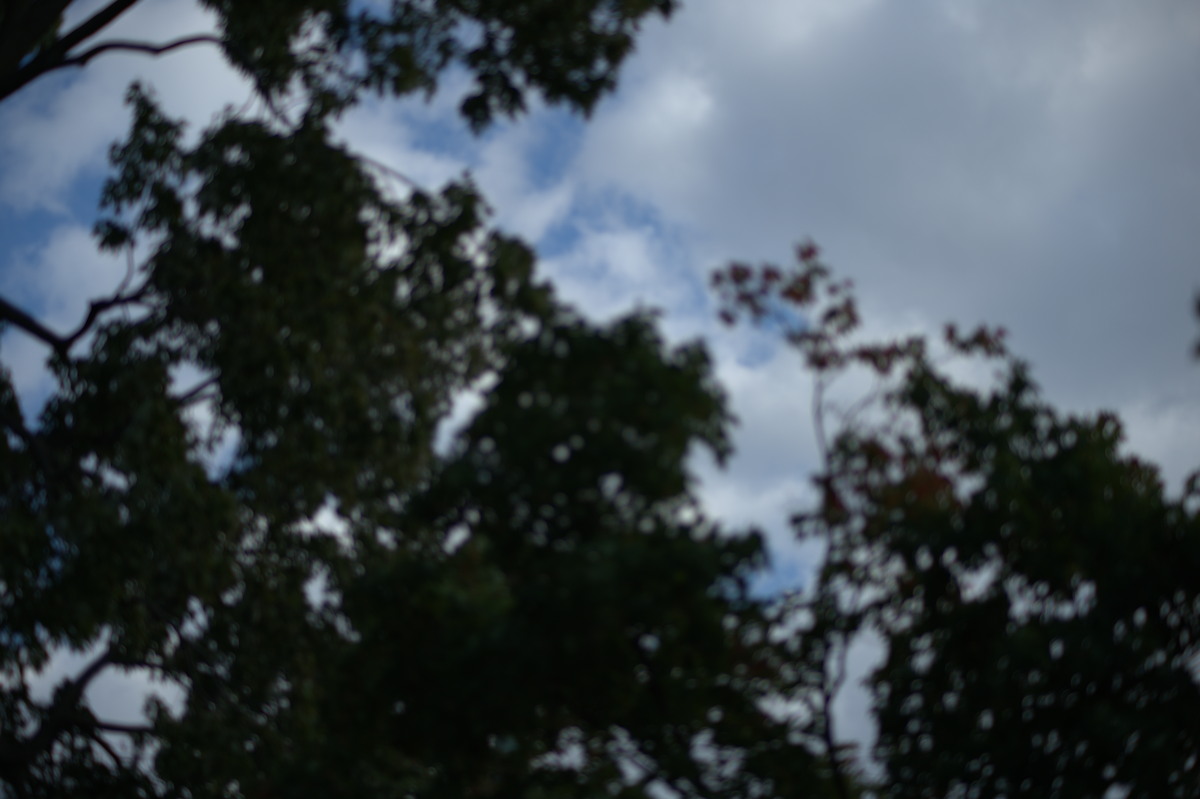
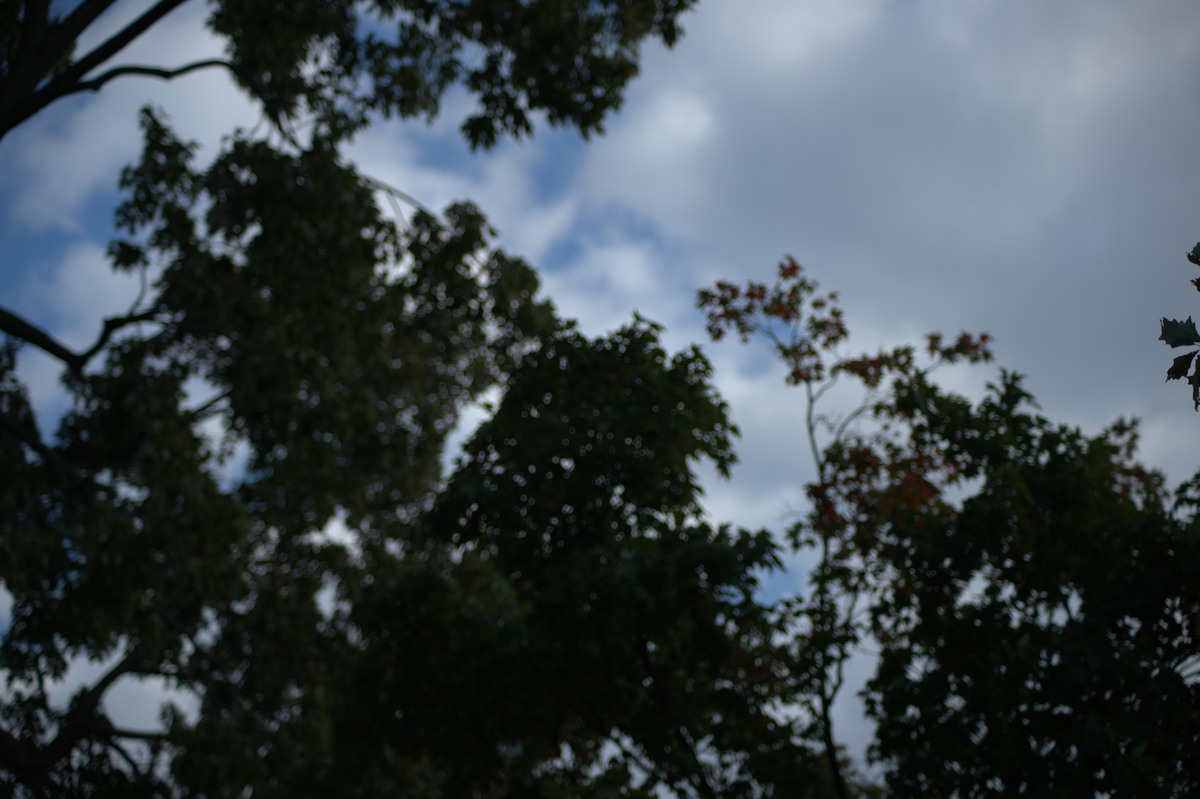
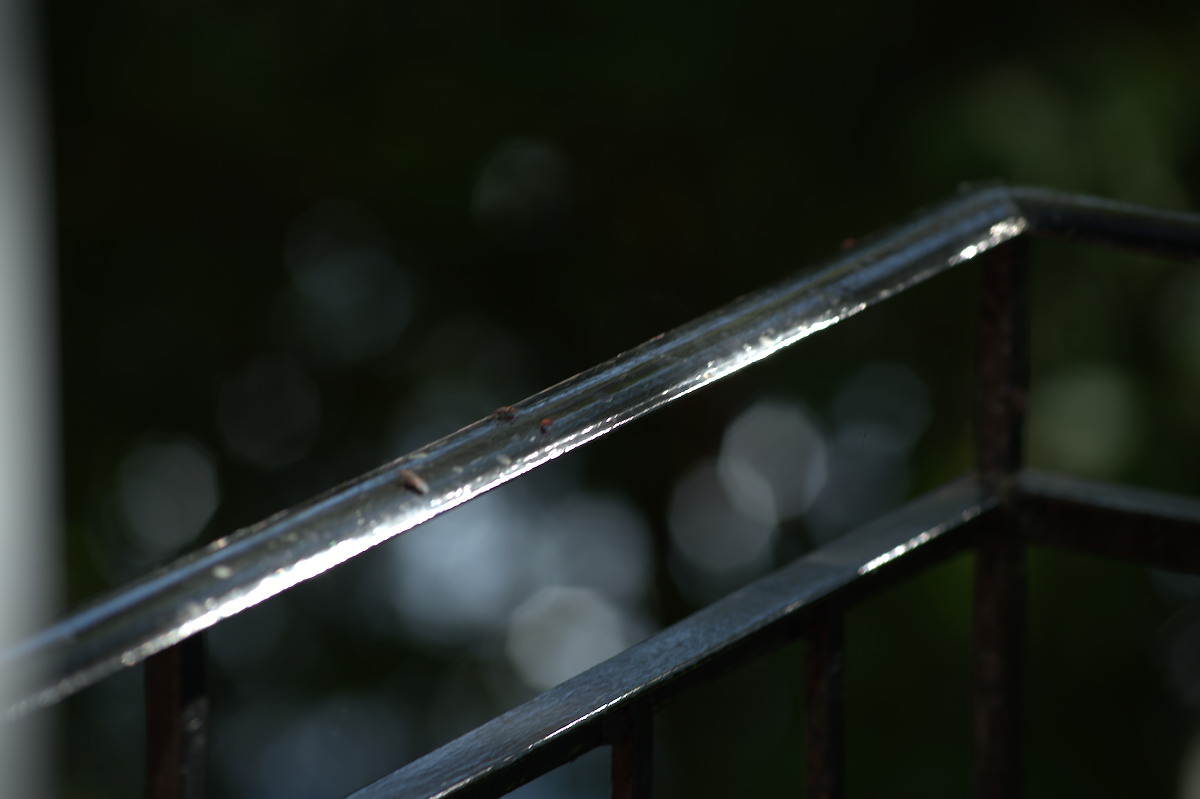
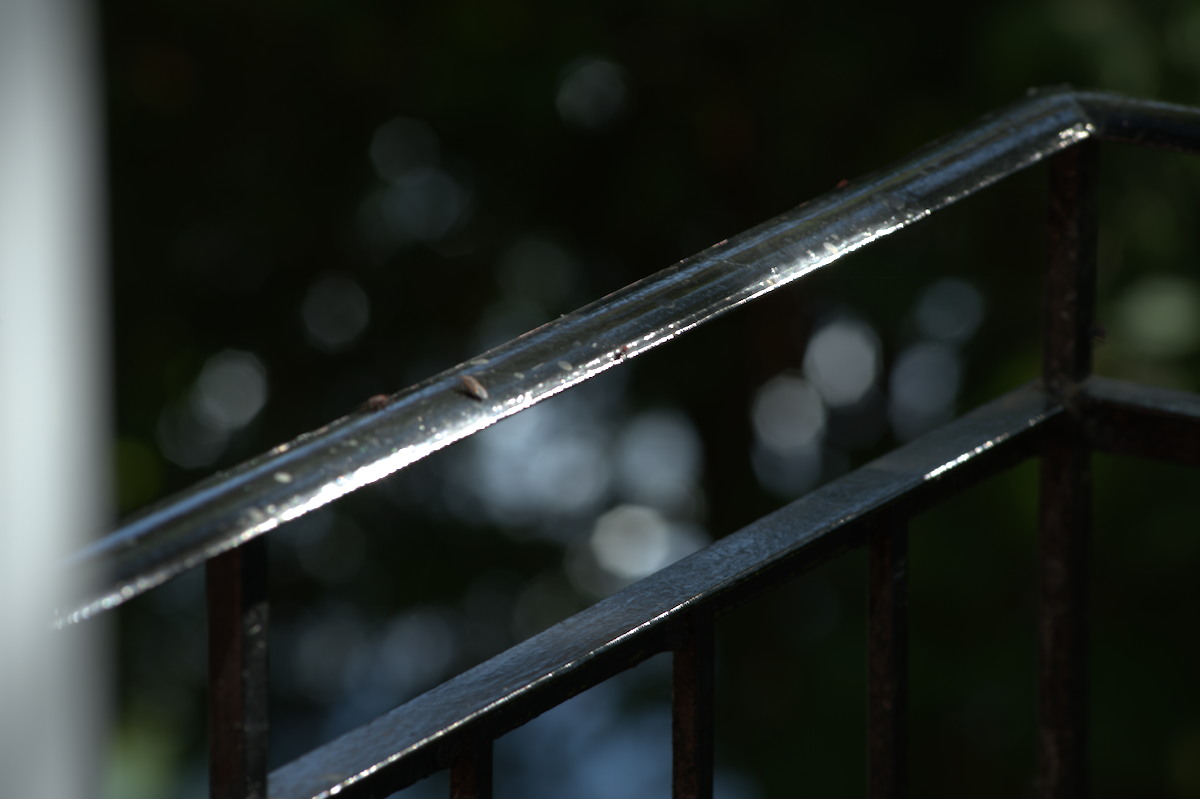
It has a very smooth rendering, with no abrupt transitions from what’s focused to what’s blurry. This is the baseline when it comes to this type of lens.


(Click to enlarge)
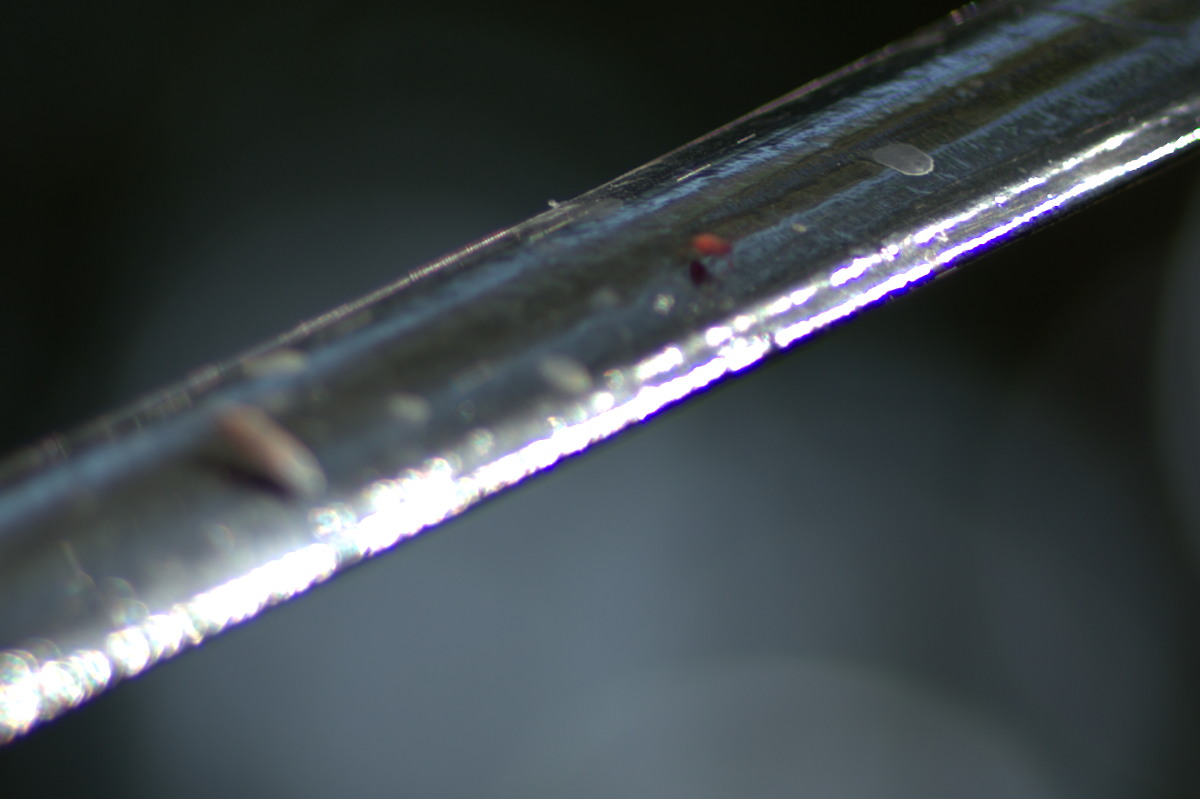
Chromatic aberration is kind of high when shooting at f/2.8, but It improves significantly by f/4. You’ll still see it by f/5.6 in extreme cases, and it’s almost gone at f/8. This is my main criticism of this lens, it’s kind of poor in this criteria. I don’t know if this is caused by the fact that somebody else worked on it and may have some of the elements inside misaligned or something like that. My overhaul probably made it worse since I don’t have a reference of how it’s supposed to be aligned straight out of the factory.


(Click to enlarge)
It’s not what I’d call sharp when shooting at f/2.8. In fact, it’s kind of soft and uninspiring. The center looks much better by f/4, this is mostly due to the improved resolution. It’s still not there yet but at least it’s not useless like how it is at f/2.8. The center looks great at f/5.6, this is how I expected it to look like at f/4. It’s not perfect because I’m still able to squeeze some more sharpness out of it by setting the iris down to f/8. I don’t have any samples showcasing the corners, but they are around 2 stops behind the center, this is as expected. Lastly, I notice that my lens performs much better when shooting at very close distances, closet to its minimum focusing distance compared to shooting at somewhere beyond 15m. Somehow, I can also see that it performs decently even at f/2.8 indoors. Could it be that I am just not able to focus properly at all when shooting outdoors and the results we see here are just the result of a missed focus? We shall see if that’s the case.

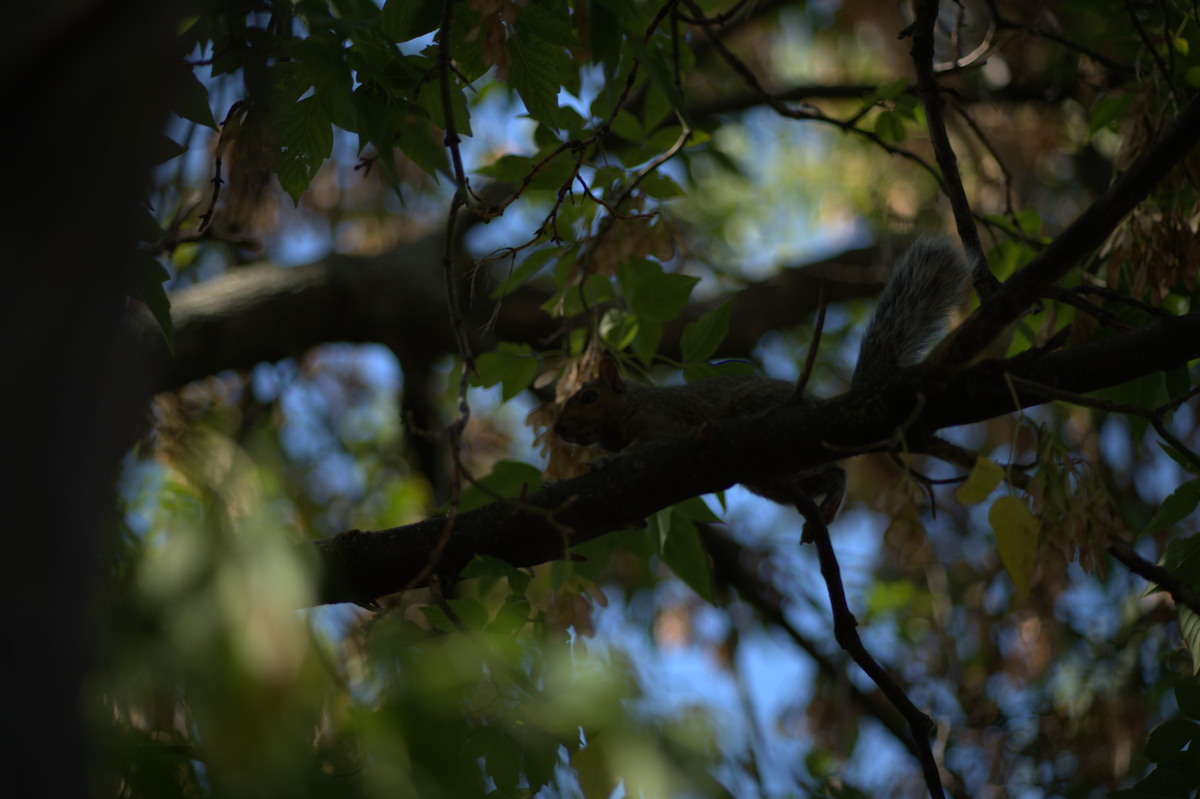
The minimum focusing distance of 2.5m is pathetic. it’s not that this squirrel will allow me to get close to it anyway so it’s pointless for taking pictures of shy critters.

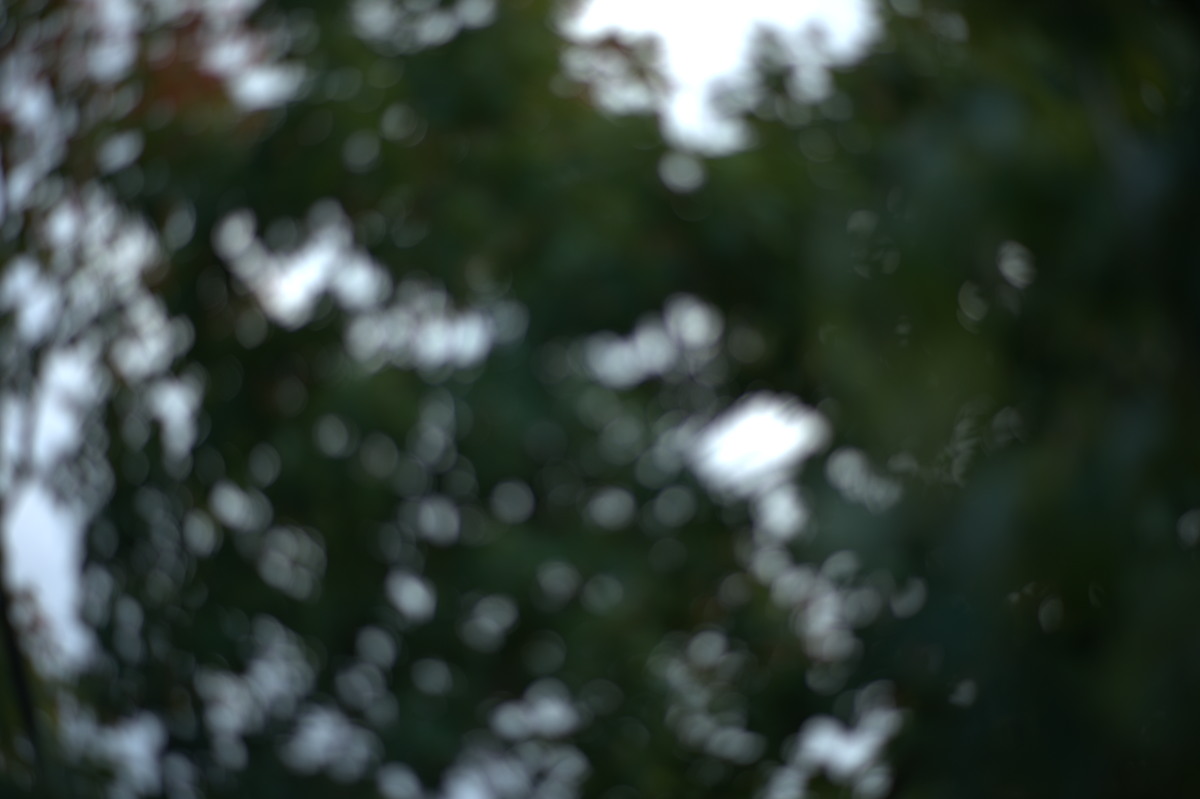
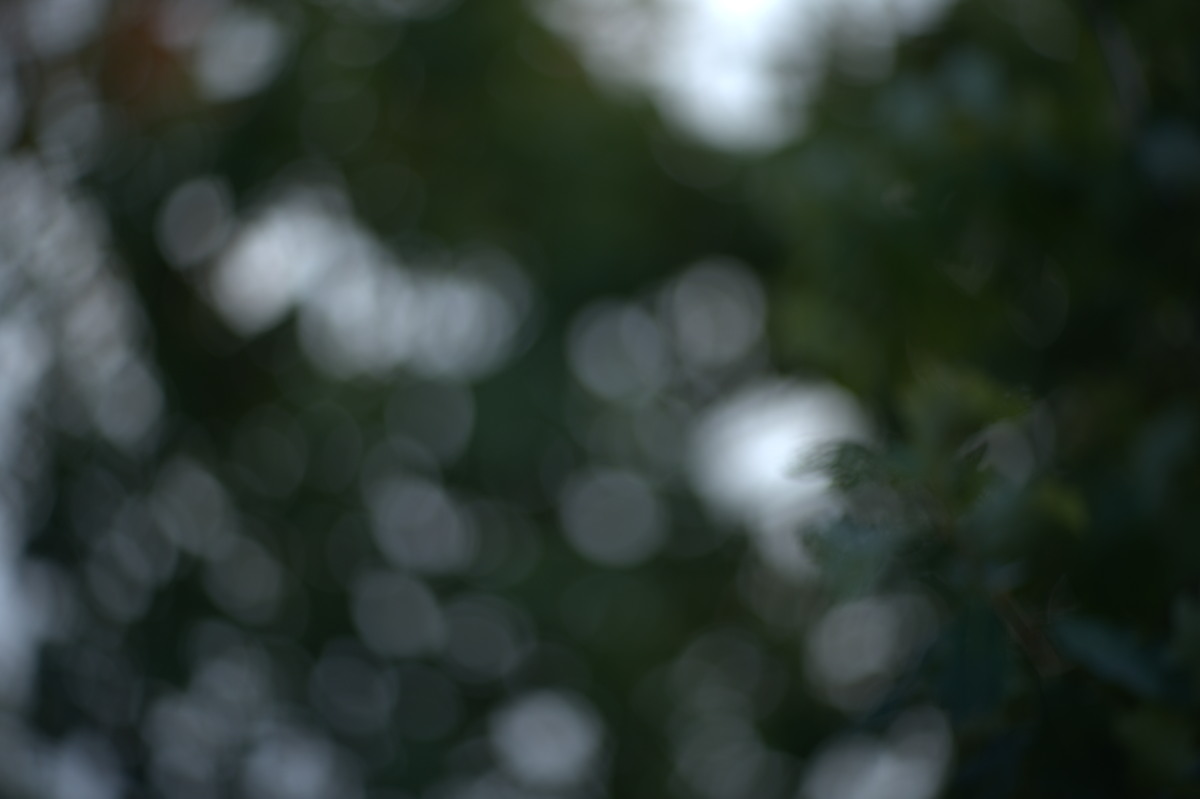
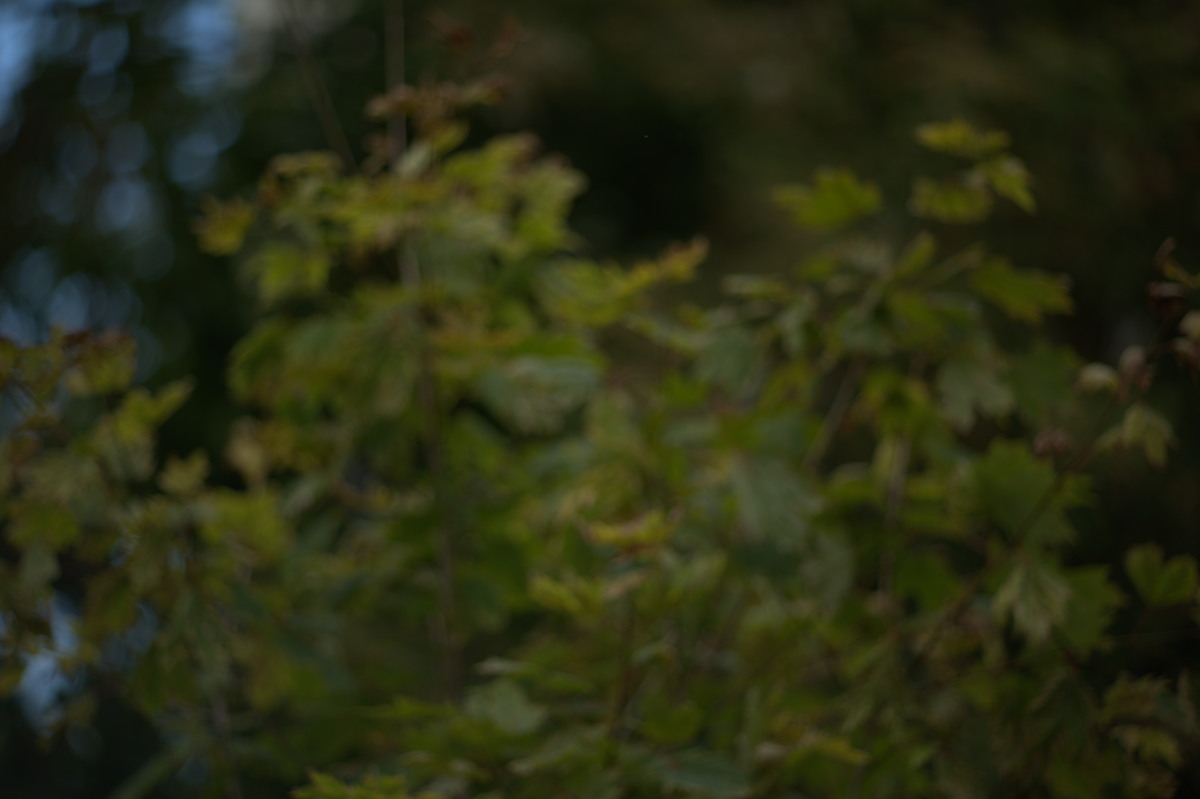
The focus transition is exquisite, it’s gradual and smooth. You won’t see any abrupt changes, I call that the “wall-of-focus“, it’s something that I attribute to cheaper lenses.

Chromatic aberration is my biggest issue with my copy. That’s probably because it was opened before by another technician and I had worked on it extensively since. All I’m trying to say is I don’t have the correct equipment to adjust for the centering of the elements. That may be the cause of this.

I really hate the look of chromatic aberration in my photos, I really do. I may have missed my focus here a bit so we’re seeing more purple stuff.

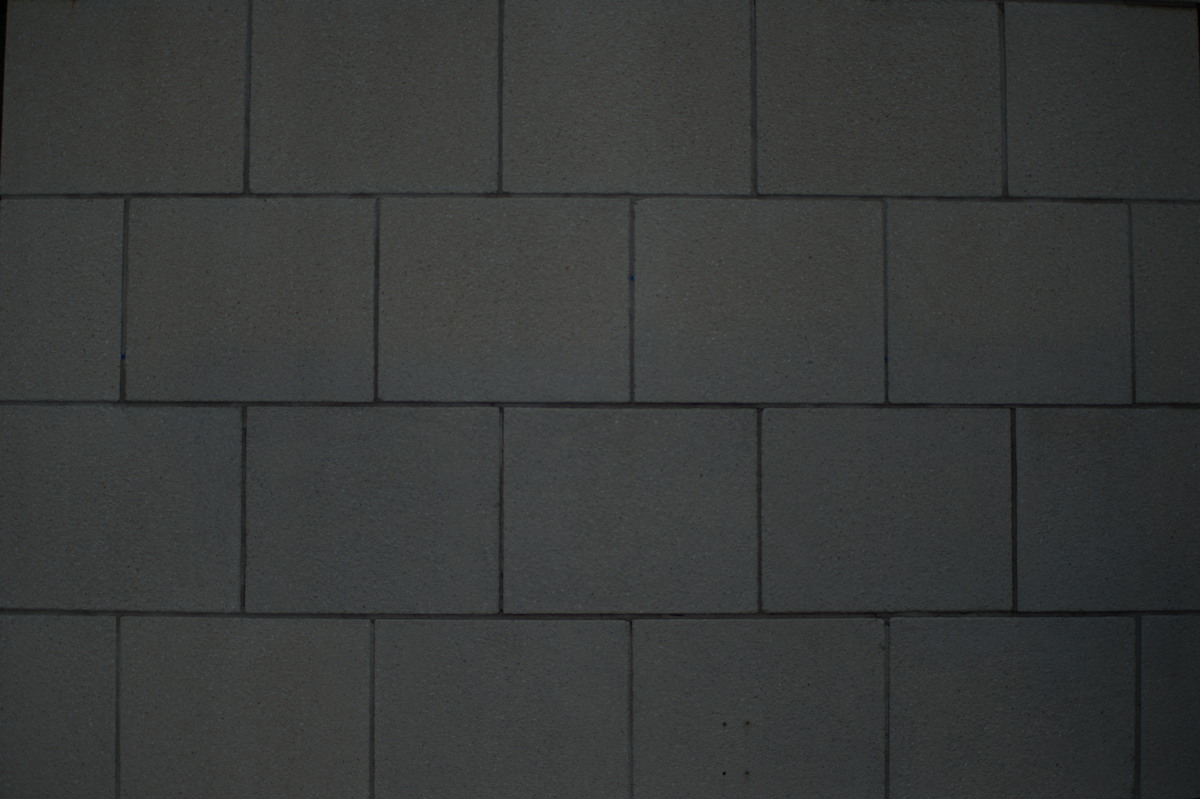
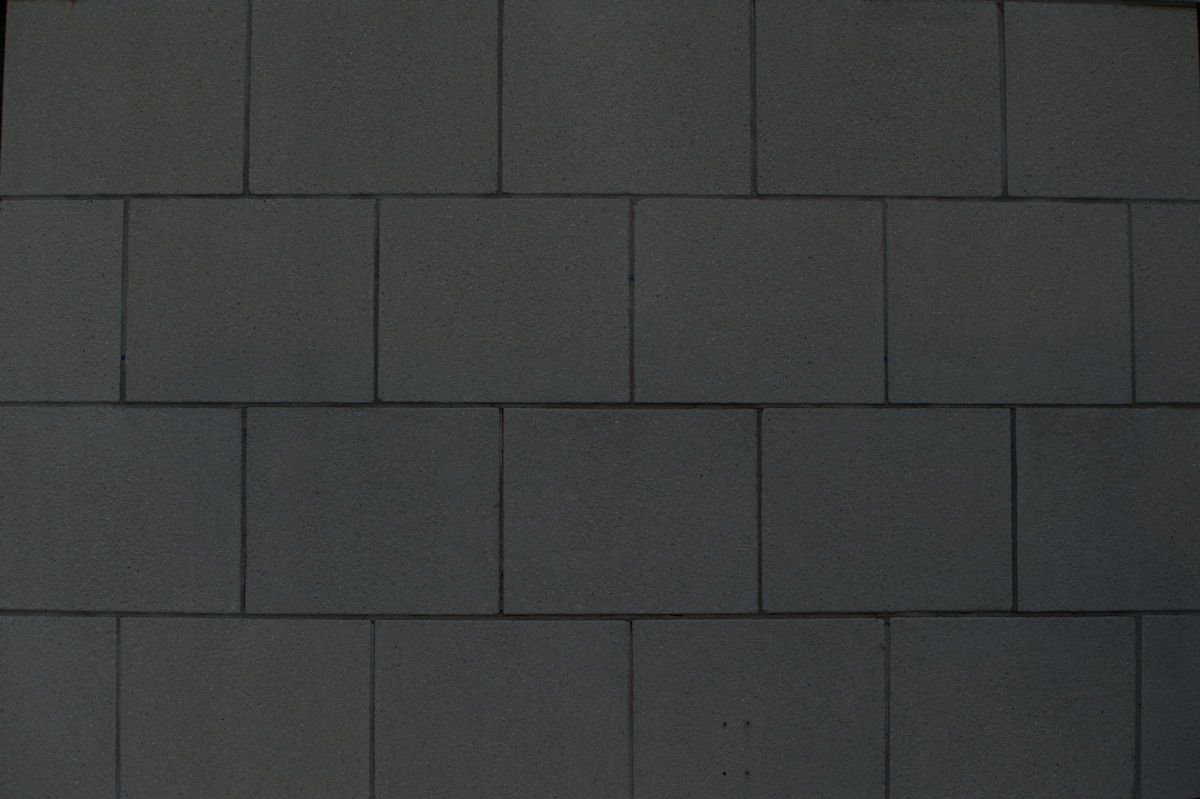
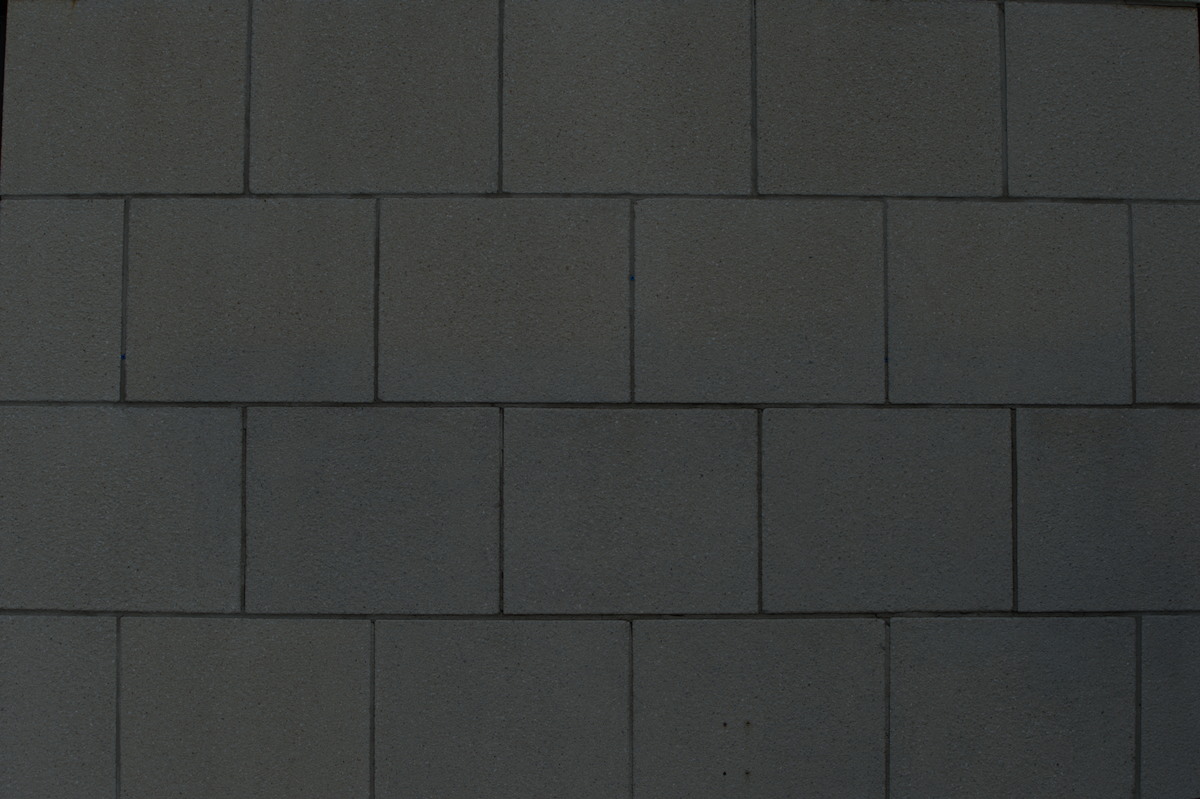
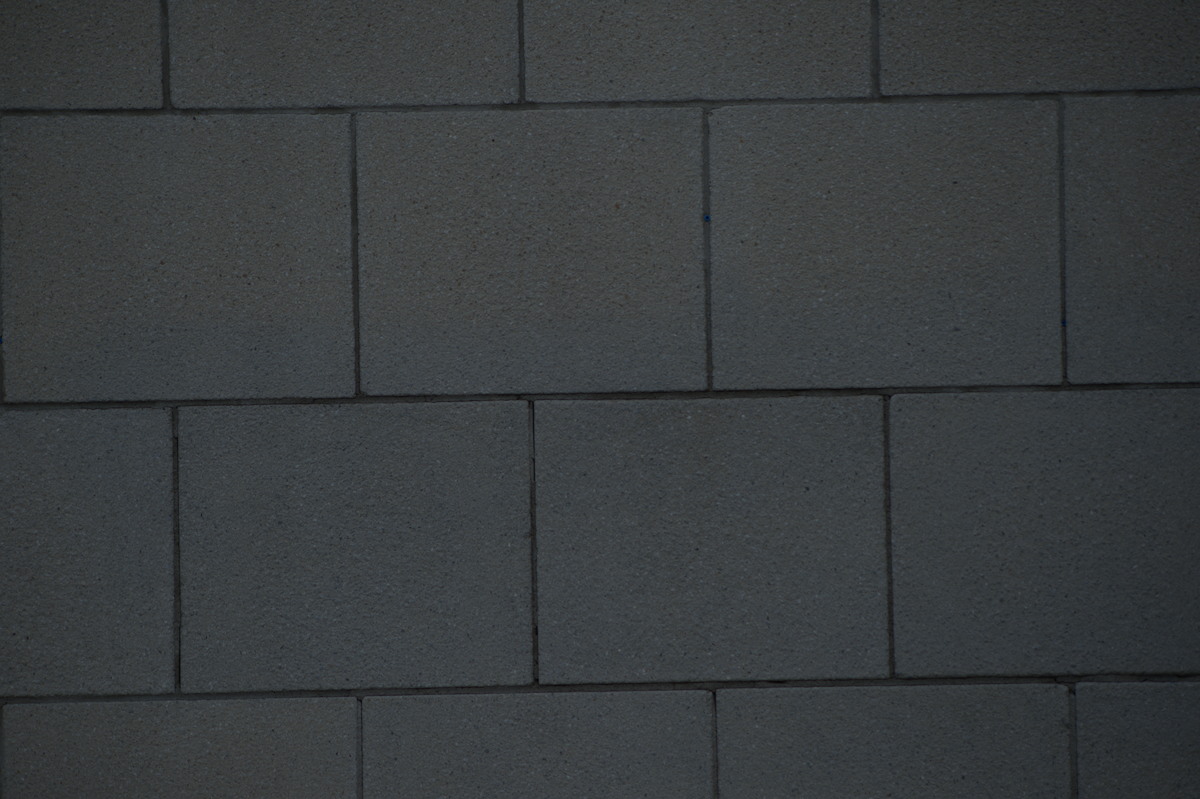
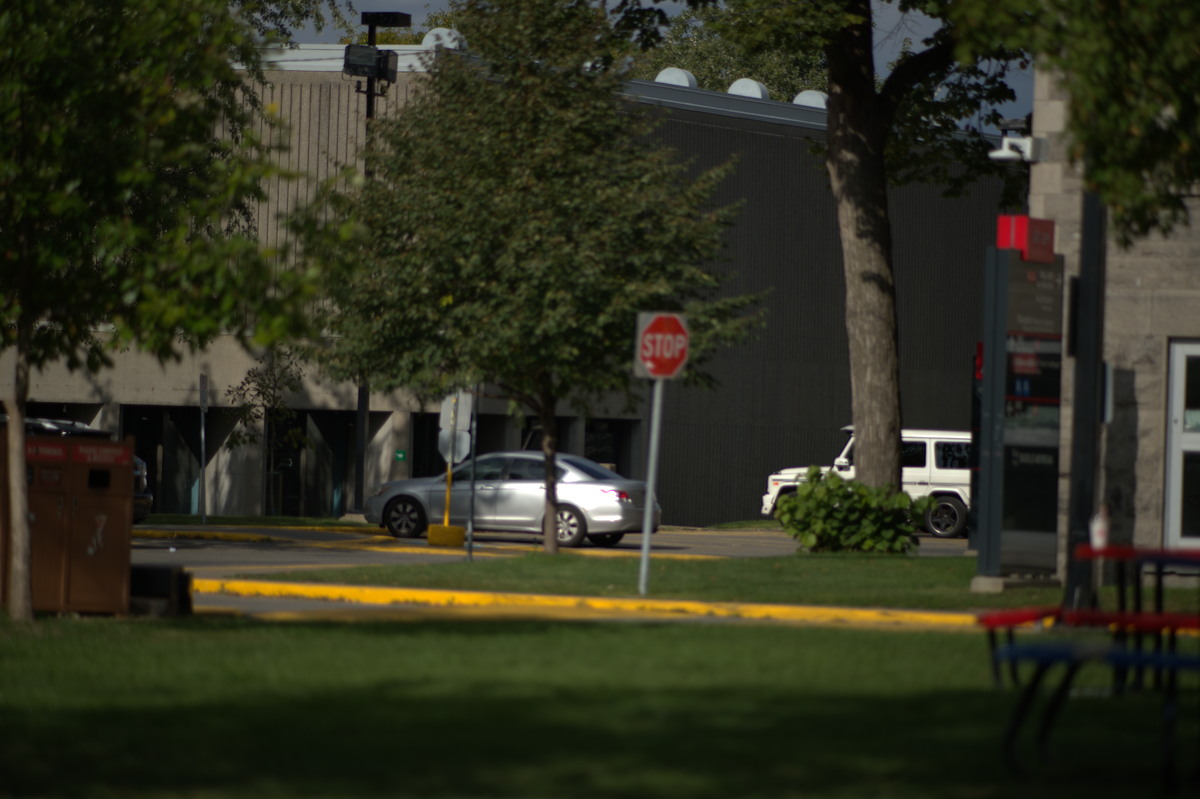
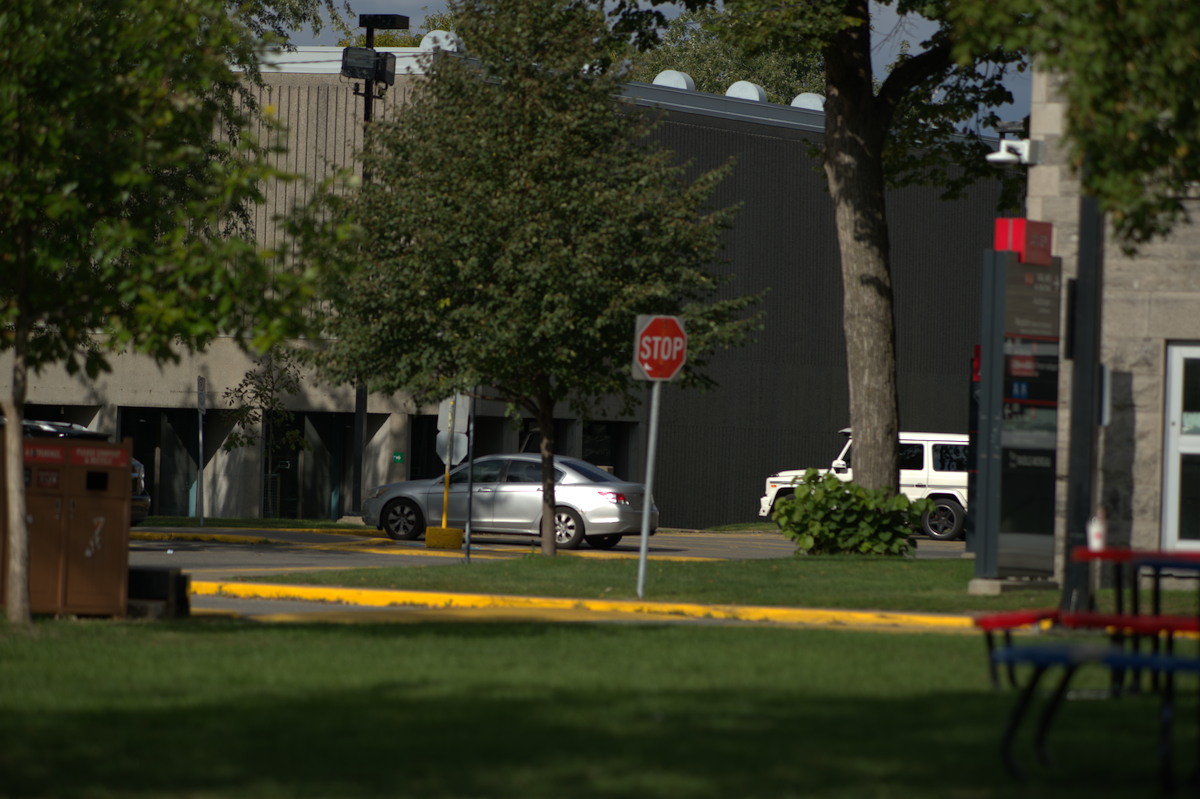
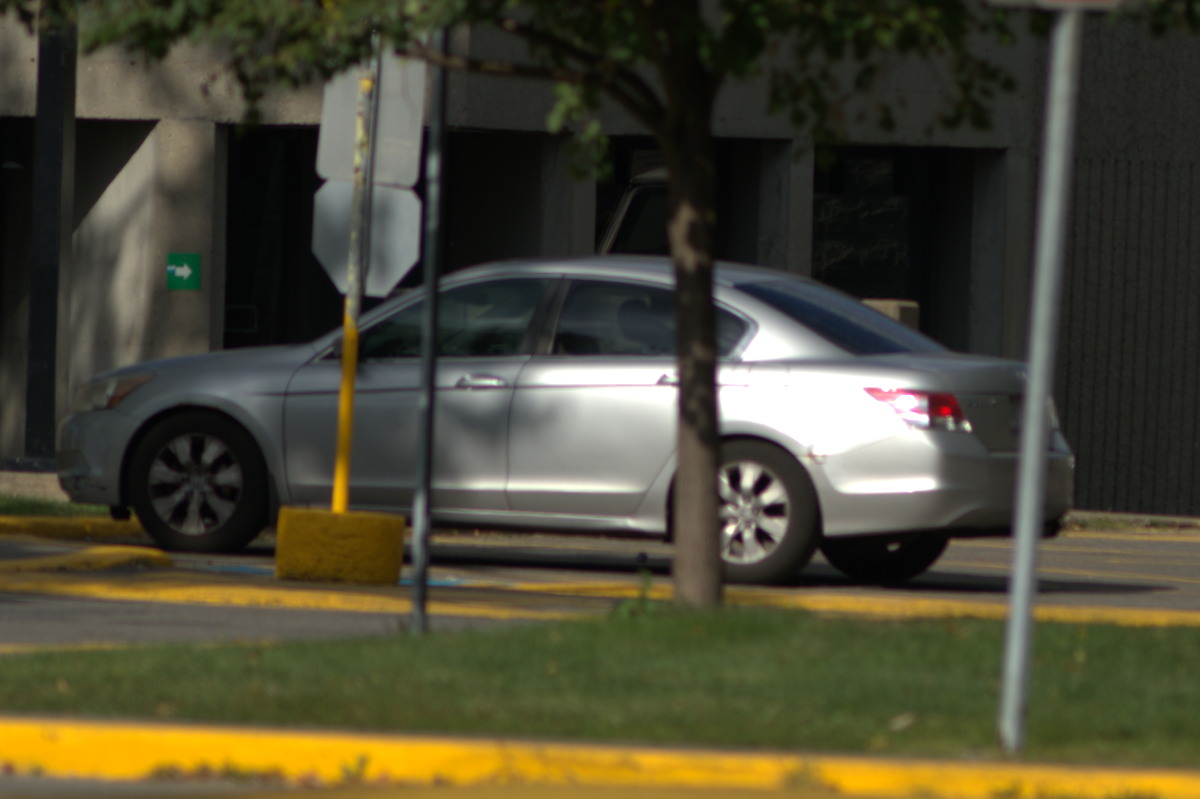
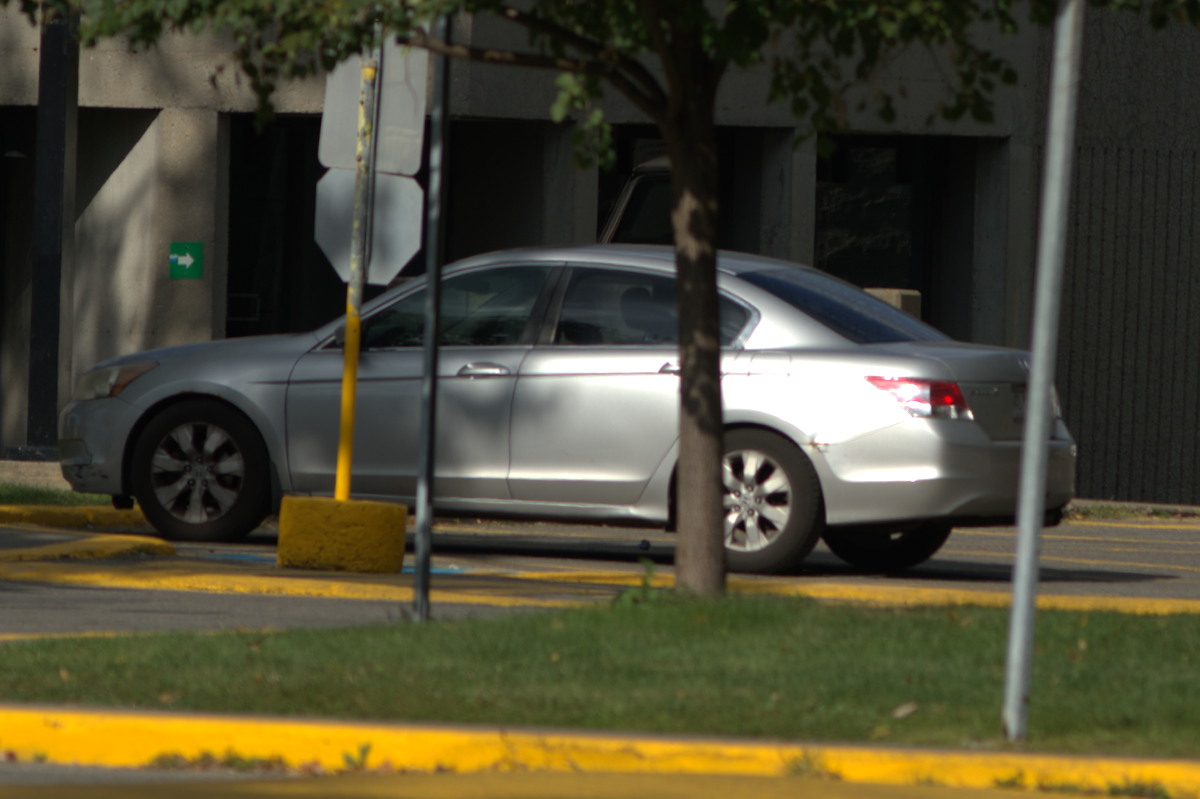
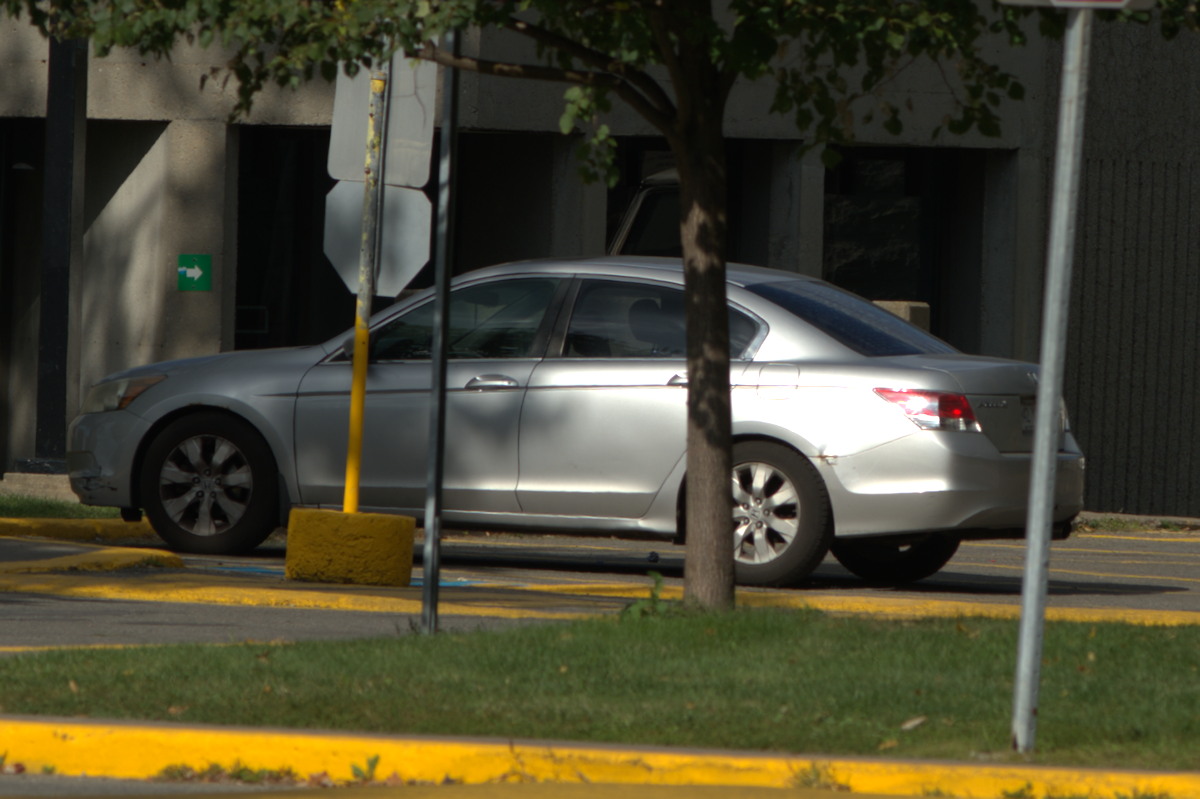
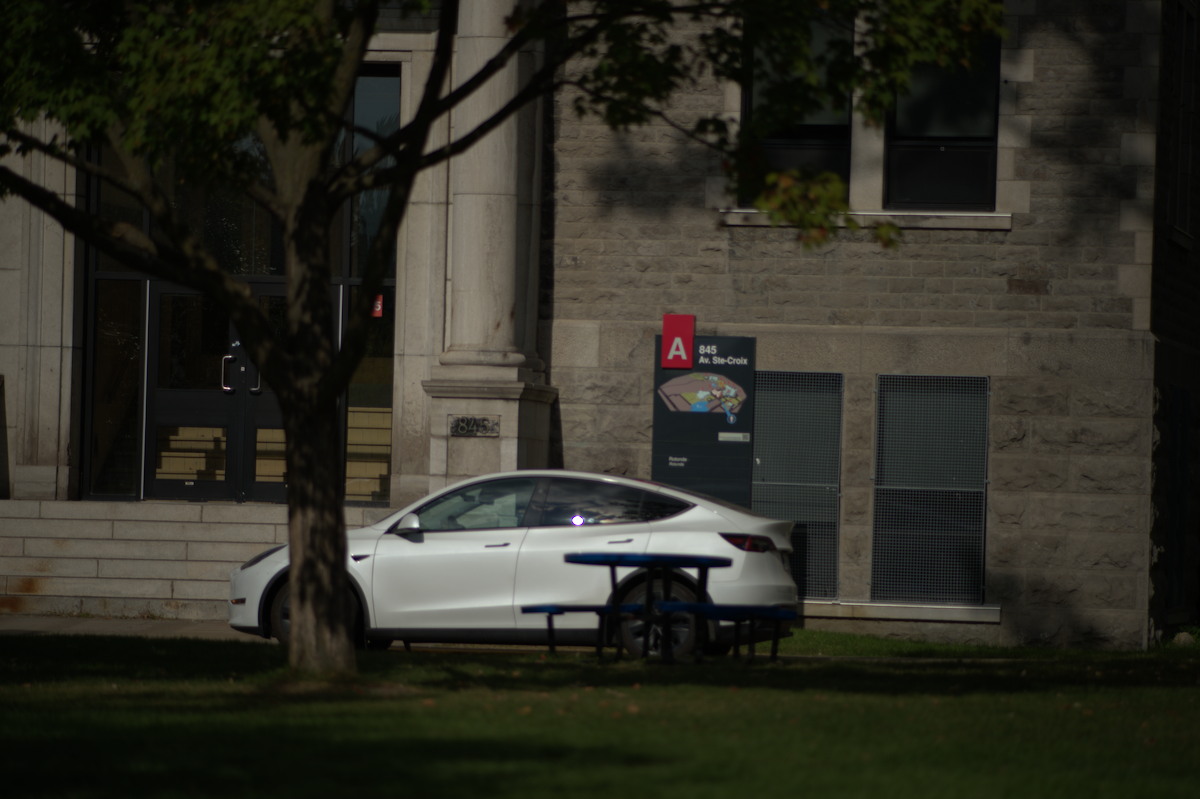
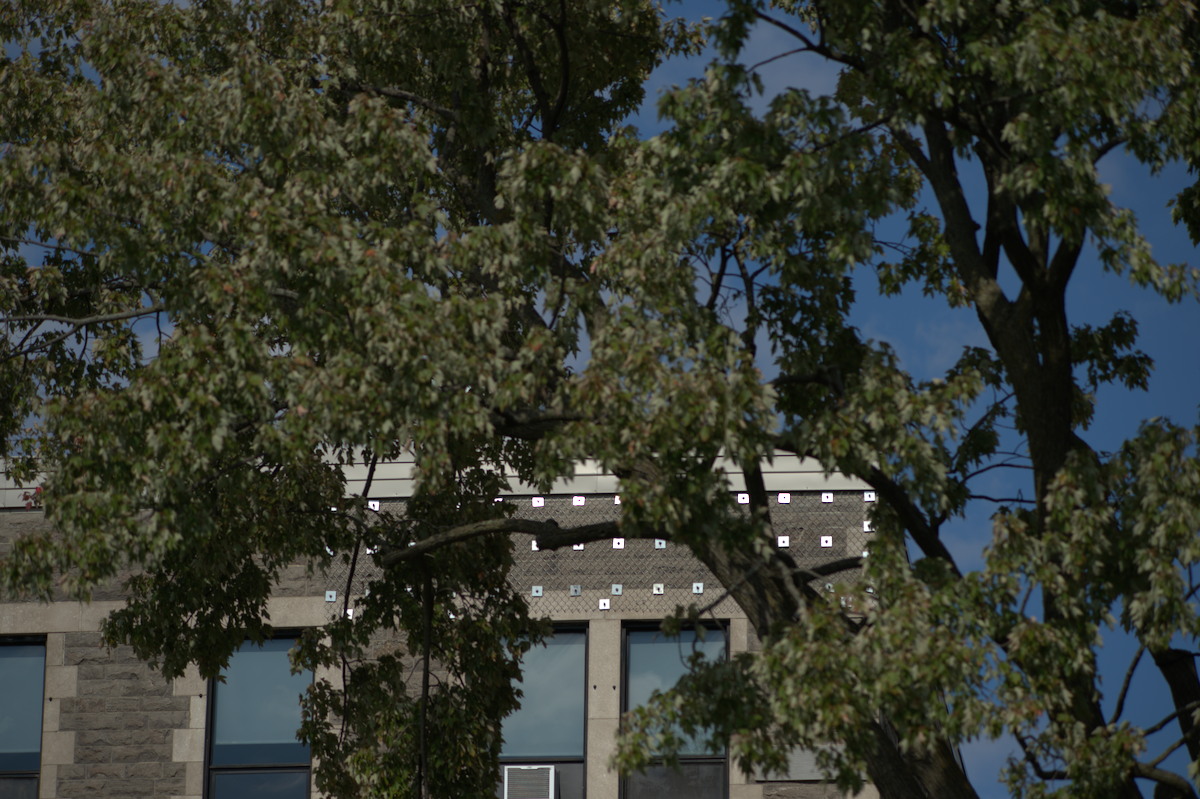
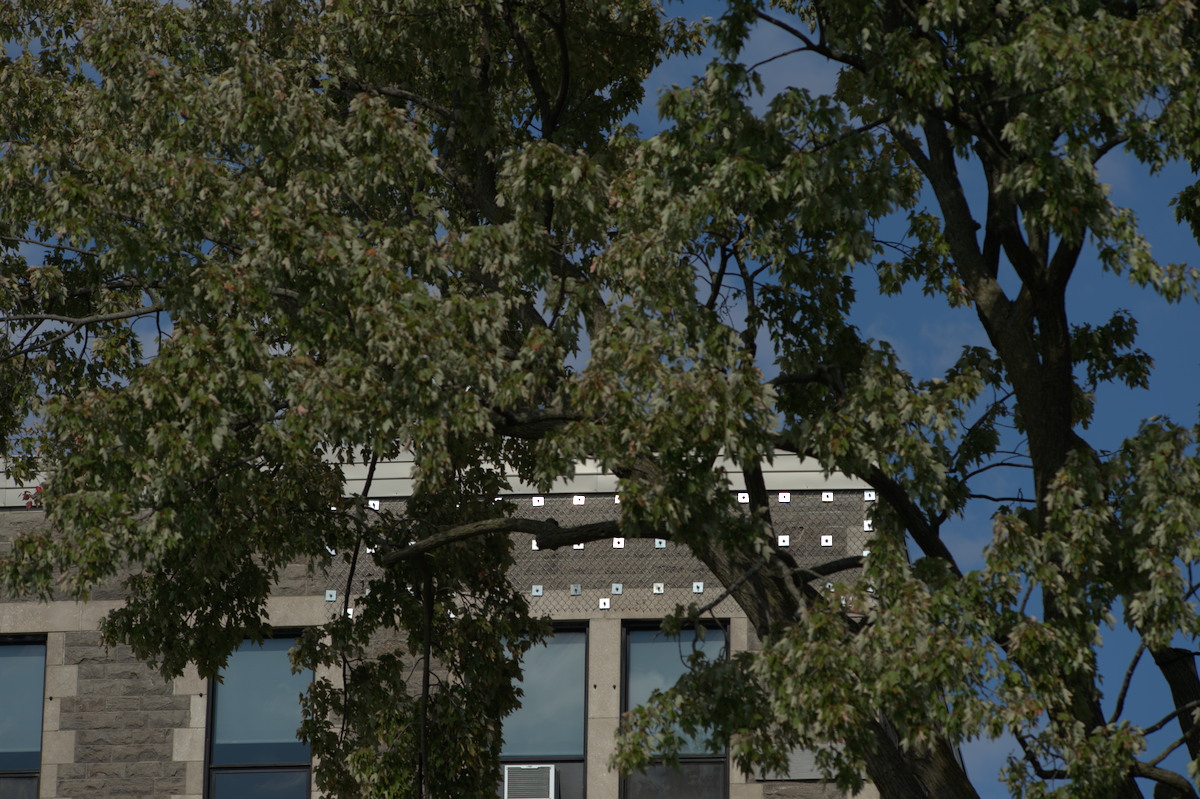
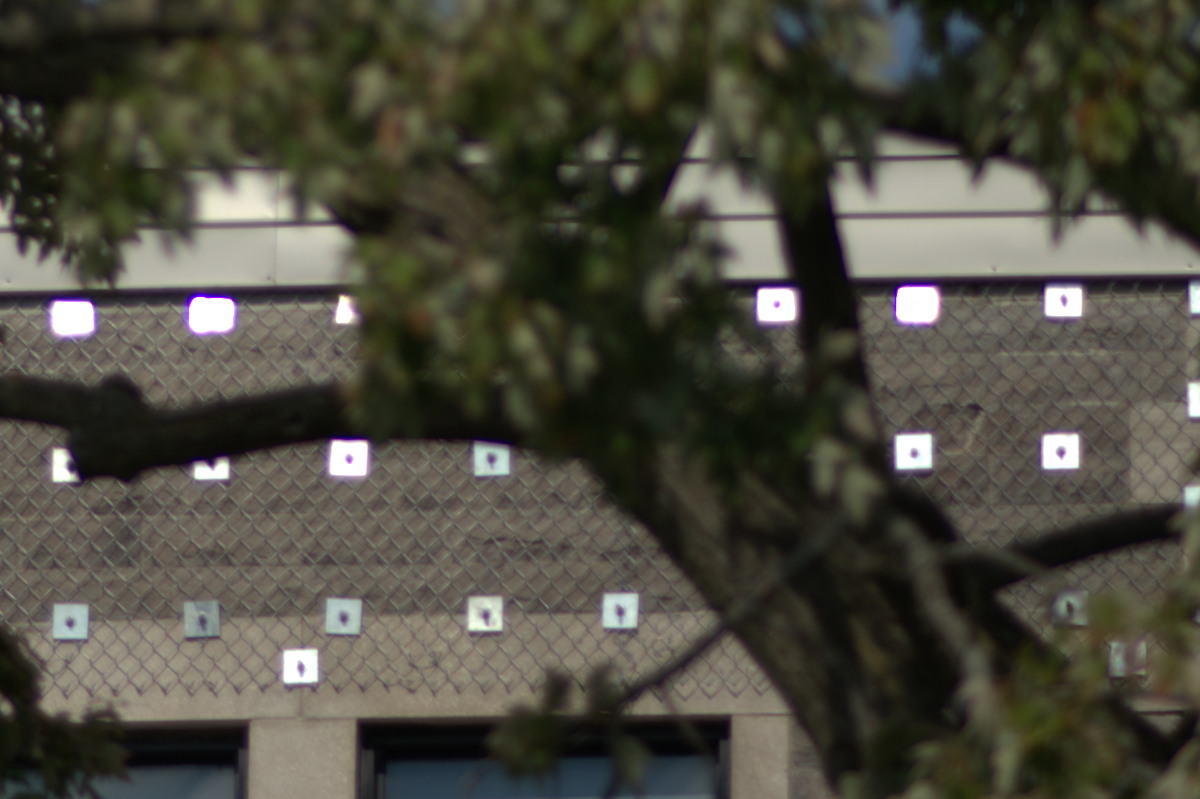
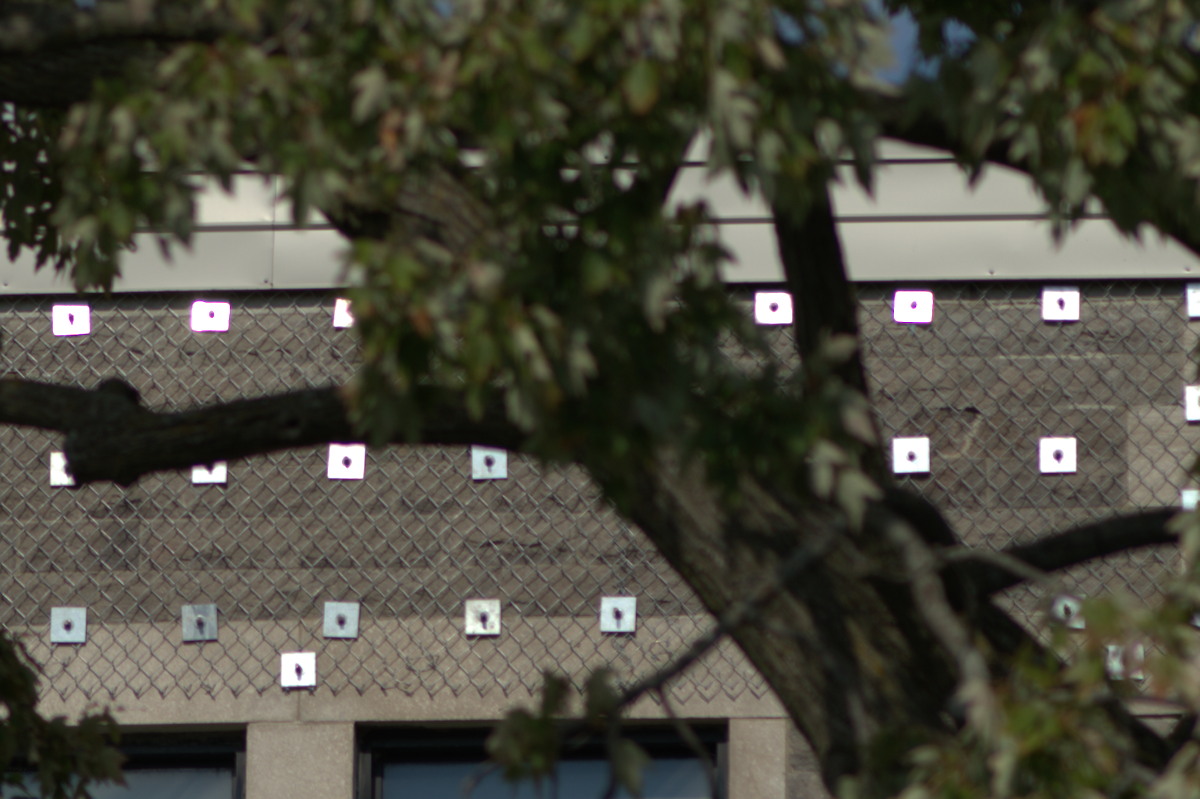
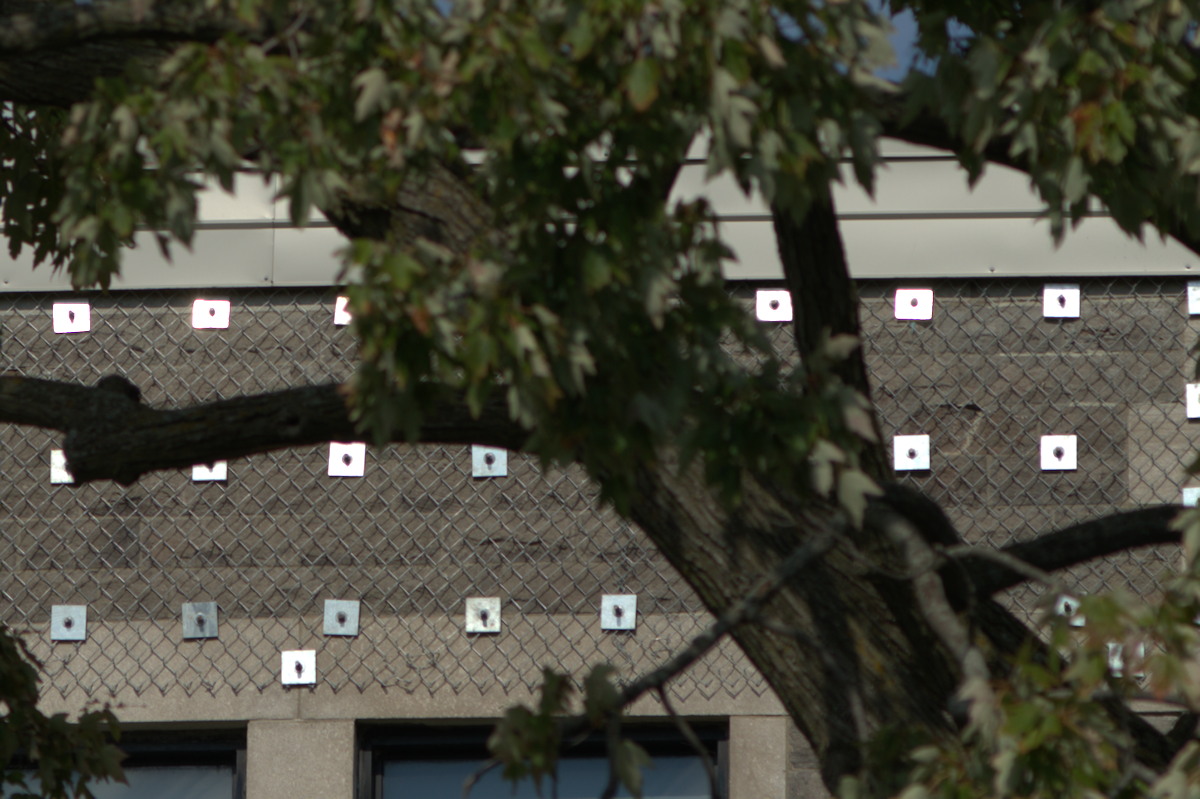
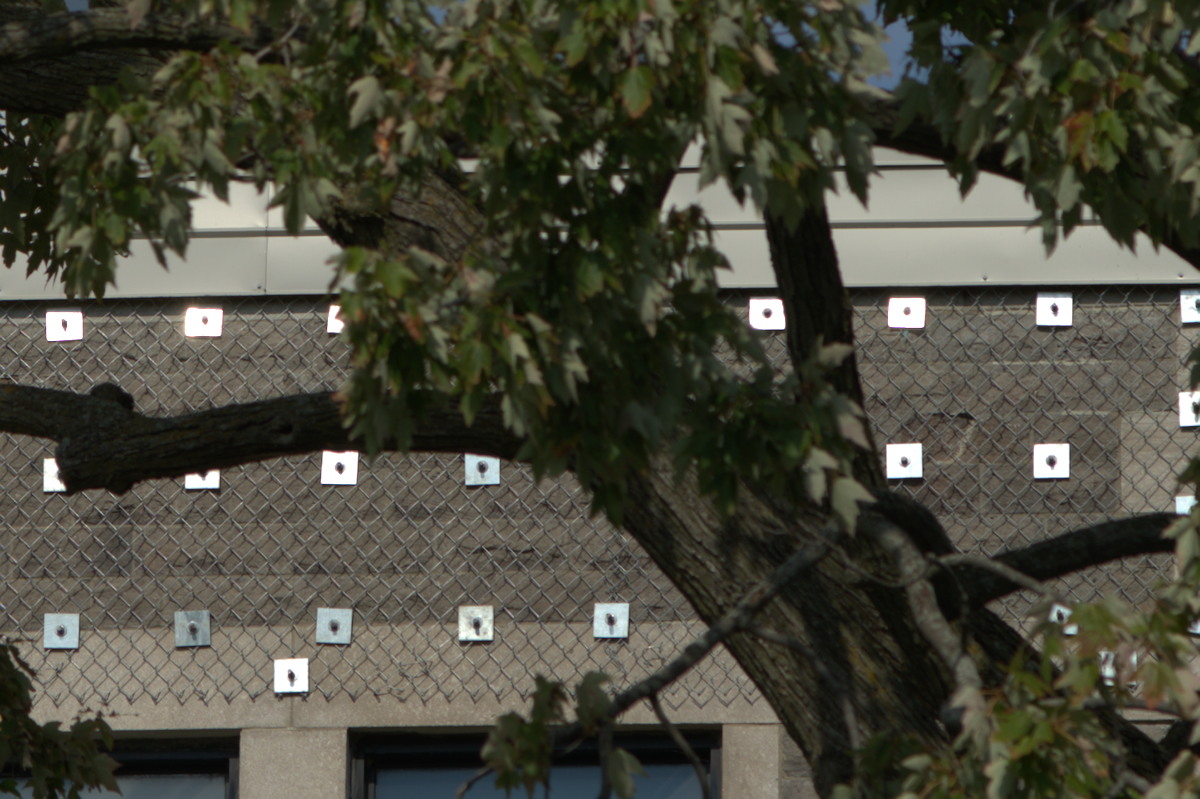
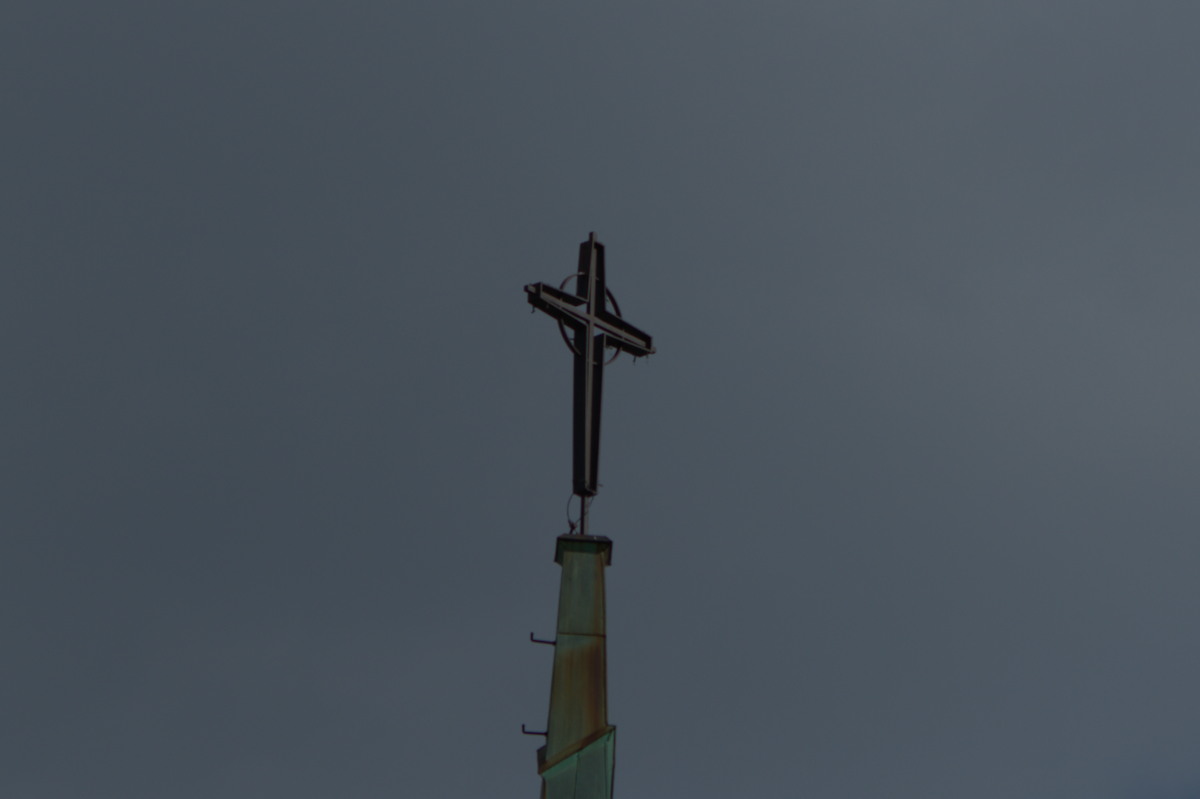
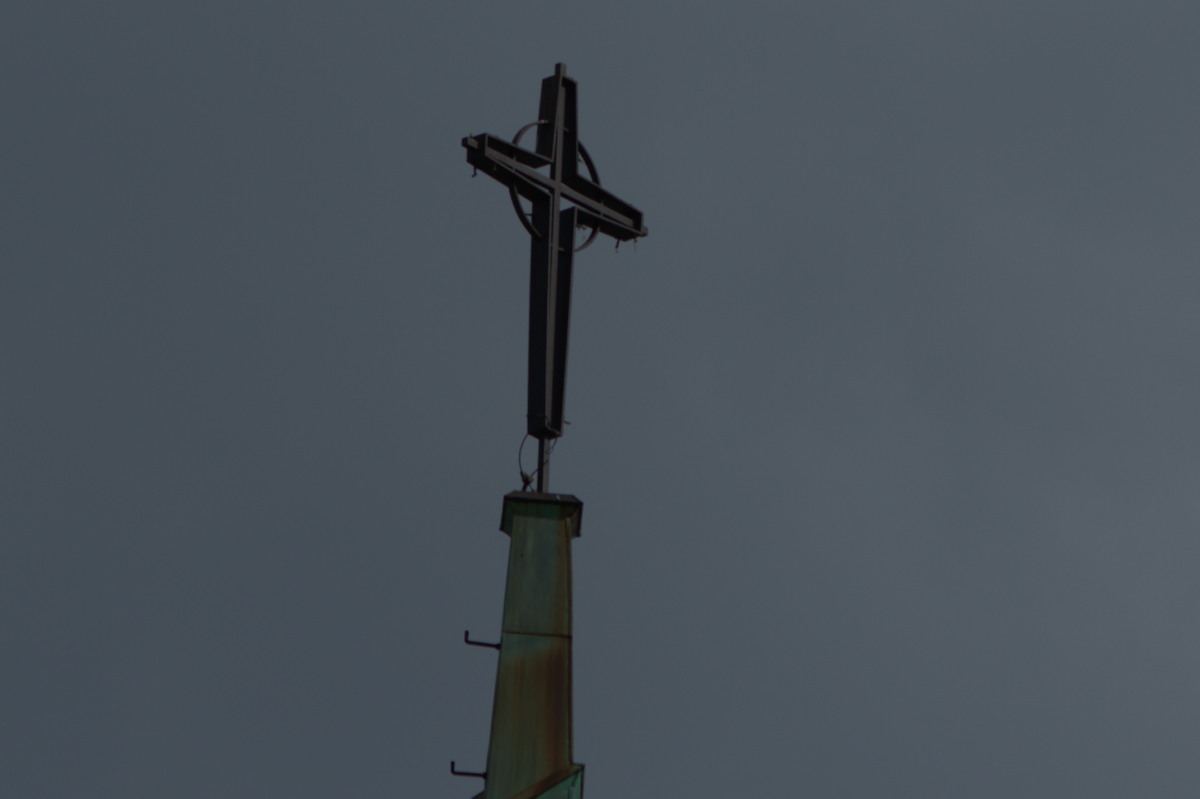
Interestingly, chromatic aberration isn’t that bad when shooting at distant subjects. It’s probably because there’s less things that are blurred. The resolving power of this lens is great, you are able to see the brick and their outlines easily in this photo.

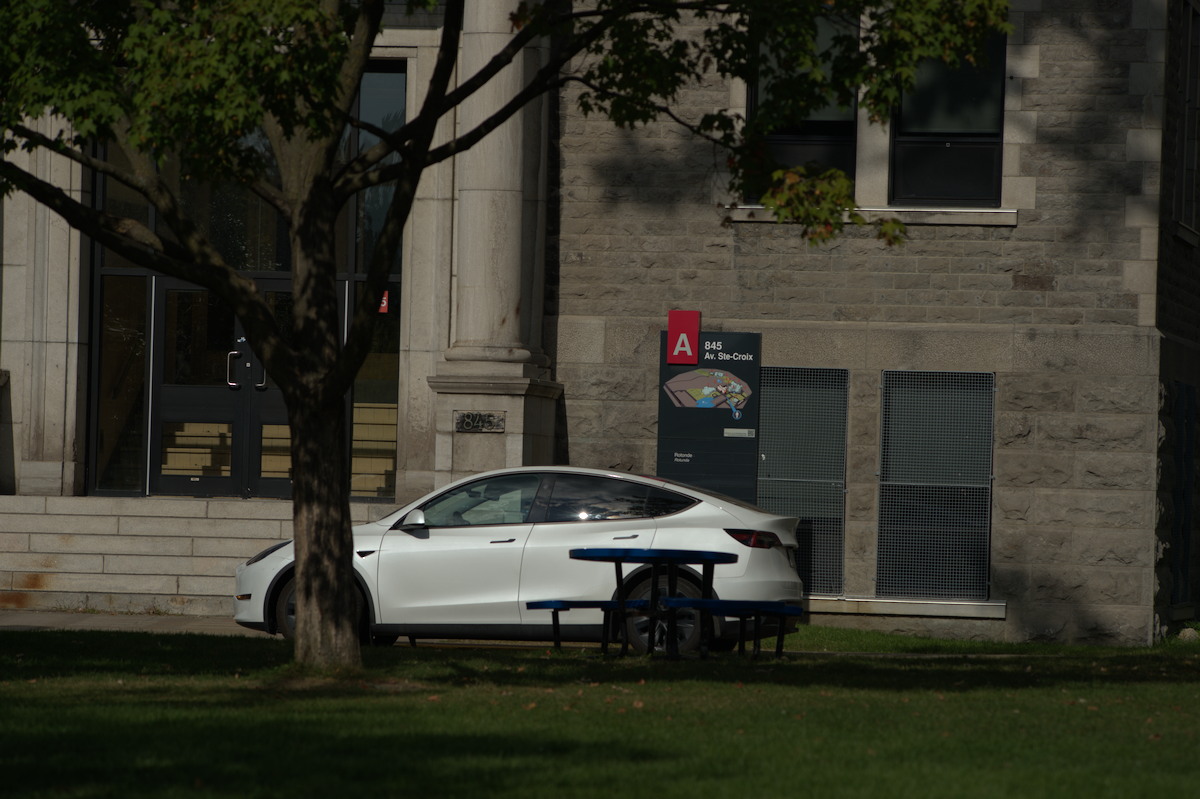
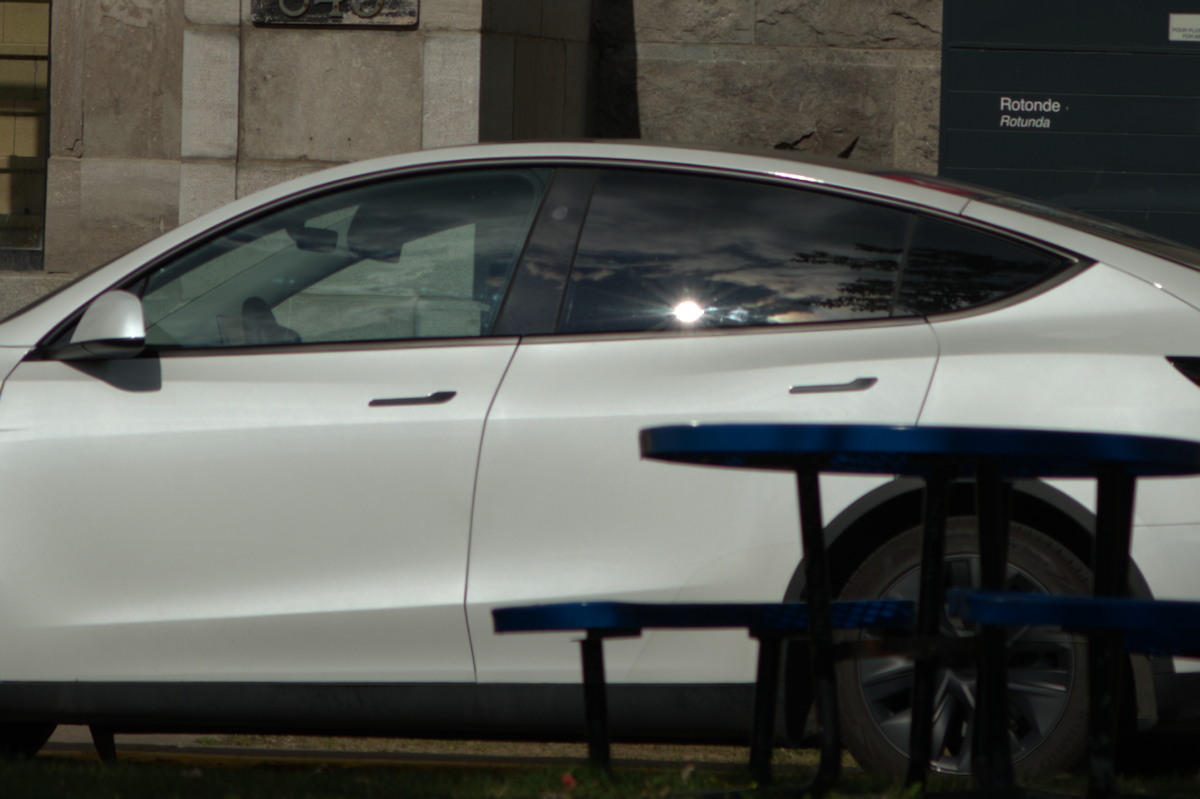
The long end of the lens is enough for taking architectural photos from afar. My example isn’t the best for this case but you get the idea. Shooting a building from a distance ensures that foreshortening won’t be a problem so you’re able to present your building in the faithful manner.

Take a look at the people behind my subject, they are blurred beautifully so you won’t notice them much. The quality of the blurry parts is exquisite, with a painterly character.


(Click to enlarge)
It’s great for stage photography if you’re able to get closer to the stage, around 8m to your subject. You’ll need a longer lens if you won’t be able to find a better place near the stage.

This class of lens is best known for their use in portraiture. The longer focal length is nice for isolating the subject from the rest of the photo. It blurs everything down to a mush so your attention is focused to the part of the photo that’s not blurry.

A longer lens means that you’re able to flatten your perspective much better. This is called compression in the context of photography. If I were to use a wider lens the person behind would look much smaller and my subject would look disproportionately bigger. It depends on your creative vision.

(Click to enlarge)
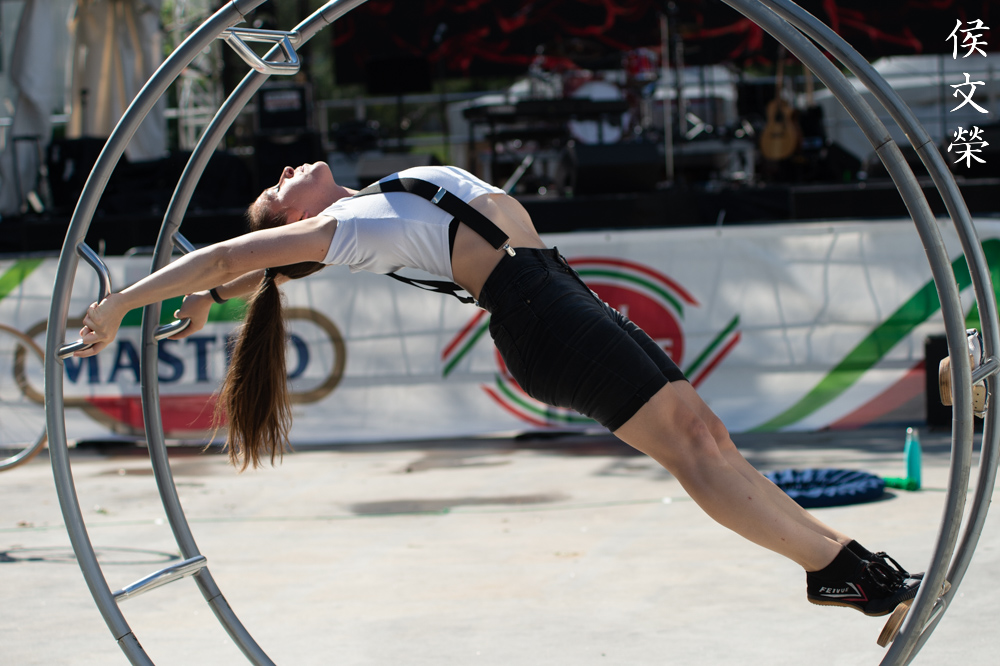
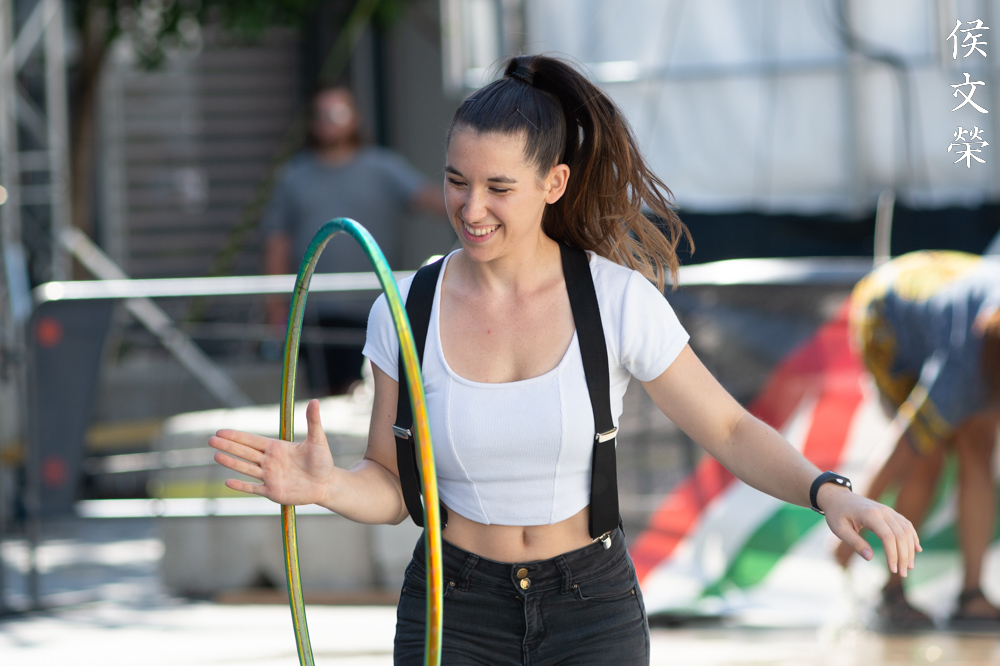
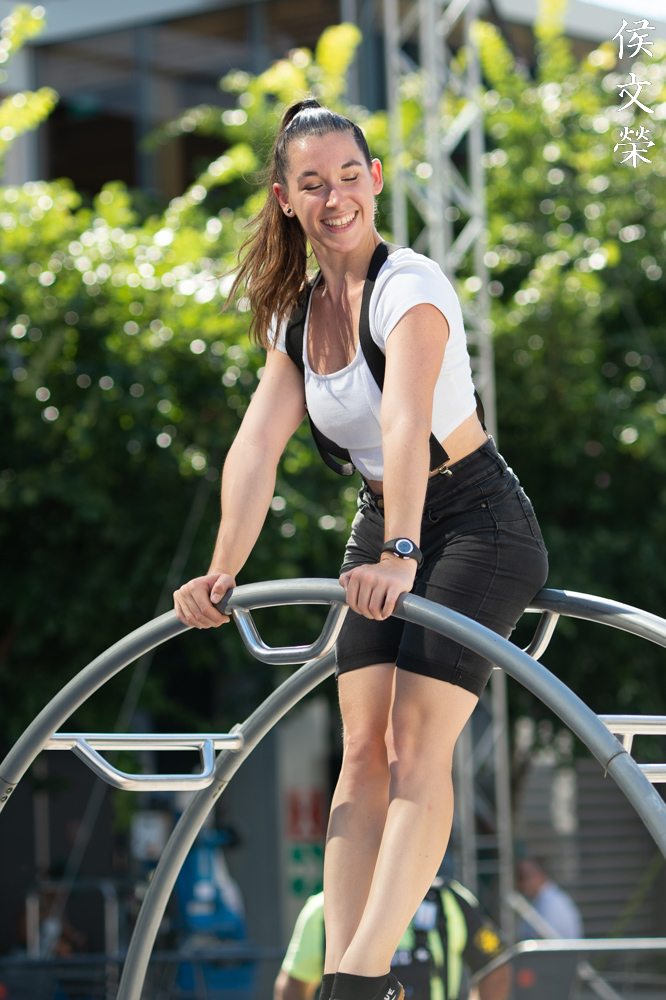
This is not the best lens for shooting action, it’s difficult to use for tracking subjects that are moving quick or unpredictable. You’re able to get a couple of useful frames but it’s no match for what an autofocus lens can do. Of course, nobody can stop you from using it for shooting sports or whatever, you’ll just need to gain that skill and patience that many photographers these days never had nor have forgotten.


(Click to enlarge)
This is a fine lens, I can’t recommend it over the autofocus versions for tracking subjects. You can buy the cheaper AF Zoom-Nikkor 80-200mm f/2.8D ED <N> to get the job done. However, if your masochistic or just that hardcore then this lens will be able to do the job, you just need to know what you’re getting into. Besides, all lenses of this class all perform great, I’m yet too find one (that Nikon made) that sucks.
Let us now see some photos that were taken with film. It came out during the height of film photography so it’s best that we judge it with its intended medium. Film has a unique look and grain can help make an image look better by nullifying some flaws but it can also amplify them in other cases. This is why we like to see how a lens performs with both digital and film. That way we will be able to pass better judgment. I took these photos with my Nikon F3.
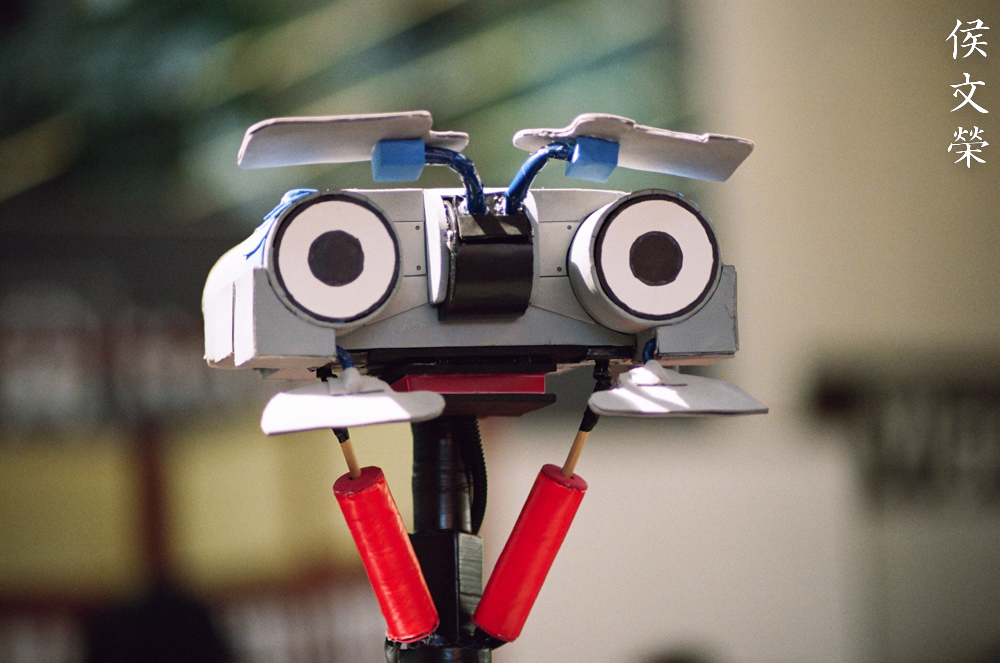
I’m alive! That is what the robot would have said if it saw this picture. Man, I hate chromatic aberration. It would have been an amazing portrait if we see less of it.

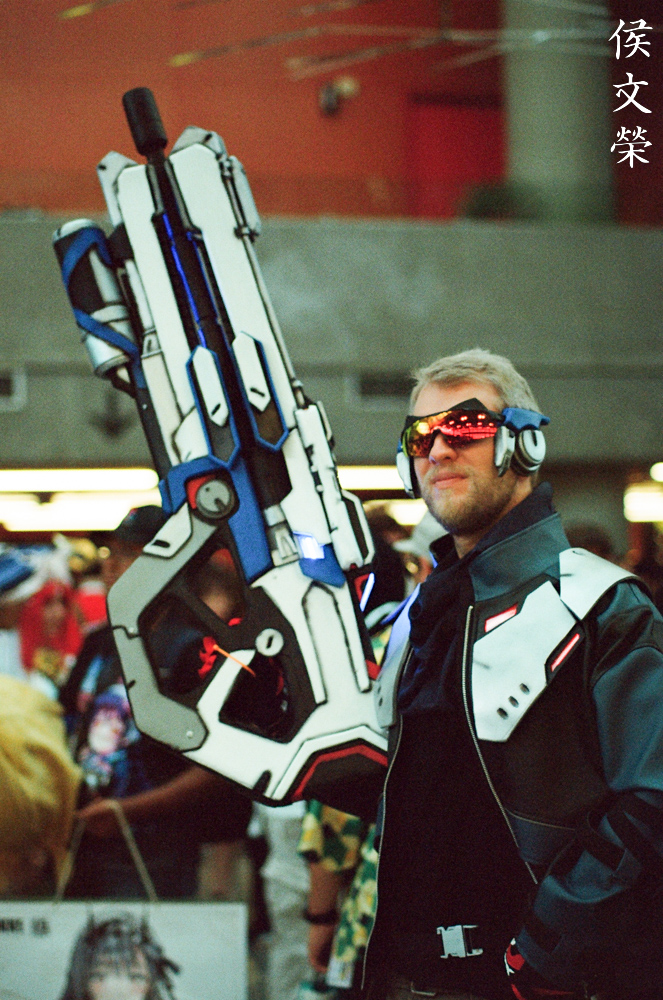
Portraiture is the best use case for this lens, in or out of the studio. It renders skin delicately so you’ll get a sharp photo but without showing your subject’s pores because the lens is too sharp.

Speaking of the pores of the skin, film grain is also helpful in disrupting patterns and small details so you won’t notice them much. This is great for portraiture as your subjects look much smoother.

Its versatile focal range is handy for portraiture, it gives good compression for shooting a tight portrait. If I where to take this using a wider lens, my subject would have looked a lot different.

It has enough resolution for you to resolve the fine details of hair. I used a cheap film here but this turned out nicely because the lens is just that great.

You can use the wider end for full body portraiture if you lack more space to move back.

(Click to enlarge)
This type of portraiture is called environmental portraiture because you’re showing the background more to give your viewers some context.

The stairs behind her look ugly so I blurred it out. Note that we can observe a little bit of swirliness to the background. I personally don’t like this effect at all since I find it nauseating but others like it.

The depth-of-field is so shallow that it can be troublesome when you have more than one subject. You will need to stop the iris down a bit to get more things in focus or you can do the trick that I did for the next photo.

Since we only have a thin slice of focus it’s best to have the faces of your subjects at the same plane, or at least not too far from each other in terms of depth. Not all of them will be in perfect focus but at least it’s much more usable this way.

Walking further back will also allow you to get more depth-of-field but you will get a wider shot. It’s useful for taking group photos.


(Click to enlarge)
I really have no complaints for this lens when it comes to image quality and for shooting indoor events. I just don’t like how it feels after I get home because my back hurts. You will also want to use a special type of focusing screen for your camera because the usual types with a prism at the center may black-out if it’s dark. A matte one with course micro-prisms works the best.
This is a magnificent lens but I can’t recommend it to anyone because of its size, weight, and price. These are rare and not cheap at all. Besides, the next iterations of this lens all come with autofocus, they’re all a lot smaller and much lighter, too. The optical difference doesn’t mean much and they won’t matter in real world use. The 95mm filters and attachments aren’t cheap either. One shouldn’t go for more than $900.00 for an excellent copy, a complete set in mint condition should cost just a bit more. I got mine for cheap as it came in very bad shape with plenty of fungus inside. Only collectors will be interested in such a lens, it’s not something that you can consider even for use inside the studio, it’s just a novelty. If you’re looking for one, make sure that the glass is clean and clear, without any traces of fungus nor scratches. Make sure the coatings look even and there are no bald spots, that would indicate that it had bad fungus at one point. It should operate smoothly when you turn the rings or operate the zoom. Check the aperture to see if it will actuate instantly, in a responsive and snappy manner. A little bit of dirt inside of the lens is natural, these types of “pumpers zooms” (as I call them) easily sucks in dirt as you operate the zoom. You’ll want to get a replacement hood for it, the original one is rare and expensive, it’s also bigger than it had to be. You don’t usually see one of these for sale with a reasonable price, all you have to do is wait. I waited for a decade, I was patient so I got one that will fit my budget. Don’t rush and you’ll get one for yourself, too, good luck and happy hunting!
Before We Begin:
If this is your first attempt at repairing a lens, I suggest that you see my previous posts regarding screws & drivers, grease and other things. Also read what I wrote about the tools that you’ll need.
I suggest that you read these primers before you begin (for beginners):
- Essential tools
- Best practices 1
- Best practices 2
- Best practices 3
- Ai conversion
- Working with Helicoids
Reading these should lessen the chance of ruining your lens. Before opening up anything, always look for other people who have done so on the internet. Information is vague and scattered but you can still find some information if you search carefully.
For more advanced topics, you can read my fungus removal article. It has a lot of useful information, it will be beneficial for you to read this. I also recommend that you read the working with helicoids article since it is very important!
Disassembly (Exterior):
The construction of this lens isn’t much more complicated than a Zoom-Nikkor 80-200mm f4 Ai-S but it is so much more difficult because the parts are so big and many of them are sealed. This will take you more time to take apart than your usual lens, it’s not even close.
When taking this apart it’s best to take several pictures of everything before you proceed. This will help a lot later during reassembly. You should also take a lot of time dissolving seals because you’ll find them all over the lens. Because this is a precious item, be sure that you know what you’re doing and you have the required tools. If you’re a novice, send this to an expert technician because this is not a lens for practicing your repair skills. A small mistake can turn this lens into a very expensive junk.
Like all manual Zoom-Nikkors, we will proceed with a certain sequence to take things apart. This will help a lot in the next section where we take apart the interior of the lens.

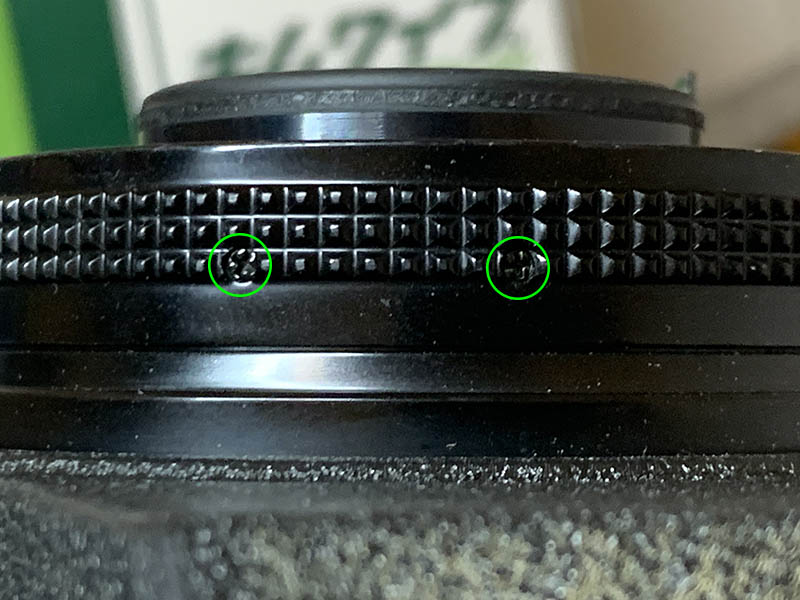
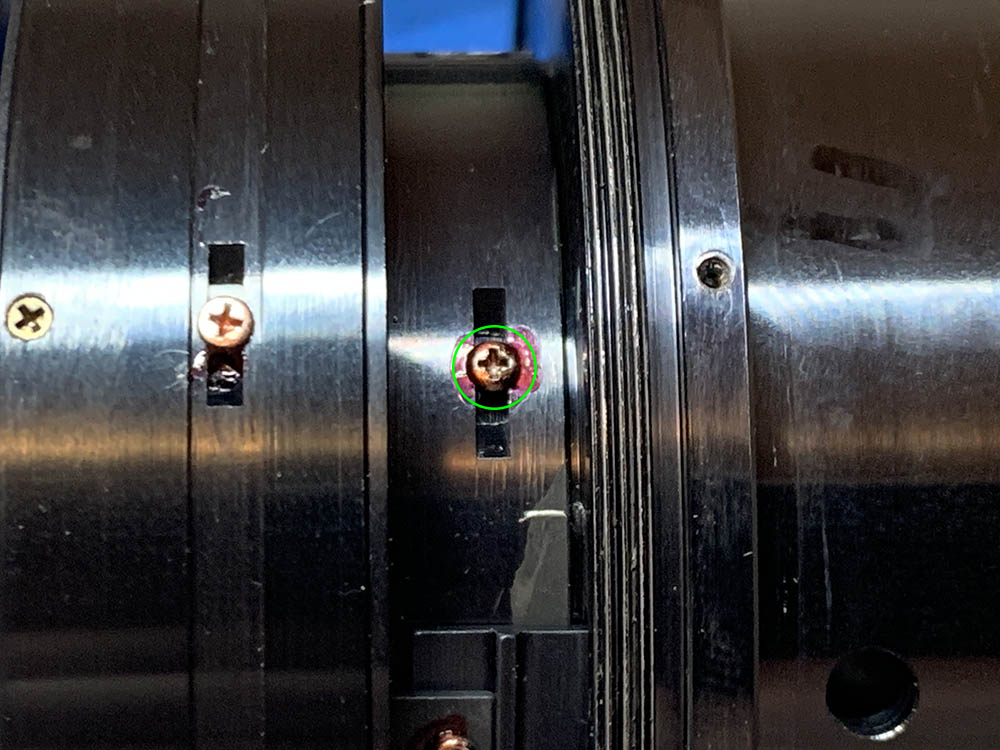
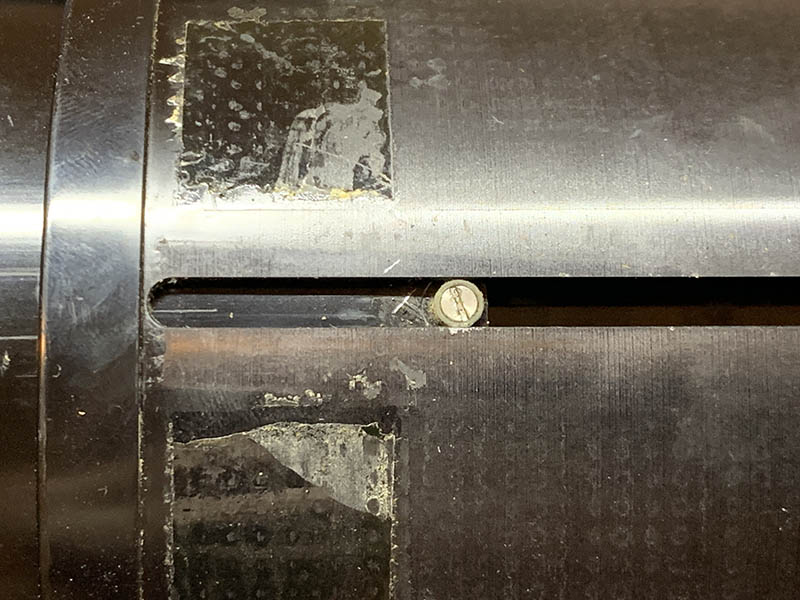
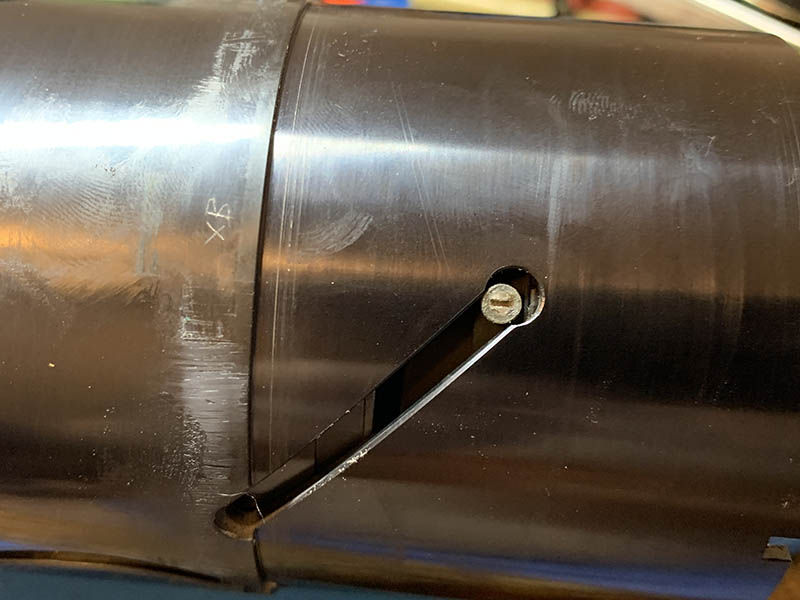
Locate and carefully extract this grub screw. If it’s stuck or sealed place a drop of acetone to dissolve the sealant or paint, it may take multiple applications and a long time to make it work. Do note that there is another screw here, you will want to extract it at some point before you proceed.

Unscrew the accessory ring with all your might.
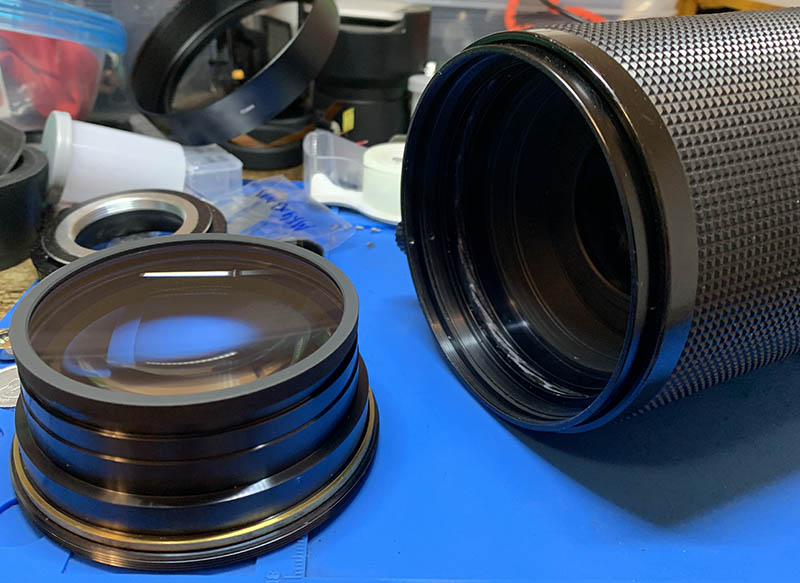
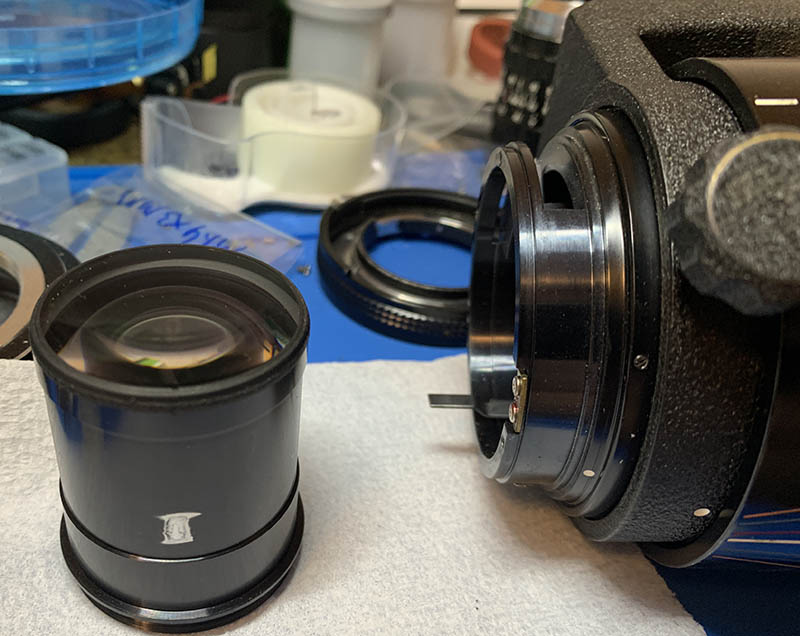
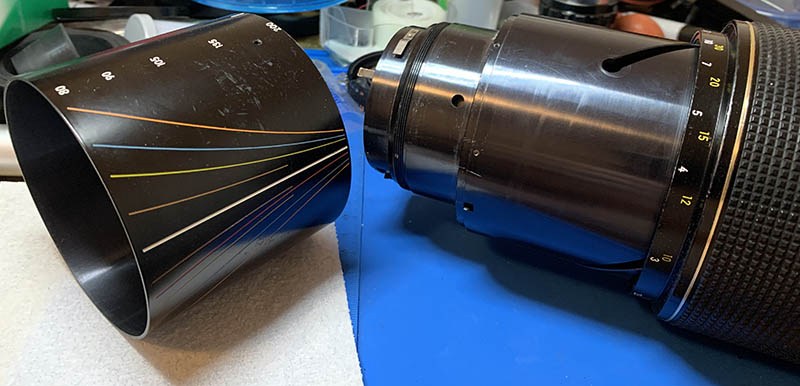
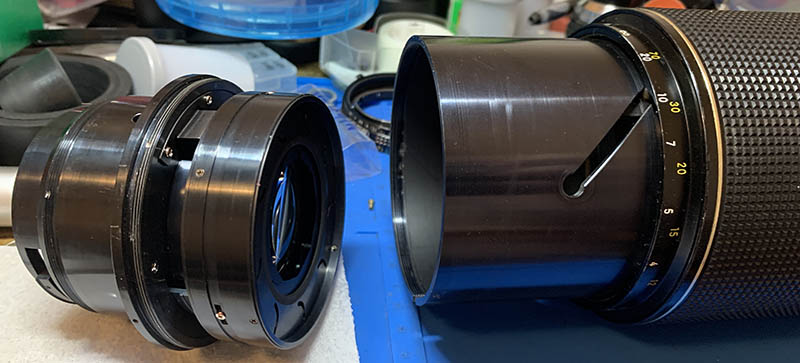
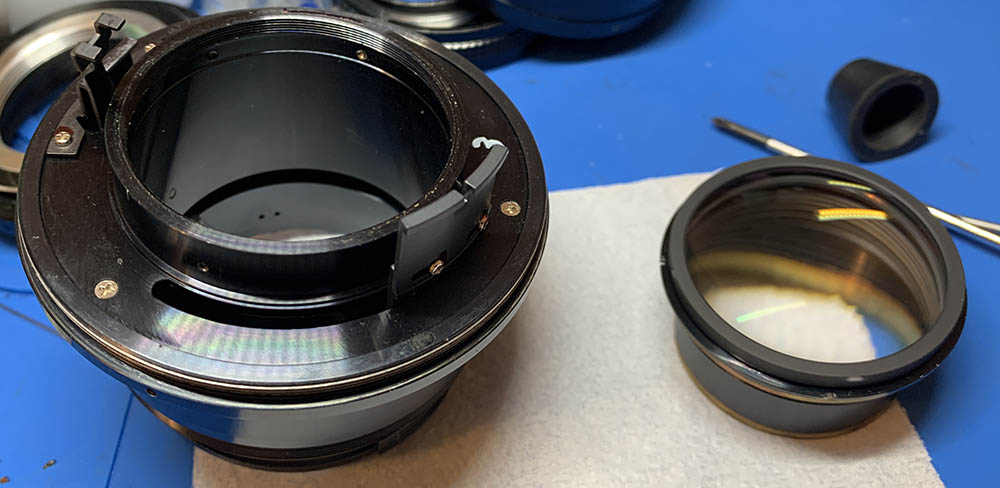
Use a lens spanner and extract the front optical block and be careful not to lose the shim.
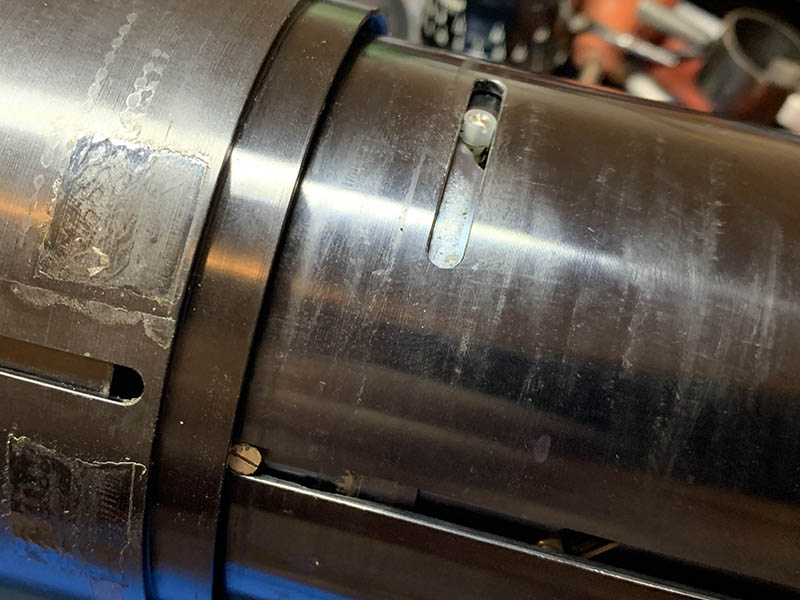
Find a lens spanner with long tips and carefully extract this assembly. You may want to apply a small drop of acetone if this thing won’t budge. As you can see, there are already pre-existing marks, someone was here and he’s probably not that skilled.
Pull it out with a lens sucker. Again, don’t lose the brass shim.

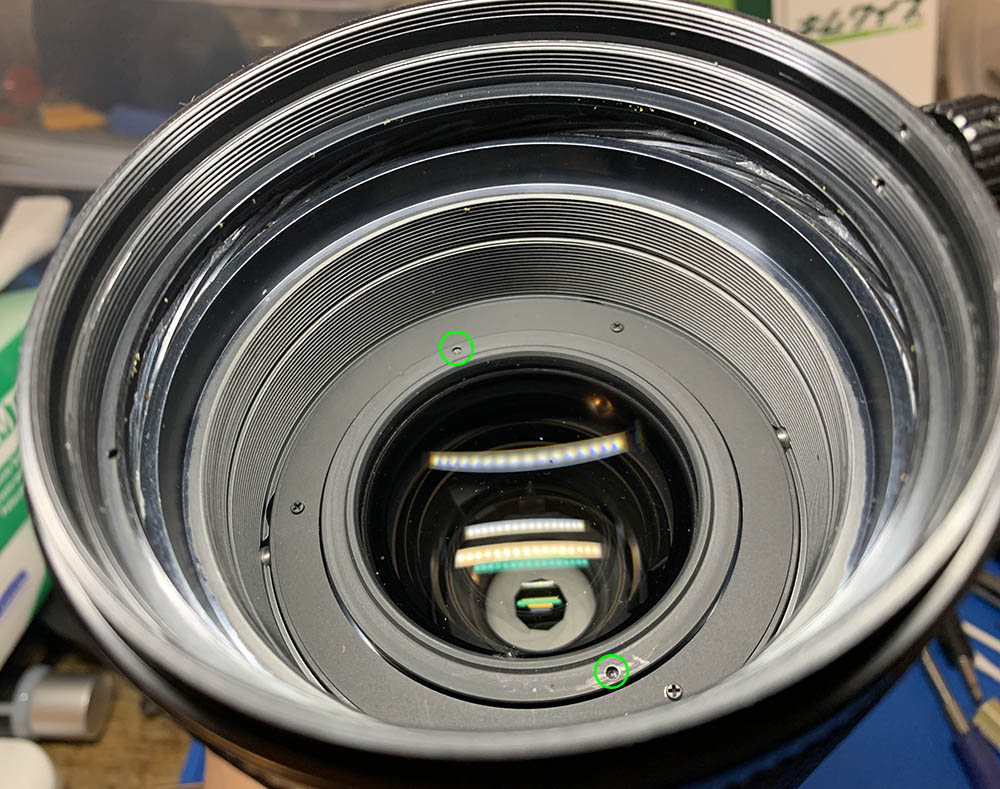
It’s time to go to the rear. Carefully extract the screws from the bayonet, read my article on how to remove screws so you will not strip their heads. Don’t ignore this warning as many people screwed themselves by not reading my article on extracting screws.
Look for these and extract them. In my experience, these can be a pain to remove so if you could not get them off the first try, grab a torch and roast these. That will help soften the sealant enough for you to get them out safely.
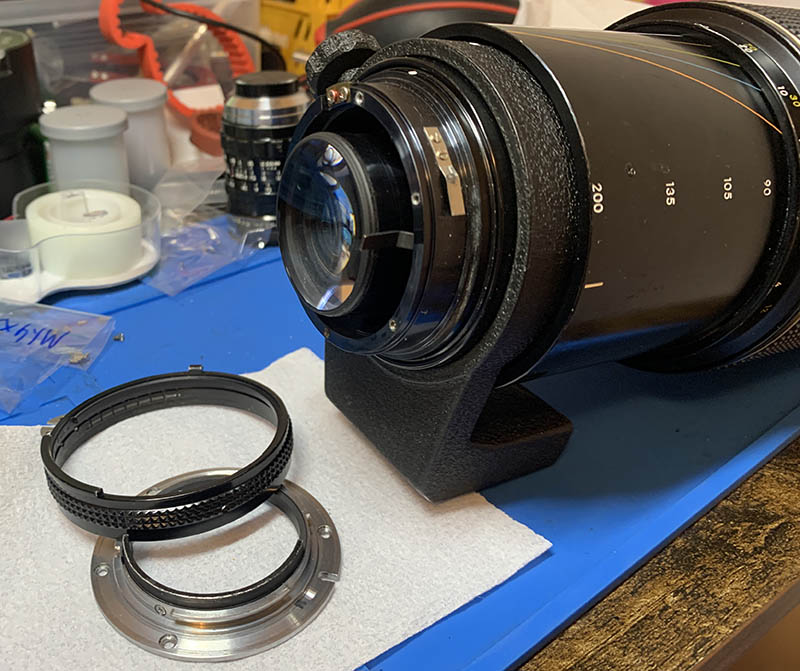
Once all of the screws I’ve mentioned in the previous steps are gone, carefully remove the bayonet mount and the aperture ring.
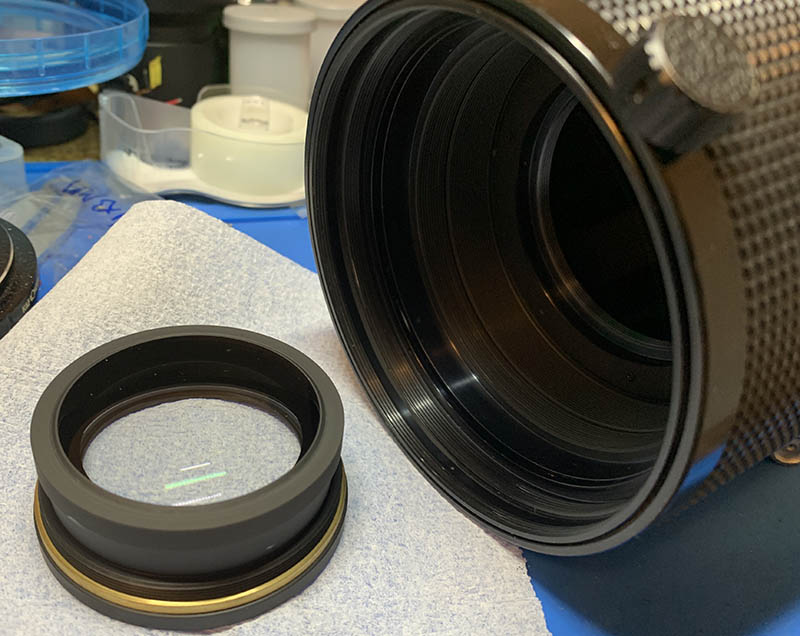
It’s possible for you too remove the rear optical assembly at this point or you can save it for later. Find the correct tool so you can safely remove this without bending the aperture stop-down lever that you can see here. It’s in the way that’s why.
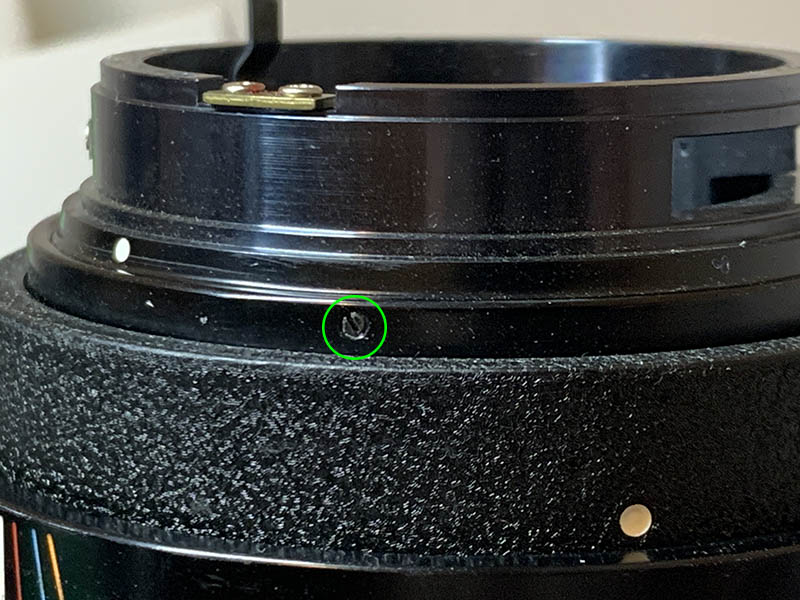
Locate and extract this. Do that acetone trick again if it is sealed.

Once that screw is gone you can turn the collar off. That will allow you to pull the tripod foot off.
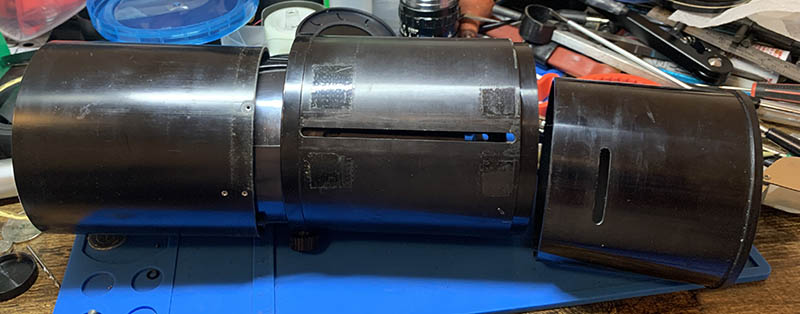
Carefully extract the screws of the sleeve and pull it off from the rest of the lens.
Set everything aside and put all of the parts that contain any glass components in a safe box. We will be cleaning all of the huge parts together later.
Disassembly (Interior):
This is where things start to become interesting. We will be dismantling the iris mechanism along with the rest of the interior. This section took me the most time because of all the moving parts, some of which are very delicate so I couldn’t use a torch that easily. Like I mentioned in the previous section, it’s best to take a lot of photos before you remove anything just for reference. This is most especially true in this section, a majority of the important parts found here are adjustable, you must put them back to their original state.
I won’t be discussing anything about taking apart the optics nor iris mechanism. I have shamefully forgot to take photos of them. Shame to me for not practicing what I preach!

Locate and carefully extract this screw. As you can see, the previous guy went this deep.
Carefully turn this huge assembly off. Mine didn’t come off easily so I had apply some acetone. There’s a thriving a colony of fungus in the threads as you can see, that’s not a good sign at all.
These secure the iris mechanism’s housing. Before removing them, mark the position of the iris’ housing. I made small marks to help me so I won’t have to guess everything myself later.

You’re now able to remove the whole housing, only dismantle it when you have to. Mine’s still clean but I had to overhaul it just to remove as much traces of fungi and germs possible.
Carefully remove this with a lens spanner. Again, don’t damage or lose the brass shim.
This is probably the most stressful part of the whole repair. I don’t want to rip this large chunk of rubber. I carefully slid it off but it took lots of time and concentration. It would have been easier one of the rings in the focusing barrel is gone so I didn’t have to expand this as much as required. That’s why I didn’t tape it back later during the assembly (the gold ring).

Remove the tape to get this ring off. You can dismantle it further if you want.

Carefully remove this ring as well.

There are shims here, too. Don’t lose or damage them.
Extract these rollers carefully. These aren’t easy to remove because they are usually sealed. If you can, use a bit of solvent on its threads by applying it to the back if it’s accessible. Be careful with using heat since it has nylon bushings. The screws are already scarred, I don’t like what I see.
Extract these screws and the rollers, too.
You can now dismantle the focus and thrust barrels.

It’s time to remove the helicoid. Make a small mark so you will know how deep it goes, mine’s about here.

Unscrew the front helicoid until it separates. Don’t forget to note where they parted since it’s also the same spot where these should mesh. Many people forget to do this so they get stuck guessing where these should mate. To prevent this from happening to you read my article about servicing helicoids and follow my guide to the best of your ability.
Remove these so you can get to the inner parts.
If your lens has fungus, read my article on how to clean lens fungus, just make sure that you dilute it with distilled water so it’s not going to be too strong as it may damage the coating.
I cleaned all of the big parts with a strong toilet cleanser – the grainier, the better. I scrubbed everything using a brush then rinsed them all very well with hot water before making a final rinse with pure alcohol to remove any remaining residue. Pay special attention when cleaning the helicoids or the other threads, they are fine in some places and they can be caked with gunk, using a wooden toothpick helps here for stubborn deposits. Dry them well before you continue. When lubricating, be sure not to apply too much, all you will need is a thin film of fresh grease. Combine the helicoids then exercise them by turning several times, this will ensure that the grease is applied evenly then wipe off any excess oil. If you’ve applied too much grease it will settle in the iris mechanism eventually, necessitating the need to open it again just to give everything another overhaul.
Never lubricate the iris mechanism, if you must, a light dusting of powdered graphite is enough, blow off any excess powder after actuating the iris several times to finish the job.
Conclusion:
This one took me longer than usual because of all the difficult parts to take apart. There are many things that were bonded with sealants, I wasn’t able to take everything apart like I usually do. The good thing is I am able to strip the lens down to a reasonable level in order to clean every important thing with a strong detergent and alcohol. The big parts made it impossible for me to clean them with my ultrasonic cleaner but that’s not a deal breaker because I have survived without one for a long time. Putting things back can be a huge undertaking despite it not being more complicated than the other long Zoom-Nikkors. It’s just the size of the parts that makes things more difficult. I did all this just so I could present this lens to you. I am very proud of my work because this is the most extensive article about this lens ever.

Such a beautiful setup. The Nikon Df is the best camera to shoot this with in my opinion, that is if you are looking for that authentic SLR experience. Otherwise, a Nikon Zf will be better for practical use since it has image stabilization. It’s all up to you, this all boils down to preferences.
This one took me a long time to write because it’s difficult to take sample pictures with it. It stayed inside my bag for 2 years, waiting for action. I wasn’t ready to publish this yet but you guys have been donating to me this whole week so I am motivated to push myself to get this out. I’ve also gotten the “Kung Flu“, I am currently recovering from it, we can thank the People’s Republic of China for it. I think this article is the only one available online that shows how this lens performs, and most definitely the only one showing us how to take it apart for servicing. This is absolutely one of the most important articles that I have. Thanks to you and your support, we are able to get it out so the community will benefit from it. Your support will help me offset the cost of hosting this website which is taking plenty of bandwidth and storage space. It’s also helping me pay for film development and scanning, both of which are becoming expensive. See you again in my next article and please do not forget to share this with your friends!
Help Support this Blog:
Maintaining this site requires resources and a lot of time. If you think that it has helped you or you want to show your support by helping with the site’s upkeep, you can make a small donation to my paypal.com at richardHaw888@gmail.com. Money isn’t my prime motivation for this blog, I believe I have enough to run this myself but you can help me make this site grow.
Leave me some tip?
Thank you very much for your continued support!
$2.00
Helping support this site will ensure that it will be kept going as long as I have the time and energy for this. I’d appreciate it if you just leave out your name or details like your country’s name or other info so that the donations will totally be anonymous. This is a labor of love and I intend to keep it that way for as long as I can. Ric.
