
Hello, everybody! Do you like “Full Metal Jacket“? This masterpiece is one of Stanley Kubrick’s best films. I love the cinematography there and it also has this authentic-feel to it thanks to the late R. Lee Ermey. That movie showed a lot of realism which can be uncomfortable for some to watch, it could open a deep psychological wound in some people. The Vietnam War is something a lot of us wanted to forget and it still affects many of us today, good or bad. Today, I will show you an icon of the Vietnam War, a lens that took plenty of photos from the conflict. It’s an unwilling witness to a dark chapter in Asian history.
Introduction:
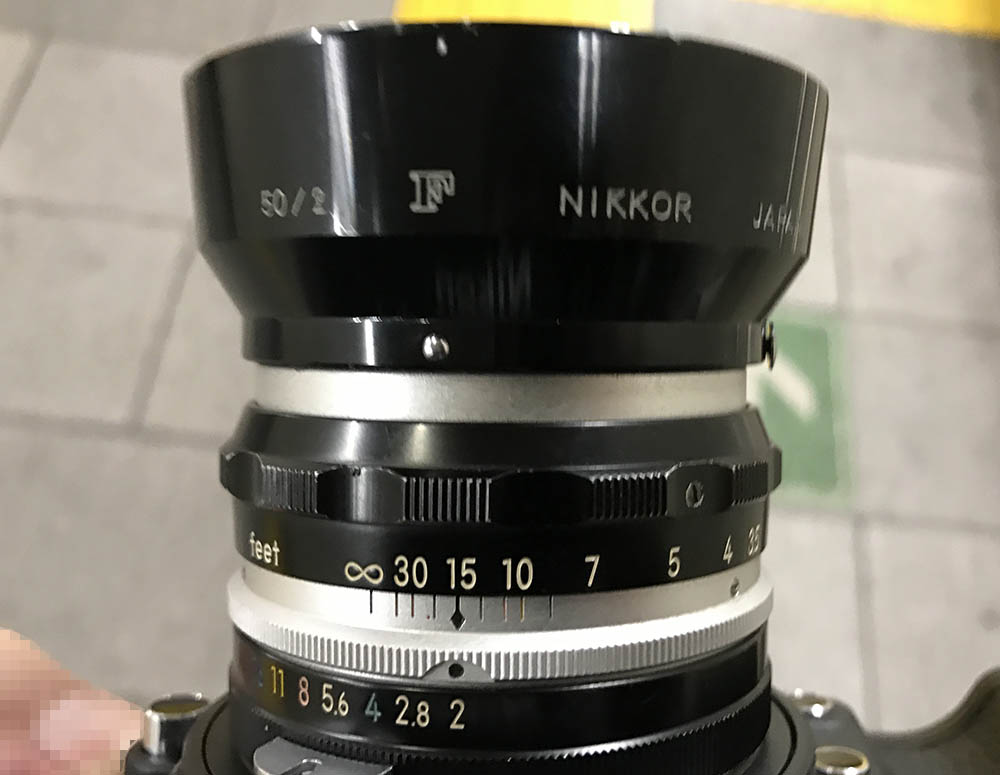
The Nikkor-S 5cm f/2 Auto is the first 50mm lens for the then-new F-mount. Nikon needs a standard-lens to compliment the Nikon F during its launch in 1959 and that resulted in the Nikkor-S 5cm f/2 Auto (Tick-Mark) which is the very-early version of the lens in this article. The biggest difference between this and the Nikkor-S 5cm f/2 Auto (Tick-Mark) is the 6-bladed iris but you’ll find that earlier production models still retained the coveted 9-bladed iris. I think that this lens is distinct from the Nikkor-S 5cm f/2 Auto (Tick-Mark) so I wrote separate article for it despite both lenses having the same optics. Its angular-iris alone is enough to give small differences in bokeh quality. That and a couple of minor differences are all worth documenting.

It’s a stubby little lens. The minimalistic-look works and it helps give this an expensive, serious feel. Its tough, all-metal construction ensures that it will survive professional use, even in the battlefields of Vietnam.
It has a 7-element-in-5-groups and is of a modified Gauss-type design. It has a thick, concave front element added to the basic design to help it achieve a 50mm field-of-view. I heard with my own ears from a Nikon engineer that it works like “reading-glasses” which means that it’s supplementary. It wasn’t an easy task to design a 50mm lens back in the fledgling days of the SLR due to the fact that there’s a flapping mirror. The then-new techniques required for designing retrofocus lenses haven’t been mastered yet so engineers back then had to resort to clever tricks. It was an interim solution until Nikon got the Nikkor-H 50mm f/2 Auto into production about 4 years later.

It has a 6-bladed iris, something that I never liked. If you want something a lot sexier only the Nikkor-S 5cm f/2 Auto (Tick-Mark) or a similar lens with a very early serial number will satisfy you since they have the 9-bladed iris. I think it’s worth paying the extra money just for the 9-bladed iris.
You should use this with its dedicated hood to help prevent flare and ghosts from lowering the contrast of your photo when shooting wide-open.

It’s the perfect partner for a Nikkormat EL. It handles quite well and you’re going to enjoy turning its focusing ring. It isn’t heavy but it feels dense, this is the classic Nikkor quality that you don’t see these days.
You should never mount it with newer Nikons unless they have collapsible Ai-coupling tabs or you could damage the camera. This works best with old film cameras. Mirrorless cameras should be able to mount these safely with an adapter.

A Nikon F will be able to use it without any problems. People who like to use period-correct setups will enjoy shooting with it.
Knowing how your lens performs will help you maximize its use. You’ll get to know its strengths and weaknesses, this knowledge will help you decide if a lens is the right tool for the job. I shot these photos from f/2, f/2.8, f/4 and f/5.6 since we’ll see the most changes happen within these apertures. These are also the most common apertures that people would want to use it with I assume. I shot these with my Nikon Z6 to see how if it could keep-up with a modern camera with a high-MP sensor.


(Click to enlarge)
Vignetting is quite heavy wide-open but it improves a lot by f/2.8. You’ll see traces of it by f/4 and it’s gone from f/5.6. Geometric distortion is quite high for a 50mm lens but it’s not unusable, its profile is simple.
It flares terribly and you’ll get blobs when the sun is within the frame. This is not unusual since its coatings are just as vintage as the lens itself. I would not fault it for this.

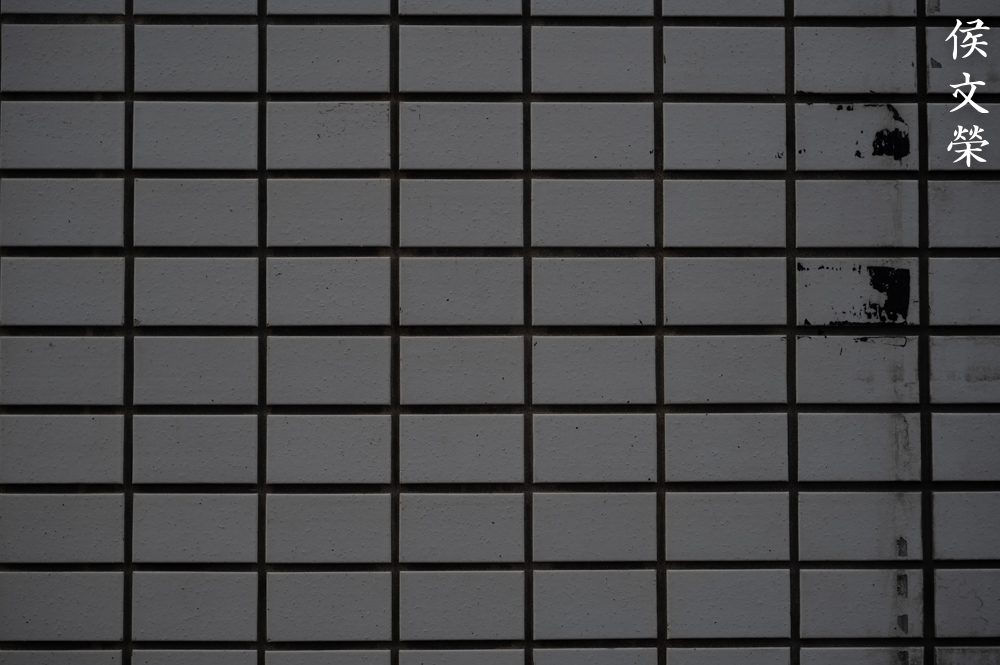
You’ll notice the distortion if you have straight lines in your scene. Keep the lines away from the edges and don’t set them parallel to them either.

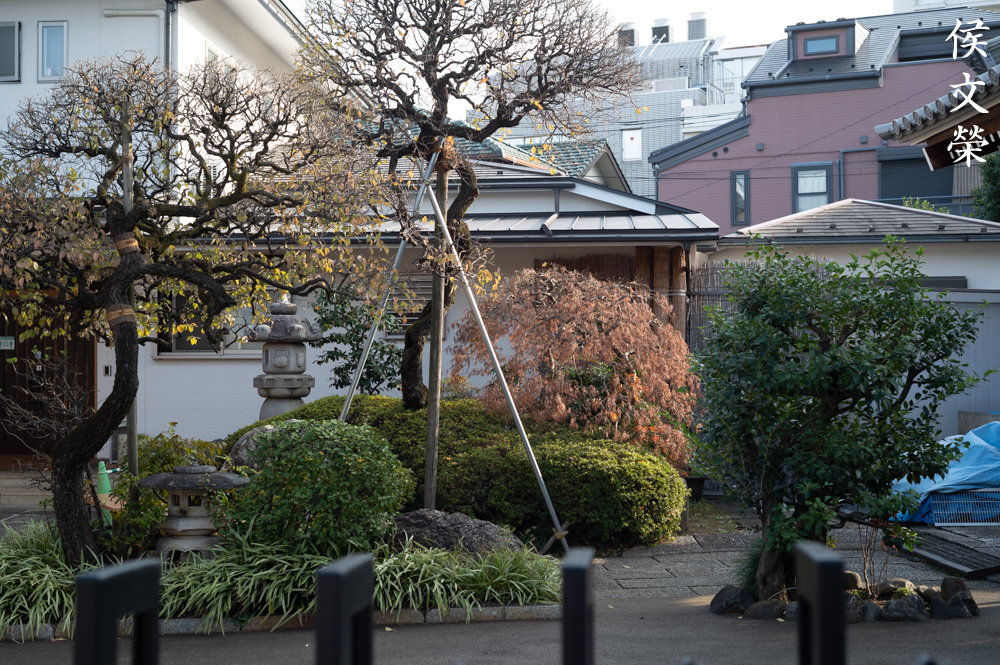
Here’s an example of how it looks like on a real-world photo. You’ll see a bit of it near the top and bottom edges of the frame. It’s not the best but it isn’t the worst either, it’s quite average for a lens of this vintage.


(Click to enlarge)
Chromatic aberration can be quite high wide-open in overblown areas. You will also notice spherical aberration, too. Stop it down to f/2.8 and you won’t see much of it but it will only get within acceptable levels from f/4. Stop the iris down to f/5.6 and you won’t see it unless you pixel-peep. You won’t see a lot of this in real-world scenarios. If this couldn’t be avoided, underexpose a bit or stop the iris down to help alleviate it. It flares a lot which you couldn’t avoid in some cases.

Chromatic aberration can be seen in the shiny parts of the boombox but it’s still within tolerable levels in this photo despite being shot wide-open.


(Click to enlarge)
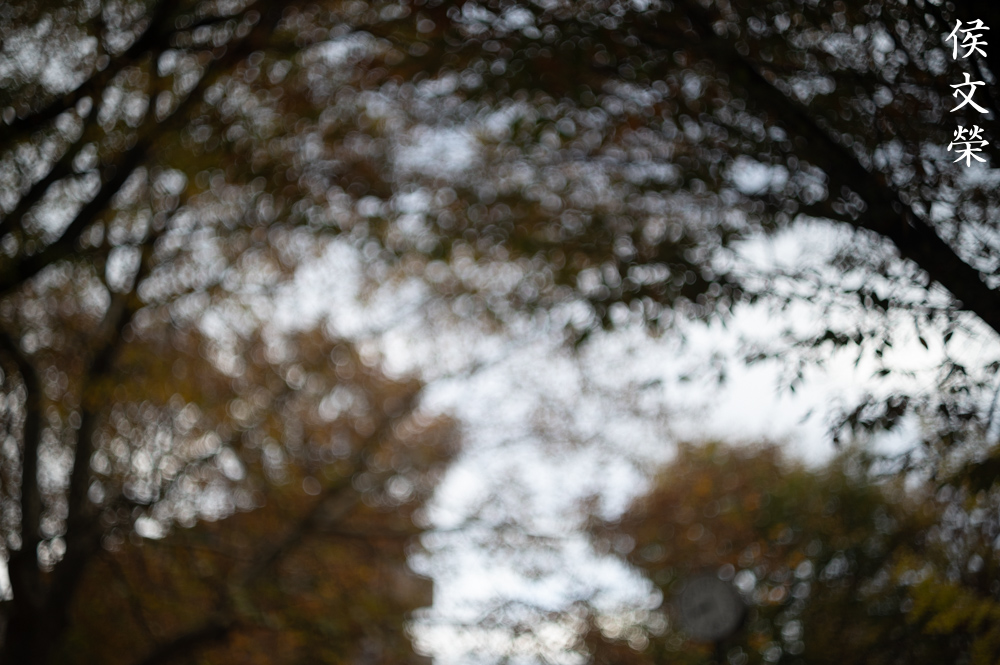
The quality of the bokeh is mediocre terrible at worst. It’s not something I’d call rubbish but it’s tolerable since it could produce nice results, too. It has a tendency to produce rough-looking artifacts if you’re not careful and you’re going to see smudgy-looking details as well. You could get the “soap-bubble” effect at certain apertures which I don’t really like since it does it poorly.

The discs have outlines which could result in rough-looking artifacts. This is quite common with lenses from this era. The focus-transition appears to be quite smooth and it will give you a nice, natural look.


(Click to enlarge)
Sharpness at the center is quite nice wide-open and the resolution isn’t bad as well. The same couldn’t be said for the corners where it performs poorly at wider apertures. Stop the iris down to f/2.8 and the center looks better. It now has better resolving power to support its sharpness. The corners look a lot better but still quite poor specially at the extremities of the frame. Stop it down to f/4 and the center gets even better, almost at peak-resolution. Now, the corners start to look acceptable and the improvement is drastic. You are going to get super-sharp results at the center by f/5.6 and the corners look a lot better. This lens performs better at closer distances and the performance drops as you focus farther. Stopping the iris down to f/4 helps a lot if you’re shooting distant subjects.

It won’t focus as close as later 50mm lenses. In fact, it’s about 0.3m longer if my guess is correct.

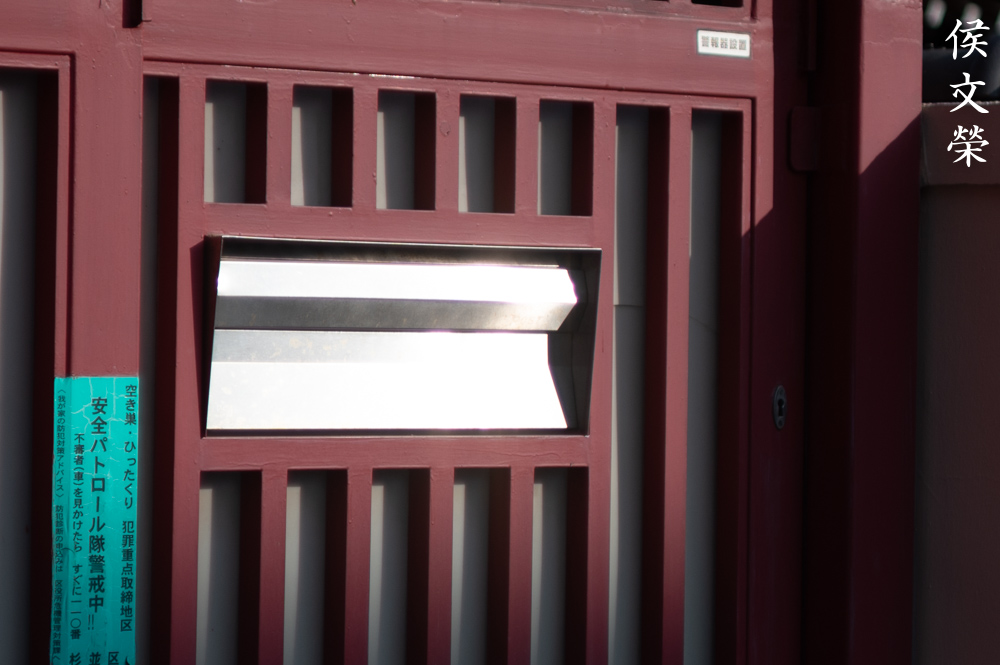
This is sharp even wide-open at closer distances but the sharpness won’t be obvious due to optical aberrations and a lack of resolving power. It’s best to underexpose by a small amount to help get better results.

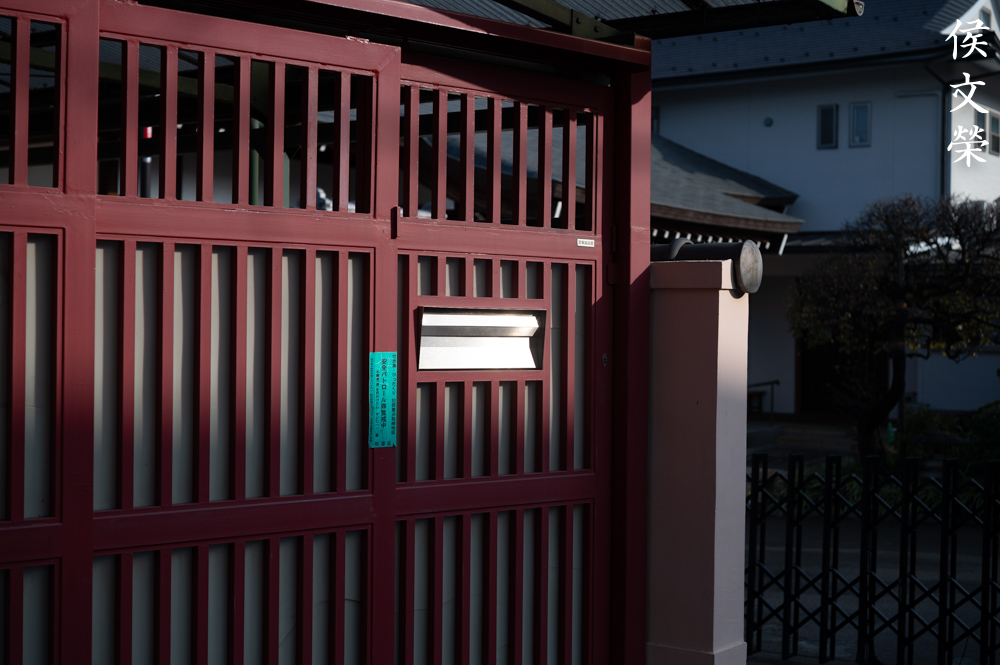
Contrast and saturation looks great when you stop it down by a bit. It gives a nice, neutral-look as far as I could see.

Stop the iris down to at least f/4 if you need to shoot distant objects. I think I took this at f/5.6 or even at f/8. The details look good even at the edges of the frame.

Time to go to the photographer’s bar to drink with my bar-mates. It’s fast so this is going to be useful for lowlight situations.

You’re going to be forced to shoot with it wide-open on a dark environment so push your ISO higher so you could at least use this at f/2.8 to get sharper corners that are acceptable.


(Click to enlarge)
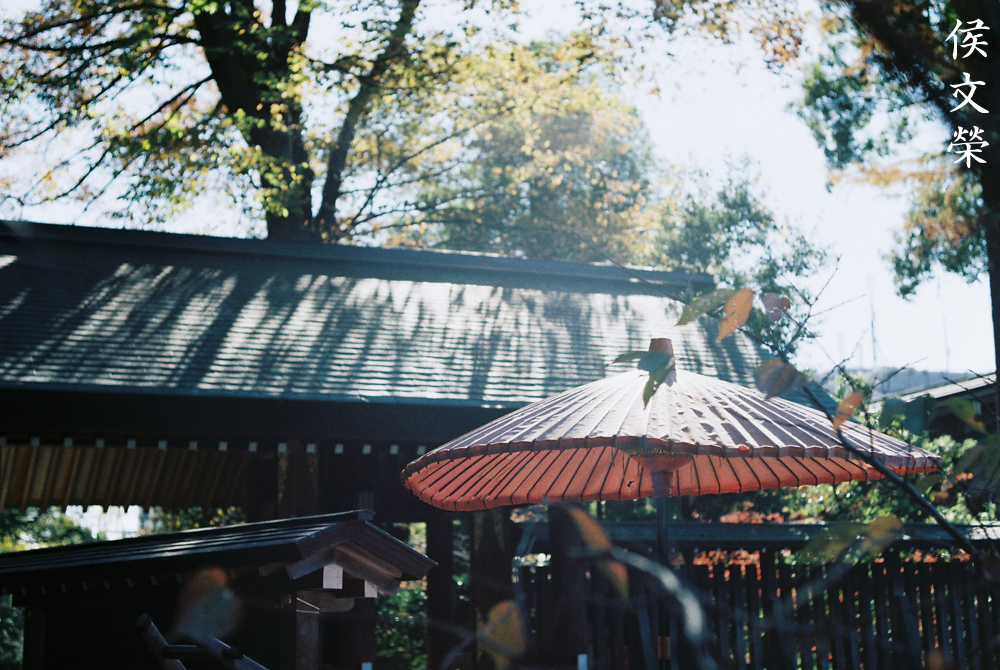
Here are more photos for you to check. The flaring helps gives light sources a nice glow. This isn’t something positive in the conventional sense but it is something that I tolerate as it gives your picture another interesting layer to look at. This helps give your photos a “vintage-feel”, something that a lot of people desire or hate depending on who you ask.
Let’s now check some film photos. Film has a unique look that is difficult to simulate with a digital camera thanks to grain. It reacts differently to light, this means that it could mask a lens’ flaws or amplify them. Since this lens was designed to be used with film it’s best that we judge it using its intended medium. This will give us a better assessment about its abilities. I took the photos with my Nikon F loaded with Kodak Color Plus 200.
This is overexposed but it should show how you could tame the flare when the iris is stopped-down to around f/5.6 or so. If this was taken with a faster aperture the whole frame would’ve been washed-out.

Here’s a creative use for the flare. You could always use a lens’ flaw to your advantage to add interesting effects to your photos.
The “vintage-look” can be addictive at times, I found myself shooting this to make the most out of its tendency to flare terribly.

Stopping the iris down to f/5.6 makes sure that the corners look acceptable. I think this is a decent lens so long as you know its limits.

I like how it performs with film, I think it’s the best way to enjoy this lens. It doesn’t make any sense to simulate the look of film with a digital camera as you could get it in an authentic way just by shooting with film.

This looks like it was taken a few decades ago. Shooting it with an old Nikon is like taking a time machine with you on a photography trip.
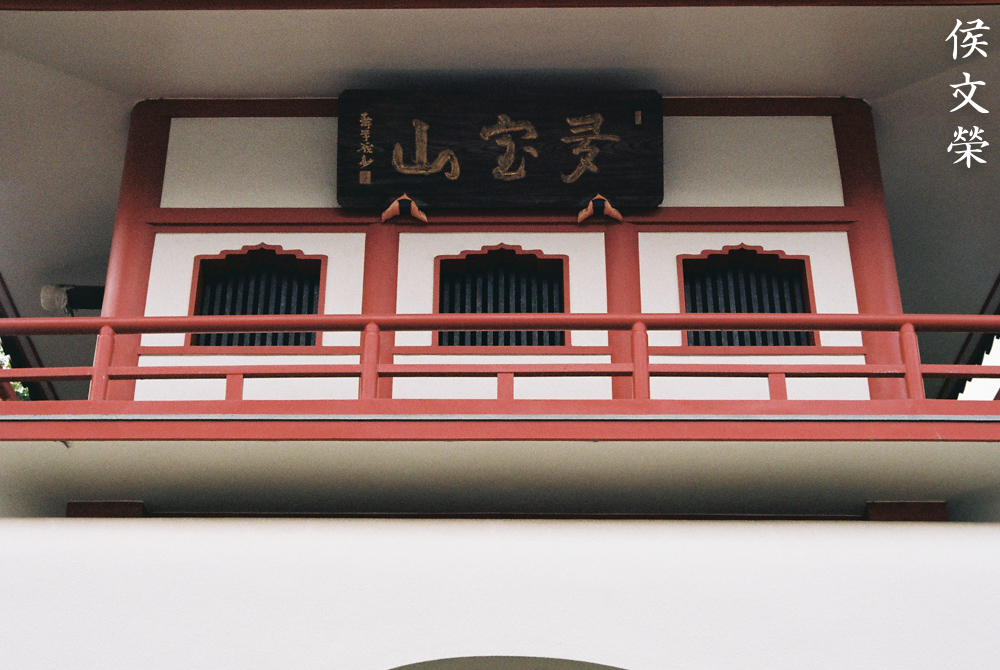
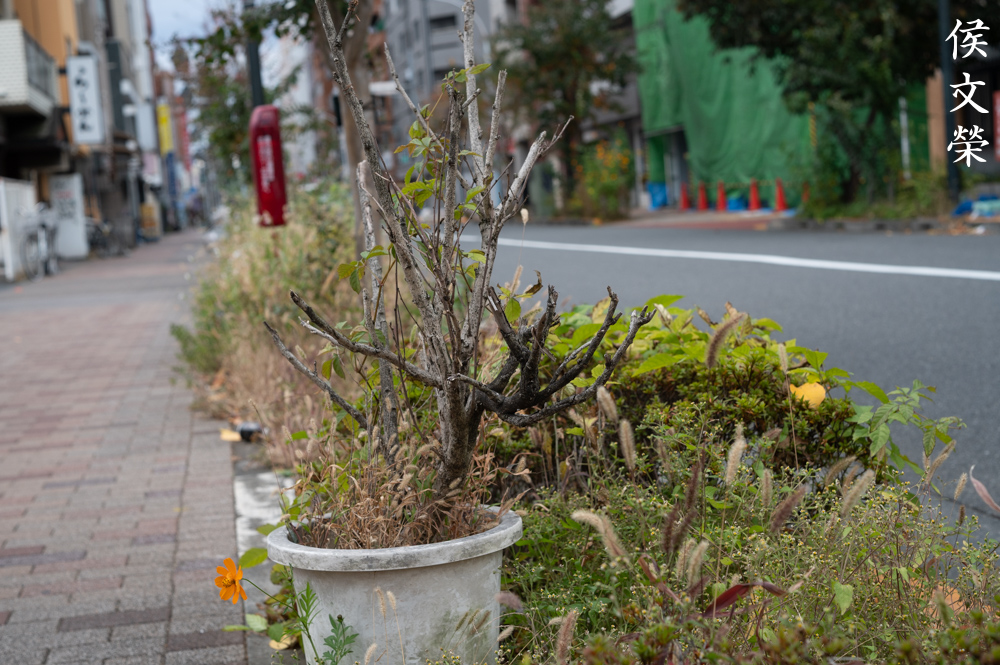
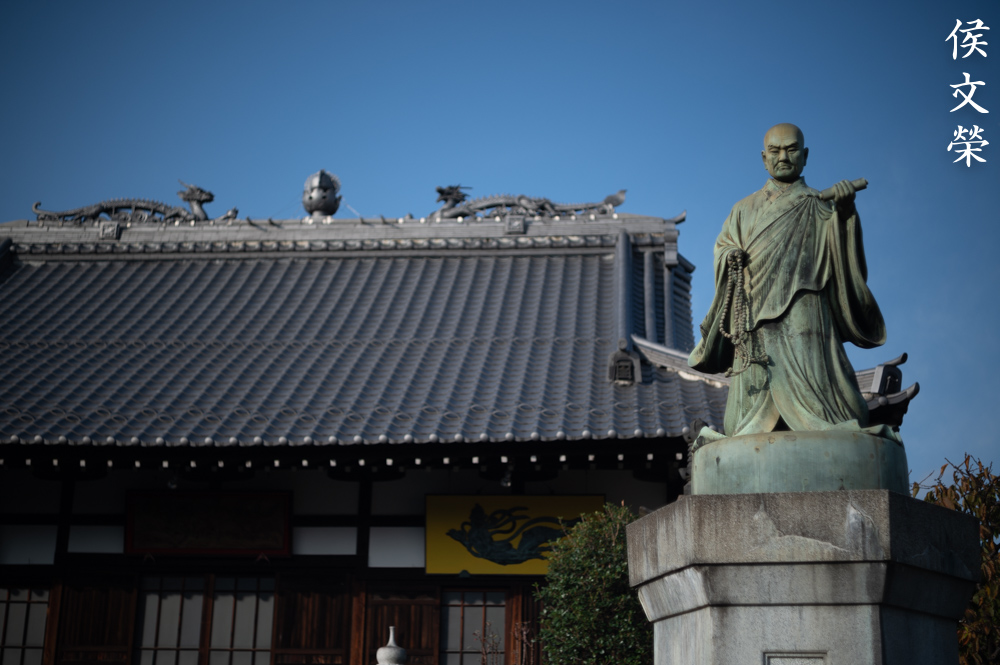
Distortion can be observed here but you won’t really find it unless you look for it at near the edges. It’s still acceptable but it’s quite high compared to a couple of later 50mm lenses.

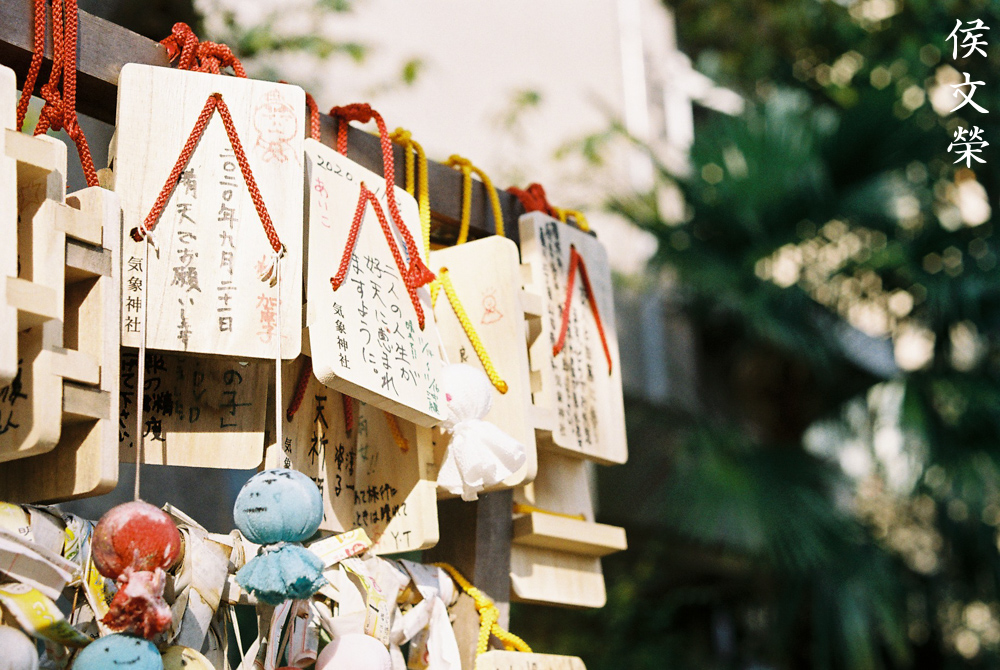
Contrast is quite nice if you gave it enough light. The priest is overexposed which is unfortunate but at least the maidens were exposed correctly. This is challenging since you couldn’t preview your results with film. Metering a scene accurately is difficult if you’re shooting with an all-manual setup and your subjects couldn’t be directed.


(Click to enlarge)
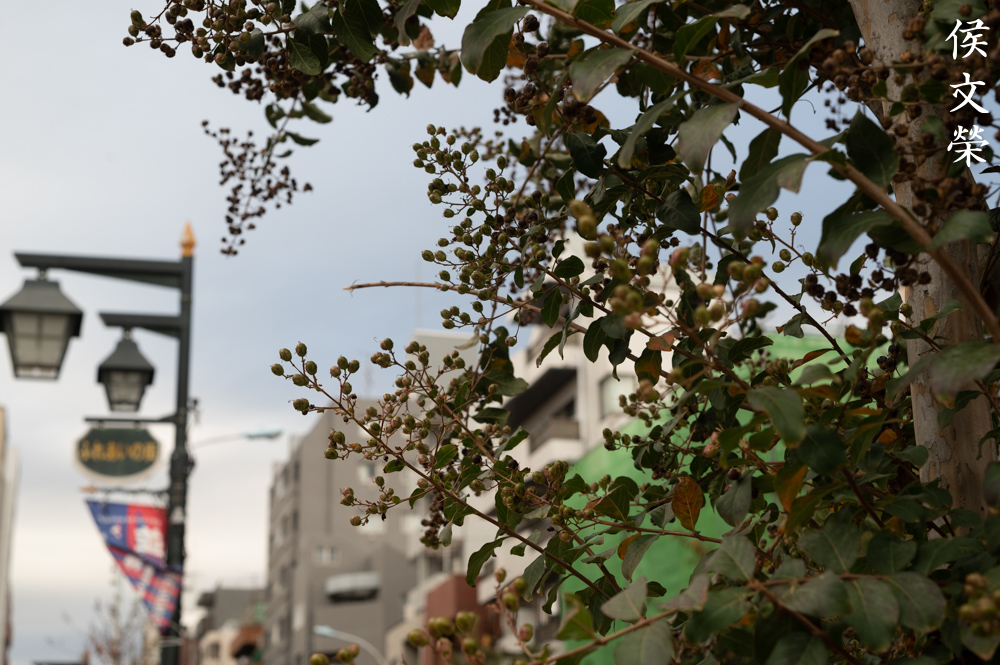
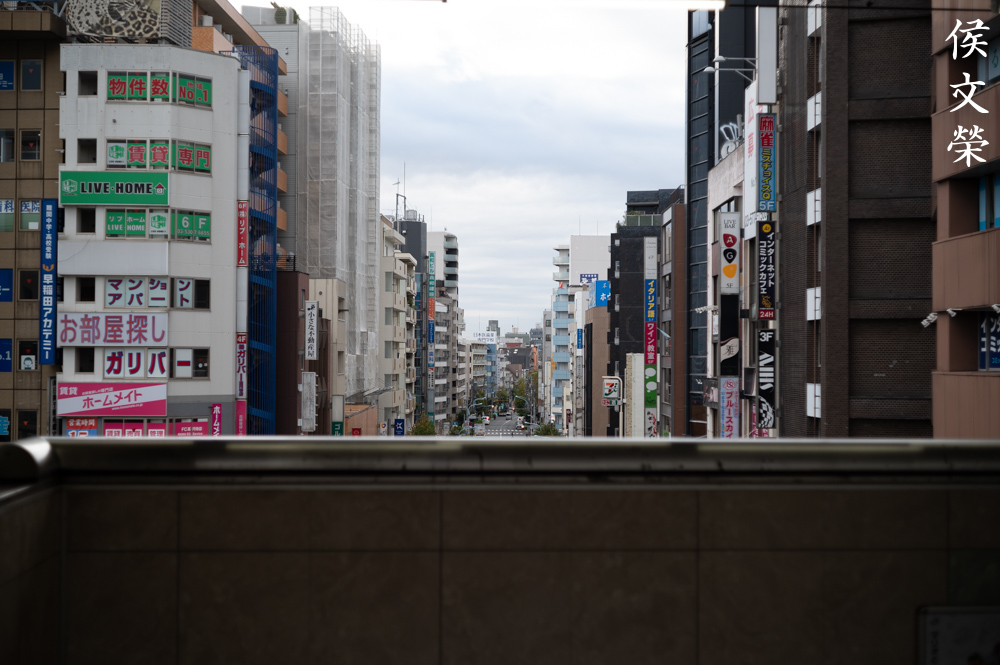
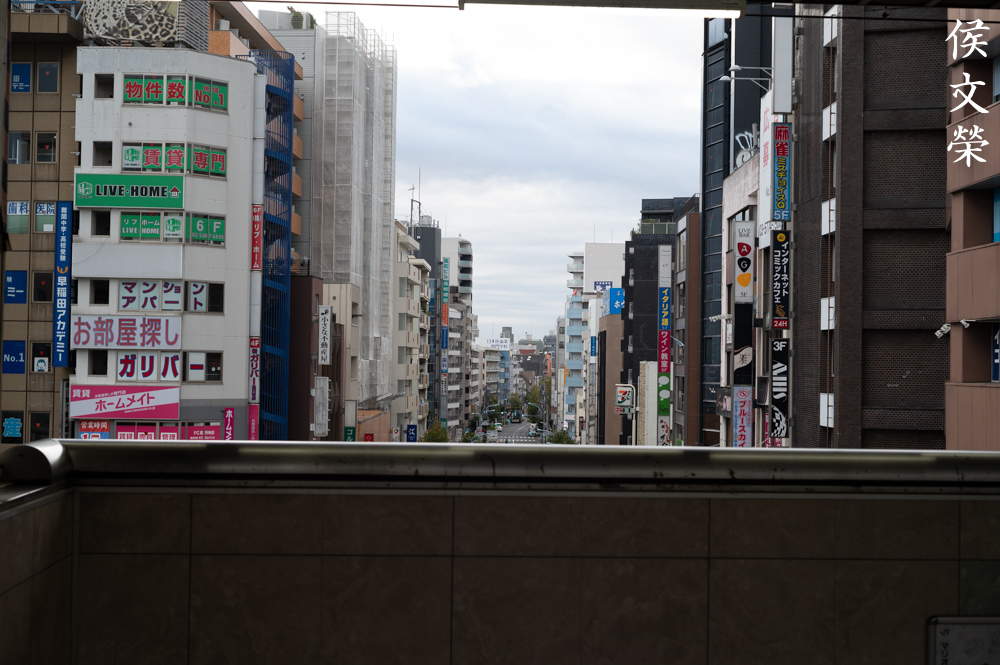
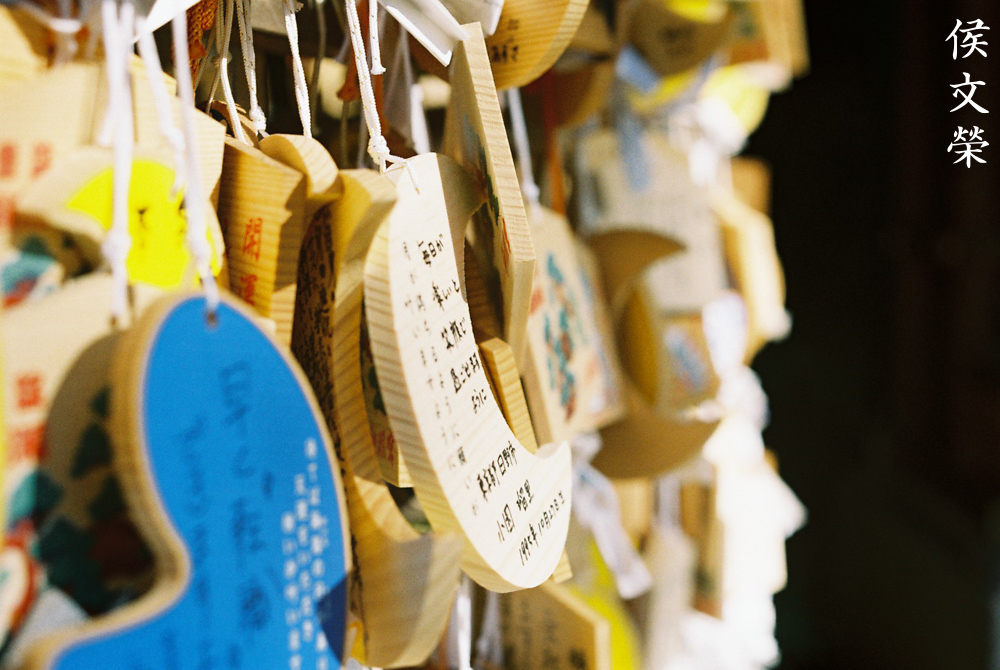
Here are more photos for you to enjoy. These should give you a better idea as to how this lens performs with film. I encourage you to shoot this using film as it gives nice results specially if you have enough light. Just be sure to meter your scene properly.
I would not recommend this to anybody who would just like to shoot some photos with manual lenses since there are better alternatives out there. It’s a specialty lens today for those who could embrace its imperfections. If you are a collector then you should have each version of it. These are cheap, it’s easy to find these in great condition for less than $50.00 or so. I got mine for $15.00, less than what I would spend for a great lunch. Of course, an earlier serial number will cost more but not by much, even the 9-bladed ones are a lot cheaper than the Nikkor-S 5cm f/2 Auto (Tick-Mark). If you really want a 50/2 with the all-metal look the Nikkor-H 50mm f/2 Auto is a good option, its performance is better specially at the corners but the bokeh quality isn’t the best in its class. They look similar in appearance so it’s easy to mistake one for the other. One good application for this lens is videography, if you are a filmmaker you’ll be drawn to its ability to give you that “indie-look”. You’re going to get unique-looking videos without the pain of postprocessing. The look it gives is special when used correctly. When looking for one of these, be sure that the iris is dry and snappy if actuated. Turn all of the rings and be sure that they’re smooth. The glass has to be clean and clear, too. Happy hunting.
Before We Begin:
If this is your first attempt at repairing a lens then I suggest that you check my previous posts regarding screws & drivers, grease and other things. Also read what I wrote about the tools that you’ll need to fix your Nikkors.
I suggest that you read these primers before you begin (for beginners):
Reading these primers should lessen the chance of ruining your lens if you are a novice. Before opening up any lens, always look for other people who have done so in Youtube or the internet. Information is scarce, vague and scattered (that is why I started this) but you can still find some information if you search carefully.
I highly recommend that you read my working with helicoids post because this is very important and getting it wrong can ruin your day. If I can force you to read this, I would. It is that important!
For more advanced topics, you can read my fungus removal post as a start. This post has a lot of useful information and it will be beneficial for you to read this.
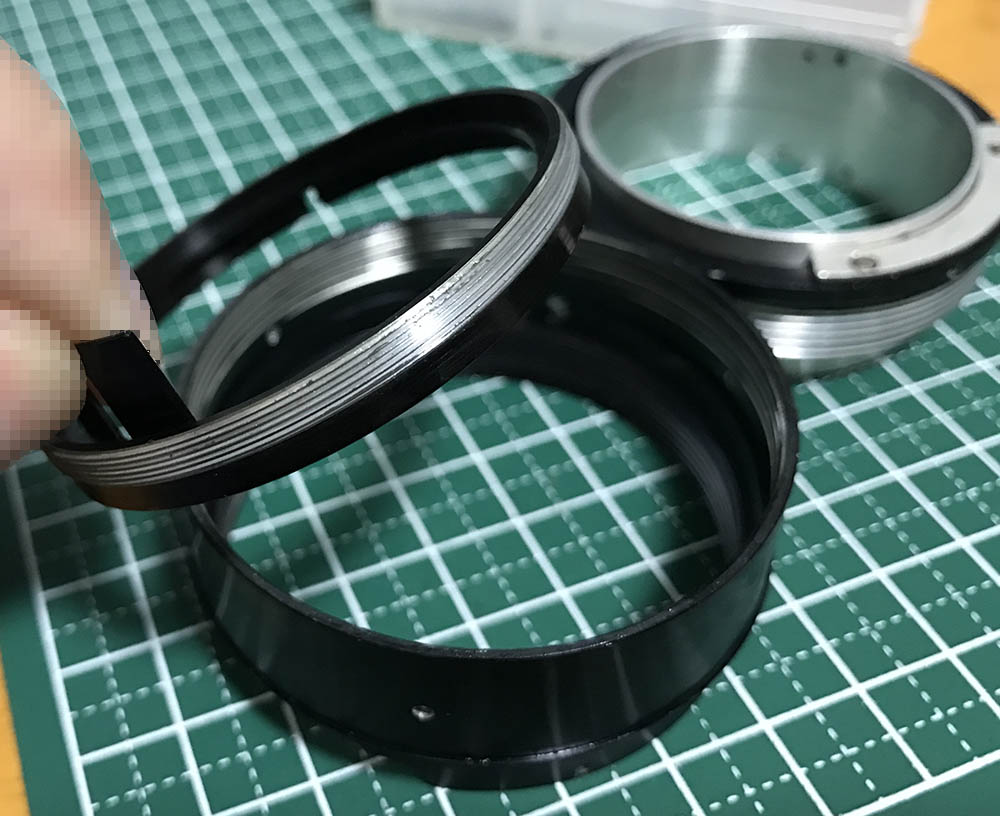
Disassembly (Lens Barrel):
Its construction is quite conventional, it shouldn’t take a long time to service it if you’re an experienced Nikkor repairer. This may be a nice lens for some people as their first project if they’re handy with tools and repairs. You will need a couple of flat-drivers since the screws come in various sizes. They’re supposed to fit the slots perfectly or else you’ll risk damaging the screws.

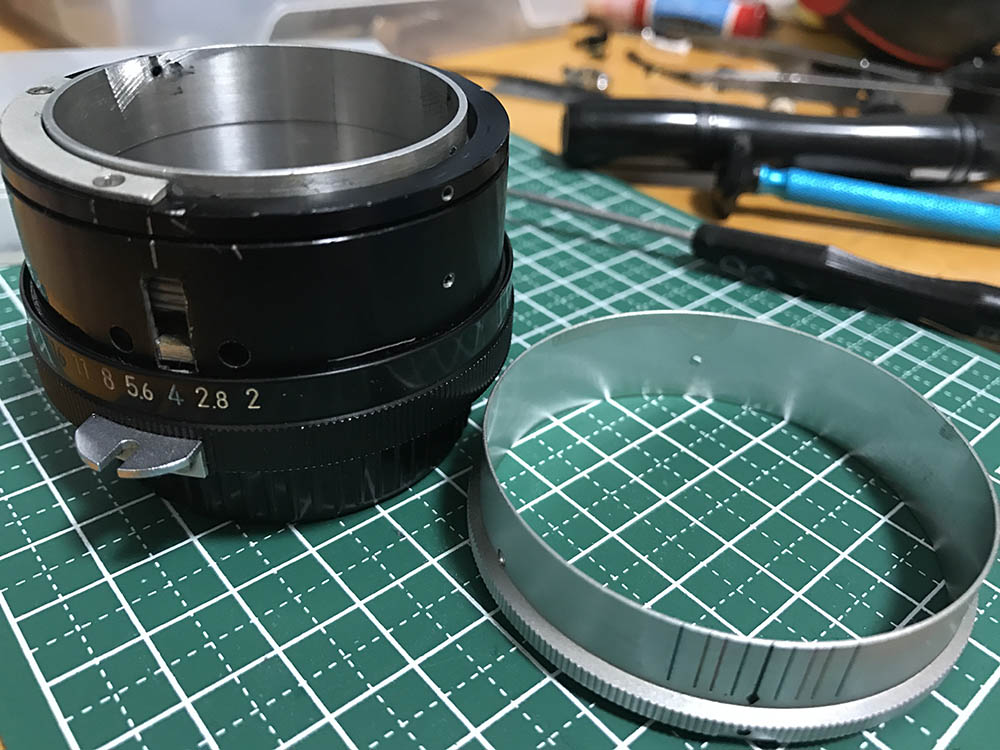
Extract the screws of the focusing ring to remove it.

Locate and extract this set screw to remove the front barrel.
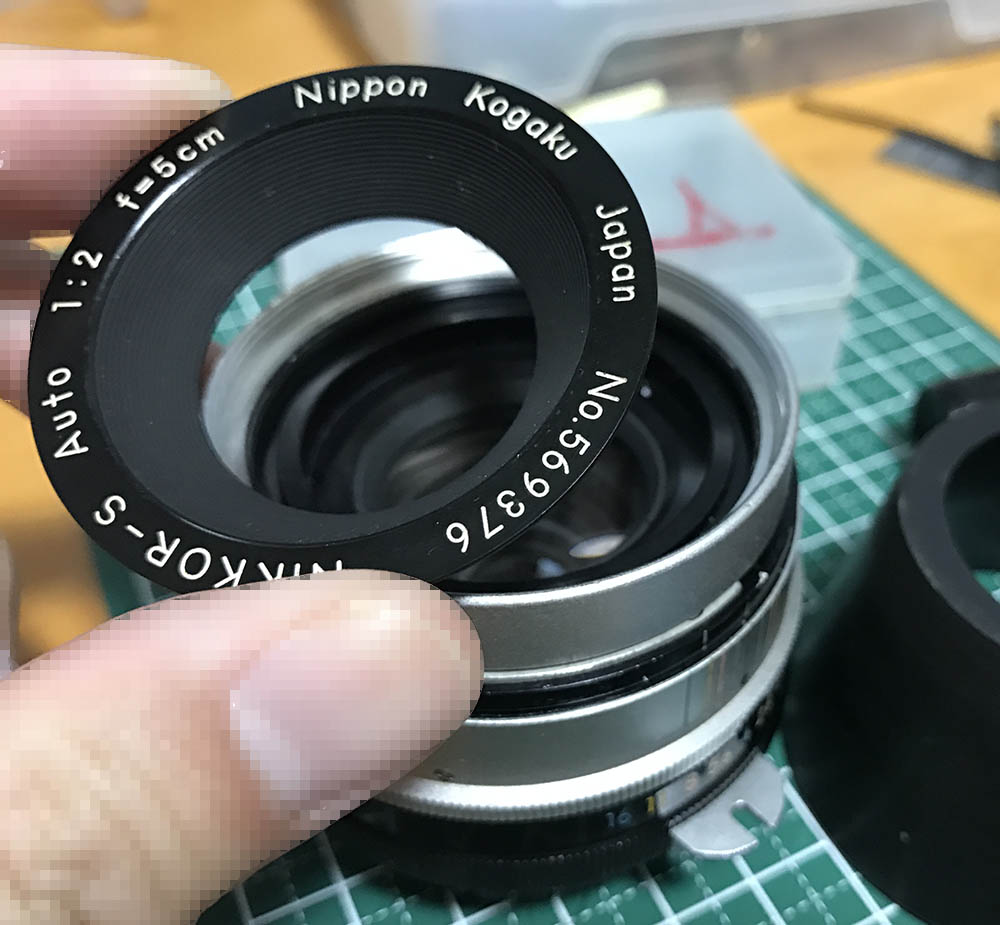
You can remove the bezel with a rubber tool.

Unscrewing the front barrel can be tough at times, if yours is stuck just use a bit of acetone and drop some of it through the set screw’s hole and let that work on the seal. That should make it easier to get this off.
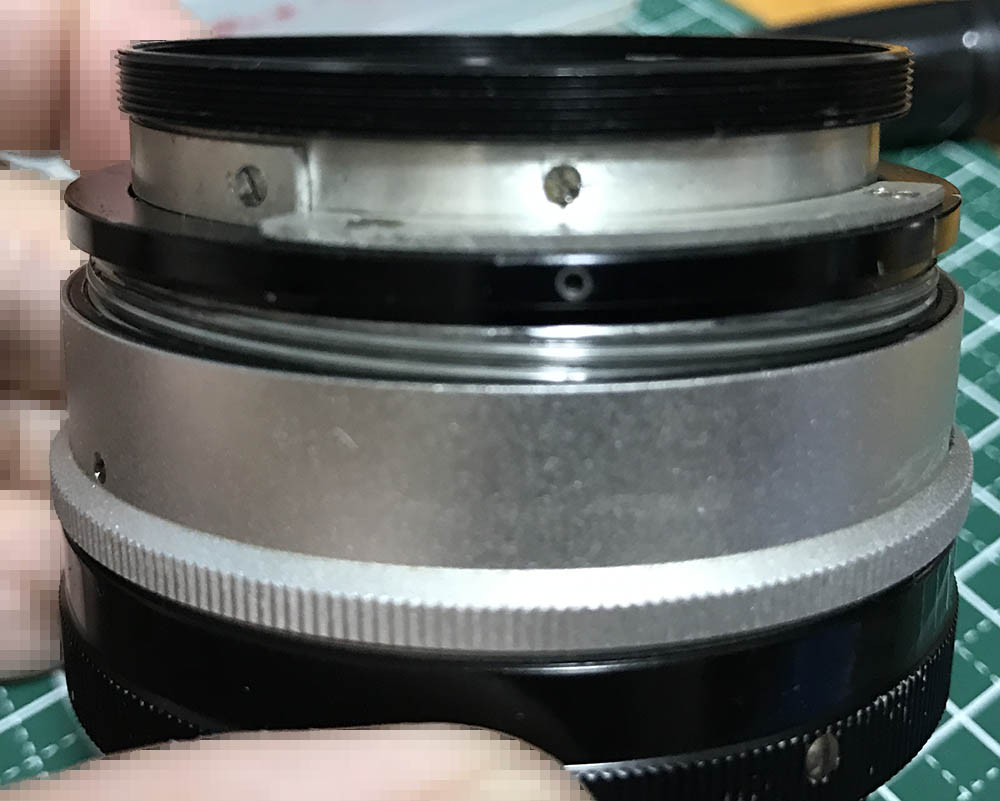
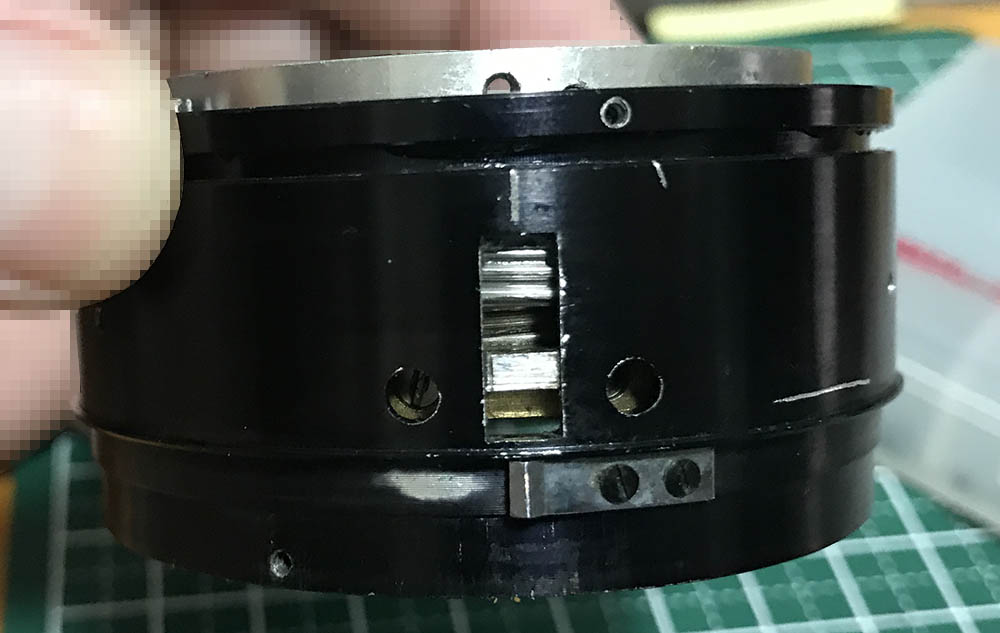
Turn the central helicoid to reveal these screws. Carefully extract these and be sure not to strip their heads, they’re made of soft metal.
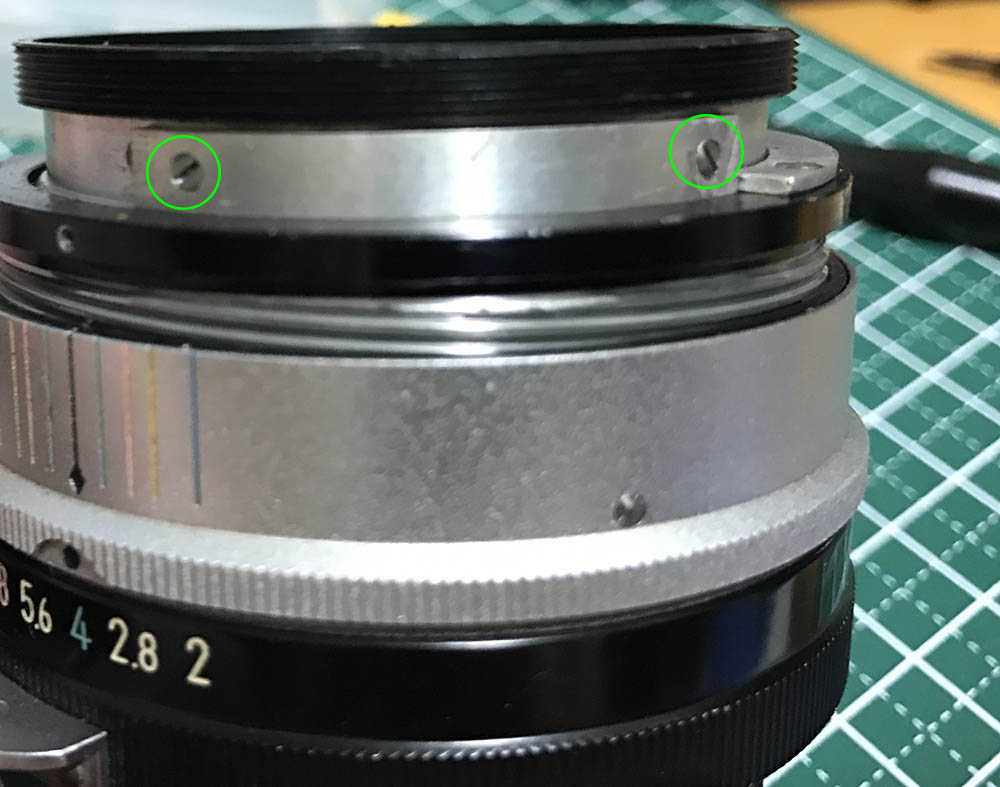
Extract these to remove the helicoid stop. Be sure to note which side should be facing up so you’ll know how to put this back again later.

There’s a hidden screw underneath it.
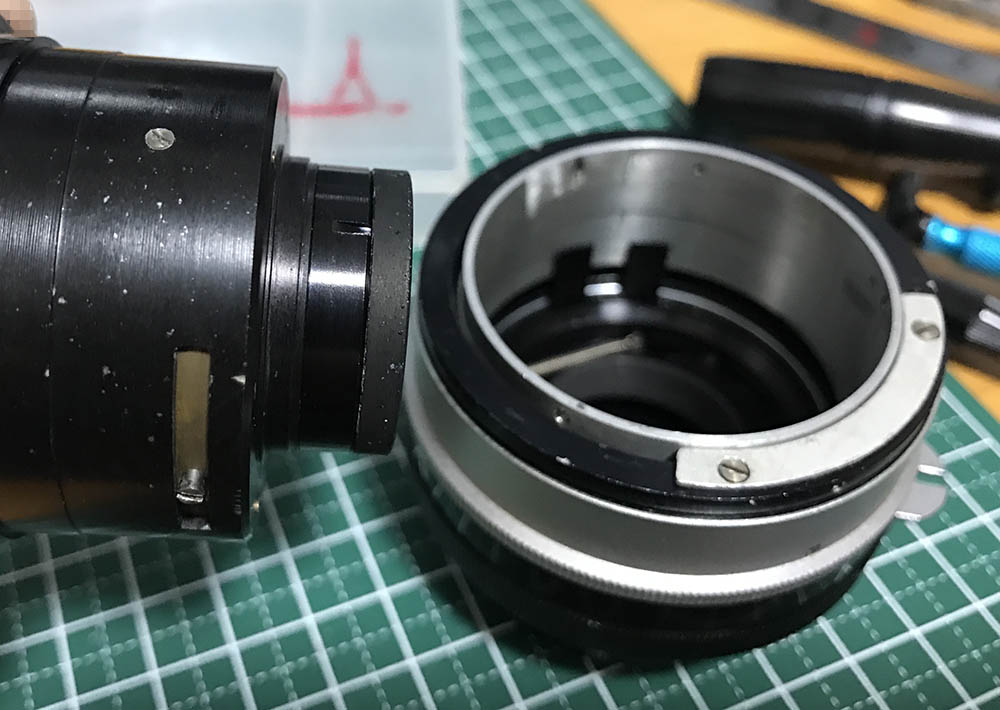
There are 3 screws securing the objective’s housing, you should’ve extracted them all by this point. Carefully remove the objective and store it in a clean, safe place so you won’t damage it while you work with the barrel.
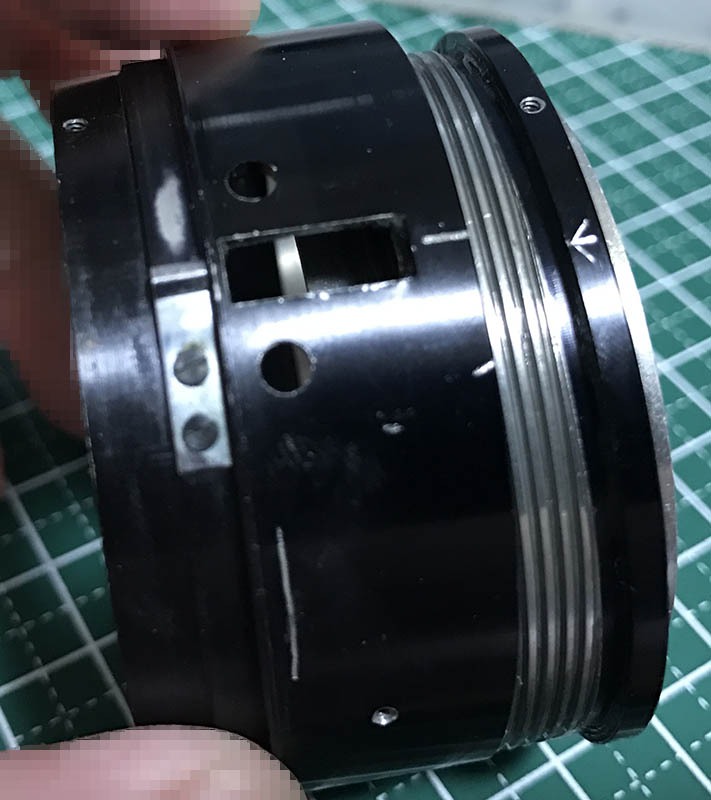
Carefully extract the screws of the sleeve and pull it off. Be sure that you’re using drivers that fit the slots perfectly to prevent damaging anything.

Carefully extract this, it’s a pin that couples the aperture ring to its fork and that allows it to control the iris mechanism inside of the objective’s housing.

You can unscrew the aperture ring once its pin is gone. Be sure to note how deep it sits before you remove it so you’ll remember how to put it back. It’s important that you document this because you could damage the pin or the fork if this isn’t at its correct height.
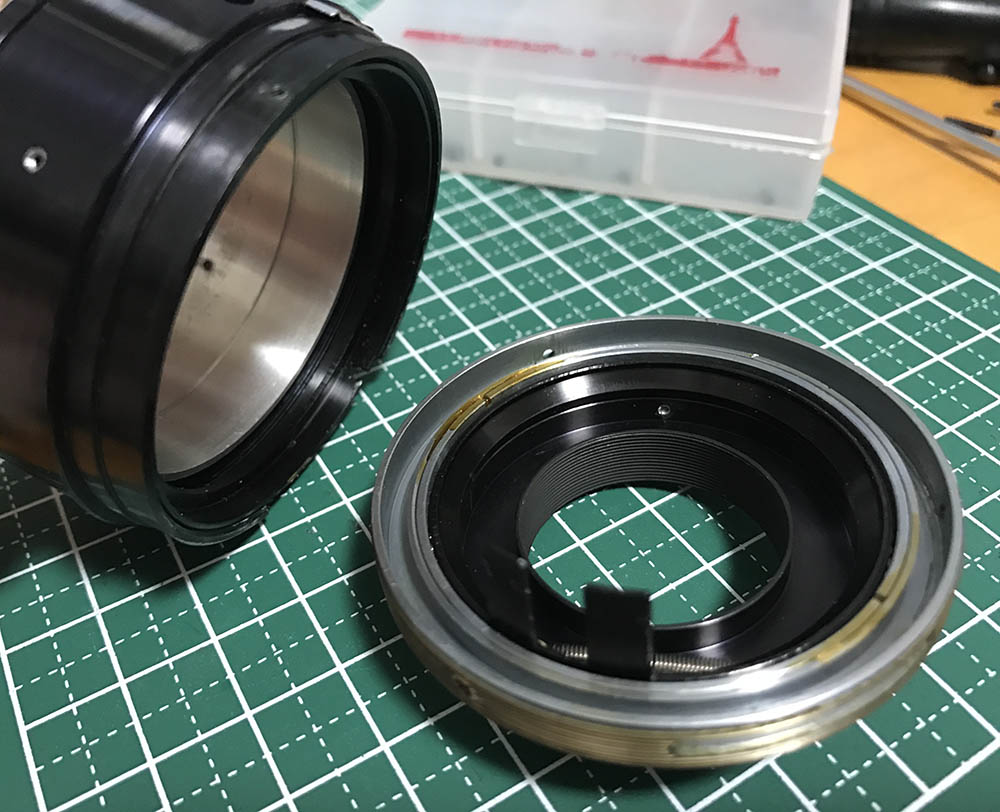
Extract the 3 screws of the bayonet mount to remove it. Make sure that you have drivers that fit the slots perfectly or you’ll strip them or the threads for the aperture ring. This part is made of brass so it’s soft. Further dismantling the bayonet mount isn’t advisable unless necessary. The bearing balls aren’t easy to put back.
Locate and extract these to remove the helicoid key. You’ll have to heat the screws in order to melt the glue, a micro torch or soldering bolt will help.

Be sure to note its direction before you remove it. The helicoid key keeps all of the helicoids synced so turning the central one will allow you to collapse or extend the barrel. It prevents them from turning beyond their range. You can now collapse the helicoids all-the-way, note that I made a tiny, diagonal mark. I should be able to reproduce this later after reassembly. This helps a lot so I’ll know if I got the helicoids right.
Separate the central helicoid from the outer one. Don’t forget to note where they parted since this is also the same spot where they should mesh. People forget to do this and waste a lot of time later figuring how to put these back. To prevent this from happening to you, read my article on how to work with helicoids.
You can now unscrew the aperture fork and its ring. Don’t forget to note its depth so you won’t damage it or the pin when you need to put the aperture ring back.

Separate the inner helicoid from the central one and don’t forget to note the spot where they parted.
Carefully clean the parts and never leave any residue. Scrub the helicoids, I would even polish the threads with a stiff-bristled brush. Hardened dirt can only be removed with a sharp toothpick. Do not apply grease with too much resistance or it’s going to be difficult to turn. The opposite isn’t good as well, that will make it easier for the grease to migrate towards the iris. Leave the stop-down lever mechanism alone, it’s difficult to put back, you do not need to dismantle it in order to clean it.
Disassembly (Objective):
The objective can be serviced easily, its construction is quite conventional. I didn’t take any complete notes so check my other articles to help you repair yours. The Nikkor-S 5cm f/2 Auto (Tick-Mark) or the Nikkor-H 50mm f/2 Auto have similar construction so check them out to get more hints.

The front optical assembly can be unscrewed with a rubber tool. Be careful not to damage the exposed rear.
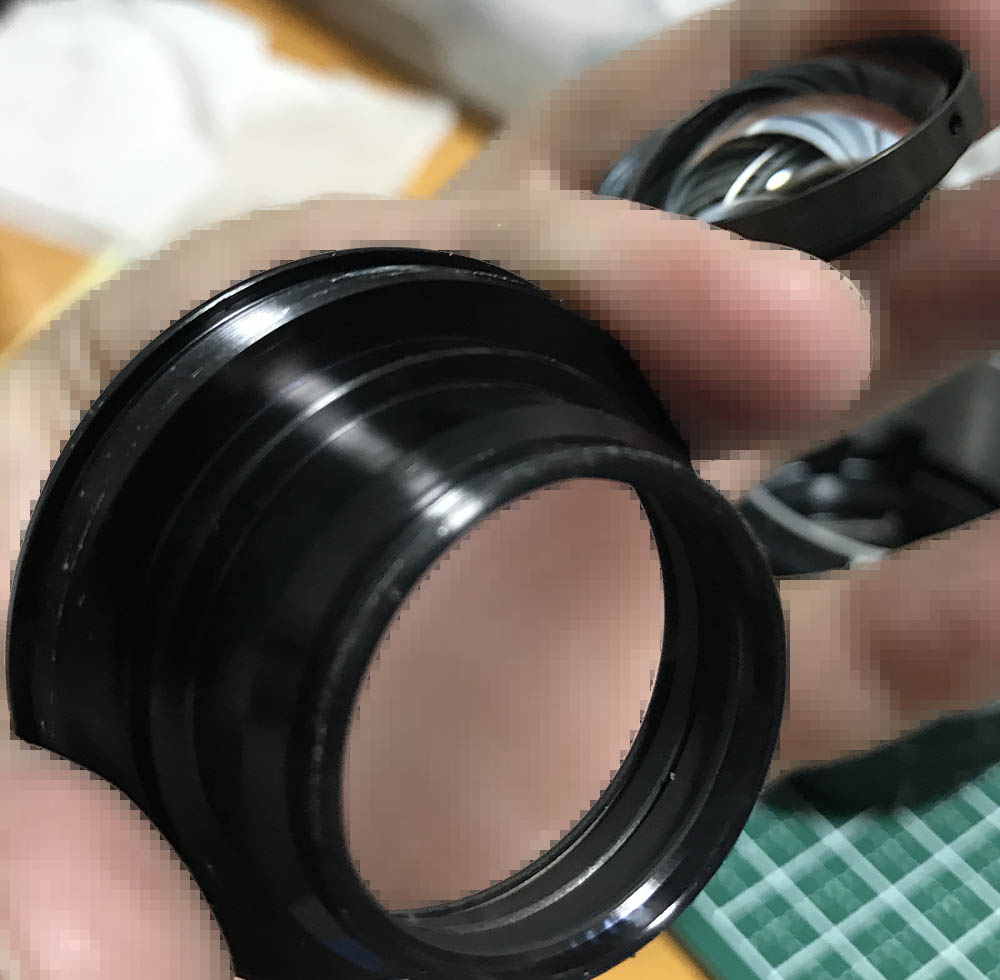
Carefully unscrew the collar to access the inner parts.
Clean the glass carefully. If your lens has fungus, read my article on how to clean lens fungus. Don’t use the solution at full-strength, thin it with distilled water. Don’t soak the elements in the solution for too long or it will dissolve the coatings. The cemented group is fragile so handle it with a lot of care.
Conclusion:
It shouldn’t take long to service one of these, it took me 2 hours, most of the time was spent cleaning the parts thoroughly. This is a nice project for new hobbyists provided they have the right tools but it’s better that they practice on cheaper lenses from another brand.
Earlier lenses won’t allow you to adjust their focus, this makes it easy but it is also a problem when you need to correct it. Never parts-bash these since the parts were filed-to-fit, this means that each lens is unique and you could not interchange their parts and expect the same results.

It’s now time to enjoy shooting with it. Never mount these with new Nikons, the aperture-coupling tab will get squashed and result in a bigger problem. A Nikon Z6 will be fine with it as well as a Nikon Df. Nikons with collapsible Ai-coupling tabs will allow you to mount it safely.
Thanks for following my work, if you liked this article please share this with your friends so it will get more views. This site earns around $0.30 a day, it’s totally reliant on views. You can also support this site, it helps me offset the cost of maintenance and hosting. You are also helping me purchase, process and scan film. This site promotes the use of film so we’re all in this together. See you again in the next article, Ric.
Help Support this Blog:
Maintaining this blog requires money to operate. If you think that this site has helped you or you want to show your support by helping with the site’s upkeep, you can make a small donation to my paypal.com (richardHaw888@gmail.com). Money is not my prime motivation for this blog and I believe that I have enough to run this but you can help me make this site (and the companion facebook page) grow.
Buy me a roll of film or a burger?
Thank you very much for your continued support!
$2.00
Helping support this site will ensure that this will be kept going as long as I have the time and energy for this. I would appreciate it if you just leave out your name or details like your country’s name or other information so that the donations will totally be anonymous. This is a labor of love and I intend to keep it that way for as long as I can. Ric.
