
Hello, everybody! Do you remember the old British documentary called “The World at War“? Older people will remember that show with a smile. One of the things that fascinated me were the Panzers and the German gun called the 88mm Flugabwehrkanone. It’s a humongous gun that was originally designed for shooting planes. It has such tremendous firepower that it was also used as an antitank gun. It’s long, heavy, big and potent. I am not describing myself because I am anything but. Today, I will show you something that’s equally massive and like the 88mm Flugabwehrkanone and the Panzers it’s a formidable lens that commands respect each time you bring it to the field.
Introduction:
The Zoom-Nikkor ED 360-1200mm f/11 Ai-S was sold from 1982 to 1985. It’s an updated model of the legendary Zoom-Nikkor ED 360-1200mm f/11 Ai. At one point it was the longest zoom available anywhere, something that Nikon made to show the world that they could manufacture anything they wanted with what was available at that time.
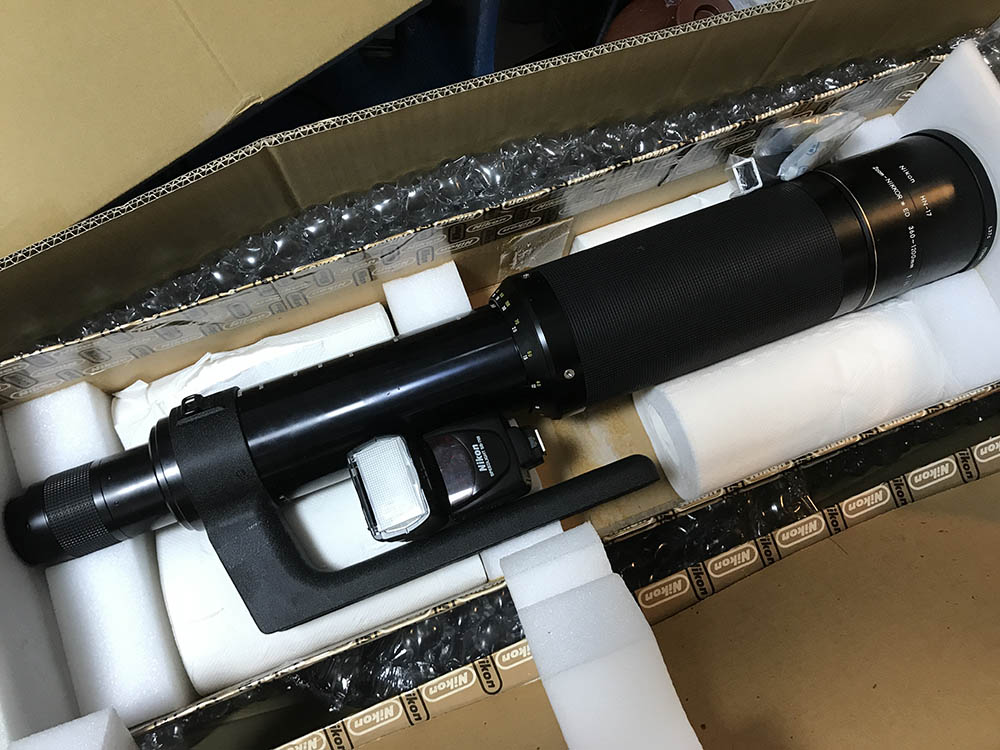
It comes within its huge box. The Nikon SB-700 should give you an indication of how huge this thing is. Think about how heavy this is just by looking at the size of that tripod foot. You’ll require a caddy to help you bring this around the venue.
It has an impressive 20-elements-in-12-groups design with ED glass incorporated to help control aberrations. It has a minimum focusing distance of 6m which is impressive for such a lens. Compared to the older, non-Ai version it could now actuate the iris automatically and focusing is internal meaning the barrel won’t extend-or-retract as you focus with it.
This is an amazing lens for taking photos of calamities and spying. This was the best lens in its class, scientists, spies and journalists all wanted this so they could safely take photos of dangerous situations and venues that are off-limits. Its practical use is limited due to its size which is understandable.
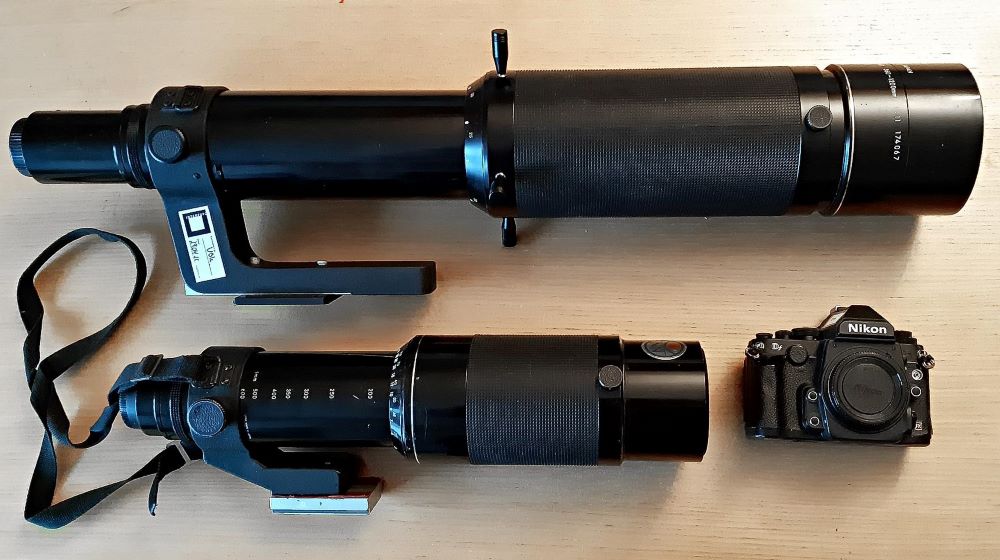
Here is a photo courtesy of the Rørsletts. It shows the Zoom-Nikkor ED 360-1200mm f/11 Ai which is similar to our lens in this article but with a modified tripod foot for added stability and safety. The “smaller” lens shown here is the Zoom-Nikkor ED 180-600mm f/8 Ai, an equally impressive lens for its time. They both make the little Nikon Df look like a toy. Note that the older version has a different tripod foot and the aperture ring’s knurling and waist is positioned further-up the lens. The barrel itself appears to be similar, if not identical.

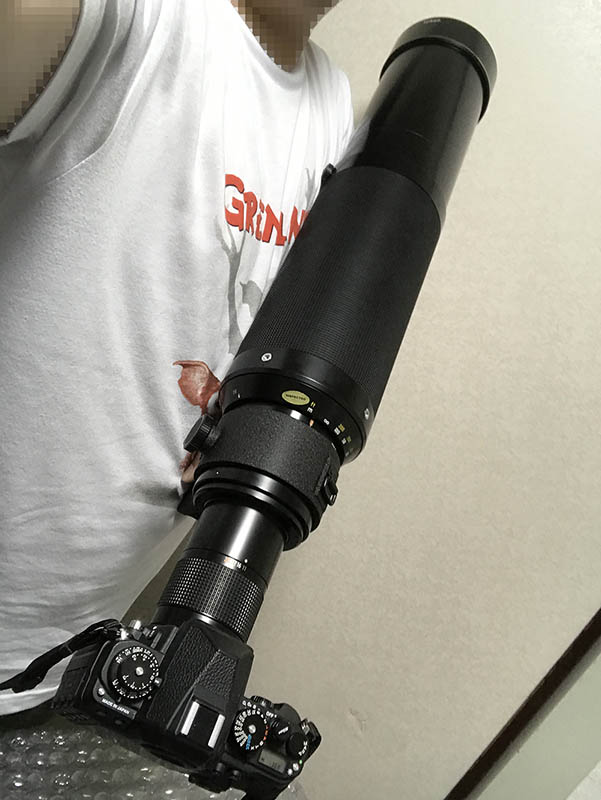
Shown in this photo is Bjørn Rørslett and the Zoom-Nikkor ED 360-1200mm f/11 Ai shown above. This should give you a better context as to how massive this is. It could only be used with support, without one you’ll get blurry photos or worse, get injured.


(Click to enlarge)
Apart from spies, newsmen and scientists this lens is also great for taking artistic photos with its compression. The long-end will give you super-flat compression, giving you a photo with very shallow perspective like the one shown to the left. These were shot with the Zoom-Nikkor ED 360-1200mm f/11 Ai which is optically similar to the lens in this article. More information about these photos can be found at in this discussion.

Handling isn’t the best because of its size but you could operate this intuitively because of the focusing-zoom barrel. This is a “pumper-zoom”, you could focus and zoom with it using a single hand. The Nikon F3P and its Nikon MD-4 seem like toys compared to it.
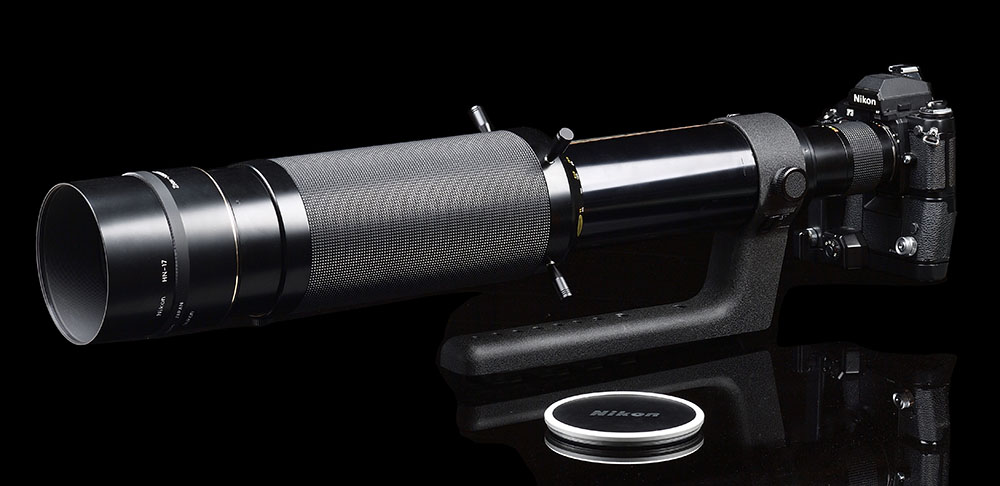
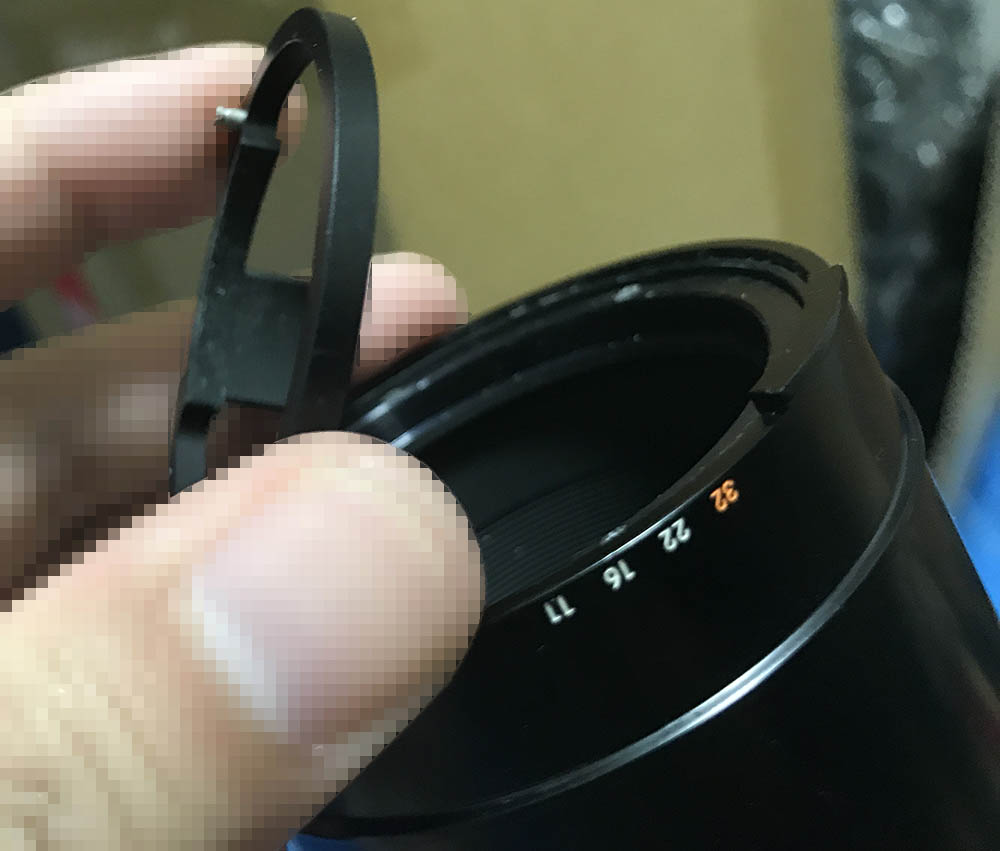
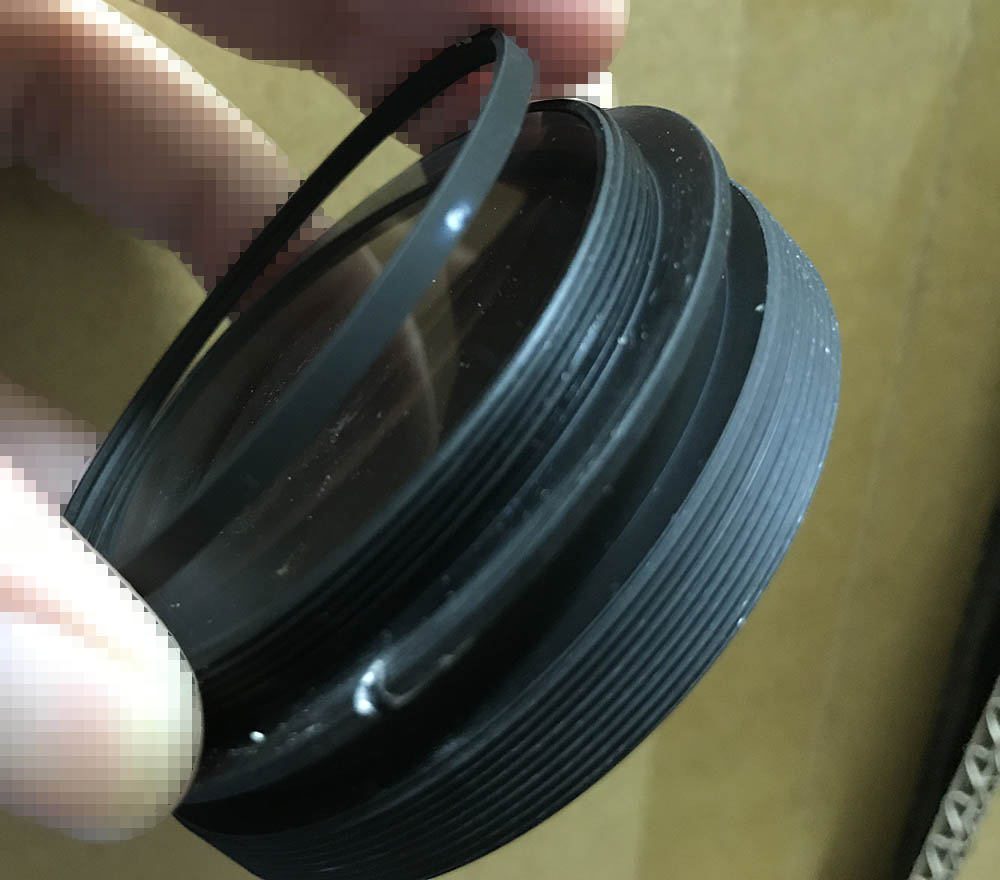
Its dedicated hood and cap are unique, you couldn’t buy them separately if I am not mistaken. They’re 122mm so looking for filter for it will be a problem.

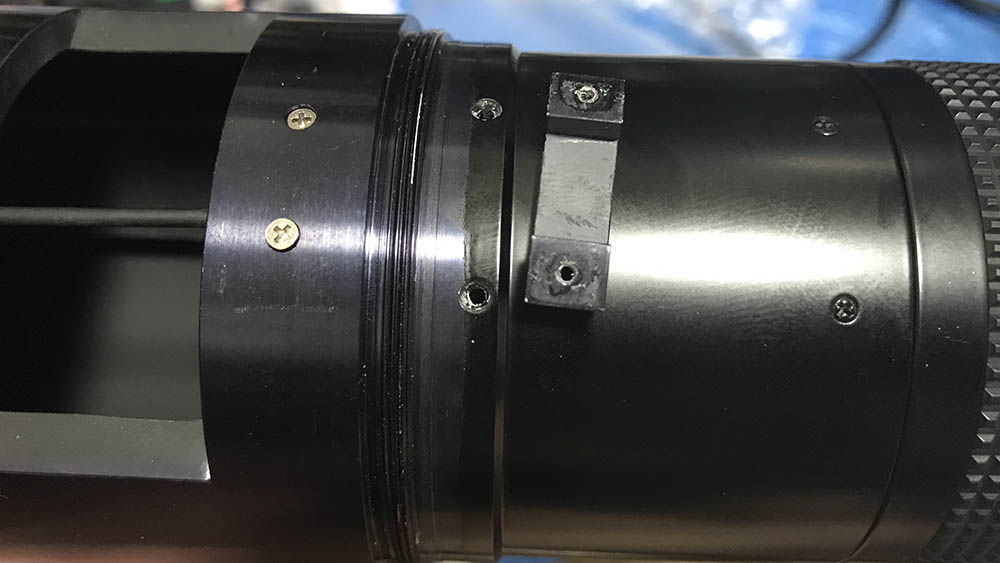
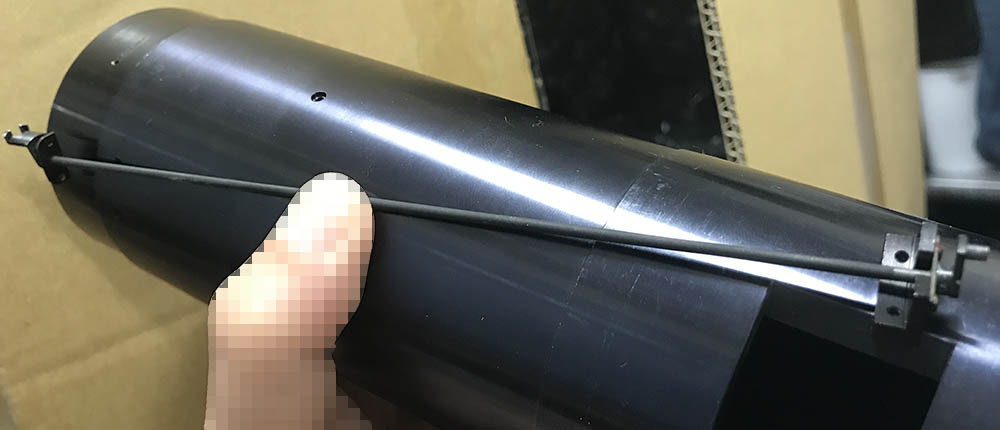
Visible here is the strap lug so you could sling this over your shoulder. Imagine carrying this with your neck, it will certainly send you to the hospital after a day shooting with it.
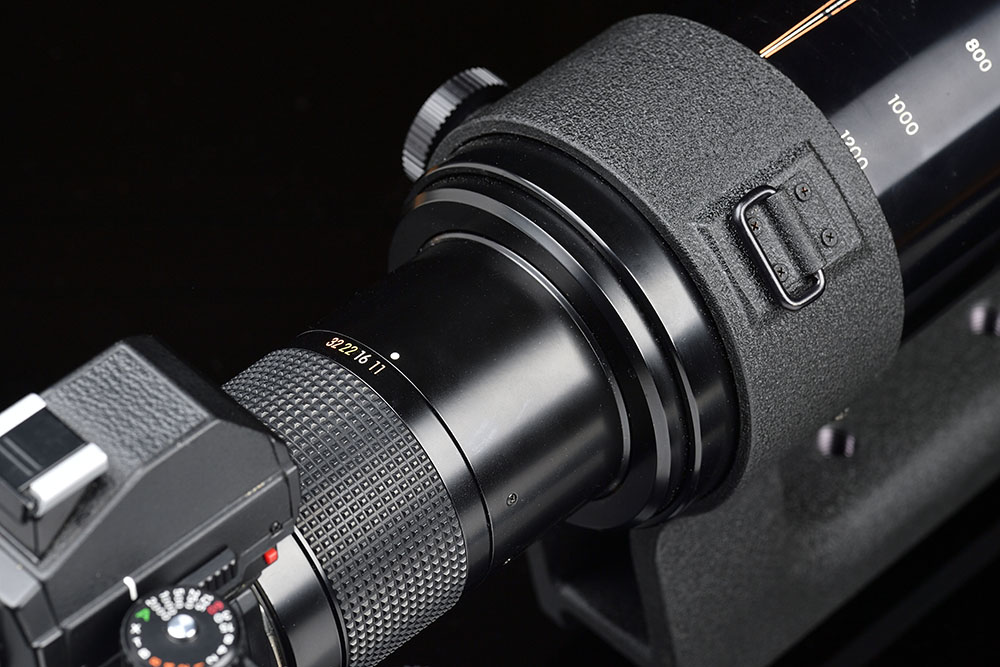
Here’s a closer view of the strap lug. It looks tough but I was hoping that it would be sturdier than this. There is also a dial so you could lock the tripod foot into position. It doesn’t have the prongs so you could only use it with Ai-spec Nikons. The aperture-range is quite limited, you could only set it down to f/32. There’s no point in getting any smaller with it.
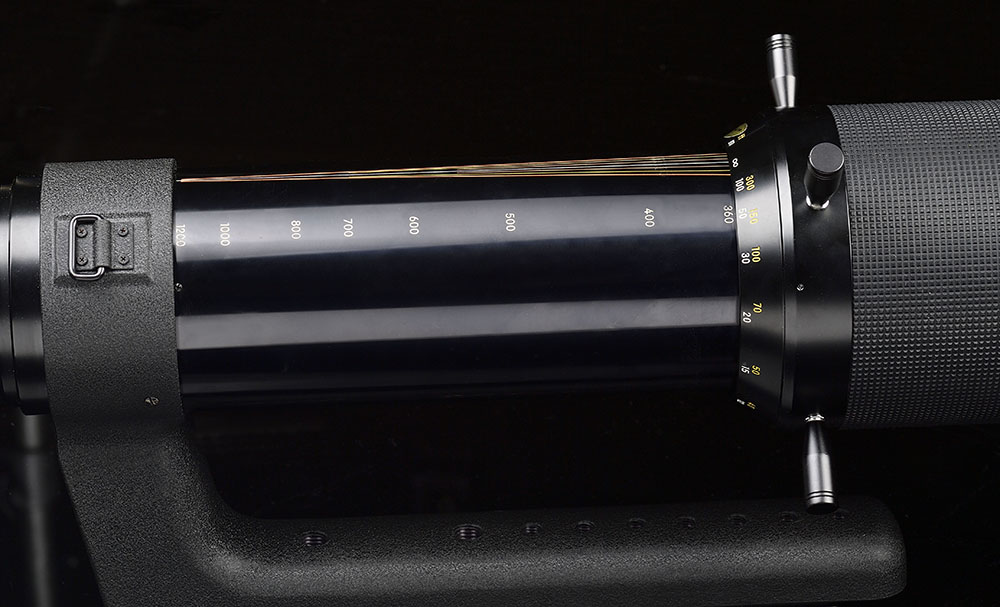
The focal lengths are shown in the barrel so you’ll know where it’s at. The engravings are beautiful and really informative.
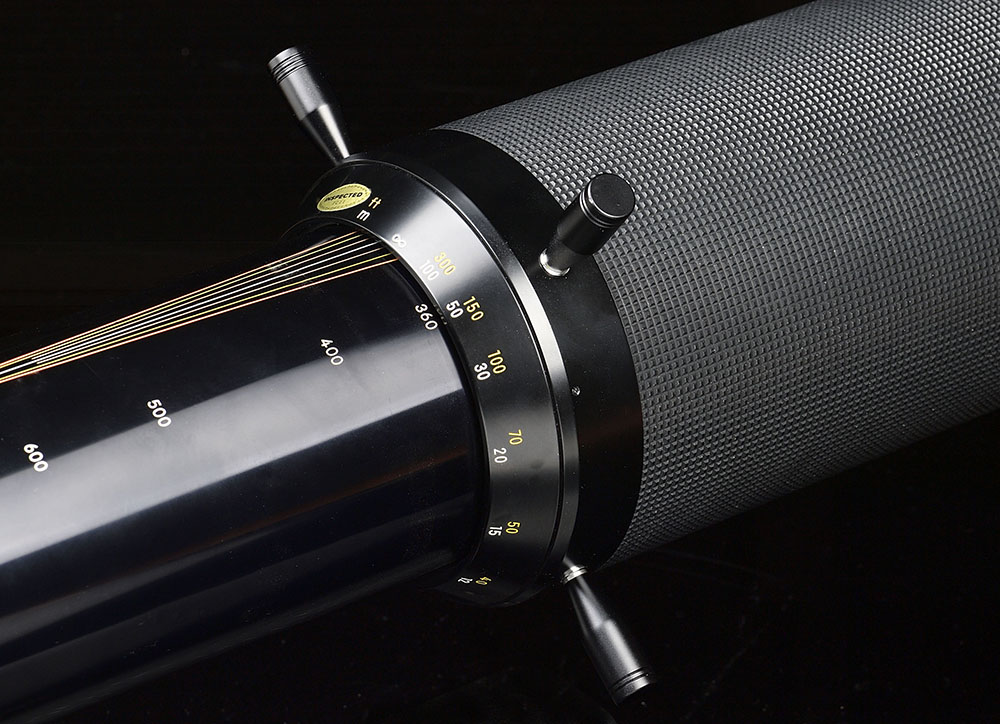
There are small posts to help you focus with it. You use these to turn the barrel quickly then finetune by using barrel itself. The focus-throw is quite long which is as-expected since this is a manual telephoto lens. There is a lock for the focus-zoom barrel so you won’t have to worry about zoom-creep with it.
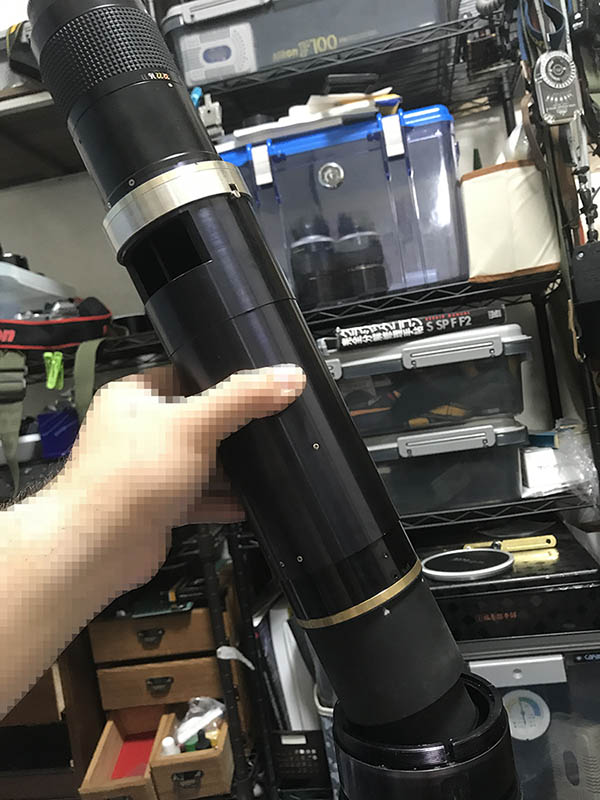
It’s now time to hunt some Panzers. It looks more like a light artillery piece than a lens. Your neighbors might even call the police if they see you with it.
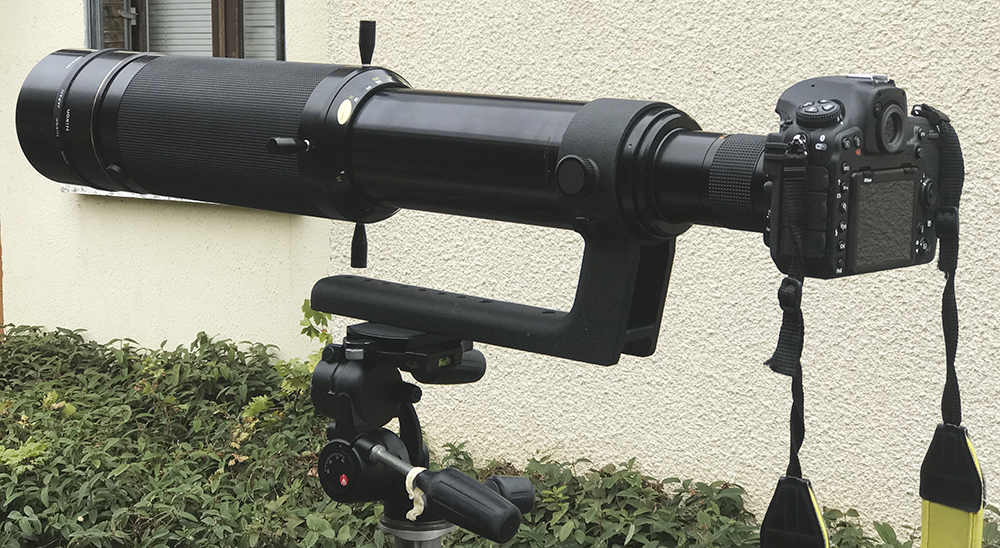
You’ll need a sturdy tripod in order to use this effectively. Never use this with a flimsy one.
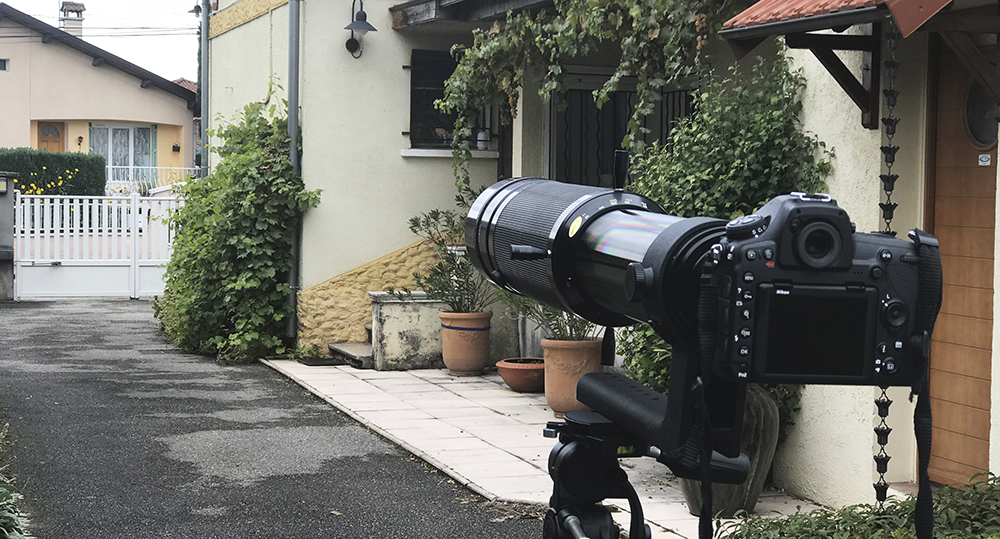
Let’s now see how this lens performs. Since this is too-huge for me to carry all-day I’ll just show you a couple of photos that I shot with it to demonstrate how it feels shooting with such a monstrous zoom.
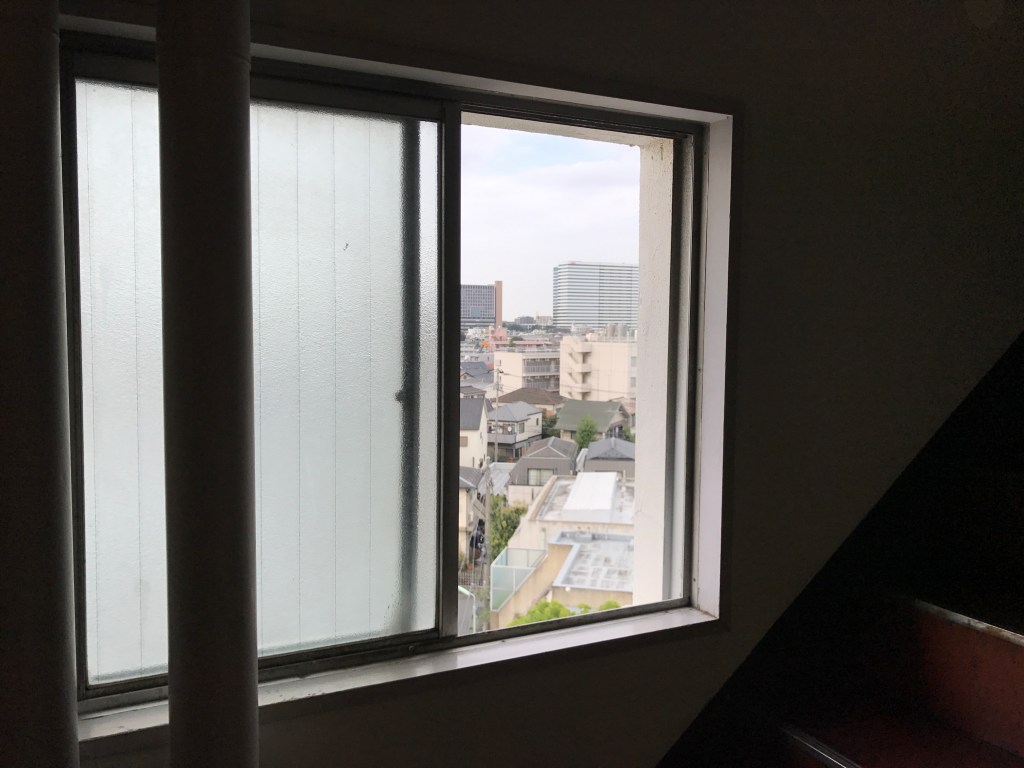
This is how things look like where I was standing to give you some context.

This is how that building looks like when shot at 360mm. The detail looks adequate but the resolution isn’t the best wide-open.

It appears that it performs a lot better at the long-end. This is how close you could get with it, imagine using it at the beach to take photos of surfers. Yeah, right.

This is a peeping-tom’s dream lens. A Nikon D850 will enable you to crop aggressively, imagine what you could do with that amount of detail.

What’s impressive is it doesn’t have high amounts of distortion. It’s quite moderate considering how long it is.

The long-end isn’t bad, too. It is quite good for something like this, I was expecting to see more.

Chromatic aberration seems to be well-controlled. I will admit that this is not the best example to be looking for it but this is all I have.

Again, the performance appears to be better at the long-end. Foreground blur isn’t the best but you do not use this lens for that. This is something that you use for spying.

How about shooting something at “infinity”? It’s amazing how much detail you could get with it when paired to a Nikon Z7. I don’t know how much the image will degrade when you mount a teleconverter to it. You may get a blurry image but at least you’ll get something that’s worth printing on the frontpage of a newspaper.
This is a specialty lens. It’s not for everyone so I’ll only recommend this to news and government agencies. If you are a scientist or engineer maybe this may appeal to you, too. There aren’t many alternatives to this and I don’t think we’ll see anything like it anytime soon. The market for such a lens is really small, they’ll also cost a lot of money to produce so making one won’t be in the best interest of any manufacturer. These are very rare but they occasionally appear on the marker. Only those who have a lot of money and space will want one. It’s still a great lens for news and spy agencies, I don’t think it will ever be irrelevant in the coming decades.
Before We Begin:
If this is your first attempt at repairing a lens then I suggest that you check my previous posts regarding screws & drivers, grease and other things. Also read what I wrote about the tools that you’ll need to fix your Nikkors.
I suggest that you read these primers before you begin (for beginners):
Reading these primers should lessen the chance of ruining your lens if you are a novice. Before opening up any lens, always look for other people who have done so in YouTube or the internet. Information is scarce, vague and scattered (that is why I started this) but you can still find some information if you search carefully.
I highly recommend that you read my working with helicoids post because this is very important and getting it wrong can ruin your day. If I can force you to read this, I would. It is that important!
For more advanced topics, you can read my fungus removal post as a start. This post has a lot of useful information and it will be beneficial for you to read this.
Disassembly (Lens Barrel):
This is not an easy lens to dismantle. The parts are big and are often sealed with lacquer and epoxy. Heat had to be applied in order to remove most of the screws safely. Needless to say, this is not a lens a beginner should ever work with. Special tools are needed in order to service this successfully, you’ll have to make a couple of them yourself. If you’re lucky enough to own one of these and it needs to be serviced, send it to a repairman. I would like to warn you that there are many repairers out there of ill-repute so just ask your friends so you’ll know who is worth working with.
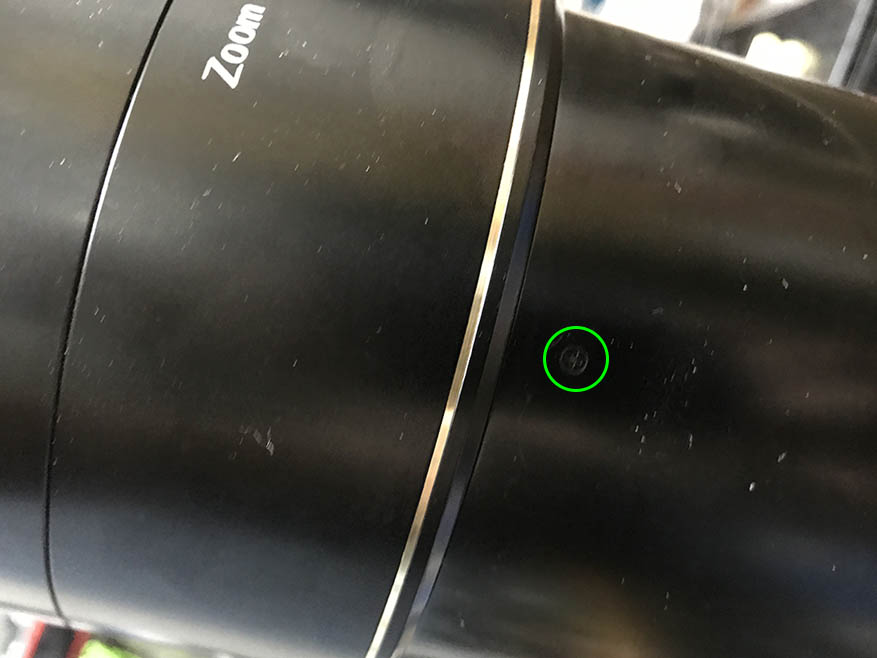
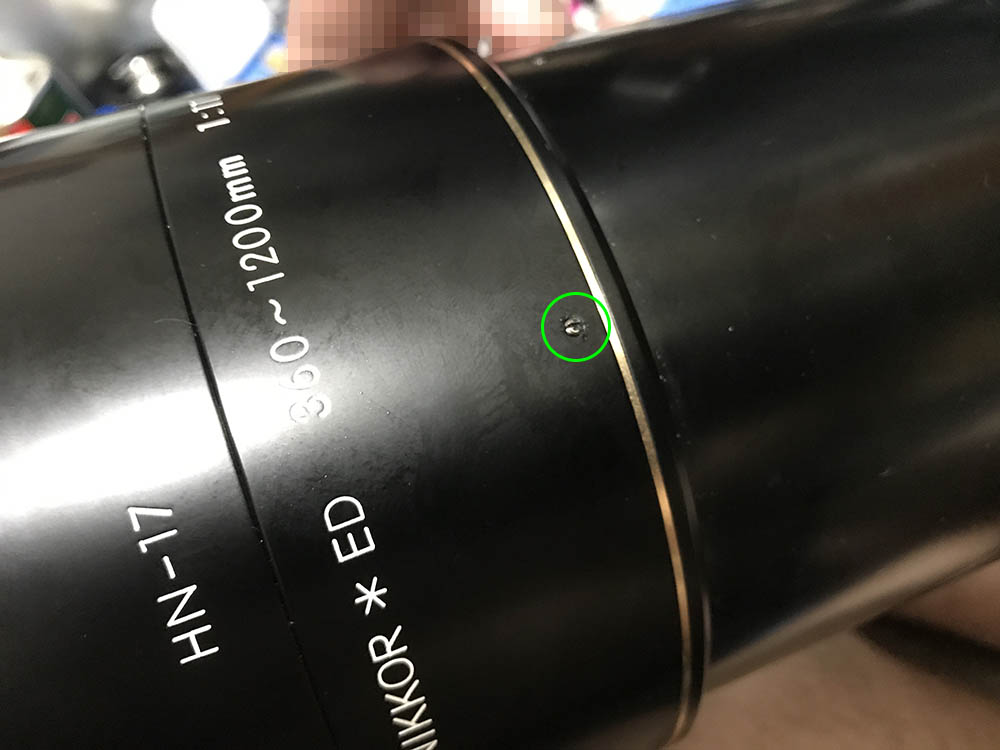
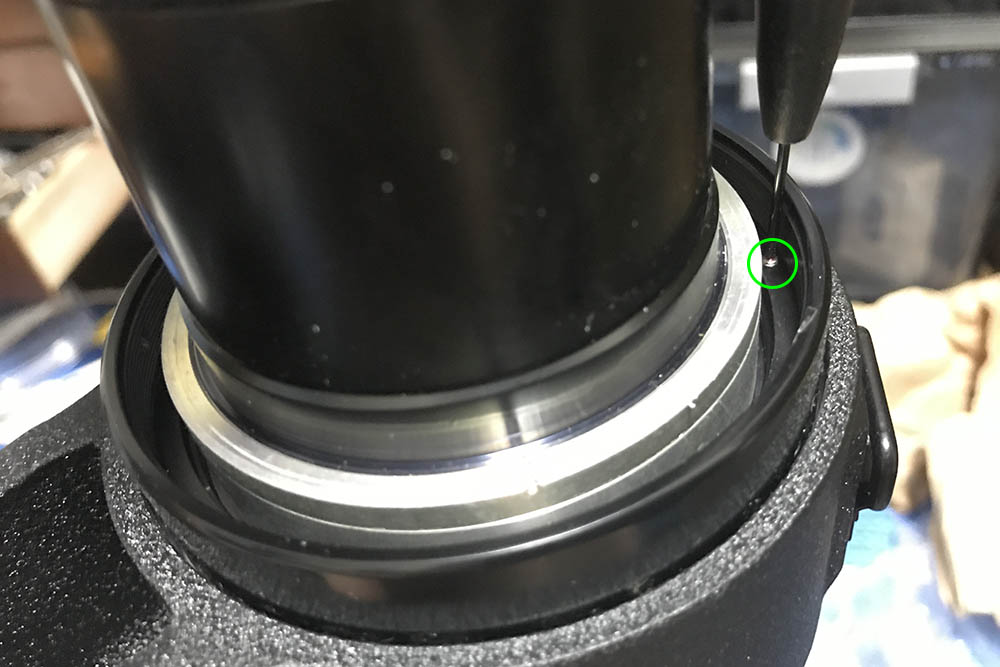
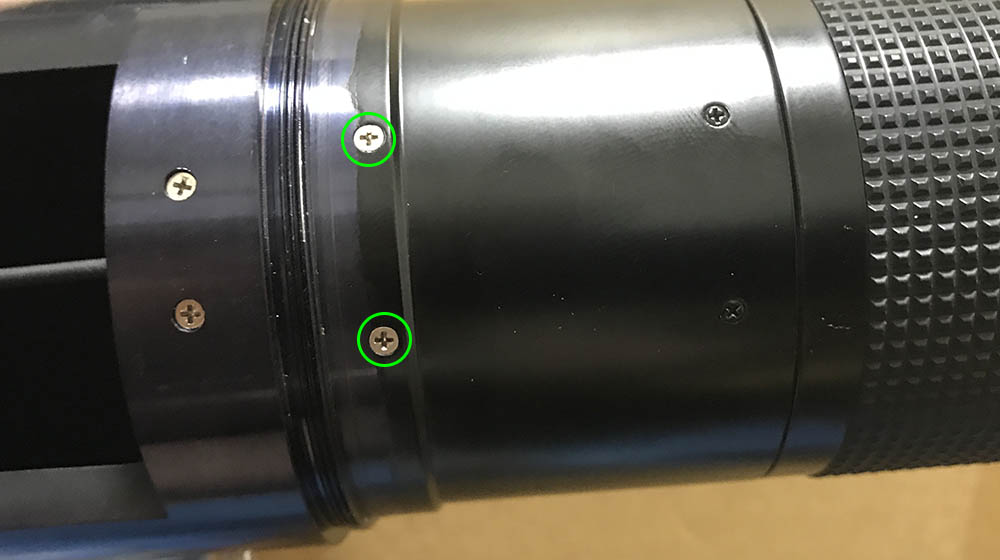
Locate and extract these. Heat these with a soldering bolt. You may opt to place a drop of acetone to these and wait for it to work then work on some other things.
Carefully extract this. It may be covered with paint so you’ll have to remove the seal before you could extract it. Be sure to use a driver that fits the slot perfectly.
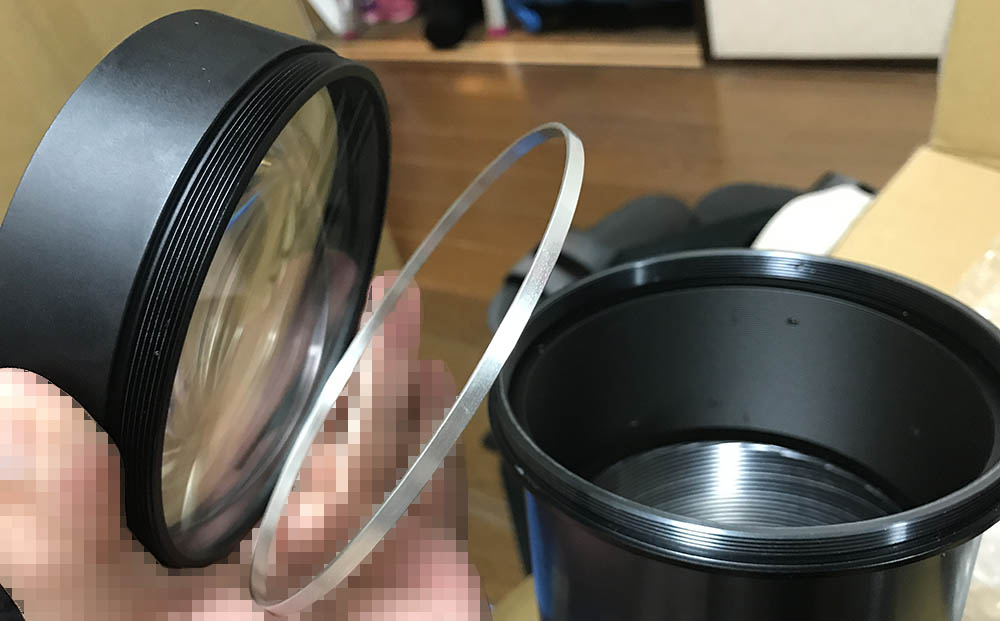
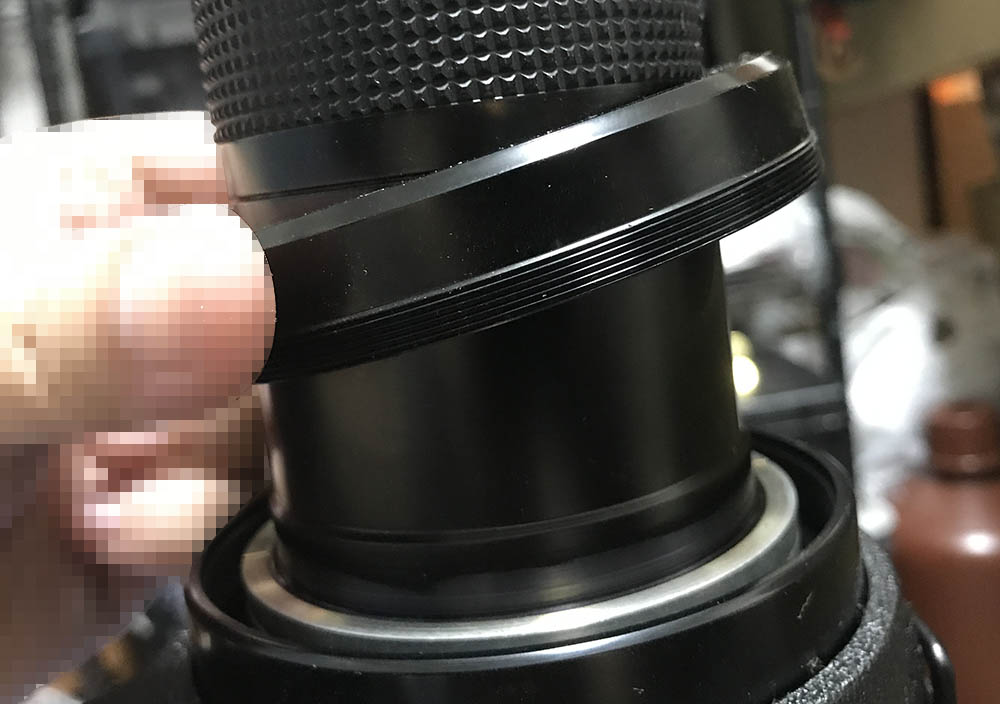
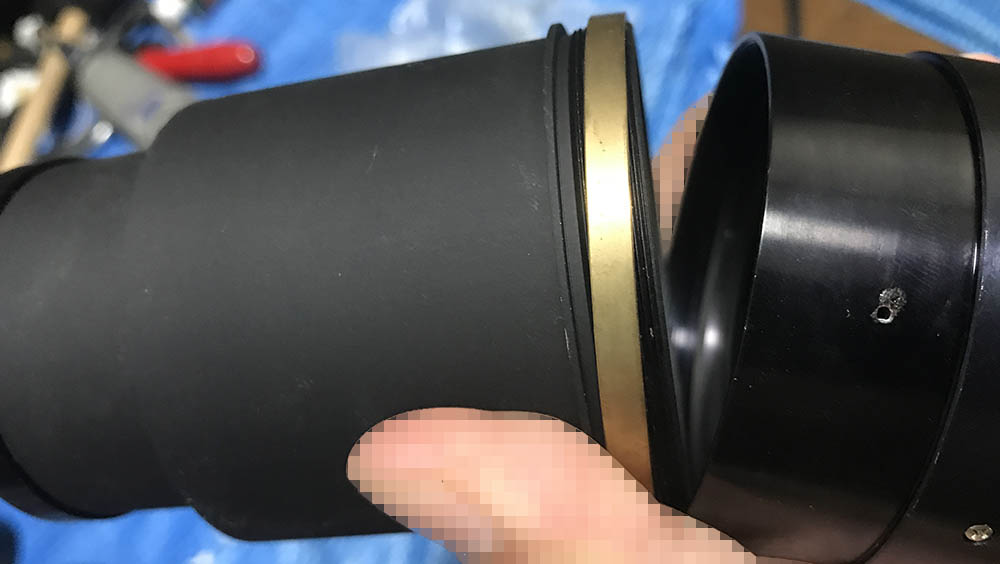
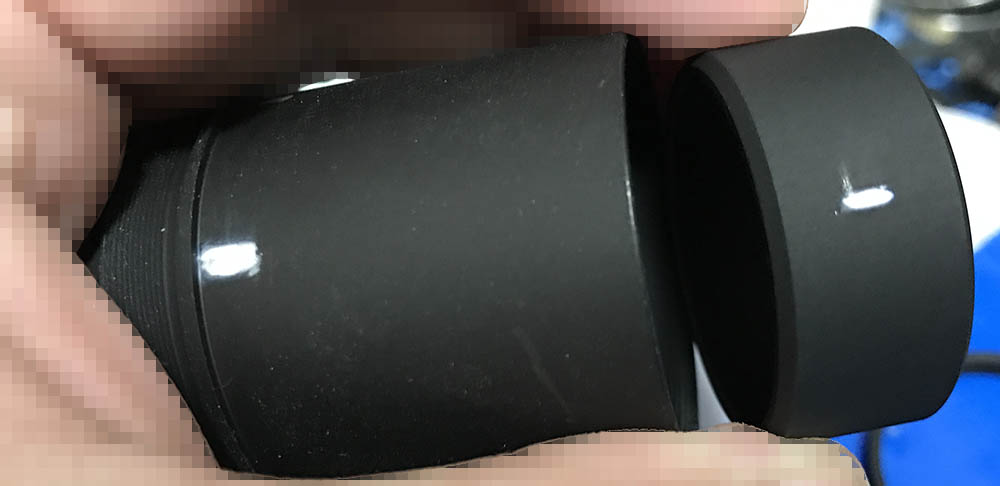
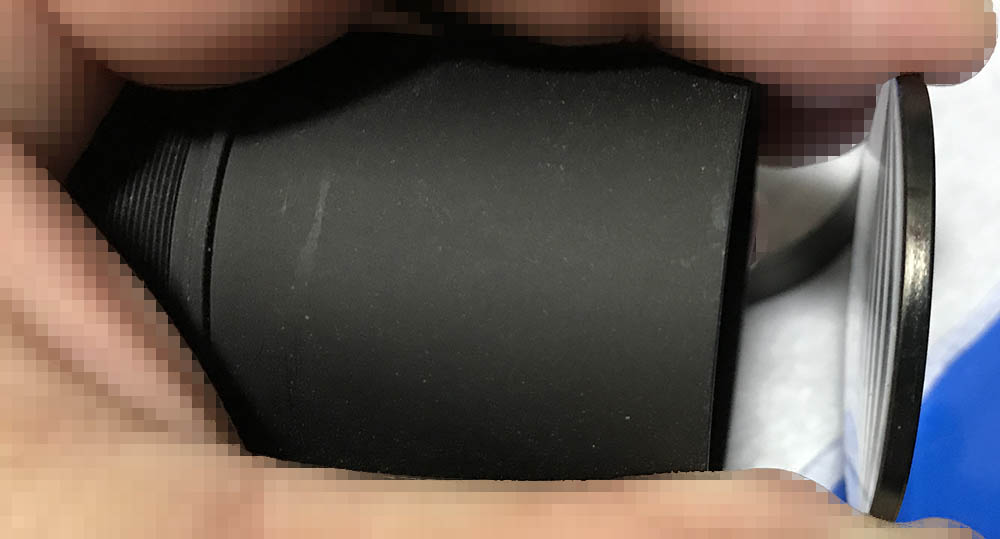
Unscrew the front barrel. You may have to wear a pair of gloves in order to help you grip it better.
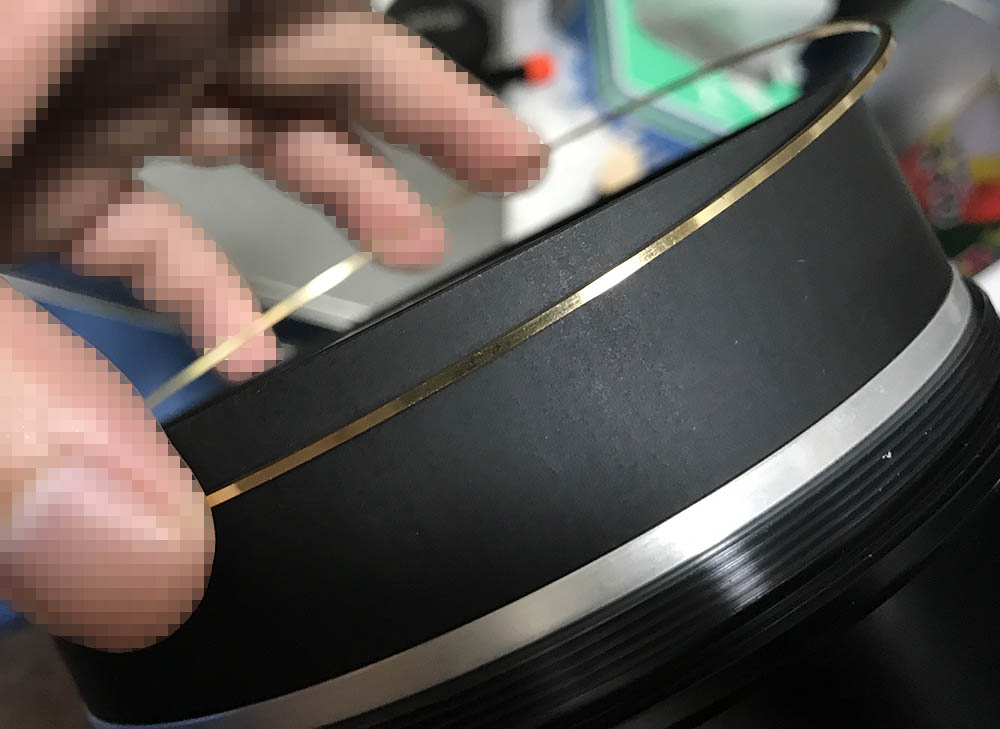
Carefully remove this shiny ring and set it aside. It’s a cosmetic part, it’s not a shim.

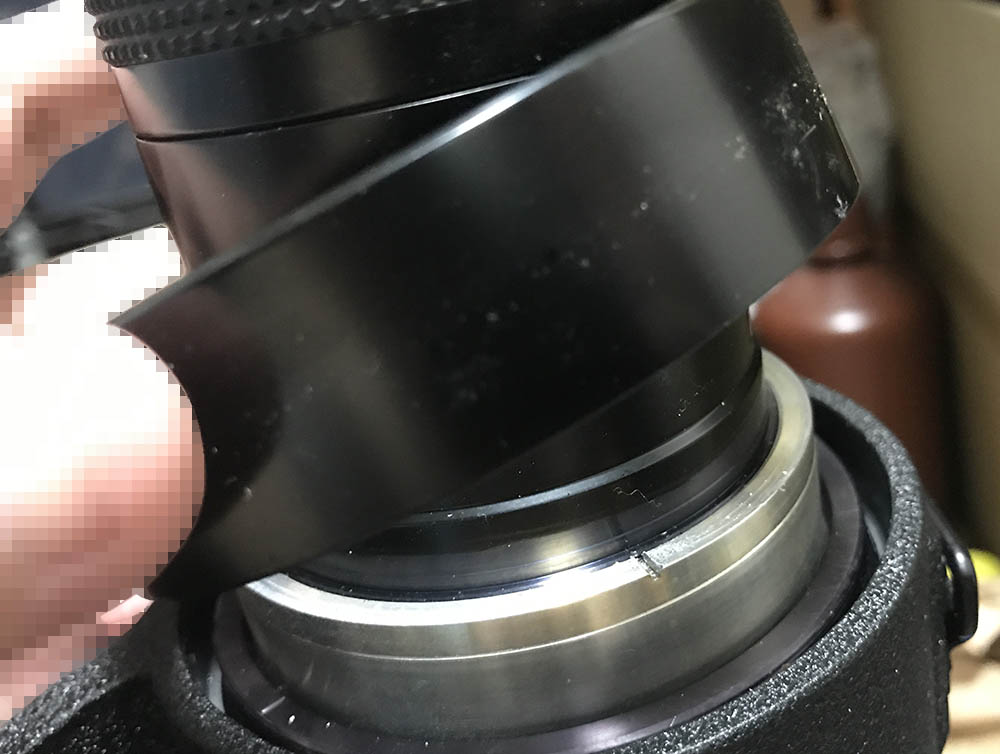
Well, the acetone didn’t help so now it’s time to heat these.
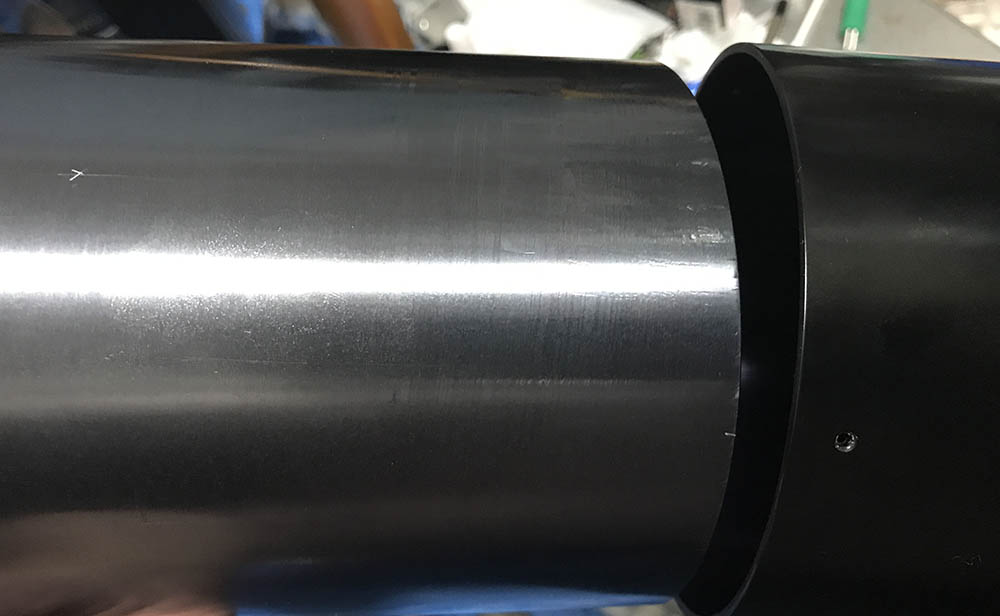
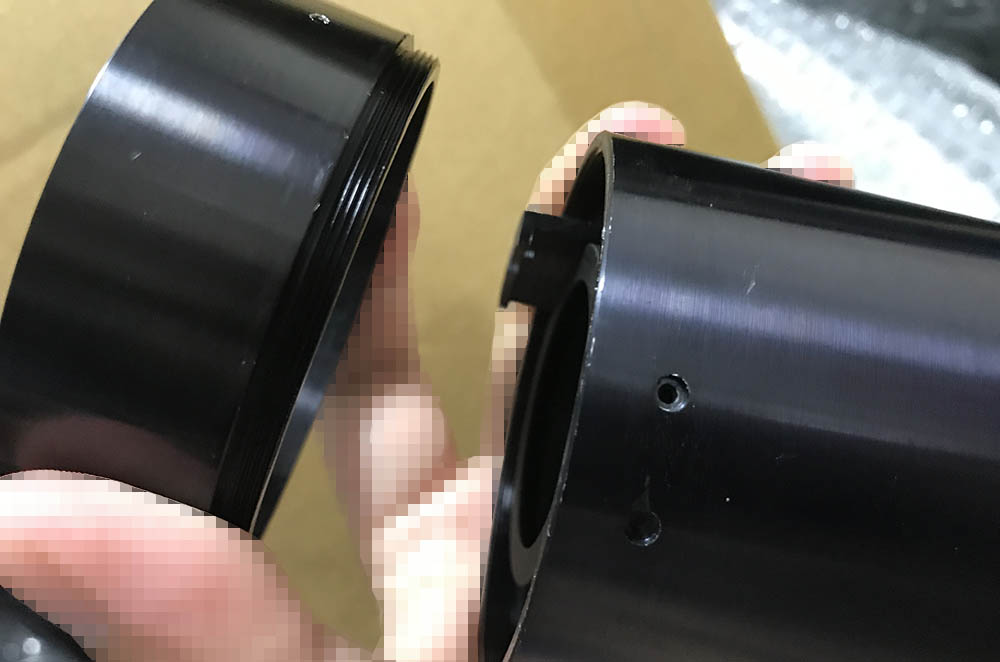
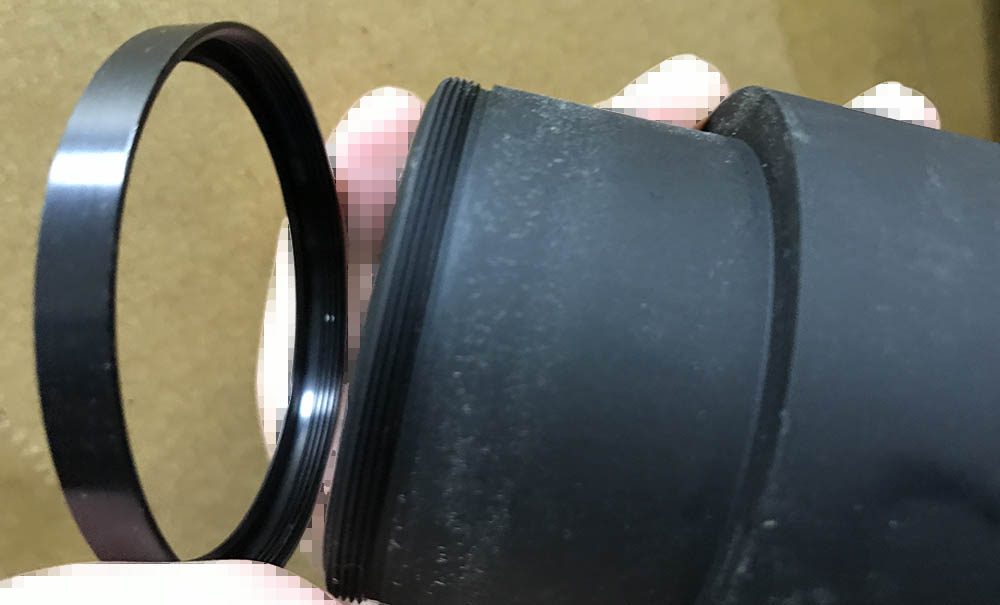
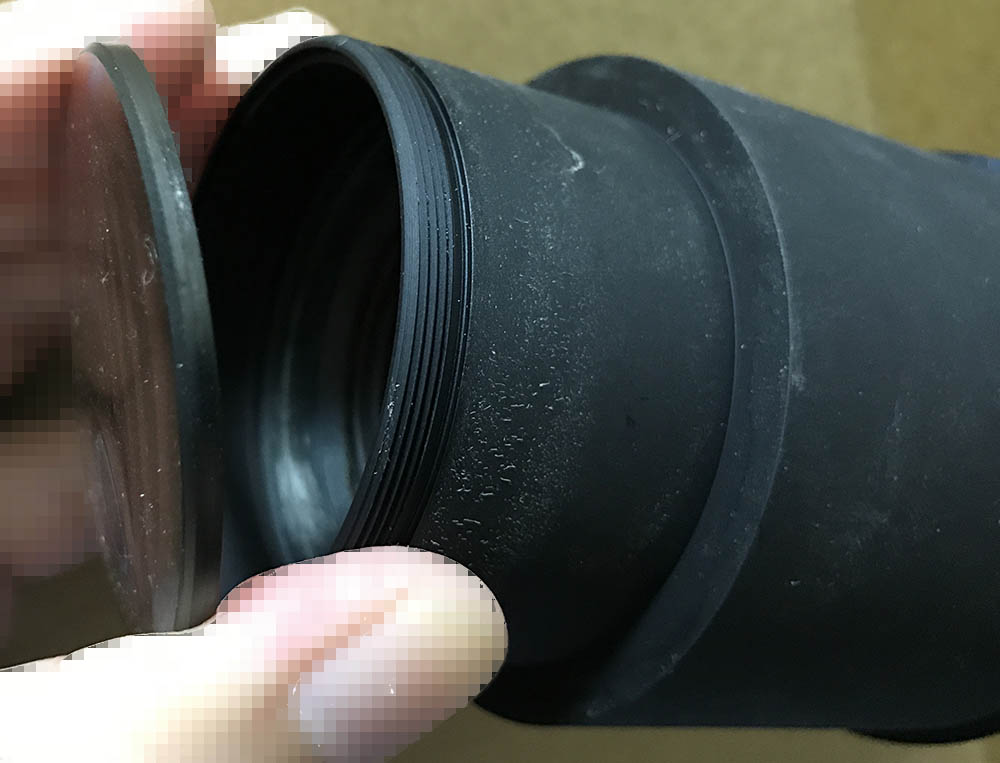
Remove the tube, be sure to mark where it parted.
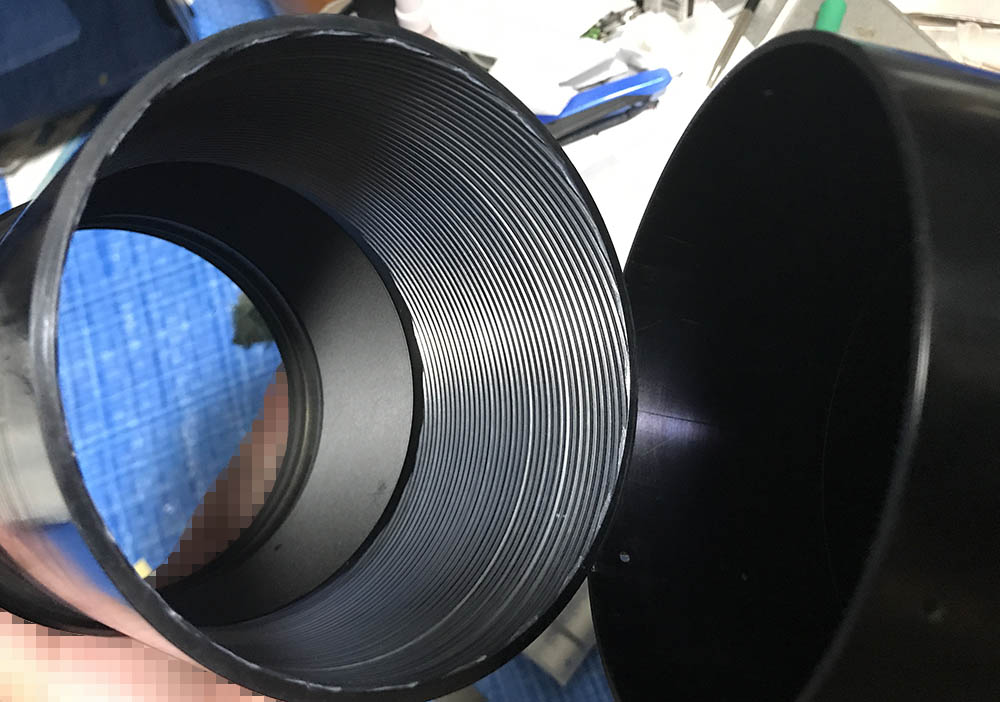
It houses the helicoid. Many people forget to mark where these separate and find themselves stuck. Read my article about working with helicoids so you’ll know how to put these back properly.
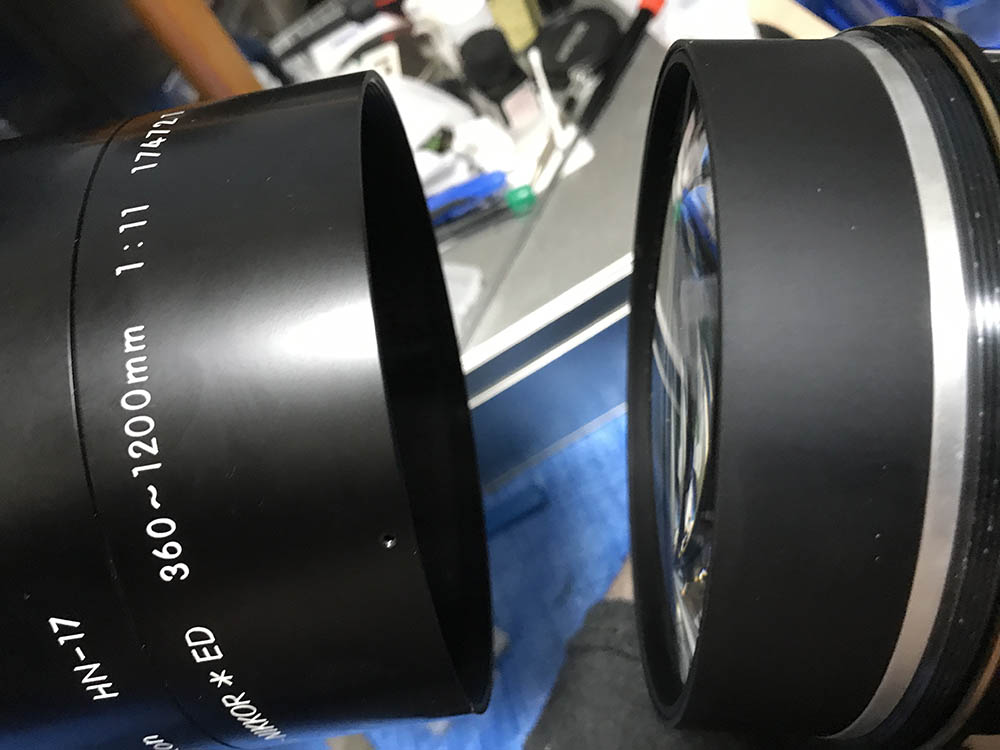
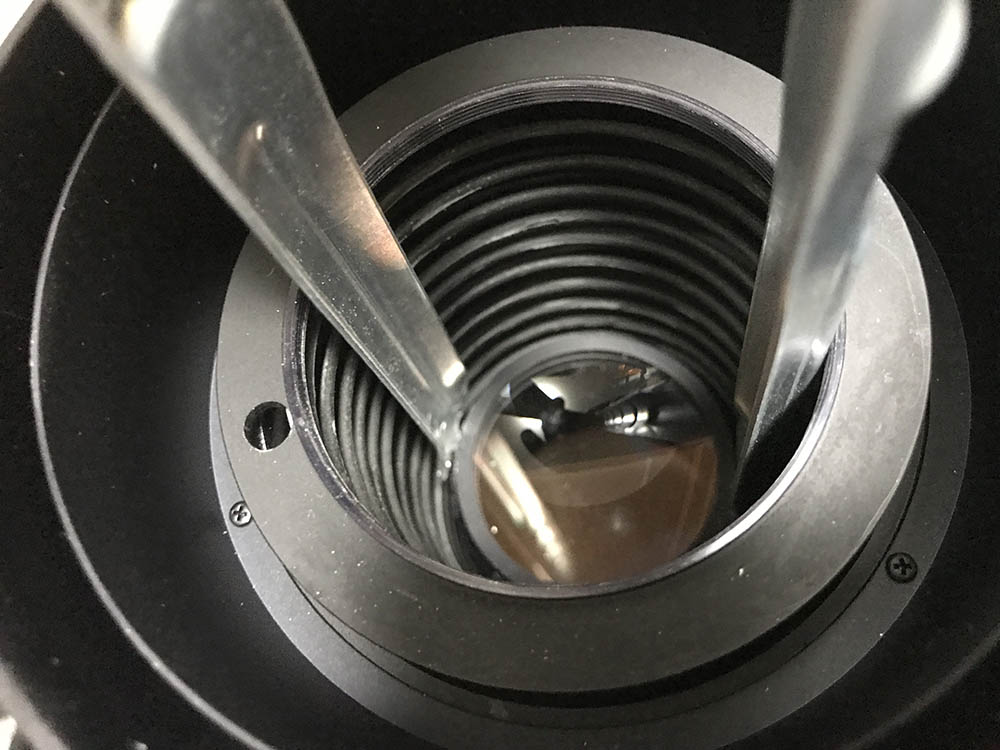
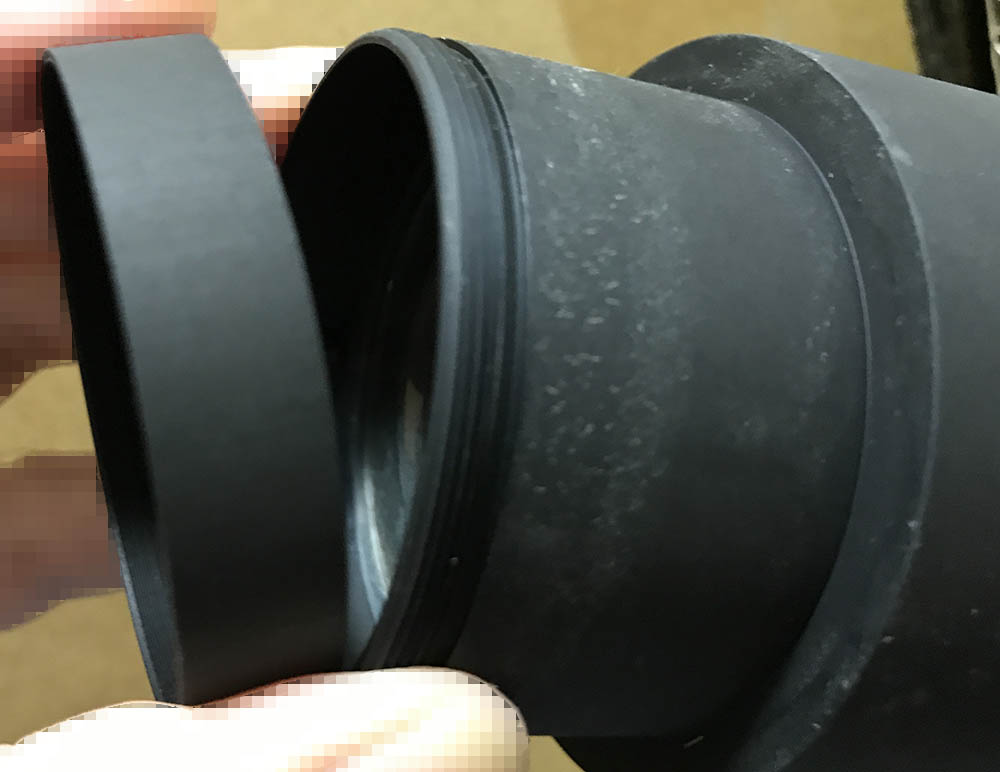
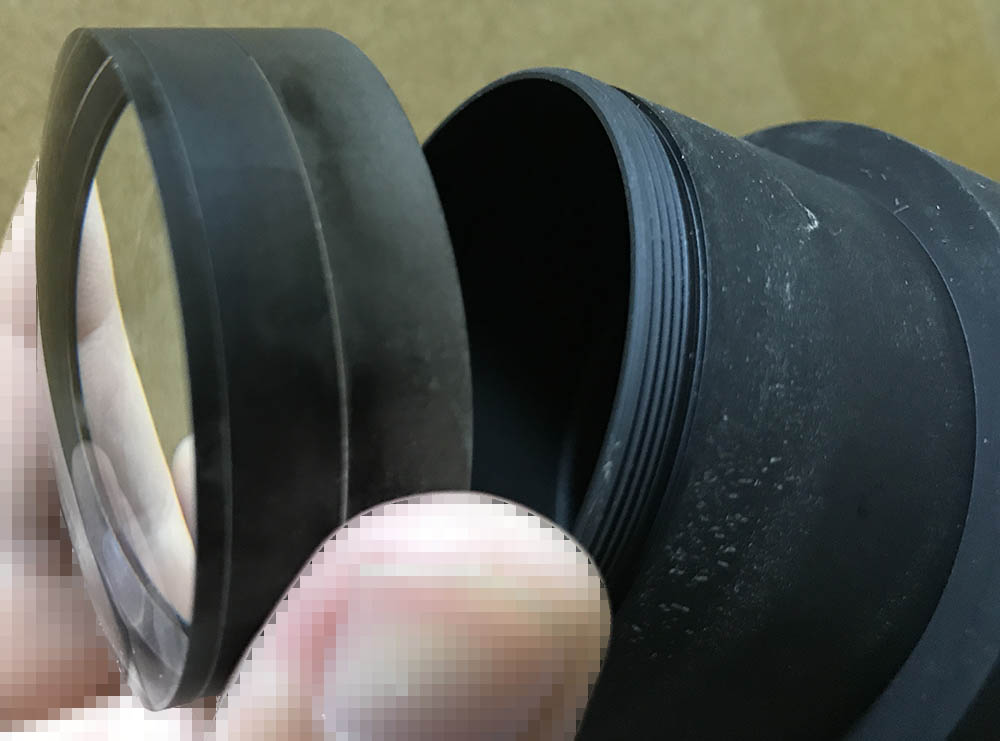
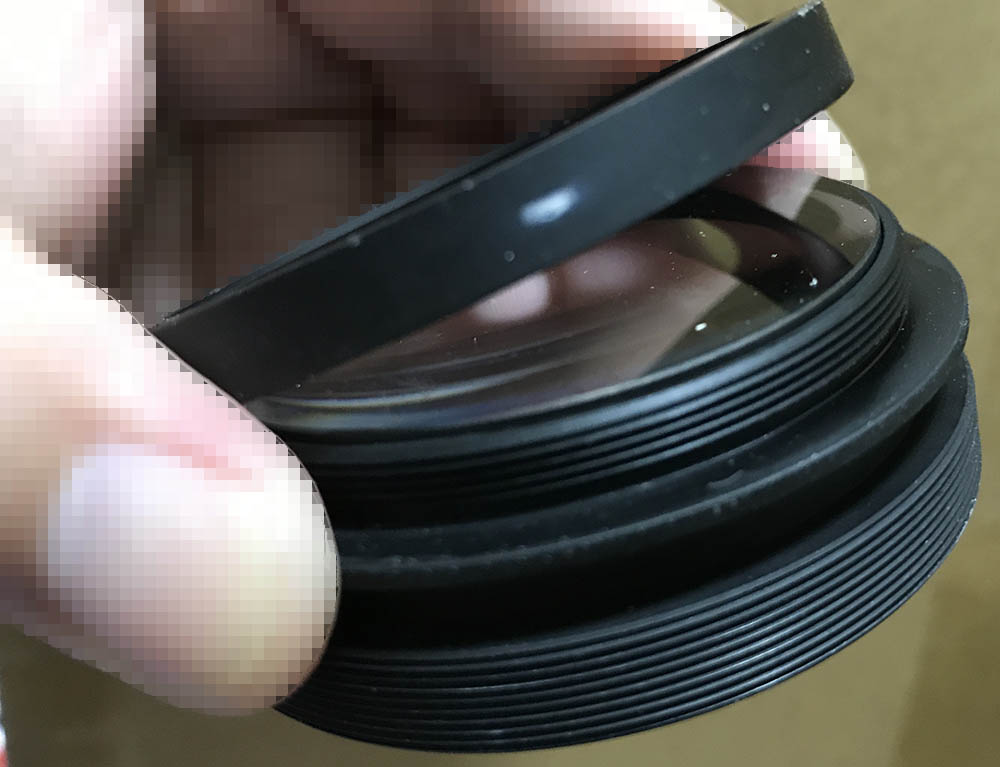
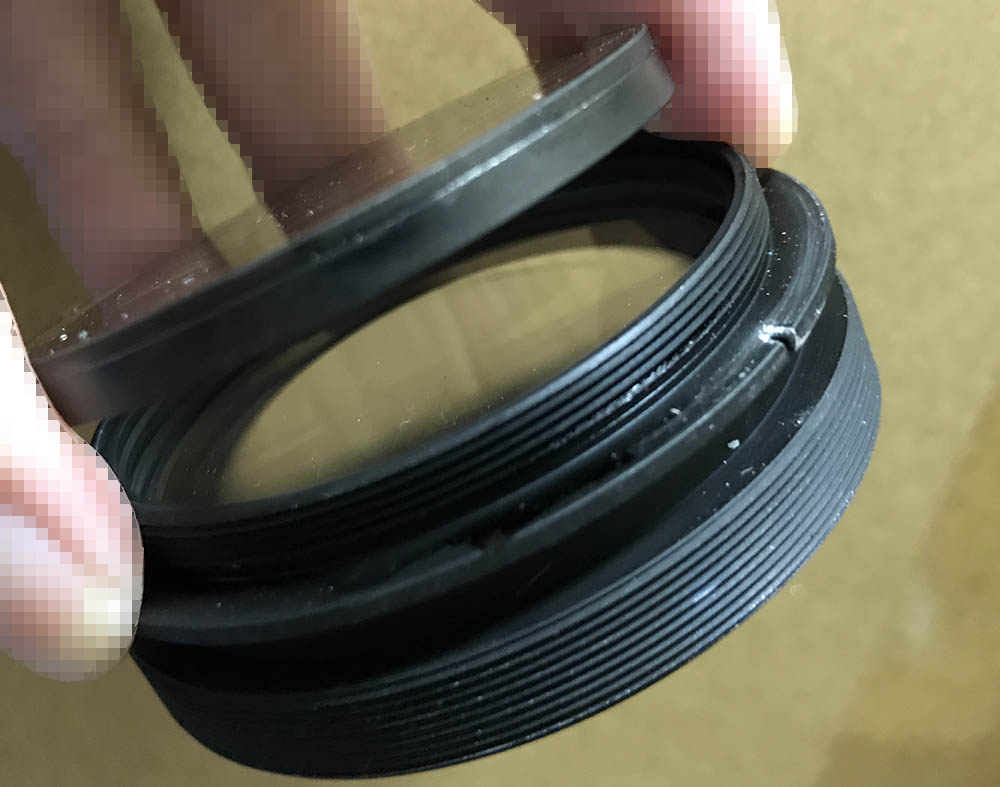
Unscrew the front optical assembly off and don’t misplace its shim. It was tough to remove, I had to drip some alcohol on the threads repeatedly to soften its seal.
This floating assembly sits deep-within the barrel.

You can access it better by zooming the barrel until it gets closer to you. Use a lens spanner to unscrew it.

Remove the assembly and keep it in a safe place.
This thing is even tougher to remove so I made a special tool to get it off. Note that there’s a big spring inside, I don’t know what that is for.
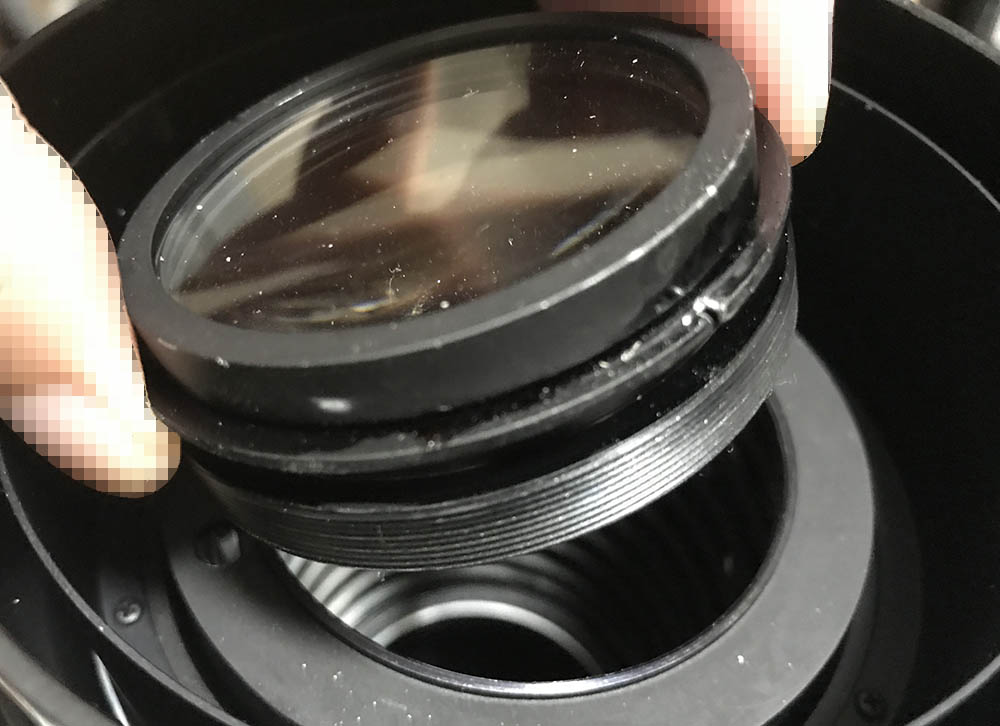
Carefully remove this optical assembly.
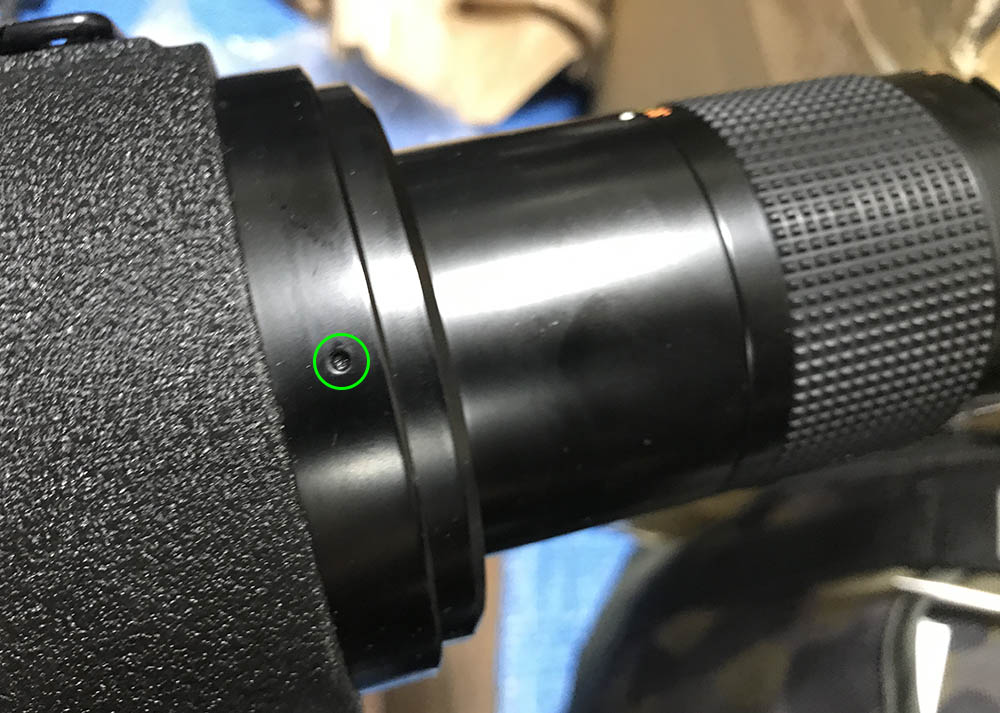
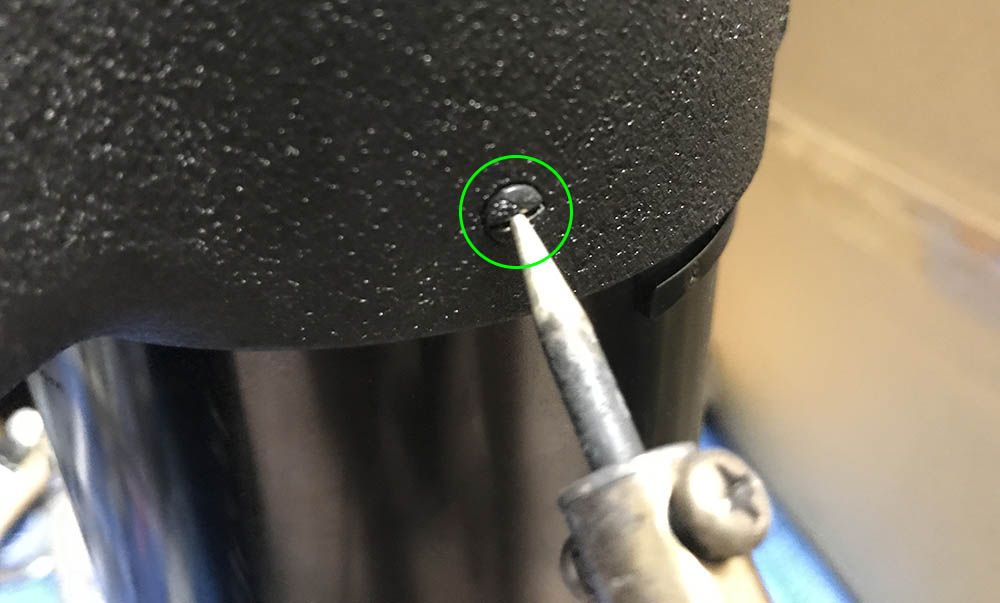
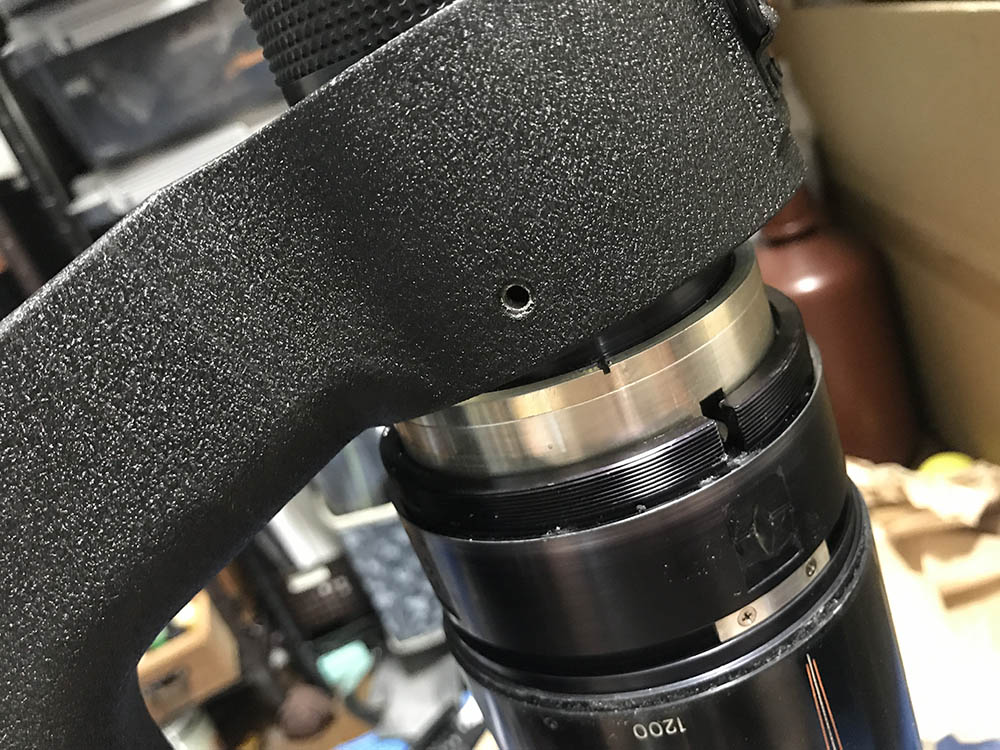
Locate and extract these. Heating them will help you get them off safely.
Unscrew this collar. It may be tight, place a few drops of alcohol to soften the threads up.
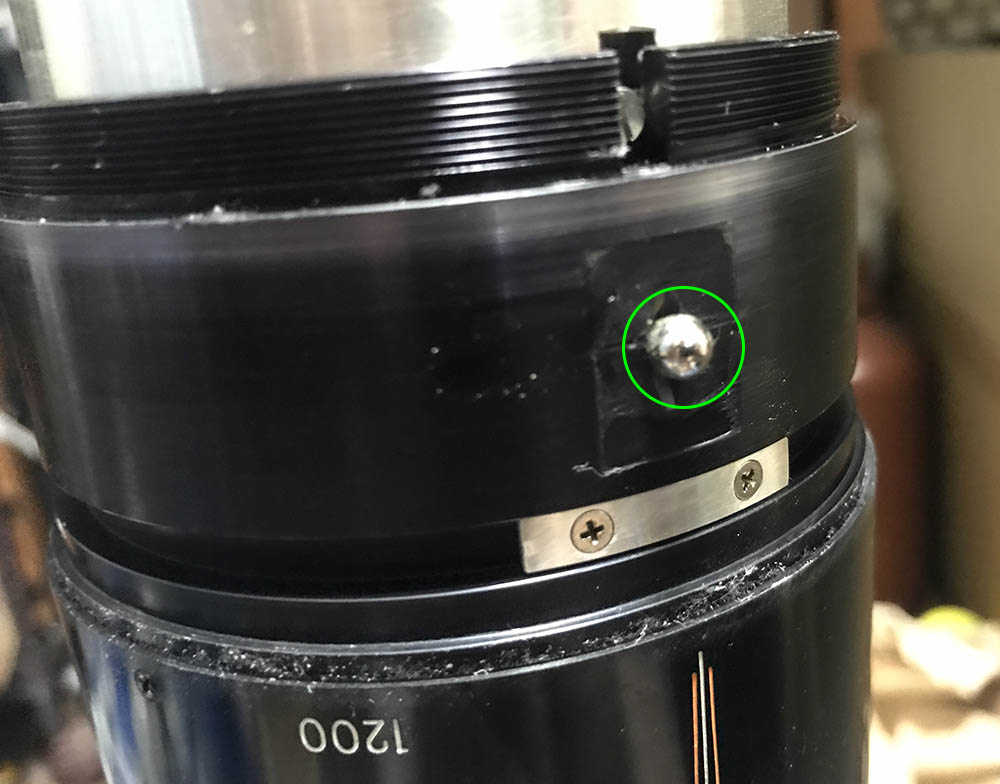
Locate and extract these.
Remove this collar.
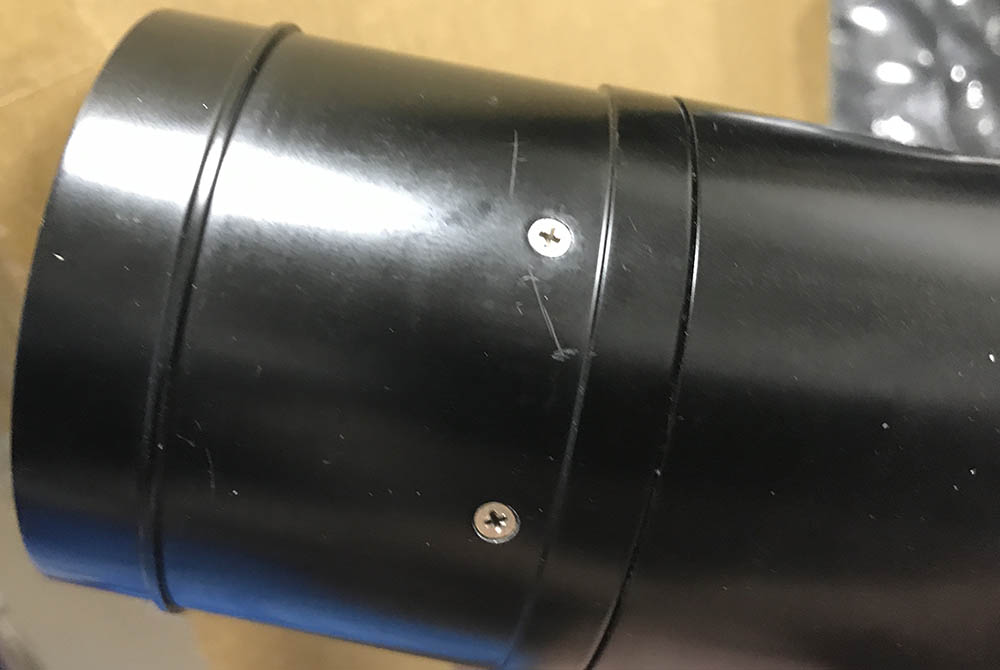
Heat these well in order to unscrew them safely.
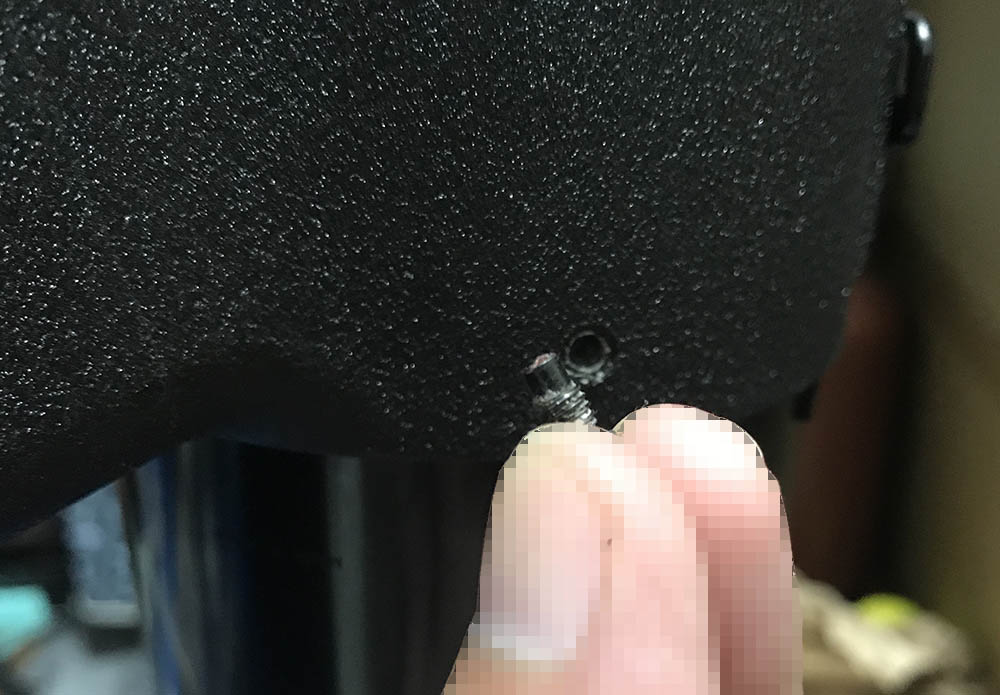
The screws are tough to remove since they were sealed with epoxy and it will only react to heat. Note that the tips aren’t threaded, they’re special screws.
Remove the tripod foot and set it aside.
Be sure not to misplace this bearing ball.
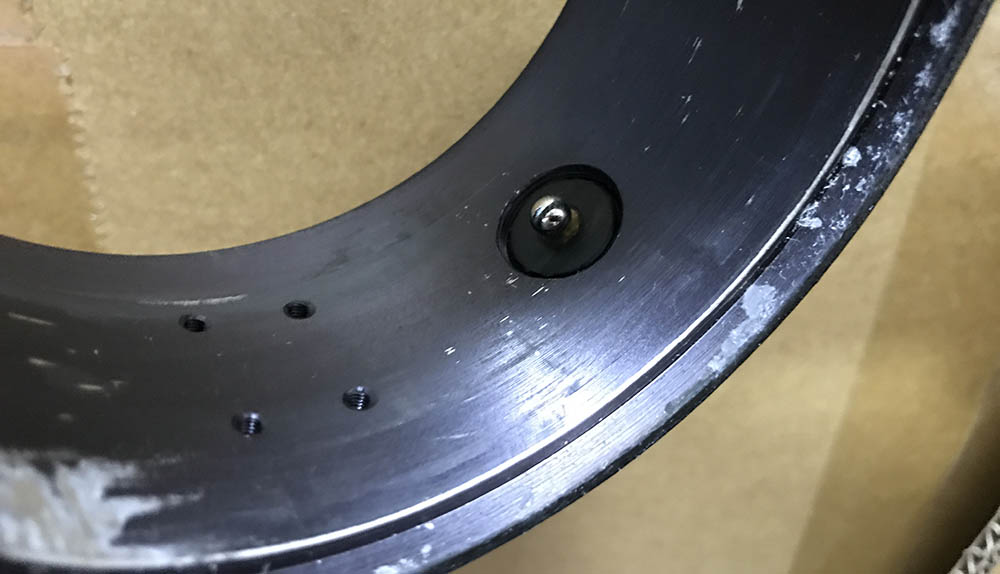
It should sit here. This allows the tripod foot to click-precisely into place.
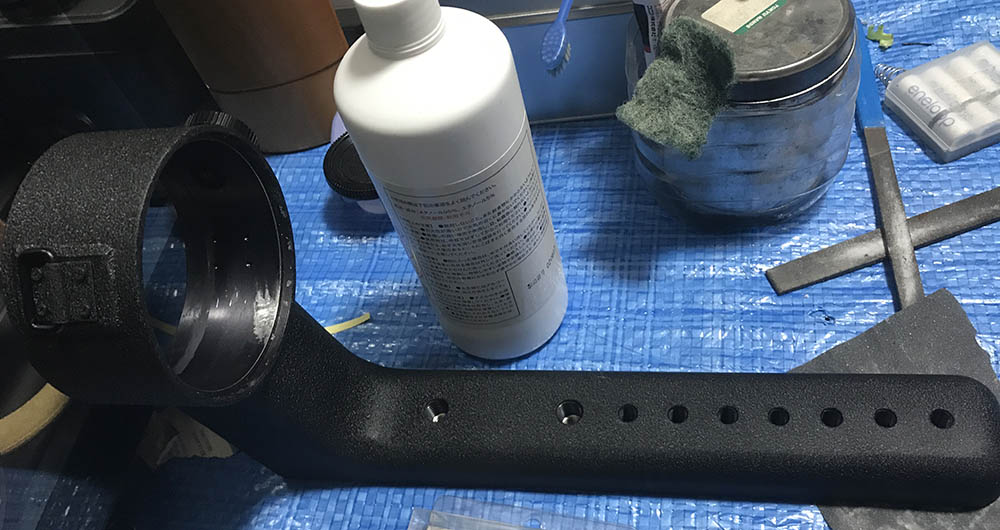
This alone weighs around 2kg. It’s a massive piece of cast metal.
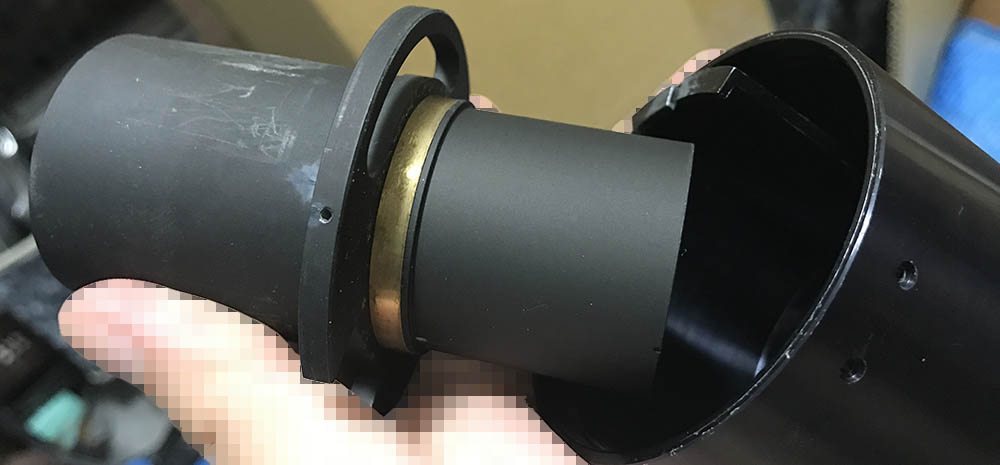
Remove the inner barrel from the rest of the barrel.

Unscrew these and be sure to note how they were before removing them,

Locate and extract these.
Carefully unscrew the rear optical block. Note that there’s a shim here, don’t misplace it.
Remove the screws securing the iris mechanism, Note that this is adjustable so make a few marks so you’ll be able to put it back properly later.
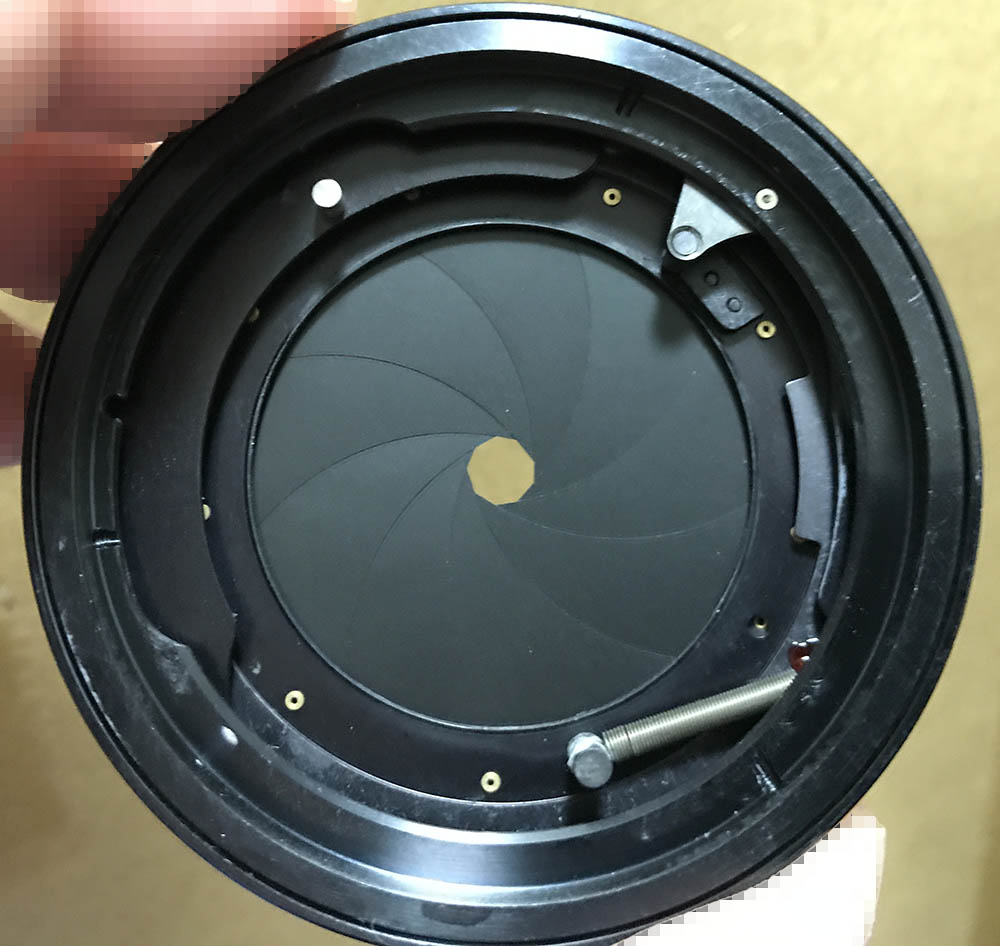
The iris mechanism is impressive. It’s huge and the housing is well-made.
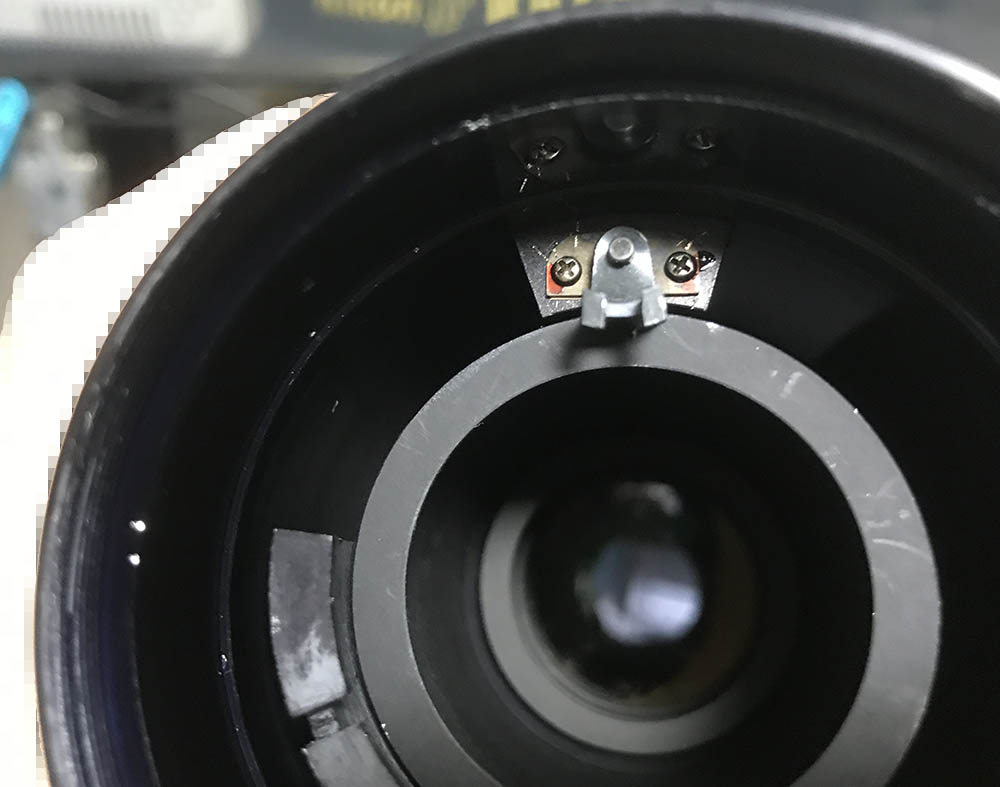
Unscrew these to remove the long actuator rod but be sure to note its position.
Unscrew this part.
These are tough to extract, heating them will make things easier.
They’re sealed with epoxy as evident by the smell and look of the residue.
The rod is long, it links the stop-down lever mechanism to the iris.
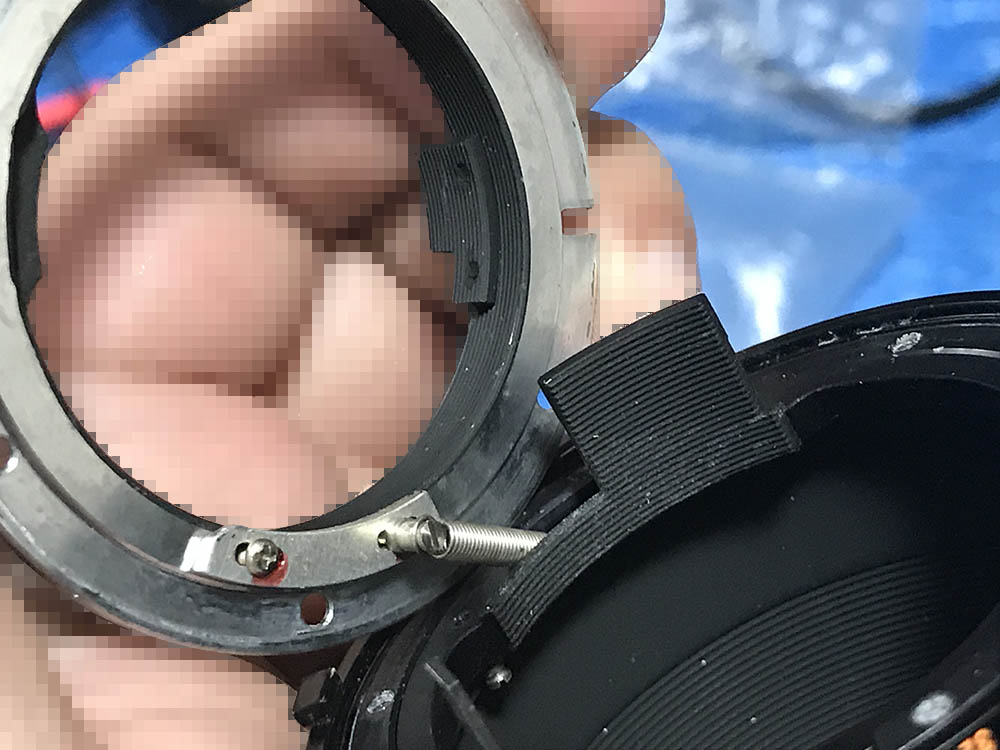
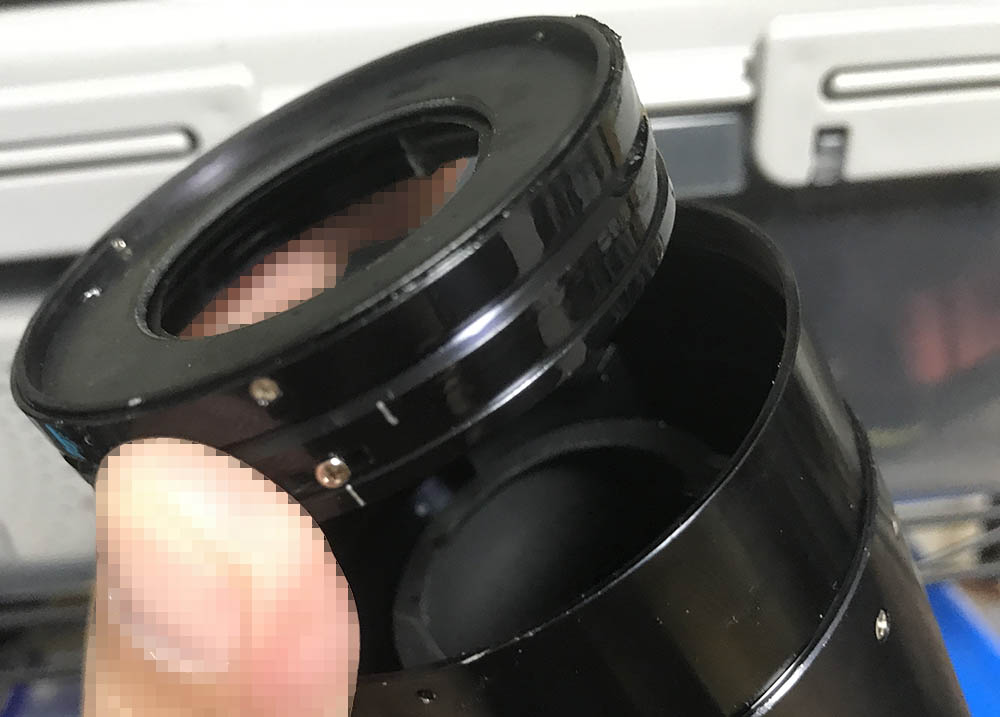
Carefully extract the screws of the bayonet mount to get it off. Many people strip the heads of the screws since they were using the wrong type of drivers. Read how to remove bayonet screws so you won’t get stuck in this situation. Note that there’s a spring here, remove the bayonet mount carefully.
This is the regulator ring, carefully remove it.
Extract these but heat them first just to be safe.
Remove the rear optical assembly and its extended housing.

Carefully extract it and don’t misplace its shim.
Carefully clean the parts, never leave any residue. Scrub the helicoids, I would even polish the threads with a stiff-bristled brush. Hardened dirt can only be removed with a sharp toothpick.
It’s difficult to clean the parts of the barrel since their huge, I couldn’t pickle them in an alcohol bath. What I did was scrub each part really well with strong detergents and warm water. I disinfect the parts with alcohol and naphtha, wiping them well with plenty of lens tissue.
A thin-type of grease works best with this because the focus-throw is long, it will give the best results. Never apply too much grease or it will migrate to the iris mechanism and cause an even bigger problem. Only apply a really thin film to the slots of the aperture ring.
Disassembly (Optics):
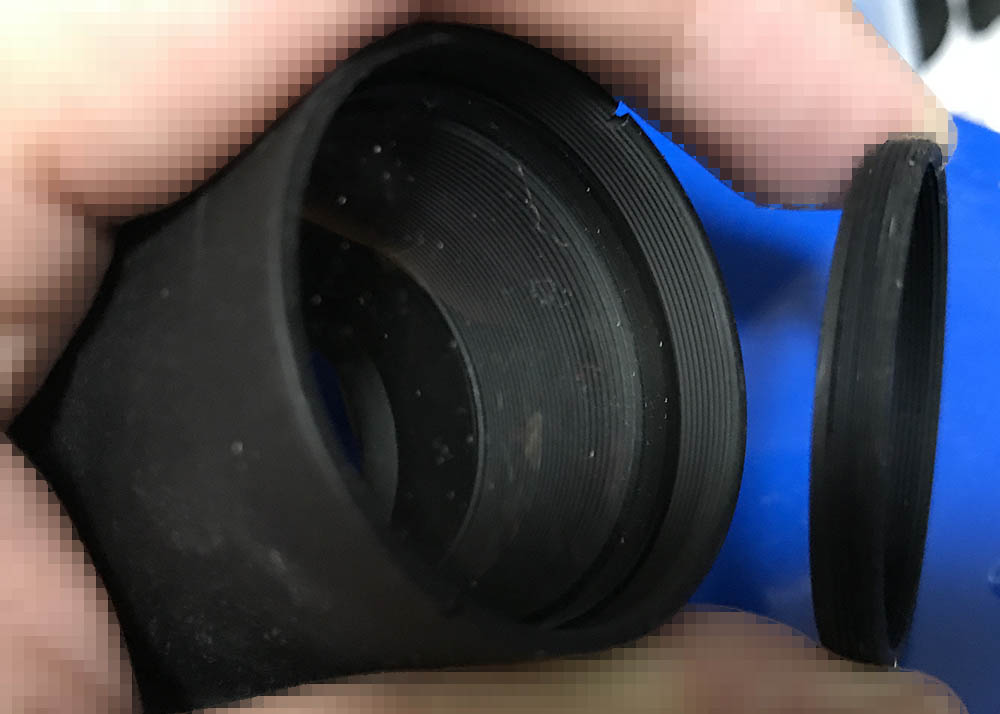
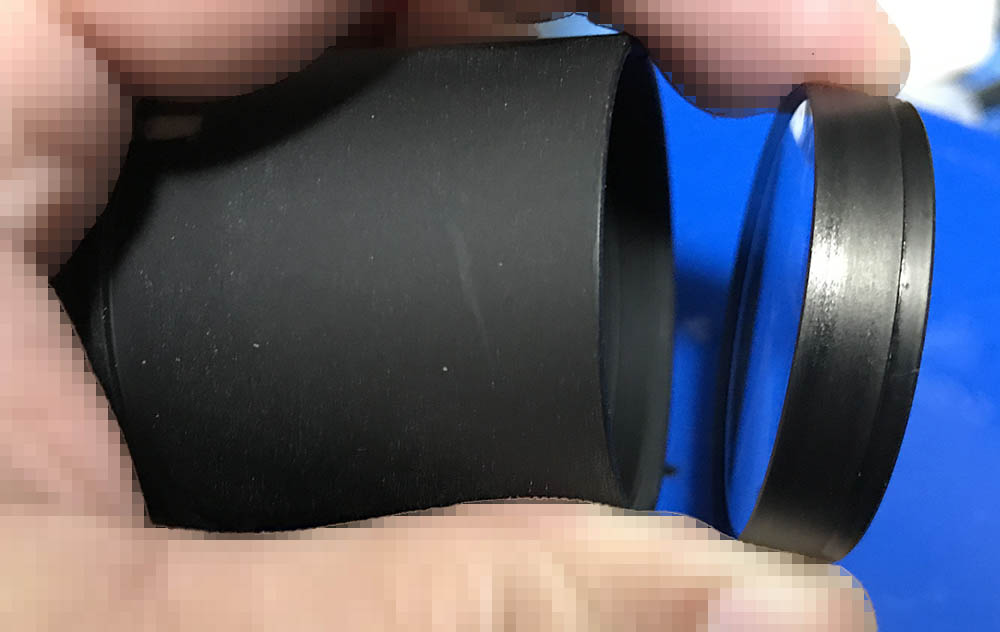
The optics are difficult to service not only because you have a lot of elements to think about but most of their rings were sealed. I had to apply alcohol to the rings repeatedly in order to get some of them off. Special tools were needed to remove them, too. I had to use a couple of special rubber tools that I made from flip-flops and a couple that I bought specially for lens repair. It’s important to note the directions of the groups so you’ll be able to put them back properly. Putting a group back facing the wrong way is not good, you could crack it just by tightening their rings.
Unscrew this collar to get the this element off.
Use a lens sucker to remove it and don’t forget to note its direction.
There’s a spacer underneath it. Again, don’t forget to note its direction.
Finally, remove this element and draw a few marks to document it. I made 2 dots at the leading-edge so I will know that it’s the 2nd group from the rear and where it should be facing.
Unscrew this collar.
Carefully extract the 9th group and don’t forget to note its direction.
Remove the spacer
Extract the 10th group with a lens sucker.
The 7th group can be extracted once its collar is unscrewed.
Extract the group with a lens sucker.
Remove this spacer.

Extract the 8th group with a lens sucker.

Unscrew the housing of the 6th group to remove it. It’s sealed to its housing so don’t bother removing it. You’ll be able to access the other groups easily from here. Since it’s still clean I just cleaned the rear of the 5th group.
Clean the glass carefully. If your lens has fungus, read my article on how to clean lens fungus. Do not use the solution at full-strength, thin it with distilled water. Don’t soak the elements in the solution for too long or it will dissolve the coatings. The cemented group is fragile so handle it with a lot of care.
Conclusion:
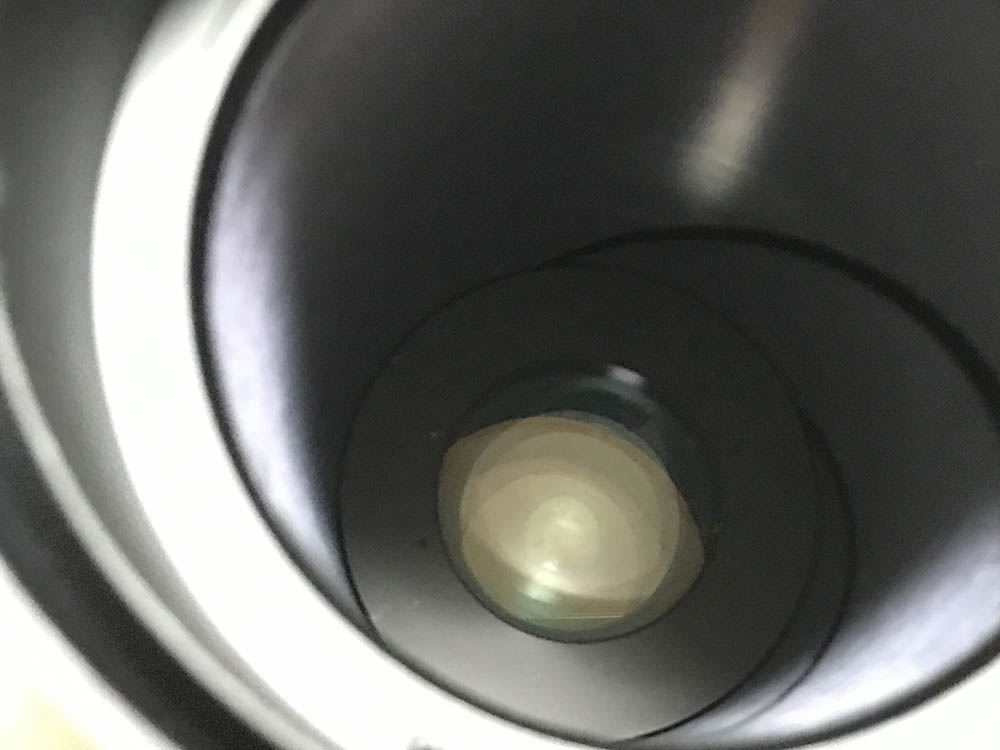
This took me a few weeks to service with most of that time spent on cleaning the parts or waiting for the seals to dissolve with alcohol because I couldn’t flood the parts with solvents. The lens came to me in terrible shape with the rear of the front optics assembly literally dripping with oil. The grease evaporated and condensed at the surface of the glass, it formed a thick layer of grease and looked like honey. The inside was filthy, fungus has infected most of the parts. I tried to dismantle everything but I couldn’t remove some of the parts so I just left them alone. It would be ideal if I could dismantle it down to the last piece.
It’s now clean. At least a lot cleaner than how it used to be. Yeast has damaged some of the coatings but it isn’t as bad as I thought. I did whatever I could so it’s now time to send it to its owner.
Shooting with it makes me feel like a soldier aiming at a Panzer using a Bazooka. The Nikon Df is dwarfed by it and it absolutely isn’t something that you could shoot with hand-held.
I am proud to present this special lens to you, you won’t find anything like this elsewhere. I want to make this the best site for all Nikon-related things, this is just one of the articles that makes this blog special. Here’s what I have for you this Christmas, I hope that you’ve enjoyed it.
Thanks for following my work, if you liked this article please share this with your friends so it will get more views. This site earns around $1.10 a day, it’s totally reliant on views. You can also support this site, it helps me offset the cost of maintenance and hosting. You are also helping me purchase, process and scan film. This site promotes the use of film so we’re all in this together. See you again in the next article, Ric.
Help Support this Blog:
Maintaining this blog requires money to operate. If you think that this site has helped you or you want to show your support by helping with the site’s upkeep, you can make a small donation to my paypal.com (richardHaw888@gmail.com). Money is not my prime motivation for this blog and I believe that I have enough to run this but you can help me make this site (and the companion facebook page) grow.
Buy me a roll of film or a burger?
Thank you very much for your continued support!
$2.00
Helping support this site will ensure that this will be kept going as long as I have the time and energy for this. I would appreciate it if you just leave out your name or details like your country’s name or other information so that the donations will totally be anonymous. This is a labor of love and I intend to keep it that way for as long as I can. Ric.

Dec 19, 2020 @ 05:02:29
Insane lens!
It seems like back in the day Nikon wasn’t afraid to take a chance once in a while when it comes to specialty tools, sadly I think those days are over, but still a great heritage…
Dec 20, 2020 @ 17:35:57
Peter, you might have missed it, but recently Nikon had spoiled us with a 58mm f/0.95 – yet another big statement lens that only Nikon could have made, so the history continues
Nov 03, 2021 @ 05:36:42
I have a guy offering to sell me this lense.
He wants 1400 CAD for it.
Is this lense viable today and is it worth this price?
Dec 06, 2021 @ 03:23:16
If you don’t buy it, I would