
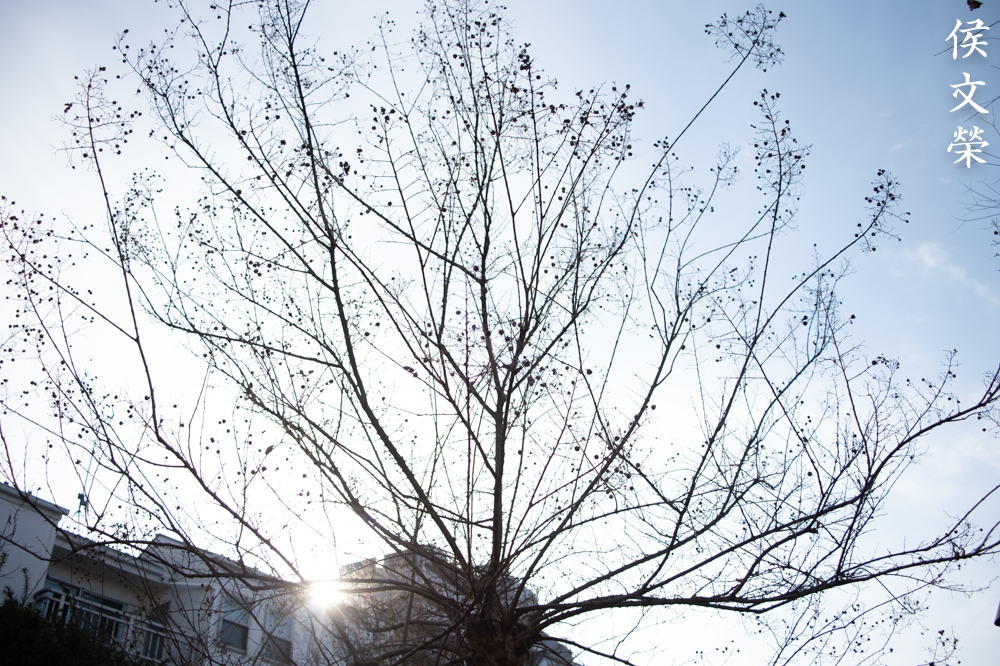
Hello, everybody! Recent events tells us that Nikon won’t be making cameras in Japan anymore, all cameras will now be made from the Thailand plant due to cost-cutting decisions made several years earlier. While it’s a big blow to Nikon’s prestige I don’t think it’s much of an issue since we’ve been using Nikons from the Thai plant for some time now and we’re shooting lenses that were made there for an even longer time. The earlier days of Nikon Thailand are now distant, they have now grown and acquired the precious know-how to create high-quality products. The growing-pains of setting-up an offshore company has all been ironed-out by now. I will show you something in this article that was made in the early days of the Thai plant, it harked back to the days when it was only relegated to manufacturing cheaper, bottom-shelf products but look at them now, they could now produce some of the best cameras on the planet! Let’s all support Nikon Thailand.
Introduction:
The AF Zoom-Nikkor 35-80mm f/4-5.6D (N) was sold from 1995 to 1999 and was made in Thailand. It replaced a similar-naming lens so it has the “N” suffix meaning it’s the “new” version. The older one was made in Japan, it has a different look which is more “premium”, that was made from 1994 until it was replaced by this one. A big reason for moving production to Thailand is to cut manufacturing costs and with it many of the products that were made there in the early days have a rather cheap feel to them. If you want to make it cheap why not go all-out? The Thai version has noticeably cheaper materials and methods used so people looked-down on it, so did I but I think I’ll have to look-back and correct my previous views of the early Thai Nikkors.

Handling is quite standard with all the conventional rings in their right places. The focusing ring is very thin, almost non-existent. Nobody was designing this to be focused manually it seems. The plastic body made this a light, compact but cheap-feeling lens. This is not the Nikkor that many people are used to, in fact, it feels quite cheap even compared to newer kit-lenses. The later ones also have plastic bayonet mounts so I replaced mine with a compatible one that I found in my spares box.
It has an 8-elements-in-7-groups design, a big difference compared to the Japanese version which has a simple 6-elements-in-6-groups design with an aspherical element in the mix. I guess that aspherical element costed a bit more to manufacture and so the optical formula had to be changed in order to cut cost. Cameras used to be a very competitive business back then, even more so compared today because there were more companies in those days that were involved in the game, anything could happen and the fortunes of one company could be tied to the success or failure of a single design.
Its cheap feel is matched by the entry-level Nikons that it was made to complement with. People who bought it and the cheap camera only wanted to take photos on a vacation or just for fun so this wasn’t much of an issue. It did gave the wrong impression to people who cared about the perceived quality of Japanese products but its cost justified it.

It still works surprisingly well with modern Nikons such as this Nikon Df. The aperture ring makes this a great camera for older Nikons as well as newer ones so long as there’s a motor on the camera to drive the autofocus.
It’s noisy when focusing but that’s just the way it is, back in the day you could recognize who is shooting with what brand just by listening to their setup, Nikon and Minolta shooters created the most noise but that’s just how it was. I’ve heard of someone who was told-off at a wedding since his camera was noisy, those were the days.
Learning how your lens performs is key to maximizing its use. You will learn how to utilize its strengths and avoid its weaknesses. This knowledge helps in determining which lens to bring on a job. I shot these pictures from f/4, f/5.6 and f/8 at the wide-end, f/4.5, f/5.6 and f/8 at 50mm and f/5.6, f/8 and f/11 at the longer-end, these are the most common apertures that people would want to use it and we’ll see the most changes happen with these values. The photos were shot with my Nikon Df.


(Click to enlarge)
Distortion at the wide-end is horrible, almost approaching fisheye-levels. It’s a lot better at the long-end which is quite impressive as it’s not obvious at all.

This is how it looks like at 50mm, you’ll notice some barrel-type distortion, I suspect that it will be better when you zoom it to around 60mm or so.


(Click to enlarge)
Vignetting is kind of heavy wide-open at 35mm and 50mm. It gets better by f/5.6 but won’t improve even at f/8 which I find unusual, I doubt that it will get any brighter when you stop it down. It’s much better at 80mm, the corners don’t appear as dark but the strange thing is they seem to stay the same even up to f/11. I haven’t seen anything like this at all.


(Click to enlarge)
Flare resistance is not bad at all but you may see it cover the whole frame in terrible situations where it will subdue the contrast of your photo, making it look washed-out. You will see blobs form in your frame but this lens is quite resistant to it, in fact, if performs a lot better than many expensive zooms.


(Click to enlarge)
The bokeh quality is ugly at worst and mediocre at best but this is expected of it as it’s a cheap zoom that was made for an undemanding demographic. You’ll have to be careful with the things you have in the background to prevent the ugly-looking artifacts from forming. Positioning your subject closer to you and the background a lot further helps make the blur looks smoother.


(Click to enlarge)
Chromatic aberration seems to be well-controlled except if you’re shooting difficult, backlit situations scenes. Apart from that you’ll see it when shooting wide-open but it’s not that bad at all. It improves considerably by the time you stop it down by 1-stop and you’ll only see traces of it when you stop it down by 2-stops. I’m quite impressed by how this handles it even in tough situations so long as you expose your shot properly and it isn’t backlit. Spherical aberration isn’t so much of an issue and it’s not worth talking about with this lens.


(Click to enlarge)
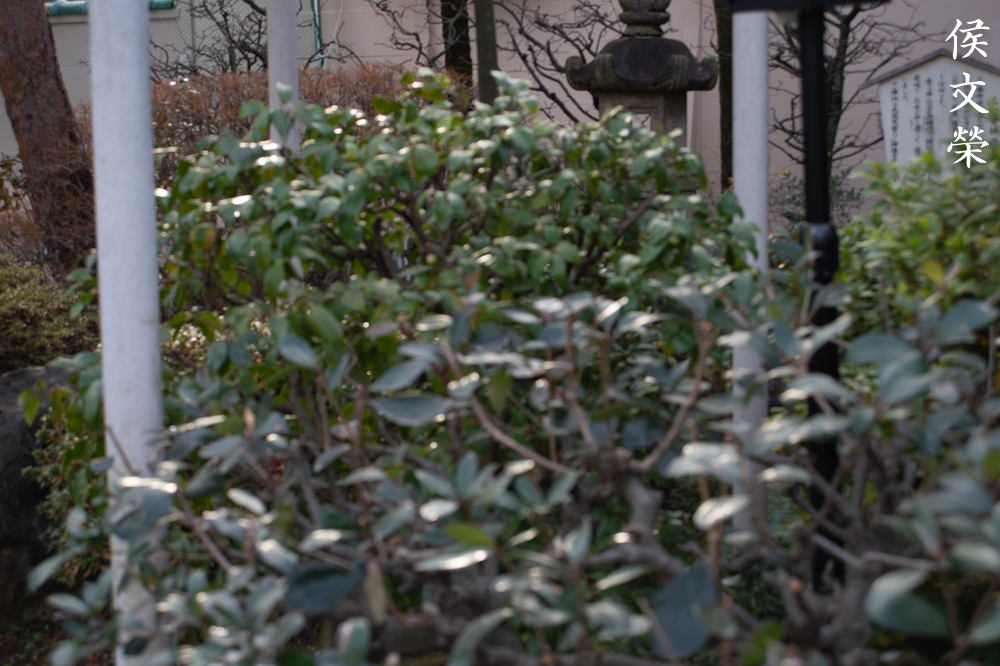
Sharpness looks quite good wide-open, the center looks nice with adequate resolution. The corners don’t look bad either but obviously not as good as the center and they will never be equal even at smaller apertures. The center improves some more when you stop it down by 1-stop, the corners will improve a bit but not as much as the center. Stopping it down by 2-stops will improve the center even more, the corners will improve a little bit more but nothing drastic there. I noticed that my lens performs better at closer to moderate distances and it begins to exhibit a slight drop in sharpness as you focus it closer to infinity. Overall, I am impressed by how well it performs in terms of sharpness, it’s more than what I was expecting from a cheap plastic lens.

Lowlight photography isn’t the best situation for you to be using this but it’s still decent when you set your ISO to higher levels.

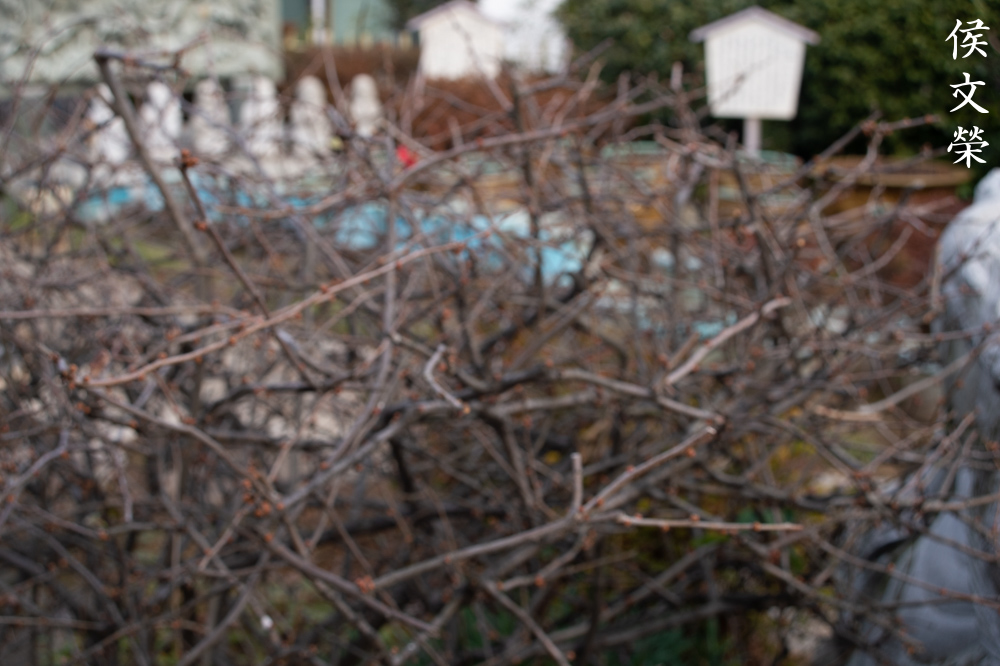
Distortion will still be obvious even if you angled your straight lines carefully. It has that much so you’ll have to be extra-careful with framing your straight lines.

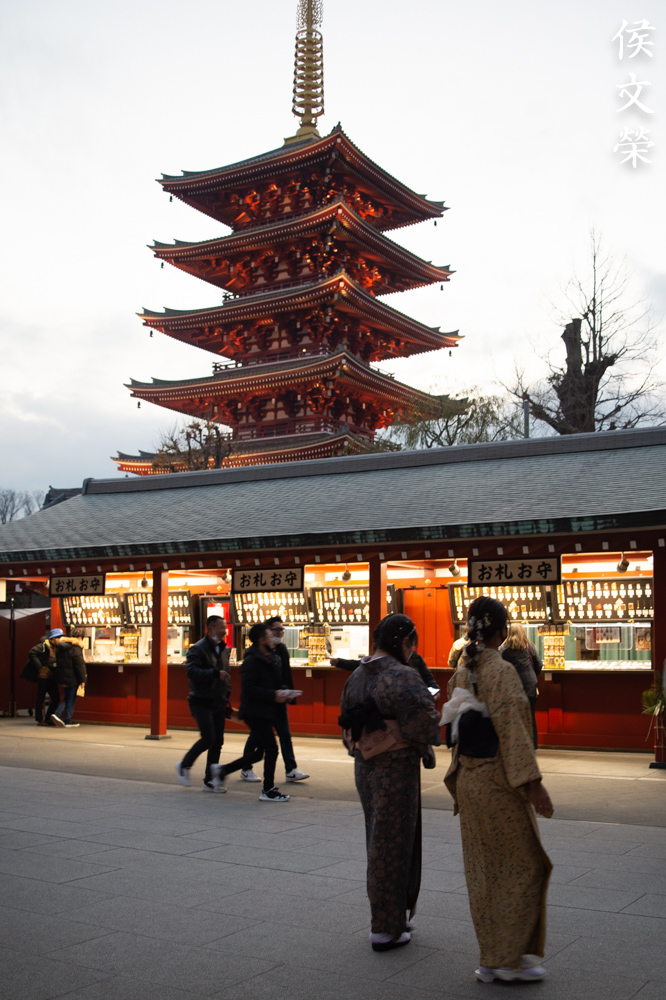
The effects of distortion isn’t as obvious in these shots since the straight lines aren’t long but you’ll still notice it when you look carefully at the pagoda to the right.

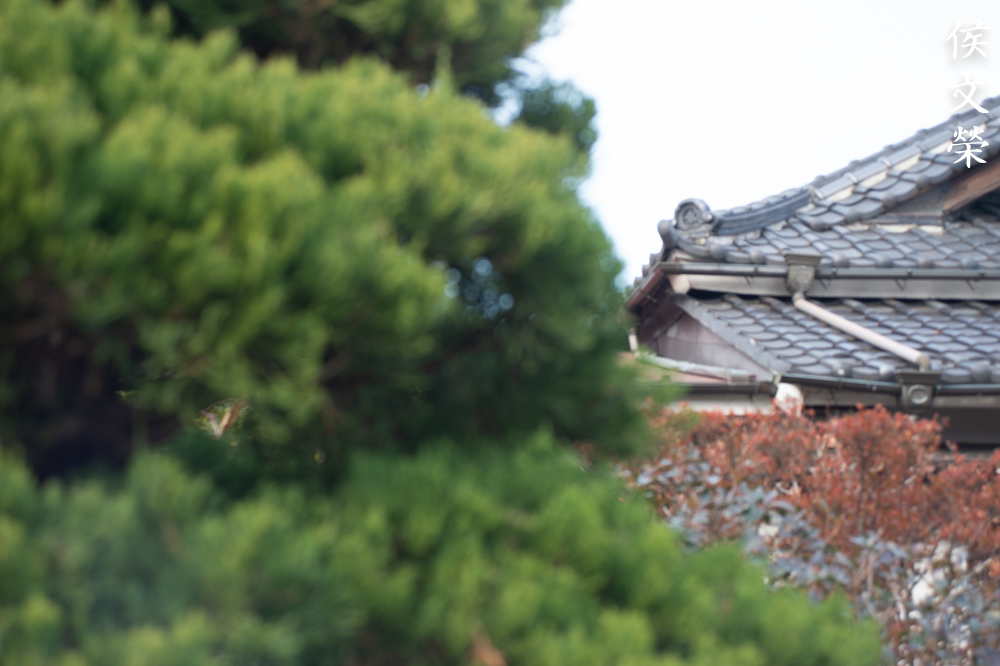
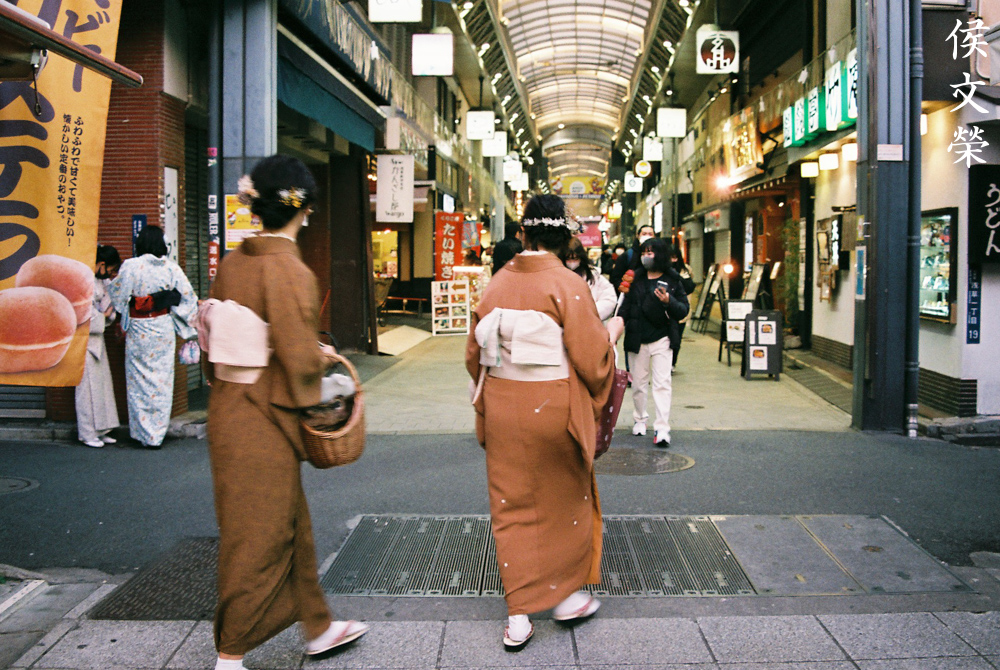
Zooming a bit to the longer-end will help minimize the effects of distortion and you’ll able to hide it better. It’s still there if you look at the beam on the roof but it’s not as bad as it is on the wider-end.

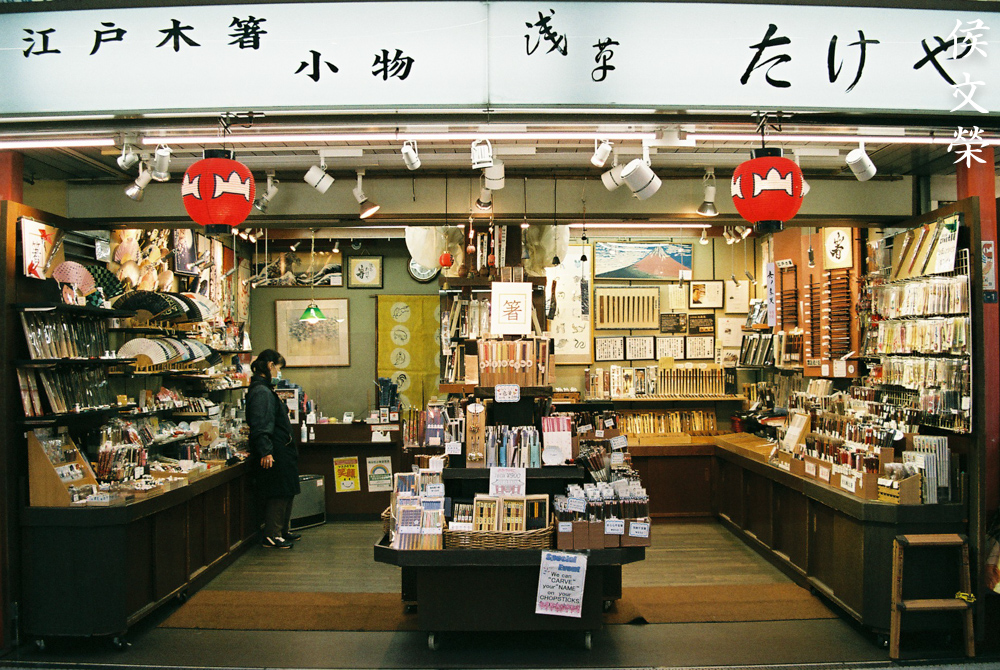
It’s able to take decent photos even wide-open but it’s not going to be as good as more expensive lenses. This is acceptable if you ask me, it’s better to have a mediocre photo of something useful rather than a sharp, straight and clear one of something useless.

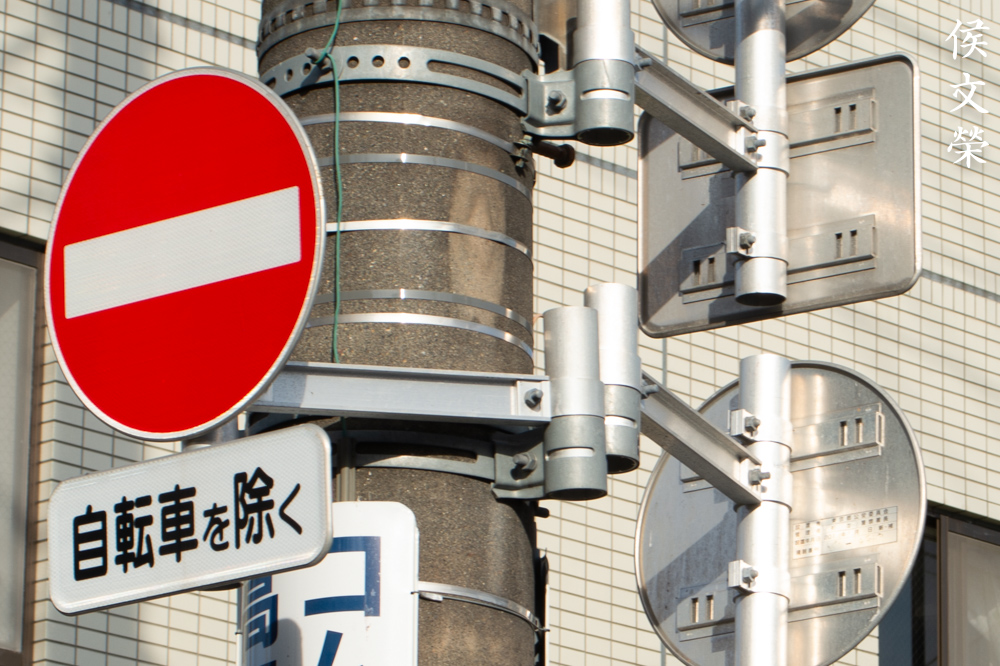
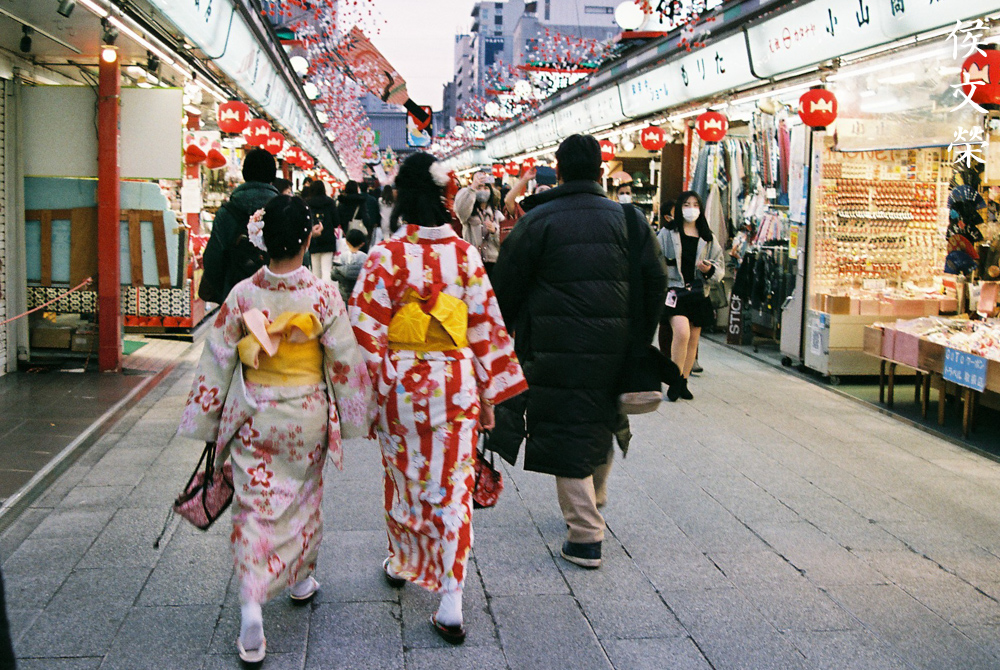
The amount of distortion at the wide-end makes it almost look like you’re shooting photos with a fisheye lens.


(Click to enlarge)
Despite its many limitations I was still able to take a couple of useful photos with it. This made me think about my lens choices and I realized that I don’t need expensive gear in order to enjoy photography so long as I am prepared to embrace and enjoy the act of taking photos itself without thinking about the gear I’m using.
Let’s now check some film photos. Film has a unique look that is hard to simulate with a digital camera thanks to grain. It reacts differently to light, this means that it could mask a lens’ flaws or amplify them. Since it was designed to be used with film, it’s best that we judge this using its intended medium. Most of these were taken at f/5.6 or f/8 unless there’s not enough light. I used Kodak Color Plus 200 with my Nikon F4 to shoot these.

It’s a great lens for general photography. It’s not the best one out there but it’s certainly one of the most useful thanks to its practical zoom-range.

Not being fast makes this a bit hard to use in lowlight situations, you’ll have to be careful and keep your hands steady in order to minimize the effects of camera-shake.
Horrible amounts of distortion can be seen in this photo, it’s hard to negate this and only shooting at 50mm or so will help alleviate it.

It’s quite sharp when you stop it down to f/8 or smaller. Saturation and contrast looks great for a cheap lens.

It’s a versatile lens that’s perfect for travel photography. This was aimed at the enthusiast and amateur where the only thing that matters is its ability to take useful photos.

Optical aberrations can be seen at areas of high-contrast, this is hard to avoid when you do not have enough light to stop the iris down.


(Click to enlarge)
I was able to take the photos that I wanted with this lens but I had to struggle a bit since it’s not fast enough. I didn’t make it an excuse to not take photos with it, I just imagined how it was back then when all we had were cheap, slow films to use and left everything else to experience and technique, being mindful not to cause any sudden movements while I depress the shutter button. It’s a nice lens for shooting with film, it can take you’re senses back to a time when things were a lot simpler and you just accepted things for what they were.
I highly recommend this lens to anyone looking for a cheap zoom to take on a trip to dangerous places where losing it won’t be much of a setback. These are really cheap these days, I got mine for $4.00 or so and it was in better shape than I expected apart from being dirty. It will be a great tool for the budget-conscious, students or cheapskates will make the most out of it. It can be a useful tool for learning new skills such as knowing how to use a certain focal-length or simply acquiring the basics of photography. It’s a nice zoom for use with cheaper film Nikons, I believe that autofocus zooms made from the mid-1980s to the mid-2000s offer the best value for people who just wanted to take great photos and have a good time. When looking for one of these be sure that the iris is dry and snappy when actuated, a lens with the oily iris problem will be more problematic to service compared to one with dirty optics. Of course, you should always look for ones with clean and clear optics but I would prioritize the state of the iris first for the reason that I mentioned earlier. Operate the rings and be sure that they work smoothly, if anything seems off then chances are the lens had been dropped or abused. Happy hunting.
Before We Begin:
If this is your first attempt at repairing a lens then I suggest that you see my previous posts regarding screws & drivers, grease and other things. Also read what I wrote about the tools that you’ll need to fix your Nikkors.
I suggest that you read these primers before you begin (for beginners):
Reading these should lessen the chance of ruining your lens if you are a novice. Before opening up anything, always look for other people who have done so in YouTube or the internet. Information is scarce, vague and scattered (that is why I started this) but you can still find some information if you search carefully.
I highly recommend that you read my working with helicoids post because this is very important and getting it wrong can ruin your day. If I can force you to read this, I would. It is that important!
For more advanced topics, you can read my fungus removal post as a start. It has a lot of useful information, it will be beneficial for you to read this.
Disassembly:
Servicing autofocus lenses means that you don’t remove anything that doesn’t have to be removed. You work on the things that needs to be addressed and leave everything else alone, keeping the unnecessary trauma to a minimum. In my case I only needed to clean the optics, if this has an oily iris I would have dismantle it down further, almost to the point of a complete teardown. This makes my autofocus lens repair articles more boring and this is exactly the reason why I prefer to document manual lenses for you.

The front optics assembly can be removed with a rubber tool. You may want to apply a few drops of alcohol to its threads but never flood it because it will reach the helicoids and contaminate the grease.

Note that there are shims underneath it, do not misplace or warp anything since these are used to adjust the front-focus of the lens.

Carefully remove and store the shims in a safe place.
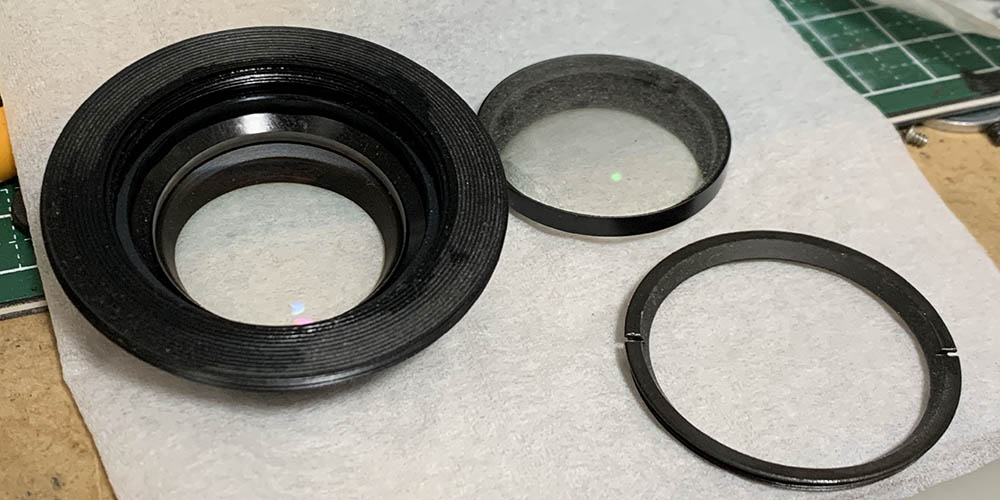
The front element can be removed with a lens spanner. Applying a bit of alcohol will help soften its seal. The threads are made of plastic so be careful not to cross-thread it when you reinstall the retainer ring.
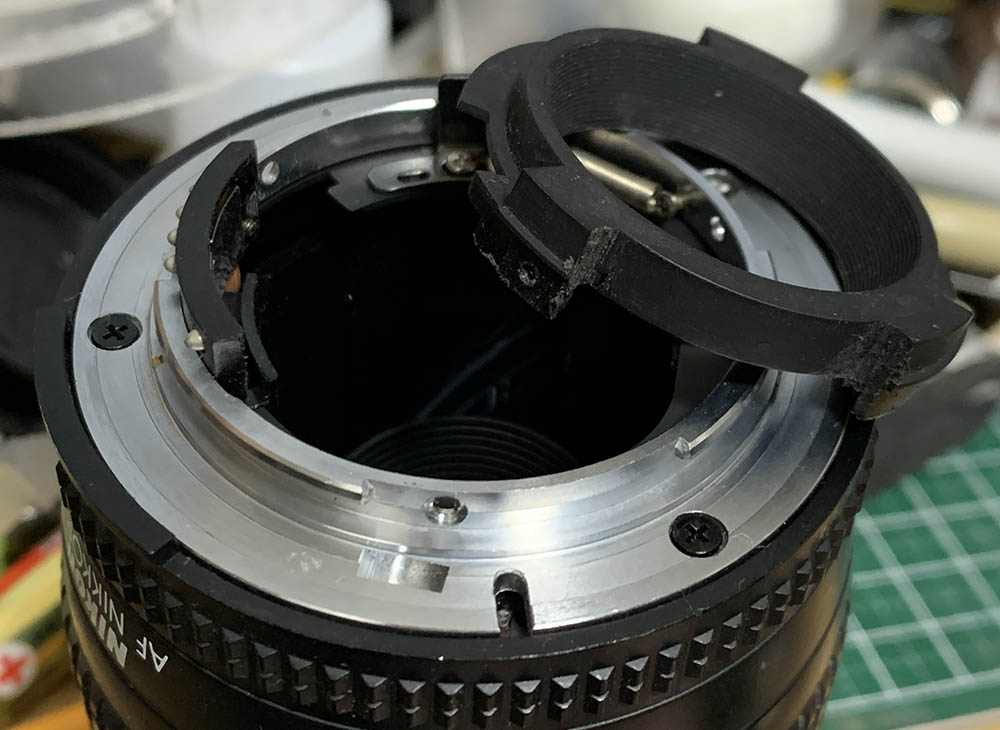
Extract 3 screws at the throat of the bayonet mount in order to remove the rear baffle. There are 2 other ones that are smaller that secure the contact-block and you should extract those, too.

Extract the screws of the bayonet mount so you can remove it. Many people get stuck here because they don’t have the right tools and strip the screws. To prevent this from happening to you, read my article about how to remove bayonet screws. Follow my guide and that should help educate you on how its done and which drivers you should use.
Carefully remove the bayonet mount. Note that the spigot for the screw-drive is still attached to it, remove it and store it in a safe place. Clean its hole carefully to remove any traces of gunk.

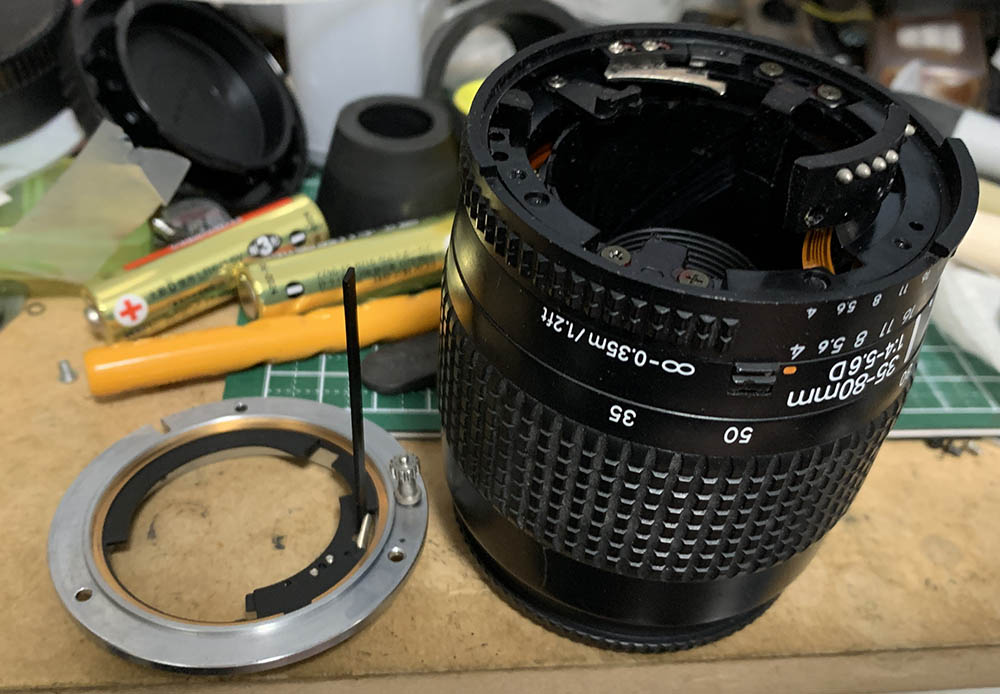
Carefully remove the aperture ring so you could reach the rear element better. Upon closer inspection I didn’t have to clean the rear optics assembly so I just left it alone, that save me a lot of time because it’s not simple to remove without further dismantling.
Clean the glass carefully. If your lens has fungus, read my article on how to clean lens fungus. Do not use the solution at full-strength, thin it with distilled water. Don’t soak the elements in the solution for too long or it will dissolve the coatings. The cemented group is fragile so handle it with a lot of care.
Conclusion:
Since it’s an autofocus lens it wasn’t essential to dismantle it completely for an overhaul so I just cleaned what needs to be cleaned. It took me under 0:30 to do the job. This is probably a nice project for a beginner as long as the proper tools are available and my fundamentals are followed carefully. These aren’t expensive at all and there’s no real damage done if you screwed this project.
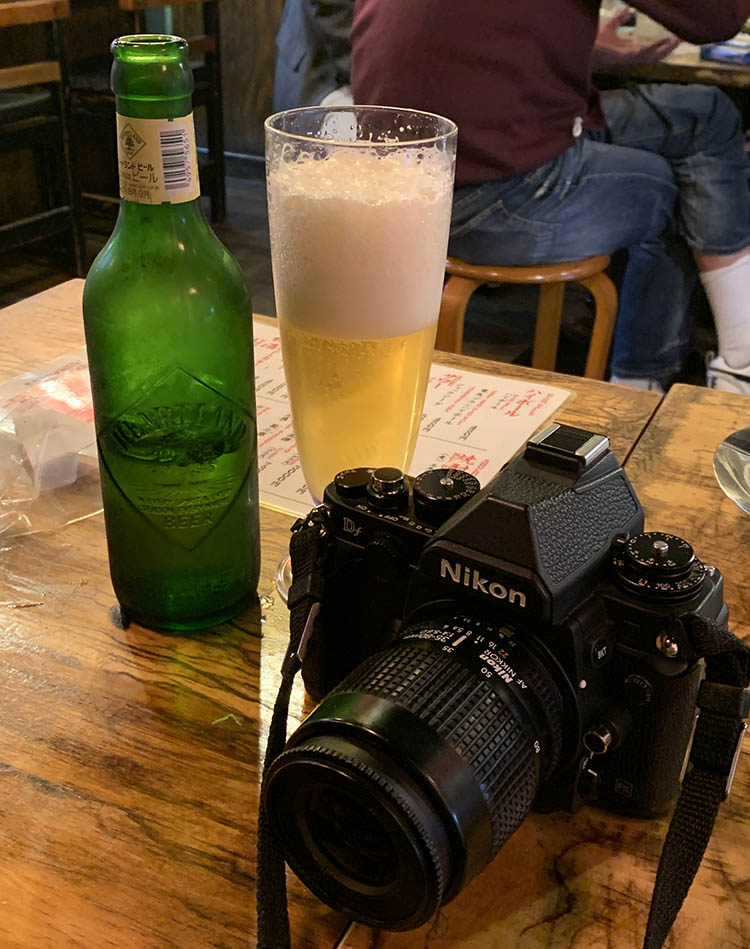
Time to enjoy a couple of bottles of ice, cold beer. It’s time to celebrate the success of another project.
Thanks for following my work, if you liked this article please share this with your friends so it will get more views. This site earns around $1.10 a day, it’s totally reliant on views. You can also support this site, it helps me offset the cost of maintenance and hosting. You are also helping me purchase, process and scan film. This site promotes the use of film so we’re all in this together. See you again in the next article, Ric.
Help Support this Blog:
Maintaining this requires resources and a lot of time. If you think that it has helped you or you want to show your support by helping with the site’s upkeep, you can make a small donation to my paypal.com at richardHaw888@gmail.com. Money isn’t my prime motivation for this blog and I believe that I have enough to run this but you can help me make this site (and the companion facebook page) grow.
Buy me a roll of film or a burger?
Thank you very much for your continued support!
$2.00
Helping support this site will ensure that this will be kept going as long as I have the time and energy for this. I would appreciate it if you just leave out your name or details like your country’s name or other information so that the donations will totally be anonymous. This is a labor of love and I intend to keep it that way for as long as I can. Ric.

Aug 27, 2021 @ 15:28:15
I enjoyed your article, interesting as aways and nice to see some photos from Japan…
I just got one of these mounted on a D7000, The cheap quality is kind of charming, it reminds of my early photography days of the mid 90’s when the AF D lenses was the new thing… 🙂