
Hello, everybody! I was out shopping for some ginger. The market is flooded with Chinese ones and it’s hard to distinguish them from local produce but upon closer inspection you’ll find that their colors aren’t the same and putting one close to your nose will even make it easier to distinguish which one came from where. These imported ginger are less-fragrant and the color is a bit paler, they’re inferior but they serve a purpose that is why we see them at the grocers. They’re sold to the budget-conscious who won’t care about where their food came from and the subtleties in food quality. I’m not saying that Chinese ginger is bad, they’re just inferior to the local ones in every manner, that won’t fly with me but it’s good-enough for some people. Today, I’ll show you something similar, a watered-down version of a classic and it was done for the same reason, to cut cost.
Introduction:
The Nikkor-Q 13.5cm f/3.5 Auto featured in this article is the 6-bladed-iris version, an optimization of the older, more expensive 9-bladed-iris version that was sold from 1959 to 1960 with the rare Nikkor-Q 13.5cm f/3.5 Auto (tick-mark) as its most-prominent model. This one was sold from 1961 to 1969 with later ones named Nikkor-Q 135mm f/3.5 Auto which should not be confused with the identically-named Nikkor-Q 135mm f/3.5 Auto which is a different lens with a modified optical formula and a totally-new barrel. The earlier 9-bladed models were difficult and expensive to make due to the intricate design of the iris. Nikon decided to give this one a simpler iris mechanism in order to cut cost, that and a couple of minor internal revisions made this easier to create. It certainly made the accountants happy.

It’s a well-built lens. It feels dense when held, its all-metal construction ensures that it will survive field use in the worst conditions possible.
Its 4-elements-in-3-groups formula is identical to the older Nikkor-Q 13.5cm f/3.5 Auto (tick-mark) which has a slightly-modified optical formula that has its origins from the Nikkor-Q•C 13.5cm f/3.5, Nikon’s first telephoto lens for the 35mm format. It’s safe to assume that this performs similarly to the 9-bladed versions wide-open but it certainly won’t perform identically when stopped-down due to the different iris design and this is why I decided to write a separate article for this.

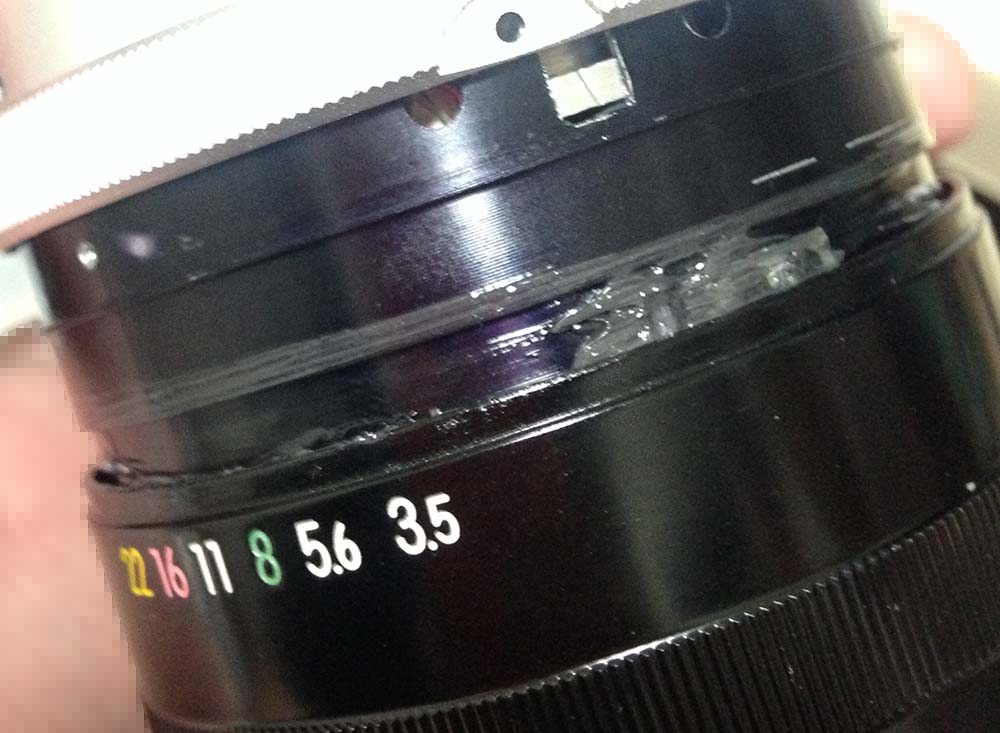
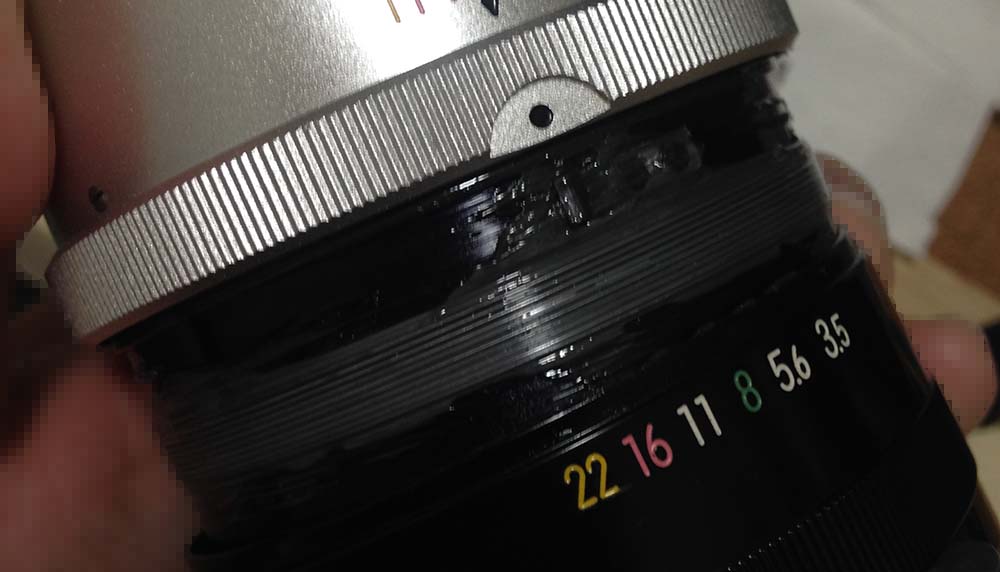
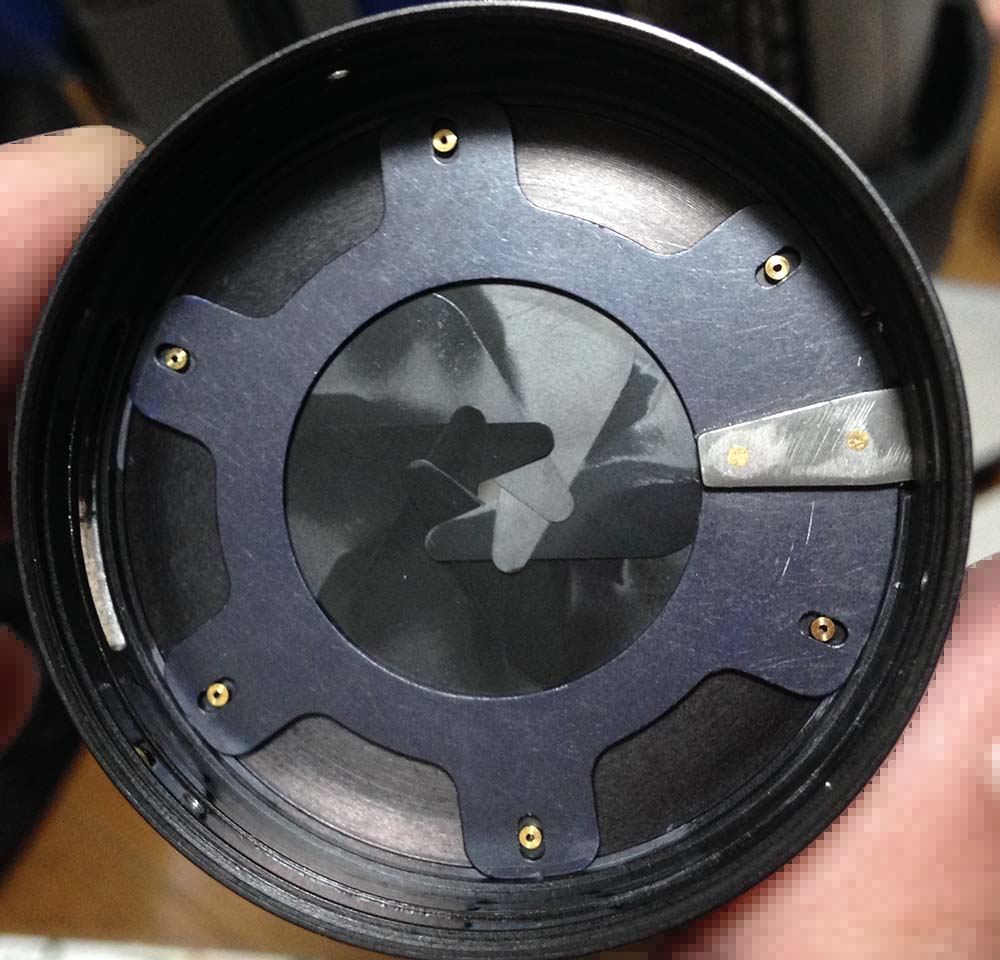
Unlike the Nikkor-Q 13.5cm f/3.5 Auto (tick-mark) or the earlier versions with 9-bladed irises this one only has a 6-bladed iris. This was done in order to cut-cost. It produces angular discs which I don’t like at all. This is the reason why this version doesn’t render blurs as smoothly as the earlier or later versions. Note that the iris is a bit oily, it’s not uncommon to find these with the oily iris problem.

These were made to last. They are beautiful, the colorful markings are informative, too. This one has the scale for the distance in meters, some have them in feet while others come with both. It’s worth nothing that it does not have screws in the bayonet mount but the later ones do. This lens was made with several minor variations which can be confusing to identify. If you’d like to know more about them check Roland Vink’s amazing work. It documents all of the known variations and it will help you identify them.

These were sold with their dedicated leather cases. I’d rather not use these cases because they’re ideal places for fungi to breed.

It’s a great partner with the Nikkor-S 50mm f/1.4 Auto, these will enable you to shoot photos from standard-to-telephoto, they compliment each other very well.
These come in several versions so it’s fun to collect them all. I’ll show you the major ones but there are more minor variants between them.

These are the major variations of this lens family with the earliest model to the right. From right-to-left, these are:
- Nikkor-Q 13.5cm f/3.5 Auto
- Nikkor-Q.C 135mm f/3.5 Auto
- New-Nikkor 135mm f/3.5
- Nikkor 135mm f/3.5 Ai
- Nikkor 135mm f/3.5 Ai-S
I didn’t include the lens in this article here because it’s a minor variation of the Nikkor-Q 13.5cm f/3.5 Auto (tick-mark) which it shares a lot in common with.

It could be safely used with a Nikon Df thanks to its ability to fold its aperture tab. This enables it to use older, pre-Ai lenses safely.
Learning how your lens performs is key to maximizing its use. You will learn how to utilize its strengths and avoid its weaknesses. This knowledge helps in determining which lens to bring to an assignment. I shot these from f/3.5, f/5.6 and f/8, these are the most common apertures that people would want to use it and we will see the most changes happen with these values. These were shot with my Nikon Df.


(Click to enlarge)
Surprisingly vignetting isn’t really much of an issue with it even wide-open, you won’t see any of it from f/5.6. Distortion amount is on the low-side, you won’t even notice it in your shots.


(Click to enlarge)
It flares terribly and you’ll see ugly blobs form when you have bright light sources within or just outside the frame. Using a hood may help but not much when the light source is close to the frame.


(Click to enlarge)
Chromatic aberration is rather high wide-open and is most obvious in overblown areas. You won’t see much of it by f/5.6 and is gone by f/8. There are cases where it may still be visible even at f/8 but that only happens in extreme scenarios. Spherical aberration seems to be under-control and it’s not an issue from f/5.6 on.

Be careful when shooting wide-open on a sunny day or you’ll get terrible chromatic aberration and flare. This was shot intentionally with +2 exposure compensation to make the effect more obvious.


(Click to enlarge)
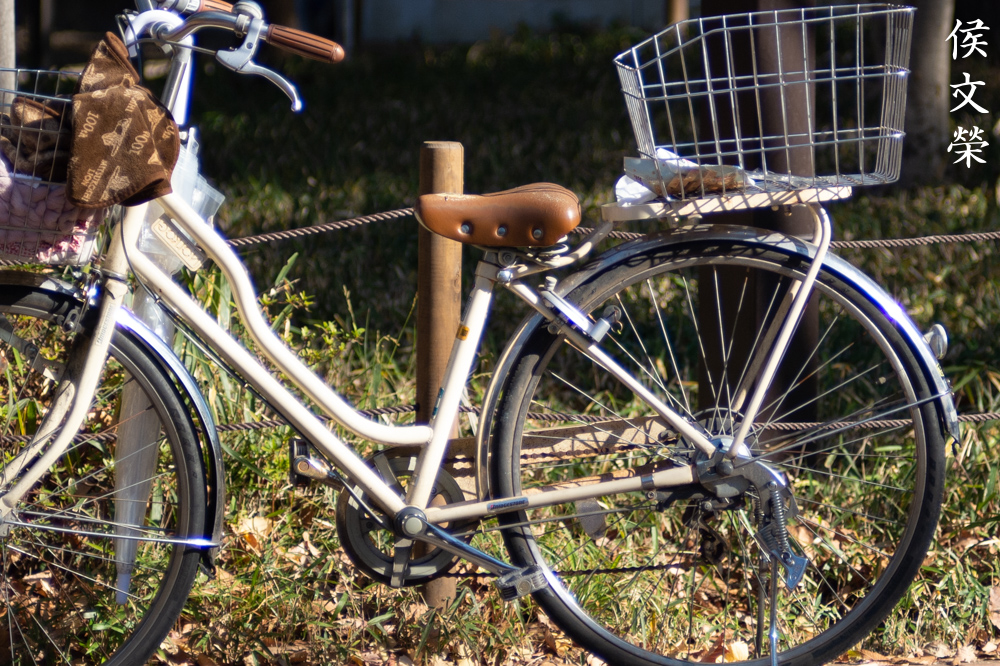
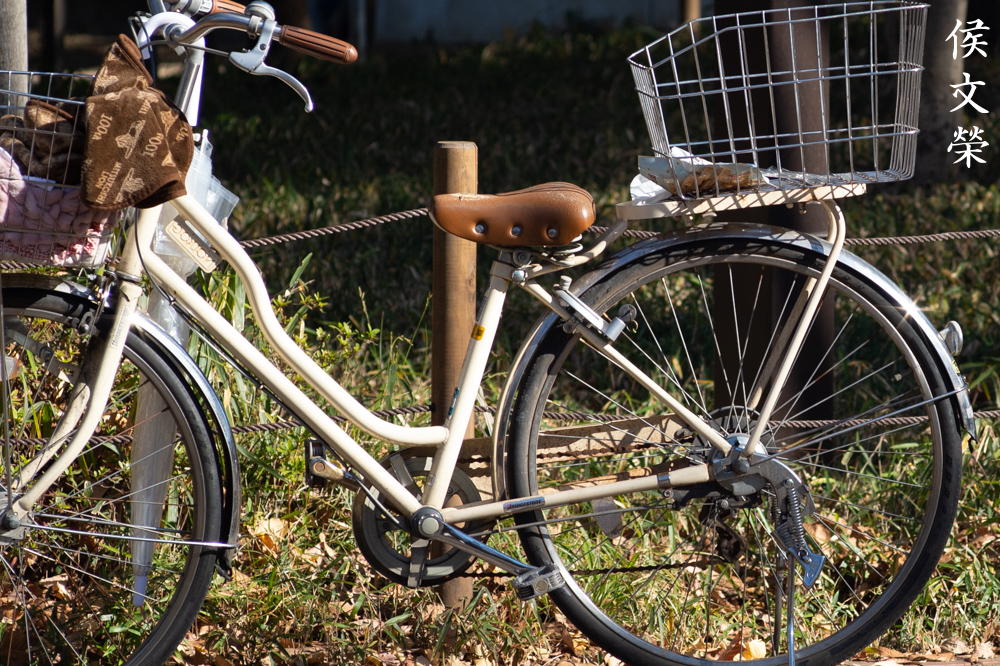
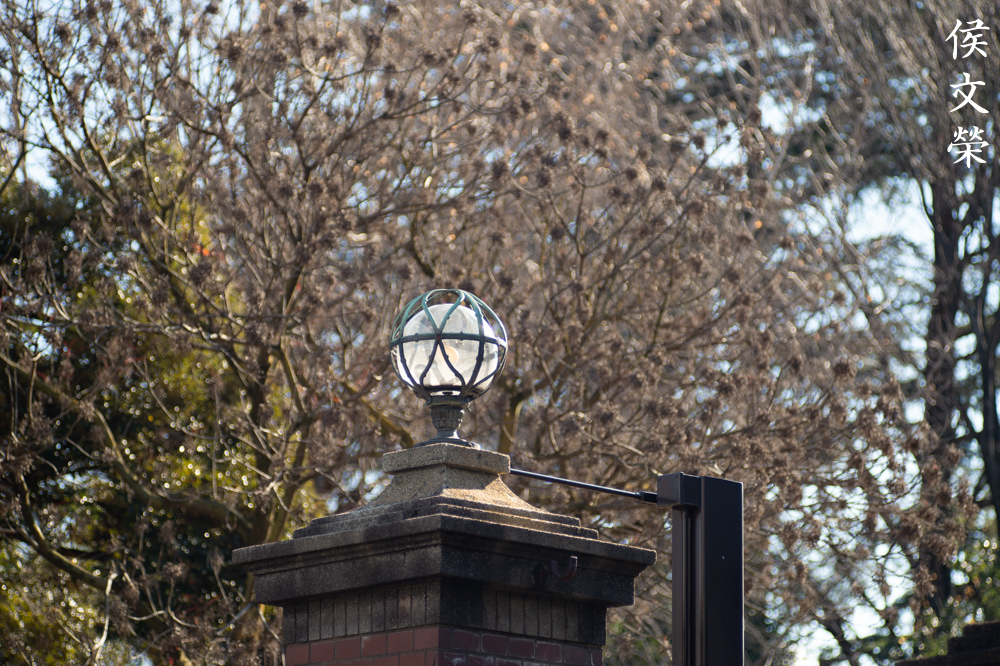
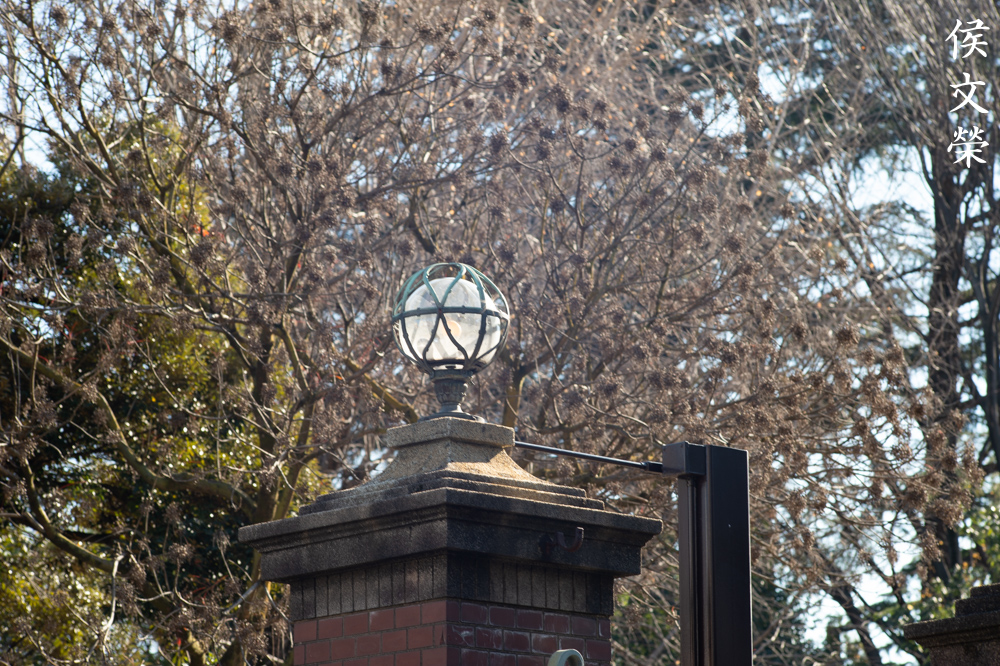
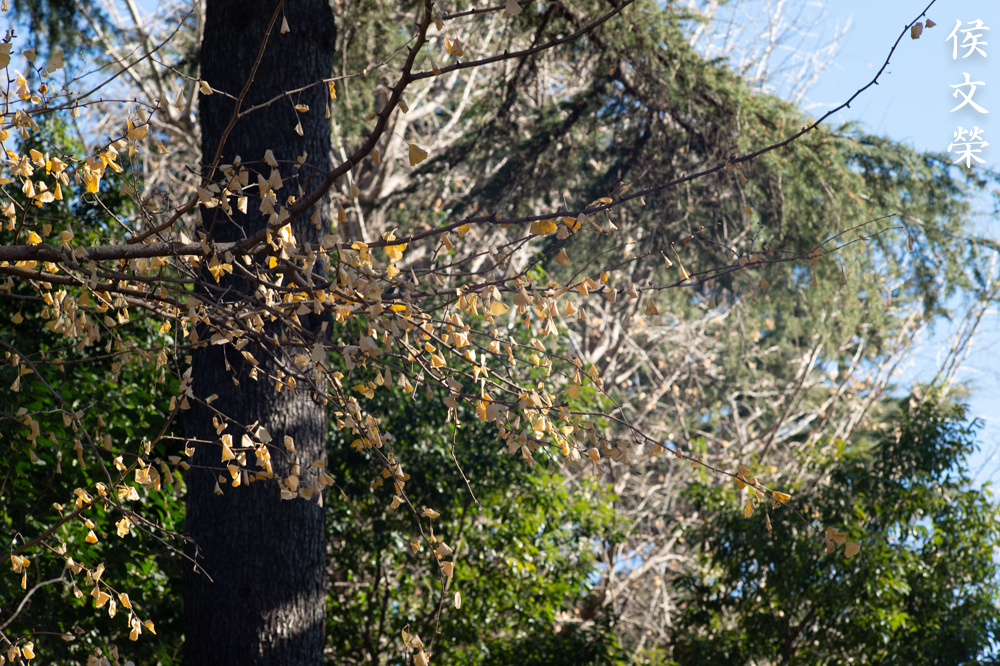
The character of the bokeh seems fine wide-open, it’s mediocre at best. Stopping this down causes ugly, rough-looking artifacts to form because of its 6-sided-iris and its modest maximum aperture. This usually happens if you have details with high-frequency or lines in your background, this is why foliage and twigs aren’t the best things to have in the background if your lens isn’t exactly the best when it comes to bokeh quality. It’s smooth if you know how to avoid this such as positioning your subjects closer to you or avoiding aperture values that will easily trigger this.


(Click to enlarge)
It’s surprisingly sharp wide-open, quite good for an old lens. This is especially true at closer distances, you will notice a drop in performance as you get closer to infinity. Resolution at the center looks great wide-open, this is good, it’s definitely more than adequate. The corners don’t look as good but they’re acceptable. Stopping the iris down to f/5.6 brings the center near its peak in terms of performance and the corners look a lot better. It’s acceptable even at the extremities. The improved resolution brings the whole frame up another level. It looks great in the center at f/8 but it’s not a big jump from f/5.6 The biggest difference can be seen at the corners, the extremities look a lot better but still not as nice as the center. Overall, this is a very sharp lens even by recent standards.

This is how sharp it is at the center when shot at its closest focusing distance. It’s quite impressive, some of the best I have ever seen from a vintage lens.
Contrast and saturation looks great, it appears to have a neutral tone.

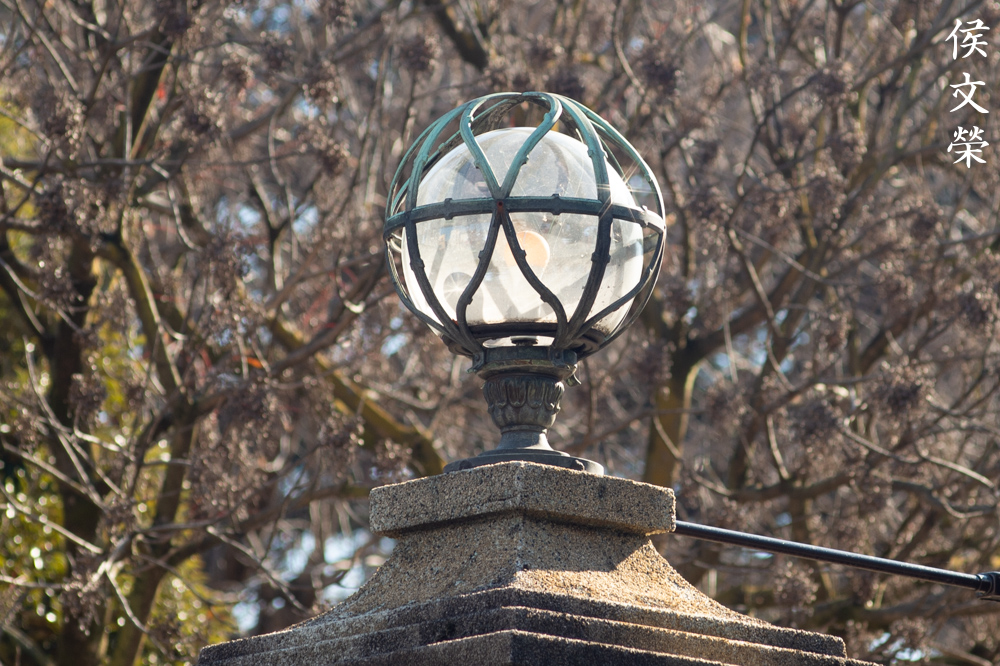
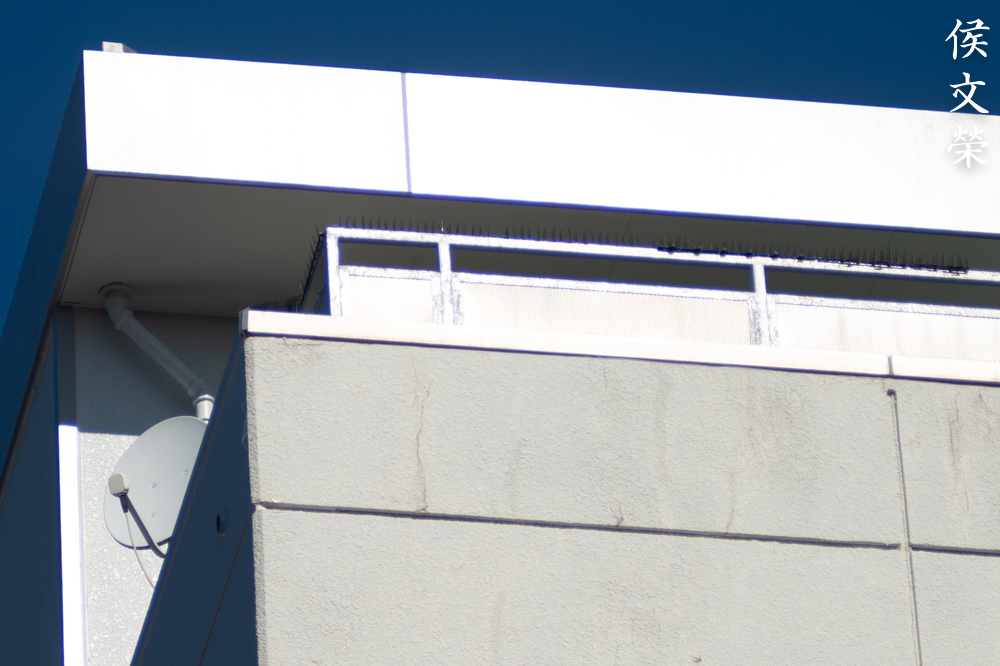
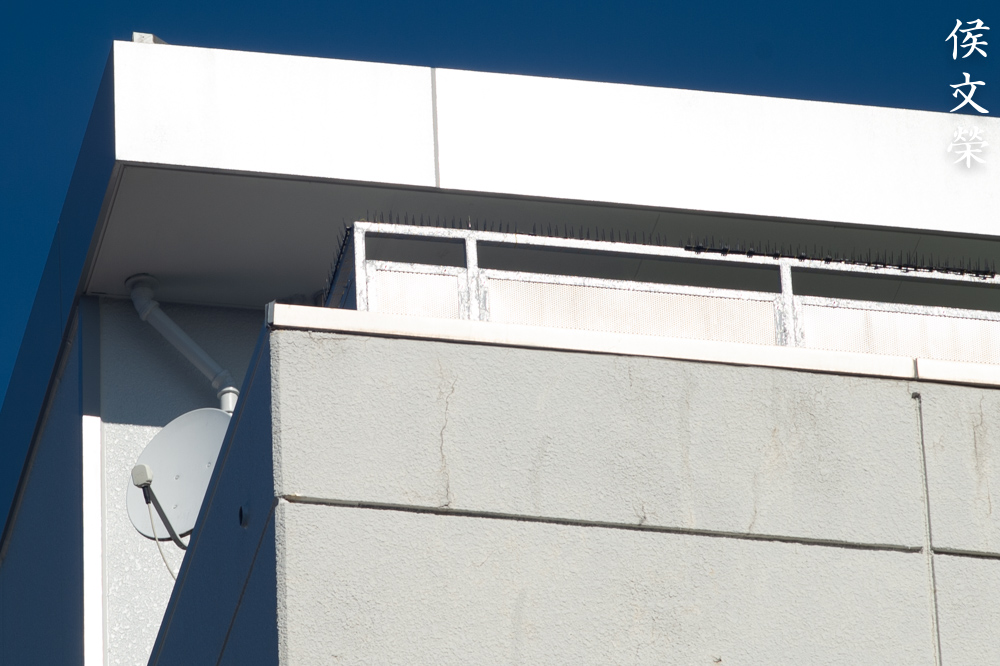
A 135mm lens will give you great frame compression so you can take photos like this. Its distortion amount is rather low so you can use it for taking photos of architecture and art.

Placing your subjects closer to you with the background really far will help avoid the ugly, rough-looking mess from triggering in the blurred areas. You’ll see a bit of that here but thankfully it’s not obvious.

It’s great for candid shots since 135mm will give you enough reach for people photos. Focusing with it isn’t the best when your subjects are moving since the shallow depth-of-field won’t give you enough separation for you to distinguish which part of the frame is in-focus or not.

This is a heavily-cropped photo. I couldn’t get closer to it so I had to crop the photo just to get decent framing. I wished I had the Nikkor-Q 200mm f/4 Auto with me since that is the perfect lens at that moment.

Haze will be a problem when shooting at distant objects, this is caused by pollution and the weather, you can help alleviate this by using skylight filters.


(Click to enlarge)
Here are more photos that I took with it. This is a surprisingly good lens despite having old coatings applied. I enjoyed shooting with it, I think it’s still a great lens for its age and you can take plenty of great photos with it even with a modern digital camera. This may be a great option for portraiture if you’re tired of seeing similar-looking photos that come from most modern lenses.
Let’s now check some film photos. Film has a unique look that is hard to simulate with a digital camera thanks to grain. It reacts differently to light, this means that it could mask a lens’ flaws or amplify them. Since it was designed to be used with film, it’s best that we judge this using its intended medium. Most of these were taken at f/8 unless there’s not enough light. I used Fujifilm Industrial 400 with my Nikon F4 to shoot these.

It’s great for portraiture. Be sure to have your subjects’ faces roughly on the same plane so their faces will be mostly in-focus.

It’s challenging to shoot with it at lowlight situations even if you’re shooting with an ISO400 film wide-open. It is mandatory to shoot with it at slower-speeds or just use flash to compensate.

The character of the bokeh looks acceptable if not good when shot with film at f/3.5, it’s not perfect but it’s not bad either.

Shooting with it at f/8 will trigger some rough-looking artifacts but grain prevents it from looking worse. If this was shot with a digital camera the artifacts would look even worse because there’s no grain to help mask it.

It generally has mediocre-to-nice bokeh quality when shot with film and the focus-transition is smooth, too.

A 135mm lens will give you greater frame compression so objects appear flatter, the effects of foreshortening won’t be as obvious. This enables you to take photos like this, it’s a misconception that you should only shoot with a lens that’s shorter than 50mm to take these kinds of photos.

Of course, a telephoto lens is primarily used to get more reach in order to frame distant objects better. Despite the ugly, muddy look due to poor exposure you can see that it’s sharp at f/8 when shooting distant objects.


(Click to enlarge)
Here are more photos that were shot with film. It’s a nice lens when you shoot it with film, it’s able to give you nice-looking photos that will take you several decades back, giving you that “vintage-look” that people either love or hate. Given the right subject and art direction this is still a great lens today for shooting with film.
This is a nice lens if you like to shoot with something cheap and stylish but the later Nikkor 135mm f/3.5 Ai is a lot better if you could stretch your budget a bit more. In fact, even the later Nikkor-Q 135mm f/3.5 Auto will be a great alternative, too. It has an improved optical design along with a 7-bladed-iris. It somewhat retained the classic look of this one which makes them both confusing to identify at-a-glance. If you’re willing to carry a bit more weight the amazing Nikkor-Q 135mm f/2.8 Auto is difficult to top in terms of cost-to-performance ratio. If you’re set on this one be sure to get one with an Ai-ring, those are rare and may cost you a small premium. It’s impractical just to look for them so any of the alternatives that I mentioned should be seriously considered.
Before We Begin:
If this is your first attempt at repairing a lens then I suggest that you check my previous posts regarding screws & drivers, grease and other things. Also read what I wrote about the tools that you’ll need to fix your Nikkors.
I suggest that you read these primers before you begin (for beginners):
Reading these primers should lessen the chance of ruining your lens if you are a novice. Before opening up any lens, always look for other people who have done so in Youtube or the internet. Information is scarce, vague and scattered (that is why I started this) but you can still find some information if you search carefully.
I highly recommend that you read my working with helicoids post because this is very important and getting it wrong can ruin your day. If I can force you to read this, I would. It is that important!
For more advanced topics, you can read my fungus removal post as a start. This post has a lot of useful information and it will be beneficial for you to read this.
Disassembly (Lens Barrel):
The construction of the barrel is conventional and you shouldn’t have any trouble with it if you’re a seasoned repairer. Since the helicoids were stuck and some of the parts were sealed I had to improvise and not follow the correct disassembly sequence. The photos may confuse you but the sequence shown here is the right way to dismantle this lens. Just read the captions carefully so you won’t get lost. You can read my other articles, its construction is similar to the other versions so reading those will help you understand this better.
Before we continue I would like to remind you that the later ones have screws in the bayonet while this model doesn’t since it’s an earlier one. You can read the Nikkor-Q 135mm f/3.5 Auto article, too. The later one is quite similar in terms of construction to that variant so you’ll get some hints there.

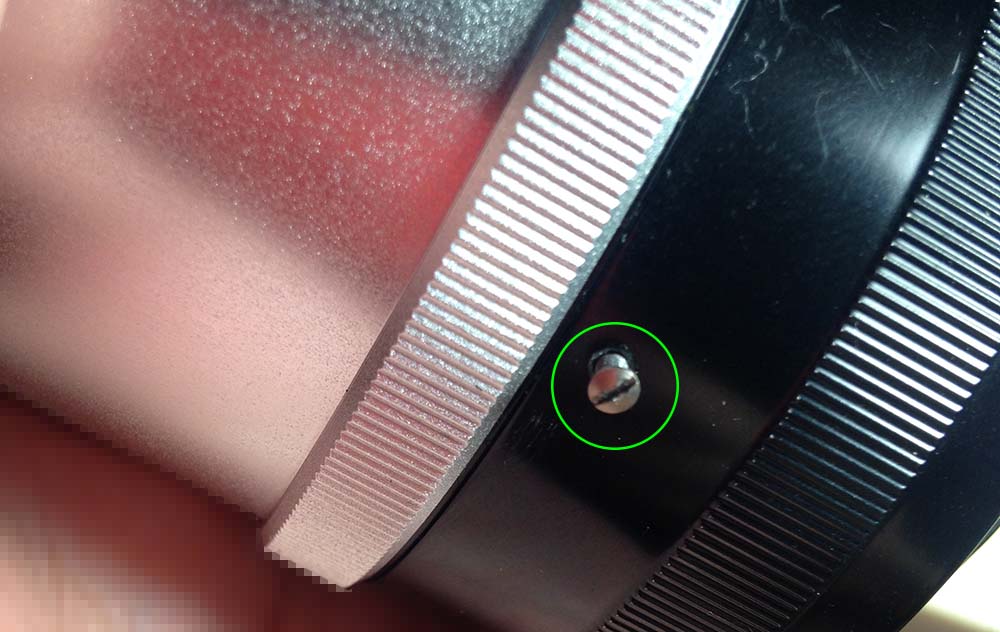
Extract the screws of the focusing ring in order to remove it.
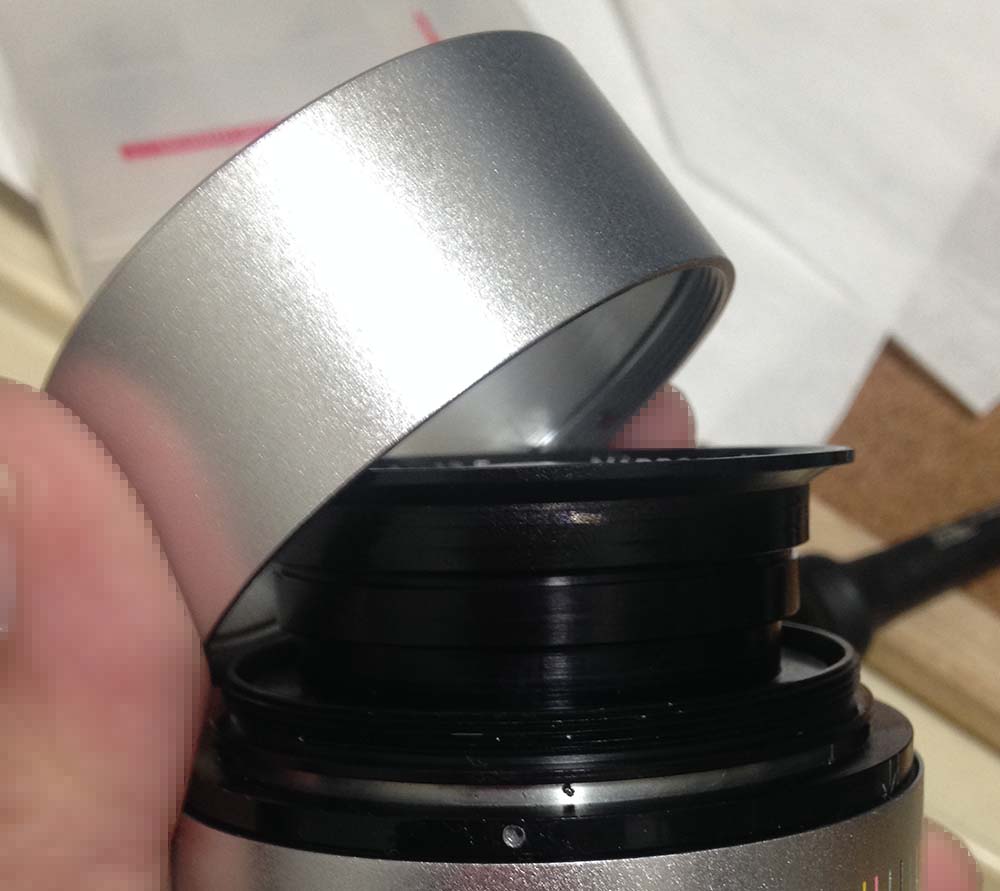
Unscrew the front barrel, if there’s a set screw securing this, extract it so you could remove the front barrel.
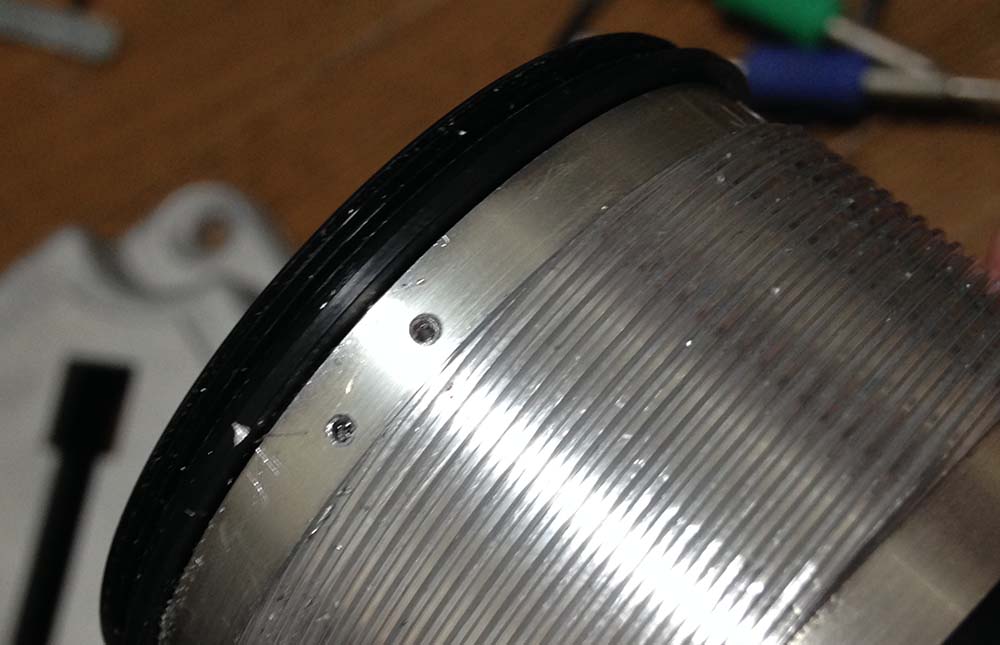
Locate and extract the screws located here.

Pull the objective off once its screws are gone.

Note the position of the aperture ring before you remove it by measuring the gap between it and the grip.
Extract this in order to remove the aperture ring.
Unscrew the aperture ring.
The threads are fine, make sure not to cross-thread it.

You can remove the spring of the aperture ring if you wish, this will allow you to thoroughly clean the barrel.
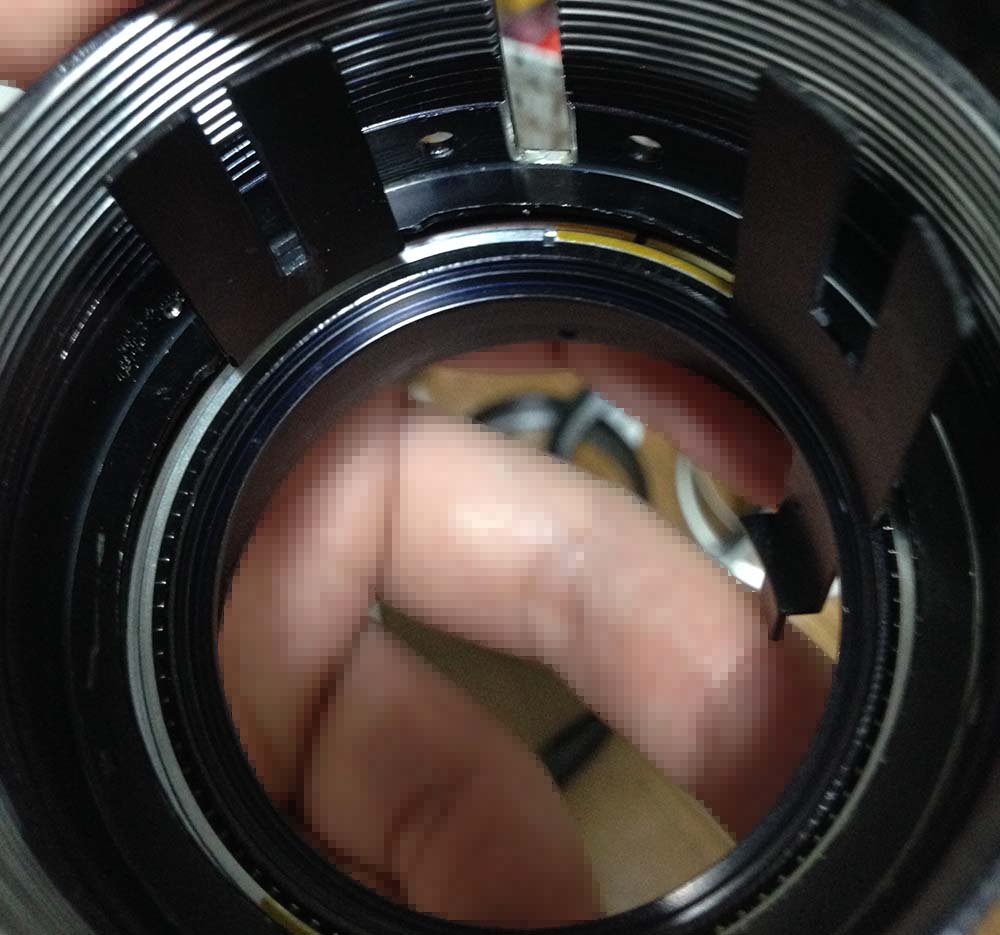
Locate and extract the screws of the bayonet mount in order to remove it.

Uncouple the spring of the stop-down lever to prevent damaging it.

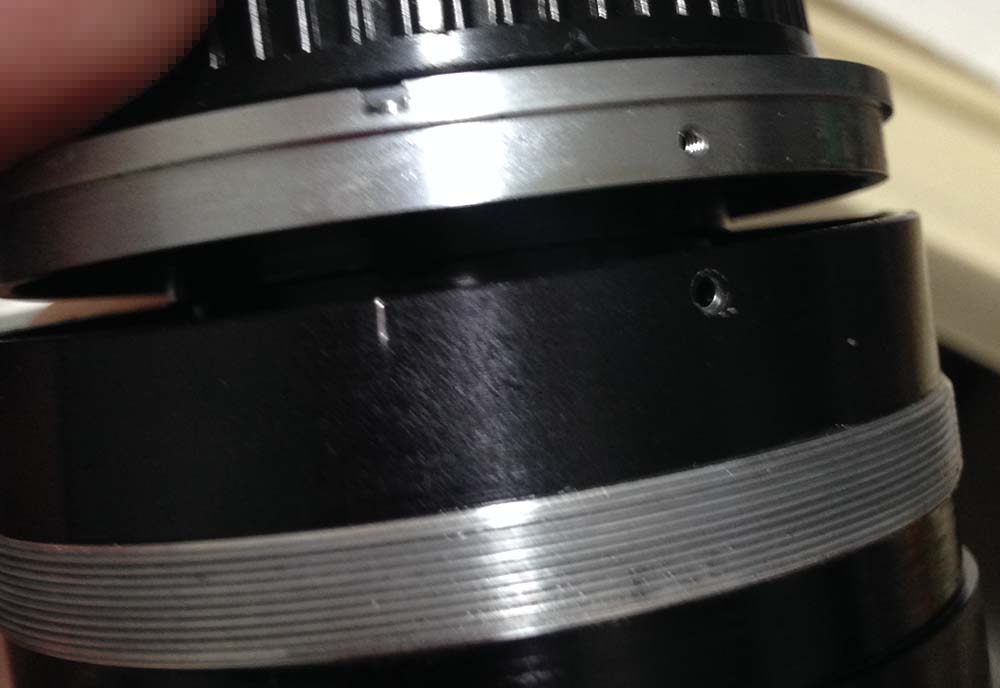
Extract the screws of the sleeve in order to remove it. This will give you access to the helicoid keys.

Take plenty of notes so you’ll know how things should be aligned. Extract the screws of the helicoid key, access them through the holes of the barrel. The key keeps the helicoids synced so turning the central one will allow you to extend-or-retract the barrel.

Separate the central helicoid from the inner one. Don’t forget to note where they parted since this is also the same spot where they should mesh. People forget to do this and waste a lot of time later figuring how to put these back. To prevent this from happening to you, read my article on how to work with helicoids.
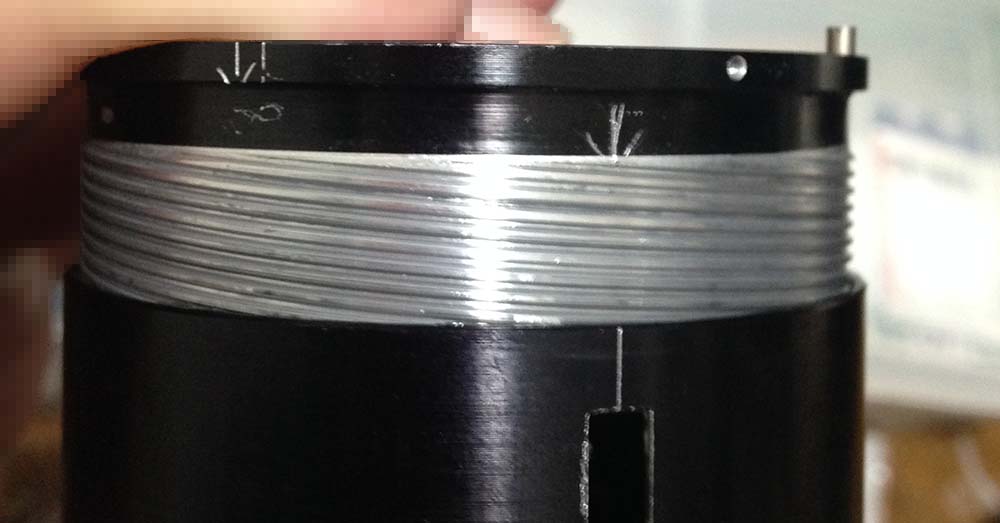
Separate the central helicoid from the outer one and don’t forget to note the spot where they parted.
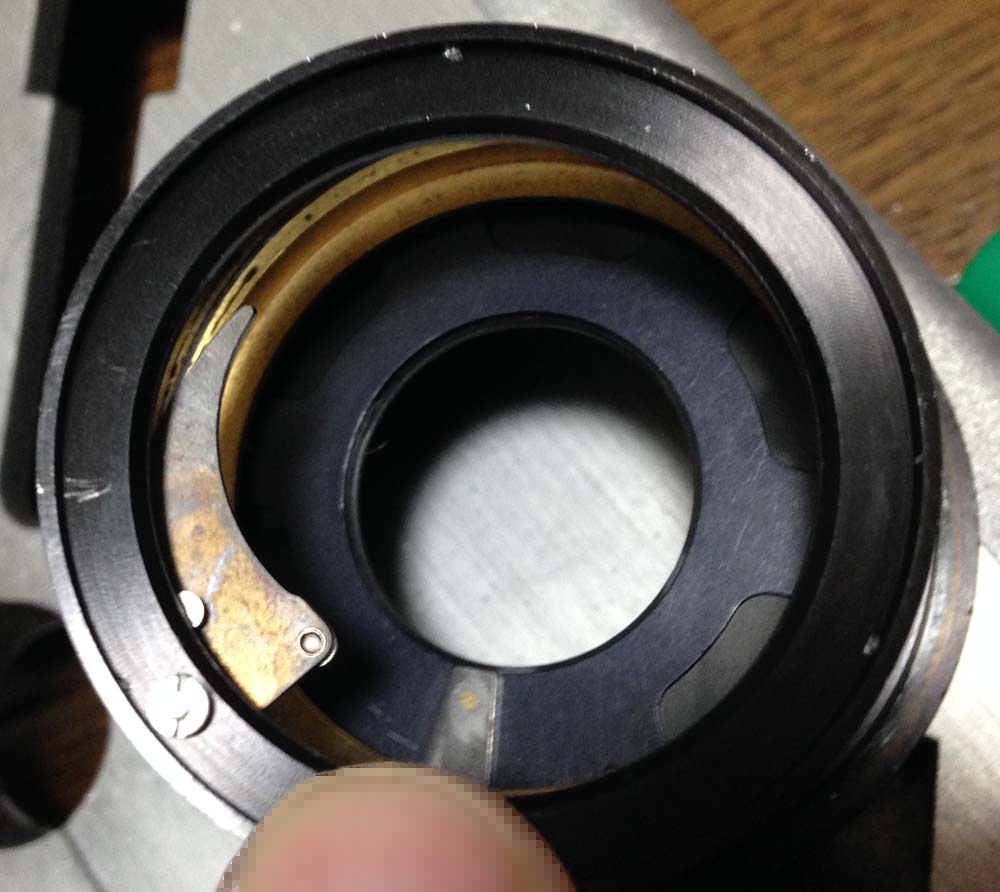
Note how deep the aperture fork sits within the barrel so you’ll know how to put this back later.

Unscrew the aperture fork and its ring, be sure not to cross-thread this when you put it back.

The actuator mechanism is complicated, it’s sealed to the barrel. Do not attempt to remove it without soaking this thing in alcohol overnight in order to soften the seal. You could damage it if the seal hasn’t been dissolved. Accessing it can be difficult, you’ll need a lens spanner with long bits in order to remove it safely.
It’s up to you if you think that dismantling the bearing is beneficial. I Usually leave it alone unless it’s filthy or rough when actuated. It takes a lot of time to put things back.
Clean the parts thoroughly and do not leave any residue. I scrubbed the helicoids with a strong detergent and pickled them in an alcohol bath to remove grime and other hardened gunk. Only apply a thin film of grease to the helicoids, I used something that is neither light nor thick because it has a long focus-throw. Don’t lubricate anything that’s close to the iris mechanism. Putting excessive grease will lead to a bigger mess later and you’ll have to open the lens again for an overhaul.
Disassembly (Objective):
Servicing the objective is quite simple, it’s of conventional design. Majority of the parts here were sealed at the factory just like the barrel so be careful when you remove anything. I’ll combine the section for the iris here, I don’t think I need to write a separate section for it since this is quite simple.

Unscrew the front and rear optical assemblies from the housing of the objective. I will only do a partial repair of the objective since it’s clean, if yours had to be dismantled completely read my other articles so you will see how it’s done.

Unscrew the 2nd group from the front optics assembly. Don’t bother removing this from its collar as it’s sealed and there’s no merit in doing so. This is a cemented group so don’t flood this with alcohol or solvents. If this is sealed, just place a drop of alcohol to its threads in order to unscrew it off.
Clean the glass carefully. If your lens has fungus, read my article on how to clean lens fungus. Do not use the solution at full-strength, thin it with distilled water. Don’t soak the elements in the solution for too long or it will dissolve the coatings. The cemented group is fragile so handle it with a lot of care.

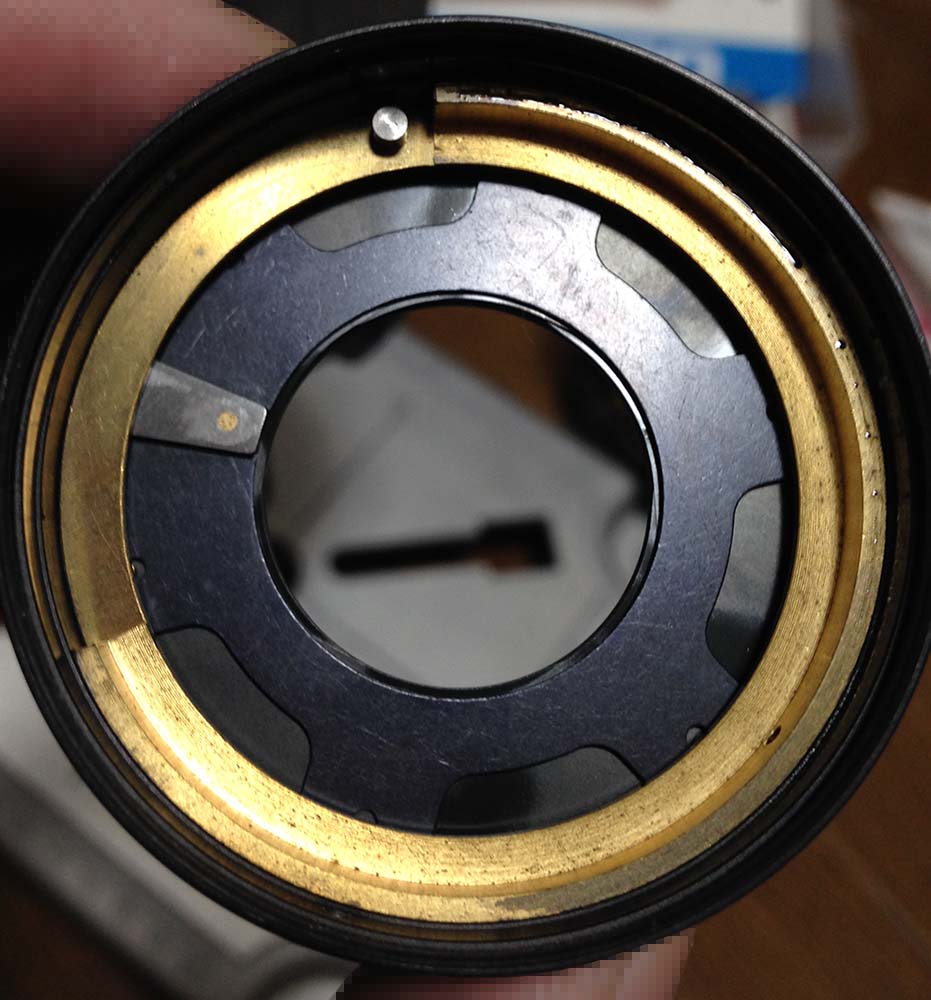
The iris mechanism is secured by these screws. Carefully extract them to dismantle the iris mechanism.
Carefully remove the regulator and its ring. It can be tight so pull it off carefully so you won’t damage the iris.

Extract this to remove the brass ring.
Before you remove it make sure to note its alignment and direction.
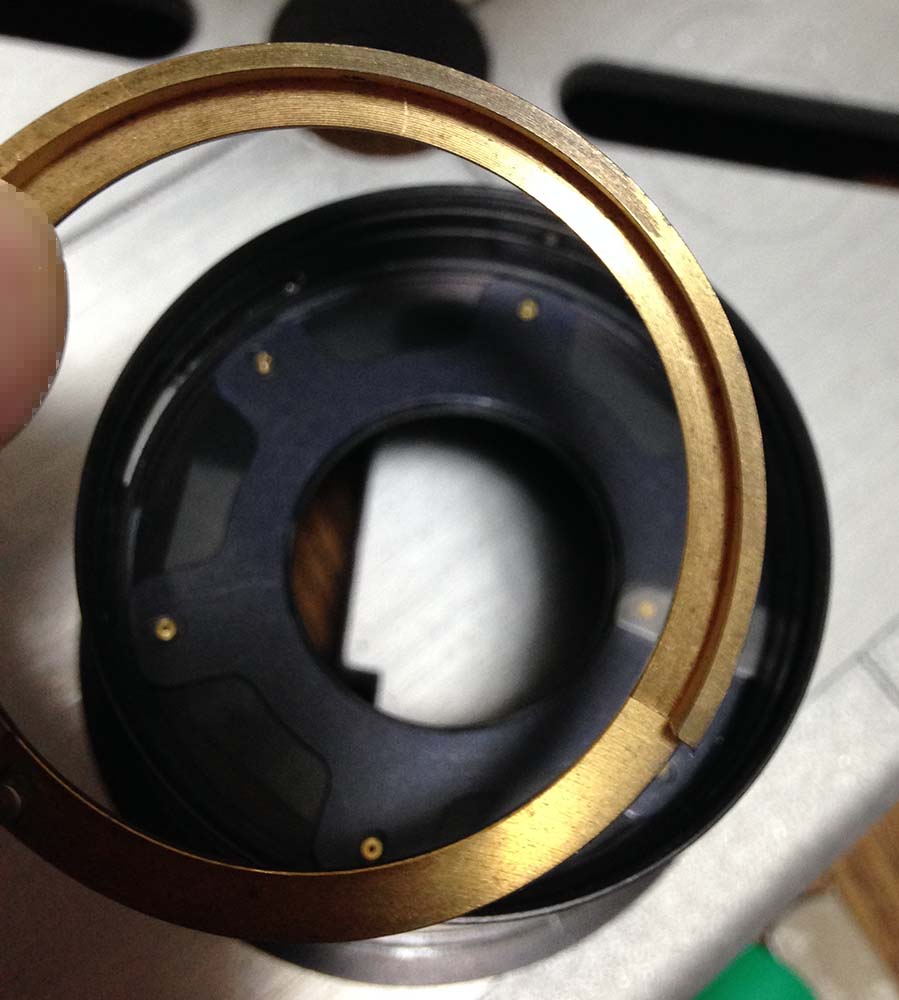
Remove the brass ring.
The diaphragm plate is the last thing holding the iris together. Carefully remove it by depressing its tab from the outside then pick it off with your nails.

Carefully remove the blades with a pair of sharp tweezers. Only handle them by their pins.

Carefully clean the blades by wiping them with naphtha and lens tissue. Clean everything very well and don’t leave any residue because these should operate dry.
Reassemble everything by backtracking your steps. Be careful with the directions and alignments of the parts here specially with regards to the iris mechanism. The fit may be tight so be careful when putting things back.
Conclusion:
It took me around 2 hours to service this since I had to clean the mess caused by excessive use of grease. This was dripping with oil inside and there was no other way but to completely overhaul the barrel. It was easy to service apart from the bearing which took a lot of time to repack. If your lens needs to be repaired send it to a qualified repairer to prevent any accidents. Despite being simple you’ll need special tool to work on it and the experience to make decisions when things don’t go your way.

It’s now time to shoot with it. This one barely clears the aperture tab of my Nikon D7200 so I could use it safely without the need to modify the aperture ring. Do not do this with your camera unless you are sure that it has enough clearance.
Thanks for following my work, if you liked this article please share this with your friends so it will get more views. This site earns around $1.10 a day, it’s totally reliant on views. You can also support this site, it helps me offset the cost of maintenance and hosting. You are also helping me purchase, process and scan film. This site promotes the use of film so we’re all in this together. See you again in the next article, Ric.
Help Support this Blog:
Maintaining this blog requires money to operate. If you think that this site has helped you or you want to show your support by helping with the site’s upkeep, you can make a small donation to my paypal.com (richardHaw888@gmail.com). Money is not my prime motivation for this blog and I believe that I have enough to run this but you can help me make this site (and the companion facebook page) grow.
Buy me a roll of film or a burger?
Thank you very much for your continued support!
$2.00
Helping support this site will ensure that this will be kept going as long as I have the time and energy for this. I would appreciate it if you just leave out your name or details like your country’s name or other information so that the donations will totally be anonymous. This is a labor of love and I intend to keep it that way for as long as I can. Ric.

Nov 25, 2021 @ 18:48:47
Richard, thanks for this post. I got one of these from a friend and it is in sore need of repair. Unfortunately, I cannot get past step one. I removed the 3 screws from the focusing ring and after an hour of adding solvent and wiggling it, there is no indication that it is going to come off. The focusing helicoid is frozen near the minimum focusing distance. It moves back and forth a few millimeters, but the ring itself feels like it is still mechanically attached somehow. Is there something I am missing in order to get this first part off? Thanks again.
Nov 26, 2021 @ 23:10:46
As a follow up, I decided to start at the other end and remove the aperture ring and the f-mount. That went smoothly. I was then able to get some solvent down into the helicoid and that came free. So now I can turn the focusing ring through it’s full range but it is still attached to the helicoid. I have tried acetone and naphtha to loosen it up, but no joy. Any advice would be greatly appreciated.