
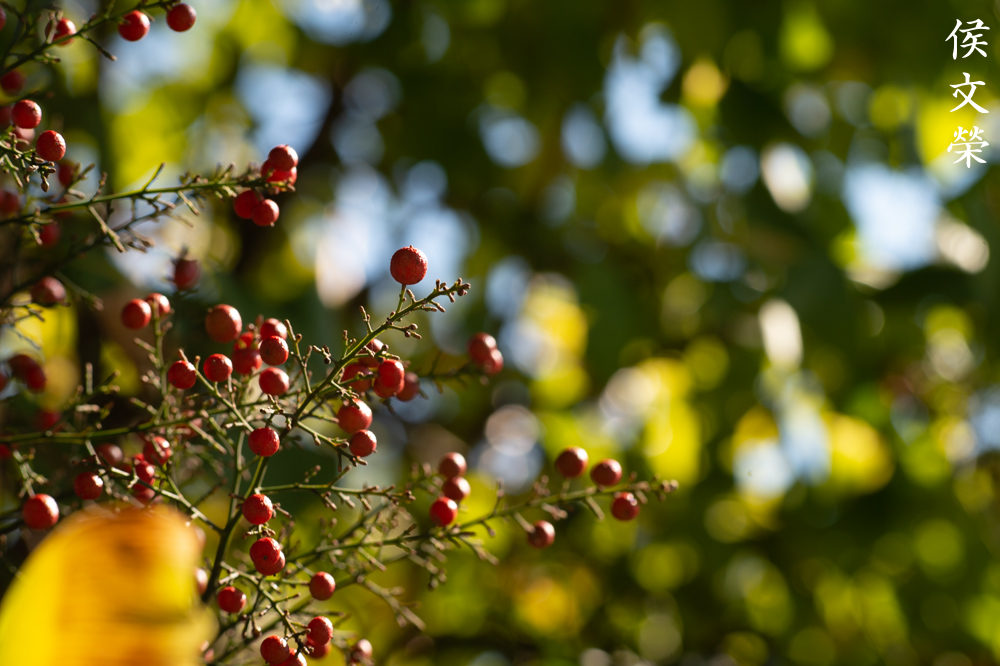
Hello, everybody! I saw a Cadillac a few days ago, something that I have not seen for decades. When I was young, the streets were filled with heavy-duty cars like Lincolns, Buicks and other models that people call “rolling coffins” today. They were built to last, slam a door and listen to how nice it sounds. I remember the sound of their engines but I don’t miss the smoke they made. For me, vintage equipment means a lot of things, not only are they tougher, they evoke a certain emotion that you’ll never get from recent products. It’s a shame how planned-obsolescence changed all that. Today, I will show you a lens that will give you a similar feeling when you hold one, it’s something that will bring you back to those times when things were made to be abused until they fall-apart. Read this article to find out what this is.
Introduction:
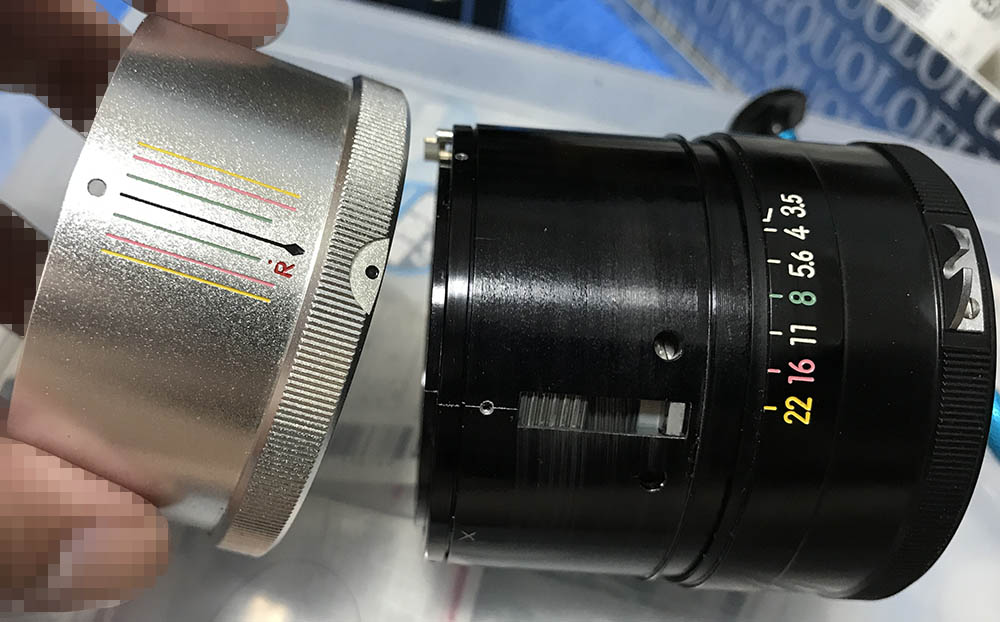
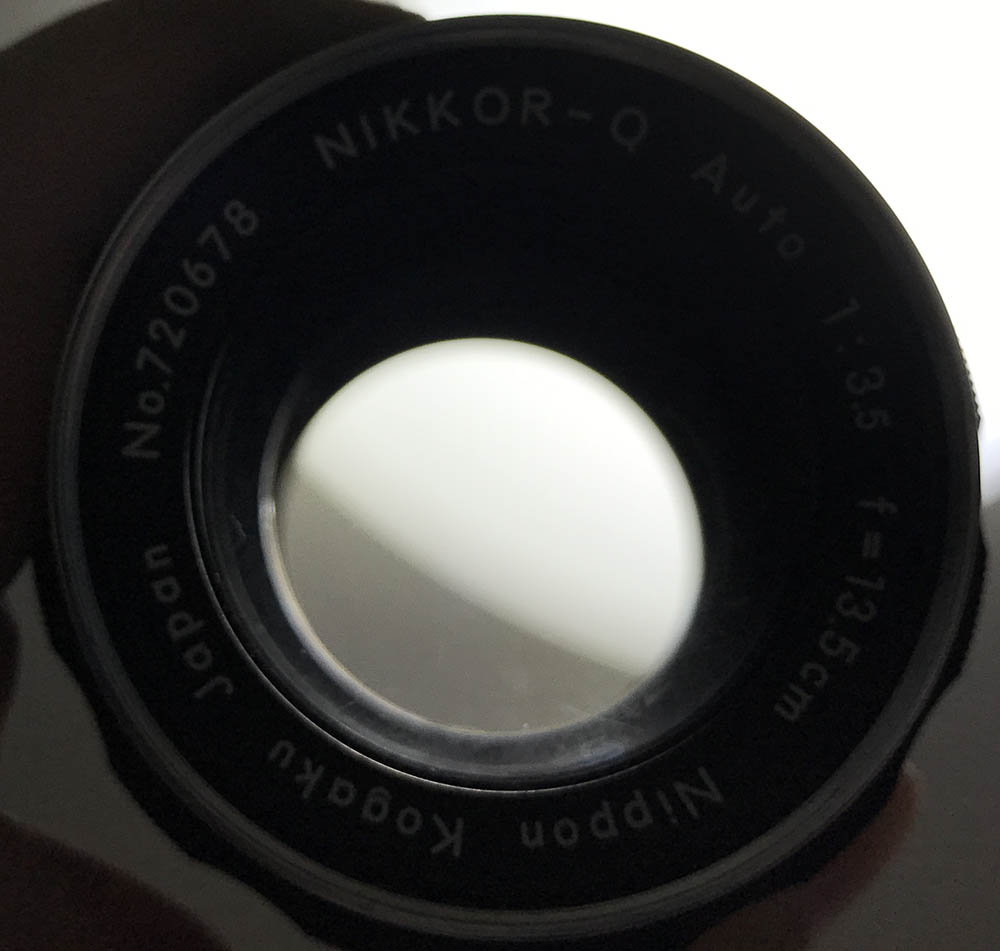
The Nikkor-Q 13.5cm f/3.5 Auto was sold from 1959 until 1960 so the Nikon F will have several lenses for a kit. These earliest F-mount Nikkors were made with different standards, higher than what was usual for Nikkors. All of the lenses in this series have 9-bladed irises, engraved lines (tick-marks) on the numbers, a red “R” on the depth-of-field scale, hidden screws, a satin-finish and better fit. The internal differences are harder to document since you’re not going to see them unless you get to service them. The workmanship of the internal parts are excellent, similar to what you’ll find from the vintage rangefinder line of Nikkors. These were sold for only a short time and they were given the unofficial nickname of “Tick-Mark Nikkors” by collectors for obvious reasons. There are 4 lenses that belong to this, the Nikkor-S 5cm f/2 Auto, Nikkor-S 3.5cm f/2.8 Auto, Nikkor-P 10.5cm f/2.5 Auto and this one. The other ones were never sold so we only have these 4.
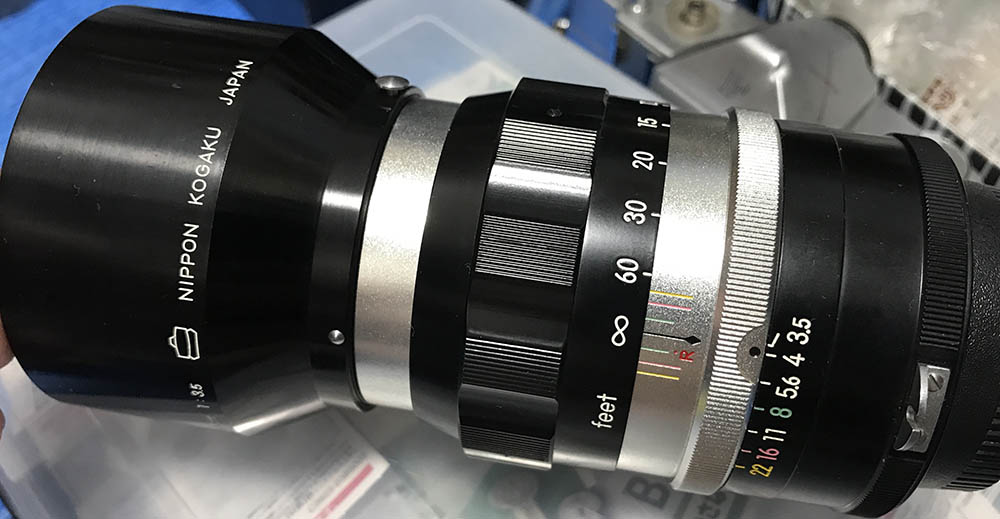
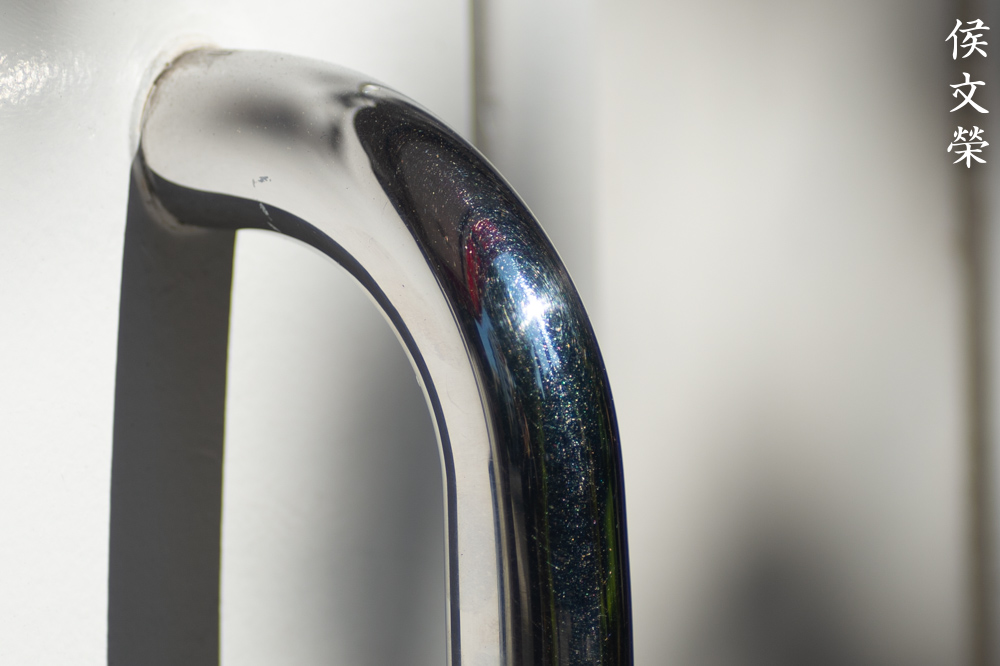
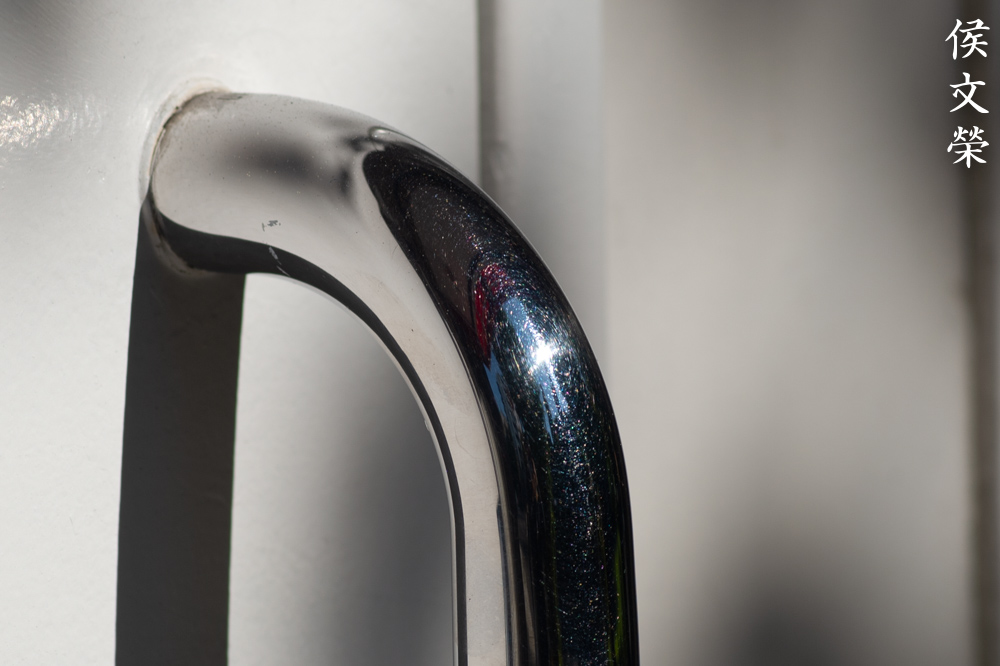
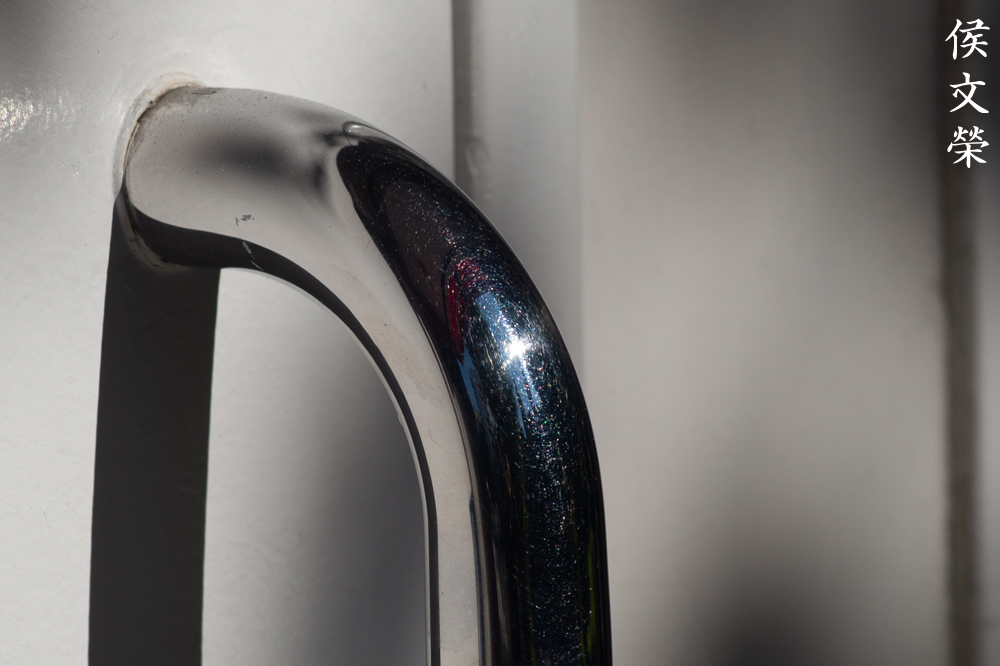
The special hood is expensive but I got these for $10.00, lens and all. Visible here are the beautiful engravings. Later versions don’t have this. You won’t see any visible screws on the sleeve, too. Those are hidden so the lens looks clean. This level of workmanship will never be seen again in this lens class.
It has a 4-elements-in-3-groups design, something that it inherited from the older Nikkor-Q•C 13.5cm f/3.5, an old design from 1951 for the S-mount. The optics are nearly identical with almost no modifications made when it was repurposed as an F-mount lens since there’s enough clearance at the rear to prevent the flapping mirror of the Nikon F from hitting it. By the time it was released the optical design was considered to be one of Nikon’s best, people were already familiar with it so it did not take a lot of effort to convince the market of its optical performance.
These were only sold for a very short time since it was difficult to assemble them. The 9-bladed iris was difficult to make and the tight tolerances of the barrel meant that many parts were thrown-back to the melting pot if those didn’t meet the production standards. This makes them expensive to create, couple that with Nikon’s inexperience in designing SLR lenses and you get a production nightmare. It will take Nikon a few years to master these skills, I couldn’t blame them since training people new skills is never easy. Most of the earliest F-mount Nikkors I seen fixed have errors that were corrected at the factory. Extra holes, adjusted slots and similar things. You will see what I mean in the repair section of this article. Despite what I said, these are still some of the best-built Nikkors I have ever seen.

These are the major variations of this lens family with the earliest model to the right. From right-to-left, these are:
- Nikkor-Q 13.5cm f/3.5 Auto
- Nikkor-Q.C 135mm f/3.5 Auto
- New-Nikkor 135mm f/3.5
- Nikkor 135mm f/3.5 Ai
- Nikkor 135mm f/3.5 Ai-S
There are more sub-variations than what’s shown here but the differences are insignificant so I did not include them here.
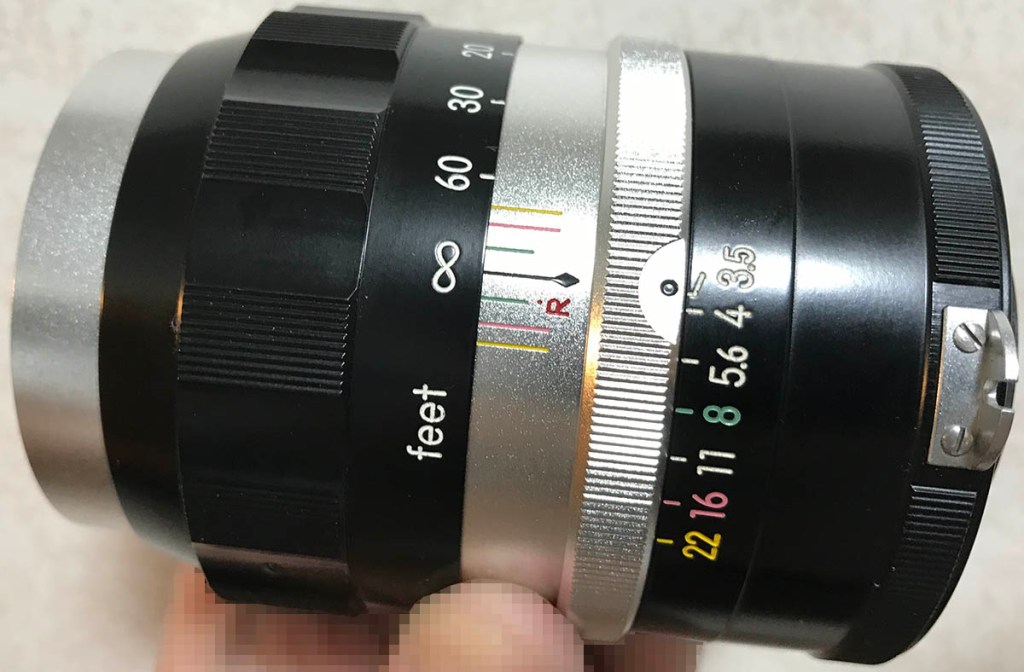
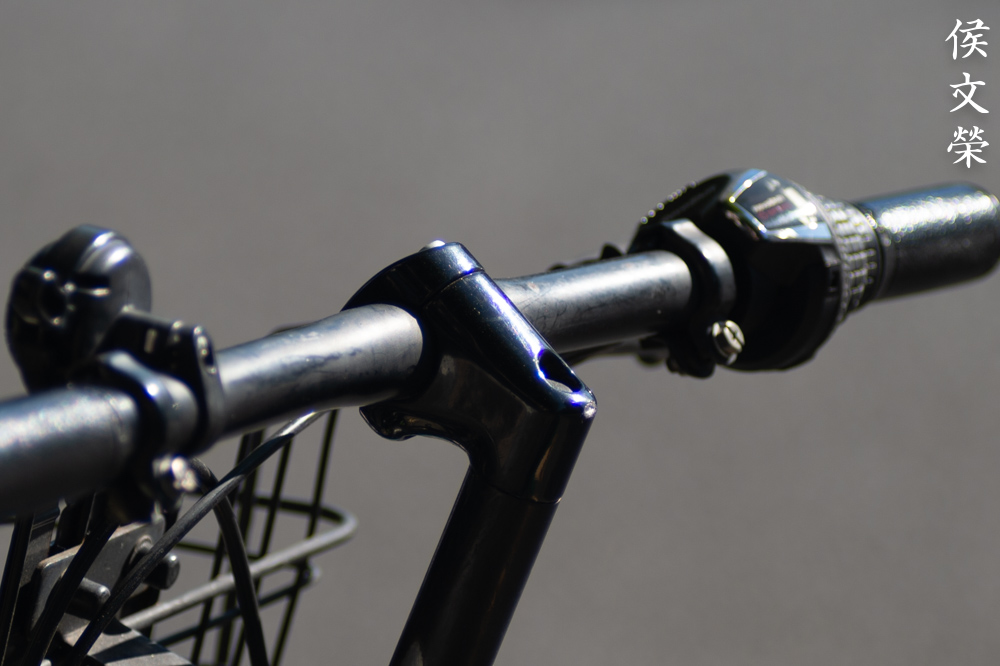
It’s a very handsome lens, the barrel has a nice, satin coating. This makes it look luxurious but it turns yellow as it age. It gives the tick-mark lenses this yellowish hue. Note that the aperture ring is longer at the end, later models don’t have this so you could mount them safely to a mechanical Nikkormat.

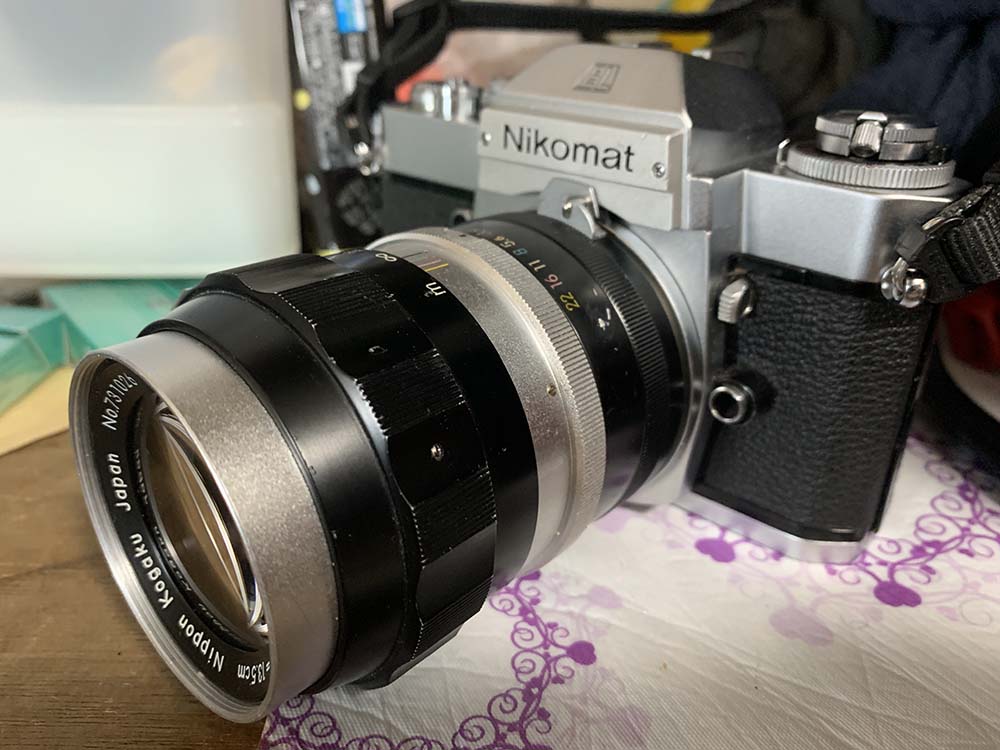
Shooting it with a Nikon F is the best way to use it in my opinion, the setup feels perfect in my hands and everything works perfectly.
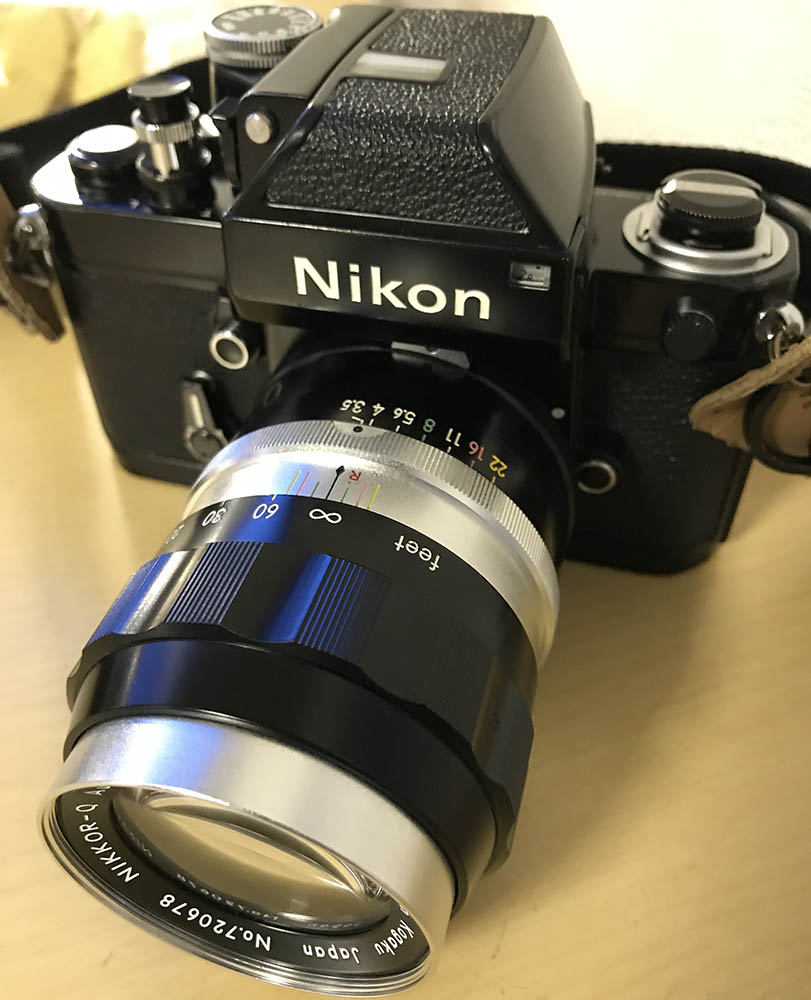
It balances perfectly on any classic film Nikon. It’s dense but not heavy, you won’t hurt your neck after shooting with it all-day. The tick-mark lenses all have an extended lip at the rear of the aperture ring to cover the joint in the bayonet mount. This prevents dust and moisture from getting inside it but this will also prevent you from mounting this to any mechanical Nikkormat or any autofocus-capable Nikon. Never grind the aperture ring since it will affect the resale value of your lens.

I find that they best way to enjoy it is by using this with older Nikons that could meter with pre-Ai lenses.
Learning how your lens performs is key to maximizing its use. You’ll learn how to utilize its strengths and avoid its weaknesses. This knowledge helps in determining which lens to bring on assignment. I shot these photos from f/3.5, f/5.6 and f/8, these are the most common apertures that people would want to use it and we’ll see the most changes happen with these values. The photos were shot with my Nikon Df.
I wasn’t able to mount this to a digital camera without an extension ring, its extended aperture ring prevented me from doing that so I installed a Nikon K1 ring to it. It prevented me from focusing this to infinity so I do not have any photos that were taken at further distances.


(Click to enlarge)
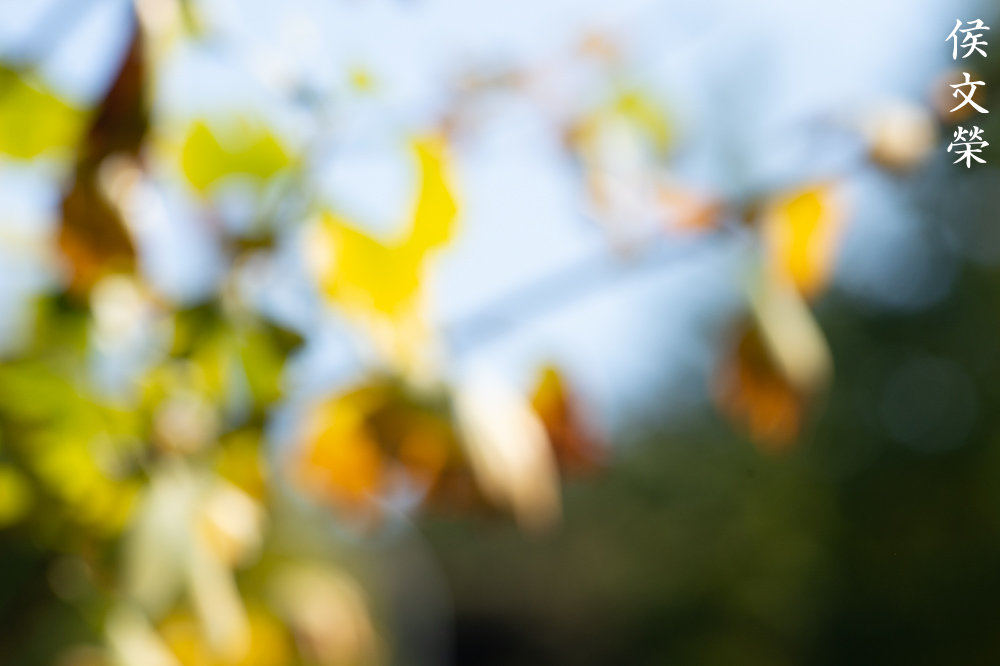
Distortion appears to quite low, nearly-invisible even. Vignetting is kept at a minimum, only the far-corners appear dark wide-open and they’re not dark at all, the difference is around 1/2 stop’s worth of light only. You won’t see it from f/5.6 and beyond. Flaring is quite high wide-open, it robs the frame of contrast and sharpness. You’ll get a huge blue blob when you point it to the sun which solidifies when you stop the iris down. This is some of the worst that I have ever seen but nothing too-different from Nikkors of the time. It’s something that you could use in a creative manner if you wish.
(Click to enlarge)
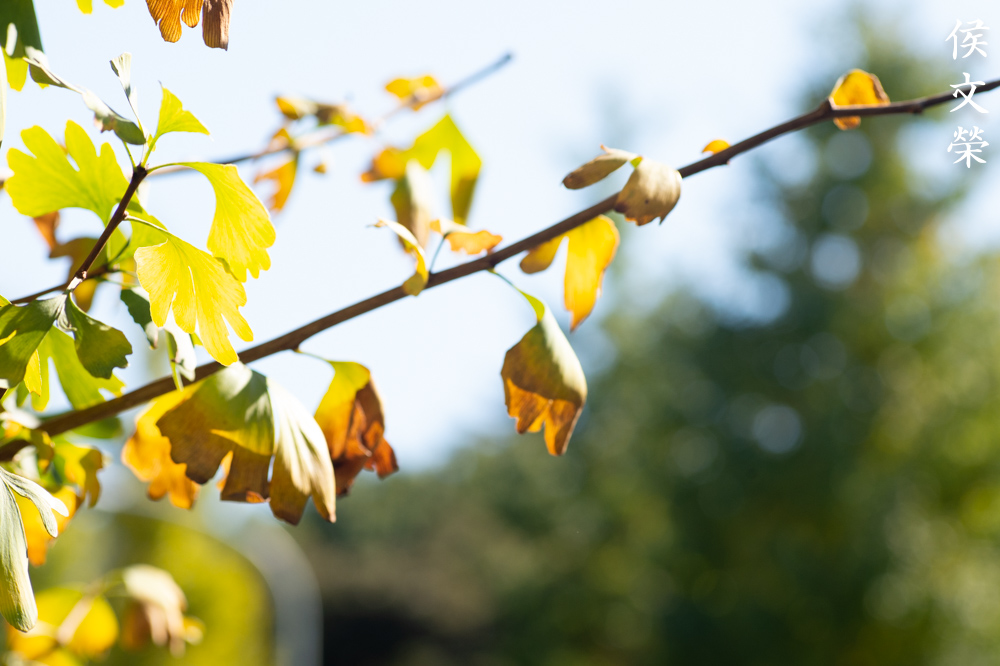
These were taken at f/5.6 where I think this lens family tends to exhibit the worst bokeh characteristics in my experience. It appears to perform better thanks to its 9-bladed iris, without it, you’ll get ugly, chunky-looking bokeh artifacts.


(Click to enlarge)
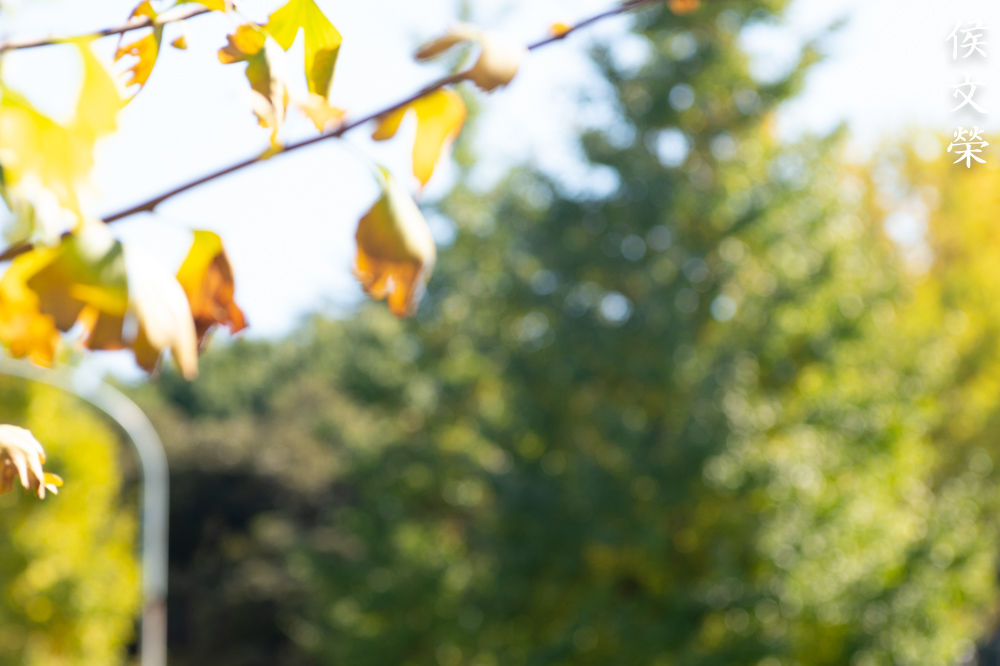
Chromatic aberrations is quite high wide-open but it improves considerably by f/5.6, you won’t see any of it anywhere. Spherical aberration can be seen, too. It’s something that I don’t mind having, it’s sometimes useful for taking photos of people as it makes the skin “glow”.


(Click to enlarge)
It’s sharp wide-open but the resolution won’t be able to support it yet at this point. Flare can also make the photo appear blurry as it takes-away contrast from the whole frame. Stopping the iris down to f/5.6 will yield a sharp and high-contrast center, the resolution improves as well and you’re now able to see finer details rendered better. The center improves a bit more by f/8, the corners look better, too.
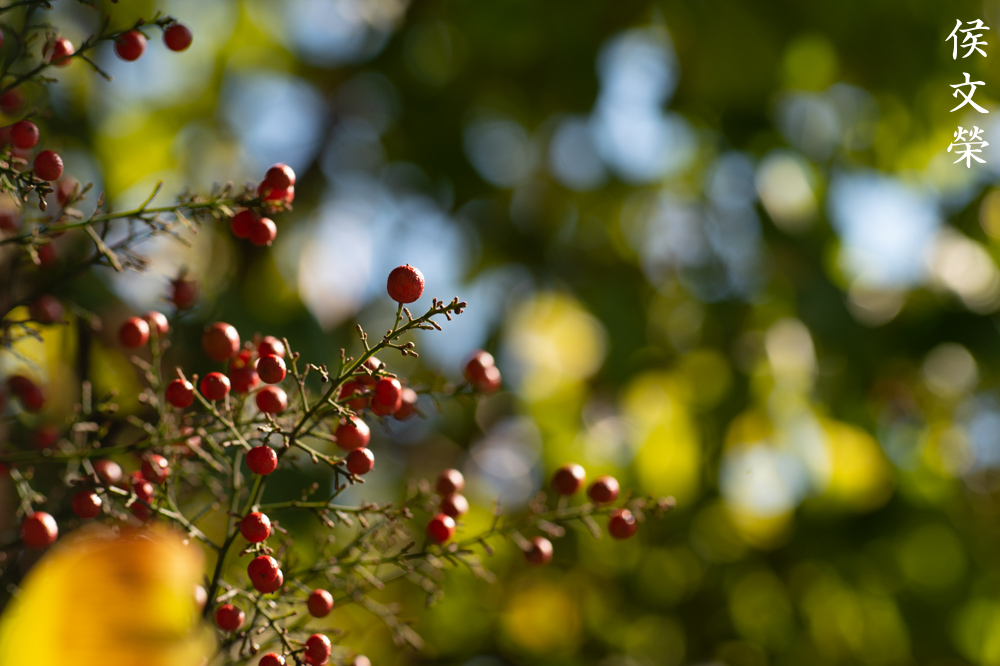
All of the photos here were shot at f/5.6 since this is the weakest value in my experience with this lens class when it comes to the character of the bokeh. The highlight of using this lens is to be able to shoot with its 9-bladed iris so it’s only reasonable that we see this in action.

The 9-bladed iris is helpful in making the background smoother, if this was shot with the usual 6-bladed iris versions the background would’ve looked a bit more different.

This is a nice lens for portraiture, it’s sharp where it’s needed. You’re going to get a nice, natural look with your photos as the focus-transition is smooth and not abrupt at all.

You’ll get less foreshortening from a 135mm lens compared to an 85mm one so it’s great for flattening your composition. It is great for taking tight shots of people’s faces.

The discs appear round despite being stopped-down. This makes it pleasing to look at since you’re not seeing hexagonal-shaped discs. This is the reason why this version is so special compared to the common 6-bladed versions. I think the later 7-bladed ones don’t look bad either but it doesn’t compare to this one in terms of rendering a smooth background.


(Click to enlarge)
Here are more photos. This is a nice lens indeed, it’s a special lens for those who are lucky to own one. It has the ability to render with a “vintage-look”, something that people either love-or-hate. I personally like this and it’s the reason why I love shooting with older lenses.
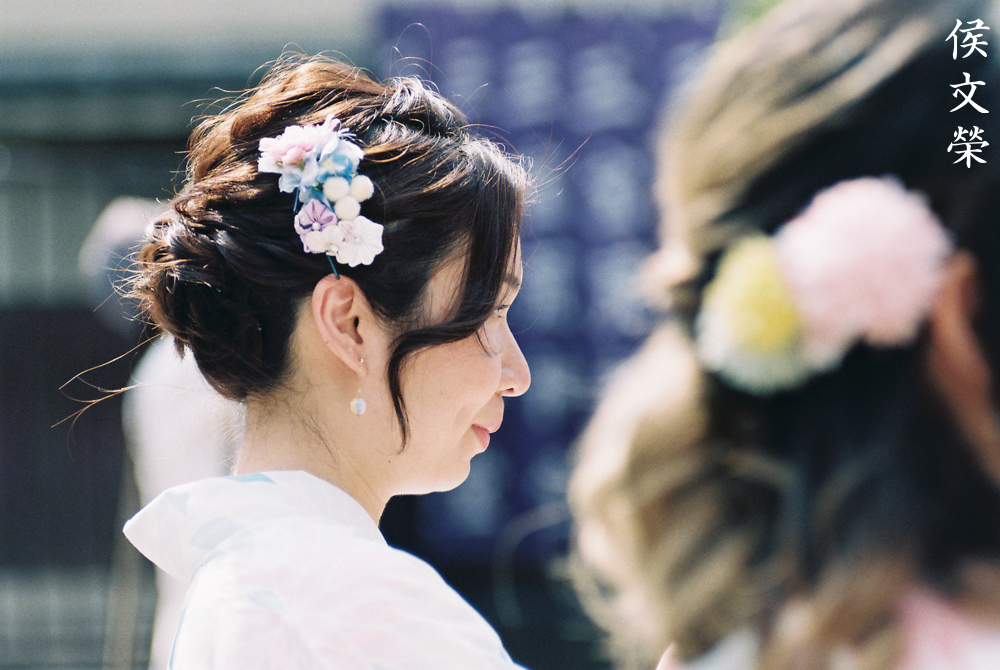
Let’s now see how it performs with film. Film has a unique look that is hard to replicate with a digital camera because grain reacts differently to light. It can either mask or amplify a lens’ flaws. Since this was originally made for use with film it’s best that we judge this with its intended medium. This will give us a better assessment of how it really performs. I shot these using my Nikon F2 loaded with Fujifilm Industrial 100.

The quality of the bokeh is generally smooth, it is able to render a painterly-look and give your photos a unique look. This is not without its downside, if you gave it the wrong variables it will result in rough-looking artifacts. This is a problem with the usual 6-sided iris versions but it’s not as evident here since the 9-bladed iris helps makes things look a bit smoother.

This is what I was talking about. The clumpy-looking artifacts can be easily avoided by stopping the iris down further or opening it wide-open. You will get this look if the iris is neither wide-open or small and it usually shows at distances that are neither close or far.

Spherical aberration is useful in making skin “glow” under bright situations so it gives a nice, subtle look to it. This effect makes your subjects look fresh and younger.

It renders skin really well thanks to its ability to render subtle tones, this is a simple lens with only 4 elements, light won’t get filtered too much before it reaches the sensor or film.

It’s sharp but it still retains a nice focus-transition so the photos have a nice, natural look. Resolution seems adequate, the details of her hair has enough detail so you could see the stray strands rendered properly.

It renders beautifully, it’s sharp and the tonality is subtle. I love how it gave the lady’s skin a nice, even glow. It’s perfect for portraiture, I don’t think its optics is any different from the usual ones but the 9-bladed iris helps a lot in making the bokeh appear smoother than the usual 6-bladed type.


(Click to enlarge)
Here are more photos that were shot with film. Have a look at them and see if you liked how it renders. I love its ability to render a subtle, natural look. It’s exceptional when paired with a nice film stock.
This is a wonderful lens but I wouldn’t recommend this to anyone. You can get the next-best option, a later Nikkor-Q 13.5cm f/3.5 Auto with the 9-bladed iris which doesn’t have the tick-marks. They are cheaper but will cost more than the usual 6-bladed versions. Finding one isn’t easy, Roland Vink’s site is the best way to identify them. Hunting for tick-mark versions is a collector’s hobby, it won’t make you take better photos. I was lucky to find this one for $10.00 including its hood, it’s my lucky charm. Those cheaper 6-bladed ones will give you the same results so just concentrate on looking for those if you just need a lens to shoot with.
Before We Begin:
If this is your first attempt at repairing a lens then I suggest that you check my previous posts regarding screws & drivers, grease and other things. Also read what I wrote about the tools that you’ll need to fix your Nikkors.
I suggest that you read these primers before you begin (for beginners):
Reading these primers should lessen the chance of ruining your lens if you are a novice. Before opening up any lens, always look for other people who have done so in YouTube or the internet. Information is scarce, vague and scattered (that is why I started this) but you can still find some information if you search carefully.
I highly recommend that you read my working with helicoids post because this is very important and getting it wrong can ruin your day. If I can force you to read this, I would. It is that important!
For more advanced topics, you can read my fungus removal post as a start. This post has a lot of useful information and it will be beneficial for you to read this.
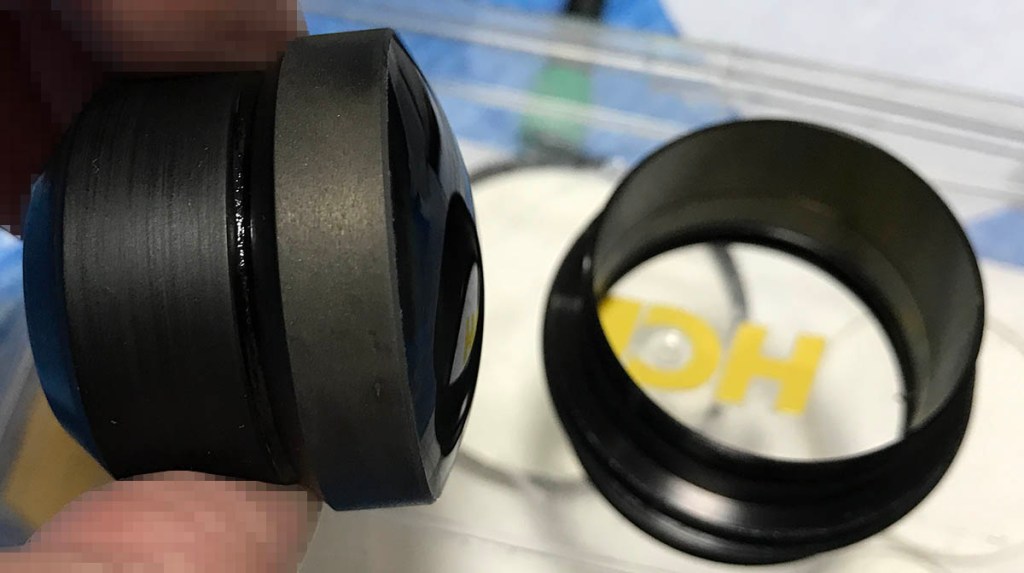
Disassembly (Lens Barrel):
The barrel itself is quite easy to take apart since the construction is similar to its common version, which is one of the easiest Nikkors to service. There are lots of subtle differences between this version compared to the common one so it’s only right that we write a separate article for this. Like always, it is important to take notes as-you-go. Be sure to have the proper tools, you’re going to need drivers that fit the slots perfectly in order to prevent stripping the heads and also to prevent damaging the screws’ surrounding metal.
Like most lenses, we’ll want to extract the objective first so we can work on the barrel safely without thinking about the glass. This can be done easily, I like working with older lenses because of this. Since the metal surfaces are mostly covered in lacquer, never soak any of the painted or chromed parts in alcohol or that will easily strip that coat and make your lens ugly. This is cleaned by using a strong detergent and a toothbrush but don’t leave any of its parts in the detergent for too long.

Carefully extract the screws of the focusing ring and remove it.
Locate these and carefully extract them.
Pull the objective and its housing off, store it in a safe place.
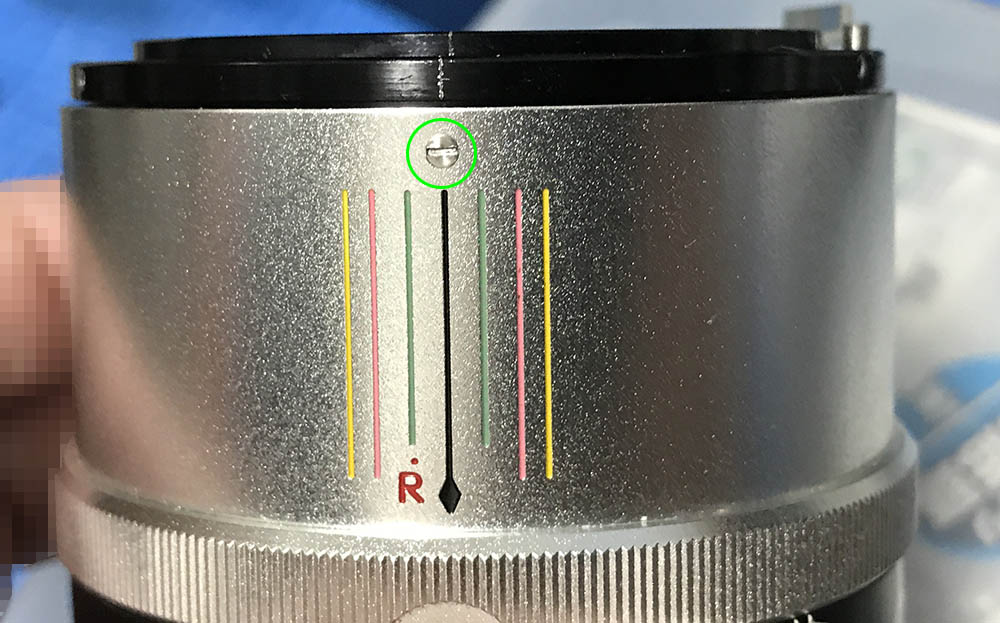
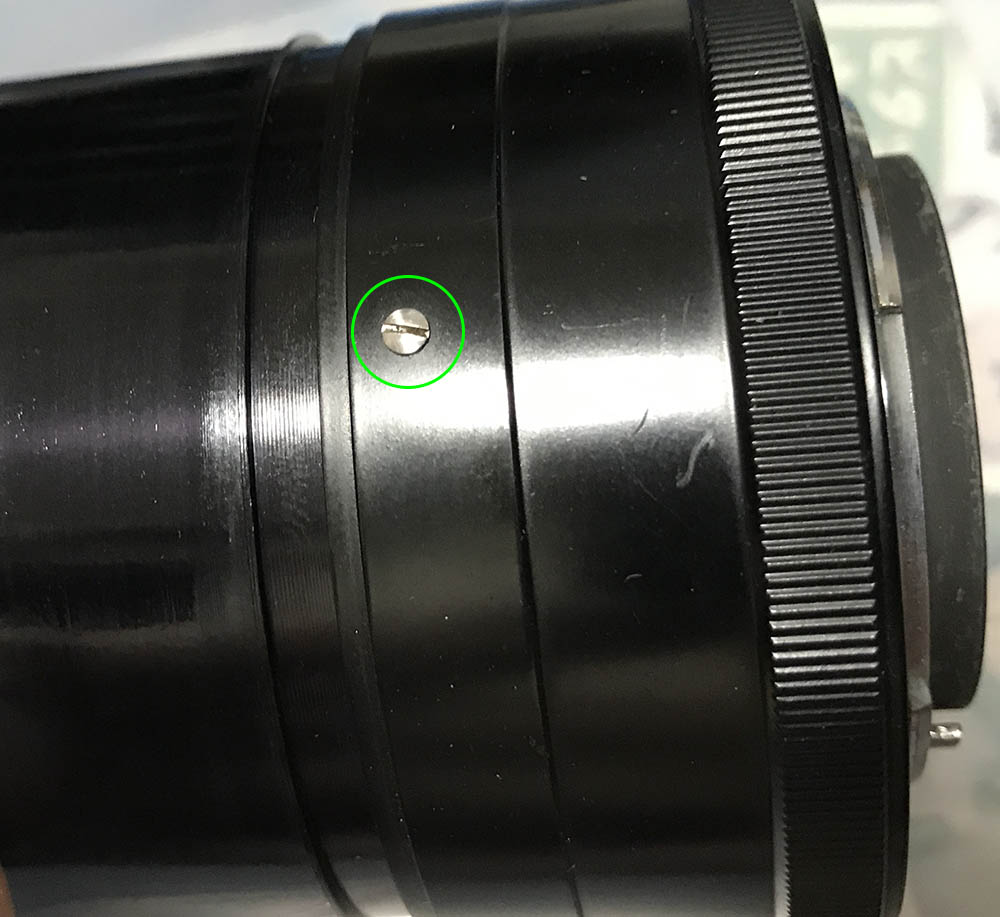
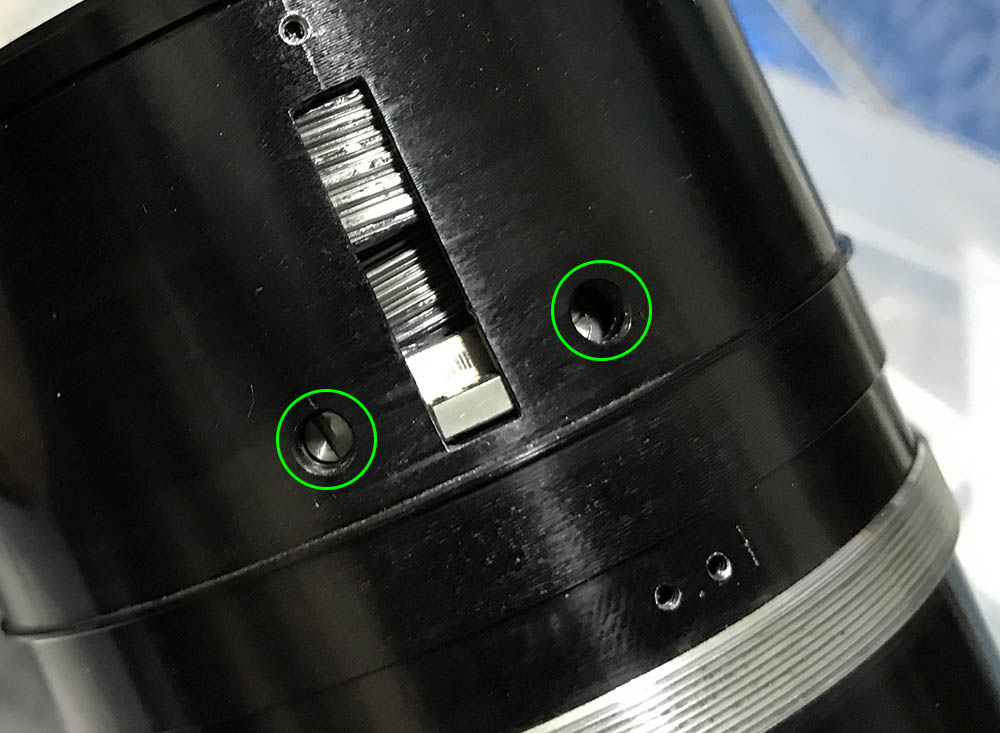
Carefully extract these, make sure that the screwdriver you have fit snuggly to prevent stripping these or damaging the surrounding metal.
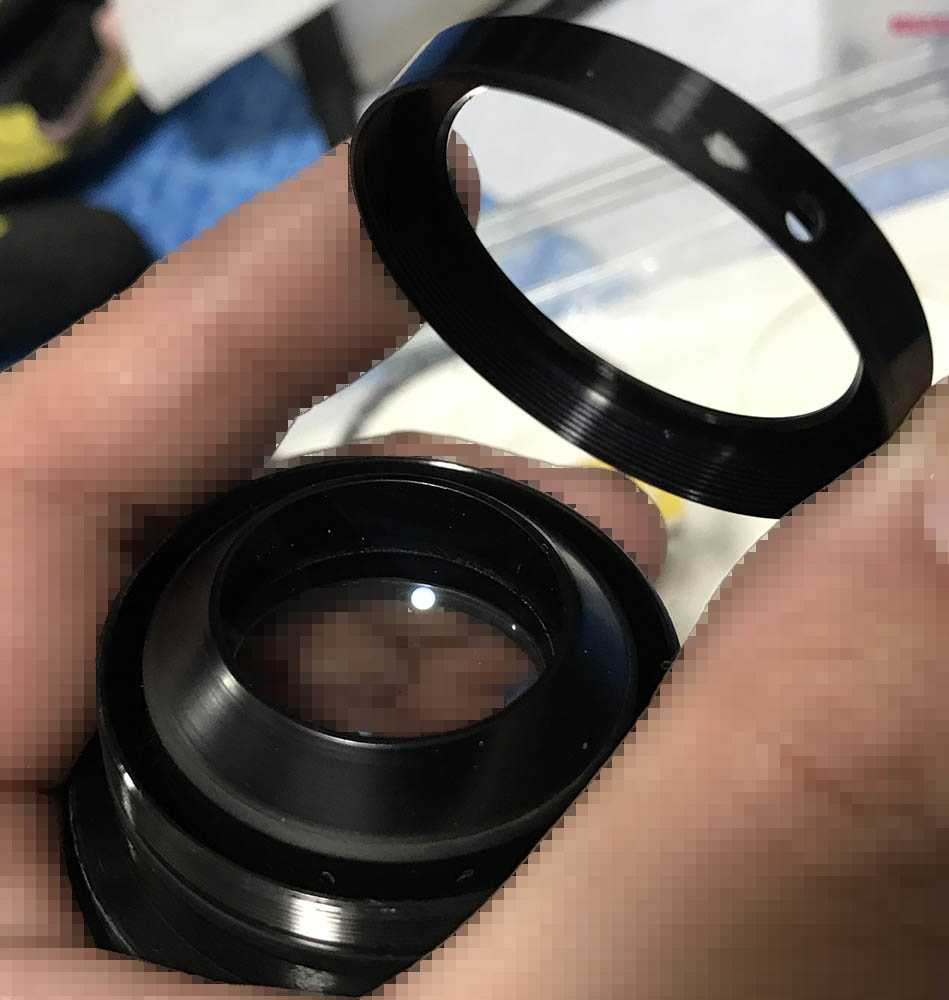
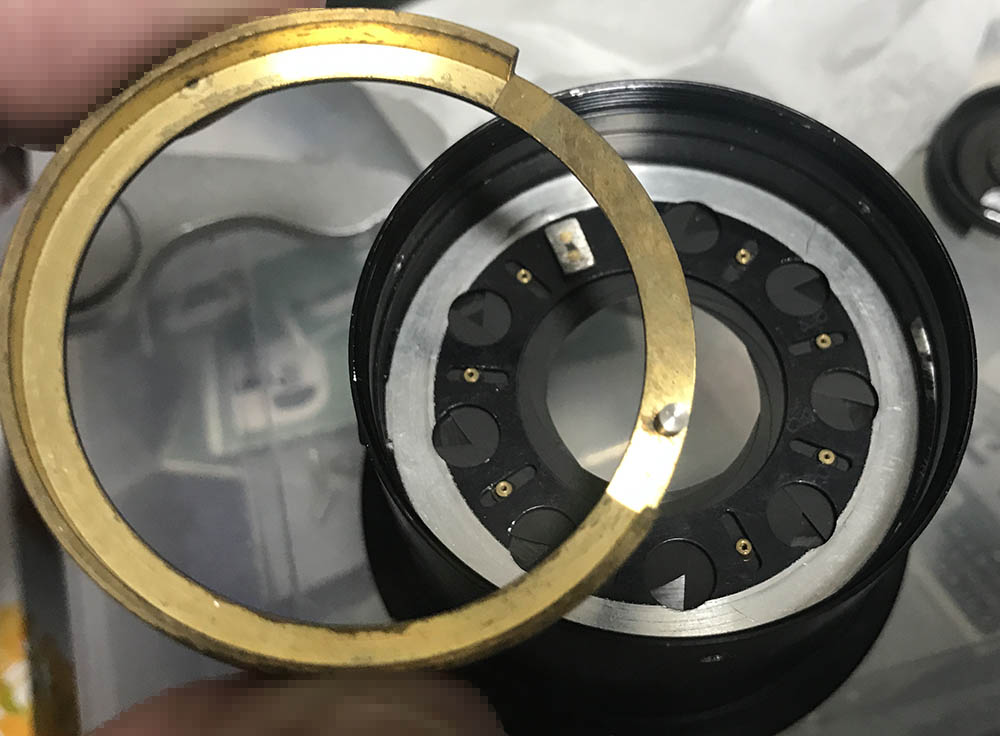
Carefully remove the sleeve.
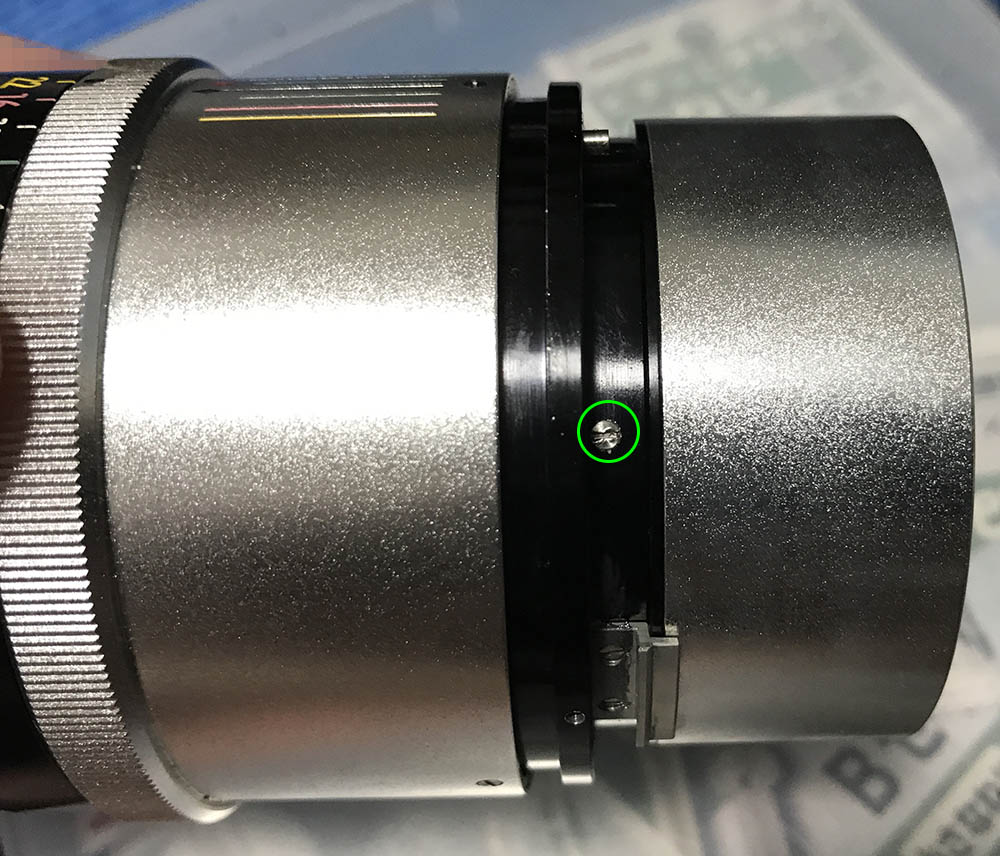
Extract this screw, it serves like a pin coupling the aperture ring to its fork.
Unscrew the aperture ring until you get it off but count how many turns it took to remove it so you could put it back at its correct height.

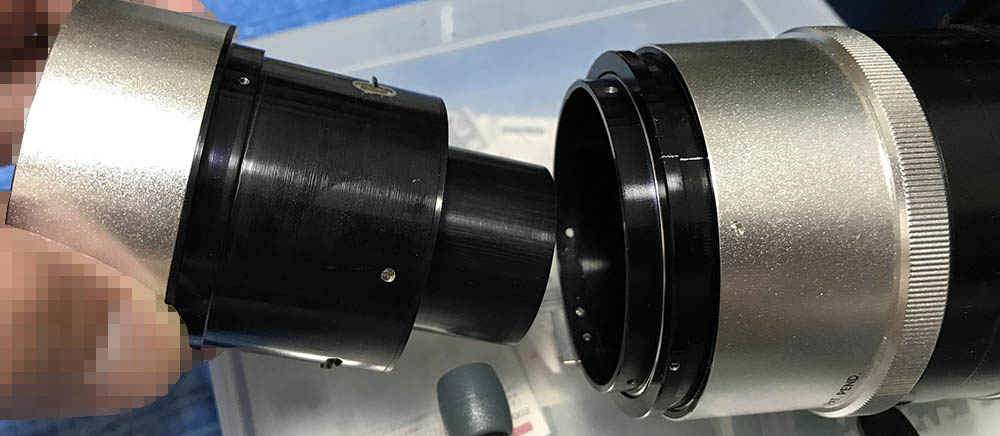
Extract these to remove the bayonet mount, be sure not to strip these.
The bayonet mount should come-off rather easily.
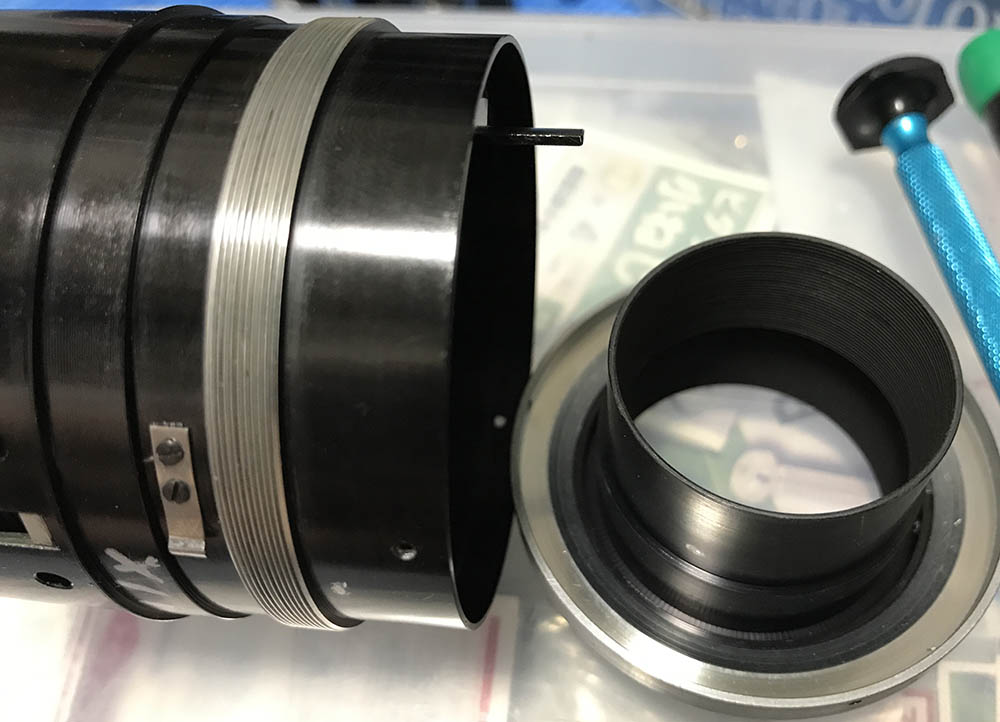
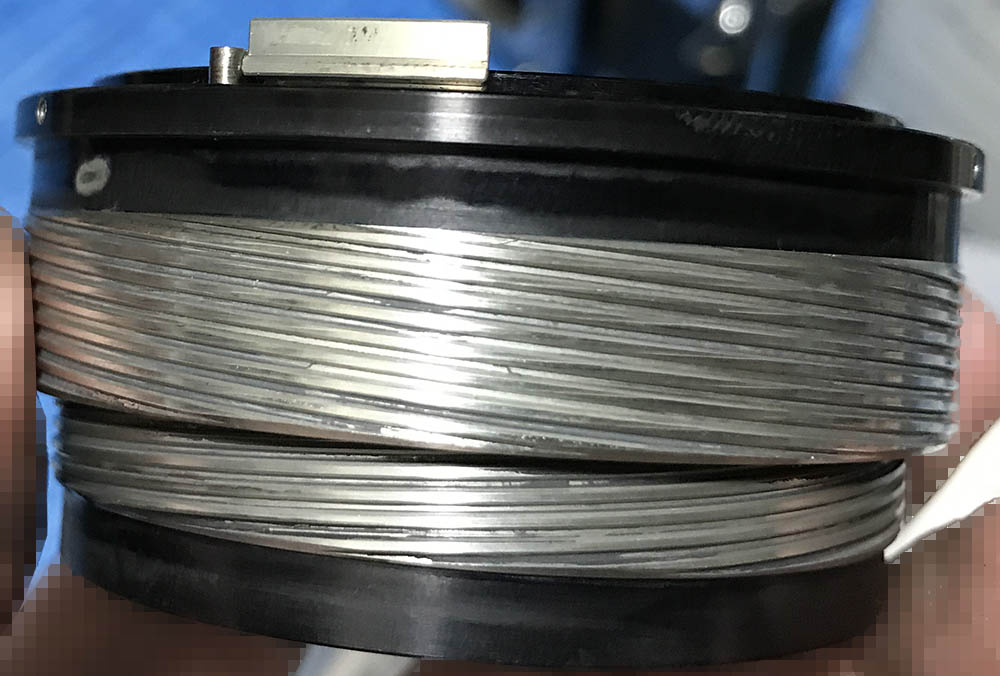
Extract these to remove the helicoid key, it syncs the helicoids’ turn-rate so the barrel could extend-or-retract when you turn the central one.
Be sure to note the orientation of the key, you’ll need to put it back properly. Once the key is gone you’re able to separate the helicoids.

Extract the central helicoid from the outer one. Don’t forget to note where it separated since this is also the same place where these should mesh. Many people forget to do this so they get stuck. To prevent this from happening to you, read my article on how to work with helicoids and follow my guide.
You’re now able to separate the inner helicoid from the central one.
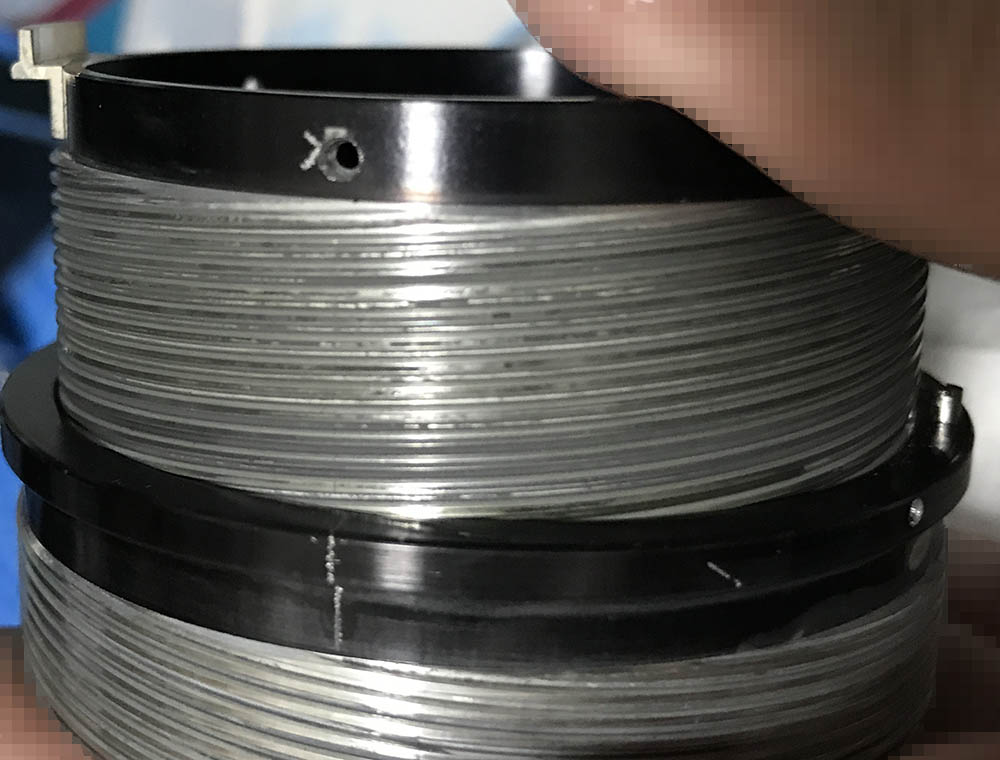
Separate them like you did with the outer one and don’t forget to mark the spot where they parted.
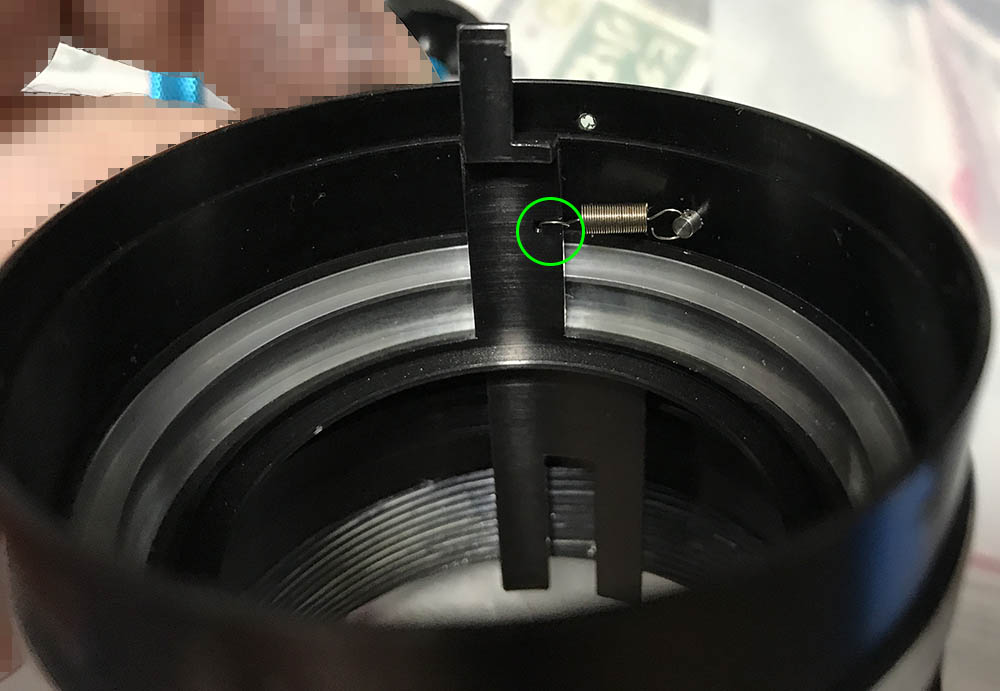
Uncouple this spring to prevent any damage to it.

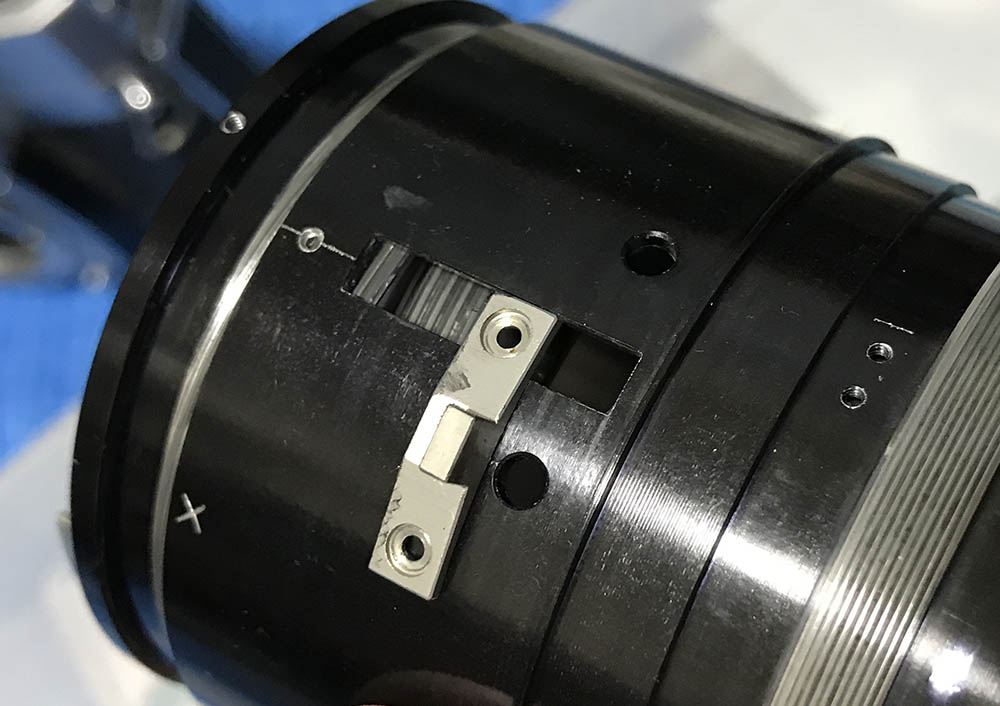
Unscrew the aperture fork assembly. Be careful not to strip the threads, the ridges are fine and you could easily cross-thread it.
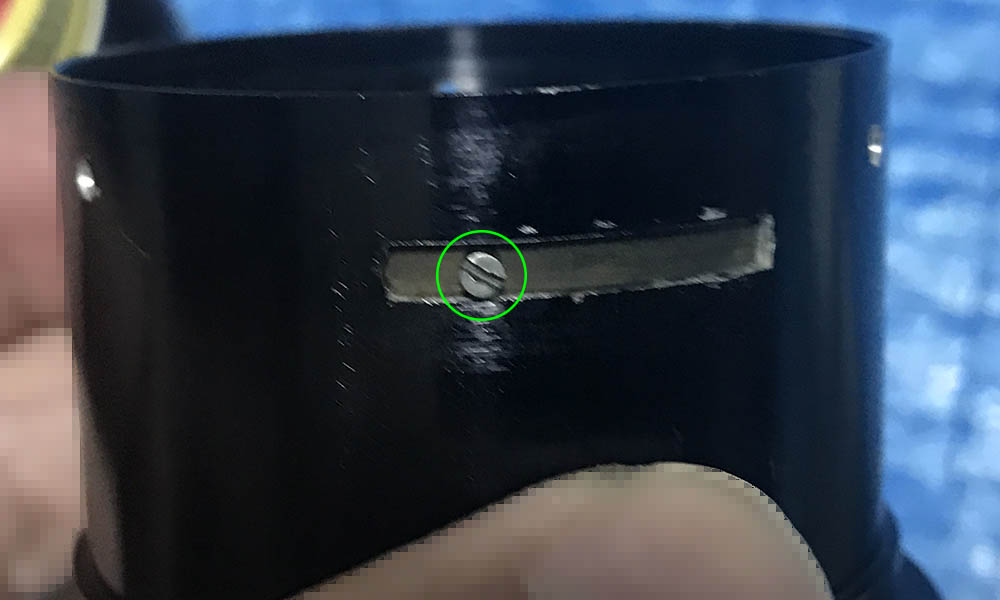
This part is tricky not because you’ll need a lens spanner with long bits but but it’s because the stop-down lever mechanism is glued to the barrel. Use a bit of acetone to soften the seals on the threads then unscrew it. You can see 2 sets of slots in this photo, use the outer ones to remove the assembly.

It could take several applications and hours before it softens-up nicely. This takes a lot of patience but this is the only way that you can remove it safely.
Carefully clean the parts and never leave any residue. Scrub the helicoids, I would even polish the threads with a stiff-bristled brush. Hardened dirt can only be removed with a sharp toothpick. Do not apply grease with too much resistance or it’s going to be difficult to turn. The opposite isn’t good as well, that will make it easier for the grease to migrate towards the iris. Leave the stop-down lever mechanism alone, it’s difficult to put back, you do not need to dismantle it in order to clean it.
Disassembly (Objective):
The construction of the objective is conventional which means it’s simple to take-apart. You will have to be careful when handling the glass because this is an old lens and a precious one, too. I didn’t have to service the iris on this one so I won’t include that here.

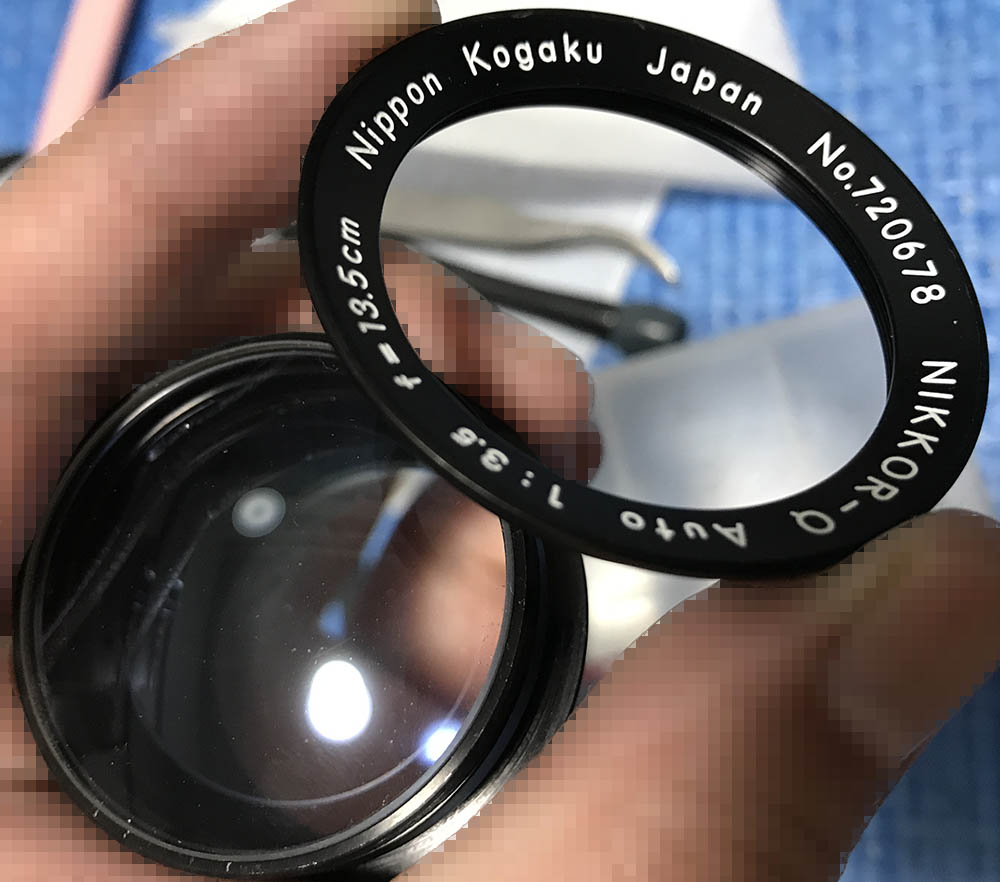
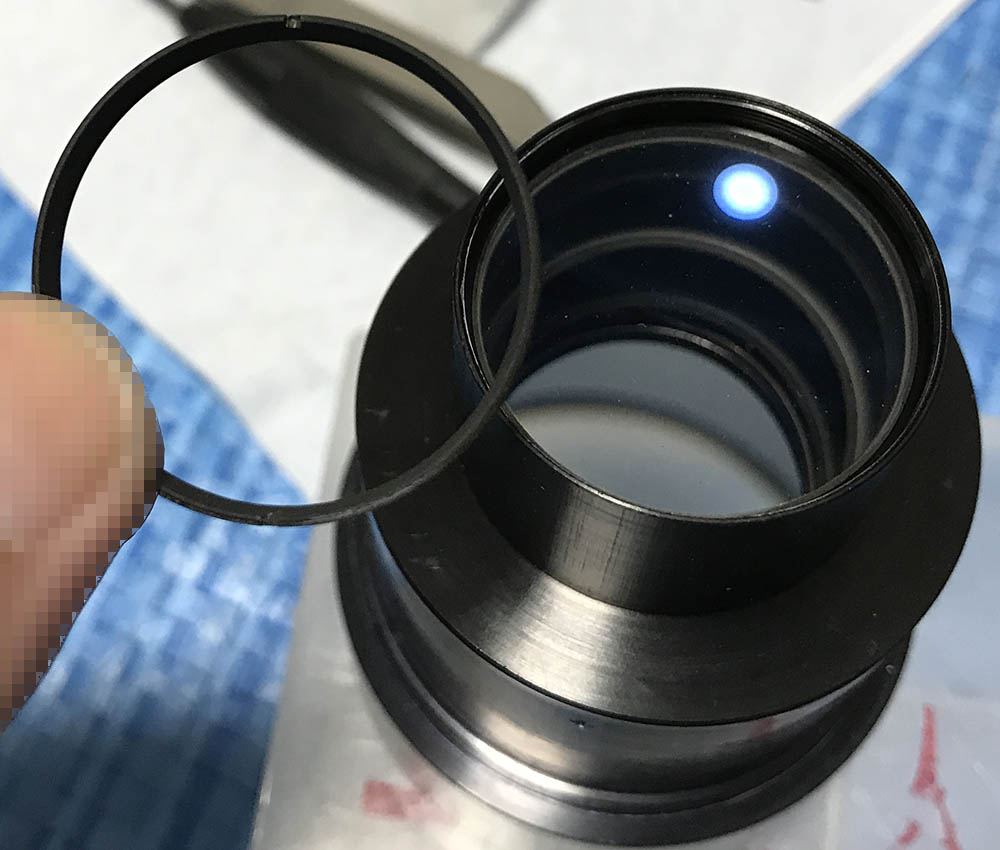
Unscrew the front elements assembly from the front barrel.
Unscrew the bezel with the help of a rubber tool. A drop of alcohol will help soften the seal at its threads.
Carefully remove the front element with a lens sucker.
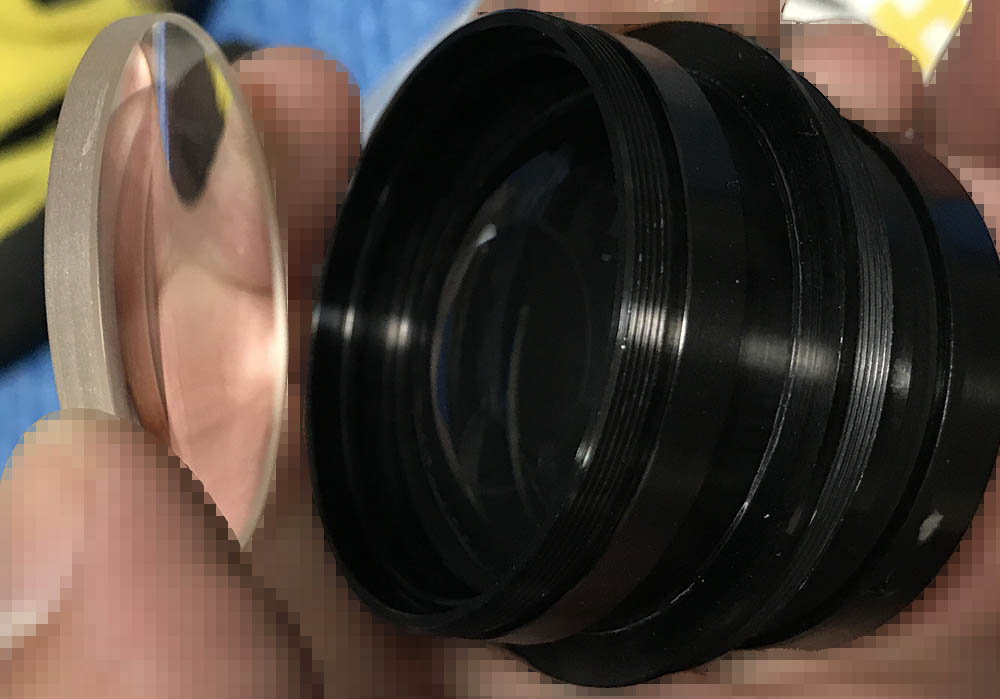
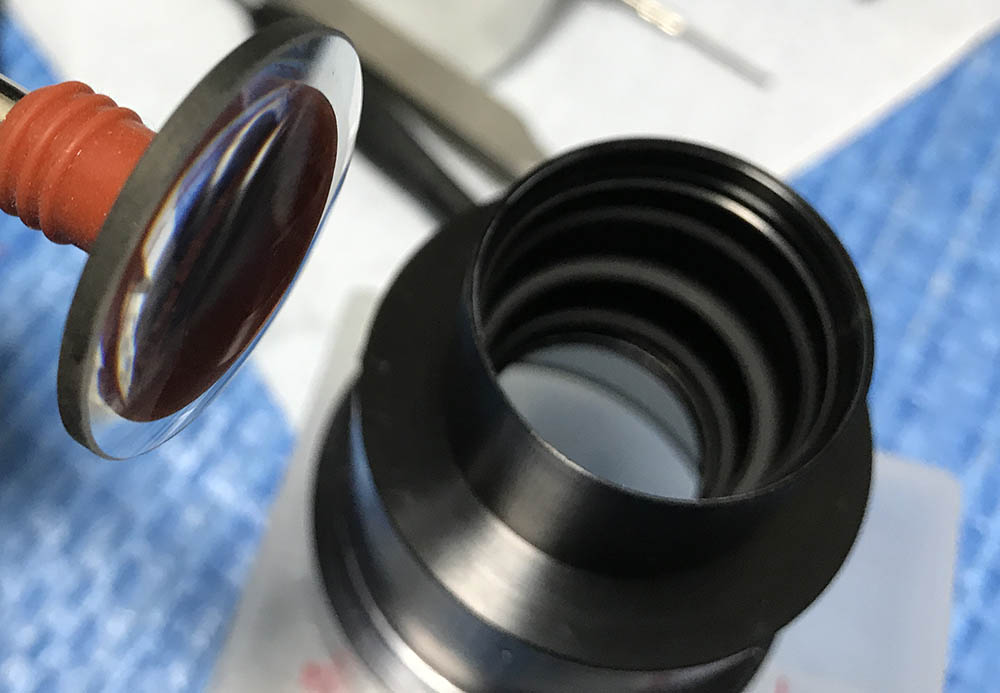
Unscrew this ring so you can remove the 2nd group.
The 2nd group is a huge piece of cemented elements. Be sure not to damage this or the lens will become worthless.

The front barrel is bound to the housing of the objective with cement, leave it alone for now since there’s no need to remove the front barrel.
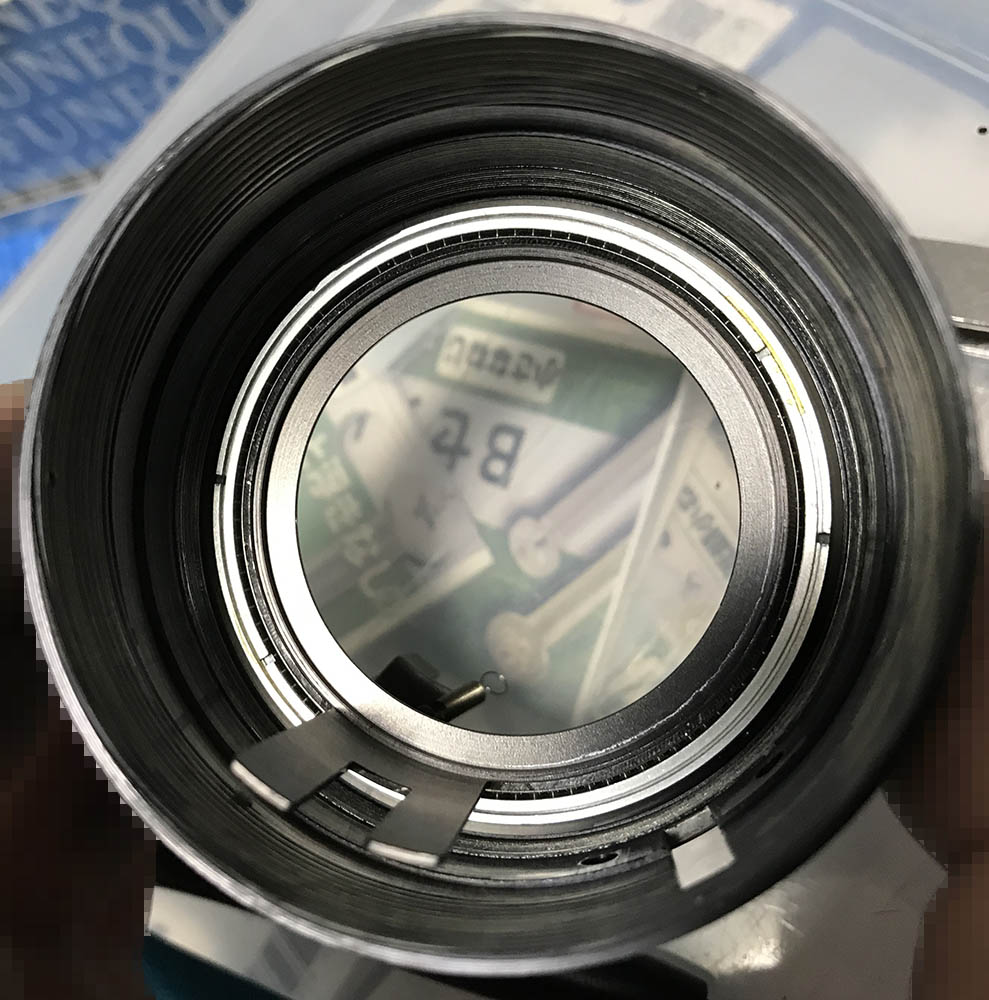
Carefully extract this retainer so you can remove the rear element.
Use a lens sucker to carefully extract the rear element. Be sure not to drop it to the floor.
Carefully clean the elements. If your lens has fungus, read my article about cleaning lens fungus. Never use the solution at full-strength, dissolve it with distilled water. Don’t leave the glass in the solution for too long, it is enough to etch the coatings and the glass. Never soak the cemented group in it, too.
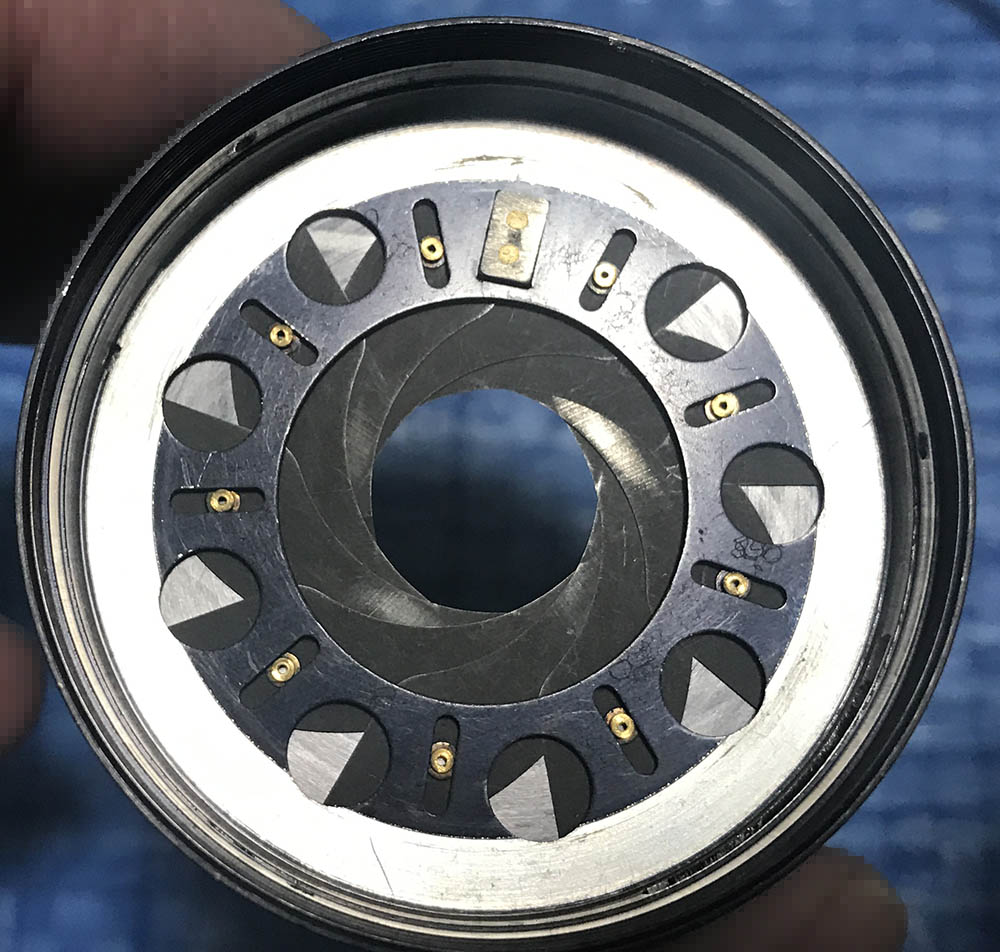
Disassembly (Iris Mechanism):
The iris mechanism is delicate, it’s the most difficult part of this lens to fix. I am always nervous when repairing it since the 9-bladed iris is so delicate if I messed this up then I’ve damaged this lens beyond-repair. I don’t have any photos of the actual one from this lens so I used some photos from my non-tick-mark version to compensate. They’re similar so this should suffice. The iris mechanism should be left alone if nothing needs to be repaired. Take a lot of notes as you dismantle it for reference.
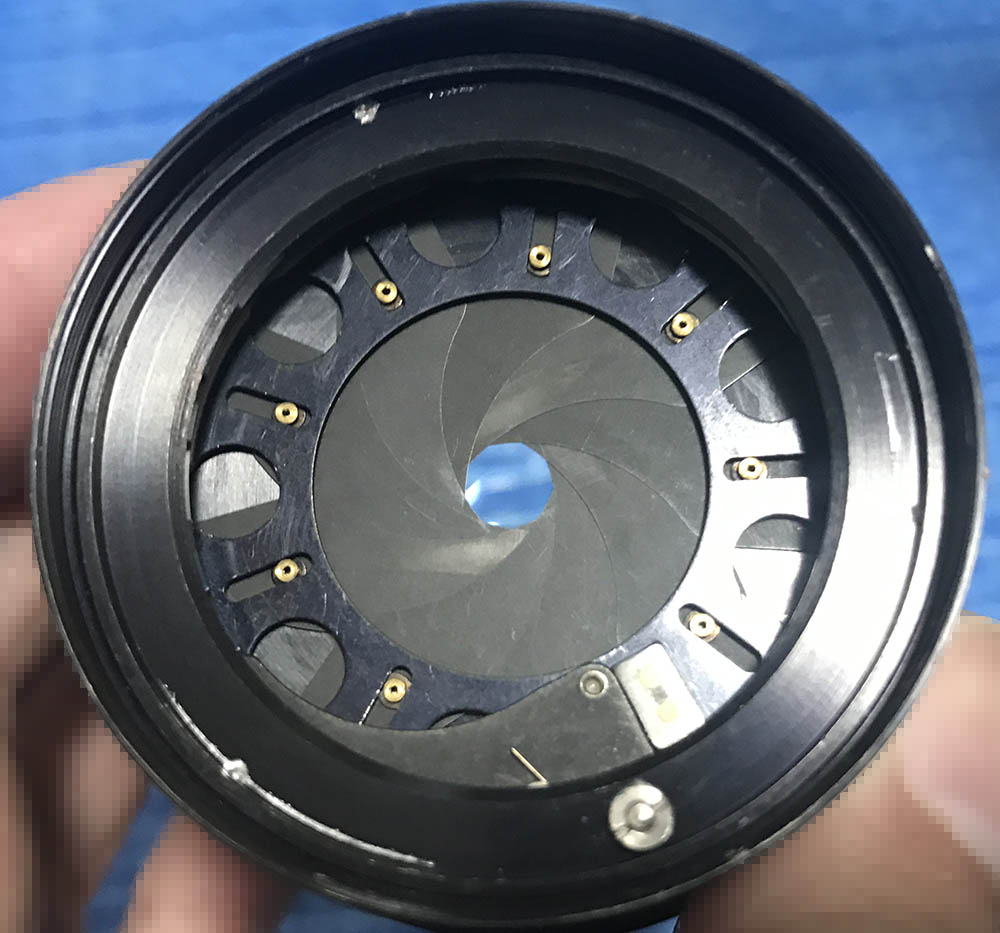
Inspect how the iris mechanism operates before you remove anything. See where the spring should be positioned or how the lever operates.

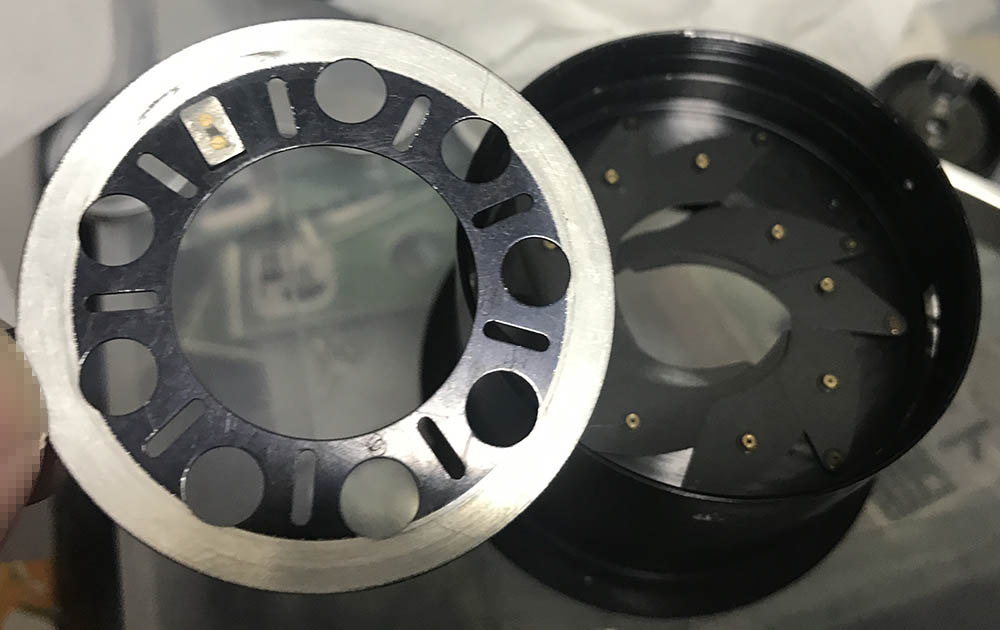
Carefully extract these to remove the regulator lever assembly.
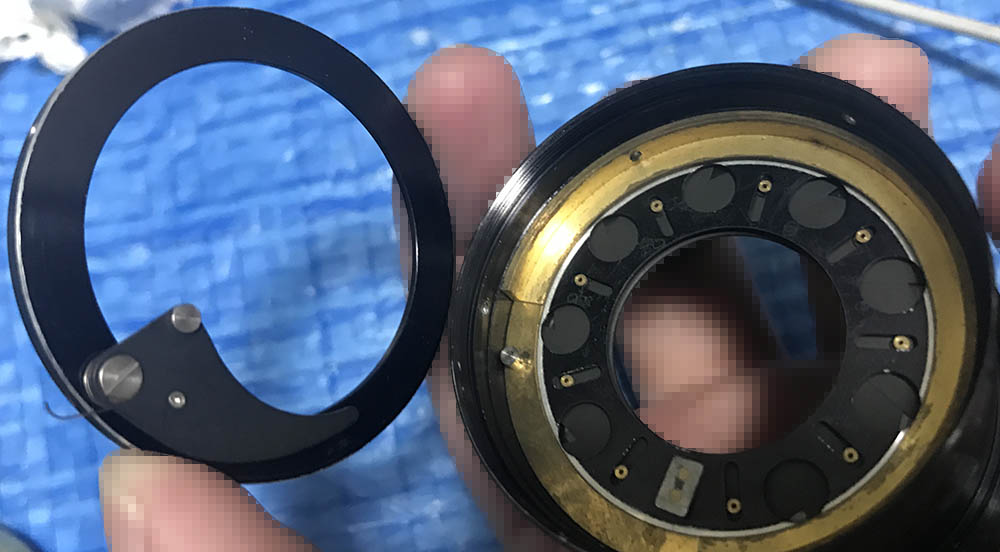
Carefully pick the whole assembly off.
The brass ring is the regulator, it keeps the diaphragm together.
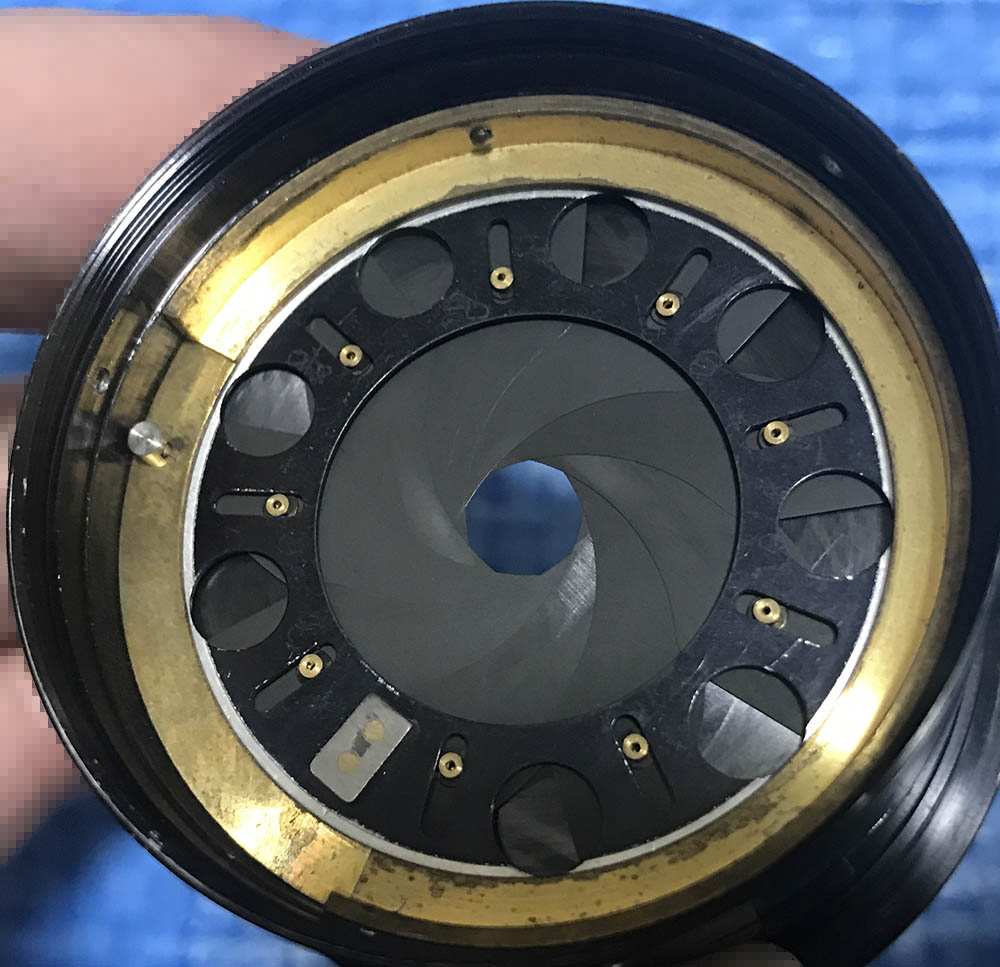
Extract this so you could remove the the regulator ring.
Carefully pick the regulator ring off with your fingers.
The diaphragm plate can now be removed. Note its position and remove the plate by pushing its tab from the outside to lift it up.
Carefully remove it and be sure not to damage the blades.
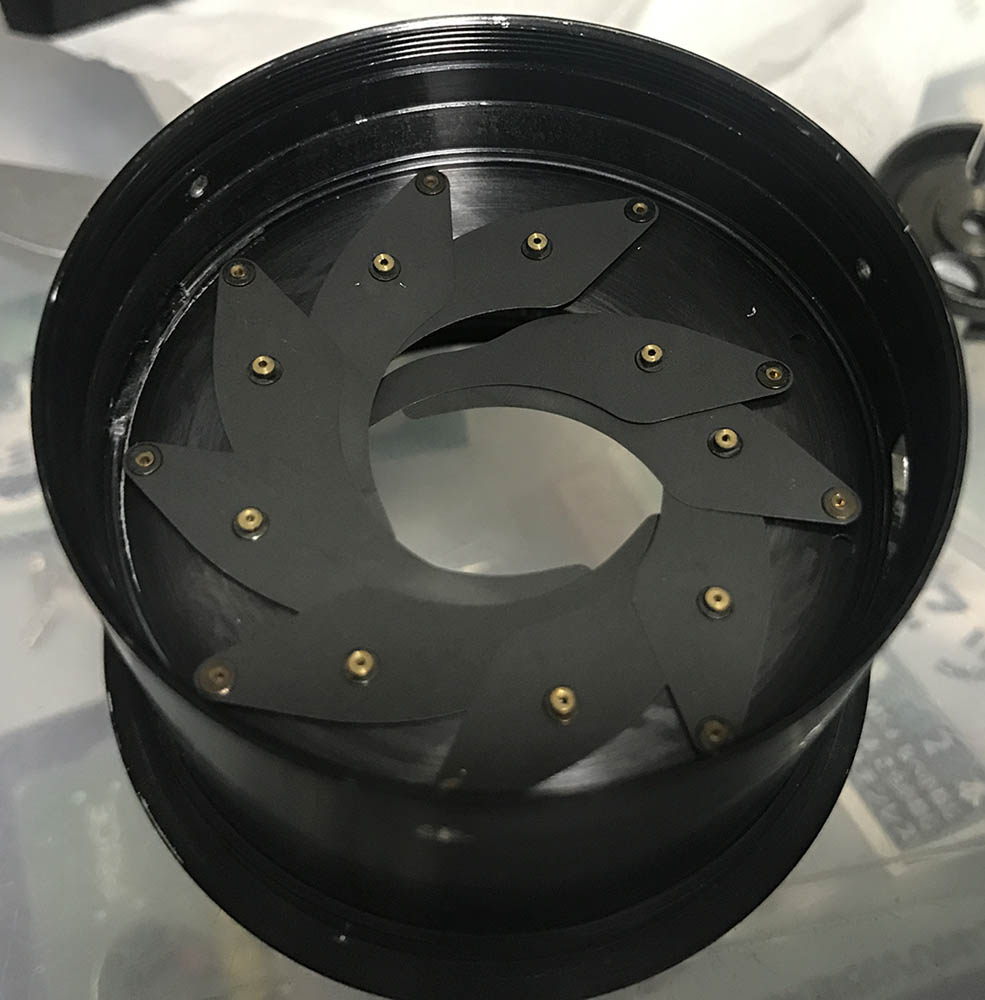
The blades are now accessible. These are delicate things so handle them by their bases only.
Carefully clean the blades by wiping them carefully with naphtha and lens tissue while being careful not to bend any of them. Reinstall them and see if the iris mechanism operates properly. Do not force anything here, if it does not move freely then something may be stuck. Never lubricate anything.
Conclusion:
It’s interesting to see the minor differences it has over the usual version, it’s a really special lens and I am proud to own one specially considering that it was bought for less than what I would pay for a meal at McDonald’s. This is another exclusive article that you will only find here, nobody else will show you what’s inside these rare items.
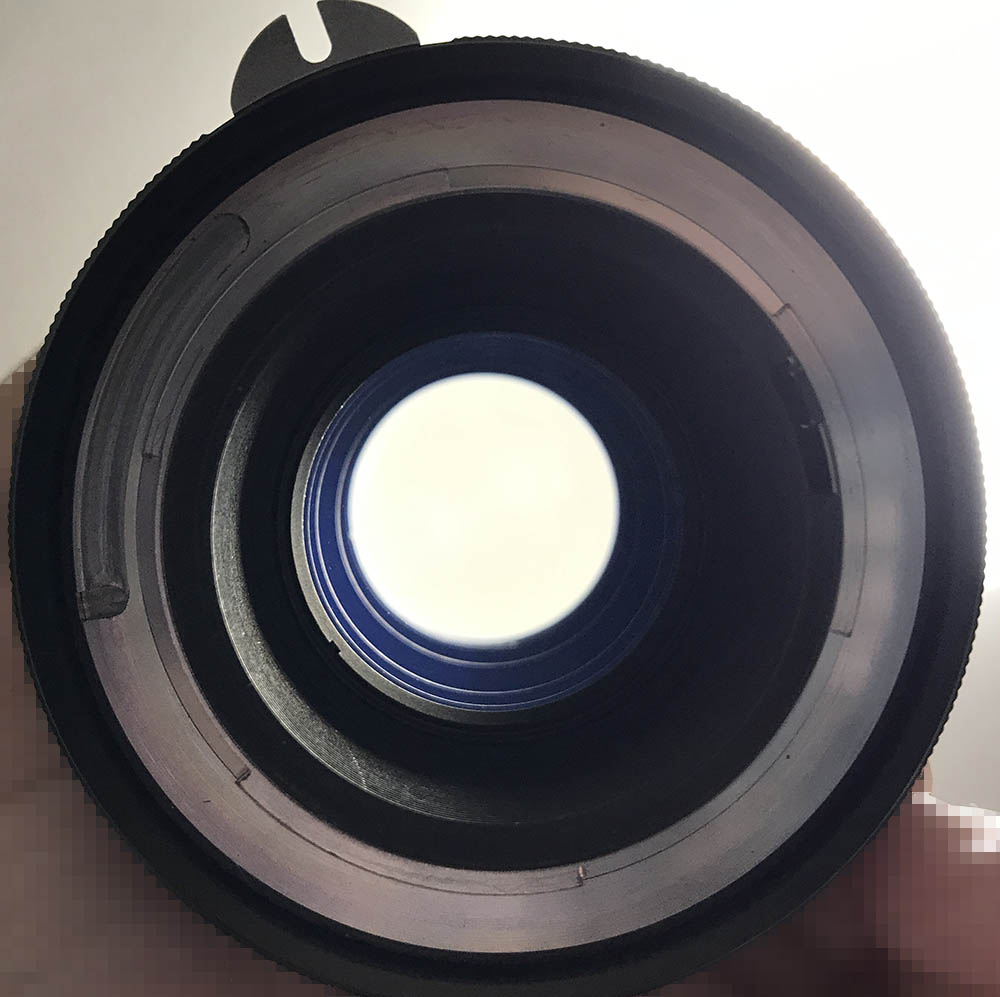
It’s now clear but there’s still some peripheral haze that I couldn’t remove.
There’s some haze here which I couldn’t remove without polishing. This is a precious lens so I don’t want to risk damaging, I left it alone. The haze won’t affect the resulting photos, at least not at this level.
It’s now time to enjoy it with my Nikkormat EL. It’s a great lens when partnered with older Nikons.
Thanks for following my work, if you liked this article please share this with your friends so it will get more views. This site earns around $0.30 a day, it’s totally reliant on views. You can also support this site, it helps me offset the cost of maintenance and hosting. You are also helping me purchase, process and scan film. This site promotes the use of film so we’re all in this together. See you again in the next article, Ric.
Help Support this Blog:
Maintaining this blog requires money to operate. If you think that this site has helped you or you want to show your support by helping with the site’s upkeep, you can make a small donation to my paypal.com (richardHaw888@gmail.com). Money is not my prime motivation for this blog and I believe that I have enough to run this but you can help me make this site (and the companion facebook page) grow.
Buy me a roll of film or a burger?
Thank you very much for your continued support!
$2.00
Helping support this site will ensure that this will be kept going as long as I have the time and energy for this. I would appreciate it if you just leave out your name or details like your country’s name or other information so that the donations will totally be anonymous. This is a labor of love and I intend to keep it that way for as long as I can. Ric.

5 Comments (+add yours?)