
Hello, everybody! Sean Connery’s passing came as a surprise to me because I am a big fan of his “007” movies. I loved every movie despite them being a bit repetitive when it came to plot. Secret agent investigates an evil villain, he screws some chicks, gets into a fight with some goons using gadgets and finally saving the world from said evil villain. They’re all predictable but it’s amazing how each movie has its own charm. Today, I am going to show you something that has become quite repetitive in Nikkor-land but like the “007” movies each version has its own unique quirks so it’s a lot of fun collecting them. Read the article to find out what this lens is.
Introduction:
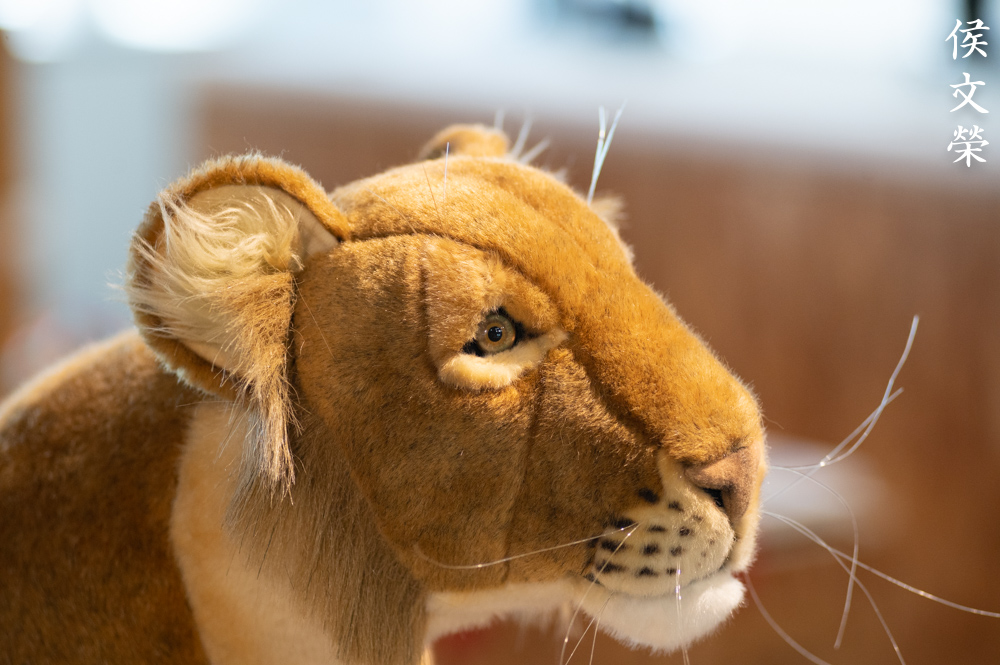
The New-Nikkor 135mm f/3.5 was sold from 1975 to 1977, quite short if you ask me. It’s merely an update of the Nikkor-Q.C 135mm f/3.5 Auto, the optics are similar, if not identical. The barrel is totally-different so it handle much better in some areas. This was in-line with what Nikon was doing with their “legacy” Nikkors in the 1970s, they would update the lenses with a new look and sometimes even new optics and market them as “New-Nikkors“. You are right to say that New-Nikkors are some of the best-built Nikkors made, these are tough and the build quality remained until the Ai-series.

It feels dense when held, the wide focusing ring is easy-to-hold and you can turn it precisely. The focus-throw is a bit long which is typical of this family of lenses. This one doesn’t have the factory Ai-ring installed, you should not use it with modern Nikons that have an Ai-coupling tab that can’t be lifted-up or you’ll damage the camera.
Its optical design is the same 4-elements-in-3-groups used on the Nikkor-Q.C 135mm f/3.5 Auto which is a heavily-modified version of the original design that has its roots from the older Nikkor-Q 13.5cm f/3.5 Auto. The big change happened around 1969 and this is the last lens to use the modified formula. It is the final form of a lens that started out as a Japanese copy of a German design from the prewar years, a heritage (illegitimate) that spanned several decades.

It has beautiful scales engraved to the barrel and its rings. This isn’t going to be useful since it’s difficult to work with a lens that has a thin depth-of-field for pre-focus but it’s handy to know how much you in-focus.

It handles wonderfully even with modern Nikons. Note that it has an Ai-ring installed. You won’t need it with a Nikon Z6 but never mount a pre-Ai lens to a Nikon that has a rigid Ai-coupling, it will damage the camera and that will require an expensive repair since the camera’s front-assembly will need to be removed and several parts have to be replaced.

These are the major variations of this lens family with the earliest model to the right. From right-to-left, these are:
- Nikkor-Q 13.5cm f/3.5 Auto
- Nikkor-Q.C 135mm f/3.5 Auto
- New-Nikkor 135mm f/3.5
- Nikkor 135mm f/3.5 Ai
- Nikkor 135mm f/3.5 Ai-S
There are more sub-variations than what’s shown here but the differences are insignificant so I did not include them here.
Learning how your lens performs is key to maximizing its use. You’ll learn how to utilize its strengths and avoid its weaknesses. This knowledge helps in determining which lens to bring on assignment.
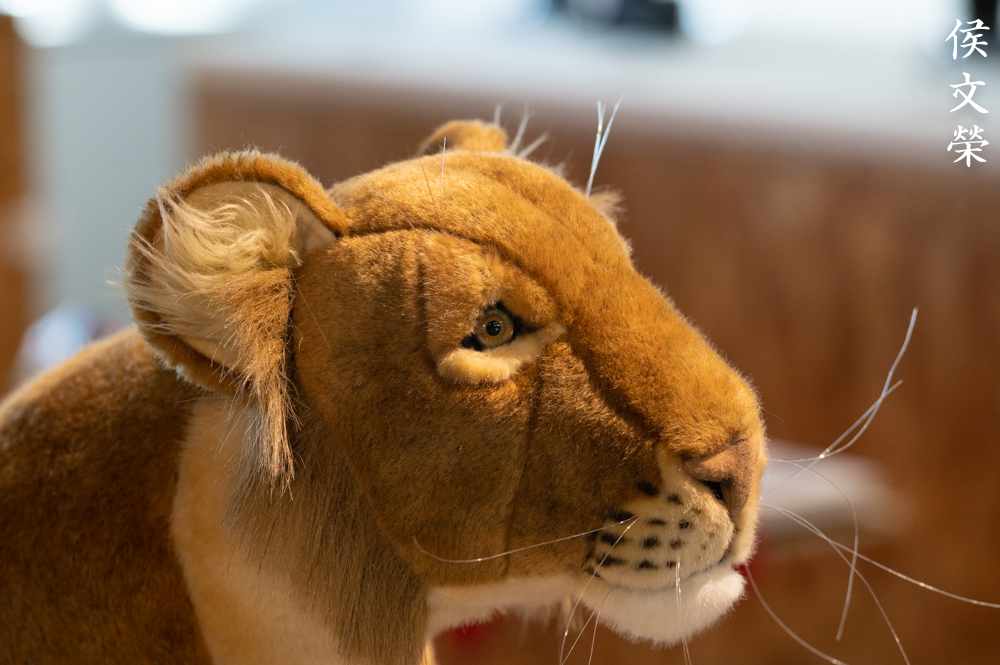
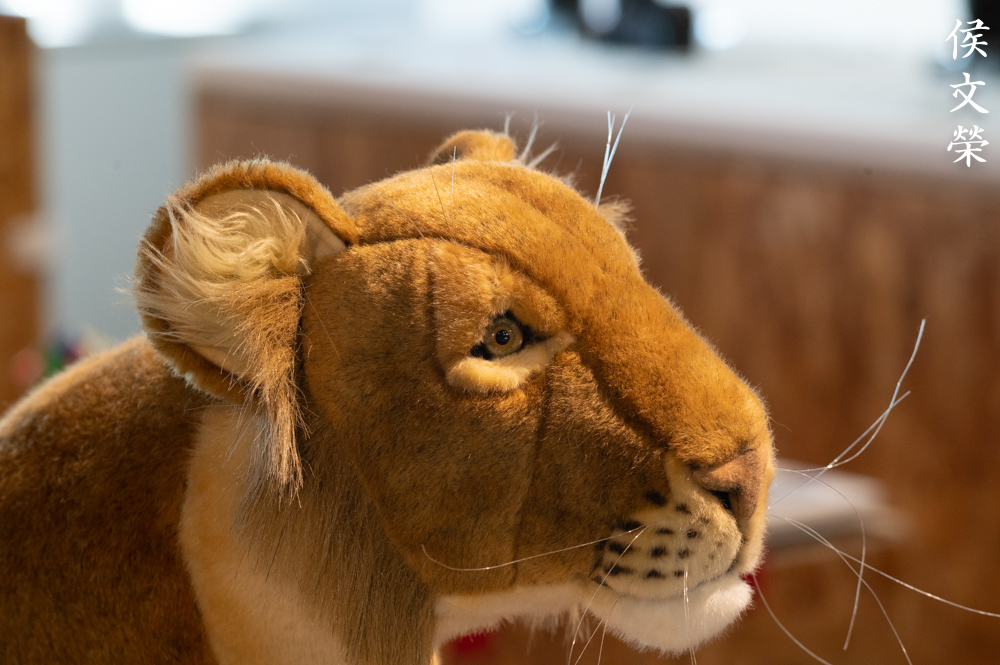
I shot these from f/3.5, f/5.6 and f/8, these are the most common apertures that people would want to use it and we’ll see the most changes with these values. The photos were shot with my Nikon Z6.


(Click to enlarge)
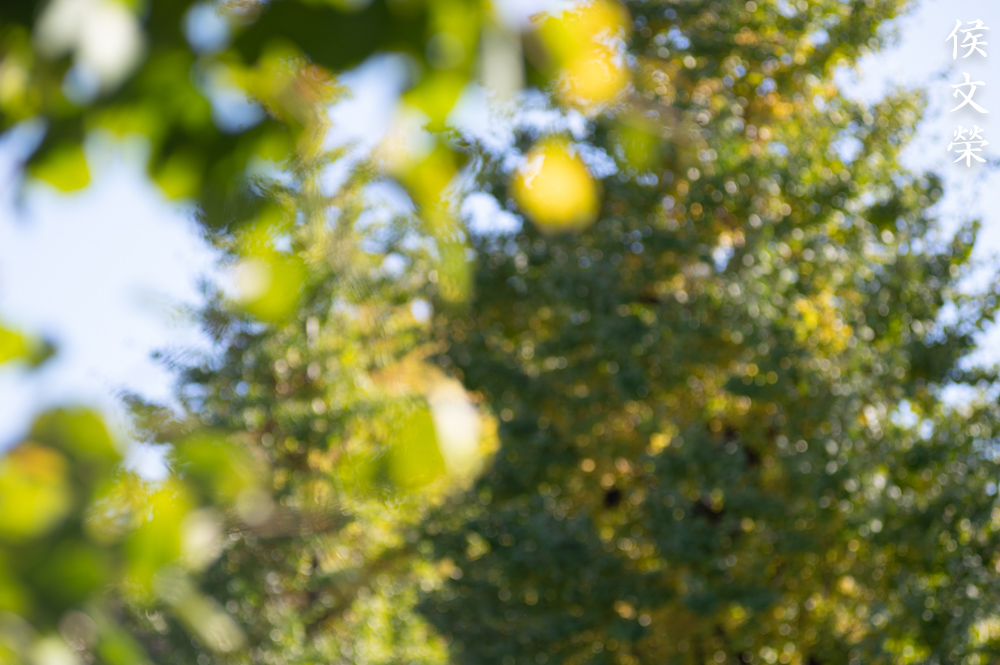
Vignetting can be seen wide-open but it’s insignificant, it’s gone by f/5.6. It’s amazing how low the values are, nothing much to write about it here. You’ll see very-slight distortion, values that are too-low to even make a difference in any condition. This is impressive in my experience.

There’s a slight pincushion-type profile that’s difficult to see, you can say it’s close to being distortion-free. This is one of the better things about it.


(Click to enlarge)
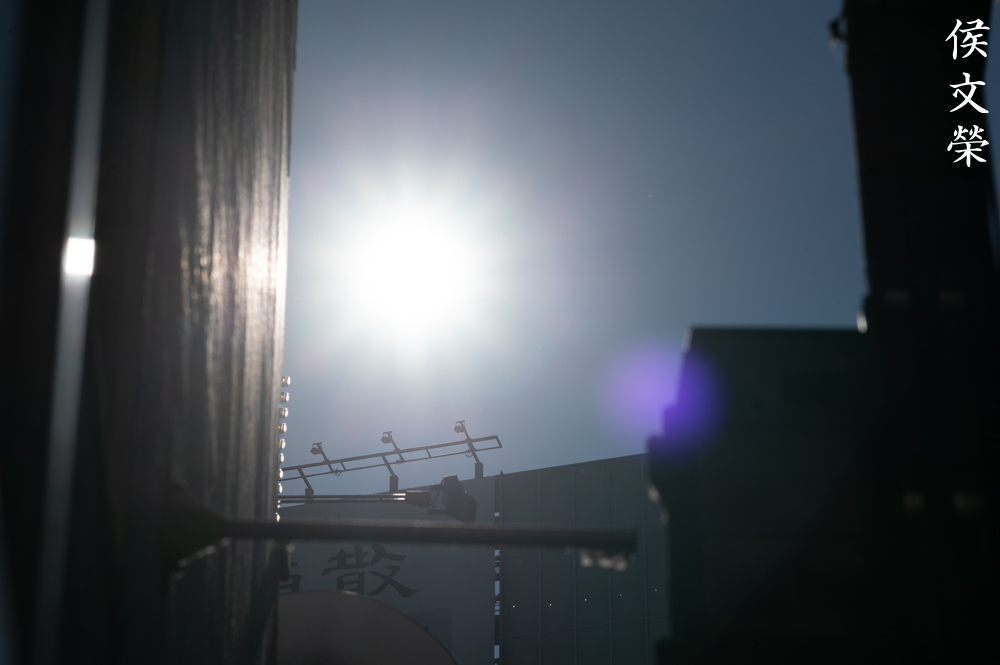
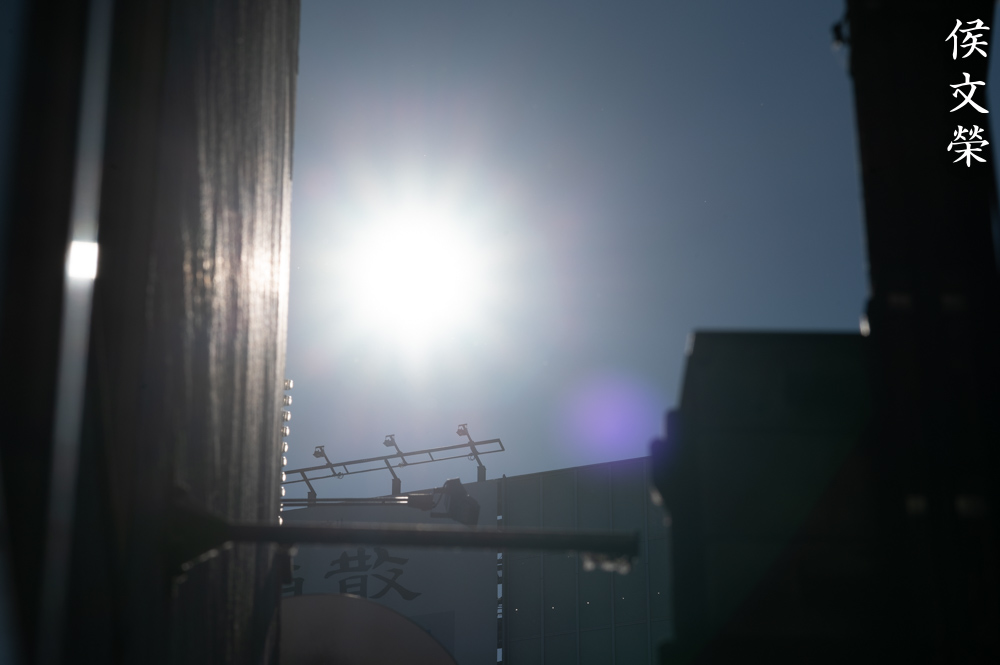
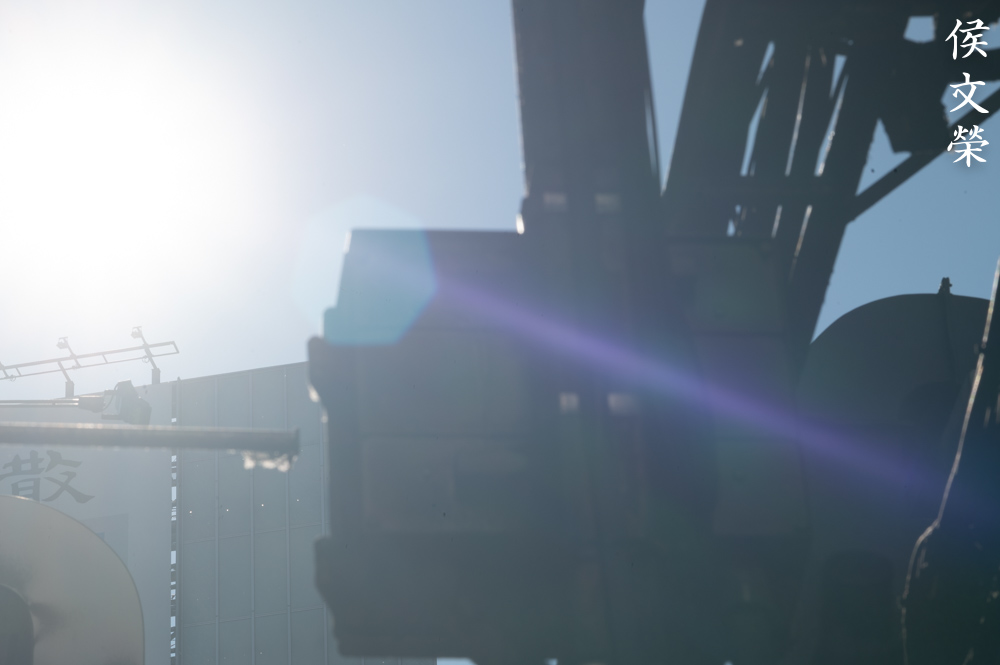
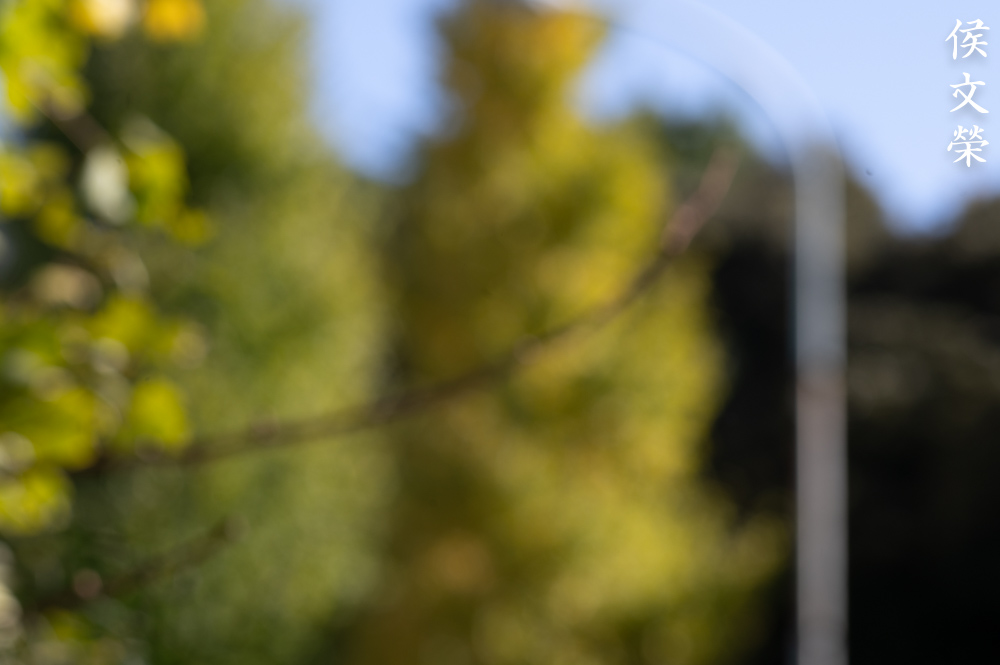
What was surprising is how terrible it is at controlling flare and ghosts. You will get a huge blue blob and strong flare when aimed at the sun. Even if it’s just outside of your frame it’s able to cover your frame with a milky-haze. It won’t help at all even if you stop the iris down, you’ll eliminate some of the flare but the ghosts will start to look defined.


(Click to enlarge)
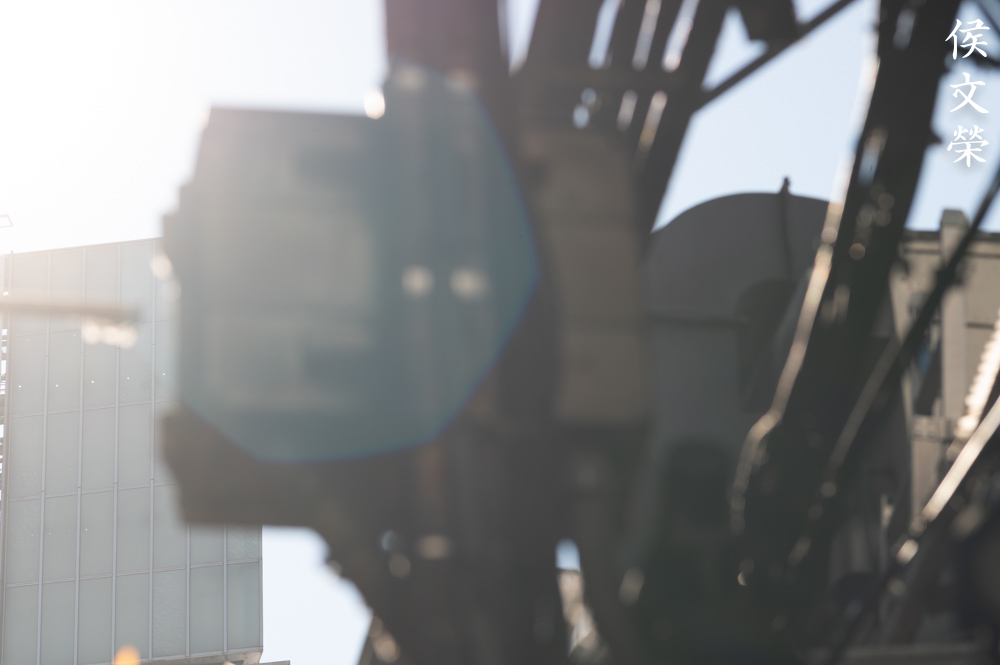
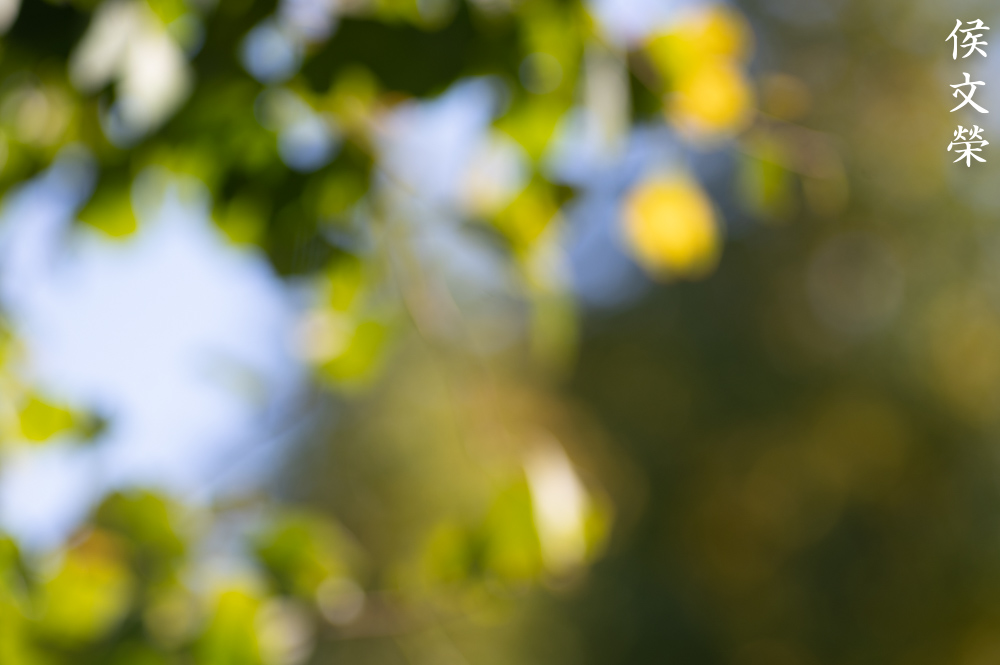
The quality of the bokeh is quite pleasing in most instances but this can also exhibit clumpy-looking details if you’re not careful. Shooting with this wide-open prevents this from happening. I consider this to be better than all the 6-bladed versions, its 7-sided iris helps in making the bokeh’s character a lot smoother specially when stopped-down and focused mid-way around 10m.


(Click to enlarge)
Chromatic aberration can be observed and is quite high wide-open on parts that are overblown. It’s gone by f/5.6 so you won’t see it at f/8. Being careful with your exposure helps a bit if you have overblown areas in the scene but it couldn’t be helped sometimes. Spherical aberration can also be observed but it’s not unpleasant at all, I don’t mind it.

This was shot to exhibit chromatic aberration, a worst-case scenario. This is how bad it could be when you didn’t expose your photo properly, you’ll get overblown parts of your scene looking purplish.


(Click to enlarge)
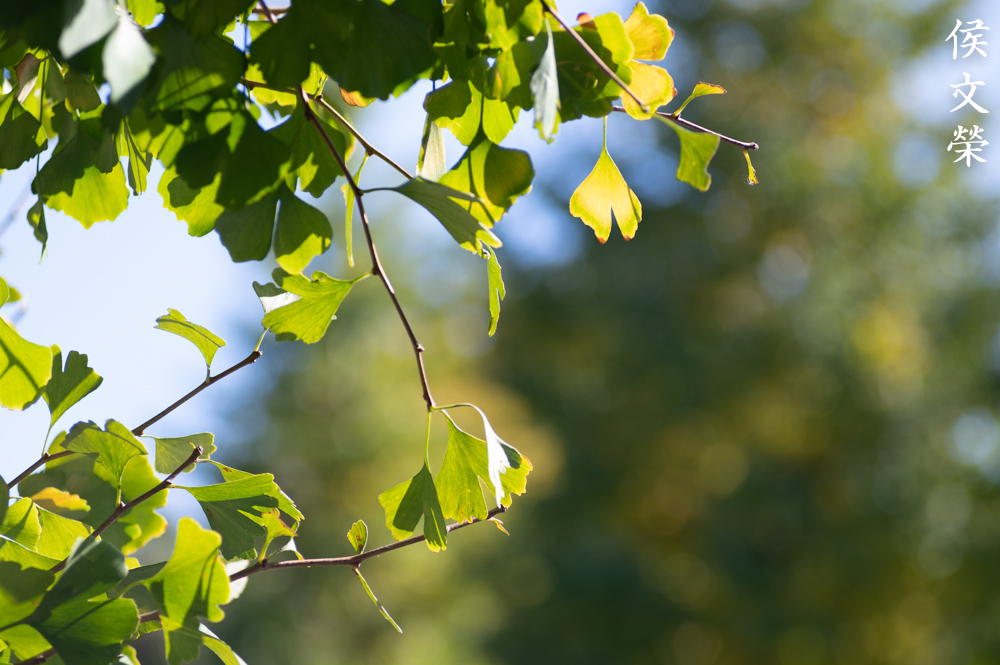
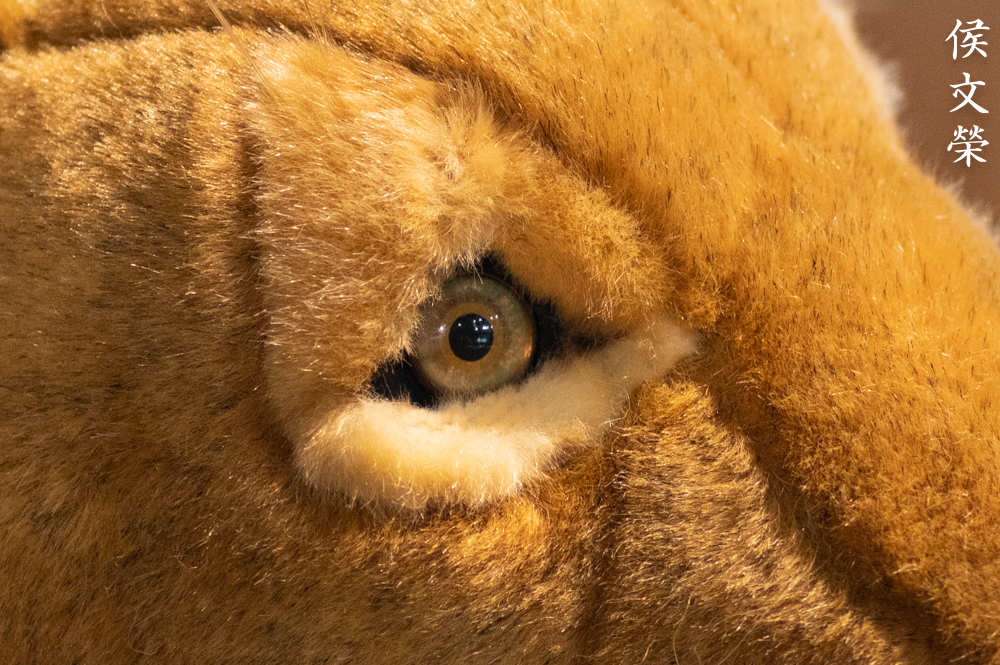
Sharpness is quite good wide-open at the center and the corners don’t look bad at all, too. Resolution seems adequate for most cases. Stopping it down improves the resolution quite a bit so you’ll get better center and corners, it is now able to support its sharpness better at f/5.6. Performance appears to peak at the center and the corners look better. Stopping it down to f/8 won’t improve the center by much but the corners will still improve a bit. This is a sharp lens according to my observations. The spherical aberration and lack of some contrast wide-open hides the fact that it’s sharp, this will depend on your scene if it’s backlit or not. In ideal situations you won’t notice any drop in contrast wide-open and you’ll get sharp, saturated photos wide-open.
The low-levels of distortion means that it’s a great lens for shooting art and architecture. This is certainly a lovely lens, I was surprised by how well the image quality is since I was not expecting it to be a lot better than the older version it replaced.

It’s great for taking candid photos. You couldn’t frame it like this with a lens that’s wider than 100mm. Less foreshortening means that you could flatten your composition more which you can use for storytelling.

Sharpness is quite good, even wide-open near the corners. It’s impressive, I don’t think I need to stop this down just to get sharper details.
Resolution is adequate wide-open, it’s not lacking but it could still improve.


(Click to enlarge)
Here are more photos that I took with my Nikon Z6. I was thinking that my Nikon Z6 would out-resolve it but it seems that it could handle it well. It’s a nice lens despite being tagged as a cheaper option to the faster f/2.8 ones. It will still be capable of taking great photos for more years to come.
Let’s now see how it performs with film. Film has a unique look that is hard to replicate with a digital camera because grain reacts differently to light. It can either mask or amplify a lens’ flaws. Since this was originally made for use with film it’s best that we judge this with its intended medium. This will give us a better assessment of how it really performs. These were shot with my Nikon F4 loaded with Kodak Color Plus 200.

Its bokeh quality is quite good wide-open, the focus-transition is smooth but it can sometimes exhibit rough-looking artifacts if you are not careful. Don’t worry, you won’t get that in most cases unless you’re doing it really wrong.
Sharpness is amazing wide-open and the resolution is quite nice with film. I love how sharp the center is, contrast is nice throughout the whole aperture range. Saturation is excellent, too.

Shooting wide-open with the sun just outside of the frame can make it flare quite a bit which makes your frame look washed-out. It lowers contrast and saturation, you can use this to your advantage if you like. It works well with film since it makes your photo look even more “vintage”.
This is really sharp at f/8, it’s able to resolve every detail nicely. The center is really sharp but the extreme corners may be lacking a bit, that may be due to field curvature more than anything.
If you have enough light, shoot with it from f/5.6 and f/8, these are the better aperture values for this lens, people call this window the “sweet-spot”. This is usually 2-3 stop smaller than a lens’ maximum aperture.


(Click to enlarge)
This is a wonderful lens for film photography. I encourage you to shoot with it using film so long as you have enough light to work with. It’s a treat to use on a sunny day. I’m sure it’s also great for flash photography, you can shoot with it at smaller apertures where its ability to produce amazing photos can surprise you specially considering how cheap these are today.
This is the last lens to employ the venerable 4-elements-in-3-groups design. I see this as its ultimate evolution, the best of the early 135/3.5 Nikkors. These could be had for less than $90.00, I got mine for a lot less than that. The only other real alternative to this is the later Nikkor 135mm f/3.5 Ai or the Nikkor 135mm f/3.5 Ai-S. Both lenses are better but they will cost you a little more. I can also recommend the Nikkor-Q 135mm f/2.8 Auto if you’re open to using a heavier but faster lens. When shopping for one of these make sure that its rings all turn smoothly and the iris is dry and snappy when actuated. You’ll also want to buy a hood for it in order to help prevent flare and ghosts. Get one that comes with an Ai-ring, they may cost you $10.00 more but it allows you to use it with Nikons that have a rigid Ai-coupling tab. The convenience it brings is certainly worth more than what you would pay for it. It’s a great lens for people on a budget and the best thing is it could deliver more than what people give it credit for these days. Happy hunting.
Before We Begin:
If this is your first attempt at repairing a lens then I suggest that you check my previous posts regarding screws & drivers, grease and other things. Also read what I wrote about the tools that you’ll need to fix your Nikkors.
I suggest that you read these primers before you begin (for beginners):
Reading these primers should lessen the chance of ruining your lens if you are a novice. Before opening up any lens, always look for other people who have done so in Youtube or the internet. Information is scarce, vague and scattered (that is why I started this) but you can still find some information if you search carefully.
I highly recommend that you read my working with helicoids post because this is very important and getting it wrong can ruin your day. If I can force you to read this, I would. It is that important!
For more advanced topics, you can read my fungus removal post as a start. This post has a lot of useful information and it will be beneficial for you to read this.
Disassembly (Lens Barrel):
The barrel is easy to dismantle but most of the parts were sealed, it’s typical of Nikkors made in this era. Before removing anything it’s best to apply a bit of solvents to soften the seals. You may also heat the screws, that will help a lot in ensuring that the thread-lock has melted. Take plenty of photos, notes and measurements as you go along for reference. Like most lenses, we’ll be removing the objective first to keep it safe while we work with the barrel. It is easily-done with this lens.
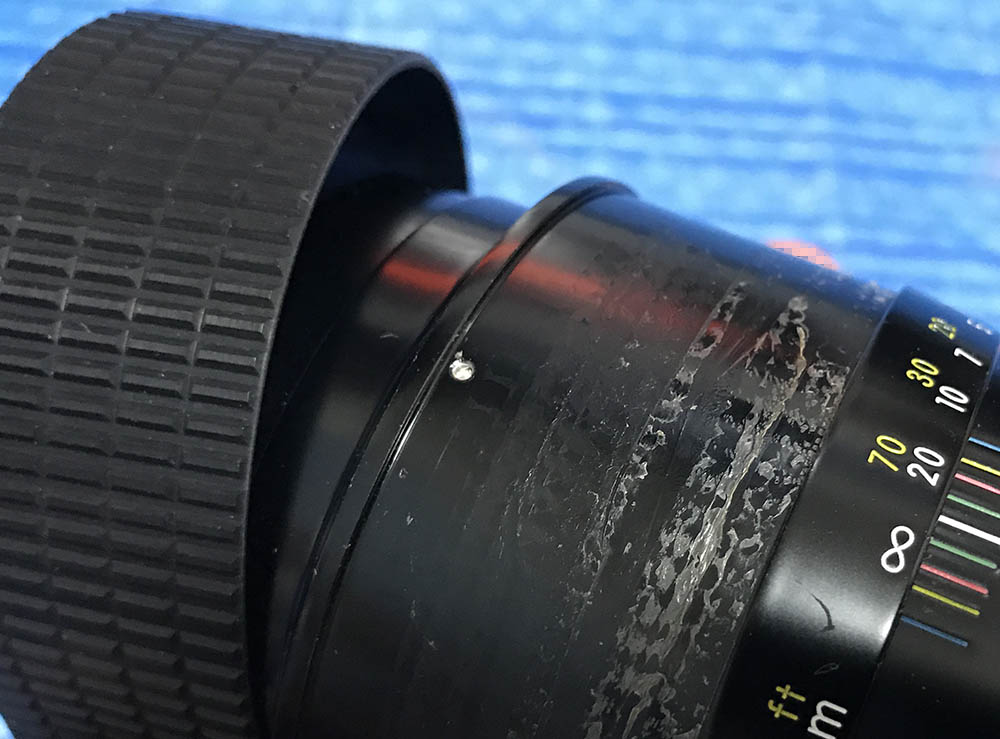
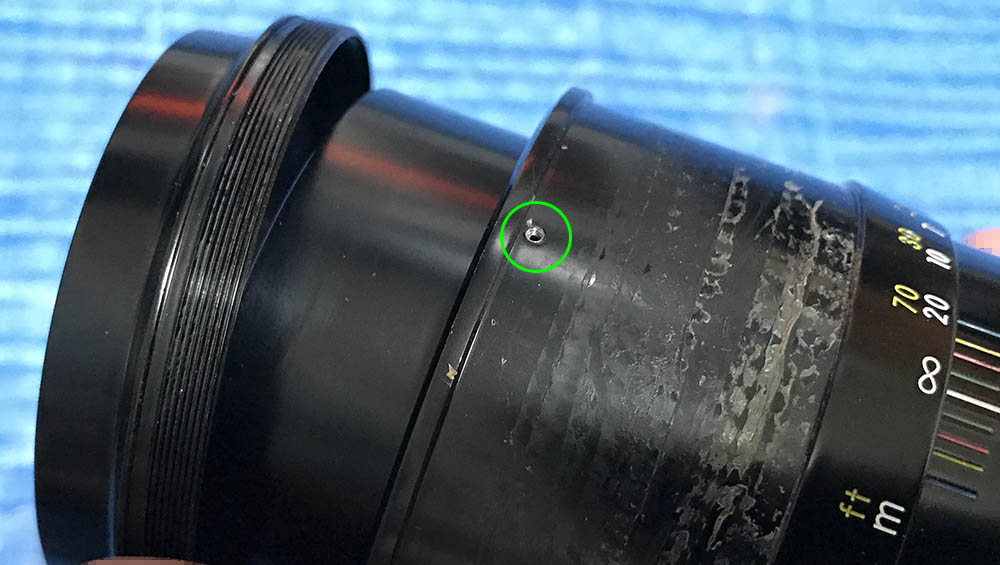
Carefully remove the rubber grip by running a thin, rounded rod under its whole circumference to lift it from the glue. Locate and carefully extract its small set screw. The one on mine is already gone.
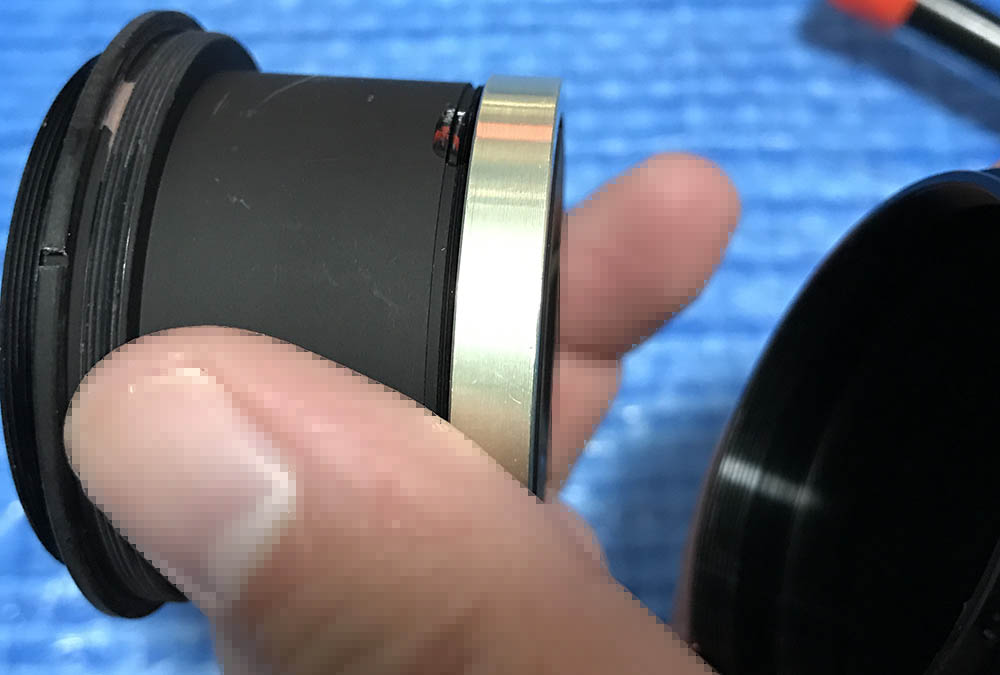
Unscrew the bezel of the focusing ring. If it’s stuck, use a bit of alcohol, drop it inside this hole and let it work on the threads. Wait until it has softened it and try it again.
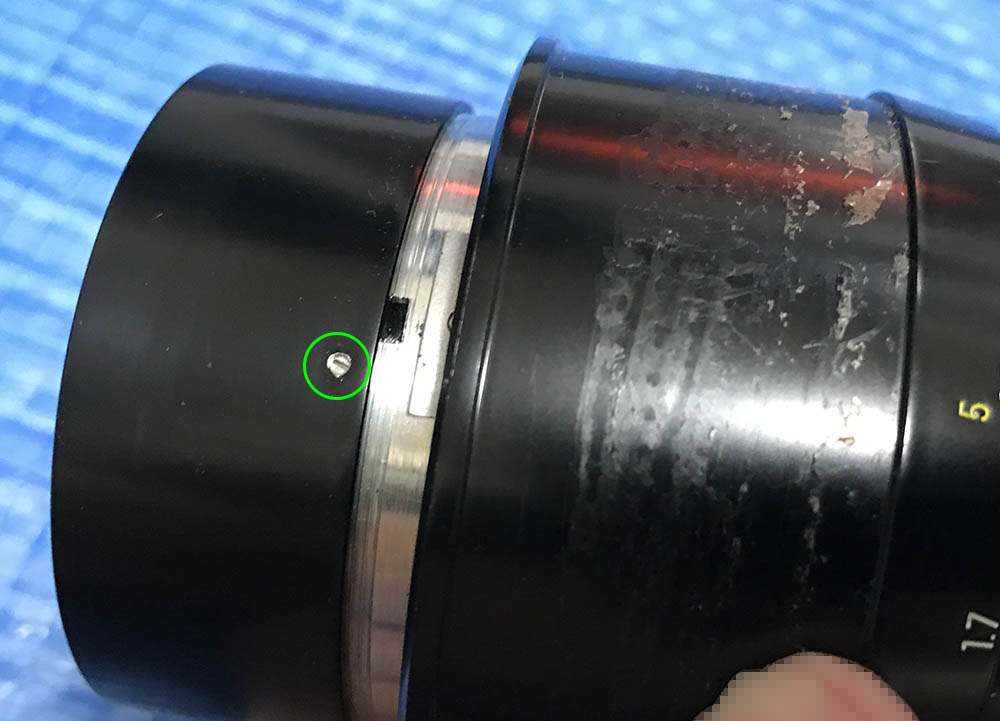
You’re now able to access this, carefully extract this.
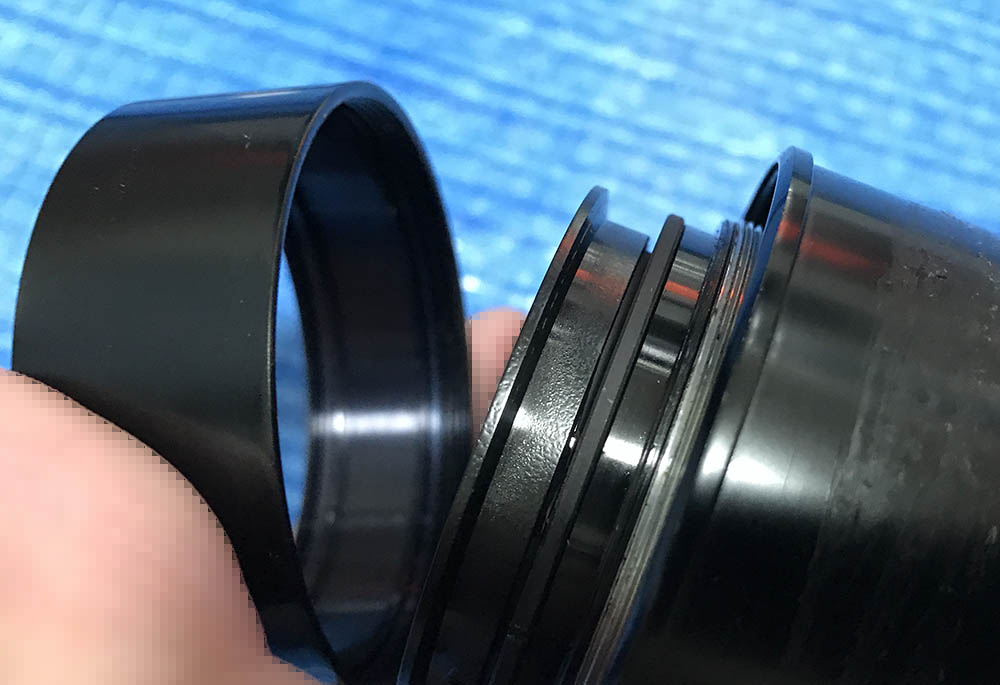
Unscrew the front barrel with your hands.

Remove the objective and store it in a safe place while you work on the rest of the barrel.

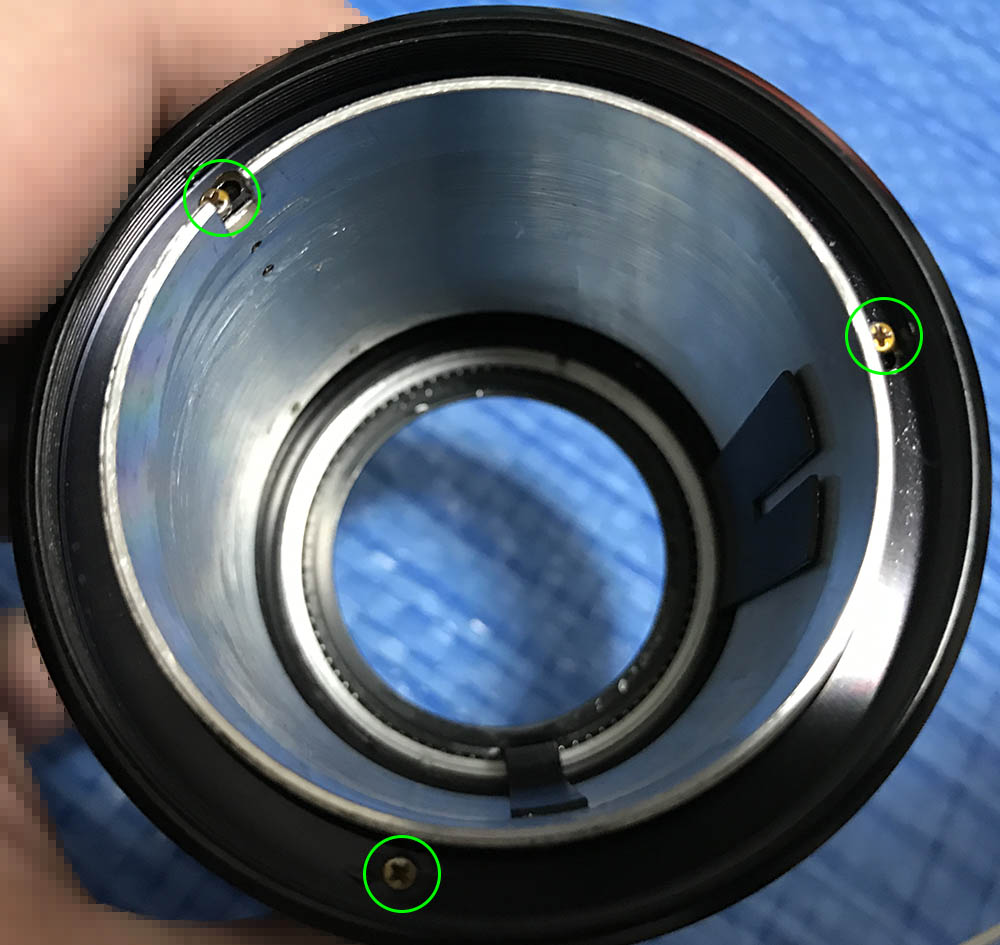
Extract these so you can remove the bayonet mount. Many people get stuck here because they have stripped them. To prevent this happening, read my article on how to remove bayonet screws. Use the correct type of driver, the screws are JIS so you should only use a JIS driver for them.

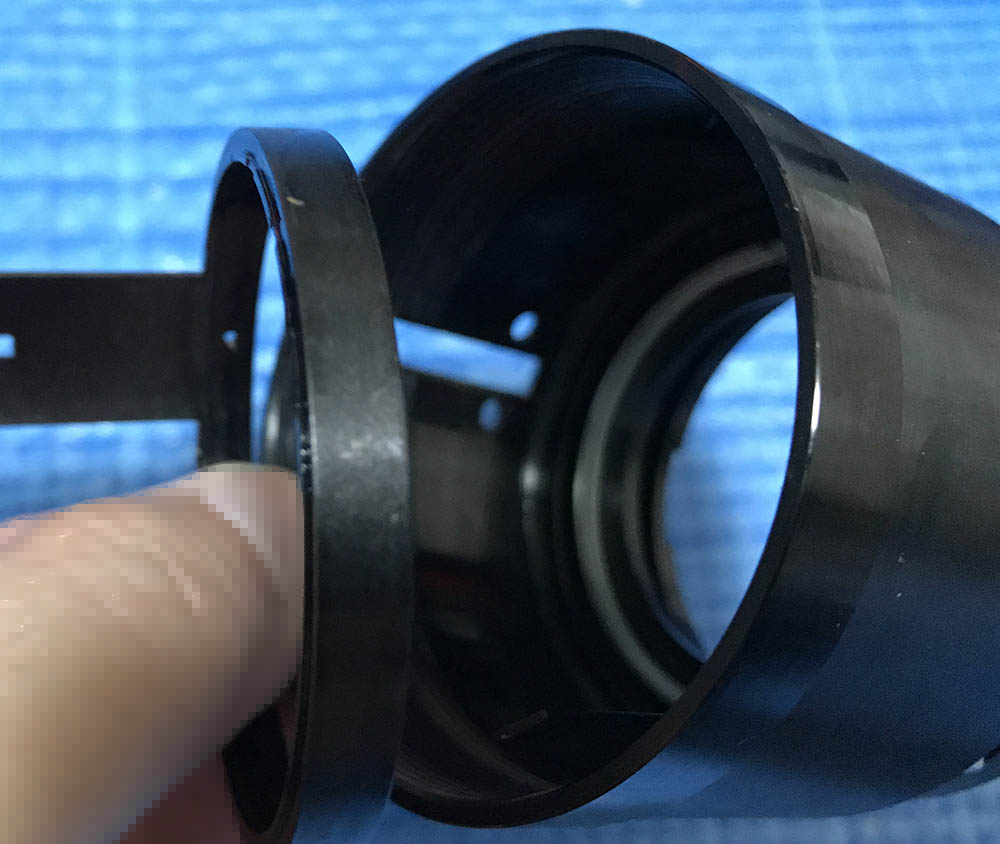
Remove the bayonet mount.
Carefully extract these. It can be difficult to remove these so place a drop of alcohol to soften their seals before you remove them.
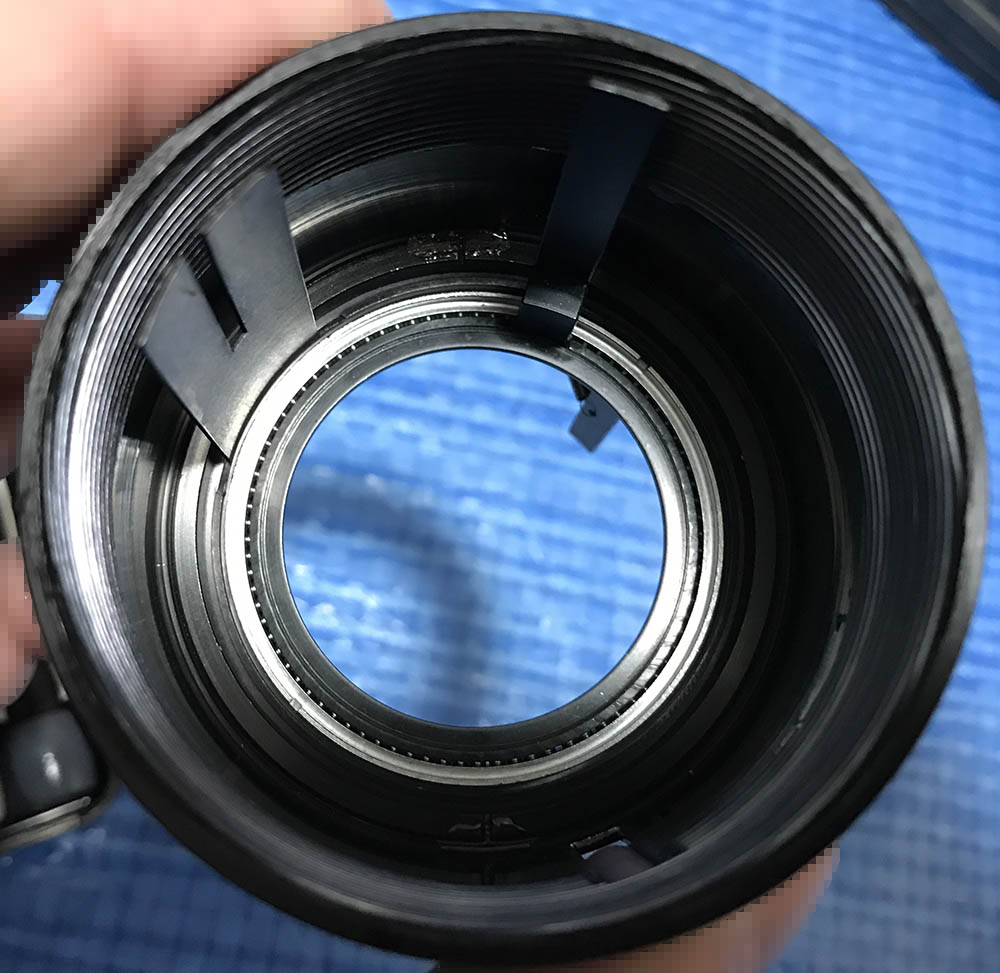
You can now remove the aperture ring once that little block is gone.

Extract these to remove the grip. Use a driver that fits these perfectly, if you used one that’s a bit bigger you could damage the surrounding metal and a smaller one will strip their heads.
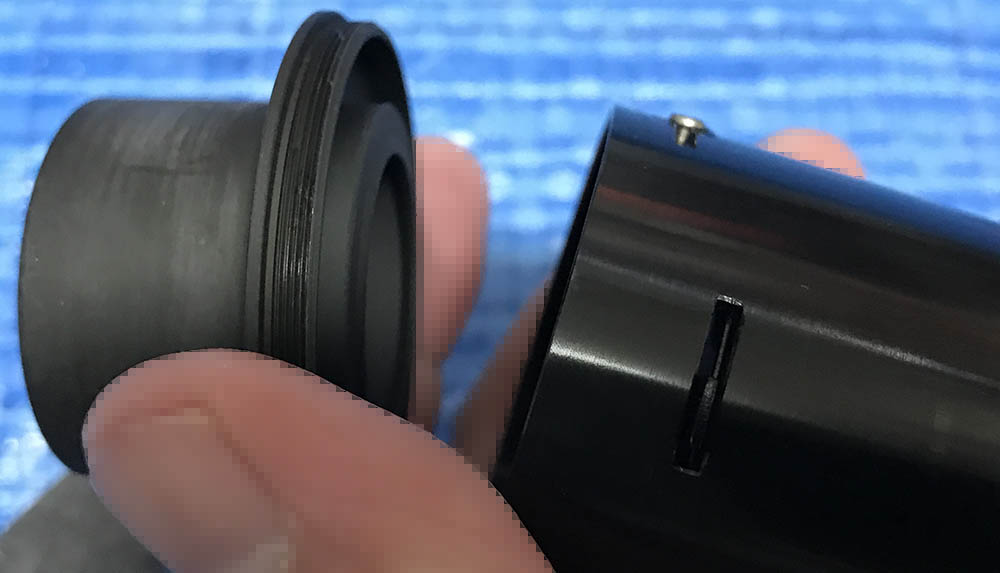
The grip is sometimes glued to the barrel, if that happens to you then a few drops of alcohol will help get it off.
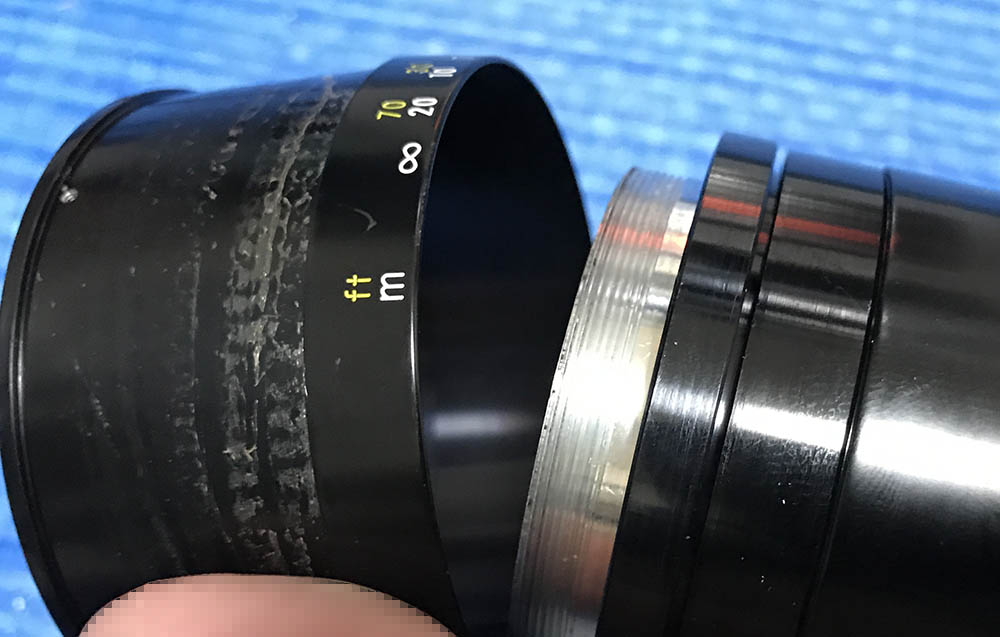
The sleeve should come-off rather easily.
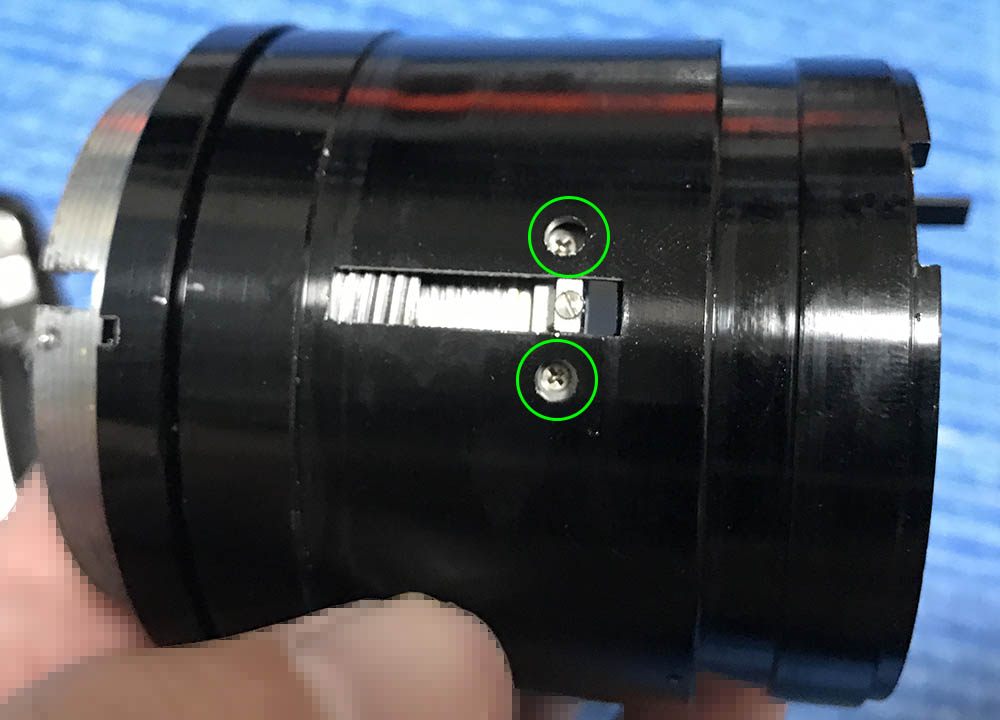
The focusing ring is held by these screws. You could adjust the focusing ring if you loosen these that’s why they’re sealed at the factory. Use solvents and wait for the seals to get dissolved before you extract these.
Carefully remove the focusing ring.
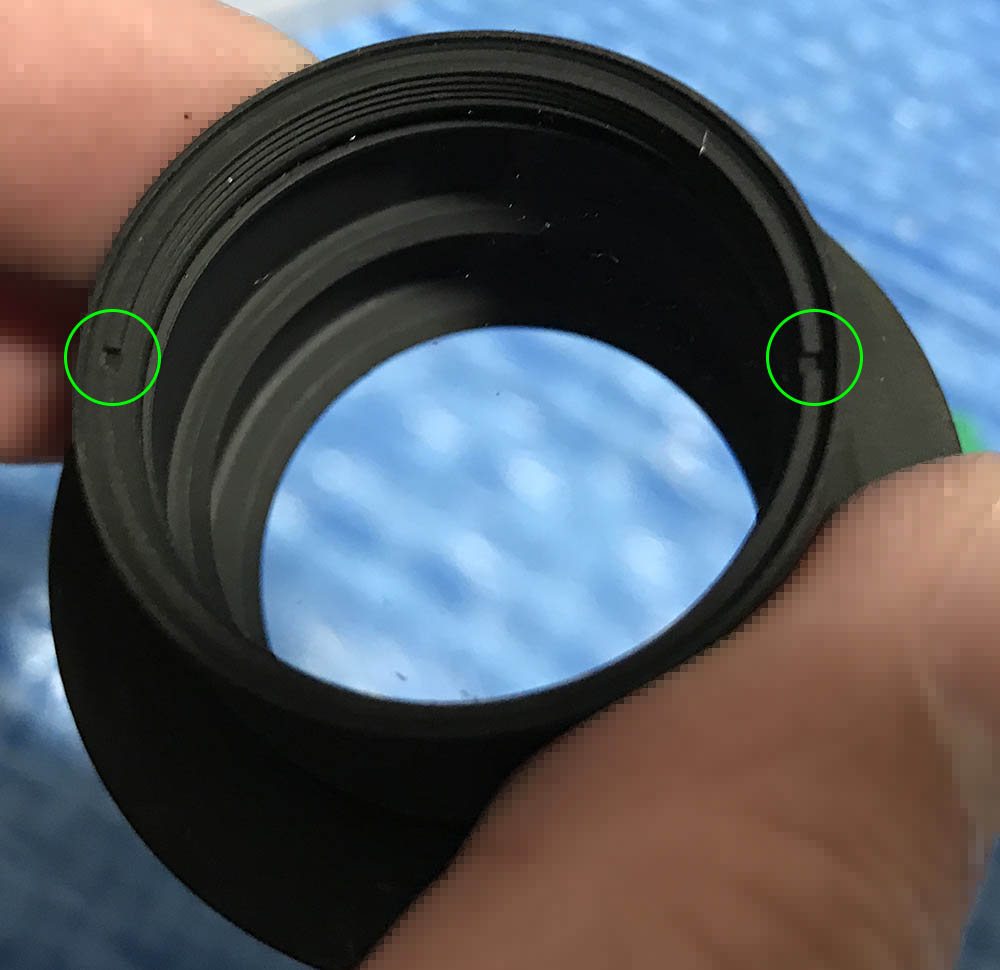
Locate and extract these to remove the helicoid key. The key keeps all of the helicoids synced, turning the central one will extend-or-retract the barrel. I always make sure to make a mark at the central helicoid so I’ll know how it should be aligned when the barrel is turned to infinity as you can see here in this photo.

Carefully remove the helicoid key and make sure to note its position so you will know how to put it back properly.

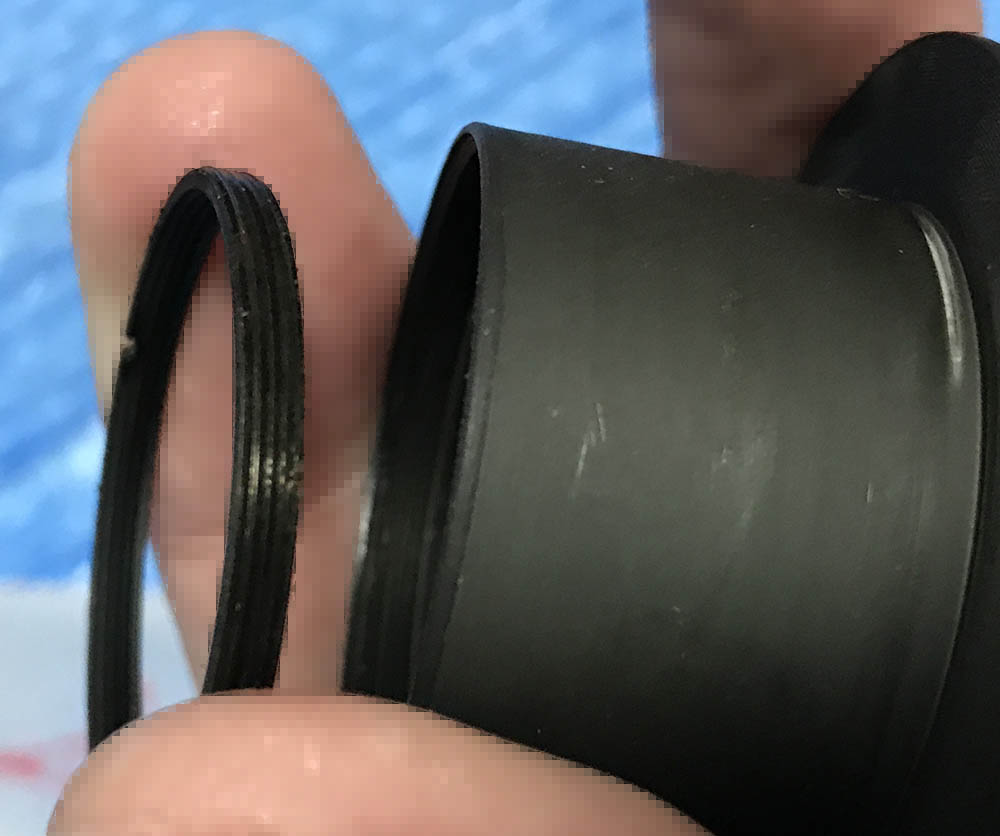
Separate the central helicoid from the outer one and never forget to make a small mark to know where they separated as they should mesh at the same spot, too. Many people forget to do this so they waste a lot of time guessing. Read my article on working with helicoids to prevent this from happening to you.
The inner helicoid couldn’t be separated from the central one because there is a part on its way. Heat these and extract them while they’re hot.

Do not forget to note which way should be facing the front before you get it off from the inner helicoid.
Separate the inner helicoid and never forget to mark where it parted.
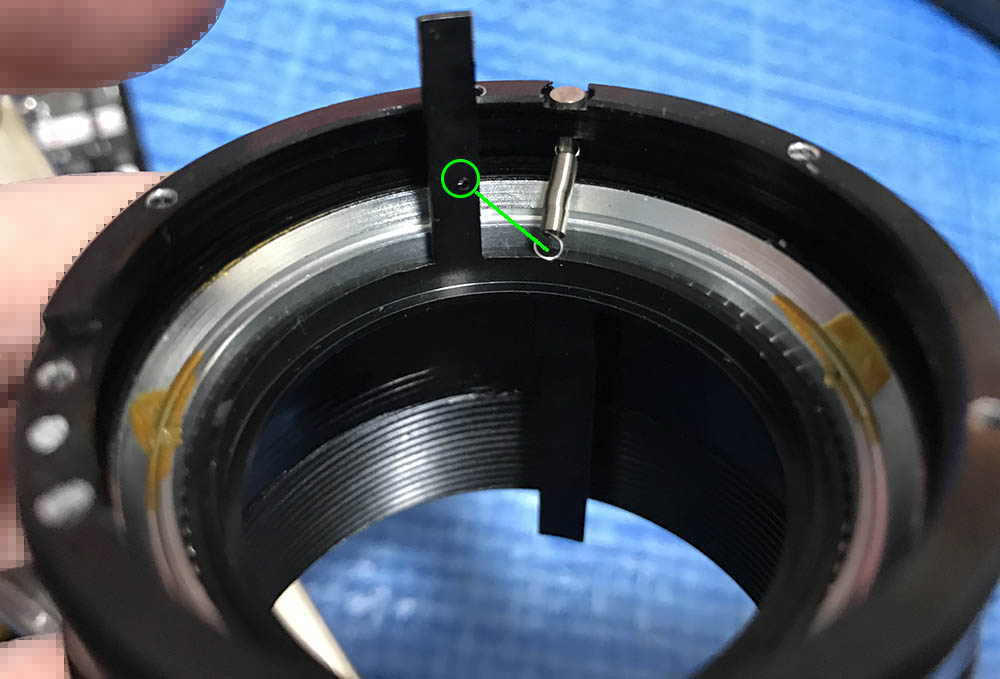
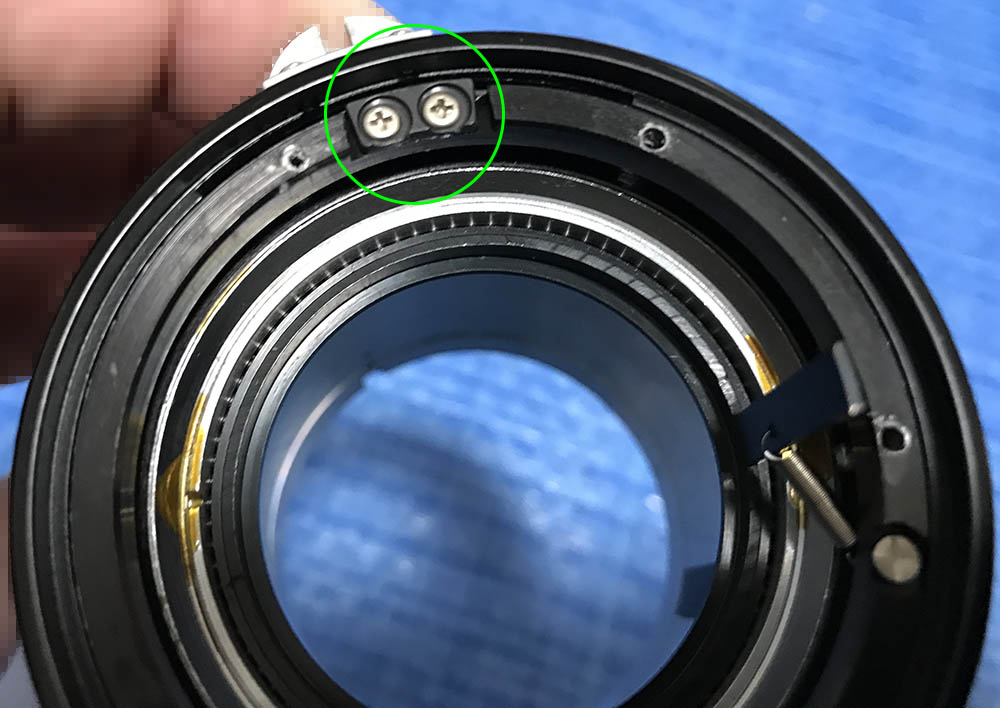
Before you continue, decouple this spring to prevent damaging it.

Carefully extract this. It’s a pin that couples the aperture ring to its fork.
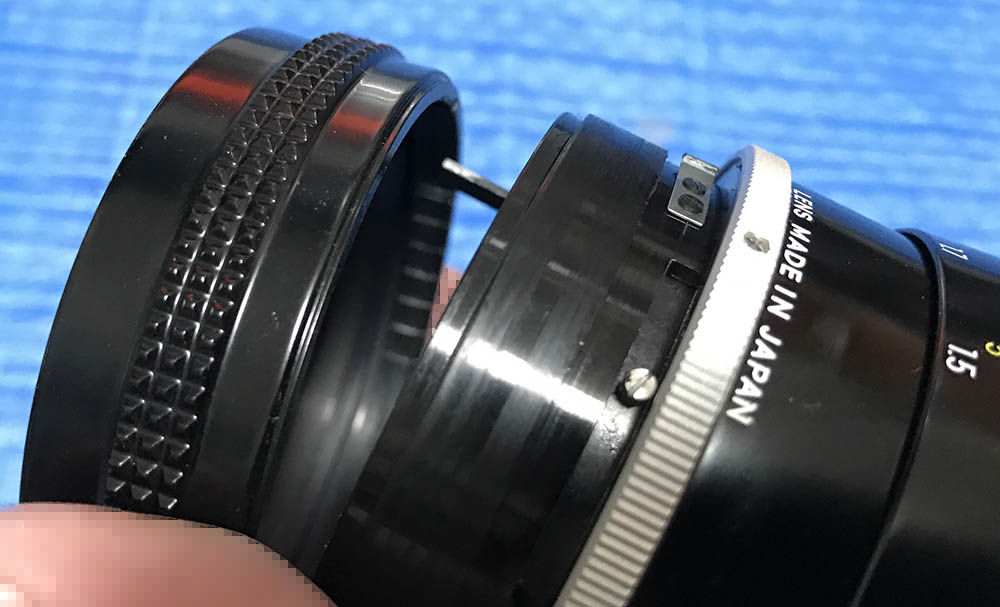
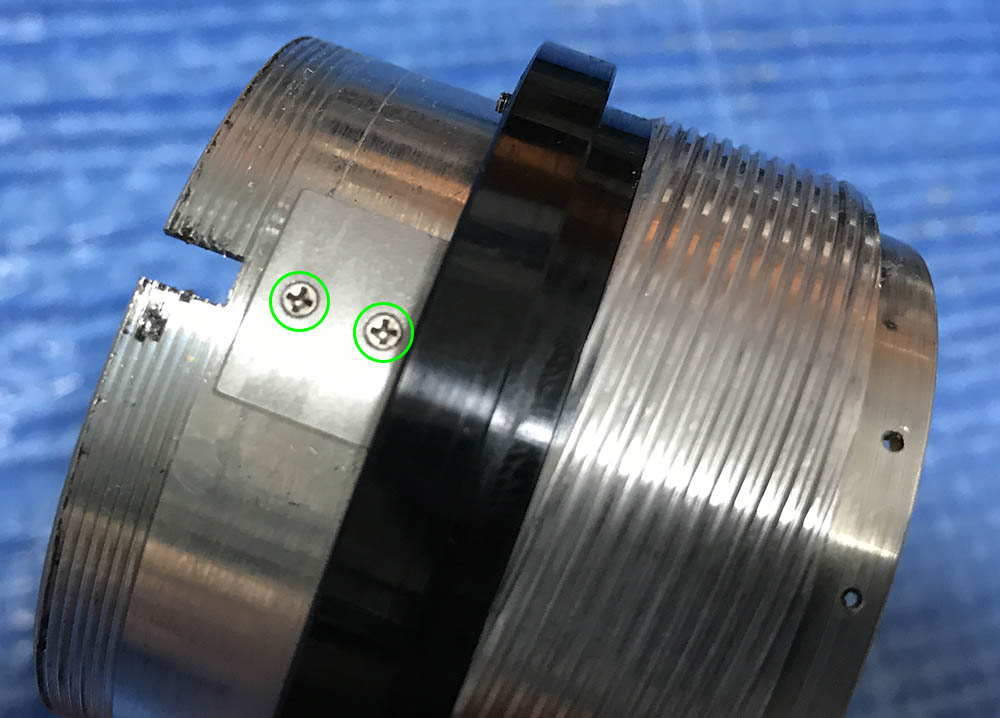
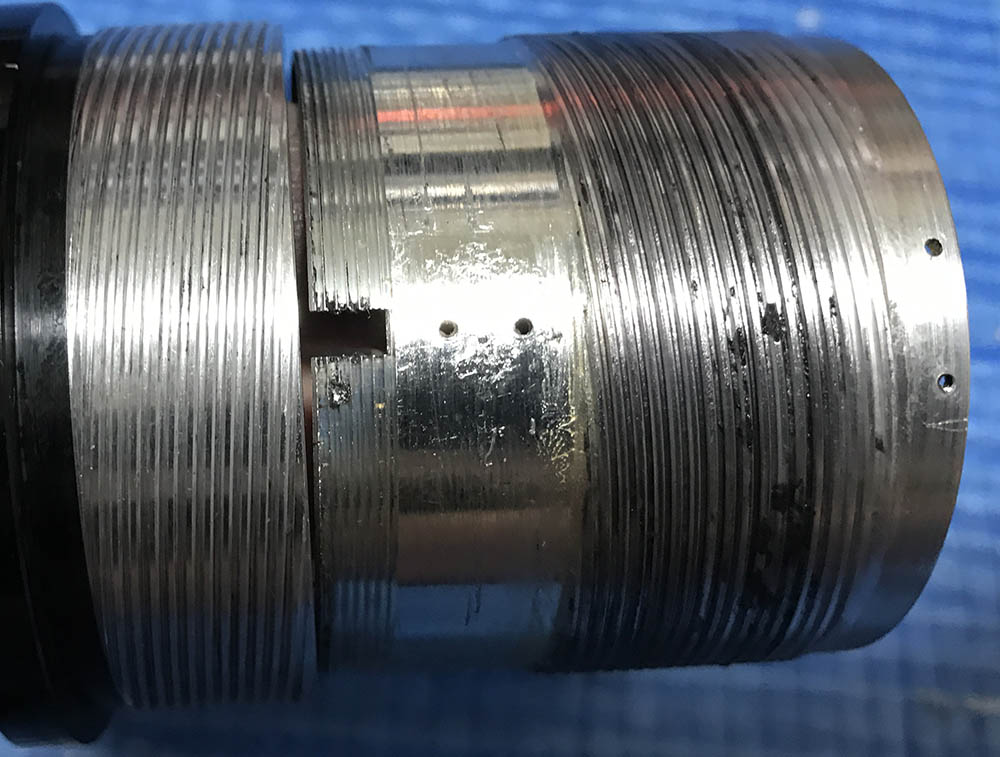
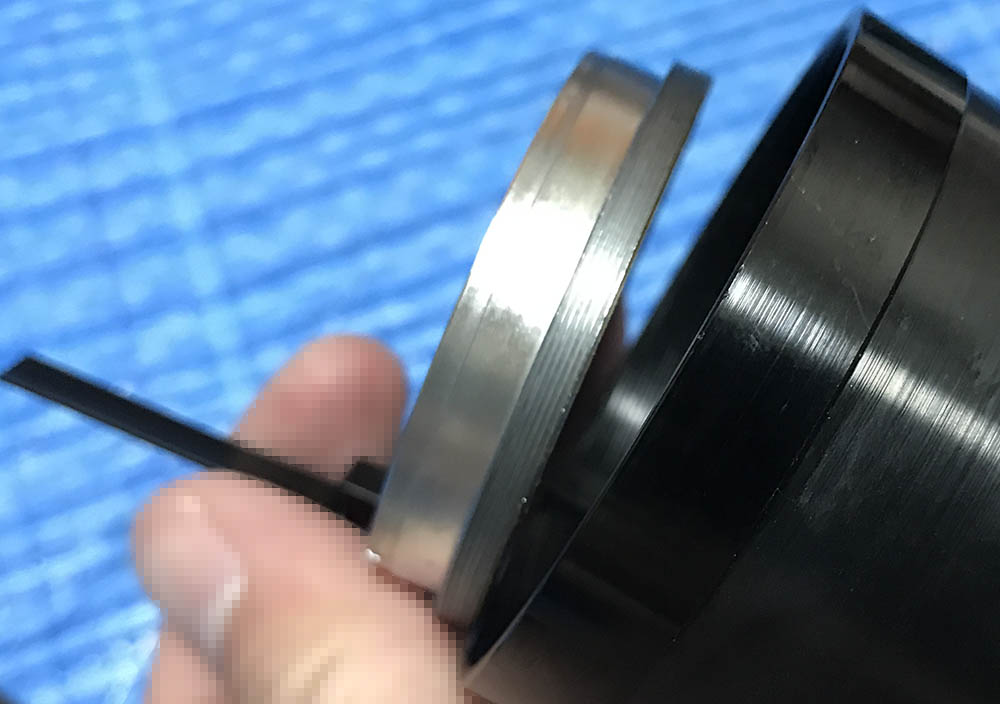
There’s a ring here that you should unscrew in order to remove the for and its ring. It’s hard to see in this photo but there are 2 slots here.

You will need a lens spanner with long bits to reach this. It’s usually sealed, it will take repeated applications of solvents to dissolve the lacquer.
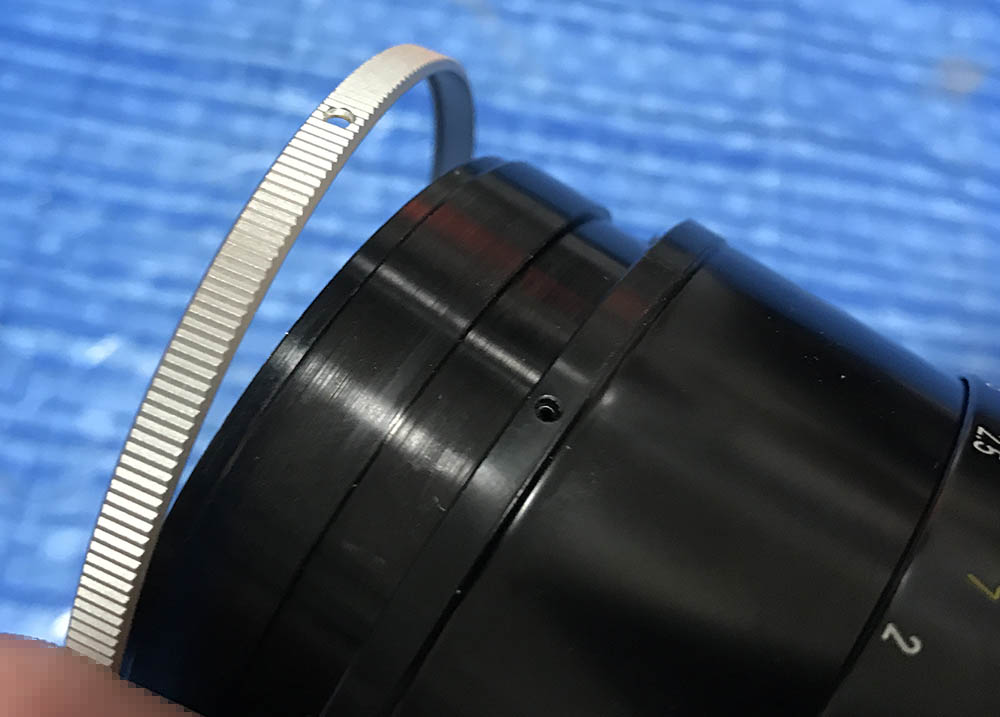
You’re now able to remove the aperture fork and its ring.
This is a little difficult to remove since it’s always sealed well at the factory. I always apply plenty of stronger solvents like MEK to its threads and let that dissolve the seals before I remove it but once the solvent did its work this is easy to unscrew.
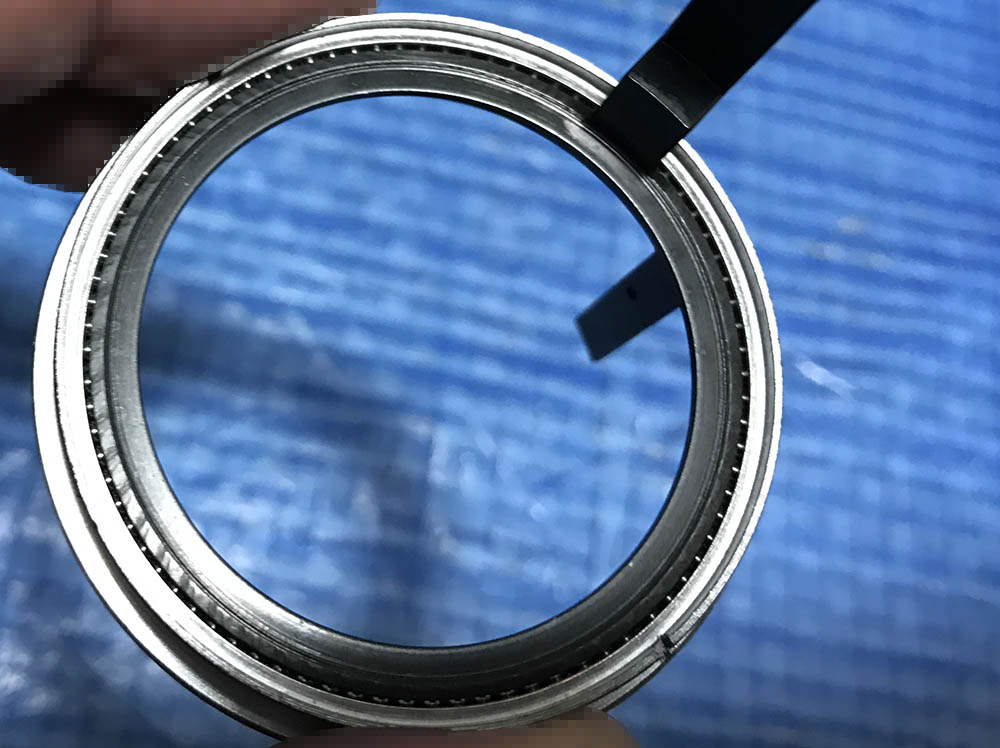
Unscrewing the retainer will allow you to dismantle the bearing. Do not do this unless it’s absolutely necessary. It’s difficult to put back.
Clean the parts thoroughly and don’t leave any residue. I scrub the helicoids with a strong detergent and pickle them in an alcohol bath to remove grime and other hardened gunk. Only apply a thin film of grease to the helicoids, I use something that is neither light nor thick since this lens has a long focus-throw. Never lubricate anything that is close to the iris mechanism. Putting excessive amounts of grease will lead to a bigger mess later and you’ll have to open the lens again for an overhaul.
Disassembly (Objective):
Servicing the objective is quite simple, it’s of conventional design. Majority of the parts here were sealed at the factory just like the barrel so be careful when you remove anything. I didn’t have to clean the iris mechanism, if you need to do that, read my other repair articles to help guide your way.
Unscrew the bezel and you can remove the front element.
Extract it with a lens spanner.
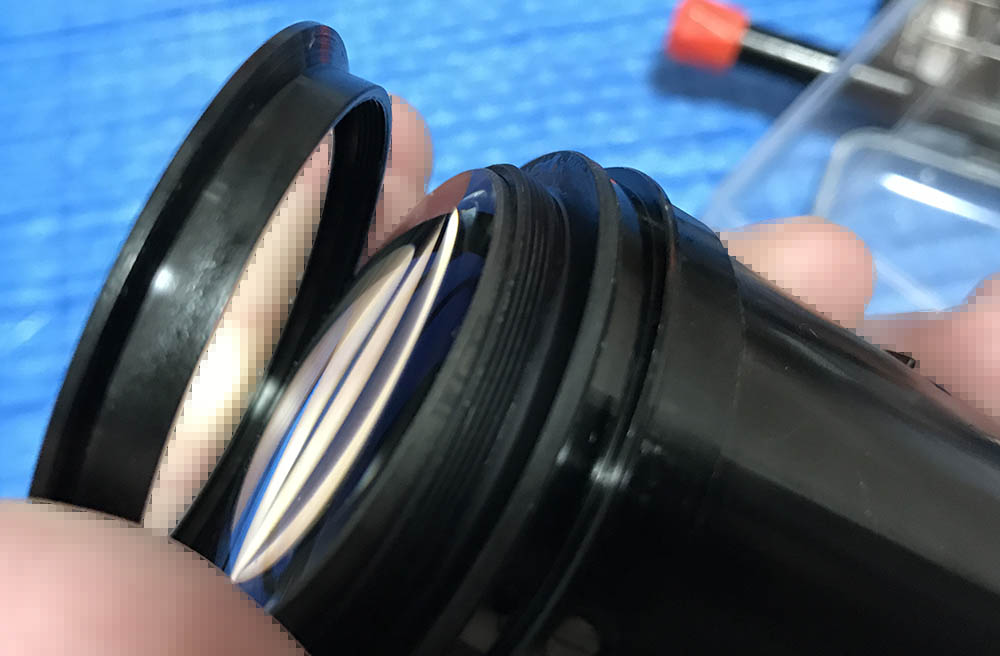
Unscrew the front optical assembly from the objective’s casing. Solvents will help dissolve its seal, mine was sealed with lacquer as you can see here. Do not flood anything here, the 2nd group is cemented, alcohol will damage it.

Drop a small amount of alcohol into this hole, do not flood it.

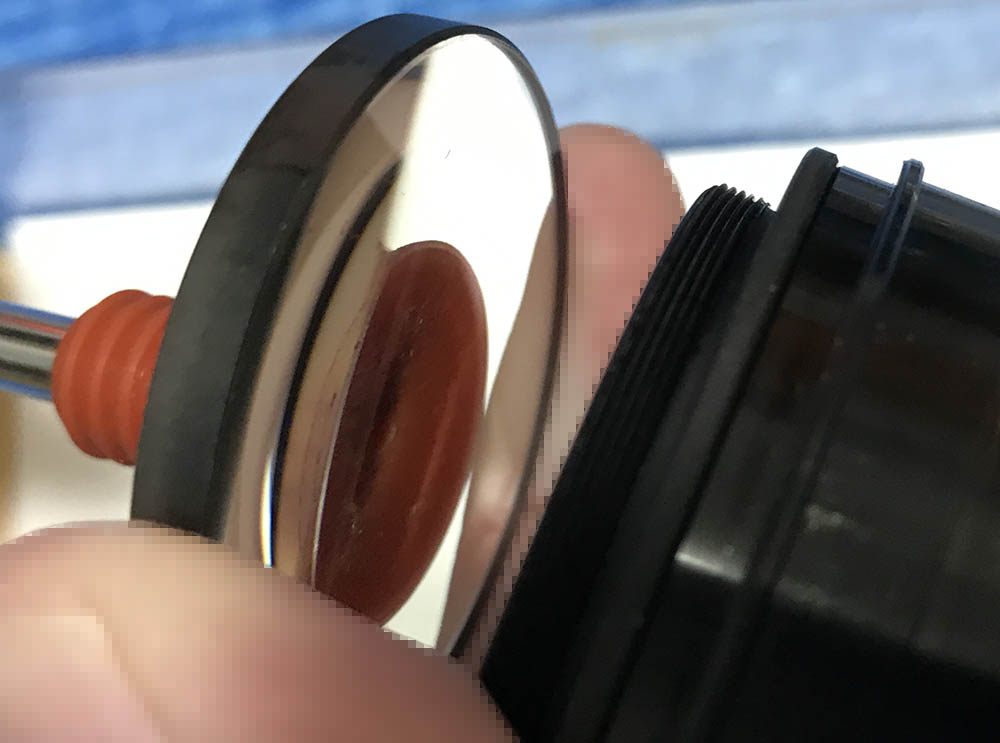
Once the seal has softened, unscrew the collar to separate the 2nd group. It is a huge block of cemented glass so be sure not to drop it. This was glued to the collar so don’t bother separating it.
The rear optical assembly can be unscrewed from the objective’s casing.
This can be tough to remove but a drop of MEK will help soften the seal. Use a lens spanner to remove this ring.
Carefully remove it and be sure not to drop the rear element.
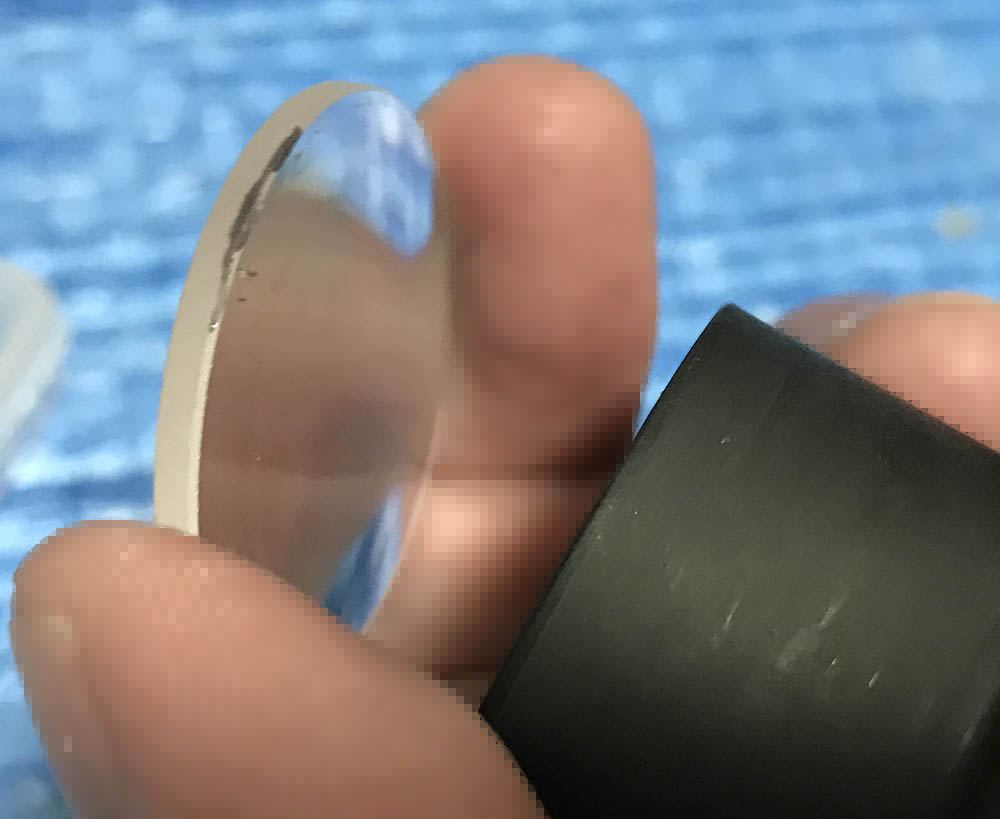
Carefully extract the rear element with a lens sucker, don’t forget to mark it so you’ll know which way should be facing the front.
Clean the glass carefully. If your lens has fungus, read my article on how to clean lens fungus. Don’t use the solution at full-strength, thin it with distilled water. Don’t soak the elements in the solution for too long or it will dissolve the coatings. The cemented group is fragile so handle it with a lot of care.
Conclusion:
I wasn’t expecting much from this but it ended winning me over with how nice it is. It took me around 3 hours to service this but it was worth it. This is not something I would recommend a beginner to tackle as a first attempt since you’ll require special tools and skills. It will be a nice lens to repair as you get a little more experience.
Before you put everything back together, reassemble the whole thing but do not install the focusing ring Adjust the helicoids via the adjuster ring. If you are satisfied with the results, tighten its screws and install the focusing ring. Read my article on adjusting the focus of a lens, that will show you how this is done under a DIY setting.
I’m quite surprised that I enjoyed using it a lot. It’s certainly a great lens and it’s able to keep-up with Nikon’s recent cameras with high-MP sensors. I like this a lot and I will shoot with it more.
Thanks for following my work, if you liked this article please share this with your friends so it will get more views. This site earns around $0.30 a day, it’s totally reliant on views. You can also support this site, it helps me offset the cost of maintenance and hosting. You are also helping me purchase, process and scan film. This site promotes the use of film so we’re all in this together. See you again in the next article, Ric.
Help Support this Blog:
Maintaining this blog requires money to operate. If you think that this site has helped you or you want to show your support by helping with the site’s upkeep, you can make a small donation to my paypal.com (richardHaw888@gmail.com). Money is not my prime motivation for this blog and I believe that I have enough to run this but you can help me make this site (and the companion facebook page) grow.
Buy me a roll of film or a burger?
Thank you very much for your continued support!
$2.00
Helping support this site will ensure that this will be kept going as long as I have the time and energy for this. I would appreciate it if you just leave out your name or details like your country’s name or other information so that the donations will totally be anonymous. This is a labor of love and I intend to keep it that way for as long as I can. Ric.

4 Comments (+add yours?)