
Hello, everybody! Have you seen the latest iPhone? It looks great and it has a high-performance camera, too. I’m not the type who always buys the best and the latest so I’m not interested in the new phone at all. Newer does not always mean better either, some new features actually end up being buggy. That just makes upgrading pointless. Today, I’m going to show you another example but it’s for lenses this time. It’s an upgrade of a well-regarded lens but it seems that the old one is more reliable at doing one important thing.
Introduction:
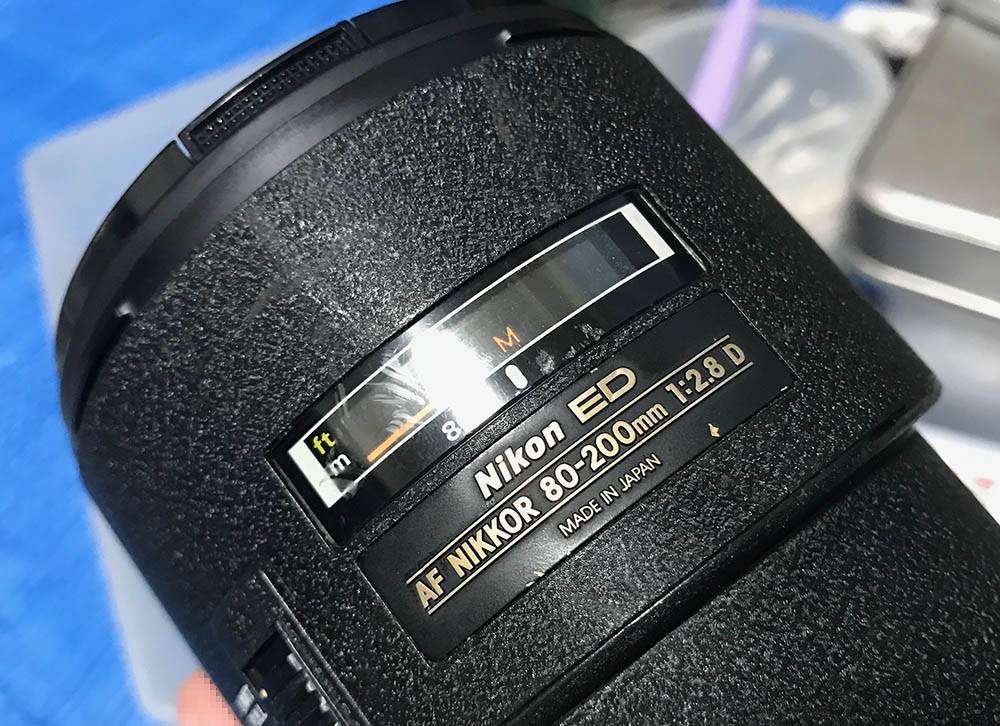
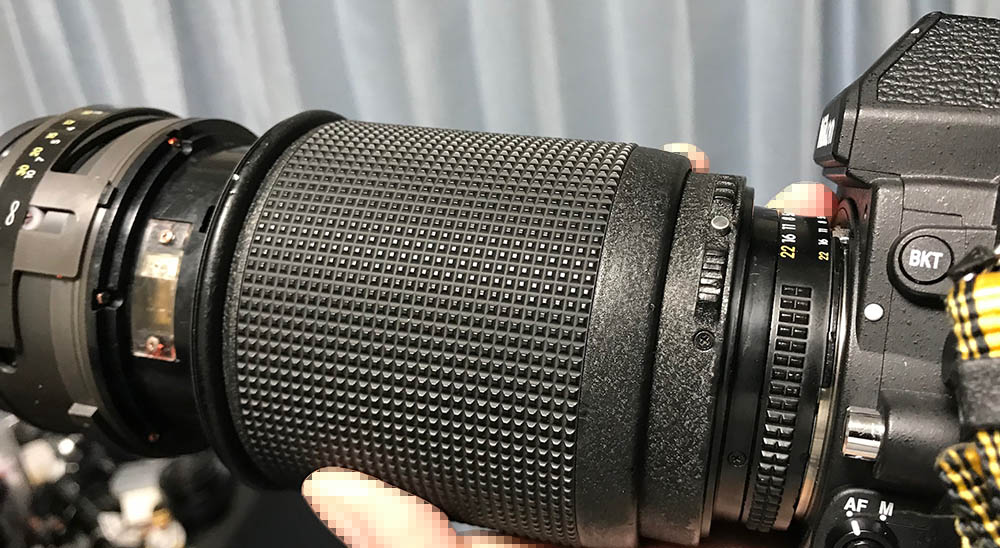
The AF Zoom-Nikkor 80-200mm f/2.8D ED was made from 1992 to 1997, this replaced the older AF Zoom-Nikkor 80-200mm f/2.8 ED which is similar to it in many ways. The former is an amazing lens optically but it focuses slow, a big issue for some people. Its front barrel moves in-and-out as you focus so it’s not convenient to use circular polarizers. This model fixed that, its front doesn’t move as its housed within the main barrel. The focusing speed went from slow to not-too-slow, it’s now able to help you track moving subjects. If you look at them externally you wouldn’t think that much has changed but I will tell you that their internal constructions are totally different.

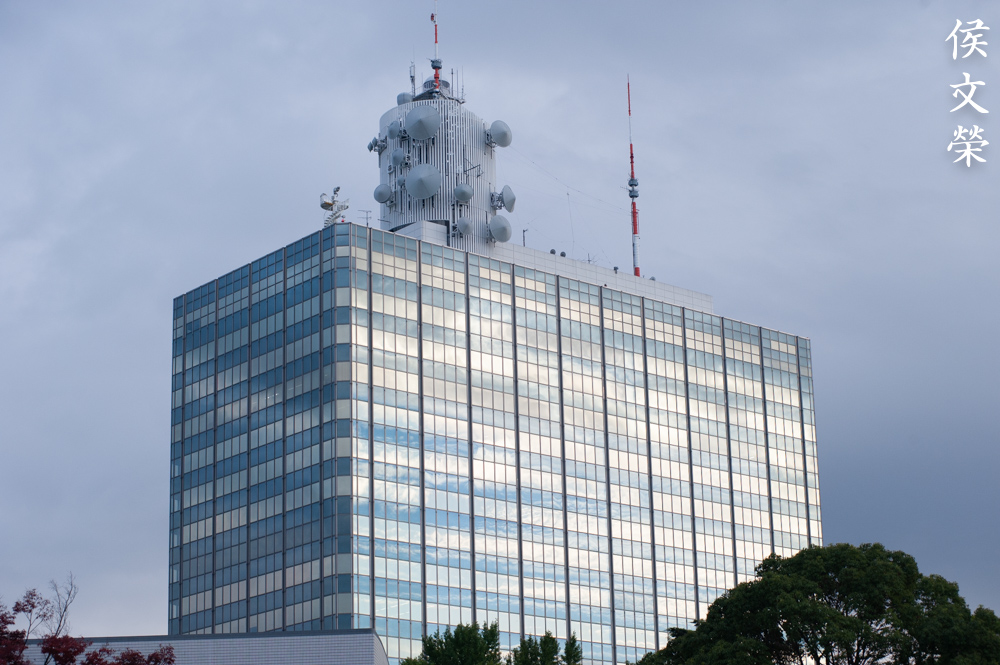
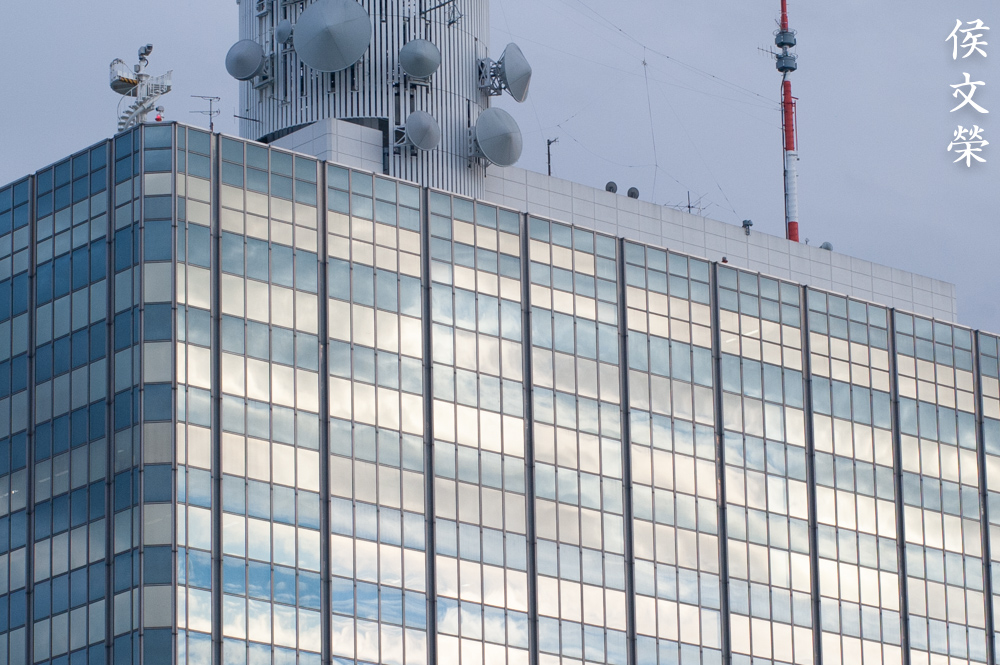
It’s a handsome lens. It’s heavy, big and inspires confidence when you hold one in your hands. It balances better with heavier cameras but it could still make your setup front-heavy. Carrying it with a Nikon F4 or a Nikon D3 all-day will make your neck hurt. I had this in my backpack and my back was not feeling comfortable for a few days.
It has the same 16-elements-in-11-groups formula from the previous model. It is a high-performing design so it’s kept in-production until recently in the form of the AF Zoom-Nikkor 80-200mm f/2.8D ED (N). It’s safe to assume that they all perform identically or quite similarly to each other. Nikon probably tweaked the design a little bit for marginal performance improvements but I doubt that it went through a huge change.

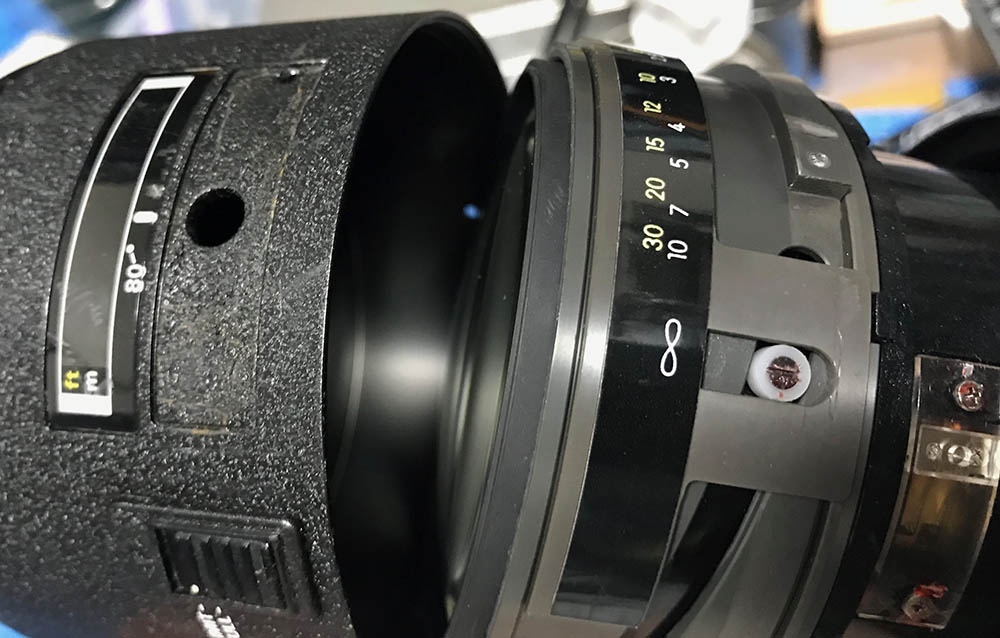
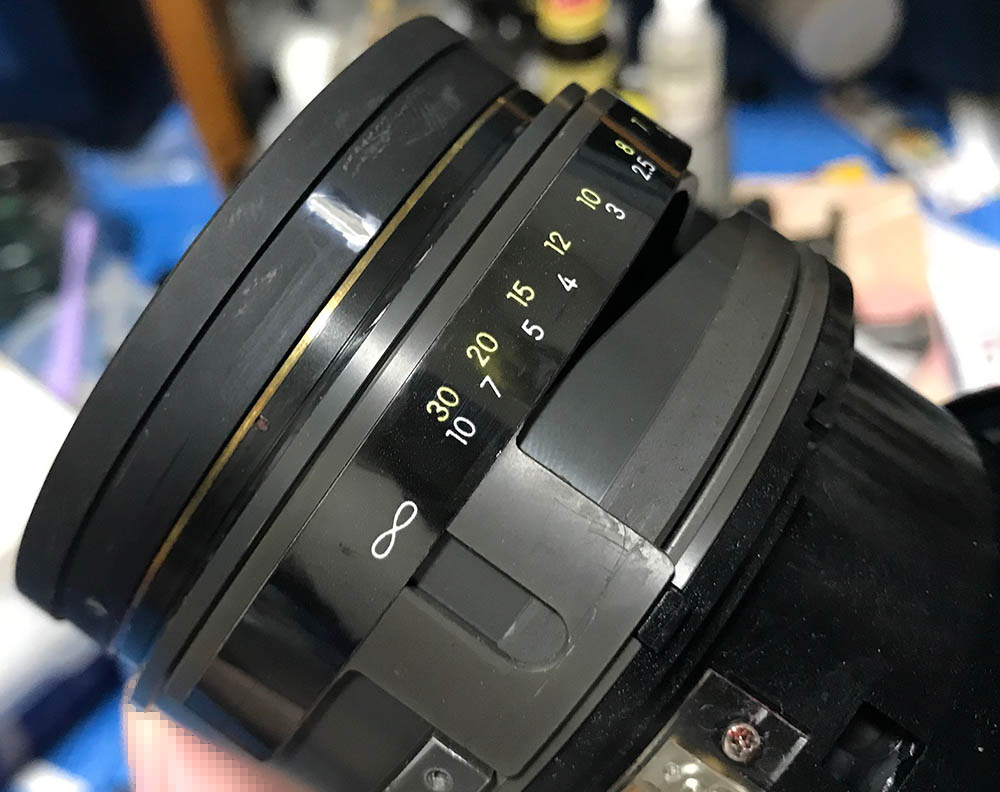
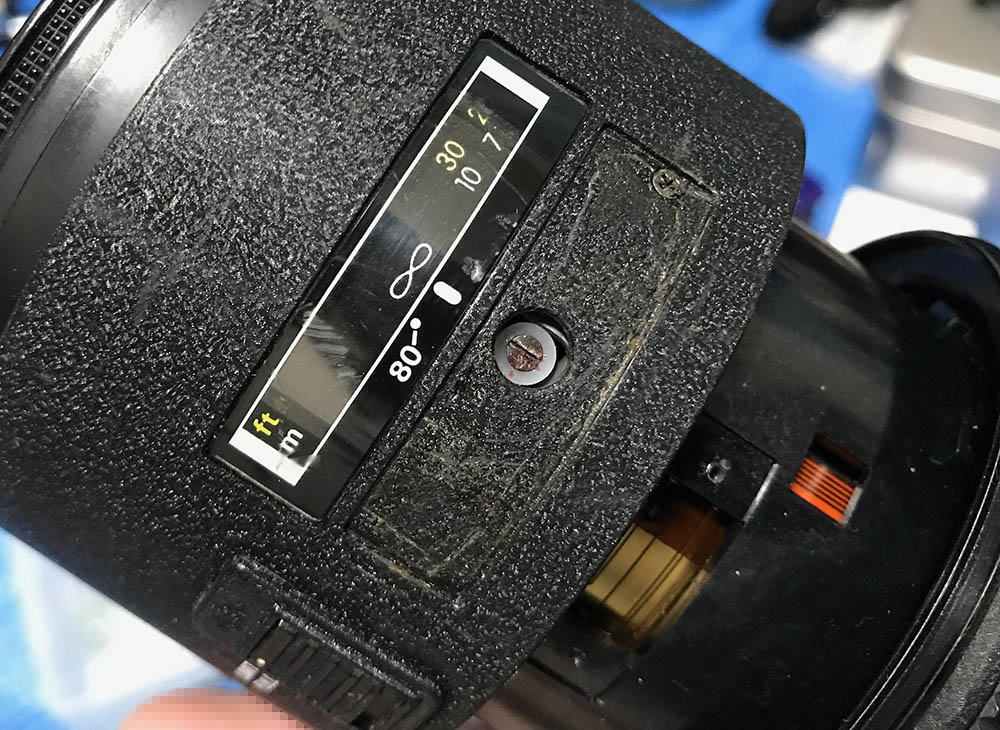
It’s a little bit longer compared to older AF Zoom-Nikkor 80-200mm f/2.8 ED, the reason is because the front barrel is not housed within the main barrel. The crinkle-type finish also now covers most of the metal surfaces unlike its older version wherein only the front barrel was coated. It also doesn’t have that stepped focus-limiter ring, it was replaced with a new full-limit switch. It could focus faster so the older-style limiter doesn’t have to be used. It did retain the A/M switch near the throat of the lens. The electronics have been upgraded so it now has a distance chip which aids in metering. It’s a useful thing but it’s a double-edged sword and I will explain that statement in the next paragraph.
It is recommended to attach the Nikon HB-7 for added protection, it helps a lot in preventing flare and ghosts if the light source is outside of the frame. I do not like its shape at all, some people buy aftermarket ones that will allow you to mount a petal-shaped hood to it.
If you search the internet you will find plenty of results stating that this and the newer AF Zoom-Nikkor 80-200mm f/2.8D ED (N) has the tendency to give you back-focusing issues from 135mm and up at distances that are closer to the minimum focusing distance or anything below 7m. This happens to new samples from the factory, too. The main reason is the new electronics Nikon added, that now evaluates distance for metering. Why would this affect AF if it’s only for metering? Your guess is as good as mine but there’s a strip for distances under 7m in the ribbon and that’s the one causing it. You turn this off by disabling that strip, it will make your lens focus perfectly at distances that are under 7m but infinity focus suffers. This is not a solution but that is enough for some people. I will show you how to do it properly later. You are never going to get this problem with a Nikon F90X or Nikons from the same era, you won’t even get that with a Nikon F4. It has something to do with the later ones and their metering modules. Nikon even mentions this if you see the manuals of older Nikon DSLRs such as the Nikon D90. When I was using the AF Zoom-Nikkor 80-200mm f/2.8D ED (N) nearly a decade ago I had that need to compensate for this problem. Focusing at a model’s eye results in a photo with blurry eyes but pin-sharp ears. I had to focus at the nose’s tip to get the eyes sharp. That was annoying, the AF fine-tune was not useful since that could only set the offset for a lens globally unlike today’s Nikons where you could set the offset at either-end of the zoom-range. Many people won’t believe it, some will even call you out but that’s how it is; it’s reproducible.

It handles better than the older version in my opinion but not by a lot. They are more-similar than you think. The huge zoom/focusing barrel is handy, it enables you to zoom and focus at the same time using one hand. While it’s a bit awkward to use when autofocusing it’s handy for situations when you’re not able to autofocus at all due to lack-of-light or other difficult scenarios. It also makes this lens able to be used with manual Nikons that don’t have that feature, too. Many people were still using manual cameras when these were still being used professionally like the Nikon F2 and Nikon F3.

Compared to the other versions, it’s the toughest. There are no moving parts outside of its barrel and the switches are sturdy, too. The A/M ring on the AF Zoom-Nikkor 80-200mm f/2.8D ED (N) has a tendency to crack, it’s brittle. Its barrel is quite solid, you won’t see anything today made quite like it.
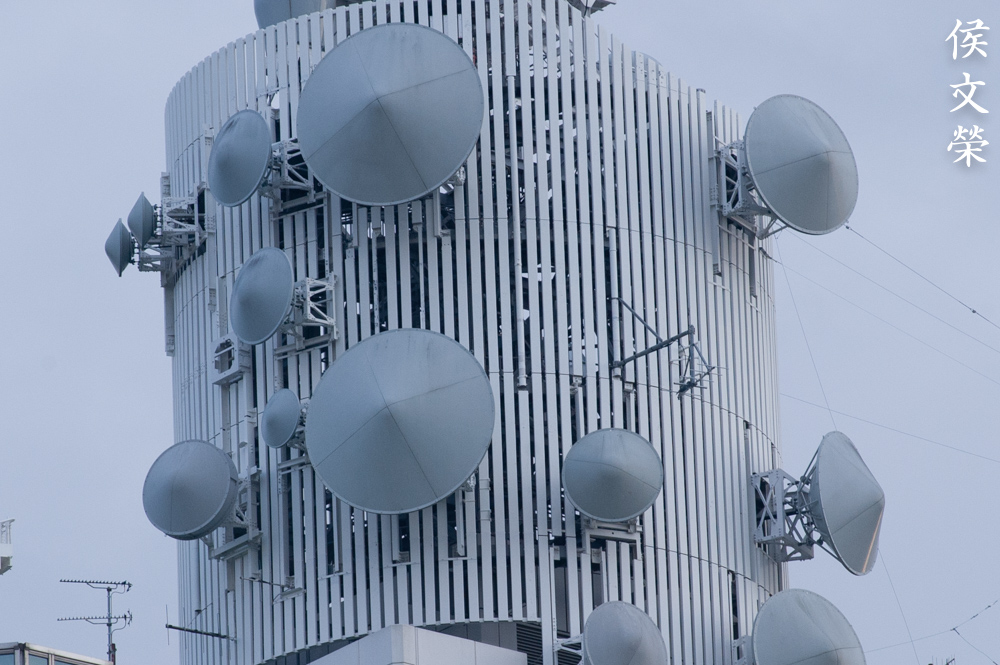
Knowing how a lens performs is important, you will know its strengths and weaknesses. This knowledge will help you determine which lens to bring on an assignment. I shot the following photos from f/2.8, f/4, f/5.6 and f/8. We’re able to see the most changes happen within these apertures, these are also the most common values that people would want to use this, I assume. The photos were shot with my Nikon D3.


(Click to enlarge)
Distortion is moderate at the wide-end but it quite high at the longer-end. It is prominent and you’ll definitely need to correct this in post. You’ll get dark corners wide-open but it gets better by f/4 and you won’t see it from f/8 on.

When you need to take photos with straight lines set it to the wide-end, you can also shoot at 135mm if you wish.


(Click to enlarge)
It’s relatively resistant to flare and ghosting but you’ll still get to see some of it when the sun is at an angle just beyond the frame. It is not ugly at all, you could even use it to your creative advantage.


(Click to enlarge)
The character of the bokeh is exquisite and the 9-bladed iris will makes sure that the discs remain round throughout most of its aperture range. You will not get ugly, smeared or clumpy-looking artifacts in most cases but this isn’t to say that this lens couldn’t produce anything bad. It will exhibit mediocre-looking results at worst-case scenarios.


(Click to enlarge)
it’s quite sharp wide-open and the resolution is adequate. You’ll notice some softness but that is due to spherical aberration more than anything. You will notice that the far-corners aren’t as good but that’s just the way it is. Stop its iris down to f/4 and you’ll a lot of improvement around the center and you’ll see that the corners begin to look better, too. The resolution has improved a bit and that somehow enabled it to show just how sharp it is. You can even say that the center is already performing in near-peak performance. Stop it down to f/5.6 and the center gets marginally sharper and the corners look a lot better, they’re nearly as good as the center. The center won’t get better at f/8, it seems like it has peaked at about f/5.6, the corners look really good. It’s worth mentioning that my lens performed really well on closer to moderate distances.

(Click to enlarge)
Sharpness at further distances look adequate at the center but isn’t as sharp as what you’d get from closer distances, haze or pollution can cause this. It’s adequate wide-open but stopping it down to f/4 will help a lot. Set the iris to f/5.6 and things start to look a lot better from here on. This may be an issue when shooting at night since you’ll be forced to shoot at f/4 at the very least just to avoid a hazy-look when shooting at distant subjects.

It gives a nice, natural look to the photos it takes. The colors appear neutral, your photos won’t have a slightly-warm hue that older Sigma lenses tend to give.

This is a great lens for stage photography. Its bright maximum aperture is a useful thing for situations where you don’t have enough light. You can’t use strobes at most events so this is quite helpful.

Autofocus speed is adequate but not blazing-fast like what many ultrasonic-motor-equipped lenses could do these days. The Nikon D3 could track really well with it. You’ll get some misses so just shoot in small bursts to make sure that you get at least a photo that is focused perfectly.

Tracking your subjects isn’t hard so long as they remain within the frame. It will start to hunt when the thing it’s tracking disappears, that’s when you’ll need the focus-limiter switch so it won’t hunt across the whole range.

The background turns into a wash of colors and the subject remains sharp. It’s an amazing portrait lens when used correctly. This could even rival the Nikkor 180mm f/2.8 ED Ai-S at wider apertures.

Its ability to isolate your subjects from the background is useful. If you have an uninteresting background, just set the iris wide-open and blow it away.

The thin depth-of-field can work against you if you have multiple subjects. I could’ve shot this with a smaller aperture to get the other lady in-focus. She could also move a bit forward so her face is roughly at the same plane with the other lady.

I’m always in-love with the portraits that it takes, it’s able to produce results that could rival a prime lens’ output. This is really a masterpiece of its time.

Its ability to render nice looking skin makes this one of my top picks when it comes to portraiture lenses. It’s easy to see why Nikon kept making these for years despite being replaced in the catalog by newer lenses a few times. It’s a testament to the optical formula’s greatness.


(Click to enlarge)
Check these photos and see how it could track moving subjects. So long as it has enough light to work with it’s able to track your subjects reliably. You’ll get a few photos that are misfocussed so just shoot in small bursts to ensure that you get at least something that is acceptable. This is still a very capable lens despite being a few decades old.
Here are some photos that I’ve shot with film. Film has a unique look that is difficult to simulate with a digital camera, this is because film grain works and reacts differently to light. It can either hide or amplify a lens’ flaws. It’s important that we shoot this with film since it was designed to work with it, the results we’ll see can help give it a fair score since we are seeing how this performs with its intended medium. I shot these with a Nikon F6 with some Kodak Color Plus 200.

The Nikon F6 was able to track his movements quite well despite being fast and unpredictable. It’s very unsettling when shooting with a film camera, it is impractical to shoot in bursts. I’m relieved when I saw my photos because I get more keepers than I was expecting.

The Nikon F6’s autofocus module works really well with it, I think it works better with the Nikon F6 than with my Nikon D3 for some reasons.

Tracking your subjects is easy, the Nikon F6 was able to track him without a miss despite the lens being quite slow by modern standards. These 2 make a great combination, this combo reliably gave me useable results.

I’m relieved that this came out perfectly. Shooting with film means that you won’t get to see your results until you’ve processed your roll. I don’t think it would’ve ended this way if I was using a camera with slower autofocus like a Nikon F4.

Sharpness is quite good with film. It’s able to produce nice, sharp photos if you get your subjects in-focus. I was shooting with a cheap film with grains that are quite rough but it was still able to resolve some nice details.

Skin is rendered beautifully. It’s a great lens for portraiture using film, this calls for another round of sample photos with a proper model next time.


(Click to enlarge)
Here are more photos that I got from my roll. I got plenty of keepers which I wasn’t expecting, I was thinking that most of my photos wouldn’t be focused but to my surprise I got more than I was hoping for. Just be sure to pair this with a camera that could focus fast and accurately when you shoot events, a Nikon F5 or a Nikon F6 is mandatory in my opinion or else you wouldn’t be able to track your subjects reliably. I doubt that I could even get this much if I was shooting with my Nikon F90 or even with my Nikon F4.
I personally wouldn’t bother with this version at all since the older one is a better choice for me because it doesn’t exhibit any focusing abnormalities. I think this is a big issue that Nikon never addressed, it kept this from being a real deal today. If you’ve decided to buy one anyway make sure the rings or barrels operate properly and autofocus is smooth. The switch at the front is something that can be broken quite easily so pay attention to that, too. See if the iris is dry, it should be snappy when actuated. The glass should be clean and clear. Since many of these were used by professionals, see if there’s any play around the bayonet mount or the front barrel, they should all be solid and precise. Blemishes on the paint is fine. Having said that, enjoy this and take great photos with it.
Before We Begin:
If this is your first attempt at repairing a lens then I suggest that you check my previous posts regarding screws & drivers, grease and other things. Also read what I wrote about the tools that you’ll need to fix your Nikkors.
I suggest that you read these primers before you begin (for beginners):
- Essential tools
- Best practices 1
- Best practices 2
- Best practices 3
- Ai conversion
- Working with Helicoids
Reading these primers should lessen the chance of ruining your lens if you are a novice. Before opening up any lens, always look for other people who have done so in YouTube or the internet. Information is scarce, vague and scattered (that is why I started this) but you can still find some information if you search carefully.
I highly recommend that you read my working with helicoids post because this is very important and getting it wrong can ruin your day. If I can force you to read this, I would. It is that important!
For more advanced topics, you can read my fungus removal post as a start. This post has a lot of useful information and it will be beneficial for you to read this.
Disassembly:
Since this only had a focusing issue and some dusts inside I won’t be doing a complete dismantling of this lens. I’ll explain how to correct the back-focus issue in the simplest way that I know of and hope that it will be of benefit to anyone. If your lens needs servicing, send it to a repairman, this is not for a beginner to deal with. It’s important to note that the rear optics assembly is delicate and should never be dismantled unless necessary. The optics there should be adjusted precisely or it will affect image quality.
Apply some alcohol to the nameplate to soften its adhesives, you may have to repeat it several times in order for it to work.
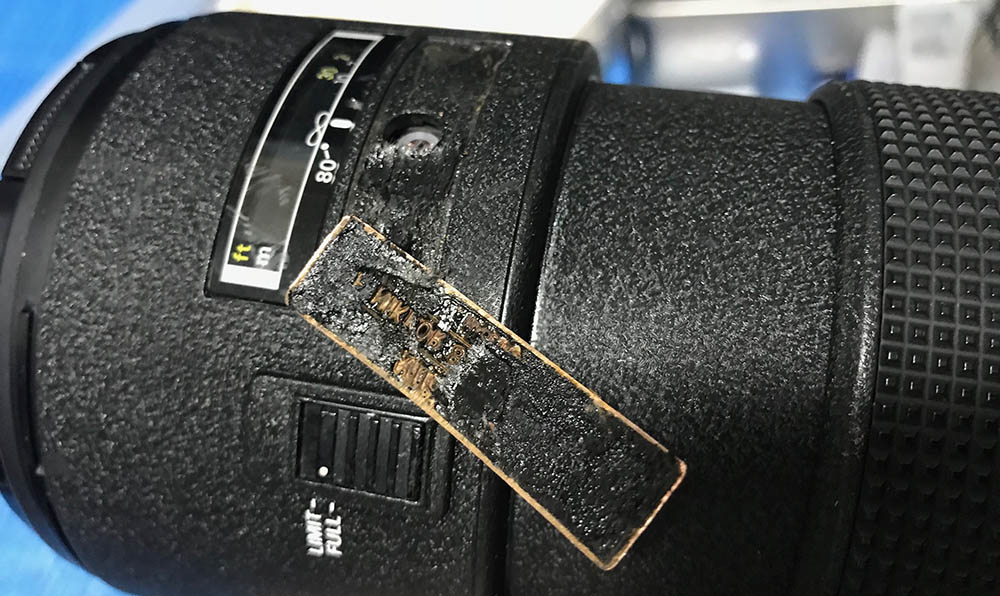
Carefully pry it off, be sure not to bend it.
(Click to enlarge)
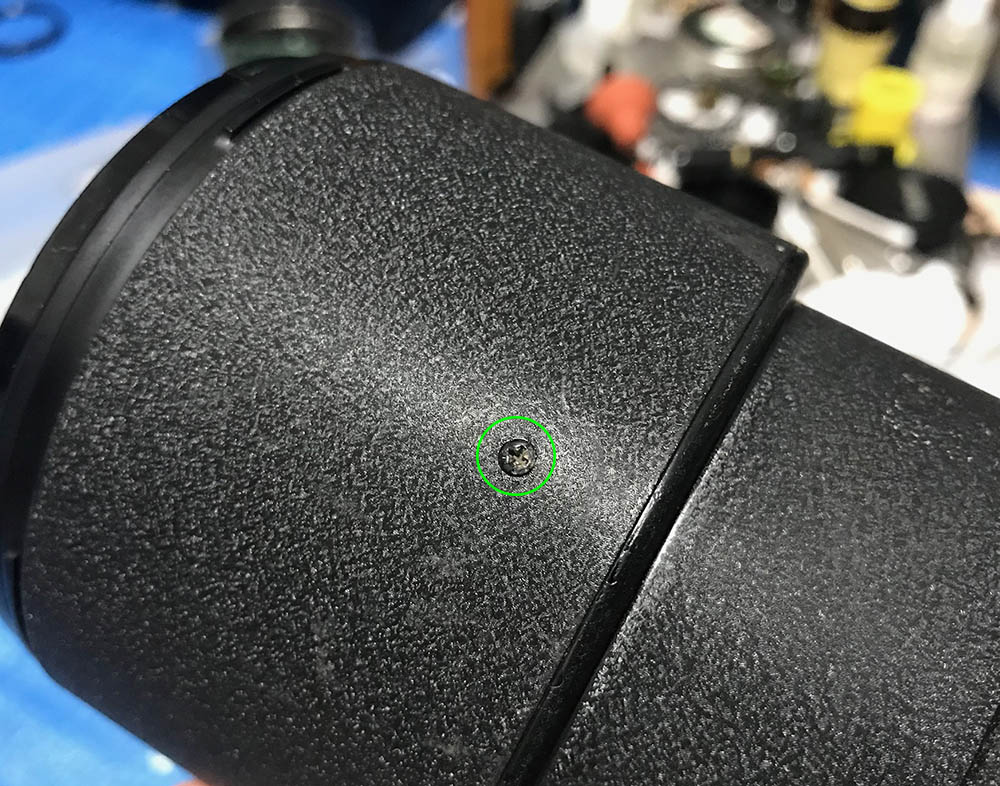
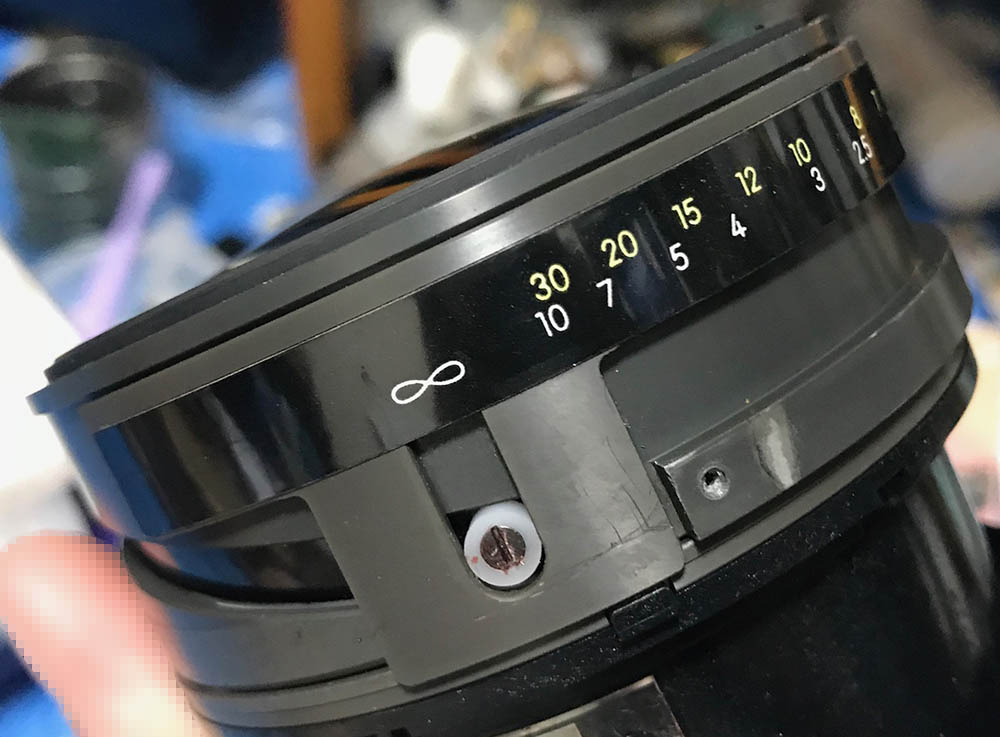
Extract these to remove the front barrel. There is another one hidden under the nameplate which you’ll see in the next panel.
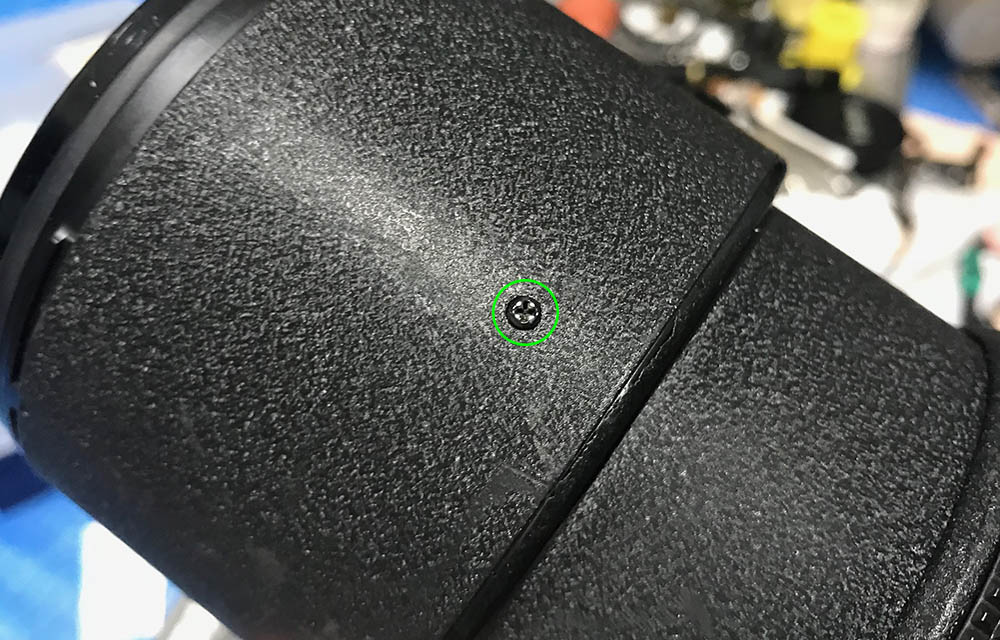
There’s a screw here (to the right) that you should remove. Don’t extract the encircled part, it has nothing to do with removing anything at this point.
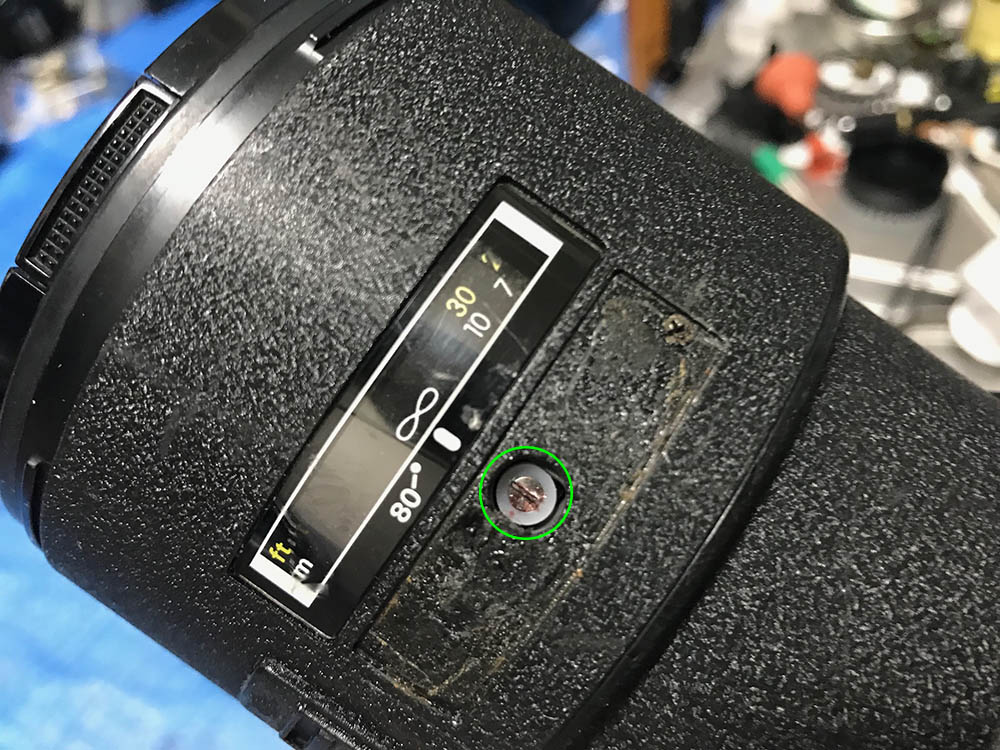
Carefully extract this. It’s usually sealed with paint, apply a drop of solvent to soften the seal, use a driver that fits its slot perfectly.
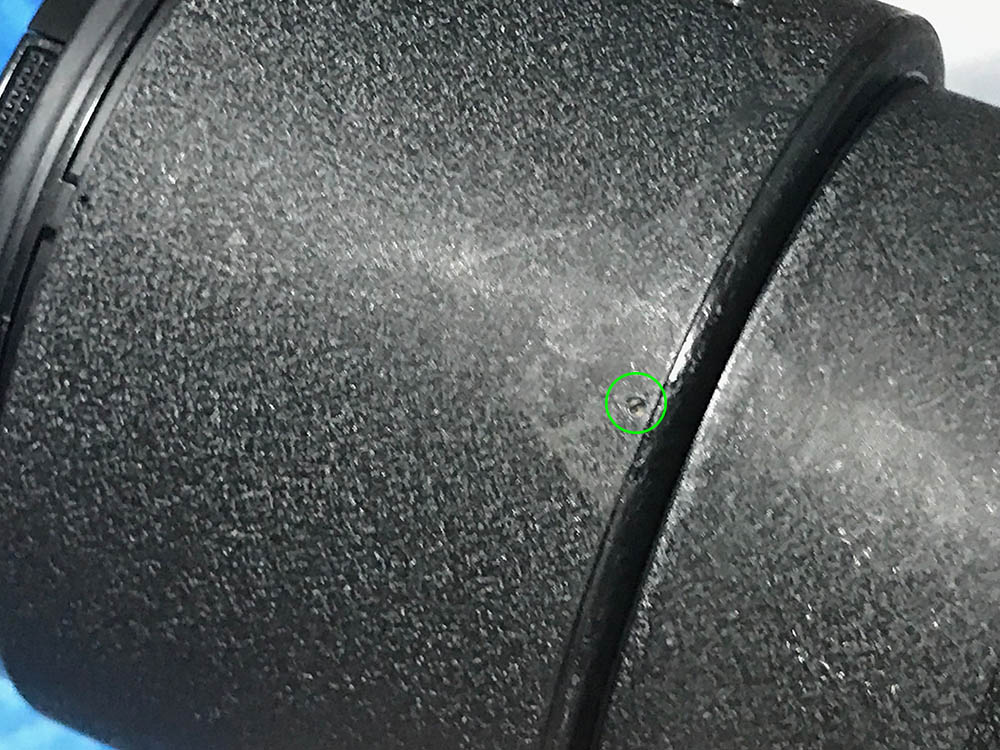
Unscrew the central barrel and you should be able to see this. Apply a bit of alcohol to these screws to soften their seals.
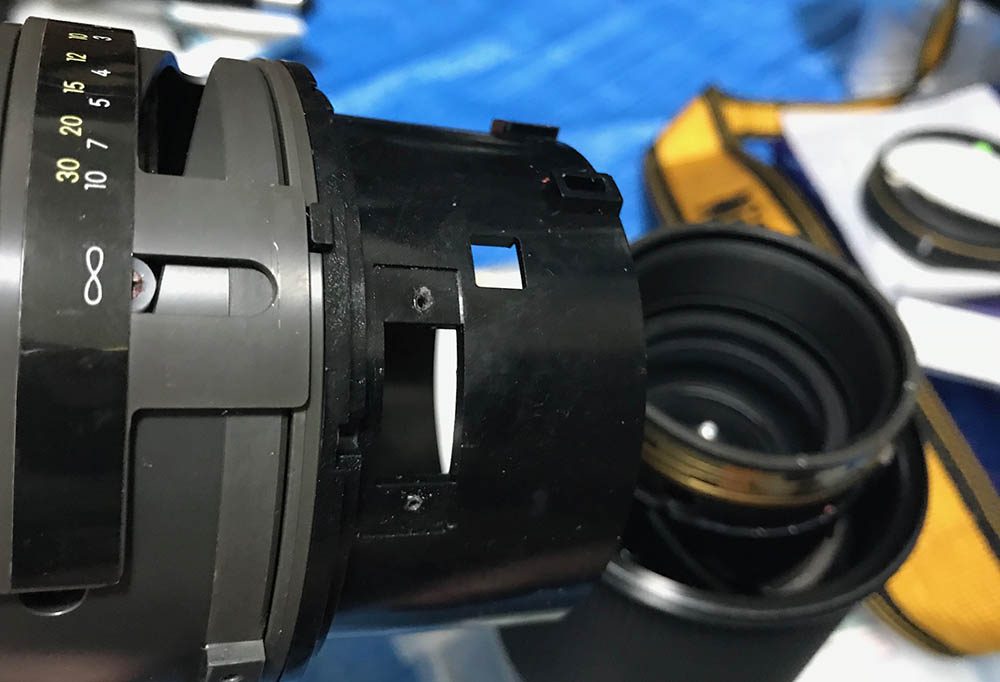
Turn the focus to infinity and slide the front barrel off. It should not be hard to remove.
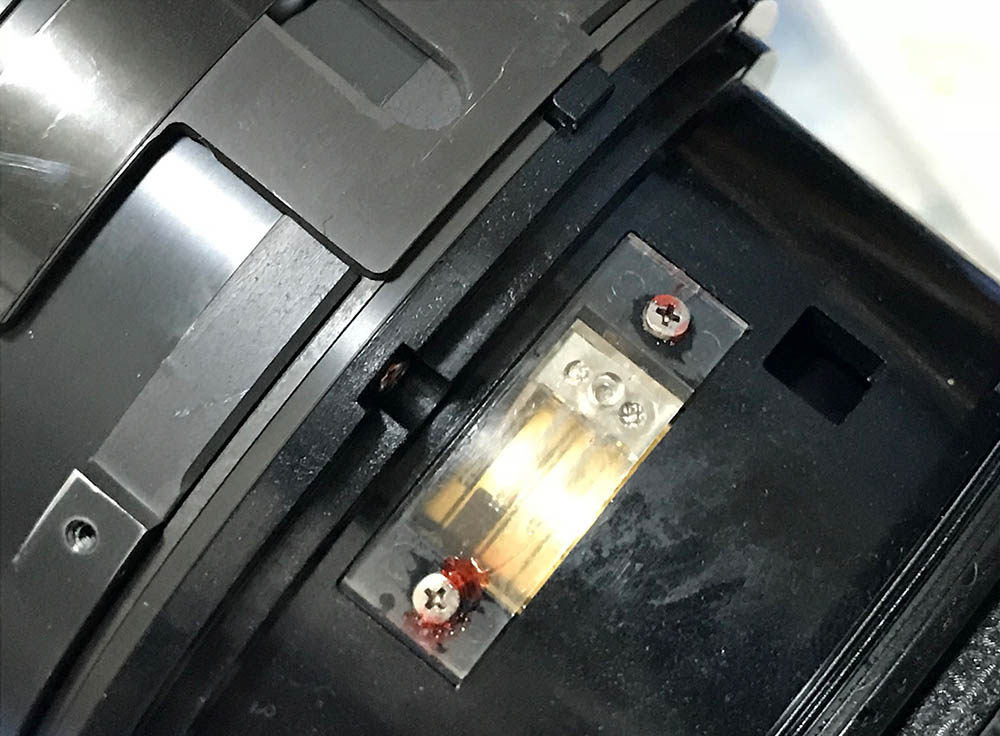
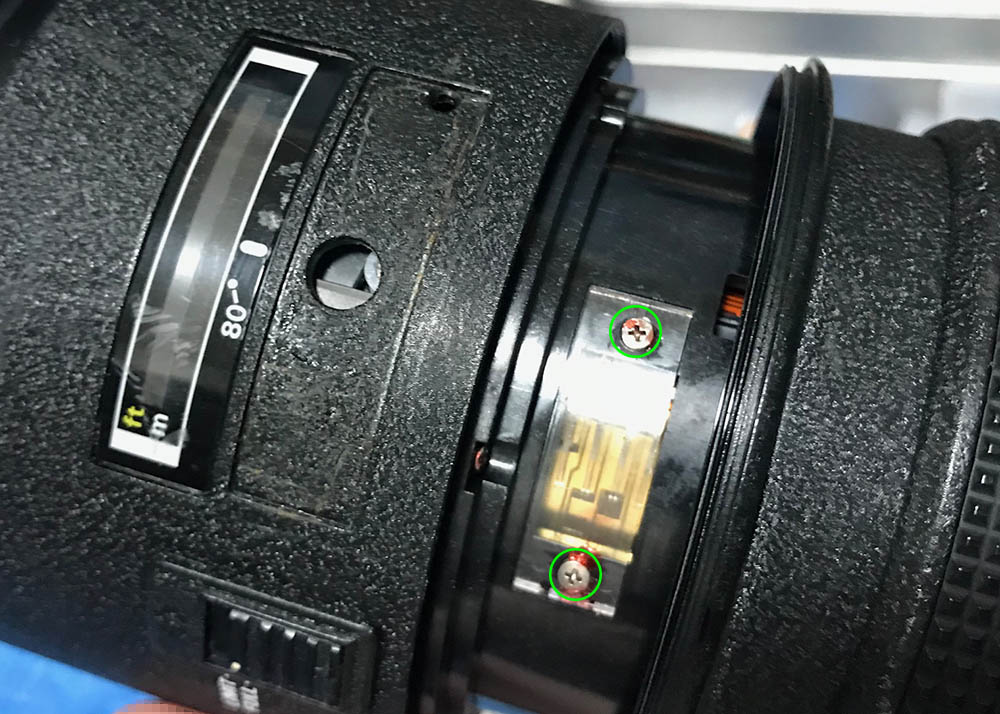
Carefully extract these to remove the protective plastic cover and its brush. This is a sensitive, adjustable part. Never flood it with solvent. Make a small mark so you will know its proper position before you remove this.

Be careful not to bend the brush, these should be straight and parallel, if it’s bent, carefully bend them straight. The tips should always contact the brass strip at the FPC so make sure they do that.
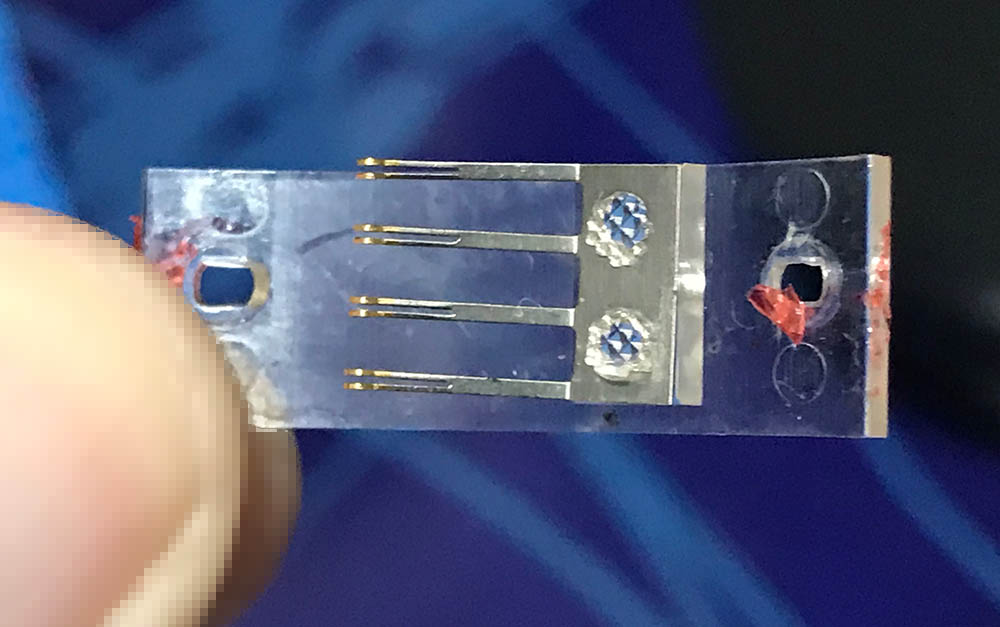
Clean the brush carefully and make sure that there are spaces between the feelers.
The brush was merely secured to the plastic cover by heat-stamping. This is not the best solution as it’s flimsy.
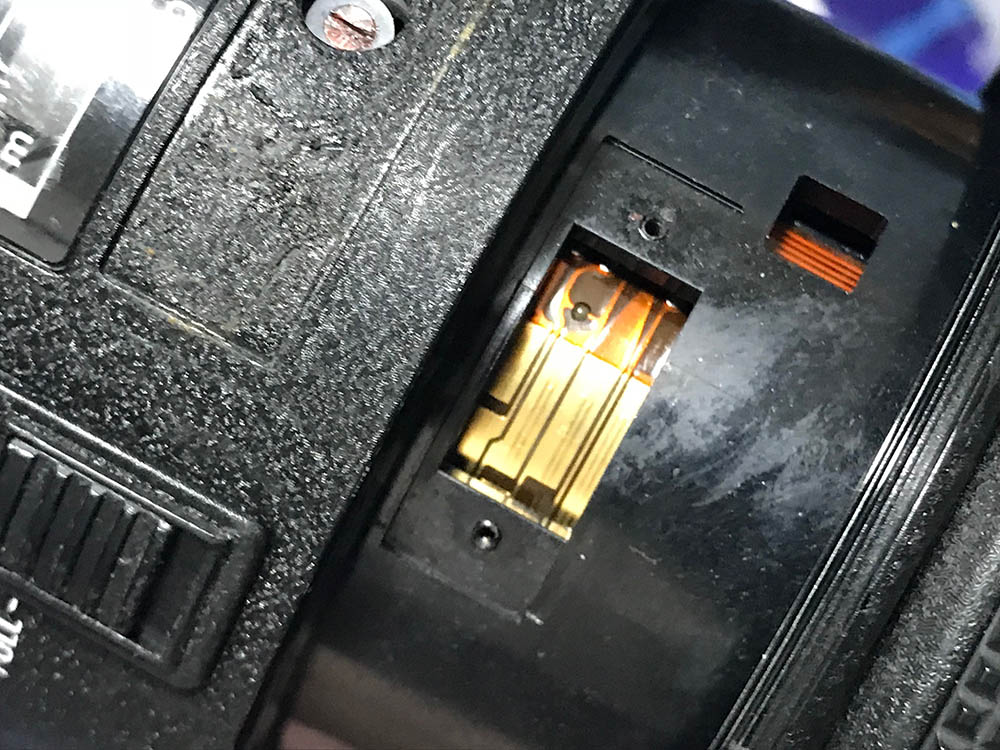
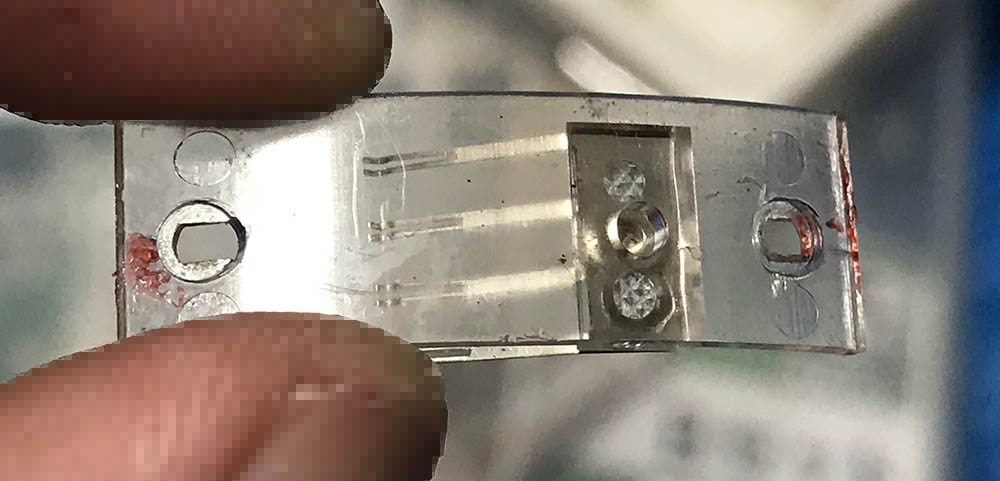
Get a Q-tip and moisten it with alcohol and gently wipe the contacts. Do this along its whole length.
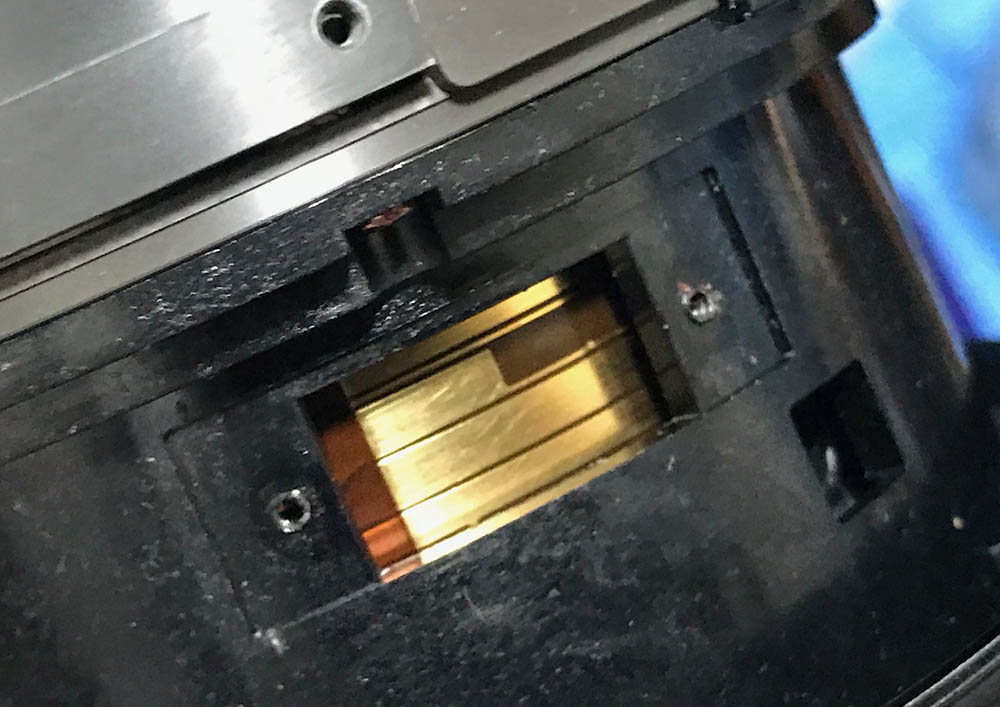
The bottom-most contact is responsible for focusing under 7m or so. Using a strip of 3M Magic Tape to cover parts of it helps make it focus accurately but only at closer distances. The solution is to check the brush and make sure its feelers are all touching their respectively feelers. Gently bend them so their tips maintain-contact but doesn’t press-on too much on the FPC.
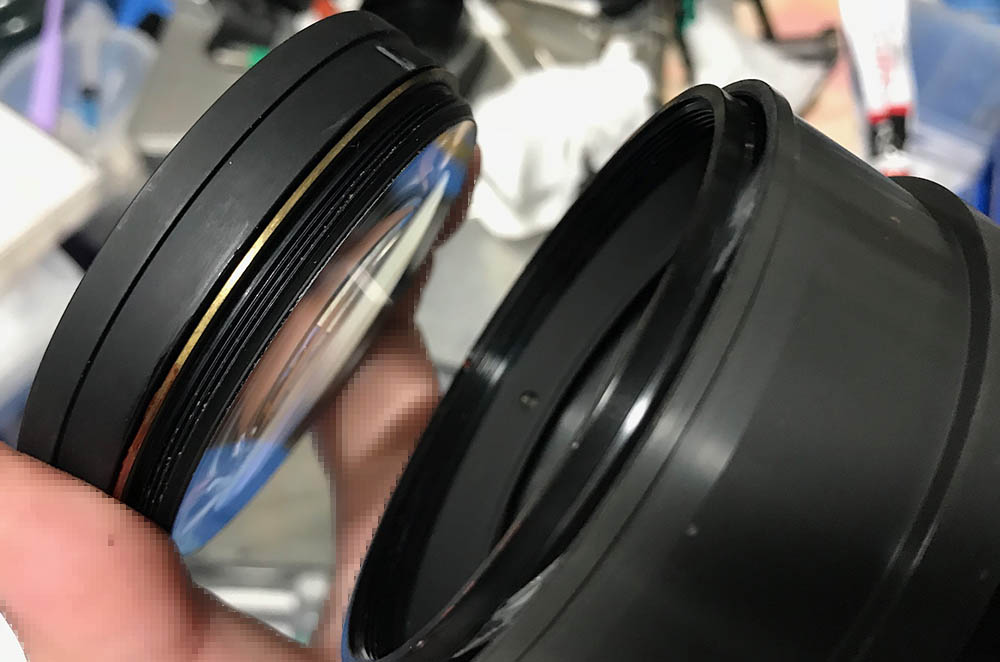
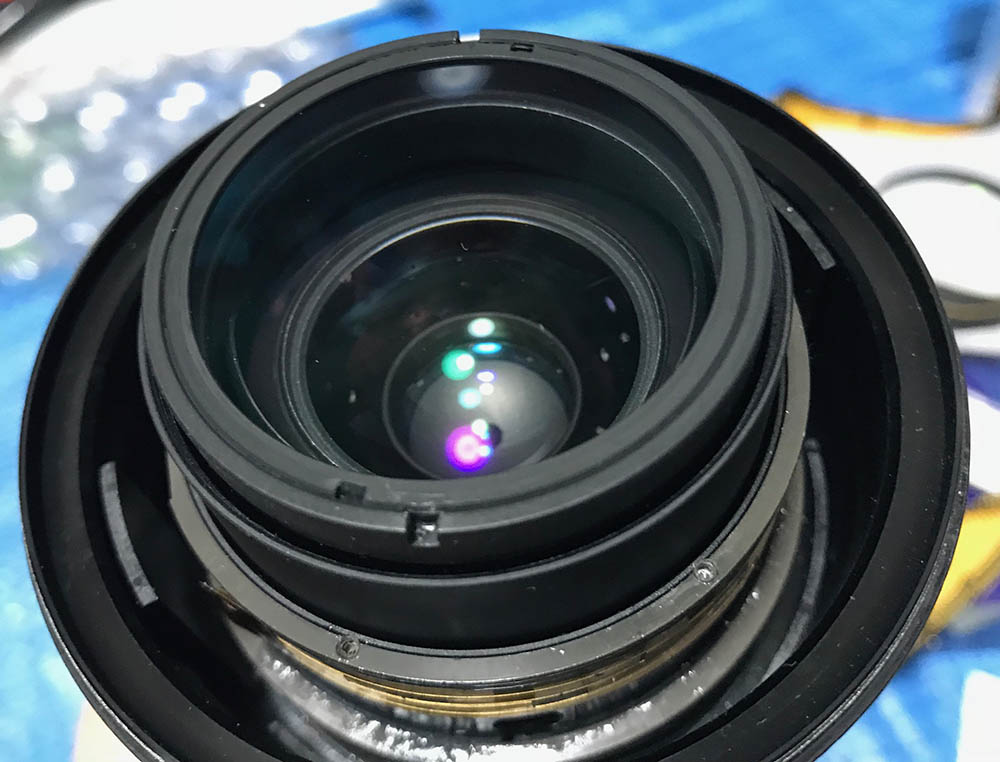
The front optical assembly can be easily unscrewed with your hands. Clean any dirt you see here with a blower. Note that there’s a shim underneath it, you may be required to add a thin spacer underneath this in order to adjust the focus.
You’re now able to access this, clean any dirt you see here with a blower.

Carefully extract these screws so you can remove the whole front assembly.
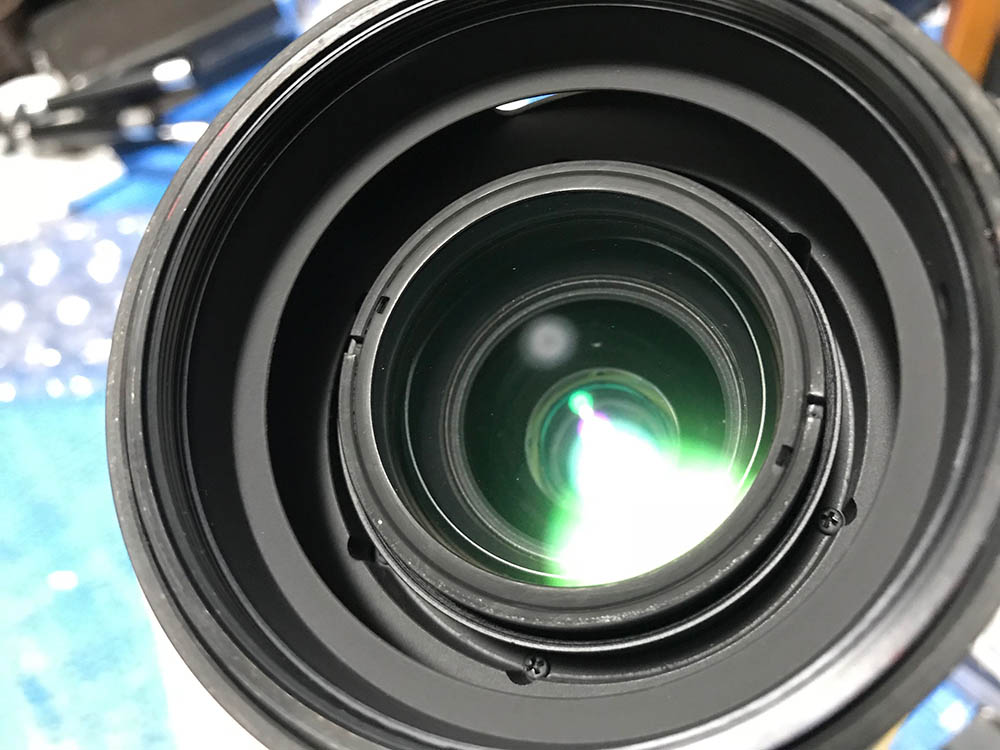
You can retract the optics so they are a bit further from the screws. This will prevent any accidents, covering it with a cardboard cutout will be better.
Removing the front assembly will allow you to clean the FPC better. Do not use force to remove it as something may get caught as you pull this off.
Exercise it and see the extents of its movement and clean whatever grime is accessible to you.
That’s it for the front barrel. Clean whatever you could very well and never flood anything here. If your lens has fungus, read my lesson on how to clean lens fungus. Never use the solution at full-strength specially with this lens. It has coating that could get damaged by the solution so avoid soaking the lens elements beyond a few seconds in the solution. The coatings are challenging to wipe-clean, they leave marks. The best way it to clean them using various solutions, start with alcohol or naphtha then finish it with distilled water or your breath.
Conclusion:
I enjoyed working on this a lot since it was merely a minor job. It took me a while to open most of the parts since they were sealed so don’t rush. Do not dismantle anything that is working properly, that’s the rule for lenses made in recent years. Manual lenses are more forgiving. Adjusting the focus isn’t something that a beginner should do, specially for autofocus lenses. If your lens needs to be serviced, bring it to a reliable repairman.
Reassemble everything but leave the front part exposed.
This is how your setup should be when it’s time to calibrate the focus. I did not merely covered the contacts to solve the back-focusing issue so I had to do it the hard way.
Adjust the front optics assembly until you could get accurate focus across its range, you may need to add a really thin shim to achieve this. If the original shim is too-thick, simply make one yourself and adjust-to-fit until you get it to focus perfectly. There’s actually a formula for this but it’s pointless for us since you’ll require specialized measuring equipment to do it. If you haven’t seen my article about how to adjust a lens’ focus, read it so you’ll know how it’s done in a DIY setting.
Do any final cleaning and adjustments before you finish your project.
Thanks for following my work, if you liked this article please share this with your friends so it will get more views. This site earns around $0.30 a day, it’s totally reliant on views. You can also support this site, it helps me offset the cost of maintenance and hosting. You are also helping me purchase, process and scan film. This site promotes the use of film so we’re all in this together. See you again in the next article, Ric.
Help Support this Blog:
Maintaining this blog requires money to operate. If you think that this site has helped you or you want to show your support by helping with the site’s upkeep, you can make a small donation to my paypal.com (richardHaw888@gmail.com). Money is not my prime motivation for this blog and I believe that I have enough to run this but you can help me make this site (and the companion facebook page) grow.
Buy me a roll of film or a burger?
Thank you very much for your continued support!
$2.00
Helping support this site will ensure that this will be kept going as long as I have the time and energy for this. I would appreciate it if you just leave out your name or details like your country’s name or other information so that the donations will totally be anonymous. This is a labor of love and I intend to keep it that way for as long as I can. Ric.

Jan 17, 2021 @ 05:50:36
Thanks Ric for the excellent article. I have a copy of the same lens. Unfortunately my copy seems to have some fungus growth under the front element. Is it possible to take out the front element with a spinner wrench? I tried but it seems to be stuck. Do I have to take off the front barrel first? Thx!