
Hello, everybody! I’m enjoying a few days of vacation before I start on my new job. The pay is less than what I’m getting at my former post but I hope that things are a lot better this time around. I’m not averse to dialing-down anything, money, skill, expectations, whatever. I’m flexible enough to know and understand my situation in order to adapt and succeed. Being stubborn won’t help anyone at all and will only lead to a disaster and whining. I’m in the mood these days to “dial-down” on my photography equipment and I’ll show you something that many people today will consider to be inadequate but it’s still able to give you satisfactory results so long as you know how to compromise and work within its constraints.
Introduction:
The AF Zoom-Nikkor 80-200mm f/2.8 ED was made from 1987 to 1992, this is the first autofocus version of the 80-200/2.8 class of lenses. This was a big hit when it came out, Nikon shooters were able to get to autofocus with this on their then-state-of-the-art Nikon F4. Unlike the older 80-200/f4 versions, this gave a bright f/2.8 maximum aperture for that shallow depth-of-field that is a trademark of this lens family. Its performance is top-notch, too. Even with today’s standards it’s still a capable lens. People who shot news, sports and portraiture now have a formidable option, if they could afford this since it wasn’t cheap. If the older Zoom-Nikkor 80-200mm f/4 Ai-S costs the same as a cheap Japanese sedan in 1986 then this will certainly cost a lot more.

It’s a handsome lens, its form gave you an impression that it’s made for use by professionals. This is one of the first Nikkors with the crinkle-type finish, something that many people love. It’s dense and it would’ve been better if it has a tripod collar like the AF Zoom-Nikkor 80-200mm f/2.8D ED (N). This is challenging to hand-hold at times but its weight means that your setup will be more stable. It’s not well-balanced if mounted on a tripod with a camera since all of its weight is supported by the lens mount which isn’t good. I do not think it was made for that, a hint is the large, push-pull zoom/focusing barrel which is a big clue that the designers envisioned it to be used mostly hand-held. You are going to need aftermarket options if you want a tripod collar for this.
It has an impressive 16-elements-in-11-groups design, an all-new creation in comparison the older Zoom-Nikkor 80-200mm f/2.8 Ai-S which it replaced. It has 3 ED elements within its design which helps correct for aberrations. It’s the reason why it is still being employed on the AF Zoom-Nikkor 80-200mm f/2.8D ED (N), a lens that’s still being sold-new as of writing. Throughout the years it has been succeeded by no-more than 4 models of professional zoom lenses but it stayed in-production until recent times. It is a testament to this design’s excellent performance.
It could focus as close to 1.5m with its “macro-mode” gimmick which is nice for taking details shots. Despite what some people claim I don’t think it has CRC incorporated into its design, Nikon itself didn’t even mentioned it.

It balances well with most bigger Nikons such as a Nikon F4. This version is unique in the sense that it has a focus-limiter ring that could be adjusted to your needs. This enables it to focus faster since it won’t go end-to-end if the camera couldn’t acquire-focus and hunt. This was necessary since the focus-throw is quite long, similar to the manual-focus lenses of the time but not as long.
Get a Nikon HN-28 to protect the front element. It’s useful to prevent ghosts and flare if the light source comes from the side at an angle. I personally do not like it so I just use a collapsible rubber one that I found at a junk shop.
The later AF Zoom-Nikkor 80-200mm f/2.8D ED that succeeded it has faster autofocus thanks to its modified focusing mechanism. I don’t think it has a shorter focus-throw but it could operate faster but not by much. The barrel is also taller on the later one since the front barrel is housed inside a cover. This makes it tougher since bumps to the front won’t damage it as much as the older one. Another good thing about that is you could now use circular polarizers and not worry about its rotating front. Ergonomically, the newer lens is superior. The fastest one is the AF Zoom-Nikkor 80-200mm f/2.8D ED (N), its focusing speed approaches the standards of its modern counterparts despite having a traditional screw-driven mechanism.

Handling is excellent despite being heavy. You can switch between manual or autofocus with a switch near its throat. The focus-limiter ring is situated at the neck which is where your supporting hand will be positioned. Its big zoom/focusing barrel is handy but I don’t think it fits it, I rarely use it even with an old Nikon that focuses quite slow. It may be useful in darker scenes where your camera’s sensor wouldn’t be able to autofocus reliably. This is a nice backup solution. It’s one of the first Nikkors to have a 77mm filter size, something that we consider standard these days for professional Nikkors.
Autofocus speed is adequate with a Nikon F5 or Nikon D3 but is slow when you mount it with a Nikon F4, this is where the zoom/focusing barrel comes into play. Professional photographers back then knew how to manual focus and never trusted their camera’s autofocus results. The front barrel moves in-and-out as you focus, this is kind of annoying and it makes it fragile. If it was hit with enough force it’s possible to bend its internal rails or cause its front elements to be misaligned due to the rails being bent. Despite that, it’s a tough lens that’s able to handle lots of abuse. The minimal electronic parts it has also ensures that there are lesser things that could go wrong with it.

Okay, I digress. One benefit of having the “pumper-zoom” layout is for those who still used manual cameras which don’t have the ability to autofocus. It’s preferable over the now-standard 2-ring layout that we’re all familiar with. If it had the Ai-coupling claws like in all-manual Nikkors it would have been possible to meter using it on older Nikons. You could add them yourself, just drill and tap the holes to attach the claws.
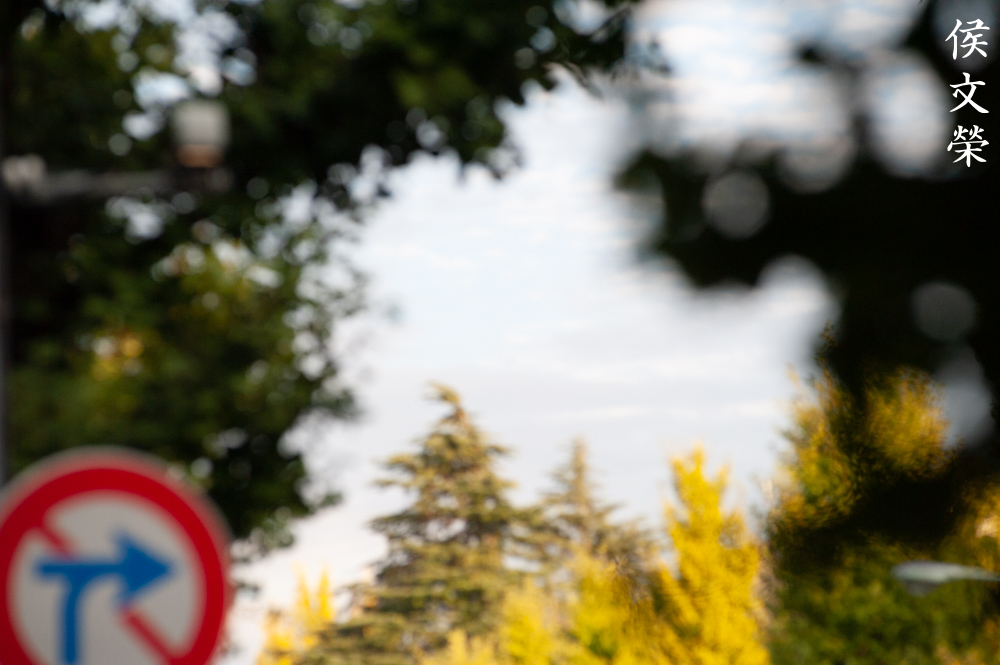
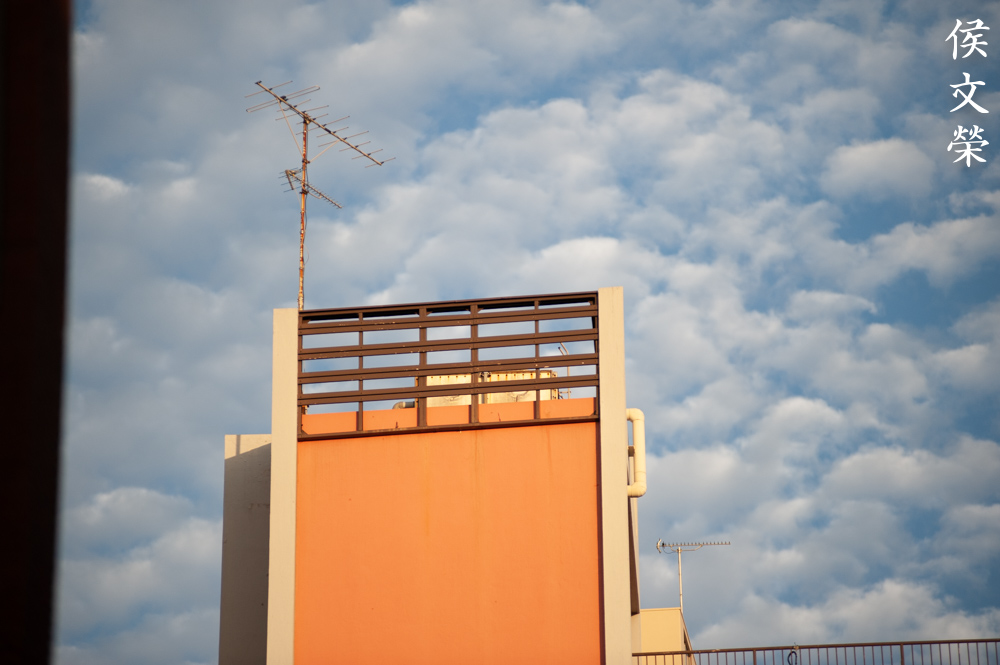
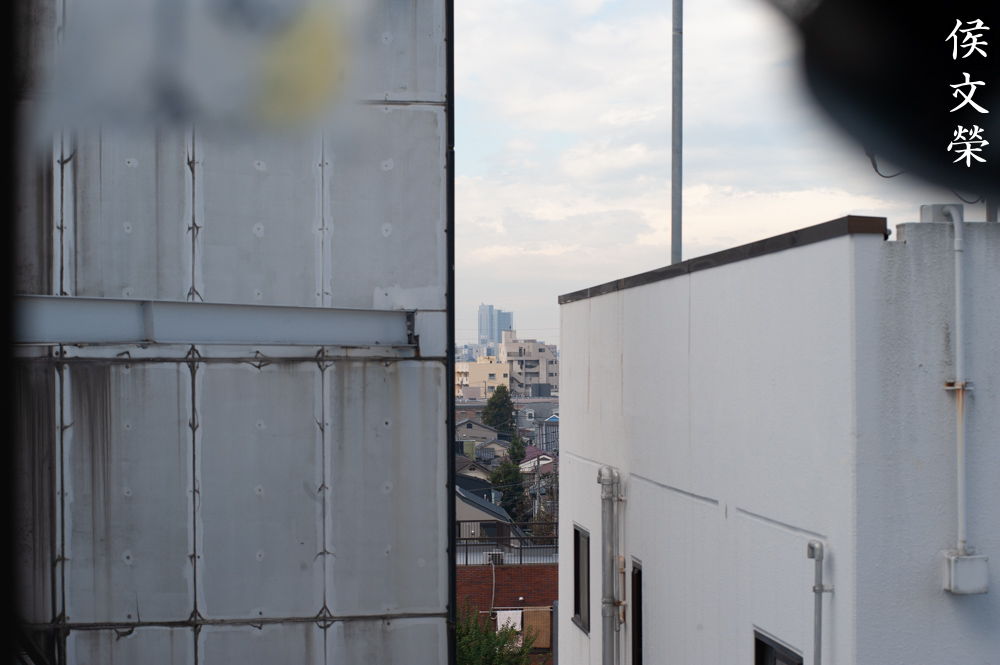
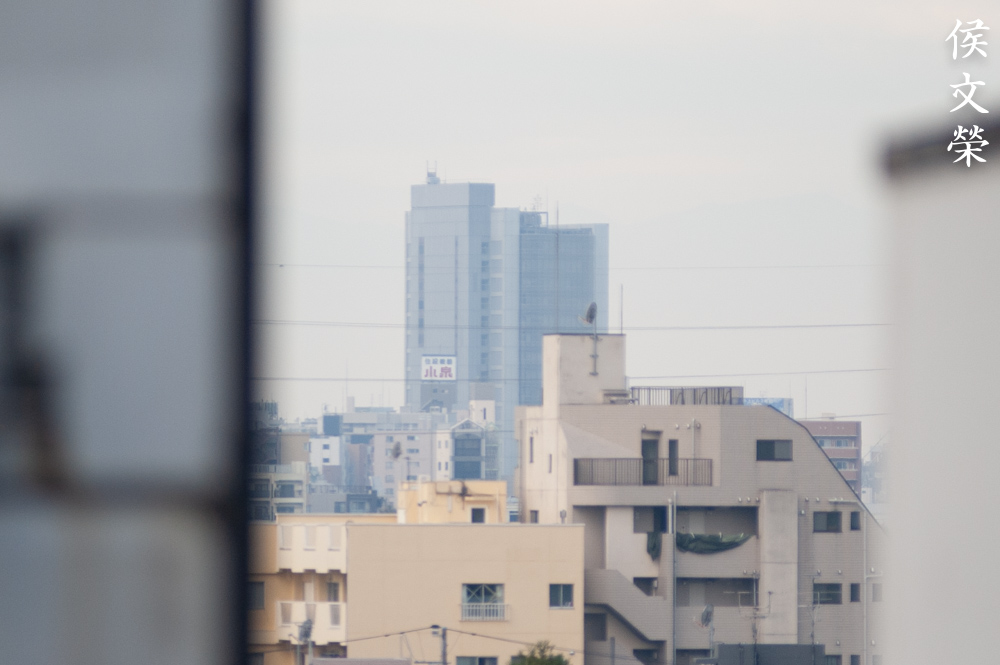
Knowing how a lens performs is important, you will know its strengths and weaknesses. This knowledge will help you determine which lens to bring on an assignment. I shot the following photos from f/2.8, f/4, f/5.6 and f/8. We’re able to see the most changes happen within these apertures, these are also the most common values that people would want to use this, I assume. The photos were shot with my Nikon D3.


(Click to enlarge)
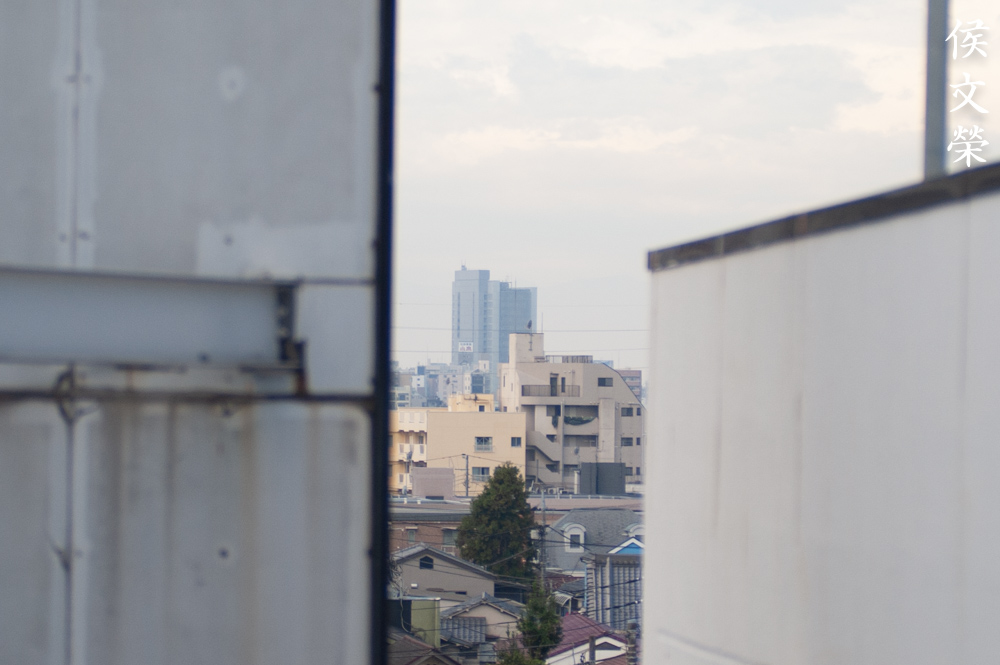
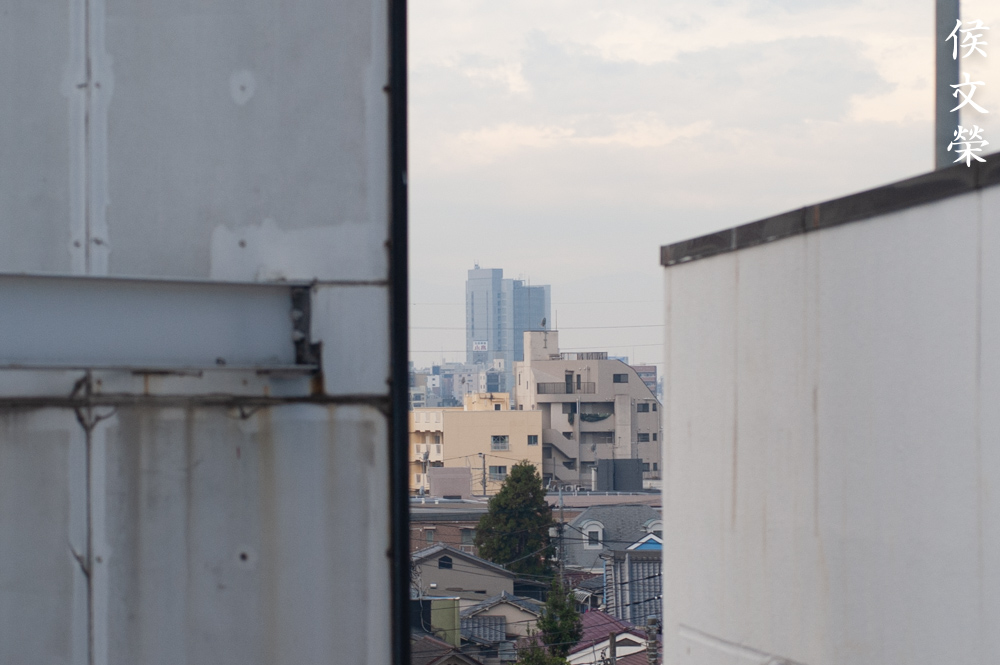
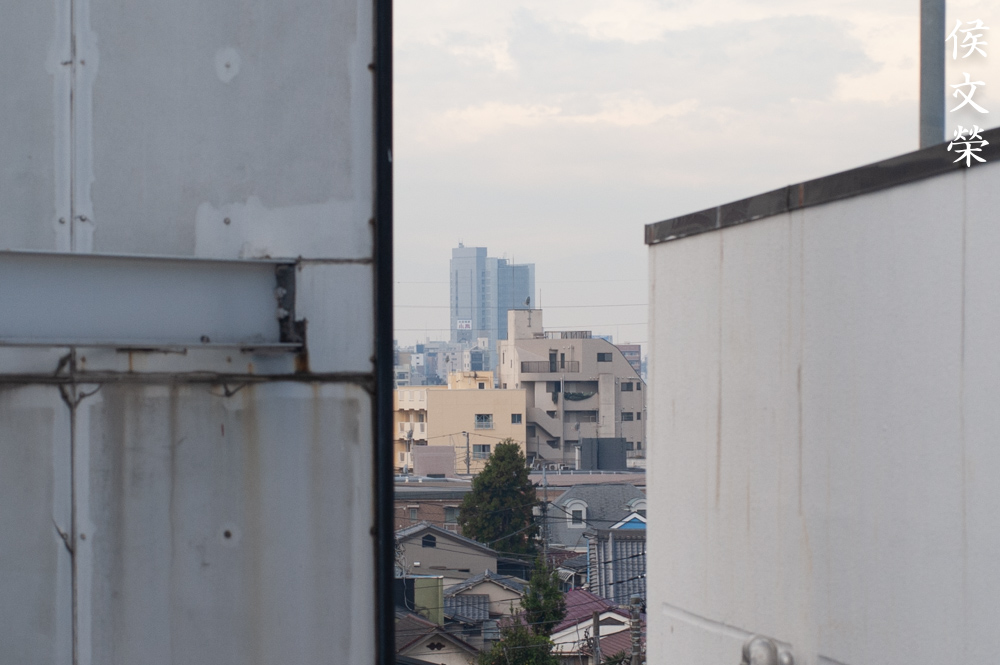
Vignetting can be seen wide-open at the wider-end, stopping it down to f/4 will make the corners brighter and you won’t see much of it from f/5.6 on. It is quite good in comparison even to some modern lenses. The longer-end is a lot better and you won’t see much of it there. Distortion is moderate at its wider-end, you’ll get a shallow but slightly-complex profile. The same can’t be said for the longer-end, it’s quite high but the profile is simpler.


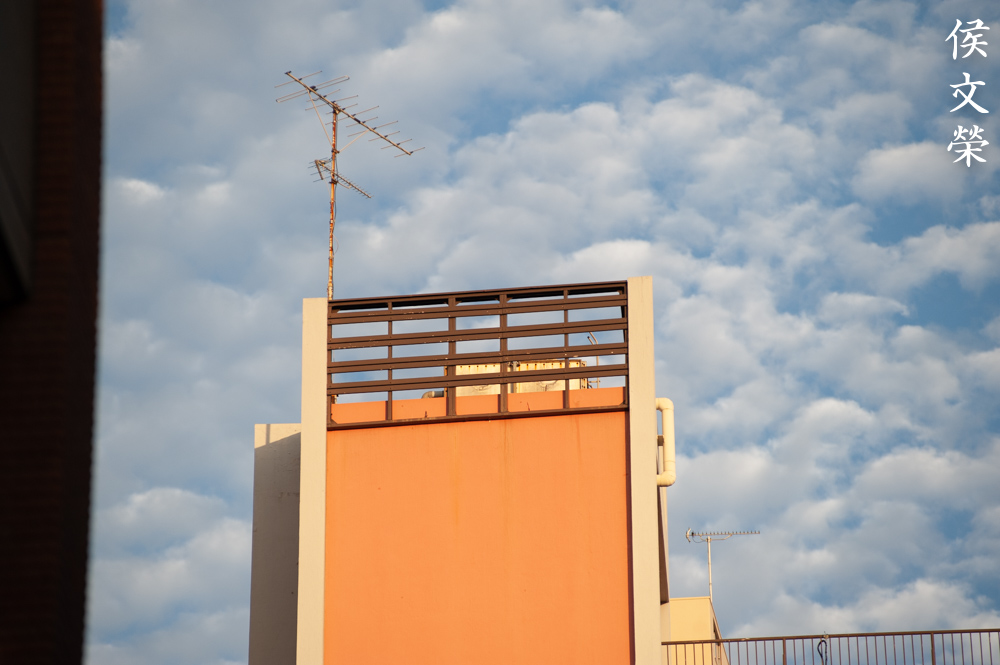
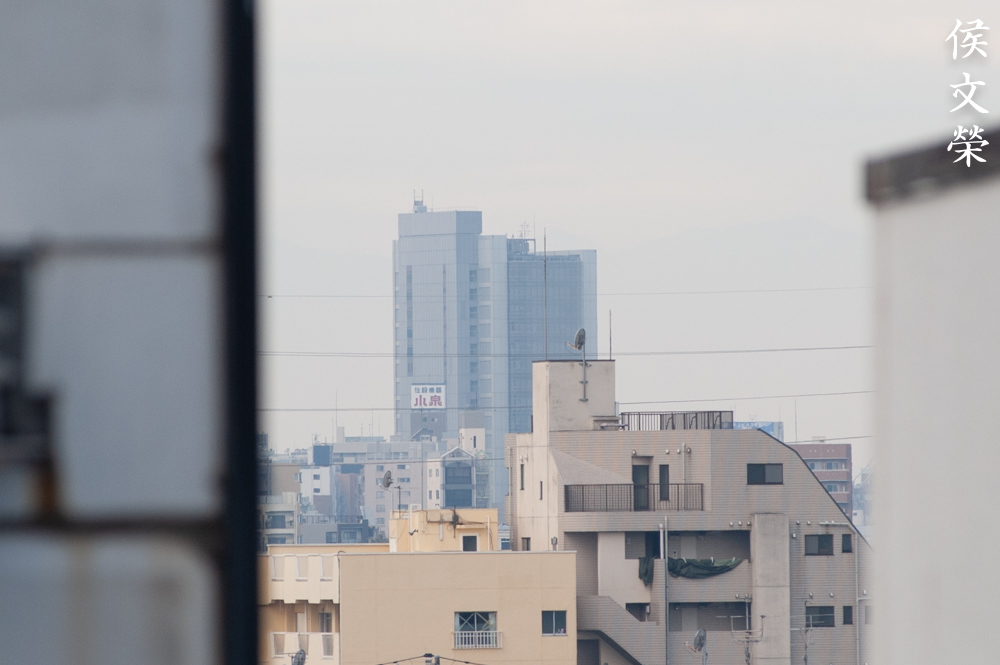
(Click to enlarge)
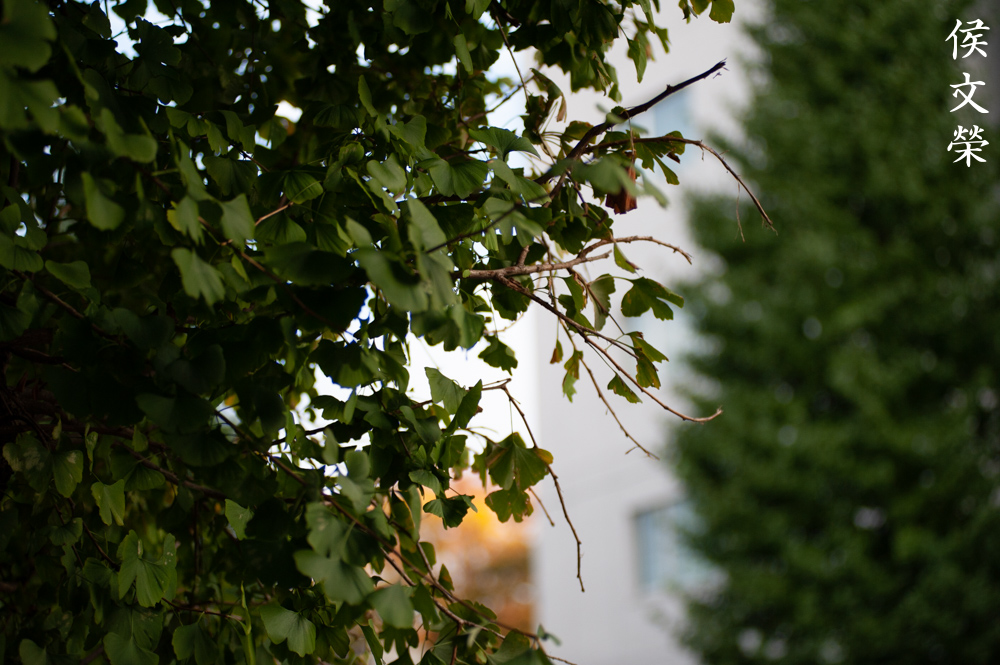
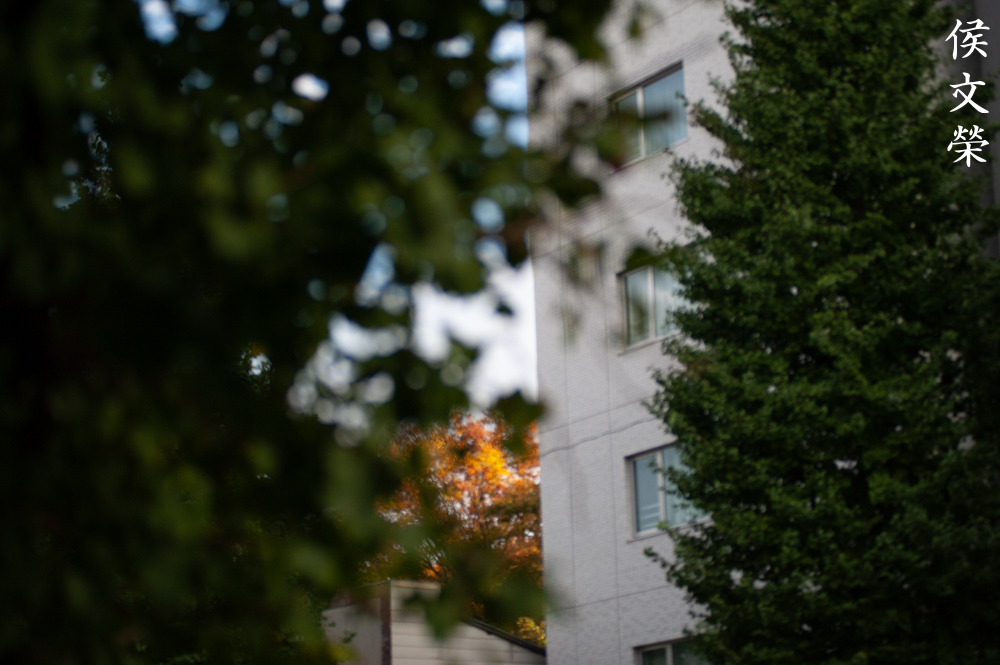
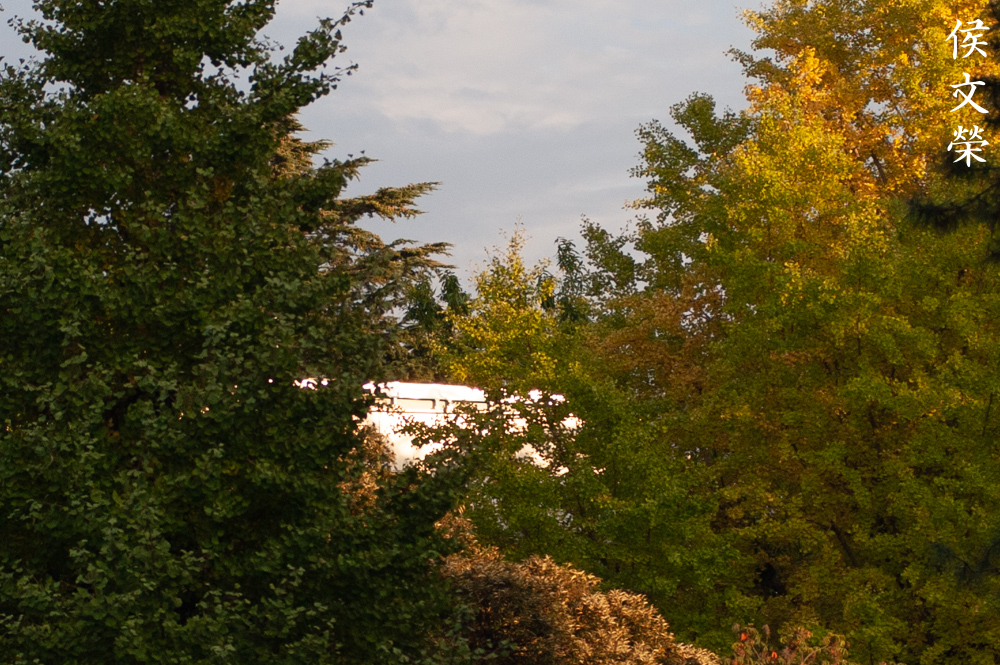
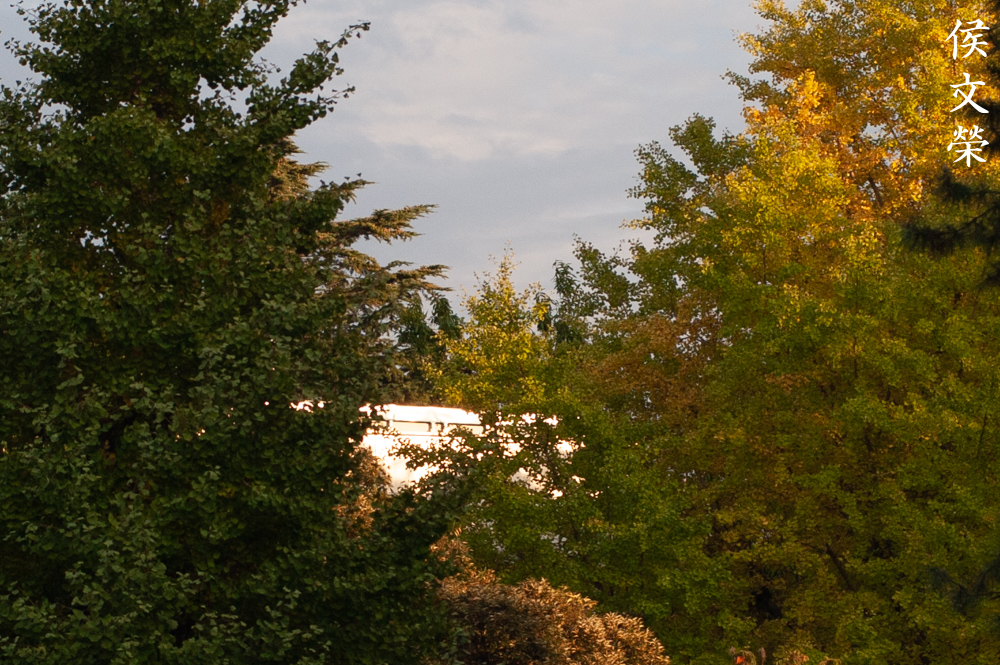
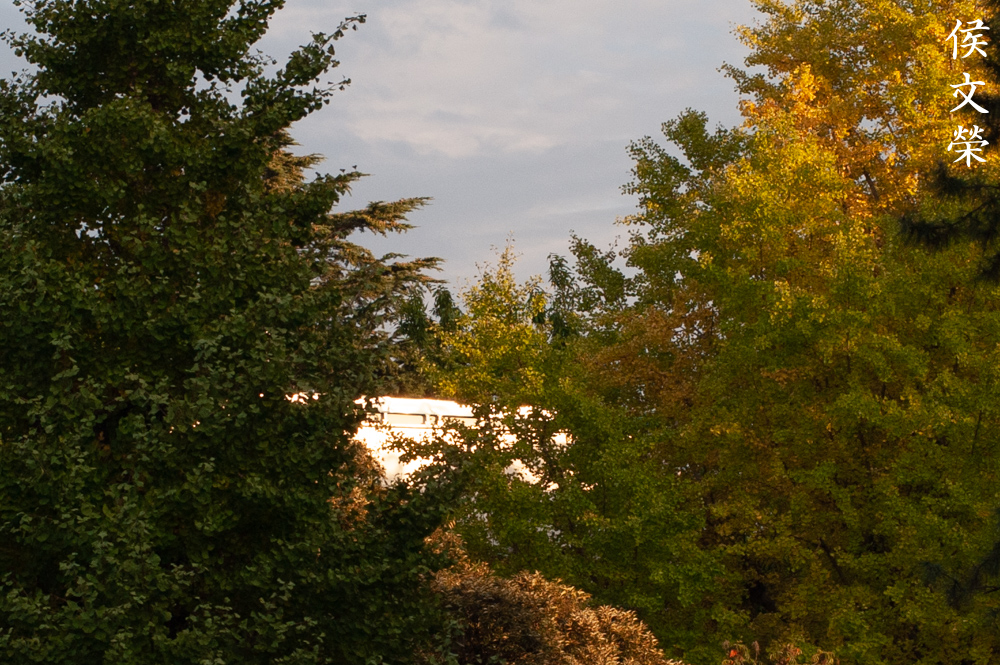
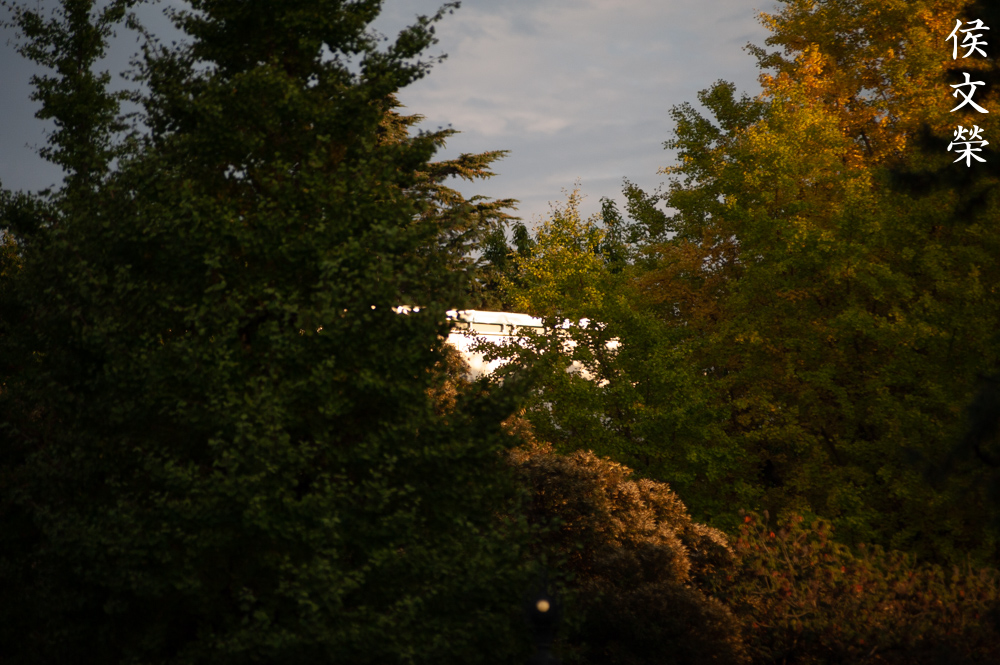
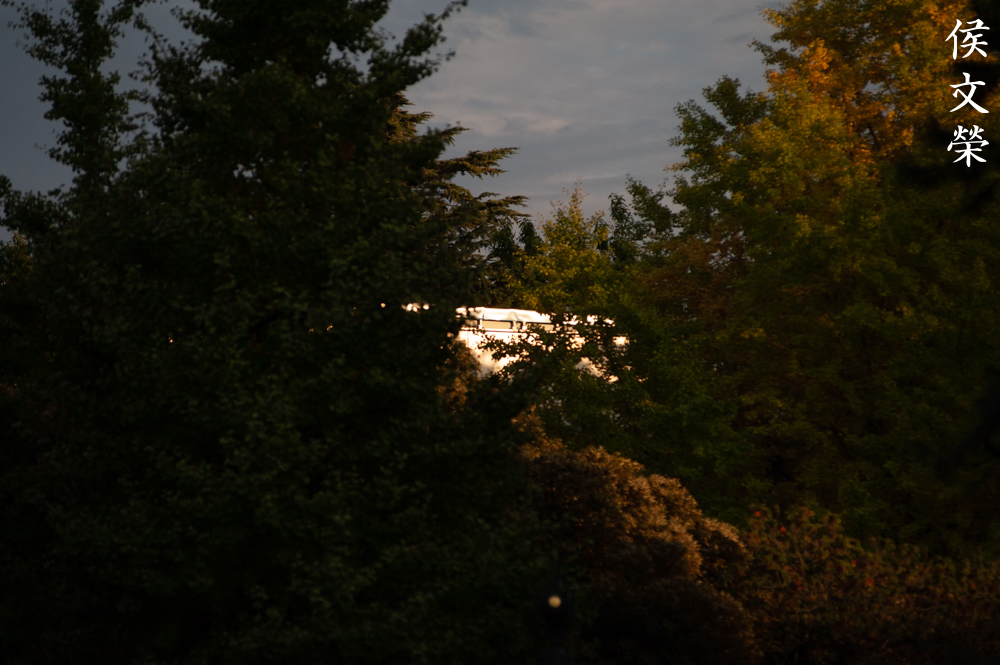
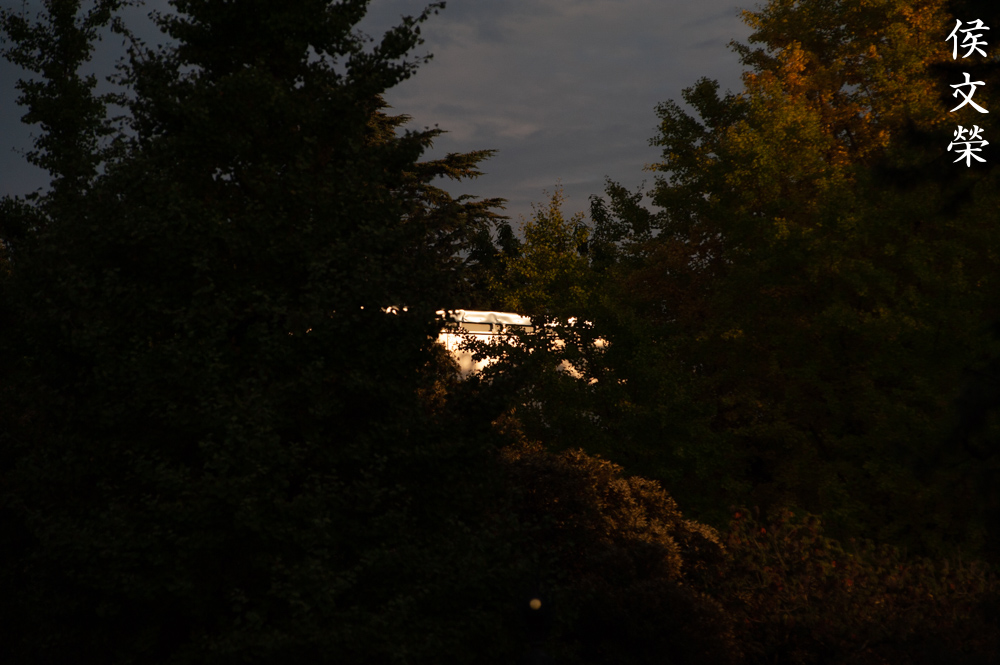
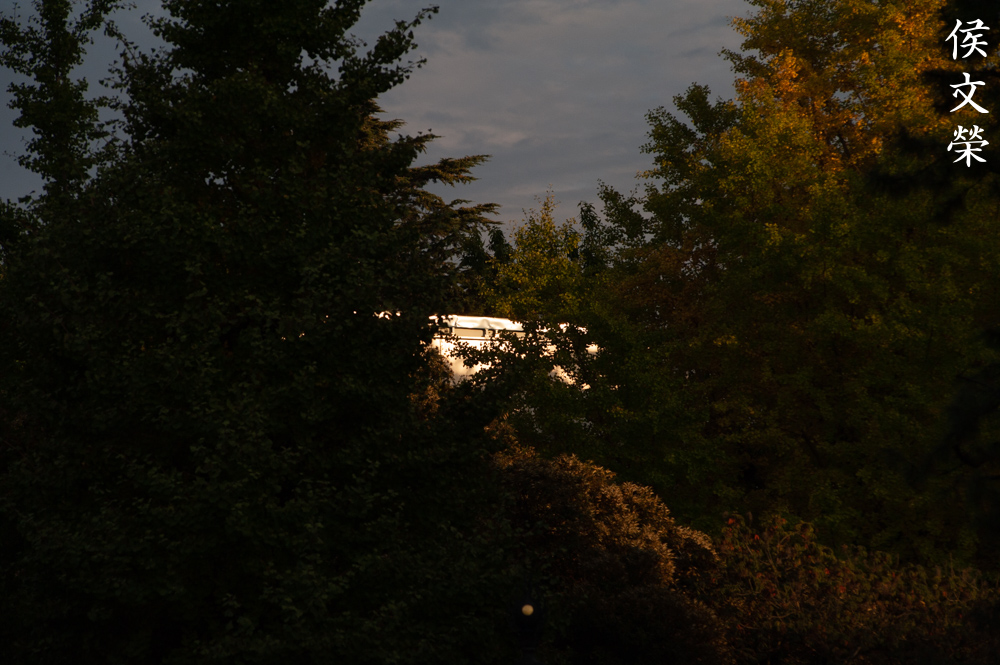
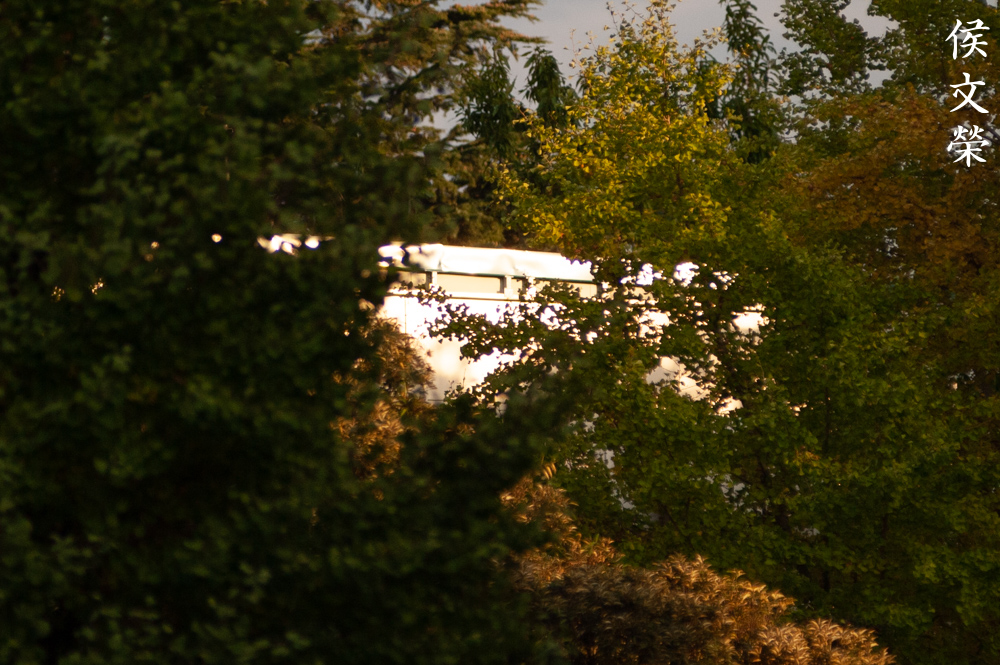
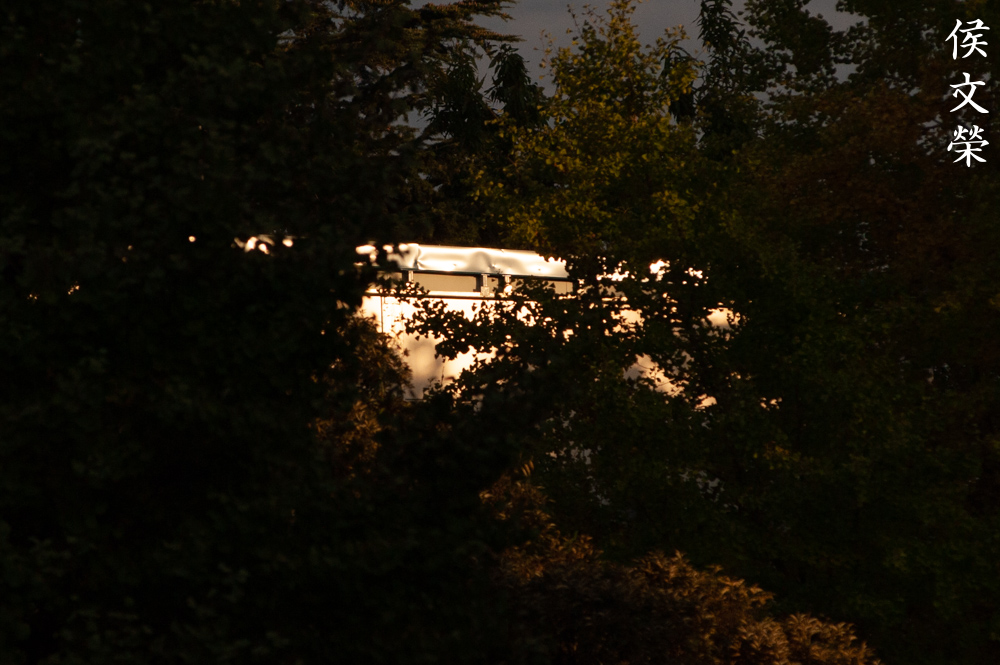
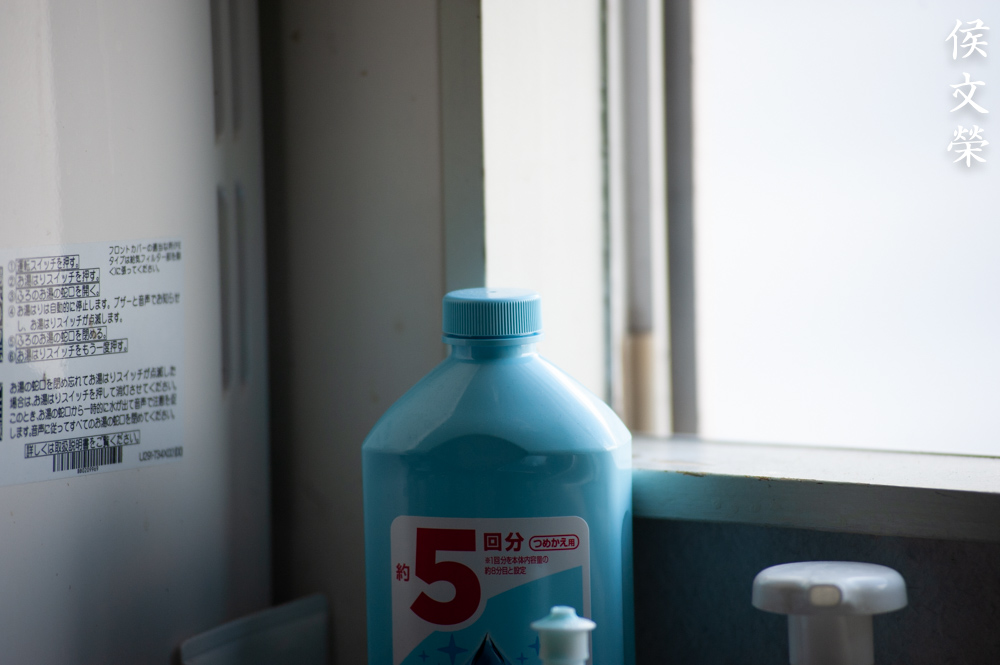
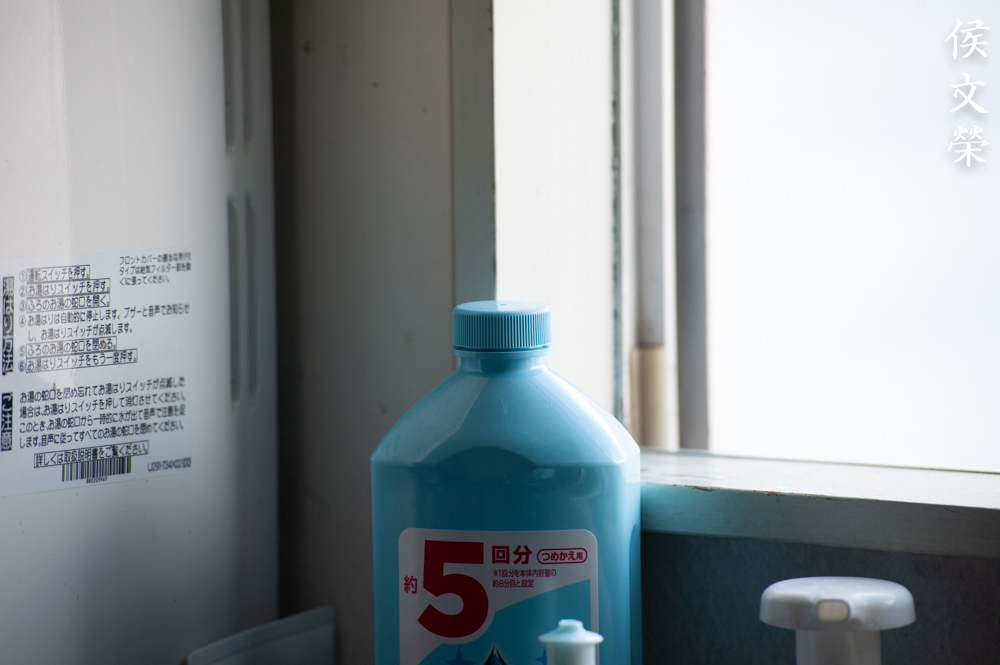
The character of the bokeh is quite pleasant in most cases but there will be a few instances where it will exhibit mediocre-looking results. These are rare but it’s not impossible. Don’t think of it too much, this is approaching prime lens performance levels, it has some of the best bokeh quality that I’ve seen from a zoom.
Some of the photos here were tightly-cropped to about 2.5x so you could see what I’m talking about much better. Click on the photos to see them better, I could crop it even tighter but that wouldn’t be realistic.


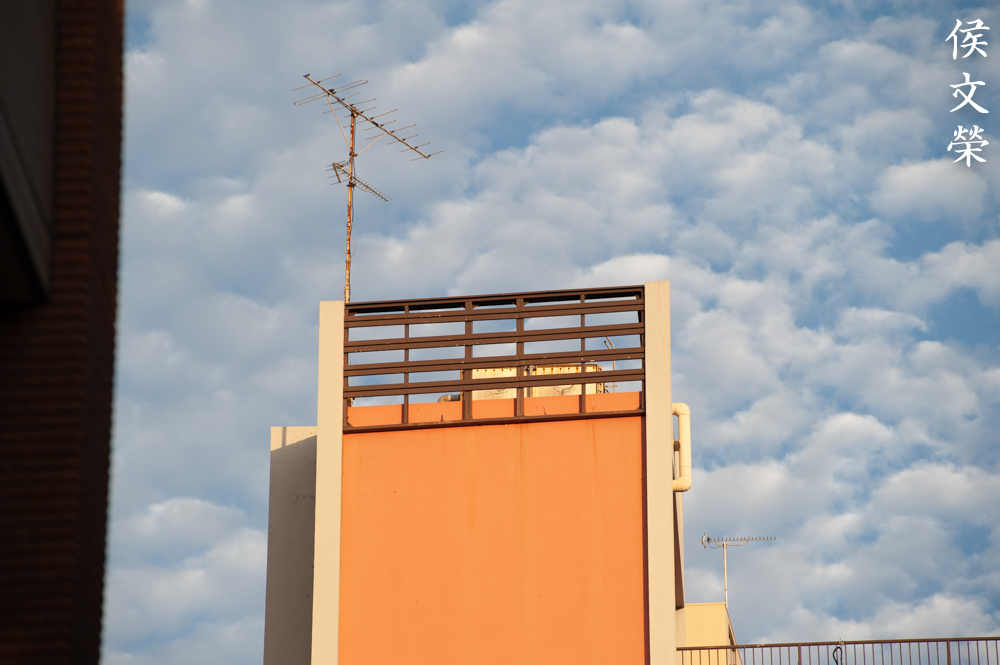
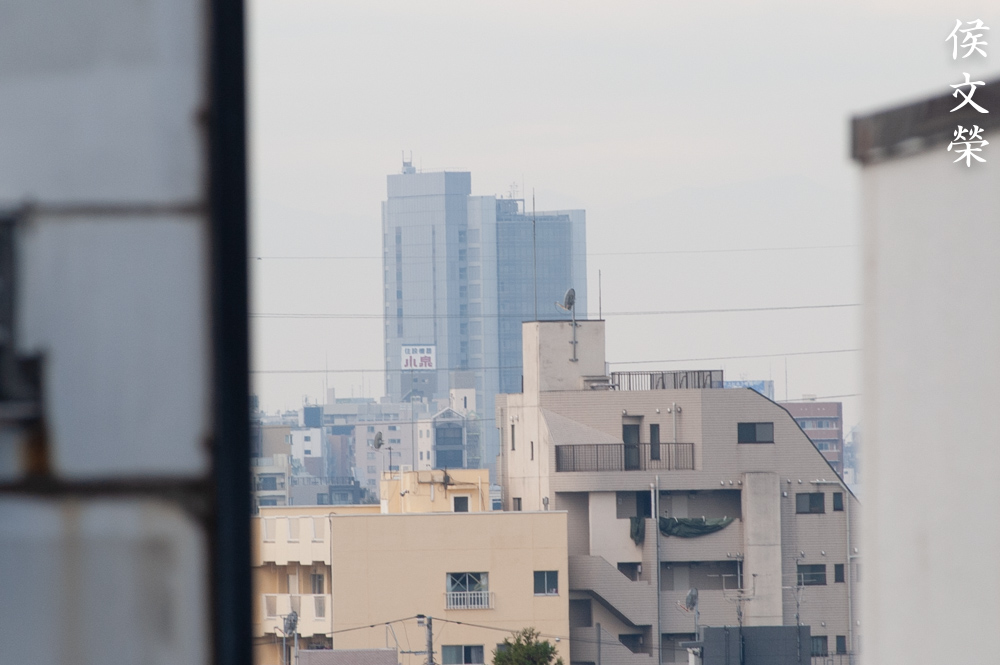
(Click to enlarge)
Chromatic aberration can be observed wide-open. It’s pretty bad in extreme scenarios, stopping the iris down to f/4 will be mandatory since it improves considerably from there. You won’t see much of it by f/5.6, it’s gone by f/8. It has high spherical aberration wide-open which degrades contrast so setting the iris to f/4 will be essential if this bothers you. Remember, these pictures were shot to trigger these and you won’t get these kinds of results with real-world use if you’re careful.
The effects of spherical aberration should be controlled with the use of ED glass but you could still see it prominently in overblown areas wide-open, I don’t think it’s due to sample variation, I’m familiar with the new AF Zoom-Nikkor 80-200mm f/2.8D ED (N) and the results are similar. I have also shot with the AF Zoom-Nikkor 80-200mm f/2.8 ED which came after this lens, it also showed the same tendency to exhibit chromatic aberration wide-open. This is easily-observed at longer distances, it’s something that is difficult to effectively correct in telephoto lenses until recent years.


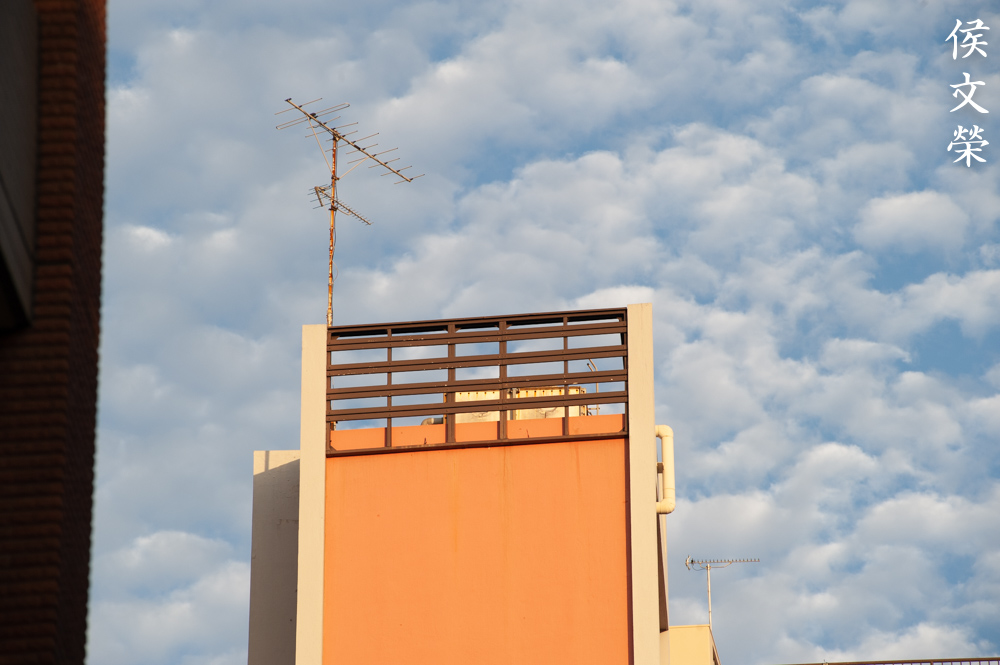


(Click to enlarge)
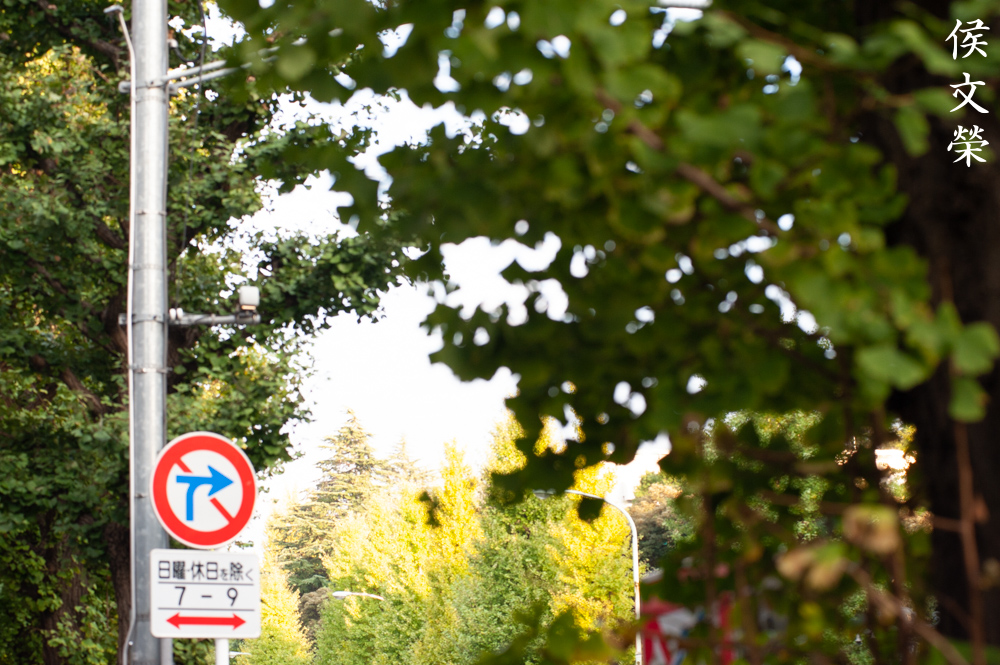
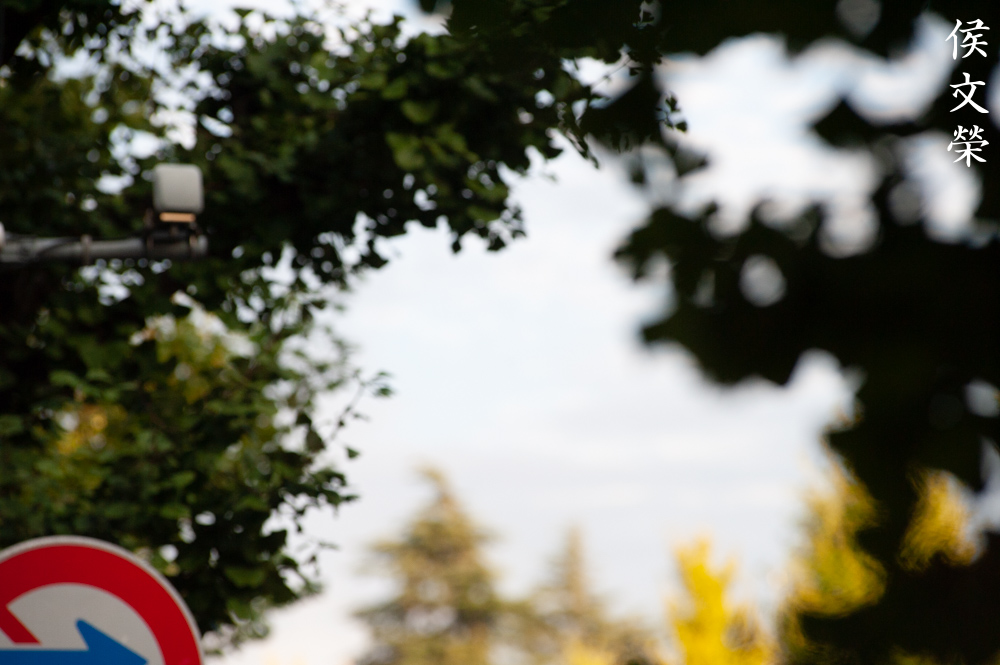
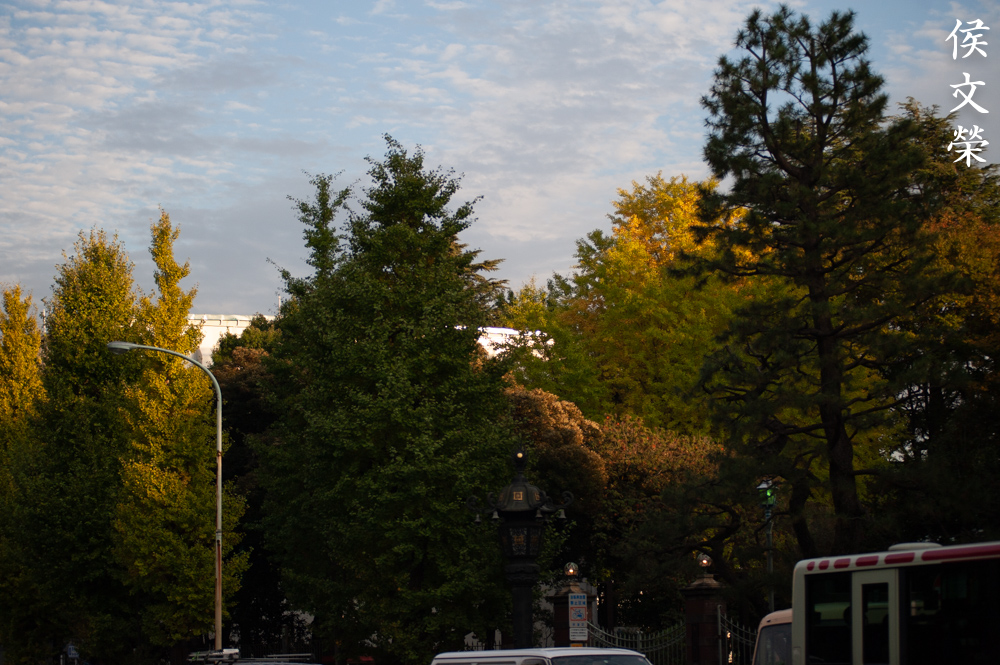
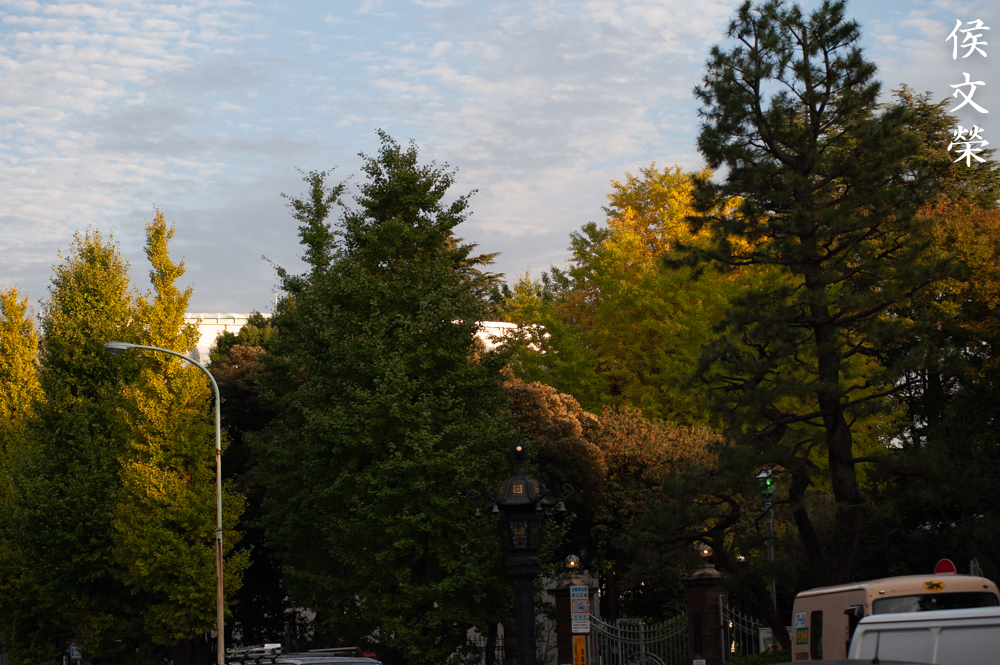
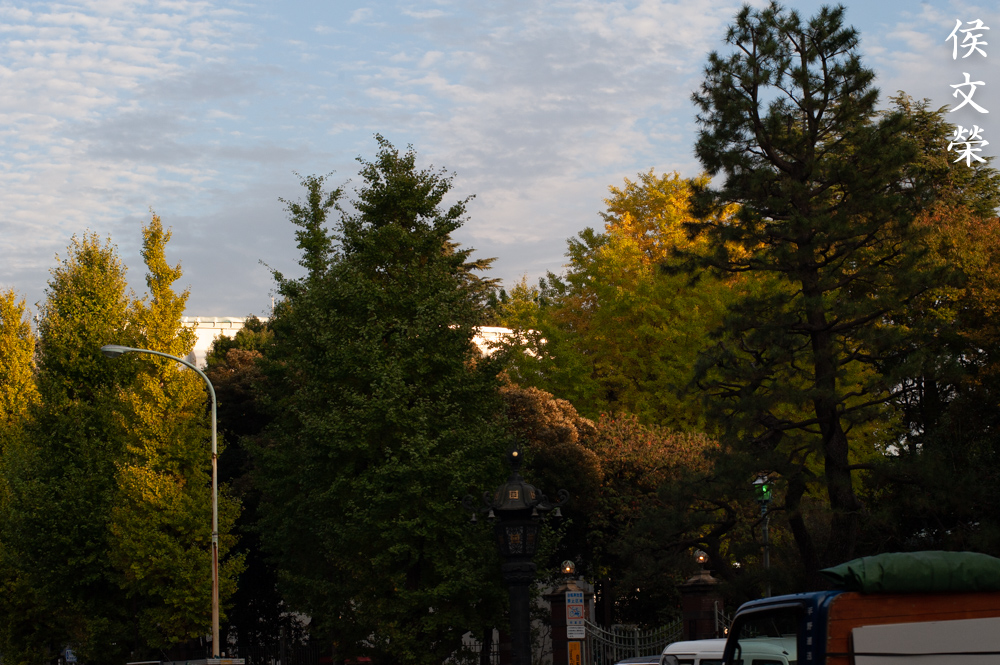
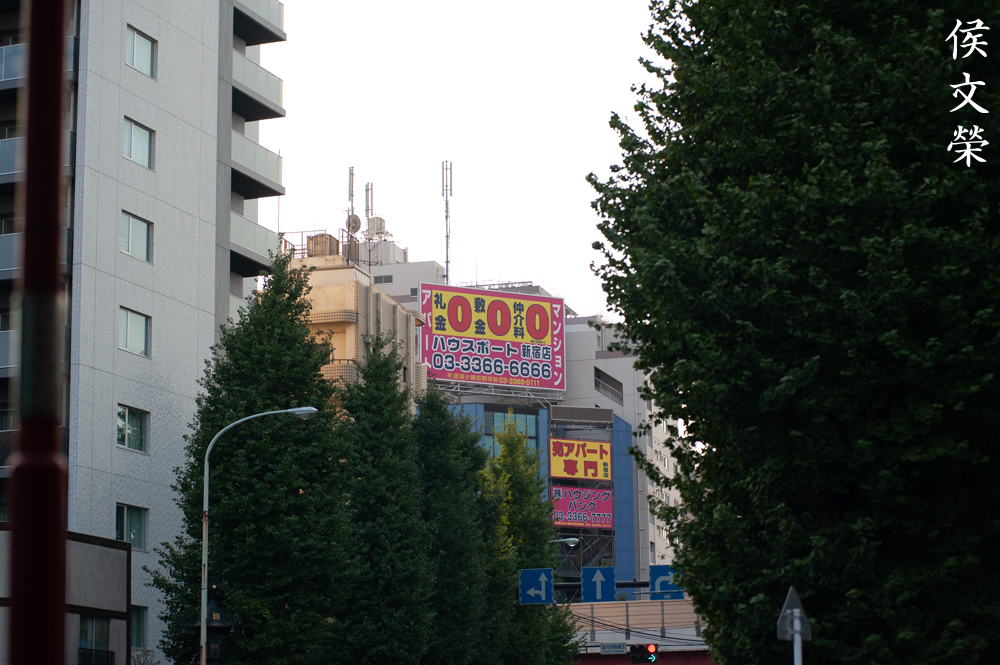
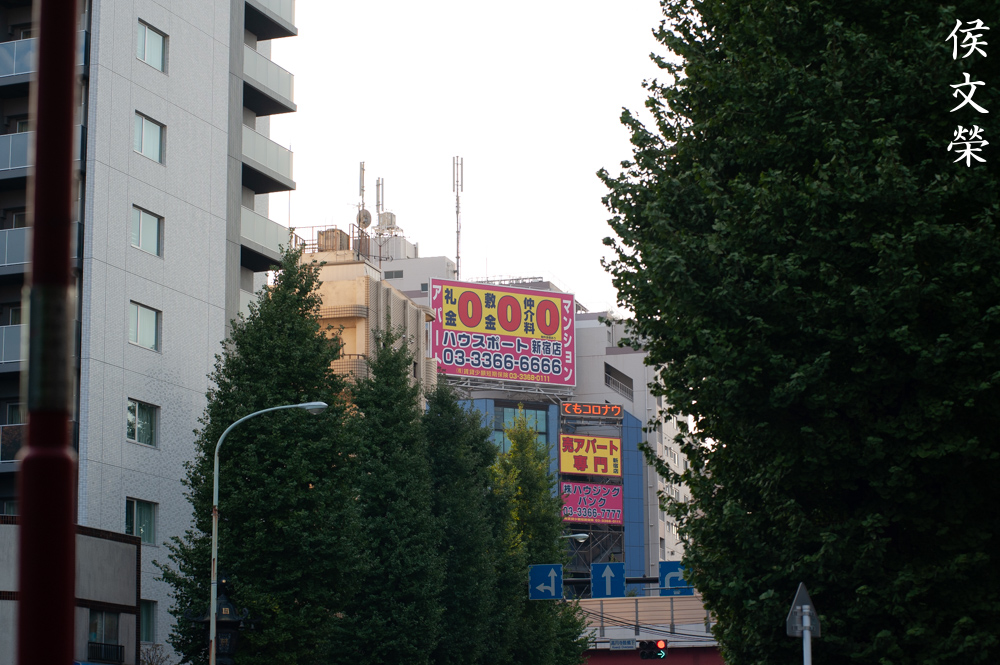
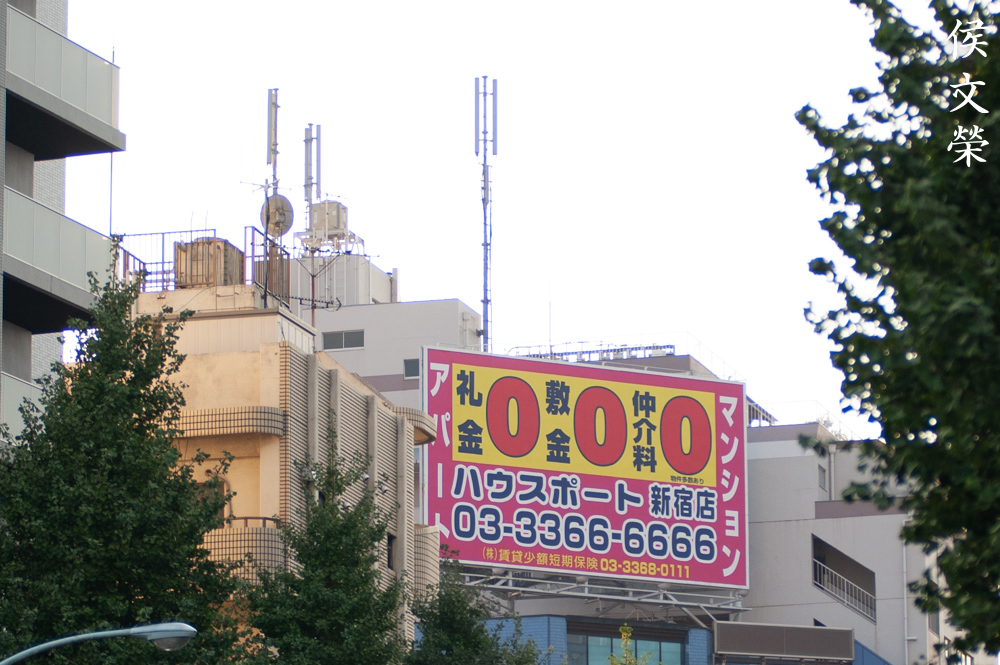
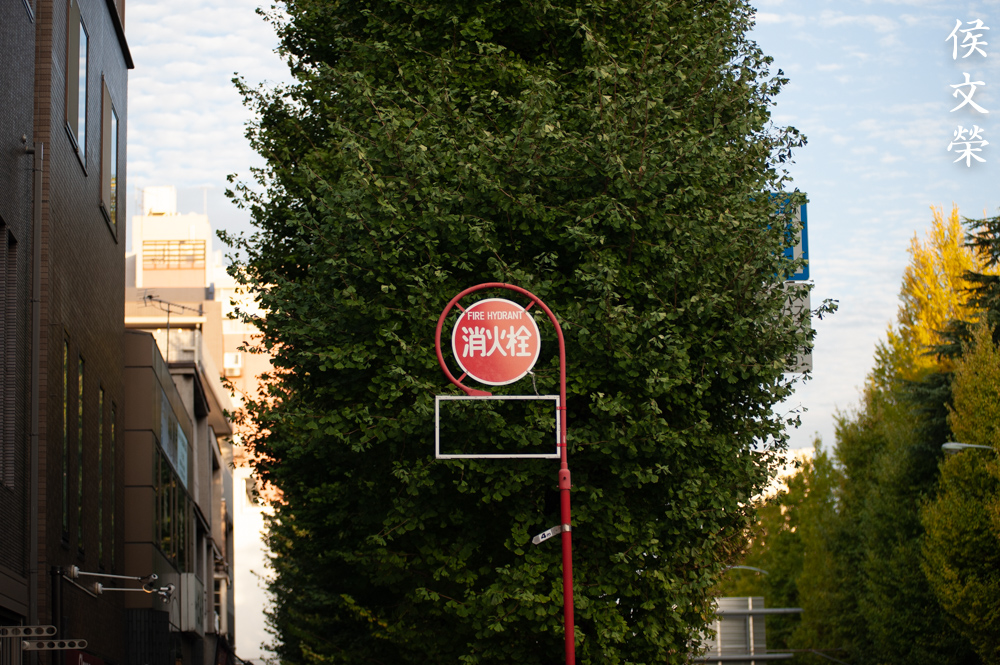
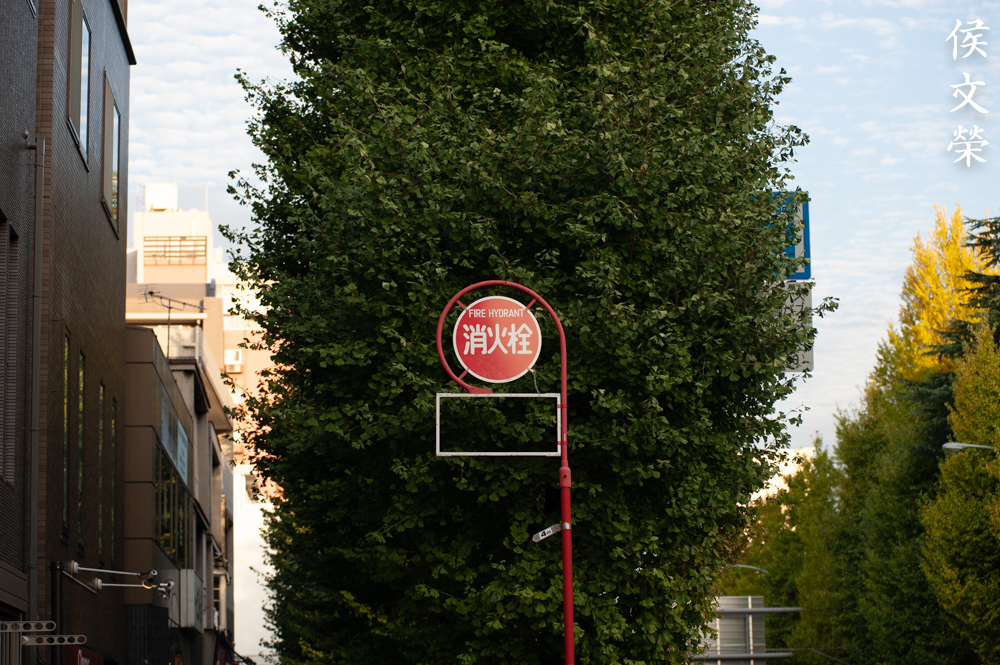
Sharpness is nice wide-open but thin depth-of-field, spherical aberration or the lack of resolution will make it appear blurry, it’s there but it needs a bit of push to show it. Stopping it down to f/4 improves the center considerably thanks to better resolution and deeper depth-of-field. The corners look nice, much better than I expected. The center improves a bit by f/5.6, the corners look a lot better now. You won’t get much improvement at the center by f/8, the corners will benefit from it but not my much. Contrast and saturation is rather good throughout the whole aperture range. Performance degrades as you shoot distant objects due to the effects of haze, the only option is to stop the iris down to at least f/5.6 to get nice, sharp photos. Check the last set and observe it for yourself.

This is an amazing optic for portraiture, it’s sharp wide-open but not to the point where you could see every pore in your subjects’ faces. Setting the iris to f/4 may be too-sharp for my taste so I keep it at f/2.8 to still get some fuzzy highlights on the skin thanks to spherical aberration.

Autofocus speed is slow but adequate, you’ll be able to track erratic subjects with it but expect some misfocused photos. For moving subjects I usually set my autofocus to AF-C and use 3D Tracking. Back-focusing can be seen if this lens couldn’t find anything to focus properly, you’ll get sharp ears instead of sharp eyes because of that. The good part is if you get the autofocus to settle a bit you’ll be treated with a nice, focused photo.

The background can be easily blurred due to its fast maximum aperture of f/2.8, even when shooting at smaller apertures you’re still able to get blurry backgrounds thanks to its long 200mm focal length.

Despite the Nikon D3’s reliable autofocus performance you will still get few misfocused photos. The best way to mitigate this is to shoot several shots, it is basically spray-and-pray but out of 3-4 shot’s you’ll surely get one that’s a keeper. That was how I shot several years ago, it’s a useful skill but it isn’t a good habit since it makes you lazy.

The subject-isolation qualities of this lens is exceptional, something that I’ve always known, I was using with a AF Zoom-Nikkor 80-200mm f/2.8D ED (N) for some time several years ago.


(Click to enlarge)
This is a wonderful lens despite the lack of VR. You could maintain a faster shutter-speed with a modern digital camera so that will help a lot. This was how we were able to shoot events some 10 years ago with what we had. It’s nostalgic shooting with this since I regained some of my lost-skills. Shooting together with people who had all the new and fancy lenses made me feel a bit awkward since I was the only person shooting with an obsolete setup, it did turn some heads since people were looking at me and thought what was I thinking bringing a 13-year-old setup in 2020. Better gear will allow you to take better photos but it doesn’t mean that lesser gear won’t be able to give you something by the end of the day.
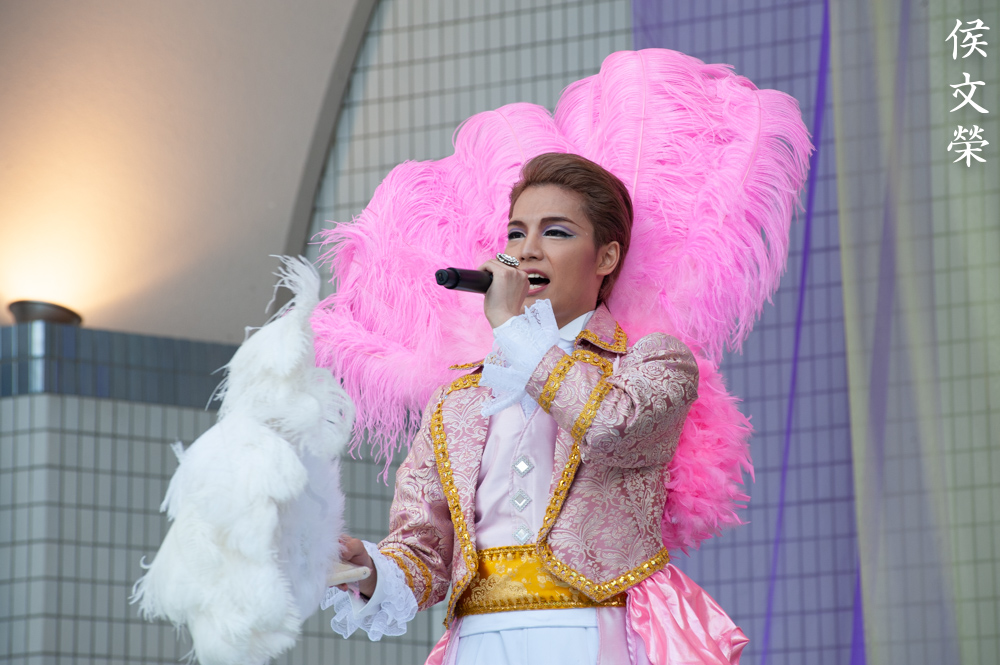
Here are some photos that I shot with film. Film has this unique look that’s difficult to simulate with a digital camera, this is because film grain works and reacts differently to light. It can either hide or amplify a lens’ flaws. It’s important that we shoot with film since it was designed to work with it, the results we see will help give it a better assessment since we’re seeing how it performs with its intended medium. I shot these with a Nikon F6 with some Kodak Color Plus 200.

The Nikon F6 was able to track adequately with it despite it having a slower autofocus performance compared to modern lenses. It’s not perfect but it is workable even by professional standards. I can’t say the same for it if I was shooting with a Nikon F4, you’ll at least need Nikon F5-level performance to make it work reliably.

It is able to capture sharp, wonderful photos. I am impressed by how it was able to resolve the details beautifully despite the film being cheap. It makes fabulous-looking people even more fabulous!

Tracking energetic subjects will be challenging for this lens but it was able to do it marginally. It’s not the best lens for this task, I would’ve used a lens with faster autofocus performance for these kinds of photos.

Lion-dancing is difficult to cover since the movements are quite erratic. You should first lock-on to your subject and let the camera do its job. I used to be a lion-dancer during my martial arts days, the movements are energetic it’s some of the most difficult events to cover.

It was a cloudy day so it was difficult to maintain a high shutter-speed at all times. Shooting with a monopod helps a bit but it won’t freeze your subjects’ movements at all. For dancing people you’ll at least require a shutter-speed of 1/500s or higher to freeze their motion or use a flash.

Its thin depth-of-field will work against you when the faces of your subjects aren’t at the same plane facing your setup. Stop the iris down to f/5.6 or less to get more things in-focus.

It’s a beautiful portrait lens, the compression that you could get at 200mm is great for tighter-framing. It makes the subject look flatter since you’re going to get less foreshortening. Hand-holding this is challenging at 200mm since it doesn’t have VR, you’ll have to use faster film with it on a cloudy day.


(Click to enlarge)
Here are more photos that I got from this roll. It’s capable so long as you’re shooting with enough light and keep your shutter-speed above 1/250s. This is going to be limited in low-light scenarios such as shooting in a club. Film won’t be able to compete with a modern digital camera in such a setting. It will be mandatory to use a flash unless the stage is bright. Using a flash will be helpful but that is usually a no-no in events. Just remember this and you should be able to enjoy this, photographers back then went through similar situations and overcame it with skill and that should still be true today.
Why choose this over the 2 newer ones? The answer is simple, the 2 newer versions have a tendency to back-focus when shooting at their long-end at distances below 10m on modern Nikons. One reason is because they have a feature for calculating distance that’s absent on this version. I’ll illustrate it in my AF Zoom-Nikkor 80-200mm f/2.8D ED repair article. This one does not do it and it focuses perfectly at closer distances. That issue can be corrected properly which I’ll show in the mentioned article.
Having mentioned the above, I highly recommend this to anyone needing a professional zoom so long as autofocus-speed is not a concern. It lacks VR, a crucial technology these days for lenses of this class but it is something that we can live without since there are many workarounds for it. We never had it before but we managed to take great photos with our prehistoric zooms. I don’t think it’s a deal-breaker at all. When purchasing one, turn everything and make sure everything operates smoothly. Check the glass and iris, they should be clean. The iris should be snappy when actuated and they should move evenly. Check the focus, be sure that it autofocuses fine. There may be a little play with the front barrel but that’s normal as long as it does not feel broken or flimsy. These go for less than $200.00 these day, you could get an even cheaper one if you get lucky, I got mine for $90.00 since it was sold as junk. Just get one of these, it may be the best investment you have made for your hobby or career.
Before We Begin:
If this is your first attempt at repairing a lens then I suggest that you check my previous posts regarding screws & drivers, grease and other things. Also read what I wrote about the tools that you’ll need to fix your Nikkors.
I suggest that you read these primers before you begin (for beginners):
Reading these primers should lessen the chance of ruining your lens if you are a novice. Before opening up any lens, always look for other people who have done so in Youtube or the internet. Information is scarce, vague and scattered (that is why I started this) but you can still find some information if you search carefully.
I highly recommend that you read my working with helicoids post because this is very important and getting it wrong can ruin your day. If I can force you to read this, I would. It is that important!
For more advanced topics, you can read my fungus removal post as a start. This post has a lot of useful information and it will be beneficial for you to read this.
Disassembly:
Servicing this is frustrating since most of its external screws were sealed. It takes more time to soften the seals than actually working on it. Do not rush, you will need plenty of time just to prep. This is not a lens for a beginner to work on, it requires a professional’s experience to work on it properly. You will also need specialized tools to open some of the parts here, too.
I was expecting to do a near-complete dismantling of this lens but mine was not as dirty as I initially thought and all I had to do was to clean the front. It doesn’t even warrant the dismantling of the front part but I did it anyway. I was also anticipating opening the rear to clean the fungus spot there but it’s only situated at the surface and that saved me a lot of time.
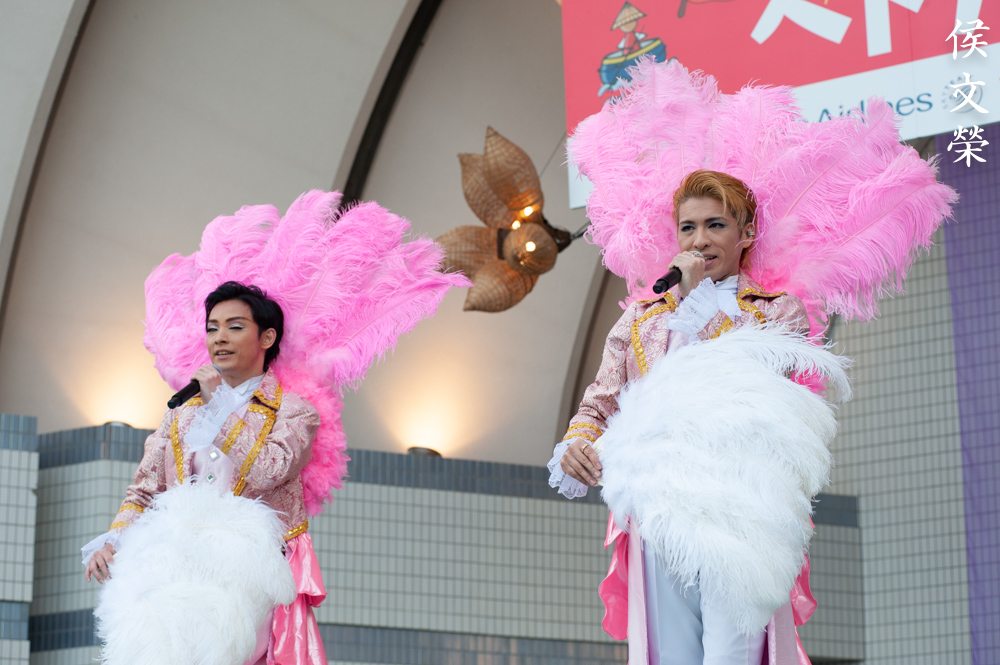
Locate and carefully extract this. Dissolve the seal first with solvent so you’ll won’t strip it.
Unscrew the nose of the main barrel, turn it both-ways and see which way it will unscrew.
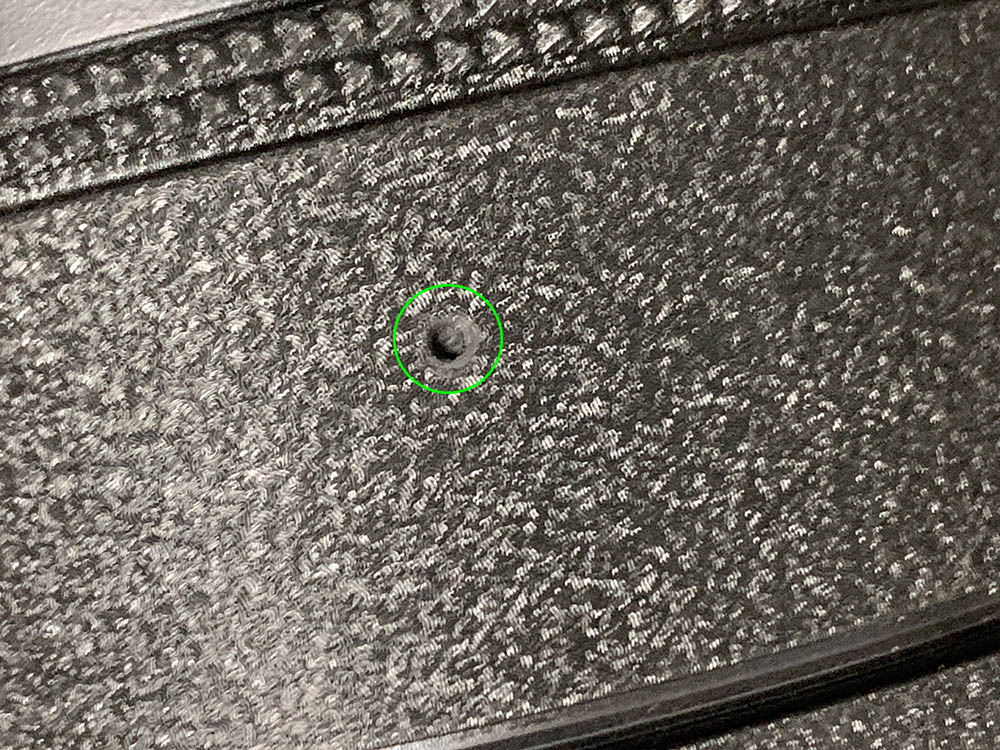
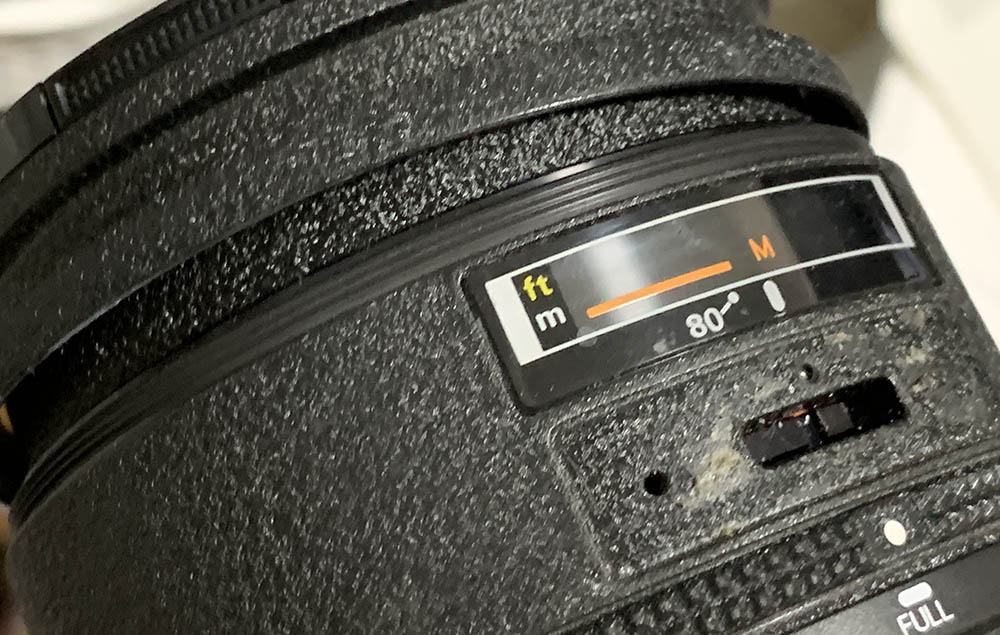
Extract these from the front part of the main barrel, there are 2 of these.

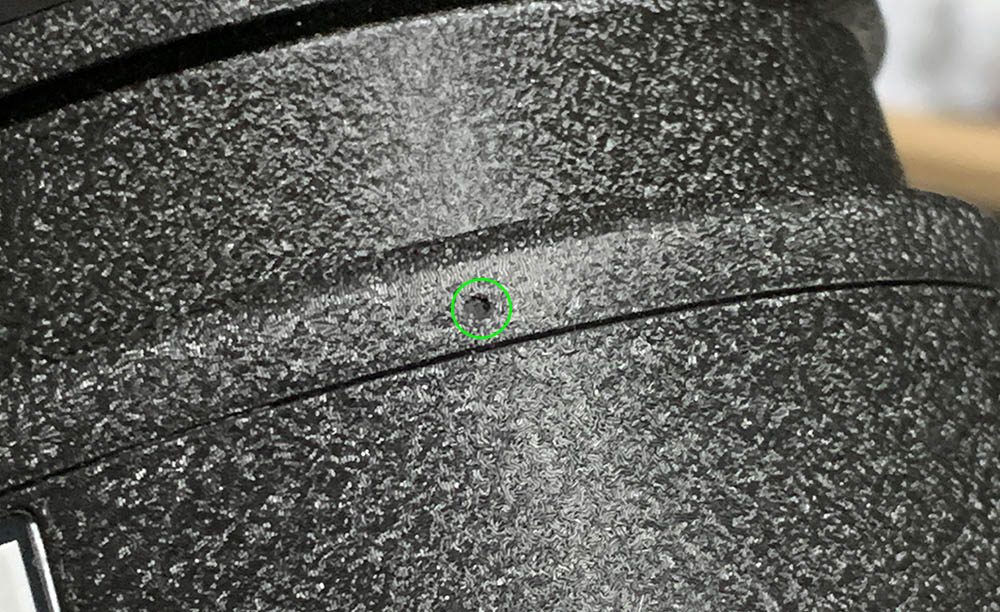
Apply alcohol to the nameplate to dissolve the adhesive. Carefully pry it off with a sharp knife to reveal what’s underneath it. There’s a screw here that you should extract. You’ll also see the adjuster for the focus but you should not touch it for now.
Extracting the screws from the front part of the barrel will allow you to get the front assembly off. It can be difficult to pull-out because it may be glued at the factory. If that’s the case then a few drops of alcohol helps. Don’t flood it with solvent, it will make a mess that could lead to a major repair.
Note that there are 2 guides at the rear of the assembly, those should fit into their respective slots at the opposing side within the main barrel. If you did not do that the lens won’t be able to focus.
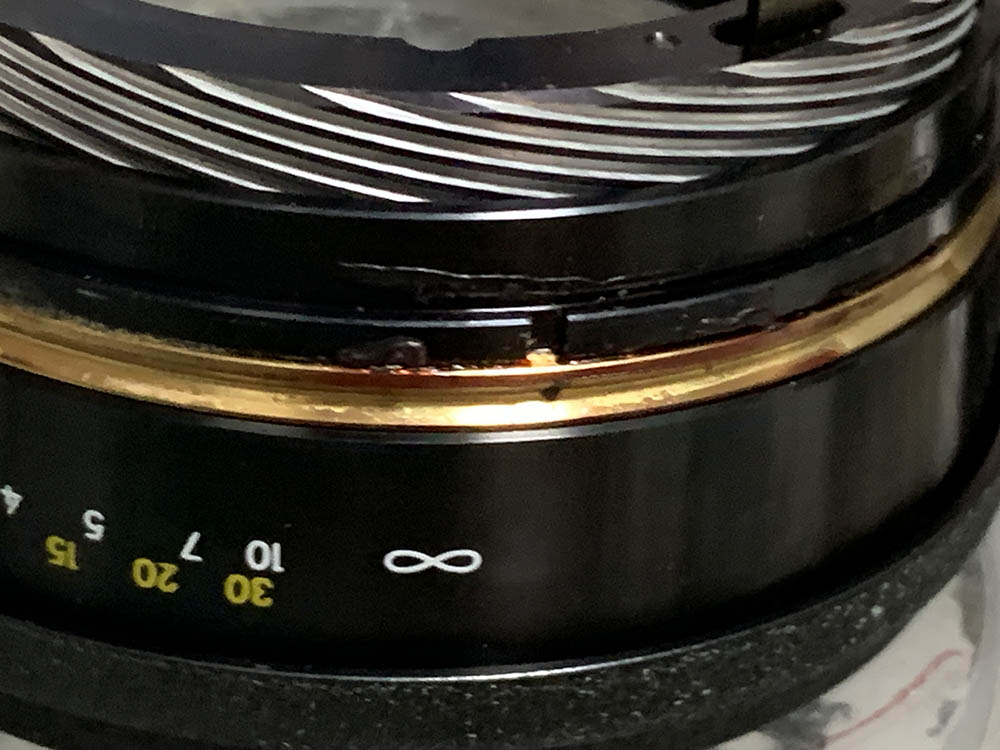
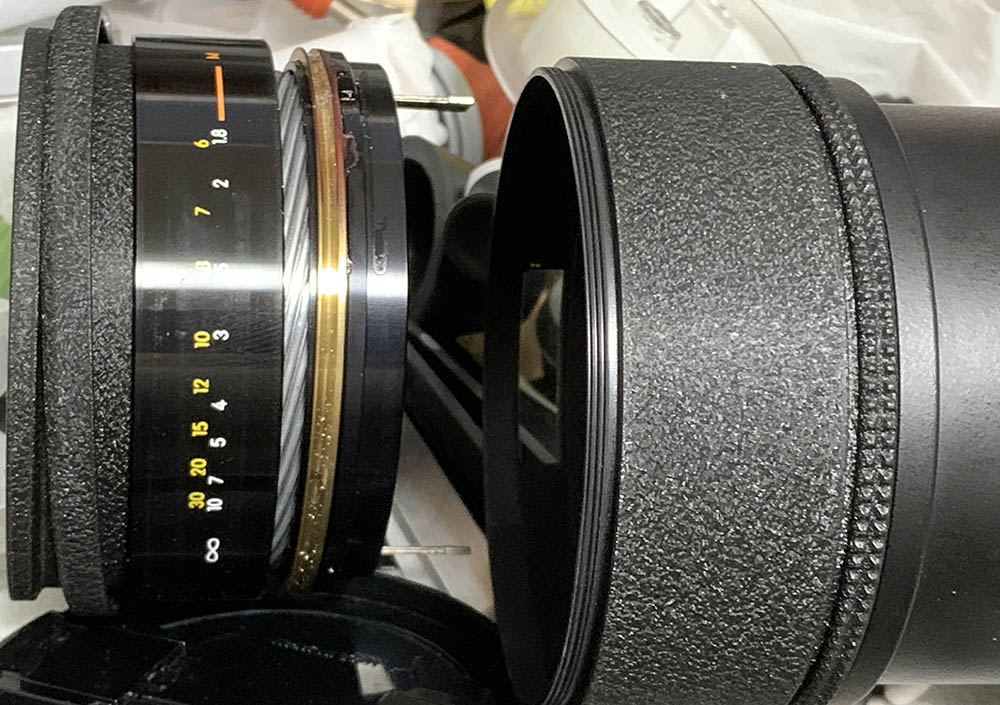
The brass ring secures the outer helicoid, it’s merely glued to it. This is weak in my opinion, Nikon could’ve done something better here. Note how these align when you collapse the helicoids, you should be able to reproduce this.

Separate the helicoids and don’t forget to mark where they parted because this is also the same spot where they should mesh. Many people forget to do this so they get stuck figuring out how these should mate. I wrote an article on how to work with helicoids, read that so you won’t get into this situation.

Remove the distance scale and the brass ring. Don’t bother noting how this should align, there’s a groove on the inner surface of the distance scale. The groove should link to a screw on the opposing side of the main assembly.
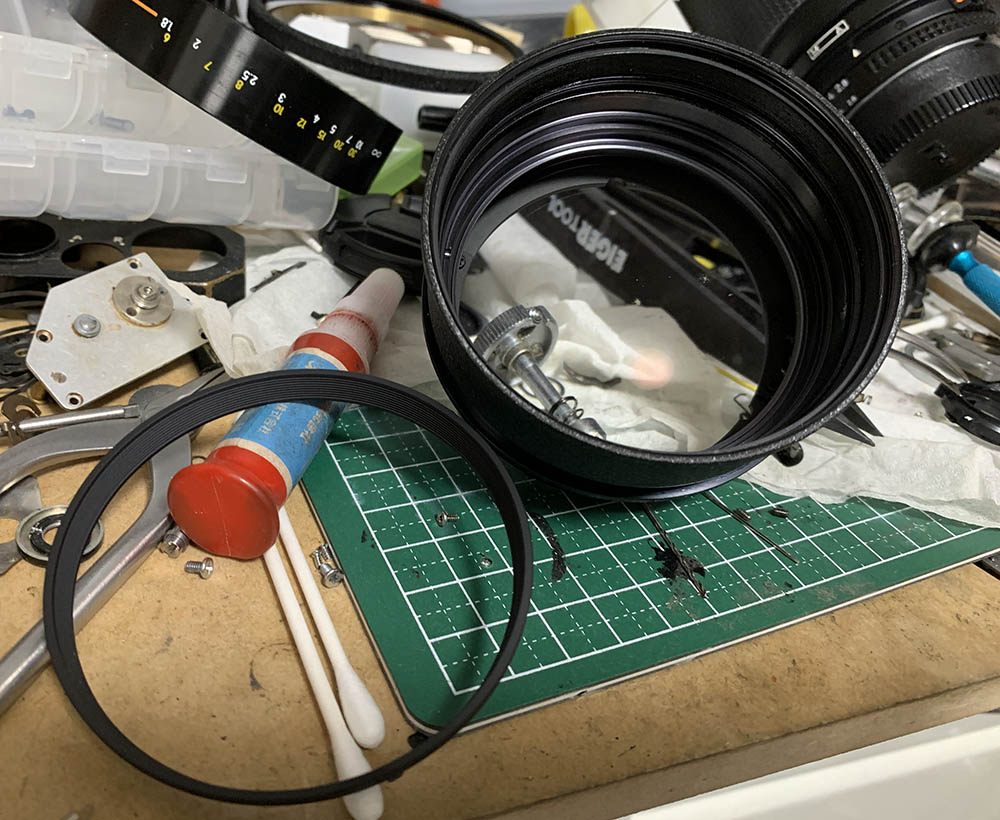
Carefully unscrew the retainer to extract the front group. It’s hard to extract since it’s sealed. Apply a tiny drop of MEK to the threads, I had to repeat the process several times and even then it’s still tight. Use the best lens spanner you have to it won’t slip and scratch the front group. This group is cemented so never flood this part with solvent.
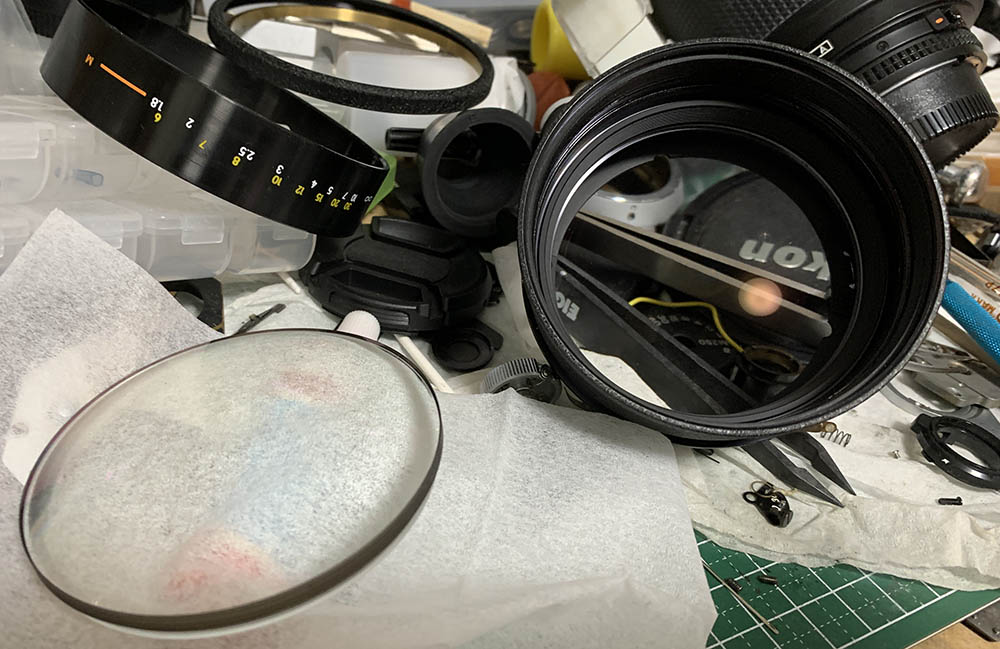
Extract the front element with a suction cup, a lens sucker won’t be enough so I used one that’s meant for bathroom fittings.
There’s a spacer underneath the front element. Carefully remove it, note its position so you’ll know where this should be facing.
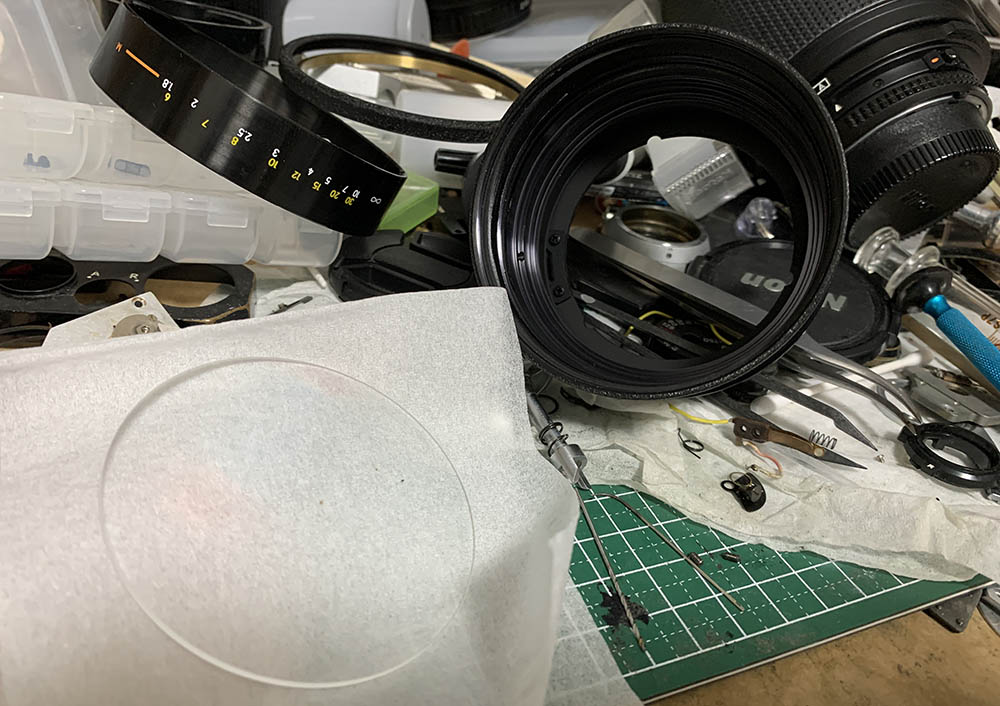
Extract the 2nd group with a suction cup.
You could can remove the inner elements assembly if you wish but I did not have the need to do that so I just left it alone.
I didn’t open the other optical assemblies since it wasn’t necessary, it is best to avoid unnecessary trauma to a lens. I cleaned the fungus carefully but it has damaged the coating already. Read my article on how to clean fungus to know how I did that. Never use the solution full-strength, use distilled water to thin it. Do not leave the glass soaking in the solution, just wipe the fungus away with lens tissue. Never allow the droplets to dry on the surface of the glass in order to prevent drying-marks, the droplets will also eat-away any coating underneath it. Exercise care when wiping coated surfaces, it’s easy to damage it. Some residue won’t react to alcohol or naphtha, try using your breath and see if that works.
Conclusion:
This should have been an easier repair but I dismantled the front anyway. I should not have done that but I wasn’t aware at that time. I finally have this working perfectly despite the cosmetic issue left by the fungus. There were some dust trapped inside of the front assembly but I was too-tired to open it again just to blow the dusts off, they won’t appear in the pictures anyway. If your lens needs servicing, send it to a qualified repairman. This is not a lens for a beginner to service.
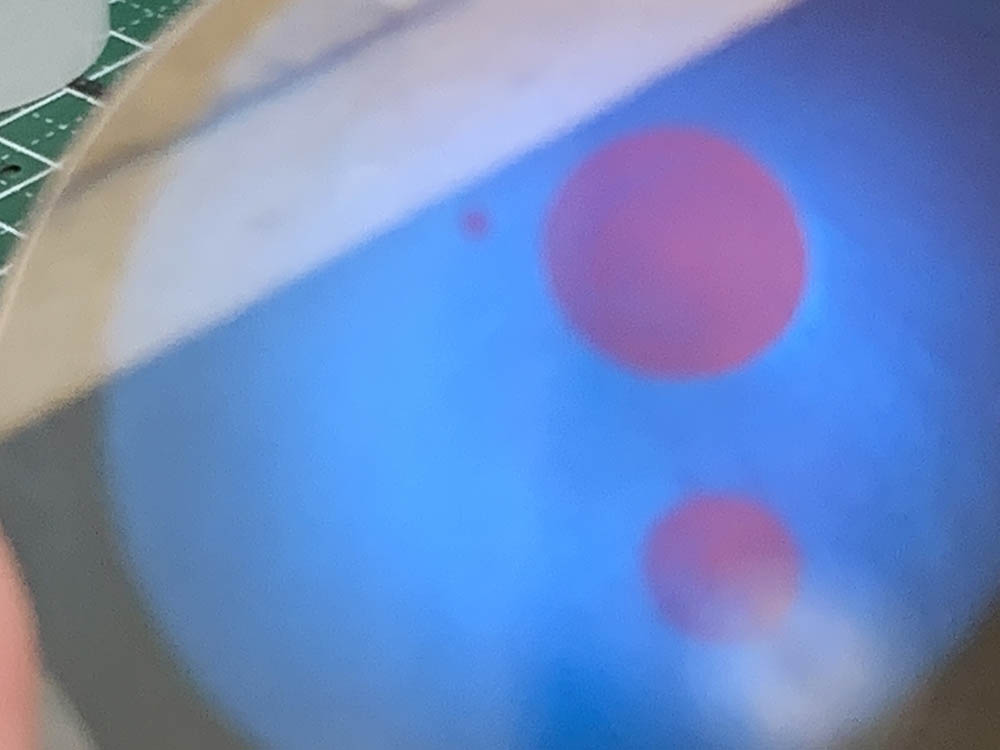
The fungus has eaten some parts of the coating, a sad sight but at least I got them off. This won’t affect anything apart from its resale, you won’t see this in the photos that you take.

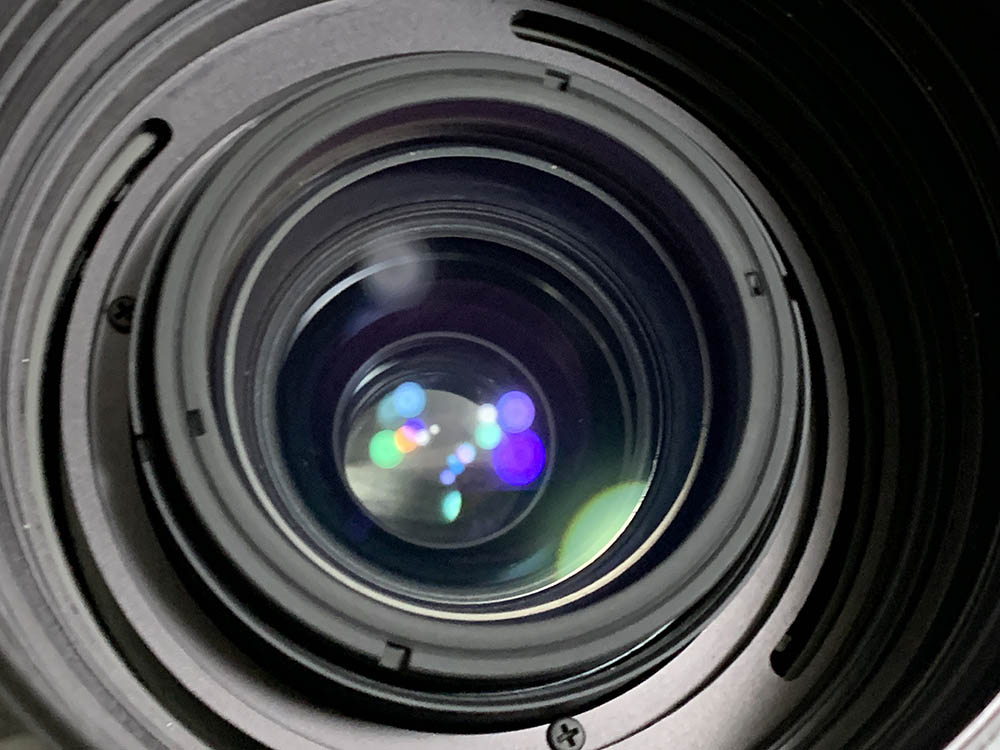
These tendrils look like haze but this is how it looks like close-up. These look like fungus but I am not sure since it’s between the 1st and 2nd elements. It may be balsam separation.
Thank you for following my work. If you liked this article please share it, it’s going to help with views since this only gets around $0.30 a day from views, every visitor counts. You can also opt to support the blog, it helps me offset the cost of maintaining and hosting it, ensuring that it will stay and educate or entertain people for more years to come. You’re also helping me acquire, process and scan film. This site promotes film photography and its culture. I am proud to say that it’s the most holistic site of its kind around. Thank you and see you again next time, Ric.
Help Support this Blog:
Maintaining this blog requires money to operate. If you think that this site has helped you or you want to show your support by helping with the site’s upkeep, you can make a small donation to my paypal.com (richardHaw888@gmail.com). Money is not my prime motivation for this blog and I believe that I have enough to run this but you can help me make this site (and the companion facebook page) grow.
Buy me a roll of film or a burger?
Thank you very much for your continued support!
$2.00
Helping support this site will ensure that this will be kept going as long as I have the time and energy for this. I would appreciate it if you just leave out your name or details like your country’s name or other information so that the donations will totally be anonymous. This is a labor of love and I intend to keep it that way for as long as I can. Ric.

Nov 08, 2020 @ 07:41:09
Awesome article, thank you Richard!
This lens is so good! Once in 2007 I repaired one, by making custom gear part to restore autofocusing.
I’m wondering if you are familiar with large resource of Nikon Service Manuals, it’s searchable by keyword: elektrotanya . I used do find great guides there when hobby repairing Nikon DSLRs and AF Nikkor lens prior to switching system to Fuji.
Nov 09, 2020 @ 00:48:49
Question for you Richard…it seems to me that the Front lens group is accessible from the front.??
thank you
Jan 14, 2021 @ 15:52:30
With the same lens I have the focus ring sometimes doesn’t turn. Something inside slips away I guess. With some pressure while turning It’s back ok but after another swing I can be already losing again.So what is the easiest way to solve this? I saw lots of pictures of you here but I’m a bit scared to do this. thank you in advance!
Mar 29, 2023 @ 19:58:38
Man, it’s a pleasure to read your article ,amazing hard work you put on it; just found a dirty MK1 version for cheap, but it came with fungus. Do you happen to have the diagram of the lens ? How easy would be to acces the very inner elements , as I’ve only reached the 5 front group and the rear group , but it seems like there another 2 more groups deep inside, thanks.