
Hello, everybody! I was watching “Blazing Saddles“, and I realized that the dialog Bart told Lili is gone! It went like: “I hate to disappoint you, ma’am, but you’re sucking on my arm…“, or something like that. It is in the scene where she unzipped Bart, eager to learn about how Bart’s people are “gifted”. Maybe that joke is too “raw” for modern taste, but for us who were not born recently, we don’t give a damn. I do not care for other men’s anatomy, as the character Lili Von Schtupp was with Bart’s, but I have something that will make you curious. And just like the common notion, this thing is just as long, black and thick, when you hold this in your hand, you will surely say: “It’s twue! it’s twue!“.
Introduction:
The Cine-Nikkor 100mm f/2.8 is an oddity in its family, it’s easily the longest one. Nobody knows when it was introduced, but I can guess that it was sold sometime around the mid-60s or the early-70’s, and was probably sold until the 1980s. There’s no data about when they were on the market, but just like most, if not all Cine-Nikkors, this wasn’t sold in your usual camera shop. I was told that these can only be bought from special retailers, which were sold in low-volume. Anyway, Nikon had to make this lens because of the need to have a long, telephoto in C-mount.

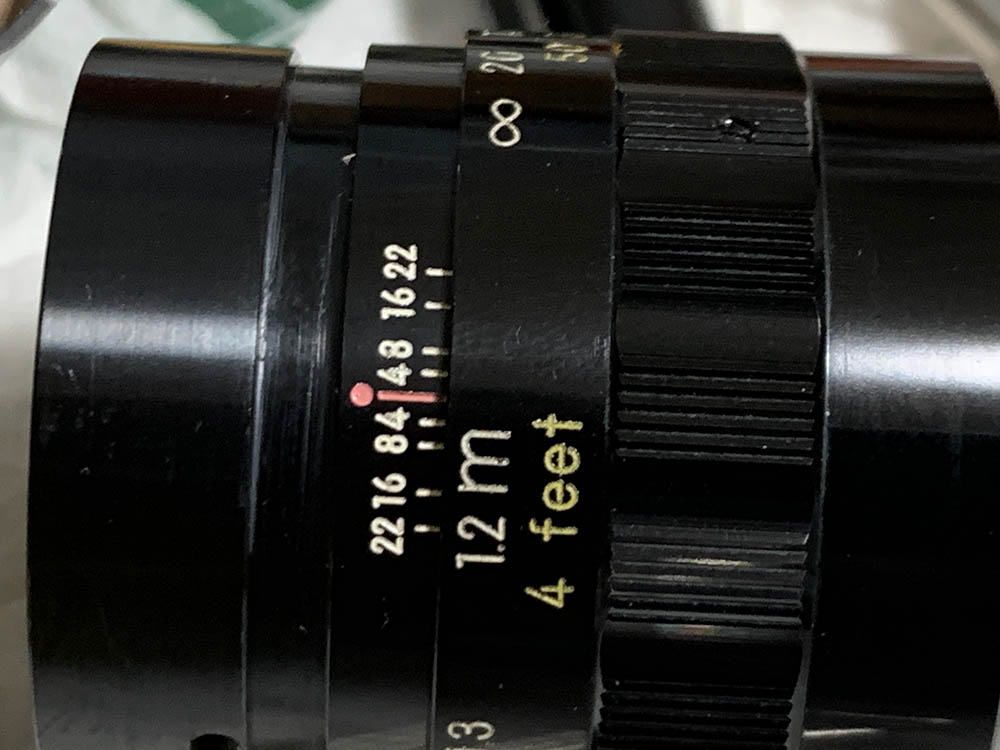
This is the longest of all C-mount Nikkors, it has an impressive barrel that handles quite well. It also has an informative depth-of-field scale, which I do not find all that useful. It is the only thing you will have when you shoot with a 16mm camera because you won’t be able to view through-the-lens. There is a finder for framing but that separate accessory won’t help you focus at all.
It has a 5-elements-in-3-groups design of the Sonnar-type, which did not come as a surprise. Nikon has based many of their older telephotos from this design, and many, if not most were made in the same era this lens was designed. This is a desirable trait for me, I love how Sonnar lenses render, telephoto or not.
A C-mount lens has a crop-factor of 2.7x when you reference it to a 35mm sensor, while I do not believe in the crop-factor thing, it is convenient for us to use it as reference just to give us an idea as to how the angle-of-view will look like. A 100mm lens in the 16mm format is a thing of its own, nobody who shoots with 8mm or 16mm thinks about the “crop-factor”, that’s just the way it is. It’s a recent thing, only heard when people started shooting digital with smaller sensors.

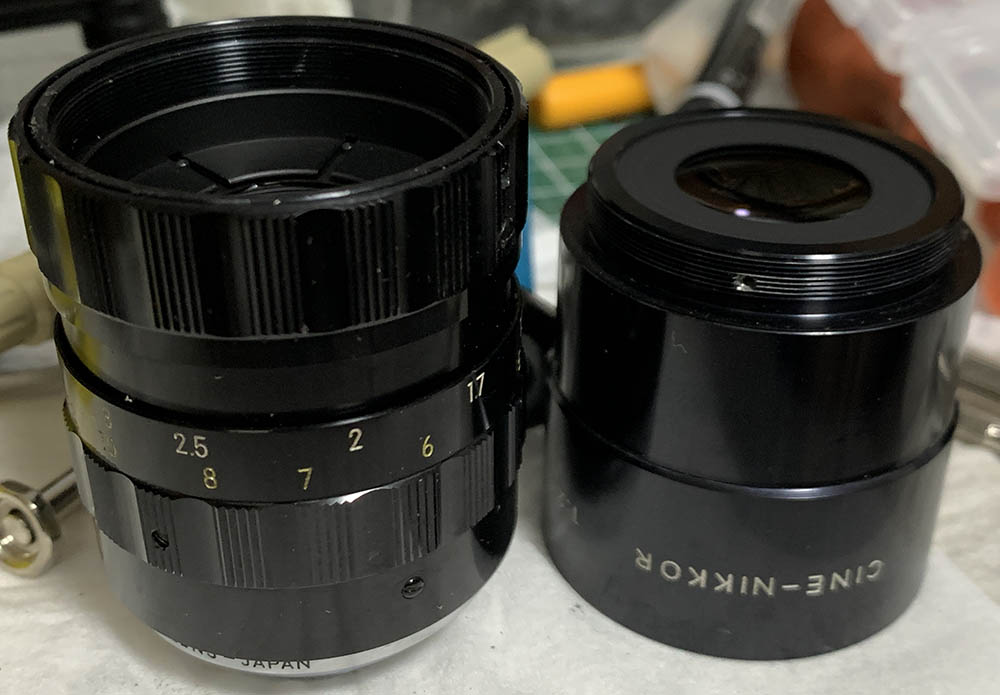
This is what comes in the box, you can’t get more complete than this. It’s probably an old-stock that was never sold or the original owner took great care of it. Despite being the longest of the whole series, it’s a compact lens when you compare it with more common formats for photography. Like all, if not most of the C-mount Nikkors, you are able to turn the mount so the scale will face the correct direction.

The front is slightly recessed so a hood will be required when shooting in difficult lighting conditions. The maximum aperture of f/2.8 is considered quite large for this class of lens, any larger than this and we will have to deal with a much heftier lens, which is not something ideal for its intended use.

In my opinion, a camera with an EVF is mandatory for shooting with this, a Nikon 1 V3 is perfect because it’s the pinnacle of this format, for video and still as far as Nikon goes. I said that it’s mandatory because I found it difficult to focus using the rear LCD, the focus is razor-thin, you won’t be able to focus properly without using an EVF.
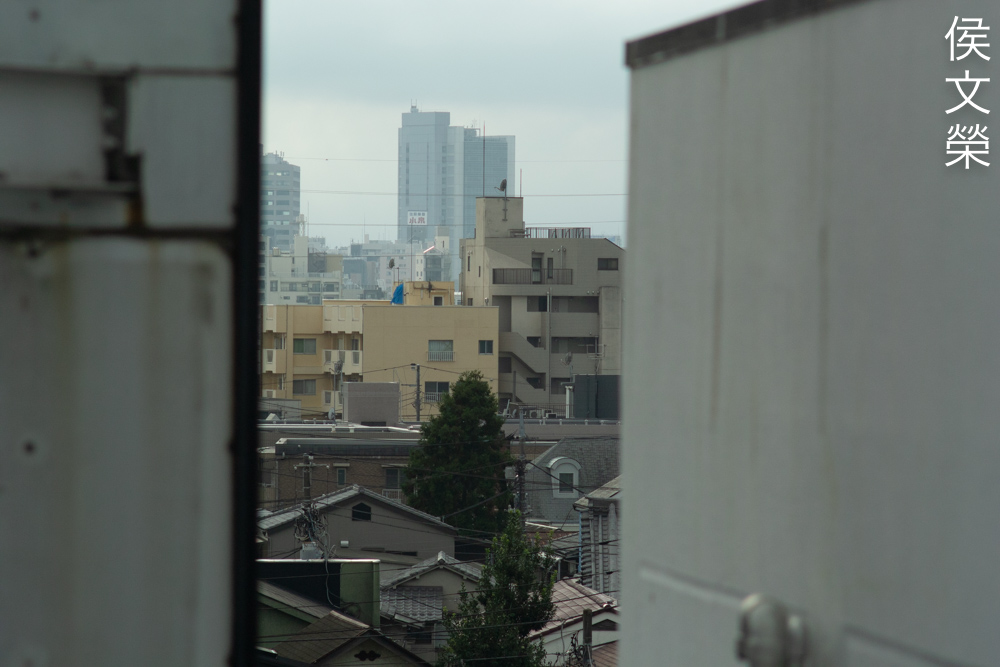
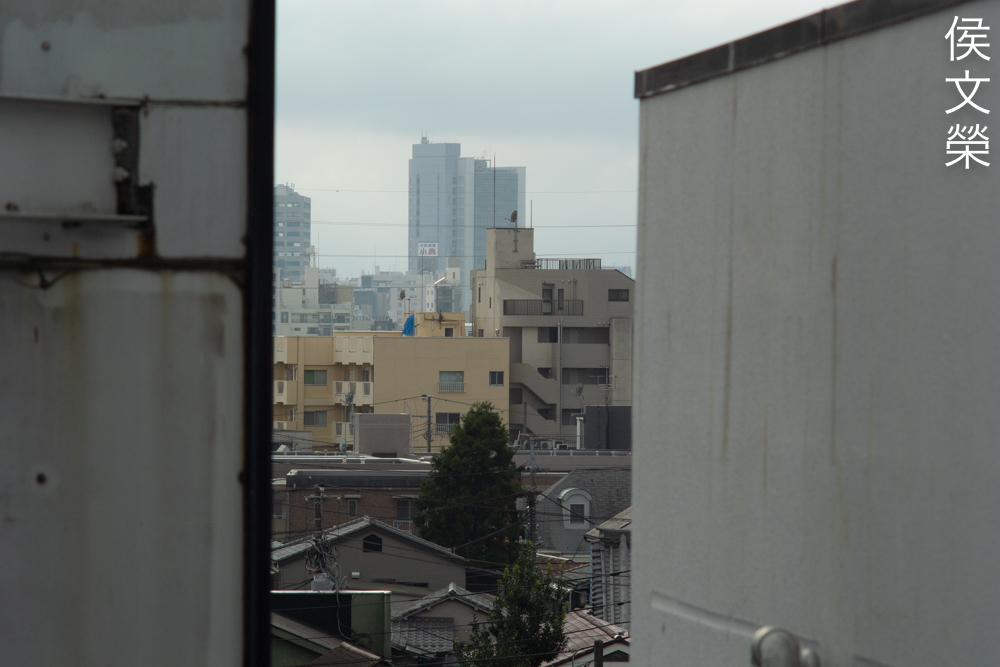
Knowing how your lens performs is important, this will give you the knowledge needed when choosing a lens for the job. You’ll also get more familiar with it, enabling you to work around its weaknesses and also to exploit its strengths. I took these photos from f/2.8, f/4, f/5.6 and f/8, from left-to-right. We’ll see a lot of changes happening within these apertures and people will tend to use them in practical situations, too.


(Click to enlarge)
Vignetting is pronounced wide-open, reaching close to the center. The frame looks much better by f/4, it won’t get any better from this point on. I can predict how it performs just by looking at these 4 photos.


(Click to enlarge)
Naturally, the coating isn’t really something that I would call effective, it is an old lens. However, there is a charming quality to it that helps render more “natural-looking” photos. Now, the design only uses a few elements so we don’t get plenty of blobs in the frame.


(Click to enlarge)
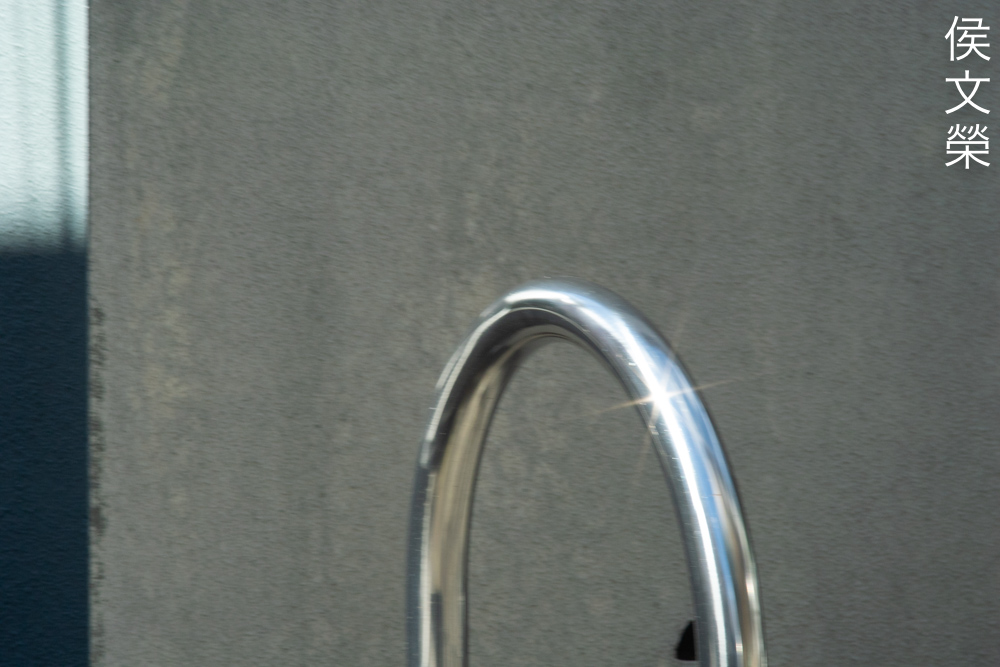
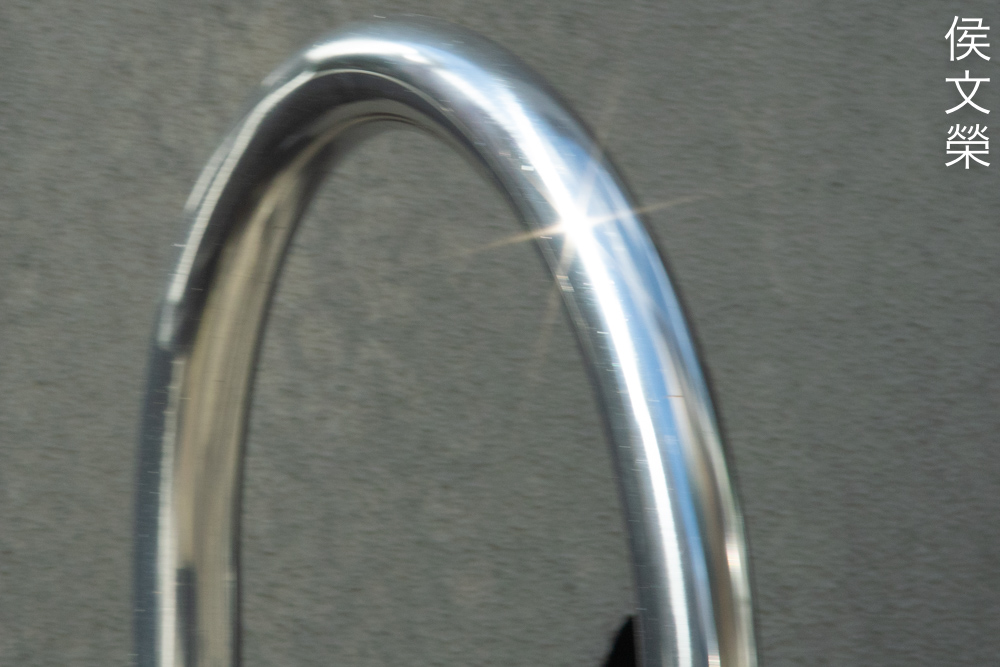
As to be expected, flaring is just as bad as the ghosts we saw above, and just like what we saw prior, there is a pleasant quality to how it feels, almost a romantic-look to the photos, for the lack of a better term. Its straight blades will give you this vintage-looking starbursts when shooting at sources of light, a cinematic trait of many older movies that a lot of us grew up watching.


(Click to enlarge)
Despite having an angular iris with only 6 corners, I find that it renders smoothly in most cases. You’ll get some chunky-looking orbs, but I don’t feel that they look ugly at all. Of course, things will look smoother if the iris has more blades, but you will see its weakness later in the following sections.


(Click to enlarge)
Here is a closer examination at how the orbs look like. Some people prefer this angular look, also notice how the edges are not completely straight, they have a shallow “dip” towards the center.


(Click to enlarge)
Let’s see how the iris affects the photos as we stop it down further. Notice how it renders foliage when it’s focused a bit further, I do not like what I see, it reminds me of the Nikkor-Q 13.5cm f/3.5 Auto, I hated that lens when used for shooting foliage. Unsurprisingly, that lens also has a straight, 6-bladed iris.


(Click to enlarge)
Chromatic aberration can be observed when shooting wide-open, specially at difficult situations where it’s aiming at things with high-contrast. It’s rather high, but stopping the iris down to f/4 helps a lot. You will not see much of it by f/5.6, and it won’t get drastically better at smaller apertures. Despite this, there is an enticing quality to how it renders an imperfect photo, there’s nothing technical about this, it’s just poetic.


(Click to enlarge)
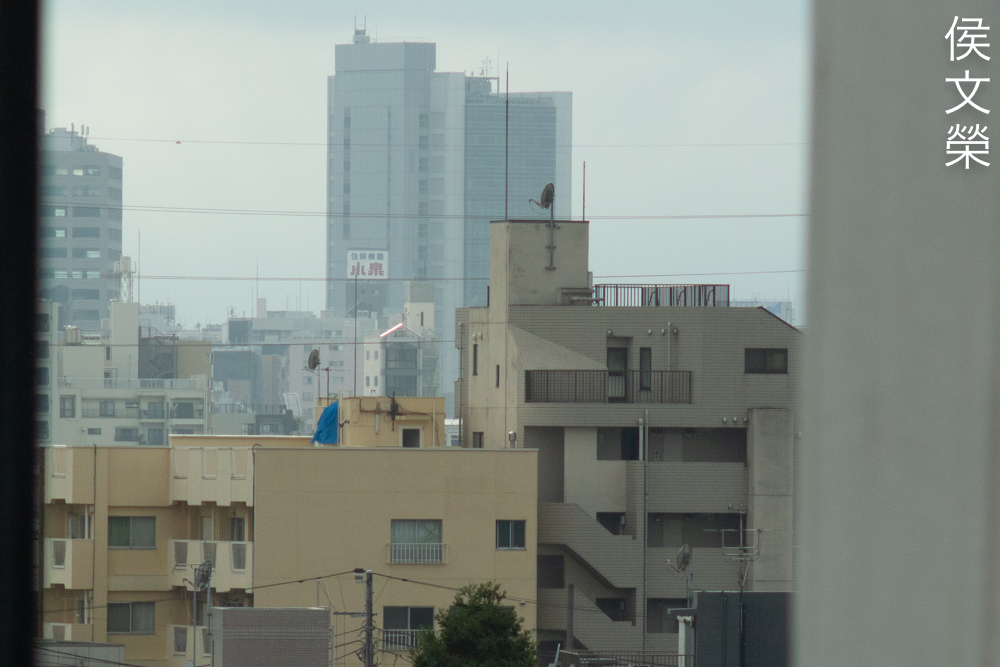
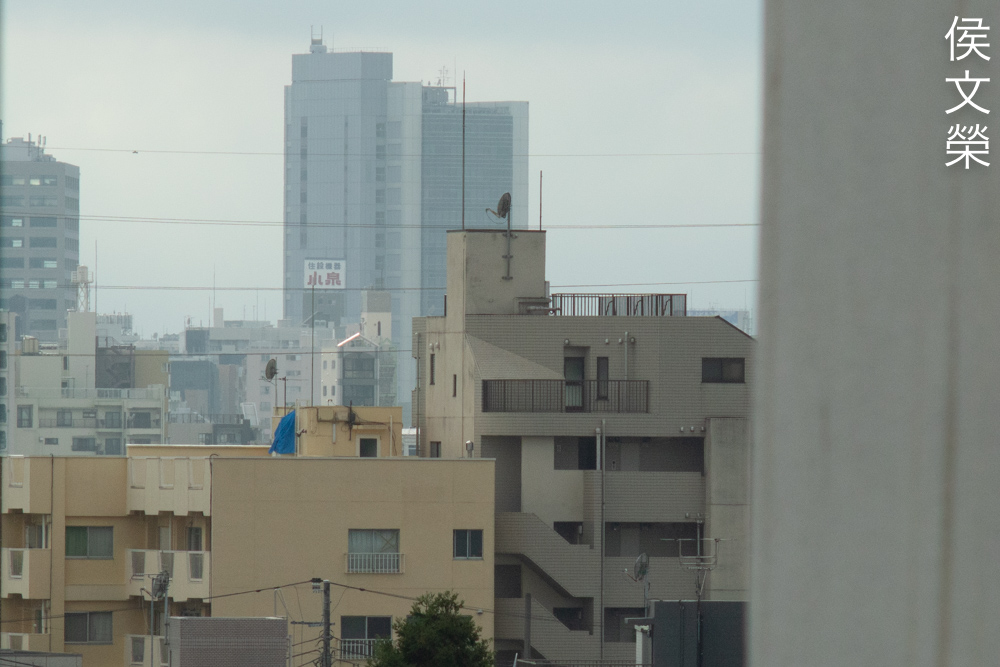
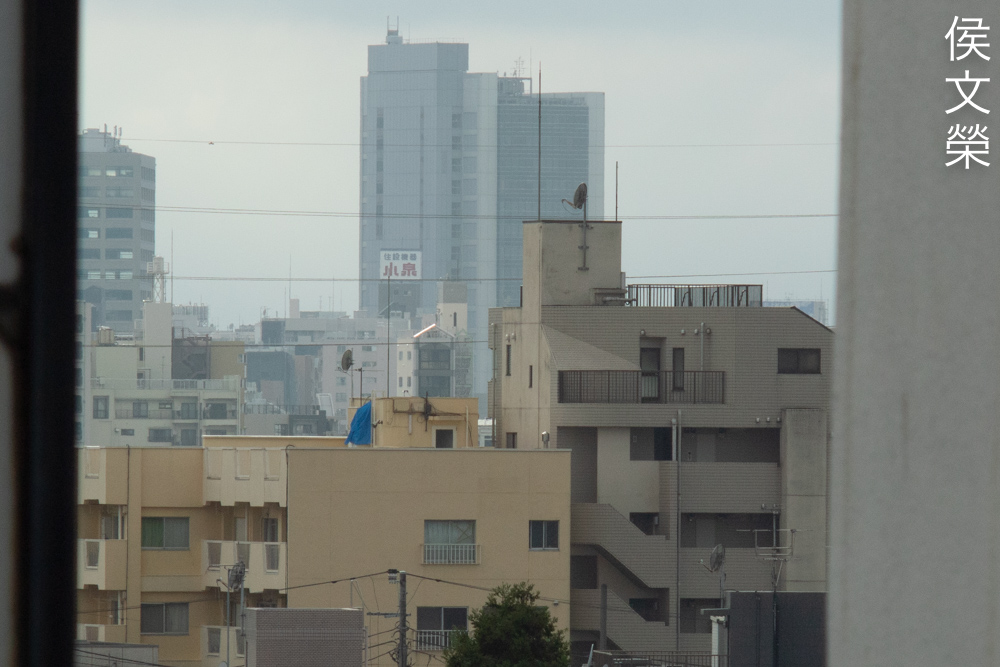
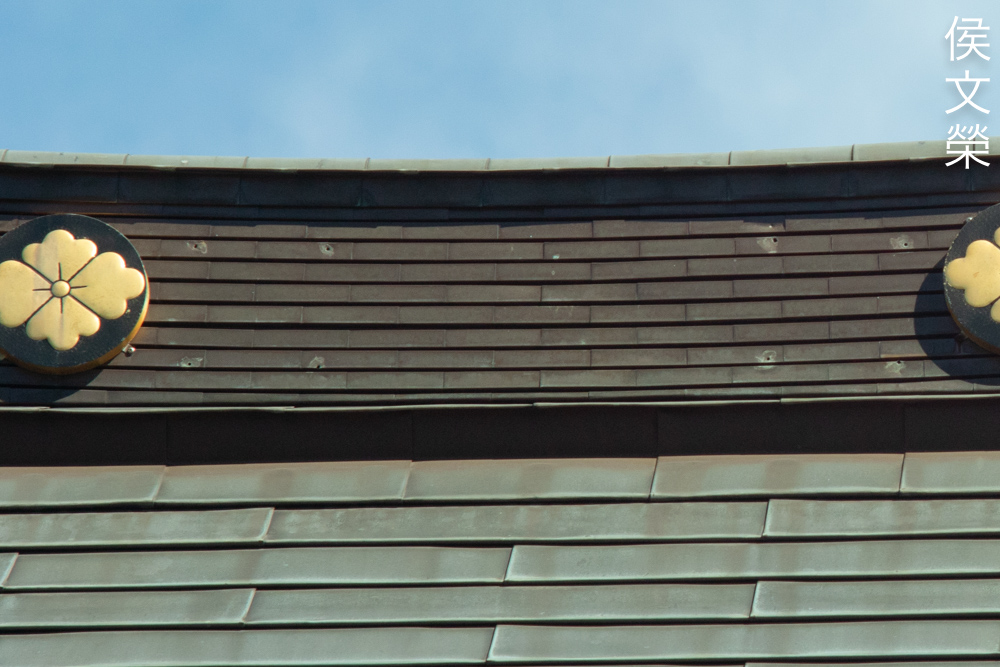
Sharpness is rather good wide-open at the center, and the corners don’t look too bad, either. By f/4, the center looks much better, and the corners improve considerably. The center won’t improve by much from f/5.6, except for some improvement in resolving power. The corners continue to improve and looks much better at f/8, but they will never be as sharp as the center. I also noticed that it performs somewhat better at closer distances, but the performance drops from 80m or so, up until infinity.
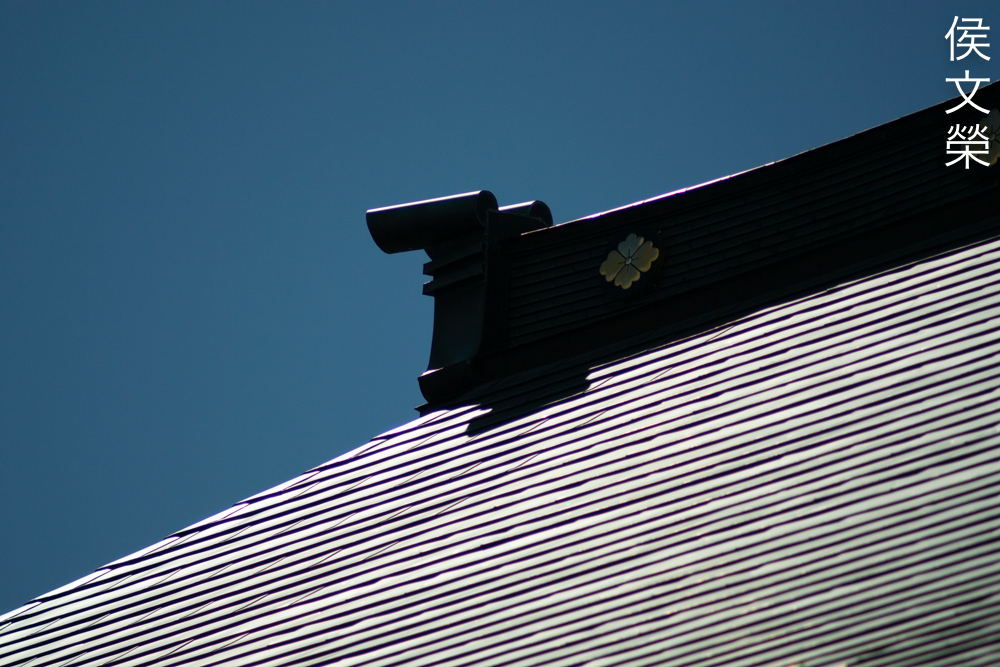
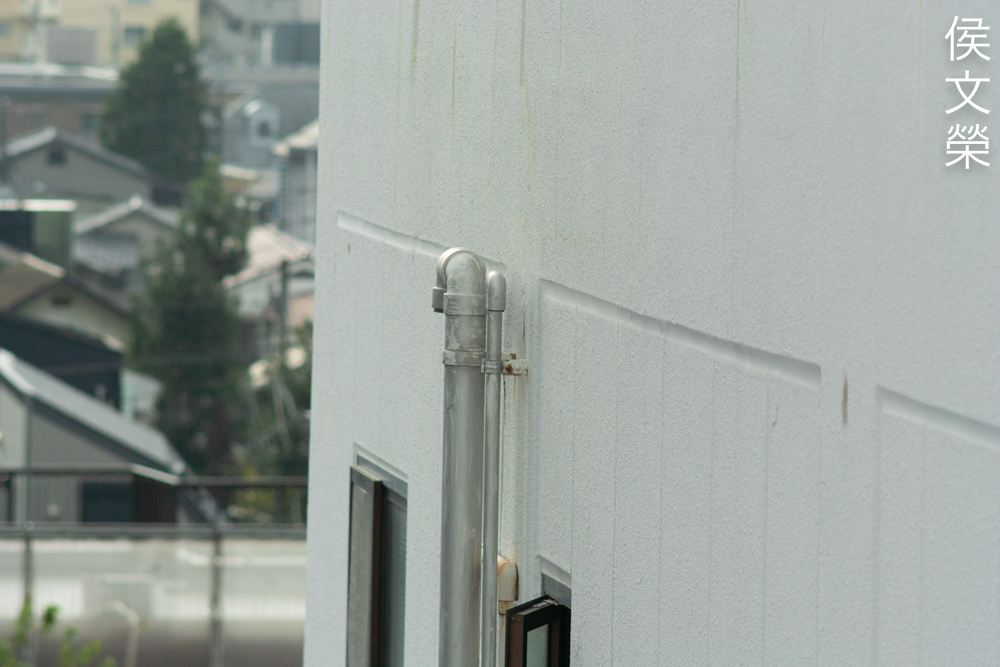
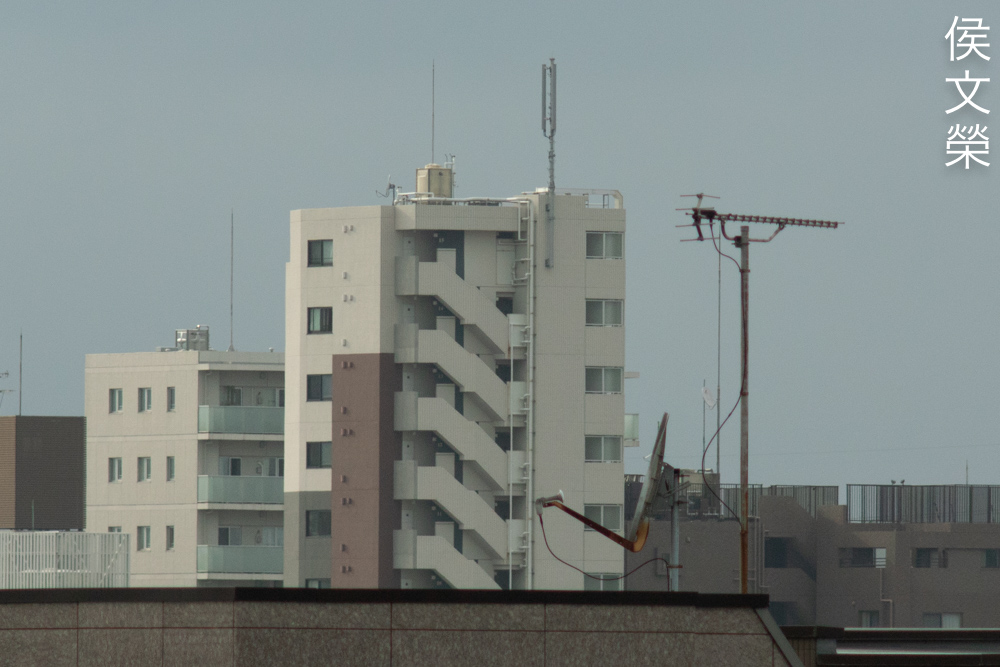
The next couple of photos were shot in real-world settings, many of them were cropped because I wanted to show the details better. Some of them were shot from ISO400 up to ISO800, so they look noisy or poor but some of them were taken at lower ISO values, so they look sharp. We must remember that CX sensors aren’t known for great high-ISO performance and they’re basically a few generations old by now in terms of technology so we’ll have to put everything in their proper context.

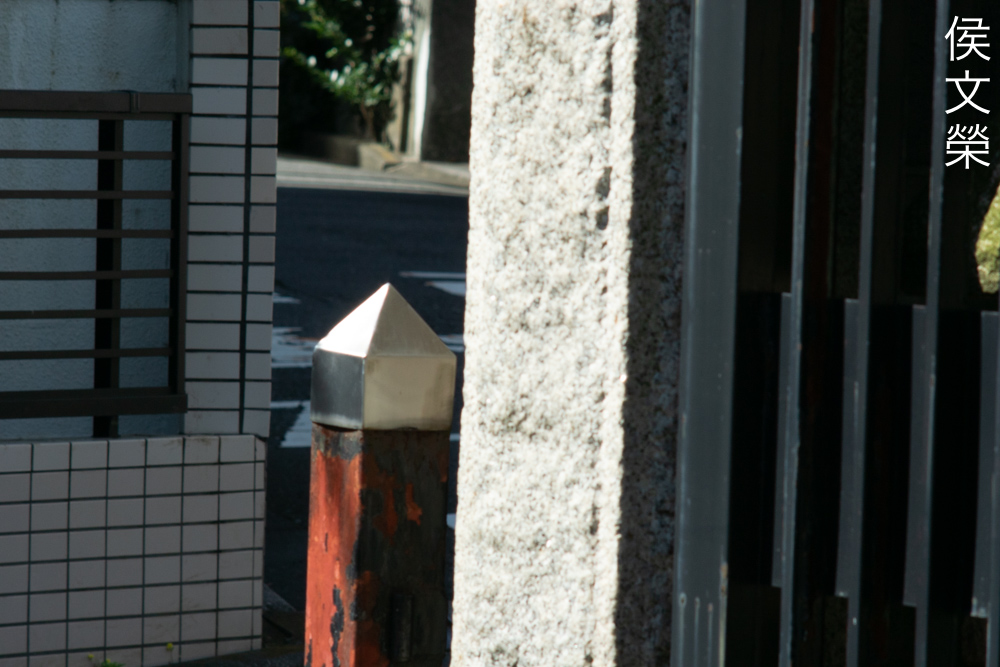
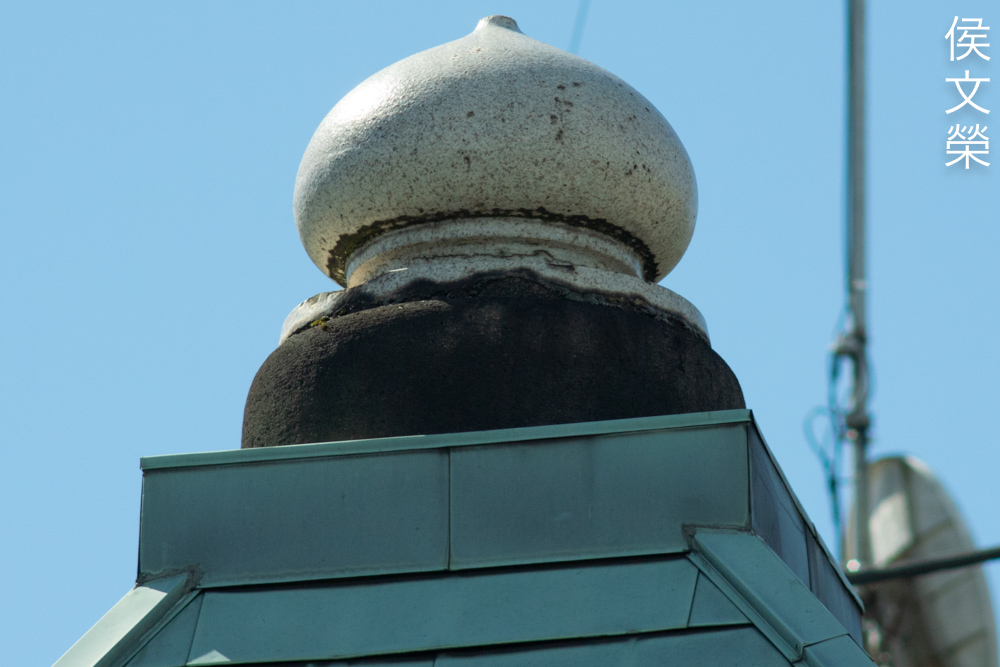
This was shot close to its closest-distance, it’s a bit tricky when focusing this close because the depth-of-field is shallow even if you’ve stopped the iris down a bit. The lack of VR also makes it more complicated since this is a long lens.

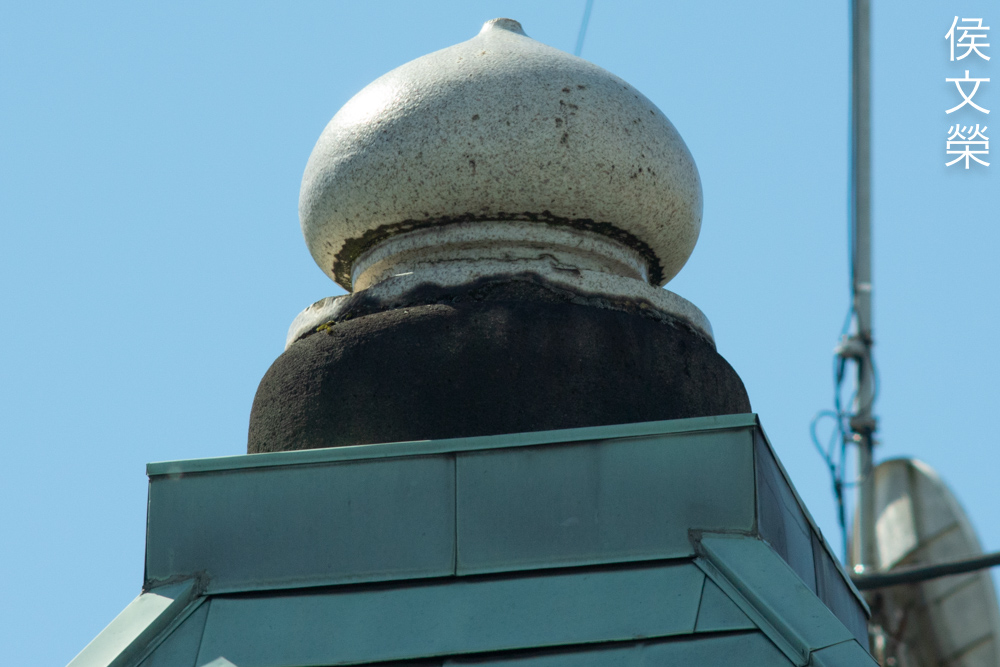
The details don’t look bad at wider apertures if you’re able to shoot with speeds higher than 1/300s, but anything slower than that will be susceptible to blurring from vibration.
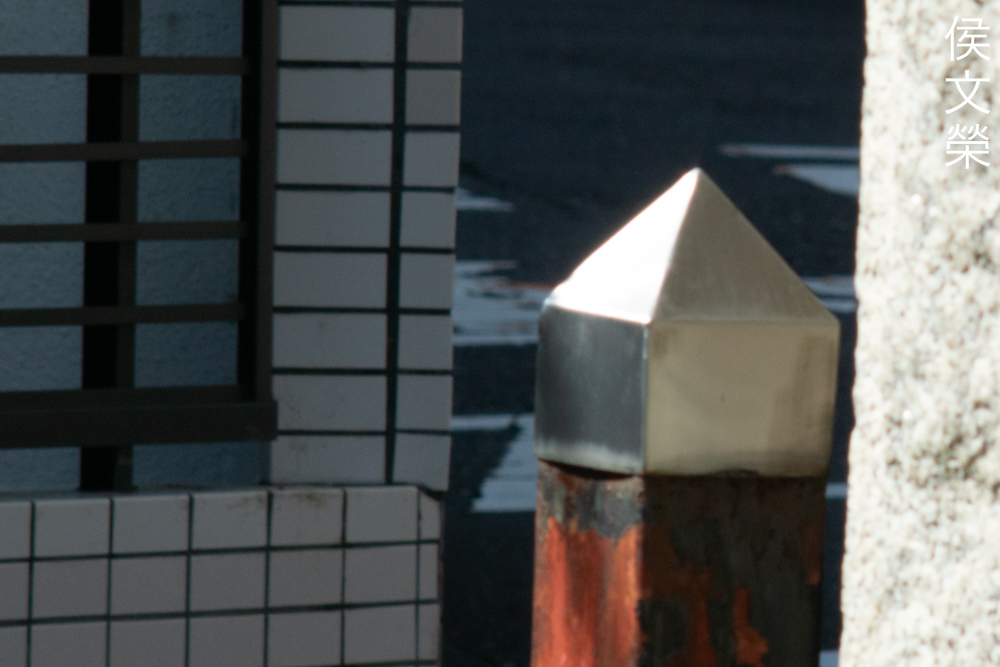
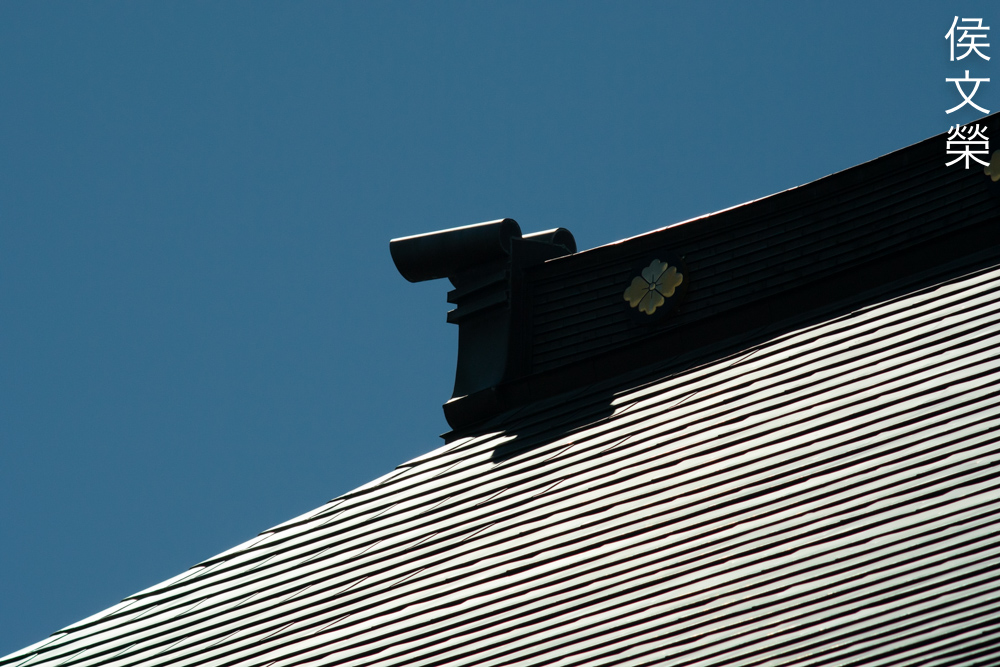
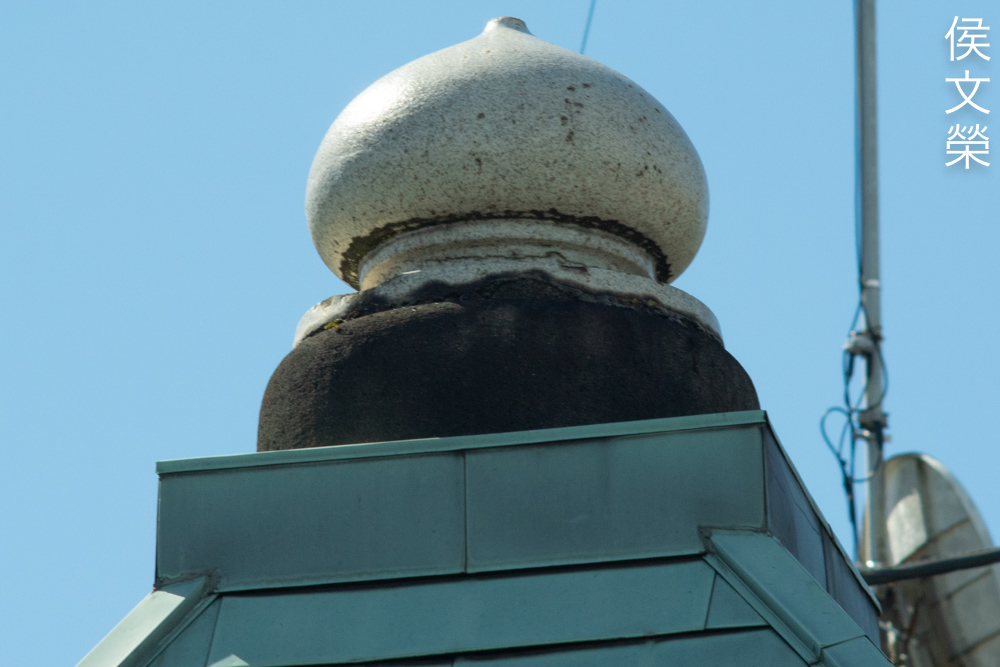
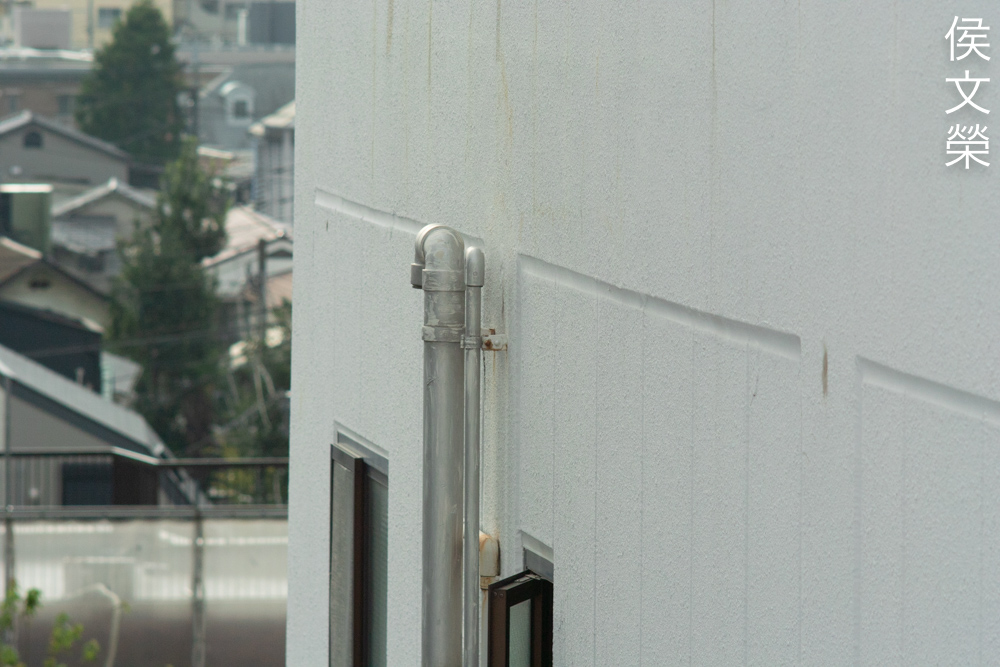
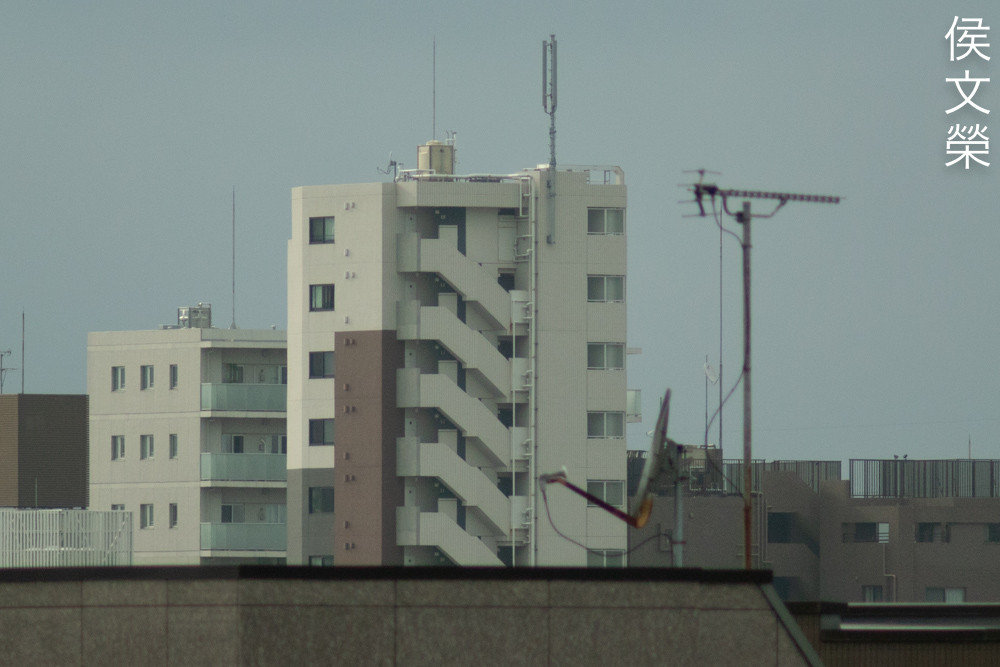
When you’re able to shoot with a smaller aperture, you’ll be rewarded with sharp pictures with plenty of character. I don’t think that this lens is bad at all, it’s just needs more attention.

Chromatic aberration can be seen in my daughter’s hair, some people will create a big fuss out of this, but I can tolerate this so long as it doesn’t go beyond what we see here. Stopping it down to f/4 will help a lot but that isn’t realistic every time because maintaining a fast shutter-speed is important to getting usable photos with this lens.

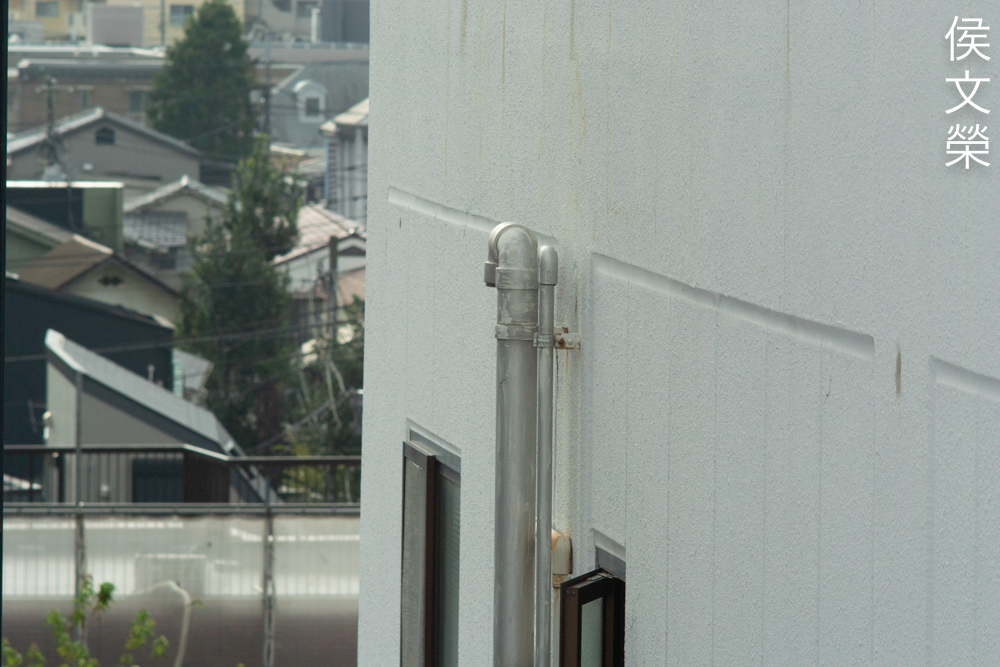
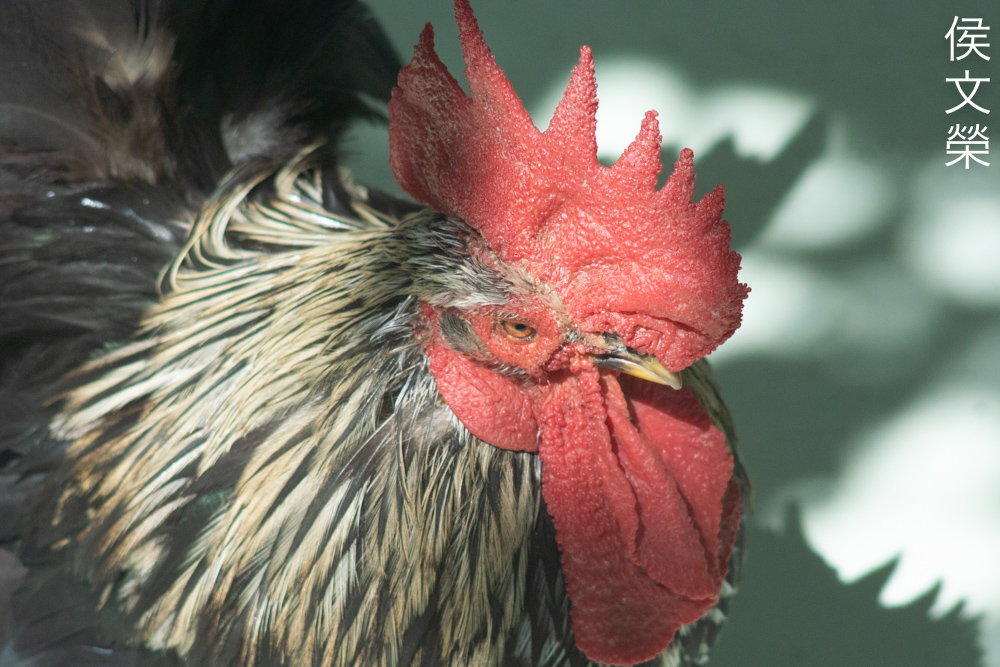
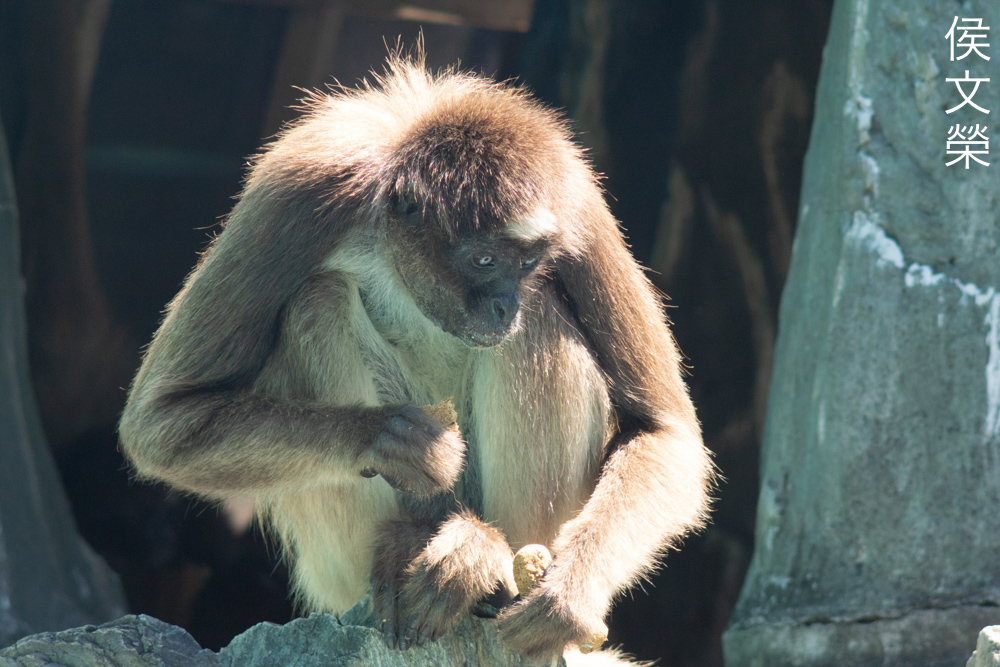
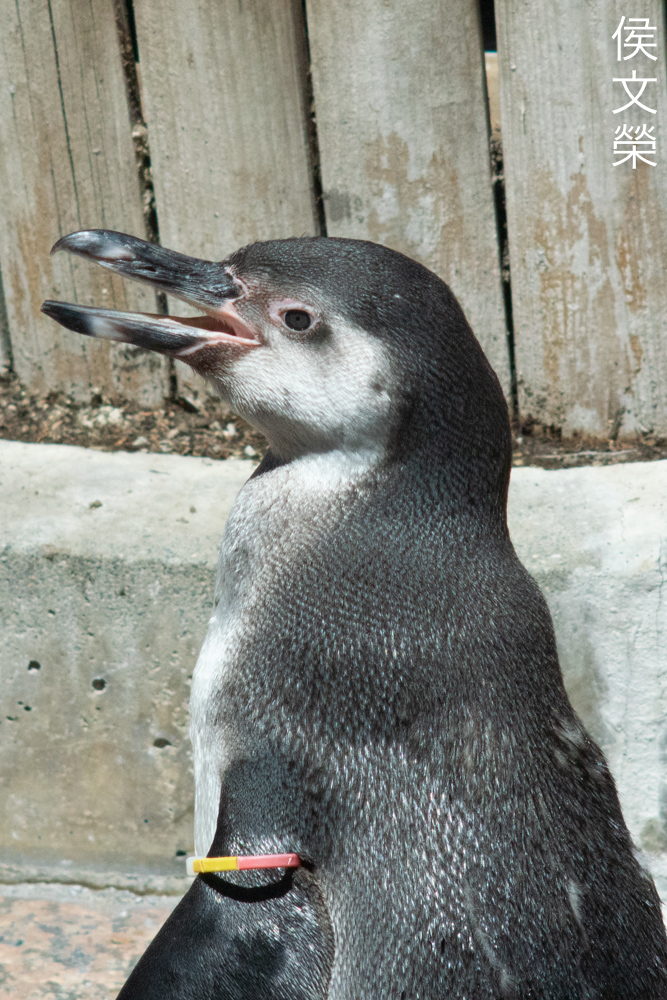
Tracking energetic subjects is tricky, you’ll lose a lot of opportunities. The best way is to shoot in bursts, I forgot to do that when I was shooting this critter so I missed what it was doing just a split-second earlier.

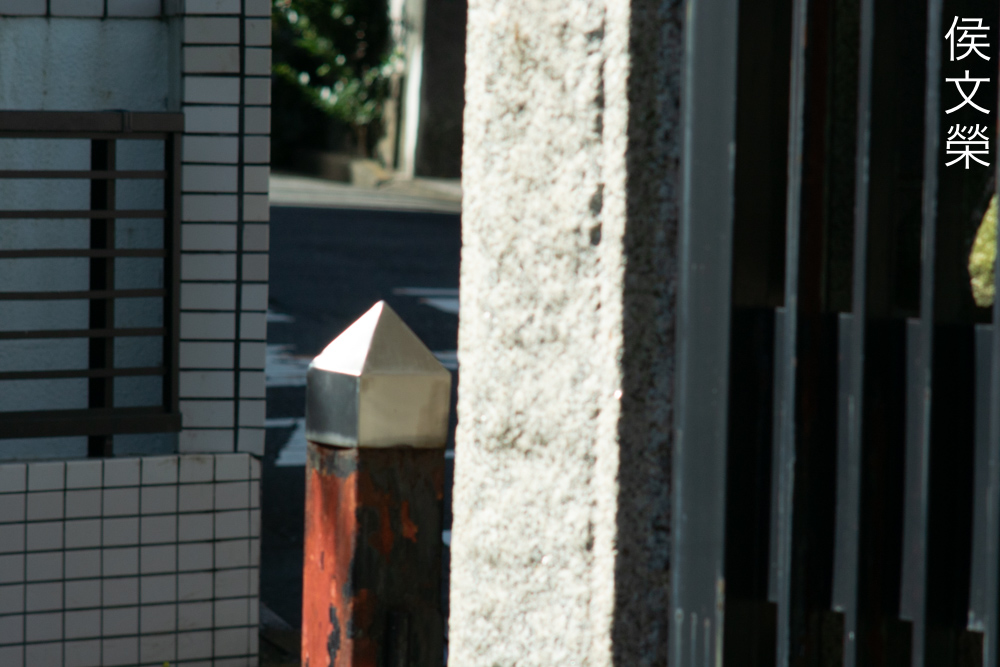
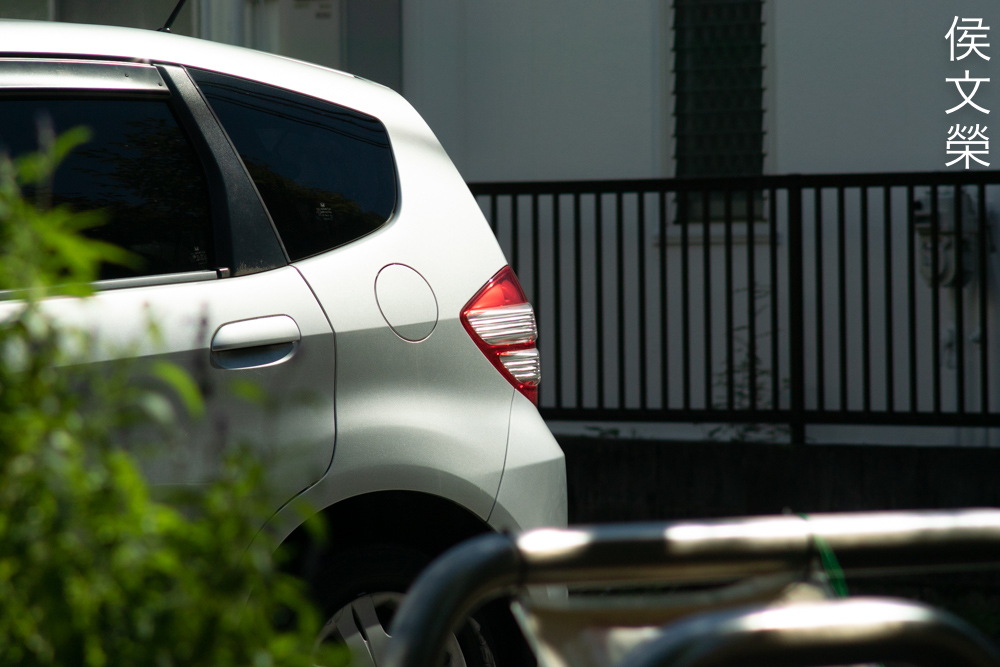
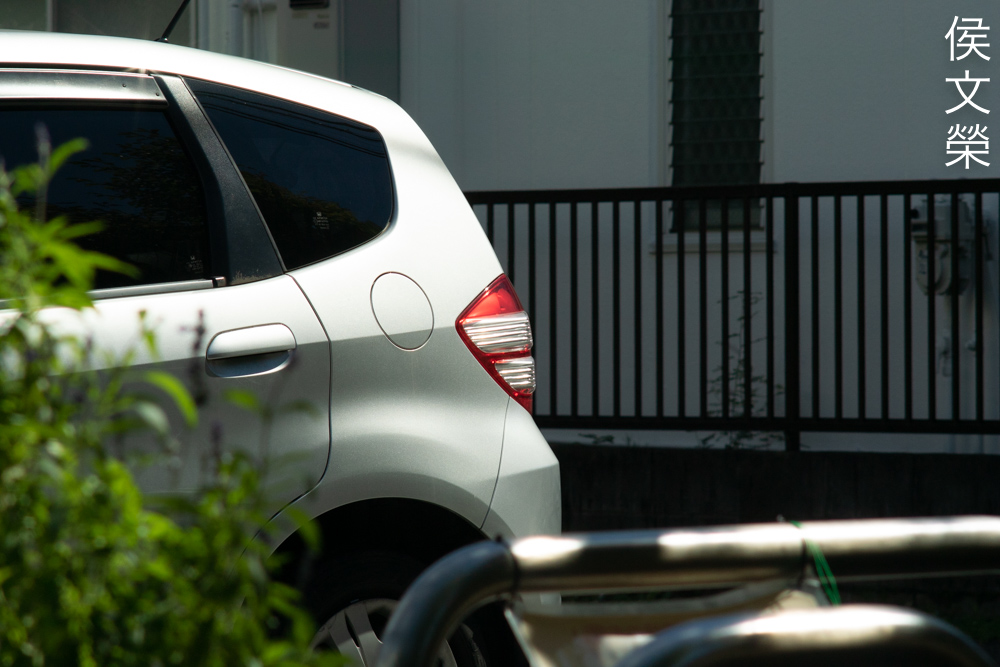
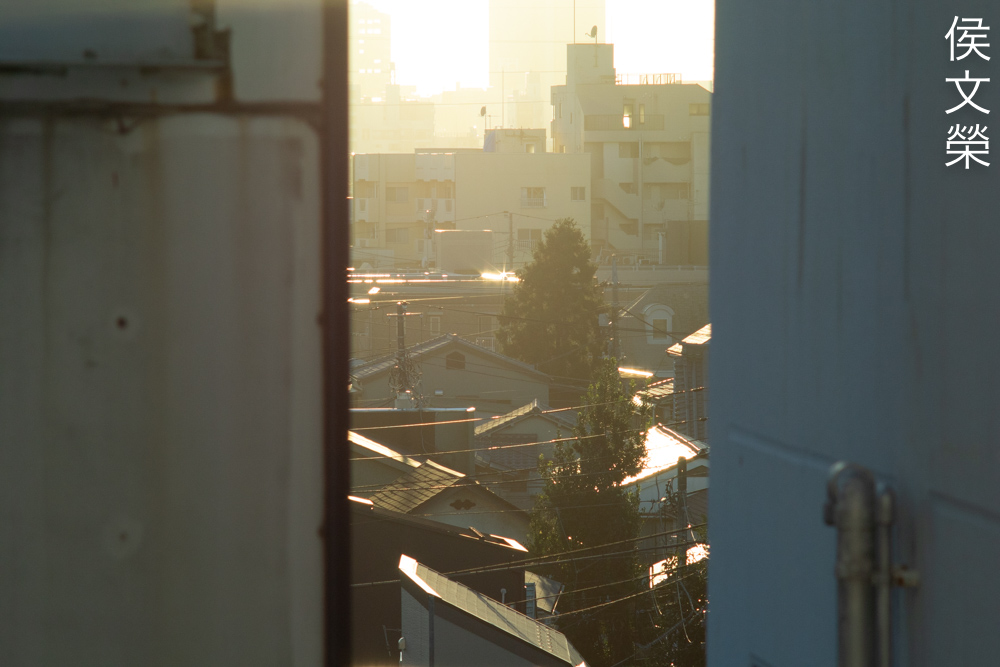
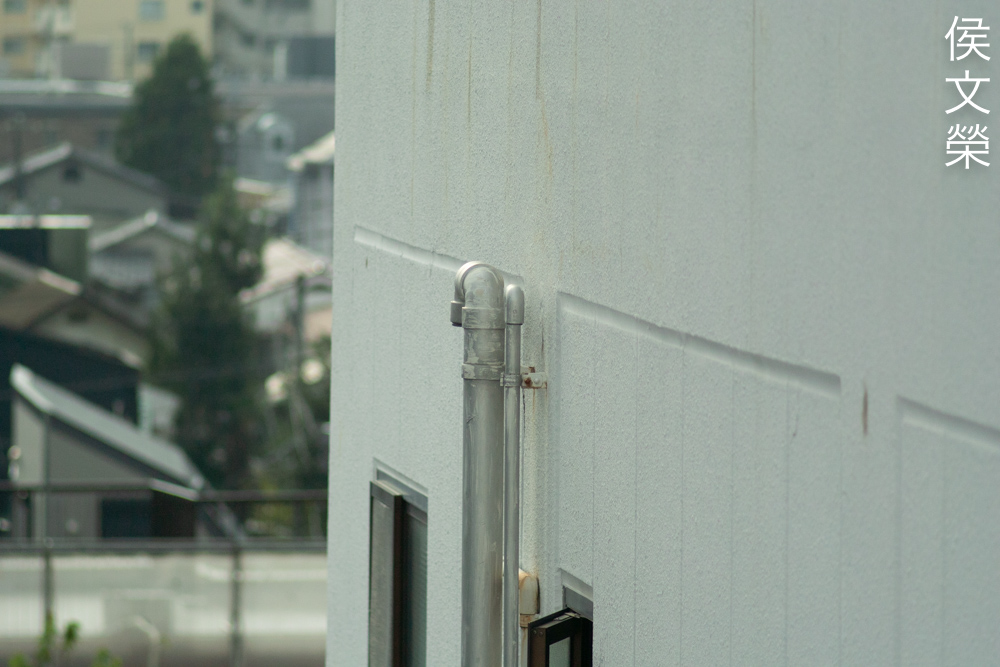
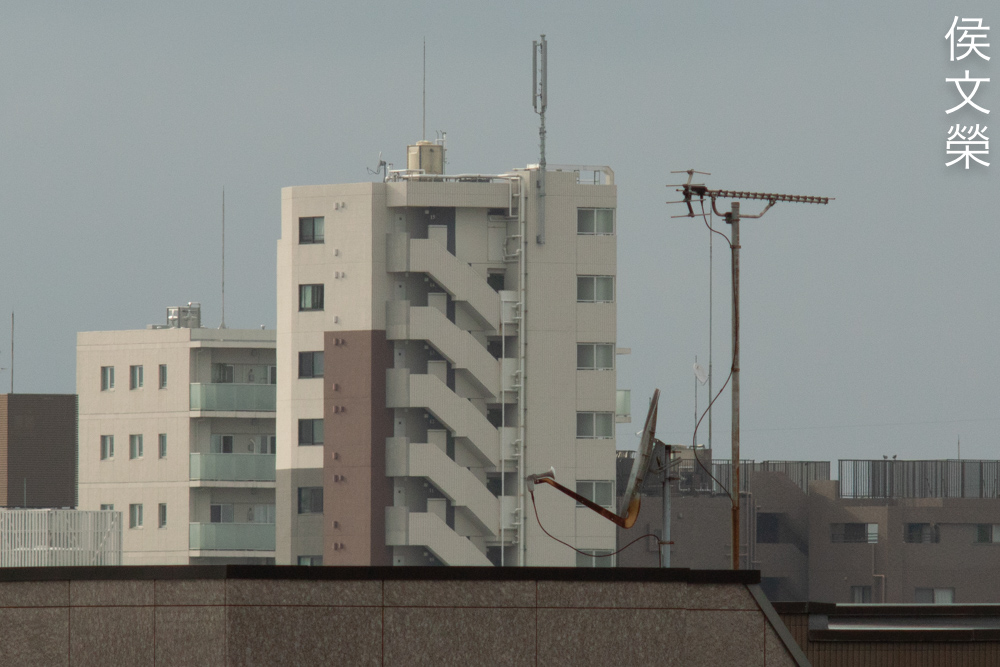
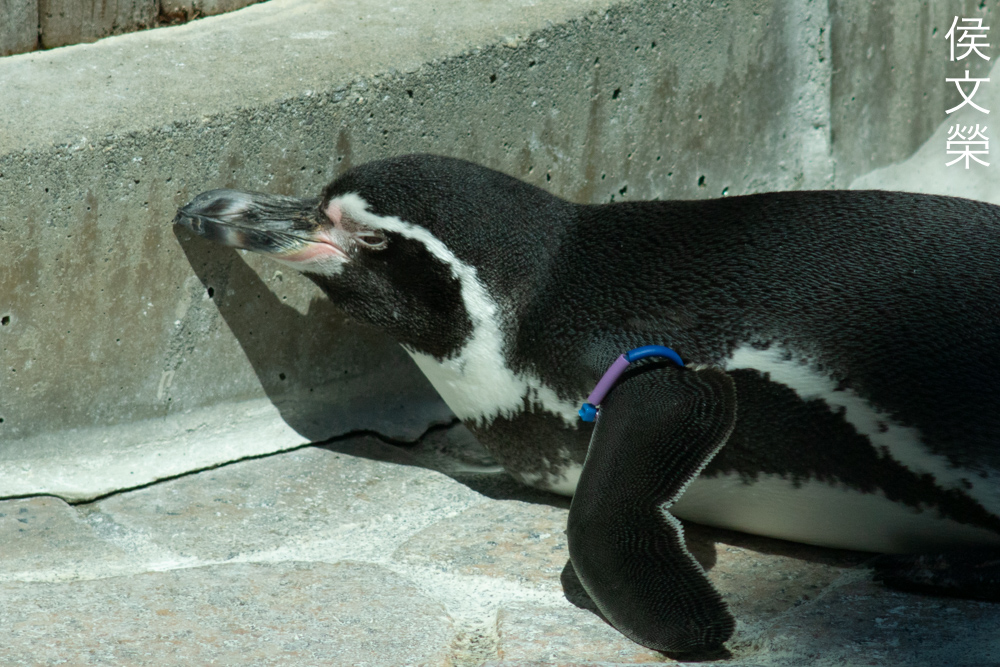
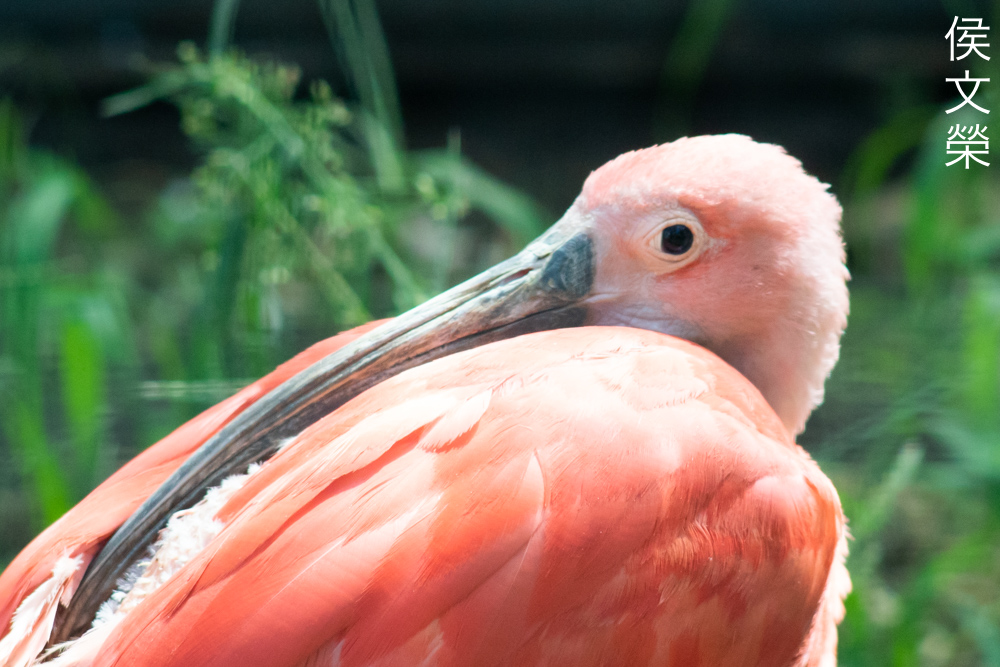
This is a cropped. It has a slight bluish-tint to it, but not as much as what you’d get from other old lenses. It renders nice, natural-looking photos and the focus-transition is smooth without any abrupt changes.
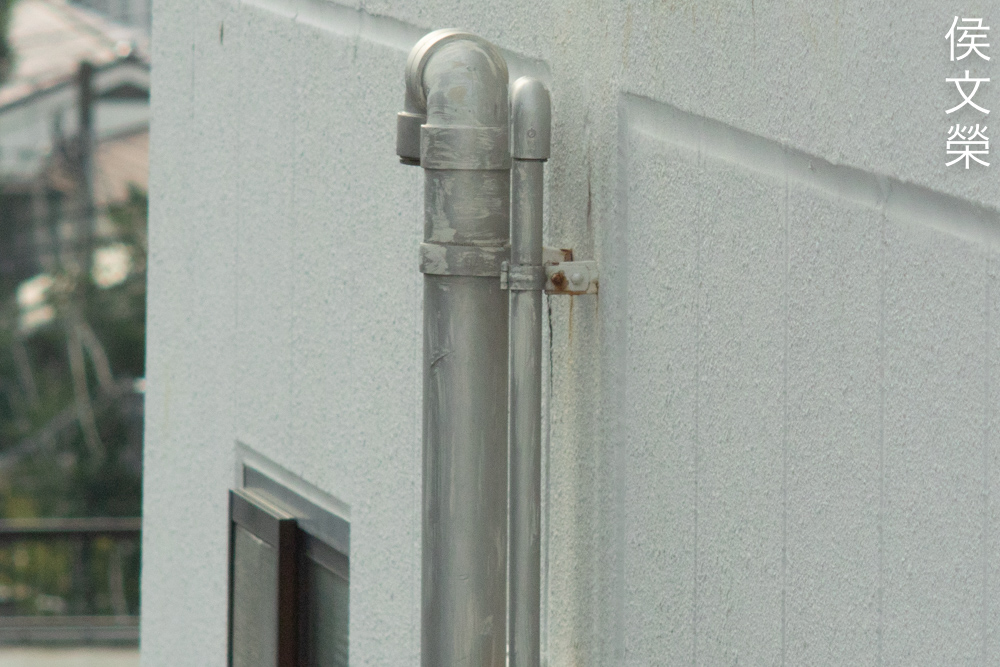
That bluish-tint helps add “mood” to your photos. This was originally designed for use with monochrome film, so it adds a little bit of color-shift in order to alter the contrast, many older lenses do this.
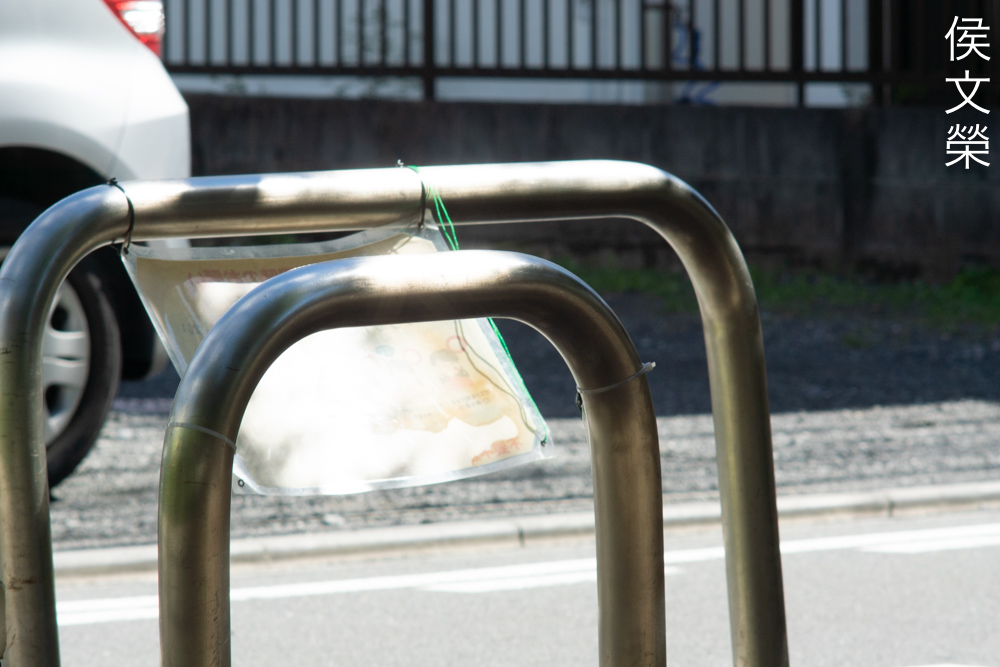
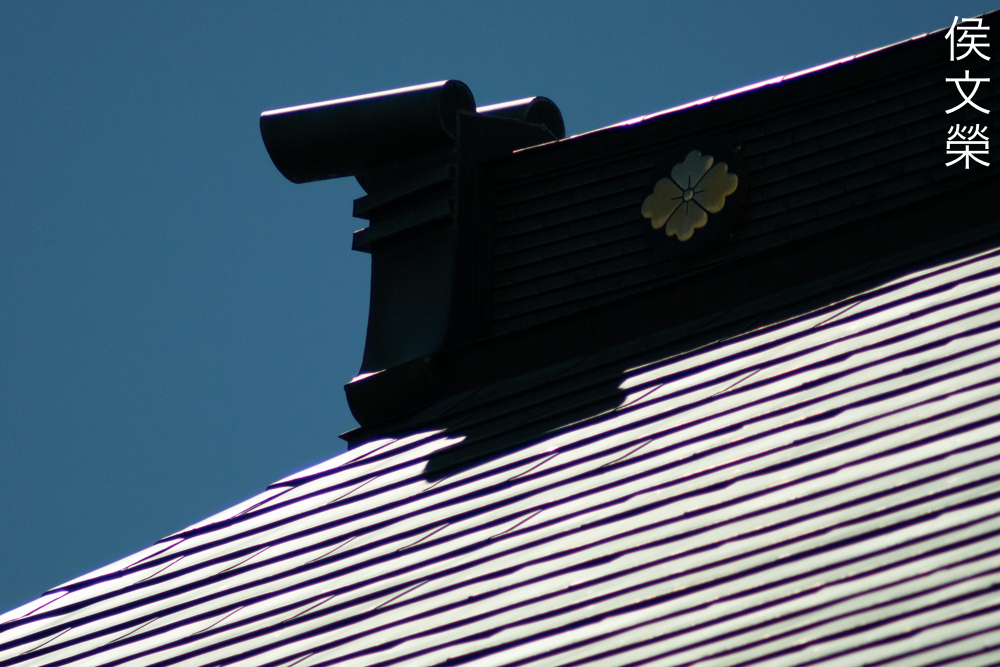
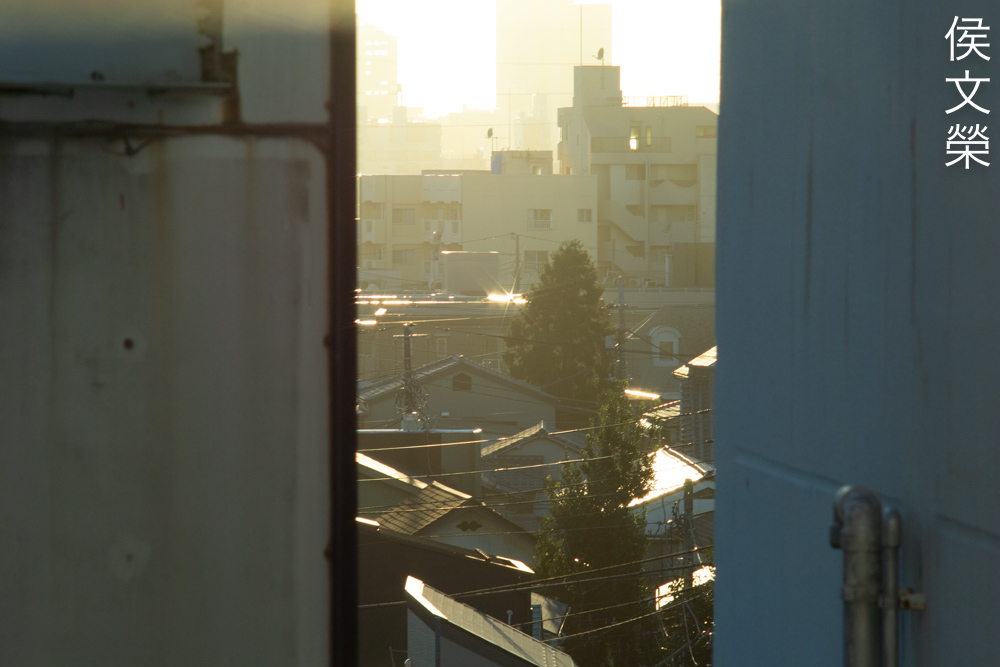
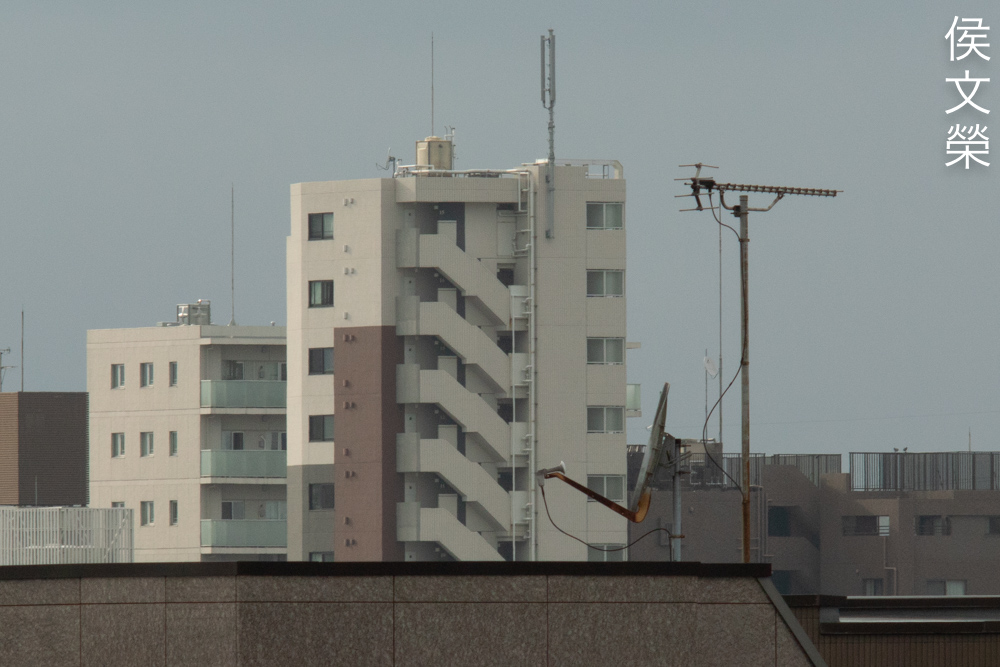
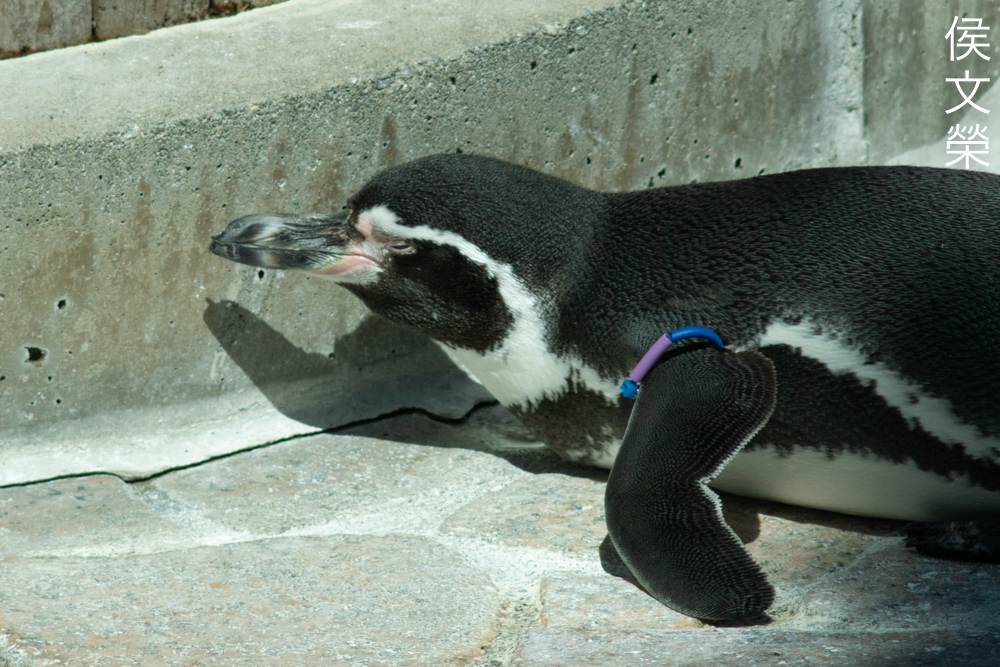
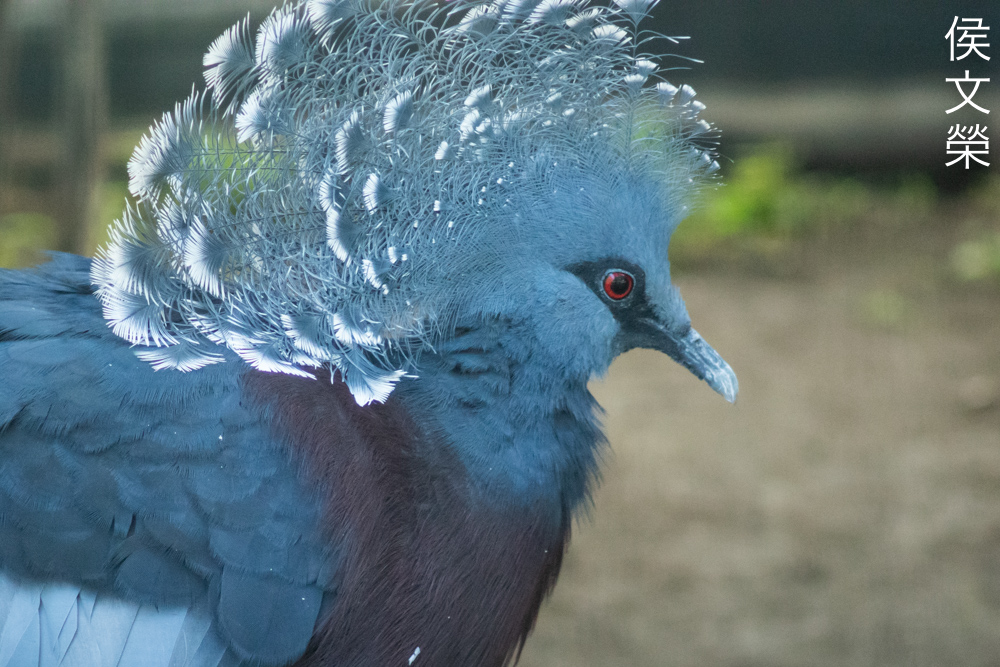
The contrast of this photo is a bit low because I was shooting-through a wire mesh, so I edited the colors a bit, and I also tweaked the noise-reduction settings. I really wish that the Nikon 1 system continued and evolved into a high-ISO system with in-body-stabilization but we’ll never get to see that happen.
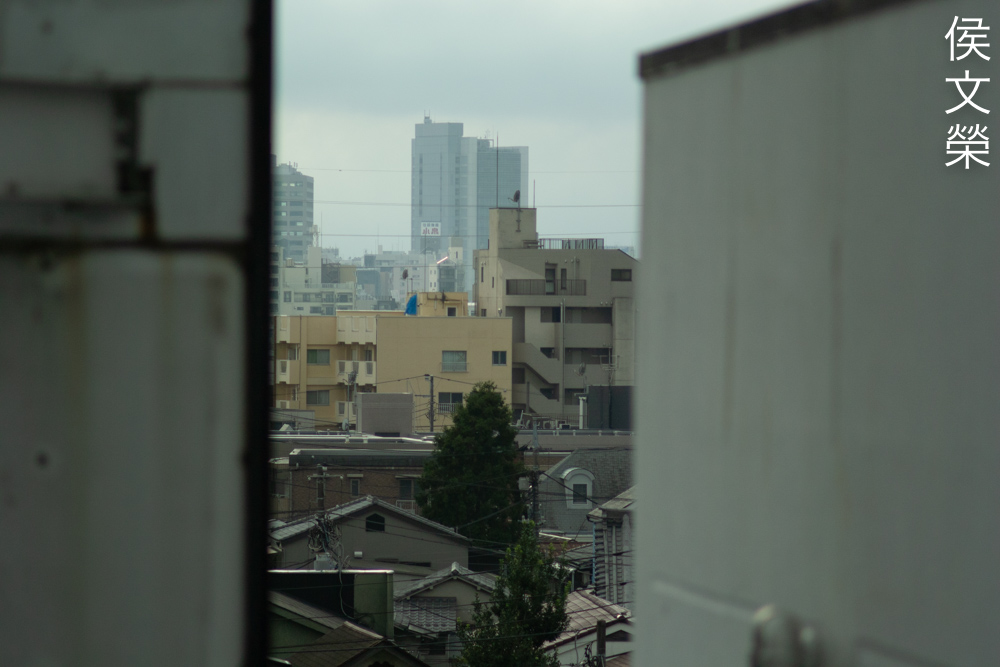
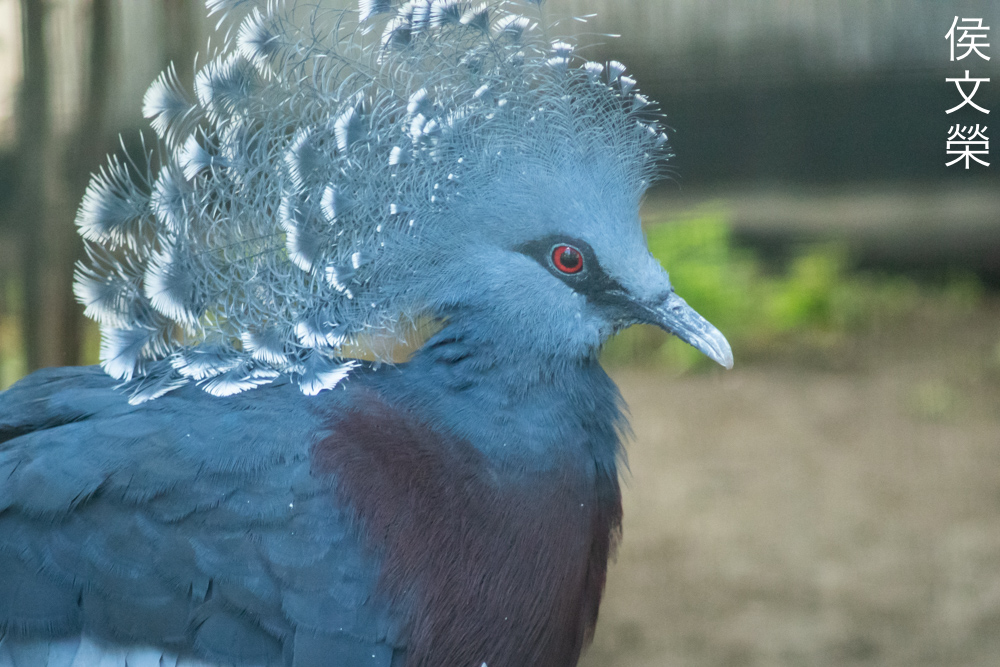
The contrast is a bit low in this photo which is probably caused by flare, as I was shooting without a hood. It was difficult to focus on the subject’s eyes because they’re so little and he moves quite frequently, too.
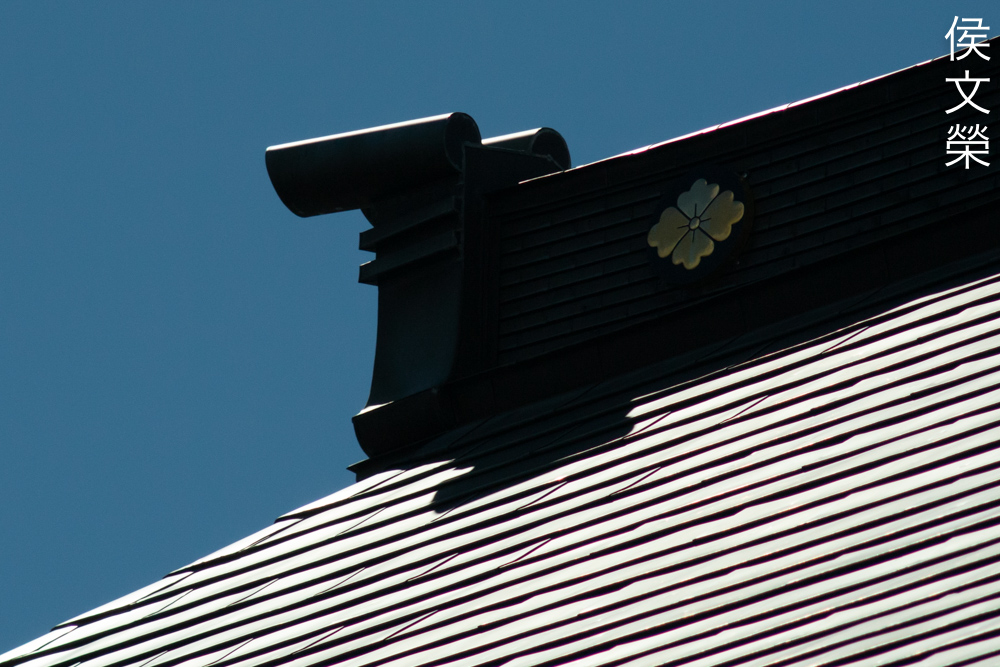
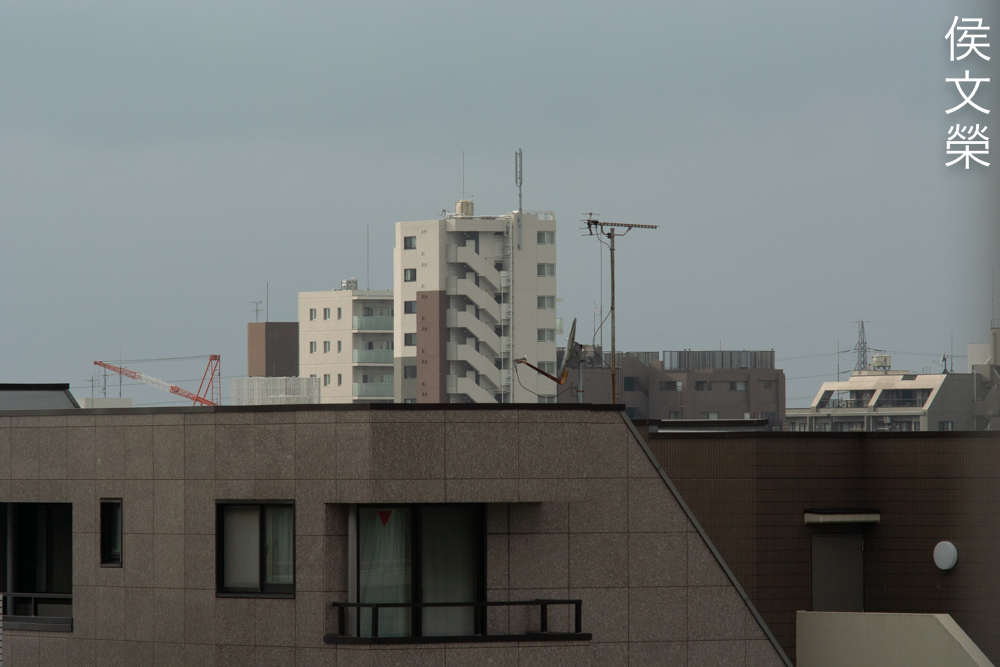
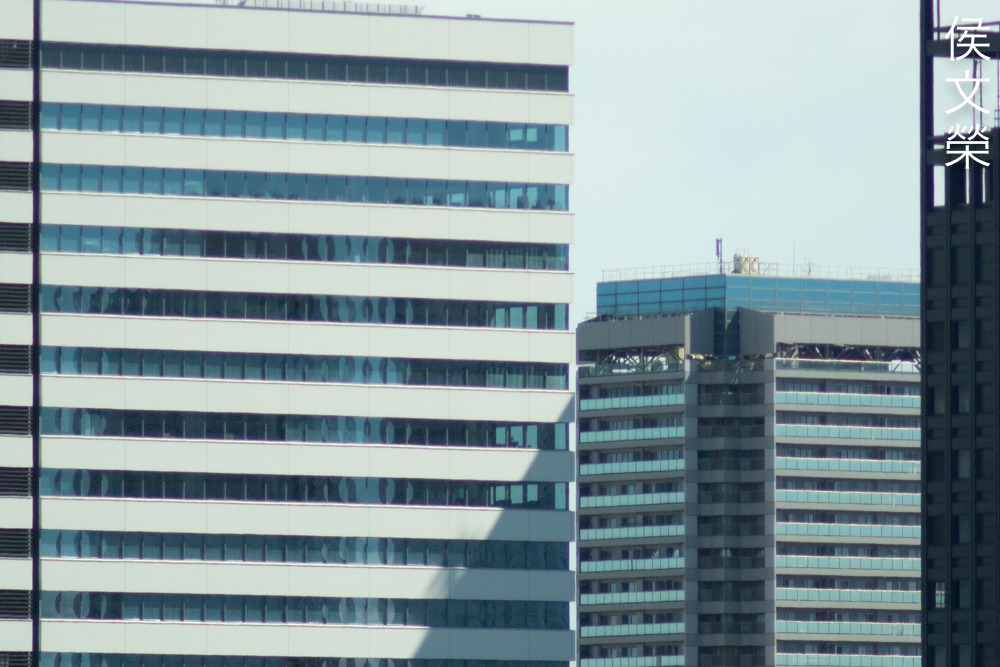
Metering with this can be tricky at times, as it has a tendency to overexpose by 2/3 of a stop when you does not have a high-contrast scene in terms of luminance. I found myself occasionally dialing-down the exposure on most of those photos tend to have shallow curves when you look at the histogram. This may be an issue with how the camera interprets scenes instead of the lens itself.

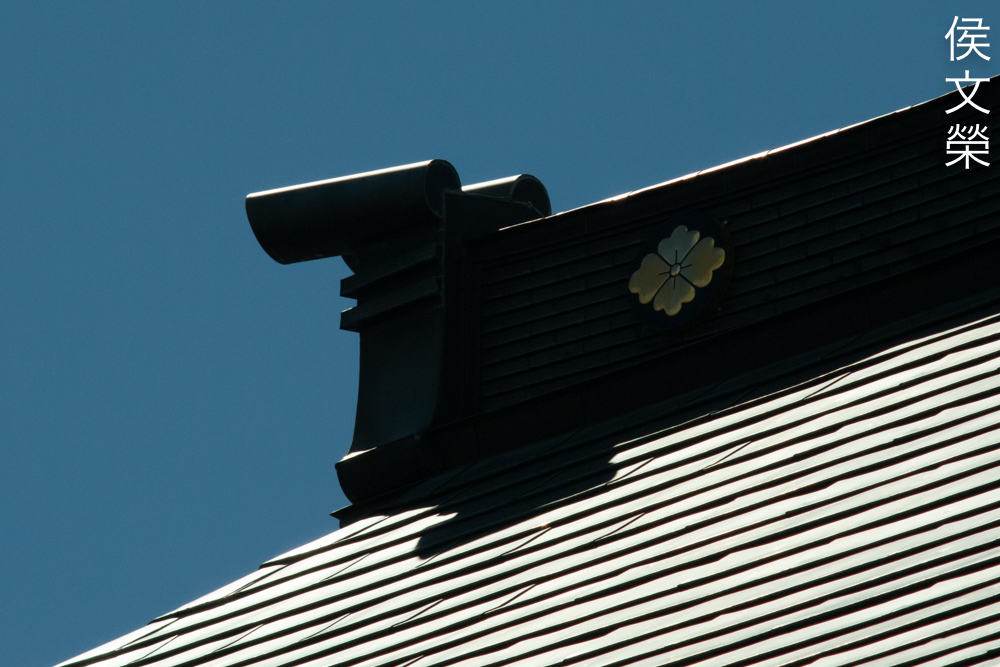
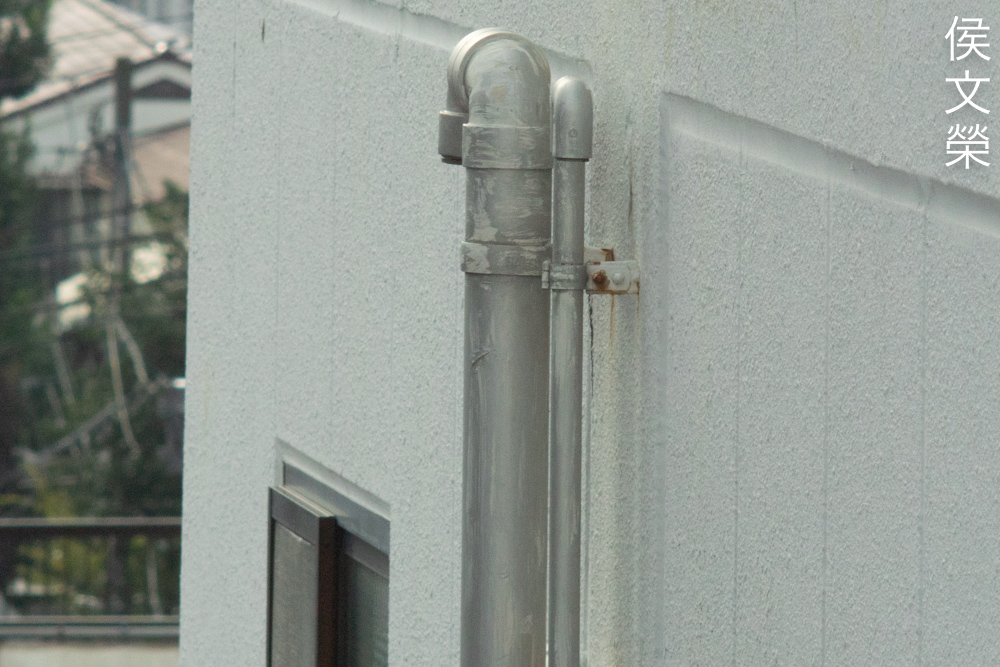
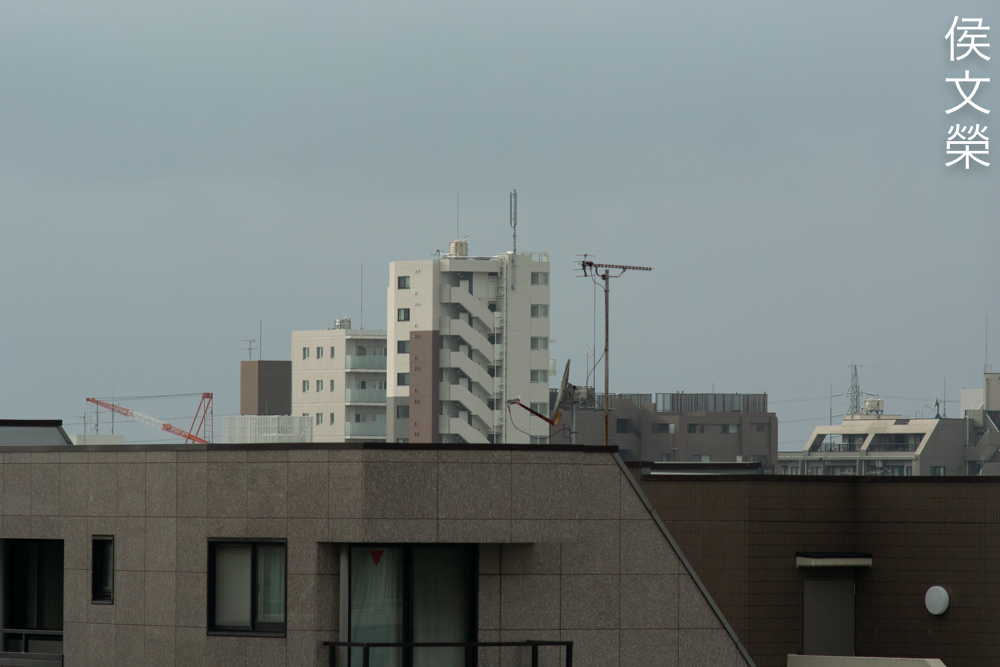
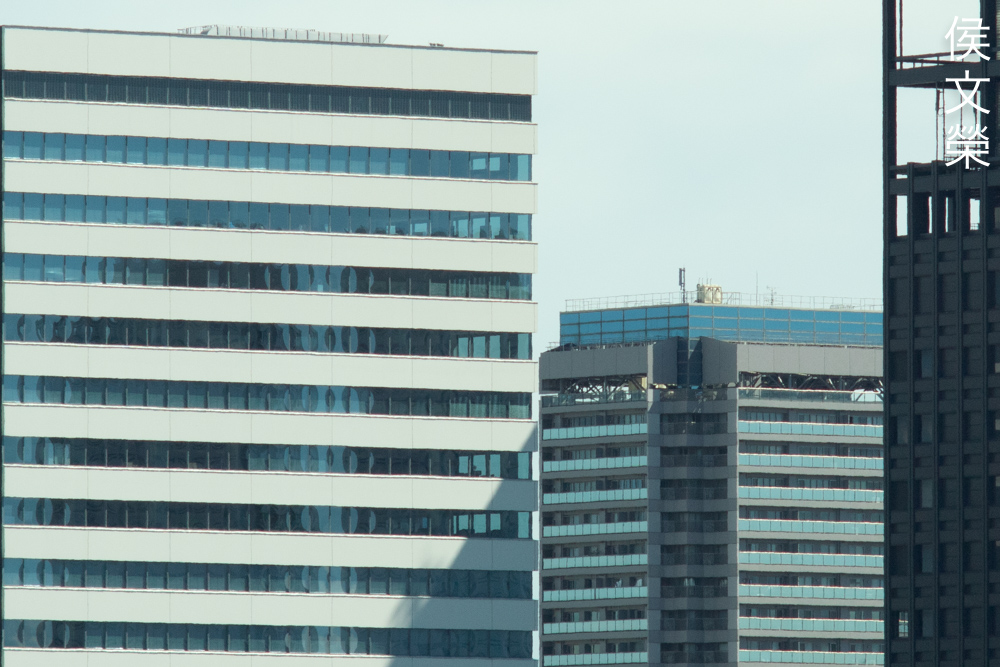
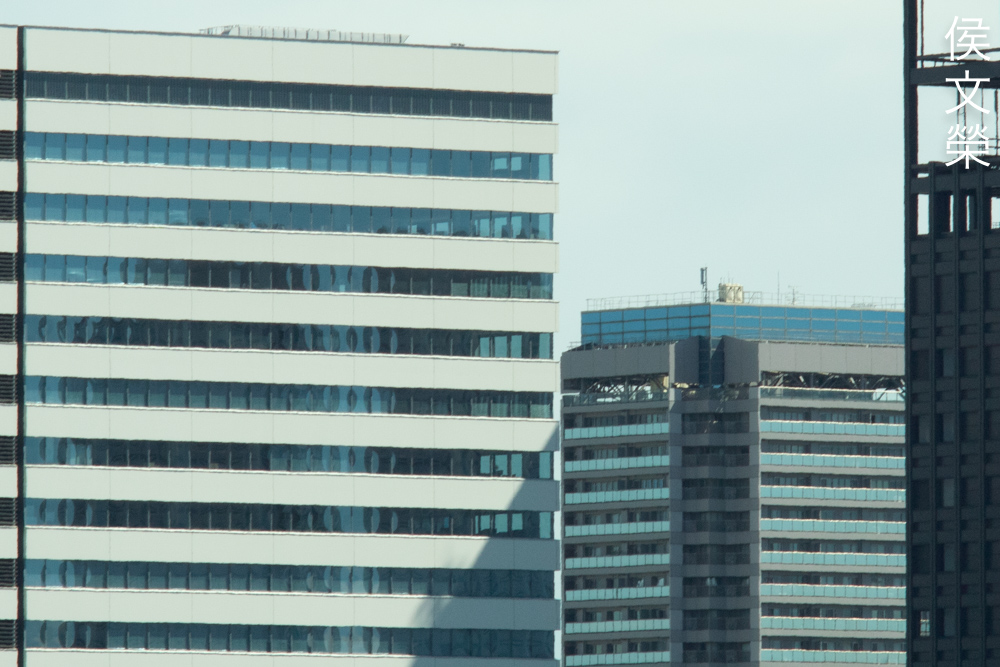
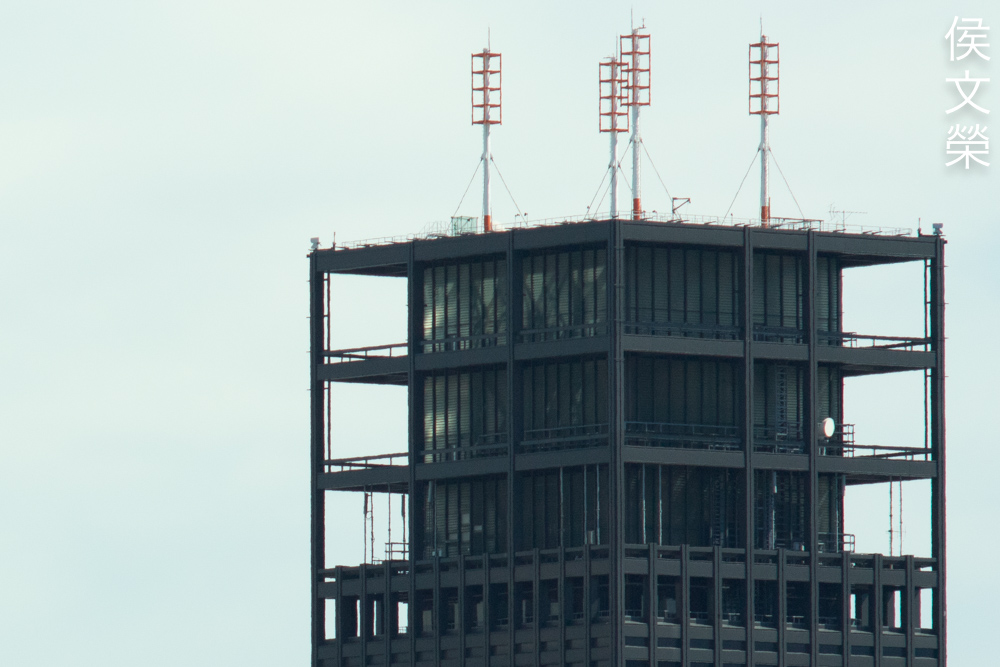
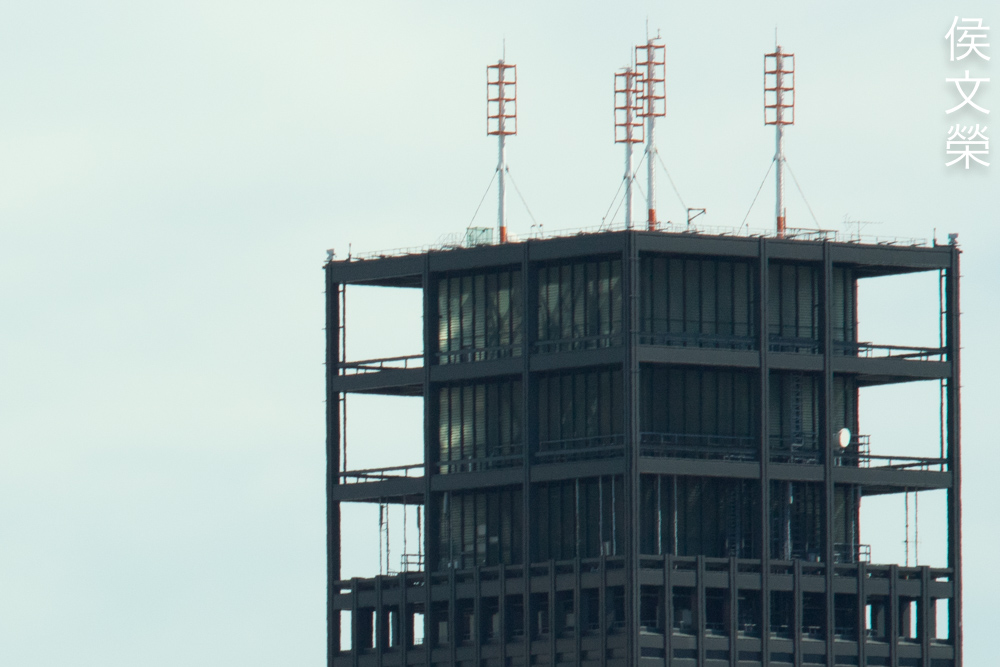
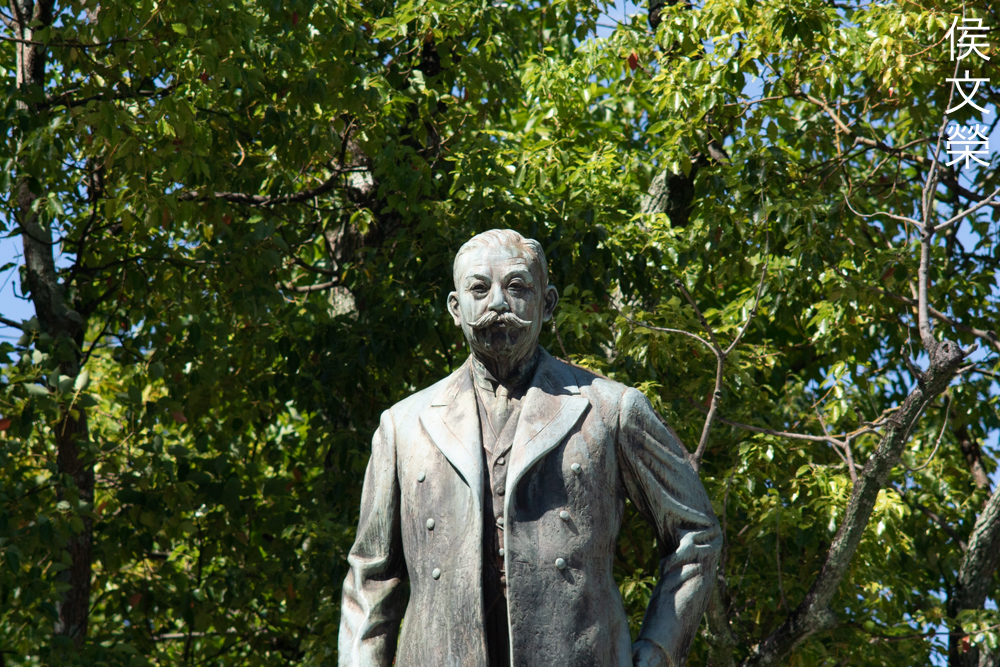
This photo is exposed perfectly because we have a rich amount of luminance values. Going back to his lens, I think this is a nice lens for train-spotting, it’s small and light which contrasts with what we usually see from train enthusiasts. It’s a good thing in the sense that you won’t be intimidating people or get in their way with your setup, just add a monopod and you’re all-set.


(Click to enlarge)
Here are more photos. I did not enjoyed shooting with this just because my setup lacks VR, which made things difficult for me, but at the same time I was also surprised by what I could take using it. This is the longest lens in the Cine-Nikkor line, and there’s no alternatives to it if you want to go all-Nikkor unless you adapt F-mount lenses so just deal with it, all you need to do is go out and enjoy shooting with this.
Okay, I’ve decided that I would give this lens another try, but this time, I’d like to try using it for taking more photos of humans. Let’s see how this experience will change my opinion.

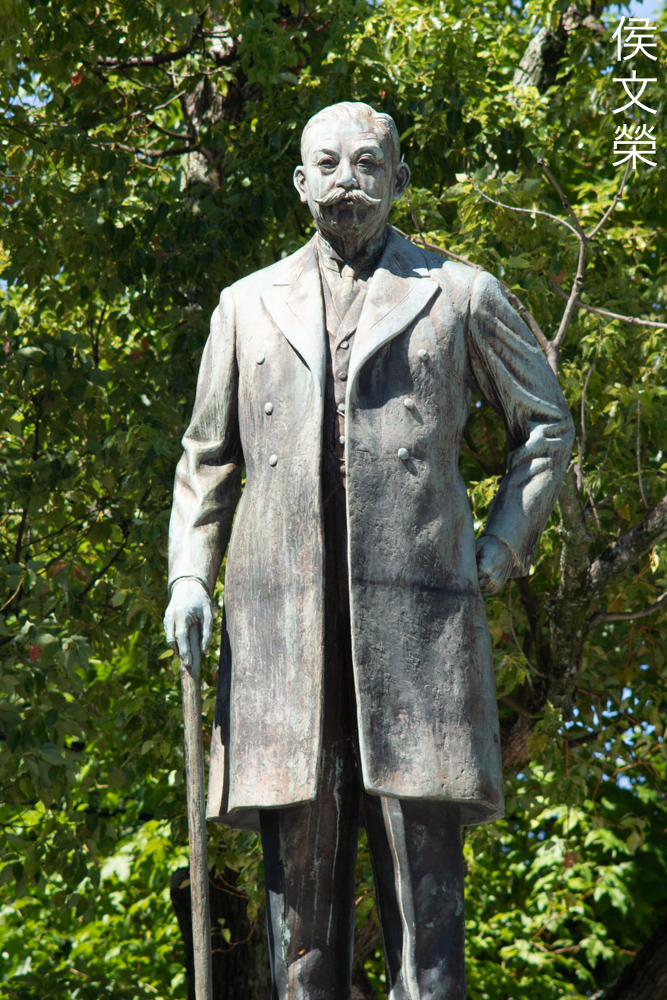
Thankfully, it was a sunny day and I was able to stop the iris down to something more reasonable. I was able to get more things in-focus because of that. Unfortunately, now that the focus is not as thin, it made focusing a bit more tedious since I couldn’t see the separation clearly. This is a photo of a woman walking down a catwalk, It was difficult enough for me to focus properly, what more if she was dancing.

If your subject is standing still, then it’s much easier to work with this lens. The rendering is gorgeous, the colors look beautiful, but a bit muted. This is due to the said bluish-tint that I mentioned earlier.

The coolness of the colors gave an unsaturated look, reminding me of how pictures looked like in print on colored 1980s magazines.

Resolving power is decent, enough to render the weave and hair strands in this photo. Remember that it’s shot wide-open, so the lens is still not performing at its peak performance.

I am posting this outtake just because the background says a lot of things about how it can render ugly, distracting details. While it’s not exceptionally ugly, I won’t dare say that this lens renders the background beautifully either, it’s adequate at best. This is where the issue of sensor size comes into play, never listen to the people who say otherwise, they are pushing for an agenda.


(Click to enlarge)
My overall experience with this lens for events is quite mixed. It was frustrating because I do not have VR, so my frame keeps wobbling, making precise framing a bit difficult. Focusing is also tricky, I had to look at the LCD frequently just to check if my focus is correct. Despite of the inconveniences, I took plenty of nice photos, and my back did not hurt at the end of the day. I was also surprised at the quality of the pictures when I looked at them with a large monitor, when you nailed a good shot, it rewards you with a beautiful photo that’s sharp and fill of “character”.
This is not something that I would recommend for shooting serious work, just because it’s difficult to use and it will take plenty of patience just to get something good out of it. However, if you are purist, there’s no other alternative to this lens in the Nikon line. These are rare lenses, some people sell these for insane prices, but you can still buy one under $80.00 if you are patient, I got mine for $30.00 or so. You should see if the iris is dry and working properly when buying one, along with having clean optics, verify if it can focus properly with you Nikon 1 camera and adapter. Some people may have converted it for for m4/3 or other small-format cameras. If you got something like that, then it must be recalibrated. Now that you’re more knowledgeable about this lens, all you need to do is to wait for one to appear in the used camera gear section. Happy hunting!
Before We Begin:
If this is your first attempt at repairing a lens, I suggest that you see my previous posts regarding screws & drivers, grease and other things. Also read what I wrote about the tools that you’ll need to fix your Nikkors.
I suggest that you read these primers before you begin (for beginners):
- Essential tools
- Best practices 1
- Best practices 2
- Best practices 3
- Ai conversion
- Working with Helicoids
Reading these will lessen the chances of ruining your lens if you’re a novice. Before opening up anything, always look for other people who have done so in YouTube or the internet. Information is scarce, vague and scattered (that is why I started this) but you can still find some information if you search carefully.
I highly recommend that you read my working with helicoids post, this is important, and getting it wrong can ruin your day. If I can force you to read this, I would. It is that important!
For more advanced topics, read my fungus removal post as a start. It has a lot of useful information, it will be beneficial for you to read this.
Disassembly:
If you have been following this series, then you should be able to tell that this lens will be similar to most of its long siblings such as the Cine-Nikkor 75mm f/2 in terms of construction. While that’s mostly true, it is also unique in some ways, so you should be careful with how you dismantle this lens and read this very well in order to prevent destroying a valuable and rare lens. If your lens needs repair, please send it to a repairman with good reputation, and if he dos not have any experience with these kinds of lenses, please share this article with them. There are not a lot of people who are familiar with these at all, even back in the day because Cine-Nikkors were not sold commercially in the same sense as your usual photographic lenses (of-the-shelf).
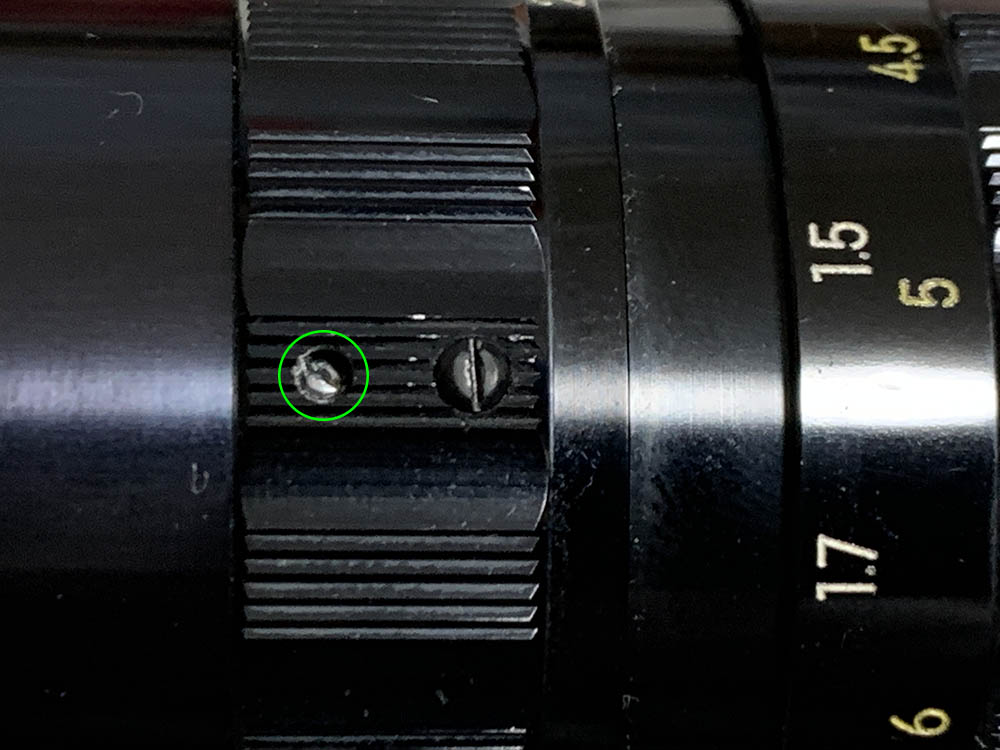
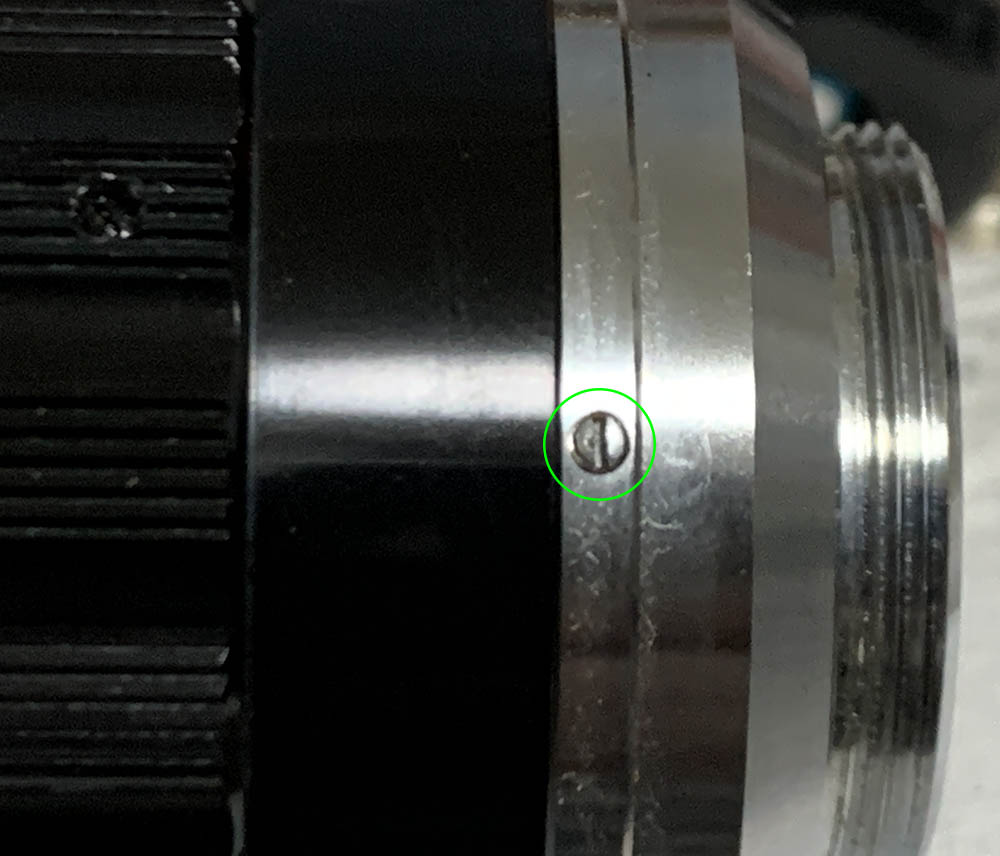
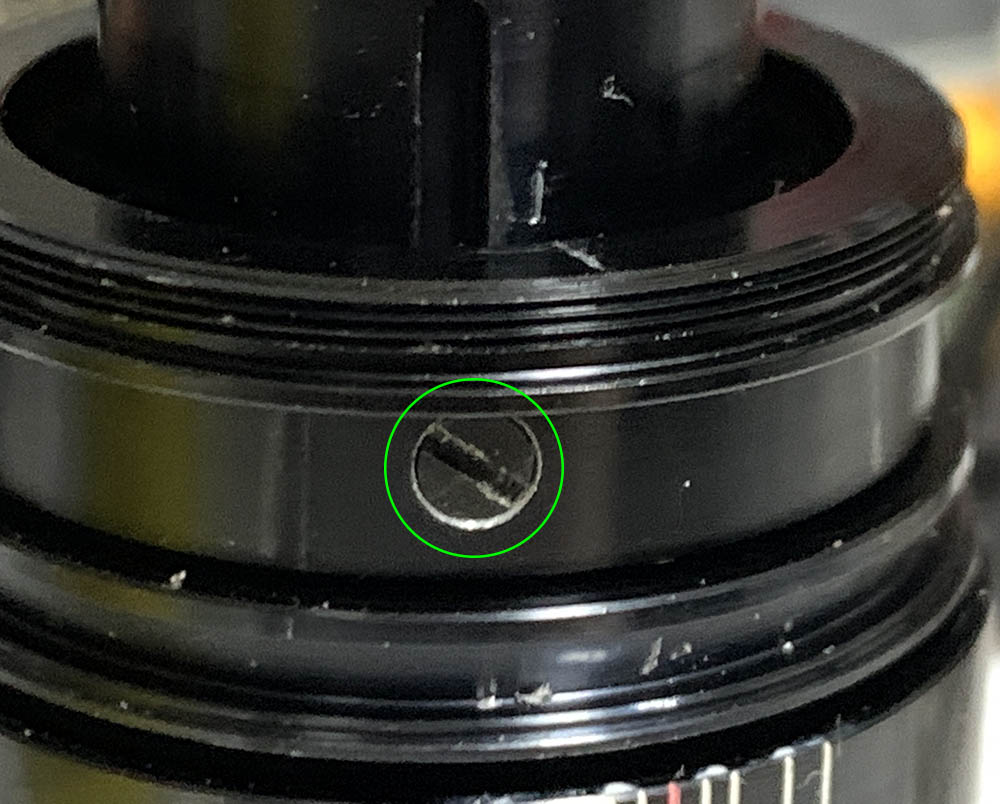
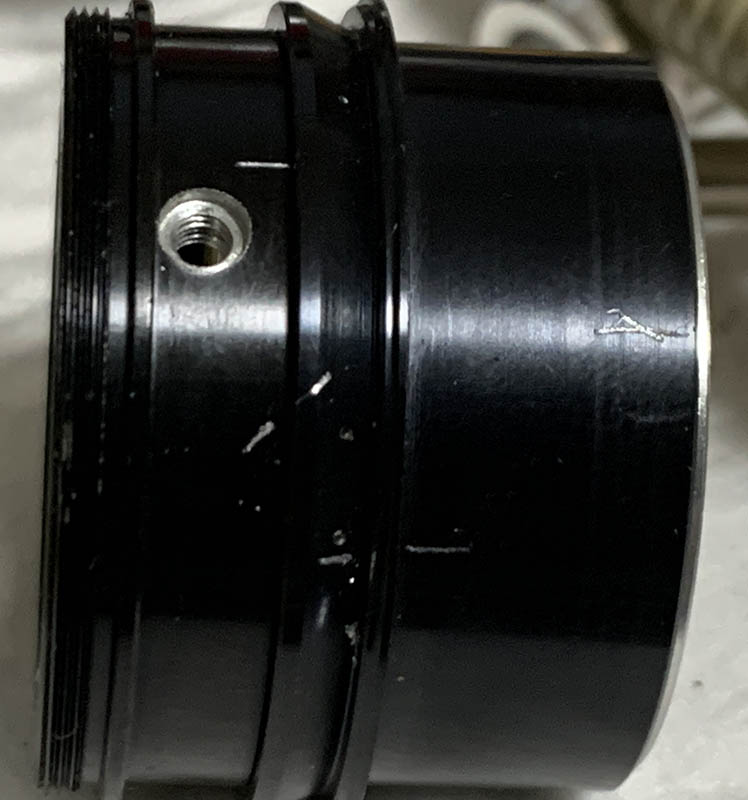
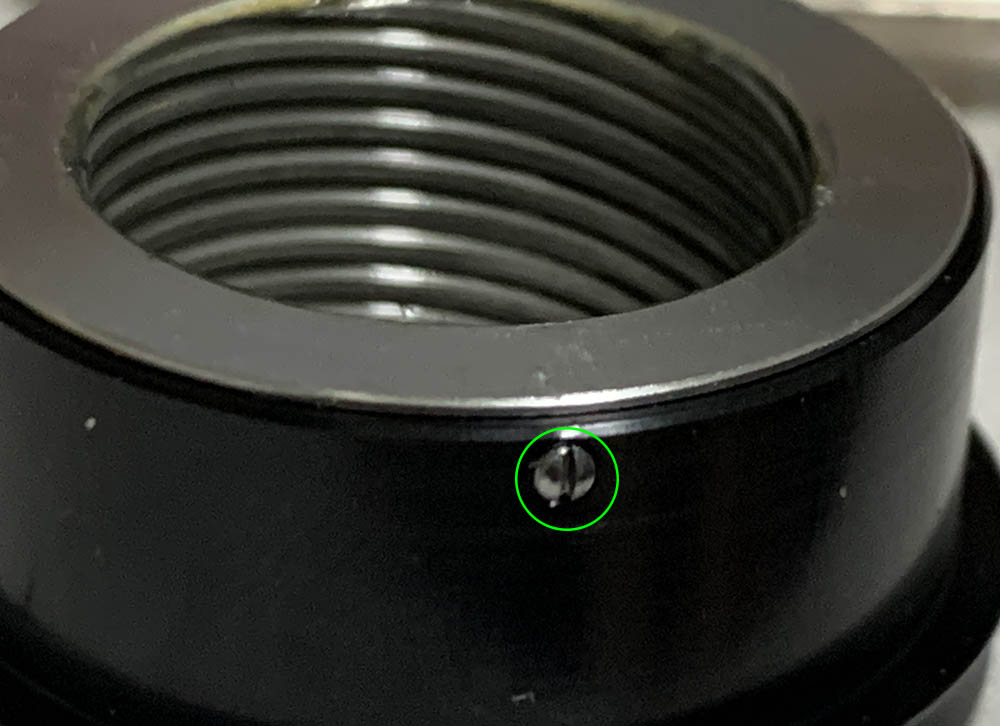
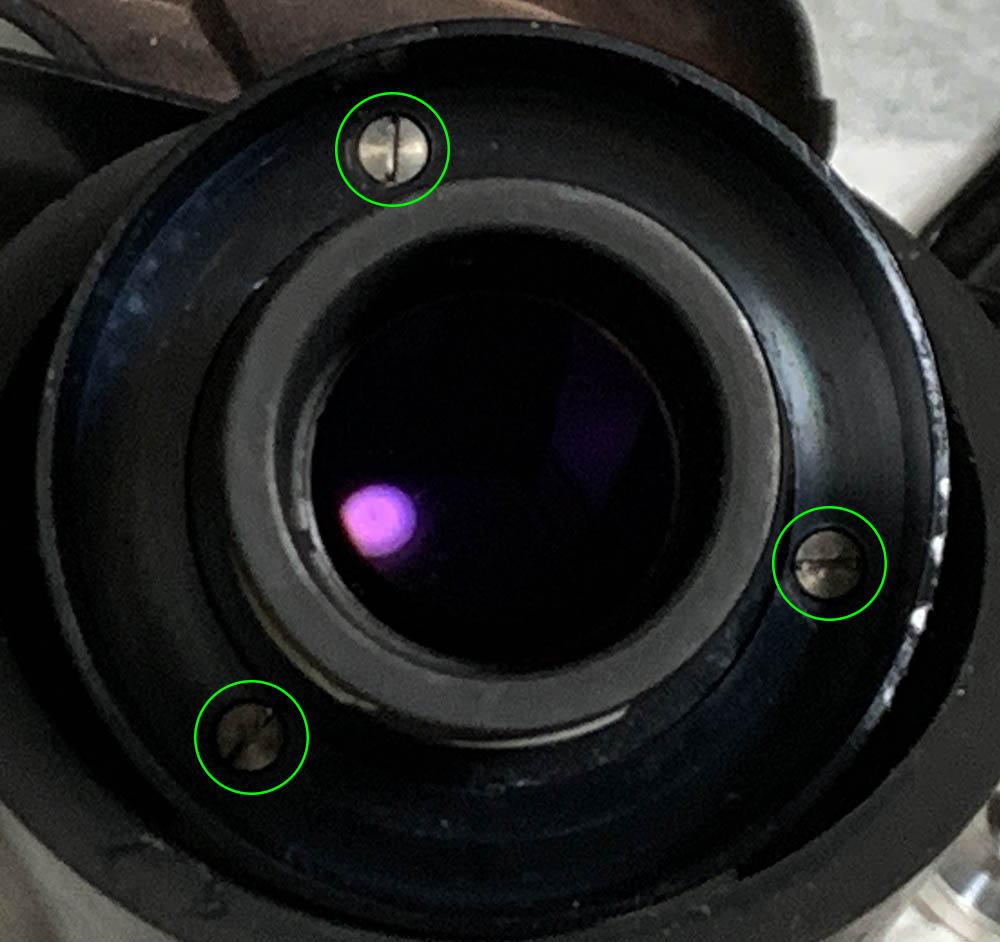
Carefully locate and extract this set screw. Mine looks worn, somebody definitely worked on it. If this is stuck put a little bit of alcohol into it and see it that will loosen the seal.
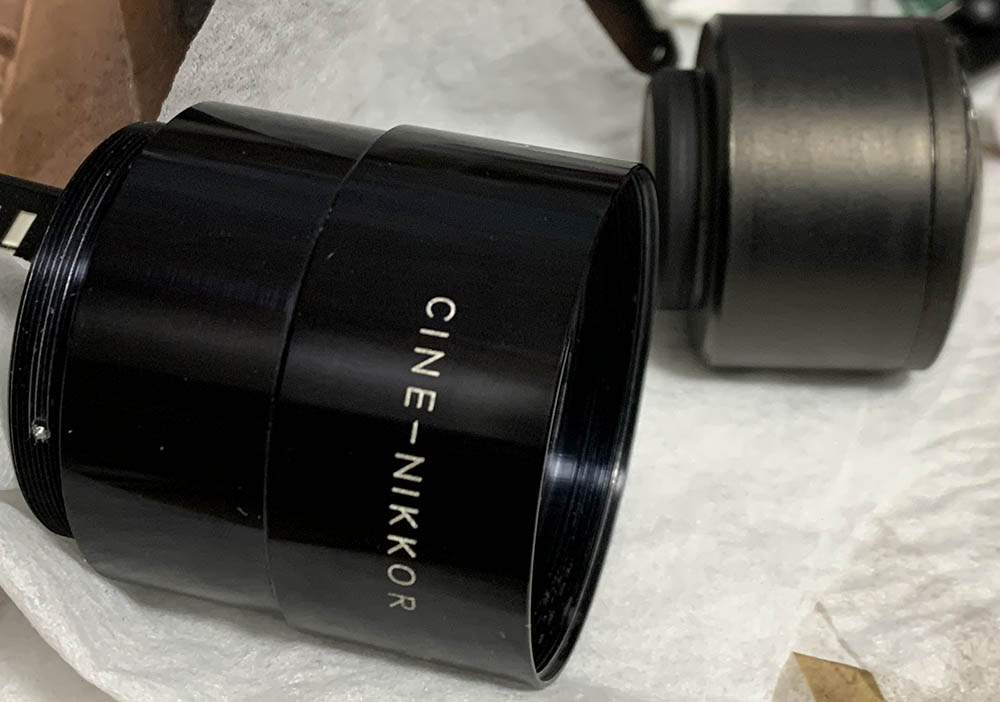
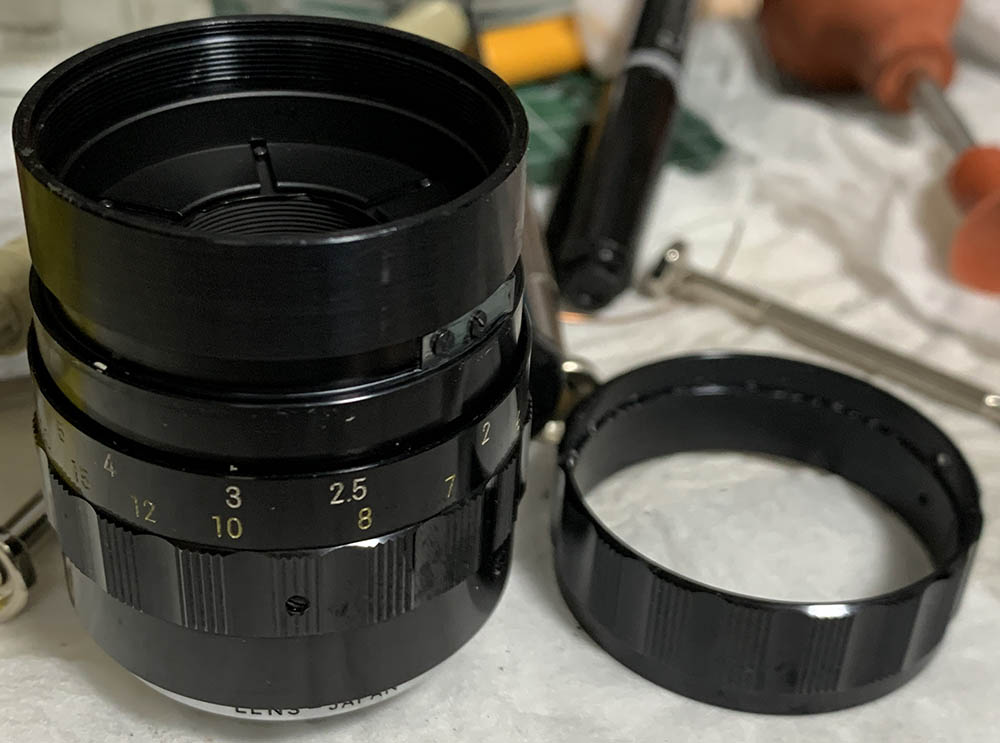
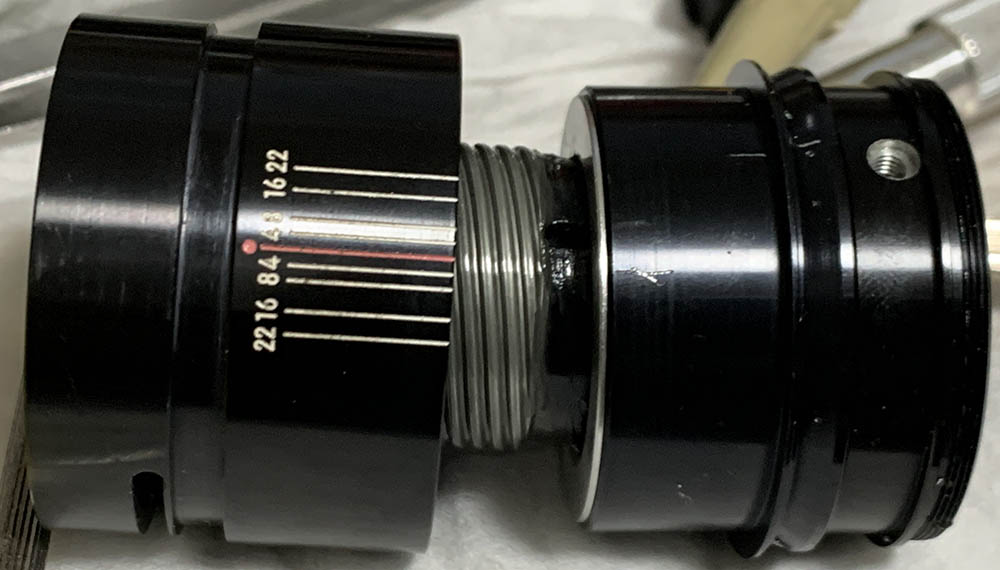
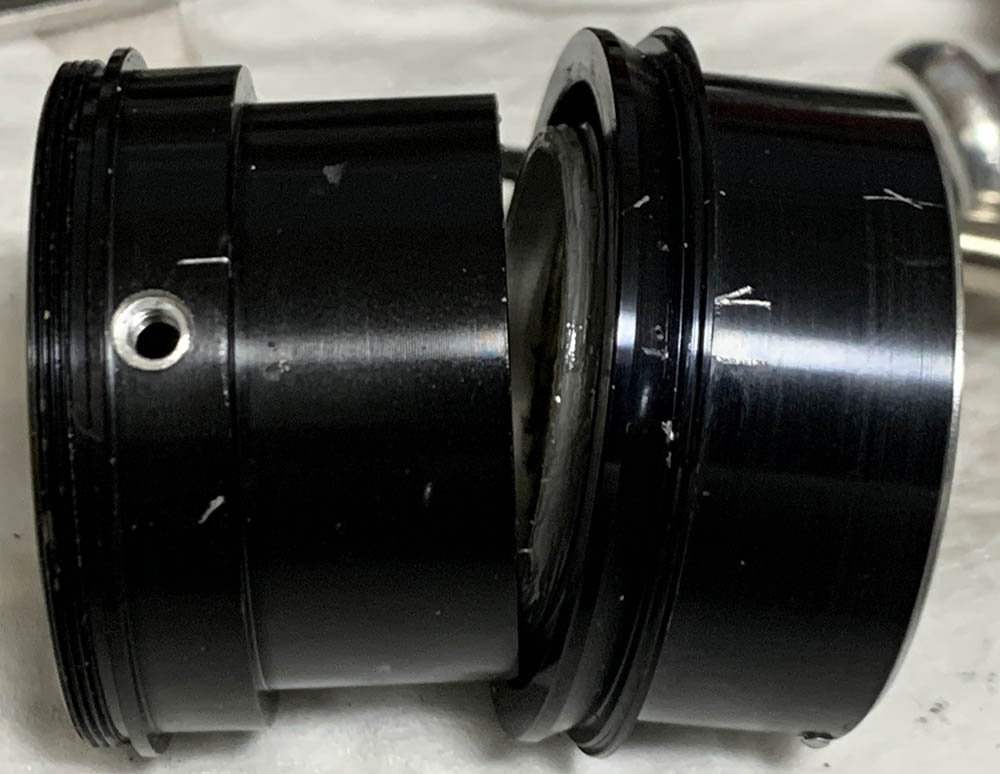
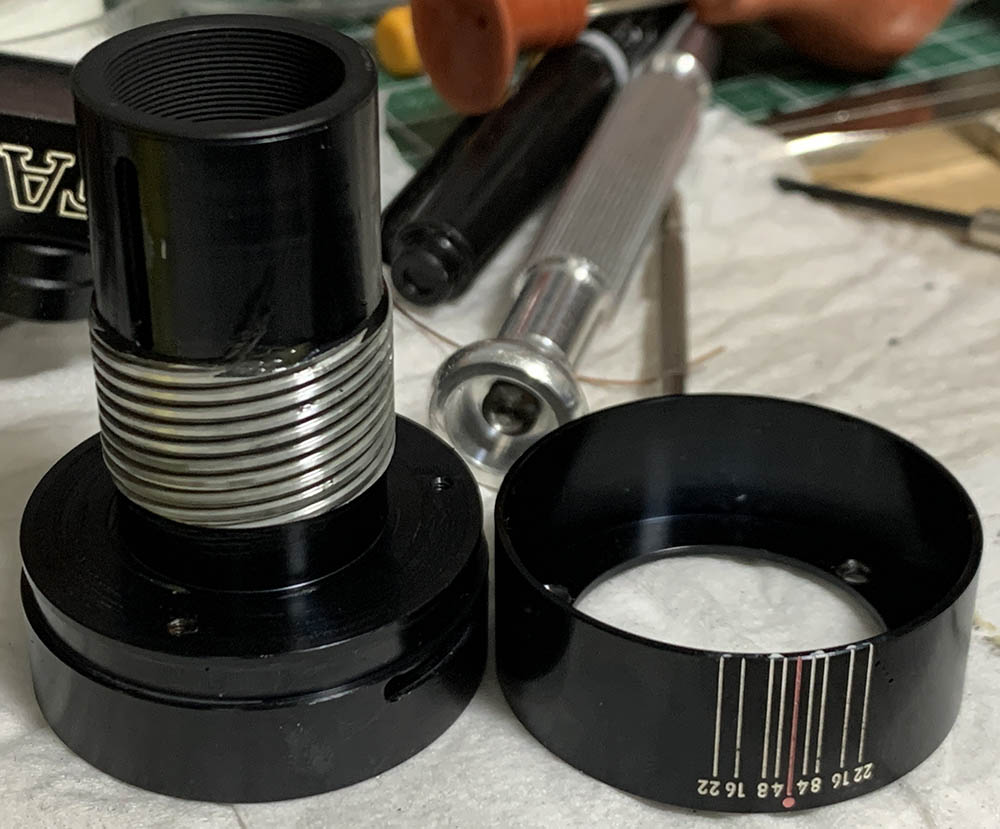
Unscrew the front barrel carefully, never grip the aperture ring while you do this so you won’t damage the iris. You can grip the base instead as it’s the most rigid part of the whole barrel.
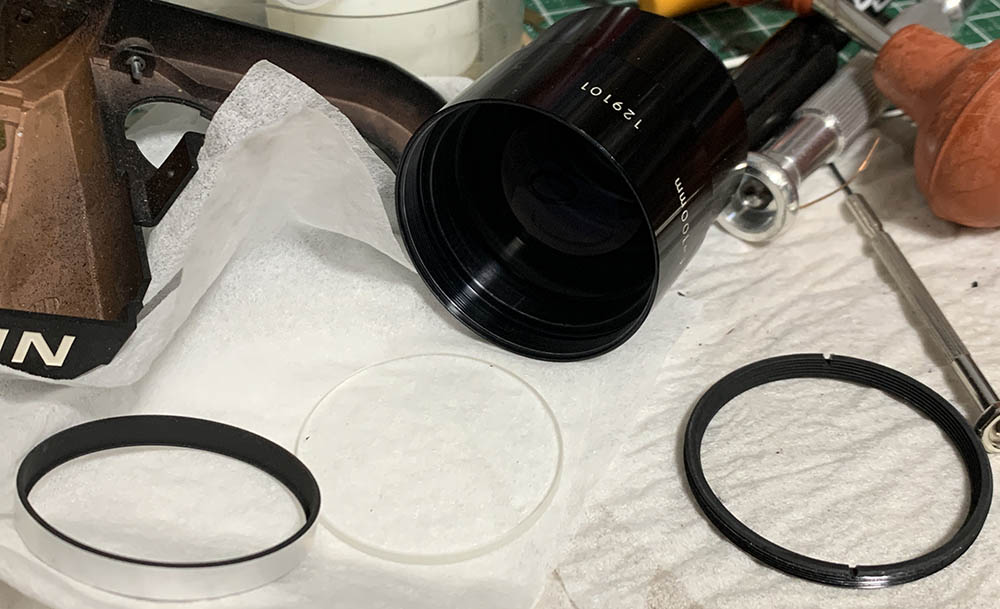
Unscrew the retainer and remove the front group and its spacer. Never forget to note the directions of the spacer and the front group so you’ll be able to put them back facing the right way.
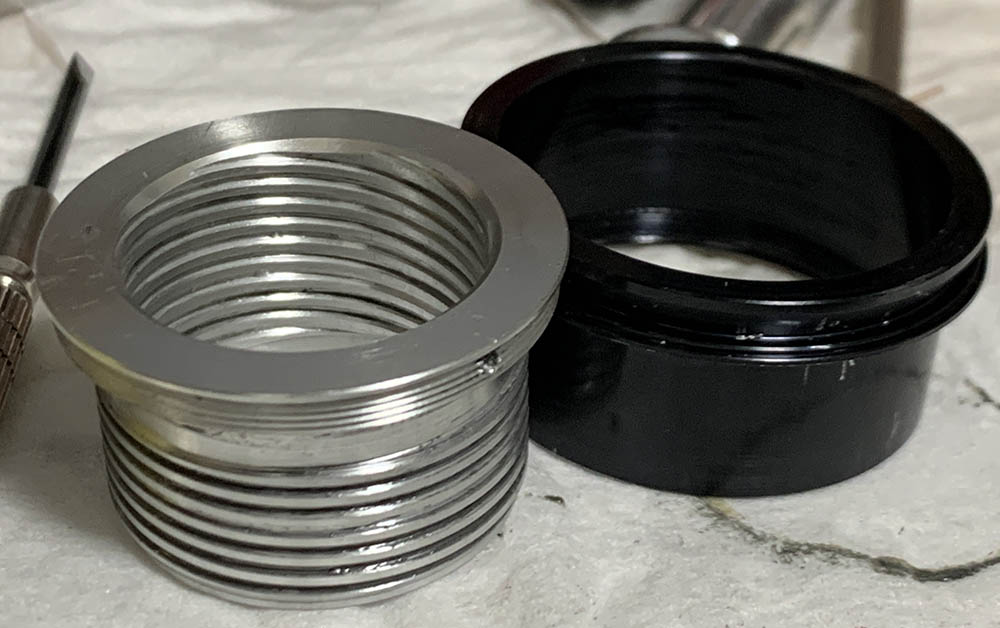
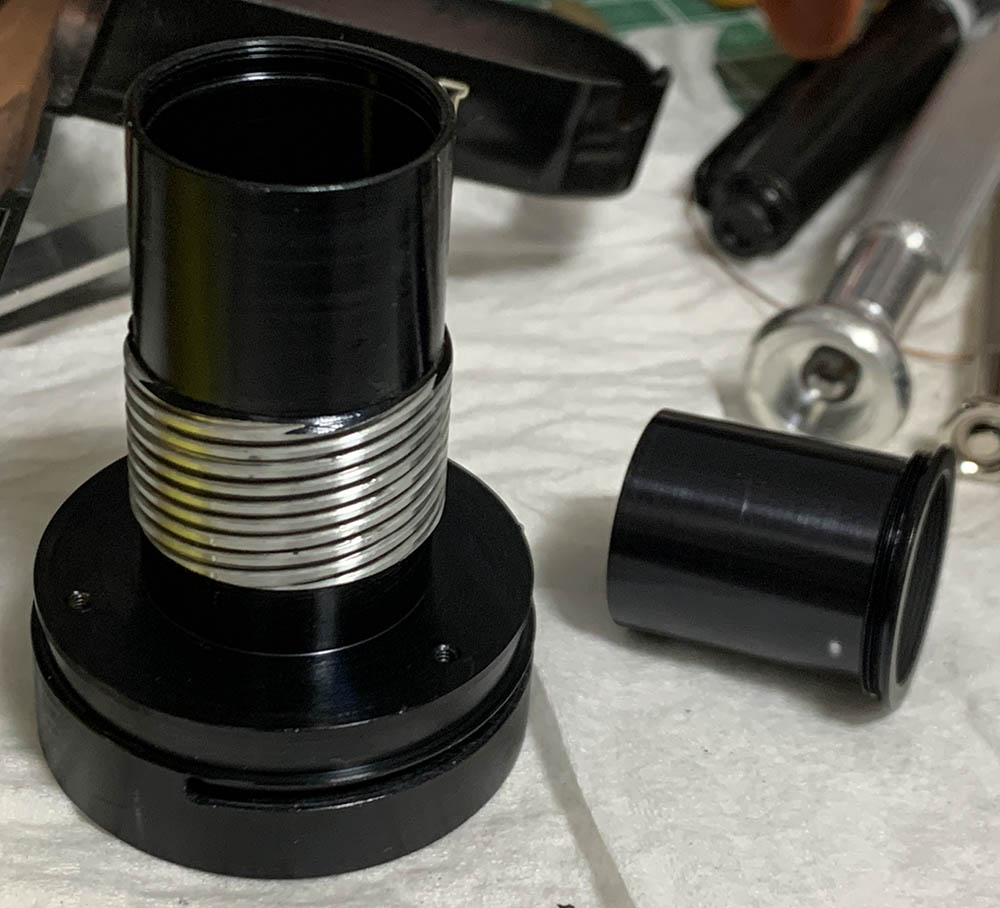
Carefully extract the 2nd group with the strongest lens sucker you have. It can be tight at times, only remove this thing if you have to and never push this from the back if it’s stuck the stress to the 4th group is enough to ruin the cement.
Extract the screw of the aperture ring and pull it off so you can dismantle the iris mechanism.
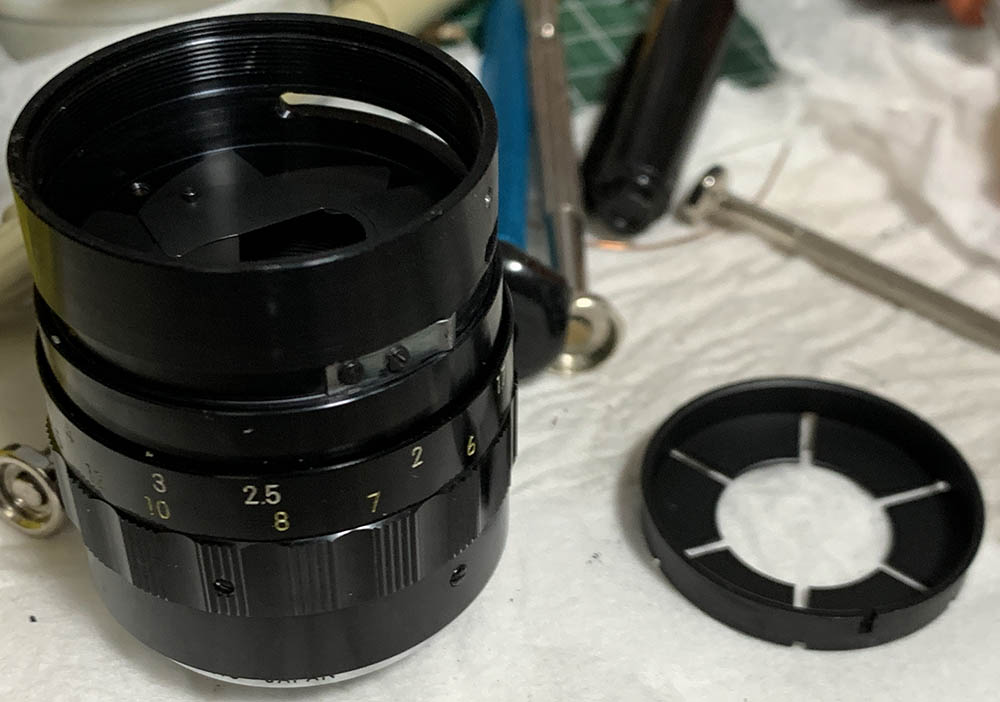
Pick the diaphragm’s rotator off with your fingers carefully without disturbing the iris.
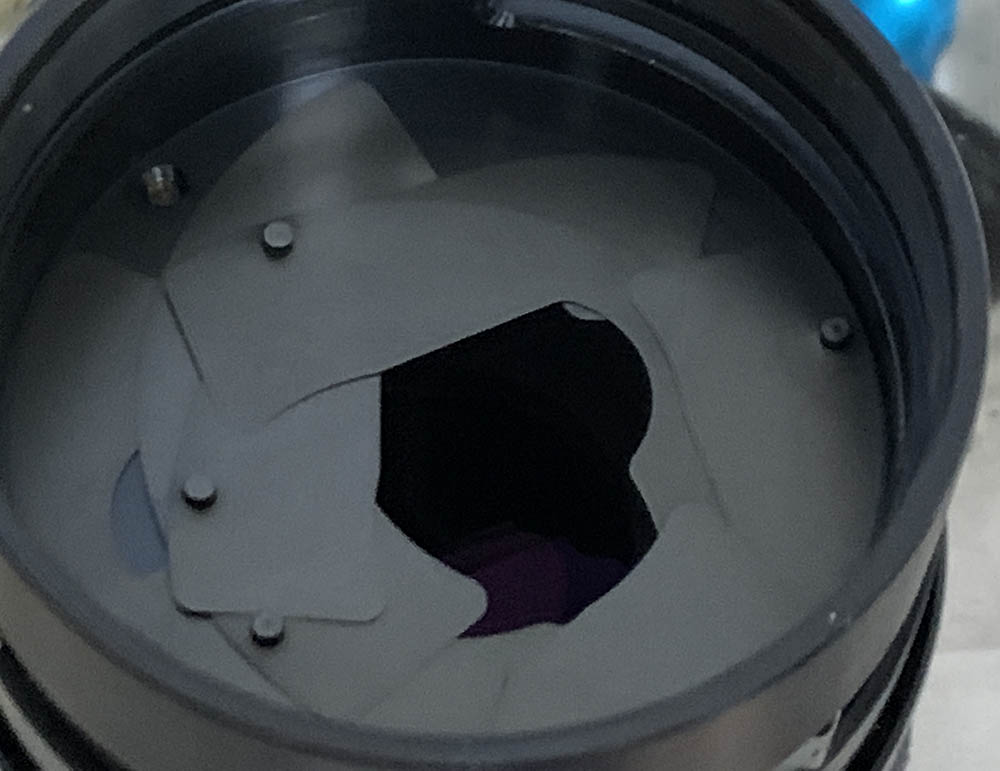
Take a photo of the iris so you’ll know how it looks like originally. Carefully remove each leaf, make sure that you don’t damage any of these because they’re delicate.
Carefully loosen this so you can unscrew the mount.
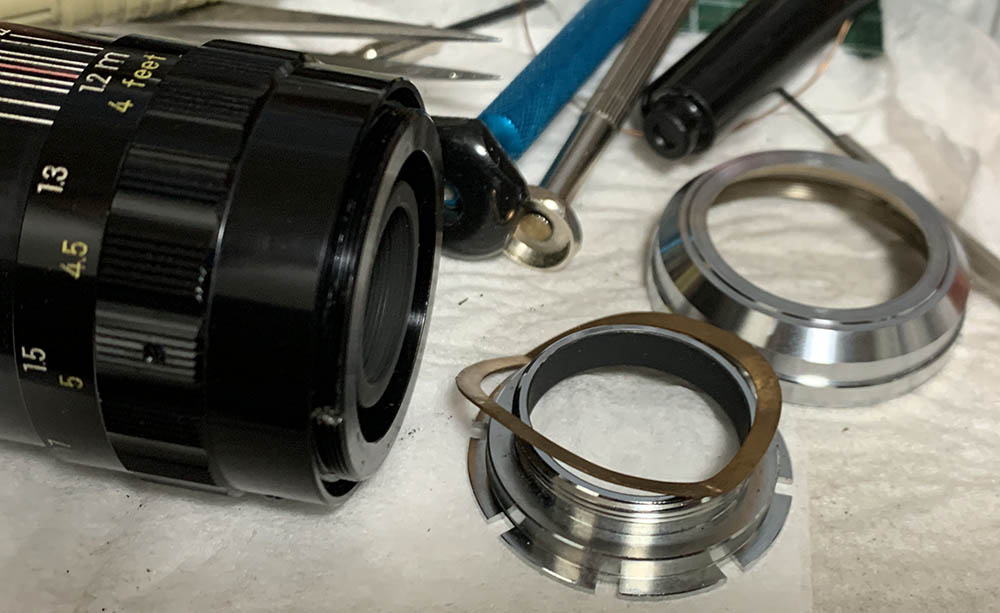
Dismantle the rear and clean everything very well since these are usually greasy.

This is probably a good time to document the length of the main barrel. Turn it to infinity and measure it carefully, you should be able to reproduce this later.

Extract so you can turn the helicoids beyond the focusing range.
Collapse the helicoids all-the-way and note its alignment, mine stopped here.

Loosen the screws of the focusing ring then pull it off from the rest of the barrel.
Extract this so you’re able to turn the helicoids freely.
Unscrew the front helicoid until it separates. Don’t forget to note where they parted since it’s also the same spot where these should mesh. Many people forget to do this so they get stuck guessing where these should mate. To prevent this from happening to you read my article about servicing helicoids and follow my guide really well.
Collapse the central helicoid, don’t forget to note it’s alignment, this should help you during reassembly.
Separate the central helicoid and never forget to note where it parted.
Extract this carefully so you’ll able to remove the lower helicoid from its housing.
Cleaning everything carefully and never leave any residue.
Extract these to remove the sleeve from the objective’s housing, don’t forget to note its original alignment.
Set the sleeve aside and clean it very well.
Unscrew the housing of the rear group with a rubber tool to remove it from the objective’s housing.

This retainer secures the rear group, it’s difficult to remove, so never bother unscrewing it unless you have to. You’re able to clean both sides of this element anyway so that should make things a lot easier for you.
Carefully clean the helicoids with strong toilet detergent, brush them well and rinse them in alcohol, that will remove any residue. Use a type of grease with medium consistency, never apply more than you need because that will end up in the iris, and you will end up taking this thing apart again.
Conclusion:
I had so much fun working with this lens, not only because I have always wanted to work on one, but also because I learned some new things while servicing this rare lens.
Just before completely reassembling your lens, you will need to calibrate its focus according to what you are going to use it with. For example, I mostly use my Cine-Nikkors with my Nikon 1, so I’d prefer to use a camera that I shoot with and the adapter that I will most likely shoot it with. This will make sure that any adjustments will be true in reference to my setup. To know how I do this, read my article on how to adjust the focus of your lens. This method uses readily-available equipment with a minimal setup. Sure, it is not the best, but it gets the job done most of the time, specially for people who do no want to invest more.
Thank you very much for supporting my work through the years. I’m trying my best to bring you the best content on this specialized topic, but I am also a busy person. Moving to another country also means that I lost many of my important assets, which means I will be posting less often than what you are used to. It is also more expensive, and not as convenient/fast to get things developed and scanned here. That is an important factor in how I produce my content. You will also need to understand that this country is mostly covered in snow around half of the year, which means less chances to do some real photography. I don’t shoot boring charts here. Again, thank you very much for everything, and do no forget to support this, it’s a unique resource, which I am proud to say is the best of its kind.
Help Support this Blog:
Maintaining this site requires resource and a lot of time. If you think that it has helped you, or you want to show your support by helping with the site’s upkeep, you can make a small donation to my paypal.com at richardHaw888@gmail.com. Money isn’t my prime motivation for this blog, I believe that I have enough to run it, but you can help me make this site grow.
Buy me a roll of film or a burger?
Thank you very much for your continued support!
$2.00
Helping support this site will ensure that this will be kept going as long as I have the time and energy for this. I would appreciate it if you just leave out your name or details like your country’s name or other information so that the donations will totally be anonymous. This is a labor of love and I intend to keep it that way for as long as I can. Ric.

Sep 02, 2023 @ 14:11:05
Left you a tip as I smoked a bowl of my home grown… bravo Rick.
…Toby Fitch