
Hello, everybody! Do you remember “Magical Princess Minky Momo” (魔法のプリンセス ミンキー モモ)? It’s a famous cartoon about a magical young girl that has the power to transform into an adult version of herself to solve problems encountered in her city. The show is revolutionary, it gave us the new genre of “magical girls”, young girls that can do amazing things, which set a new trend at that time. The show did not last very long and it ended with the tragic death of the poor princess, only to be reborn as baby. That last episode is considered “cursed” in Japan, because tragedy would follow each time it was aired. Today, I will introduce to you something revolutionary, and like Magical Princess Minky Momo, it didn’t last a long time in production. But there’s a difference, this is not “cursed”, it was hailed to be the lens that changed the public’s perception about zooms, in a way, you can say that it dispelled the said “curse of the zoom”.
Introduction:
The great Zoom-Nikkor 28-45mm f/4.5 K was sold from 1975, it was replaced by the similar Zoom-Nikkor 28-45mm f/4.5 Ai which was sold until 1978. It set a new milestone, it is the first true wide-angle zoom by a major company that went into production. It was hailed as an engineering breakthrough back then and it helped change the bad reputation of zoom lenses had until that time of being poor performers and the tendency of having wild distortion at either end of the focal-range.

The barrel is compact, but dense. Unlike many Nikkors of this period, it does not have distance scale. The filter size is 72mm, quite huge compared to its peers. The minimalist configuration makes it look akin to a modern lens made in the 1990s, but no, this is a lens that was designed during the early 1970s.
It has a complicated design (for its time) of 11-elements-in-7-groups, and it also has some kind of floating group gimmick implemented, very much like CRC or Close-Range Correction to help correct optical flaws as the optics’ spacing changes when you zoom. I’m actually impressed by how well this lens was designed when I took it apart, so much care was put into such a little lens, it made it look more like a puzzle. You’re given the impression that this is a premium product that was targeted at professionals, it is really a marvel of engineering in many respects, many people hailed it as a triumph in lens design, which I think it is. You will see just how elegant the interior is later in this article. If you want to learn more about its history, read the excellent article by Sato-san.

Handling is quite nice, it has some heft to it but the weight is balanced evenly across the barrel. There’s 3 rings to operate here and they are easy to identify by touch. The front does not turn when you focus and the barrel won’t change its length, too. This is very convenient when using circular polarizers and makes the lens more rigid. Once cool feature of this lens is how it’s able to focus really close (0.6m), something that was considered revolutionary at that time, which we all take for granted these days.

It’s not common to find a 3-ring Zoom-Nikkor from the same period, I don’t know the exact reason why it was made like this, perhaps it has something to do with the complexity of the internal mechanisms? Many zooms from this era are pumpers (push-pull), which is nice for shooting action but not so much when you need your setup to be stable, like in a studio or when shooting landscapes, could that be the real reason?
Learning how your lens performs is the key to maximizing it. You will learn how to utilize its strengths and avoid its weaknesses. This knowledge helps in determining which lens to bring on an assignment. I shot these from f/4.5, f/5.6 and f/8 since these are the most common apertures that people would want to use it. The photos were shot with a Nikon Df, some of the photos were cropped close to 1:1 magnification so we can see the details better.

(Click to enlarge)
Distortion is pronounced at 28mm but the profile is not complicated at all, it can easily be fixed in post. At 35mm, the distortion gets a bit shallower and the profile looks a lot simpler. Interestingly, at 45mm, you’ll see the same barrel-type distortion associated with the wide-end of zoom lenses instead of the negative, pincushion-type that we all expect. I am not an optics engineer so I cannot explain this so just take it as it is. In its day, this lens had the reputation of being the least-distorting zoom, that’s true if you compare it with the Zoom-Nikkor 43-86 f/3.5, but not so much these days. I can confirm that it does look nice when you think about how zooms performed in this context up until the 1990s. Since this used to be a popular lens for news, I suppose the distortion it’s not so much of a problem for that type of photography. If you are shooting art or architecture, stay well away from this.


(Click to enlarge)
Vignetting is severe wide-open, which gets better by f/5.6 but it still persists even by f/8. This isn’t so bad at all but I was expecting to see something better. All of this is saying that the lens will never have enough light at the corners, which means it will always have sub-par performance in those areas even if you have stopped it down to f/8, we know more as we get into the sharpness test portion of this article.


(Click to enlarge)
The blobs look typical for a lens of this vintage and class, meaning they look horrible. There’s even a huge ring formed in one of my photos! Totally unacceptable by current standards. Other than that, it performs quite well in normal use-cases. Flare can be observed as well, nothing more to write about it. It’s simple to avoid the blobs from forming in your photos, but just be aware of it, using a hood won’t help much, too.


(Click to enlarge)
The character of the bokeh is not as good as what you would get from a prime lens, it ranges from ugly to somewhat mediocre, depending on what’s in the frame. It doesn’t look bad at 45mm, just acceptable for most shooting scenarios. Don’t get me wrong, I’ve seen worse, it’s just not as good I was expecting. It is still respectable given the context that it’s the first true wide-zoom from Nikon.


(Click to enlarge)
Chromatic aberration is surprisingly controlled really well, even in very difficult situations. Even in extreme cases, you will only see hints of it if you pixel-peeped. This is very impressive, definitely one of the best I have seen from its class and vintage. This just shows that the designers knew what they were doing, they were targeting the landscape/reportage market, that’s why they have made compromises elsewhere and went all-in on the things that matter more to the aimed demographic.
Spherical aberration is another story, it’s not as well-corrected. Despite that, it’s not at a level that’s ugly or unusable in any way.
This is not related to this section, but I must say that this lens renders colors beautifully, the saturation is nice and the colors look neutral, certainly not cheap-looking even when compared to modern lenses. This is the rendering of a premium-grade lens.


(Click to enlarge)
Sharpness at the center looks good wide-open, but resolution is lacking somewhat, giving an impression that it can be better. The corners don’t look bad at all but definitely not at the same level as the center. It looks even better at f/5.6 where the resolution starts to pickup, resulting in excellent performance at the center. The corners start to look better, too. Stopping this down to f/8 will not make the center look much better than how it performs at f/5.6, you will only notice a small improvement. The biggest differences can be seen at the extreme corners where they start to look much better. My lens appears to perform better at closer distances, but the performance at infinity doesn’t look that bad at all. Its sharpness seems to be uniform throughout the whole range, with a slight bias towards the wider-end, up until 35mm. Whatever differences you’ll find, they’re quite minute and inconsequential.
This is very impressive, it’s one of the sharpest zooms I have ever tested, even besting the ones that were made a decade or more later. This is definitely a professional’s tool, not a cheap variable-aperture zoom! I am more than satisfied with the results, it truly deserves the reputation of being one of the best of its era.
Let’s now see photos that were shot in real-world conditions, it’s the only way to test a lens’ performance in my opinion. Simple tests won’t be enough to judge a lens.
This is a great lens for taking candid photos, through-the-hips style. The wide depth-of-field you get from it is useful for reportage.

How this lens renders colors is amazing, there is nothing cheap about how it presents images. The colors look so natural and yet so saturated. The transition between what’s in-focus to what’s blurry looks smooth as well, there’s no abrupt jump, resulting in a nice, polite image.

The focal range is very useful, enabling you to shift from wide to somewhere closer to “normal”. It’s very useful for street photography or taking photos for news. The versatility alone justifies the existence of this lens.

Since it does not have a fast maximum aperture you are required to shoot with a higher ISO when there’s not enough light.

The lens has a certain “warm” character to the photos it creates, not in the color sense, but more on how “rich” the colors look, and how beautiful the tones it’s able to capture.

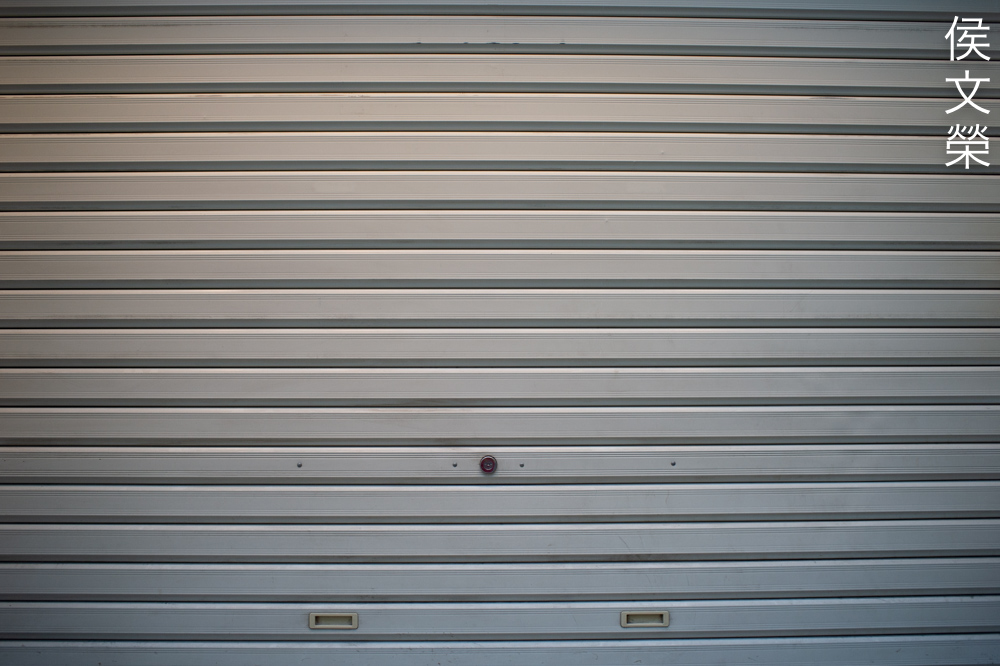
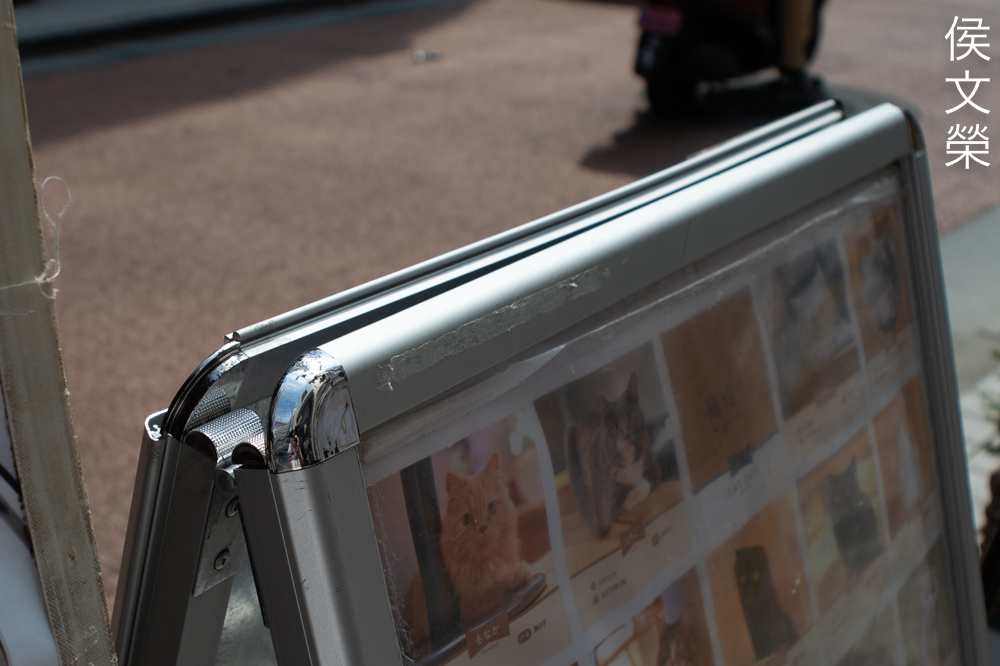
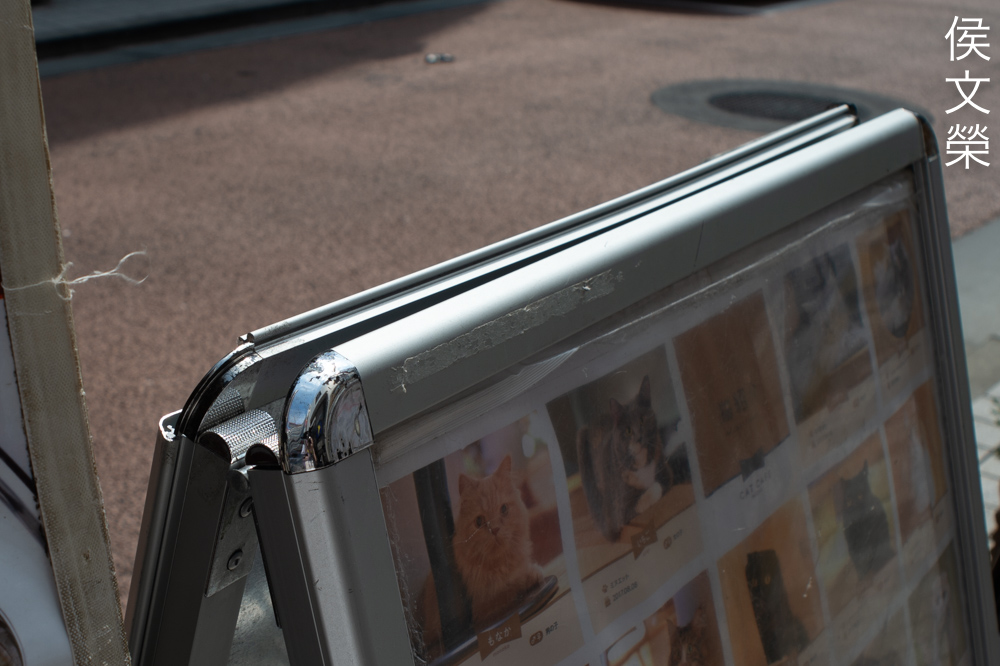
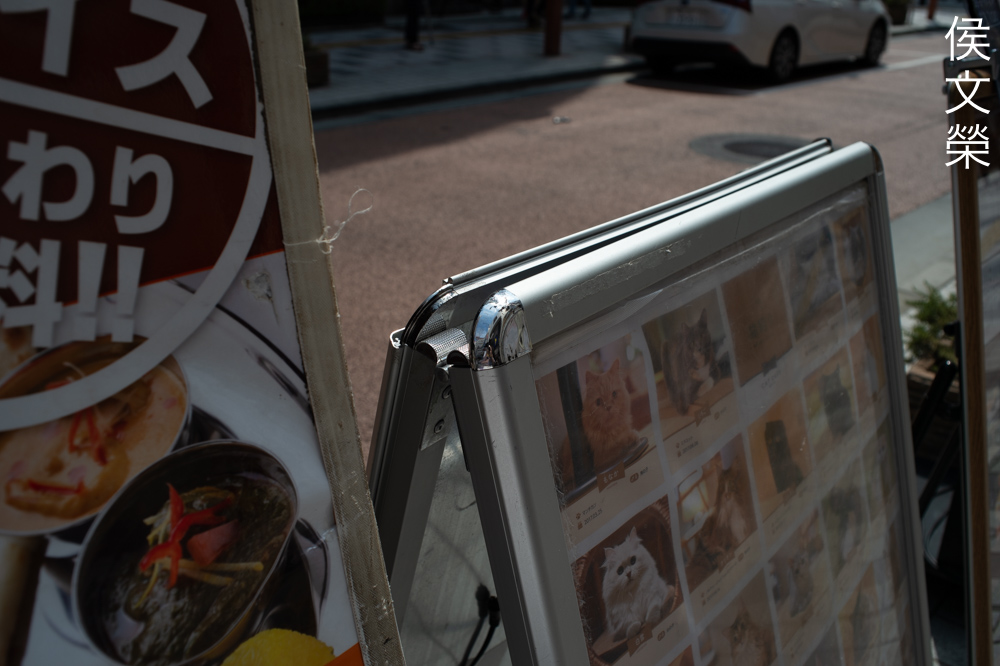
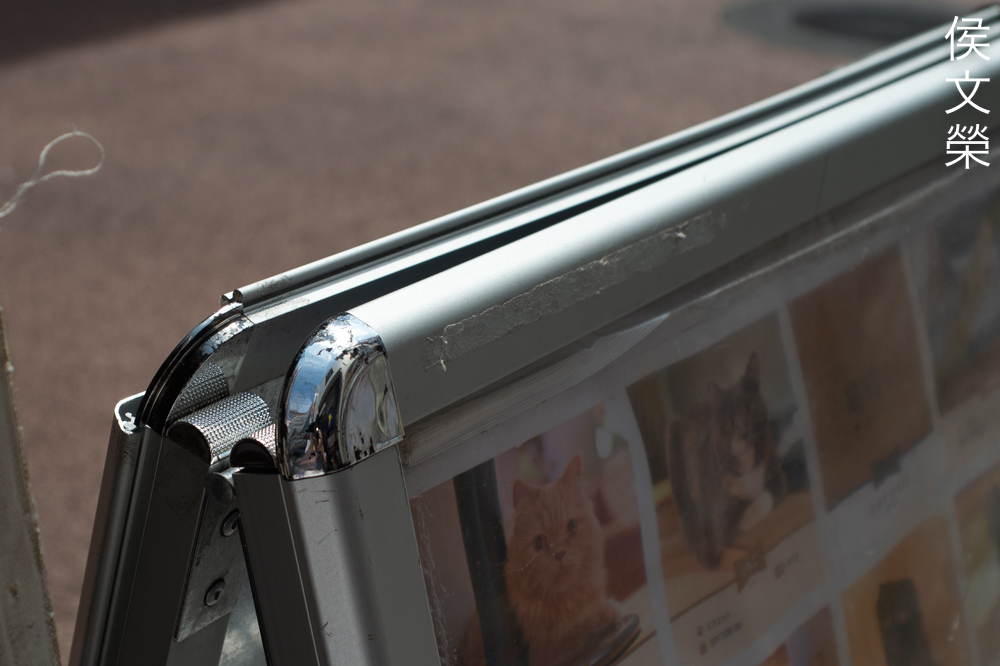
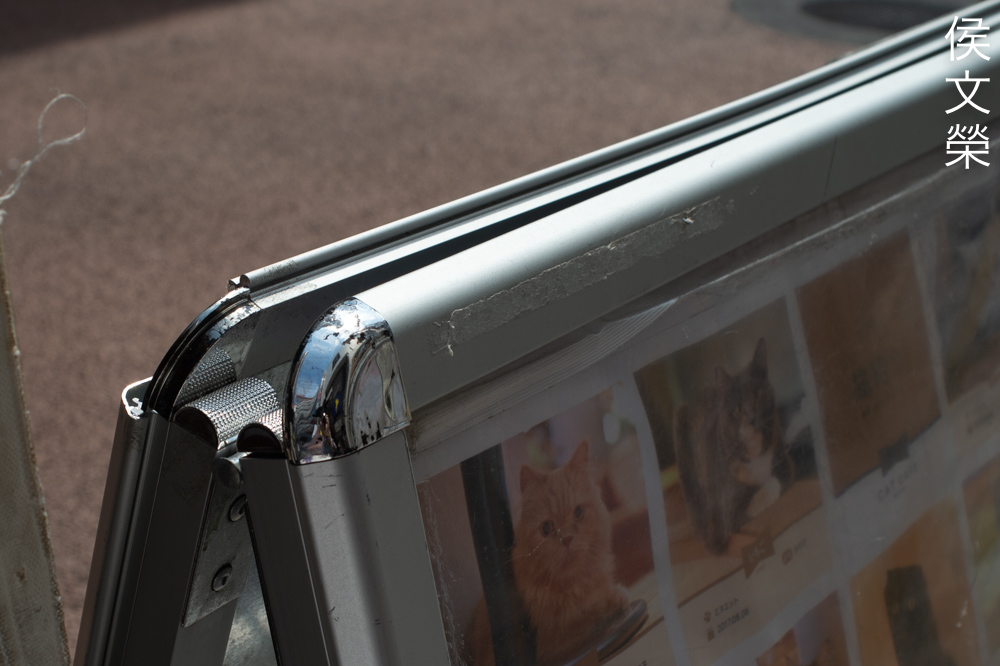
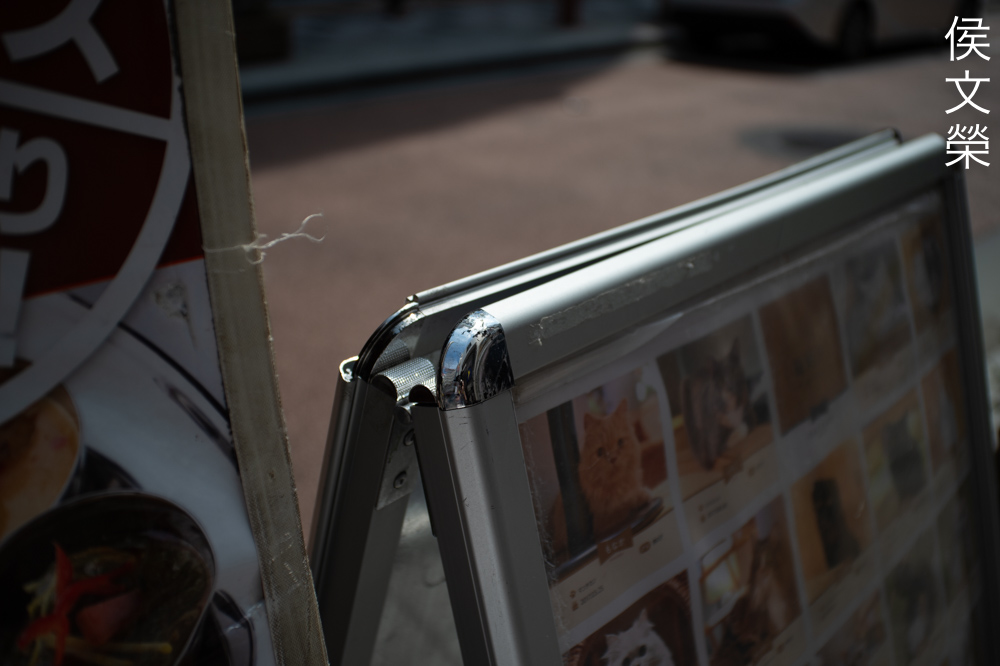
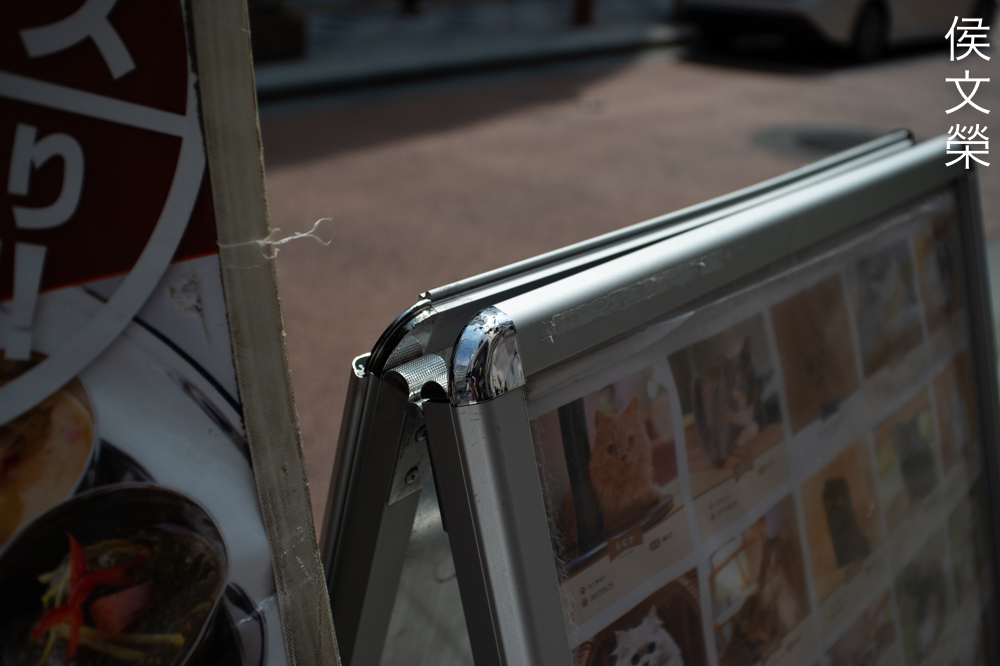
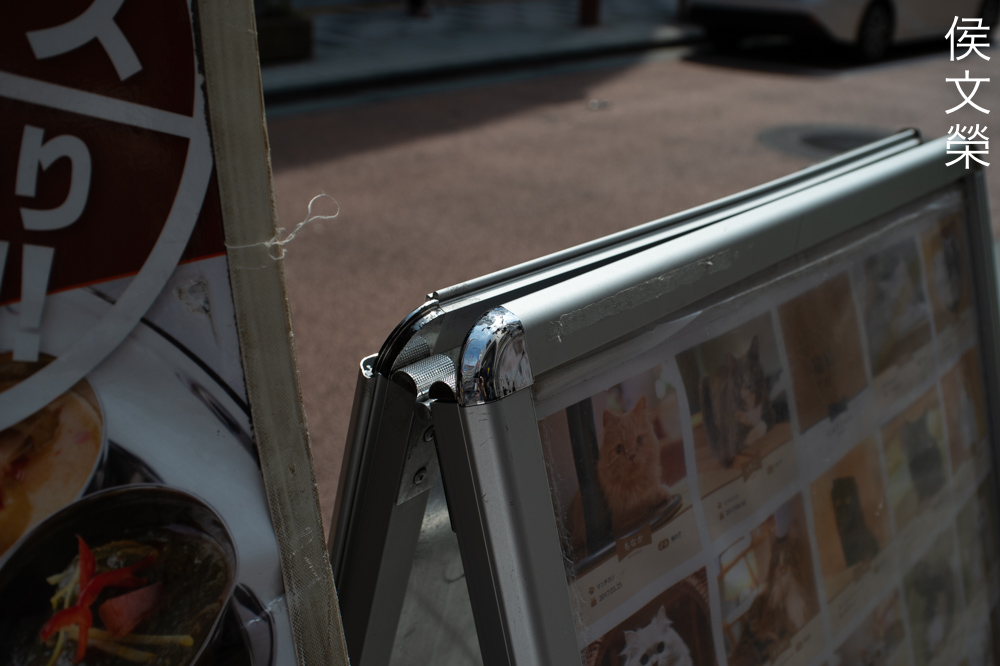
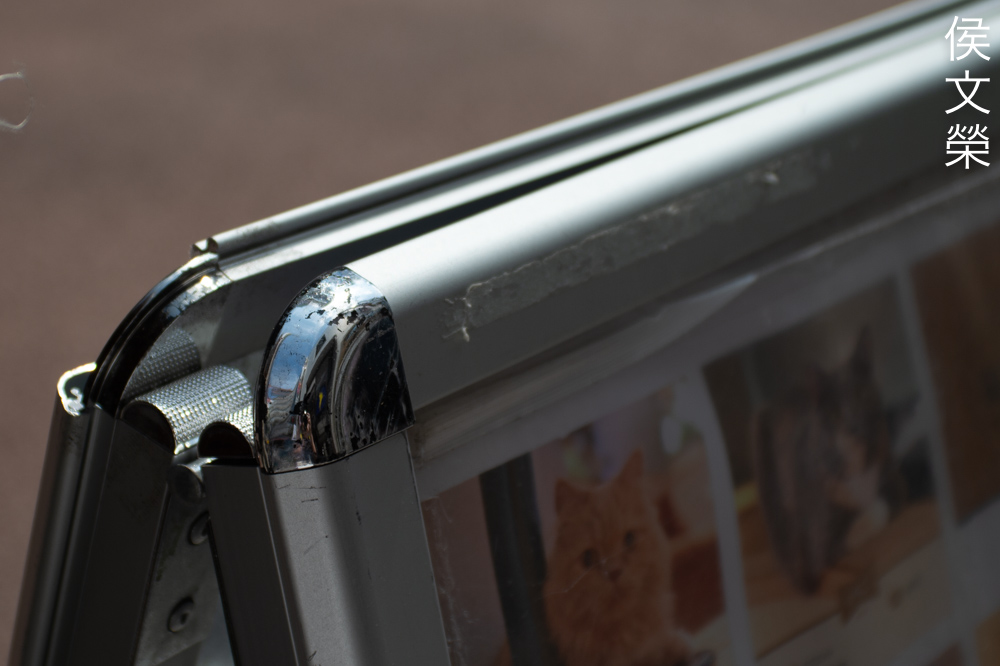
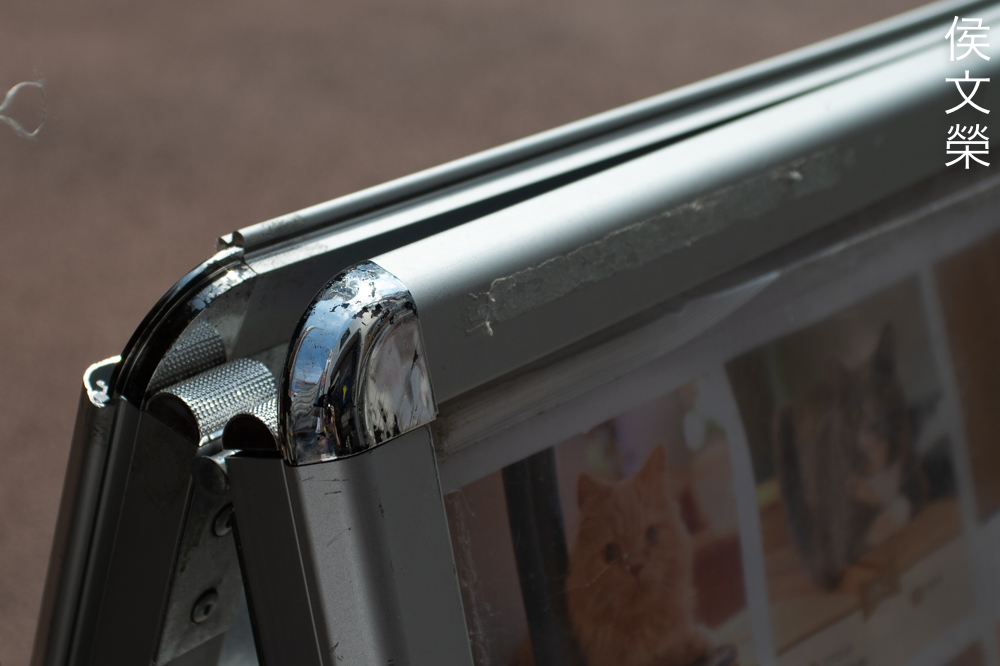
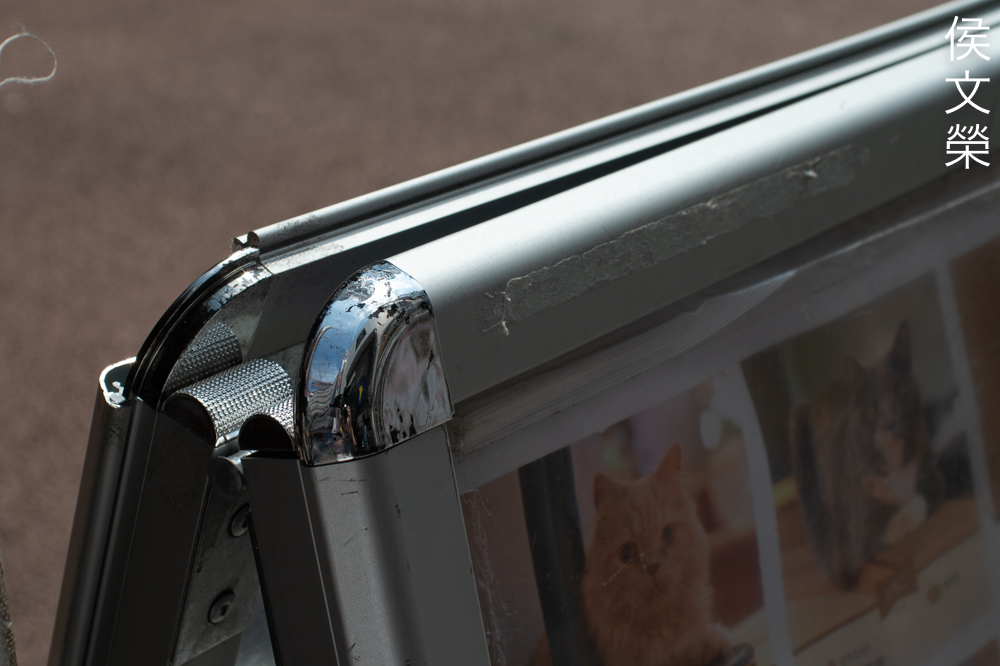
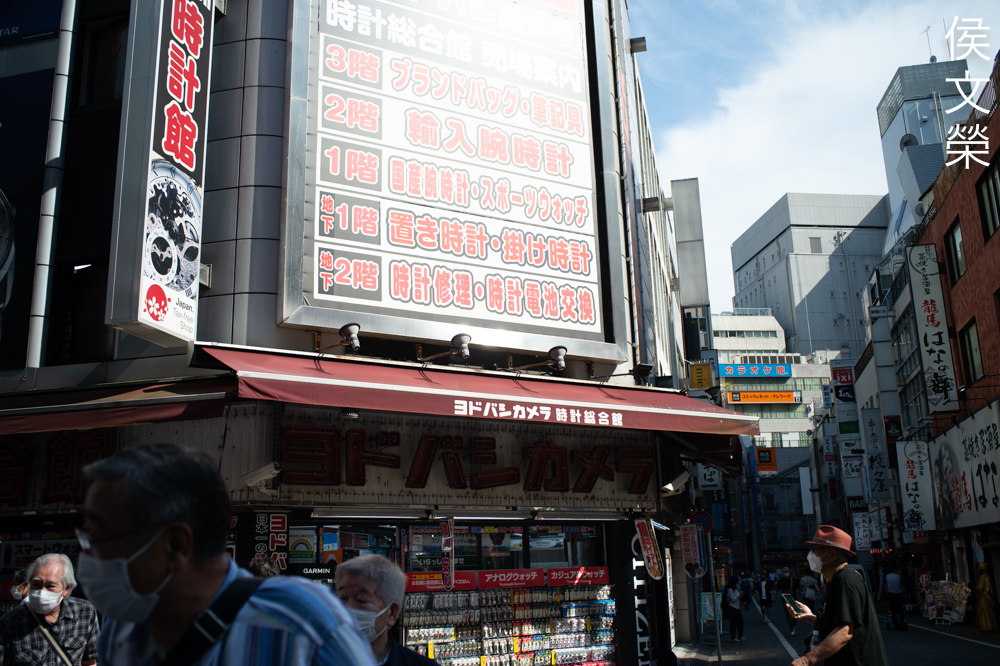
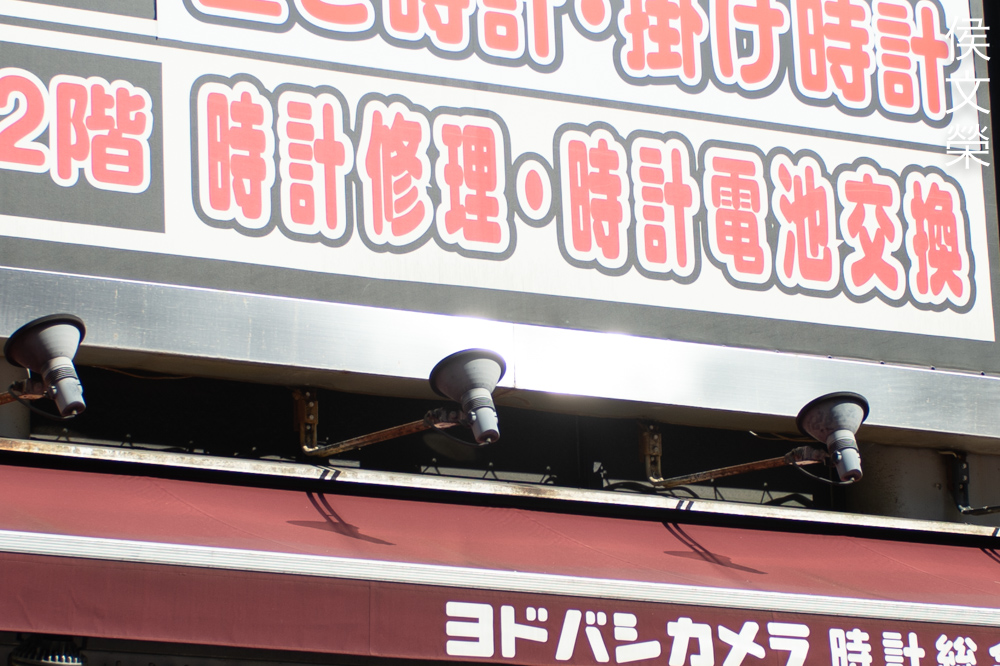
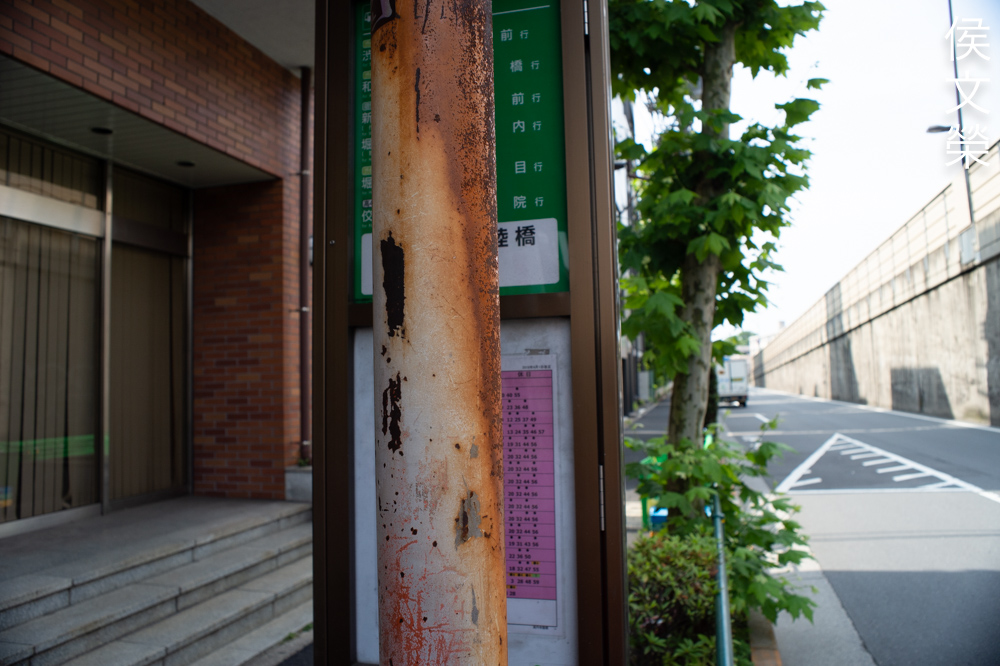
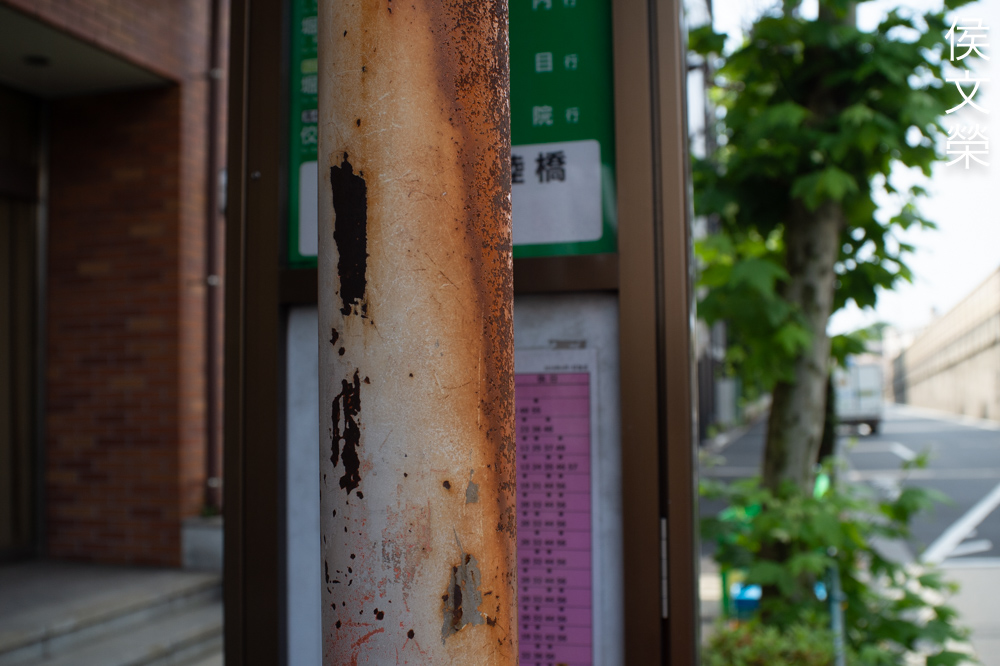
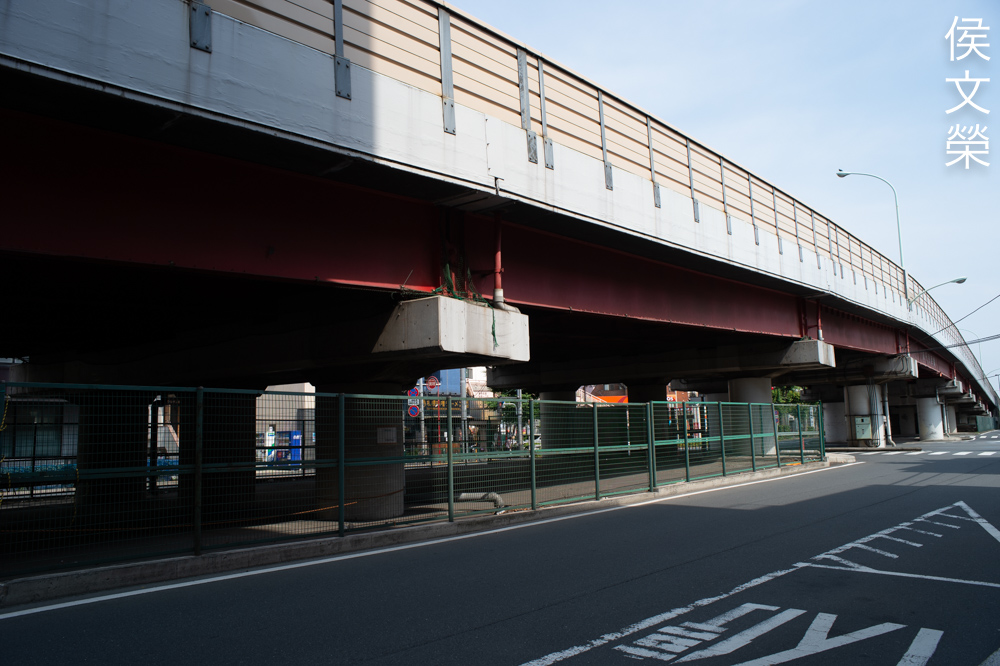
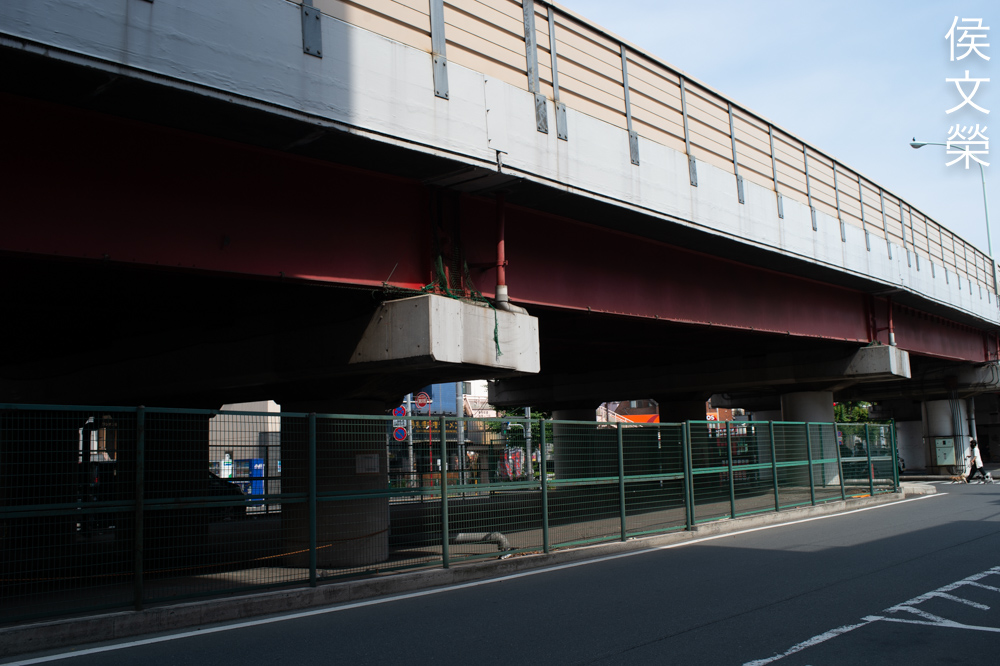
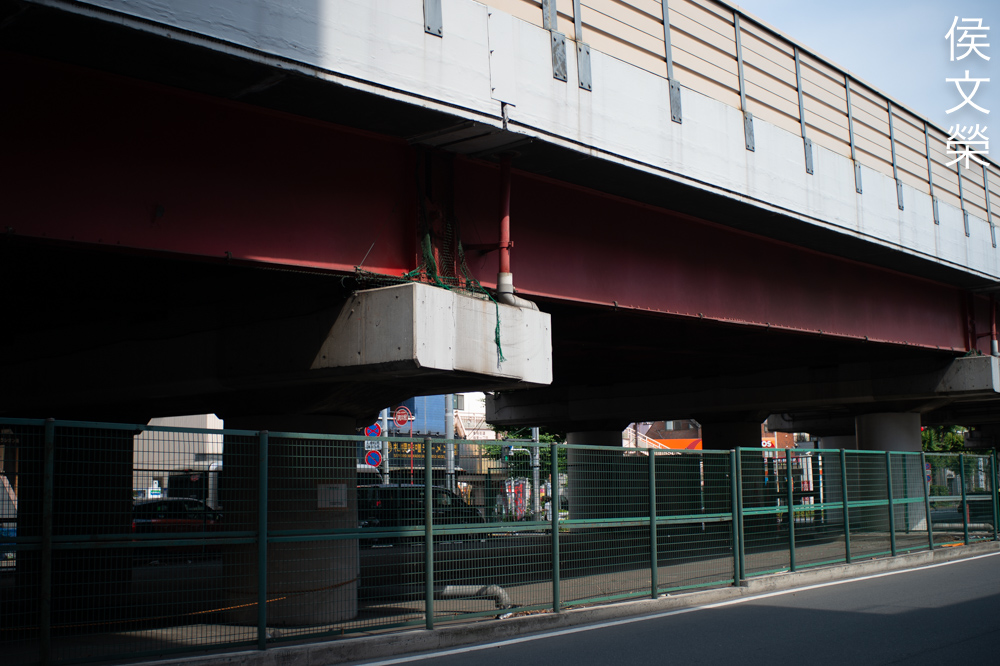
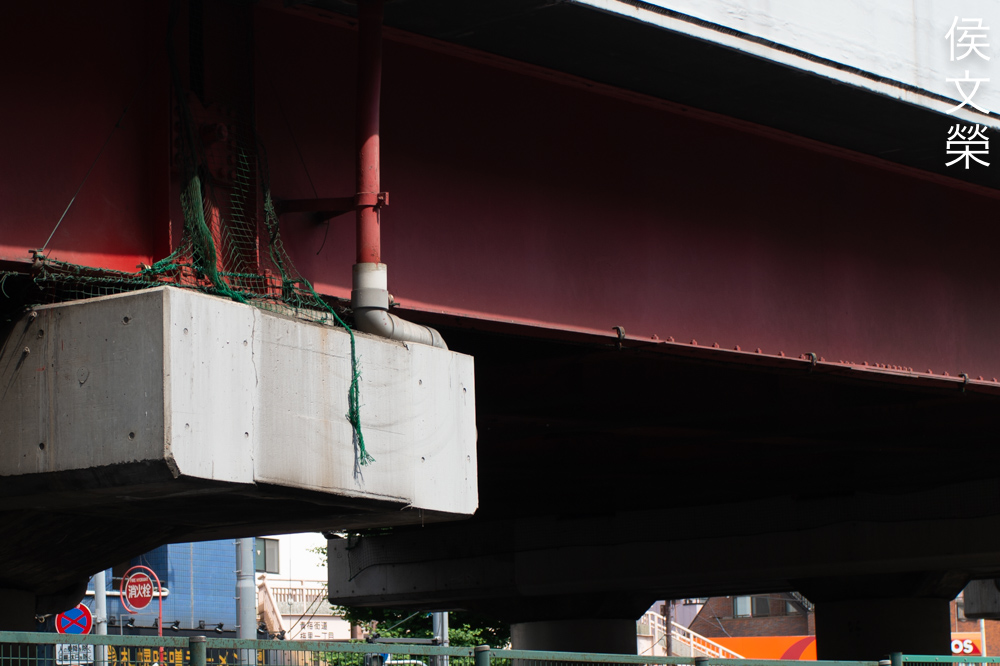
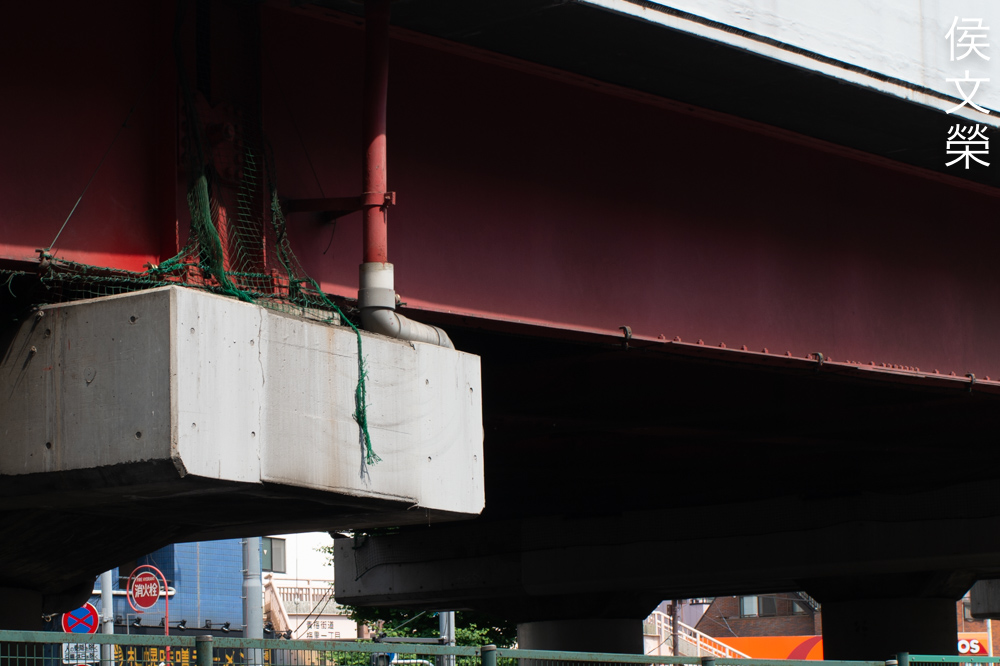
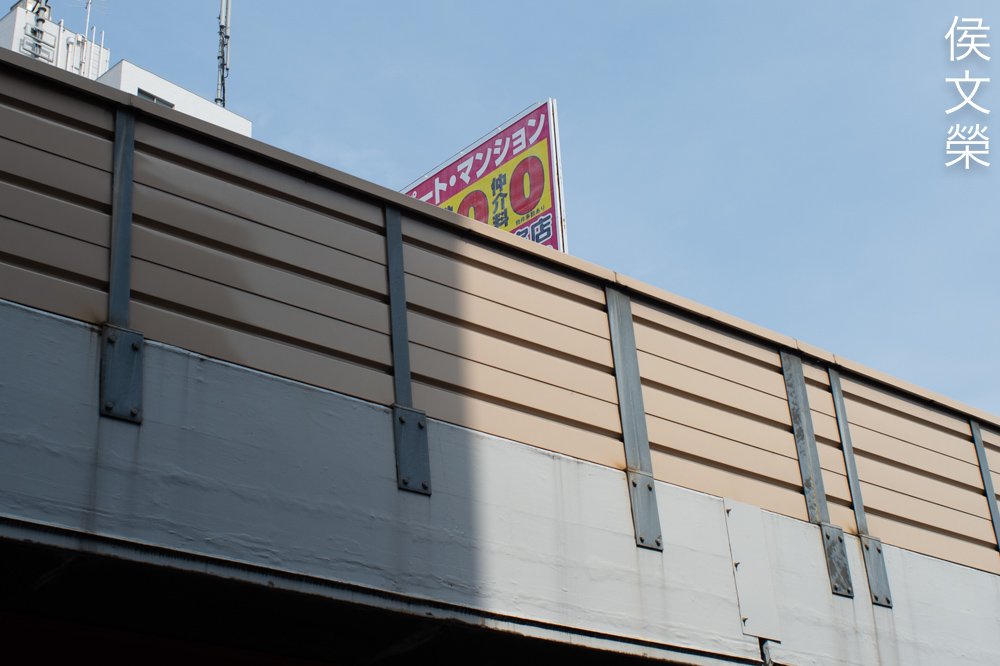
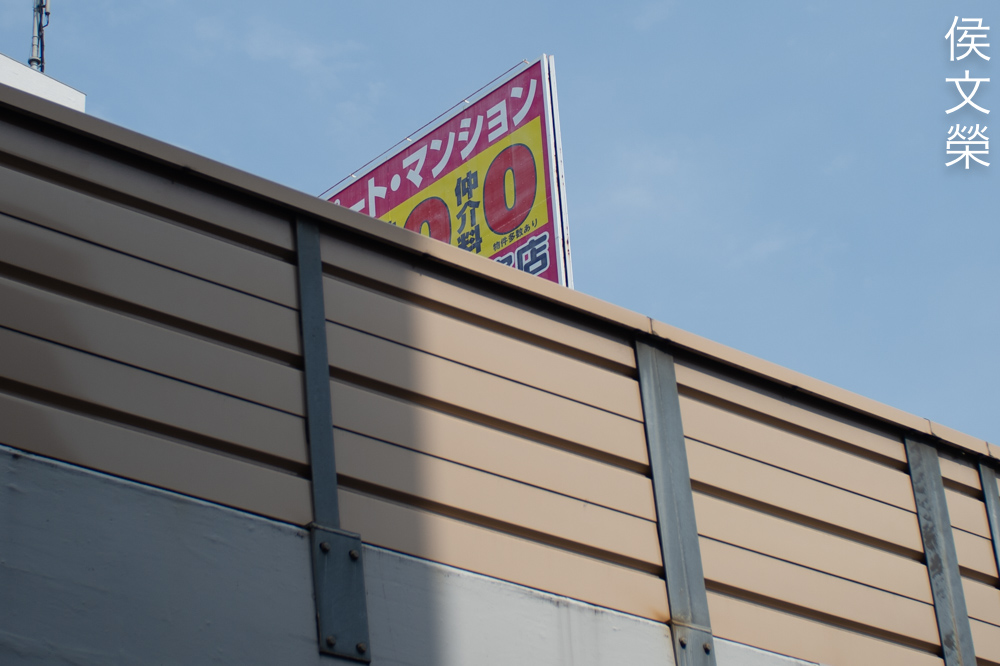
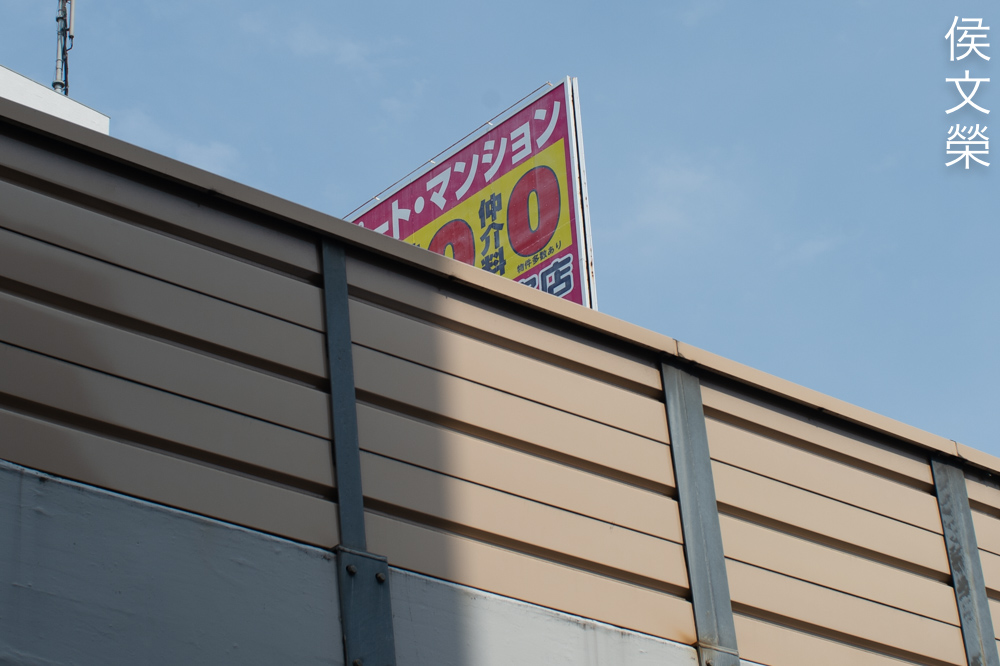
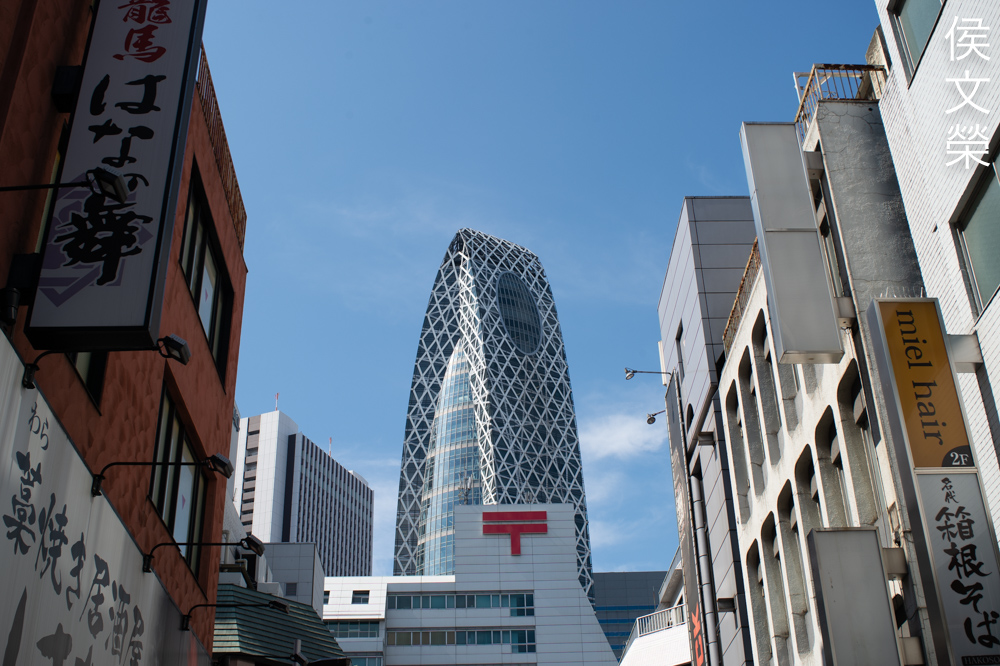
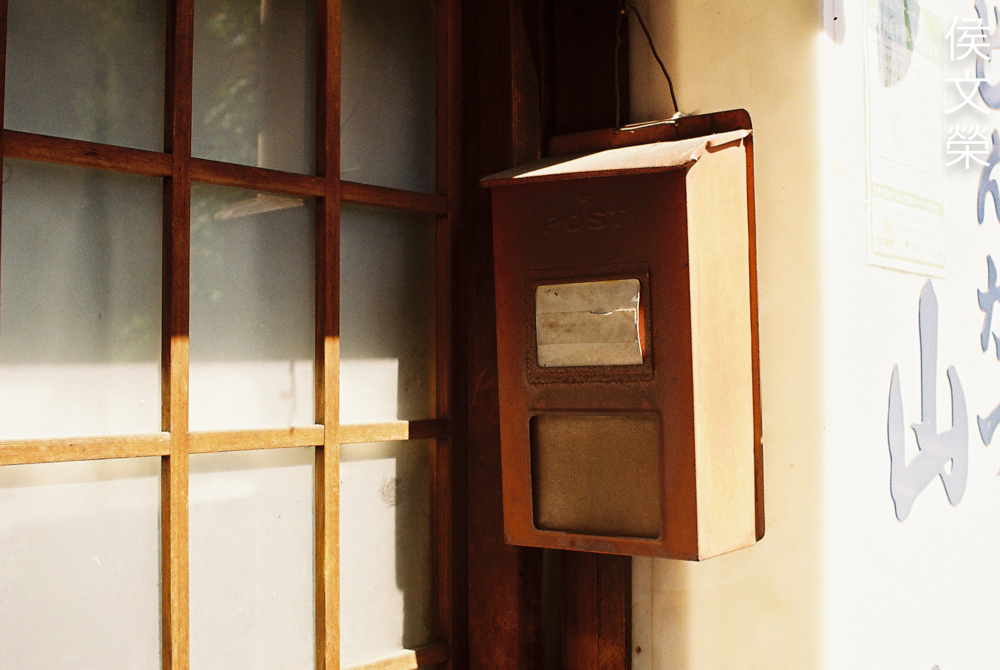
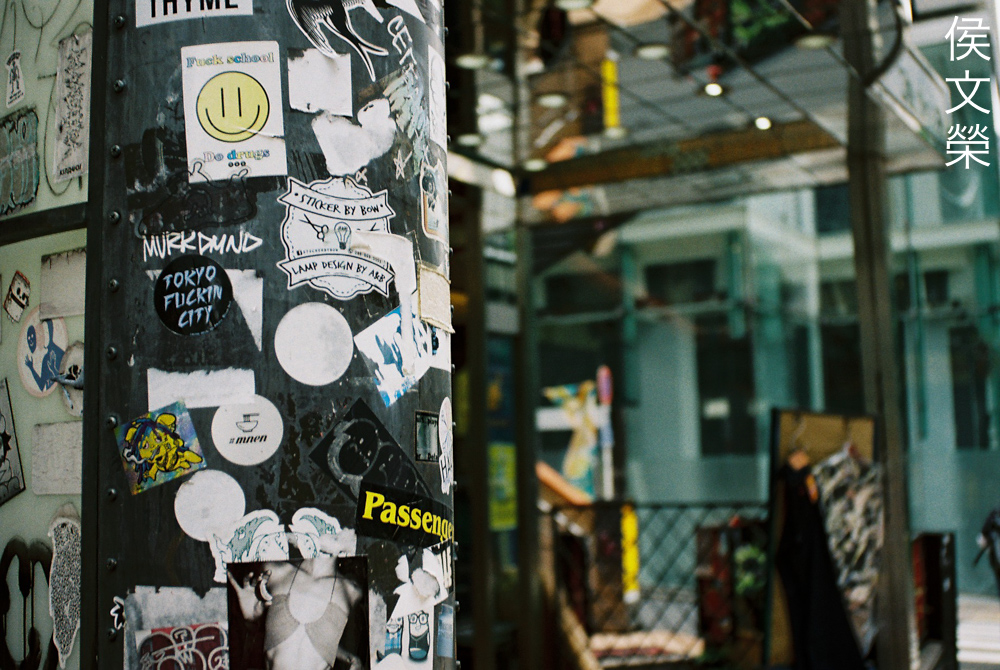
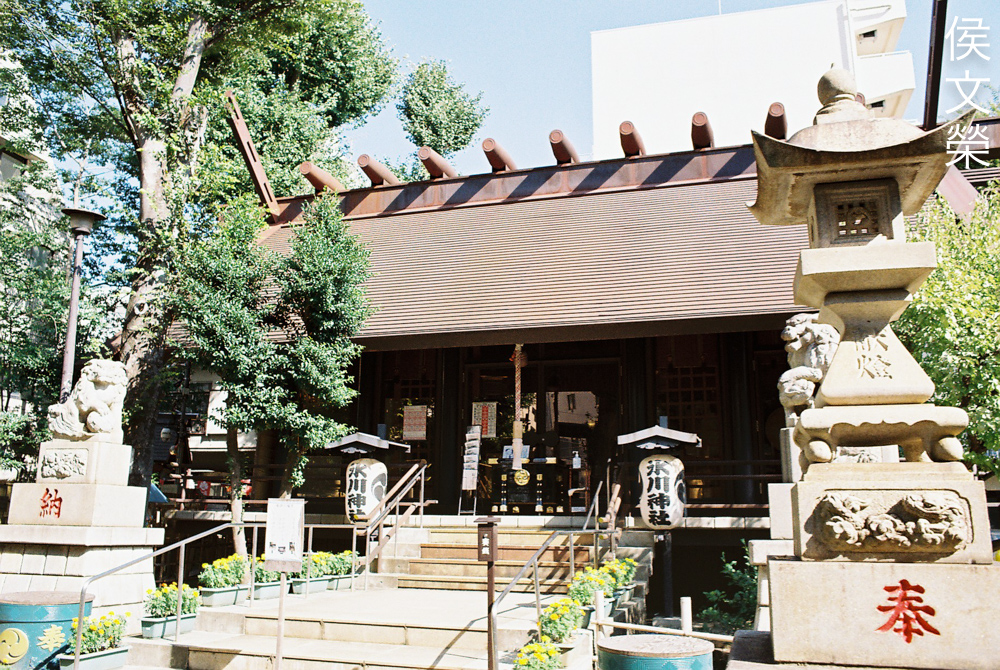
The distortion issue that I was complaining about in the previous section isn’t as bothersome as I thought. In real use, it’s nearly-invisible unless you look for it. You can see that the counter and the metal bars at the top-edge of the frame are curved outwards, I don’t think anyone cares, they’re not distracting.

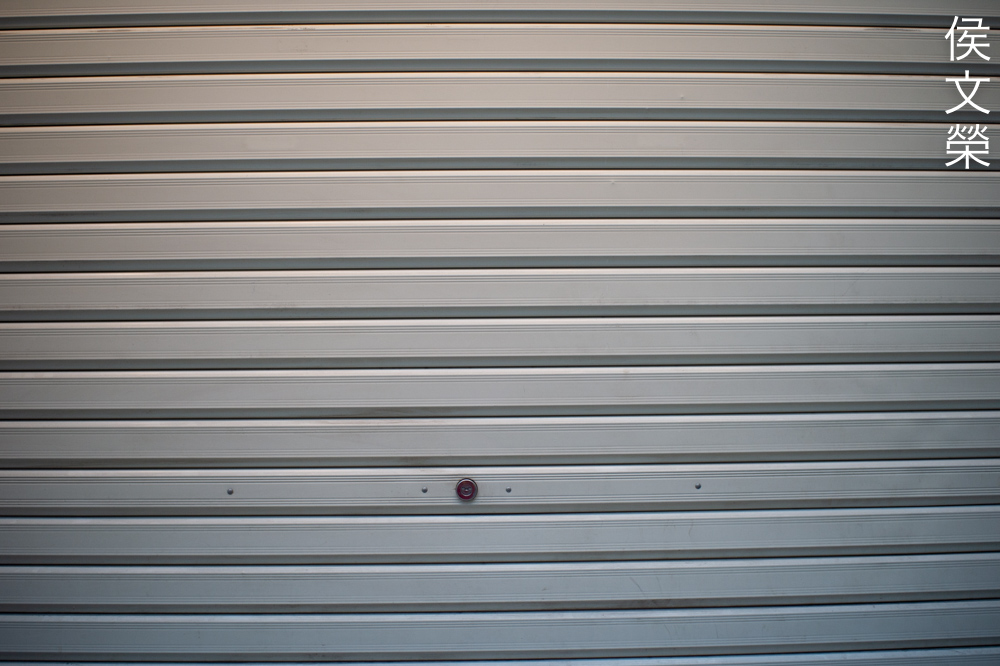
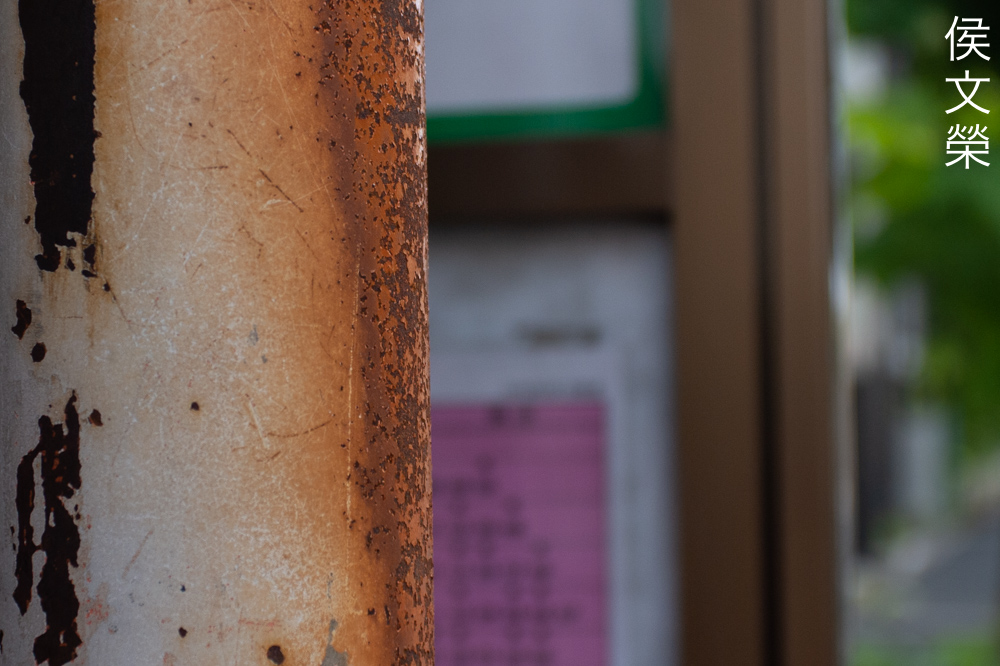
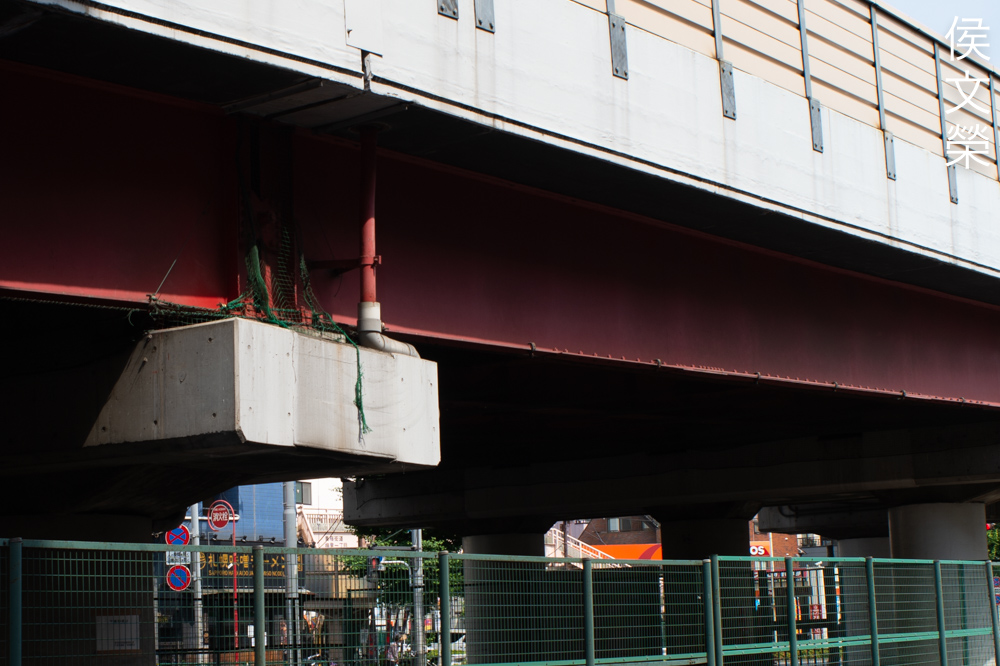
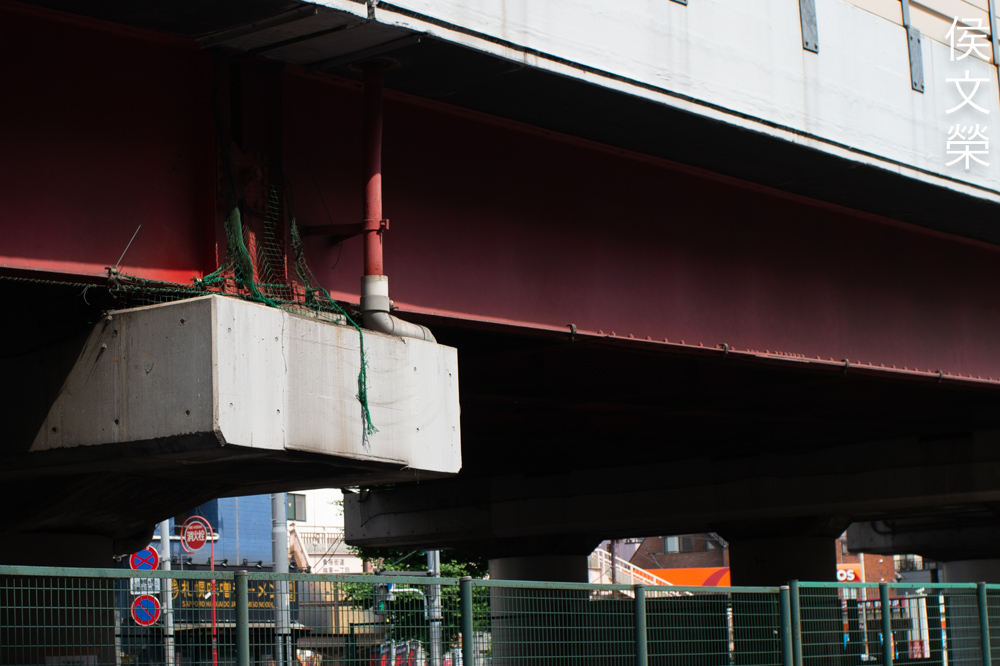
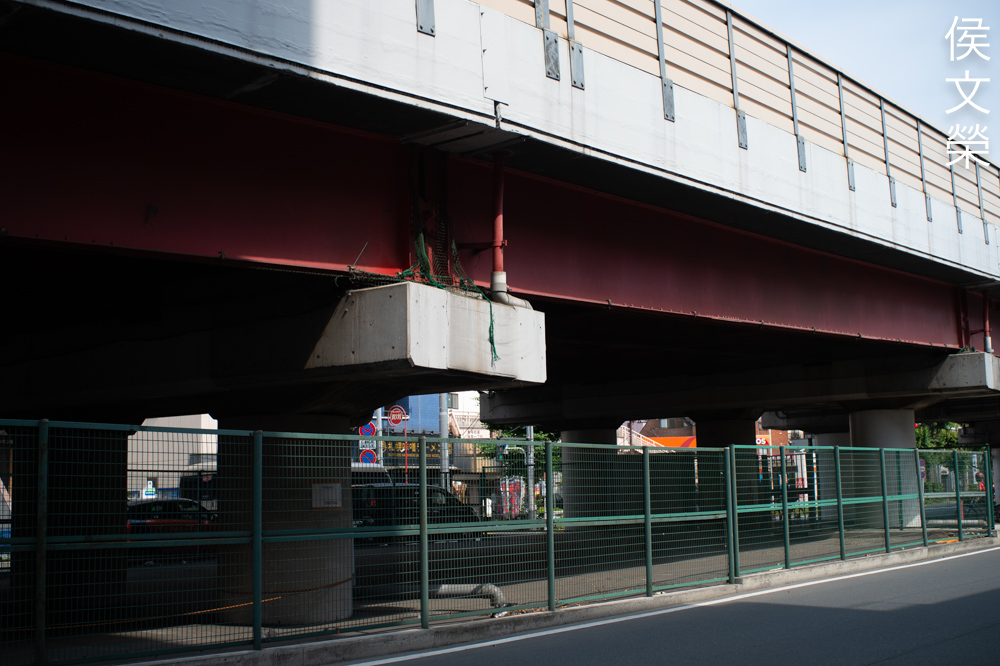
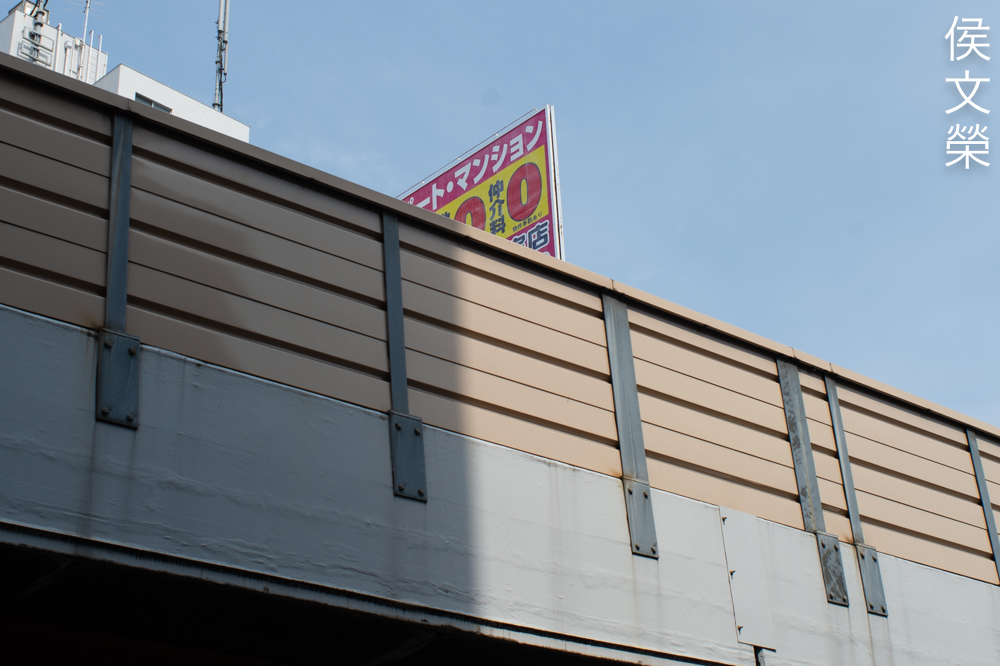
The geometric structure at the ceiling looks distorted, but you won’t notice it unless you look for it.

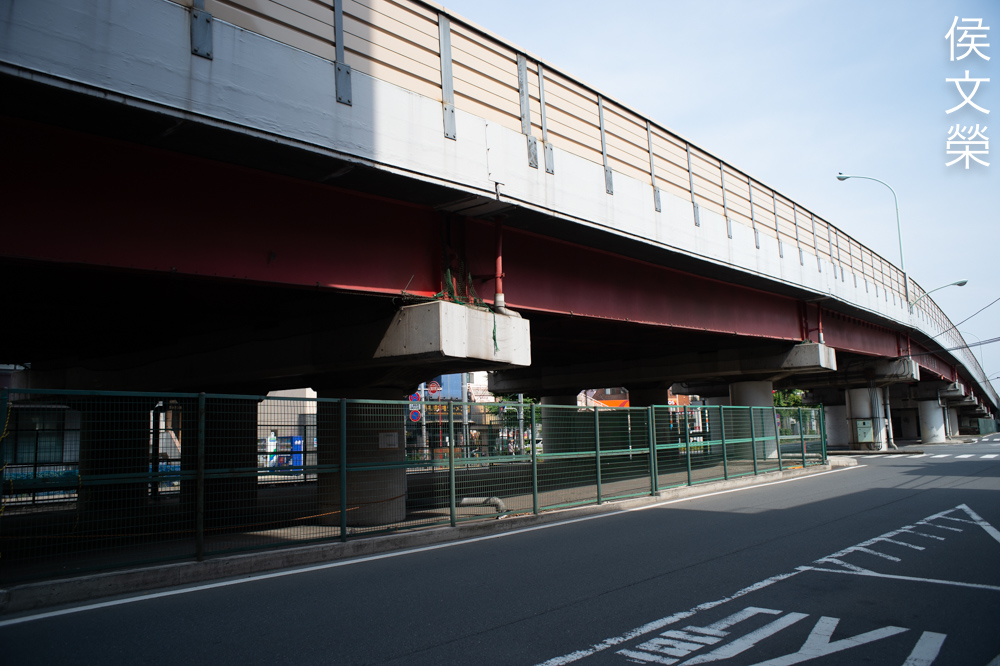
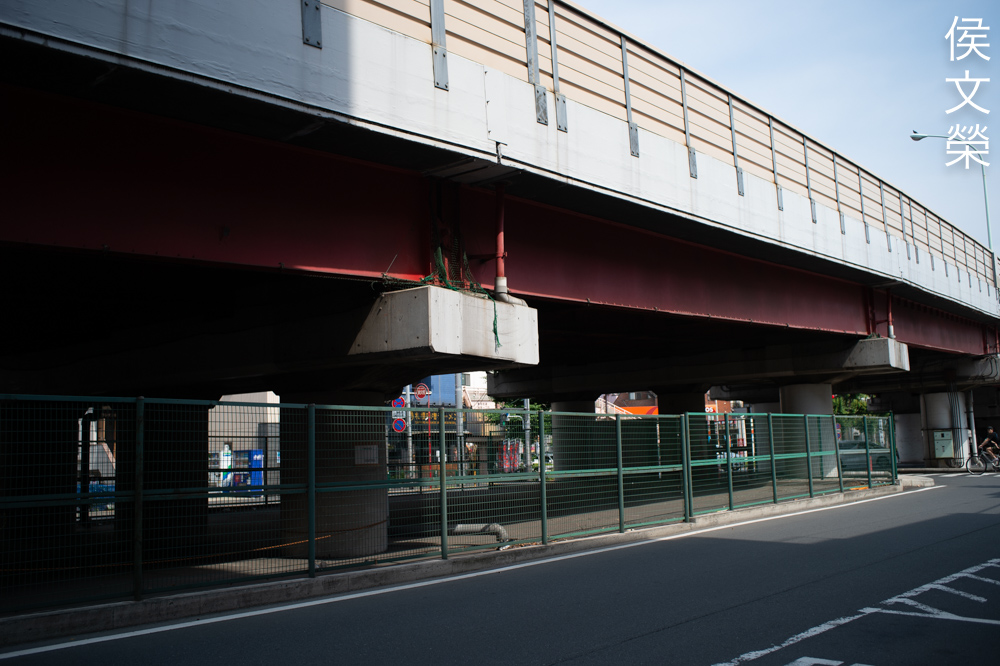
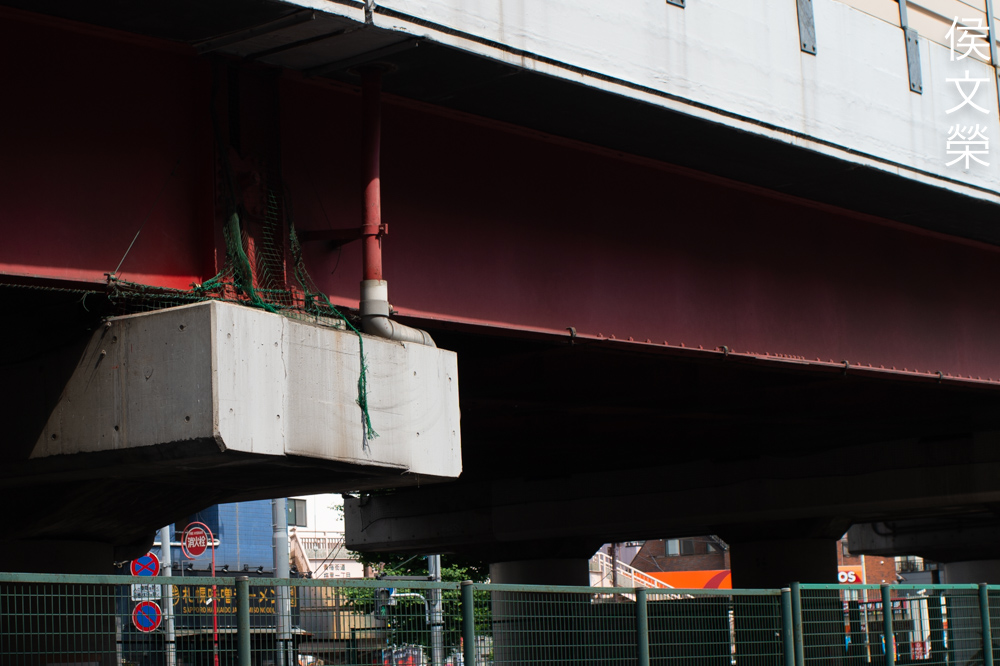
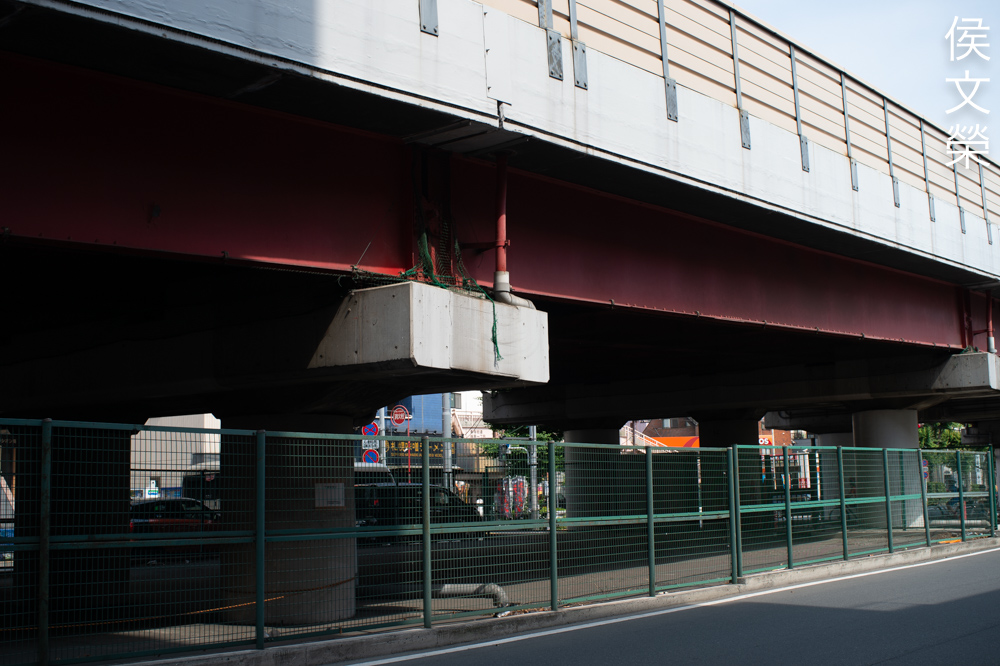
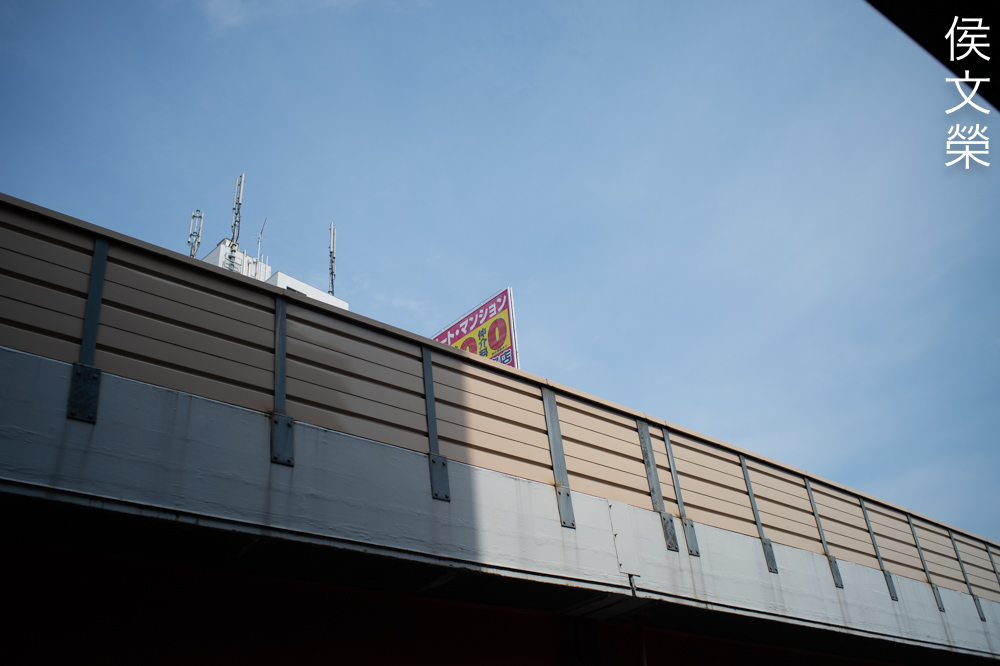
For reportage, the slight curving of the platform means nothing, your editor won’t even know it’s there. It is very good in a utilitarian sense because 28-45mm is a very practical range for news photography.

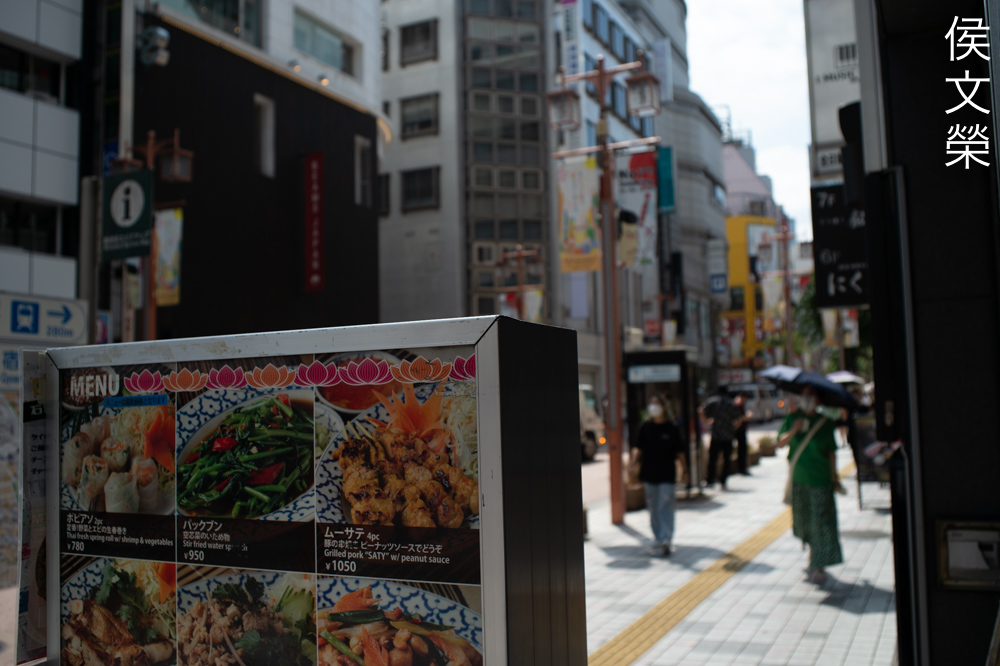
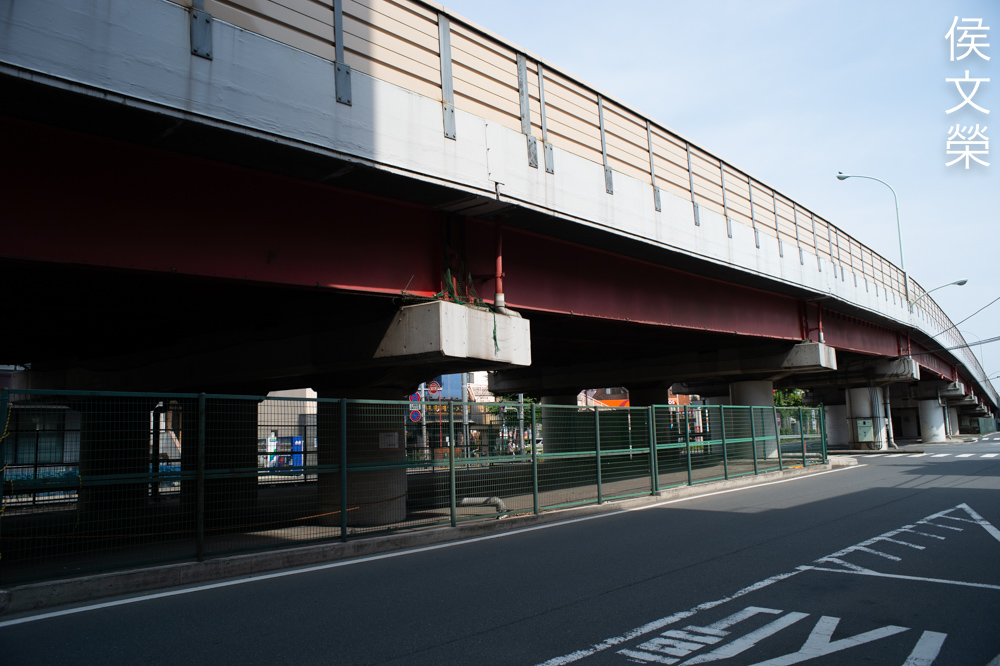
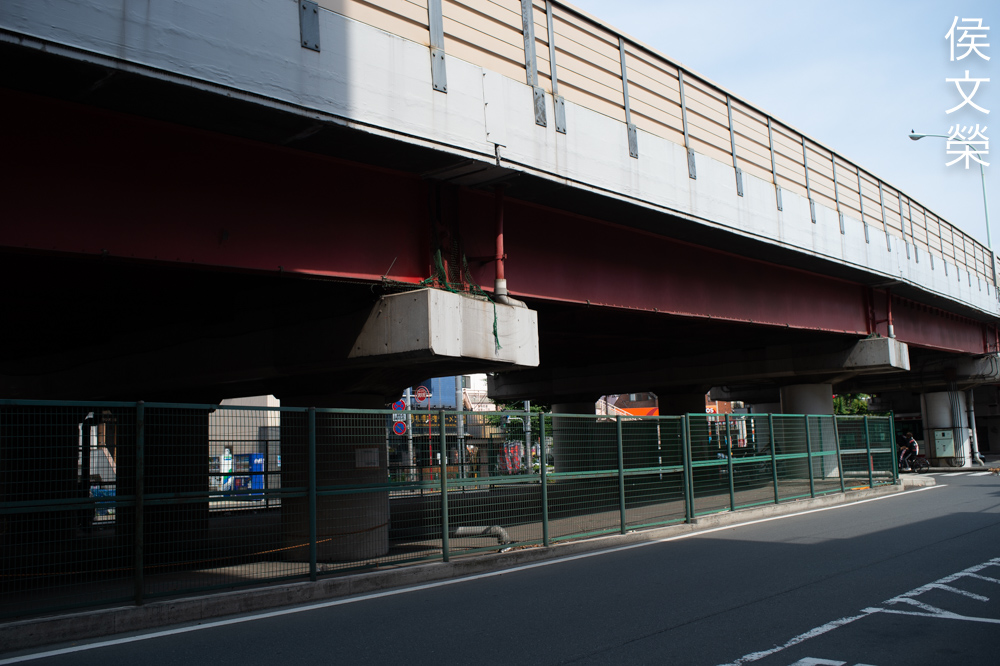
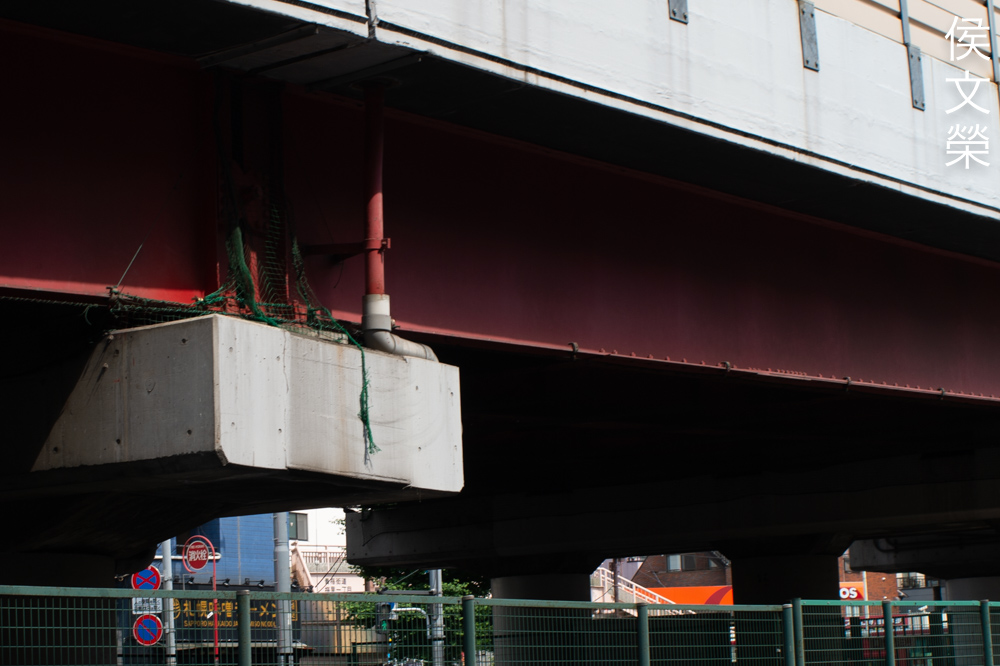
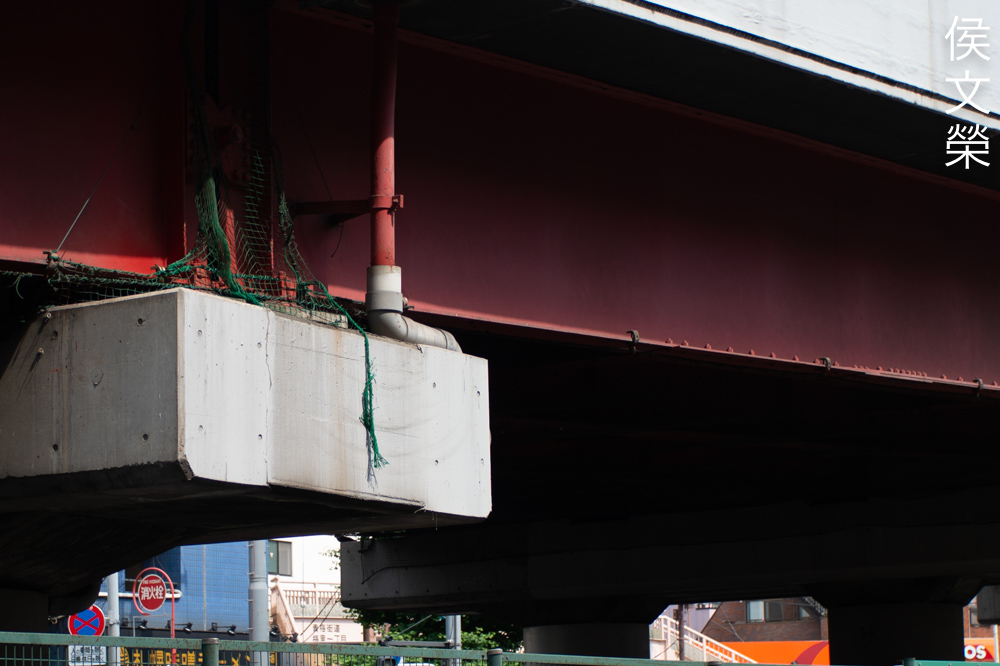
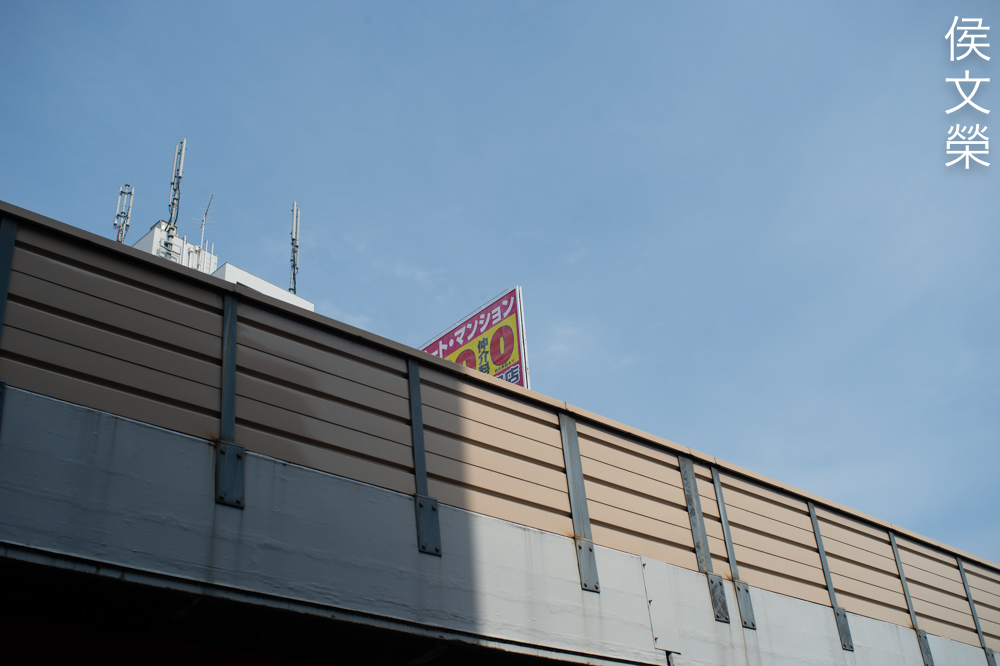
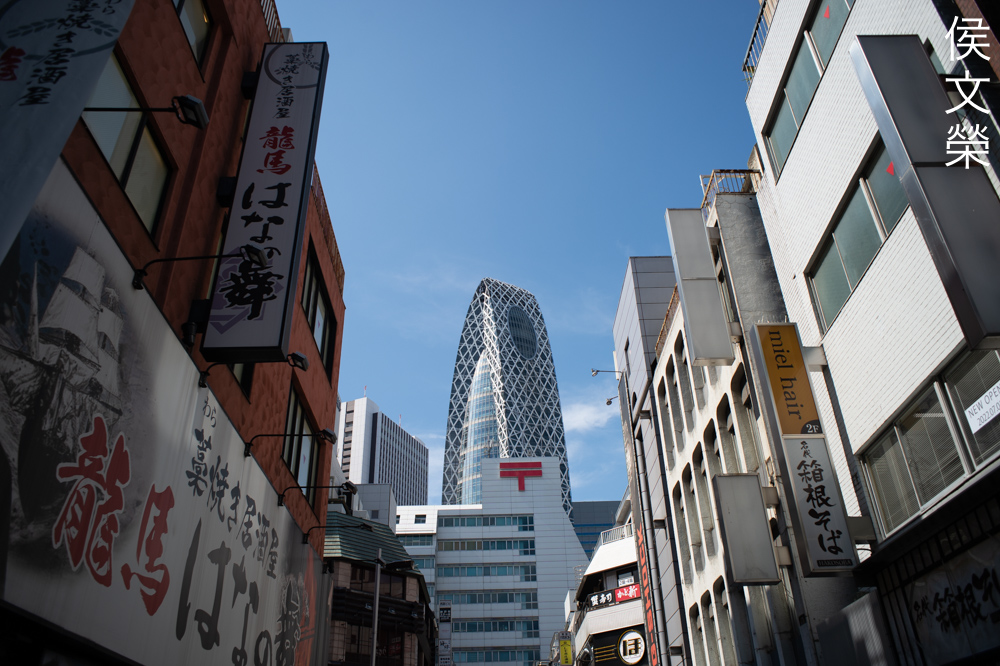
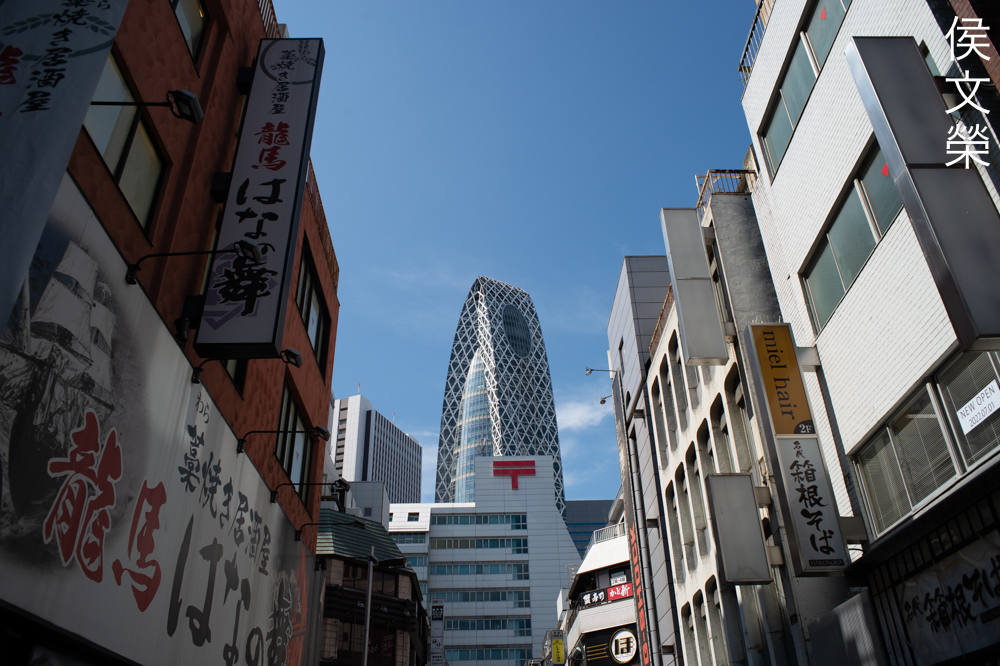
Position your important lines closer to the center of the frame to avoid distorting them. I think it was shot at around 35mm or so. On another note, notice that despite it being a well-corrected lens, it still has a bit of optical artifacts that helps give some “character” to your photos.

(Click to enlarge)
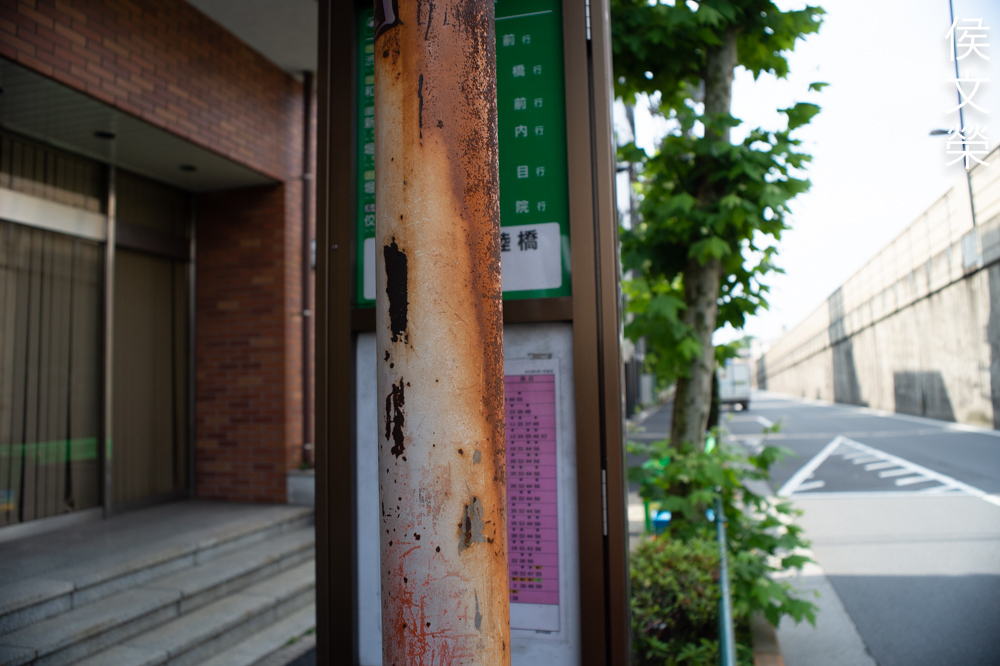
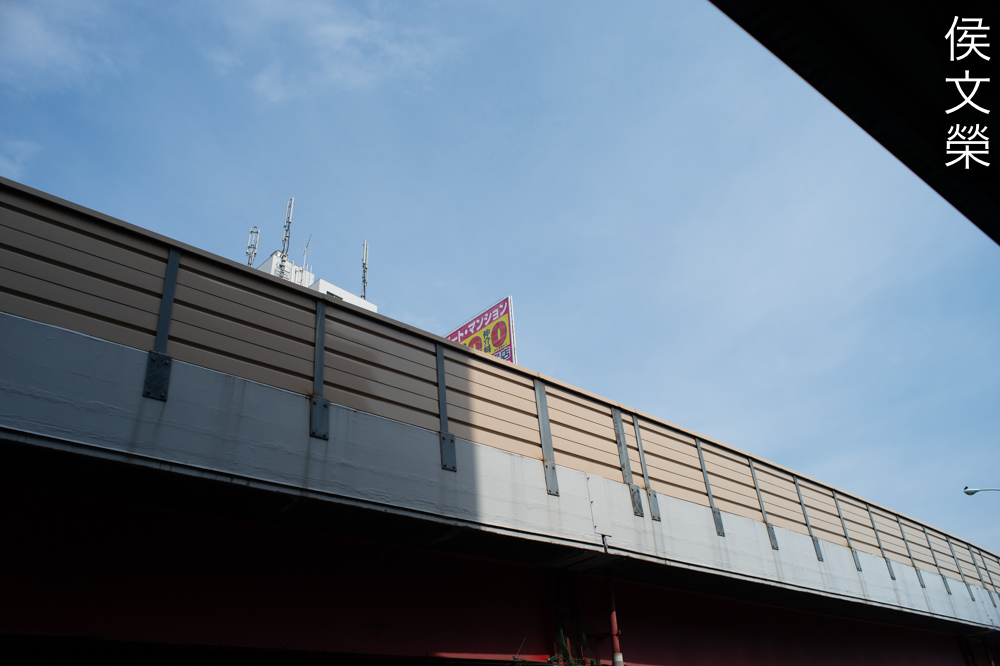
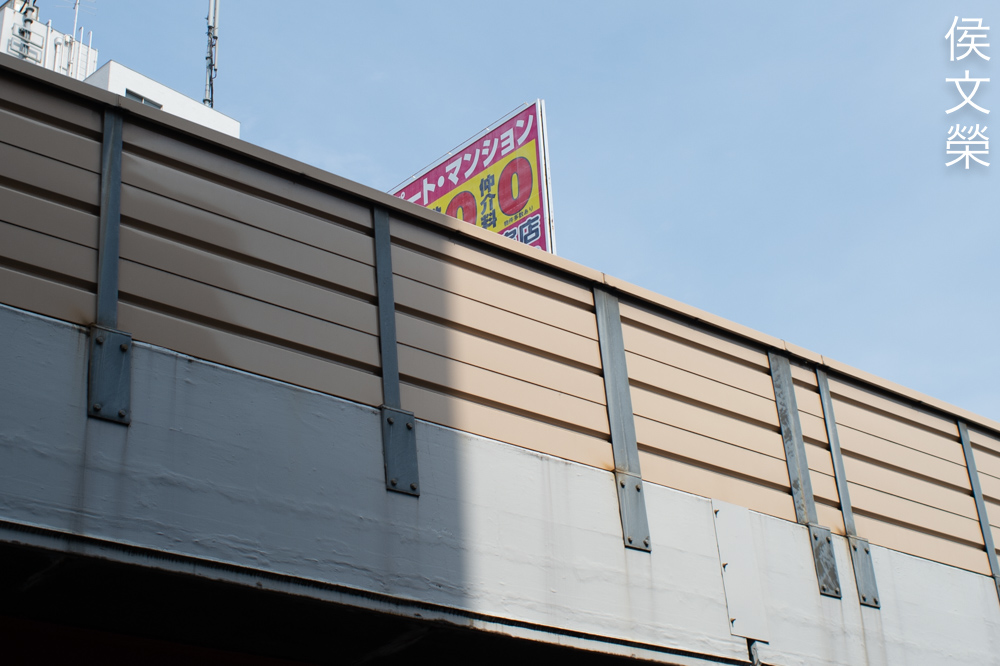
You can barely se the effects of distortion in this photo, it’s there, but you will have to look really hard to notice it. They’re most noticeable in the vertical lines.


(Click to enlarge)
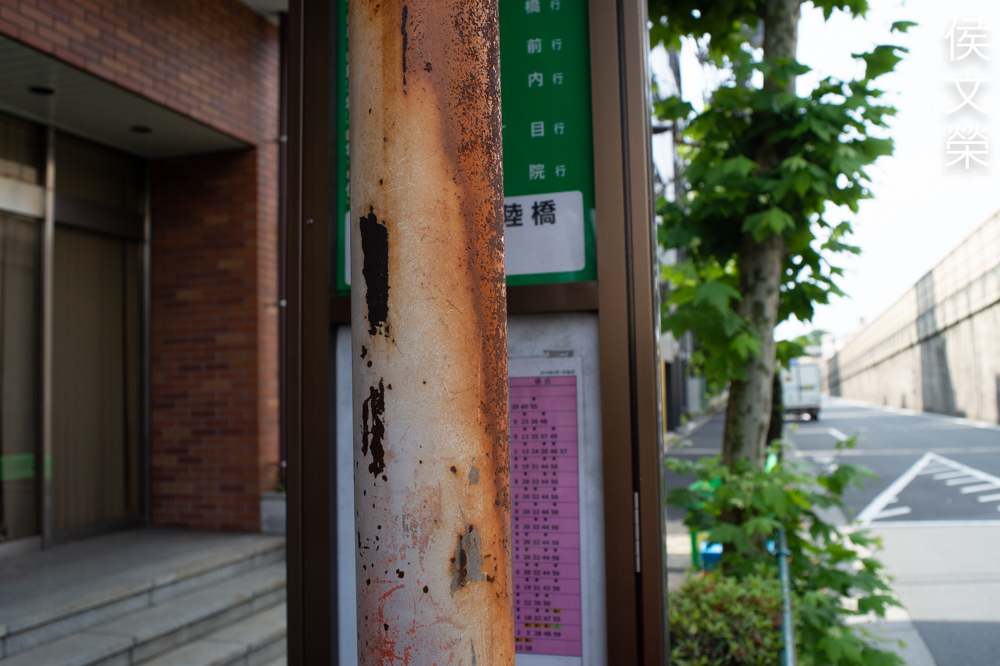
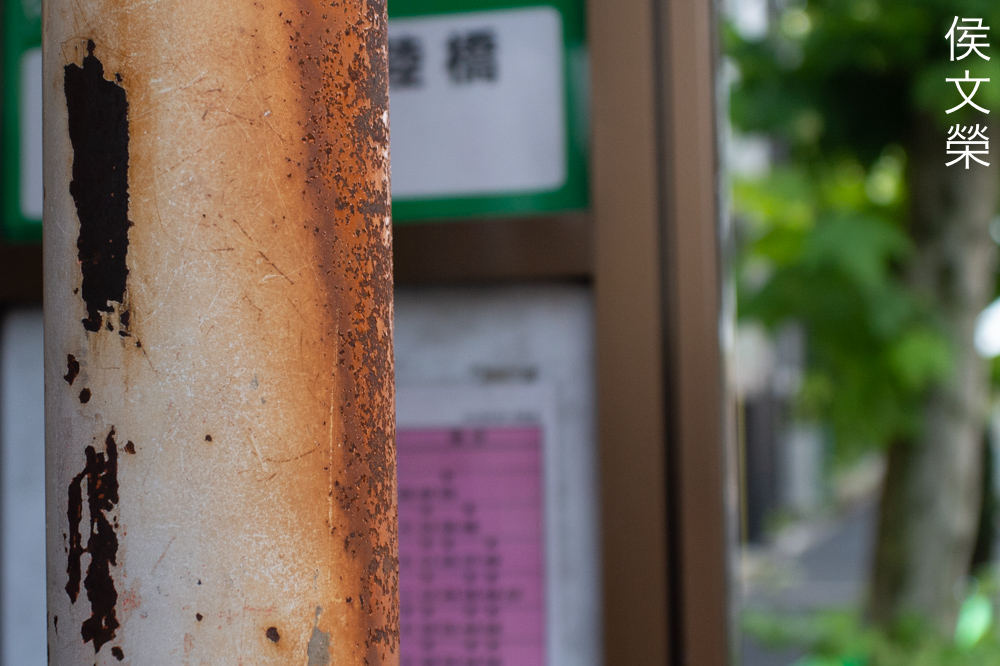
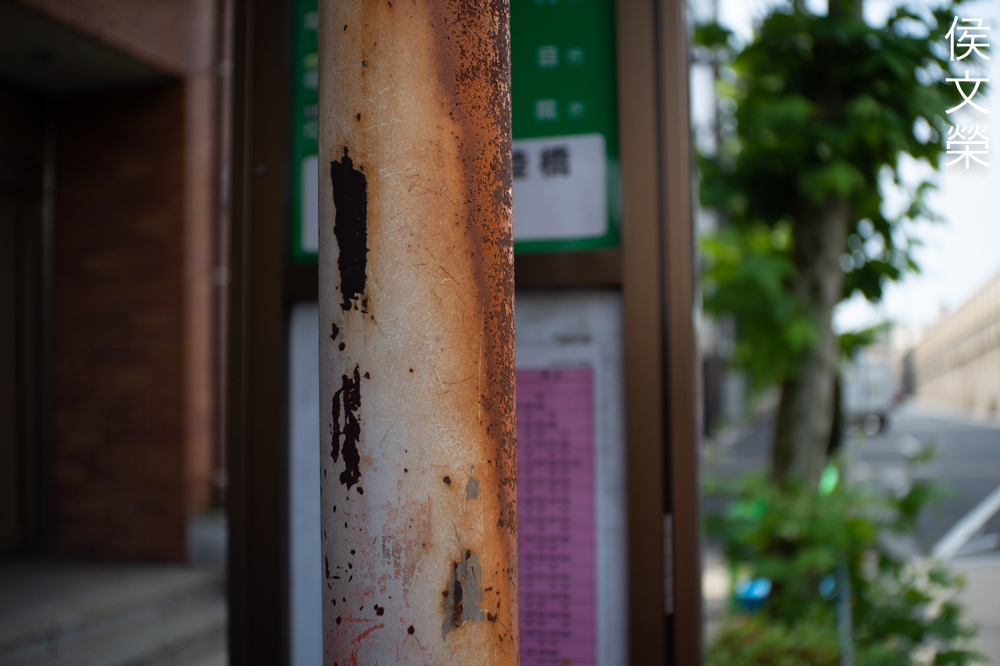
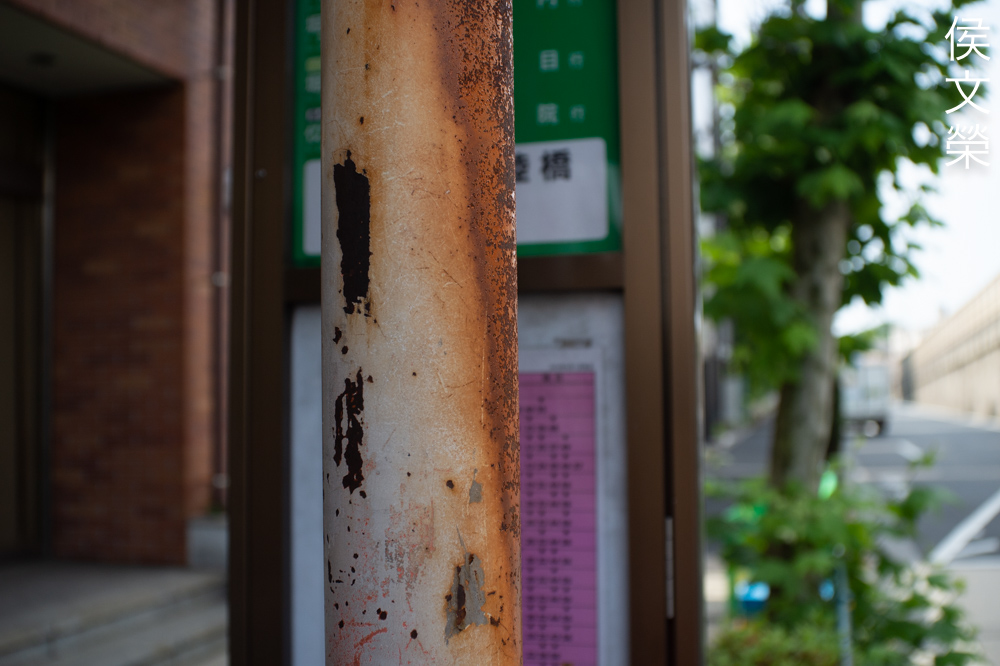
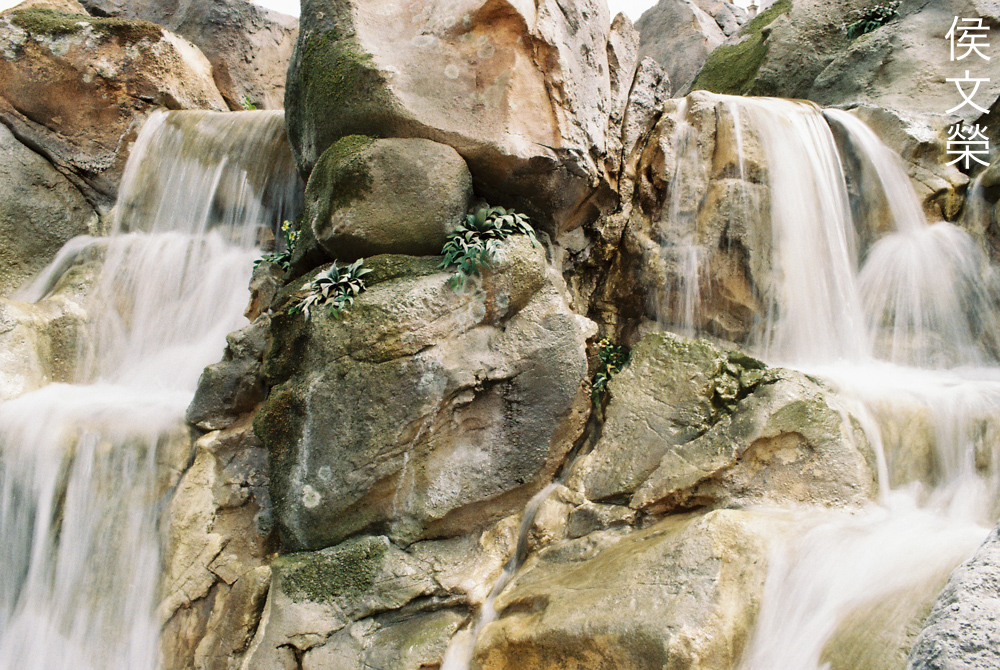
Here are some more photos. The more I shoot with it, the more I am liking this lens. It is a very practical lens for traveling with a one-zoom-setup. Sure, it’s limiting your options because 45mm is not as tight as 85mm but it’s still useful enough in most cases. I have mentioned this several times, the rendering looks great, much better than many zooms that I have tested here in the blog. It captures the look of “Showa“, an era in Japan that we will never get to experience ever again.
Let’s now see some photos that were shot with film. Since this lens was made to work with it, I think that it’s only fitting that we judge this lens’ performance using its intended medium. Film photos look different from digital ones, it can help mask or amplify any imperfection in a lens’ performance. Film is also not as reflective compared to a digital sensor, it adds another depth to our “tests”.

Unsurprisingly, blobs do not form as much with film compared to digital. It does not mean that it is not capable of doing that at all, though.

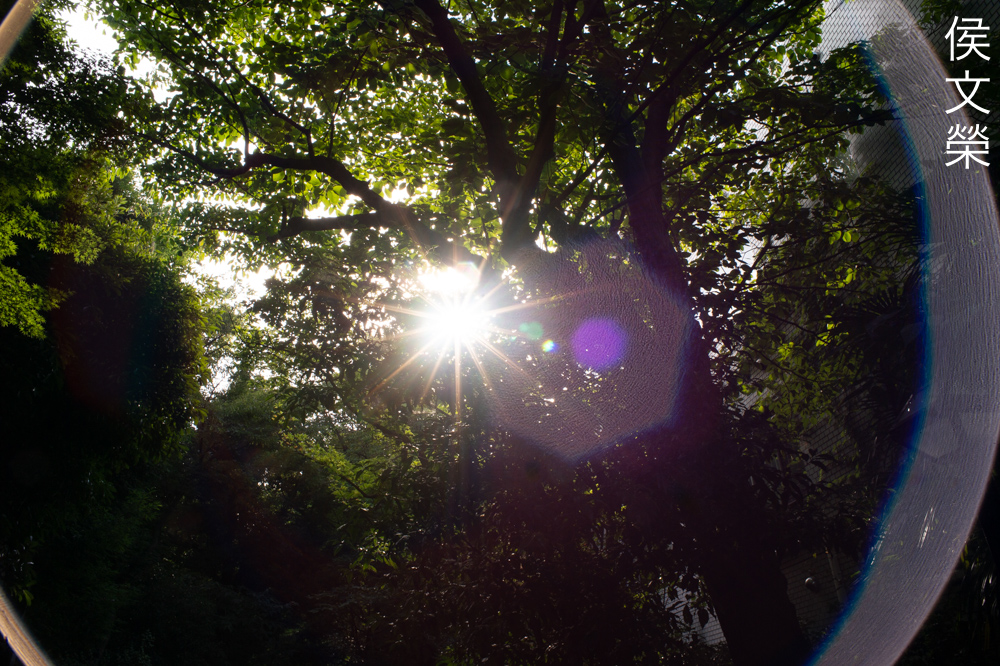
While the blobs are not as prominent, it’s still noticeable in this photo, just not as “solid”. Notice the flare coming from the reflected sunlight near the top of the frame.

There are a few blobs that are present within this frame, you just do not notice them as much because the blobs look more diffused. Notice how well it rendered the grass, the focus transition looks so natural.
Film grain helped subdue the ugliness of the blurry parts in this photo.

Film grain looks random (because the structure is organic), that helps breakdown the chunky look of the blurry bits in this photo, making it look less distracting.

I’d say that the character of the bokeh looks mediocre, but not distracting in any way when shooting with film, I can give this a pass.
While tonality is more dependent on what film you’ve used rather than the lens in film photography, the lens still has a lot of contribution to how the photo will look. I love how it’s able to capture the subtle and deep tonality of this scene.
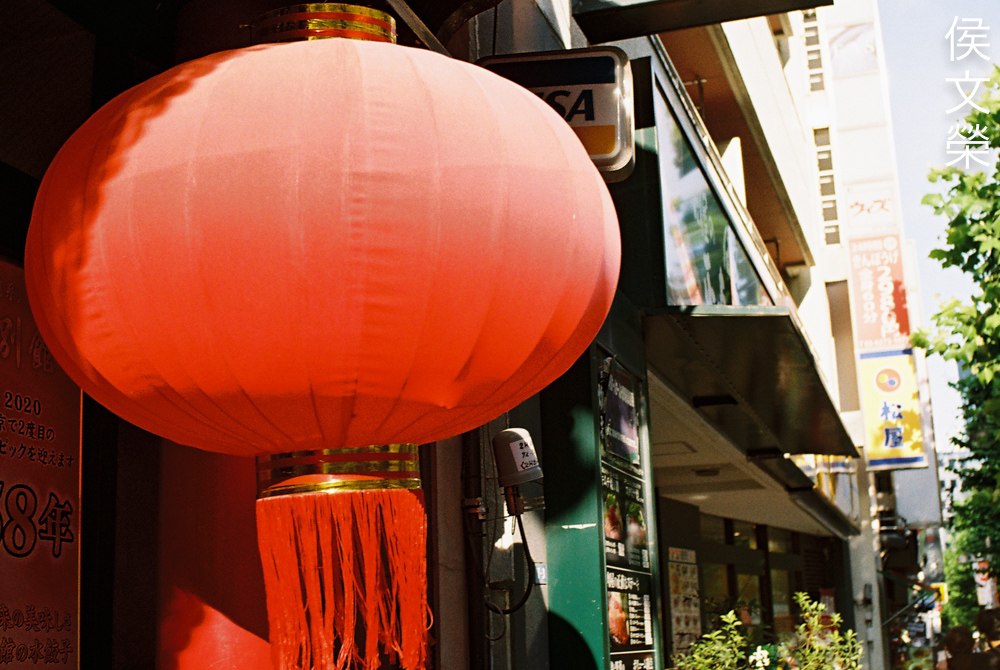
As with my photos that were taken with a digital camera, my film photos also show the same richness in how the colors are rendered. Of course, what film is used plays a bug role in this, too.

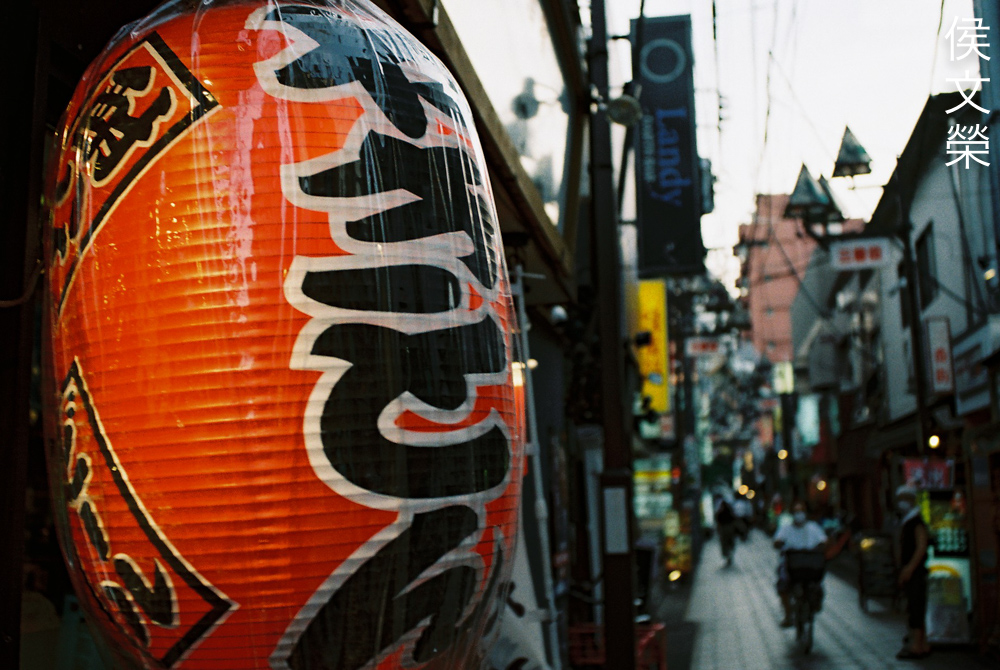
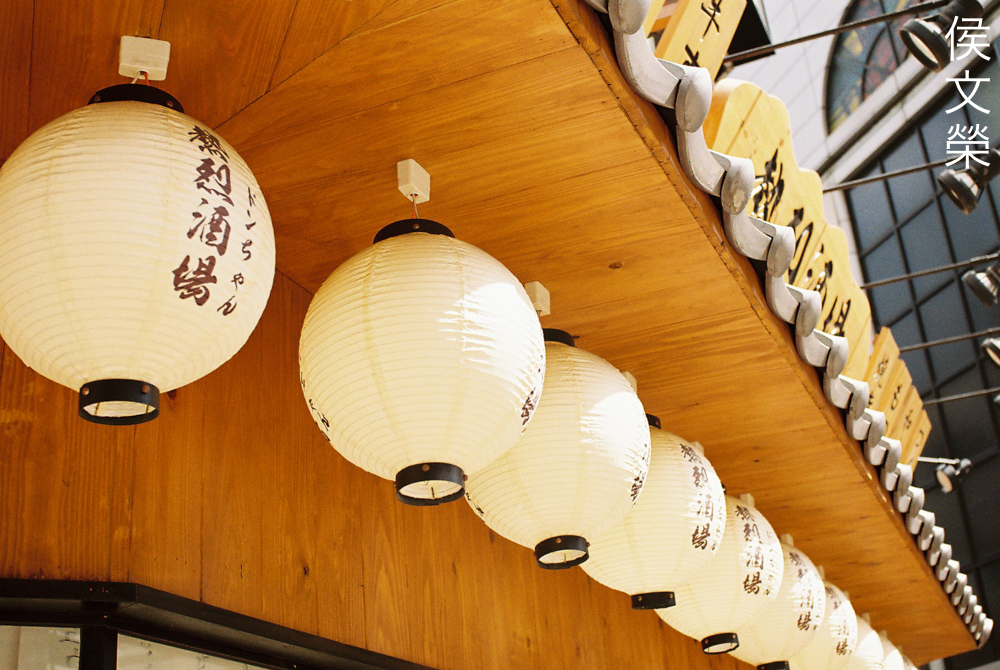
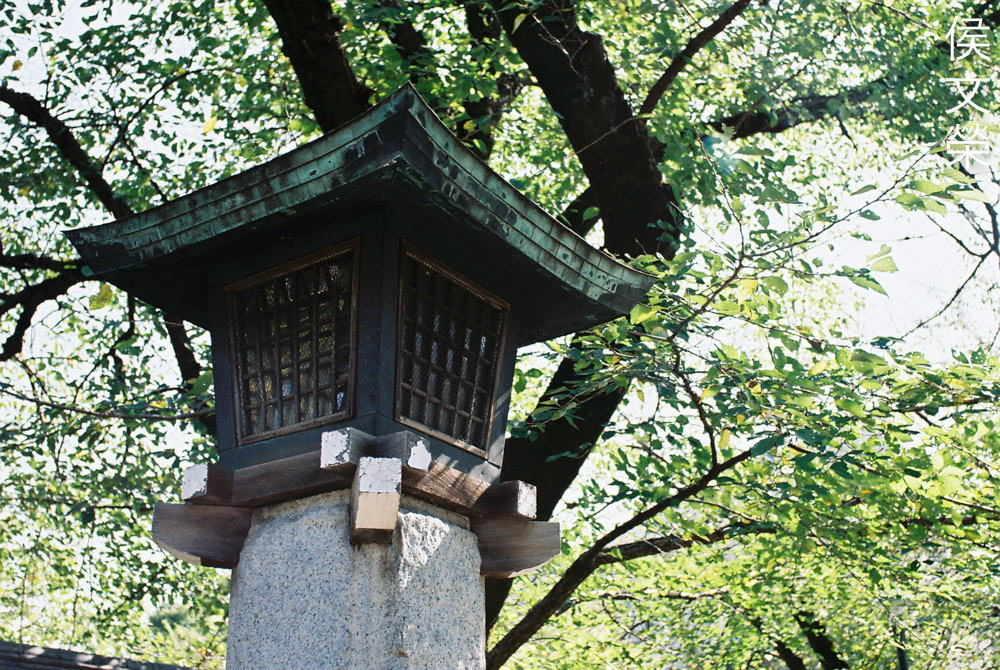
This scene has everything, the sharp details of the beer canister, the fuzziness of the monkey and the bold colors of the lantern, all of which were rendered beautifully with this lens.
I just love how refined this photo looks, it has a layer of “sexiness” to it. Everything that I wanted is in this frame – bright, dark, sharp, blurry, saturated tones and muted tones, all rendered in pleasing way.

Lowlight photography is not the best use-case for this lens, it’s best if you can shoot with a fast film.

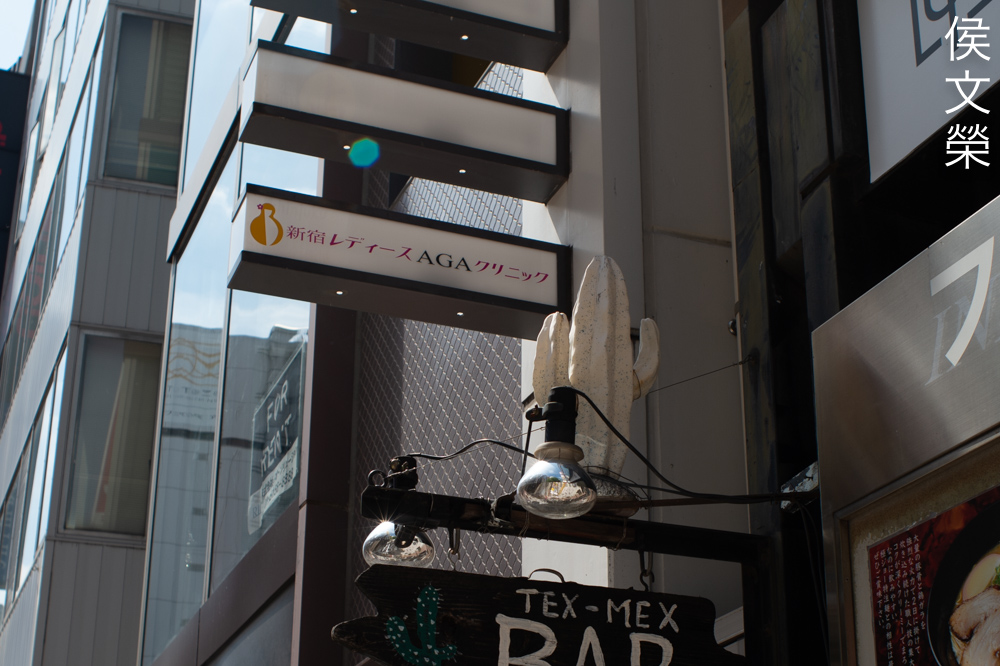
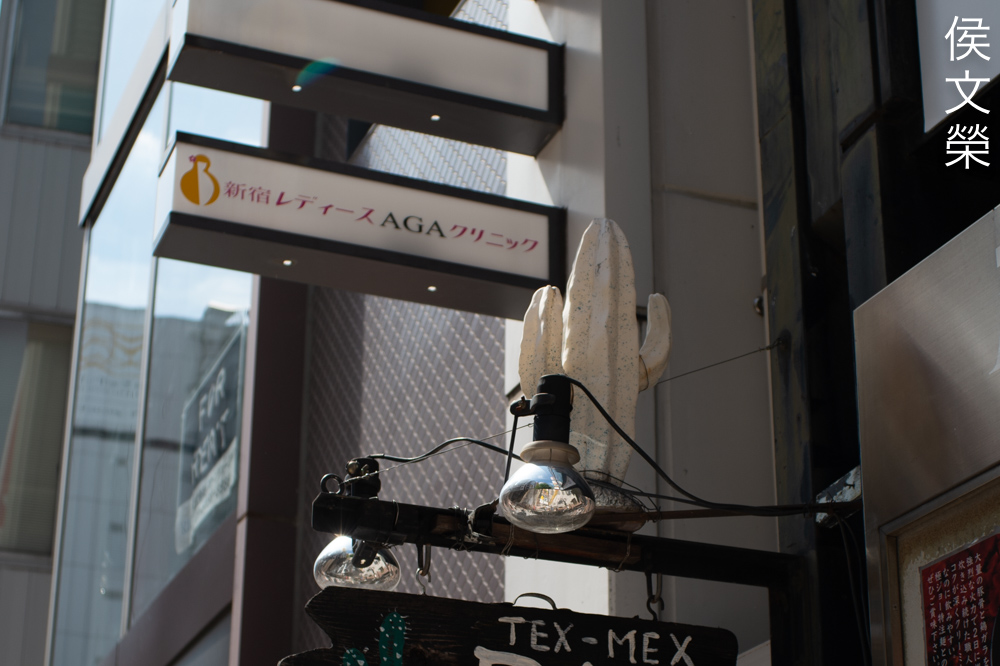
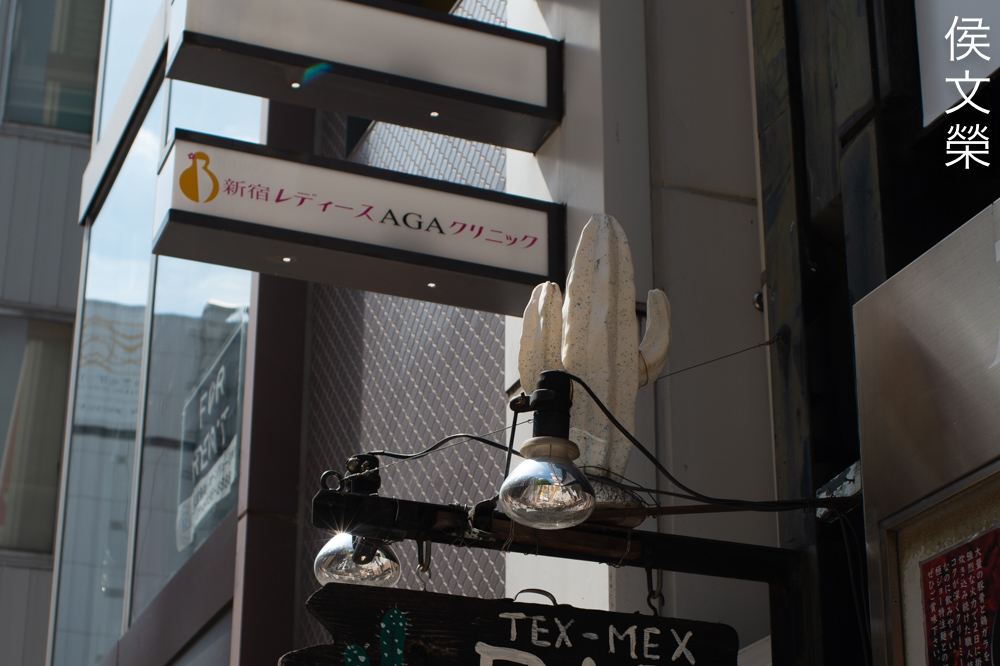
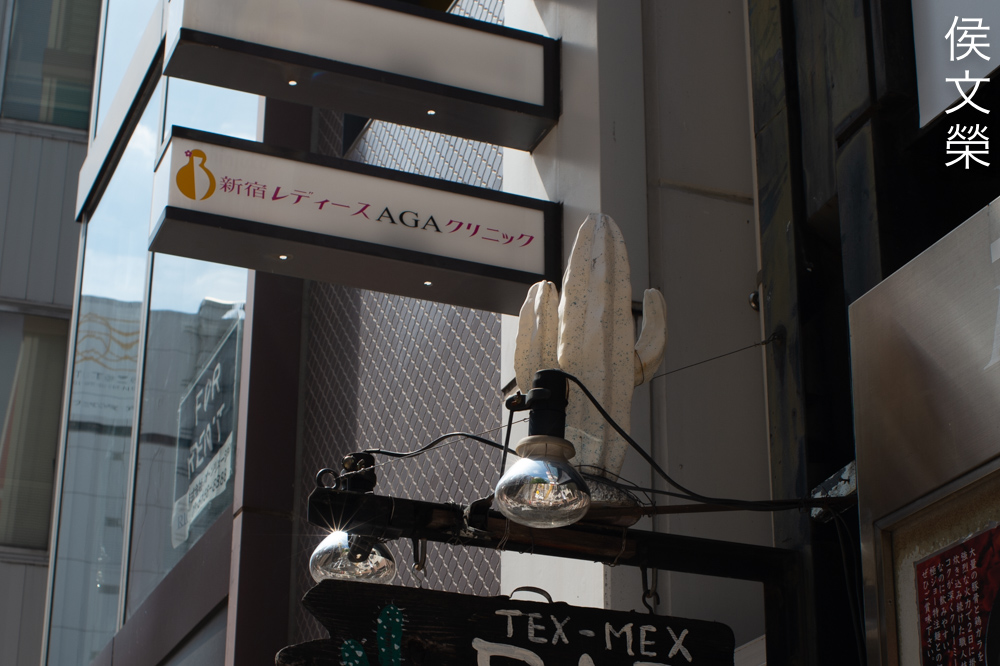
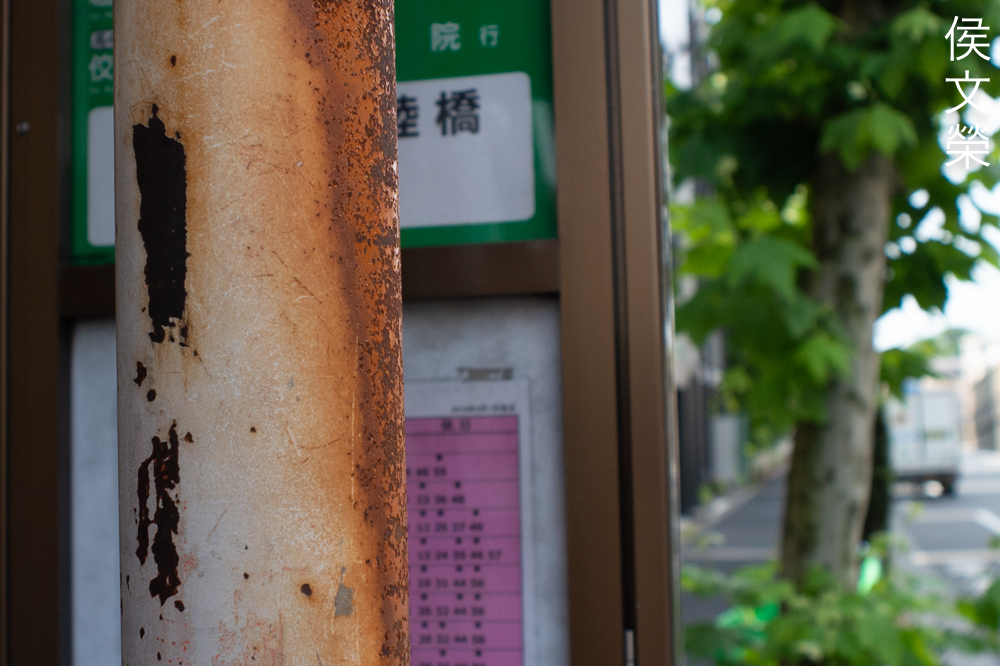
Well, this is where distortion matters. The sign looks curved, not good because it’s an important part of the photo. Do not use this lens for taking pictures like this where you are forced to have your important straight lines near the edges of the frame.

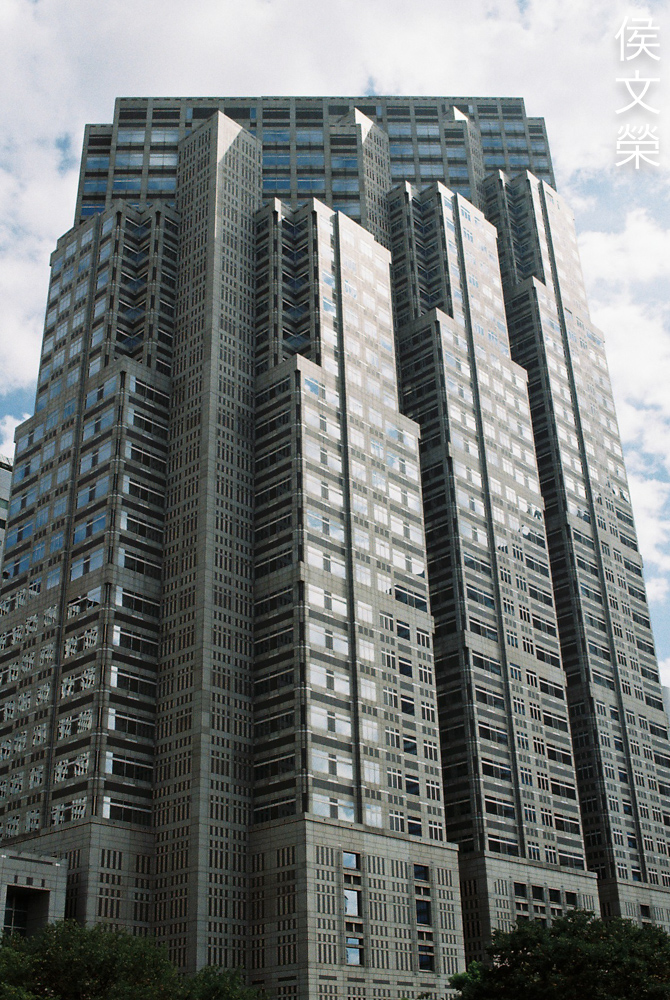
Well, I don’t think there are any important line in this photo at all. Who says architecture should always be rigid, with straight lines everywhere.

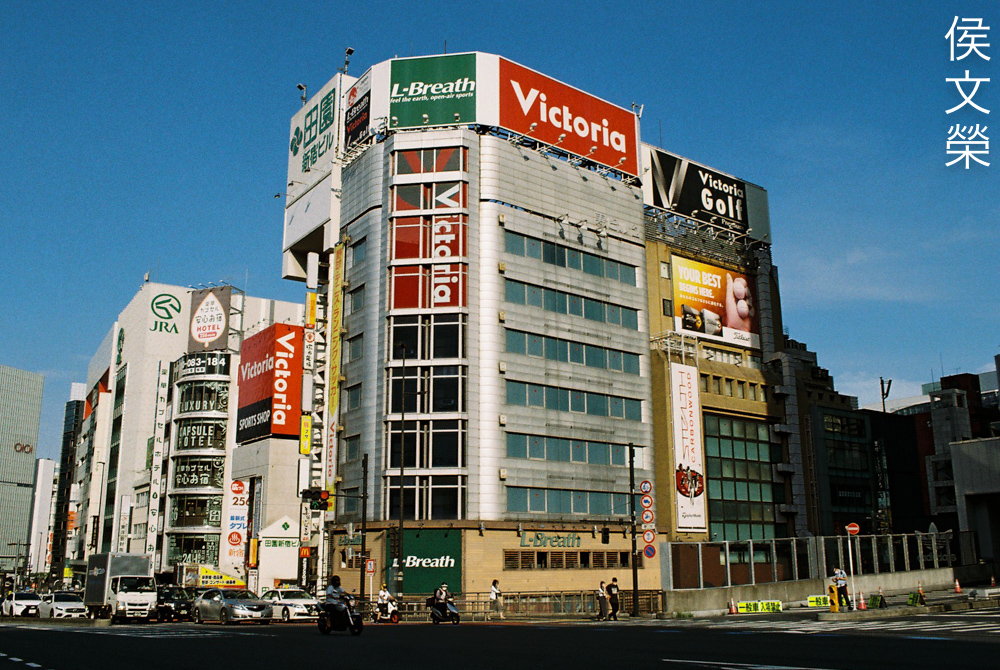
This is a nice lens for photojournalism or just walking around town documenting things as they happen.

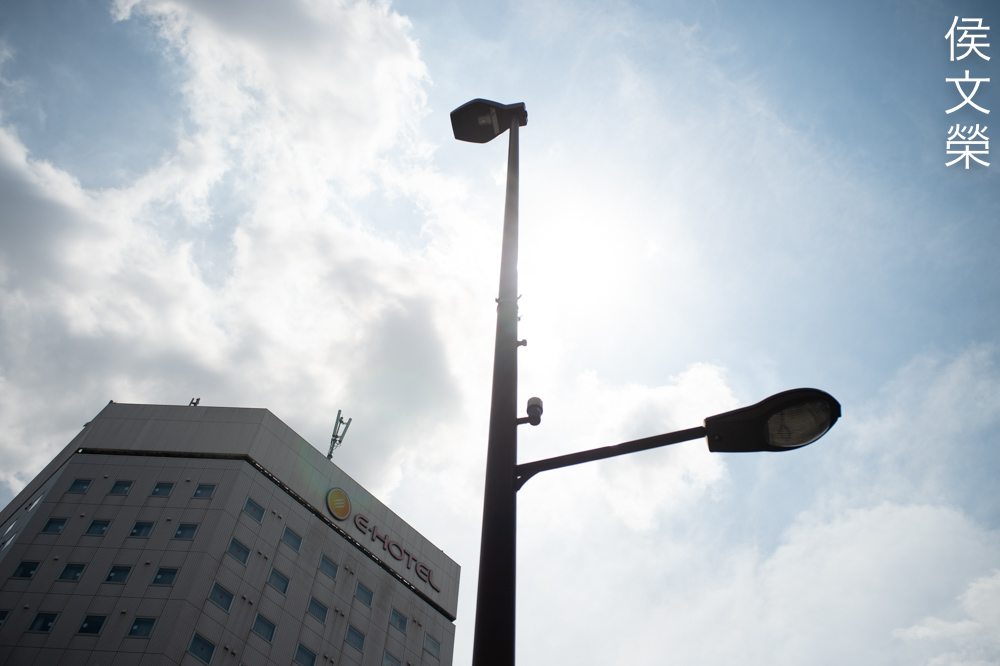
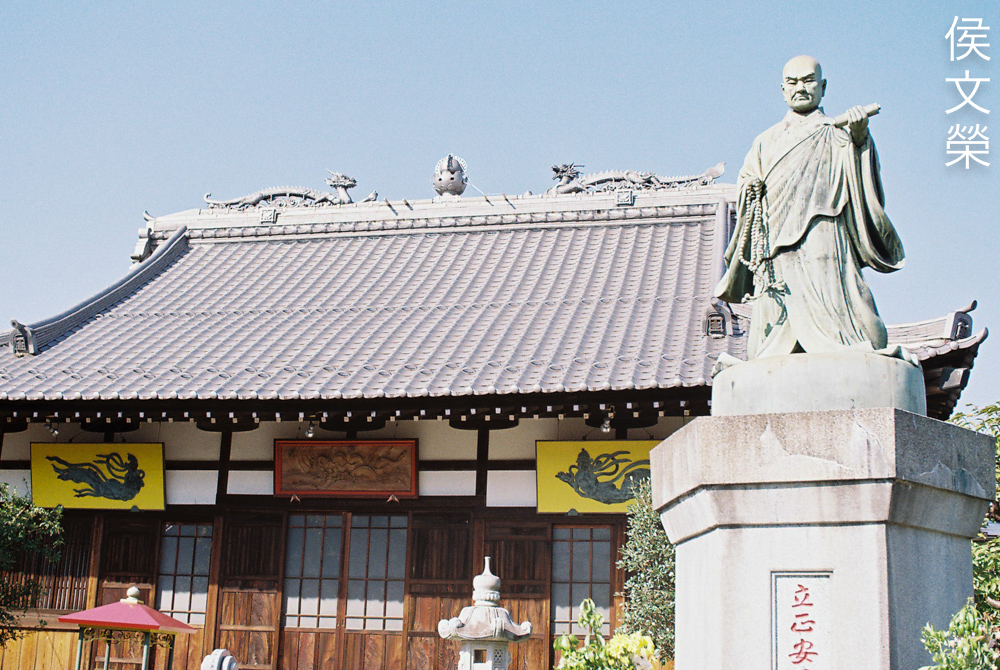
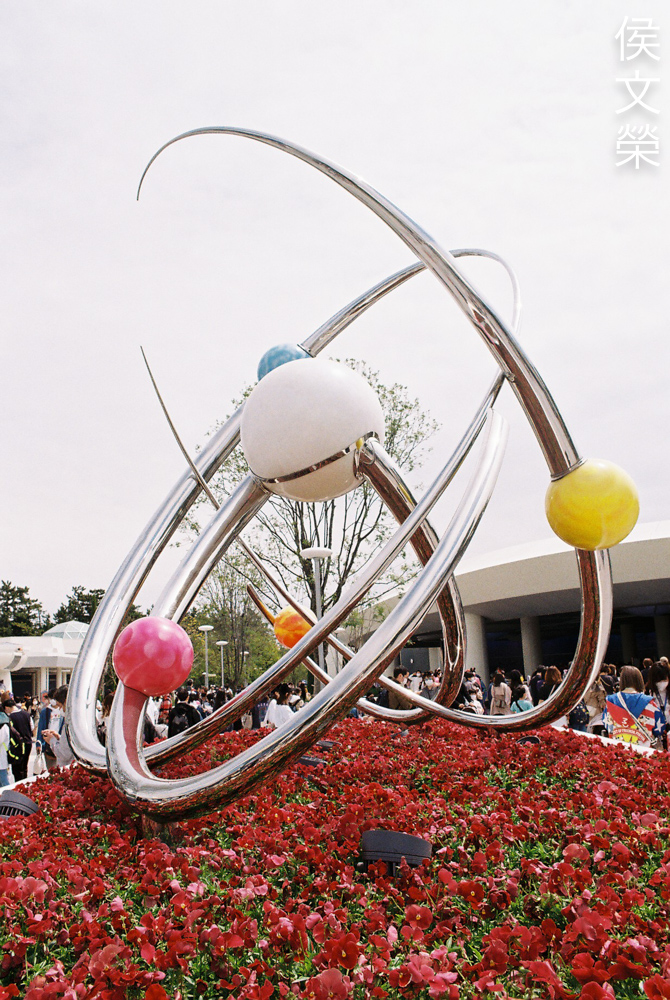
While chromatic aberration is not much of an issue with this lens, spherical aberration and flare are. You can notice them easily at the blown-up areas of the building behind the statue.

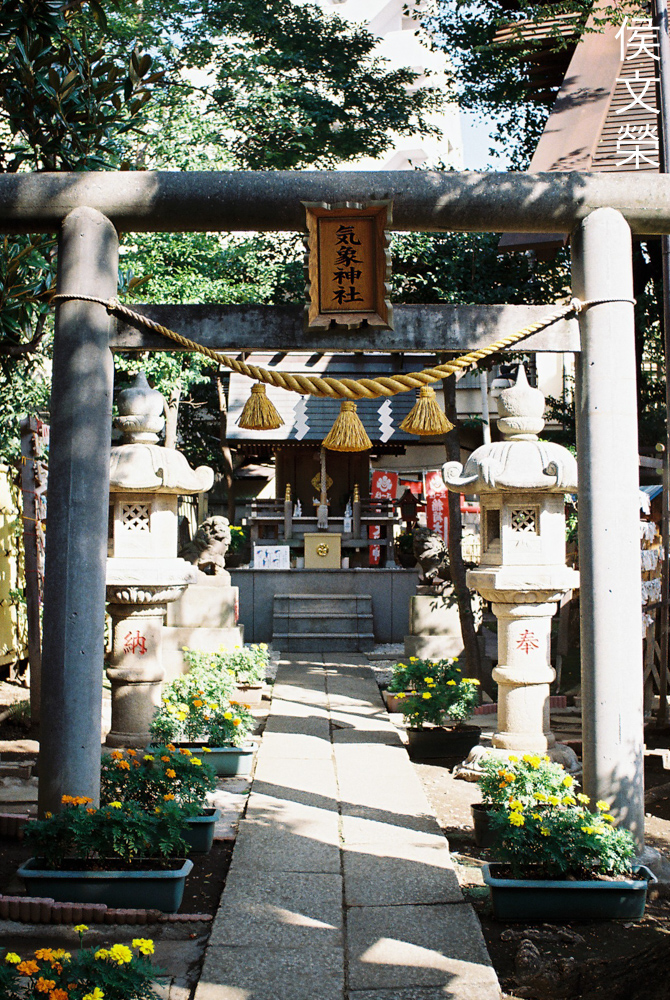
In my experience, the cables should show some level of chromatic aberration, we don’t see any at all here in this photo. I find this impressive, something that I do not usually see in most lenses, it is enough for me to associate this lens with that attribute.

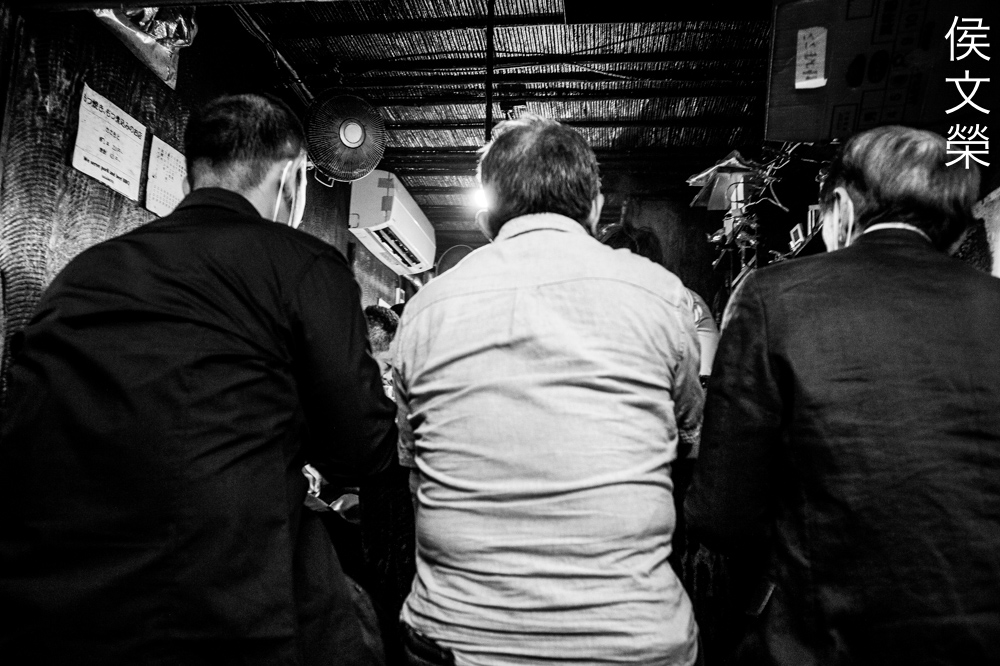
Indoor photography can be challenging, unless you use a fast film, moving people will look blurry since a slower shutter is required.


(Click to enlarge)
Here are more film photos for you to examine. For those who love shooting reportage with a film camera, this is a nice lens to use.


(Click to enlarge)
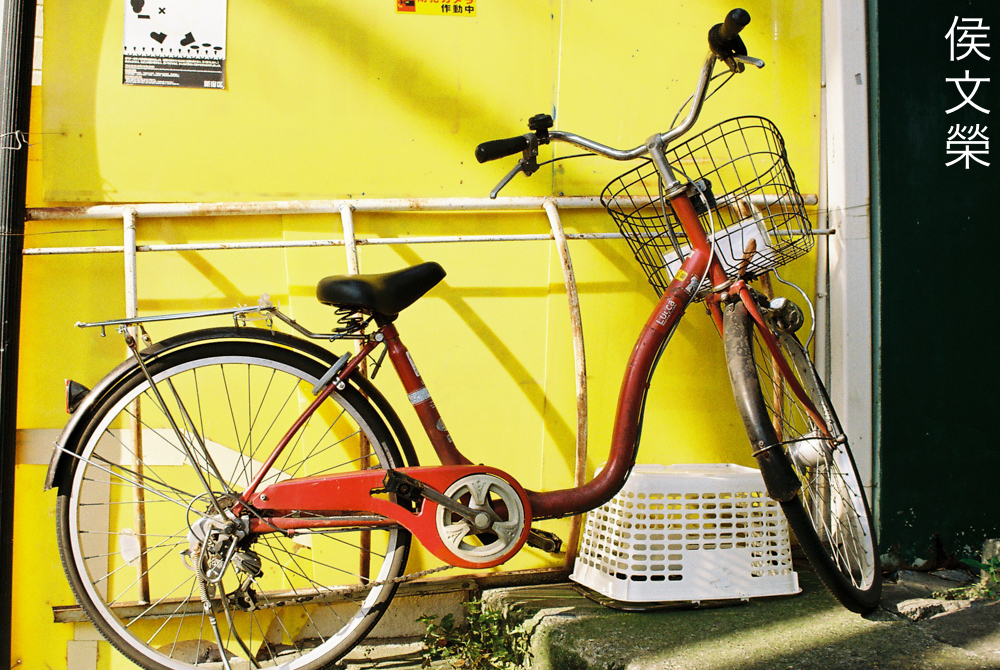
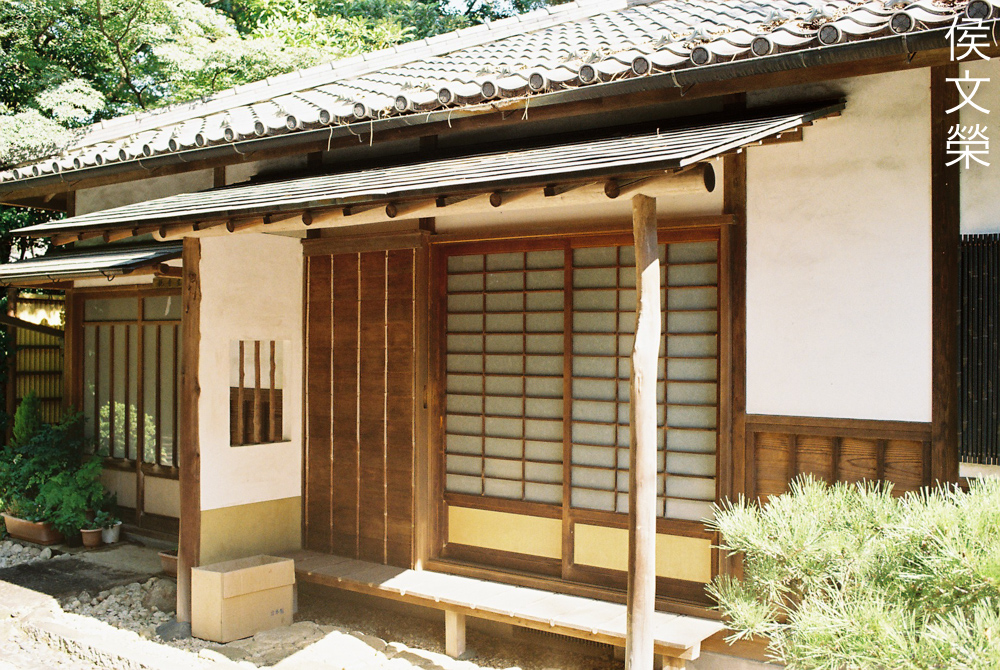
This lens is great for documenting random things in your neighborhood, too.


(Click to enlarge)
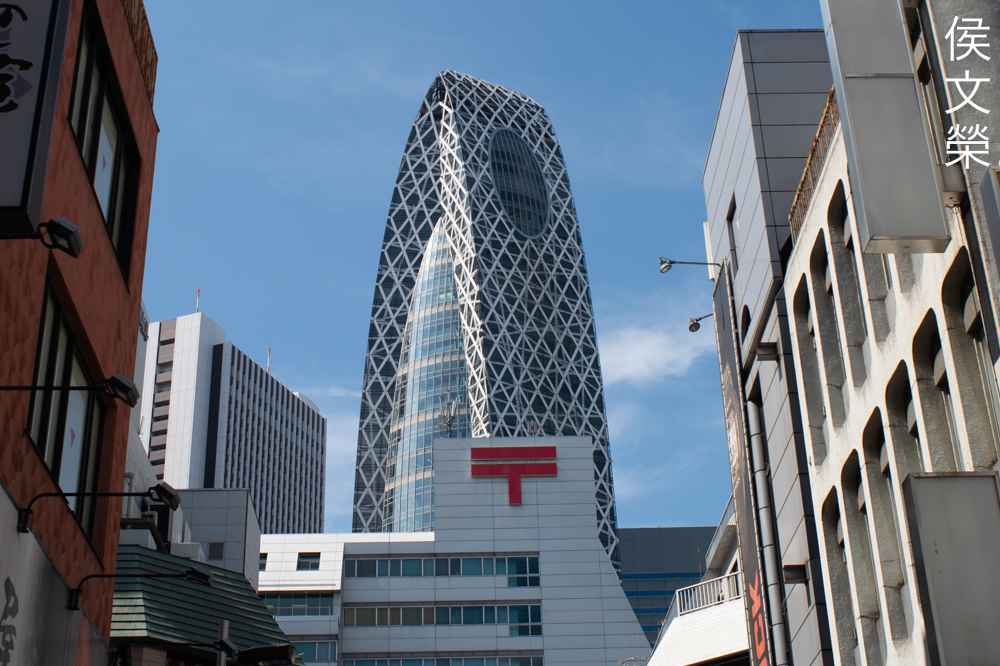
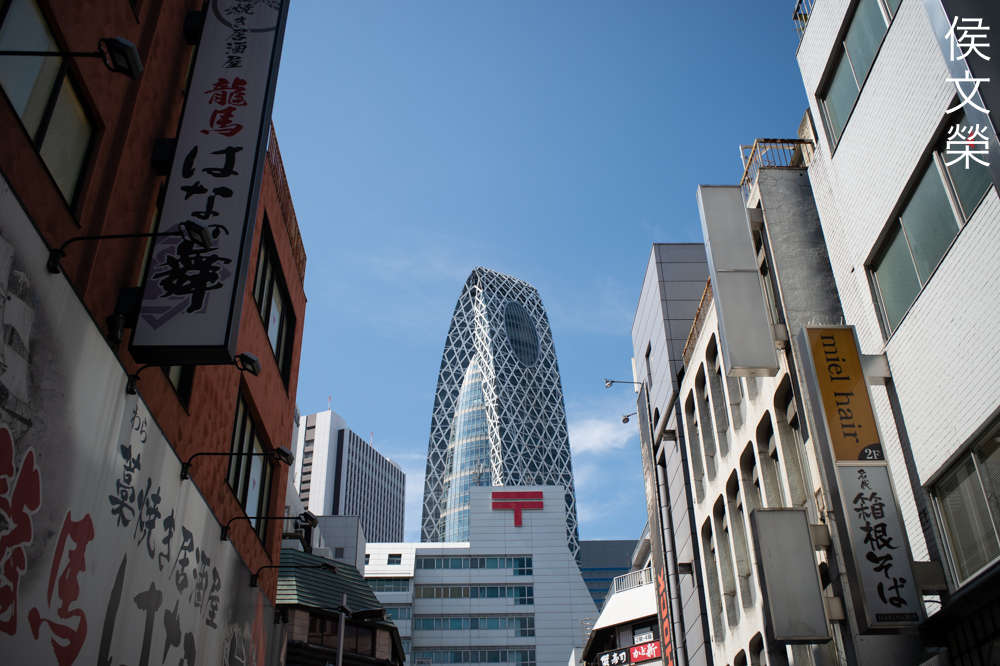
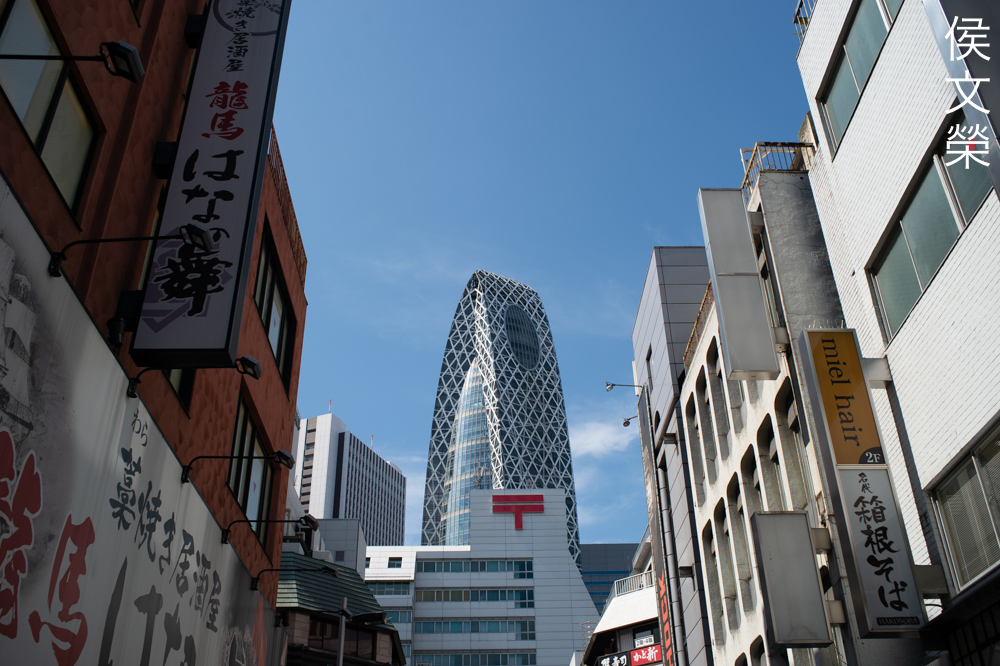
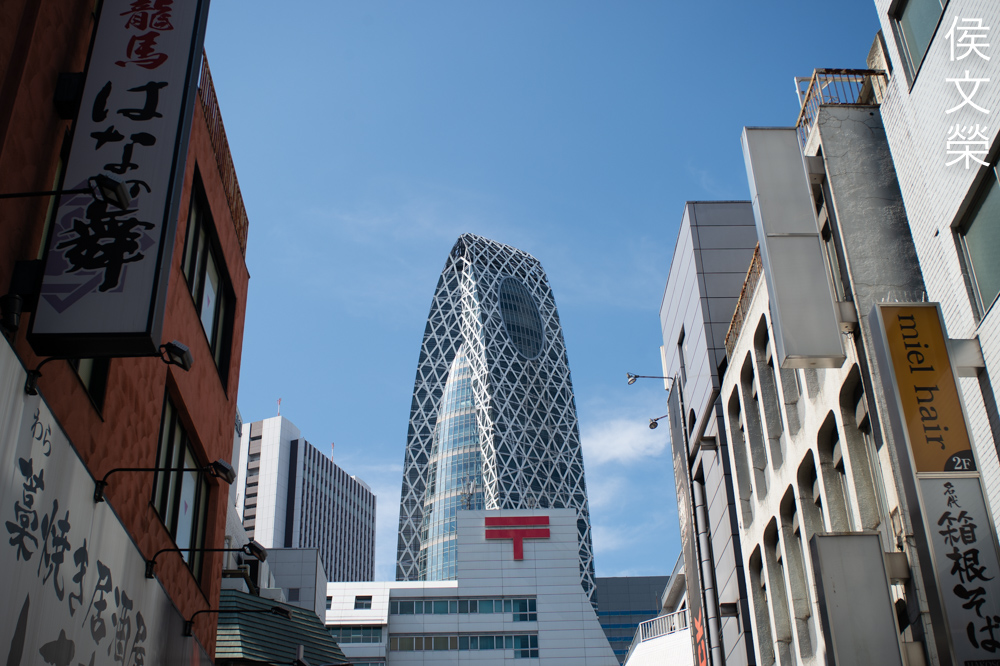
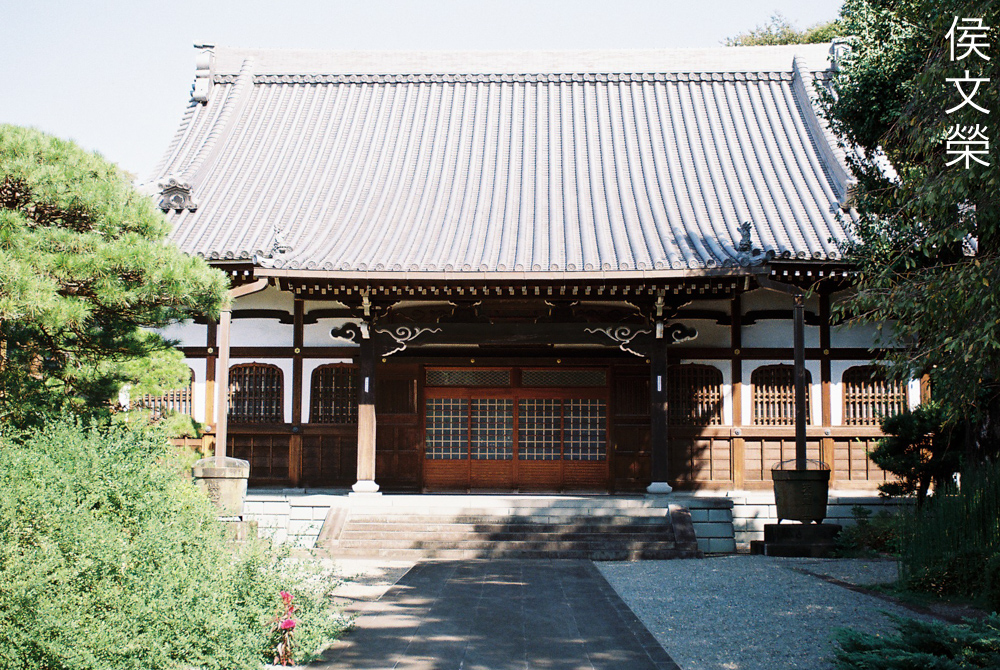
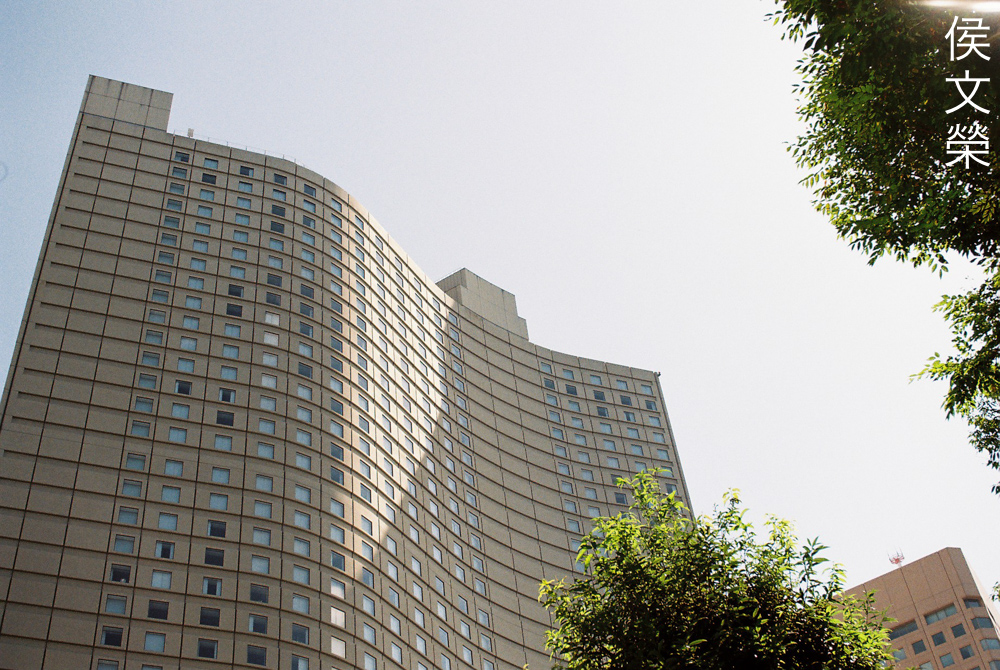
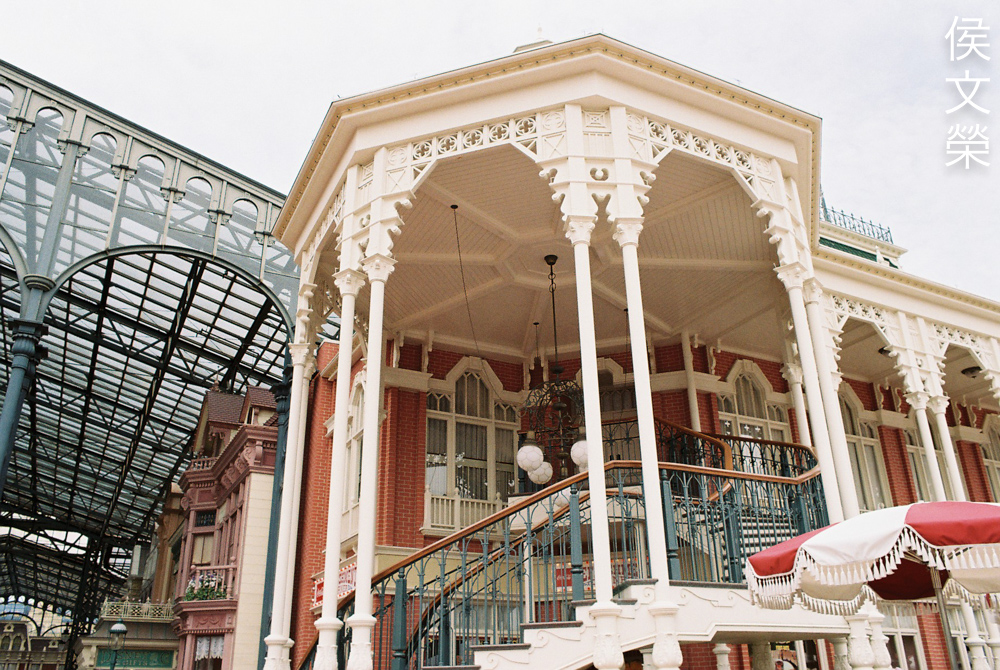
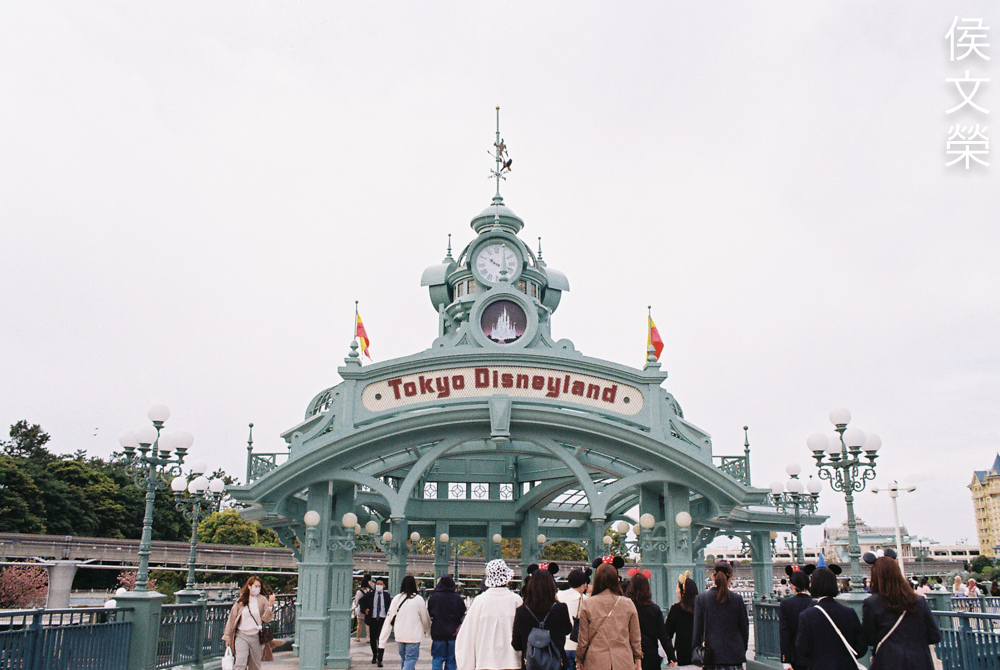
Of course, it’s great for taking tourist photos!


(Click to enlarge)
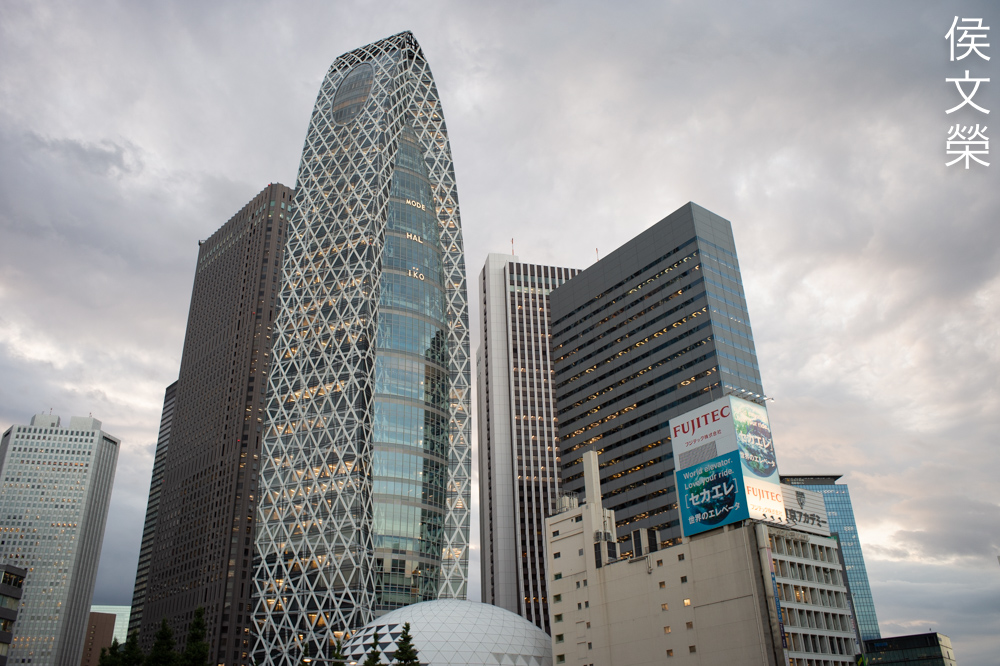
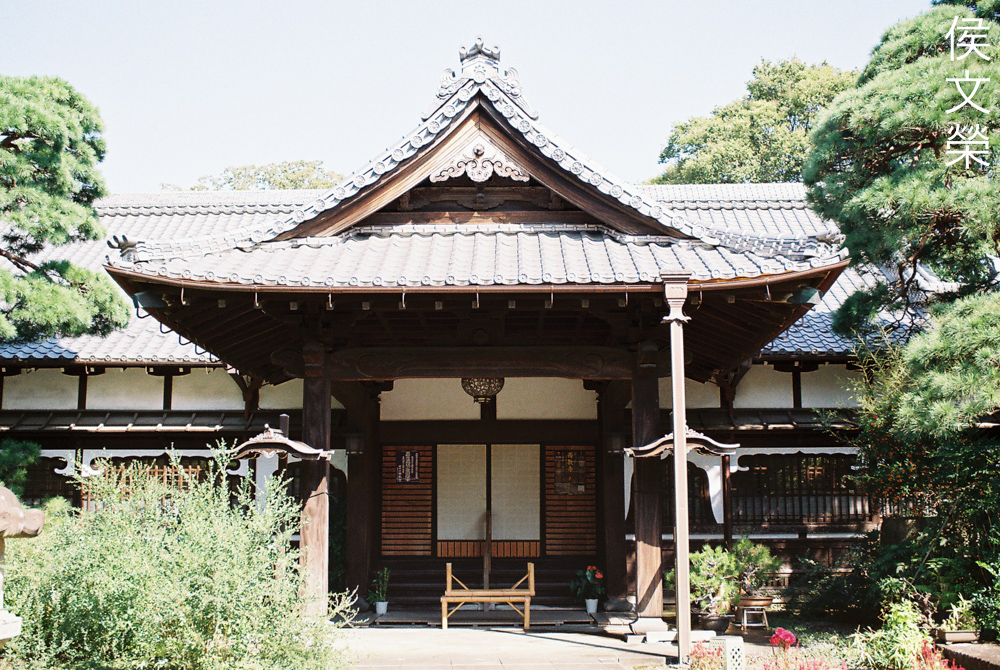
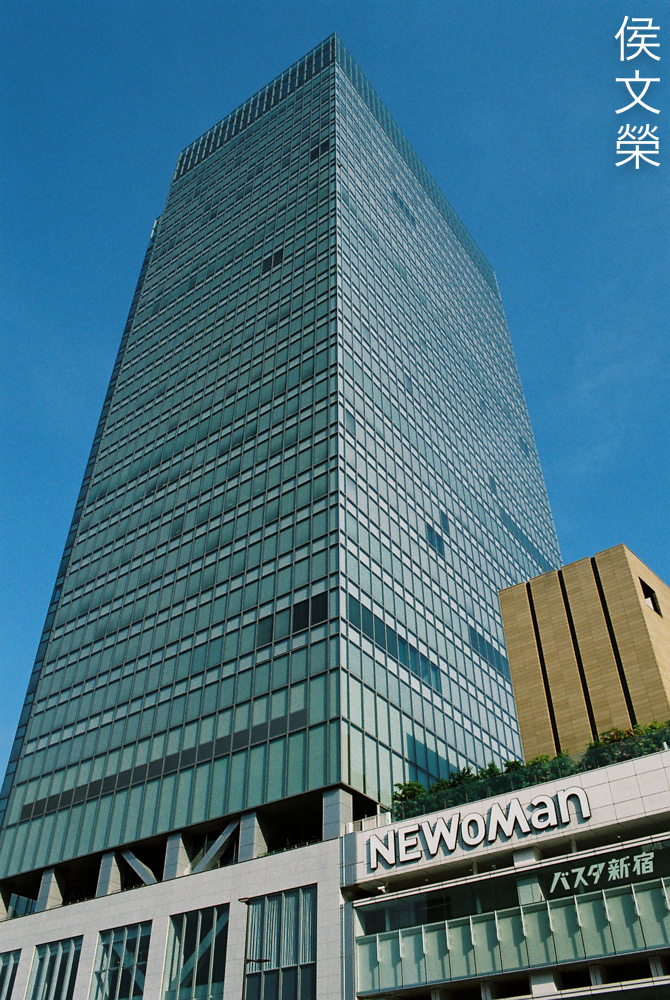
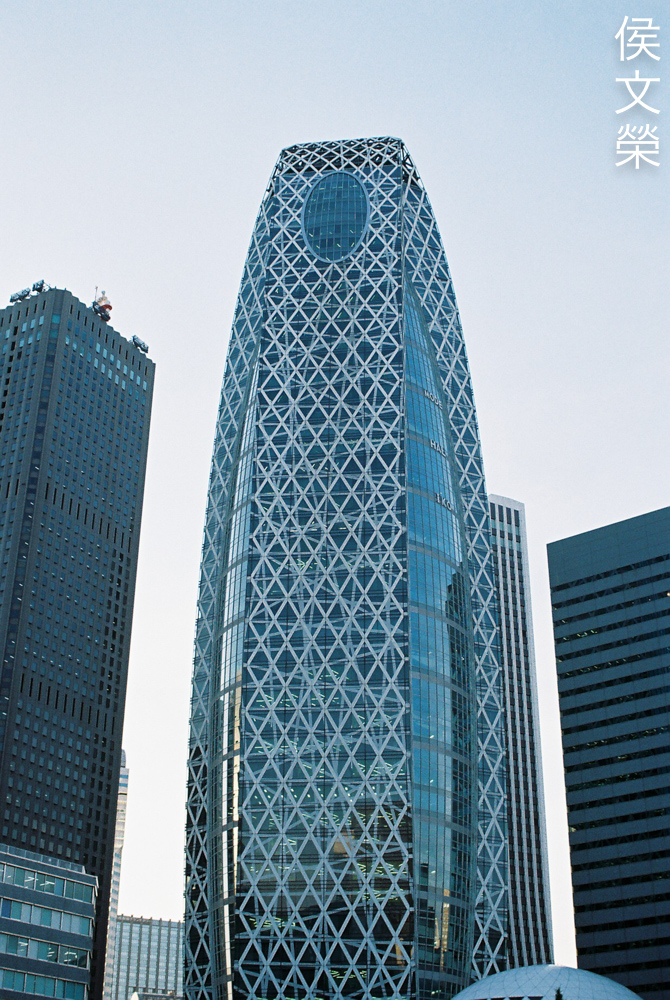
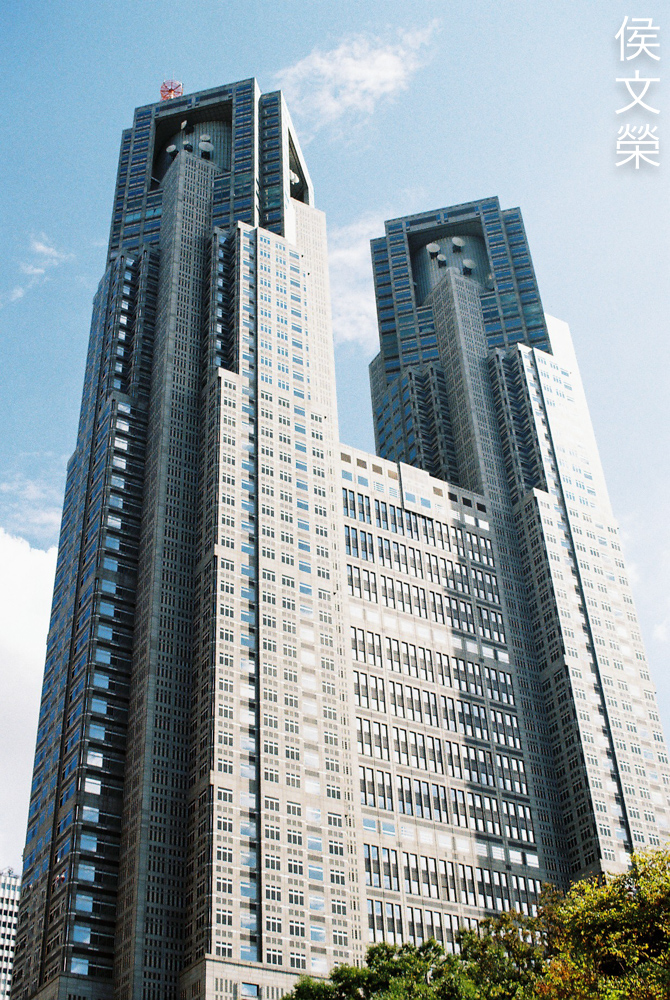
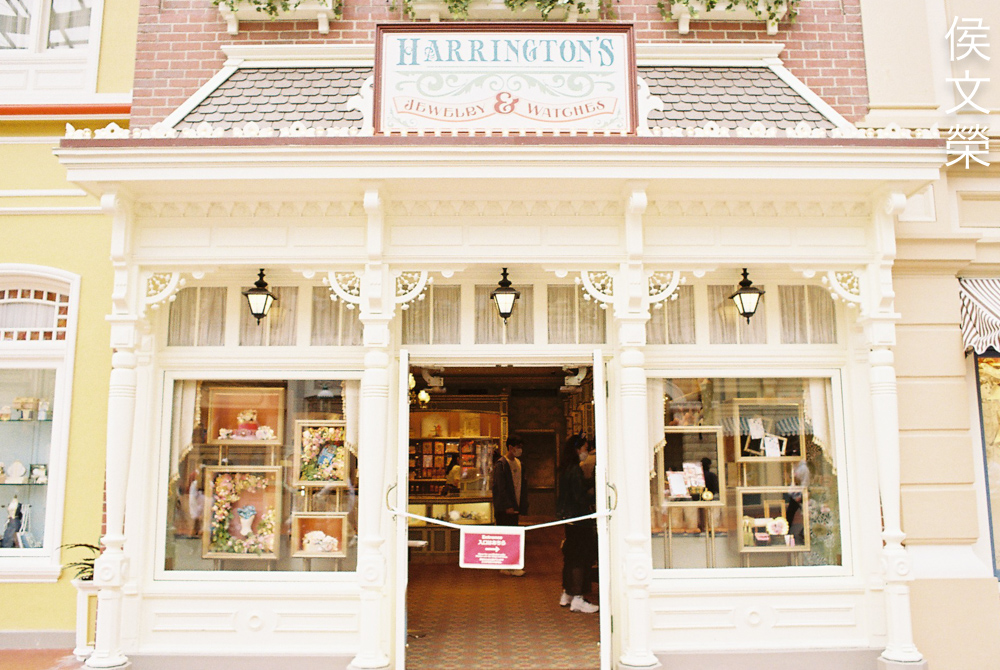
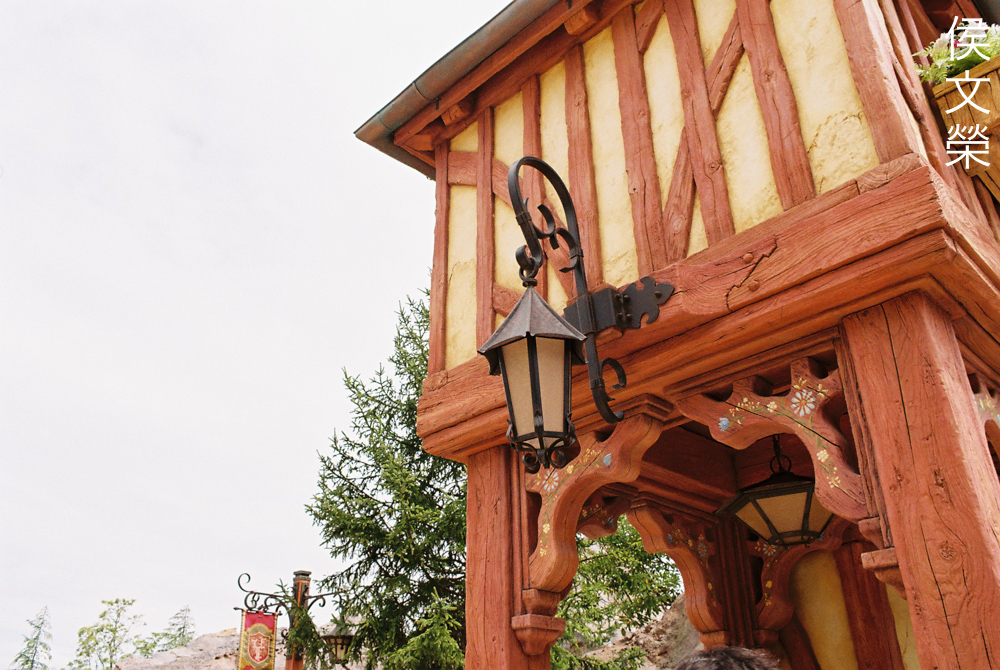
Shooting architecture with it is a bit of a stretch but that’s not something that this lens can’t do.

It’s also a nice lens for environmental portraits, the versatile and practical focal range is really helpful.
I love how sharp this lens is, the contrast looks great, too.

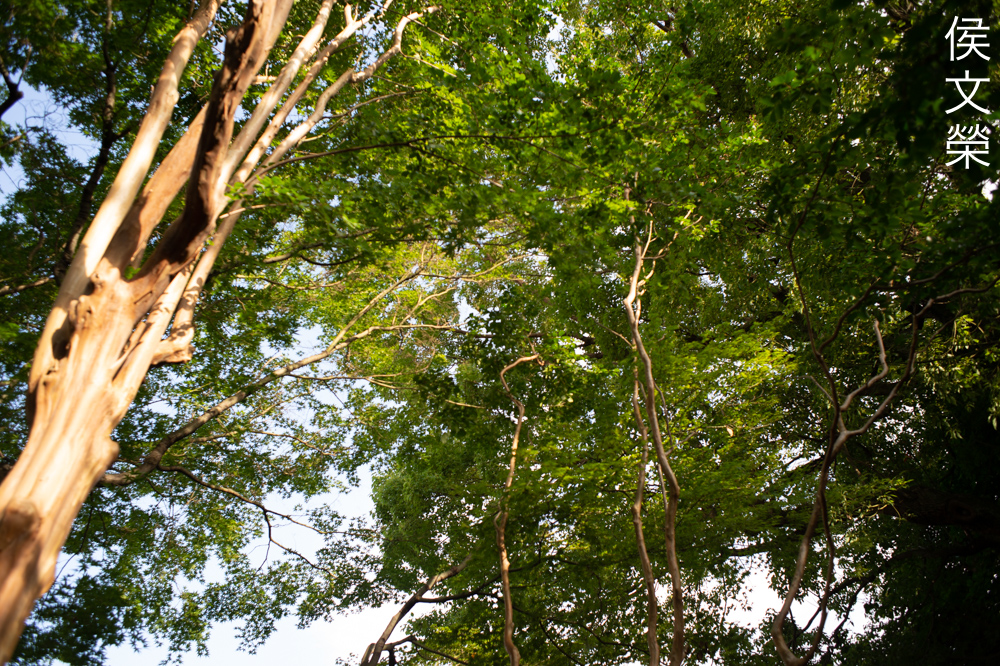
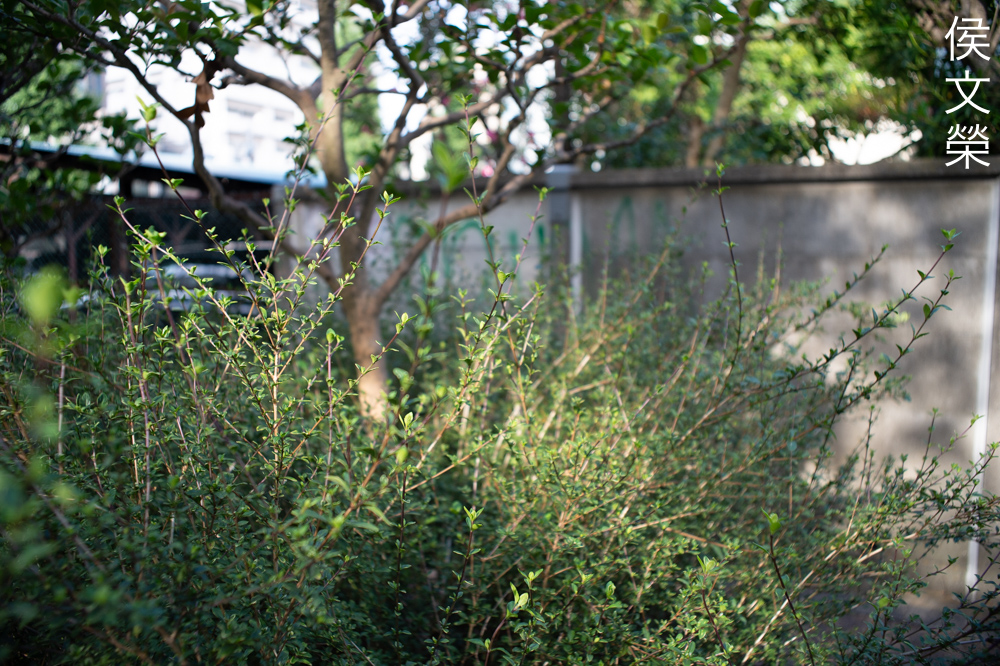
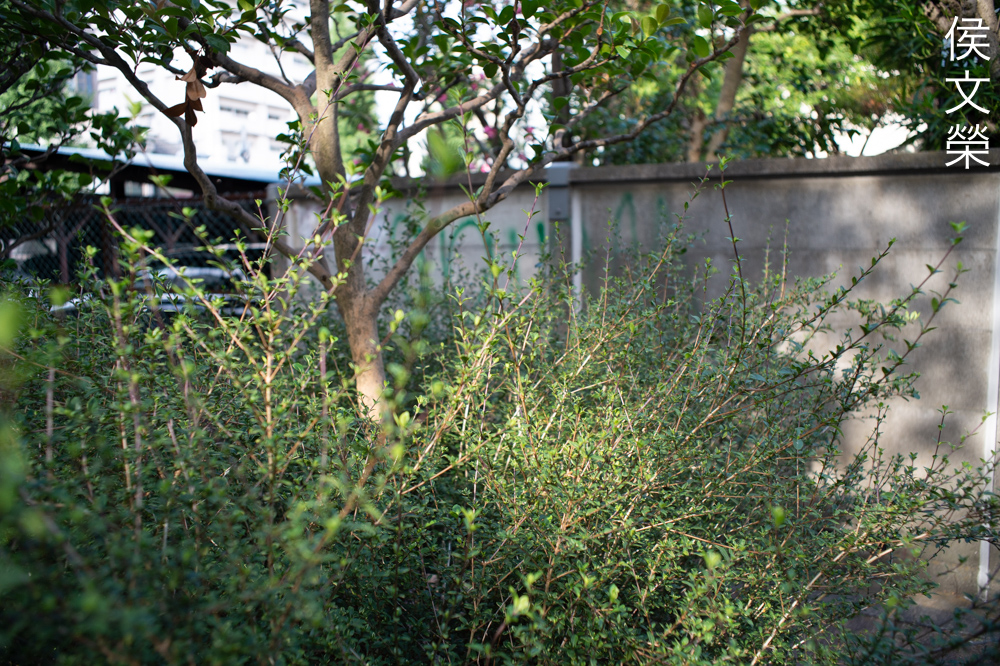
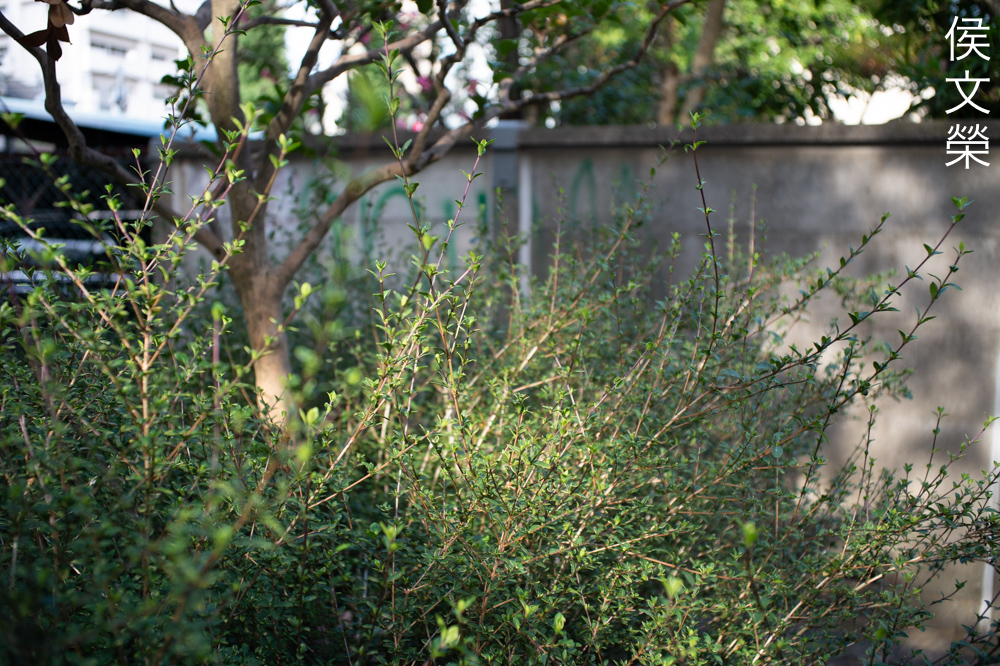
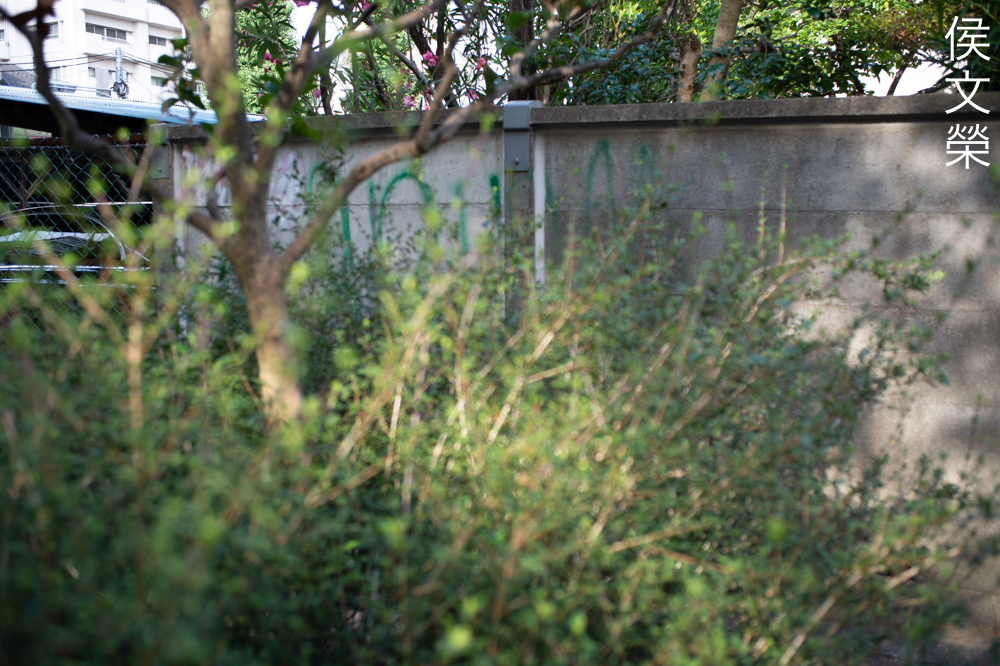
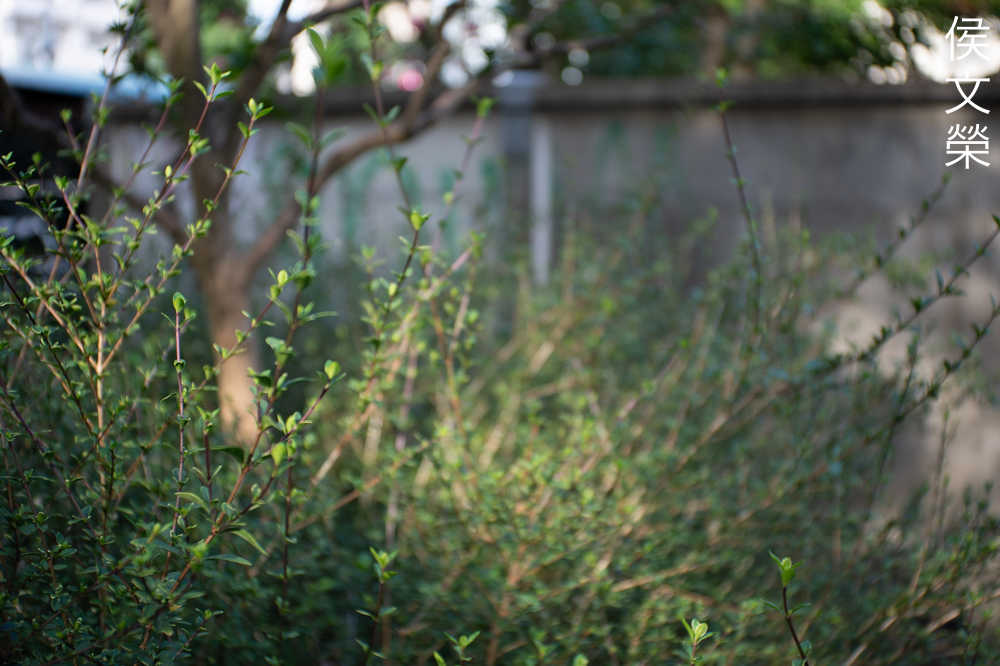
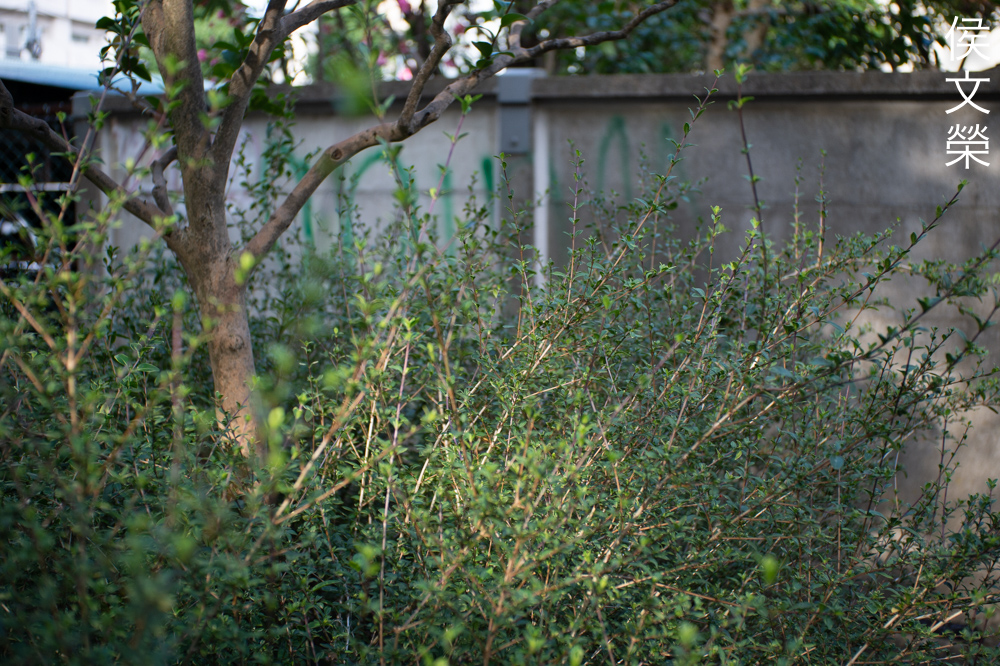
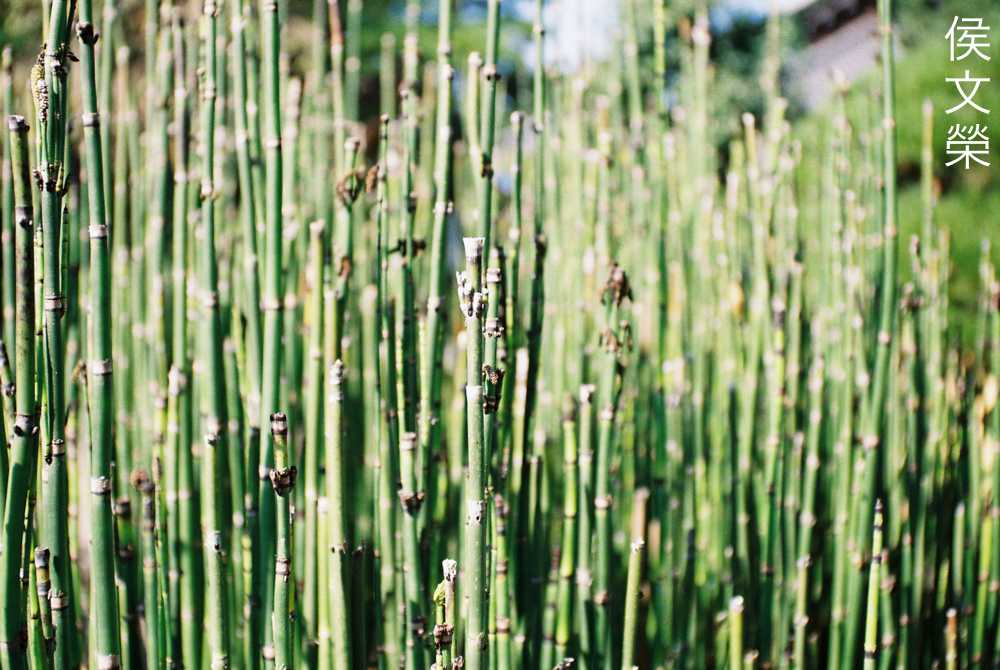
This is as close as I’ll get to taking landscape photos with this lens. It excels in this category thanks to how resilient it is to chromatic aberration (foliage and sky) and how sharp it is.

A fast maximum aperture isn’t required for taking landscape photos, you will want to stop your iris down to as small as practically possible to get more depth-of-field. I suspect that f/11 is the smallest aperture you would want to use this lens with, maybe even f/16 when shooting with film.
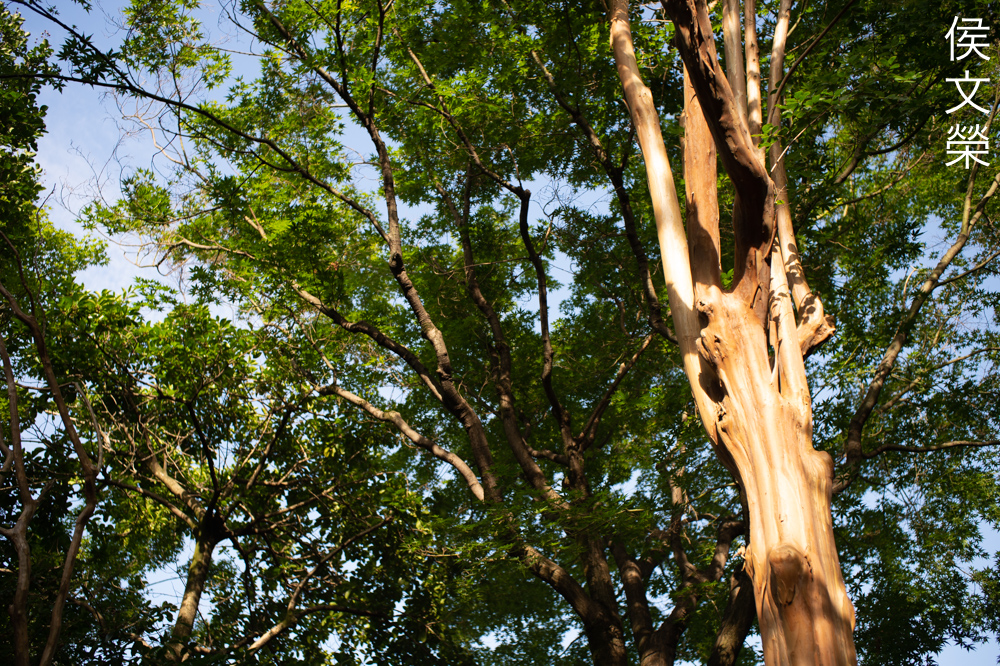
This lens is sharp, it’s able to render the details of the bricks quite well. For some reason, I find that it will struggle with overblown objects in the scene, perhaps this is due to how spherical aberration works with this lens as mentioned in the previous sections?

The bright parts of this photo looks like it has a thin, milky layer over them, not too different from what we saw in the previous photo. It’s not a deal-breaker, just something I have noticed.

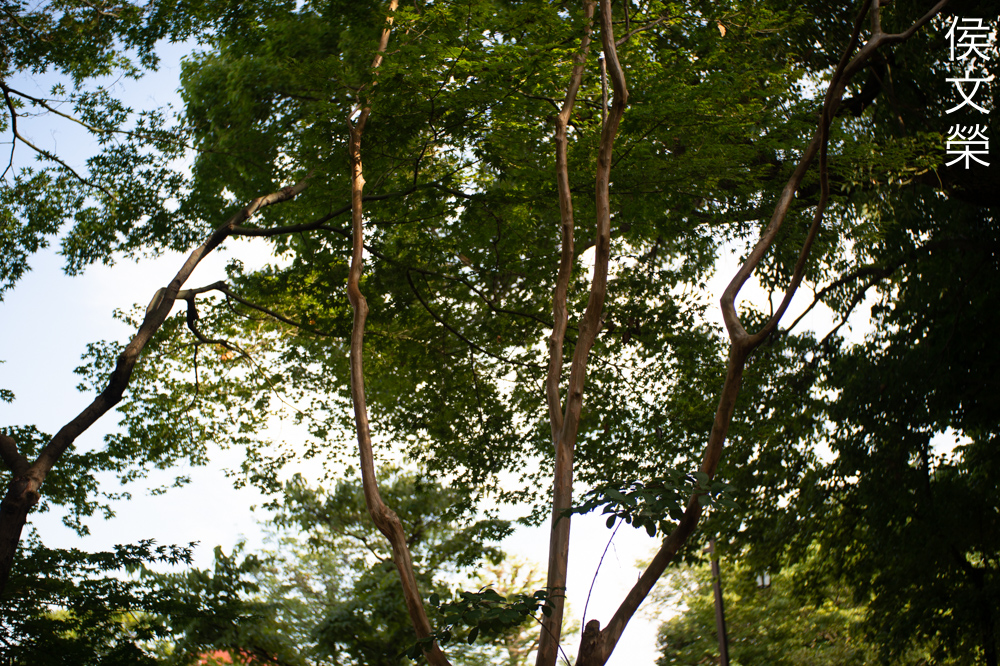
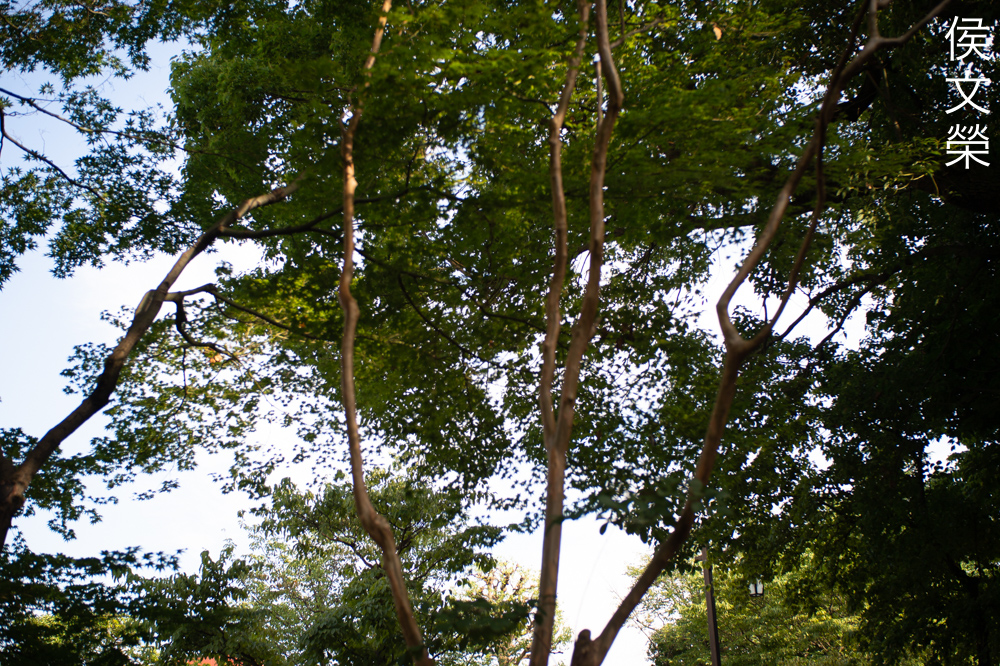
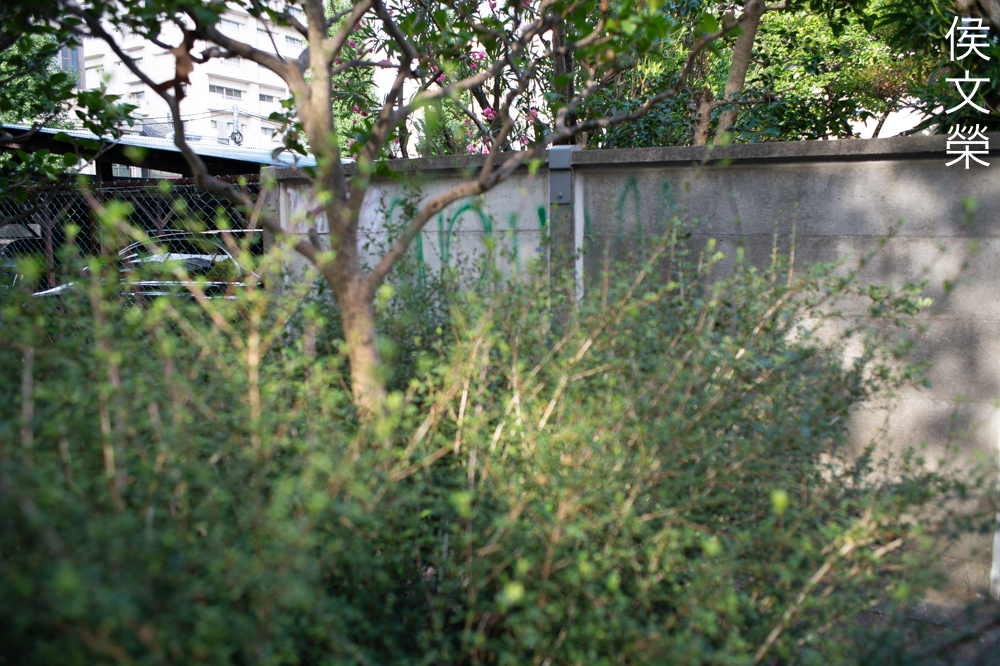
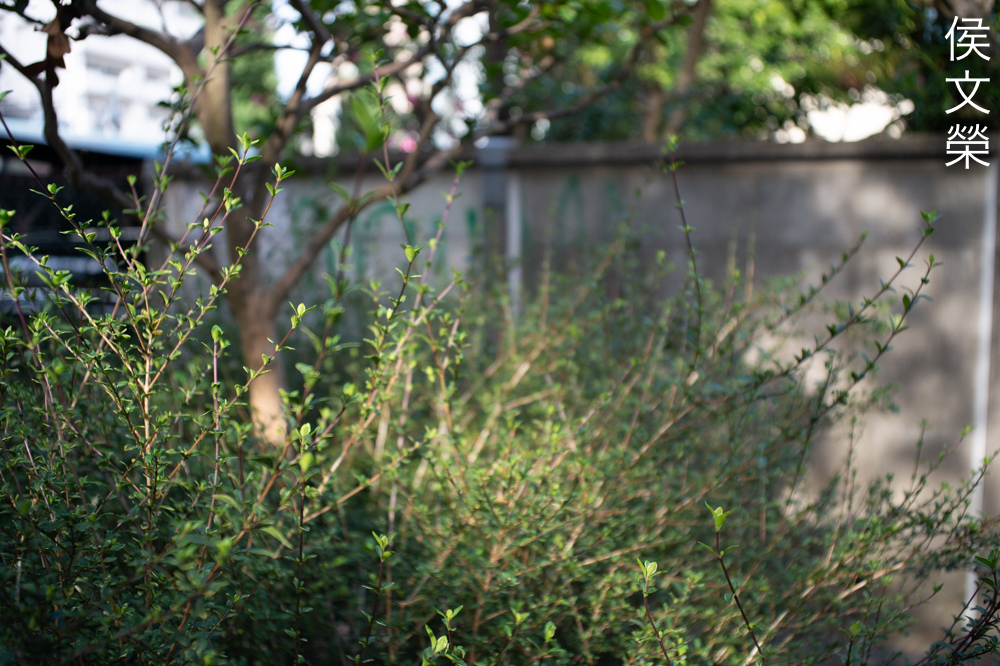
Its incredible property of correcting chromatic aberration is really helpful for these kind of photos where we have the sky as the background. This enables us to see sharp details that would otherwise look purple when rendered with another lens that performs worse in this context.


(Click to enlarge)
Here’s the rest of the set. I really enjoyed shooting with this lens, so much so that I have shot more than 4 rolls with it over the span of a few weeks. The hype is real, it really is what people say it is.
I can definitely recommend this lens, but only to those who know what they want. It’s a great lens as you saw in my photos, but its use can be limited to the focal-range of 28-45mm, if that does not bother you, then go ahead and purchase one. I am not sure how it performs as a lens for video, it will be convenient because you have a modern 3-ring setup compared to the usual push-pull zooms of that era. You’re able to adapt it easier. Do not bother purchasing the hood (Nikon HK-1), it’s useless for most cases, unless you want to complete your kit. When looking for one, be sure that the iris mechanism is dry, it should also be snappy when you actuate the stop-down lever. Operate all the rings and make sure that they’re smooth, it should not snag or exhibit uneven resistance. Also make sure that the optics are clean and the cemented elements do not show signs of separation. They used to be expensive, selling from $120.00 up to $250.00 each and for a time considered moderately rare. It’s easy to find them these days and you can buy these for a lot cheaper as well, I got mine for $40.00! Of course, it will depend on the condition of the lens but it should not be too expensive these days. If you are looking for one, don’t be suckered into buying a lens that is sold for more than what I said here, just be patient and you should find one for the right price.
Before We Begin:
If this is your first attempt at repairing a lens then I suggest that you see my previous posts regarding screws & drivers, grease and other things. Also read what I wrote about the tools that you’ll need to fix your Nikkors.
I suggest that you read these primers before you begin (for beginners):
- Essential tools
- Best practices 1
- Best practices 2
- Best practices 3
- Ai conversion
- Working with Helicoids
Reading these should lessen the chance of ruining your lens if you’re a novice. Before opening anything, always look for other people who have done so in YouTube or the internet. Information is scarce, vague and scattered (that is why I started this) but you can still find some information if you search carefully.
I recommend that you read my working with helicoids article because this is very important and getting it wrong can ruin your day. If I can force you to read this, I would. It is that important!
For more advanced topics, read my fungus removal post as a start. It has a lot of useful information, it will be beneficial for you to read this.
Disassembly (Front Barrel):
This is not an easy lens to work with, while it has a lot in common with Zoom-Nikkors of the same period, there are some things that are unique to this lens. You can start working on it from the back, but I chose to start from the front instead.
You should be very careful with taking notes because there are multiple helicoids in this lens. If you forgot to take any references, you run the risk of reassembling it in the wrong way, then you will have to open it up again and guess how things should be and you may never get it back again. This is not a lens for those who have little or no experience with repairing complicated zoom lenses. If your lens needs to be serviced please send it to a real professional.
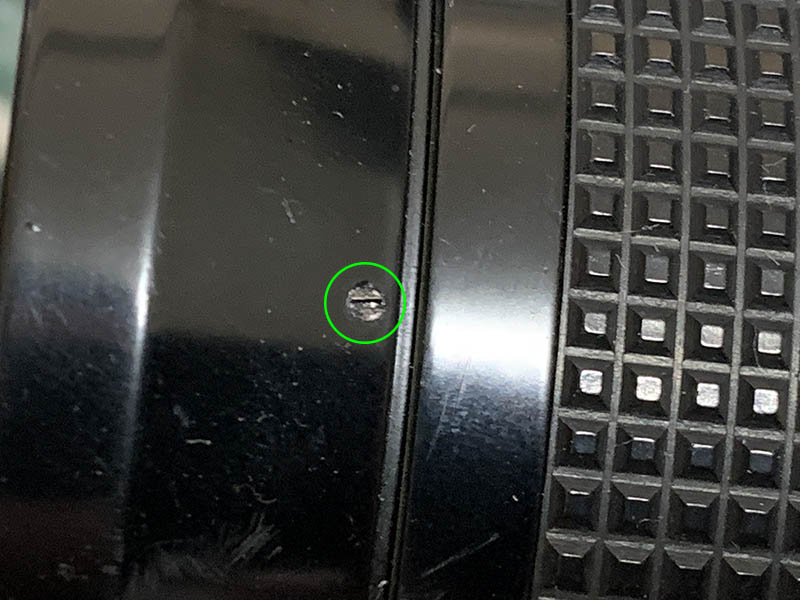
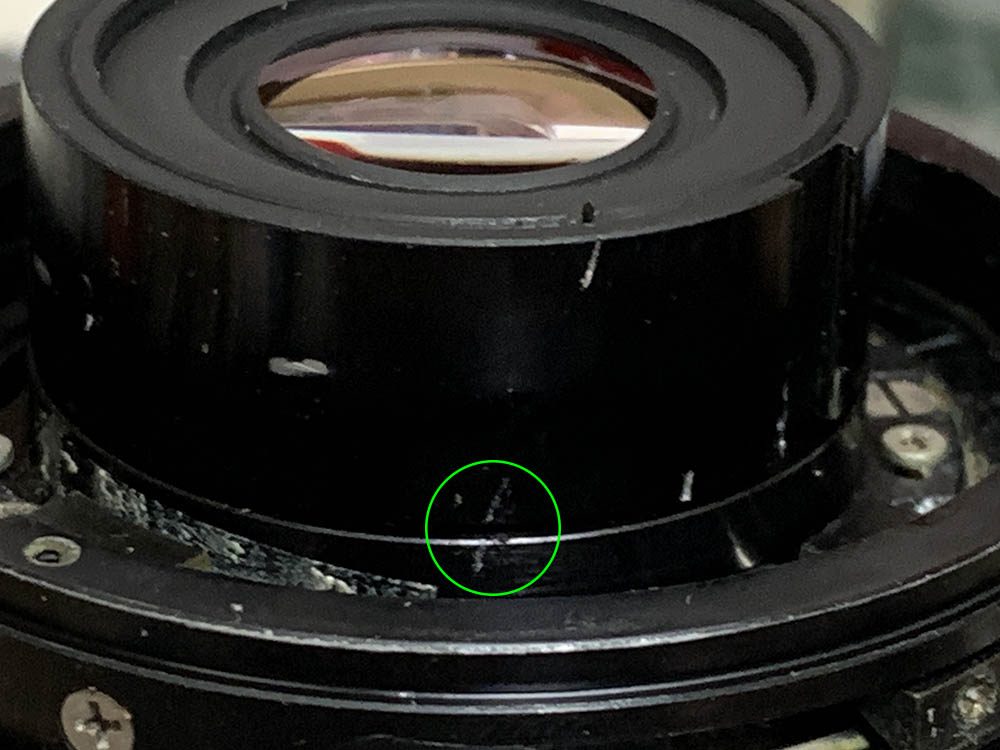
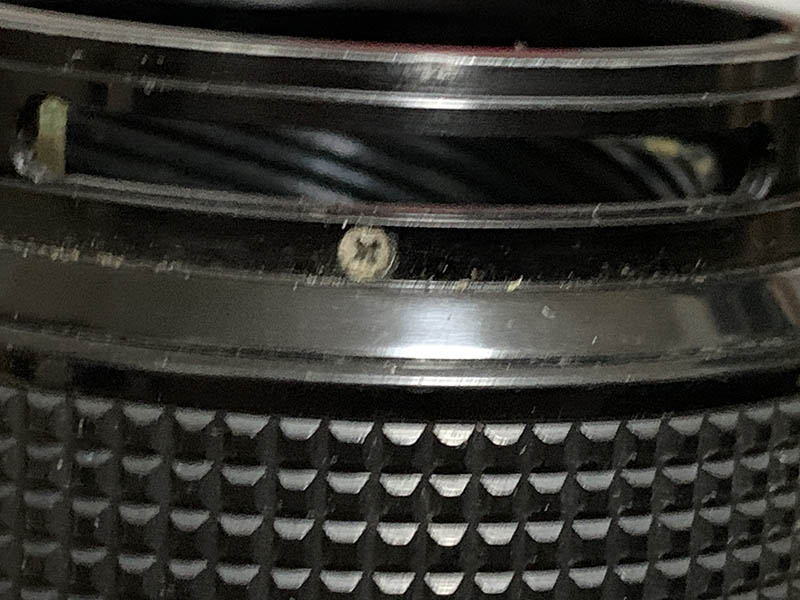
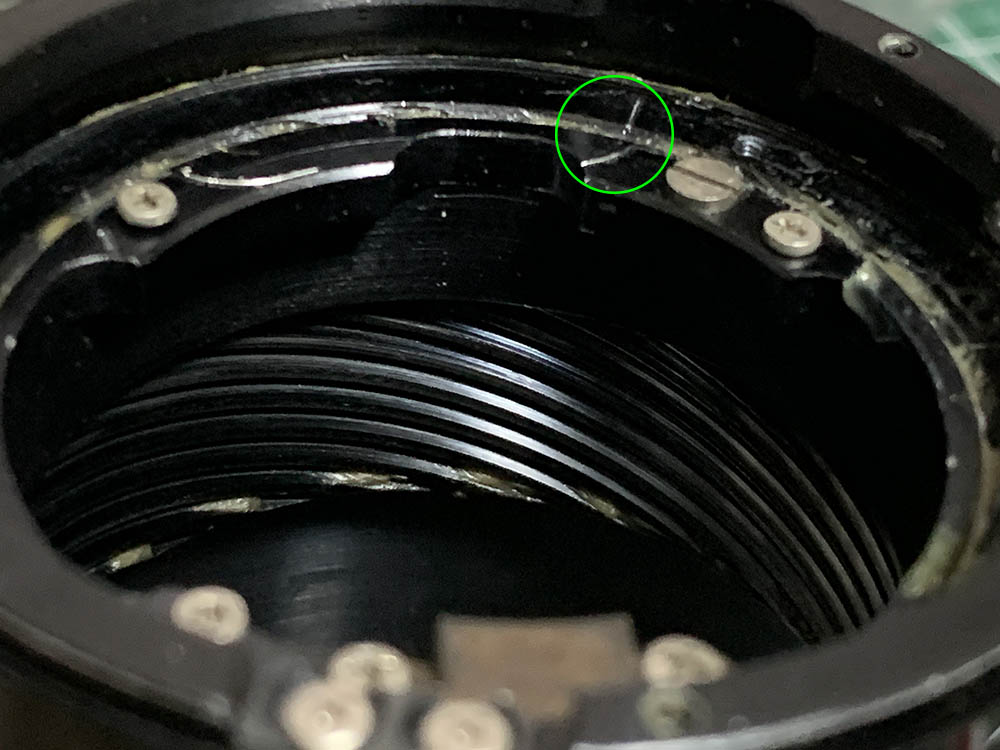
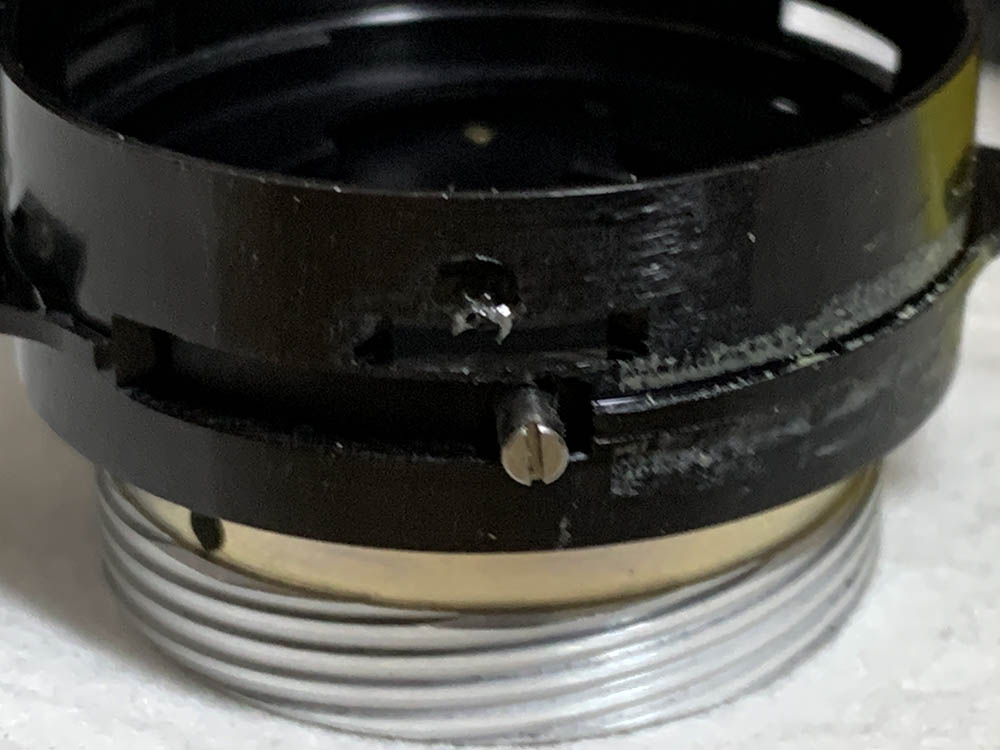
Locate and carefully extract this set screw. It may be difficult to unscrew so a drop of acetone can dissolve the locking agent used.
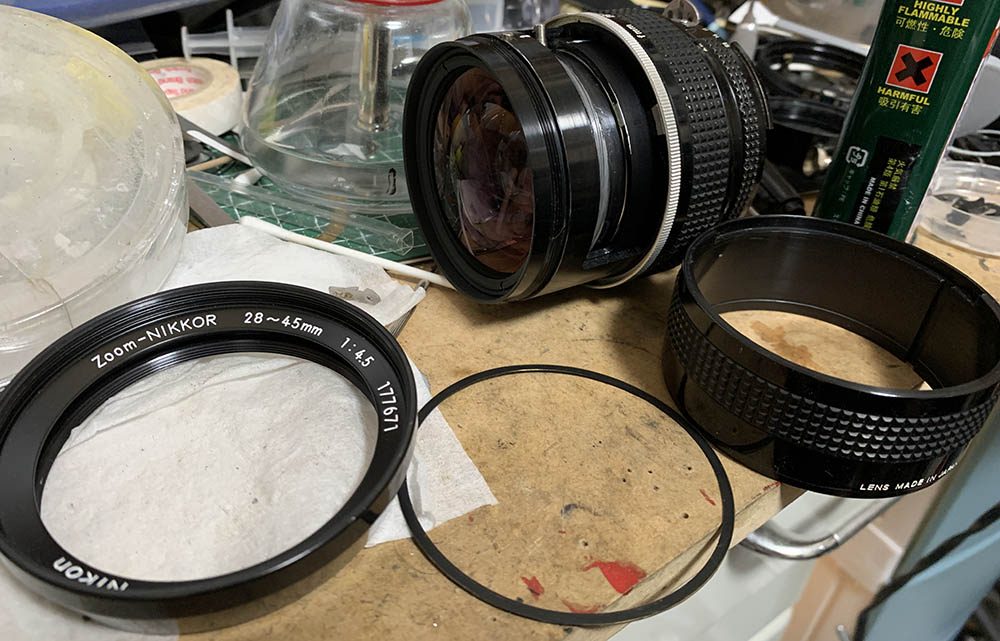
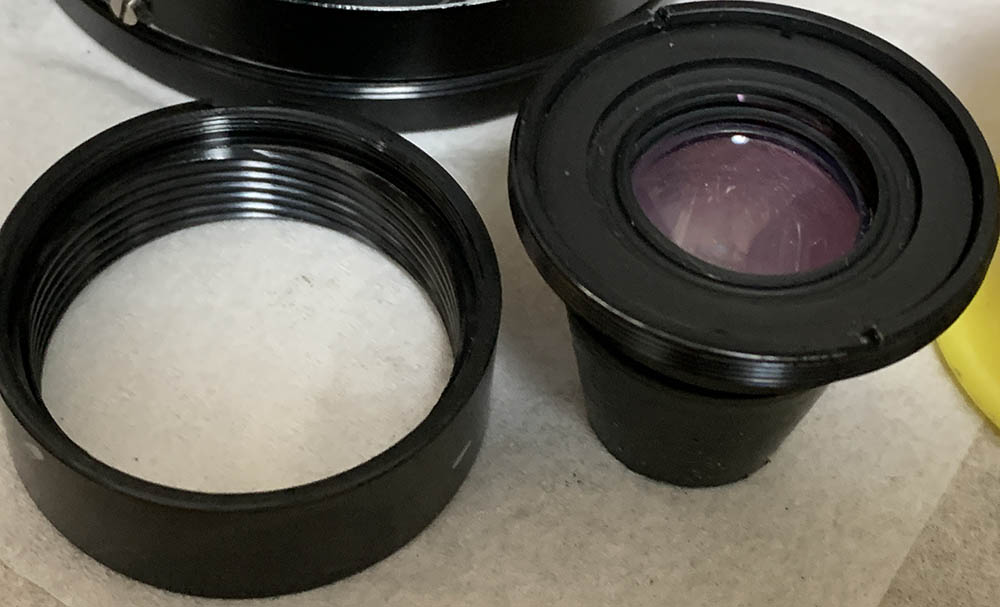
Once that screw is gone, you will be able to unscrew the front barrel off, enabling you to access the inner parts of the front. You can now remove the focusing ring, too. Do note that there’s a bushing here. Before I forget, remove the focusing ring while everything is at infinity.

Unscrew the front optical assembly carefully with a lens spanner, making sure that you don’t scratch the lens. There’s a shim underneath it, do not lose it, store it safely so it won’t get warped.

Do not get ahead of yourself at this point, take some time and observe everything, the alignment and the positioning of everything in relation to the other parts.
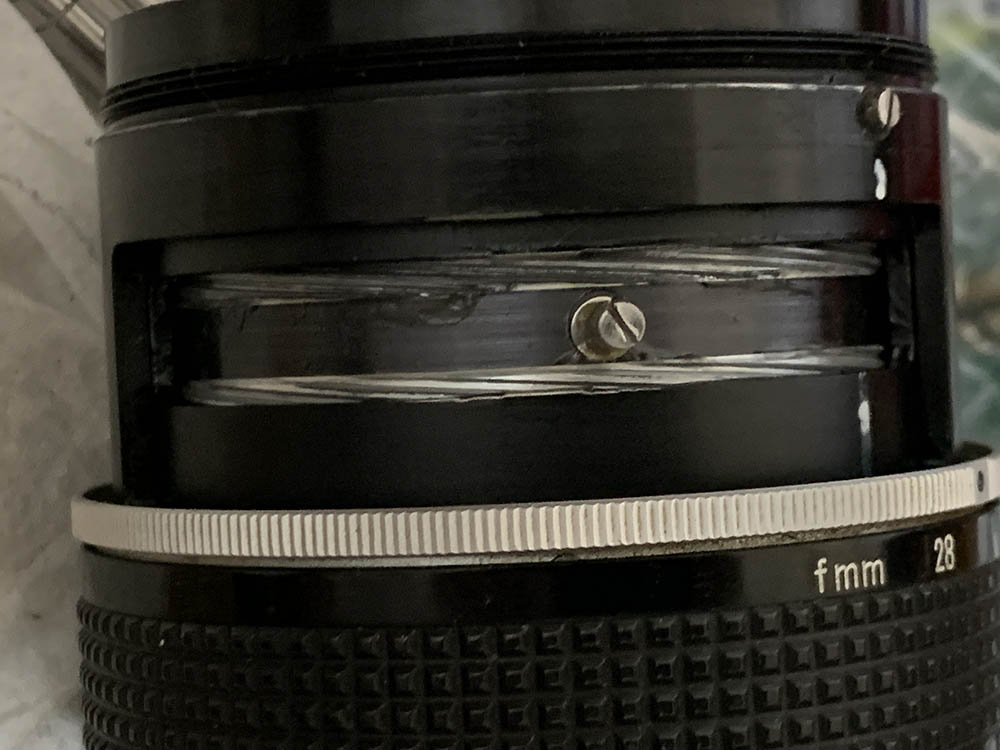
Note how this mechanism looks like while at infinity. I also noticed that the slot of the screw looks scarred which is a sign that somebody else was here.
For most people who just need to clean the front part of the lens, this is as far as you should go, you do not need to dismantle anything further.
Disassembly (Main Barrel):
This is where things get serious, the main barrel is complicated and should be dismantled in the correct sequence or else you won’t be able to remove everything in a neat manner. Take many notes on how the parts interlock with each other and do not forget to note their positions relative to each other. You should also work on it while everything is positioned at infinity and zoomed to either end of the focal range, this way, you will have a point-of-reference.
Do not attempt this section unless you have the right tools for the job! You may even need to make tools just to open up some of the parts here.
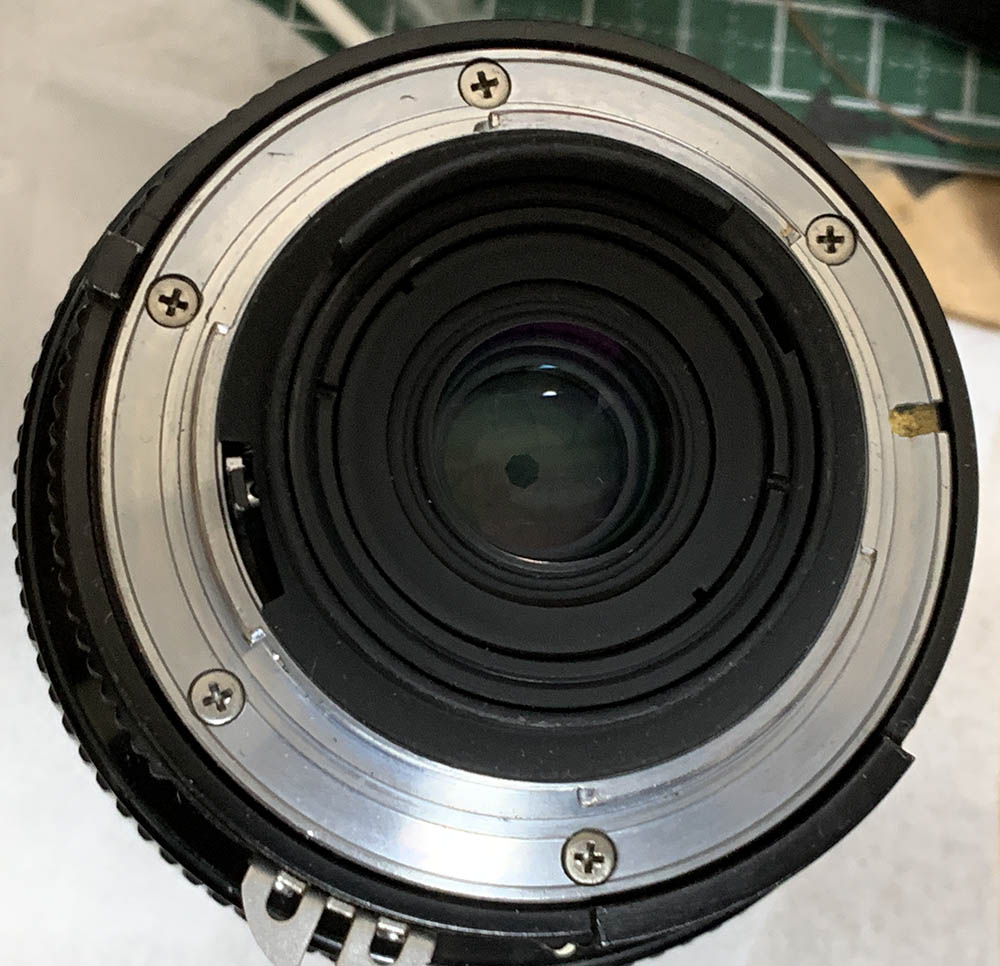
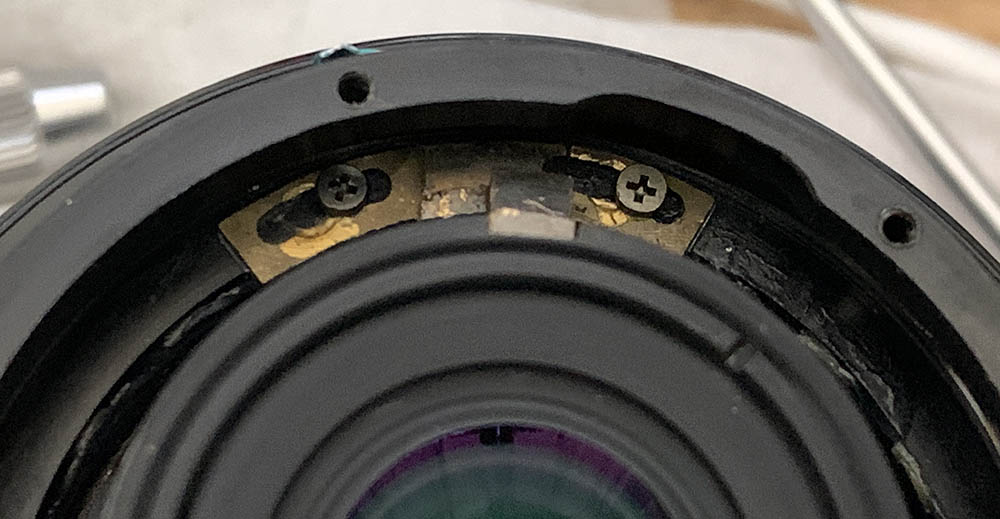
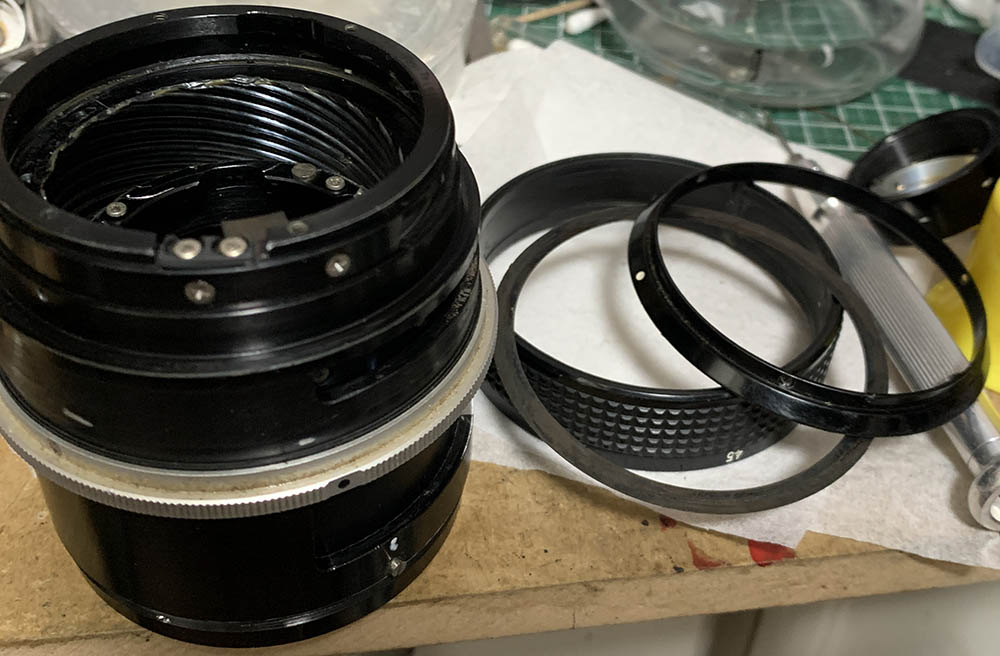
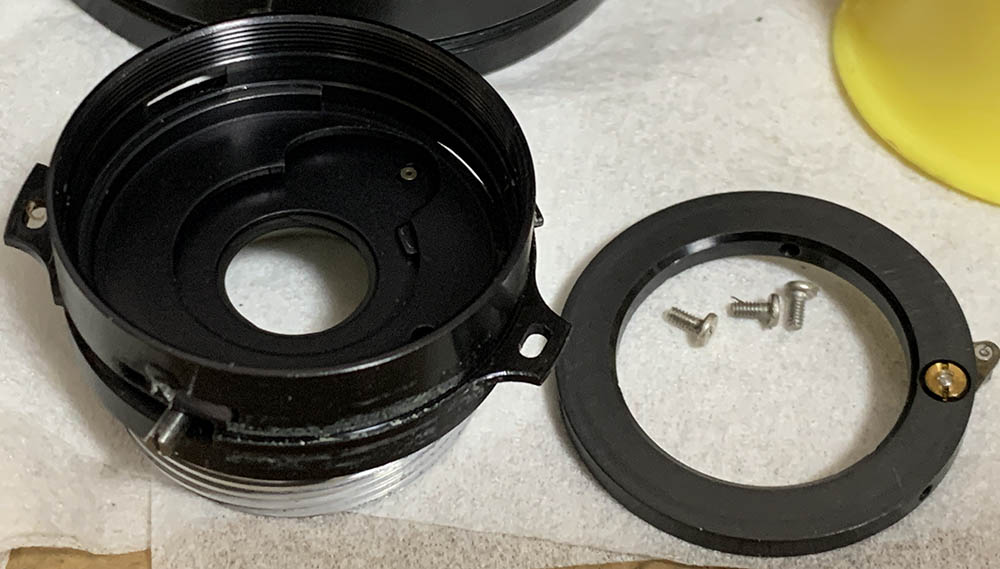
Carefully extract these screws from the bayonet, read my article on how to remove screws so you will not strip their heads. Do not ignore this warning.

Remove the bayonet mount from the barrel, there’s nothing here that can get caught.
Remove the shims, do not lose these. They are used for adjusting the rear focus of the lens.
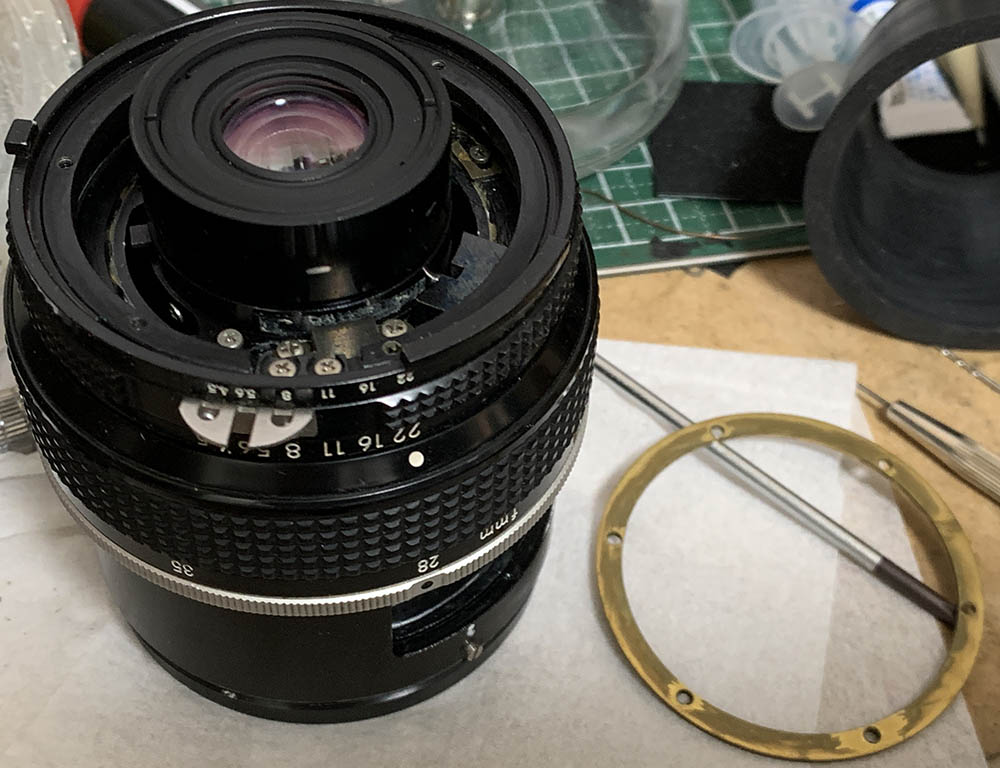
Extracting these can sometimes be risky, so I usually heat them up first with a soldering bolt or a torch for precision repair before I extract them. They’re sometimes secured with epoxy as evident by the smell they give off when heated.
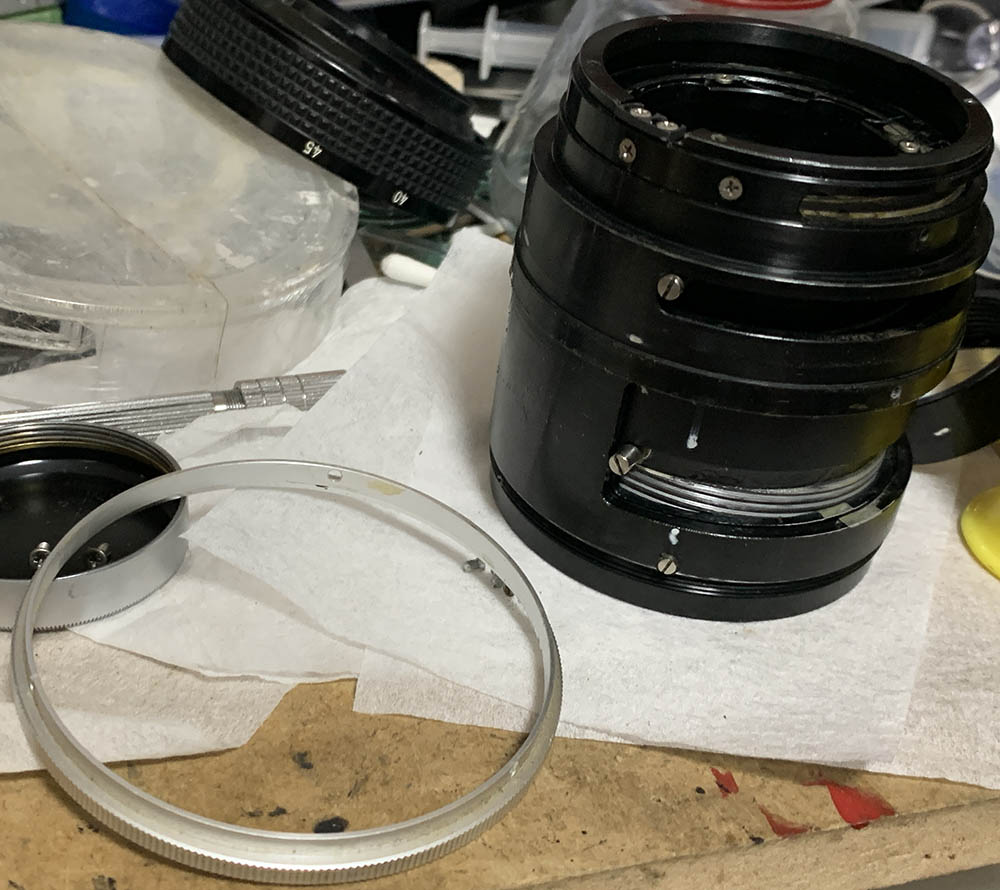
Once the screws are gone you can safely remove the aperture ring.
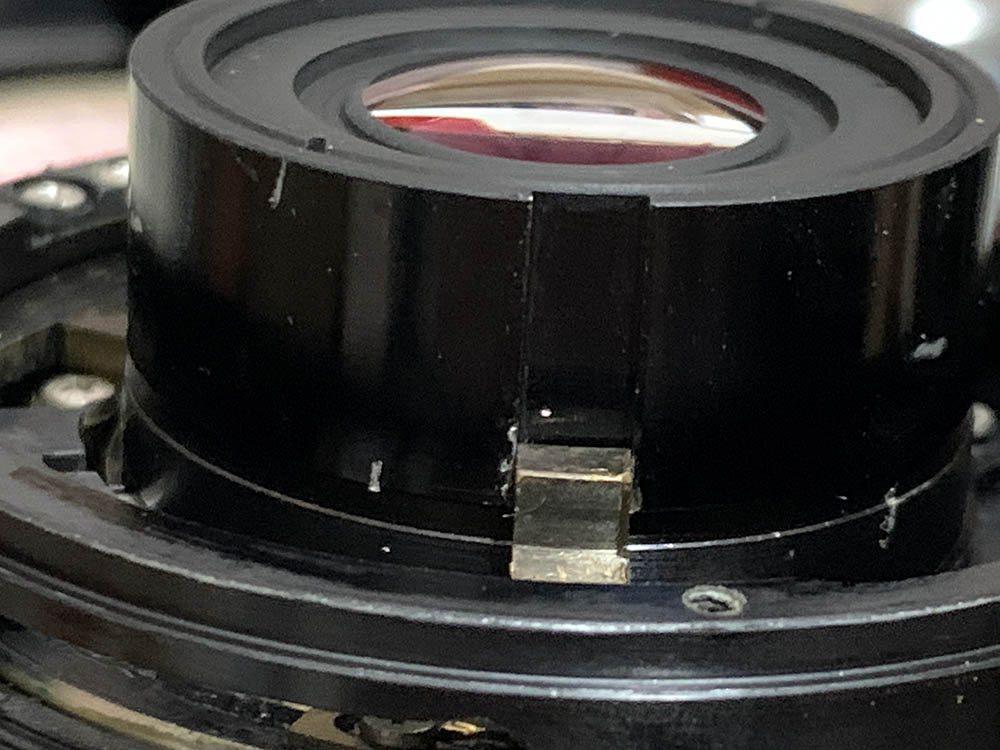
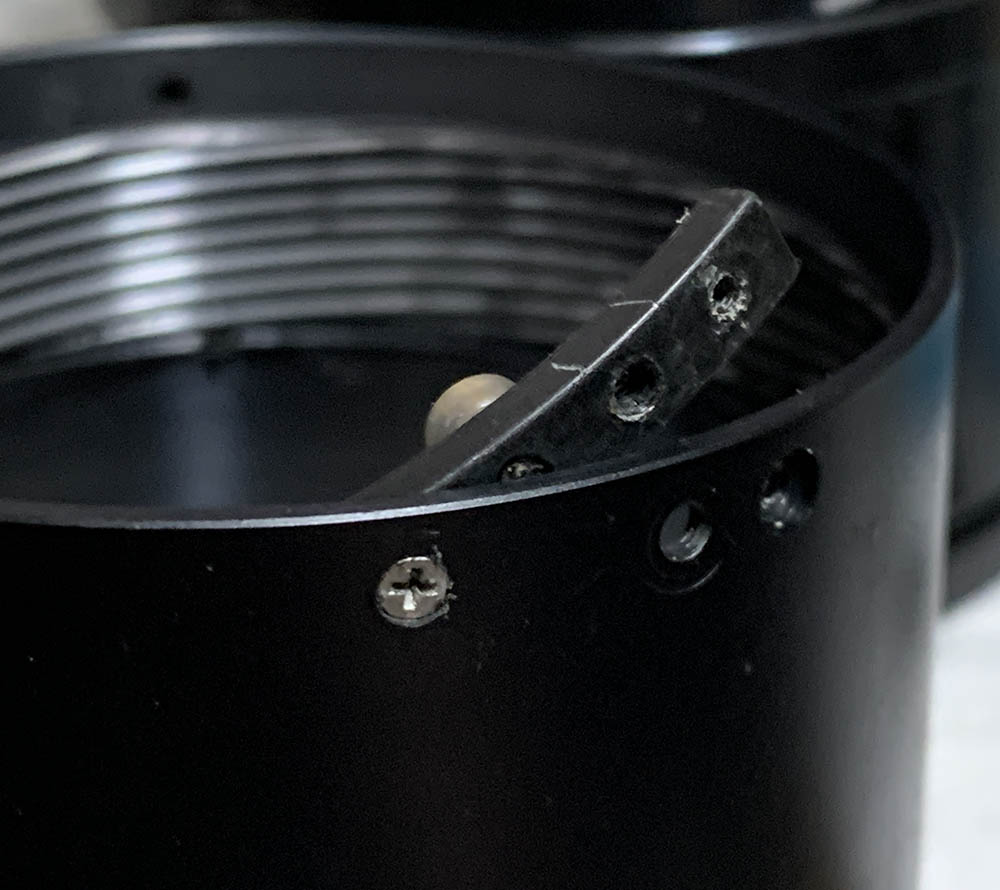
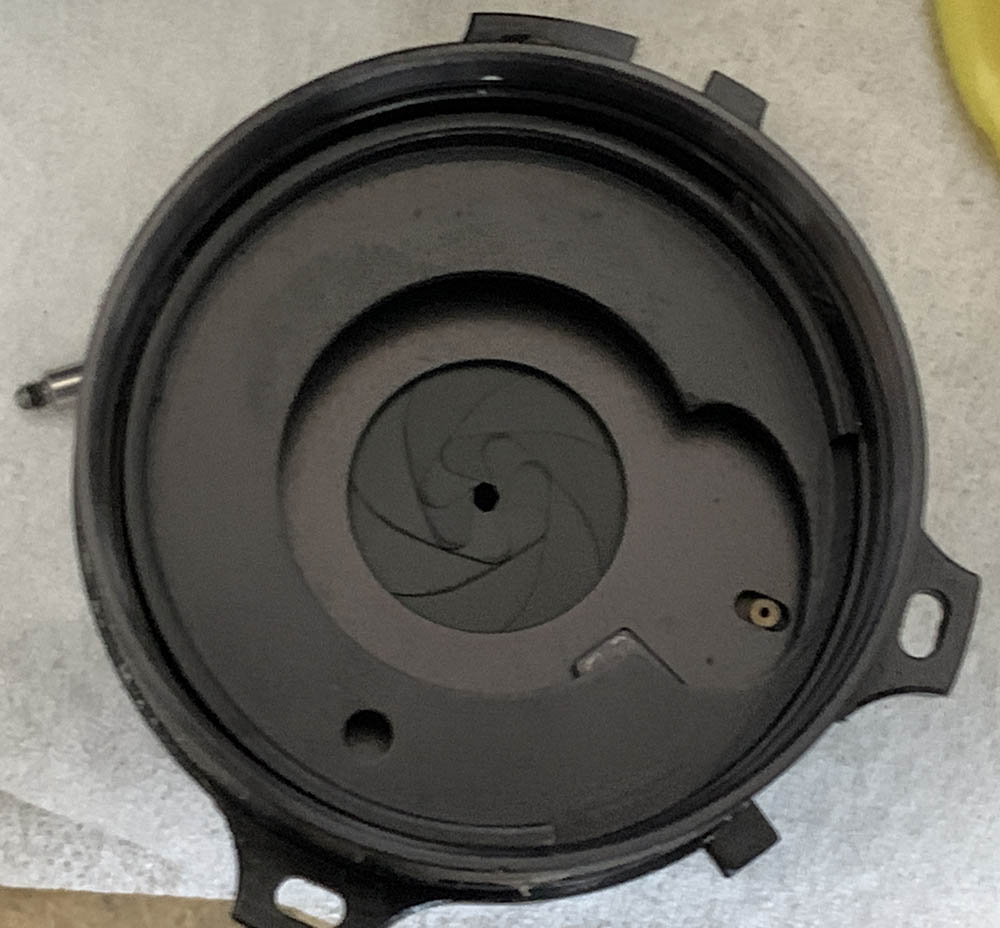
While everything is still at infinity, note the position of this key, this is delicate so make sure not to bend it while trying to remove anything. This is how far mine goes when extended.
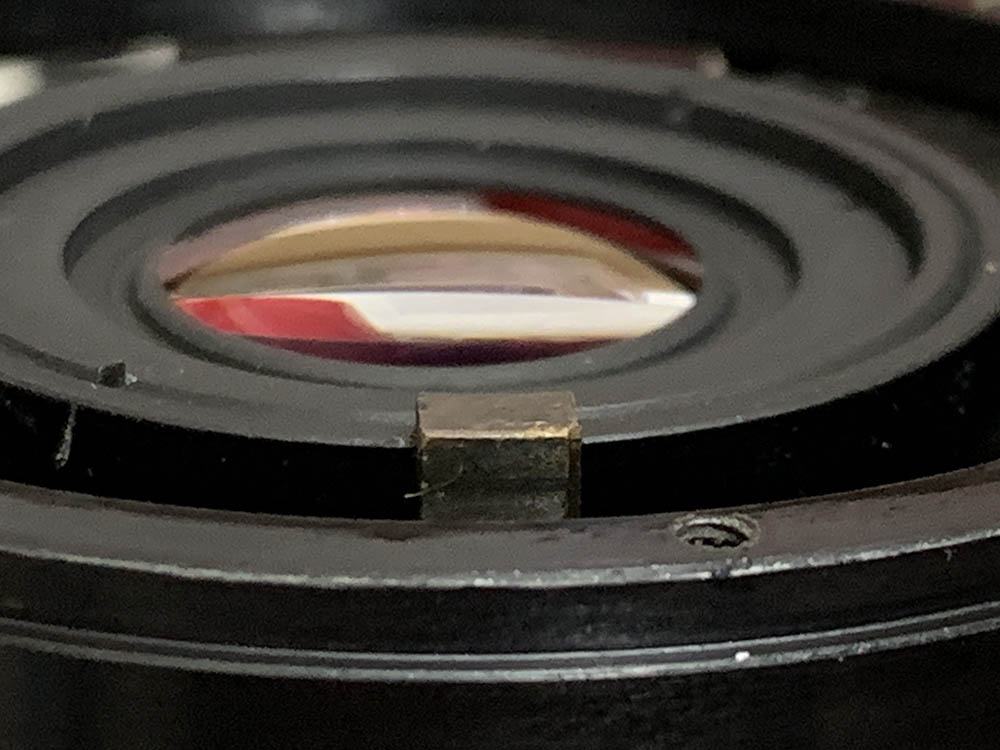
And this is how far it goes in when retracted.
As you can see, the braces on the key has cracked and it has been adjusted. Note its original position and extract the screws to remove the key.
Since the rear optical assembly is housed in a helicoid, make sure to mark it when it’s fully-collapsed. This will help you later when it’s time to reassemble the lens. Read my article on how to work with helicoids so you will know how this delicate task is done.

As usual, never forget to mark where the helicoids separated because this is also the same spot where the threads should mesh.
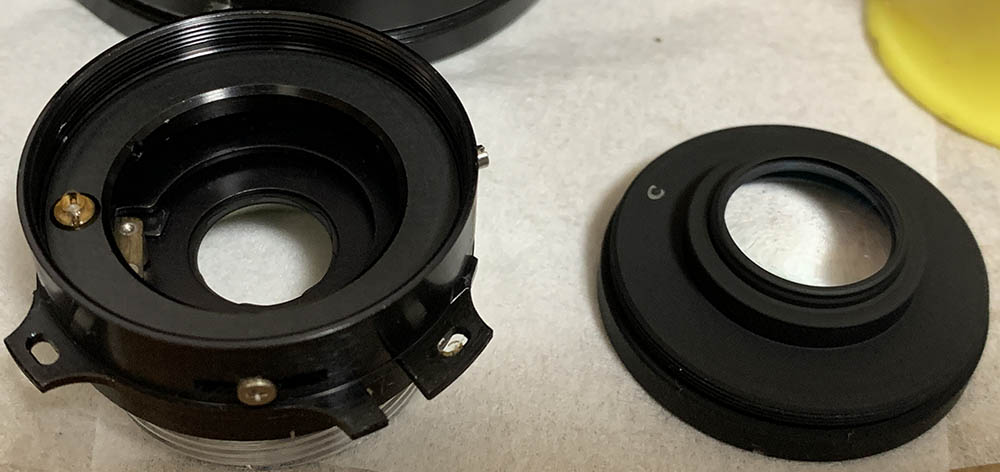
Carefully unscrew the rear optical assembly but do not forget to note its position and depth first, it could be an adjustable part, you want to be safe just in case.
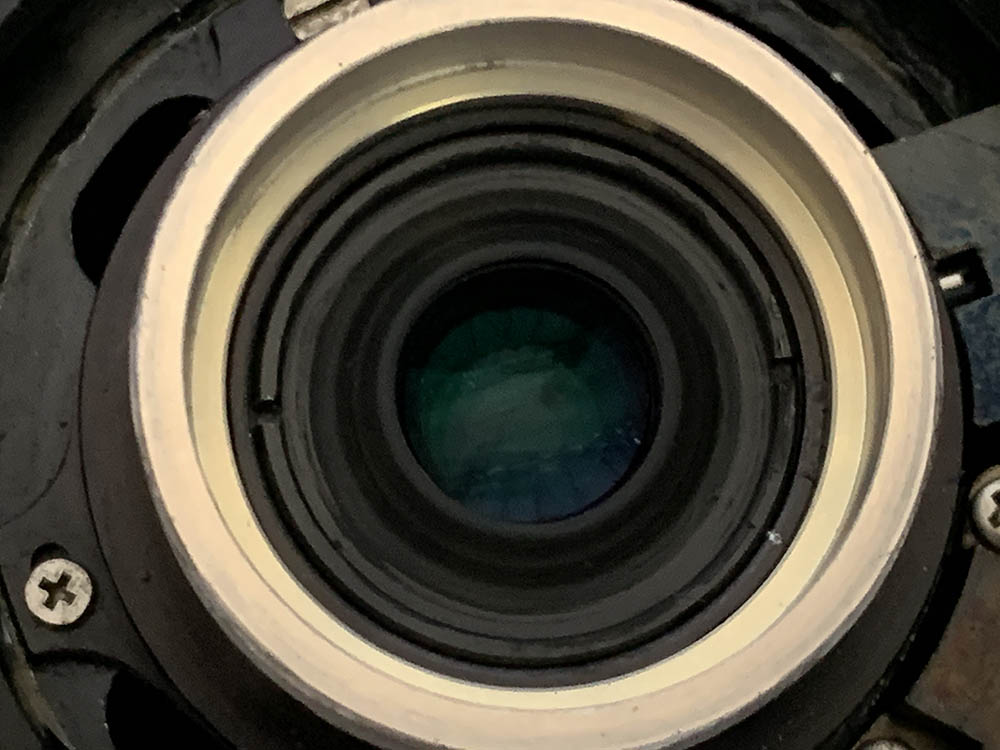
Get a small lens spanner and carefully extract this, be careful not to damage the glass.
Store it in a safe place while you work with the rest of the lens.

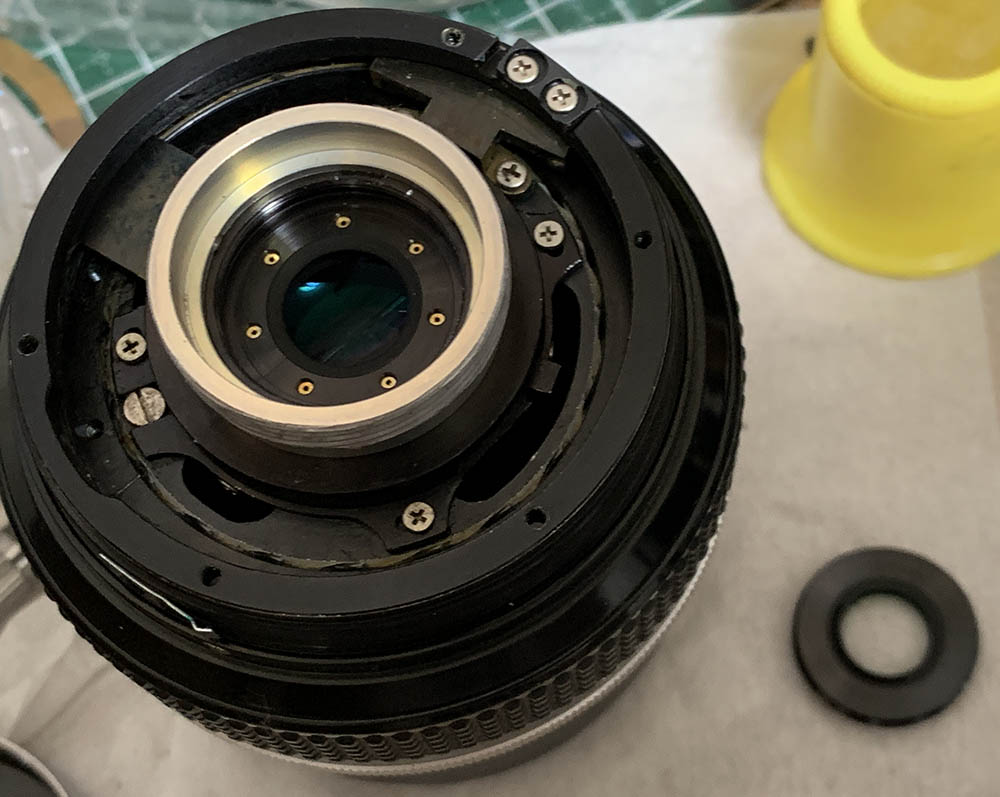
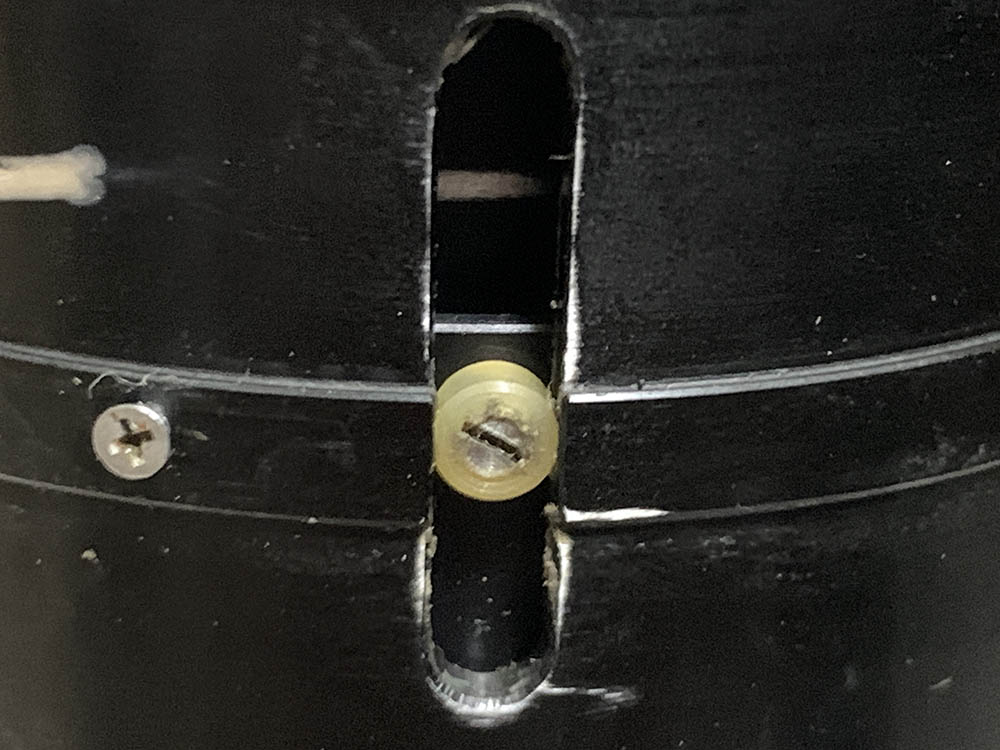
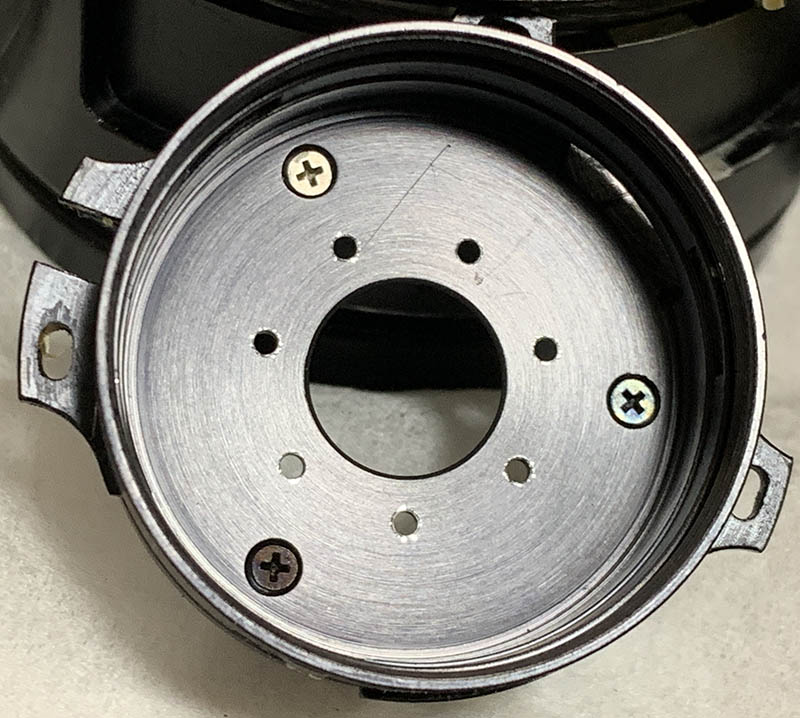
Carefully extract these to remove the assembly that houses the iris mechanism. You do not need to mark its position since there’s a screw that fits into a slot here that serves as its guide. Please do not remove its guide screw, it’s an eccentric screw used to adjust the alignment of the iris, it’s a precise adjustment.
Carefully remove the said assembly and keep the iris mechanism safe.
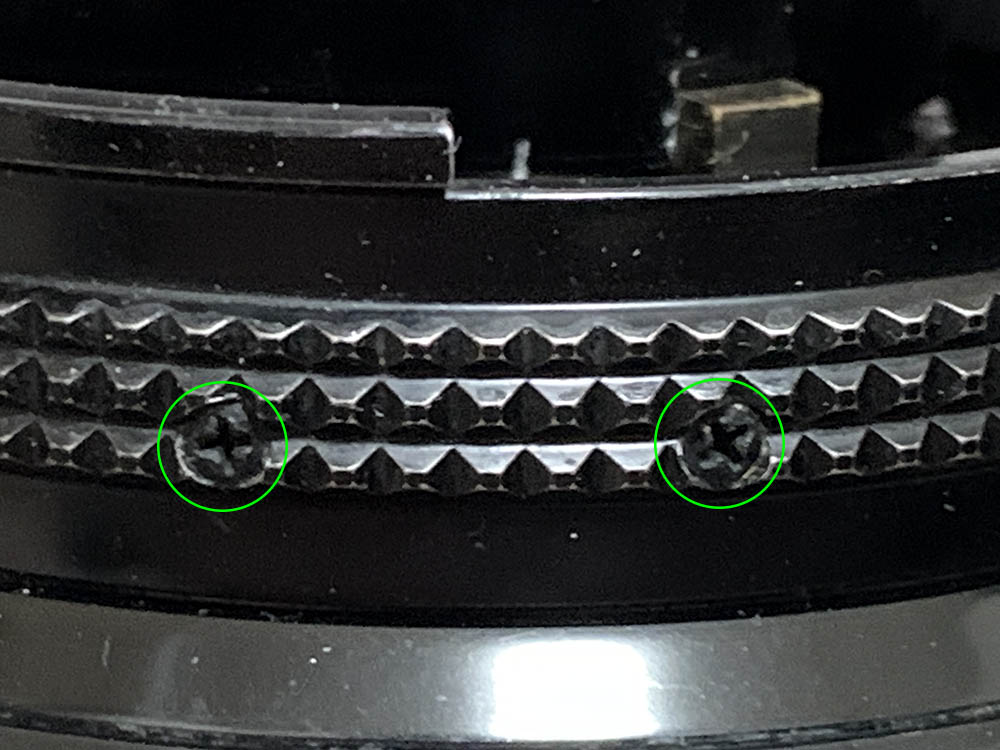
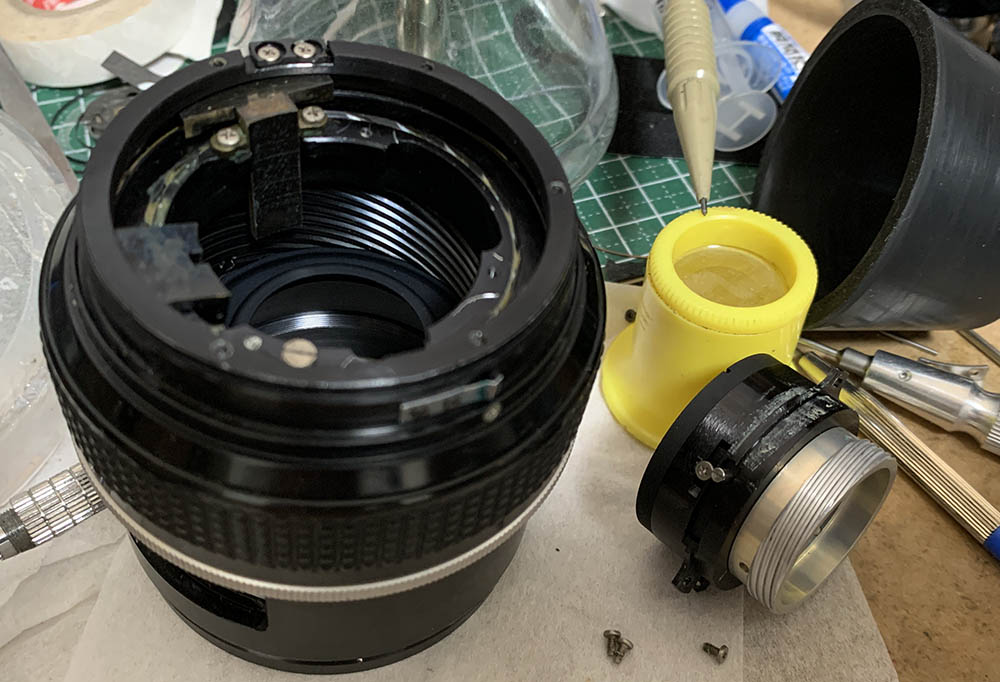
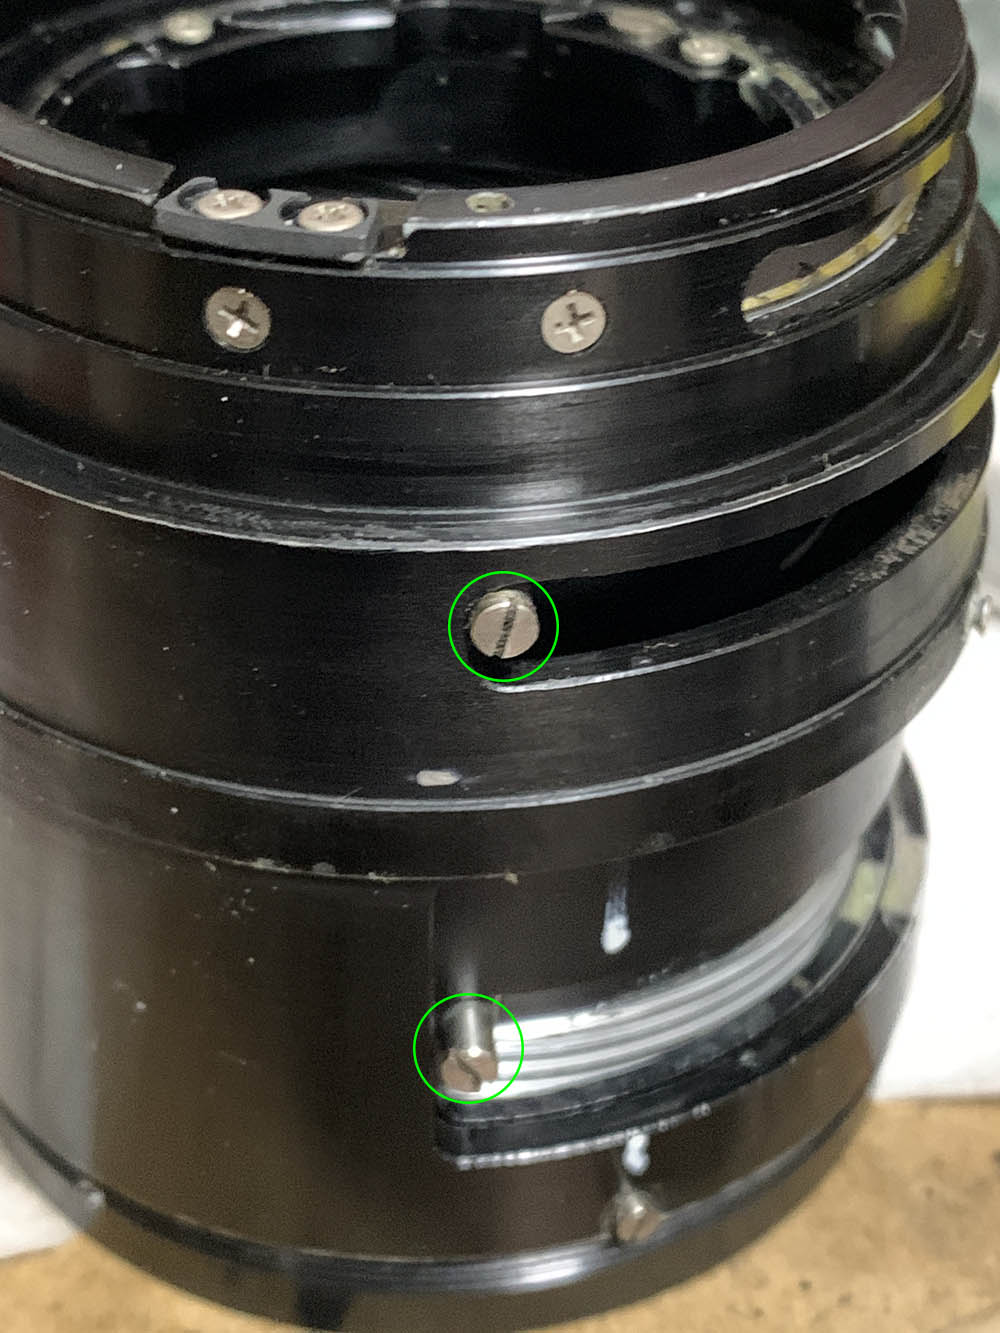
Locate these screws and carefully extract them.
Remove the zoom ring and be careful not to lose the bushing.
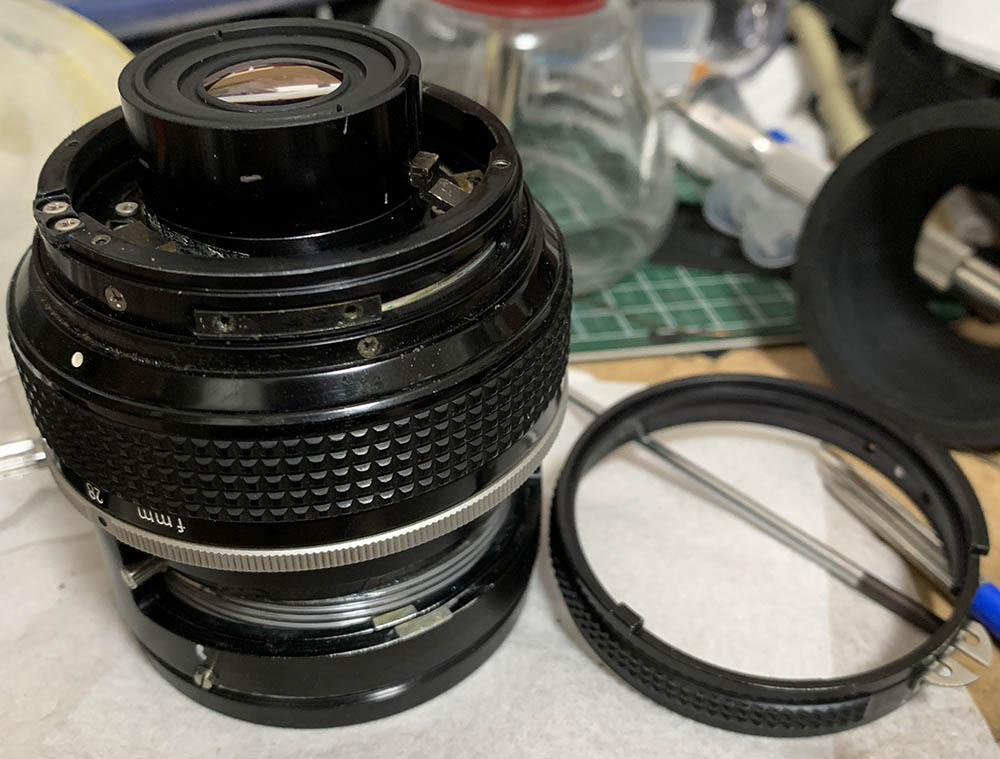
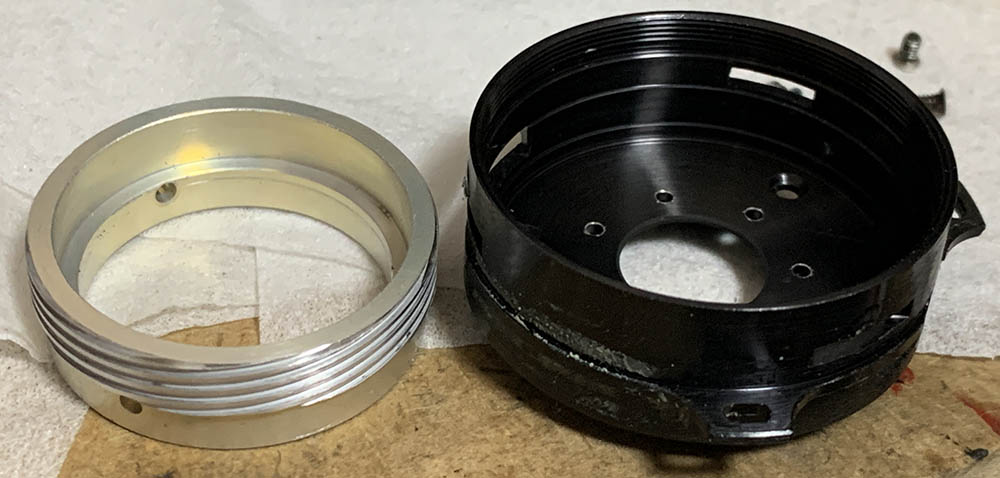
Extract the screws of the shiny grip and remove it from the rest of the barrel.
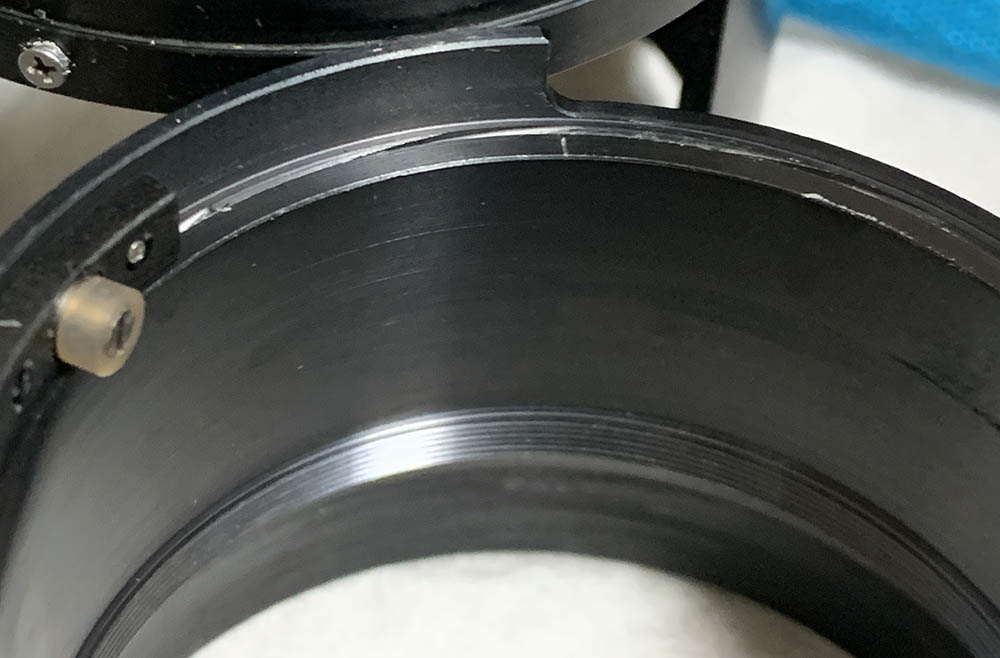
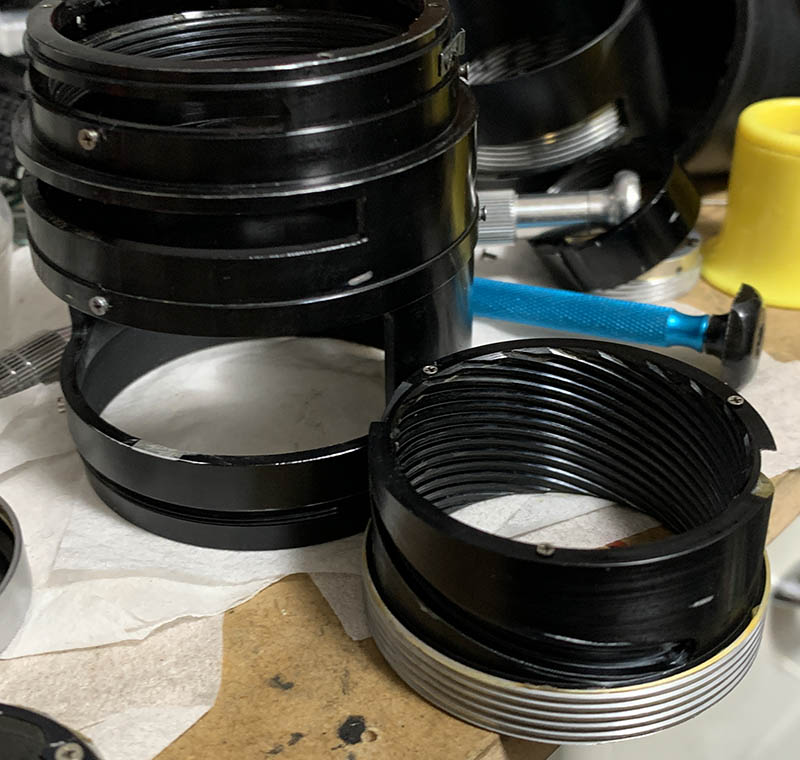
Before you remove these, note the positions of the helicoids and the other related parts first. They can be difficult to remove so heat or solvents may be needed.
Before separating the helicoids, make sure that you mark their alignments first.
Do not forget to note the height of this roller, too. Once you’re satisfied, you can unscrew this so you will be able to dismantle the inner barrel even further.
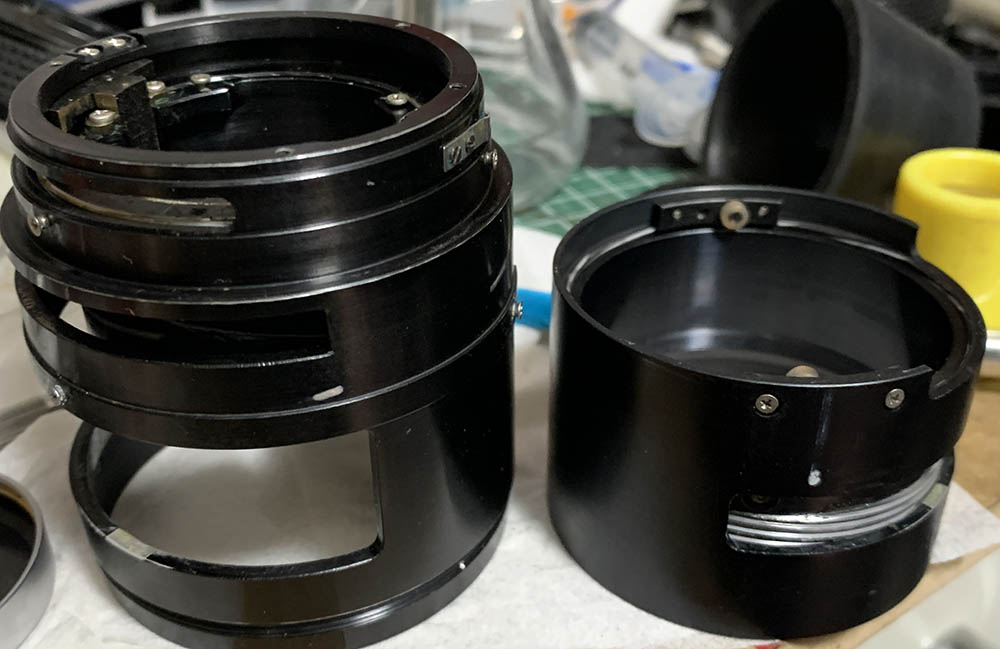
Carefully separate these so you can clean them properly.
Don’t forget to make more marks just to be safe.
Carefully extract the screws rollers and don’t forget to note which side they came from so you can return them properly.

Extract these so you can remove the helicoid key, but not before you have made some guide marks.

And here they are, note that I made a not-so-small mark on the helicoid key’s inner surface.

Separate this and do not forget to mark where it parted. Again, don’t forget to read my how to work with helicoids article to prevent any trouble from happening.
You can then proceed to separating this and don’t forget to mark where they parted.
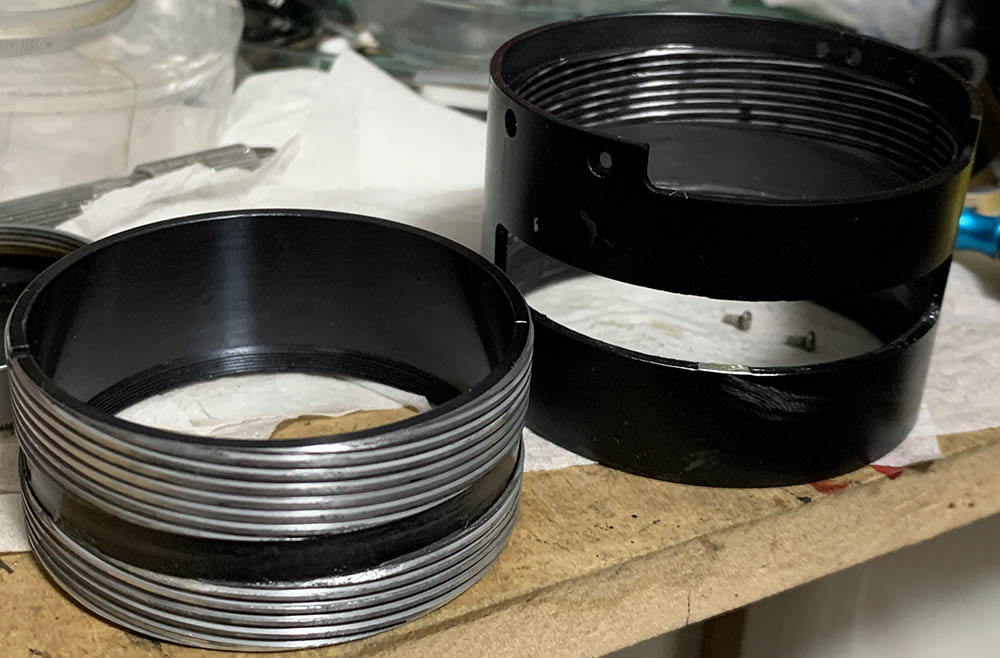
The same thing goes for this helicoid, too.
Clean the helicoids with a strong detergent and rinse them well, soak them in alcohol to remove residue. Dry them very well before you continue. Once everything is clean and dry, apply a thin film of grease to the helicoids and other metal-to-metal surfaces, never to apply too much or the excess grease will move to the optics or iris mechanism, creating an even bigger mess. Exercise the helicoids and wipe away the excess grease, you will be surprised at how little you need to get the job done.
Disassembly (Iris Mechanism):
The iris mechanism is typical of many Nikkors so this should not be difficult for experienced repairers. The helicoid attached to it needs to be cleaned properly after you have separated it from the assembly. This is the deepest part of the lens and it is only required to get this far if the iris mechanism is oily or if the lens is a total mess that requires a complete overhaul.
I will not show you how to clean the optics since everything can be accessed easily if you have gotten this far. If your lens has fungus, read my article on how to clean lens fungus, be sure not to use the solution in full concentration, dilute it with distilled water to prevent any permanent damage to the coatings.
Carefully unscrew the housing and make sure that you don’t damage anything.

The iris mechanism is secured with these screws, which are locked with adhesive. Note their alignment so you can put the iris back properly later. Unscrewing these will enable you to remove the ring inside then you will be able to completely dismantle the iris mechanism.
Carefully pull this ring out and be careful not to damage the iris blades.
Carefully extract this tall screw, the neck is very narrow and it can be delicate so be careful with it.
Study how the iris looks and observe its movement before you dismantle it.

Carefully remove the diaphragm plate once the ring is gone.
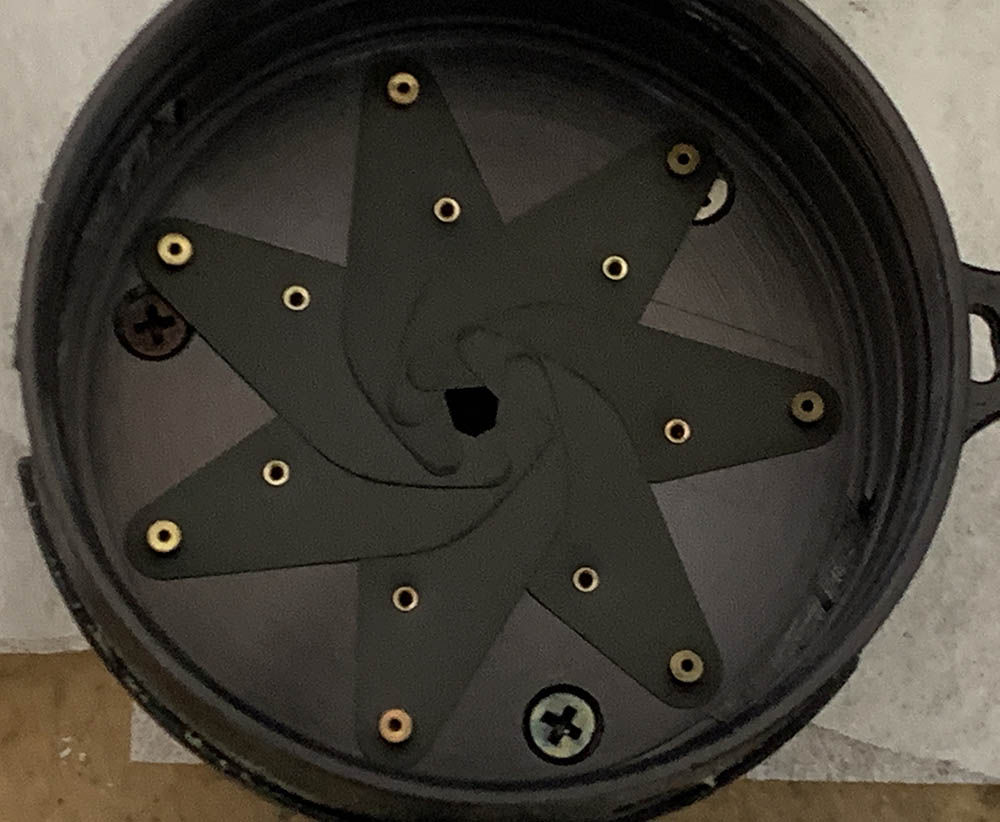
Carefully remove each blade by poling at their pins from the other side with a soft tool such as a wooden toothpick. Make sure that they drop on something soft like cotton or a vat of alcohol to prevent warping them.
These screws secure the helicoid, do not forget to mark the position of the helicoid before you extract the screws!
The iris mechanism has been completely dismantled, you are now able to clean everything thoroughly.
Clean everything thoroughly and reassemble the iris mechanism. Do not apply too much grease to the helicoids, a thin film is all you need. The iris itself is situated really close to it, you do not want to overhaul this thing all over again in the near future. Keep the iris dry, it does not need lubrication.
Conclusion:
I have learned a lot from working with this lens, it is amazing how much thought went into the design. It’s not the most complicated lens that I have worked on but I was challenged enough and I’ve enjoyed every bit of time I’ve spent on it. It took me two nights to work on this, with most of that time spent scrubbing the old grease off of the helicoids. All that effort was worth it, I now have a perfectly working lens.
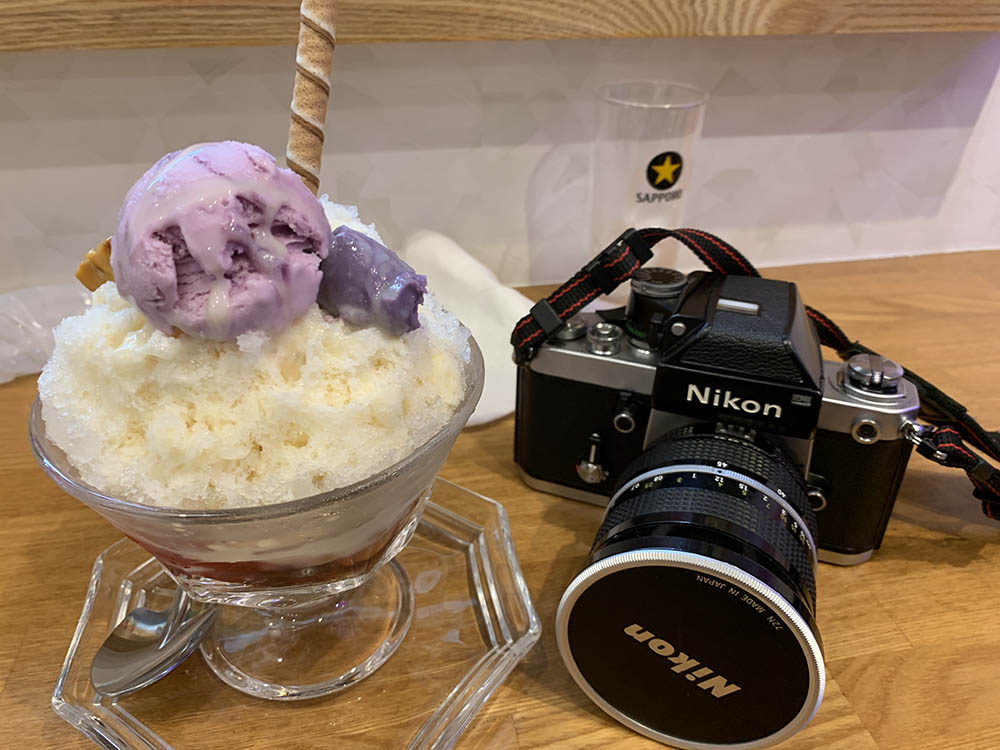
It’s time to celebrate this little achievement! It is a great walkaround lens thanks to its useful focal range.
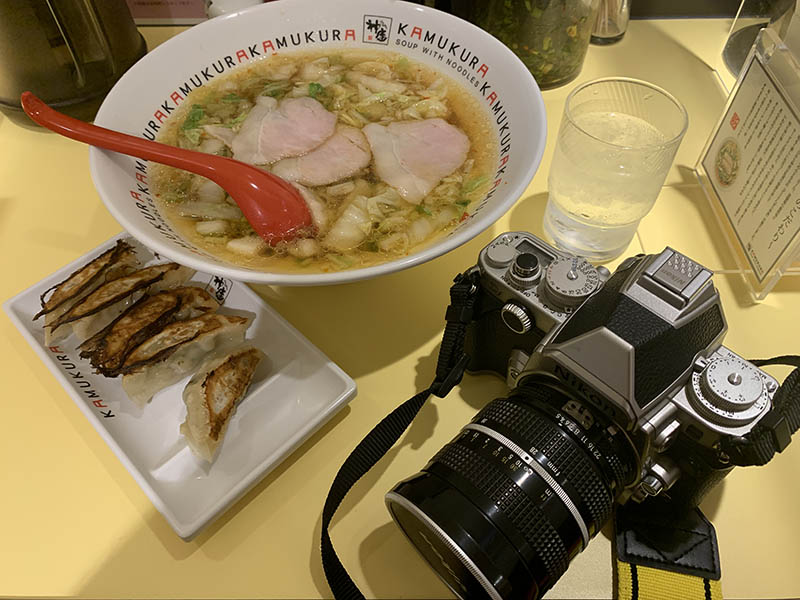
It is the perfect travel lens for those who want to carry a single manual-zoom lens in their bag.
Thank you very much for following the blog. If you love my work, please help support this site, it helps me offset the cost of hosting it. Purchasing, processing and scanning film is not cheap where I am so the help you give also keeps me posting photos that were shot with film. I am aware that some are downloading this blog, that does not help our cause at all, I merely earn peanuts from views, the metrics also help with informing the advertisers as well, please refrain from doing that, I only earn a few cents for every unique visitor that I get. That’s all for today, see you guys again next time!
Help Support this Blog:
Maintaining this requires resources and a lot of time. If you think that it has helped you or you want to show your support by helping with the site’s upkeep, you can make a small donation to my paypal.com at richardHaw888@gmail.com. Money isn’t my prime motivation for this blog, I believe that I have enough to run this but you can help me make this site (and the companion facebook page) grow.
Buy me a roll of film or a burger?
Thank you very much for your continued support!
$2.00
Helping support this site will ensure that this will be kept going as long as I have the time and energy for this. I would appreciate it if you just leave out your name or details like your country’s name or other information so that the donations will totally be anonymous. This is a labor of love and I intend to keep it that way for as long as I can. Ric.

Mar 16, 2024 @ 14:23:05
Hi Richard,
Could you help to open the front group optics of this lens? My lens had some fungus inside, I tried to open but it was very hard.