
Hello, everybody! Are you someone who demands the latest or the greatest in order to create something good or are you someone who could just go-by with what you have and make the most out of it and just bear with it despite the challenge? I fall into the latter, I am not demanding as a person so I’ll do what I could with what’s available to me at any time. The results won’t be my best but at least I ended up with something. There will be times when we just have to deal with things no matter how inadequate they are so long as it’s not impossible. Today, I’ll show you a decent lens that’s inadequate for professional use but it’s not unusable to the point that it couldn’t take decent photos. In desperate times, I would take this lens out and take some nice photos with it.
Introduction:
The AF Zoom-Nikkor 28-200mm f/3.5-5.6D IF was sold from 1998 to 2003. This lens is all about compromises, it could do a lot of things at the expense of some drop in image quality. It offers an amazing 7x zoom-ratio which is convenient for a lot of things specially when traveling so long as you have enough light to work with. It was a hit and many people bought it for its versatility, even professionals bought these.

The barrel is wide, it’s a bit heavy when held, too. The focusing-ring is slim and inadequate for manual-use, its really short focus-throw makes it even worse. Despite having a bogus “macro-gimmick” it won’t focus close at all. The zoom-ring is broad and easy to identify, this just shows that the designers envisioned it to be used like this wherein people will zoom with it more than use the focusing ring. The aperture ring is standard but since it’s a lot smaller than the focusing ring you could easily turn it by accident with your little finger. There’s not a lot of space for a grip so it’s a bit awkward to mount-and-dismount. There’s a tiny lock for the aperture ring at the throat so you won’t accidentally turn it, giving you an “FEE” error when used on many newer cameras.
The 16-elements-in-13-groups design is complicated, even employing several aspherical elements, too. It was not cheap to produce so this definitely wasn’t something for amateurs. You could buy these cheaply today, it’s not unusual to find one under $20.00, depending on the condition. I got mine for $15.00 from a junk-box since nobody wanted it. I believe that zooms made in this period offer the best value these days. The later ones are even cheaper because they were made in China unlike the earlier ones which were made in Japan.

It’s huge but it balances quite well when mounted to a bigger camera such as a Nikon F6. It’s a great partner to a Nikon F100, too. Its build is nowhere near professional level but it’s not a flimsy lens at all unlike the cheap, plastic kit-lenses of the same period. It’s still mostly made with high-quality plastics so it will withstand use in the field as long as you take care of it. The large 72mm filter-size is mandatory since the optical design needed it in order to achieve a decent maximum aperture.

This is how long it is when fully-extended, I meant the lens. There’s a little bit of play in the barrel but it isn’t something that you should be worried about so long as it doesn’t feel broken. You should be careful when you carry it like this since a knock to the barrel may damage the cams inside. This is also the reason it is common to find these lenses with dusty internals because it acts like a pump, siphoning dirt as you zoom it. The barrel turns as you zoom but it stays-put while focusing which is a good thing specially if you use polarizers.
Learning how your lens performs is key to maximizing its use. You will learn how to utilize its strengths and avoid its weaknesses. This knowledge helps in determining which lens to bring on a job. I shot these pictures from f/3.5, f/5.6 and f/8 at the wide-end, f/5.6, f/8 and f/11 at 200mm and anything in-between at the other focal-lengths, these are the most common apertures that people would want to use it and we’ll see the most changes happen with these values. Some of the sets here were cropped close to 1:1 magnification so we could examine the details better. The photos were shot with a Nikon Df.


(Click to enlarge)
Distortion is terrible at nearly-all major focal-lengths, it’s a bit better at mid-ranges but not so much, really. If this bothers you then you should look for another lens to play with. Using this is about convenience and not a lot about performance.


(Click to enlarge)
Vignetting seems worst at 28mm when shot wide-open. Stopping it down by a stop makes the corners brighter but they still look a bit dark. It’s a lot better after that and you’ll only see traces of it which shouldn’t matter in real-world use unless you’re shooting the sky or any even-colored background.

(Click to enlarge)
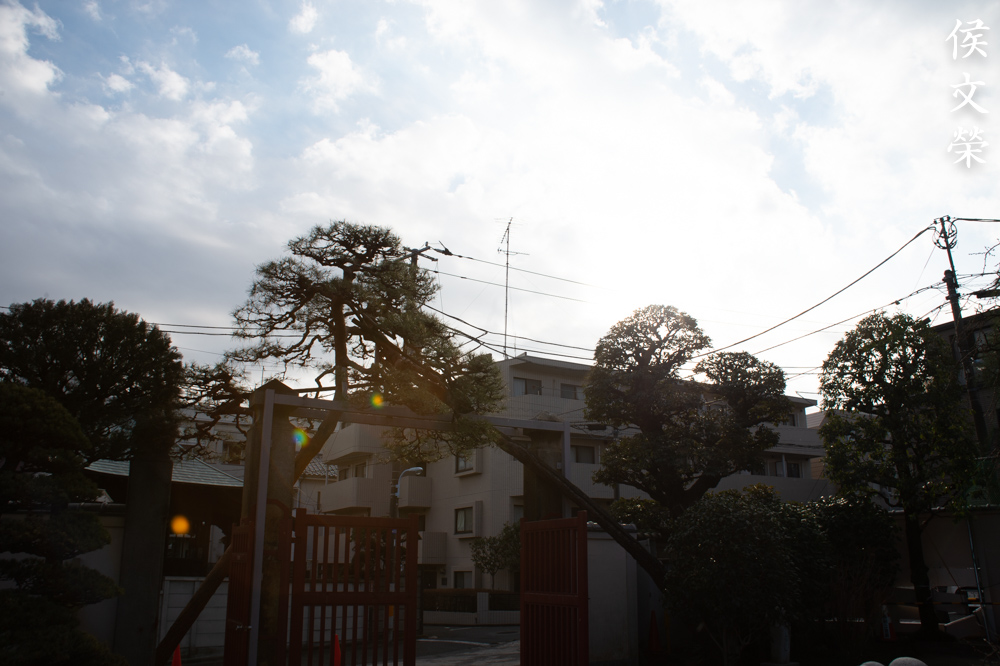
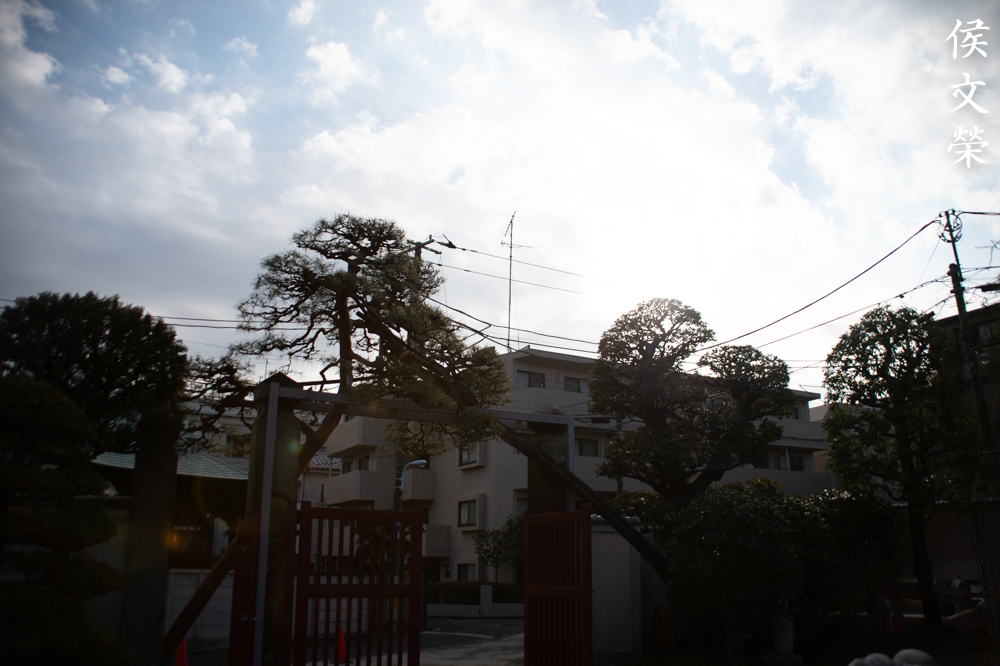
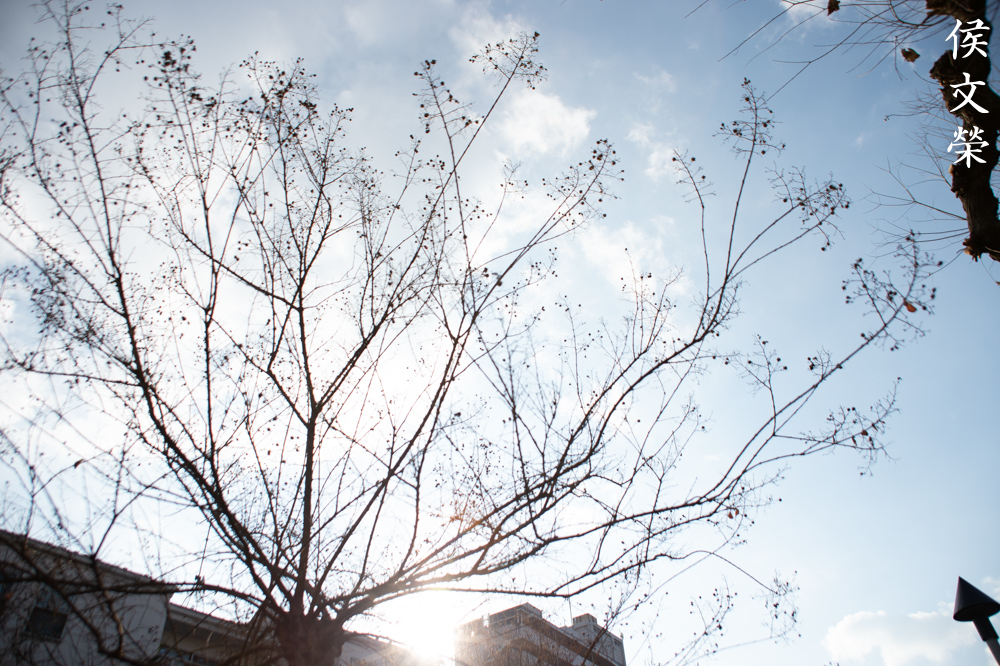
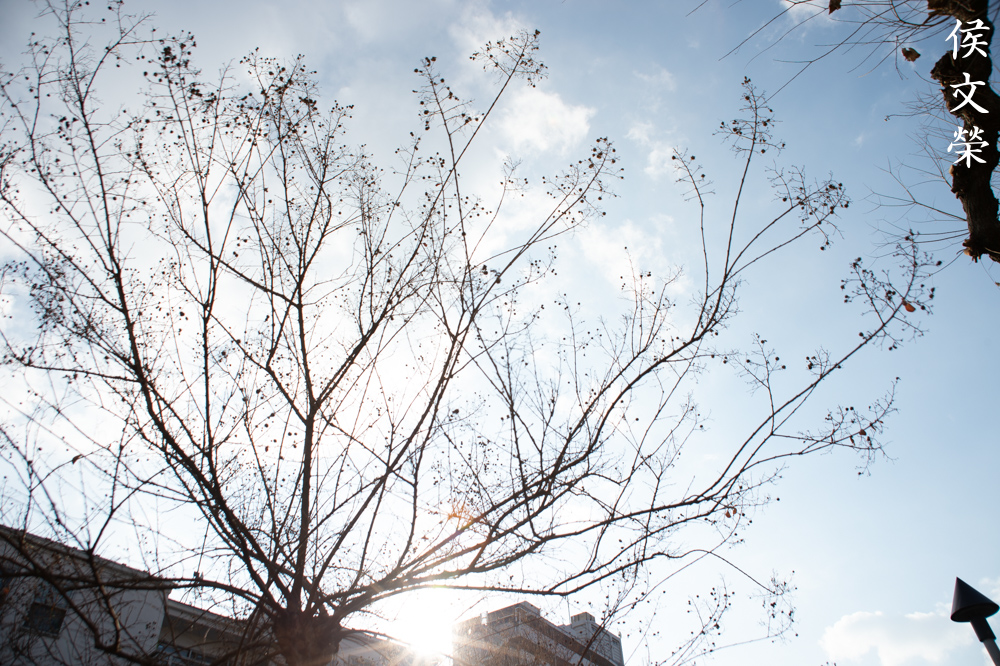
It flares terribly but nothing as bad as I expected. It has a tendency to produce huge, ugly blobs when you are shooting with bright light sources within the frame or just outside of it. They look hideous but you could avoid them easily by reframing your shot.


(Click to enlarge)
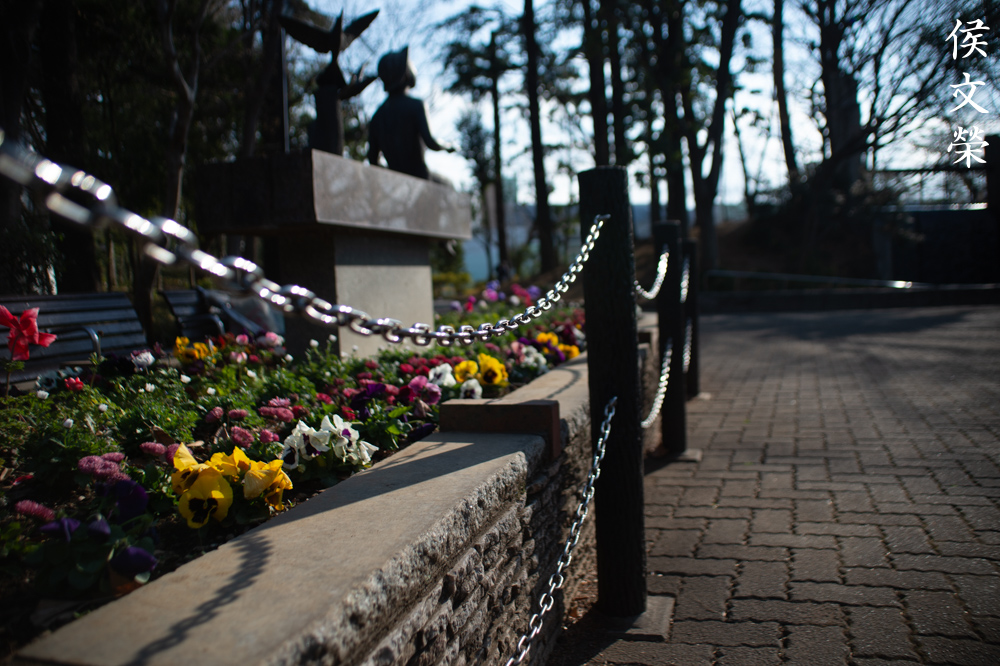
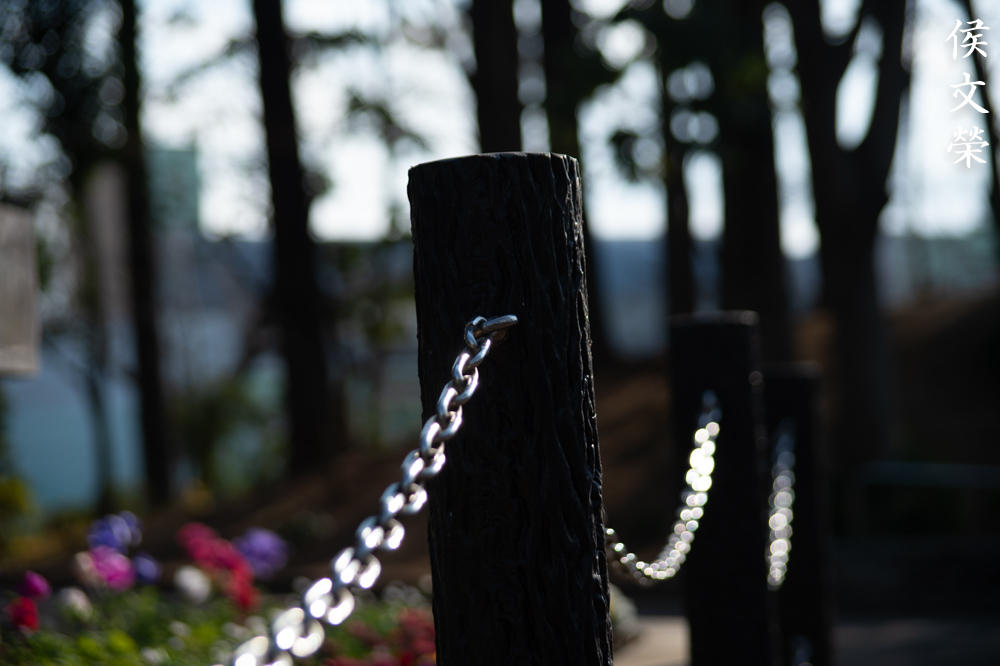
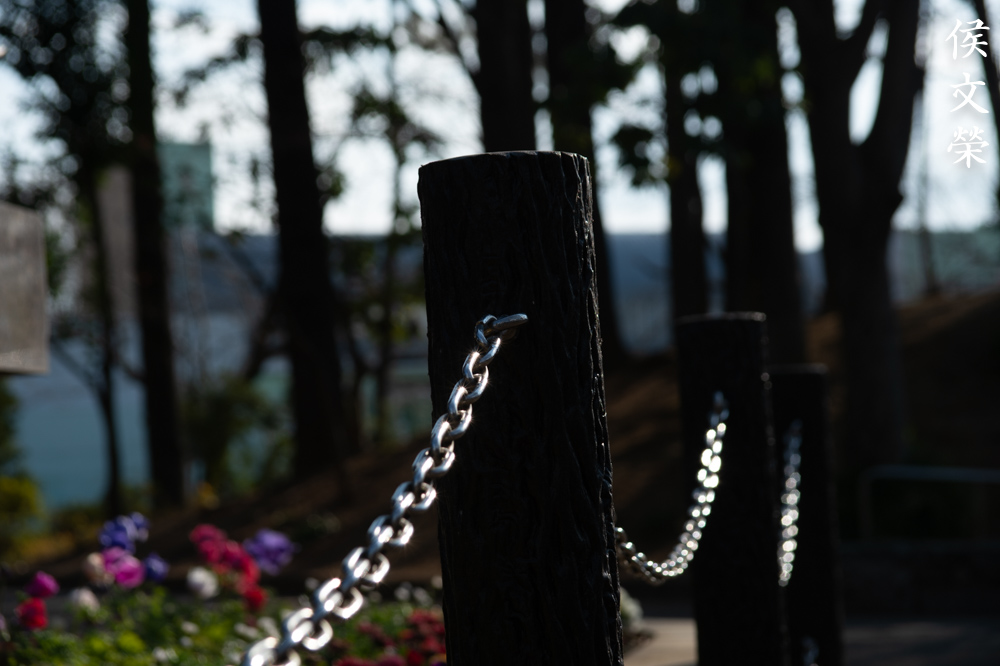
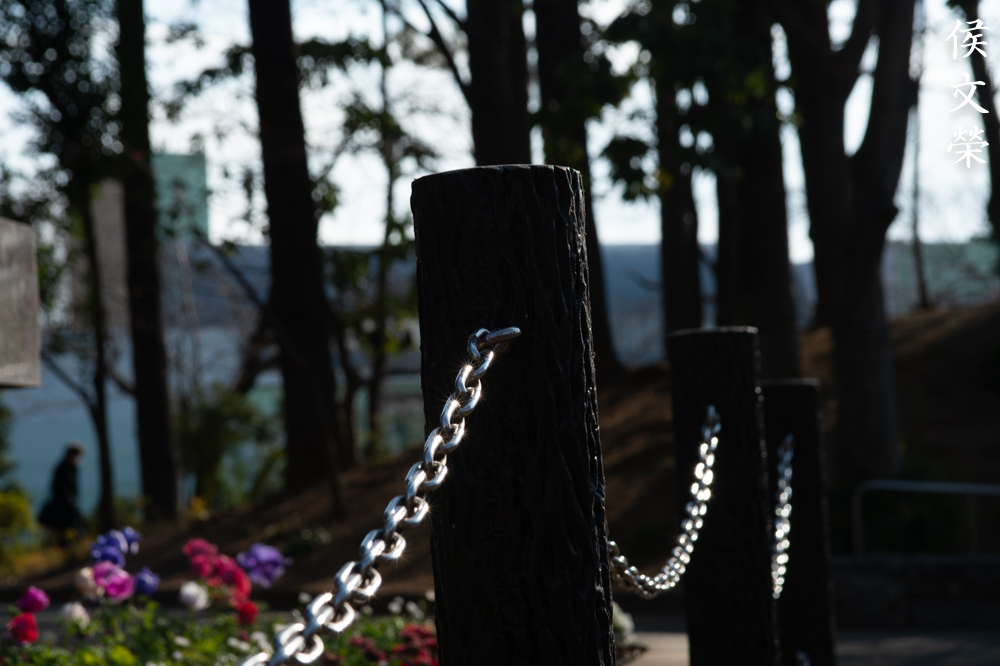
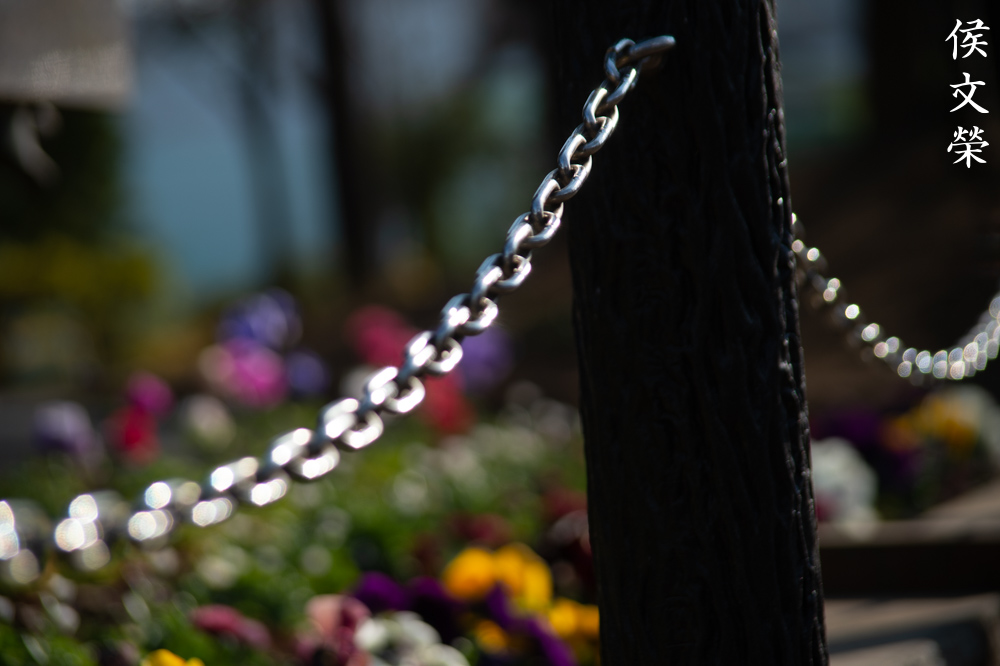
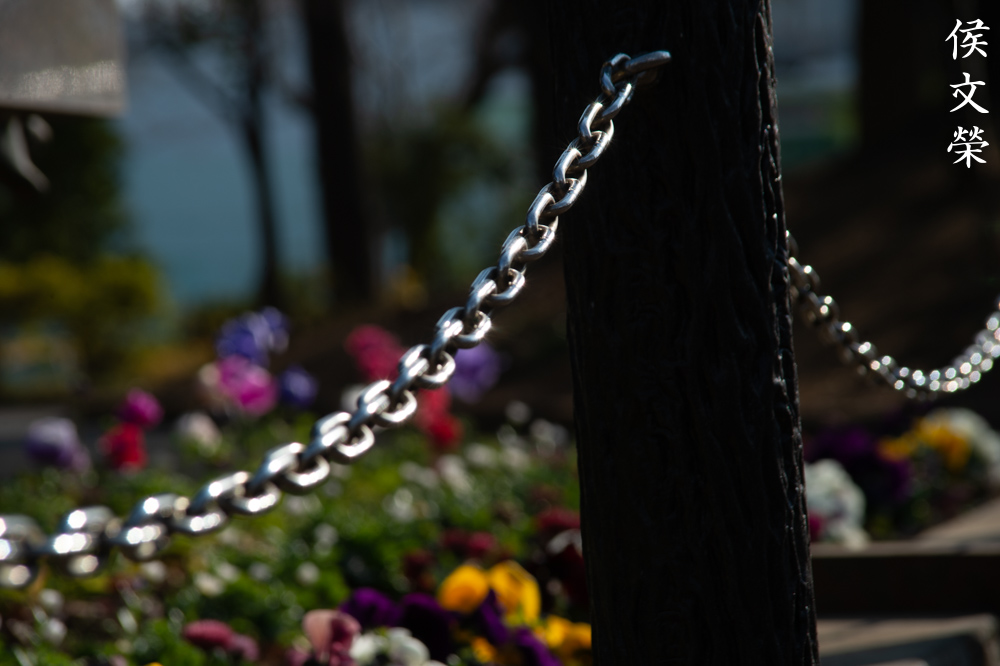
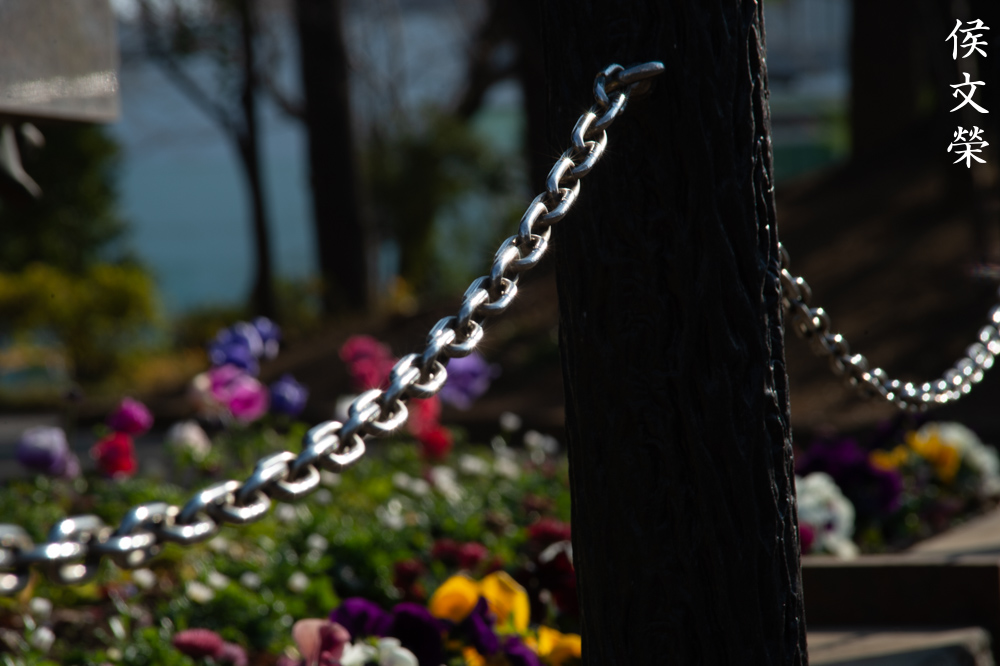
The bokeh’s character is mediocre at best and unusable at worst. This is not to say that it’s not able to produce smooth-looking blurs, in fact, if you shoot with it at the longer focal-ranges you will be able to decent-looking blurs specially if the background is far from your subject. Twigs and foliage are difficult to render, more so if a lens has poor bokeh quality. This one is barely-acceptable but only at longer focal-lengths.


(Click to enlarge)
Sphero-chromatic aberration is poorly-controlled specially when shooting wide-open. Adjust it down by a stop and most of it is gone but you’ll still see some of it specially at extreme cases. Stop it down by 2-stops and you will only see traces of it even at overblown areas of the scene. You can avoid these easily in normal situations and you won’t see much so don’t let it prevent you from taking good photos with it.


(Click to enlarge)
The center looks acceptable wide-open but clearly lack resolution. The corners are unusable, quite terrible if you ask me. Stop it down by a stop and the center looks much better thanks to the improved resolution. You’ll also notice that the corners look a lot better but still quite bad. Stop it down by 2-stops and the center appears quite sharp but it won’t approach primes-lens-level in terms of quality and character. The corners seem to be behind by about 3-stops, they’re usable now but still quite poor. Despite what you saw it’s not a terrible lens at all, it’s not for professional use but you could still take nice, sharp photos with it if you know how to. Just put your subject around the center and stop the iris down to get the most out of it.
It won’t focus really close despite having a bogus “macro-gimmick” and this is how close you could get even at 200mm. You won’t be able to fill your frame which is a shame since it would have been more useful if you are able to do that.

This was shot at f/8 if I am not mistaken. It doesn’t seem to have a flat field and despite shooting with it as f/8 I wasn’t able to get decent-looking corners.

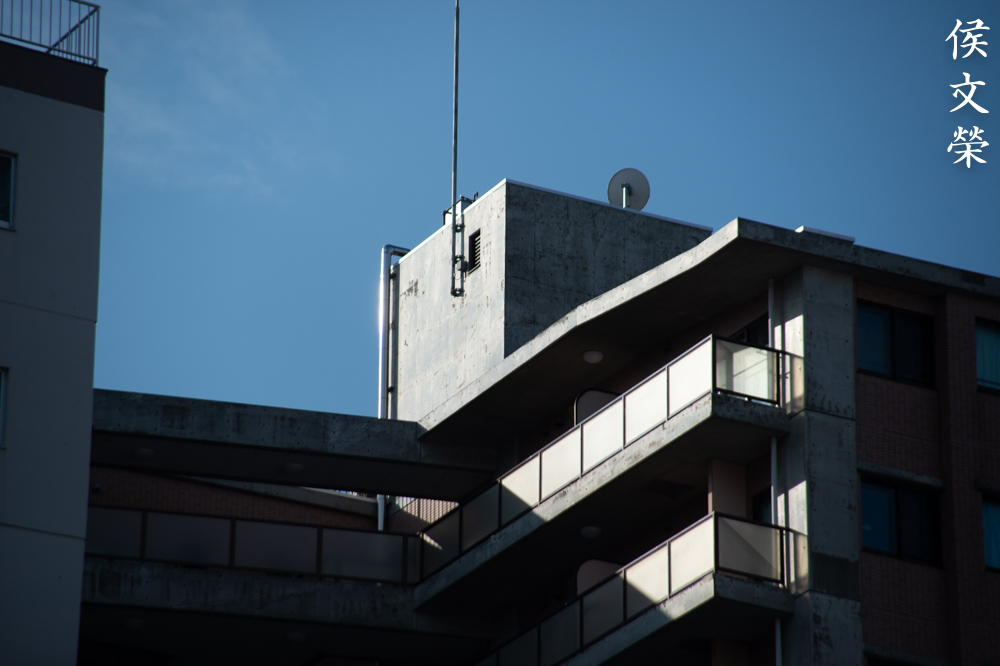
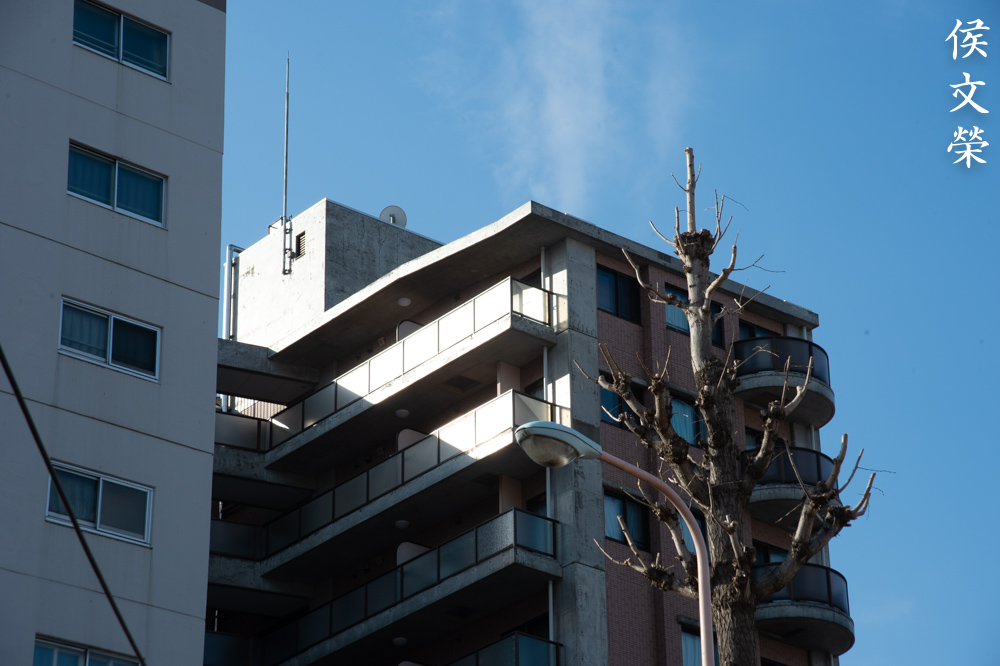
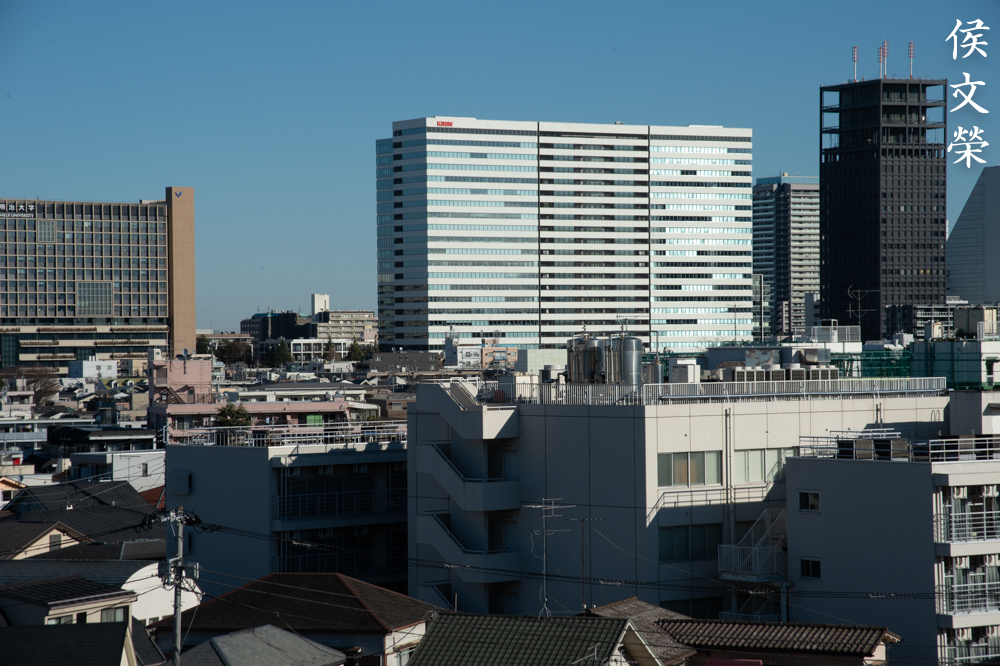
You shouldn’t use this for shooting architecture, art or anything that needs to look straight. If you have to, set it to around 60mm so you won’t see much of it.
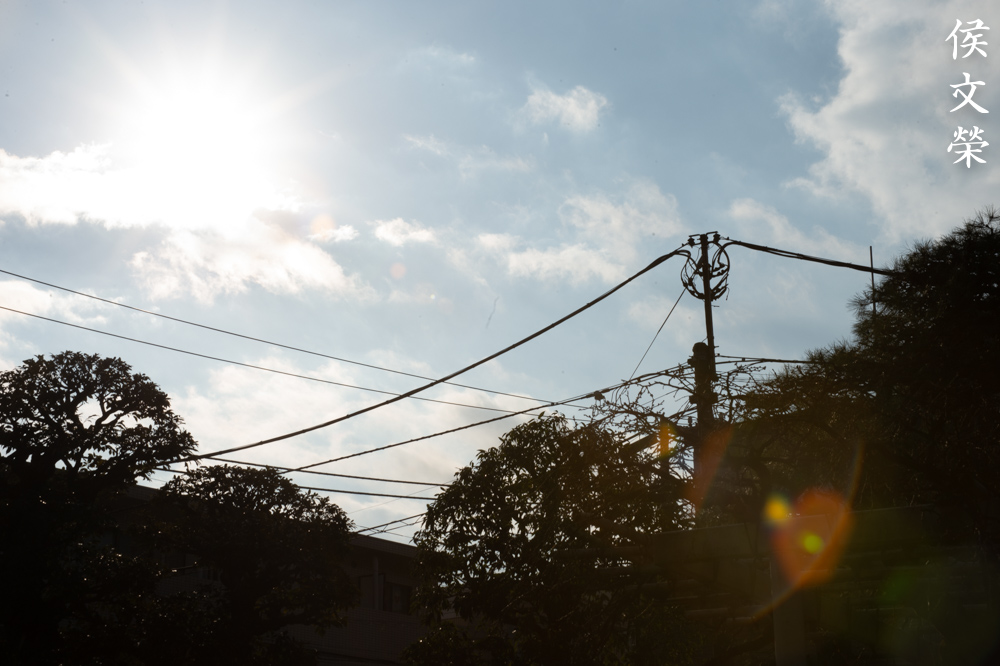
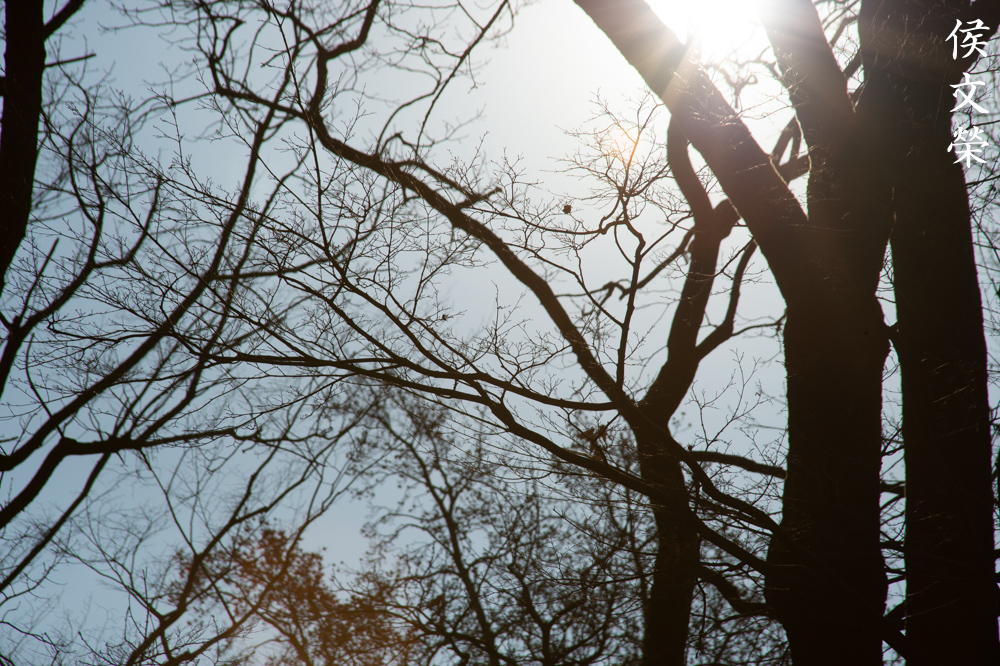
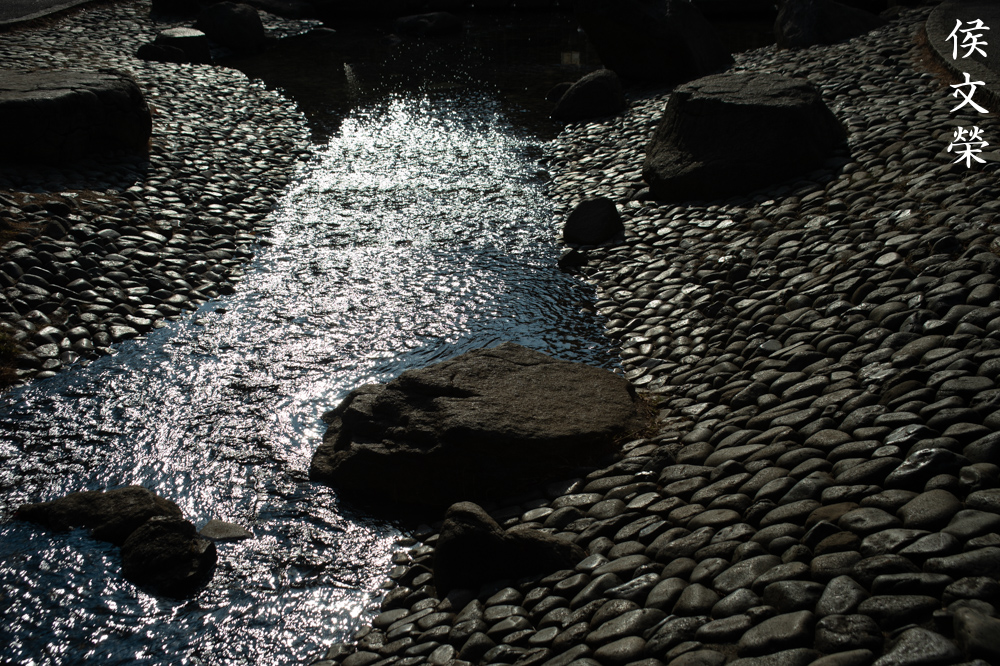
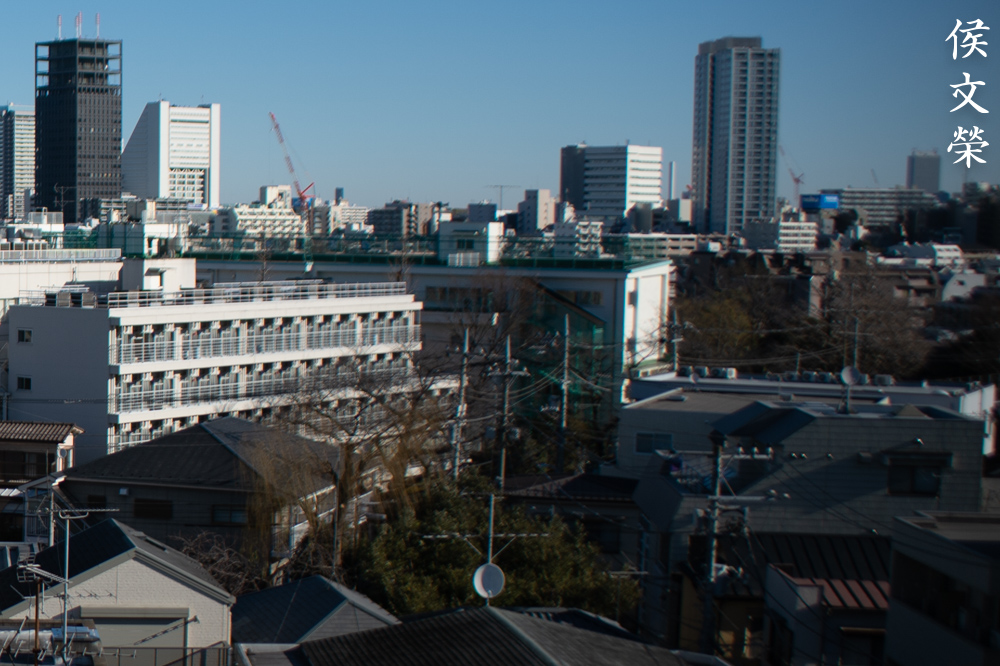
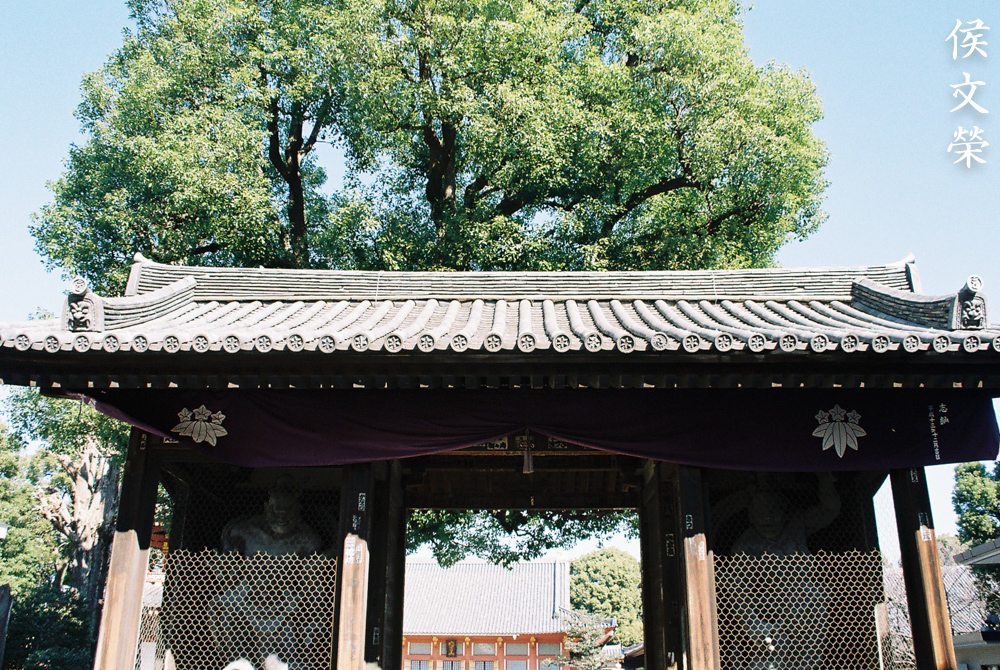
Despite its poor handling of distortion you’ll be able to take nice photos with it specially on a sunny day. You’ll enjoy shooting with it while on vacation because you won’t need to bring several lenses and miss any shots by changing lenses.

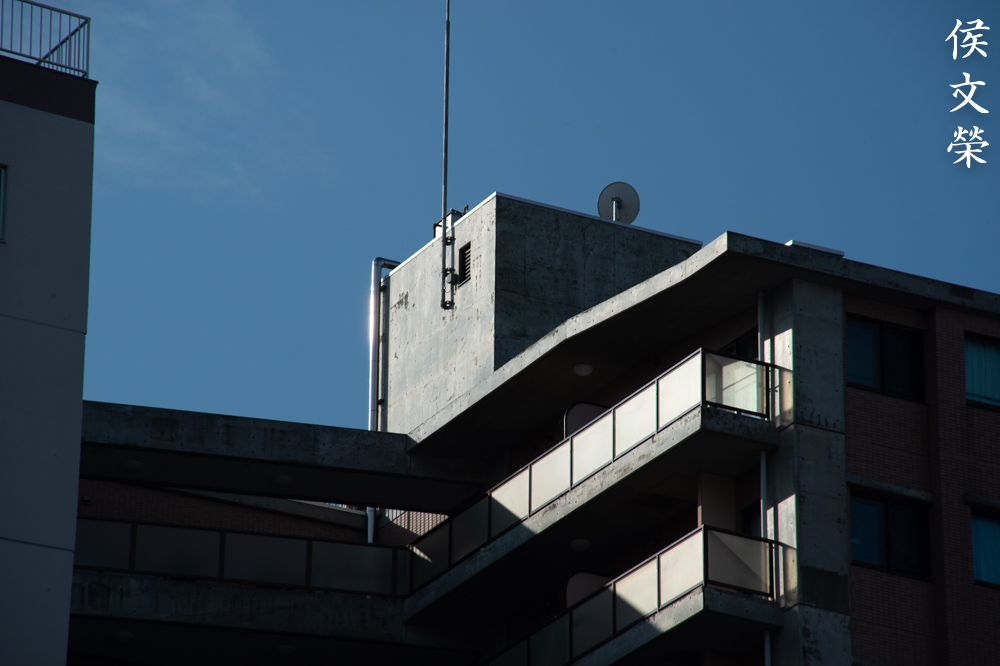
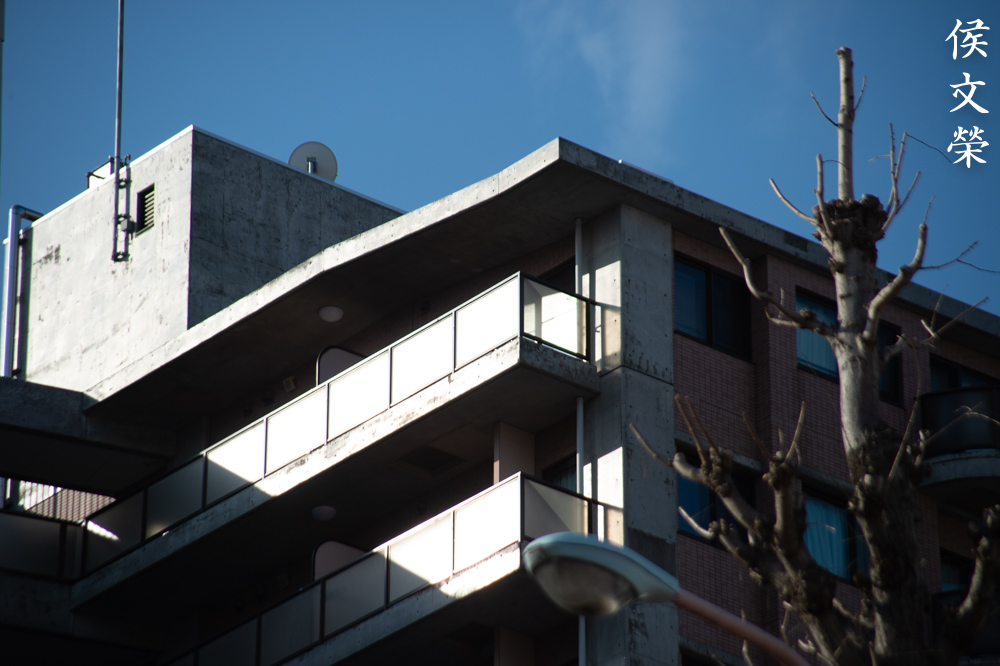
It won’t give you the best performance when shooting at 200mm, it appears to be at its sharpest at around the 50mm to 85mm range. If you have to shoot at 200mm set it to f/11 or even f/16 to get sharper photos but even with that you won’t get super-sharp results like what you could get from prime lenses.

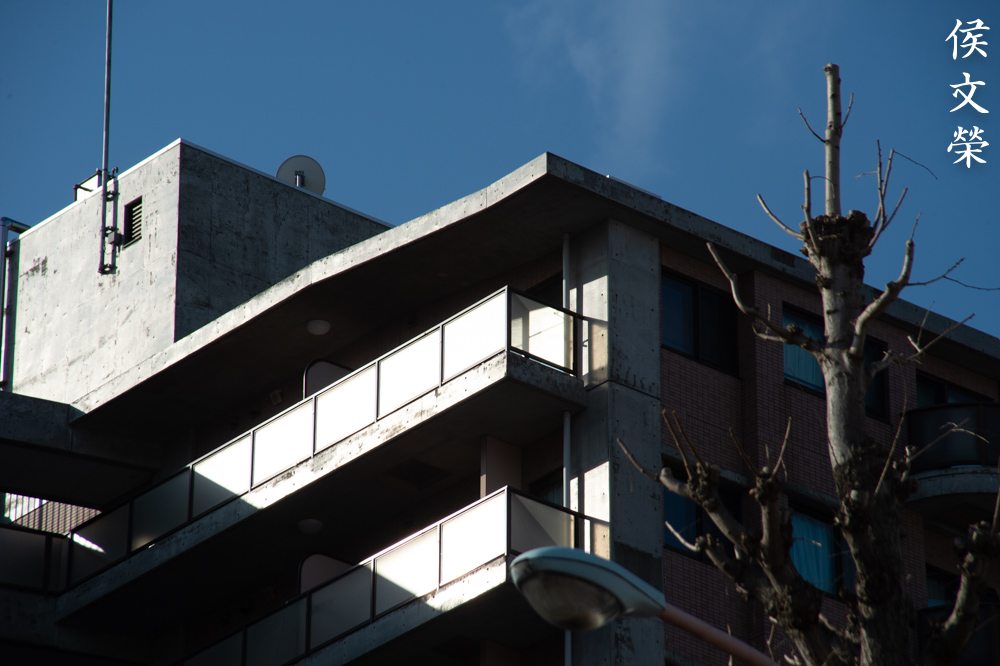
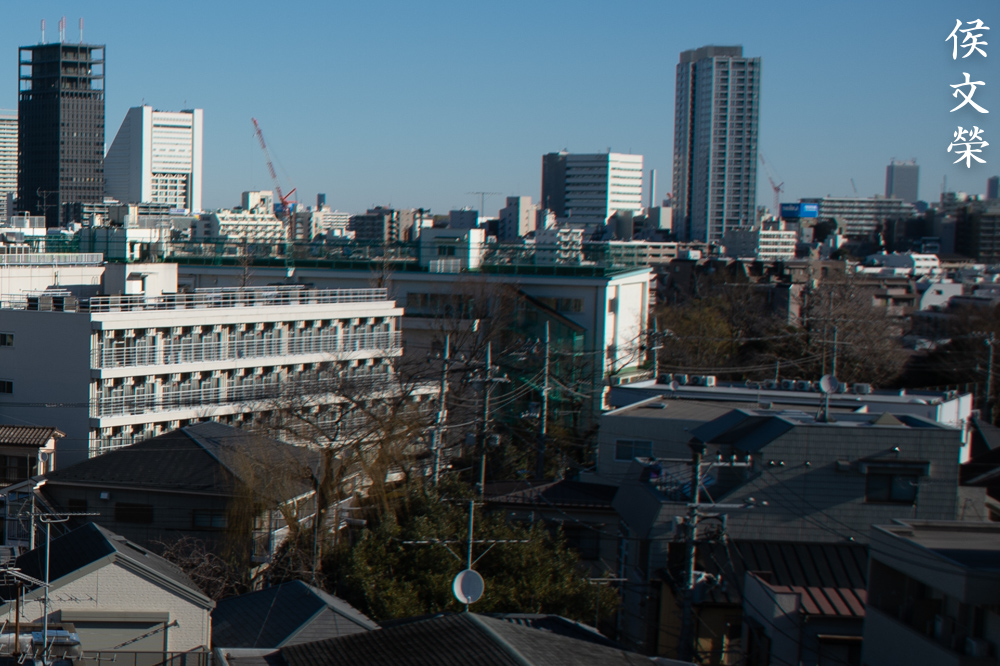
Contrast is somewhat subdued with this lens, it makes it feels like you’re with a vintage lens. Despite that it’s a capable lens when stopped-down to f/8 where the center looks nice. It was shot at a moderate focal-length so I got the lines straight, or at least not super-curved.

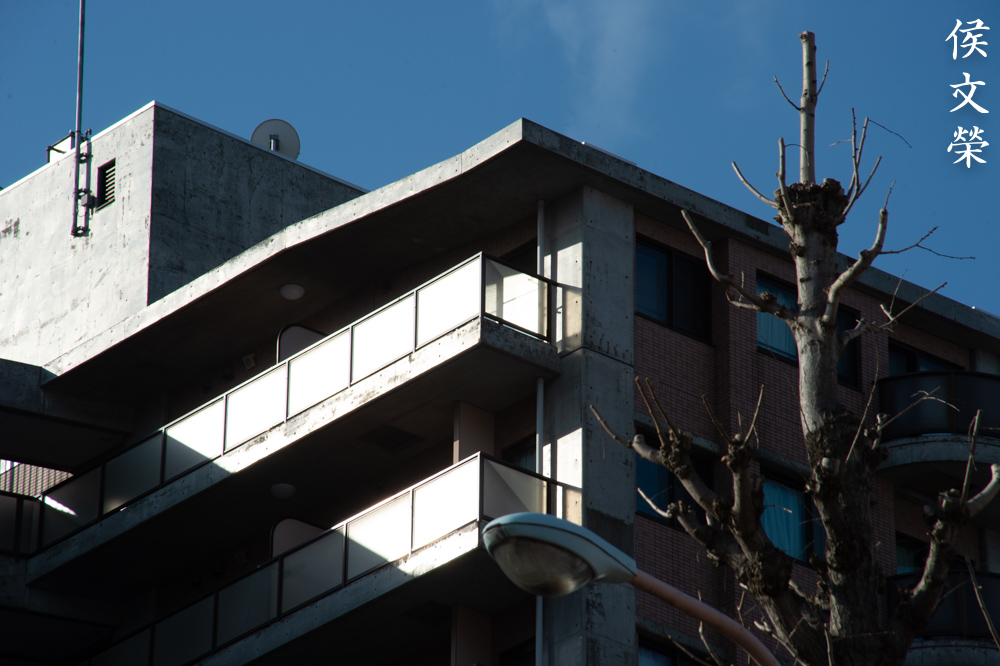
It appears weak at 200mm even at the center when shooting with smaller apertures, I think this is its weakest spot so avoid shooting beyond 150mm if sharpness matters to you.

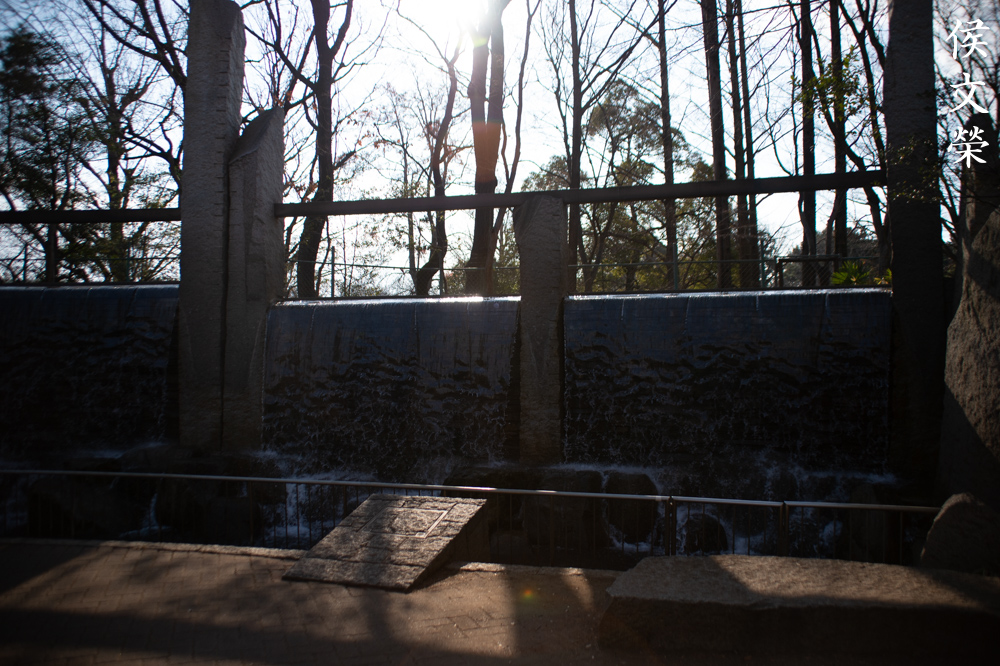
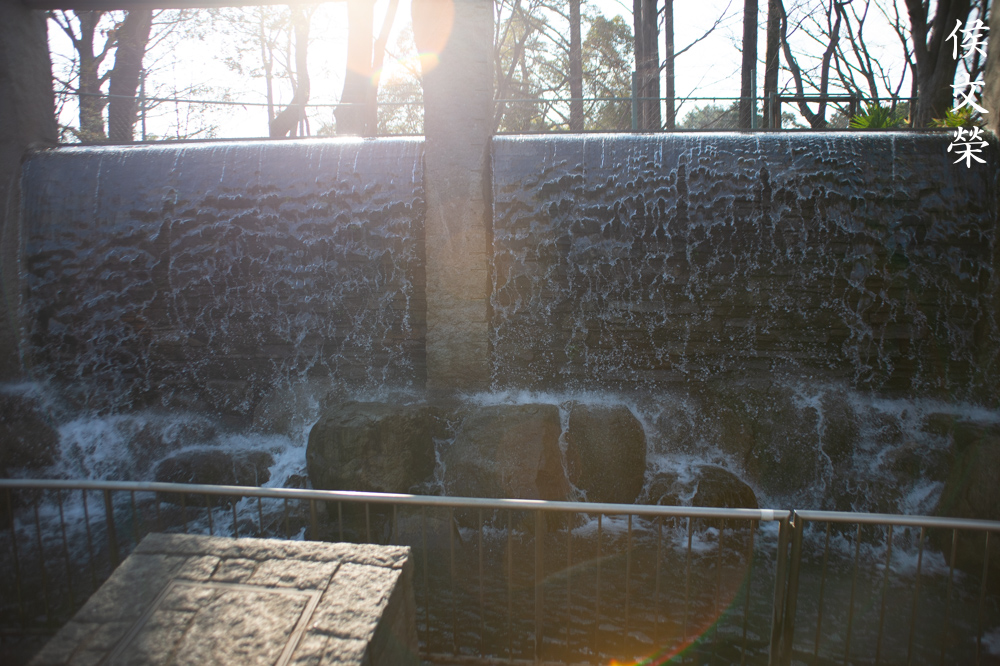
Flare can subdue your photo’s contrast and it does that it in a terrible way, making your picture look washed-out. Some people like this, though.

(Click to enlarge)
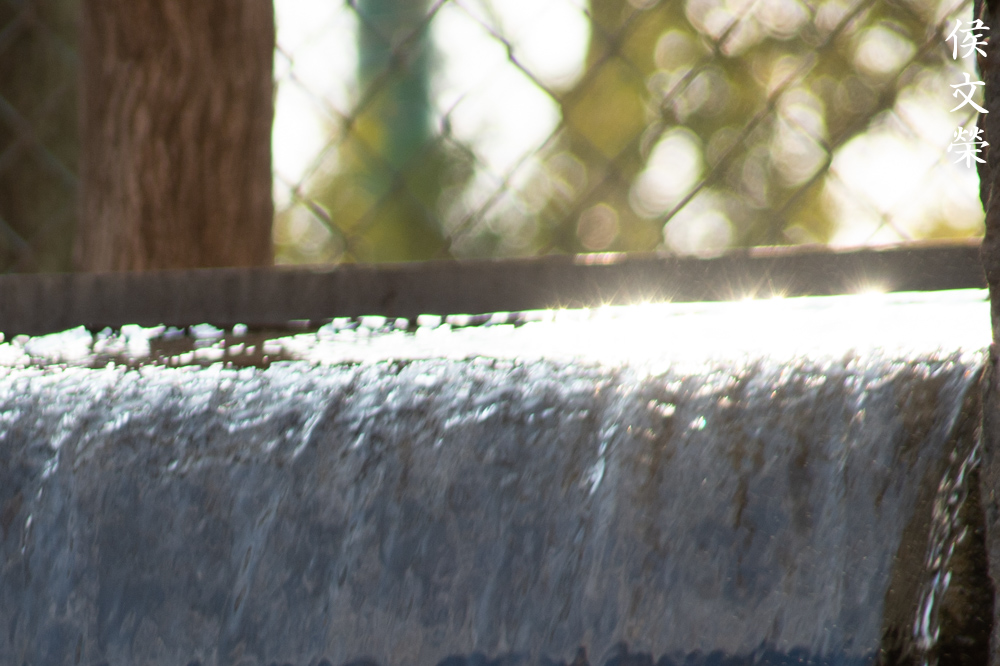
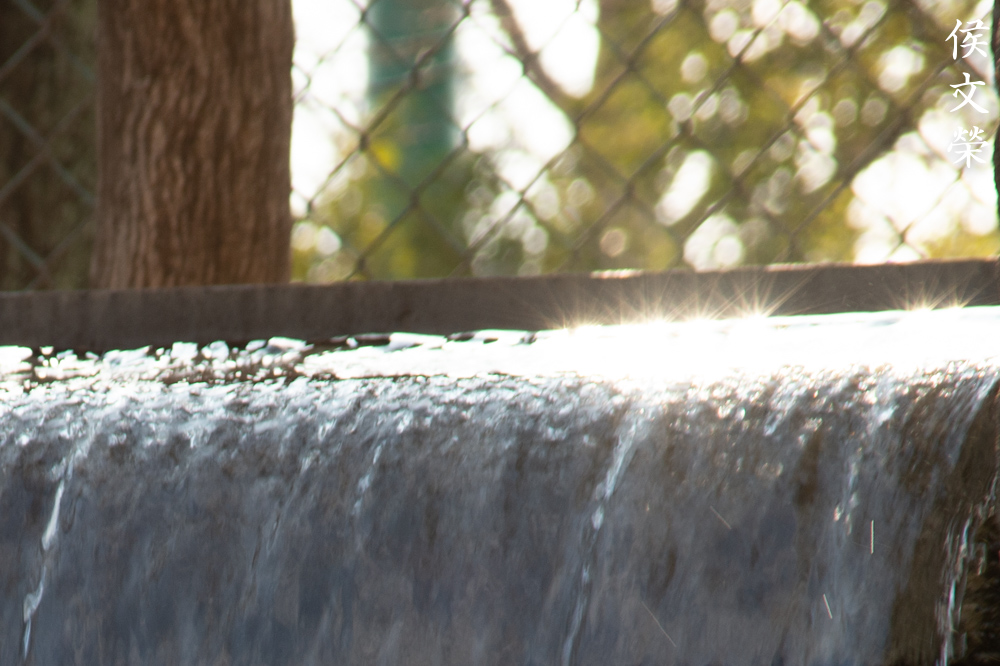
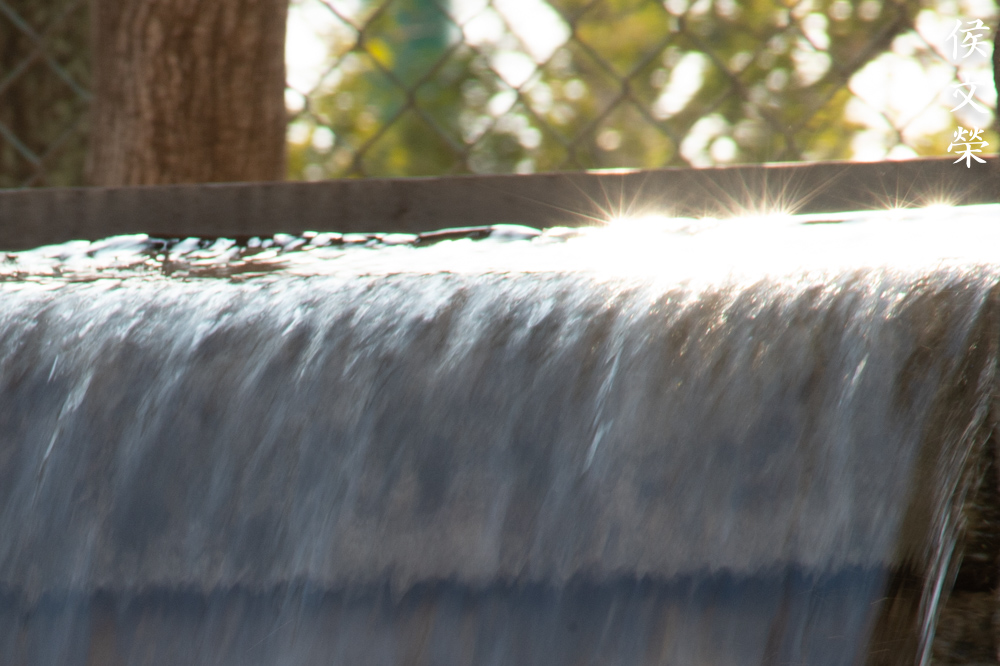
These photos should give you an idea as to how it performs in real-world use. It’s not a bad lens at all, it’s just isn’t as good as many people wanted it to be. Just set your expectations lower and you can get the most out of it. It’s sometimes fine to blame your tools for not getting the results that you want but blaming everything on them won’t make you a better photographer. In fact, you won’t improve because of that.
Let’s now check some film photos. Film has a unique look that is hard to simulate with a digital camera thanks to grain. It reacts differently to light, this means that it could mask a lens’ flaws or amplify them. Since it was designed to be used with film, it’s best that we judge this using its intended medium. Most of these were taken at f/8 or f/11 unless there’s not enough light. I used Kodak Color Plus 200 with my Nikon F6 to shoot these.

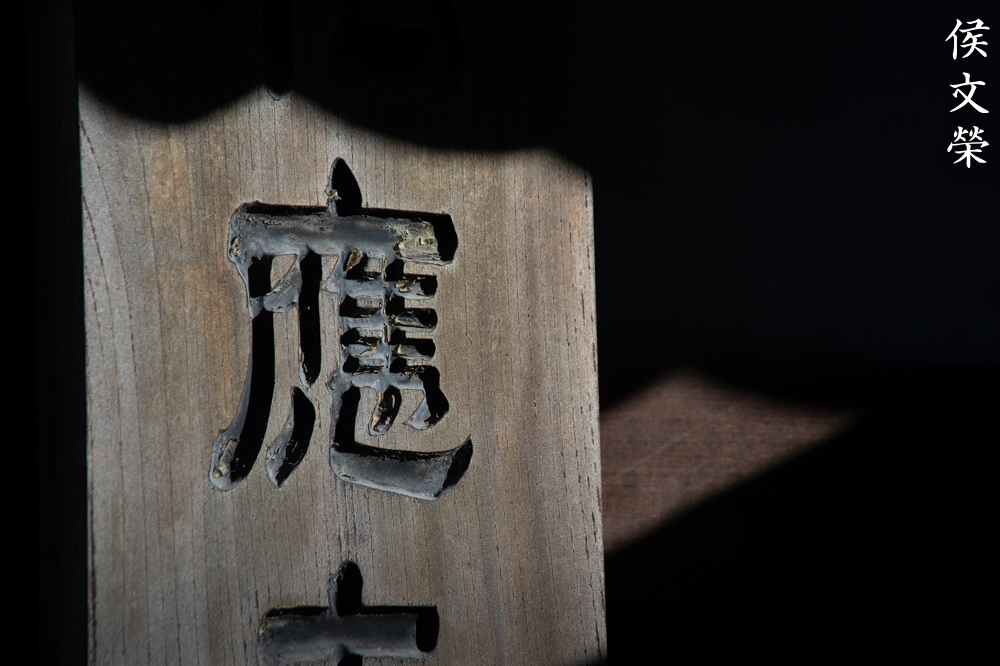
This was shot at around its closest focusing distance at about f/8 or f/11. It looks acceptable to me but it’s not as sharp as what I could get with higher-end Nikkors.

Autofocus-speed is adequate and it could track your subjects well even when shooting at 200mm. Of course, it won’t outperform a professional lens but it’s not bad either.

Distortion a the wide-end looks horrible, almost fisheye-like in some cases. It’s great for puppy-photos but not for taking photos with straight lines in your scene.
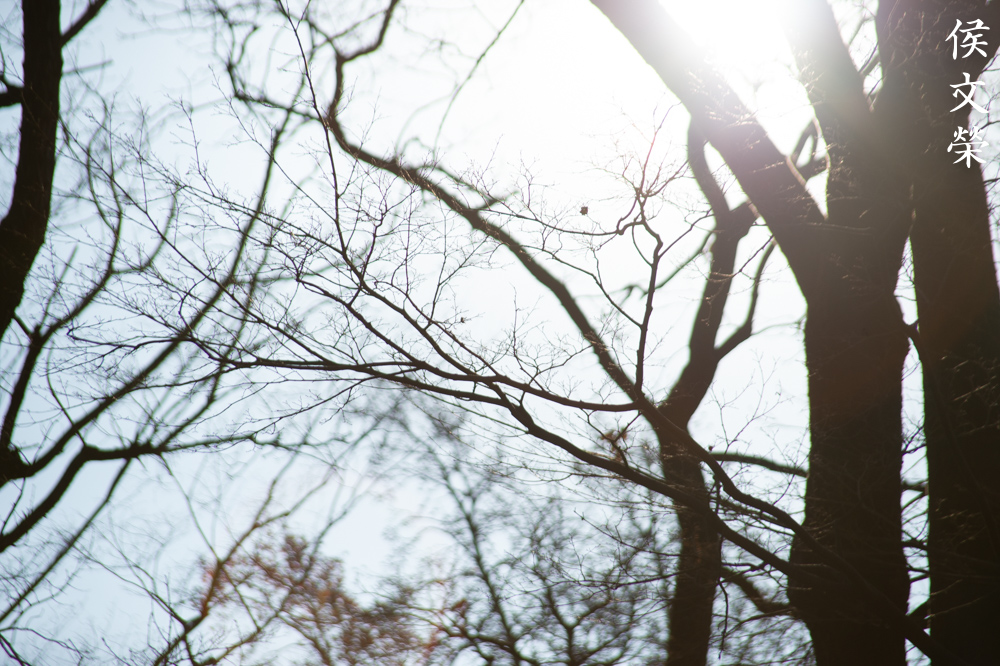
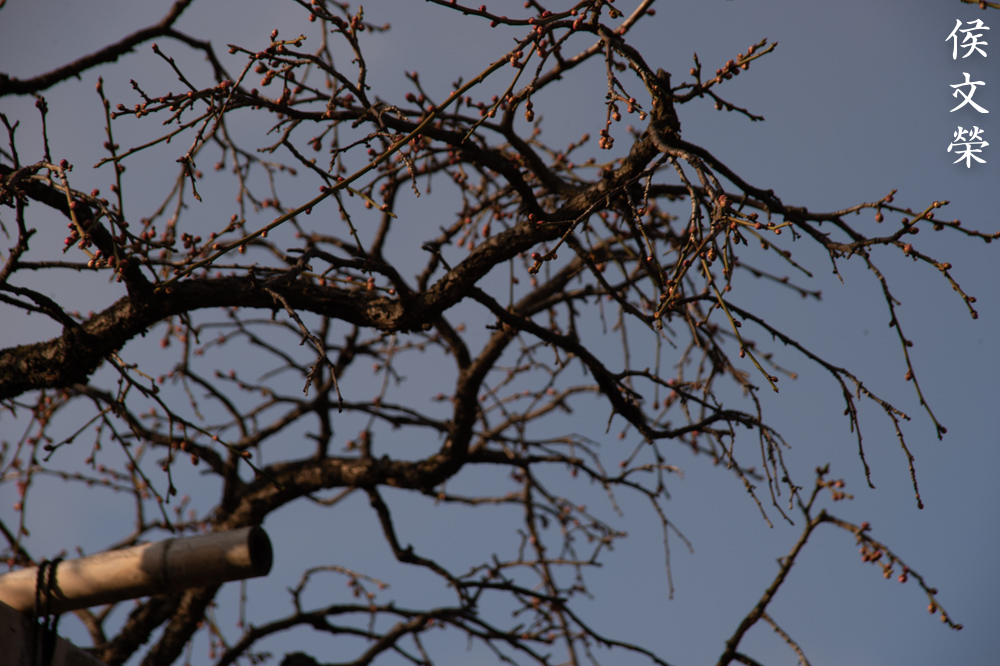
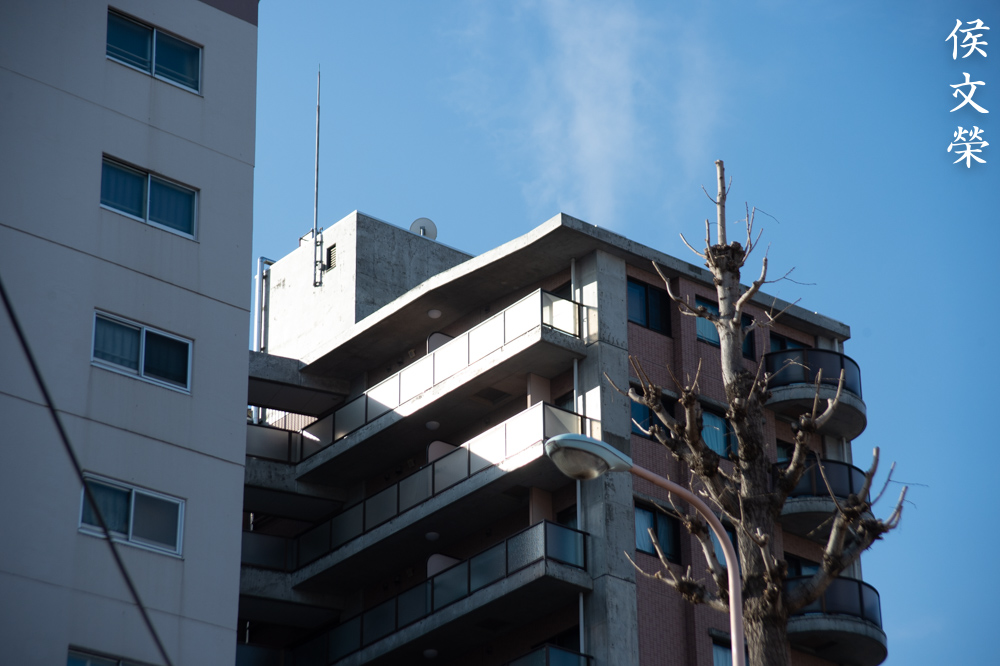
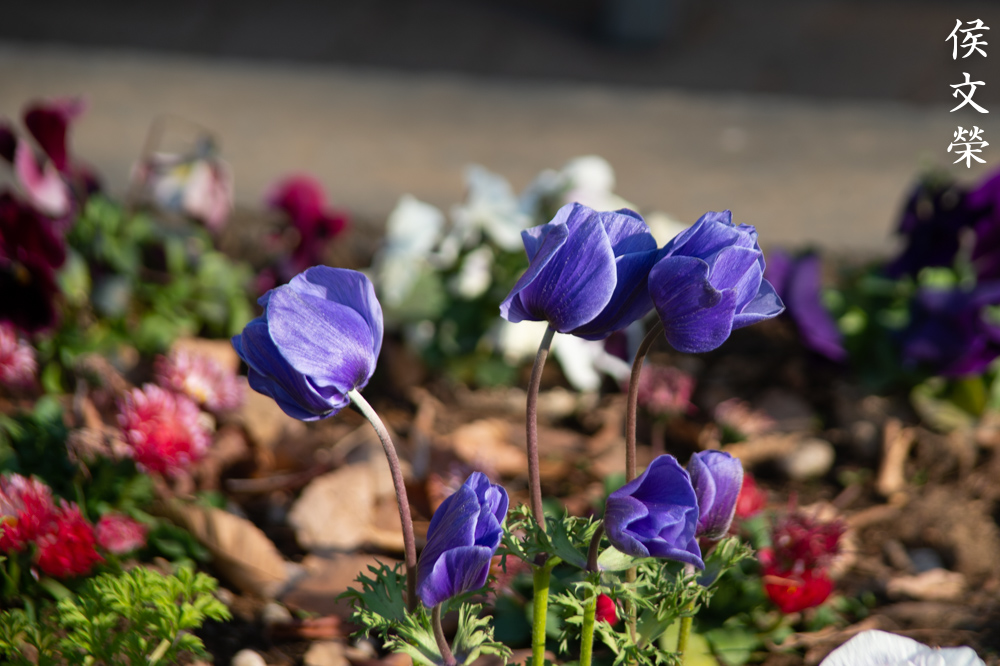
While color and its associated qualities like contrast has more to do with which film you’re shooting with, this lens is capable of taking nice colors. What’s not nice is how it rendered the twigs at the background, they look horrible.

Avoid framing any foliage or twigs in your background to help avoid that ugly look and you’re sure to capture nice photos with it, just be aware of its limitations.
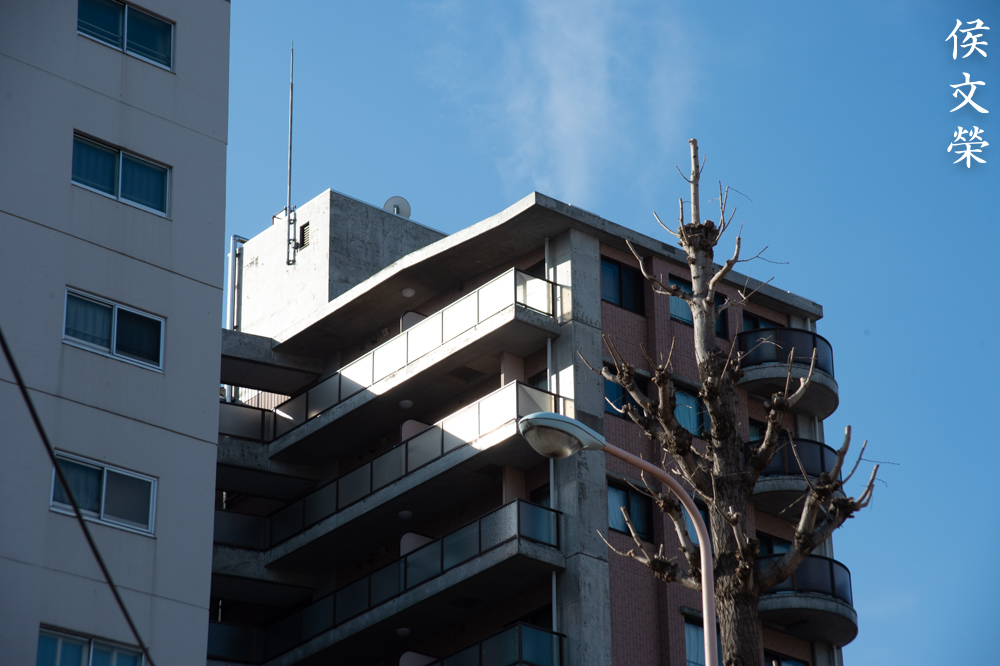
Chromatic aberration isn’t much of a problem when shooting with film but that doesn’t mean that you should not be careful when dealing with it.

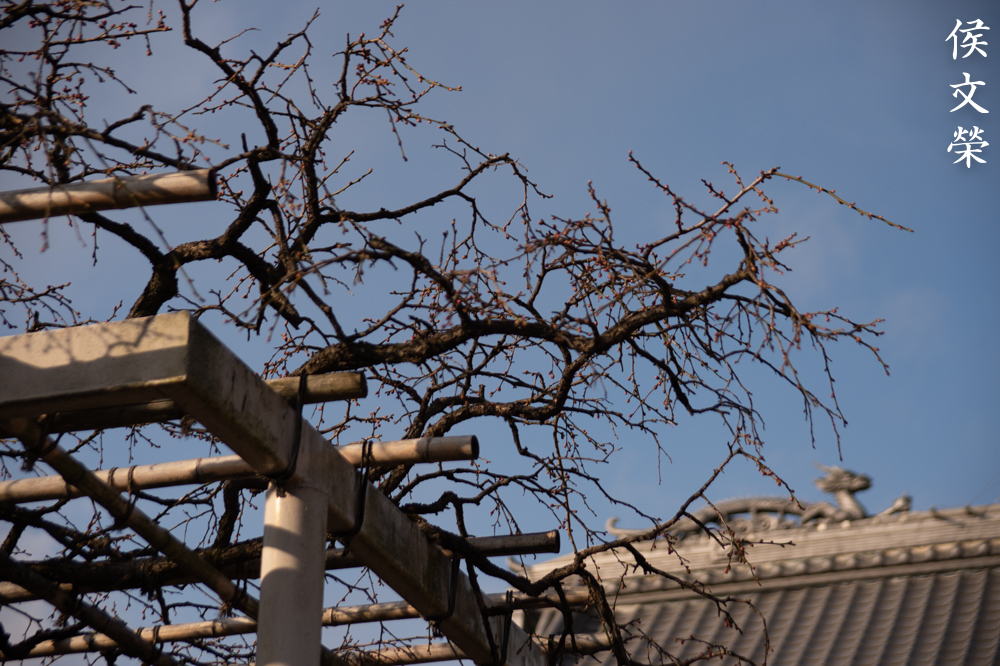
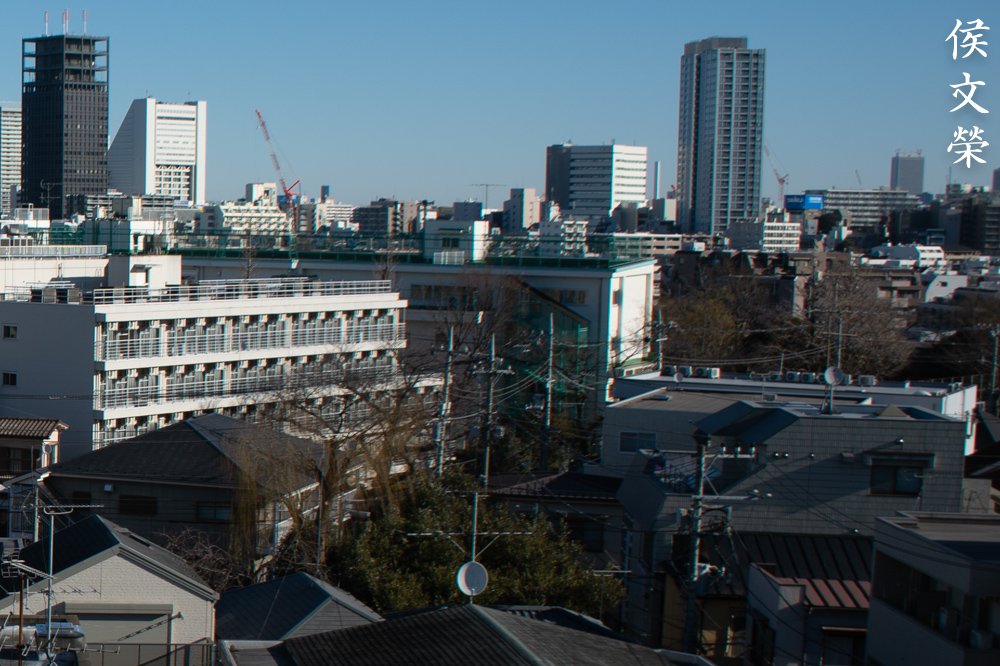
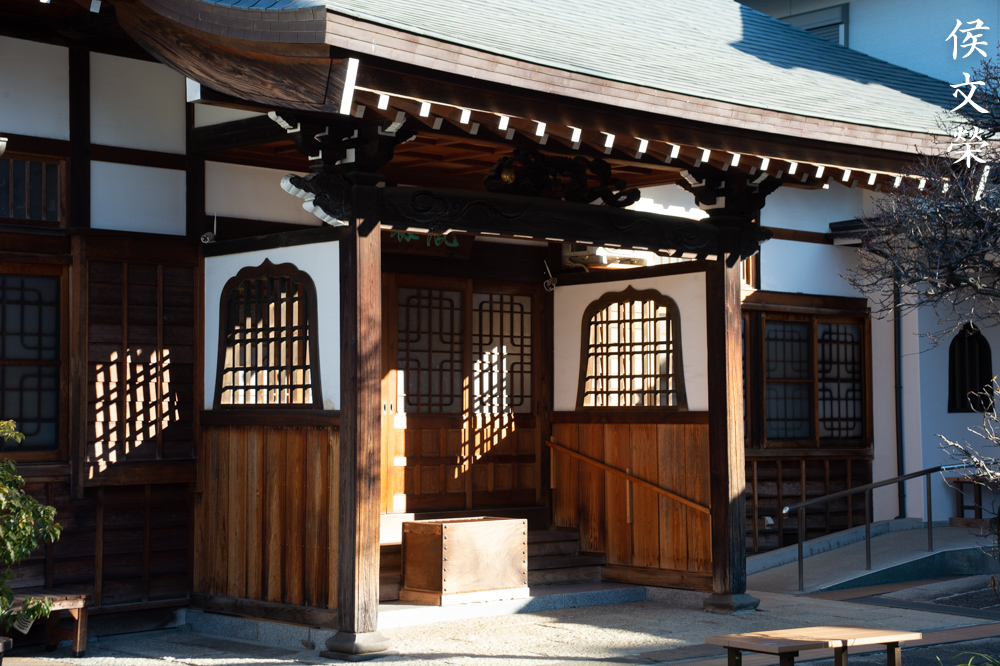
Shooting it at around 50mm or a bit longer is great for avoiding the horrible effects of distortion. The lines in your scene will look a lot straighter. This is why you should learn how to use your lens so you can’t make bad excuses for not taking any useful photos.
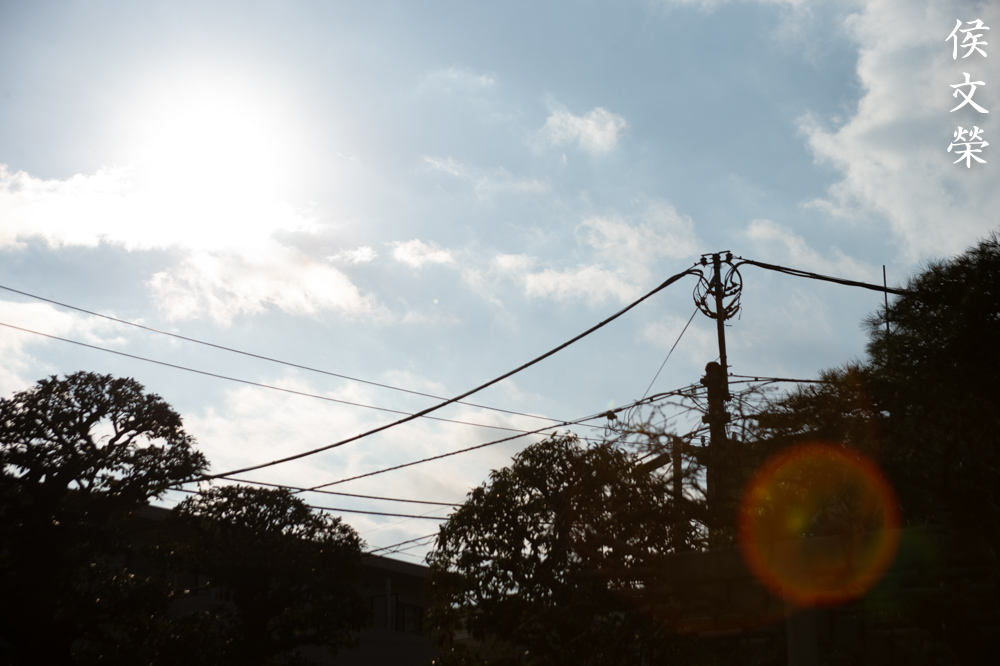
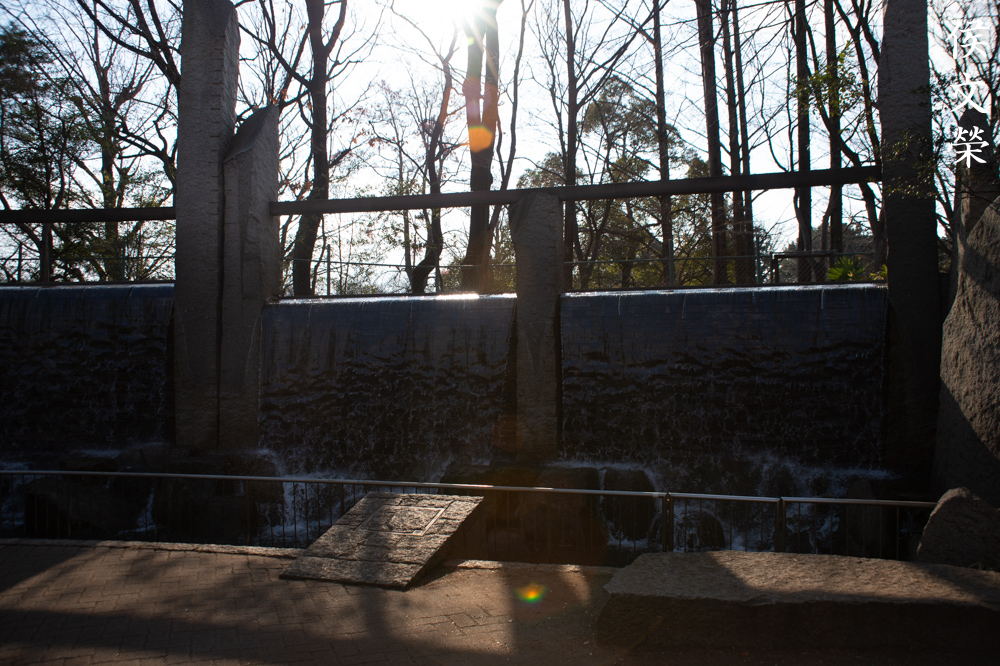
Its resistance to ghosts is rather poor even when shooting with film. Some people like this look, this look could be used creatively if the blobs are part of your creative vision.

It’s a great lens for bringing on a trip so long as you have enough light to work with. In fact, this could be your only lens in your kit. Do not let its drawbacks outweigh the benefits of using an all-around-zoom.


(Click to enlarge)
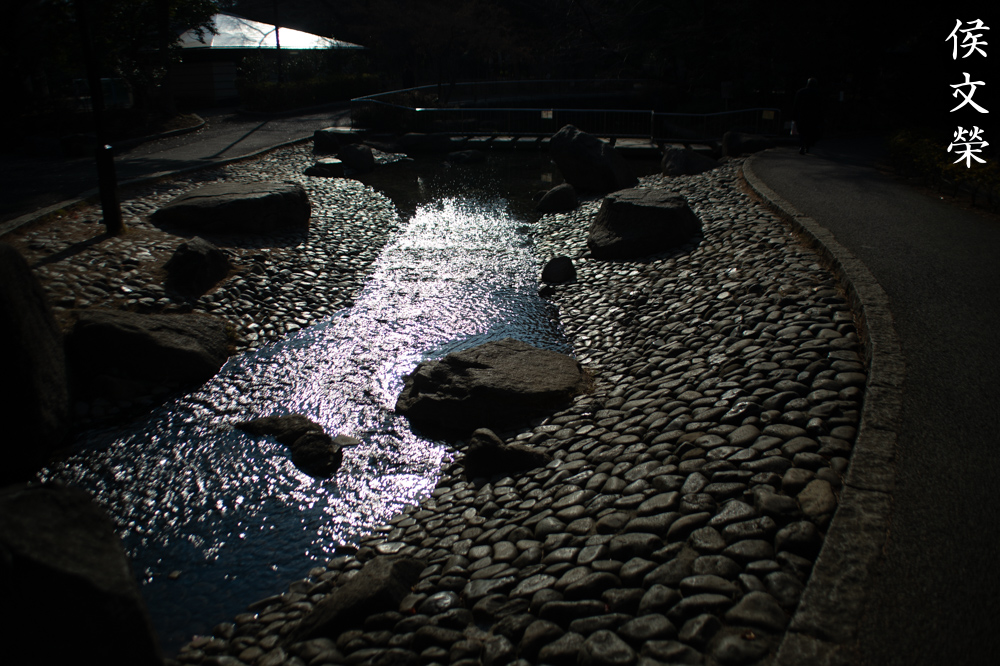
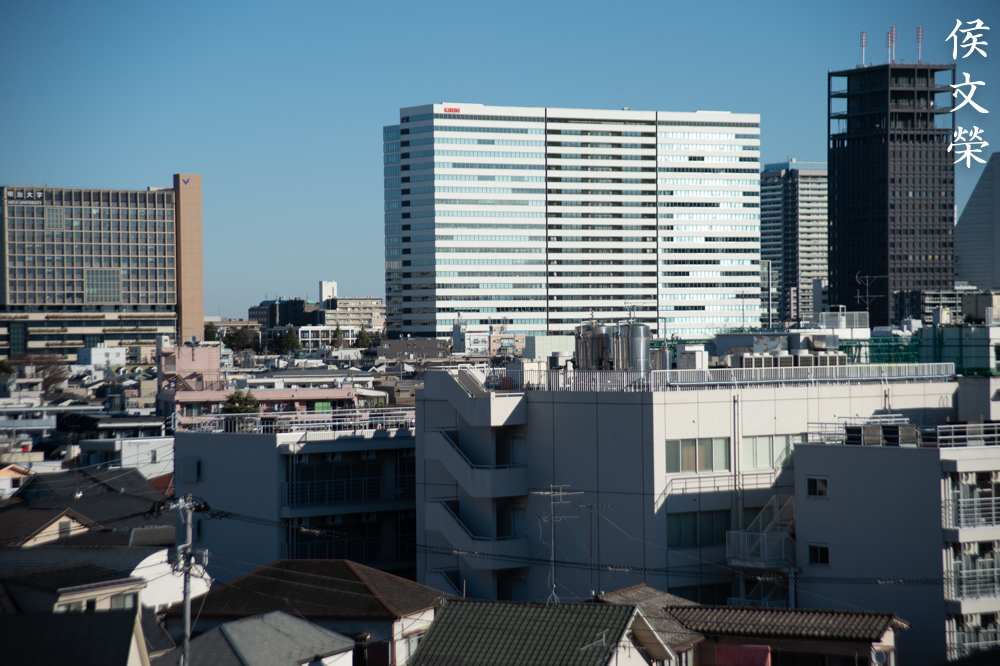
Here are more photos for your enjoyment. It’s an amazing lens for a traveler, it allows one to travel-light and just focus on having a great time. Its modest-specs and performance makes it an incredible lens, many people don’t realize this and just focus on what they see in reviews. Couple this with a Nikon F100 and you’re sure to take great photos with it using film, just be sure to load it with an ISO400 film at the very least so you will be able to shoot with faster speeds, preventing blurry photos specially at the long-end.
I highly recommend this to students, travelers and people who are just our for a bargain-zoom. It’s so cheap I could easily find one for less than $30.00 any day depending on the condition, you could even get one for a lot cheaper if you’re patient. Many zooms made in this era are sold dirt-cheap and they offer the best value since they’re usually considered quite good when they were new. Of course, they’re no match for newer lenses but that doesn’t mean that they’re useless. Just embrace what they could offer and be happy with it, this is the best way to enjoy photography, just focus on taking photos and think less about your gear. When looking for one, it is important to check the iris, it should be dry and snappy when actuated. Any issues with it will require a lot of effort to correct since you’re going to dismantle it in order to reach the iris mechanism. These are usually a bit dusty inside due to the nature of the design but be sure to find one that’s not that dusty. Hazy or foggy glass is something that could be corrected depending on where they occur but it’s best to get one that looks clear. It should focus properly and the rings should operate smoothly without any unusual stiffness or unevenness. It’s a sure sign of impact damage when the rings don’t operate smoothly. Check the barrel when fully-extended, it should not wobble a lot, slight-play is acceptable but it shouldn’t feel damaged. These are common lenses and you should just take your time to find the best deal around, happy hunting.
Before We Begin:
If this is your first attempt at repairing a lens then I suggest that you see my previous posts regarding screws & drivers, grease and other things. Also read what I wrote about the tools that you’ll need to fix your Nikkors.
I suggest that you read these primers before you begin (for beginners):
Reading these should lessen the chance of ruining your lens if you are a novice. Before opening up anything, always look for other people who have done so in YouTube or the internet. Information is scarce, vague and scattered (that is why I started this) but you can still find some information if you search carefully.
I highly recommend that you read my working with helicoids post because this is very important and getting it wrong can ruin your day. If I can force you to read this, I would. It is that important!
For more advanced topics, you can read my fungus removal post as a start. It has a lot of useful information, it will be beneficial for you to read this.
Disassembly:
Servicing autofocus lenses means you don’t repair what’s not broken, you minimize what you do so you won’t have to disturb the delicate mechanisms and electronics inside the lens. I was lucky that the repairs were kept at a minimum and I only had to clean a few things instead of opening this thing up and getting deeper. If your lens needs to be repaired, just buy a new one since it will be more practical to do so.
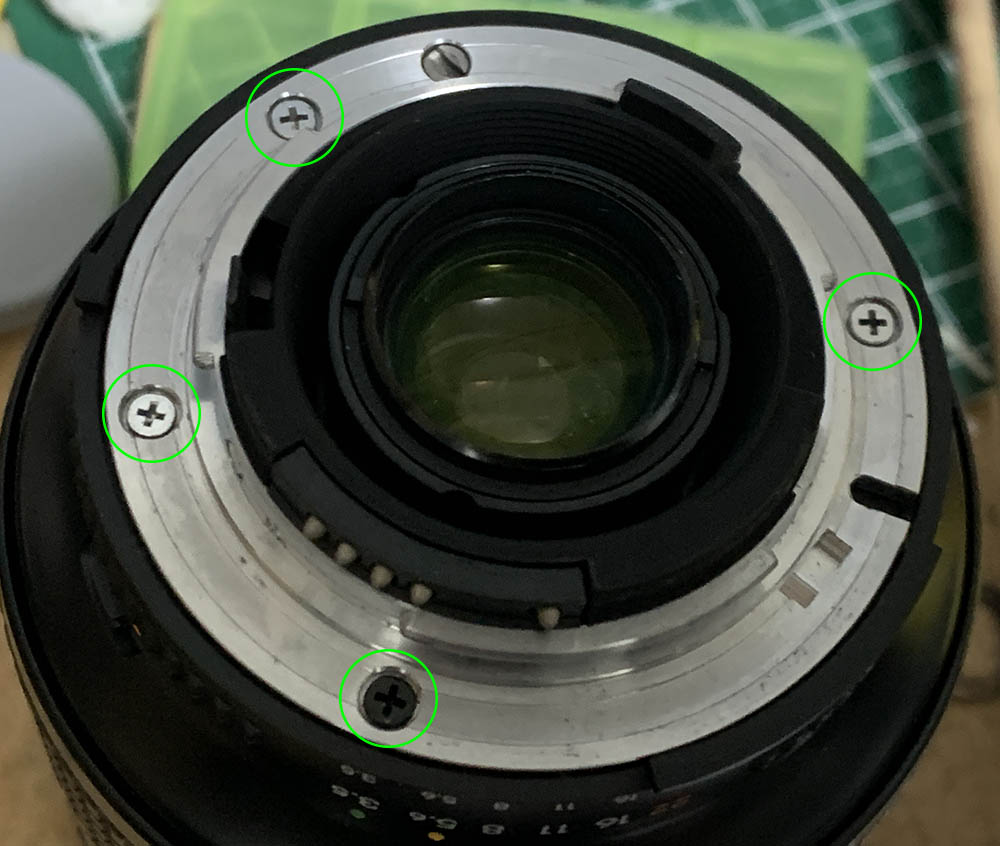
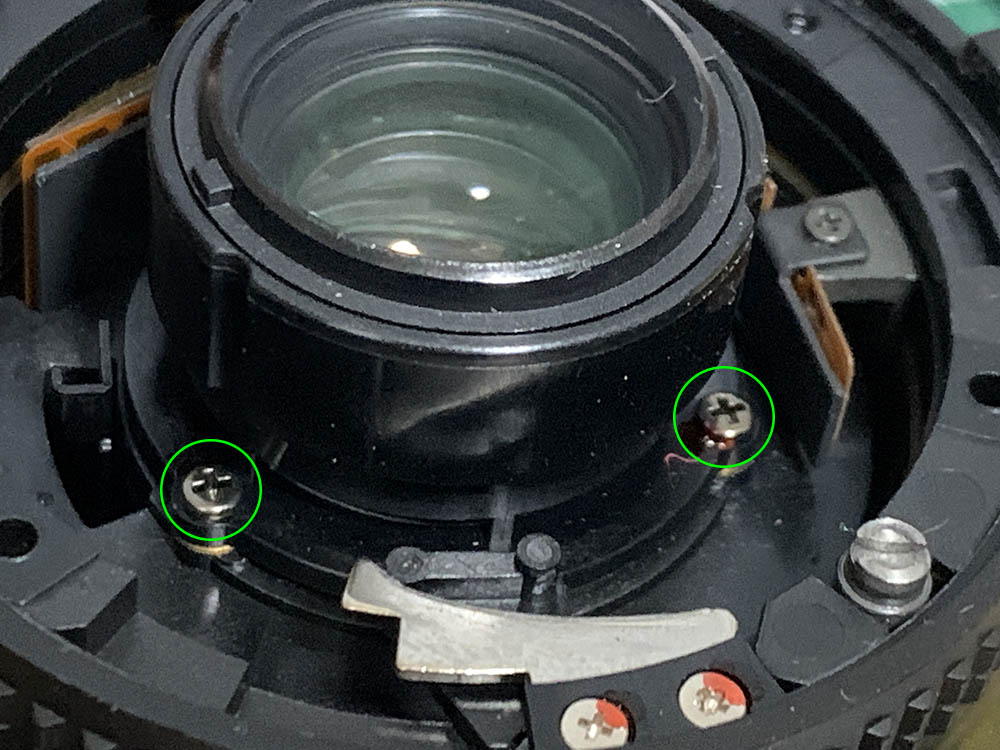
Extract the screws of the bayonet mount so you can remove it. Many people get stuck here because they don’t have the right tools and strip the screws. To prevent this from happening to you, read my article about how to remove bayonet screws. Follow my guide and that should help educate you on how its done and which drivers you should use.
Note that not all of the screws are identical, note which one comes from where so you will know where to put them back.
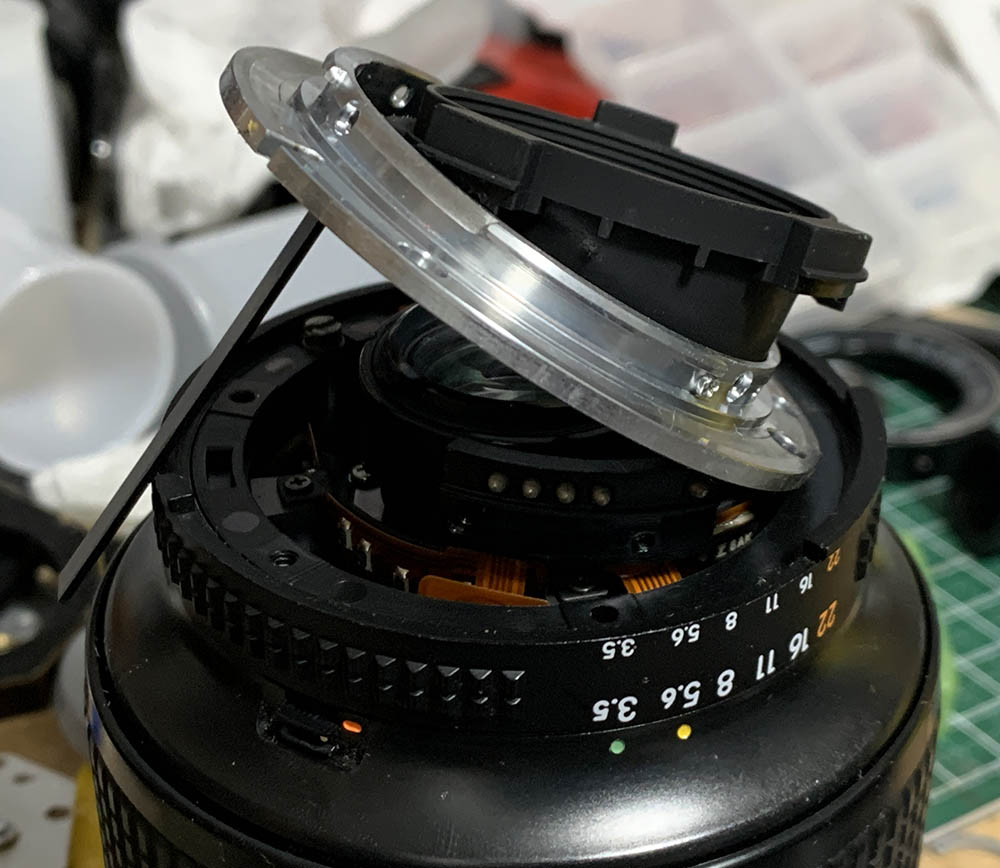
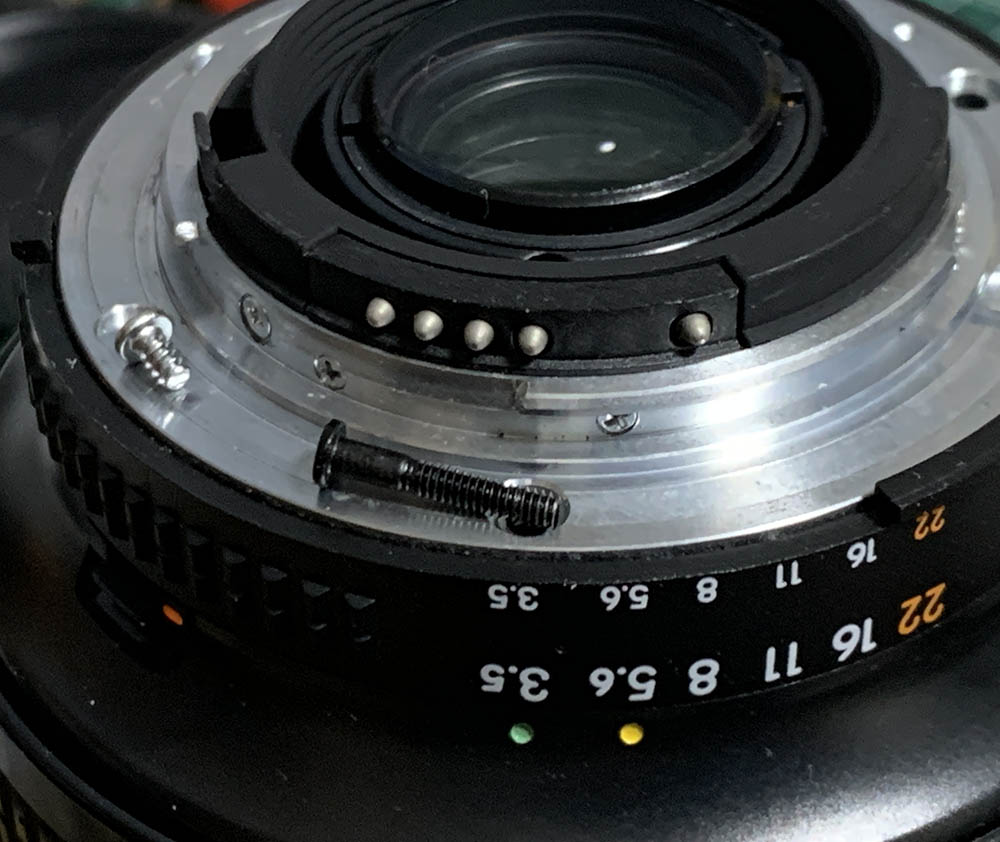
Before you remove the bayonet be sure to extract the screws of the baffles and the contact block so you won’t damage the ribbon, it can be easily-torn.
Extract these to remove the rear optics assembly. These were sealed so place a small drop of alcohol to soften the seals.
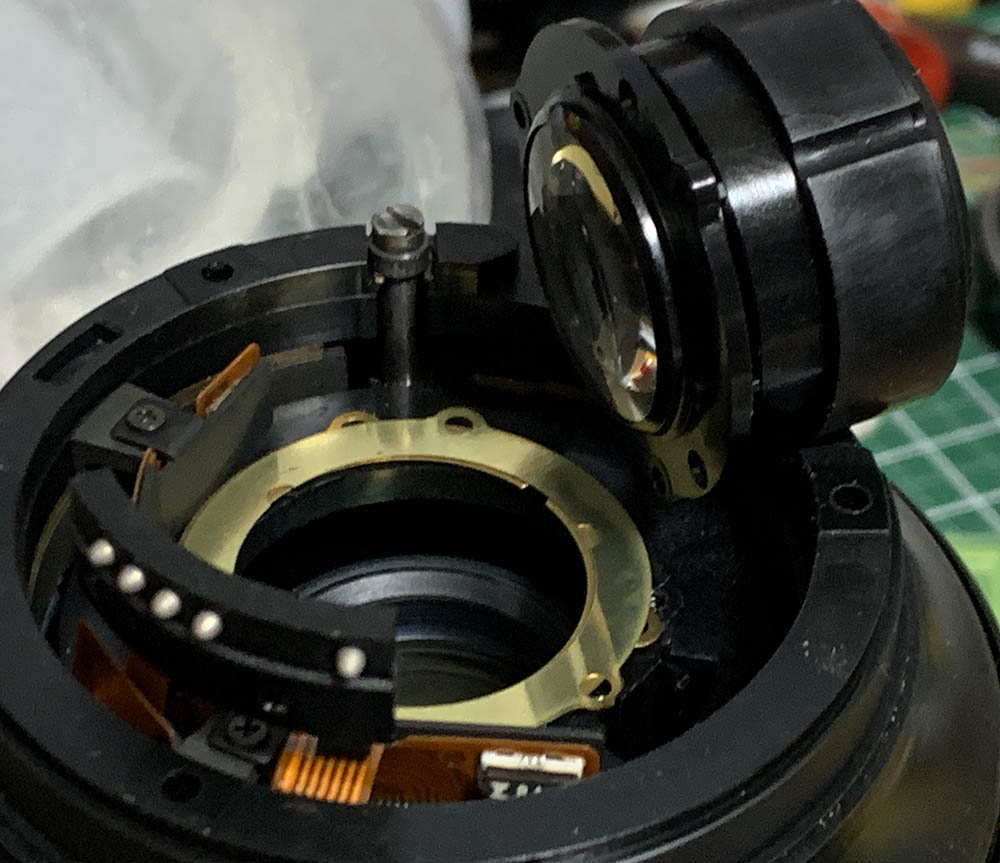
There are shims underneath it, do not misplace or damage these or your lens won’t focus properly.
I only had to wipe the cloudy surface clean and get everything back, all of which took me under 0:30 to do. It’s good that it doesn’t have fungus, if your lens has fungus, read my article on how to clean lens fungus. Don’t use the solution at full-strength, thin it with distilled water. Don’t soak the elements in the solution for too long or it will dissolve the coatings.
Conclusion:
This one took less time to service than expected, I was glad that there’s no real damage to the optics except for a foggy surface. I used the time I saved to go out and take plenty of photos for you to enjoy.

The Nikon Df is a good partner for this, I took a couple of nice photos with this setup, I am sure that you could, too. It’s amazing how cheap I got this lens for and how much joy it gave me.
Thanks for following my work, if you liked this article please share this with your friends so it will get more views. This site earns around $0.60 a day, it’s totally reliant on views. You can also support this site, it helps me offset the cost of maintenance and hosting. You are also helping me purchase, process and scan film. This site promotes the use of film so we’re all in this together. See you again in the next article, Ric.
Help Support this Blog:
Maintaining this requires resources and a lot of time. If you think that it has helped you or you want to show your support by helping with the site’s upkeep, you can make a small donation to my paypal.com at richardHaw888@gmail.com. Money isn’t my prime motivation for this blog and I believe that I have enough to run this but you can help me make this site (and the companion facebook page) grow.
Buy me a roll of film or a burger?
Thank you very much for your continued support!
$2.00
Helping support this site will ensure that this will be kept going as long as I have the time and energy for this. I would appreciate it if you just leave out your name or details like your country’s name or other information so that the donations will totally be anonymous. This is a labor of love and I intend to keep it that way for as long as I can. Ric.

Feb 05, 2021 @ 04:25:42
There is some irony in owning a high end body, but loving the bargain bin lenses that Nikon has. Next to the AF Zoom-Nikkor 28-80mm f/3.3-5.6G, I also use this one all the time while traveling.
I have encountered the low contrast issue during bright daylight or bright light entering off to the side. Convenience and portability takes precedence over a f/2.8 zoom in most of my situations (non-professional). I have gotten some lovely portrait and mountain landscapes with this lens, but you have to get the basics such as composition right to get the most out of it. There are not many copies here in Canada, so I got mine through eBay from Japan in mint condition for $120CAD.