
Hello, everybody! I was listening to Modern Talking, their hits have catchy melodies that will leave earworms in your head for days. People will laugh at you when they catch you listening to them these days but the duo used to be very popular back then. I personally don’t mind what people think about my music choices, this is rather personal and we should listen to what we want wherever we want. Your choices shouldn’t be dictated by anyone and that includes what lens you choose to shoot with. Today, I will show you a lens that used to be quite popular back then but is now considered “unfashionable”. It’s not the best lens out there but people who know how to shoot with it will be able to enjoy using this and have a great time. You show the snobs what you could do.
Introduction:
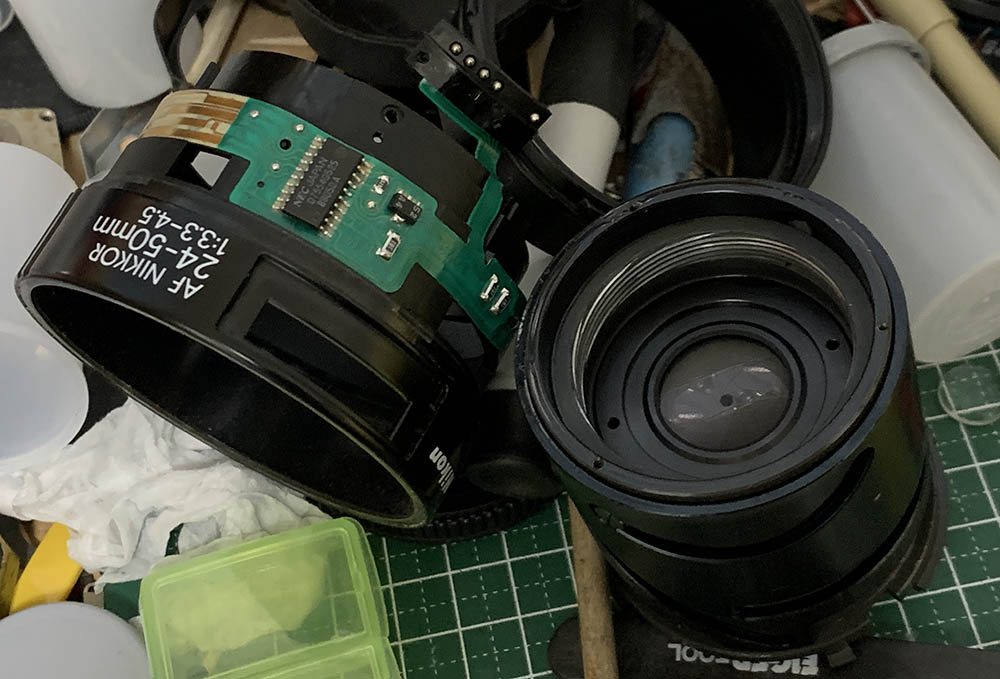
The AF Zoom-Nikkor 24-50mm f/3.3-4.5 was sold from 1987 to 1995, it’s sort of the successor to the older Zoom-Nikkor 25-50mm f/4 Ai-S which was designed as a professional lens as evident by its fixed maximum aperture. It came out at a time when Nikon was making a huge move towards autofocus lenses to complement the then-new Nikon F4. Unlike the Zoom-Nikkor 25-50mm f/4 Ai-S it’s more compact and light so that compensated what I consider to be its biggest shortcoming, having a variable-aperture.

It’s well-built, typical of many Nikkors of its time. Despite not being all-metal like the classic Nikkors it’s quite dense when you hold it. The front and outer barrels are plastic but the chassis appears to be made from metal so it could take some form of abuse. Unlike many of the earlier autofocus Nikkors it has a decent build and the focusing ring isn’t flimsy at all.
It has a simple 9-elements-in-9-groups design which its successor inherited. It seems capable if you ask people who have used it extensively during the film days. The 2x zoom-range is adequate for a lot of things specially if you’re a landscape or travel photographer. Its compact size and reasonable weight means that it won’t be a hassle to bring it with you on long trips while substituting 2 lenses in your bag. This is its biggest selling point so it was popular back then. It has a variable-aperture which means it changes from f/3.3 at the widest-end to f/4.5 at 50mm. While f/3.3 is acceptable for a 24mm lens the maximum aperture at 50mm is f/4.5 which limits its use considerably so it’s best-suited for shooting in ideal lighting situations. I do not think it was intended to be used in lowlight without a tripod so consider this when you’re going to purchase it for shooting film.
It has a 2-ring setup which is typical of many Zoom-Nikkors of its time. Its distance scale isn’t that informative, it’s inaccurate, too. It’s pathetic, the later AF Zoom-Nikkor 24-50mm f/3.3-4.5D has a simplified implementation so it doesn’t have a window at all to display the distance scale, all of the numbers were printed to the focusing ring to cut-cost. There’s no depth-of-field scale which is a sad thing for people who were used to shooting with manual lenses. The front barrel rotates when focusing which makes it inconvenient to use a polarizer, this is a big deal because I assume that this lens was made to appeal more to landscape photographers.

It handles quite well when mounted to newer cameras such as this Nikon Df. Focusing appears to be fast since the focus-throw is rather short. This will be an issue for people who use it as a manual lens because you could not focus with it using precise turns. It could focus-down to less than 0.5m which is respectable but not good if you consider that it has a bogus “macro-mode” gimmick. It won’t get close to anything unlike Brother Louie.

It balances well with the Nikon D3. It’s a pleasure shooting this setup, the results I get with it takes me back to a time when digital photography was a lot simpler. One reason why people have forgotten about it is because its zoom-range feels awkward when you use it with a cropped-sensor camera which was the only thing Nikon had for some time. It feels at-home with a full-frame camera.
Learning how your lens performs is key to maximizing its use. You will learn how to utilize its strengths and avoid its weaknesses. This knowledge helps in determining which lens to bring on a job. I shot these pictures from f/3.3, f/5.6 and f/8 at the wide-end, f/4, f/5.6 and f/8 at 35mm and f/4.5, f/5.6 and f/8 at 50mm, these are the most common apertures that people would want to use it and we will see the most changes happen with these values. The photos were shot with my Nikon D3.


(Click to enlarge)
Vignetting is quite heavy at the wide-end which won’t improve much even if you stop it down. It’s better at the long-end but it’s still not exactly bright. It looks a bit nicer at 35mm. If this bothers you, simply stop it down to about 2-stops to prevent the corners looking dark.
Distortion is heaviest at the wide-end as expected, it’s not exactly straight at the long-end but it’s a lot better. It looks acceptable at 50mm for shooting architecture. The wide-end’s distortion profile looks terrible and it isn’t simple at all, the falloff is like a bell-curve which doesn’t look easy to correct in post.


(Click to enlarge)
Flare-resistance is mediocre at best but not unusable. In fact, it performs a lot better than some other lenses. It isn’t as resistant to ghosts, you’ll see blobs in your photos if you have bright lights within your frame. Using its dedicated hood won’t help much even if your lights are just-outside of your frame.


(Click to enlarge)
Its bokeh quality isn’t the best but you don’t shoot with it for that. The good thing is it’s not as bad as I thought, I think it’s quite mediocre at best. You’ll see a lot of chromatic aberration on areas of high-contrast specially if the backdrop is the sky. You won’t see much if in real-world use so don’t worry too much about it.


(Click to enlarge)
It’s not sharp wide-open at the center and the corners look worse but they’re not unusable. You won’t get high-resolution results wide-open and sphero-chromatic aberration will make it appear soft, too. Stop it down by a stop and it looks a lot better at the center, the corners even look relatively good if you ask me. You won’t see a lot of chromatic aberration at this point except on difficult cases. Stop it down by 2-stops and the corners look way better, better than the center at wide-open apertures. The center appears to be operating at its peak and the resolution looks quite good, too. This is a sharp lens but you’ll have to know how to use it in order to take nice, sharp photos. I was surprised to see it perform at this level but I was also disappointed at the same time because it could be better wide-open. This may be just a sample-variation issue since mine was sold as junk.

I won’t use the wide-end for shooting architecture with it, the wooden board looks curved here despite how I angled the shot. If you have to, set it to 50mm and that should help negate the effects of distortion but you are not going to get a wide-angle. This is something that you should consider when using this lens.

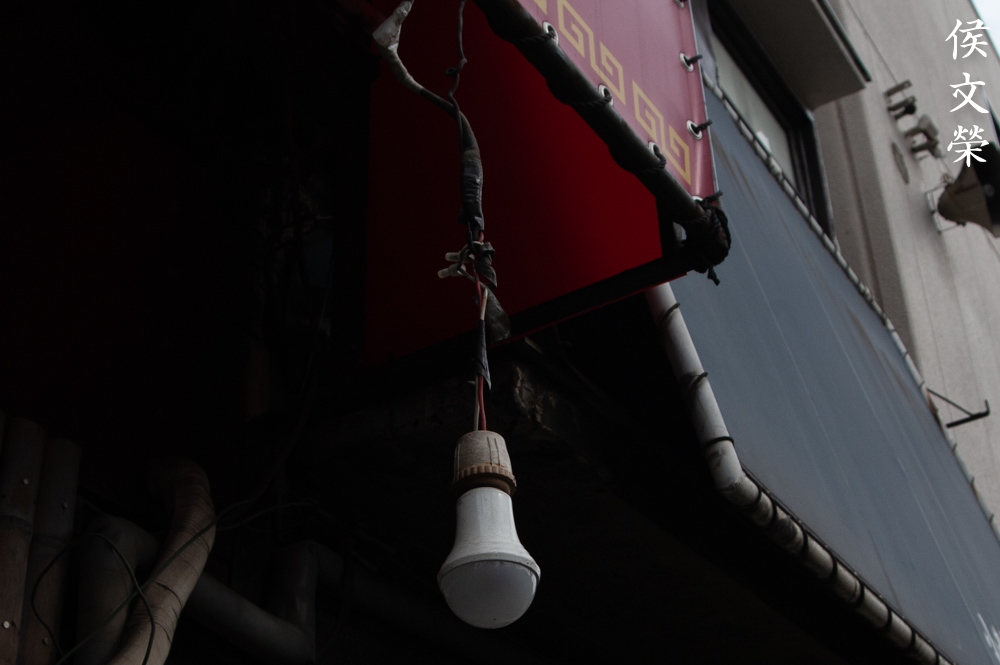
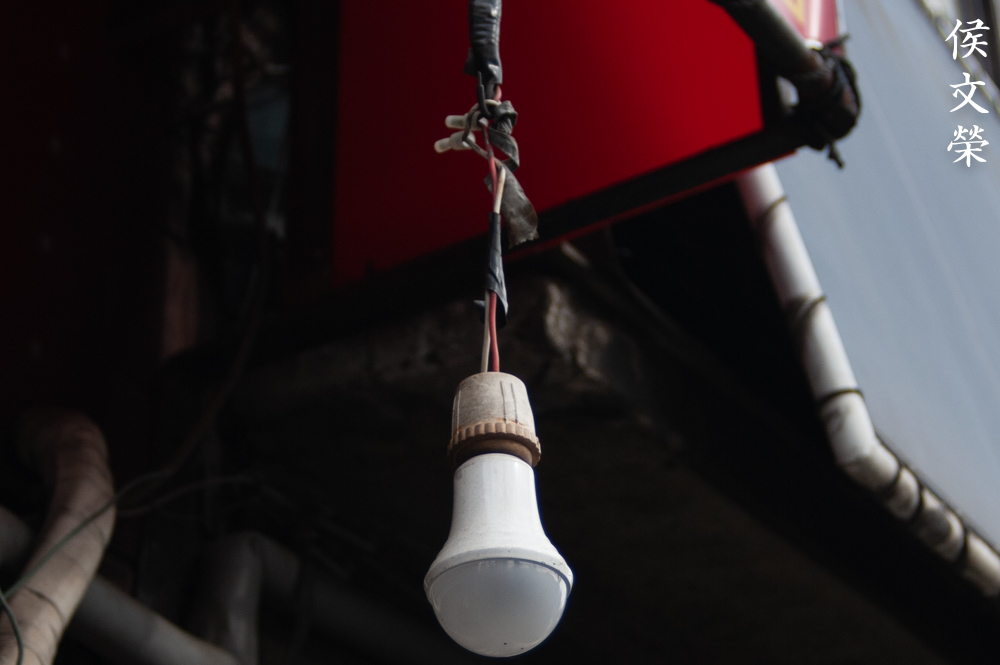
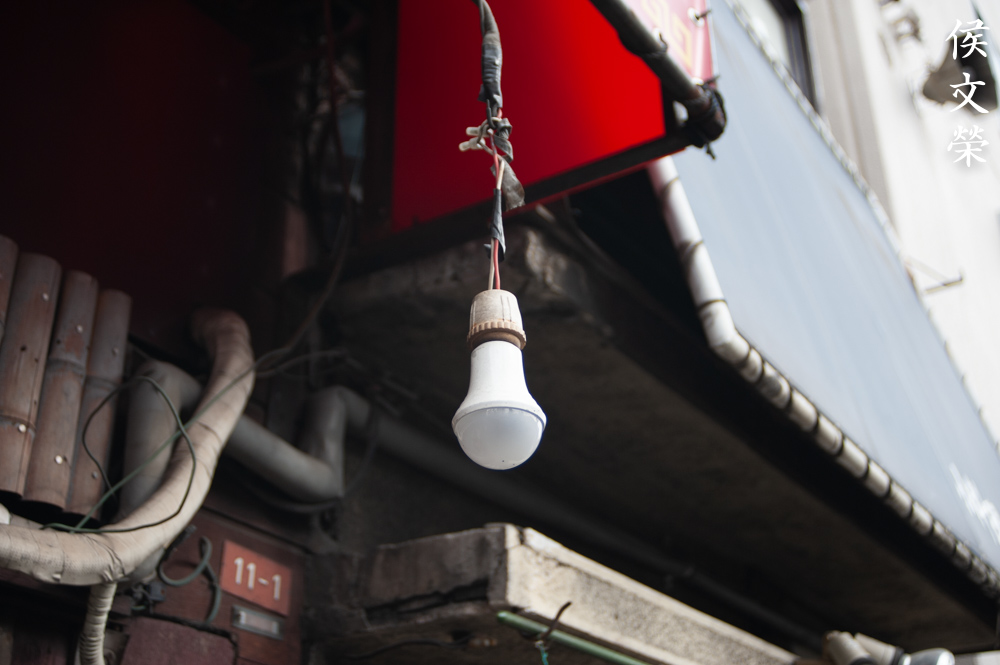
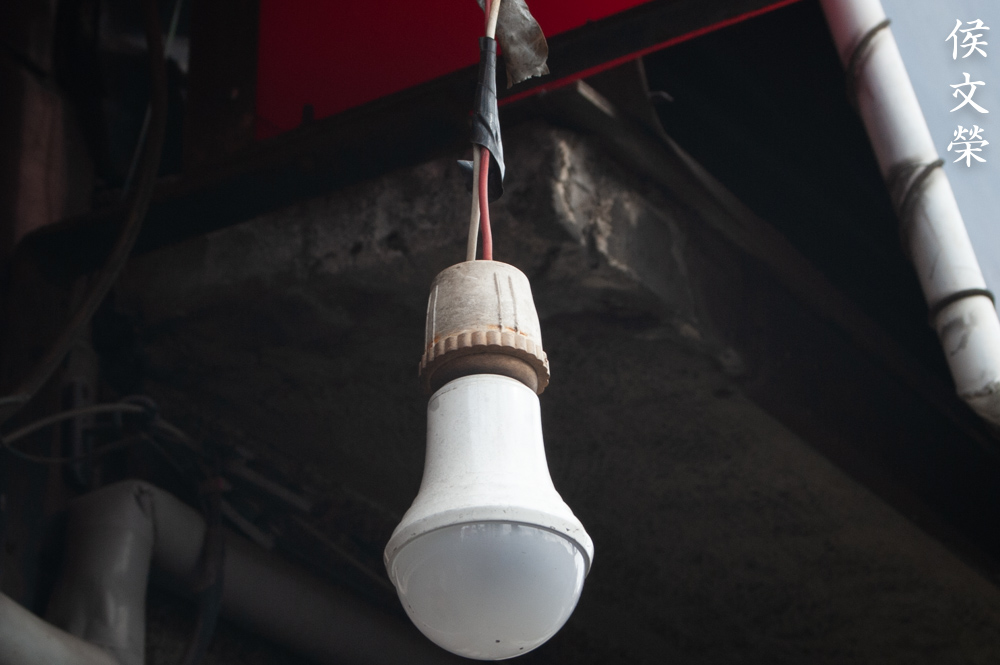
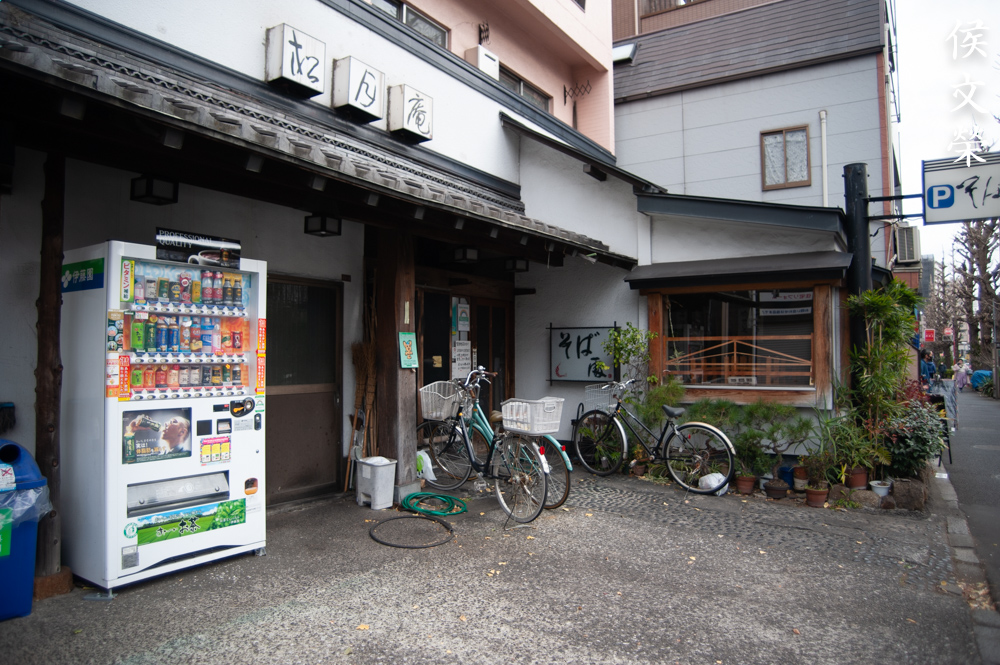
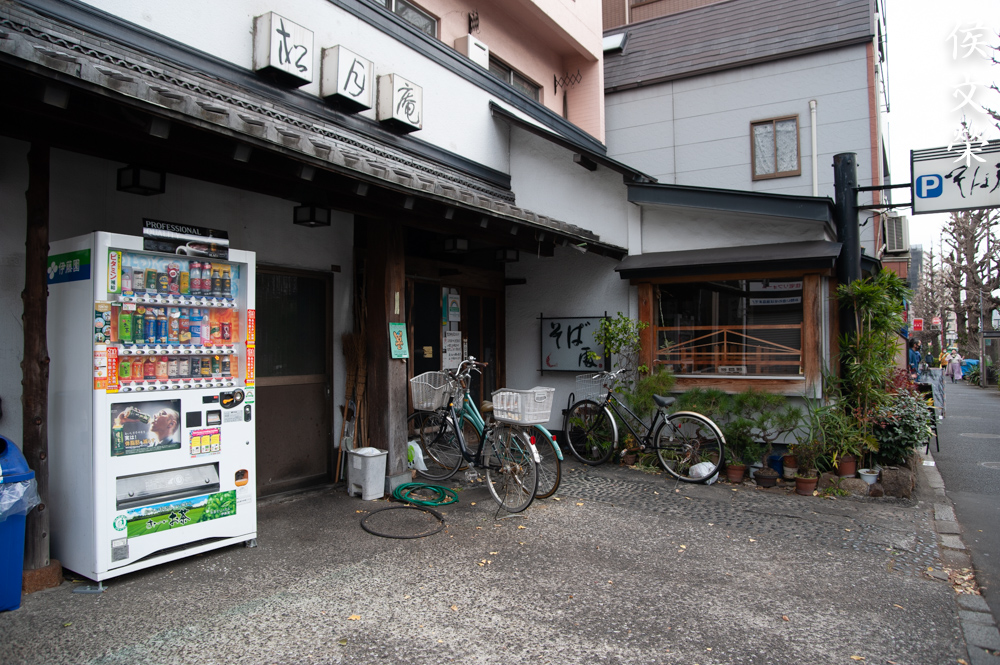
The effects of distortion isn’t apparent here since there are many lines in the scene at various angles. You can see that the awning is curved but you won’t notice the other ones here because the scene is “too-busy”. This is a sharp lens when you stop the iris down, I think it’s excellent for its time but it’s nothing compared to what is the current standard.

Lowlight photography is not something that it excels in, specially at the long-end because f/4.5 won’t be bright-enough. Do not let this prevent you from shooting with it at night, though. Modern digital cameras have great high-ISO performance so this shouldn’t be much of an issue these days.

It’s a very versatile lens, you could use it to take nearly-anything while on a trip. What it lacks in performance it makes-up for it in practicality.


(Click to enlarge)
I think this is still a nice lens today. People who want an affordable wide-zoom will enjoy shooting with this. It is going to be a useful lens when traveling, losing one won’t be traumatic because these are sold cheap today. I rarely see these go beyond $50.00 online. You could use the money that you saved for buying a flash instead or just pay for a workshop or a trip.
Let’s now check some film photos. Film has a unique look that is hard to simulate with a digital camera thanks to grain. It reacts differently to light, this means that it could mask a lens’ flaws or amplify them. Since it was designed to be used with film, it’s best that we judge this using its intended medium. Most of these were taken at f/5.6 or f/8 unless there’s not enough light. I used Kodak Color Plus 200 with my Nikon F5 to shoot these.

The sun-star looks wonderful and the flare doesn’t look bad either but the blobs ruined this shot. It would’ve been a nice shot if not for the blobs. If your coffee requires more adjectives to describe than what Nikon uses to name their latest, feature-packed lenses then you may actually like this look.

Here’s another example, keep the sun away from the frame when using this lens.

Even on a cloudy day you’ll see blobs form within the frame which is quite unfortunate.

This isn’t meant to be used in lowlight situations even at 24mm where you could use f/3.3 wide-open. You will be forced to shoot with a slower shutter-speed so you’ll have to brace your setup well when shooting without a tripod.

It’s a nice lens for journalism and environmental portraits. It’s very versatile for this application so long as it has enough light to work with.

Distortion is evident here and the profile isn’t that simple either, there’s a steep-bulge happening at the center which may be difficult to correct.

It’s not so bad here but you could still see how the beams bow.

Shooting at around 35mm will help alleviate the effects of distortion a bit but it’s still going to be visible when you look carefully.

It’s not so bad at 50mm or anywhere close to it, if you need your lines to be straight then avoid shooting at the wider-range.

Angling your lines will also help hide the distortion. It’s still visible when you look at the pagoda but it won’t distract you since the lines aren’t parallel to the edges of the frame.


(Click to enlarge)
This is a nice lens for shooting with film so long as you have enough light to work with. The only flaw that I’m not able to tolerate is how much ghosts it could produce. This is the only thing that prevents this from being a nice lens with film. The slow maximum aperture at the long-end isn’t much of a problem since there are ways to workaround that but there’s not much you could do with its poor resistance to internal-reflections. Despite film not being as reflective as a sensor it’s disappointing that it failed in this regard.
I think that this lens is a good bargain specially at the price that they’re going these days. You won’t need any other lens to bring with you on a trip apart from a telephoto one for those cases when you need more reach. I enjoyed shooting with it a lot and I believe that it’s capable of taking nice photos but you should be careful not to shoot it with the Sun within your frame. Be aware of its limitations, shoot with it at reasonable apertures or stop it down by a stop and avoid shooting straight lines with the wide-end. There’s a couple of alternatives out there but this one offers the best value since they’re so cheap! I got mine for less than what I paid for my beer. When buying one, check the iris and make sure that it’s dry and snappy. Any problems with the iris requires a teardown to correct the problem. If the iris is dry but it shows the slightest signs of a lazy-iris problem then it’s probably the stop-down mechanism as it could get soiled. Check that the glass is clean and the coatings appear clean, too. It’s not difficult to clean the optics but any issues regarding to the inner elements may be a problem because you’ll have to open more things just to get to them. Turn the rings, make sure that they operate fine, it is also important to check the autofocus and make sure that it works properly. These are cheap, you could buy one for less than $30.00 or even less if you’re lucky. Just take your time and you can get the lens that you want, happy hunting.
Before We Begin:
If this is your first attempt at repairing a lens I suggest that you check my previous articles regarding screws & drivers, grease and other things. Also read what I wrote about the tools that you’ll need to fix your Nikkors.
I suggest that you read these primers before you begin (for beginners):
Reading these should lessen the chance of ruining your lens if you are a novice. Before opening up anything, always look for other people who have done so in YouTube or the internet. Information is scarce, vague and scattered (that is why I started this) but you can still find some information if you search carefully.
I highly recommend that you read my working with helicoids post because this is very important and getting it wrong can ruin your day. If I can force you to read this, I would. It is that important!
For more advanced topics, you can read my fungus removal post as a start. It has a lot of useful information, it will be beneficial for you to read this.
Disassembly:
Unlike manual lenses, these have delicate parts and electronics so you should keep any repairs to a minimum. Unfortunately for this particular lens it has an oily iris problem caused by excessive grease within the barrel. It was “serviced” before, whoever did it applied too much grease which resulted in it dripping with oil inside. I was only expecting a simple repair but it ended being a complete overhaul. This should never be the case for any autofocus lenses but it is what it is. The excessive oil evaporated and settled on some of the glass. This is a job reserved for experienced repairmen, if your lens needs to be serviced, send it to a repairman. Never do it yourself as you’ll require special tools to work with it. Since there are electronic parts within it you’ll have to be careful when handling what’s inside so you won’t brick it. A magnetic screwdriver or static charge coming from your fingers is enough to damage it.
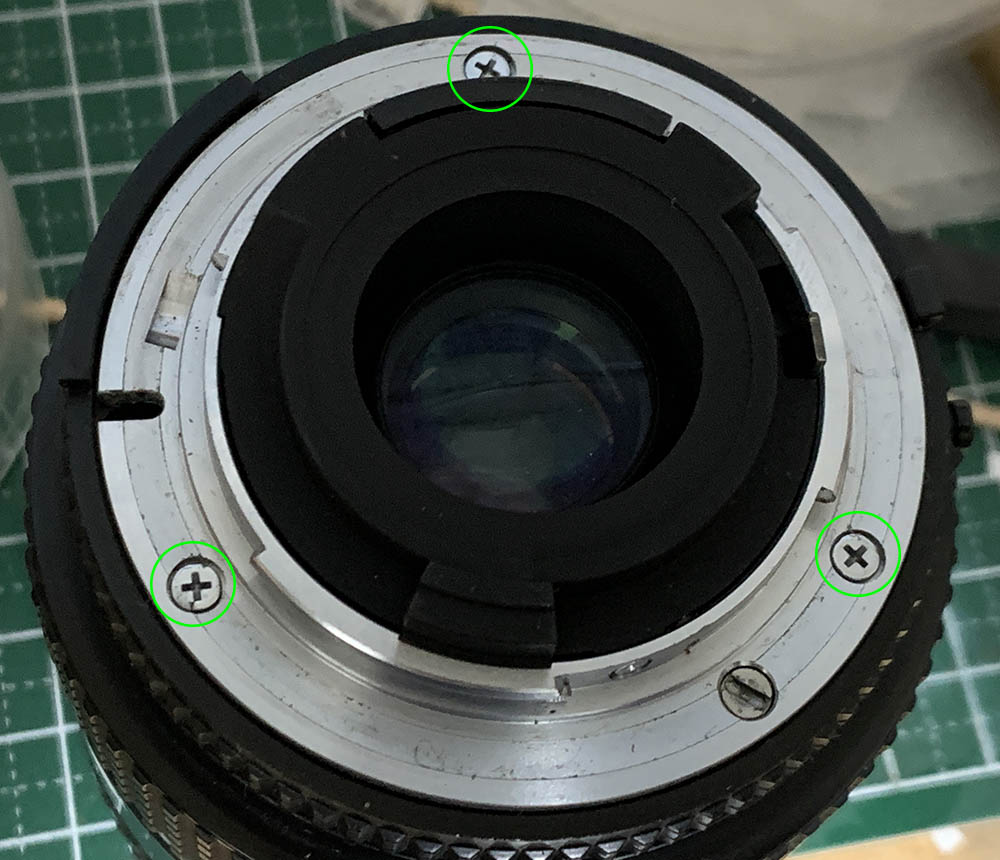
Extract the screws of the bayonet mount so you can remove it. Many people get stuck here because they don’t have the right tools and strip the screws. To prevent this from happening to you, read my article about how to remove bayonet screws. Follow my guide and that should help educate you on how its done and which drivers you should use.

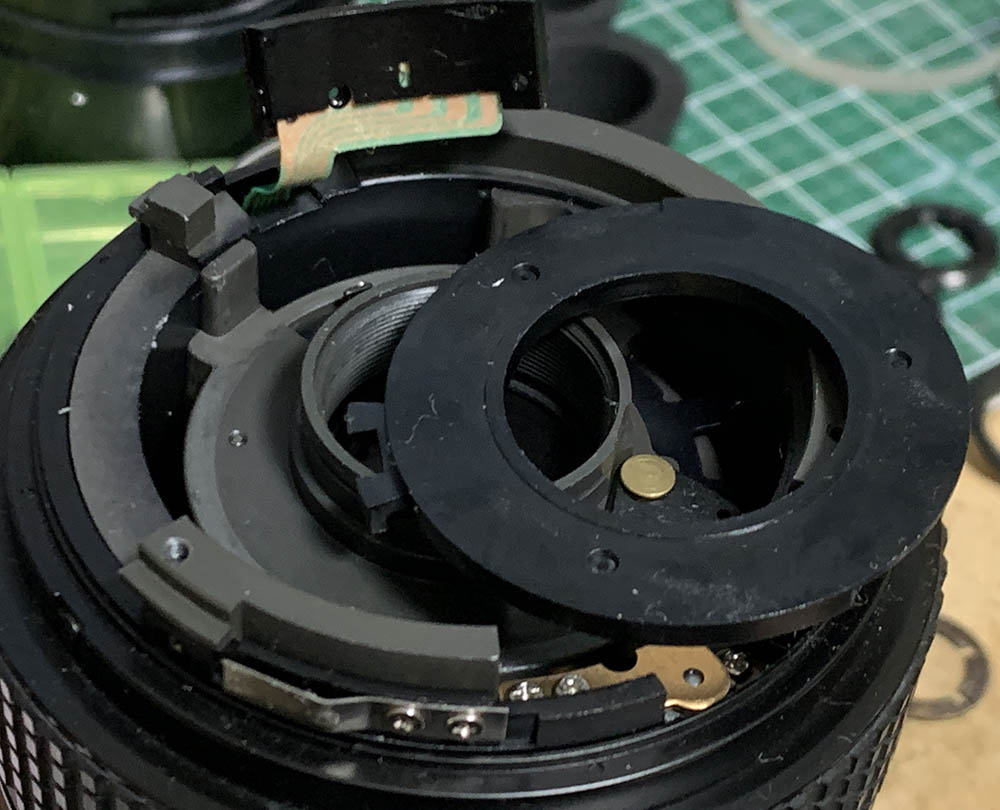
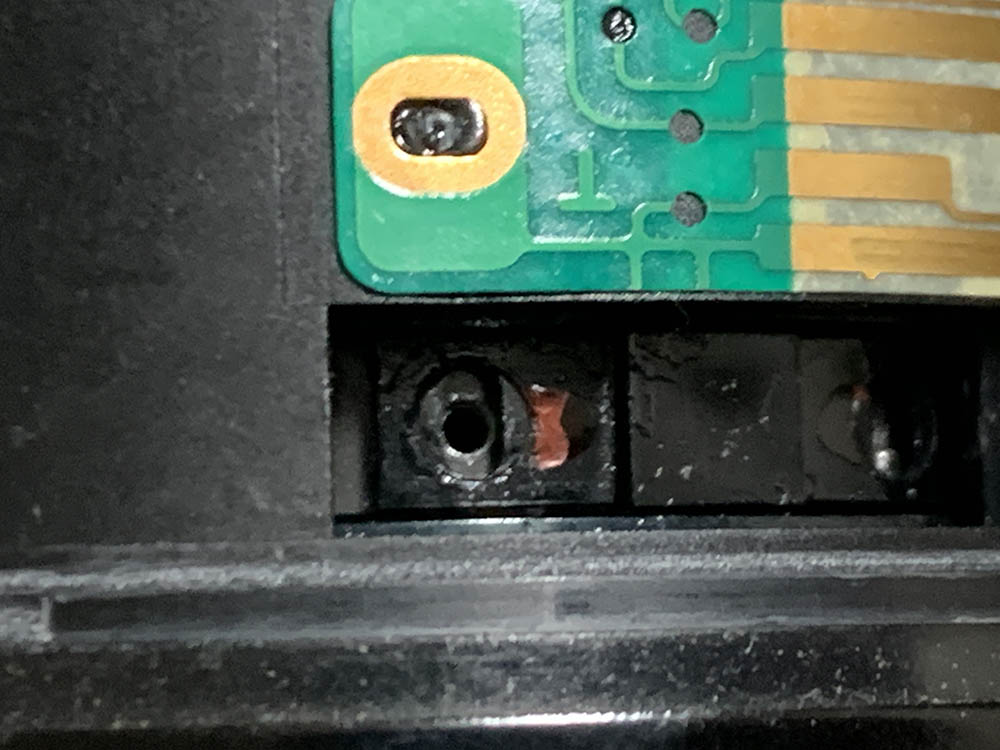
Extract 3 screws at the throat of the bayonet mount in order to remove the rear baffle. There are 2 other ones that are smaller that secure the contact-block and you should extract those, too.
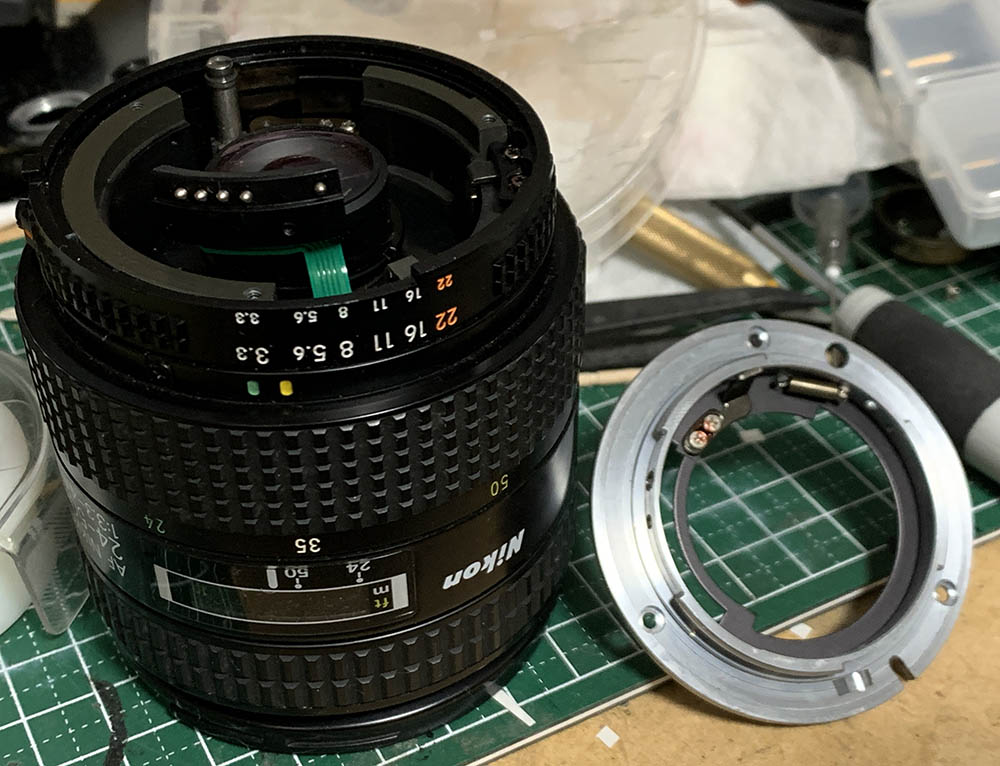
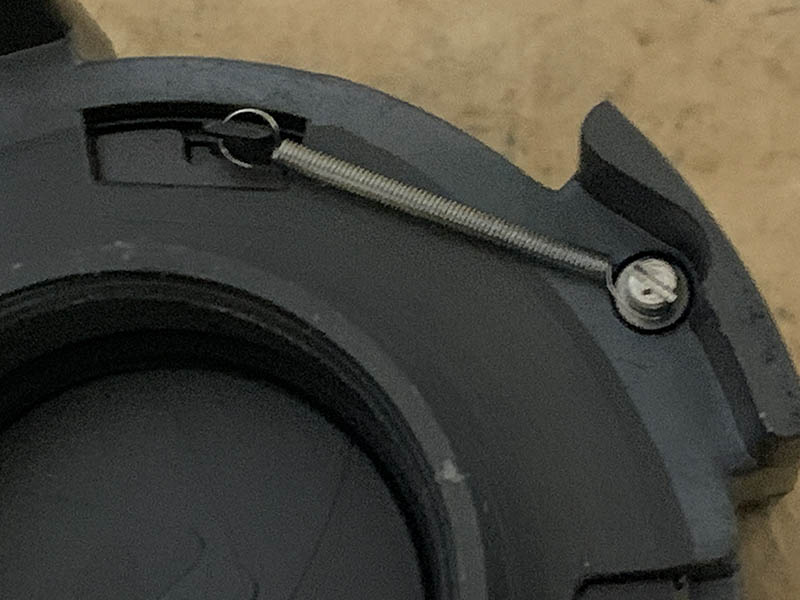
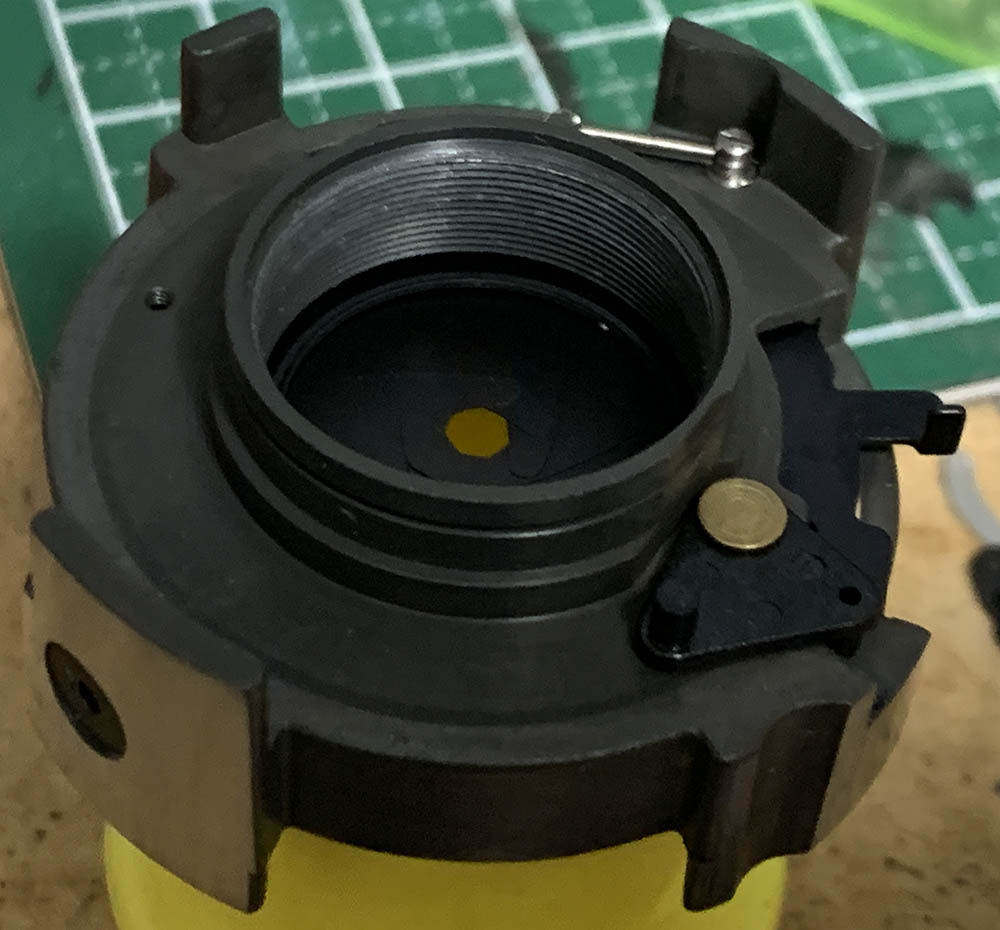
Carefully remove the bayonet mount. It’s common for this lens to develop a “lazy aperture” where the iris will not actuate in a snappy manner. One of the causes for this is a dirty stop-down lever mechanism. Actuate the stop-down lever and see if it moves freely, if not then you should dismantle it by removing the brass ring and clean it thoroughly. If the stop-down mechanism is fine then the problem lies in the iris mechanism itself, it is situated deep-within the barrel and accessing it will require a partial teardown.

Remove the aperture ring.
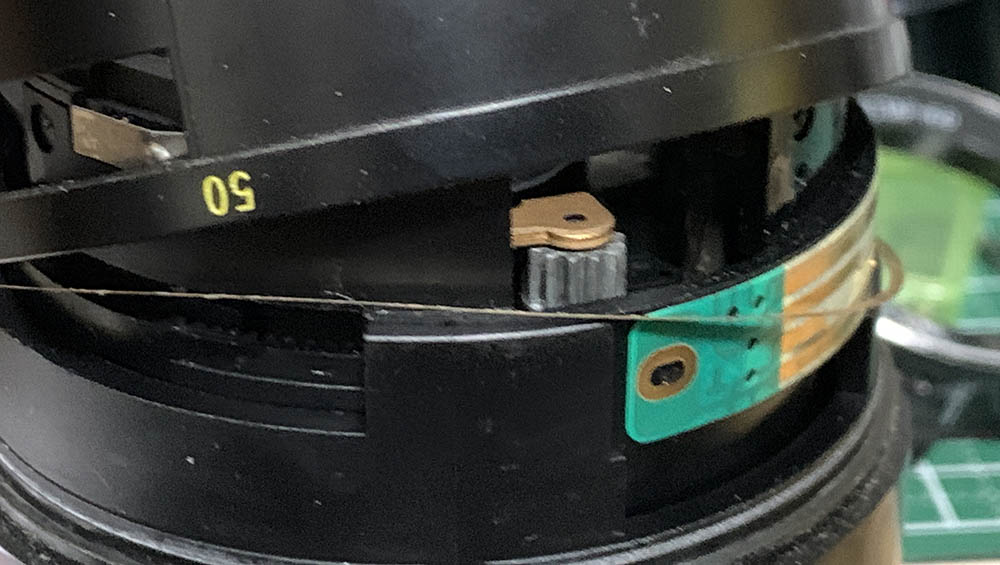
This is the transmission for the screw-drive, you rarely clean these unless the movement is obviously rough. If that is the case you simply flush this with naphtha and apply minute amounts of high-quality oil to the pivots. Never dismantle this if you could help it.
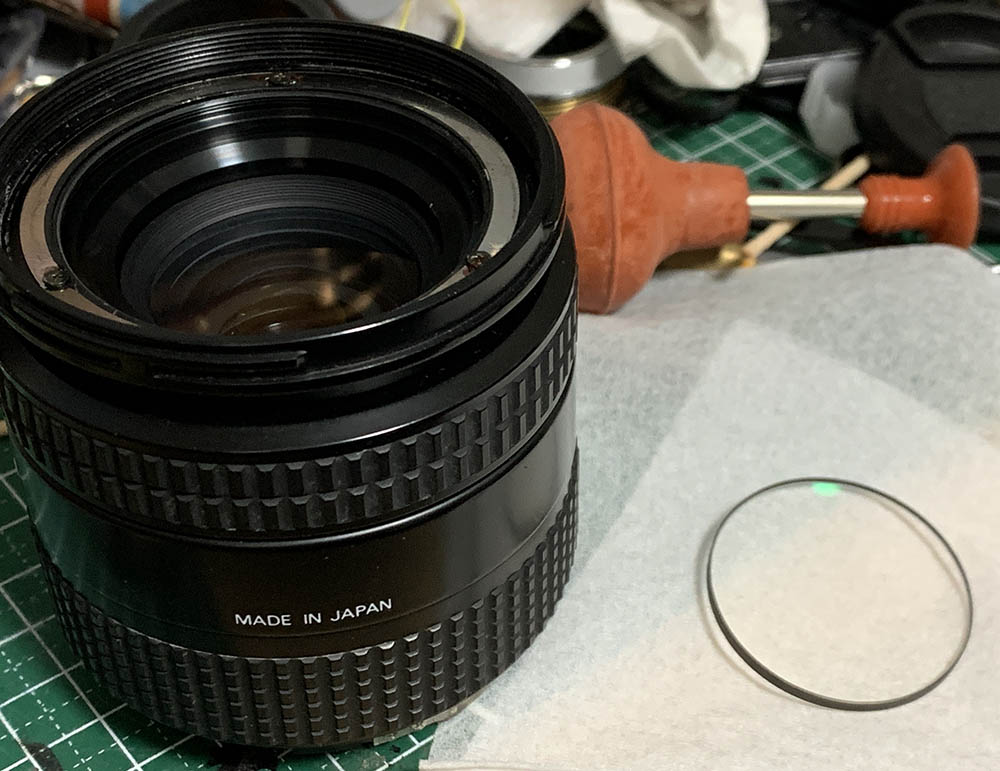
Accessing the rear optics assembly is easy, you simply unscrew it from the objective’s housing. I merely used a rubber tool to grip it then I unscrewed it with my fingers.
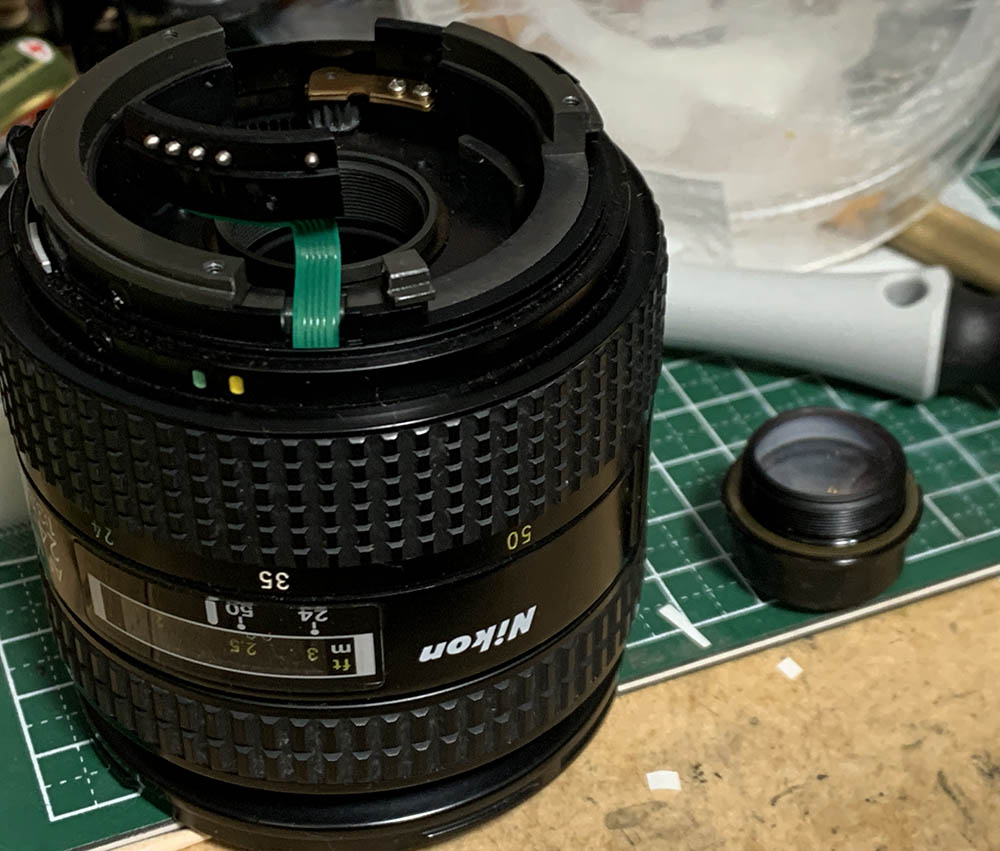
Don’t misplace its shim, that’s used for adjusting its rear-focus.

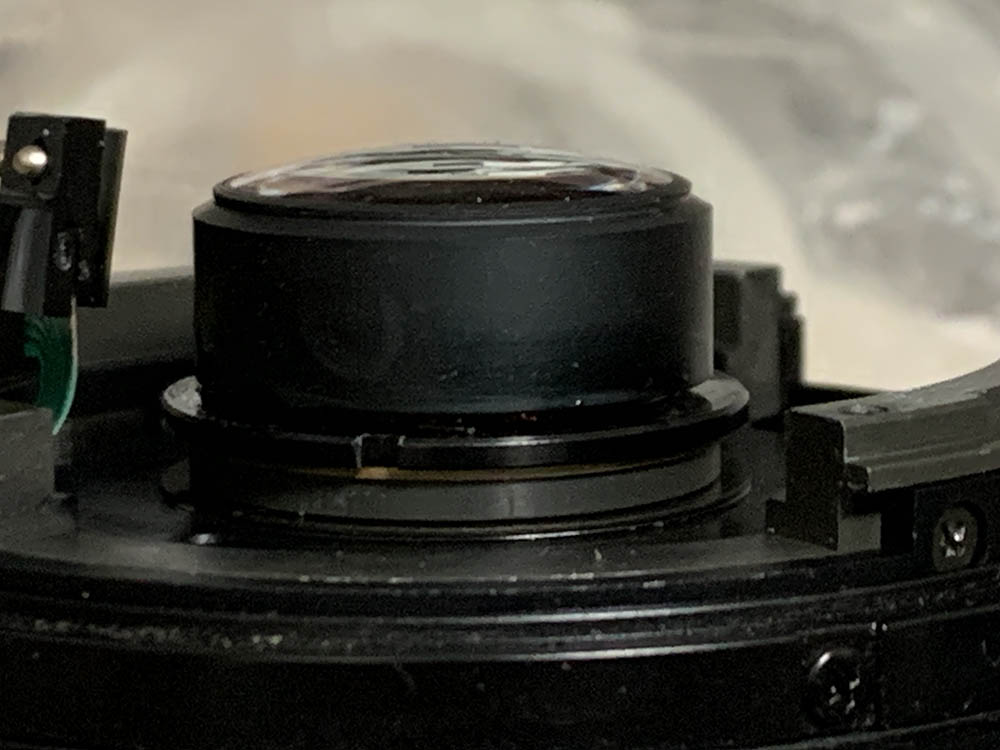
Unscrew the rear element’s housing so you could open it up. Don’t forget to note the direction of the 8th group so you can put it back properly later.

Unscrew the bezel with a rubber tool. It won’t come-off easily so just unscrew it until you create a clearance to allow you to wedge something under it and carefully pry it out. It will flex a bit but don’t warp it too much or it will crack.

Unscrew the retainer of the front element and extract it with a lens sucker.
Extract the 2nd element with a lens sucker.

The same goes for the 3rd element. Don’t forget to note which direction the spacer should be facing.
Clean the glass carefully. If your lens has fungus, read my article on how to clean lens fungus. Do not use the solution at full-strength, thin it with distilled water. Don’t soak the elements in the solution for too long or it will dissolve the coatings. The cemented group is fragile so handle it with a lot of care.

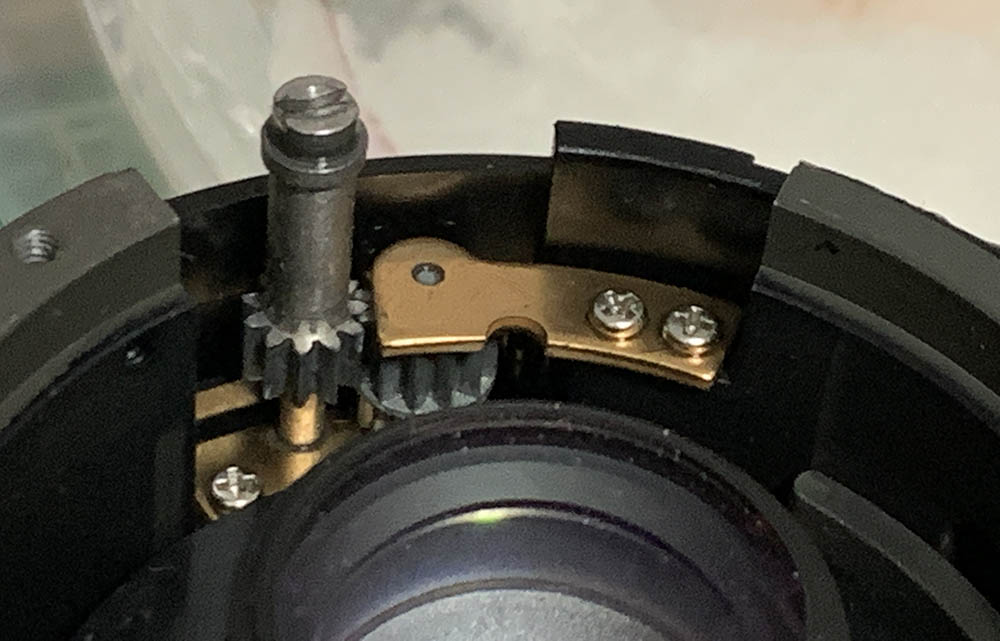
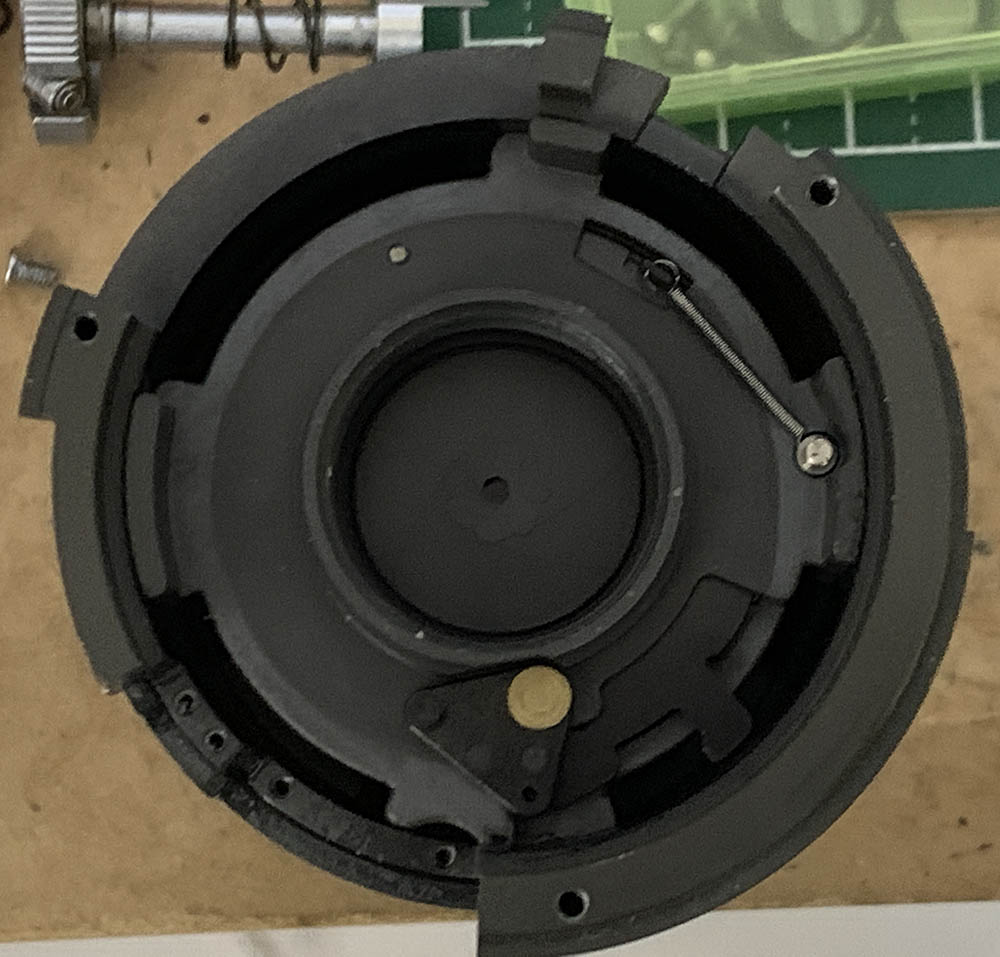
You will have to remove this circlip in order to remove the regulator. Never warp this or it will affect how the regulator turns, making it stiff.
Remove the regulator and be sure to know how things were attached to it such as the regulator arm.
Extract the screws of this collar to remove it from the barrel. Avoid extracting the one that’s near the spring, it secures it, preventing the spring from getting loose.

The distance brush can be removed, it’s merely held by a strip of tape. Note its original position because you’ll need to put it back exactly like how you found it. This will save you some time adjusting it later.
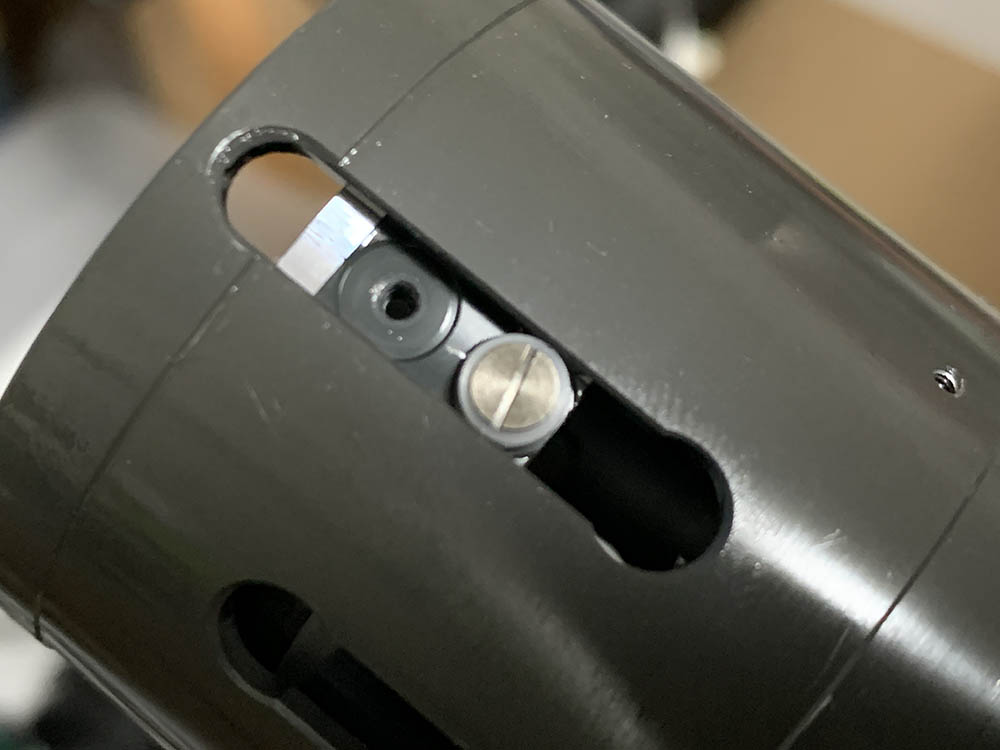
Take photos of these before you remove it. These blocks adjust the rear-focus, there’s another one found at the opposite side. They’re secured with lacquer so soften the seals first before you extract their screws.
The blocks are adjustable so note their positions.
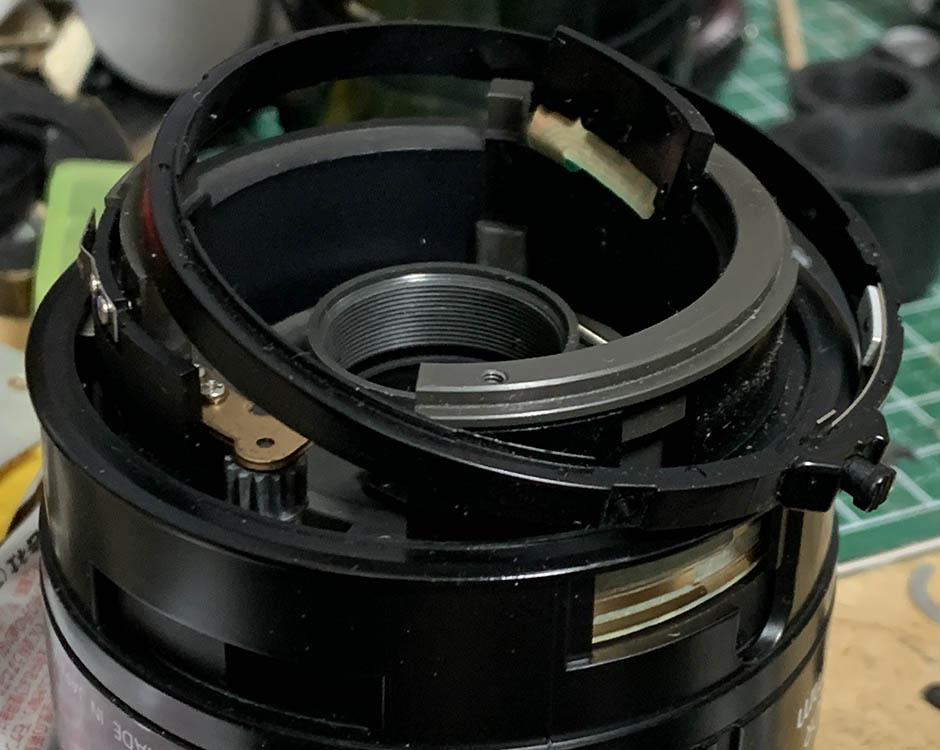
Extract these to remove the zoom-ring. This thing couples the zoom-ring to the zoom-cam inside of the barrel.
Carefully remove the zoom-ring and be sure not to lose this thin shim.

The front barrel is a tricky to remove. Locate the notch at the lip of the front optics assembly’s housing, align it with the infinity sign and carefully press the barrel to warp it, this will allow you to remove it. Visible here is a tab that slides within its rails and you should align it with the infinity mark to allow the barrel to warp. This is nervous to perform but it won’t crack. There’s another tab found at the other side.

Separate the helicoids. Don’t forget to note where these separated, this is also the same spot where they mesh. People forget to do this and waste a lot of time later figuring how to put these back. To help prevent this from happening to you, read my article on how to work with helicoids.

Extract these to remove the focusing barrel.

Removing it will allow you to take this while mechanism off from the rest of the barrel.

You can dismantle it further like what you see here.

This hole isn’t for removing this roller, you use it for making fine adjustments.
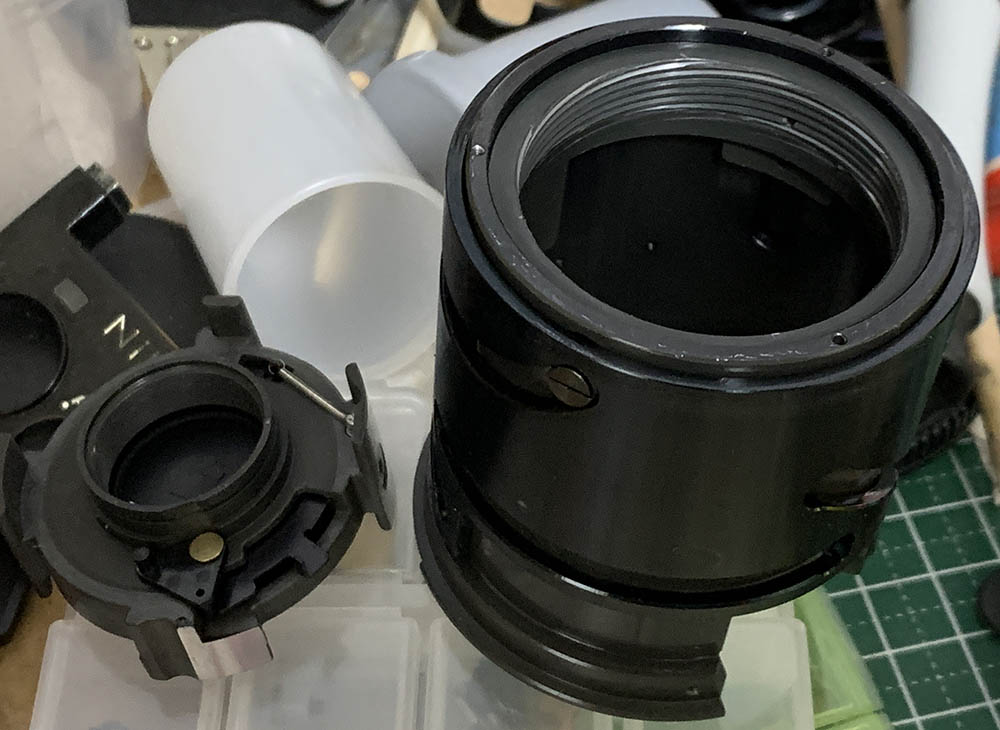
You can now remove the outer barrel.
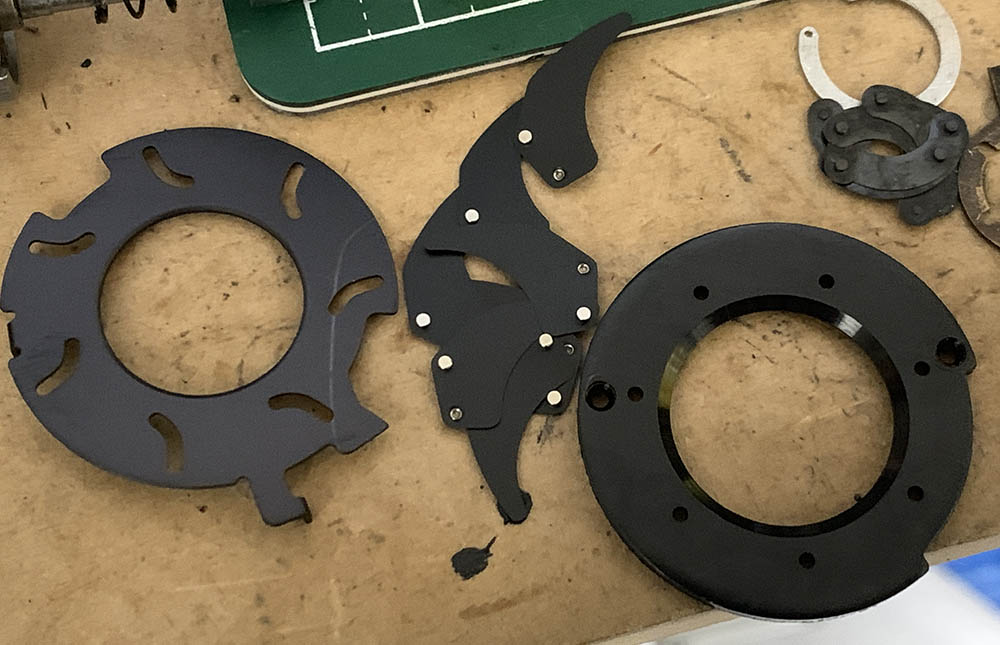
Now is a good time to study how the internal mechanisms work. Take plenty of notes before you remove any of the parts here so you’ll know how to put them back properly.

Carefully extract these rollers at either side to remove the floating mechanism. Make sure to note which roller came from which part because not all rollers in this lens are identical.
Pull it off from the bottom of the inner barrel to remove it.

Extract these to remove outer cam.

Carefully remove it but don’t forget to note its alignment.
These rollers secure the floating base of the helicoid.

Carefully remove this and clean everything properly.
You can now safely remove the inner group.
Decouple the spring to prevent it from being misplaced.

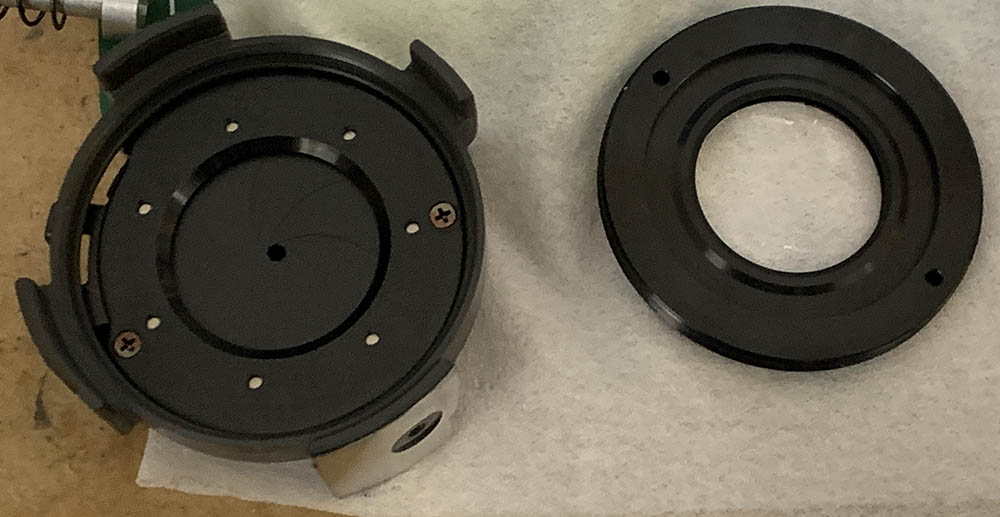
Extract these to dismantle the iris mechanism.

You can now dismantle the iris to give it a proper overhaul.
Clean the iris mechanism properly and be sure that it’s dry. Only handle the blades by their pins so you won’t warp the blades. They were wiped with naphtha and lens tissue.
Clean everything well and never leave residue. Avoid applying too much grease since autofocus lenses do not requite a lot of lubrication to operate smoothly. Even the helicoids won’t need much. All of the metal-to-metal contact surfaces will require a very thin film of grease, so thin that it’s almost nothing.
Clean the glass carefully. If your lens has fungus, read my article on how to clean lens fungus. Don’t use the solution at full-strength, thin it with distilled water. Don’t soak the elements in the solution for too long or it will dissolve the coatings.
Conclusion:
This should not have taken a long time so choose your lens carefully, I wouldn’t have known what’s going on with it if I didn’t open it up. It took me a considerable amount of time just to correct what the previous guy did and I wished I skipped this one. Having said that, it’s a good opportunity for me to present a complete article for you.

The iris is now clean and dry, ready to be reinstalled.
The easiest way to put it back to its housing is to rest the iris mechanism on a small cup and lower the housing down.

This is how the inner barrel looks like after the overhaul, it’s not so oily anymore. It’s a precise mechanism, it will operate fine without a lot of lubrication.
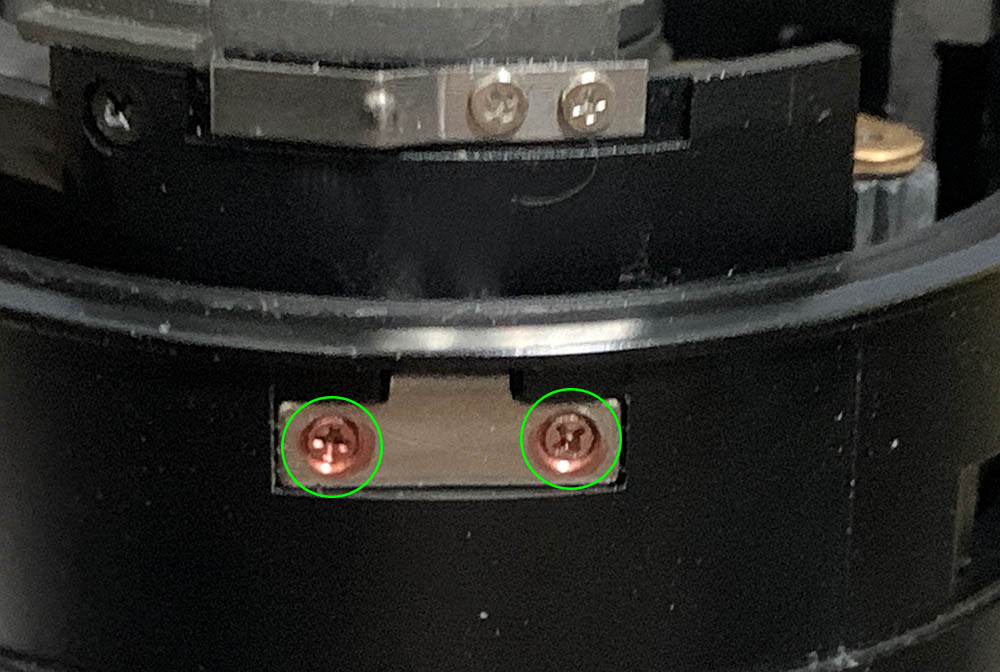
Reassemble everything but keep the bezel off so you could adjust its focus. Backtrack your steps, always check with your notes so you’ll know that your doing it right.

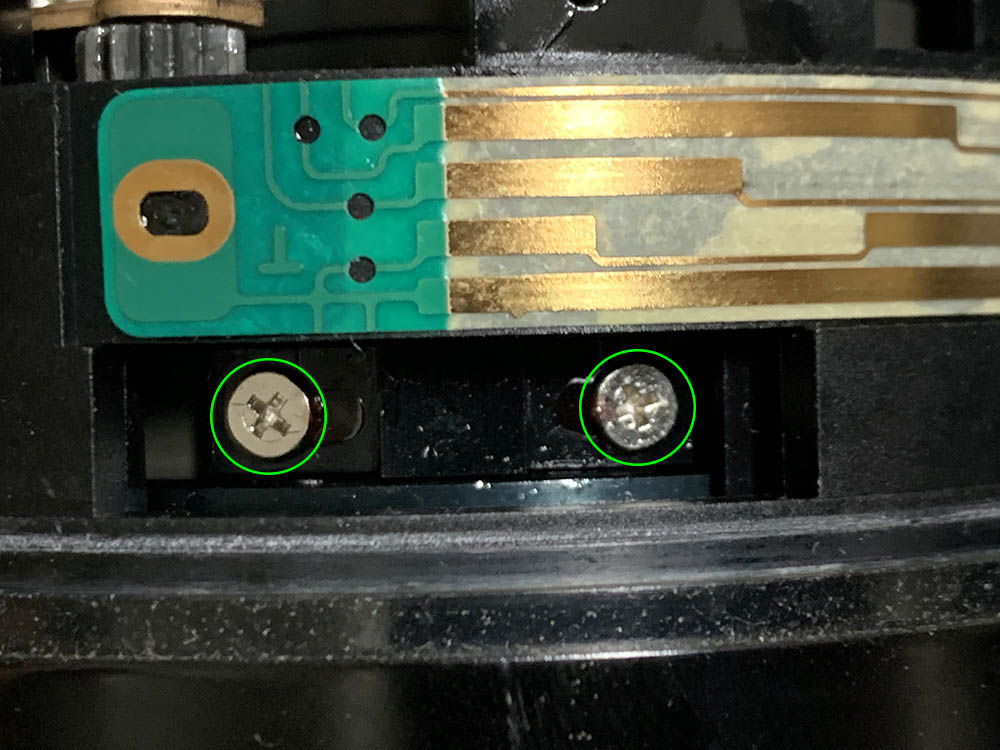
If you need to adjust its focus simply loosen these and turn the front optics assembly. Tighten them when you are satisfied with the results. Read my article on how to adjust a lens’ focus to know how it’s done under a DIY setting using tools that are readily-available.
That is all for this lens. It’s rare to find articles detailing a complete teardown of an obscure lens but here it is. Nobody’s talking about this but we celebrate it here in this blog because every Nikkor is special.
Thanks for following my work, if you liked this article please share this with your friends so it will get more views. This site earns around $0.50 a day, it’s totally reliant on views. You can also support this site, it helps me offset the cost of maintenance and hosting. You are also helping me purchase, process and scan film. This site promotes the use of film so we’re all in this together. See you again in the next article, Ric.
Help Support this Blog:
Maintaining this requires resources and a lot of time. If you think that it has helped you or you want to show your support by helping with the site’s upkeep, you can make a small donation to my paypal.com account at richardHaw888@gmail.com. Money isn’t my prime motivation for this blog and I believe that I have enough to run this but you can help me make this site (and the companion facebook page) grow.
Buy me a roll of film or a burger?
Thank you very much for your continued support!
$2.00
Helping support this site will ensure that this will be kept going as long as I have the time and energy for this. I would appreciate it if you just leave out your name or details like your country’s name or other information so that the donations will totally be anonymous. This is a labor of love and I intend to keep it that way for as long as I can. Ric.

Jan 30, 2021 @ 00:19:35
I did not know this lens existed, great review 🙂