
Hello, everybody! I was watching some old pre-war clips, I did that to learn more about how it was back then, How we used to behave and think, what people did or ate, things of that nature. I am always fascinated by how much we have changed throughout the decades. Our standards are a lot more different today, what was deemed acceptable then is now taboo and what was cool is now treated as novelty by the majority. Today, I will show you something that used to be cutting-edge for its time but is now considered a relic of a bygone era. Despite not being relevant anymore I think it is still worth studying it so we will appreciate how fare we’ve gone since the early days of SLR photography.
Introduction:
The Zoom-Nikkor 85-250mm f/4 Auto is the successor to the legendary Zoom-Nikkor 8.5-25cm f/4-4.5 Auto, that lens is the first Japanese-made zoom and the 2nd one ever-made for the 35mm format. That’s a historically-significant lens but Nikon thought it could be better so this one was made. It was sold from 1969 to 1973, a short period compared to the older Zoom-Nikkor 8.5-25cm f/4-4.5 Auto which was sold from 1959 to 1969. It’s obvious that the Zoom-Nikkor 80-200mm f/4.5 Auto that’s introduced in 1969 is the more practical model so its production was halted. The Zoom-Nikkor 80-200mm f/4.5 Auto is smaller, lighter and cheaper to produce, I don’t think there’s any way you could argue with that.

The combined focusing-and-zoom barrel is handy because you could operate it with one-hand. This is what I’d call a “pumper-zoom”, I like this setup when shooting with manual-zooms specially for taking action photos. It needs some time to get used to if you’ve never used one. A Nikon Df is great for shooting with it since you can use pre-Ai lenses with it.
It has a complicated 16-elements-in-9-groups design, a bit more complex compared to its predecessor. It’s obviously difficult to manufacture since the individual elements are huge, the many cemented groups made it time-consuming, too. This was necessary in order to give it a fixed-aperture, something that the older lens do not have. With that, you could meter with this more accurately and you don’t have to worry about adjusting the exposure depending on which focal-length the lens is set. That’s a big convenience in the days when people did exposure calculations manually in their heads or with the aid of early coupled-exposure meters.
It won’t focus close since the closest-distance is a paltry 13ft, I guess this is the limitation of the design. This makes it a lot less useful for taking detail-shots of things but is sufficient for portraiture and sports.

The markings are beautiful and informative. The depth-of-field and distance sales looks lovely, you’ll also see numbers indicating which focal-length the zoom is at, too. Handling is kind of awkward due to its size, you’re going to get exhausted just operating the combined focusing-and-zoom barrel because it’s situated further towards the front. Focusing with this isn’t also fun since the focus-throw is rather long, you’ll miss a couple of shots just because you’ll find yourself focusing-pass your subjects frequently. You will need special focusing-screens, ones that work-best with longer lenses, too. A Nikon F90 isn’t the best camera for it, you will want a Nikon F or better yet, a Nikon F2 when shooting with one because they could meter with pre-Ai lenses and the focusing screens are interchangeable.
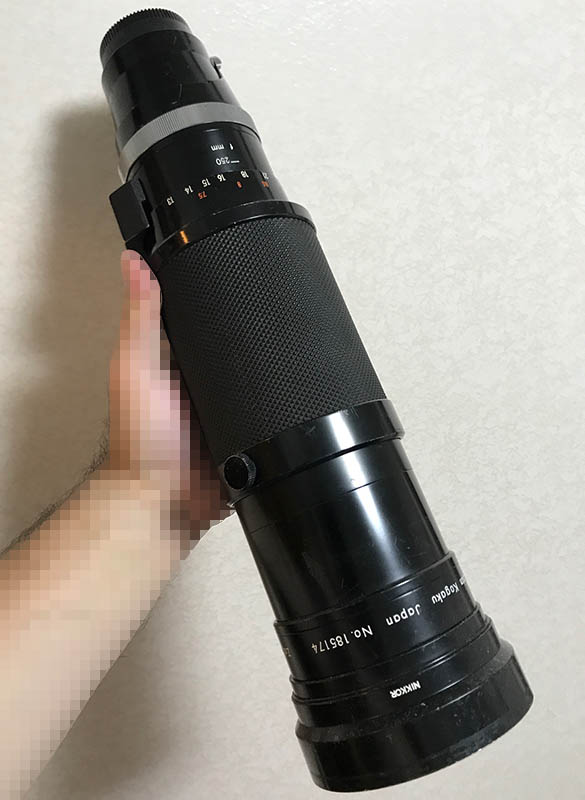
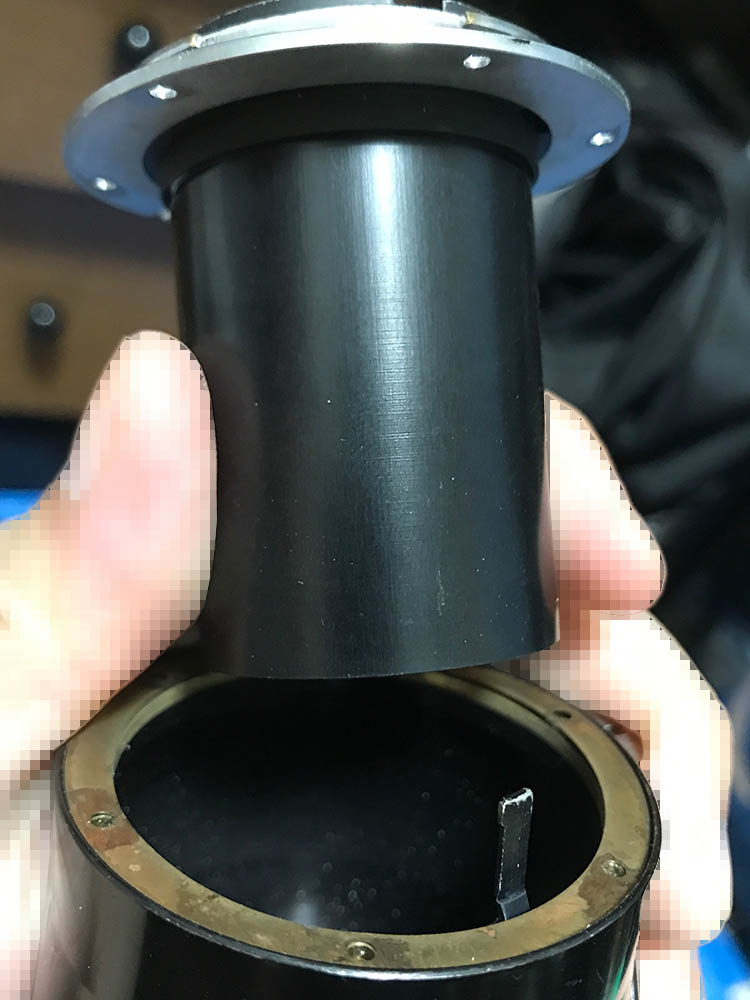
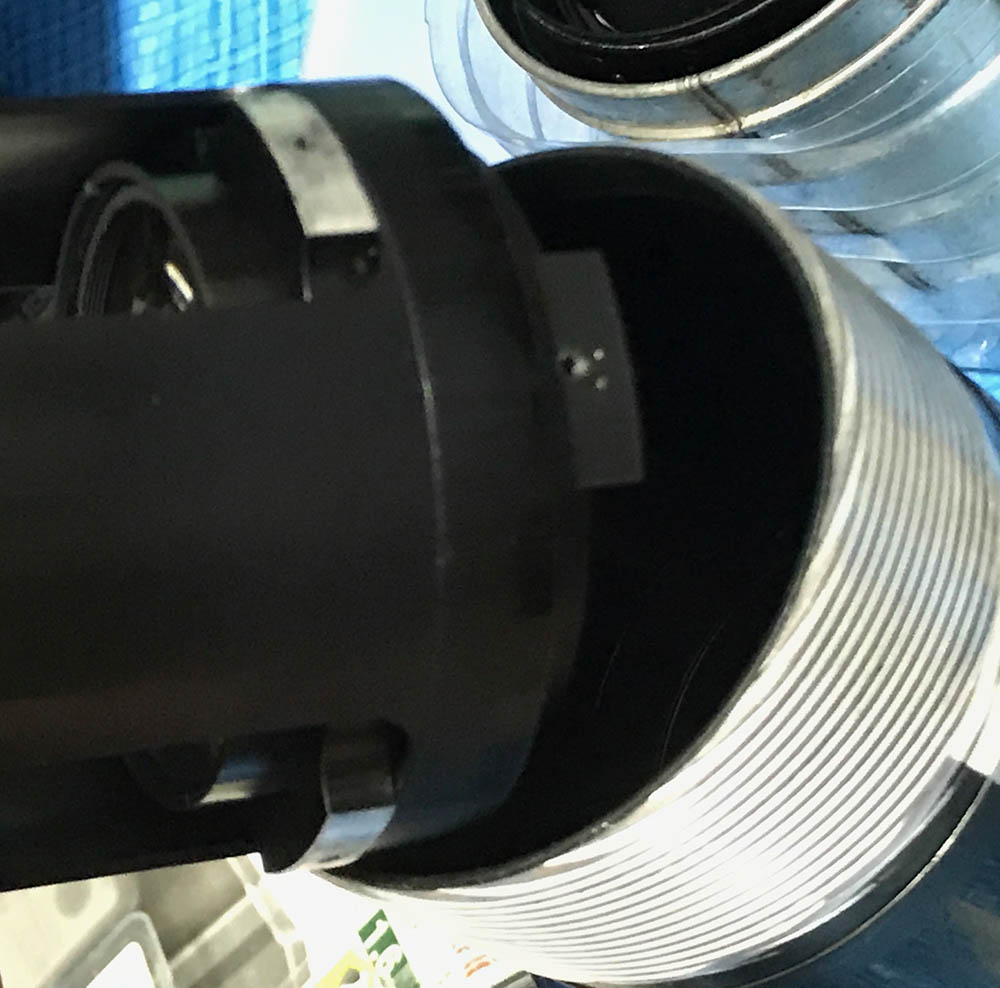
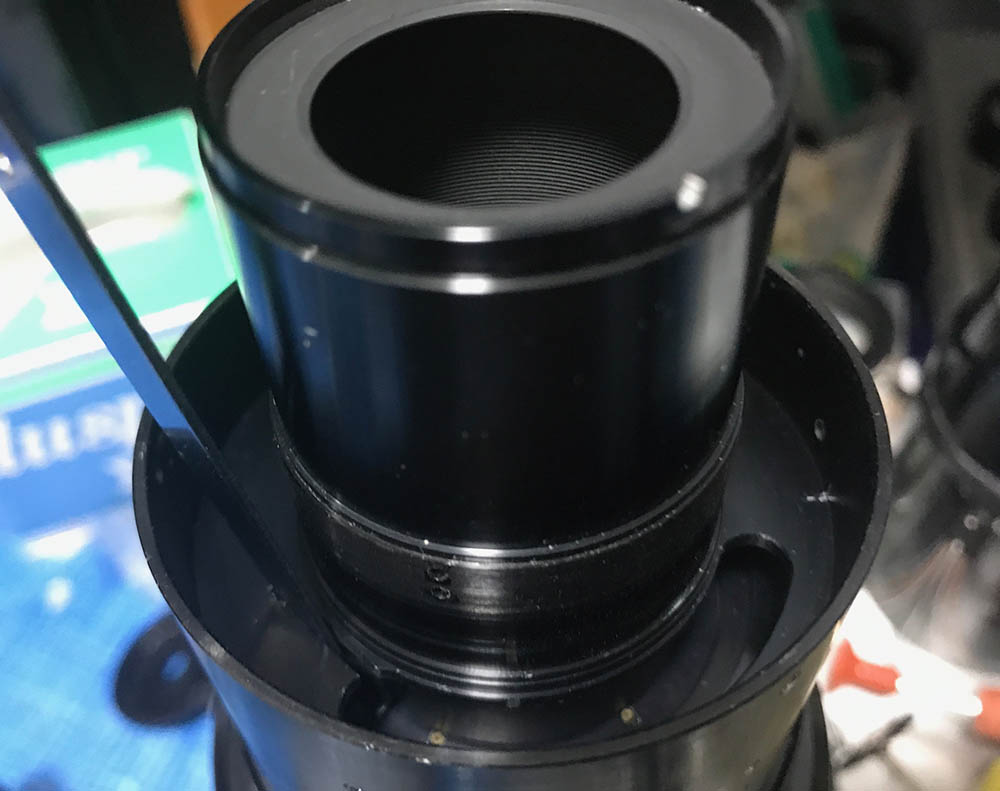
This is how it looks like when zoomed to its long-end. There is a dial for locking the barrel so it won’t turn. It’s a very heavy lens, holding one even without a camera will strain your arms. You’ll need a caddy for this if you could afford one. Also visible here is its special hood which is very helpful, it has an 82mm filter, it’s huge for its time as far as Nikkors as concerned so you buy special filters for it.

The Zoom-Nikkor 50-300mm f/4.5 Auto is just as big. Bringing these to a shoot will certainly hurt your back, I’m sure of it because I did that, it ripped the zippers of my backpack. The lens alone weigh around 2kg, it felt like I was carrying 2 Nikon D700 bodies or maybe even more. It would’ve been nice if it has attachment for straps so you could carry your whole setup without much stress to the camera body.
Learning how your lens performs is key to maximizing it, you’ll learn how to use its strengths and avoid its weaknesses. This knowledge helps in determining which lens to bring on an assignment. I shot these from f/4, f/5.6 and f/8 because these are the most common apertures that people would want to use this and we’ll see the most changes happen with these values. These photos were shot with my Nikon Df, some of the photos were cropped close to 1:1 magnification so we can see the details better.


(Click to enlarge)
You’ll get some strong barrel-type distortion profile at 85mm, this gets a lot shallower by 135mm. It turns into a slight pincushion-type profile by 250mm. Be mindful of this if you need to keep your lines straight.


(Click to enlarge)
Vignetting is heaviest at 250mm wide-open but the rest of the focal-range aren’t any better either. Shooting from f/5.6 helps a lot in alleviating this and you’ll only see traces of it by f/8. This isn’t bad in real-world scenarios but you should at least shoot at f/5.6 just to be safe if this bothers you.


(Click to enlarge)
As expected from a zoom of this vintage it performs poorly when it comes to resisting flare and internal-reflections. It’s ugly but I am sure that someone will have a creative use for this.


(Click to enlarge)
If you don’t have the Sun in your frame it appears to perform from poor-to-average in my opinion. Using the hood is a good idea but it won’t be useful in this kind of situation. The good thing is the effect is localized in this example and it won’t cover your whole frame.


(Click to enlarge)
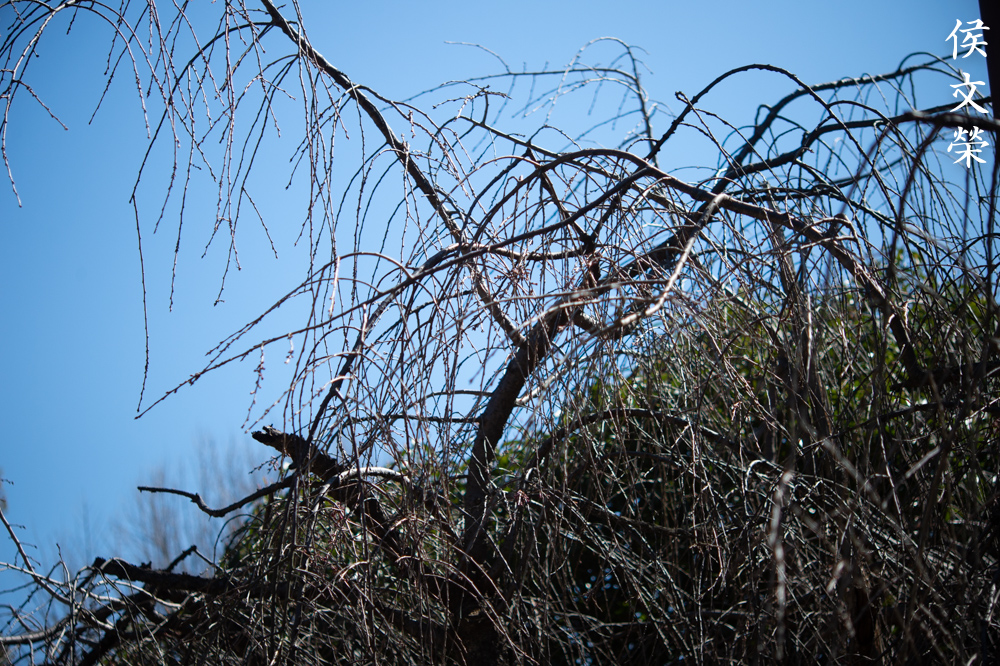
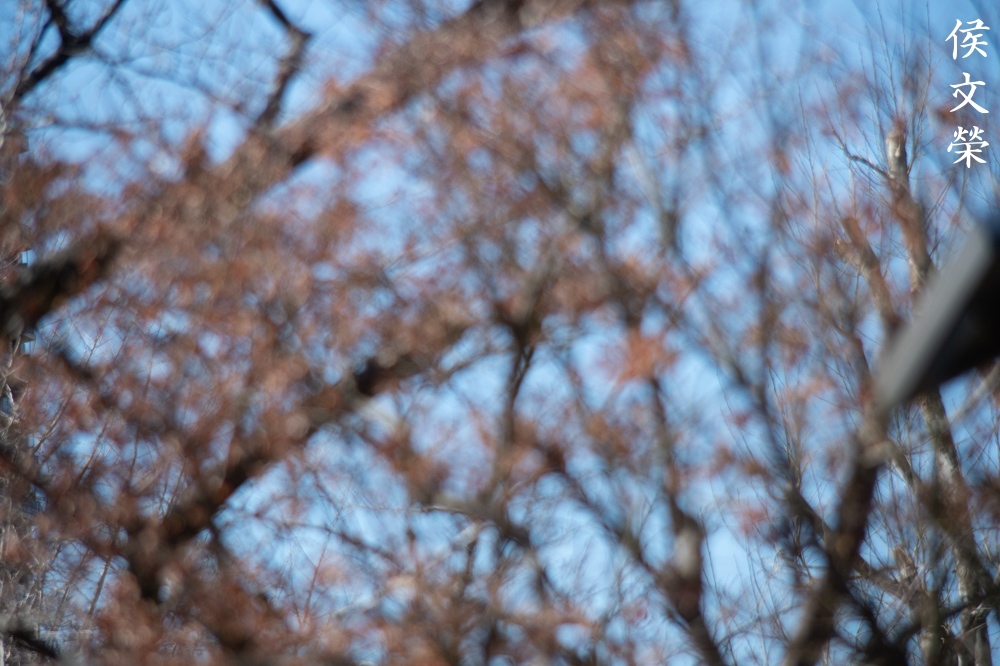
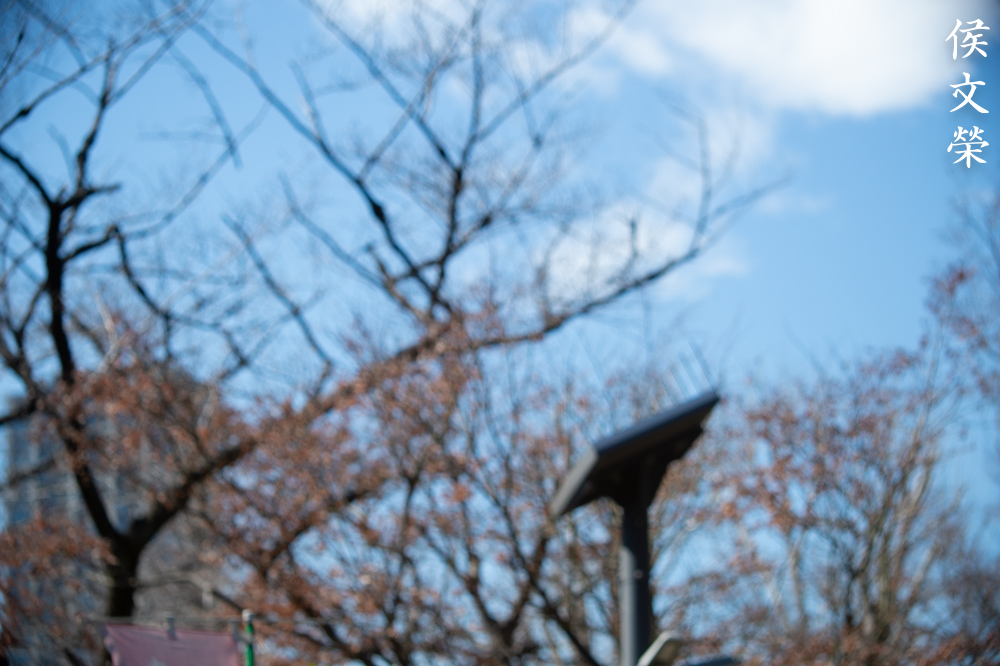
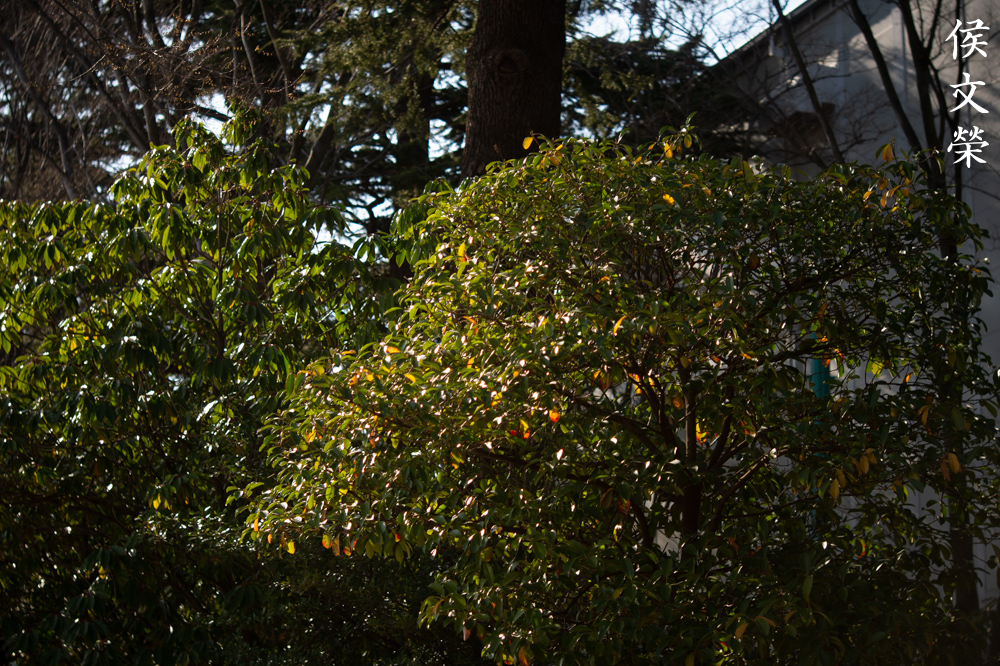
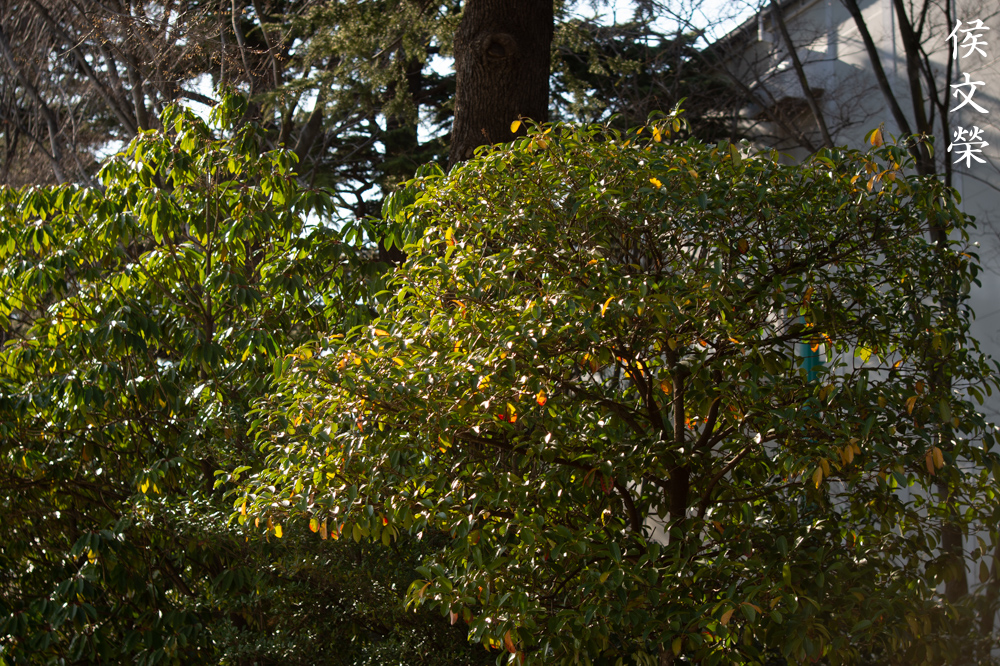
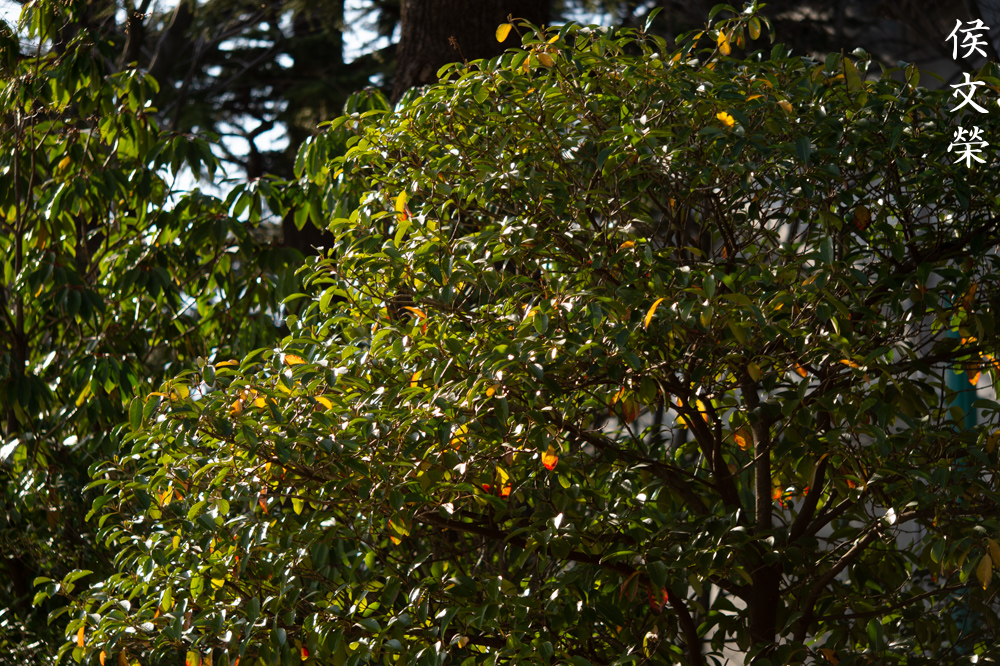
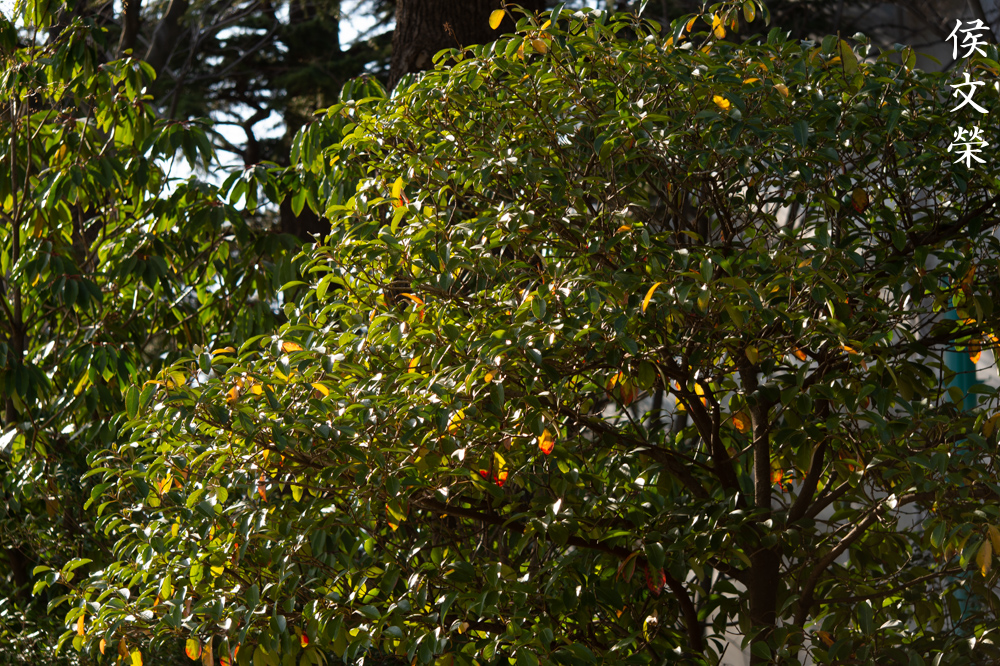
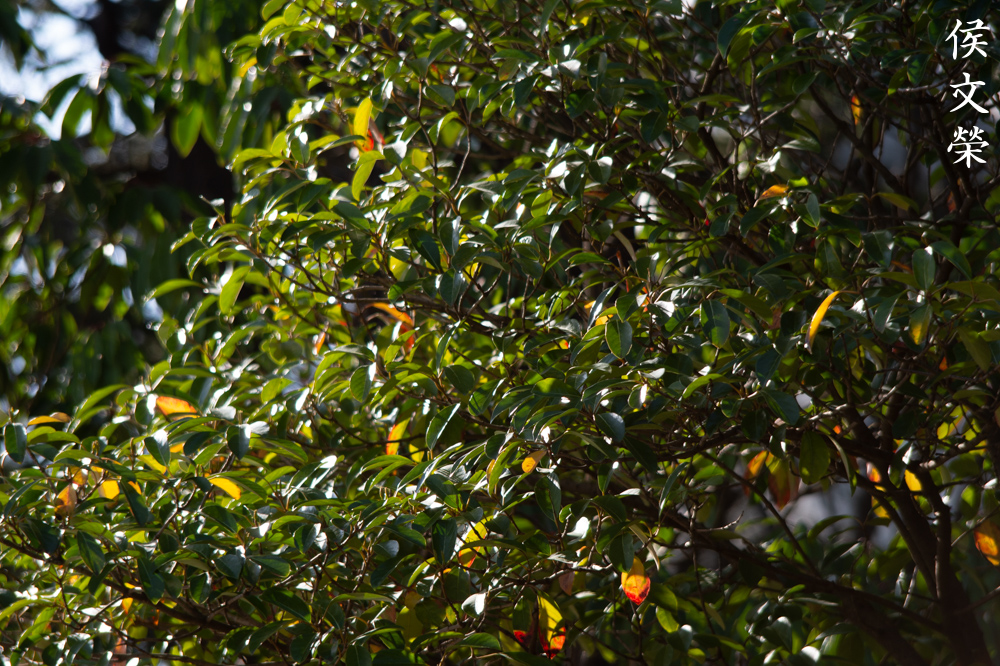
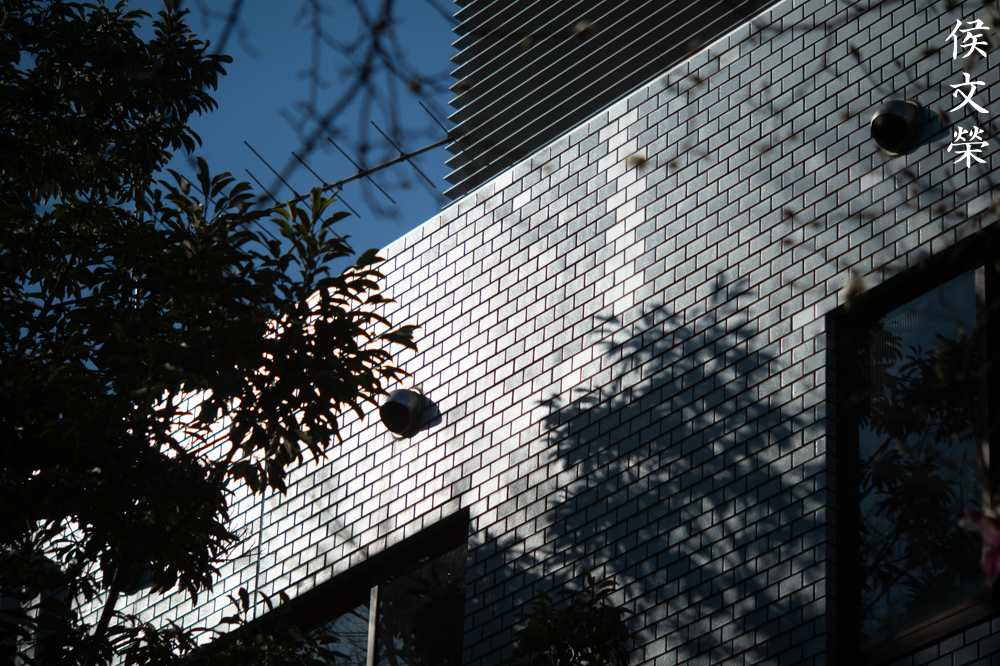
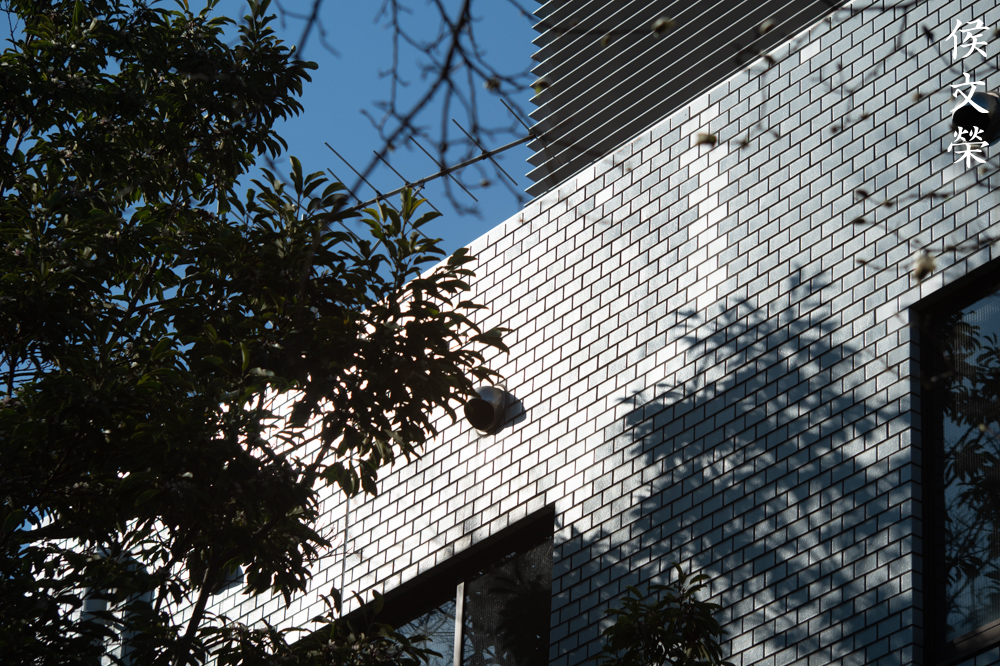
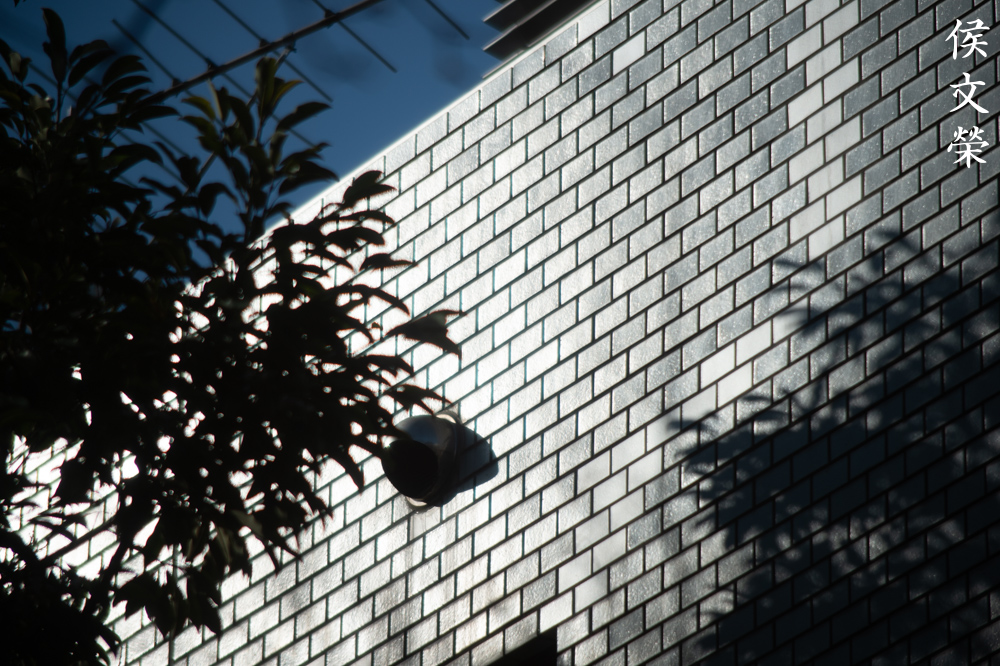
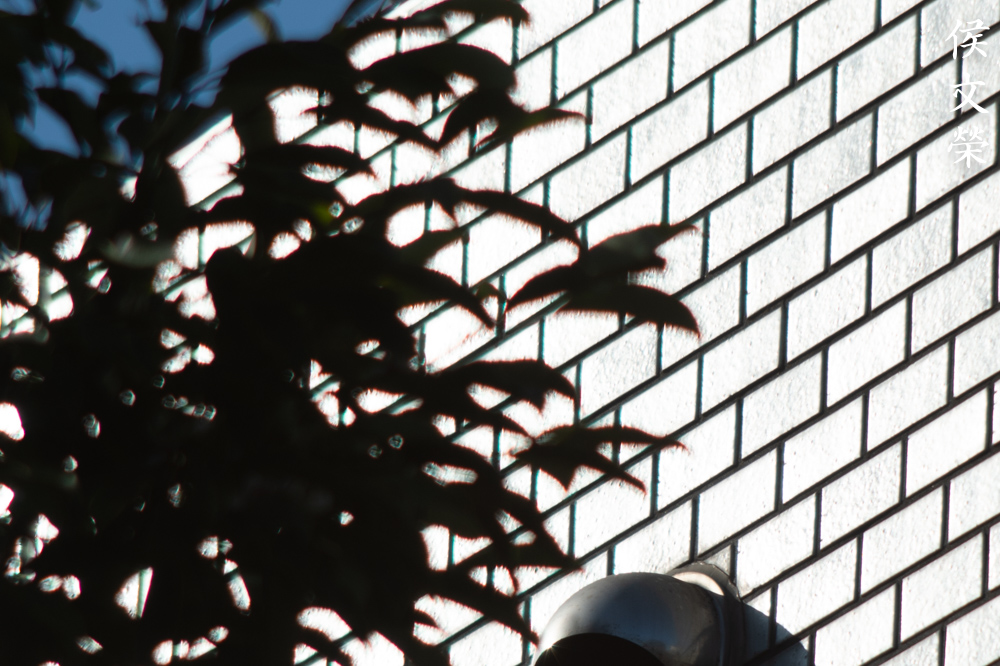
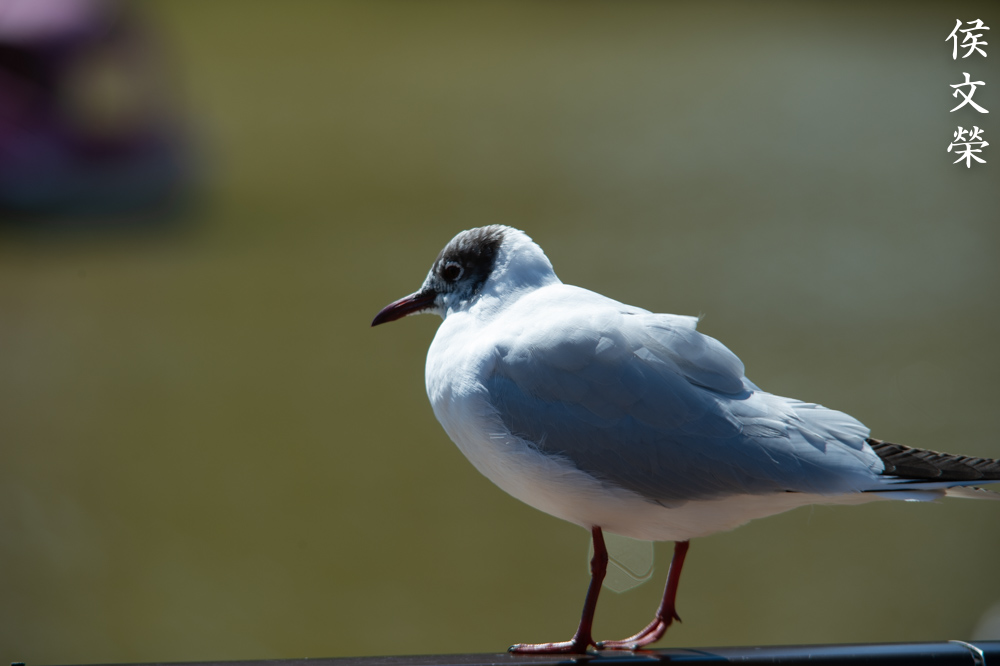
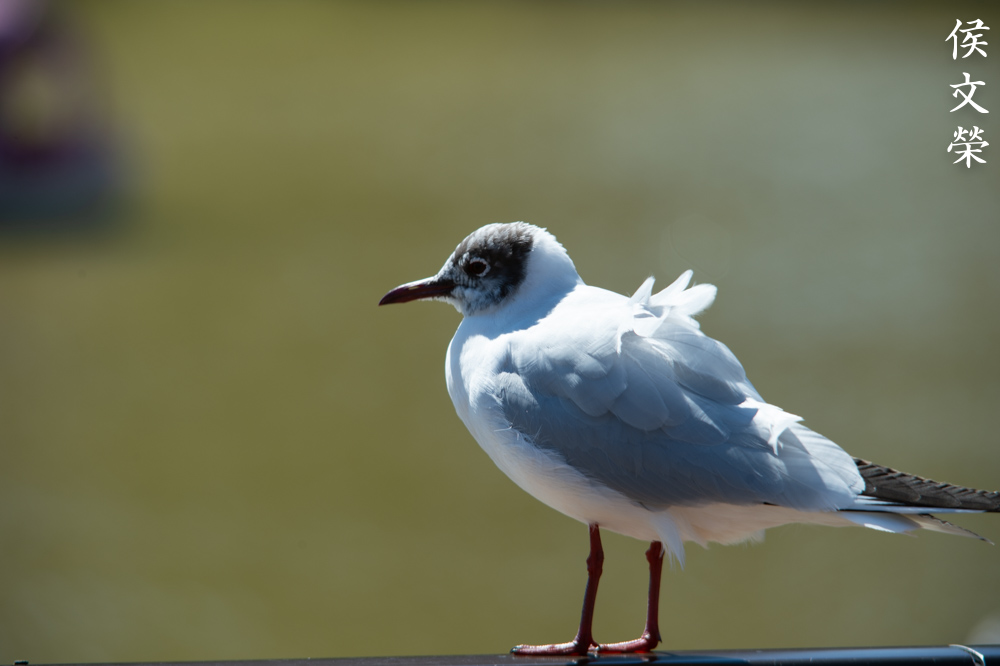
The character of the bokeh appears to be barely-mediocre at best to ugly at worst. This is where I was expecting this to perform decently but I guess this was what the engineers could offer back in its day. Avoid backgrounds with twigs and foliage or anything that has high-frequency details and lines when using this.


(Click to enlarge)
Chromatic aberration is quite pronounced wide-open in severe situations, more than what I would tolerate. It gets a lot better by f/5.6 but you’ll still get to see a lot of it. You’ll still see some by f/8 in terrible cases. Spherical aberration is not controlled well when shooting wide-open and you’ll get to see it even by f/5.6 but the effect is rather “pleasant” since it helps create a “dreamy” look if this is what you’re after.
The good news is it doesn’t seem to be so bad on average cases, I could even say that it’s not an issue at all when you don’t have anything that could trigger these even when shooting wide-open. It’s worst at 250mm where this performs at its poorest but this will depend on the situation.


(Click to enlarge)
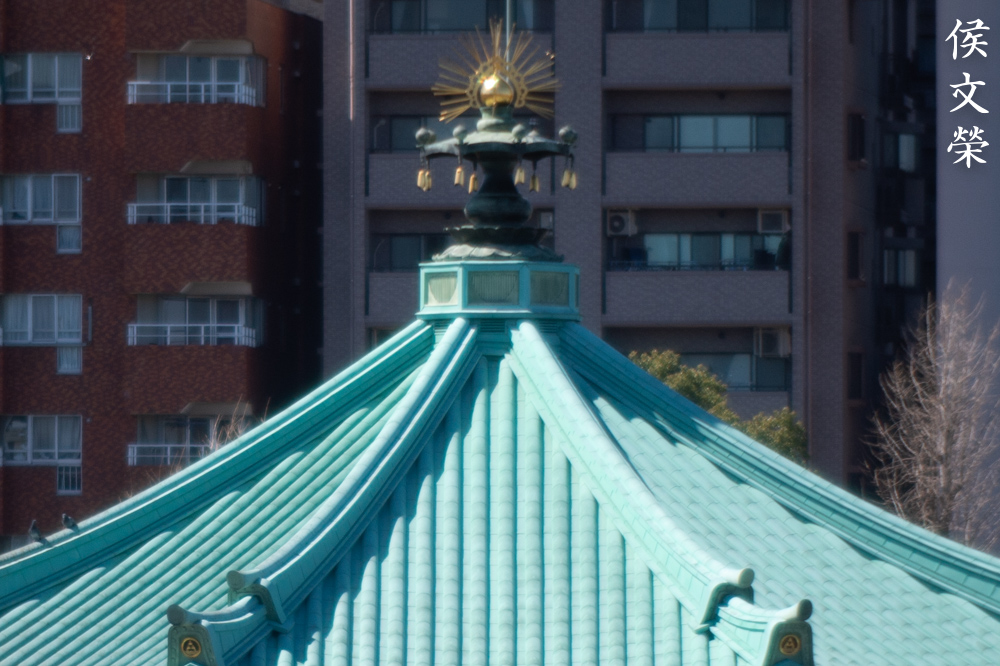
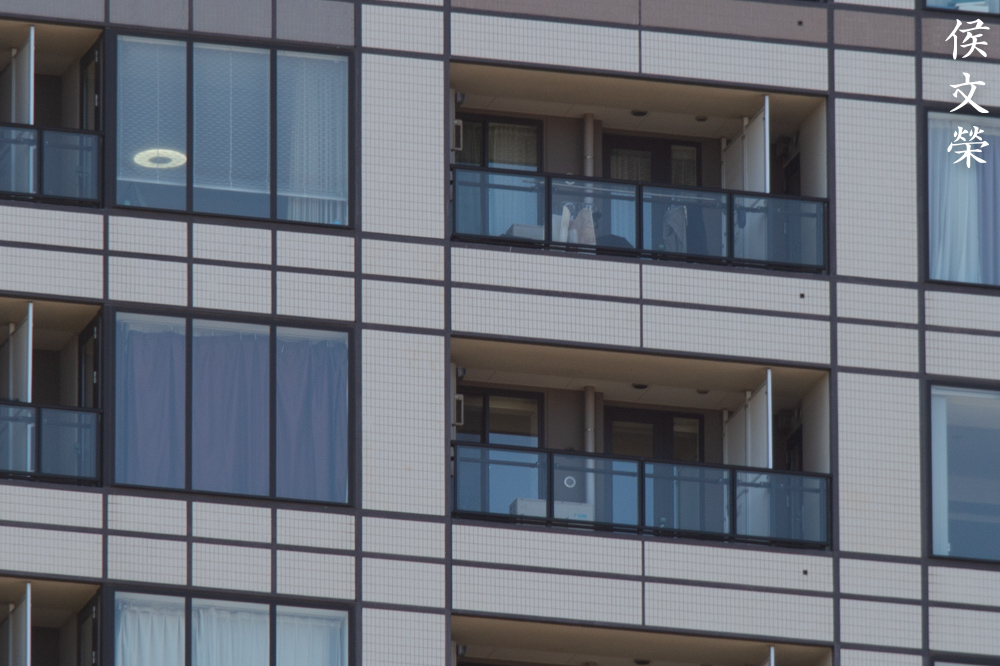
It appears to be rather sharp for a zoom of this vintage even when shooting wide-open but the performance suffers at 250mm. It appears to perform a lot better as you get closer to infinity which hints that this was designed to be used for shooting distant objects. Most of what’s making the photos look soft here is due to the optical aberrations present, it’s giving us subdued contrast and poor sharpness. Resolution seems to be adequate, good-enough for newspaper prints of that time. Shooting at f/5.6 will help clean most of the spherical aberration so you’ll get sharper centers, resolution improves by a step, too. This helps in rendering details better, you’ll get sharper edges and better contrast when using this from f/5.6 and smaller. You’ll see the most improvement at 250mm but it’s still not as good compared to the wider focal-lengths. You’ll still see some residual spherical aberration which could subdue the contrast somewhat even at this aperture but you could use this to your advantage when shooting portraits. The center looks a lot nicer at f/8 and you will also notice a nice jump in resolution, this is most apparent at 250mm. Most, if not all of the optical aberrations are now gone so you’ll end-up with something decent by today’s standards.
I don’t think that this lens is useless at all judging from what we see here, just be sure to shoot with it from f/5.6 when possible and from f/8 when shooting at 250mm. My lens performs a lot better when shooting at distant objects about 20m or greater. I guess that this lens was calculated to be used at this distance for sports or other similar things.


(Click to enlarge)
These are examples that were shot at 250mm, It performs poorly at larger apertures but it’s quite decent by f/8 for its time. The lack of resolution is the biggest issue that I have with it at 250mm even when shooting at smaller apertures. I also do not like the fact that I’m still seeing traces of optical aberrations, too. There is a weird line at the disc, this may be caused by balsam separation in one of the elements.
You could use the excessive amounts of astigmatism and spherical aberration when shooting at 250mm wide-open. It’s great if you want to create a “dream-like” look that’s characteristic of older greeting-cards that I used to give to chicks I liked when I was younger along with some flowers, I was quite the debonair back then. In case you are wondering, this was shot at its minimum-distance of 13ft, it’s rather useless and it performs poorly at this distance.

For fans of the “vintage-look” this lens will give you more than what you bargained for, the character of the bokeh isn’t something that I like and the low-contrast and optical aberrations make this photo look “dated”. It does give it a look that I think makes it a bit more charming.

Saturation is a bit subdued and the color-cast is somewhat bluish. This ironically enables this to shoot higher-contrast photos when using black-and-white film but it’s useless for taking color photos.
This is how it looks when shooting wide-open. Not something that I would advocate for but it does add another layer of complexity to your photos.


(Click to enlarge)
Well, I liked the photos that I took with it, I was just hoping that I’d get the chance to shoot with a proper subject with it so I could demonstrate how to use its outdated-look creatively. This is not something that will appeal to everybody but I am sure that it will attract a portion of our readers who are looking for expanded creative potential.
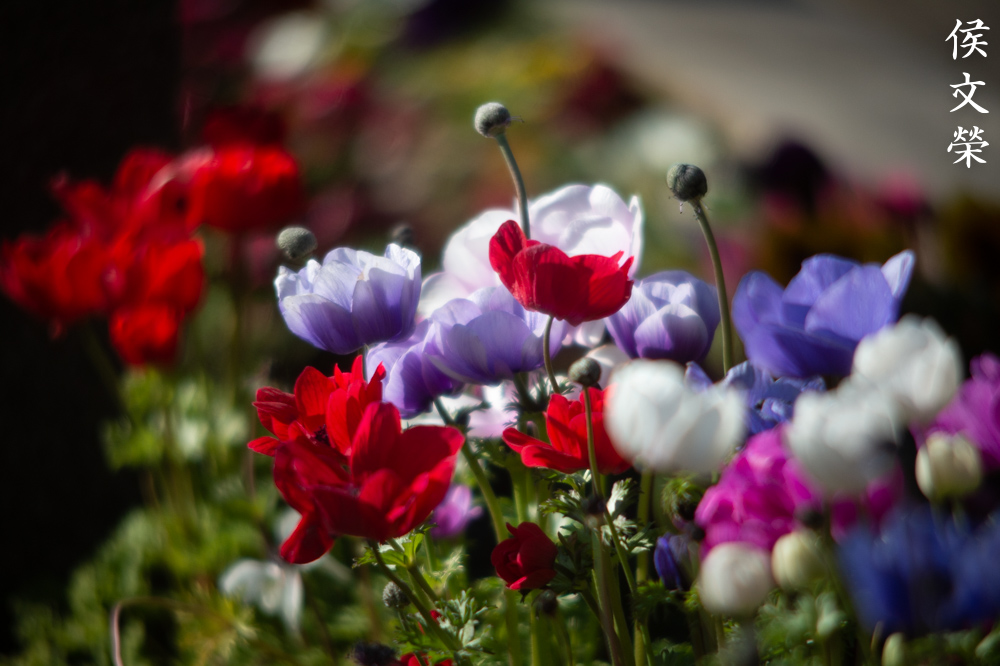
Let’s now check some film photos. Film has a unique look that is hard to simulate with a digital camera thanks to grain. It reacts differently to light, this means that it could mask a lens’ flaws or amplify them. Since this was designed to be used with film, it’s best that we judge this using its intended medium. Most of these were taken at around f/4.

Areas with overblown highlights will appear to “glow” thanks to spherical aberration, with this lens it appears more with skin than anything for some reasons.

This appears to be reasonably sharp but spherical aberration certainly made this look worse. Maybe I should have shot this with a smaller aperture instead.

This one looks like it was shot at a smaller apertures, maybe at f/8. This looks quite acceptable, I’m sure it will even better with monochrome film.

This doesn’t look so bad, there are hints of chromatic aberration on her right shoulder but it isn’t obvious. The effects of chromatic aberration won’t be as apparent when shooting with film.

The character of the foreground bokeh doesn’t look pleasing here or at least it’s not blurry enough to blur the small, distracting details.

Her skin appears to be overexposed but it may also be due to the effects of spherical aberration. This doesn’t look too bad coming from one of the earliest professional zooms ever made.

I missed a couple of shots since it’s difficult to focus with it, despite the photo being acceptable it isn’t sharp. I missed my focus by a bit.


(Click to enlarge)
Despite having damaged optics I think it performed quite well when used with film. The results aren’t as good as what you’ll get with later lenses but it’s certainly quite good for its time specially considering that it used to be the only option available anywhere.
I wouldn’t recommend this to anyone other than collectors. There’s no reason to buy this or any lens from this class today since you could buy other alternatives for not a lot of money and they’re usually a lot better when it comes to performance and portability. When looking for one be sure that the barrels and rings operate and turn smoothly, the glass has to be clean and clear, too. Many of these were used by professionals so the barrels are worn. You will also want to check the bayonet mount for any deformations because it’s so heavy its weight could warp the bayonet which is made of brass. Actuate the iris with the stop-down lever and see if it’s snappy because the spring may be stressed when it’s stored with a camera for too long. Despite not being sold for long these don’t fetch a high price in the used market. You could get one for $80.00 on average, I got mine for $15.00. The one I have was sold as junk with damaged optics. These are great for display, something that will impress the curious photography fan. It’s also an important lens in Nikon’s history so it’s worth looking for one if you are a collector. Happy hunting.
Before We Begin:
If this is your first attempt at repairing I suggest that you read my previous posts regarding screws & drivers, grease and other things. Also read what I wrote about the tools that you’ll need to fix your Nikkors.
I suggest that you read these primers before you begin (for beginners):
Reading these primers should lessen the chance of ruining your lens if you are a novice. Before opening up any lens, always look for other people who have done so in Youtube or the internet. Information is scarce, vague and scattered (that is why I started this) but you can still find some information if you search carefully.
I highly recommend that you read my working with helicoids post because this is very important and getting it wrong can ruin your day. If I can force you to read this, I would. It is that important!
For more advanced topics, you can read my fungus removal post as a start. It has a lot of useful information, it will be beneficial for you to read this.
Disassembly (Lens Barrel):
Servicing the barrel is troublesome not because it’s complicated but it’s because the parts are huge and most of them were sealed at the factory, requiring applications of alcohol or heat to soften the seals. It requires several applications of solvents in order for some parts to be unscrewed safely. You’ll require special tools, big ones and custom ones, too. This is a special lens which needs special attention, it’s best suited for an expert so a beginner should stay-away from it.
Take lots of notes as you go so you’ll know how to put things back together again. Some of the things you’ll encounter here look similar so plan your steps and parts organizer so you will know the exact sequence and location of the parts that you dismantled in prior steps.

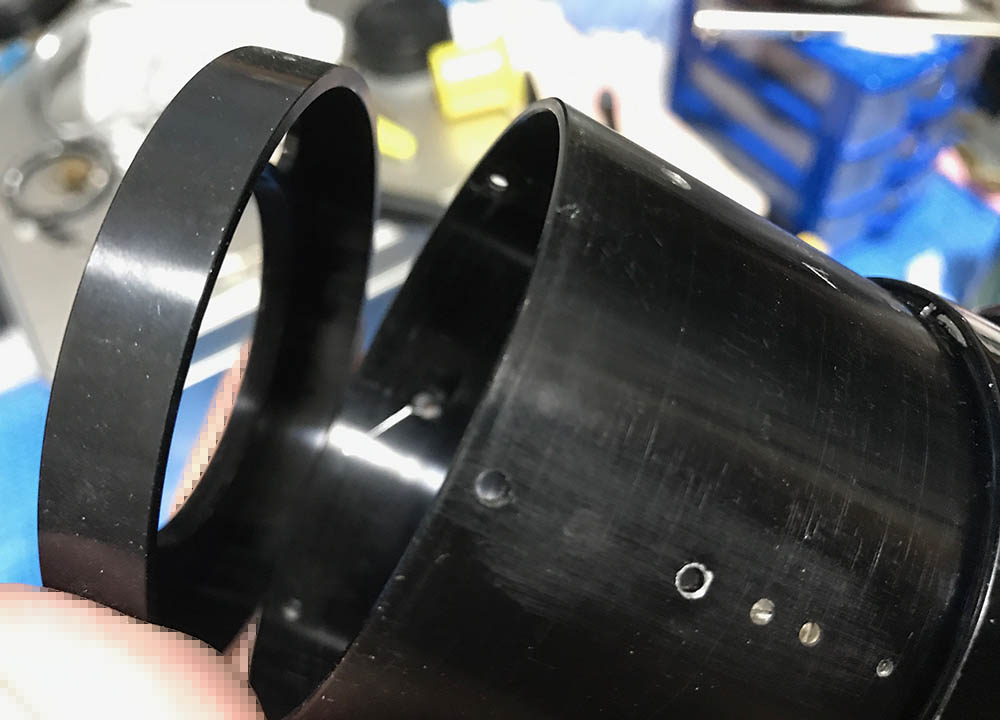
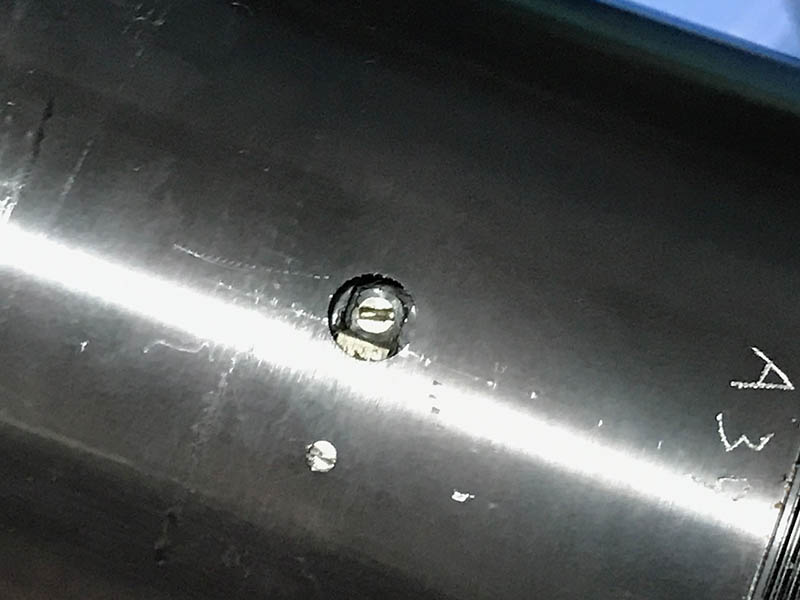
Locate and extract this. You may need to drop some acetone to it to soften the seal.

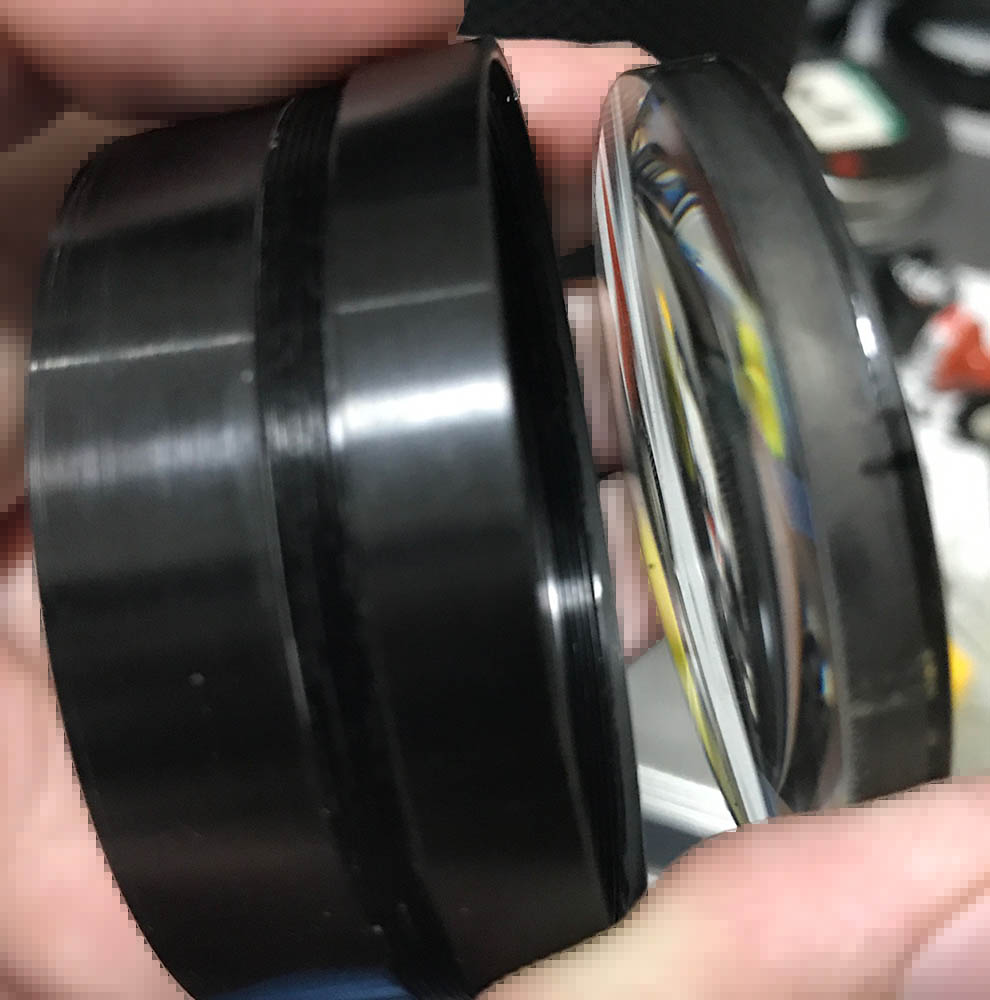
Here’s another one, this secures the front optics assembly.

Unscrew the front ring once the screw is gone.
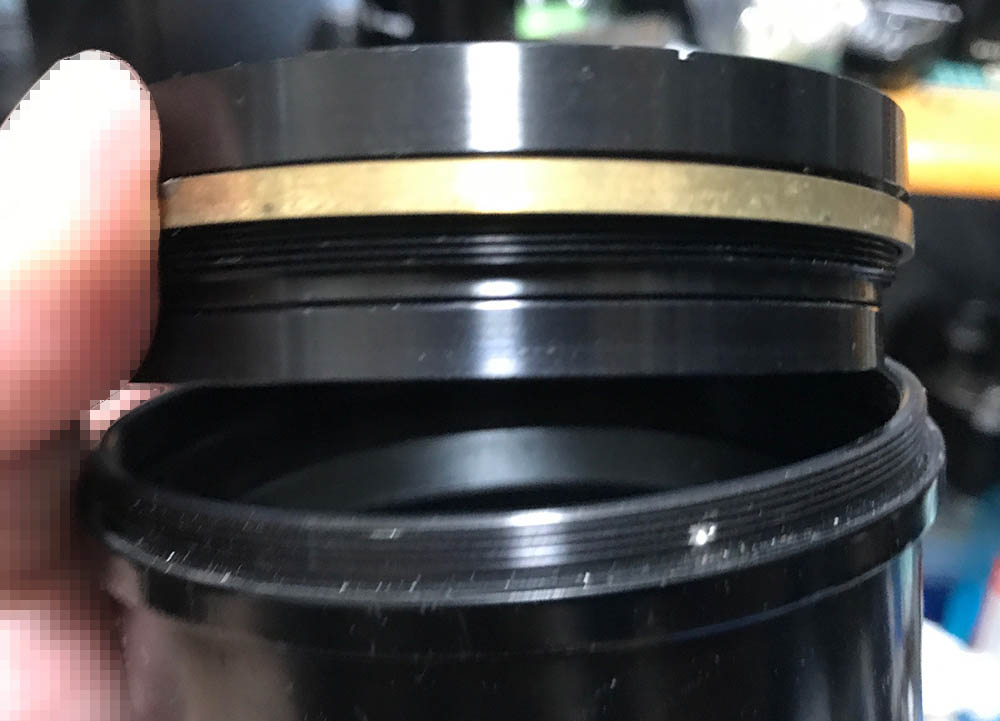
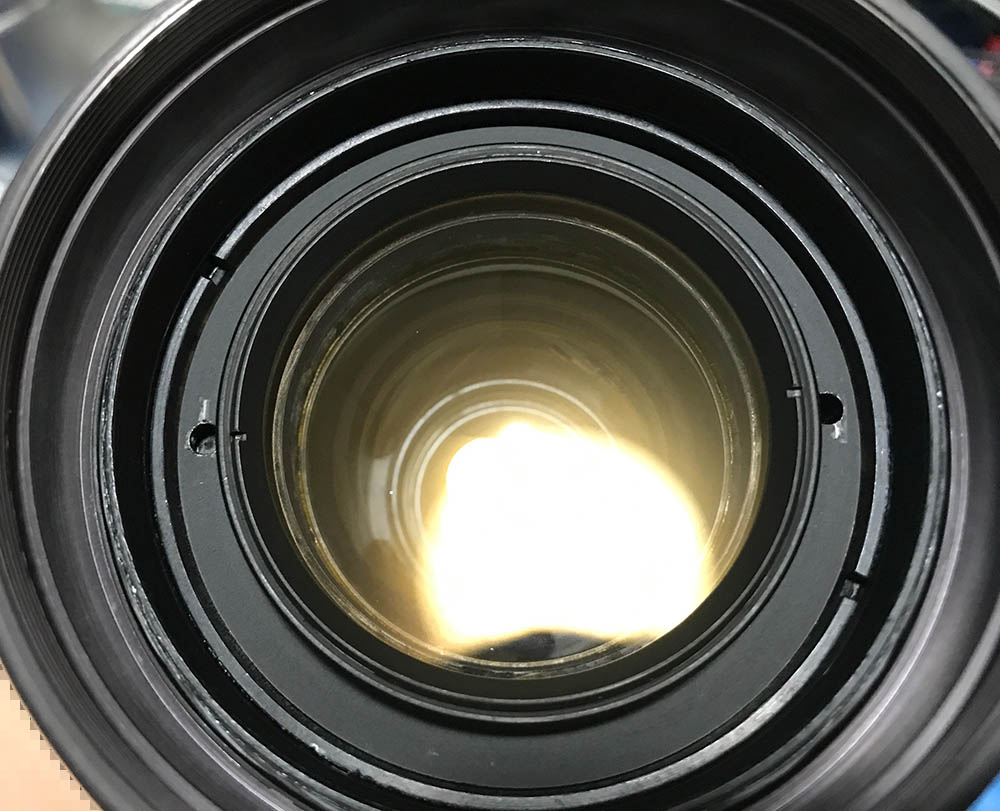
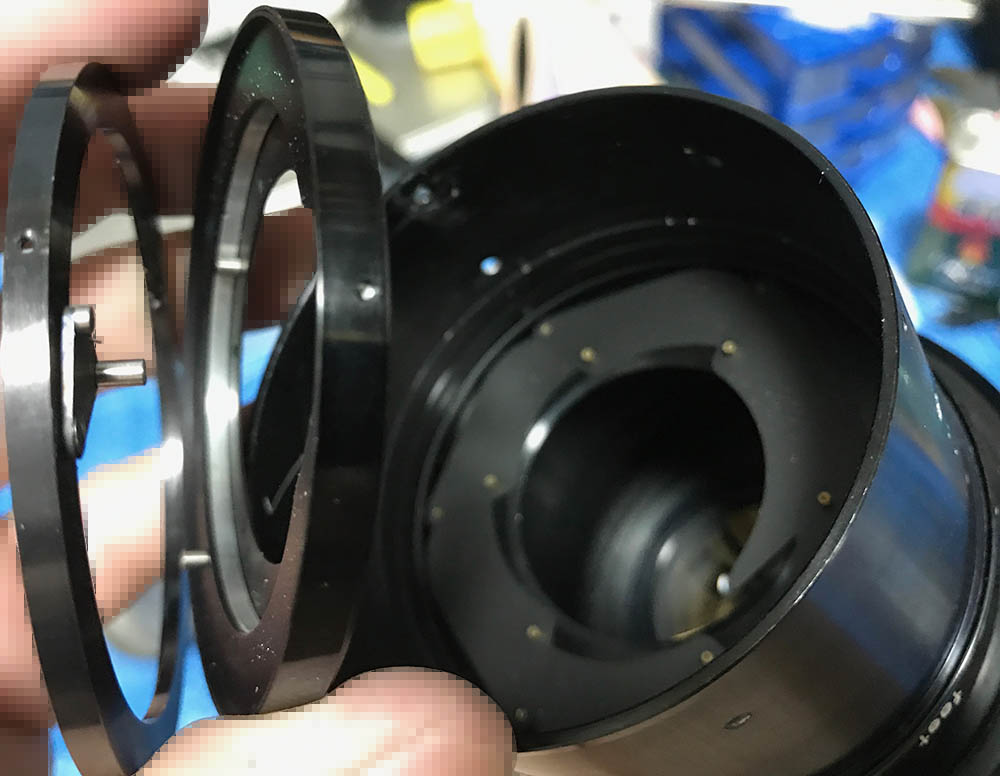
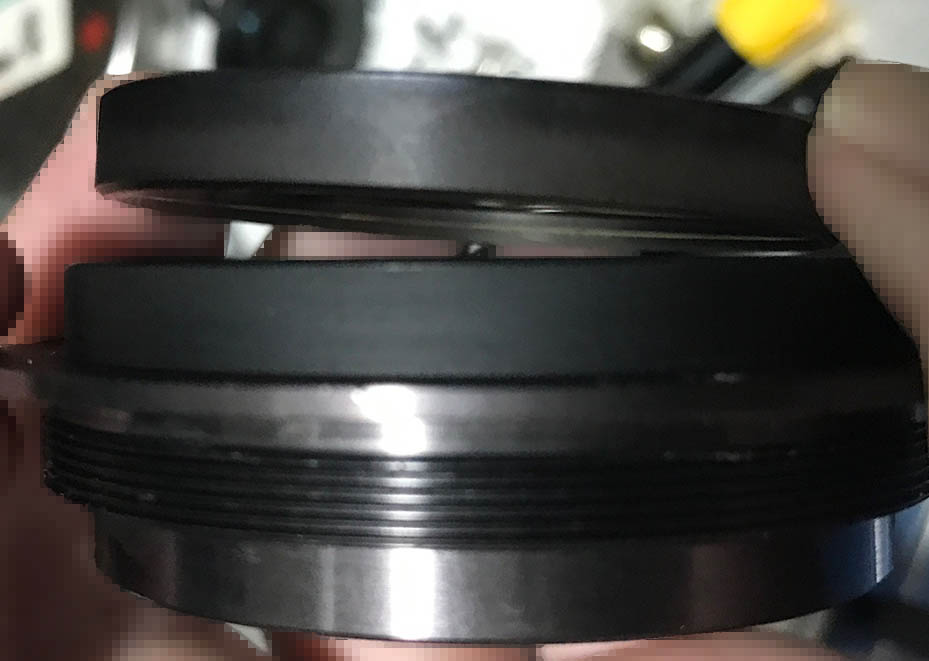
Unscrew the front optics assembly and store it in a safe place. Never lose or damage the brass shim, it’s used for adjust the front-focus.
Use a lens spanner with long bits to reach it.

There’s a shim underneath it, never misplace or damage it.

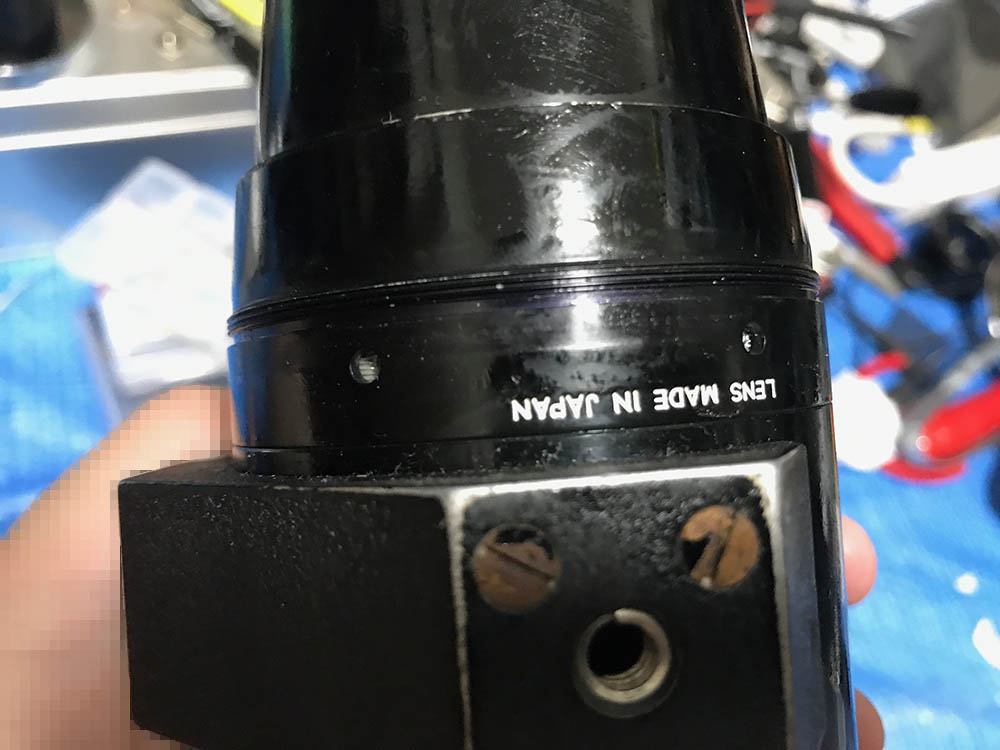
Carefully extract the screws of the bayonet mount to get it off. Many people strip the heads of the screws since they were using the wrong type of drivers. Read how to remove bayonet screws so you won’t get stuck in this situation.
Carefully remove the bayonet mount. Note that there’s a couple of shims here, never misplace or damage any of them since they’re used to adjust the rear-focus.

Don’t forget to note the order of the shims so you’ll know how to put them back properly later.

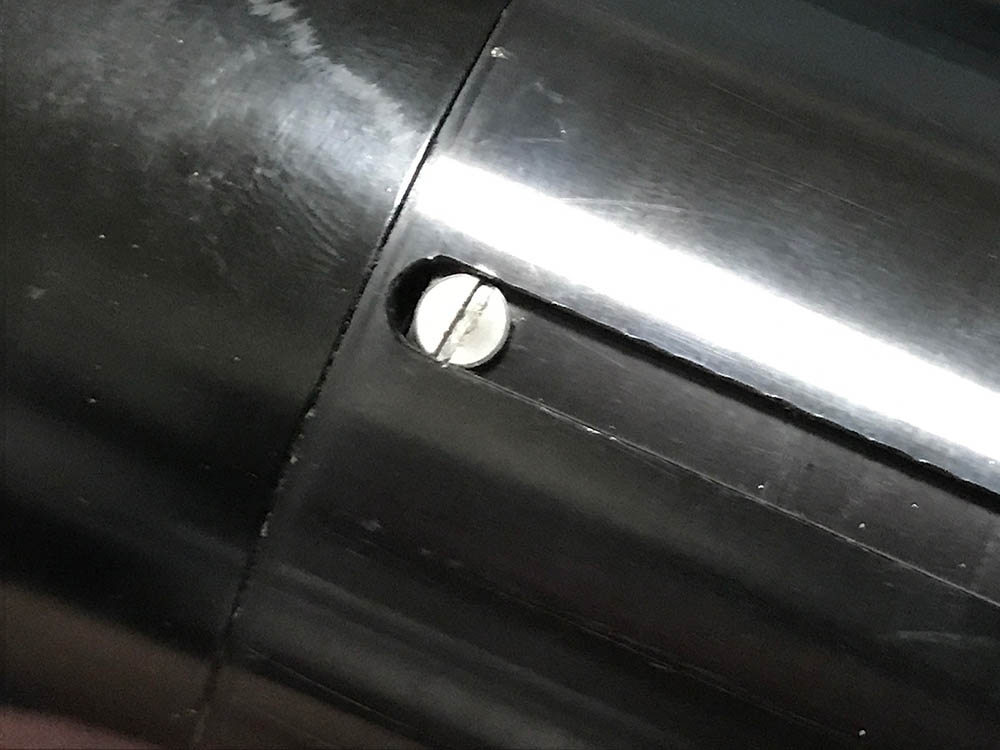
Locate and extract this to remove the grip.

Carefully unscrew it off, it may be sealed so placing a drop of alcohol will help dissolve it.
I think there are screws here which I’ve already extracted.
Extract these to remove the aperture ring.

Carefully unscrew the aperture ring from the barrel.

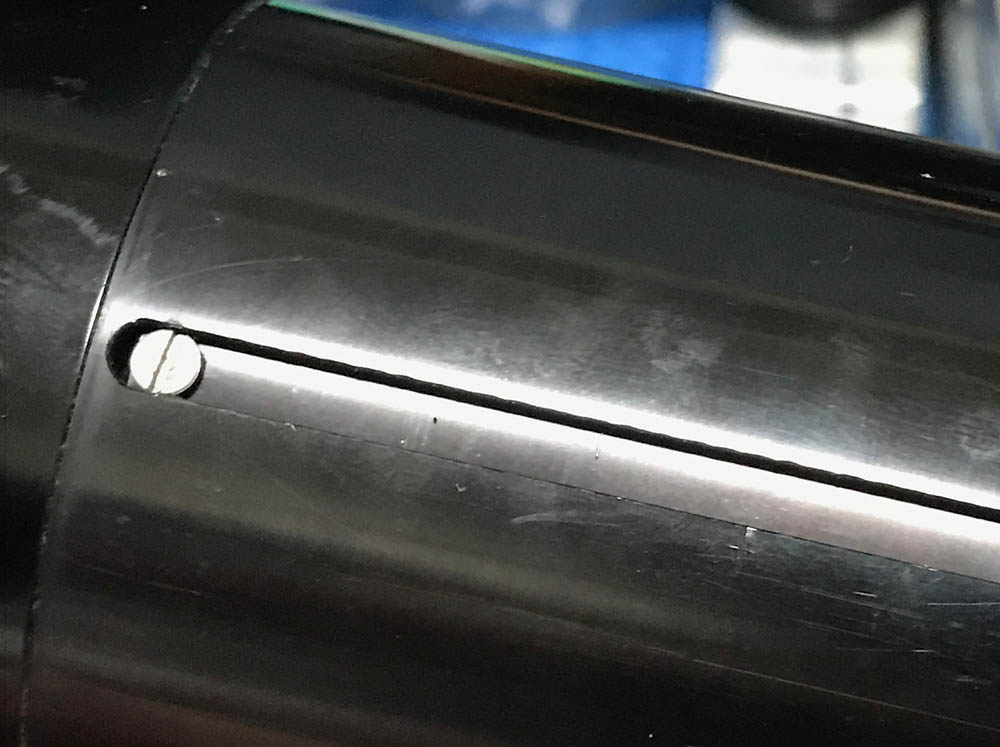
Locate and extract this big screw.

Extract these to remove the tripod mount.

Here’s another pair.

Carefully remove the tripod mount and clean it very well.

You can now remove this tube.


(Click to enlarge)
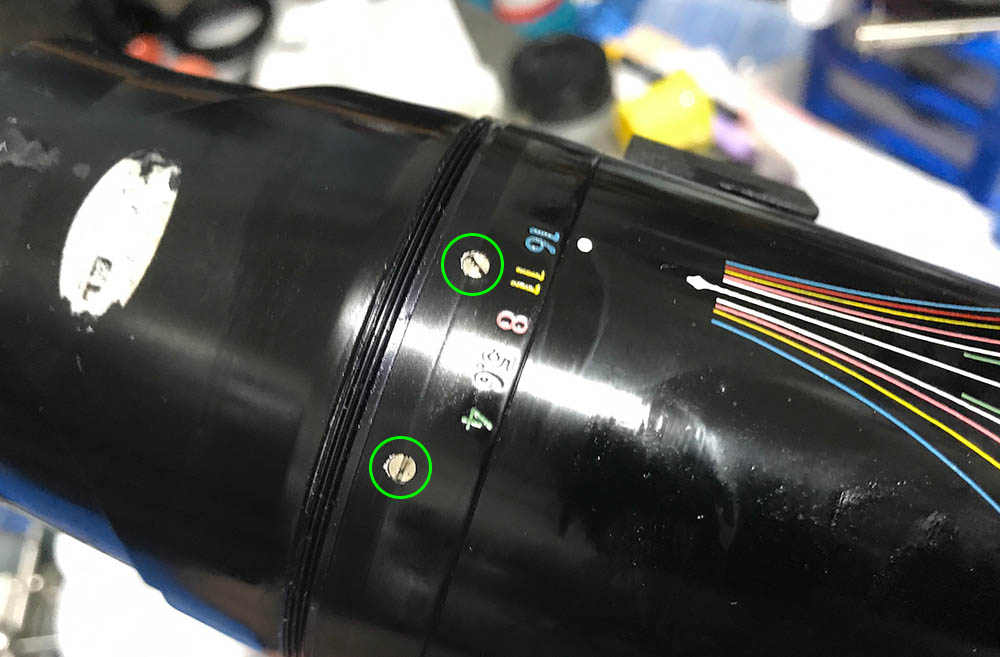
Locate and unscrew these. Mine were sealed with epoxy so heating these will help you remove them easier.

(Click to enlarge)
Here’s more.

Use a long driver to reach this screw, extract it to decouple the stop-down lever. You should also decouple the spring to prevent damaging it.

Carefully remove the lower barrel.

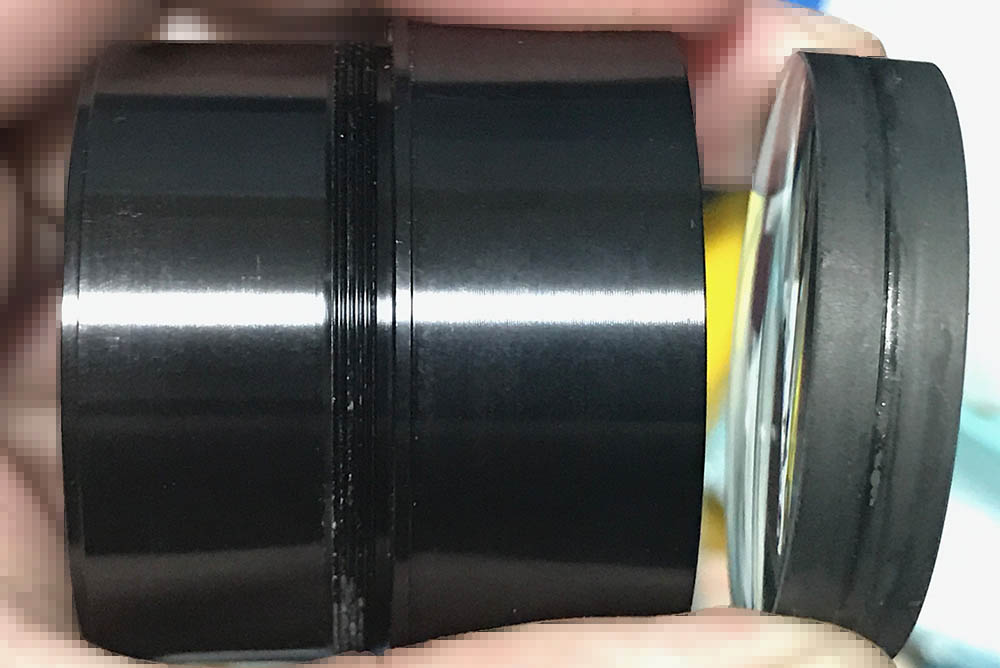
Unscrew the rear optics assembly and store it in a safe place.


(Click to enlarge)
Extract these. Like the previous sets of screws, heating these will help you remove them safely.
Carefully remove this collar.
The aperture mechanism can now be dismantled.

Carefully take note of how the blades looks like before you remove them so you’ll know how to put them back.

Locate and extract this. Heating it will help you remove it easier since it’s sealed.

Unscrew the huge combined focusing/zoom barrel.

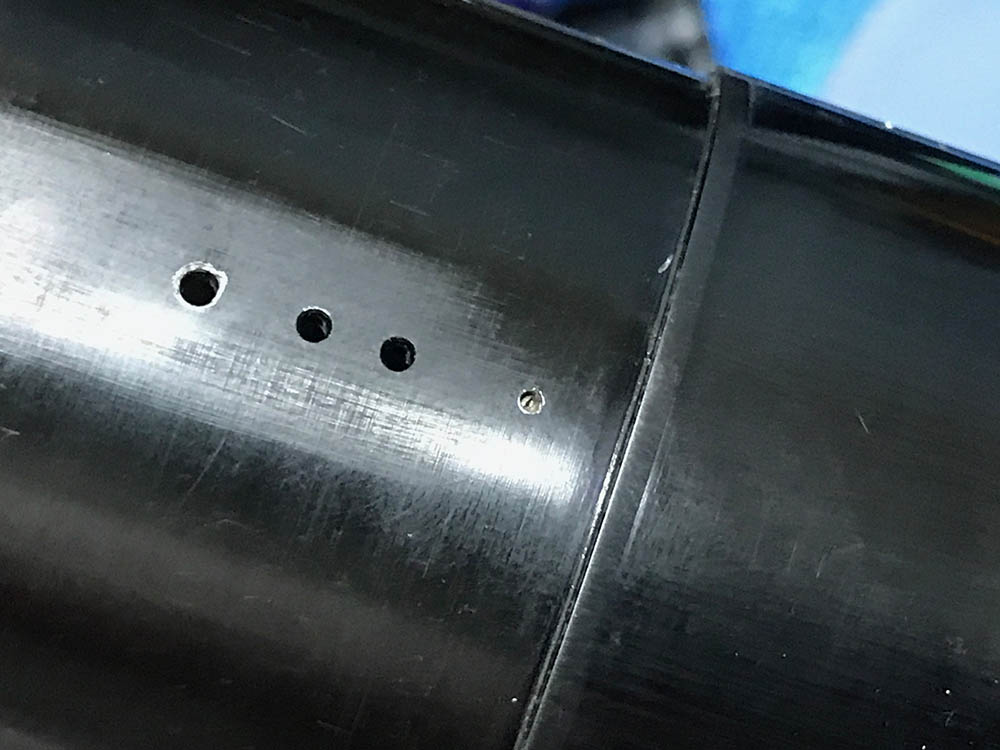
Locate and extract this.

Remove this tube to reveal what’s underneath.

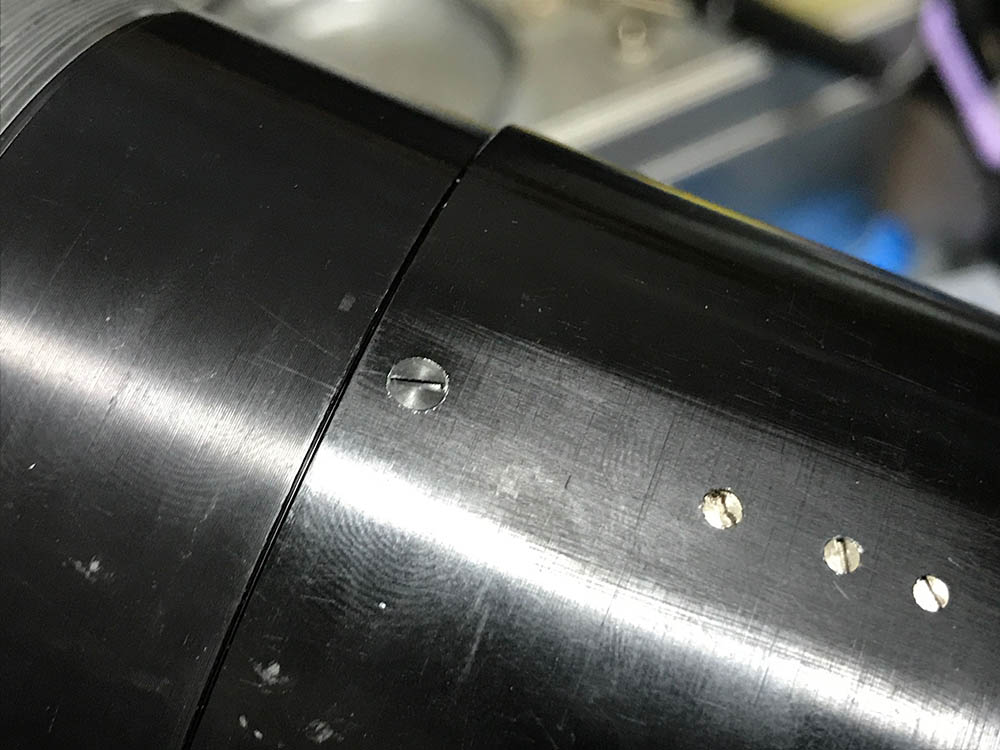
Make small marks so you’ll know the alignments of the inner tubes.
(Click to enlarge)
Extract these rollers. Heating these will help you extract them easier.


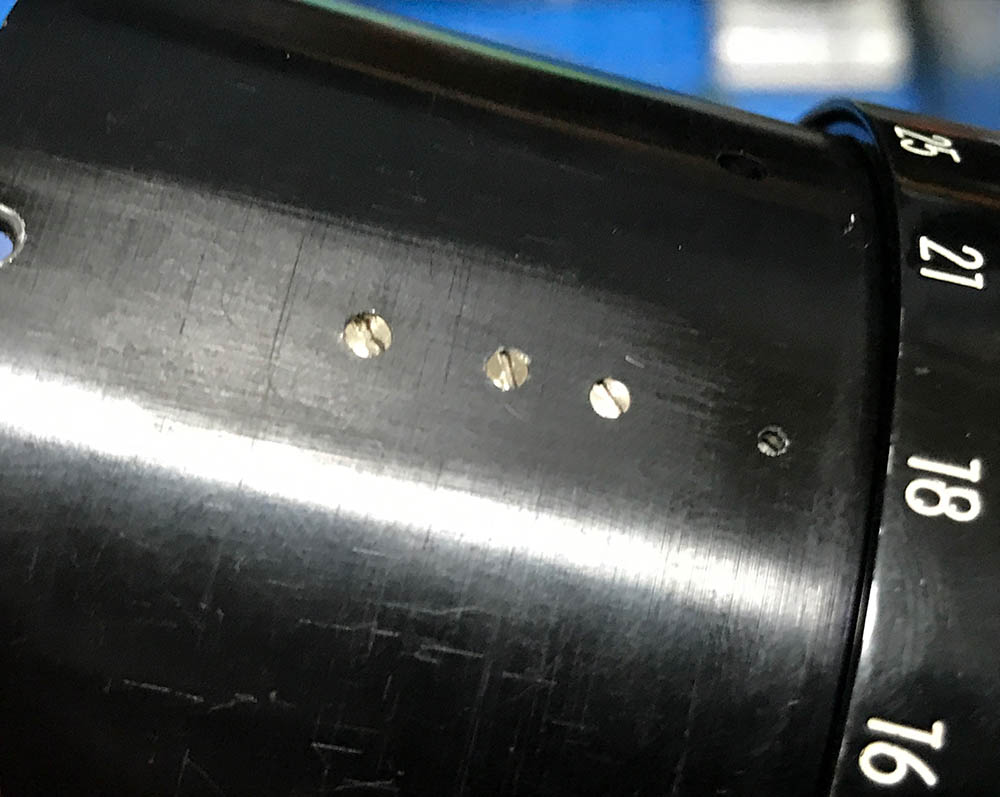
(Click to enlarge)
These ones should go, too. These are a little more difficult to extract.

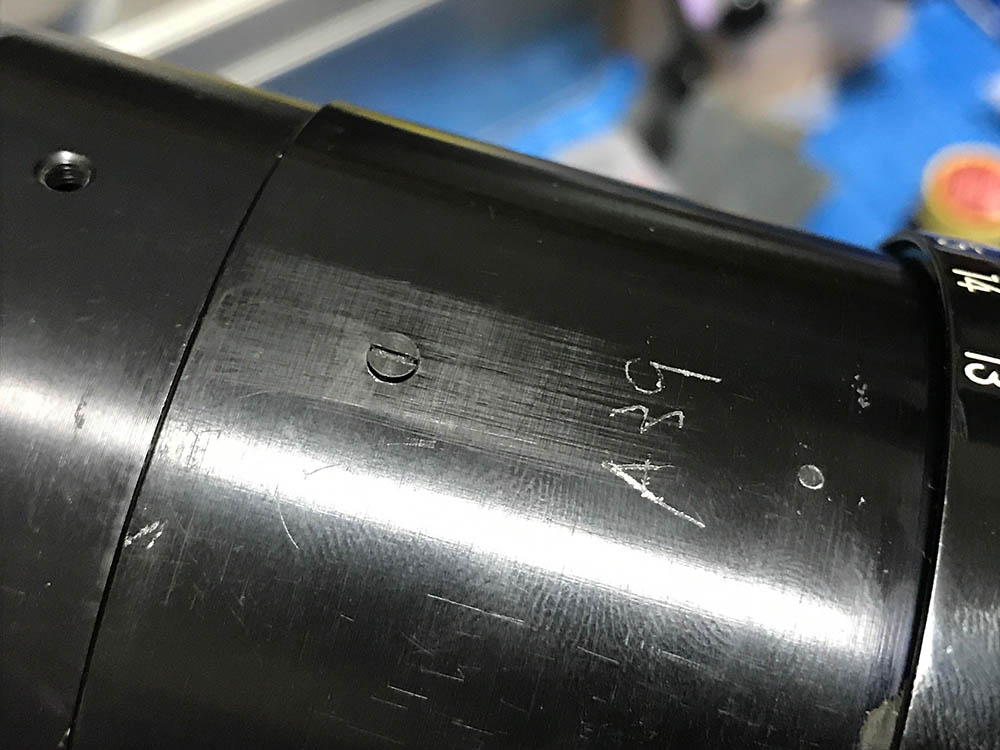
Unscrew the barrel and don’t forget to mark where it parted.

It houses the helicoid. Many people forget to mark where these separate and find themselves stuck. Read my article about working with helicoids so you’ll know how to put these back properly.
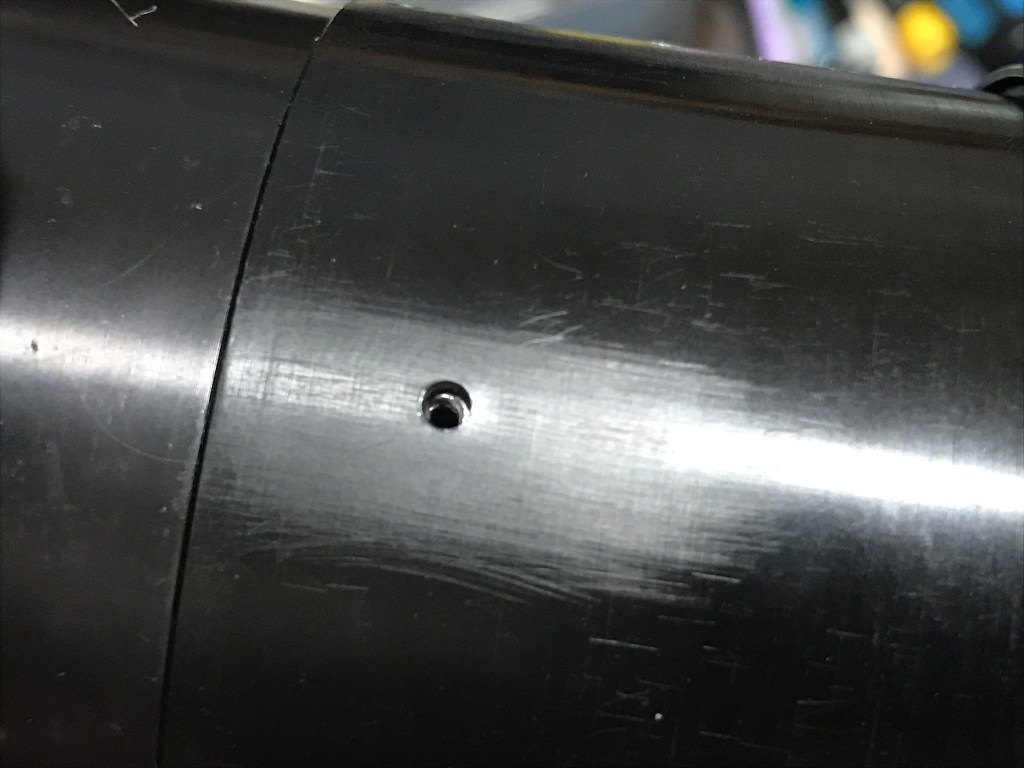
Carefully extract this through its access hole.

Separate the barrels.

This one has to go, too. It’s sealed with epoxy so heating it will help get it off easier.


(Click to enlarge)
Extract these if you haven’t yet.
Remove the floating mechanism inside.

Be careful when removing the floating group.

You can get it off with a lens spanner.

It can be hard to remove this so you’ll have to find a way to slide this thing out from the basket.

Make a small mark here, you’ll have to reproduce this later when you reinstall it.

Separate it and never forget to mark where it parted since this is a helicoid.
Clean everything thoroughly. Due to the size of the tubes I couldn’t pickle them in an alcohol bath so I simply scrubbed everything with strong dishwashing soap and a stiff-bristled brush. Any hardened grime will have to be removed safely using a toothpick. The helicoids will benefit from a fresh application of light grease because it’s huge, the focus-throw is rather long. Any contact surfaces will also require a bit of grease, too. Don’t apply a thick dollop of grease, a thin film is all you’ll ever need. Applying to much will end up in a mess, it will also migrate towards the iris and optics eventually, creating an even bigger mess later. Avoid applying a lot of grease anywhere near the optics or iris. The iris mechanism should work without any lubrication at all. I sometimes apply a little bit of graphite powder and that’s all that’s needed to lubricate the iris. This is seldom needed and is done only when absolutely necessary.
Disassembly (Optics):
Servicing the optics isn’t difficult since it’s not complicated but you’ll need special tools to work on it because the parts here are big. You’ll also need to apply alcohol to every thread you’ll encounter before removing the part because all of them were sealed at the factory. Since most of the groups here look similar it’s best to mark their order and alignment so you’ll know how to put them back properly again during reassembly. This is mandatory when working with zooms or lenses with many elements. Do the same for any spacer or shim in this section.

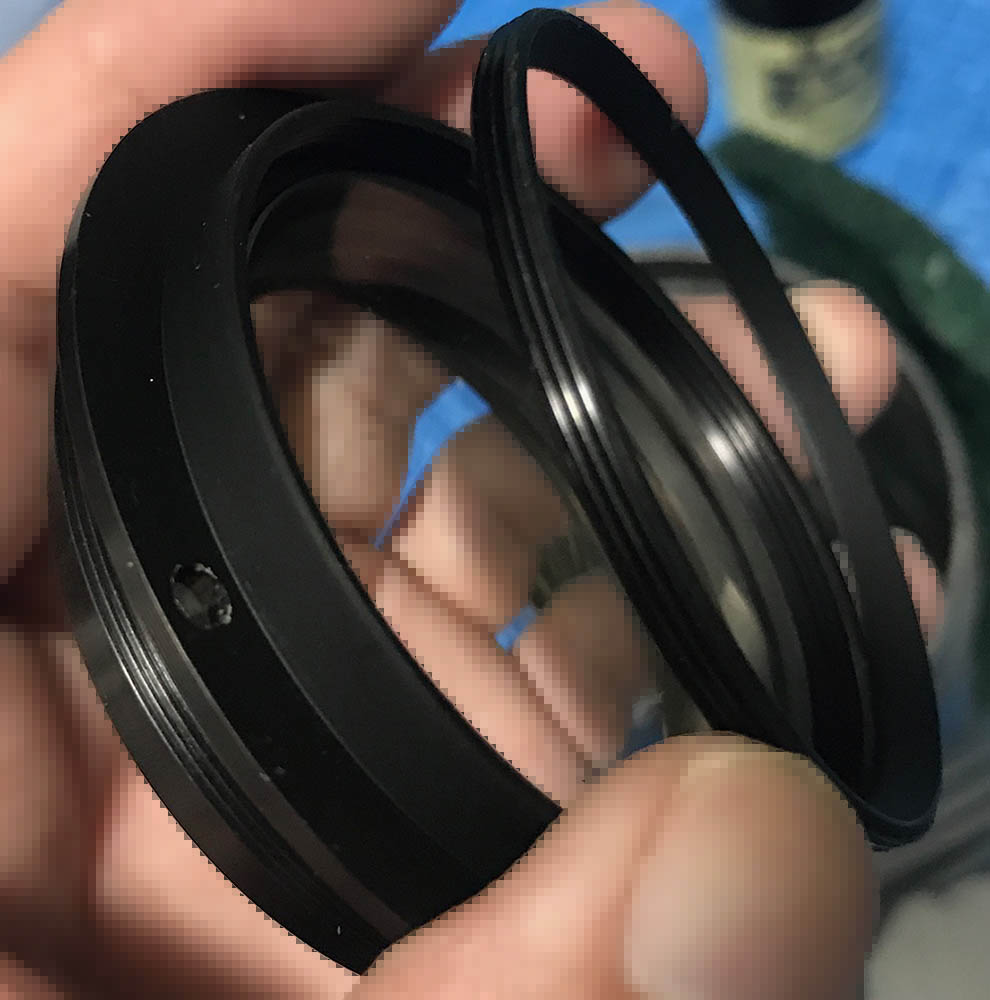
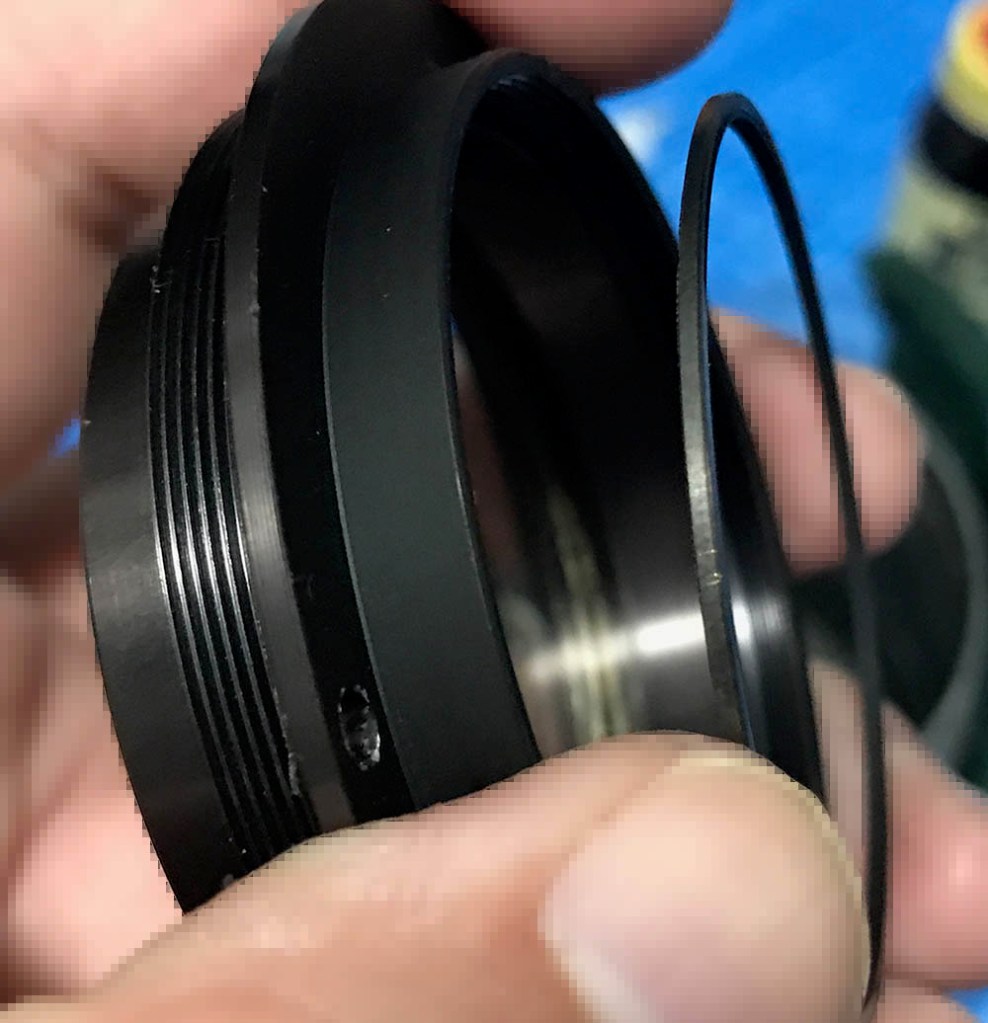
Unscrew this to remove the 1st group. You’ll need to apply some alcohol to the threads in order to make it easier to remove. A lens spanner that can open really wide is essential for removing this.

Carefully remove the group. Notice that I drew 2 lines at the leading-edge so I’ll know which side faces front.

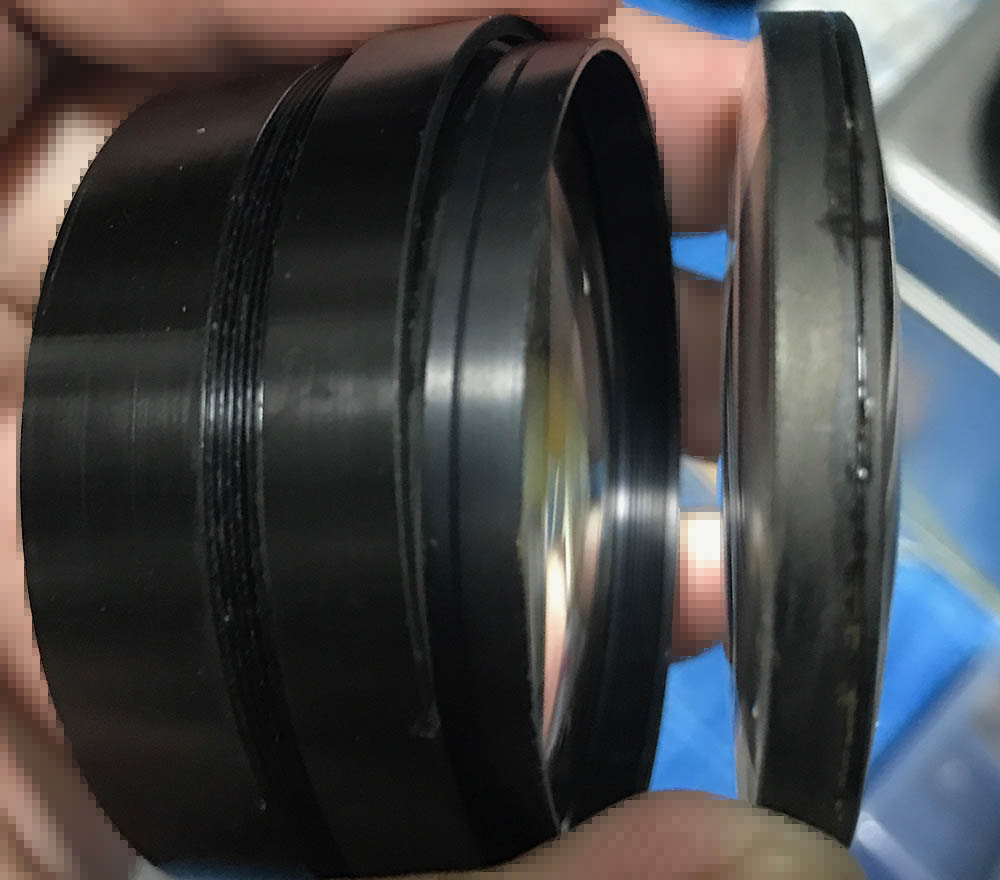
Unscrew this collar to remove the 2nd group.

Carefully remove the 2nd group.
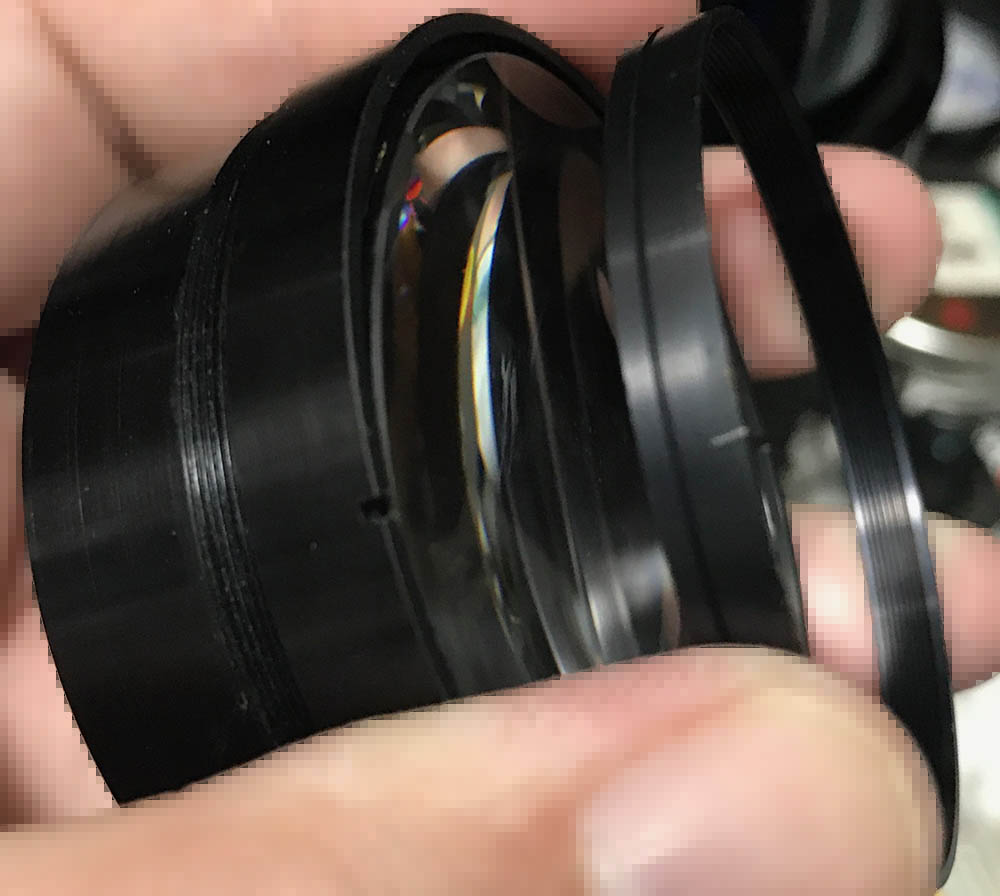
Unscrew this retainer to remove the 3rd group.
Carefully remove the 3rd group with a lens sucker.
There’s a shim underneath this so do not forget to mark which side should be facing the front. The 4th group can now be removed once the shim is gone.

Unscrew this to remove the 5th group.
Carefully remove the 5th group. Note that there’s a spacer underneath it. Don’t forget to note its direction.
I made a small mark so I’ll know where the spacer should be facing.
Remove the 6th group and don’t forget to mark its direction and order so you won’t mistake it for another one since some of them look similar.
Unscrew this to access the 7th group.
Remove the 7th group.

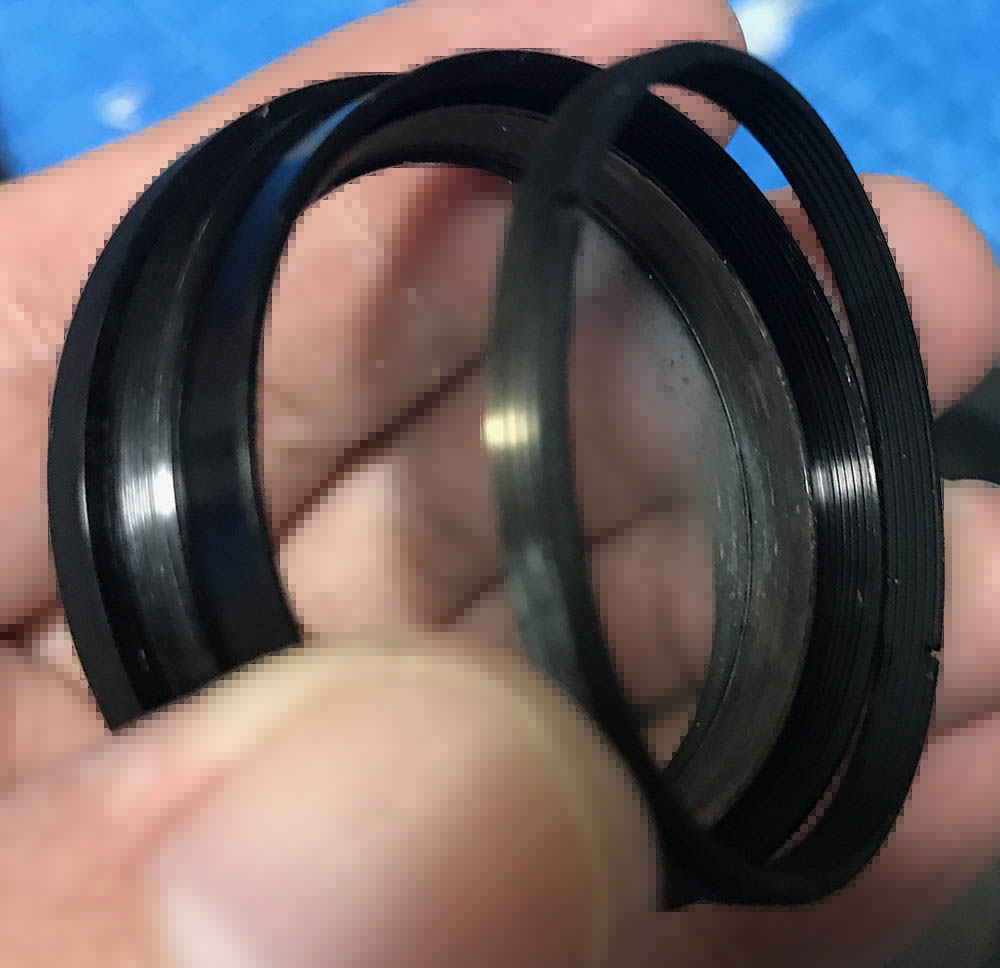
Unscrew this ring to remove the rear group. It’s sealed with paint, you’ll have to place a drop of alcohol to help soften the seal.

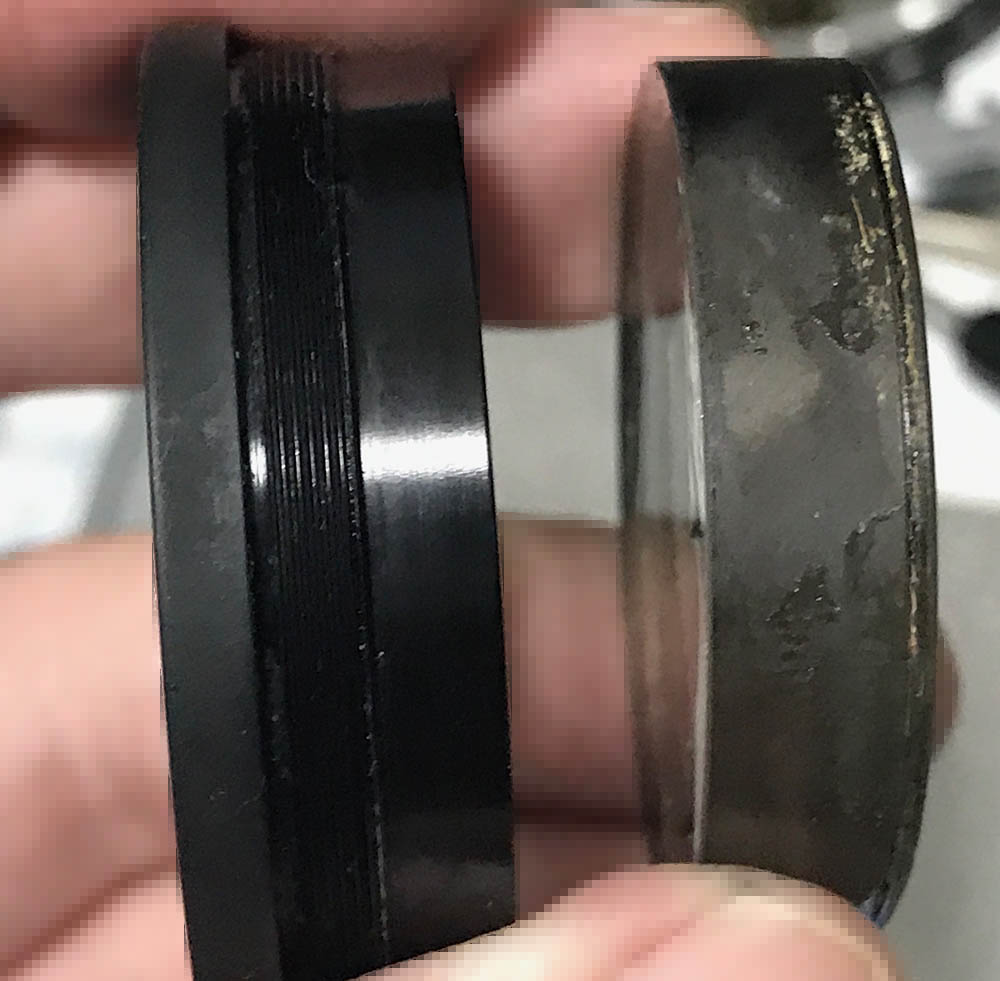
Separate the rear optics assembly’s housing to access the 8th group.

Unscrew this ring to remove the 8th group.
Remove the 8th group.
Clean the glass carefully. If your it has fungus, read my article on how to clean lens fungus. Do not use the solution at full-strength, thin it with distilled water. Do not soak the elements in the solution for too long or that will dissolve the coatings. The cemented group is fragile so handle it with a lot of care.
Conclusion:
This took me several nights to service, I spent 2 nights just cleaning the parts. Reassembly alone took 2 nights, I had to backtrack all of my steps carefully so I won’t forget anything. It’s easier to dismantle it than to put the whole thing back together. This is not a lens for a beginner, leave it to the experts if yours needs to be fixed.
Be sure that the plate of the iris mechanism is aligned properly and the iris actuates effortlessly, do this before you reinstall the rear barrel.

We’re almost there, the barrel now looks a lot cleaner. I couldn’t clean it completely but I did my best. Because of the large nature of the parts not all of them were treated with an alcohol bath but I wiped them clean with alcohol in order to kill any germs.

Time for a workout. The Nikon Df is the best camera to shoot with it since it accepts non-Ai lenses. Mirrorless cameras will do as well but you’ll have to deal with a dark viewfinder when you stop the iris down. The lens is now a lot cleaner and certainly more beautiful after being serviced. All the time spent rebuilding it certainly paid-off, I could now enjoy shooting with one of the most important lenses in photography history.
Thanks for following my work, if you liked this article please share this with your friends so it will get more views. This site earns around $0.40 a day, we are totally reliant on views. You could also support this site, it helps me offset the cost of maintenance and hosting. You are also helping me purchase, process and scan film. This site promotes the use of film so we are all in this together. See you again in the next article, Ric.
Help Support this Blog:
Maintaining this blog requires money to operate. If you think that this site has helped you or you want to show your support by helping with the site’s upkeep, you can make a small donation to my paypal.com (richardHaw888@gmail.com). Money is not my prime motivation for this blog and I believe that I have enough to run this but you can help me make this site (and the companion facebook page) grow.
Buy me a roll of film or a burger?
Thank you very much for your continued support!
$2.00
Helping support this site will ensure that this will be kept going as long as I have the time and energy for this. I would appreciate it if you just leave out your name or details like your country’s name or other information so that the donations will totally be anonymous. This is a labor of love and I intend to keep it that way for as long as I can. Ric.

Jan 08, 2022 @ 18:30:04
Fantastic article!! Thank you for sharing your in-depth knowledge of the Nikkor 85-250mm lens. Your detailed explanations and copious photos were amazing. Looking forward to learning more from you about all things Nikon. I began using the Nikon F in 1968 and now primarily use a F6 and D4 but still occasionally use several of the older film and digital Nikon bodies as well as lenses dating back to the non-AI era.