
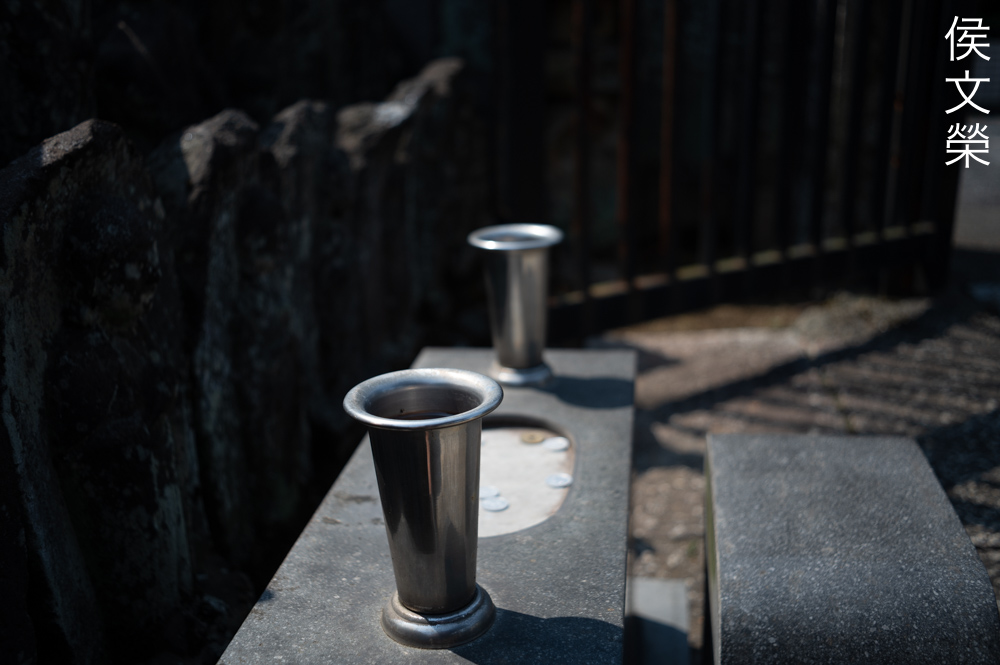
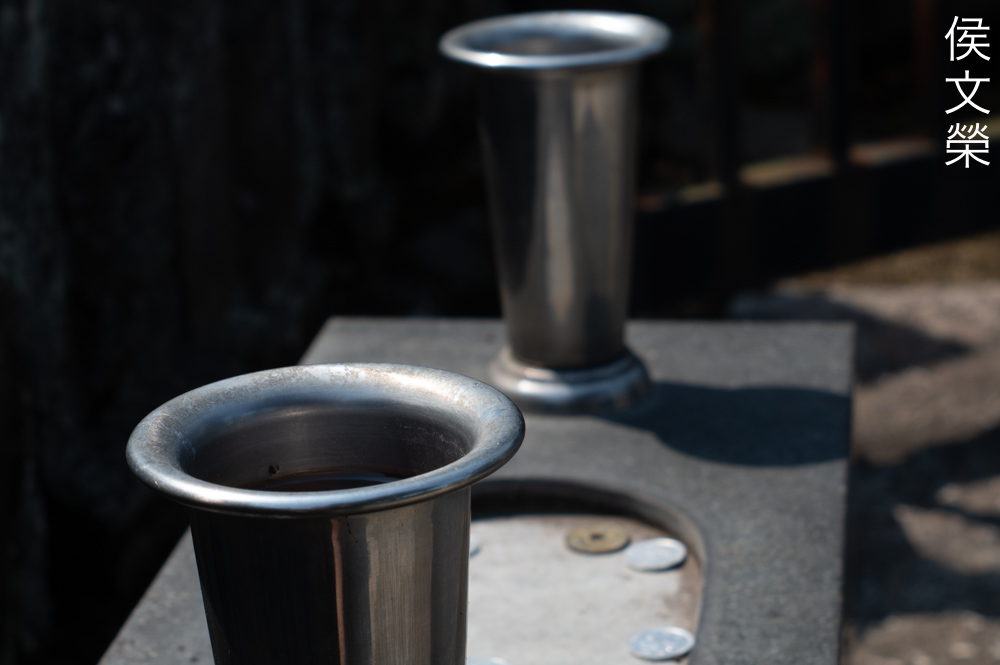
Hello, everybody! I’m not someone who is concerned about eating healthy but I do stay away from really oily foods. It’s sad because I love to eat friend chicken, curries, stir-fried stuff and stews. However, I do treat myself occasionally and I will have a couple of juicy gyoza (pot-stickers) to satisfy my cravings. Today, I will show you something oily but it’s not something that you couldn’t correct. It’s common to find these with excessive oil and I will show you how to fix this.
Introduction:
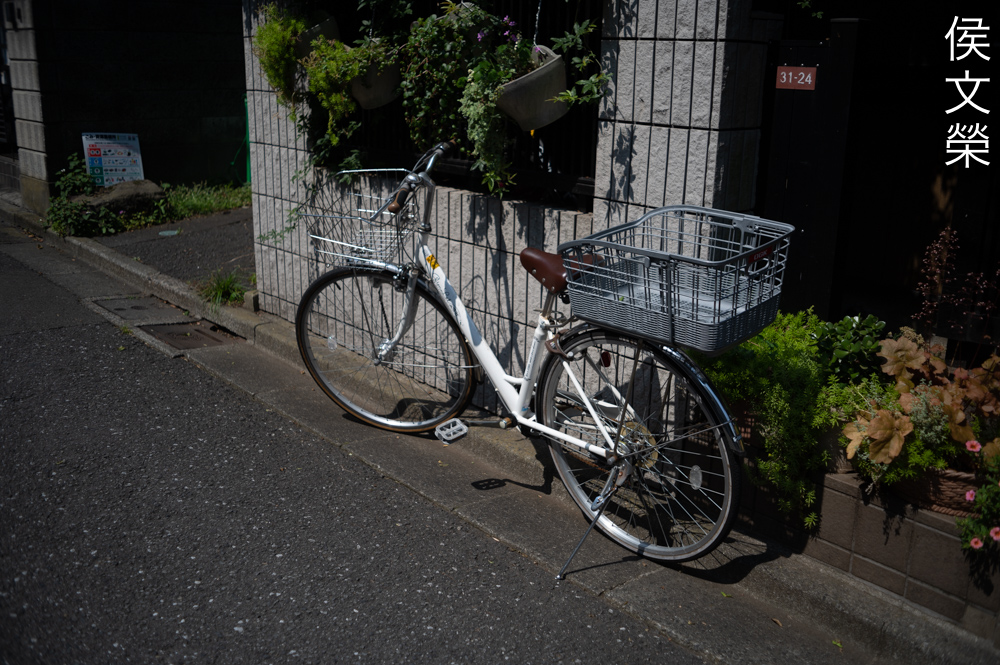
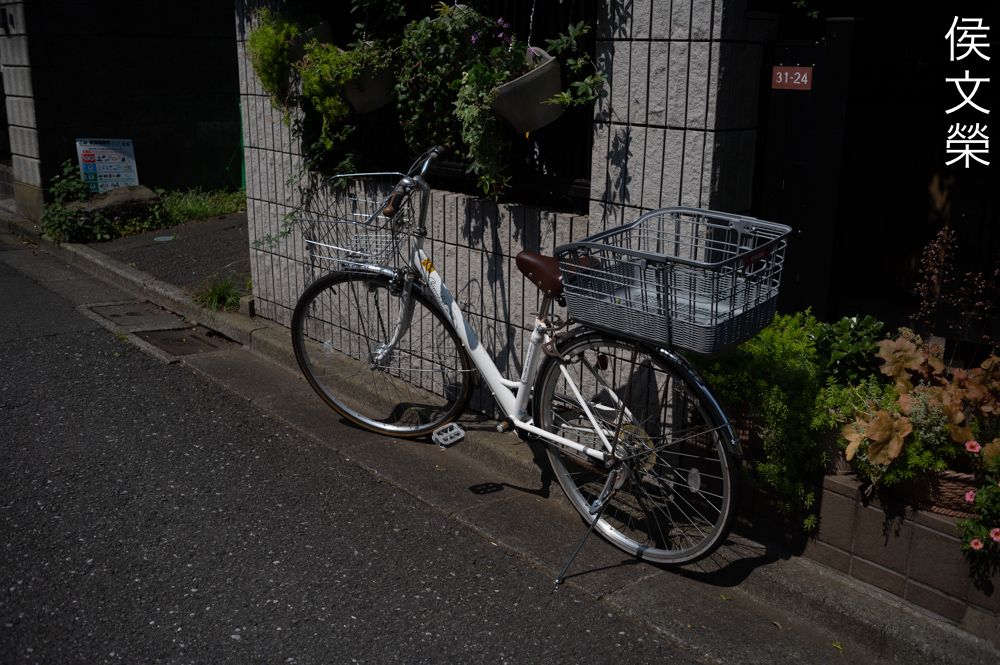
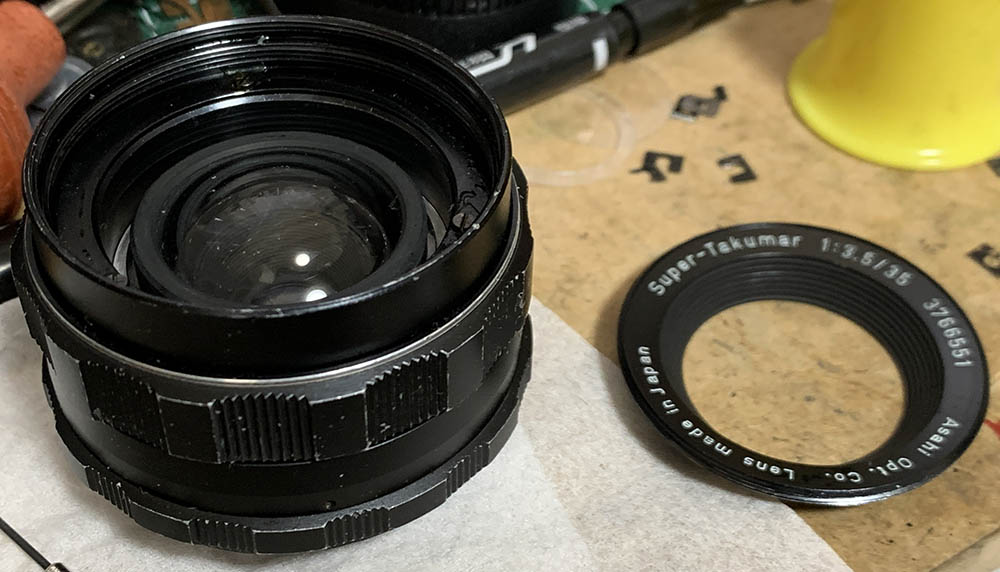
The Asahi Super-Takumar 35mm f/3.5 is a rather popular lens that was produced from 1959 up until 1971 and it comes in several variants. The one we have here was made from 1966 until it was replaced in 1971 by an improved model. It’s worth noting that all variations of this lens have roughly the same optics, whether it was modified between models is something that we’ll never know.

The barrel is made from metal, it should be able to withstand abuse in the field. One interesting feature is the bulbous front element, it’s so curved that the curvature surpasses that of some fisheye lenses. Other than that the lens is rather standard-looking as far as Super-Takumars go.
It has a 5-elements-in-4-groups design which is basically a Tessar-type lens with a bulbous front element added to it. I think this is ingenious because it’s able to extend the reliable Tessar-type design into something different. This feature is what defines this lens and it makes this an even more interesting lens to study and play with. This is not ideal since it has its own issue which you will soon see in my sample photos. Despite that, this was unveiled in 1959 at a time when designing wide-angle lenses for 35mm SLRs proved to be really difficult so it deserves our appreciation. What’s even a lot more puzzling is why Asahi didn’t update the optical formula throughout this lens’ production up until the last one, the Asahi Super-Multi-Coated Takumar 35mm F3.5 from 1971. You can think of it as a successful design so it was never updated or just the management trying to save some cash. Whatever the case is it’s not a bad design at all, it performs rather well and I assume that it’s also rather cheap to produce, making this one of the most popular Takumars made in its era.

It’s a tiny lens and it balances perfectly with the Asahi Pentax Spotmatic and other M42 cameras made by other brands. The focus-throw is neither long-nor-short and feels quite natural but the minimum focusing distance is a mere 0.45m, limiting its use.
Handling is rather good but the A/M switch can be accidentally moved while turning the aperture ring. This is quite an annoyance but it’s something that you’ll get used to quickly.
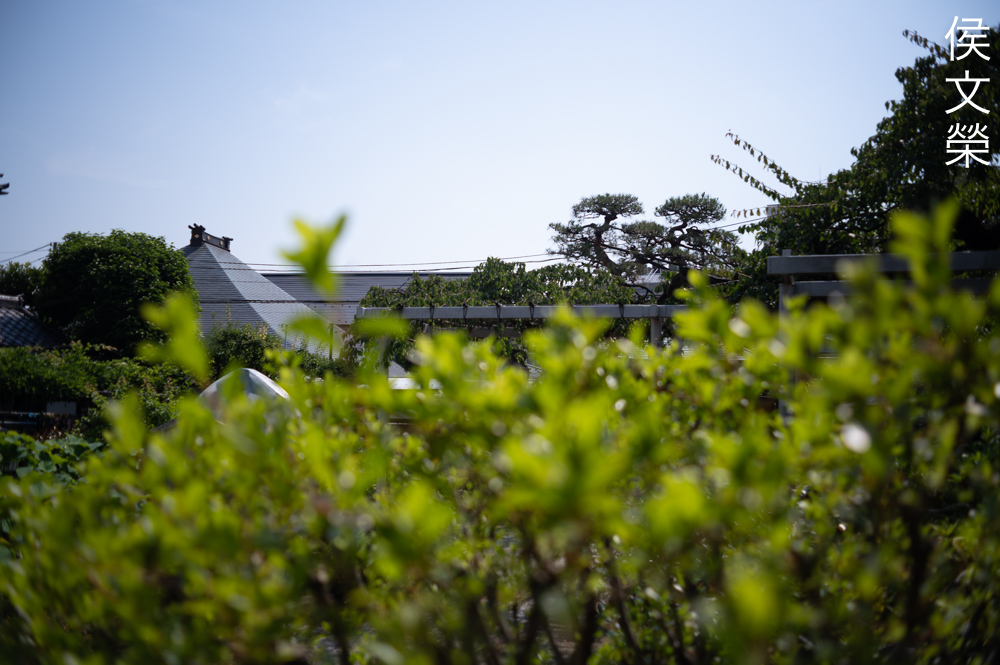
Learning how a lens performs is important so you will maximizing its use. You will learn how to utilize its strengths and avoid its weaknesses. This knowledge helps in determining which lens to bring on an assignment. I shot these pictures from f/3.5, f/5.6 and f/8 as these are the most common apertures that people would want to use this, we’ll also get to see the most changes happen within these values. I shot these with my Nikon Z6, some of the pictures were cropped close to 1:1 so we could see the details better.


(Click to enlarge)
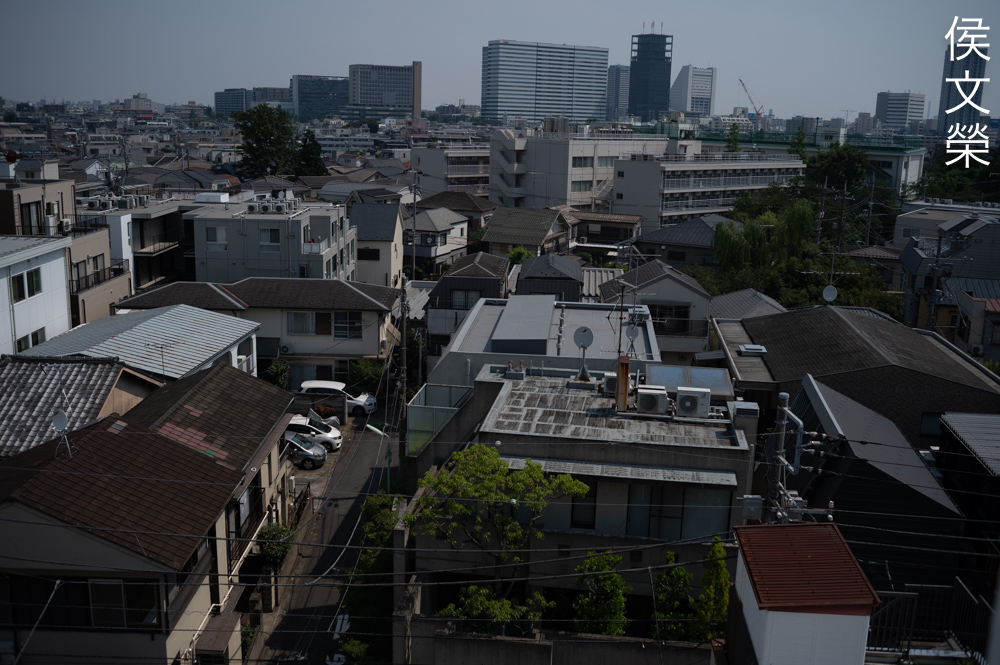
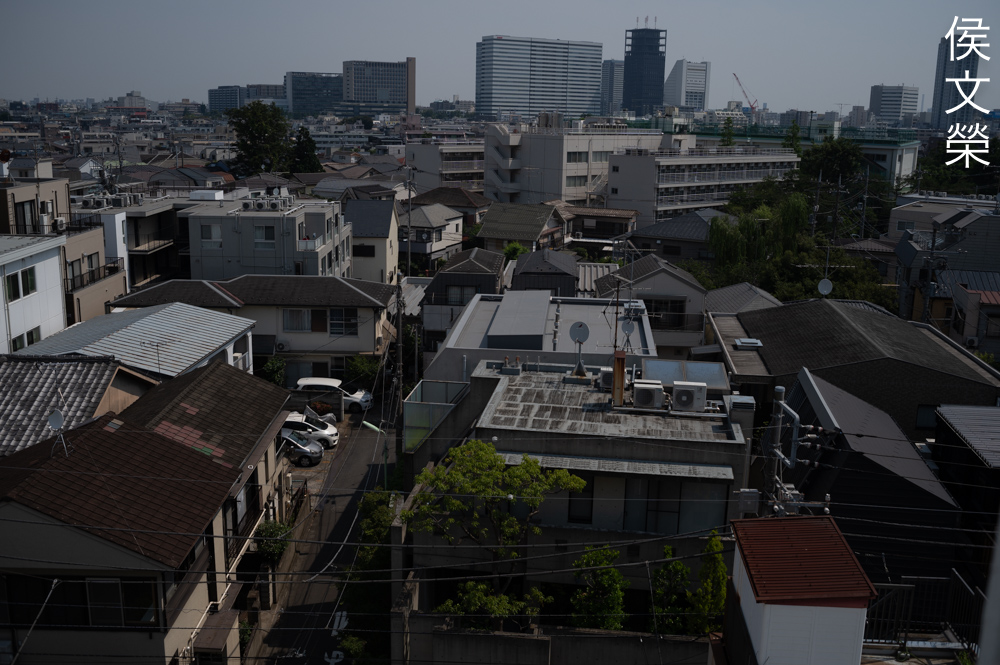
The corners appear dark when shooting wide-open, it won’t improve much even by f/8. You should be aware of this as it’s something that will surely impact the quality of your photos specially when you’re shooting something with a clear, even-colored background such as the sky.


(Click to enlarge)
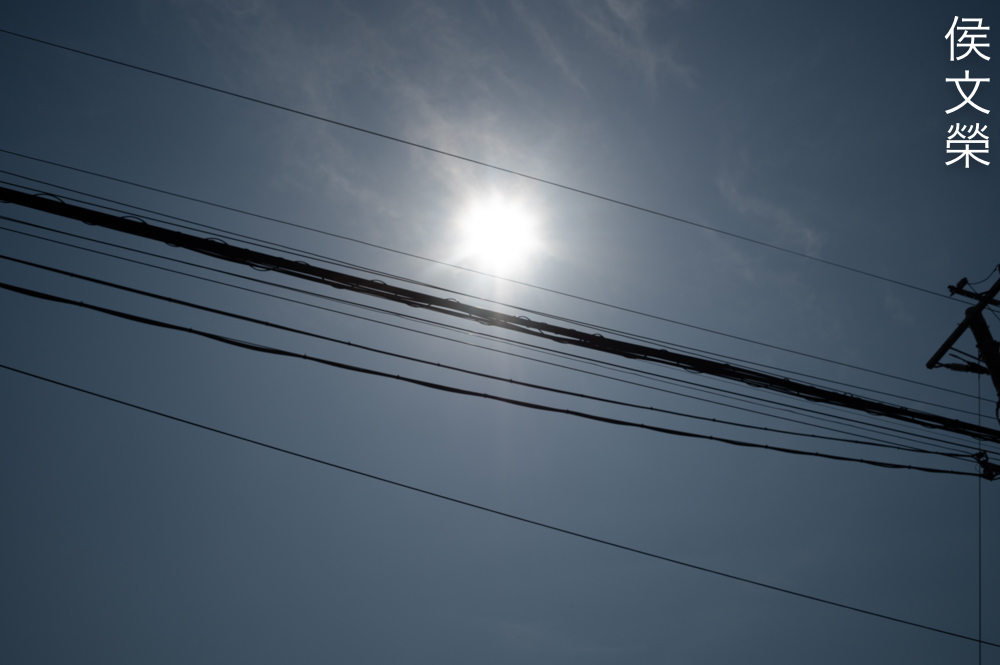
It flares terribly, you’ll get strange-looking artifacts when shooting directly at bright sources of light. The good news is it’s resistant to internal-reflections so you won’t see blobs form as much. I’d avoid using this when shooting directly at bright light sources but it should be fine when that’s not the case.

(Click to enlarge)
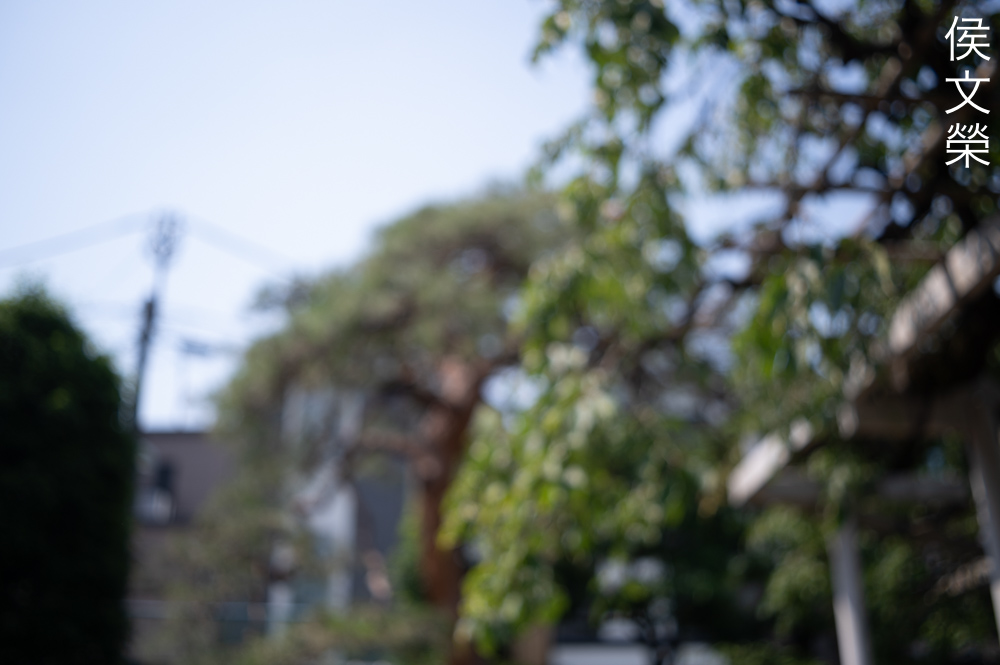
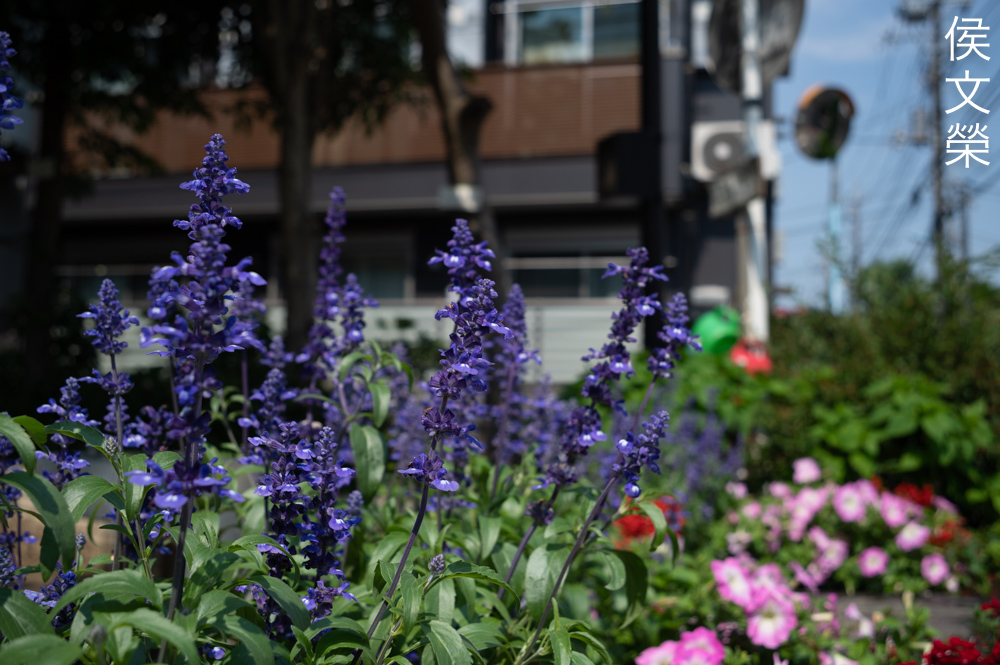
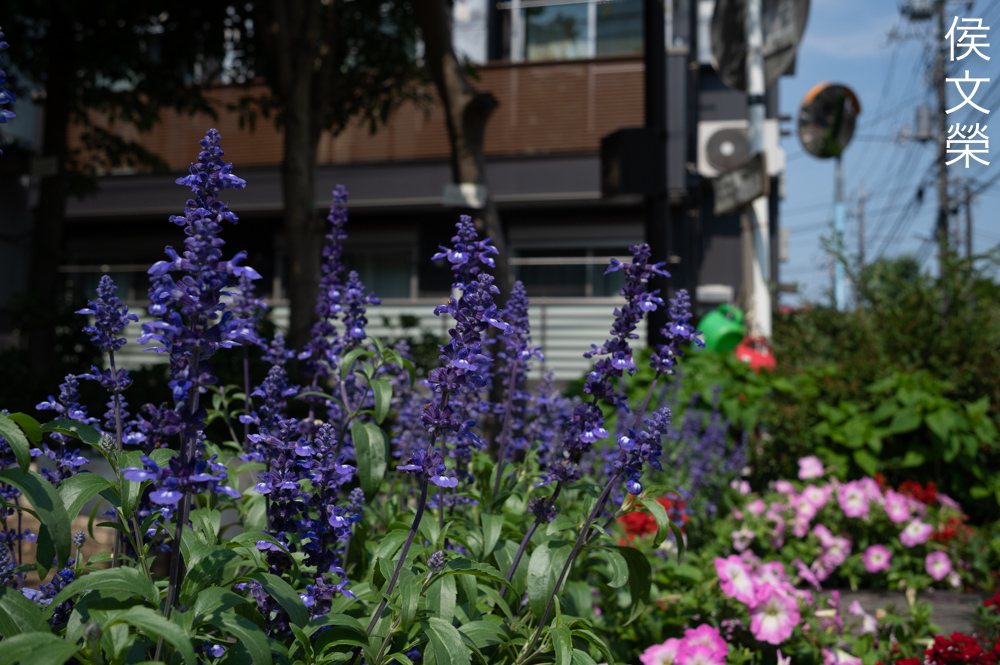
Nobody shoots with this expecting to get smooth-looking bokeh quality, this isn’t the lens for that. The character of the bokeh looks rather cheap, it’s mediocre at best, it could at times make you dizzy. Overcorrected lenses tend to give this kind of look and many of these are cheap, bottom-shelf optics.

(Click to enlarge)
These photos show how much the depth-of-field changes as you stop the iris down, it’s easier to observe this at closer distances. I think the character of the bokeh looks best at f/8 where things look much cleaner.


(Click to enlarge)
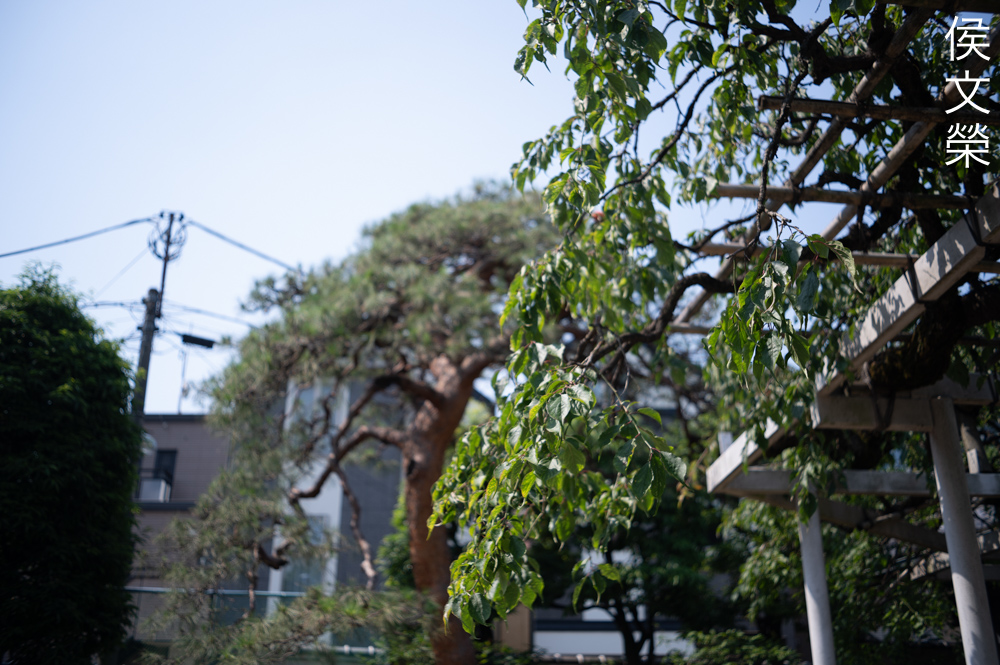
Chromatic aberration appears to be controlled rather well, the same can be said for spherical aberration but it could be mistaken for flare or “blooming” when shooting at shiny things. Overall, it handles aberrations rather well even in hard or extreme scenarios. You may see traces of it wide-open but they’re gone from f/5.6 and on.


(Click to enlarge)
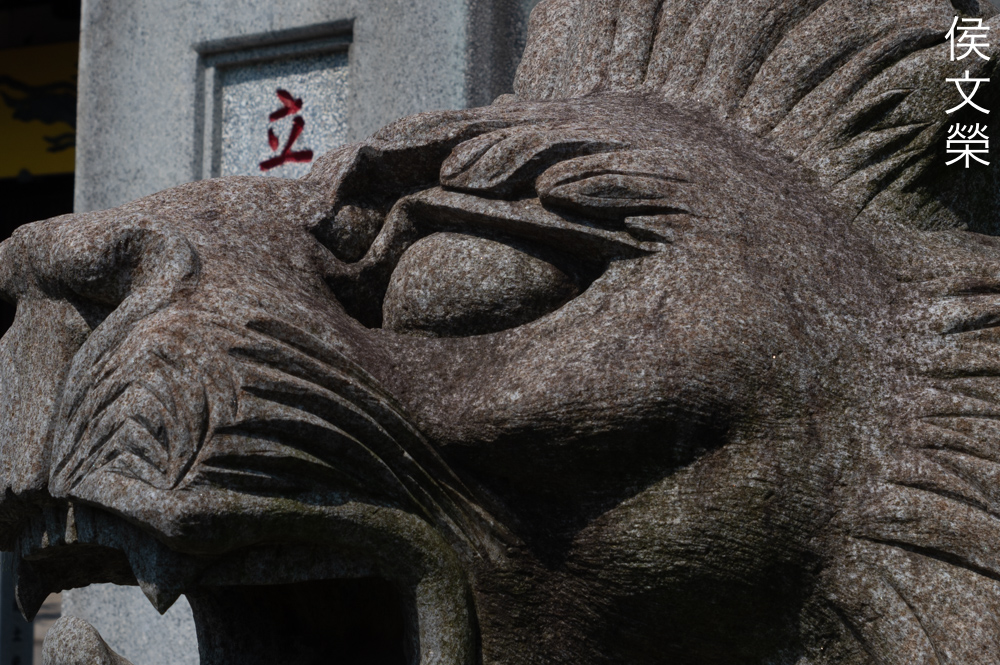
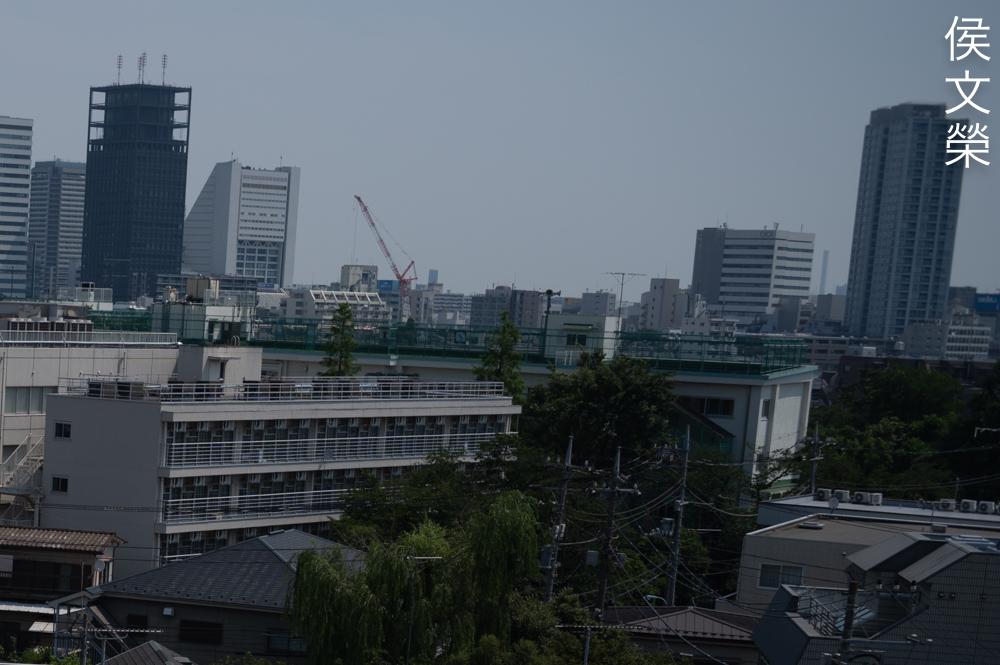
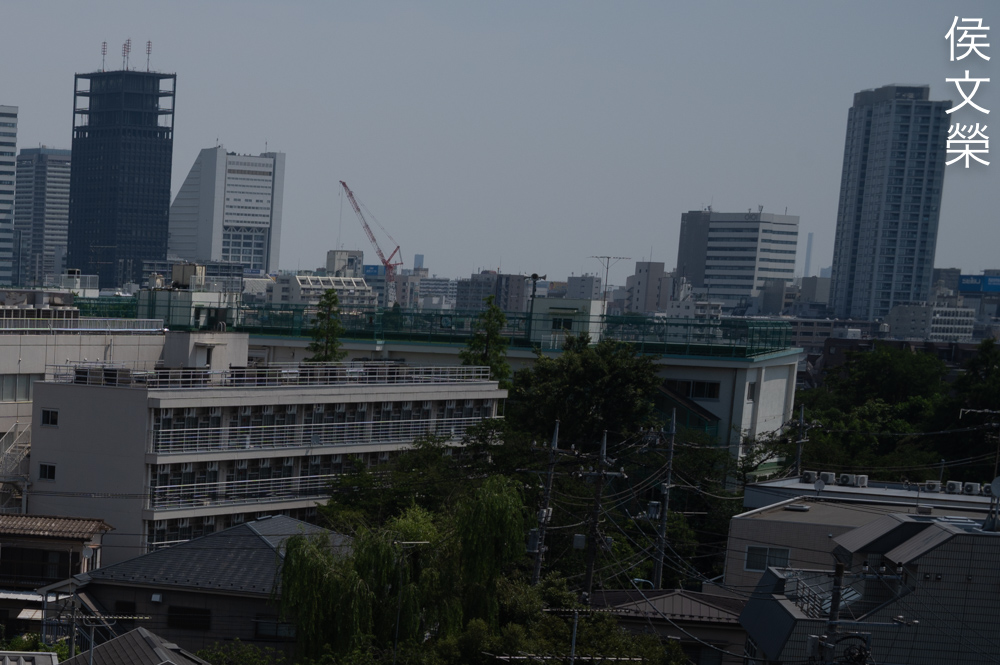
Sharpness at the center appears to be excellent when shooting wide-open but the corners look ugly but not useless. It pretty good but there’s still room for improvement. Stop the iris down to f/5.6 and the center looks even better thanks to the improved resolution, the extremities will show the most improvement but they will never match the center. The center is performing at its peak or so it seems by f/8 and the extremities look much better but they’ll never match how the center looks at f/3.5 which just shows how good the center is.
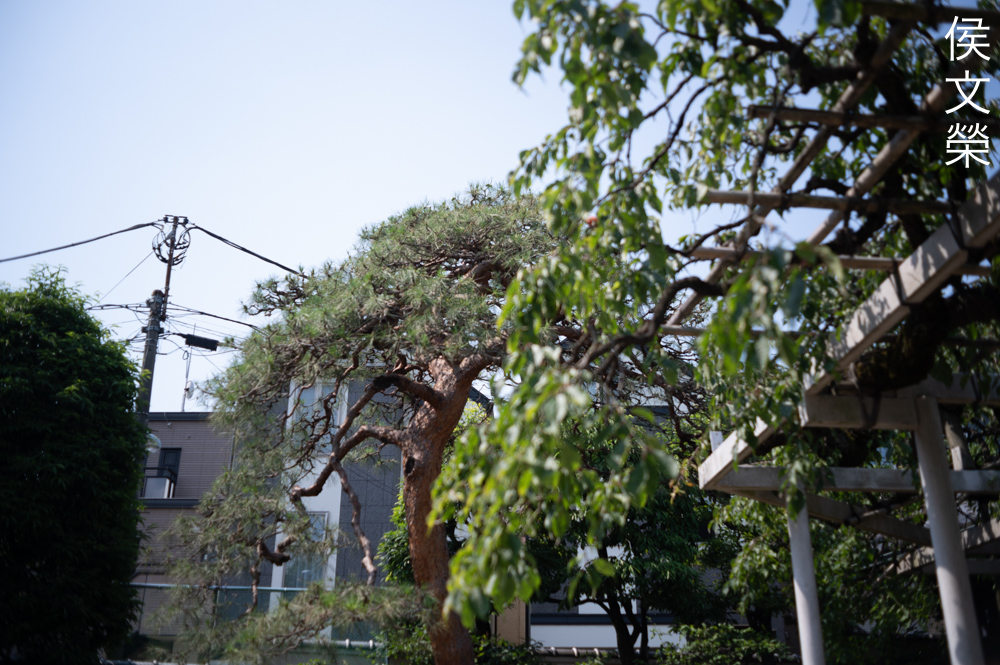
Mine is sharpest when shooting at closer distances and it looks worst at infinity. The difference isn’t much but you will definitely see the difference. It’s sharpest at the center and the performance drops mid-frame and it looks worst at the extreme-corners. If you have important subjects that have to be super-sharp be sure to frame them in such a way that they’re placed dead-center of the frame.

The character of the bokeh isn’t the best, you’ll get away with it when printing small but it’s obvious when printing big.

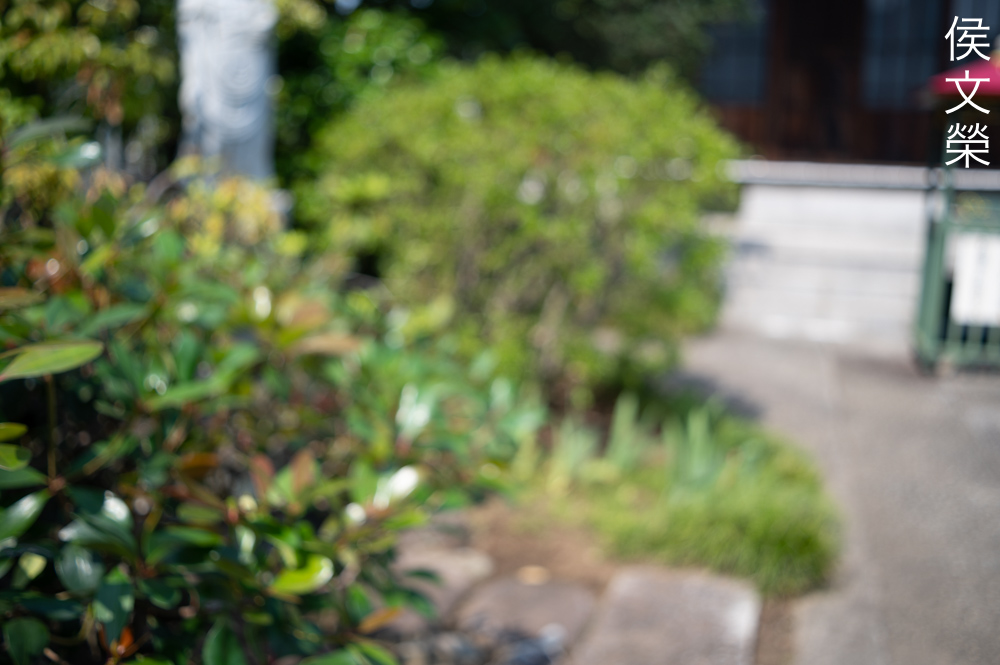
It’s a really useful lens for travel photography so long as you’re aware of its limits. Avoid placing bright sources of light within the frame or shooting into-the-light to prevent the ugly flare from showing.

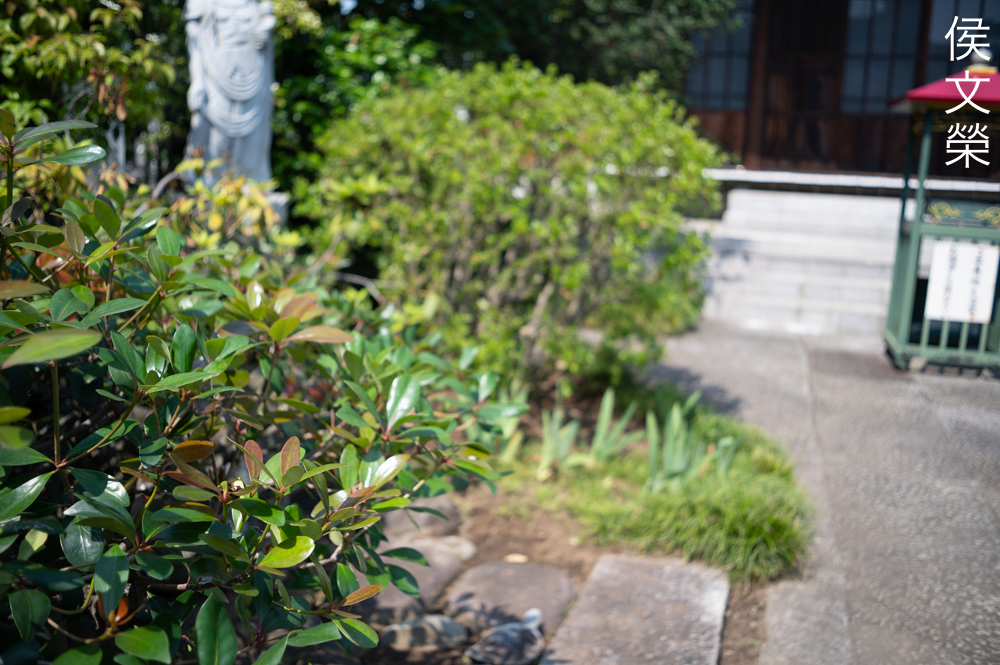
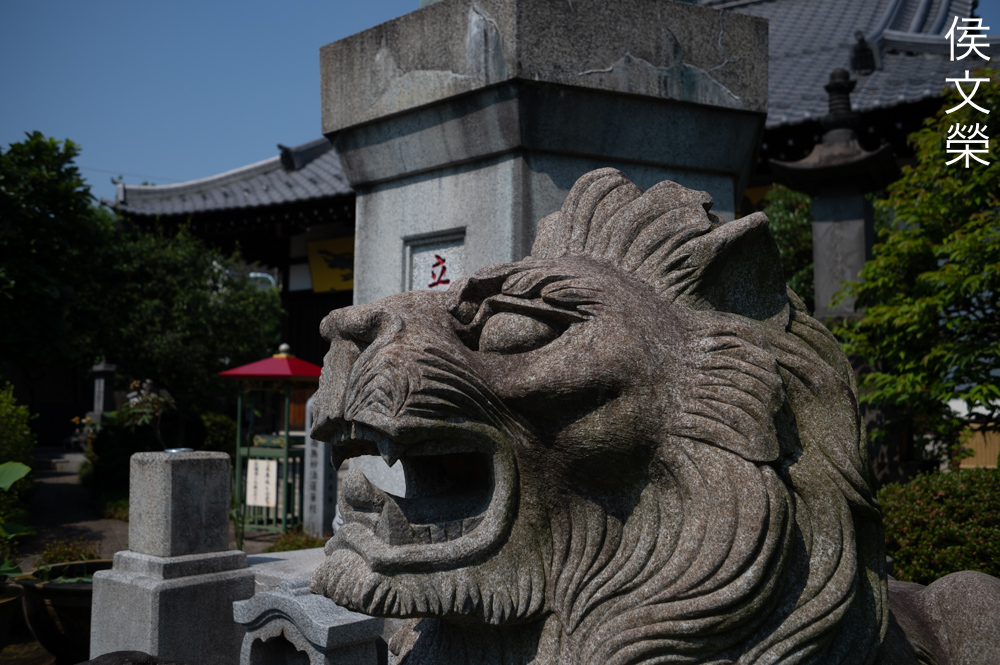
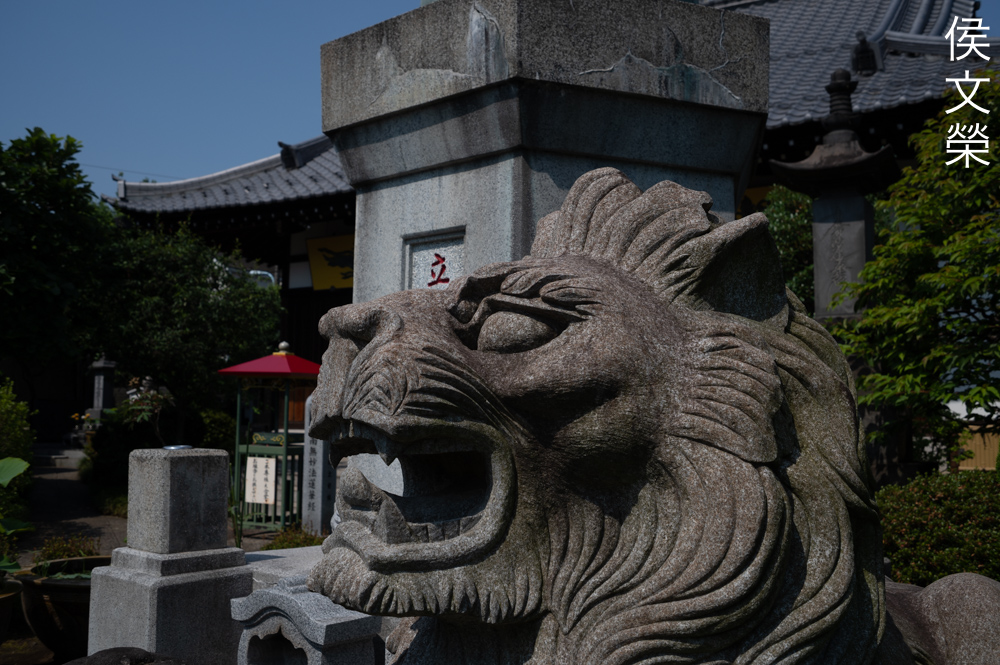
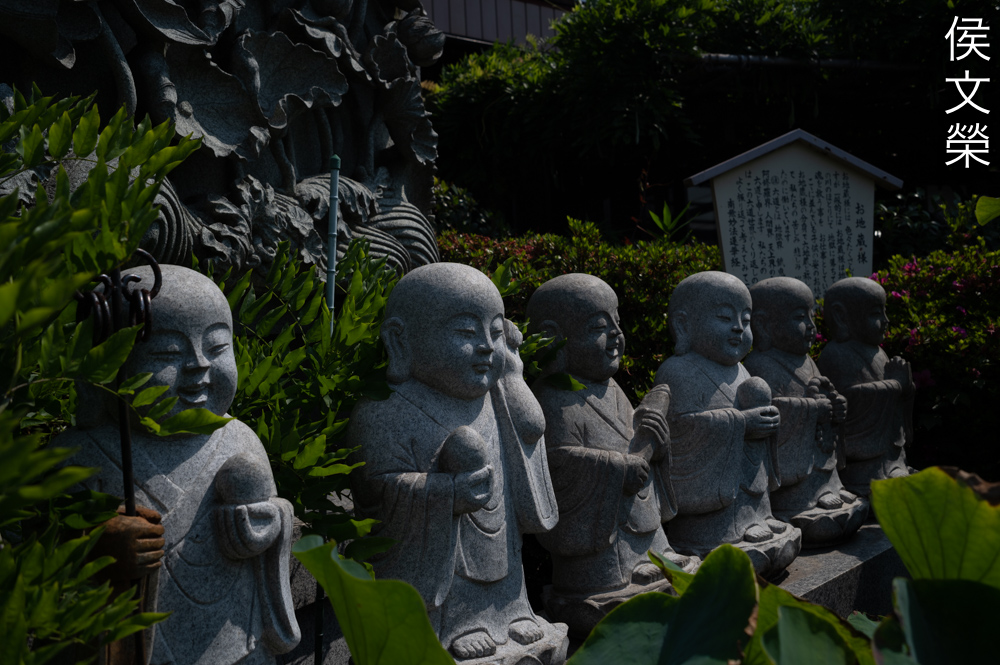
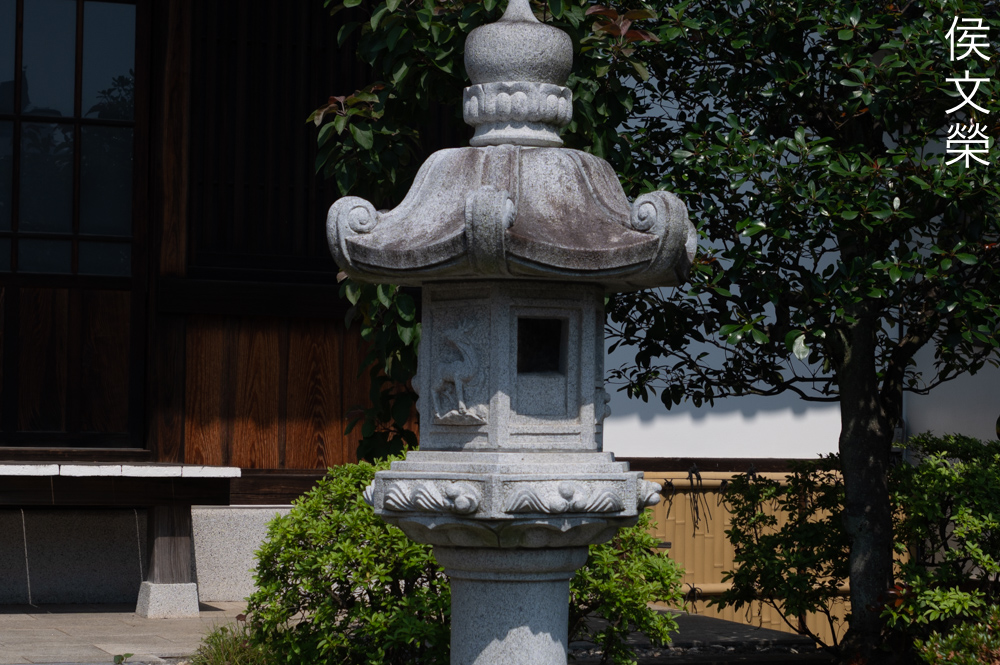
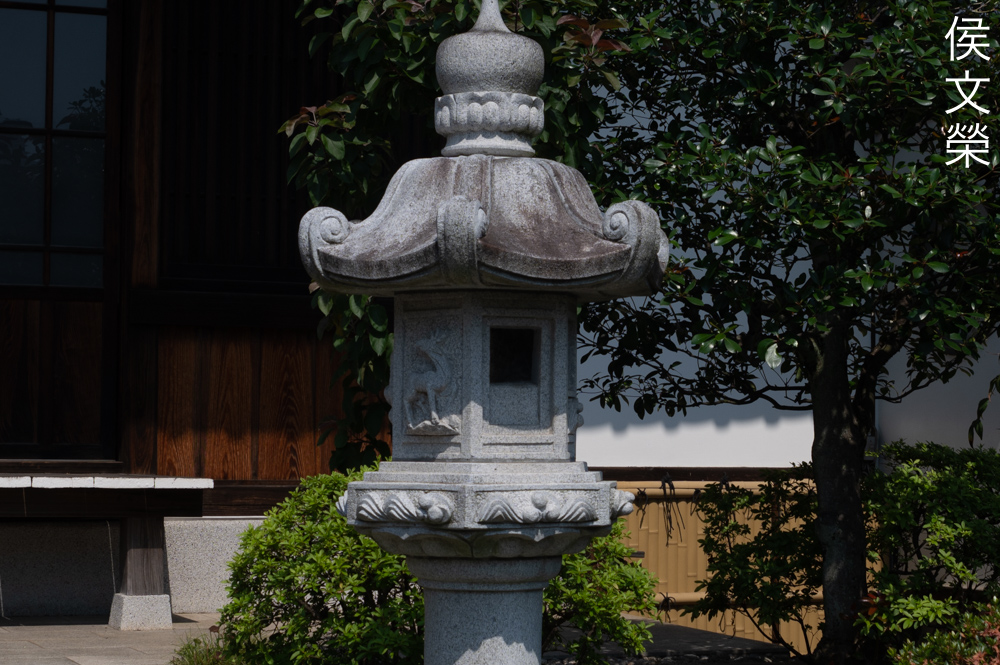
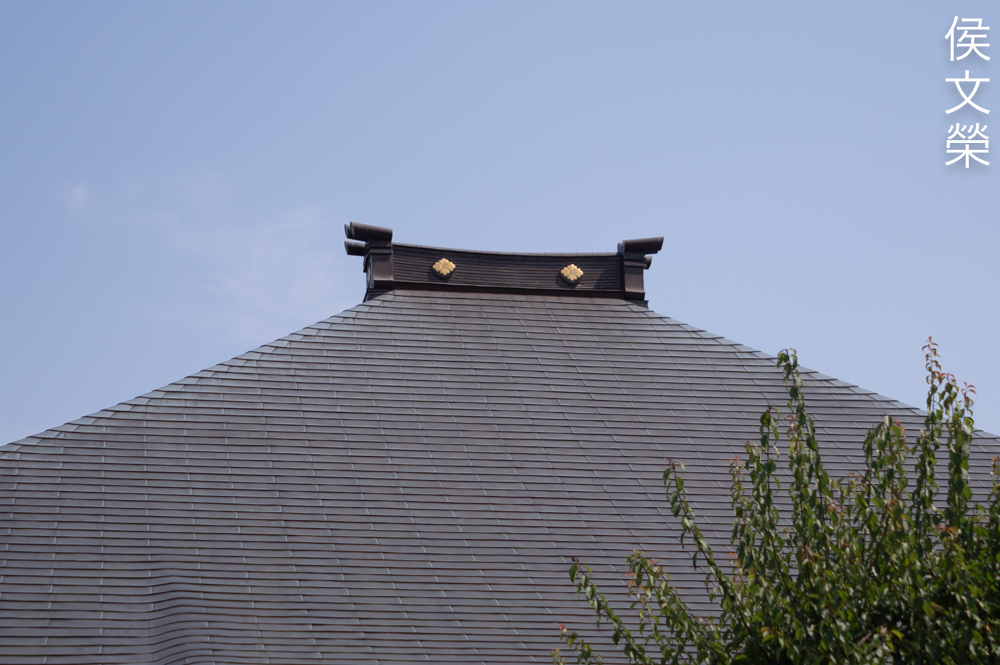
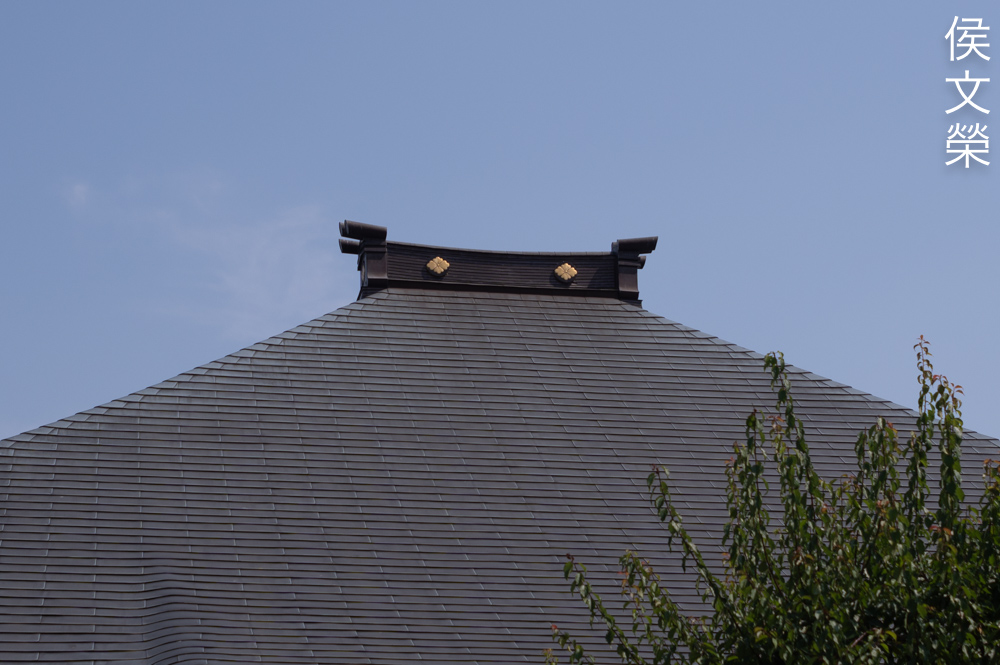
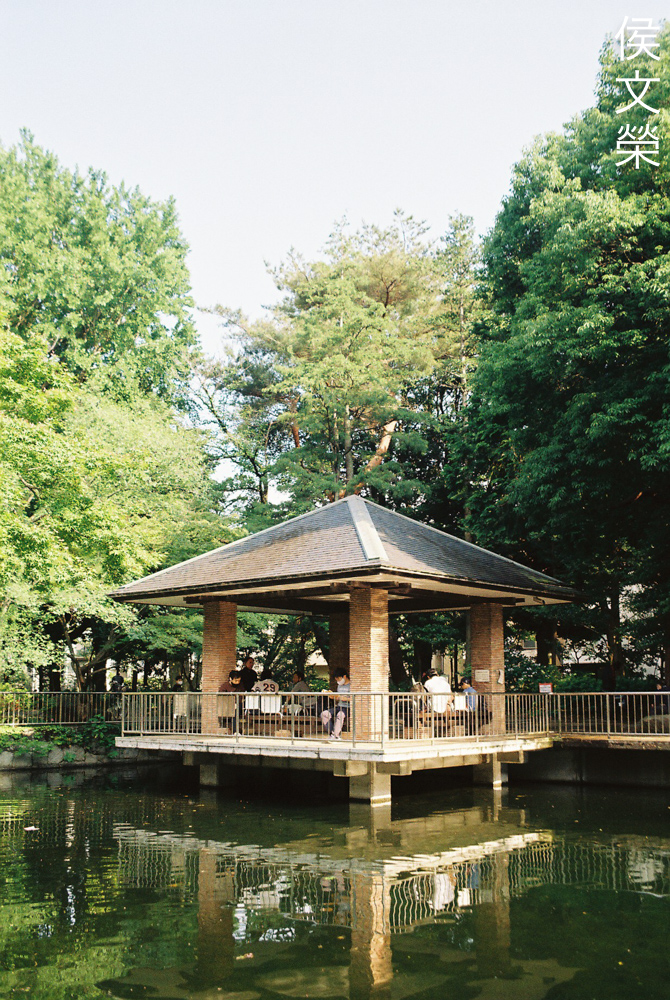
I won’t use this for architecture if you need all the lines to be straight but you could get away with it if you angle your shot. You’ll still see some distortion in this photo but it’s not obvious. I think it’s still good-enough for publishing.
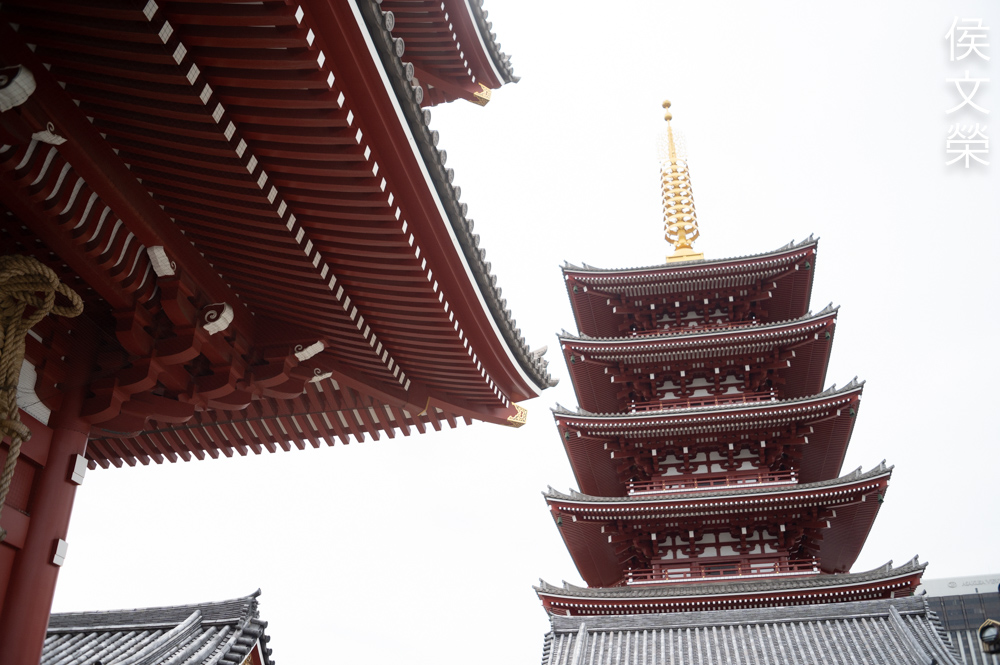
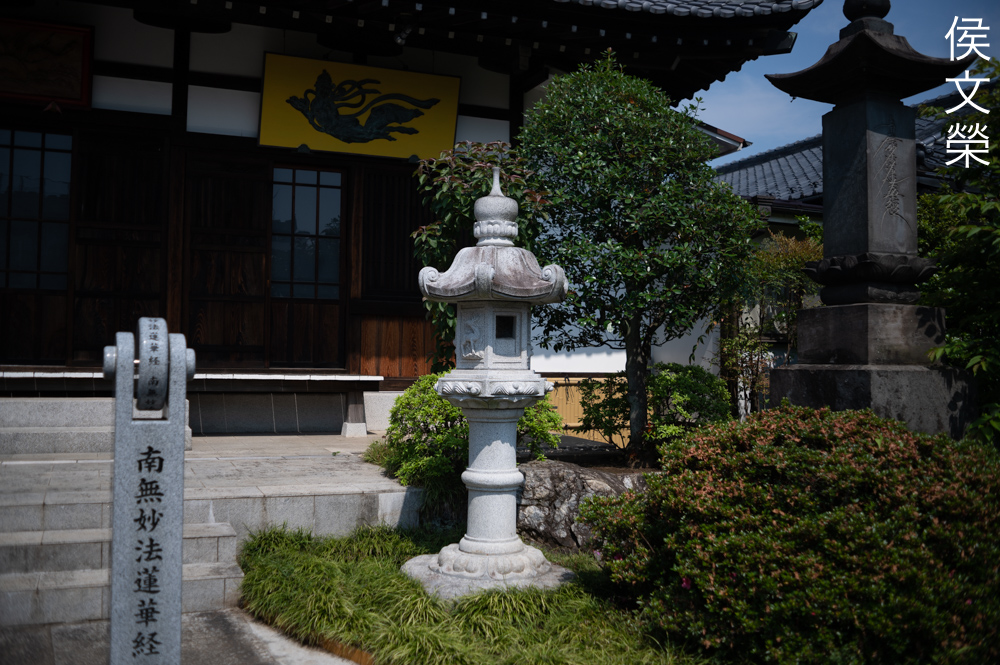
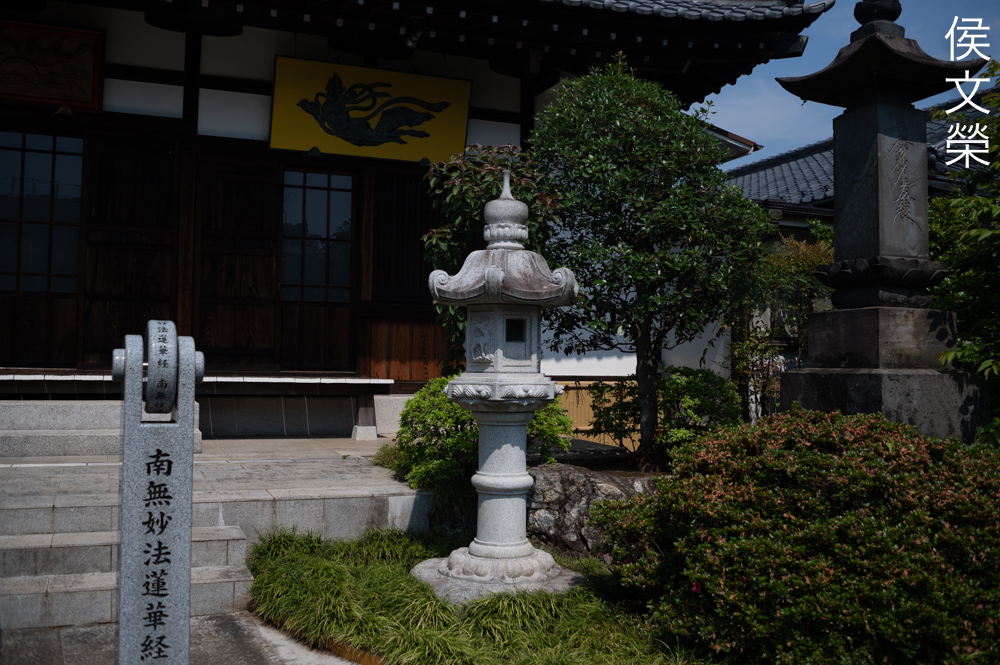
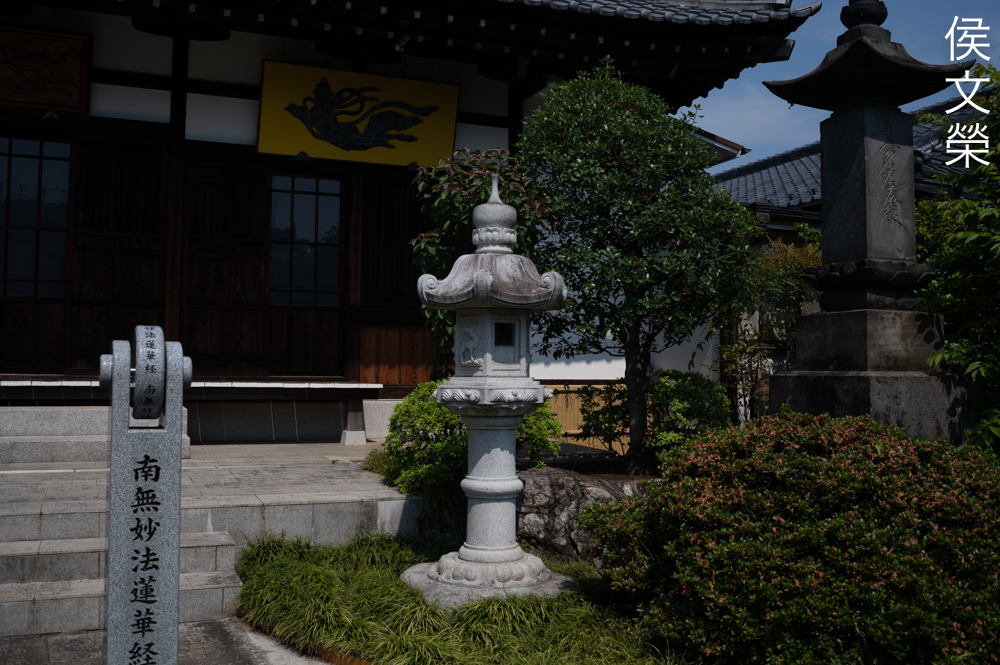
Since the lines of the pagodas’ roofs are curved it’s much easier to hide how the lines curve in this photo.


(Click to enlarge)
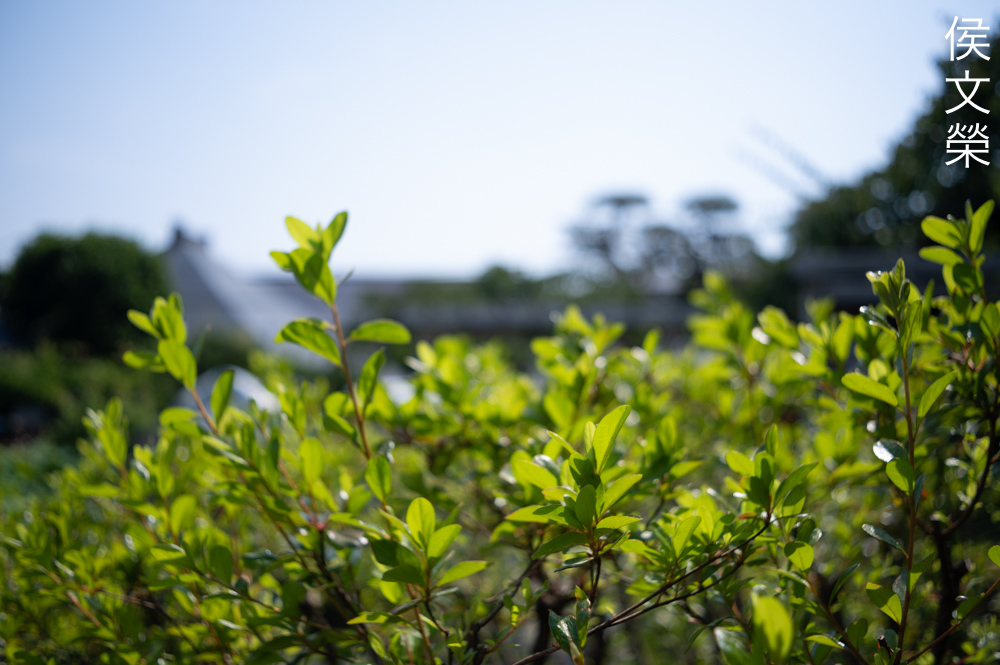
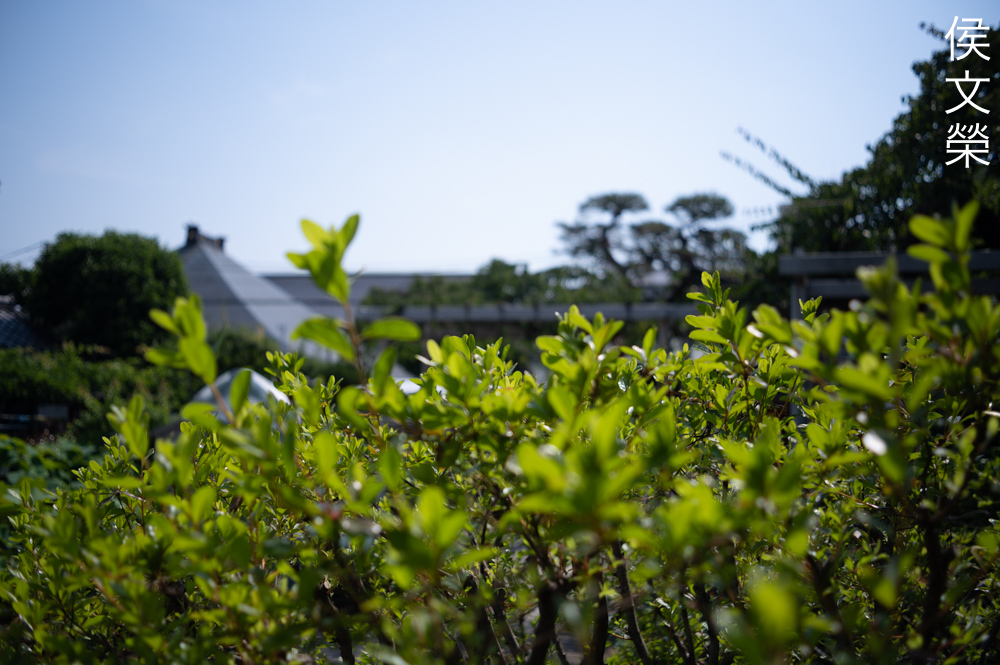
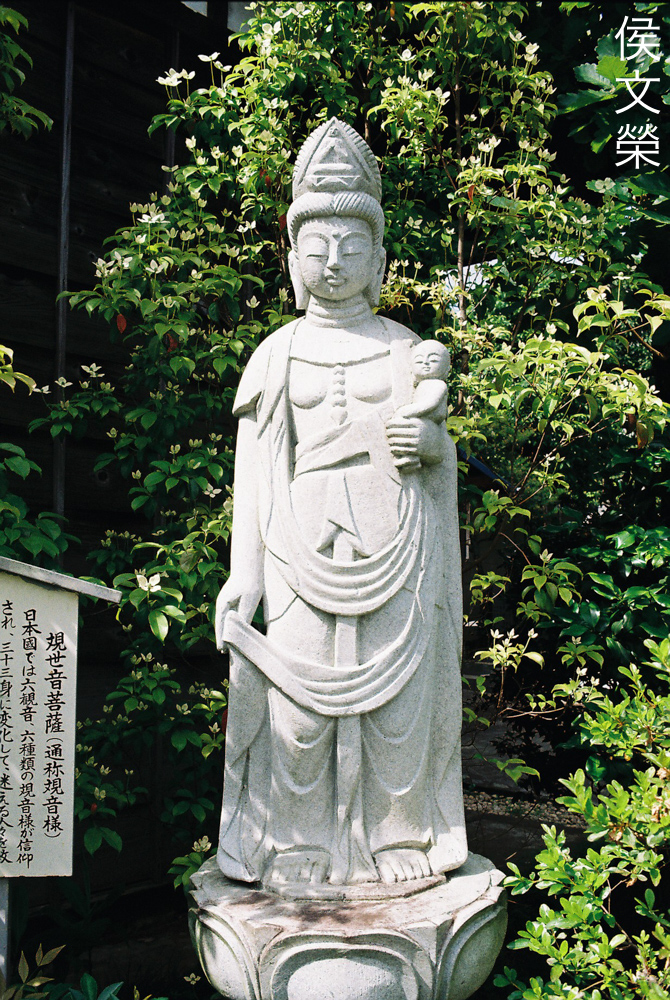
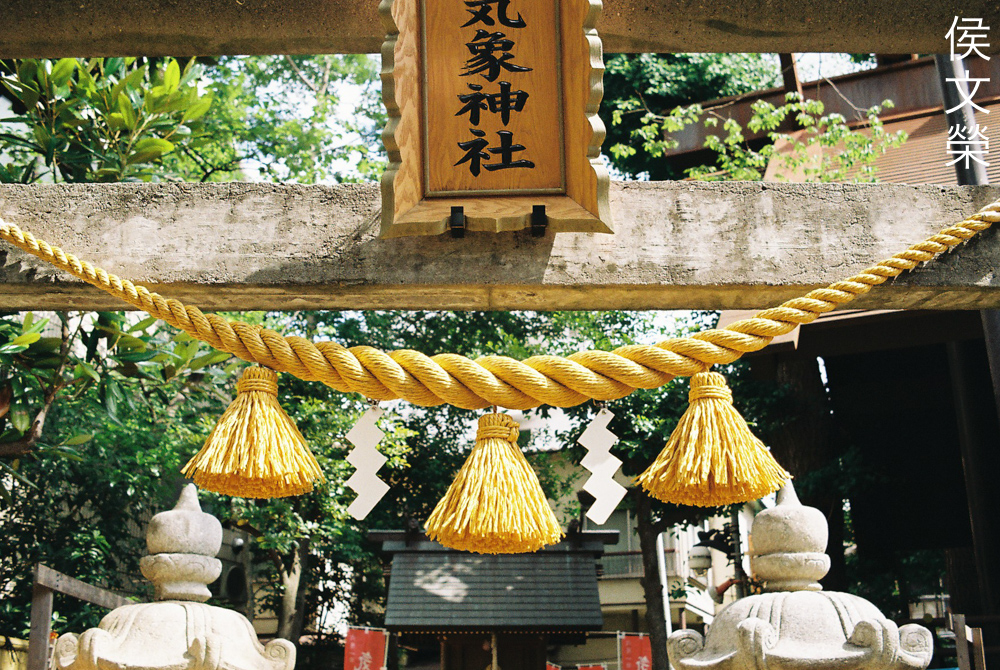
Here are more photos. This is not something that you will want to use when shooting at the dark unless you’re able to shoot with a camera that has good high-ISO performance. This shouldn’t be much of a problem they days as plenty of cameras perform decently in the dark these days.
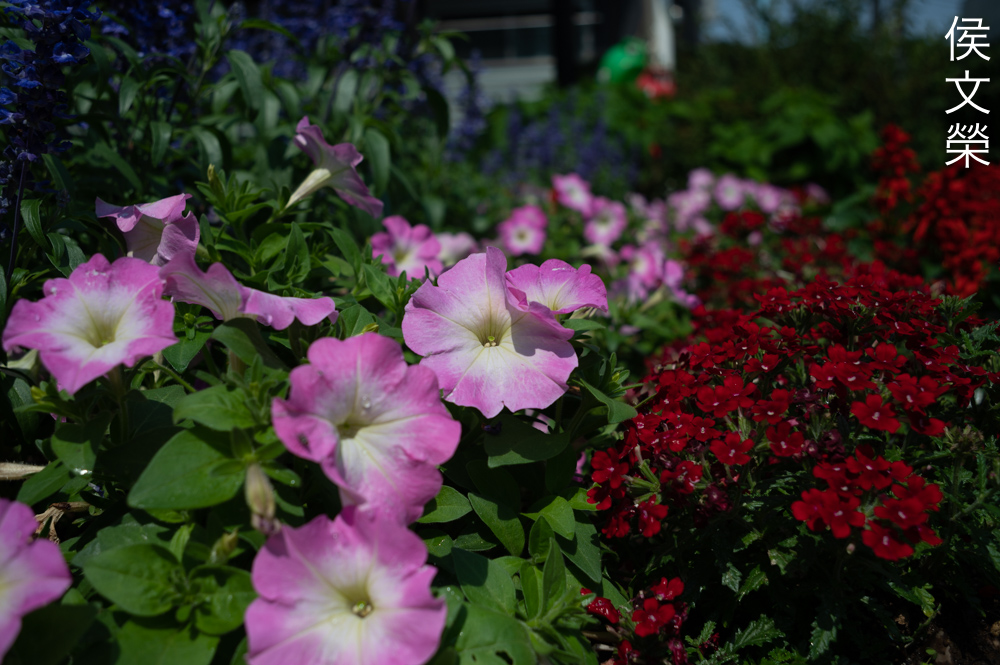
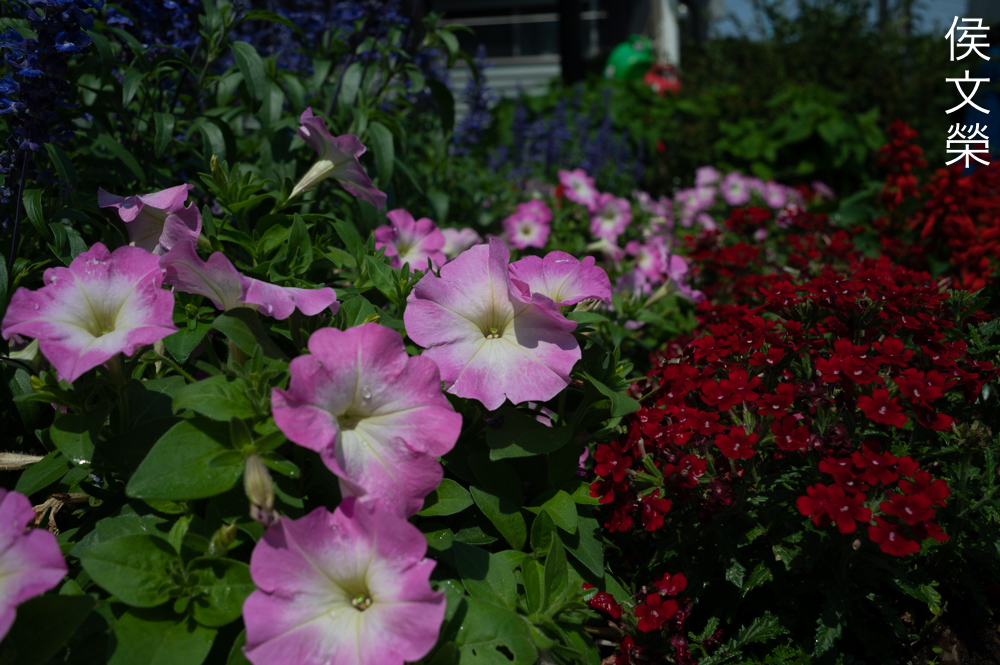
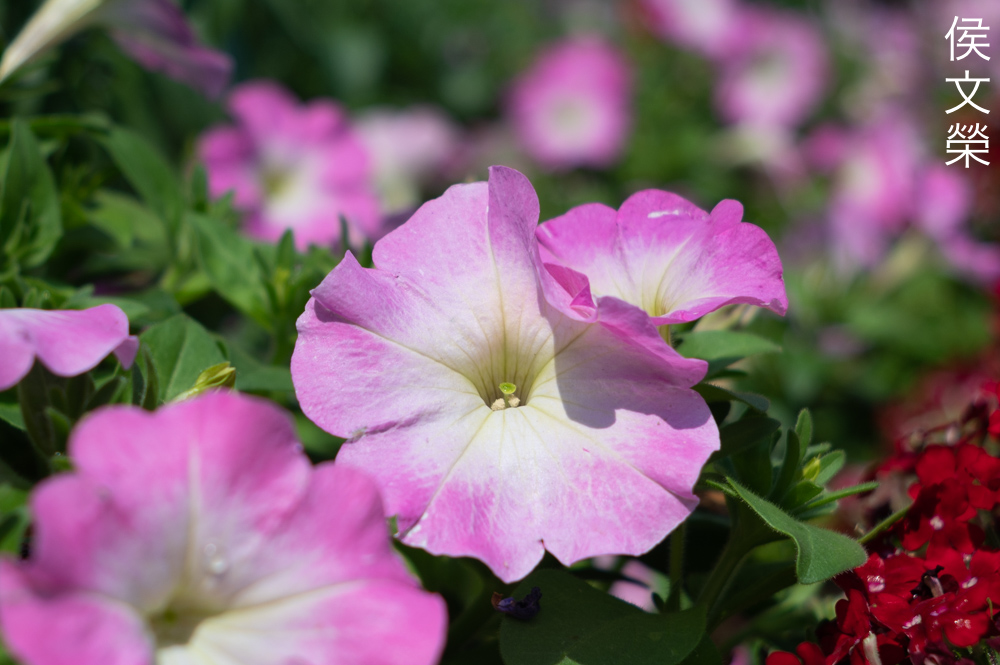
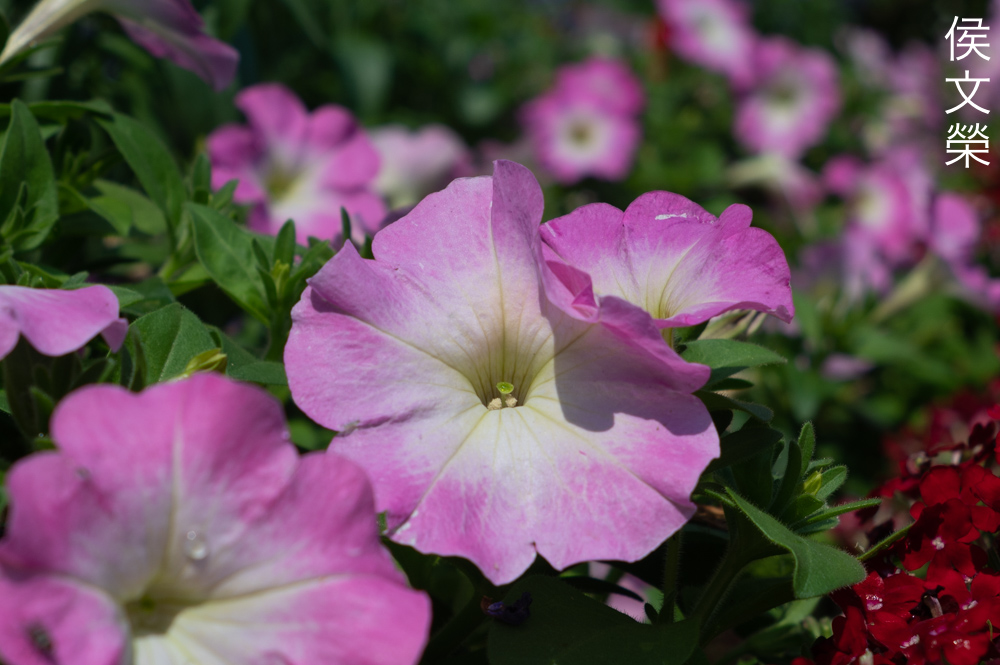
Let’s now check some film photos. Film has a unique look that is hard to simulate with a digital camera thanks to grain. It reacts differently to light, this means that it could mask a lens’ flaws or amplify them. Since this was designed to be used with film, it’s best that we judge this using its intended medium.

It won’t be able to focus really close which is a shame because it limits its usability. We can’t ask too much of it because it’s an old design from 1959.

The character of the bokeh doesn’t look so bad when shooting with film, it’s still not as smooth as I’d like it to be but it is something that I could tolerate more.

You won’t want to use this for lowlight situations even when using an ISO800 stock because you could not make the most out of the film’s speed so I recommend using this lens exclusively with slower stocks on a sunny day.

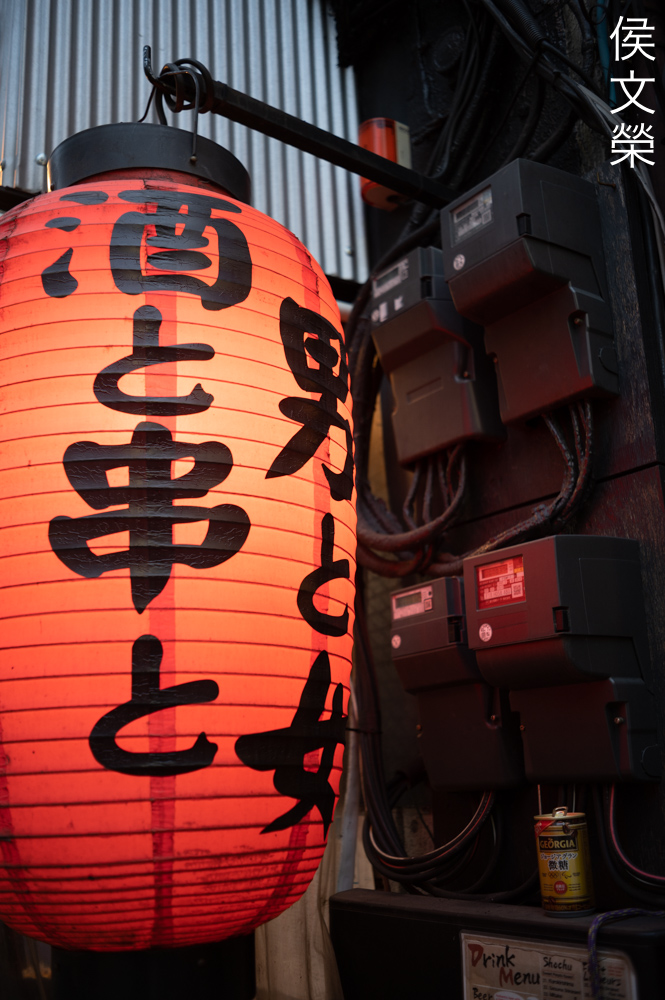
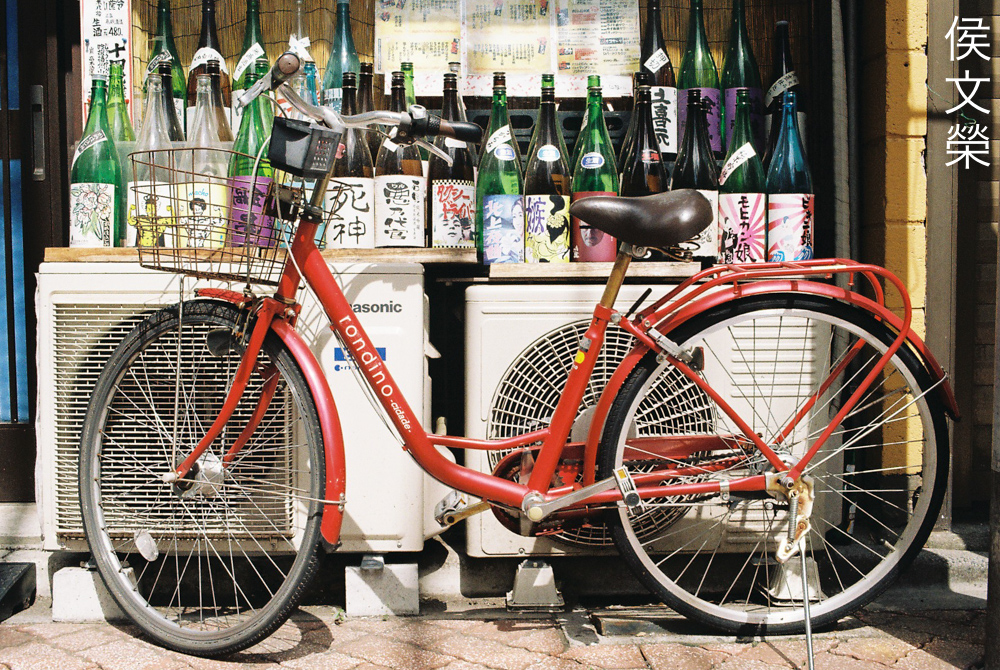
It is a good walkaround lens for documenting your neighborhood so you’ll know how the brothel down the road looks like after several decades.
Unlike postwar Carl Zeiss lenses it doesn’t have “something special” to its rendering but it’s appealing enough. Tonality is nice but it has somewhat of a higher contrast than what I’d actually prefer.
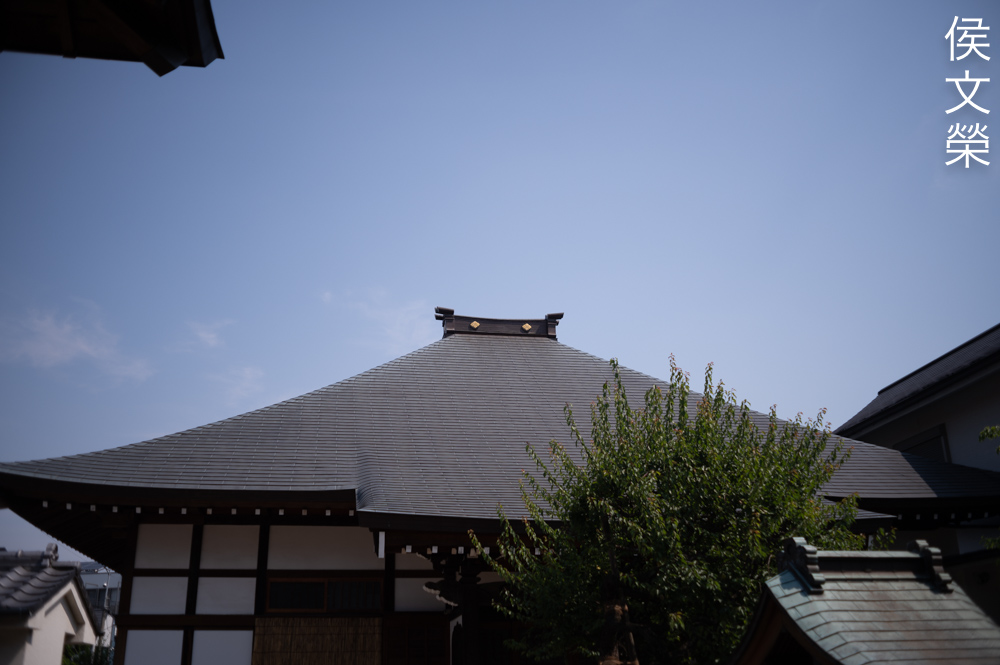
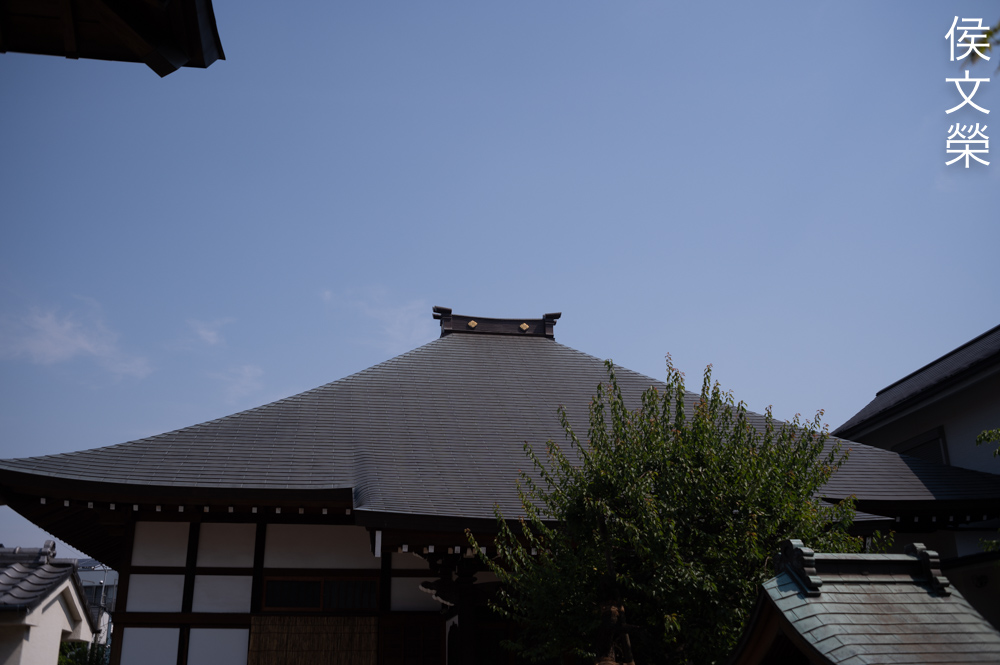
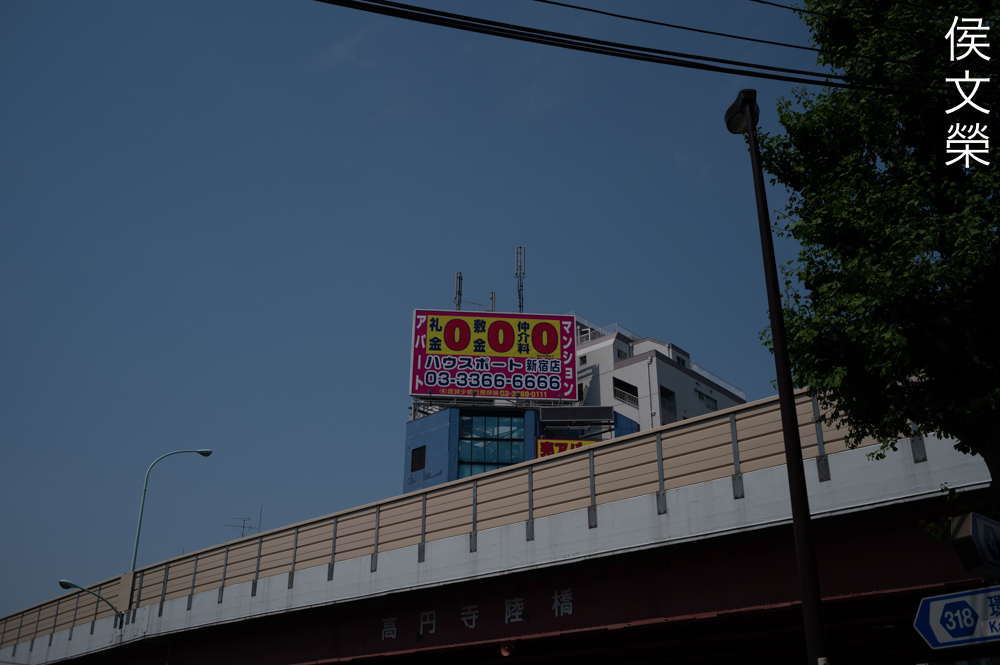
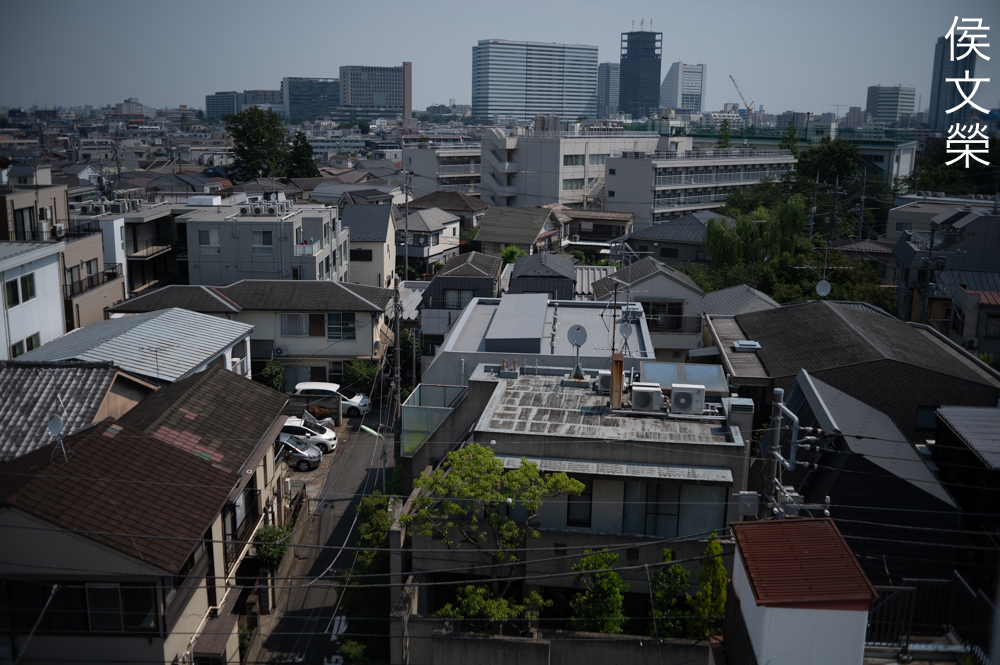
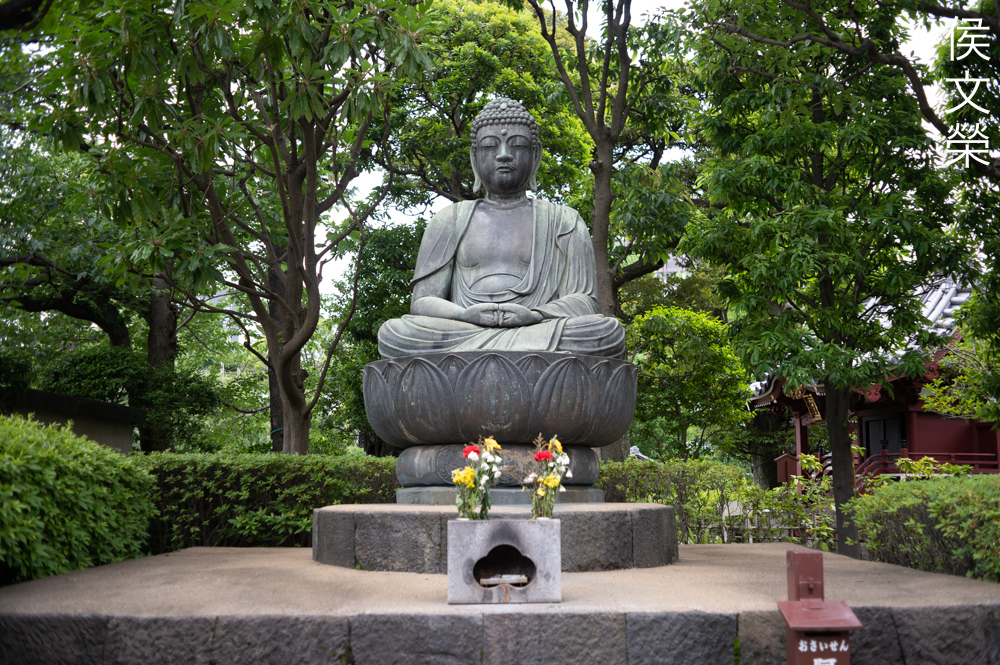
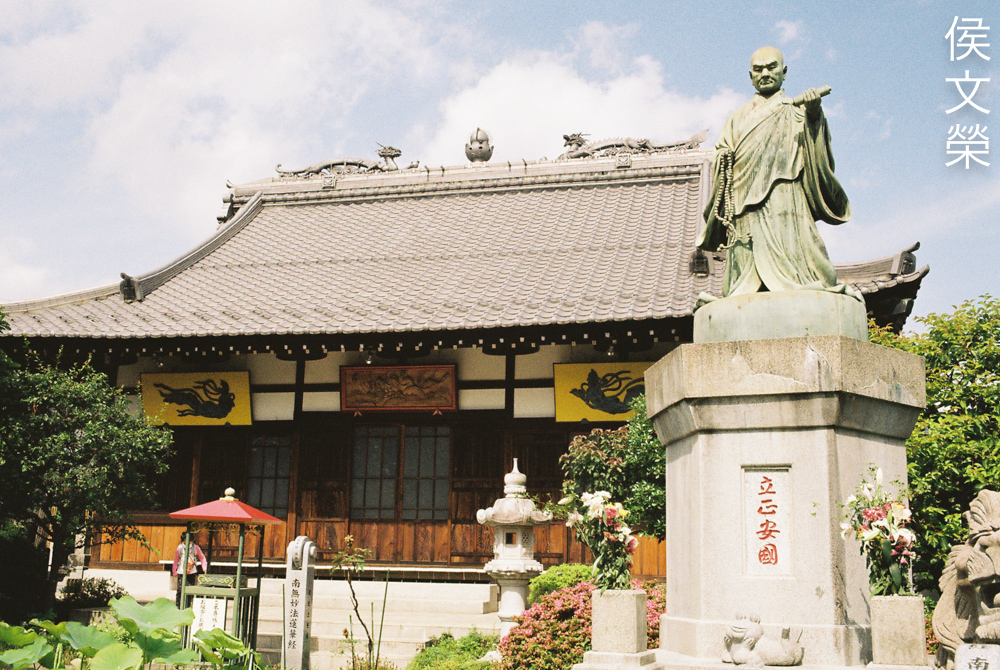
It definitely produces acceptable architectural photos, good-enough for print so long as you’re aware of its limitations.


(Click to enlarge)
This is a nice lens for shooting with film, I think it performs better with it compared to digital. It’s best to shoot this with a slow film on a sunny day so you could stop the iris down a bit which makes the periphery of the lens sharper. I think it performs best from f/8 up until f/11 when shooting with film, you’ll also get the benefit of a wider depth-of-field.
This is a nice lens for people who want a cheap M42 35mm lens. It’s still a nice lens today and will enable you to take a lot of great photos so long as you’re familiar with its quirks. These are cheap, you could even find one for $15.00 when you’re lucky. You’ll most likely see these from $25.00 up to $80.00 depending on the condition, even mint ones should only cost less than $80.00, complete with everything. When looking for these be sure that the optics are clean and the rear and front elements shouldn’t be scratched which is a common issue with these lenses. The iris should be dry and snappy when actuated. It’s common for these to have the oily iris problem and you’ll see why later. Operate the rings, they should turn smoothly and evenly throughout its range. Switch between automatic and manual modes, you should be able to operate the iris properly in both cases and it should never be sluggish when you actuate the pin at the back. This is not a rare lens at all and you should be able to find one easily, happy hunting.
Before We Begin:
If this is your first attempt at repairing a lens then I suggest that you see my previous posts regarding screws & drivers, grease and other things. Also read what I wrote about the tools that you’ll need to fix your Nikkors.
I suggest that you read these primers before you begin (for beginners):
Reading these should lessen the chance of ruining your lens if you are a novice. Before opening up anything, always look for other people who have done so in YouTube or the internet. Information is scarce, vague and scattered (that is why I started this) but you can still find some information if you search carefully.
I highly recommend that you read my working with helicoids post because this is very important and getting it wrong can ruin your day. If I can force you to read this, I would. It is that important!
For more advanced topics, you can read my fungus removal post as a start. It has a lot of useful information, it will be beneficial for you to read this.
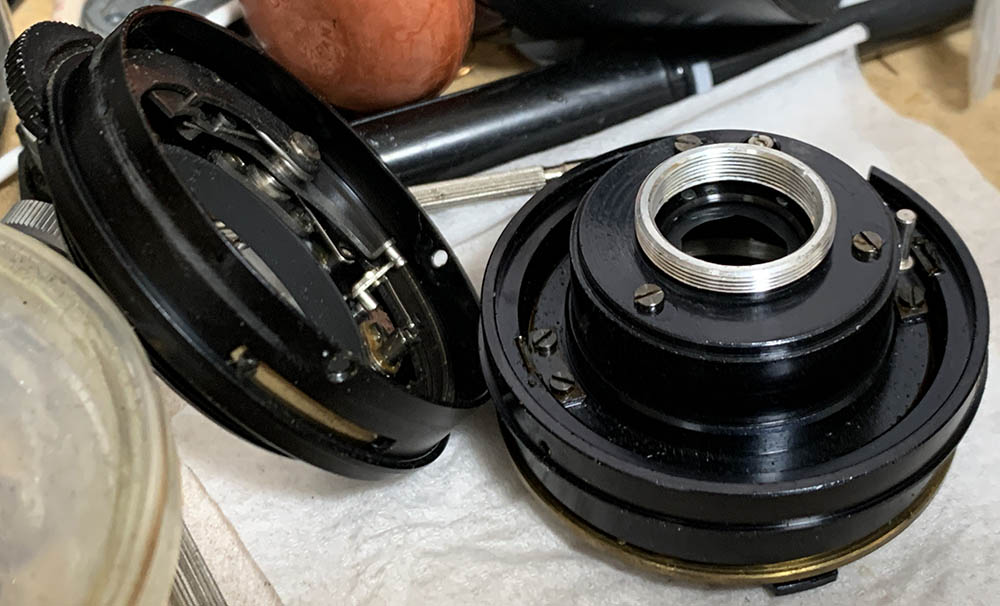
Disassembly (Main Barrel):
Servicing this lens isn’t difficult if you’re an experienced repairer. You’re able to follow the standard procedures such as removing the optics first then working on the rest of the barrel. However, there are a few things that you should know and I will show you what they are here in this article. We’ll have to bypass some of the standard steps so I will separate this section into several parts.
You’ll need specialized tools to repair this successfully so this is not recommended as a project for beginners. If you’ve collected a couple of basic tools and experience then this is probably a nice lens to consider if not then just send it to a qualified repairer so you won’t ruin this and end up with a bag of parts that you couldn’t put back.
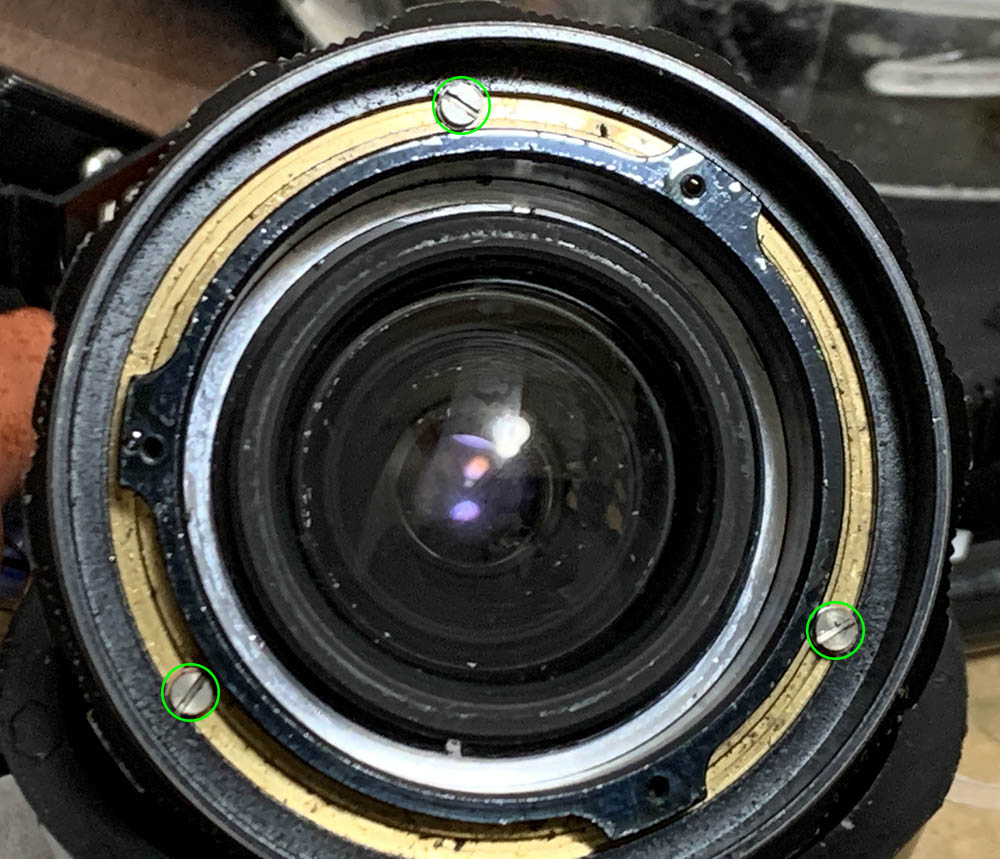
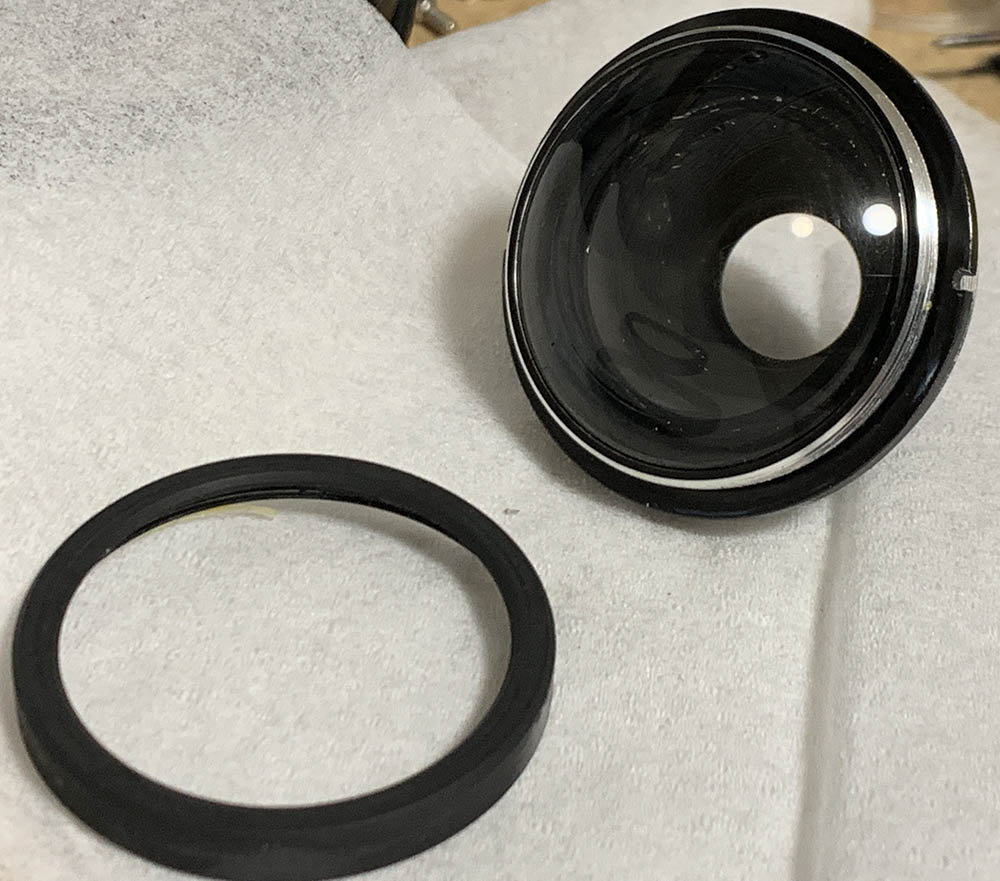
Carefully remove the bezel with a rubber tool, this should not be difficult to remove.
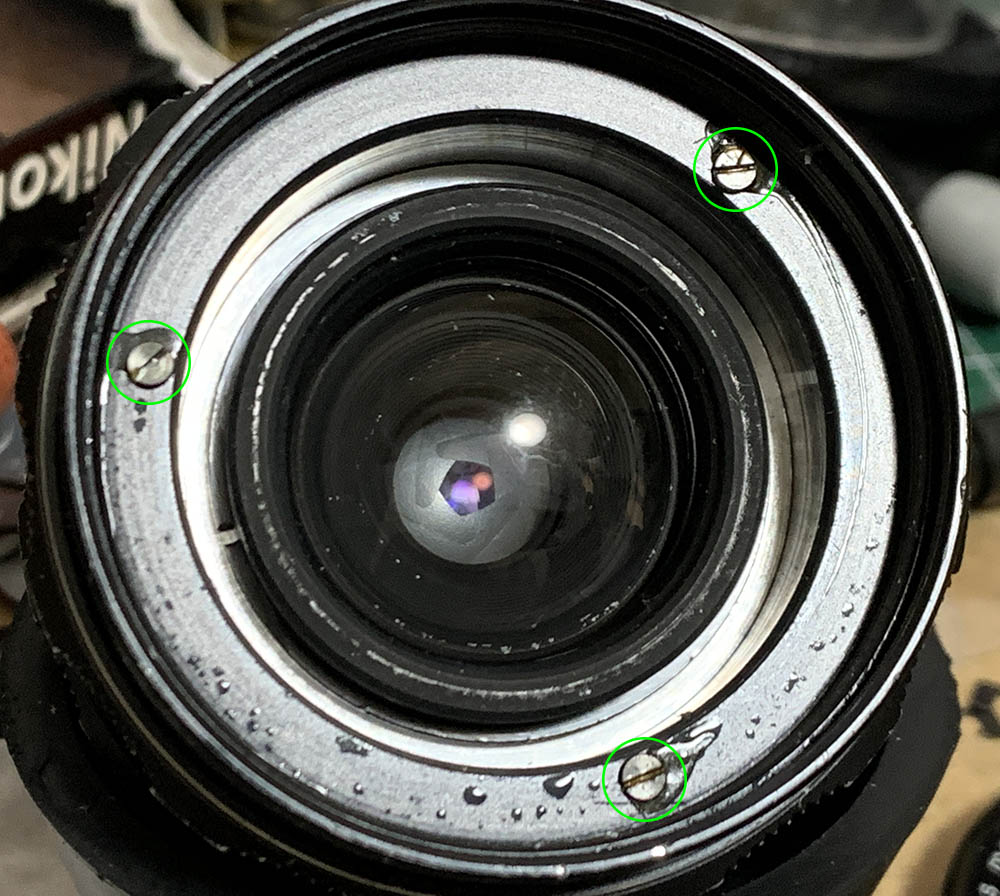
Carefully extract these in order to remove the front barrel.
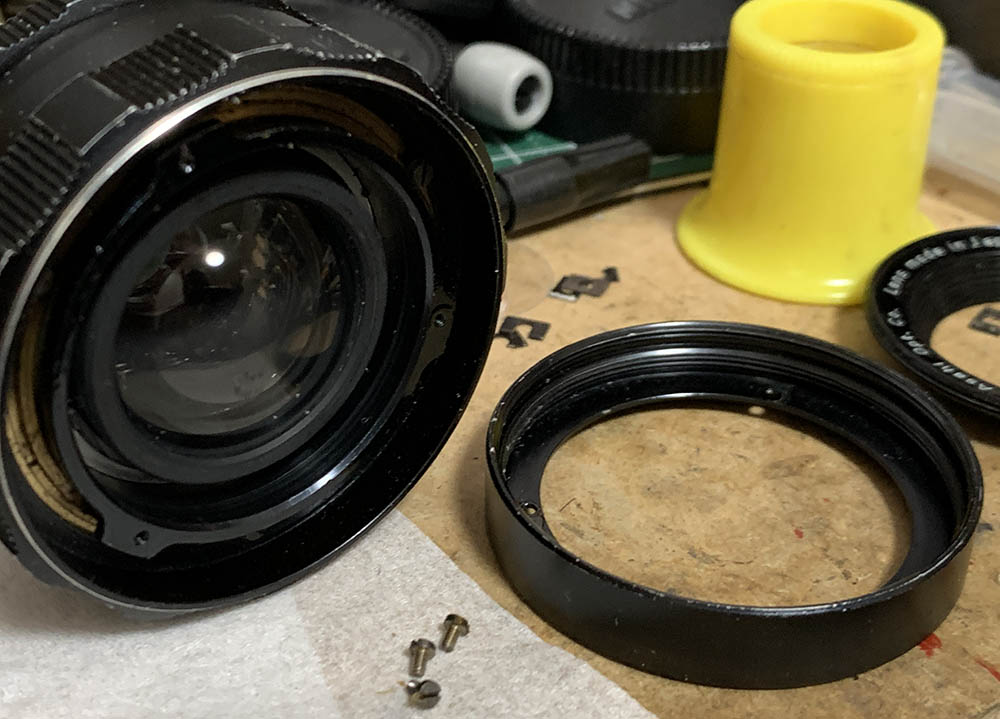
Pull it off once the screws are gone.
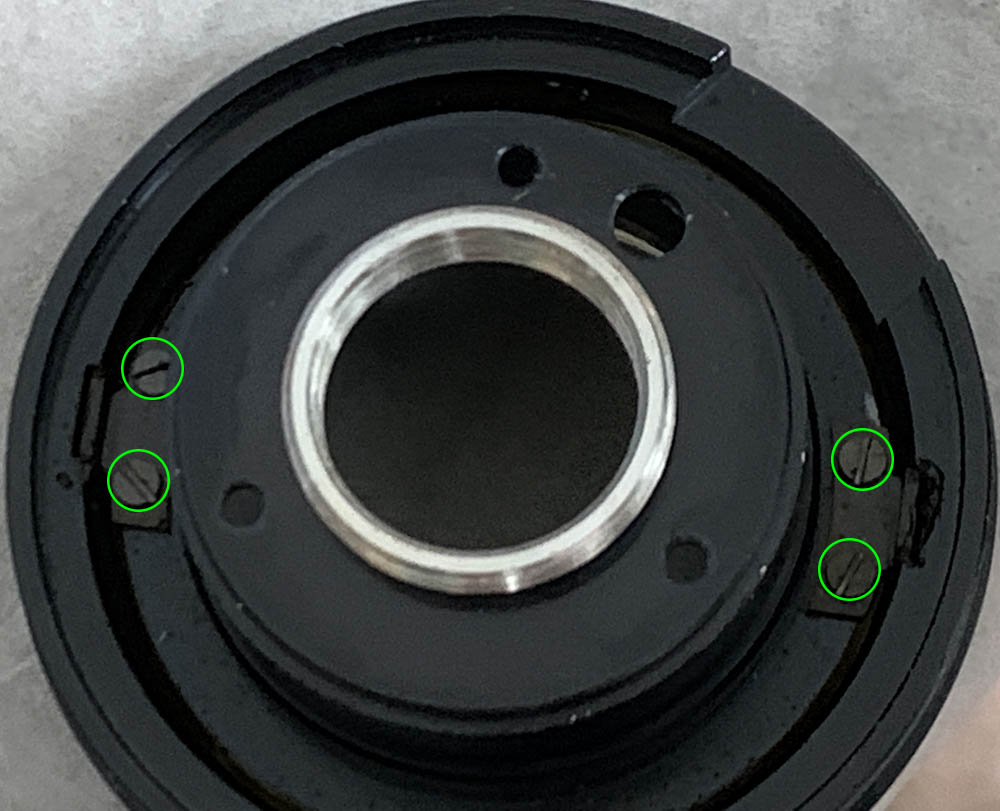
These screws secure the focusing ring. Take plenty of notes before you remove these so you will know the approximate alignment of the focusing ring and the helicoid.

Do note that there’s a washer underneath each screw, do not lose any of them.
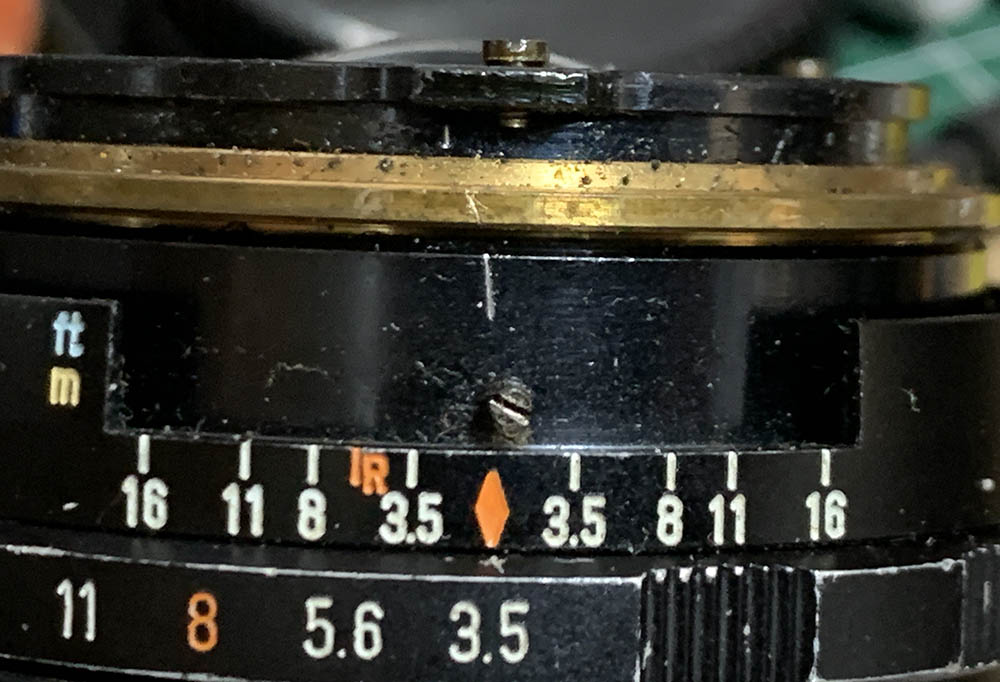
Remove the focusing ring while the lens is focused at infinity and be sure not to disturb the alignment of the helicoids, this will allow you to scratch a few lines in the helicoids’ outer surface so you’ll know their alignment at infinity.
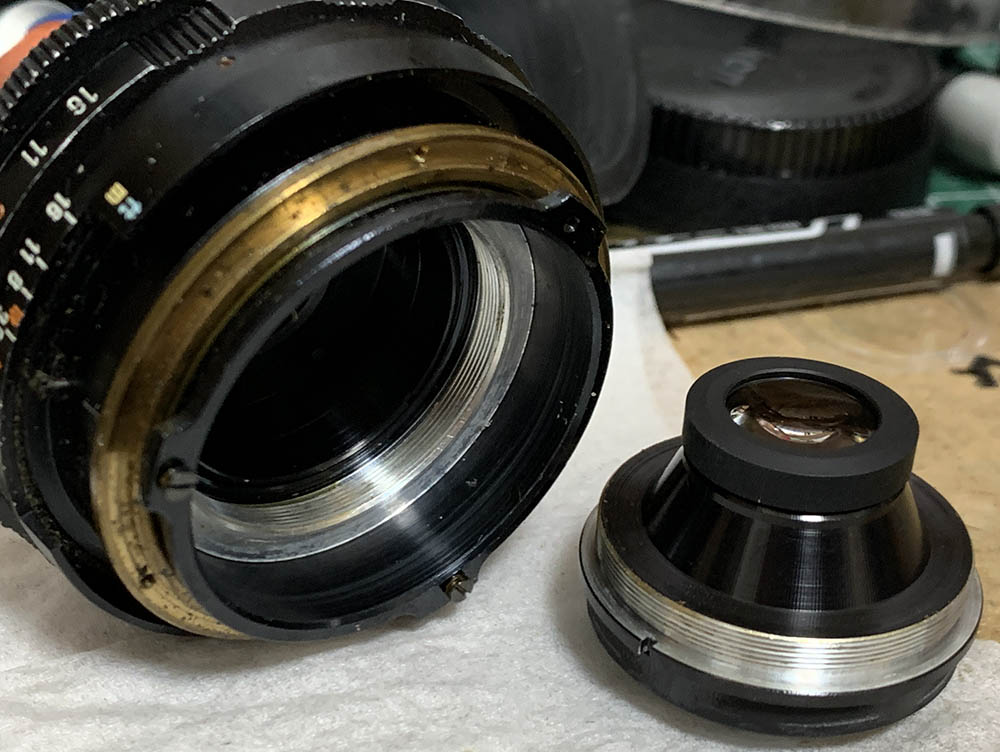
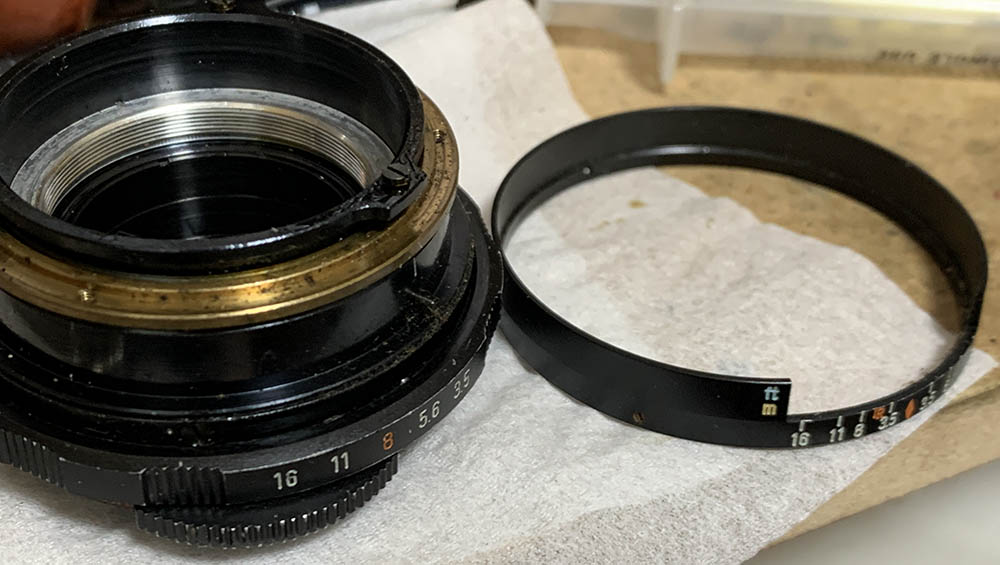
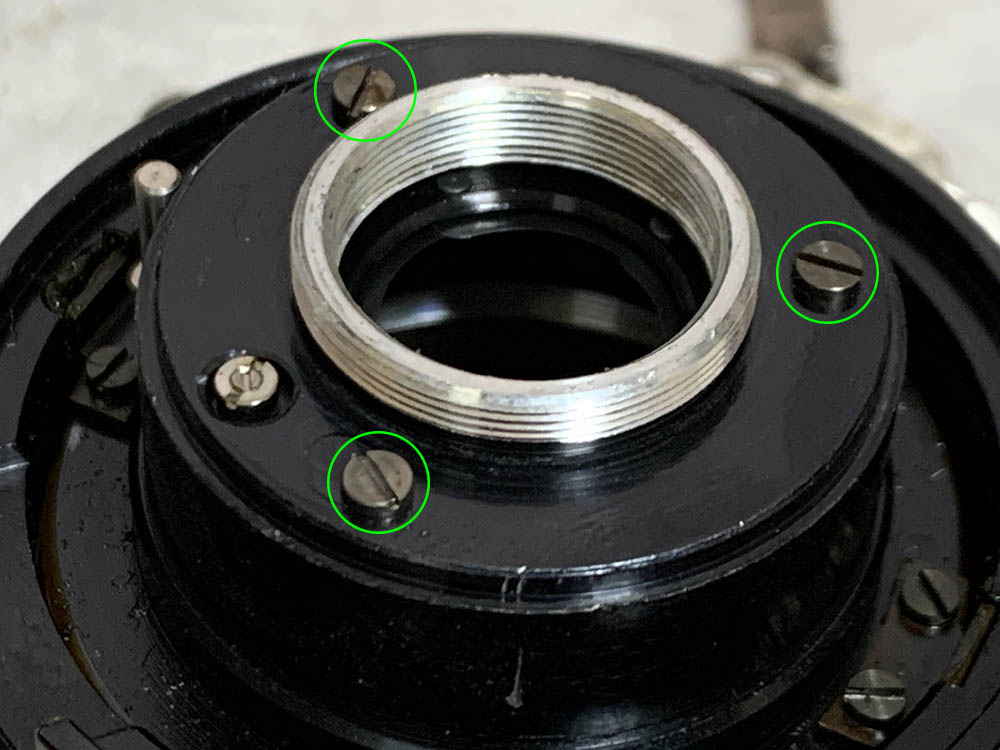
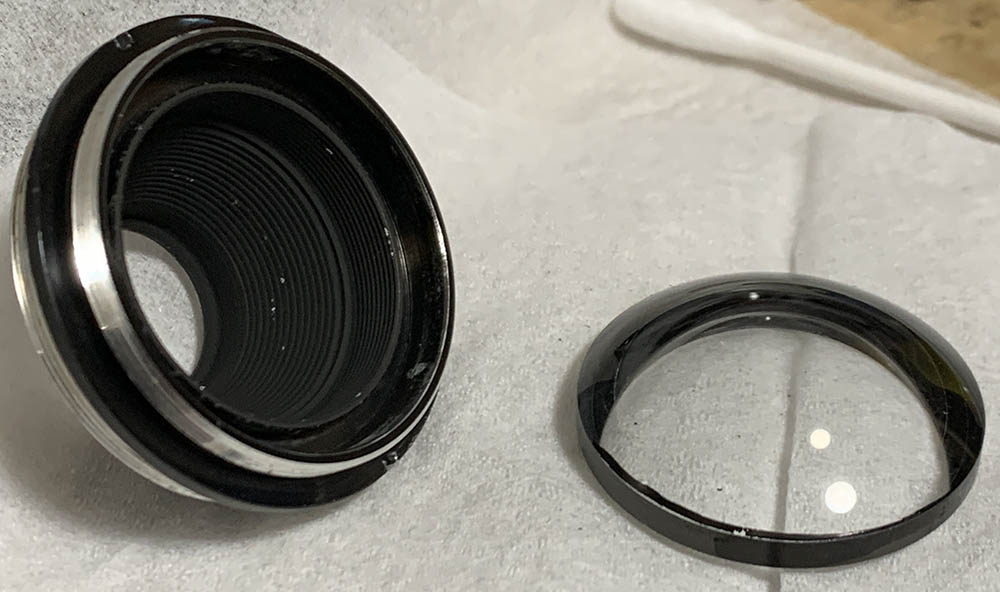
Use a lens spanner and carefully unscrew the front optics assembly. You could do this a lot earlier but I just did it at this point.

Unscrew the rear baffle so you can access the rear optics assembly.
The whole assembly can be easily unscrewed with a rubber tool, be careful not to scratch the glass.
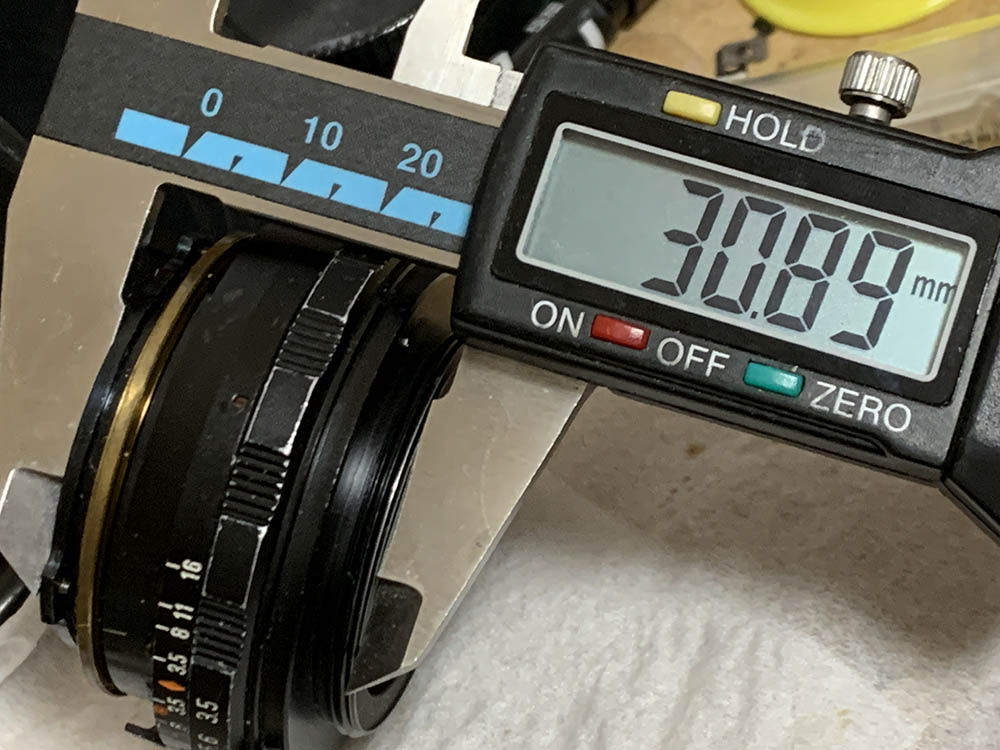
This is also a good time to measure the height of the barrel once it’s set to infinity. You should be able to recreate this, it’s fine if it’s off by a bit but your results should not be too different from this.
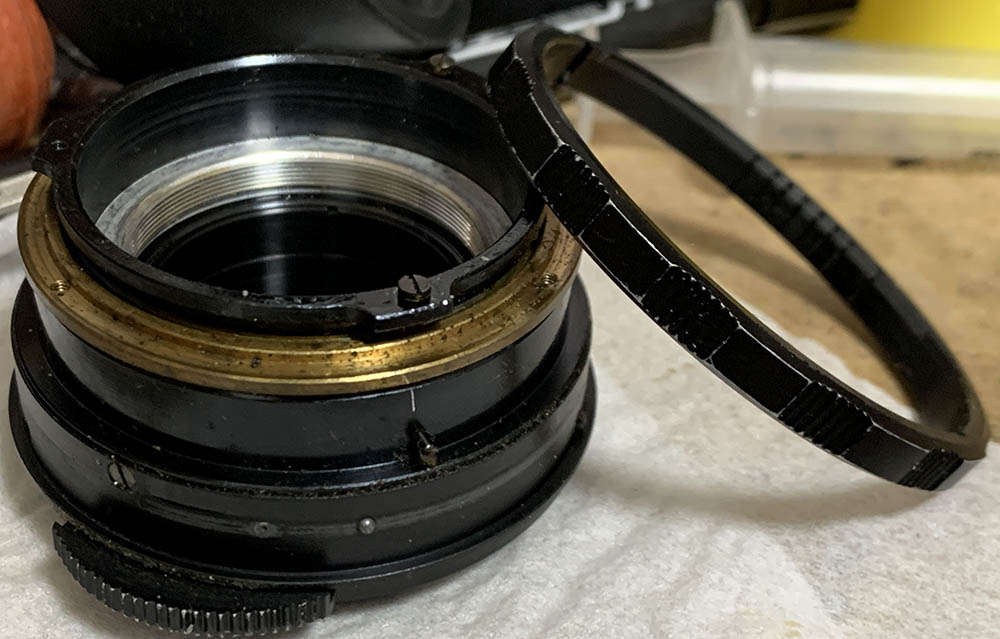
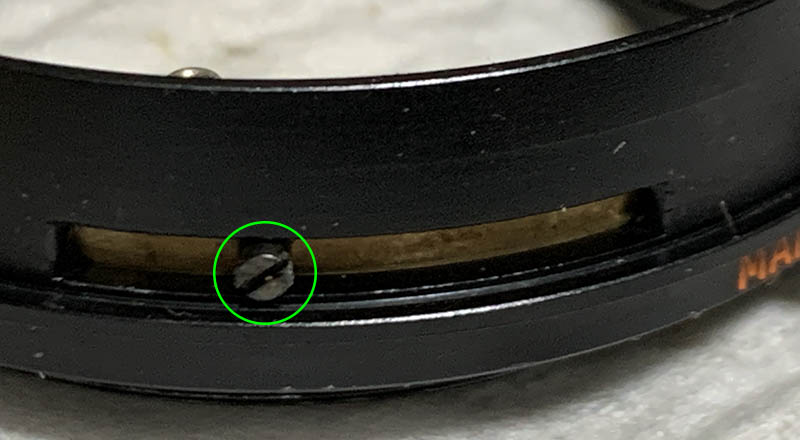
Loosen the set screws of the sleeve and pull it off from the rest of the barrel.
Pull the aperture ring off but you should be careful about the tiny ball for the aperture-clicks, it’s spring-loaded.
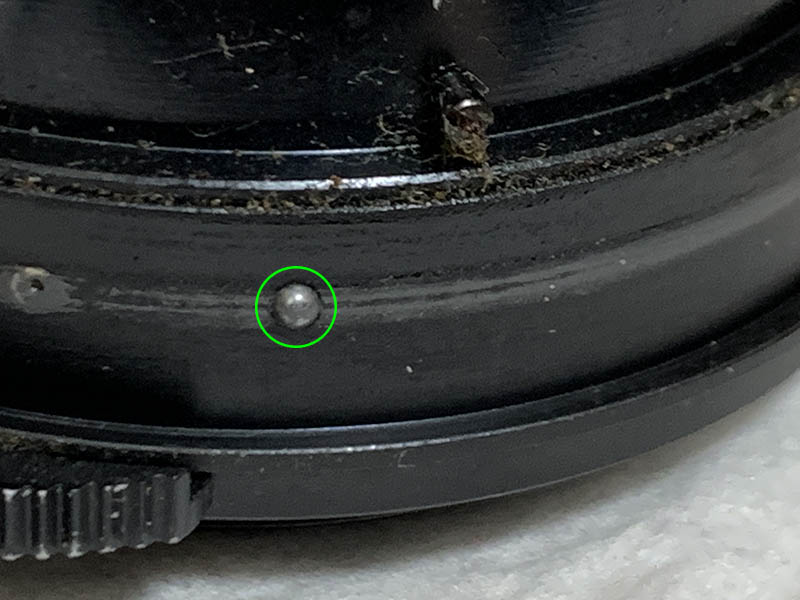
This is the tiny ball, remove it carefully and don’t lose this thing.

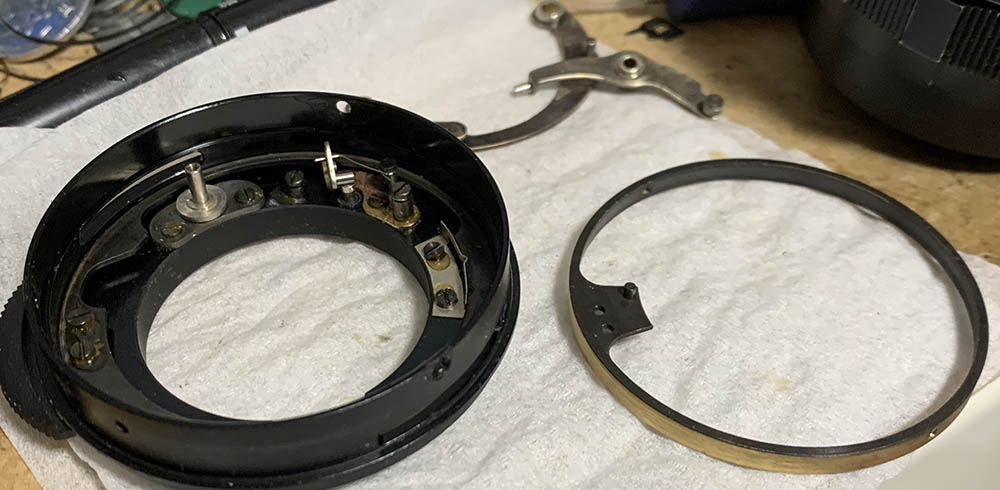
Locate and extract these to remove the helicoids from the base.
Pull the helicoids off from the base, this shouldn’t be stuck.

Study how the actuator mechanism works, depress the arm and see how the pivots work. This will help you later when it’s time to put things back together, that is if you’ve decided to dismantle all this.
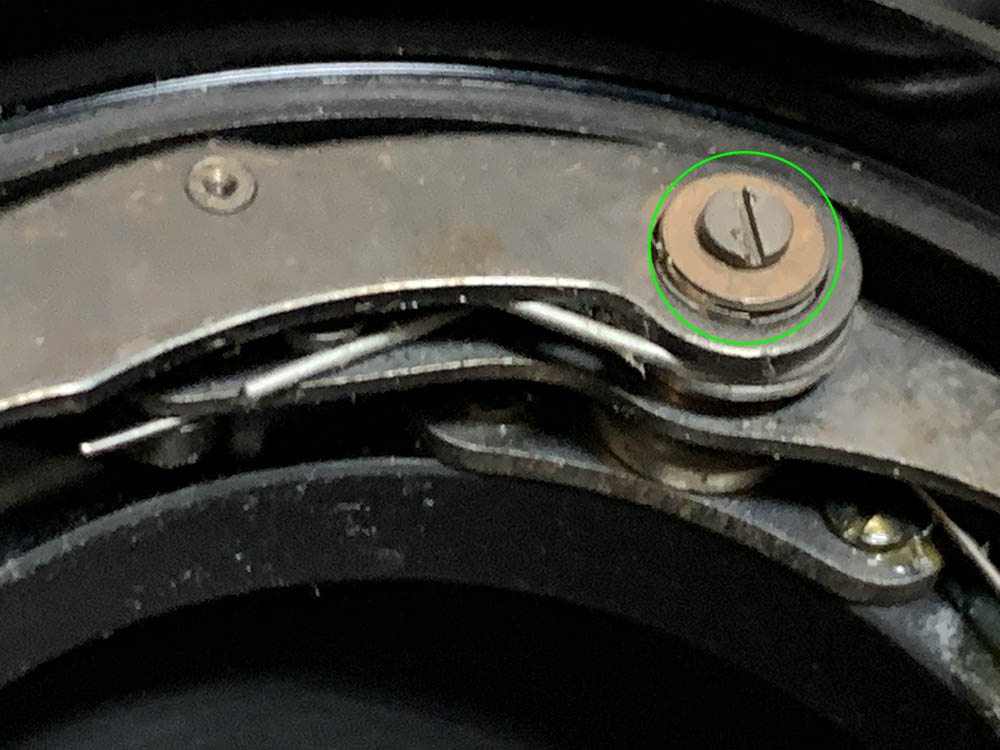
Carefully extract this so you could dismantle the actuator-arm assembly.

Be careful when you remove this assembly so you won’t lose anything like washers and springs. Here’s one tip, it’s a lot easier to put this thing back as a single unit.
Be careful not to dislodge this spring. Clean this area very well so things operate smoothly.
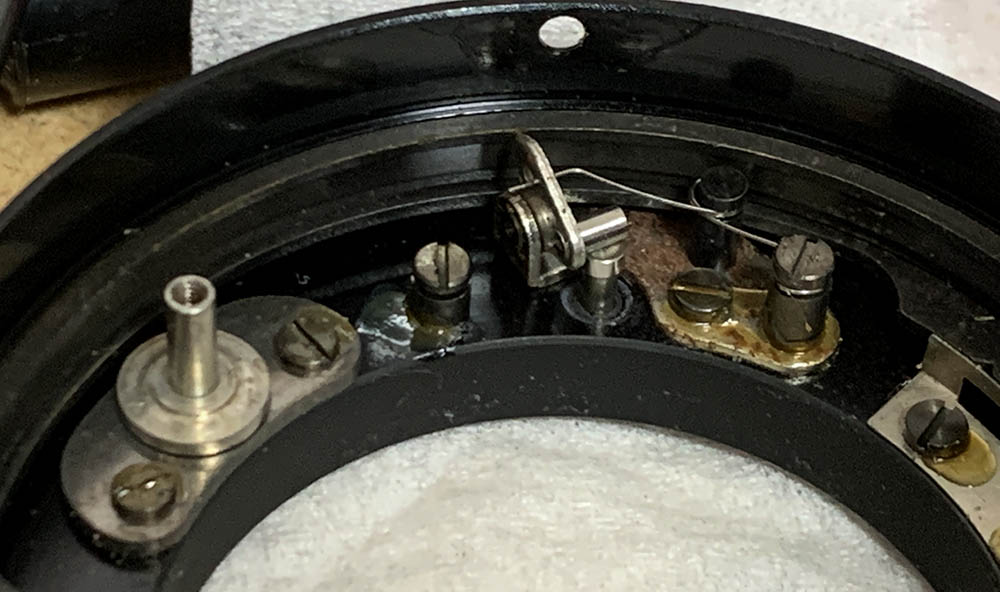
Extract these to remove the tab for the A/M switch.
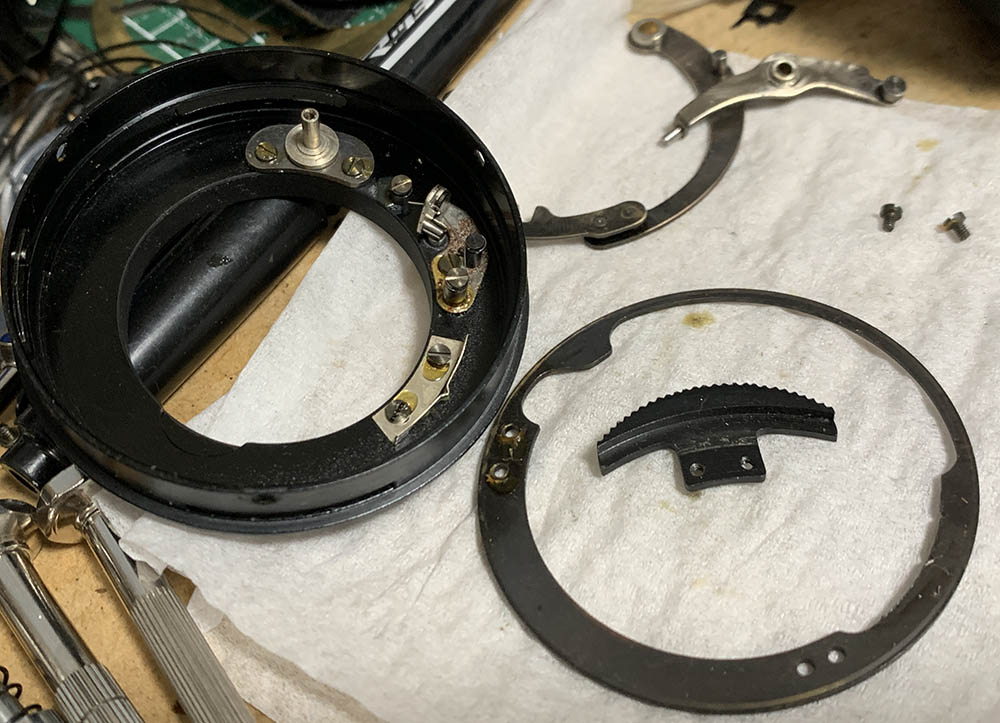
Once the screws are gone you can remove the A/M ring.
Locate and extract these to remove the aperture regulator ring.
Pull the ring off and clean it really well.
That’s it for the main barrel. Clean everything really well and be sure not to leave any residue. The focusing-ring should never be soaked in solvents because the distance scale is merely glued to it, that will surely remove the adhesives and you will have to carefully adjust it after putting it back. Be careful when handling the delicate mechanisms, you’ll find a lot of small interconnected parts and you should be able to put them back properly so they’ll work. Polish the rings of the A/M switch and aperture regulator so they will turn smoothly, lubricate them with a very thin film of grease. Never lubricate anything else, even the pivots of the actuator-arm mechanism won’t need it. Even if they do, a very small drop of oil is more than enough. The oil will get filthy and turn into a mess so be conservative when applying it.
Disassembly (Iris Mechanism):
You won’t be able to dismantle the helicoids unless the iris mechanism is gone because the tab protrudes. You can just remove the tab and get on with it but it’s best to approach this the proper way. This makes it a bit tricky to service, you will have to remove more things that you should just so you could service the helicoids properly. Follow the steps here and you should be able to dismantle this properly. Never forget to take notes so you’ll know how the iris mechanism is supposed to be, that was adjusted at the factory and you should be able to reproduce it.
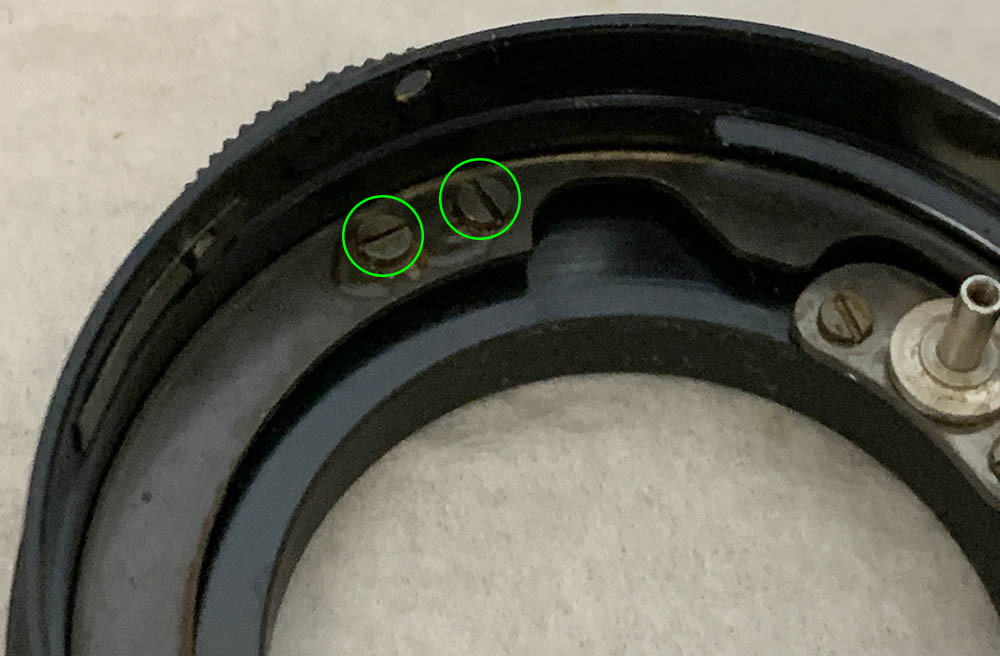
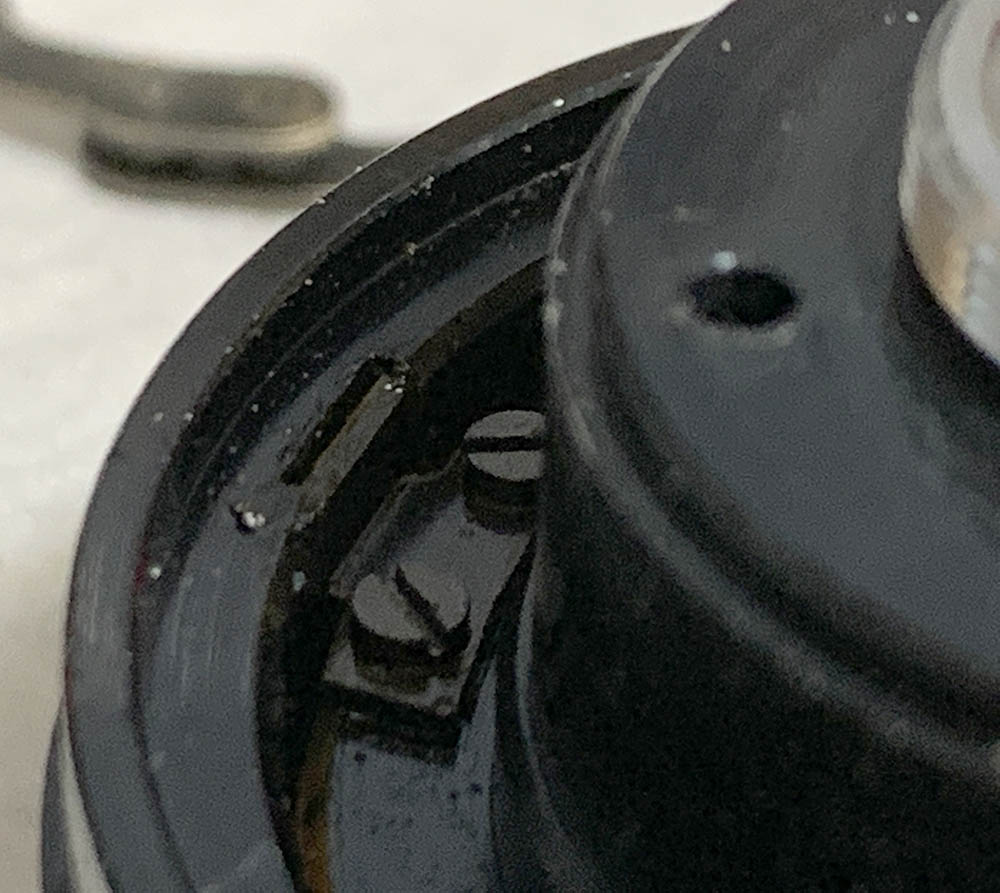
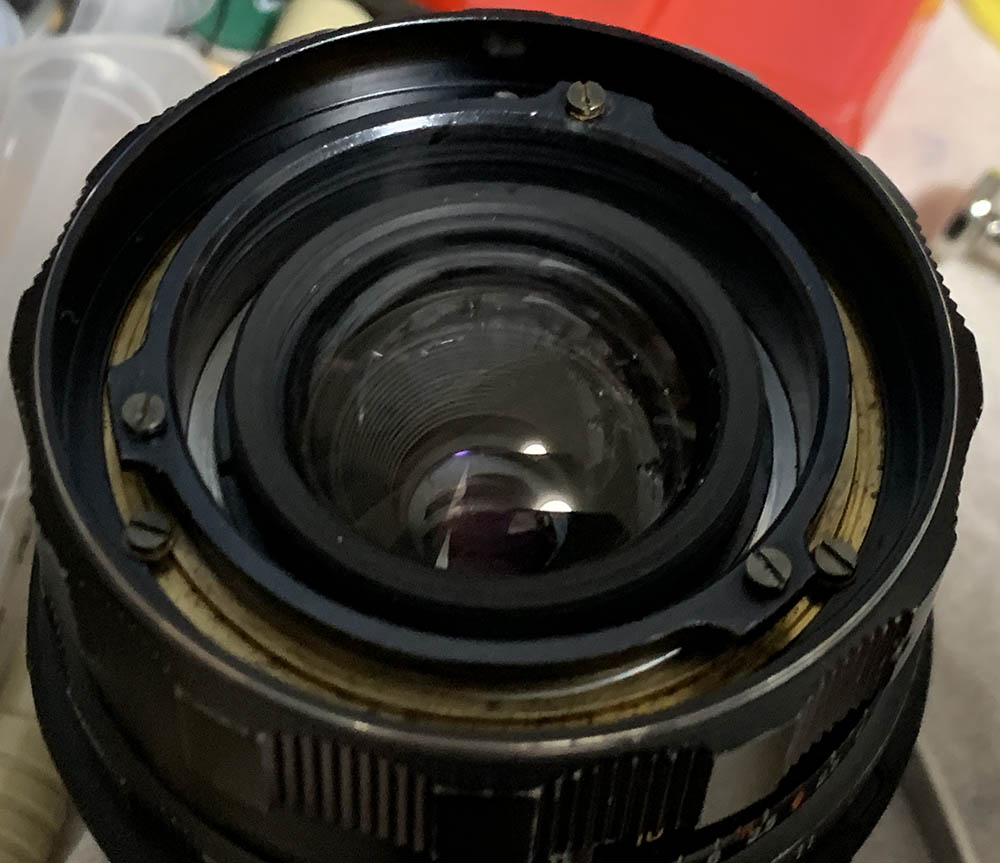
Before you remove these be sure to note the position of the eccentric that you see here in the photo. That thing is for adjusting the iris.
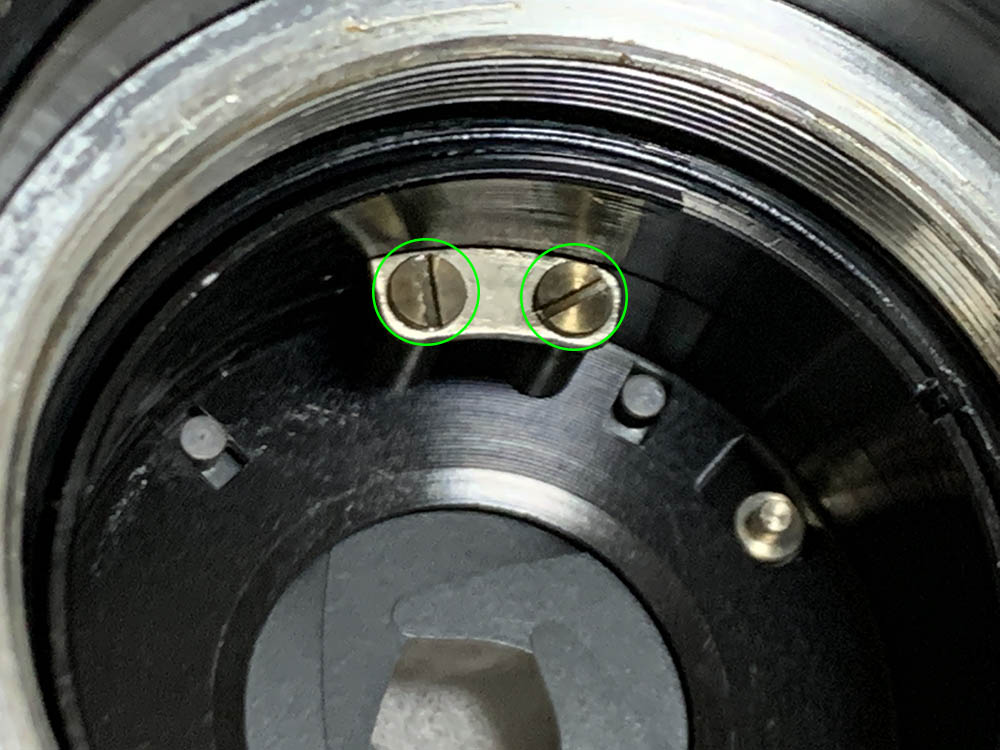
Extract these to remove the tab of the iris.

Be sure not to warp the tab or the iris won’t operate properly.

Extract this collar and you’ll be able to dismantle the iris mechanism.
Pull the diaphragm cup off with your fingers.
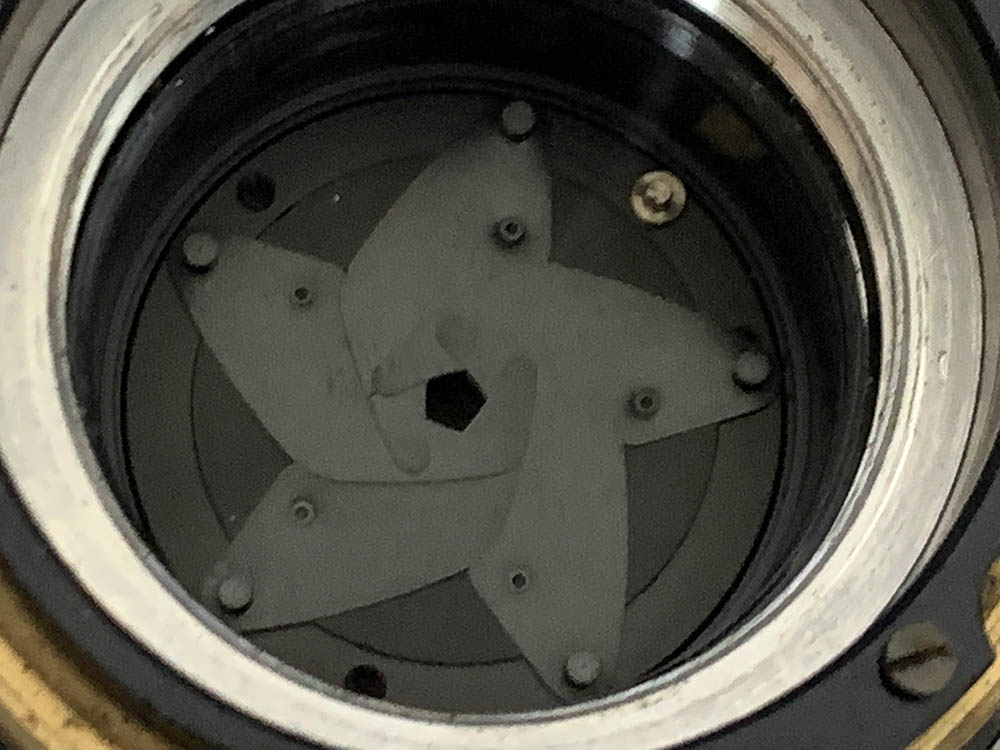
Examine the iris so you’ll know how each blade should fit.
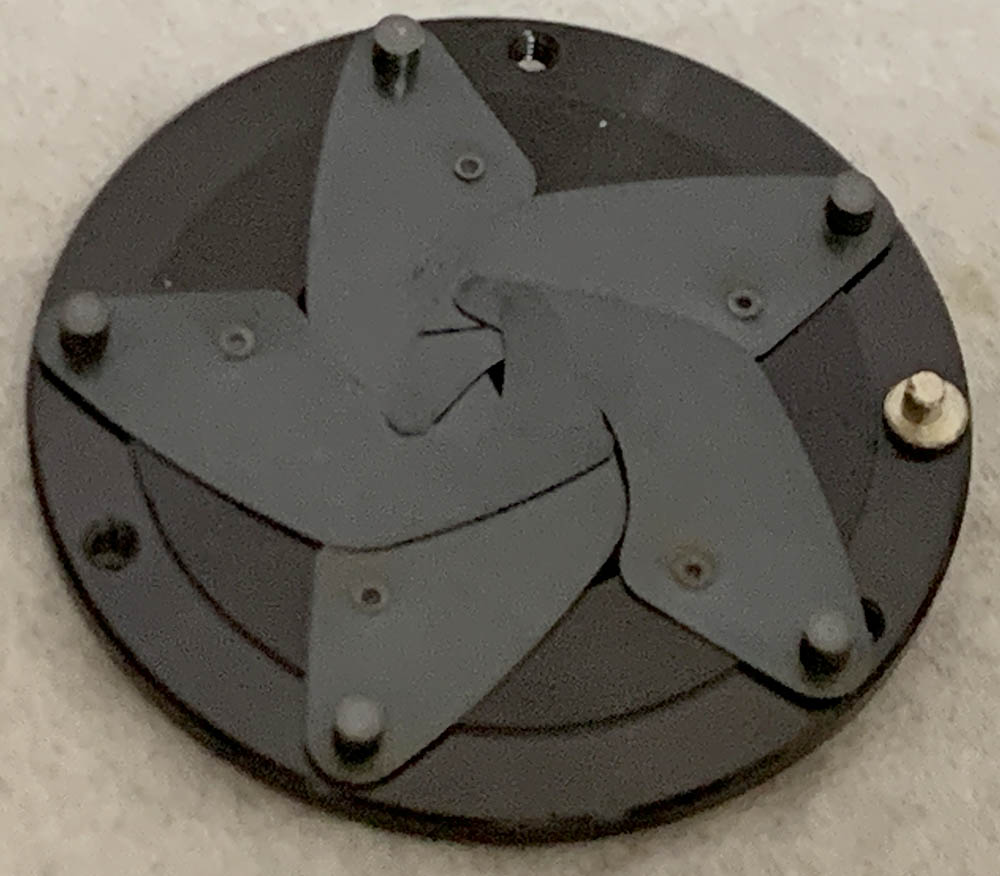
If you’ve extracted the 3 screws earlier you should be able to remove the baseplate of the iris mechanism like this. You should carefully remove the blades so you won’t damage any of them. Only handle the blades by the base and do not warp it.
Clean the iris mechanism very well and never leave any residue. You should never lubricate anything here, the iris has to be dry in order to work properly. Clean each blade carefully with naphtha and Q-tips and carefully put them back.
Disassembly (Helicoids):
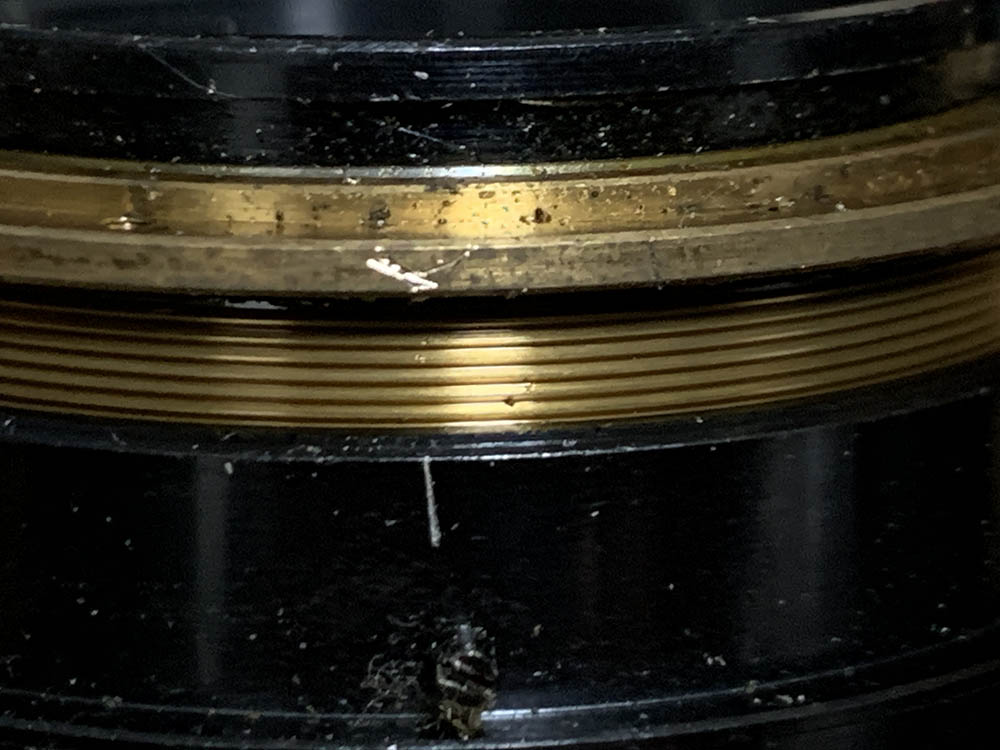
We’re now finally able to dismantle the helicoids since the iris mechanism is gone. Old Takumars are usually drenched in an oily mess inside because the grease that was applied to them have broken-down into its basic components. This is a good sign because that means that a lens has never been serviced by anyone so it’s still using the original grease. I guess the optics could be accessed without dismantling the barrel but you get what I mean.
The oily mess you’ll about to see is the reason why many people think that old Takumars are the smoothest lenses, it’s very easy to think that way without having any idea as to what’s really going on inside. What you’re about to see is not acceptable and should be corrected whenever you see signs of this and the only way to correct this is to overhaul it in the right manner.
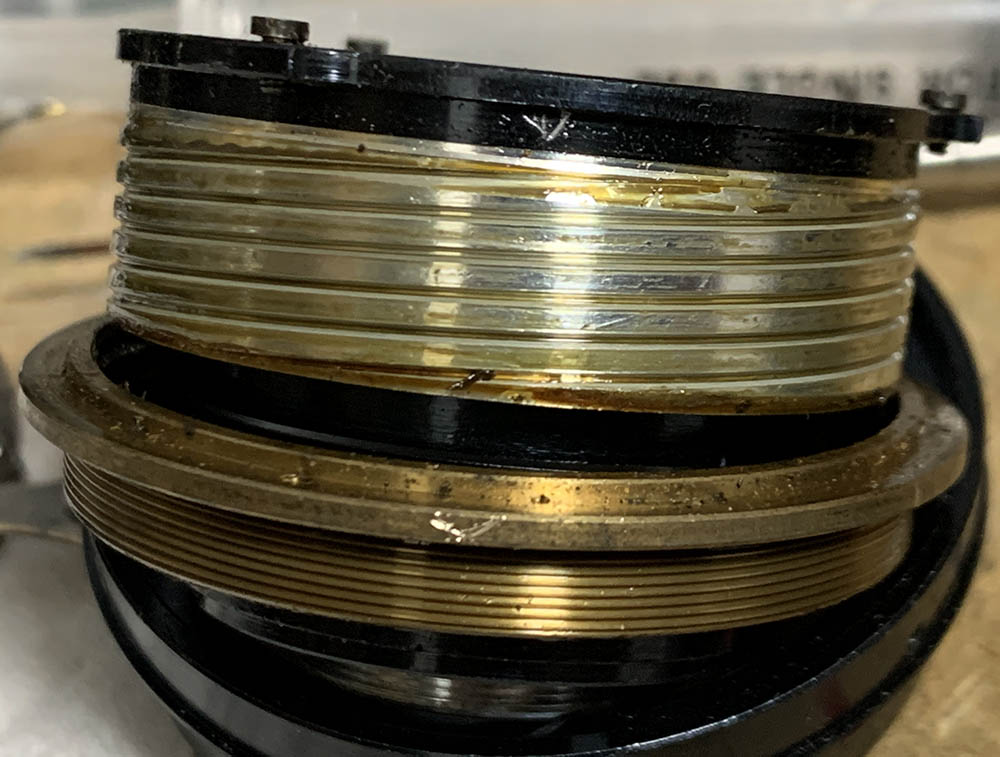
Note how deep the helicoid keys should be when the barrel is at infinity, you should be able to reproduce this.
Once you’re done taking notes extract the screws of the helicoid keys so you can separate the helicoids. Don’t forget to note which key should be places at which side.
Separate the central helicoid from the outer one and don’t forget to note where they parted because this is also where they should mesh. Many people forget to do this so they get stuck. Read my article on working with helicoids, that will teach you how to do this properly.
Do the same for the inner helicoids, never forget to note where they parted.
Clean the helicoids very well with a strong toiler cleaner, brush them well then finish it with some kitchen detergent. It’s important to leave no residue so finish it by doing some final cleaning with alcohol. Scrub the helicoids with it and you should be able to wipe them all clean. This lens benefits from grease with a little bit more resistance because it’s a wide lens. Never apply excessive amounts or the grease will surely migrate to the iris mechanism in the future, creating a big mess like what you see here.
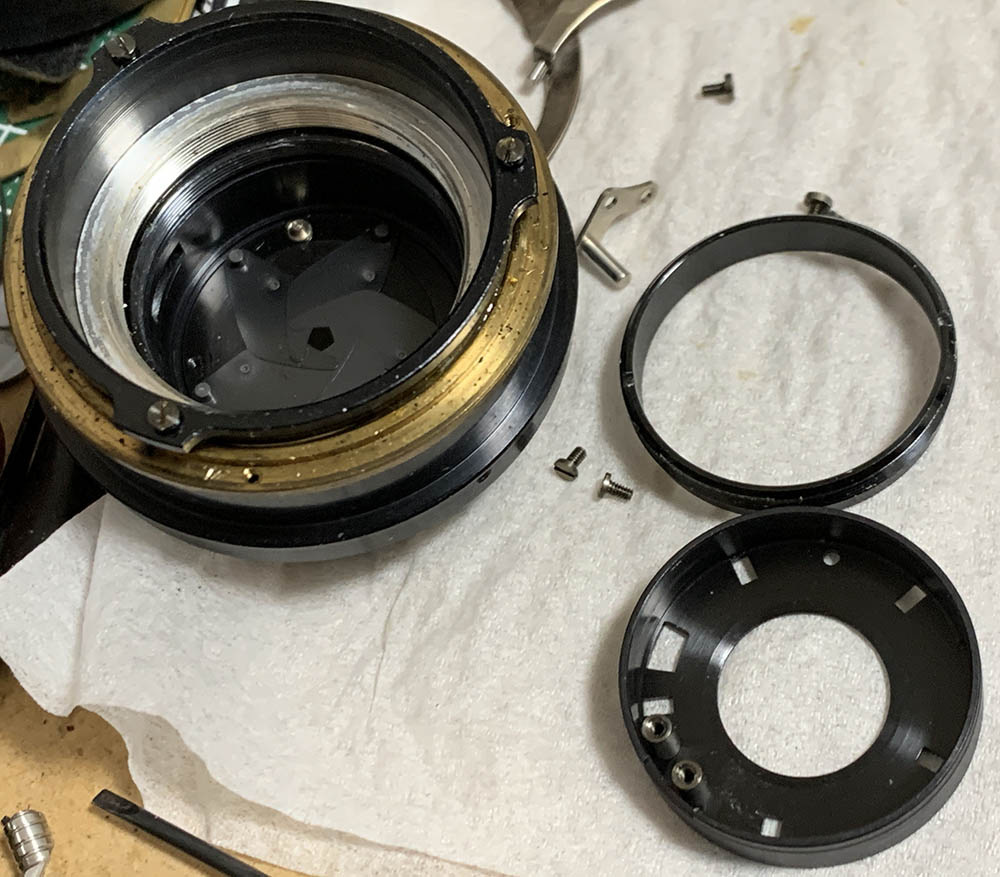
Disassembly (Optics):
You could skip all of the steps dealing with the lens barrel and helicoids if all you need is to clean the optics. This is not difficult to clean but there are some things that are best left alone such as the rear optics assembly, only service that if there’s a need to do it. You may scratch the glass there if you try to dismantle it without the proper tools and skill.
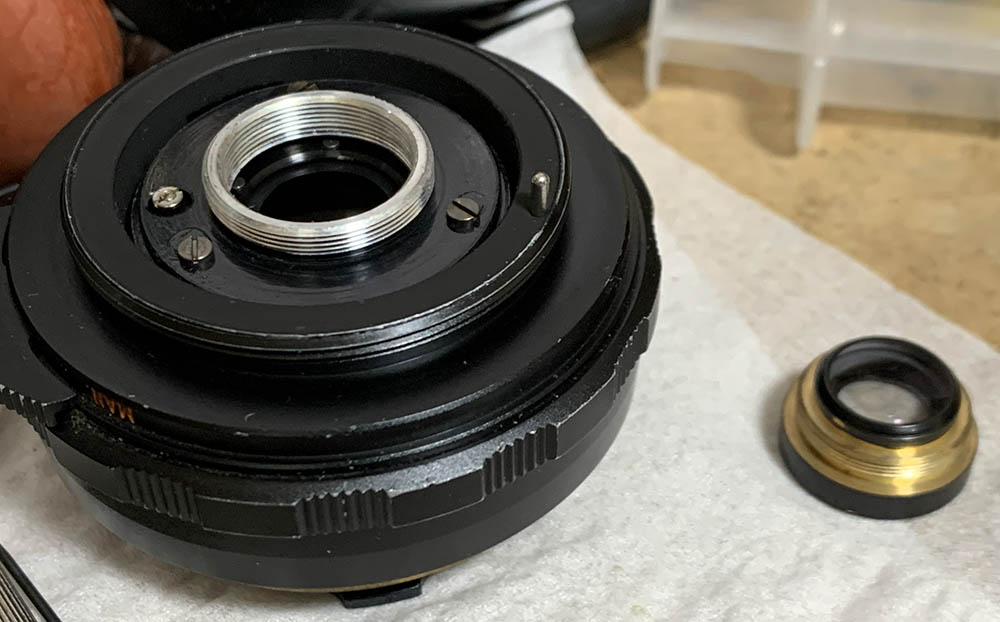
The collar securing the front element could be easily unscrewed by your fingers.
Remove the front element with a lens sucker.
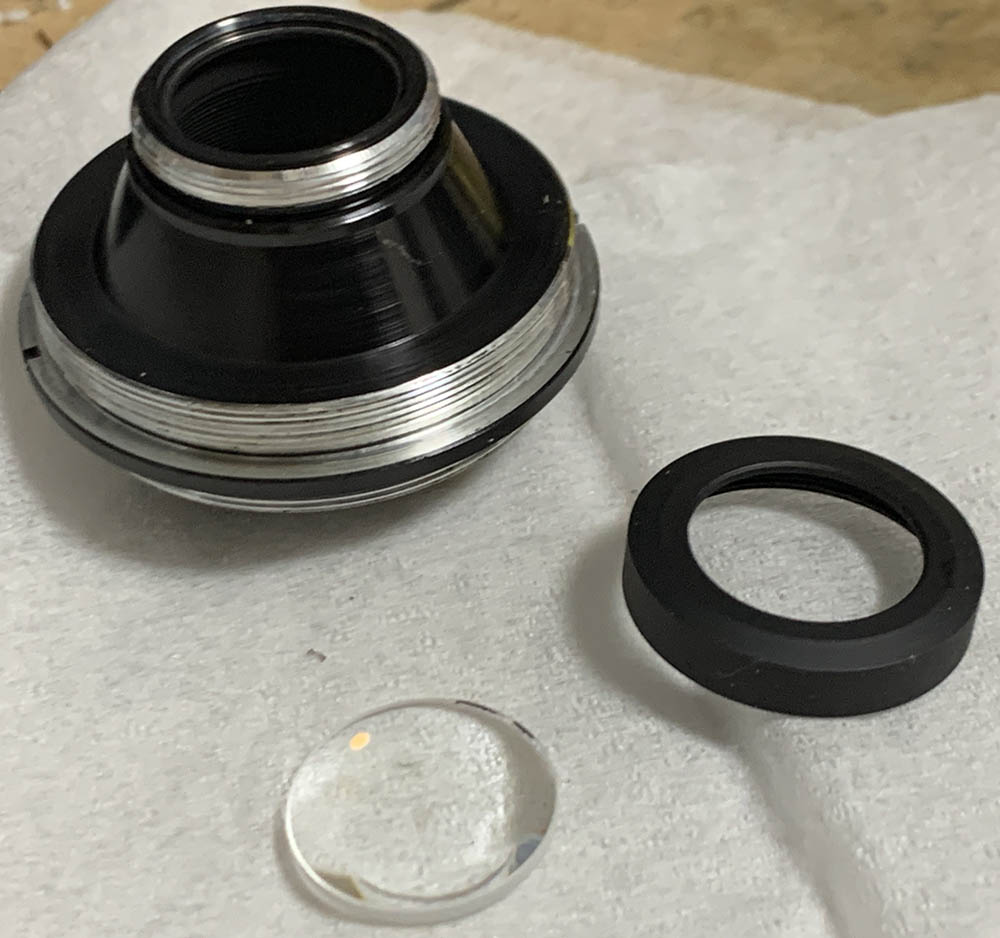
The 2nd group can easily be removed once its collar is off. Do not forget to note which side should be facing front so you will know how to put it back again later.
Carefully clean the glass, follow my fungus cleaning article in case your lens needs it. Thin the solution so you will never damage the coatings.
Conclusion:
This was an enjoyable experience for me, it wasn’t difficult to service but there are some things that I had to consider, it turned this project into a mini-puzzle. It took me the whole night to clean this thoroughly with most of that time spent on scrubbing the helicoids and cleaning gunk off from the actuator mechanism and polishing some of its parts. Pentax used materials that corrode with their Takumars which is rather unfortunate so they have to be cleaned thoroughly. It’s not a complicated lens to service at all but now that you’ve seen how much work is involved you should send your lens to a specialist if you don’t have any experience repairing lenses.
Reassemble your lens up to this point and adjust its focus. Read my article on how to adjust a lens’ focus so you’ll know how it’s done in a DIY setting with tools that are available to you.

Once you are satisfied you can tighten the screws of the focusing ring and check the focus again just to be safe. Finish everything by reinstalling the front barrel.

You shouldn’t have to worry about adjusting the iris but if you have to, simply remove the rear baffle and you’ll be able to do this.
Thanks for following my work, if you liked this article please share this with your friends so it will get more views. This site earns around $0.40 a day, we are totally reliant on views. You can also support this site, it helps me offset the cost of maintenance and hosting. You’re also helping me purchase, process and scan film. This site promotes the use of film so we are all in this together. See you again in the next article, Ric.
Help Support this Blog:
Maintaining this requires resources and a lot of time. If you think that it has helped you or you want to show your support by helping with the site’s upkeep, you can make a small donation to my paypal.com at richardHaw888@gmail.com. Money isn’t my prime motivation for this blog and I believe that I have enough to run this but you can help me make this site (and the companion facebook page) grow.
Buy me a roll of film or a burger?
Thank you very much for your continued support!
$2.00
Helping support this site will ensure that this will be kept going as long as I have the time and energy for this. I would appreciate it if you just leave out your name or details like your country’s name or other information so that the donations will totally be anonymous. This is a labor of love and I intend to keep it that way for as long as I can. Ric.

May 08, 2023 @ 05:45:26
I had my 35mm 3.5 cleaned a while back. But, the aperture seems to be at about f4 even when wide open. Is there an easy way to just adjust the aperture blades so they are fully open at f3.5?