
Hello, everybody! Do you know the song “Baby Shark“? It’s an annoying song from a few years ago and I hated it because it’s so monotonous and people kept on singing that nonsense. It’s a form of brain-rot, a phenomenon that happened recently thanks to the prevalence of ultrashort media. These things are best avoided at all cost especially by young children whose minds are in development. There’s no educational value in these at all. Unfortunately, I just have the antidote for it and it’s called – “Baby Noct“. This is what it sounds like – a tiny Noct-Nikkor 58mm f/1.2 Ai-S. I made that connection because it somehow reminds me of the amazing Noct-Nikkor 58mm f/1.2 Ai-S with its very bright maximum aperture, together with the somewhat close field-of-view it’s easy to think of it that way. Please read the article so you will know more about this amazing and tiny masterpiece.
Introduction:
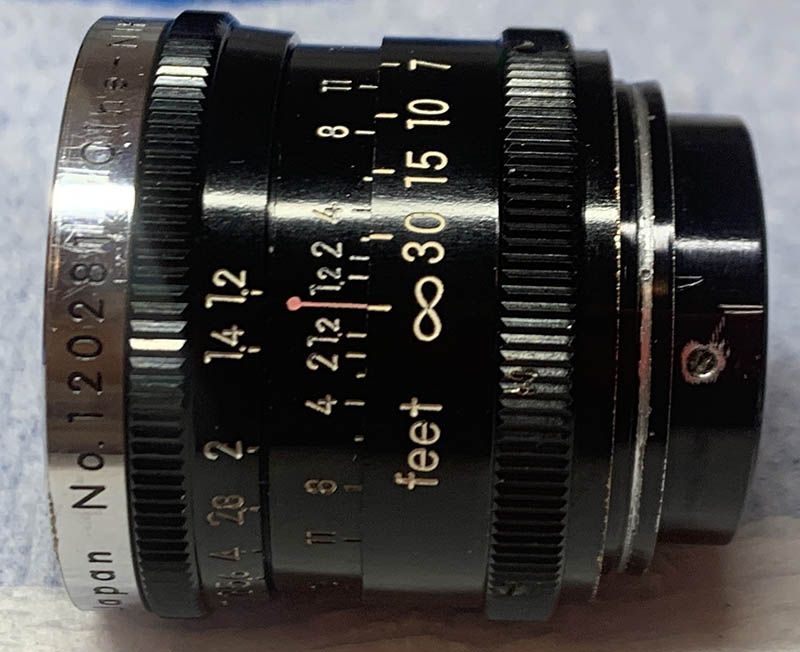
The Cine-Nikkor 25mm f/1.2 is the fastest of all Cine-Nikkors made in any mount. If you read my article on the special Nikon Museum exhibit for Cine-Nikkors, you’ll see more information there which mentions that it was made in 1956 to replace an older Cine-Nikkor 26mm f/1.2 from the previous year which didn’t meet the required standards of the company, that lens may have just been a prototype while this got produced. It’s unknown how many of these were made but it’s certainly not a lot. Nobody even knows when the last one came out from the factory either, there’s not a lot of information about this little gem anywhere apart from what you see in my Nikon Museum exhibit for Cine-Nikkors article.

It has a really wide barrel for its size. It’s mainly made up of brass and aluminum alloy but isn’t heavy at all considering its size. It looks and feels like many D-Mount Cine-Nikkors of the time so people mistake it for something else. Despite its size, the engravings are easy to read. Ergonomically, it’s tricky to operate since this is so tiny. There will be instances when you would accidentally turn the wrong ring when operating it.
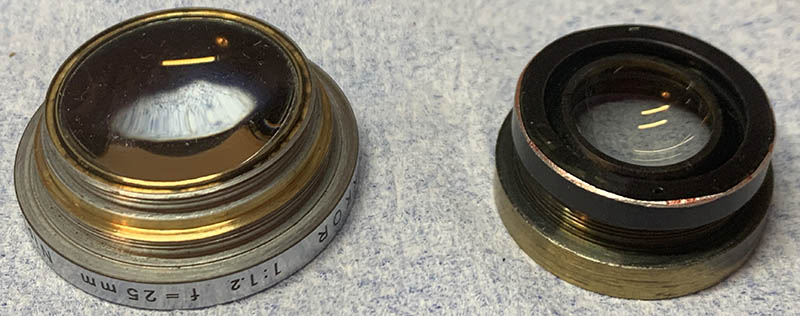
It appears to have a 5-elements-in-4-groups composition with an unknown design. The 2nd element looks heavily convex which I found interesting. The glass is pretty huge, it may as well be something that can be mistaken for a 35mm format lens. It’s the biggest one I have ever seen for a 25mm Cine-Nikkor. There are no indications of radioactive or coated glass since they all appear clear. They may have been coated with a primitive type of Nikkor coating that is famous for being tough, but don’t take my word for it.
Since we have a crop factor of 2.7x, it gives you a field-of-view of what a 68mm lens in 35mm format will be. That makes this lens a short telephoto in actual use, but for people who shoot with 16mm, this is what they would call a “standard” lens, kind of what 50mm is for full-frame..

The front element is noticeably huge, the filter thread is also larger than usual for such a small lens. The front element sits deep inside the barrel so a shade may not be necessary.
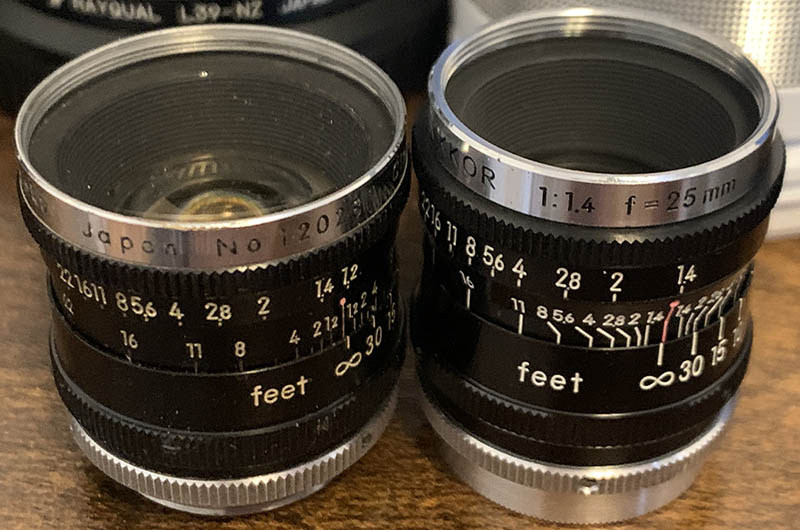
Compared to the Cine-Nikkor 25mm f/1.4, it has a wider barrel to compensate for the huge front element. Both have rigid mounts so you won’t be able to adjust its orientation easily like later Cine-Nikkors. Using a screwdriver to loosen the mounts and turning the whole barrel is the only way to adjust it.

It’s a good lens to pair with a small camera such as a Nikon 1 J5, which is tiny itself! It’s very cute and will certainly get you attention from the opposite sex. It’s the ultimate conversation piece in a hipster club. It’s not the best choice for this lens because you’ll need a camera with a viewfinder in order to focus properly.
This is a cinema lens but I’m more interested in using it for shooting stills, which is the main focus here in this site. For this, I used my Nikon 1 V3 because it has a viewfinder. I took the photos from f/1.2, f/2, f/2.8 and f/4 because we see the most changes happen within these apertures. You will notice that I’ve skipped f/1.4, that’s because it’s way too close to f/1.2. I will give you a spoiler, the change between f/1.2 to f/1.4 is noticeable despite being very close to each other, but it’s nowhere near what you’ll see at f/2.
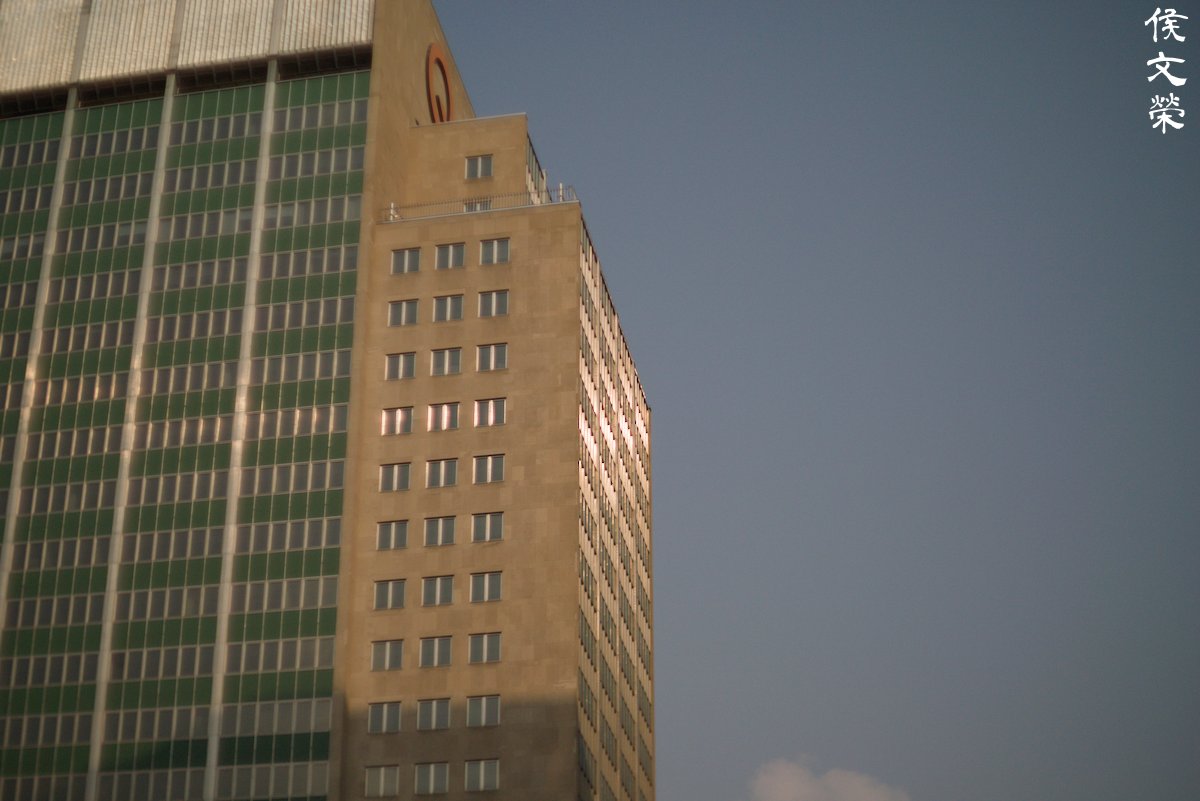
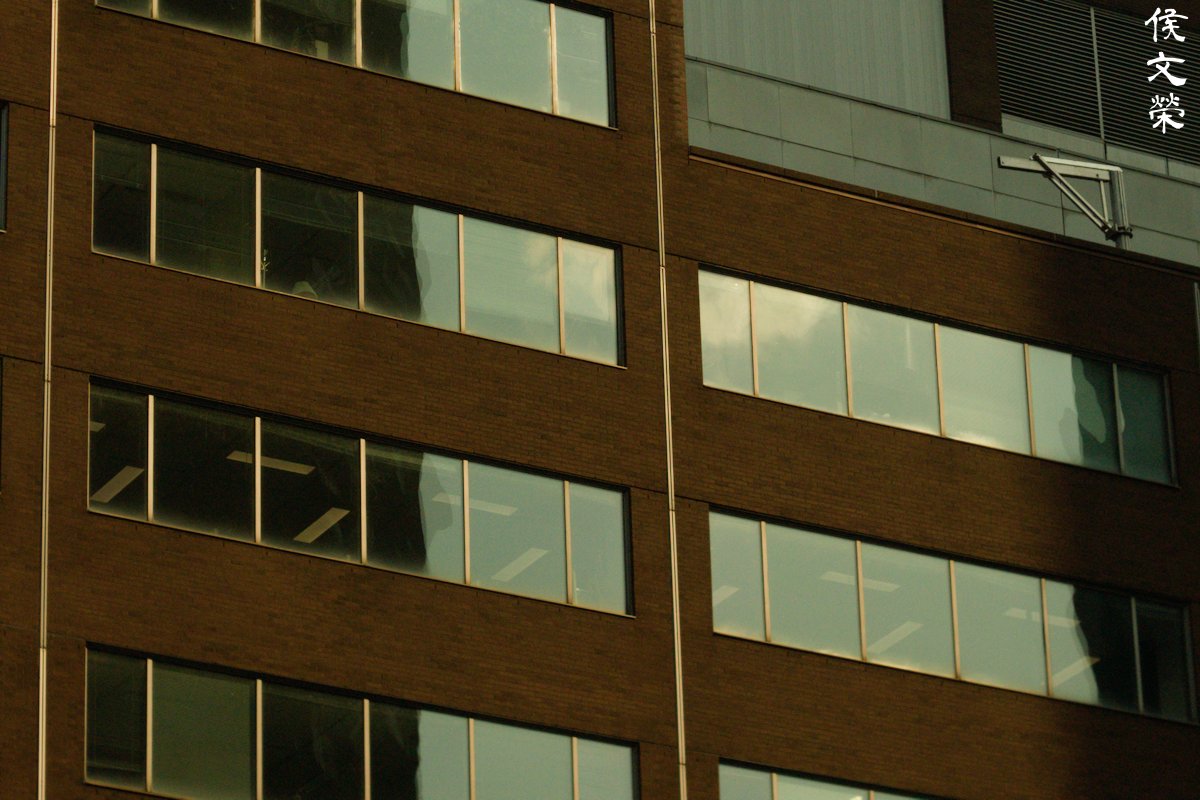
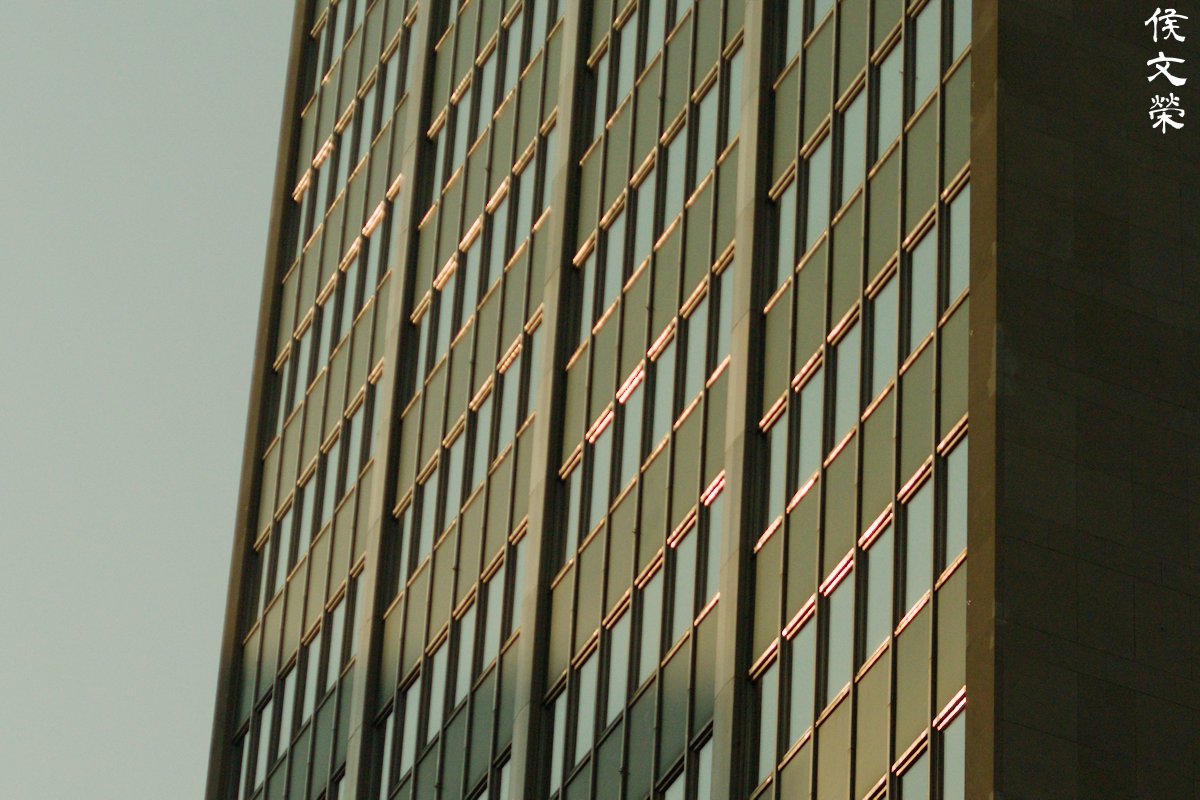
Distortion can easily be observed, it’s there and you will definitely see it if you have straight lines in your picture that have straight lines that are parallel to the edges of the frame. This is not going to be an issue if you choose to ignore it.
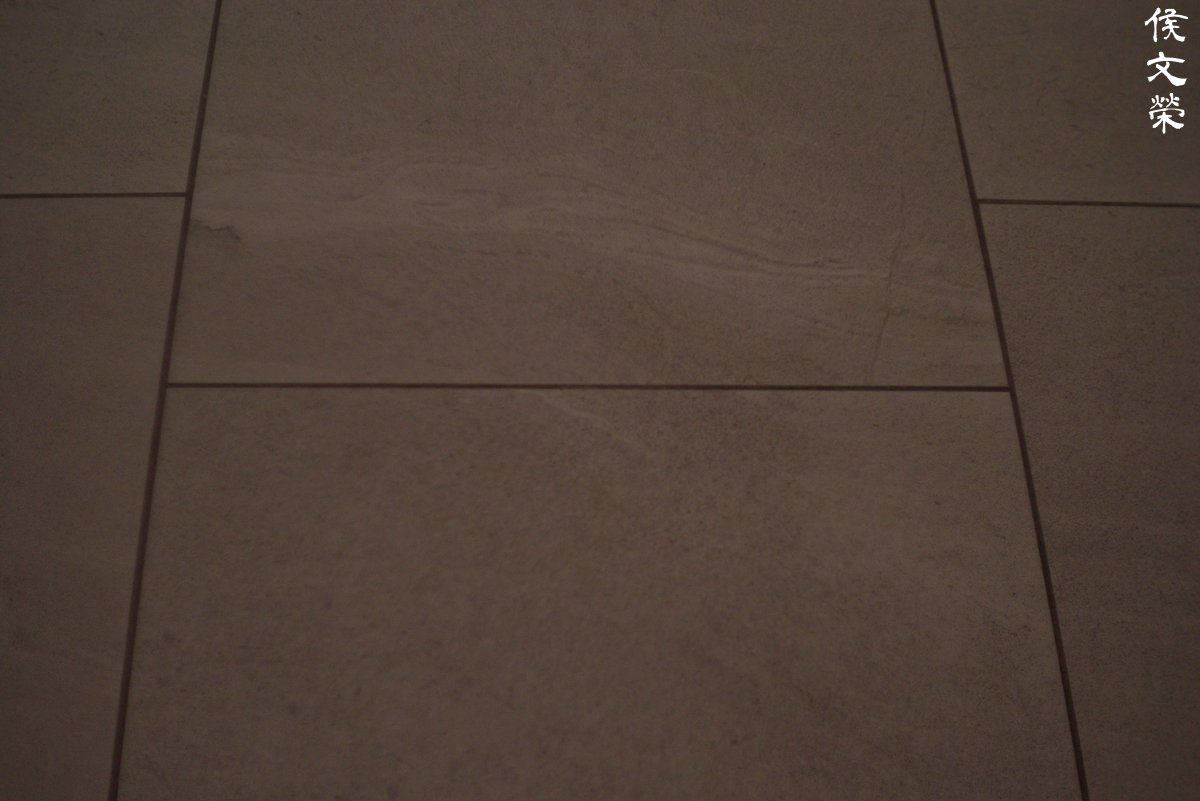

(Click to expand)
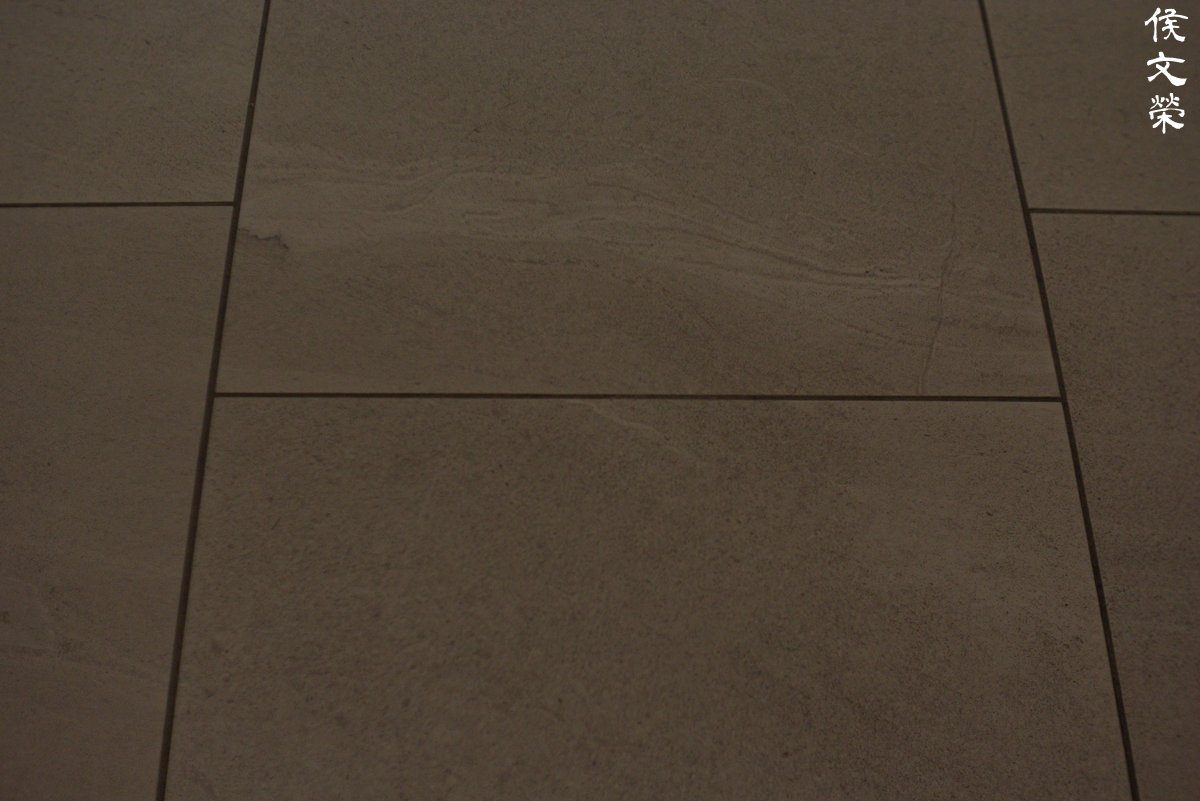
The effects of vignetting can be difficult to discern as it’s not that dark at all, you’re only going to see it if you look for it. It’s almost gone by f/2. This is very impressive, I’ve never seen anything like it from an old lens in this format.


(Click to expand)
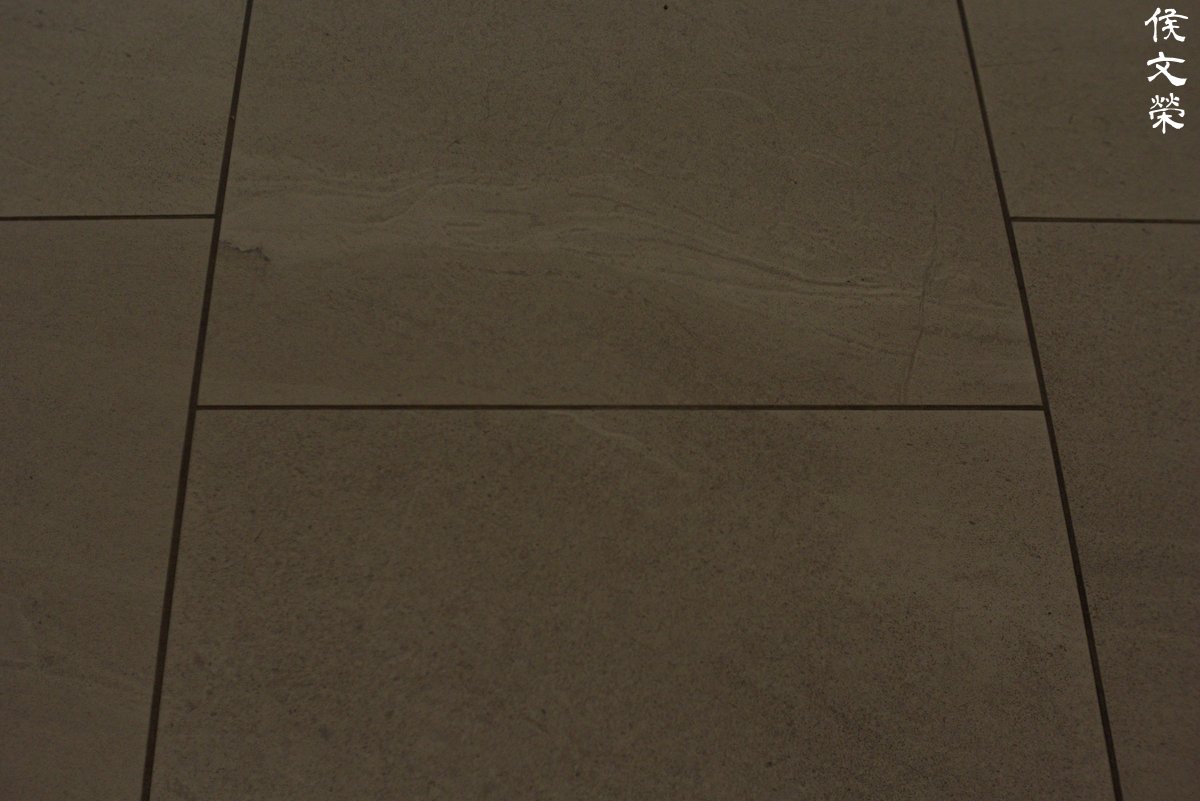
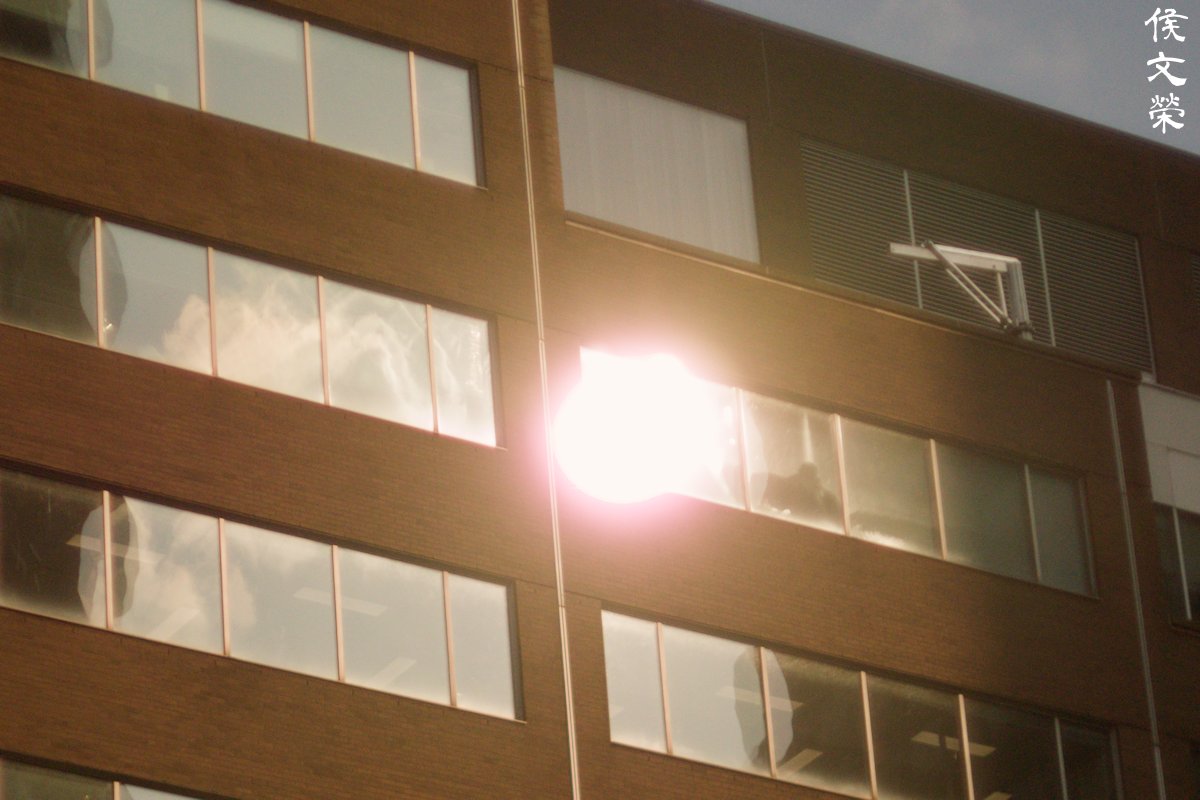
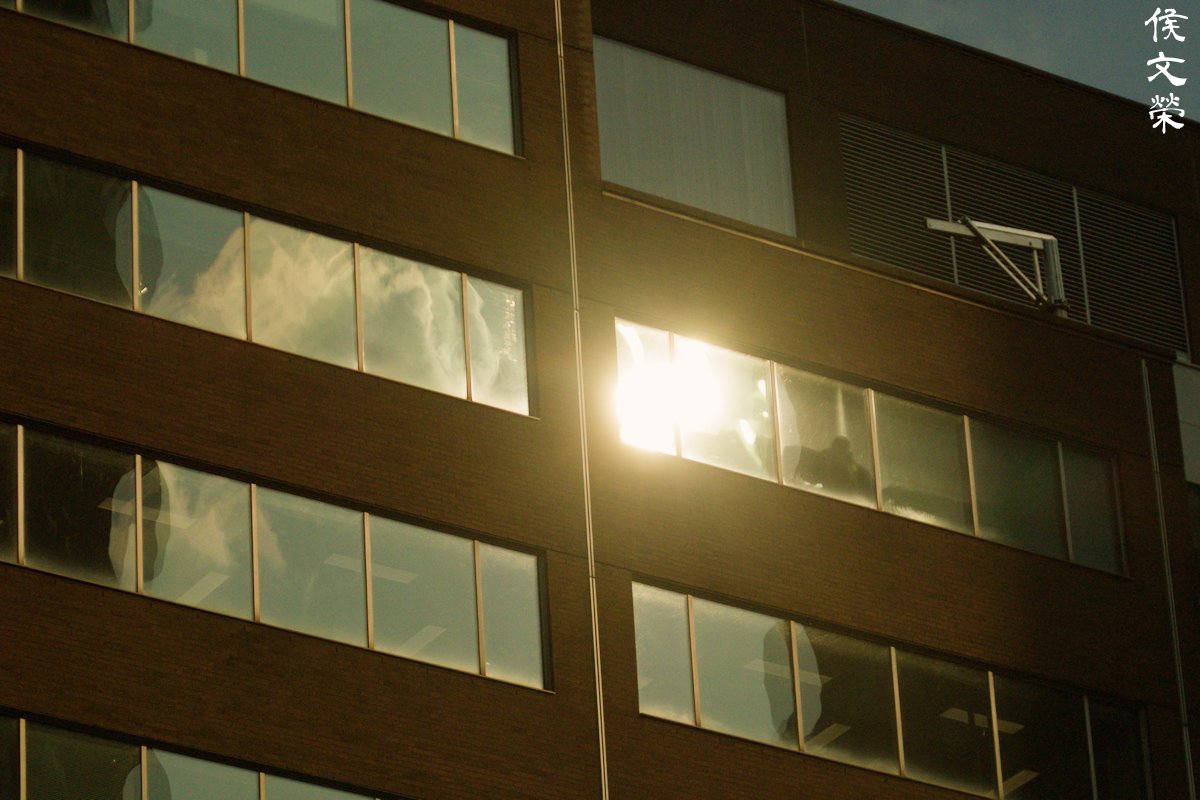
There’s one very strange behavior that I have noticed while shooting with this lens and you will see it a lot in this article for yourself. It has a warm, slightly magenta cast when shooting at f/1.2 which goes away by f/2. I’ve seen this happen with some lenses even from the 1970s but the change is never this dramatic. It’s as if you have installed a cooling filter, I have no idea if this is intentional or not. It’s also observable that it is susceptible to internal reflections and flare, something that is to be expected from vintage lenses of this age.


(Click to expand)
The effects of coma isn’t as bad as I thought. It looks worst at f/1.2, but it improves significantly by f/2. It’s not obvious by f/2.8 and it’s as good as gone from f/4 onwards. I’m impressed by what I saw because this means that the lens actually covers a slightly larger image circle, at least that’s the theory.

Here’s how it looks like when shooting under real conditions. It’s obviously not pleasant at all, but it’s not so bad. In fact, it’s much better than I thought it would be.


(Click to expand)
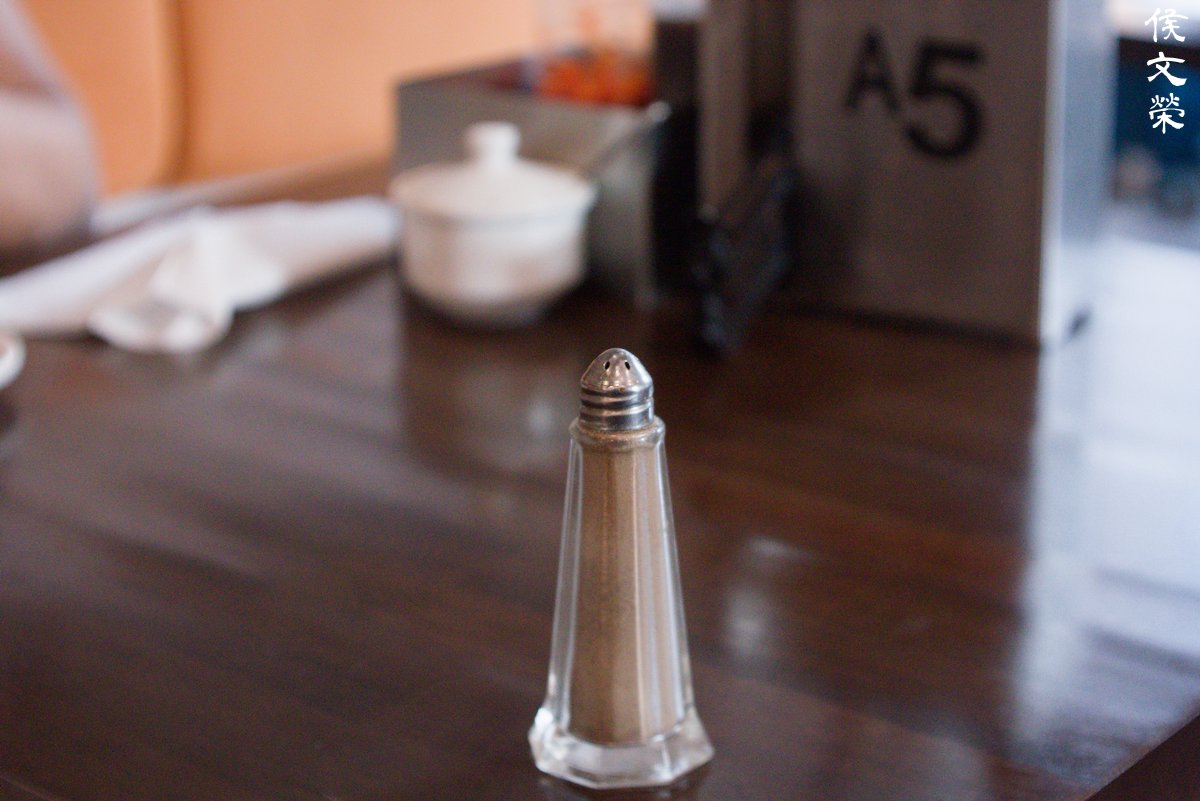
The shape of the iris is polygonal once you have stopped it down. It looks a little bit nauseous at f/1.2 but some people like this kind of shape. The discs don’t look as bad as some of the lenses that I have tested, I only get some uneven brightness at f/1.2 and it looks really clean from f/2.8.


(Click to expand)
I can say that the smoothness of the blurry parts are generally smooth, but I noticed that it struggles a bit with foliage in some situations. It’s kind of okay for what it is, I’d say that it’s above average for a lens that was made in the mid-1950s.


(Click to expand)
Chromatic aberration is controlled decently when you stop it down by 2-stops, but it’s obvious when you are shooting at wider apertures. I’d say that it’s mediocre in this regard but one must consider that I took some of the photos here under very difficult situations.


(Click to expand)
The center is exceptionally sharp (for its age) even when shooting at f/1.2 and the corners are acceptable. I wasn’t expecting the corners to look this good. The only flaw at f/1.2 is the lack of resolution which gets a big boost at f/2. The increase in resolving power enables it to render small details at the center and the corners will also benefit from this. The center appears to be performing at its peak by f/2.8, you’ll also see a huge improvement at the corners which now look much better but still lacking in resolution. You won’t see any obvious changes at the center when you stop it down to f/4, it’s the corners where you will notice a huge rise in resolving power. The corners are now able to resolve small details with fidelity.
This is very impressive, the rumors about how sharp it is are definitely true. It is indeed the best of all the 25mm Cine-Nikkors that I have tested especially when it comes to shooting in the dark.

You won’t be able to get closer than this unless you’ve modified your lens. The 2 feet minimum focusing distance is adequate for most situations anyway.

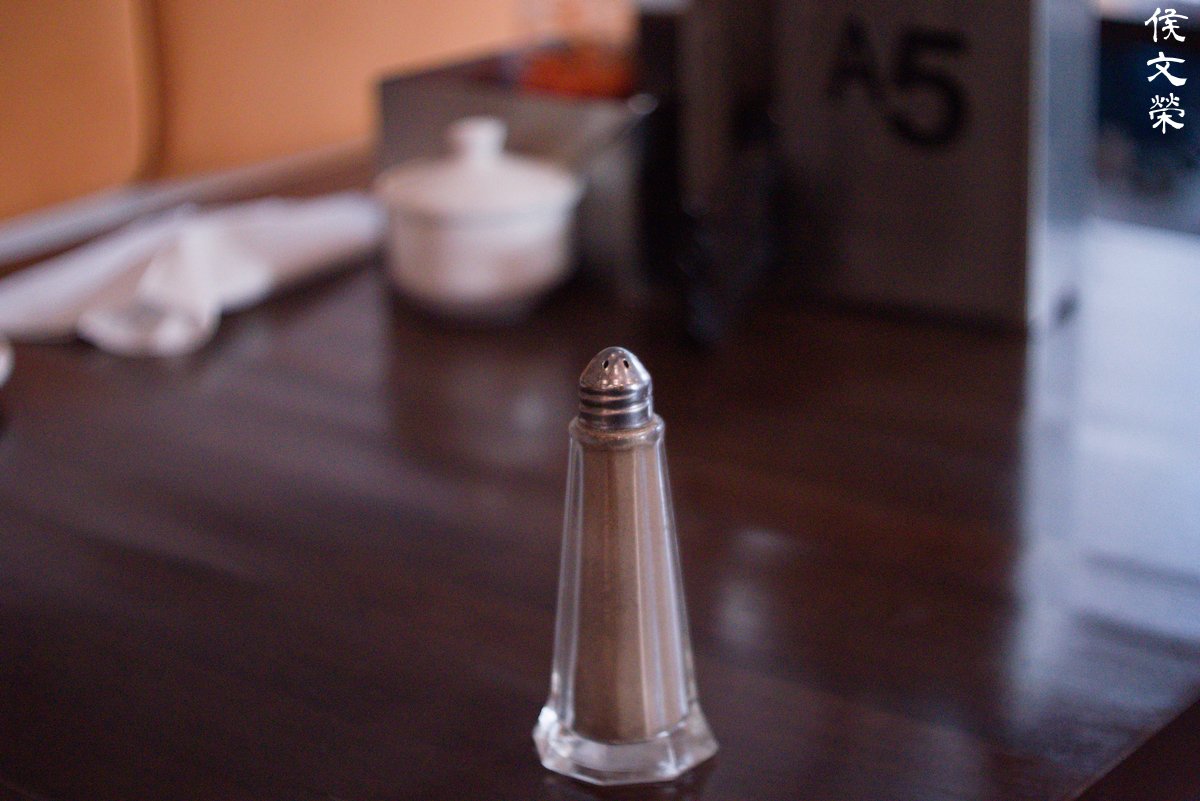
This is how the blurry parts look like when shooting wide-open. I don’t like it much, I would stop the iris down to f/2 at least in order to prevent this look, which I find nauseating.

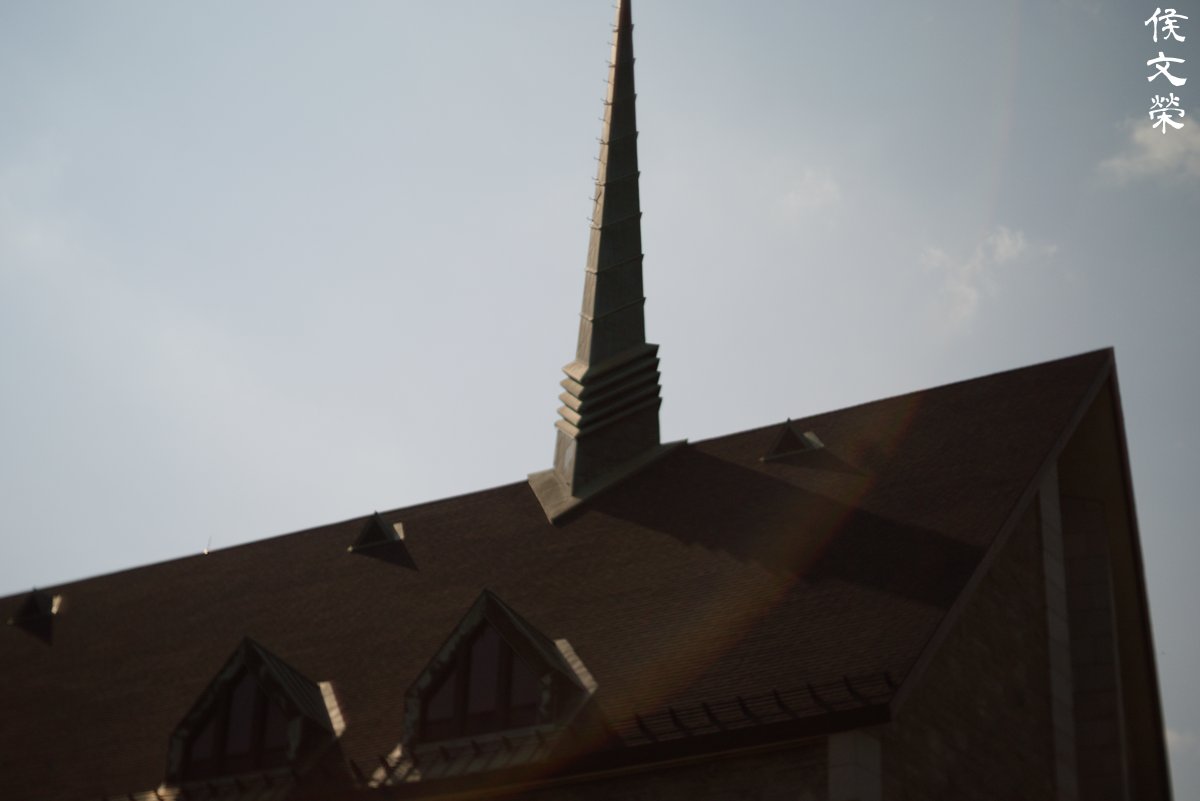
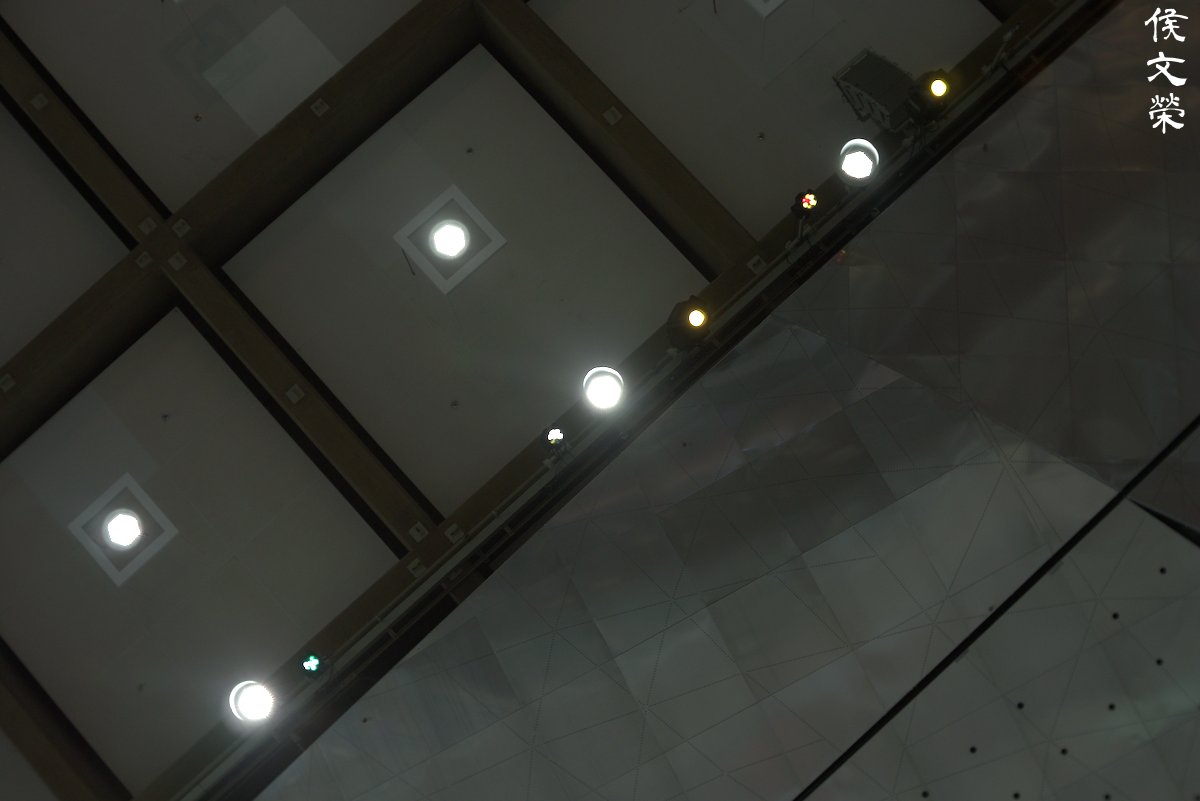
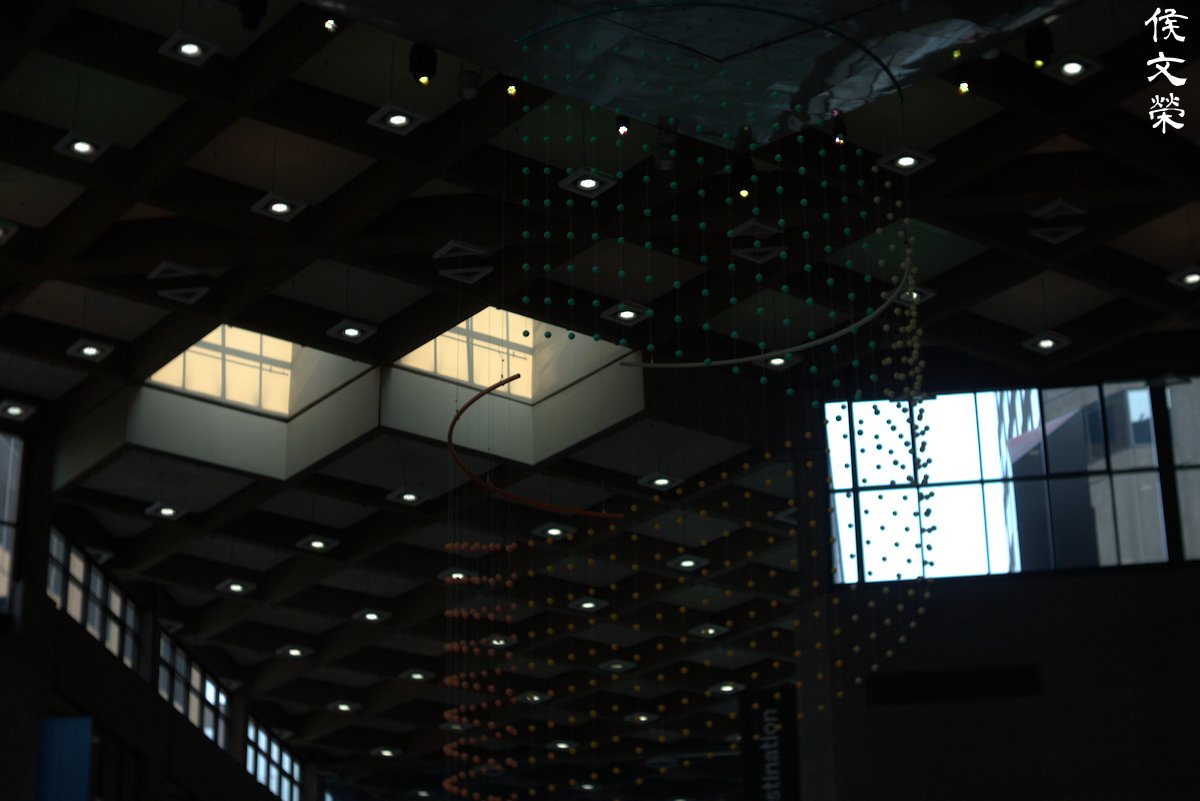
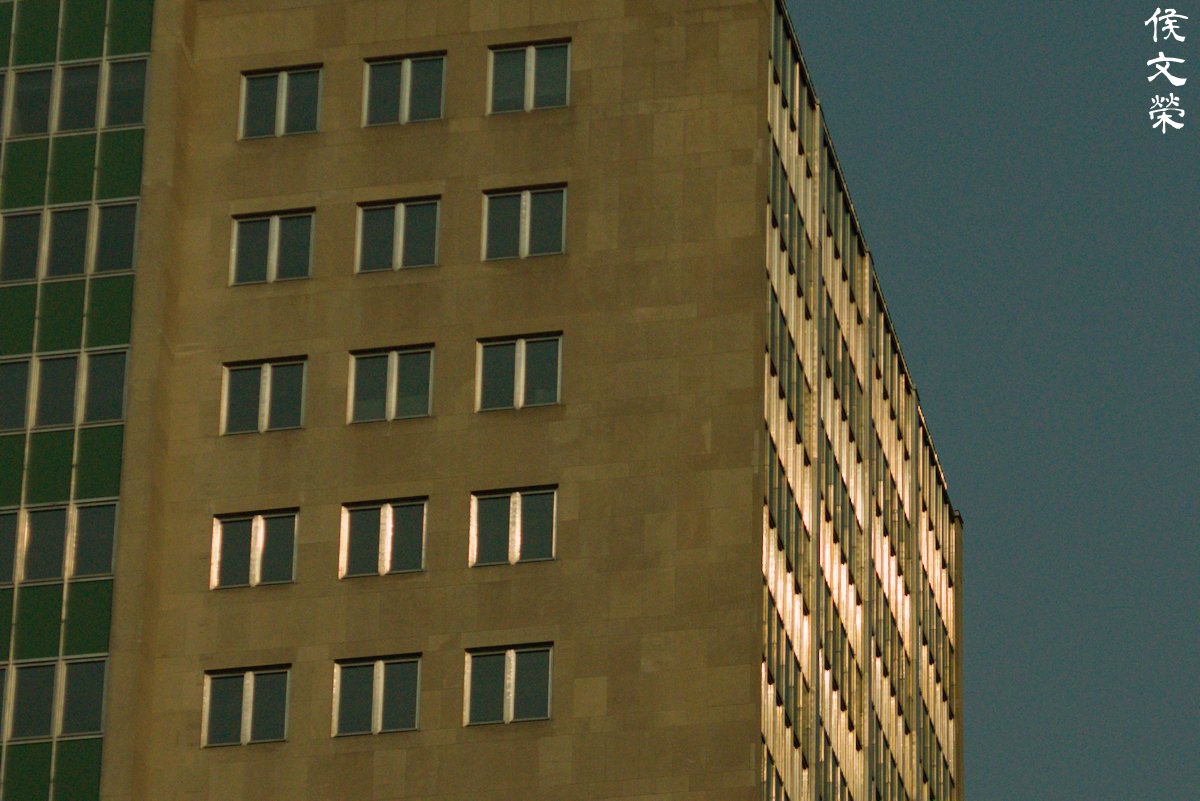
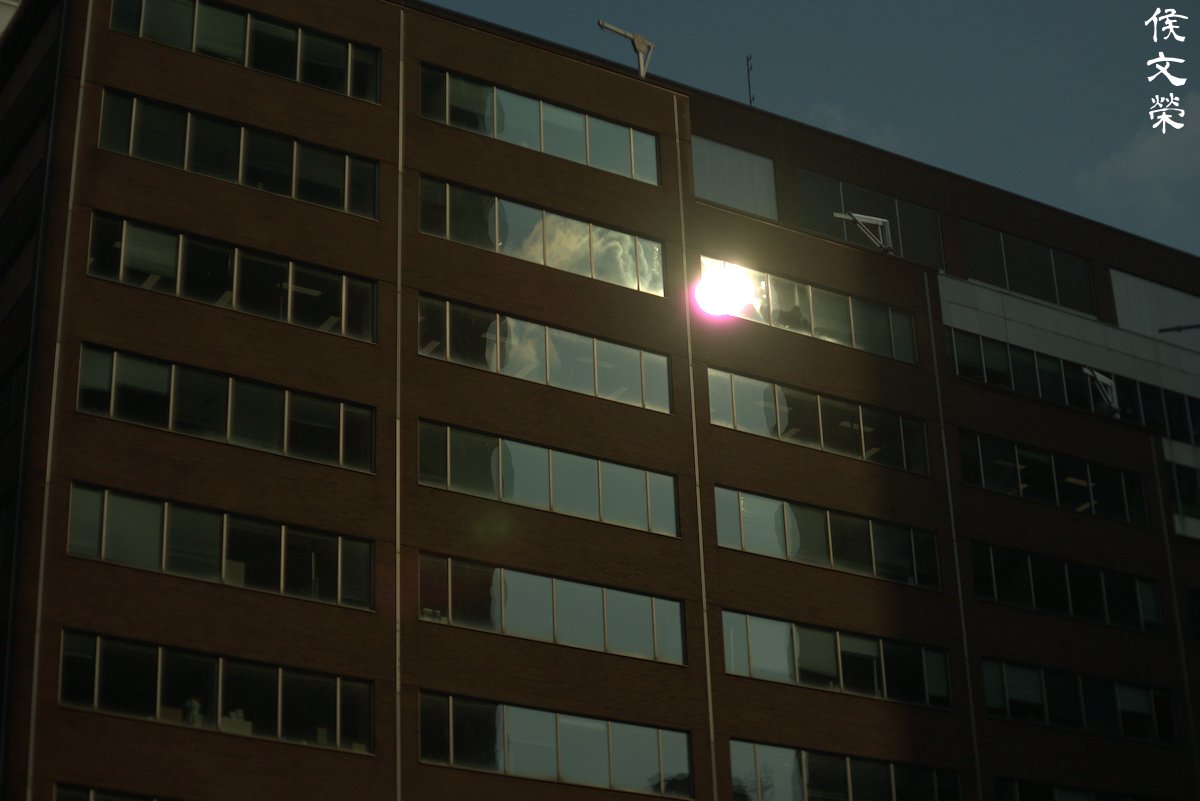
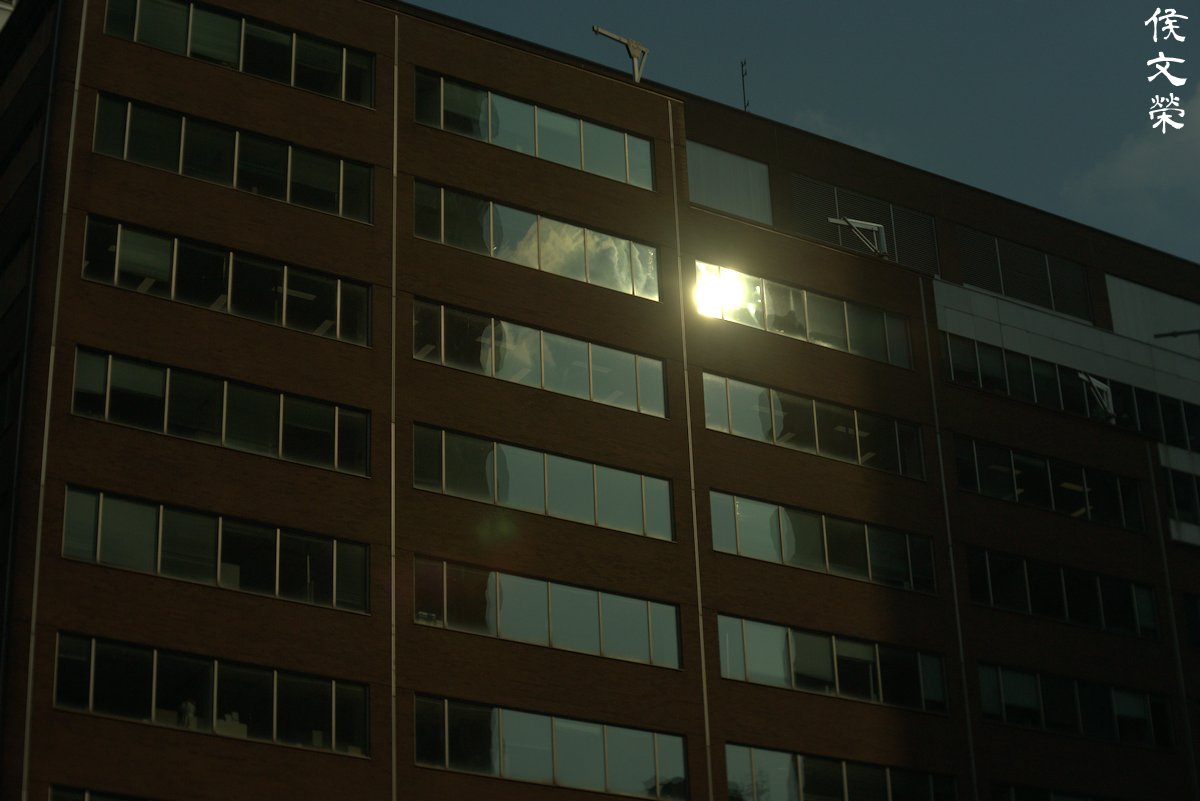
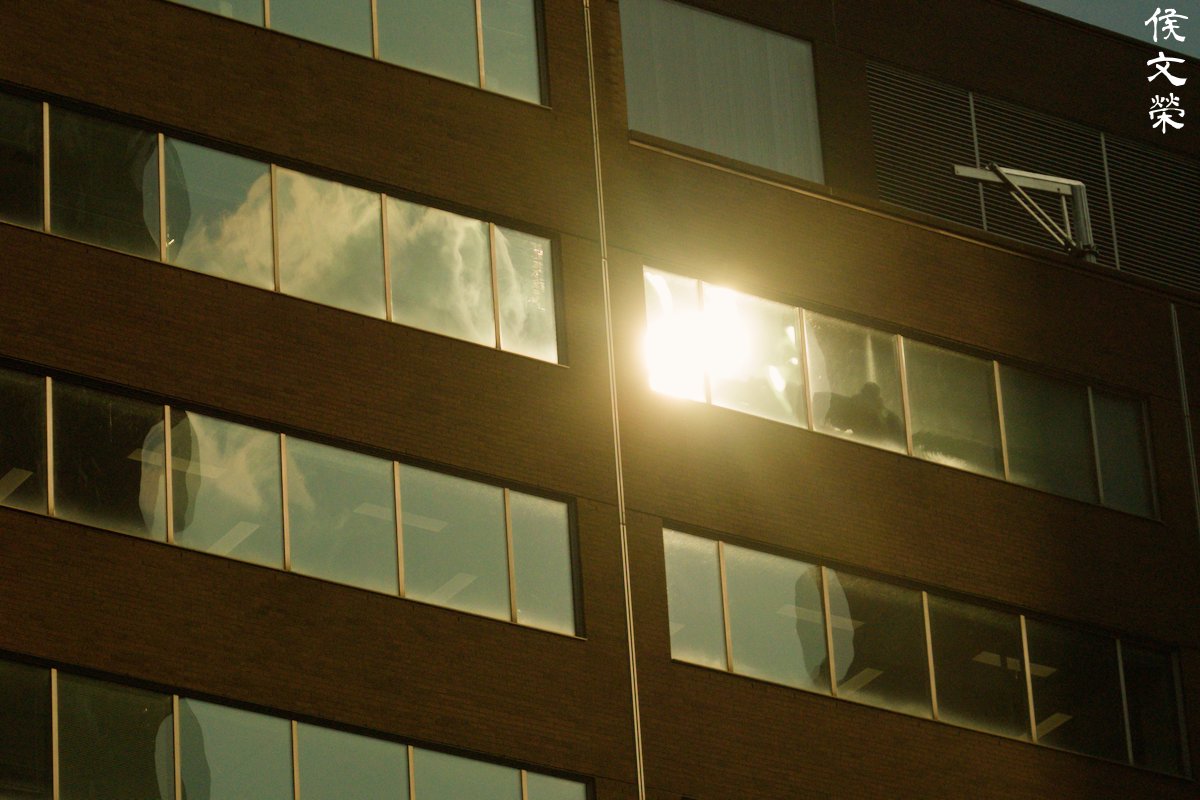
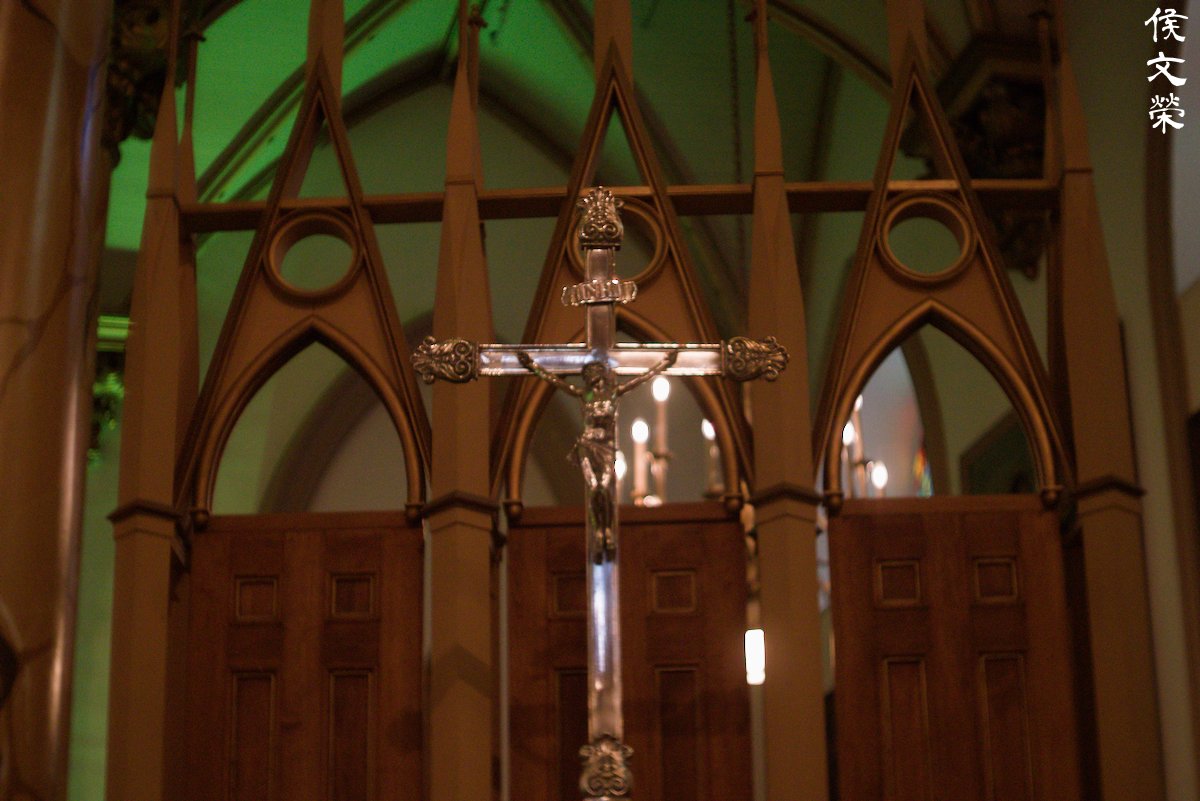
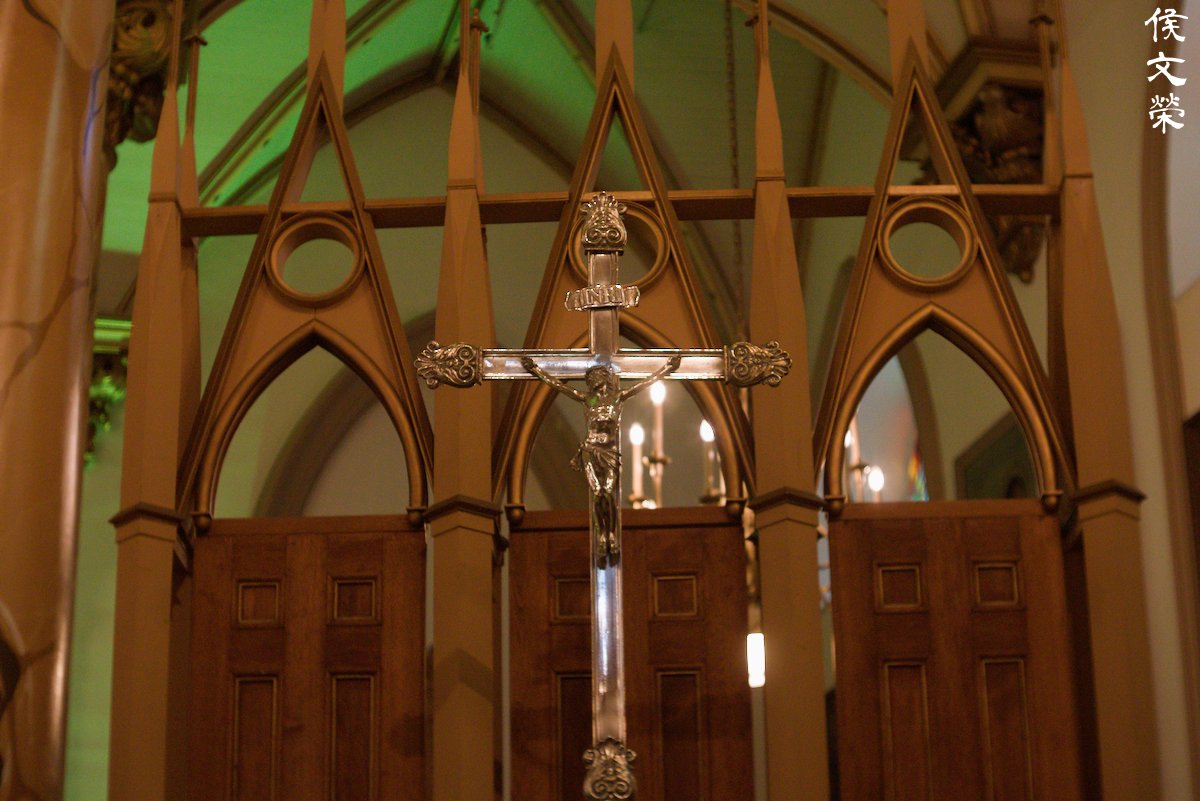
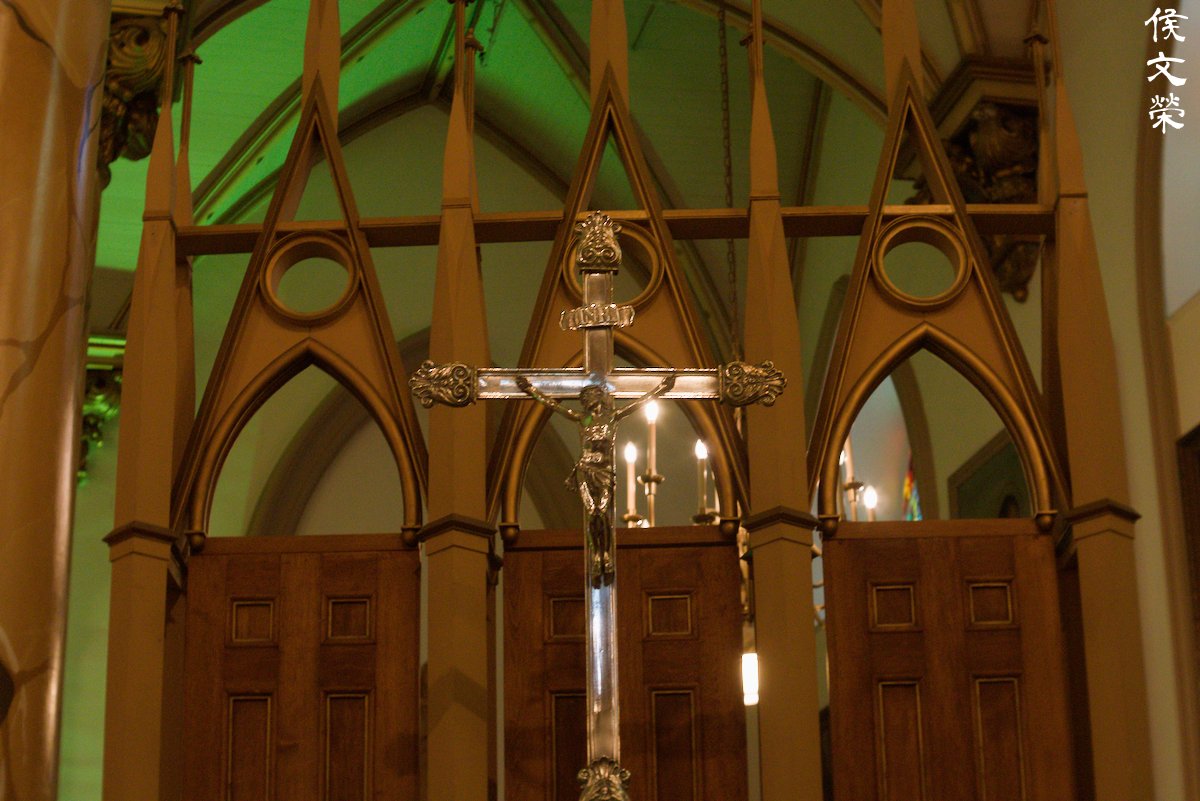
This is what the lens likes the most, a dark scene with some parts of it lit. The photos turn out really good with decent contrast.

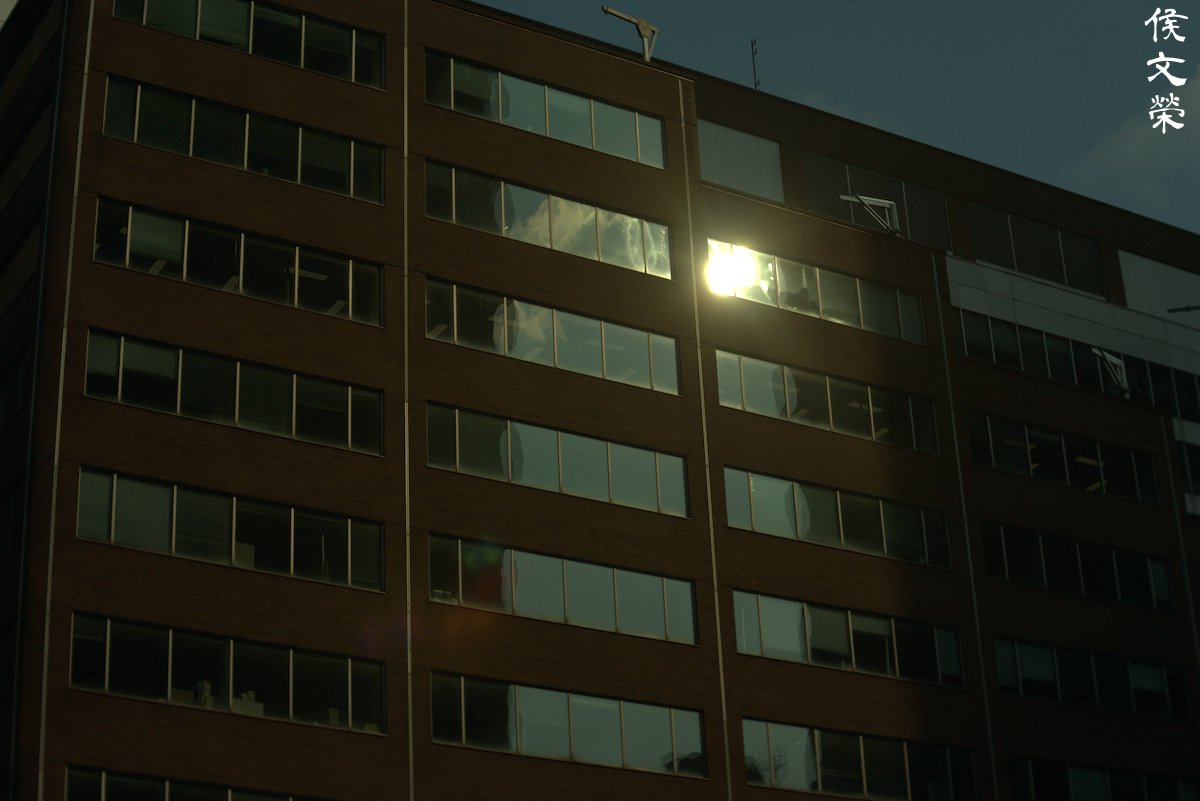
Here’s another example of what I was talking about in the previous photo, it’s as if the lens was designed for scenes like this.

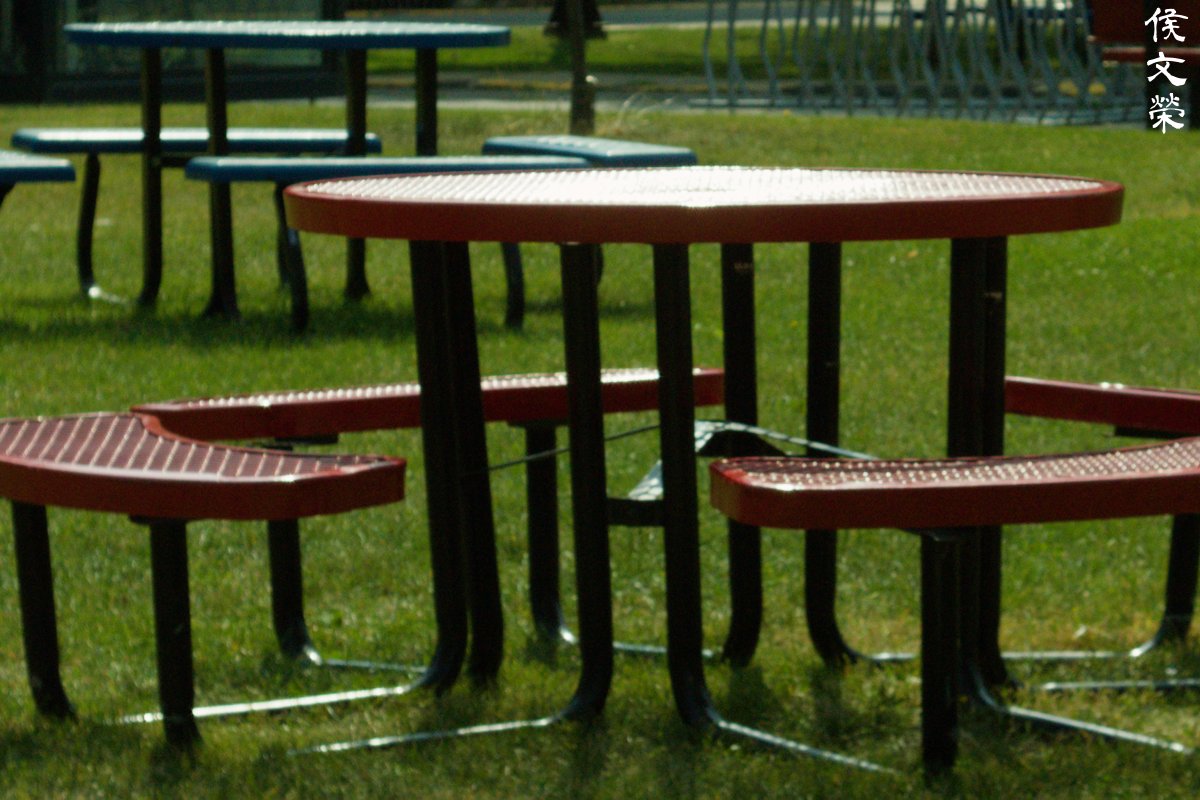
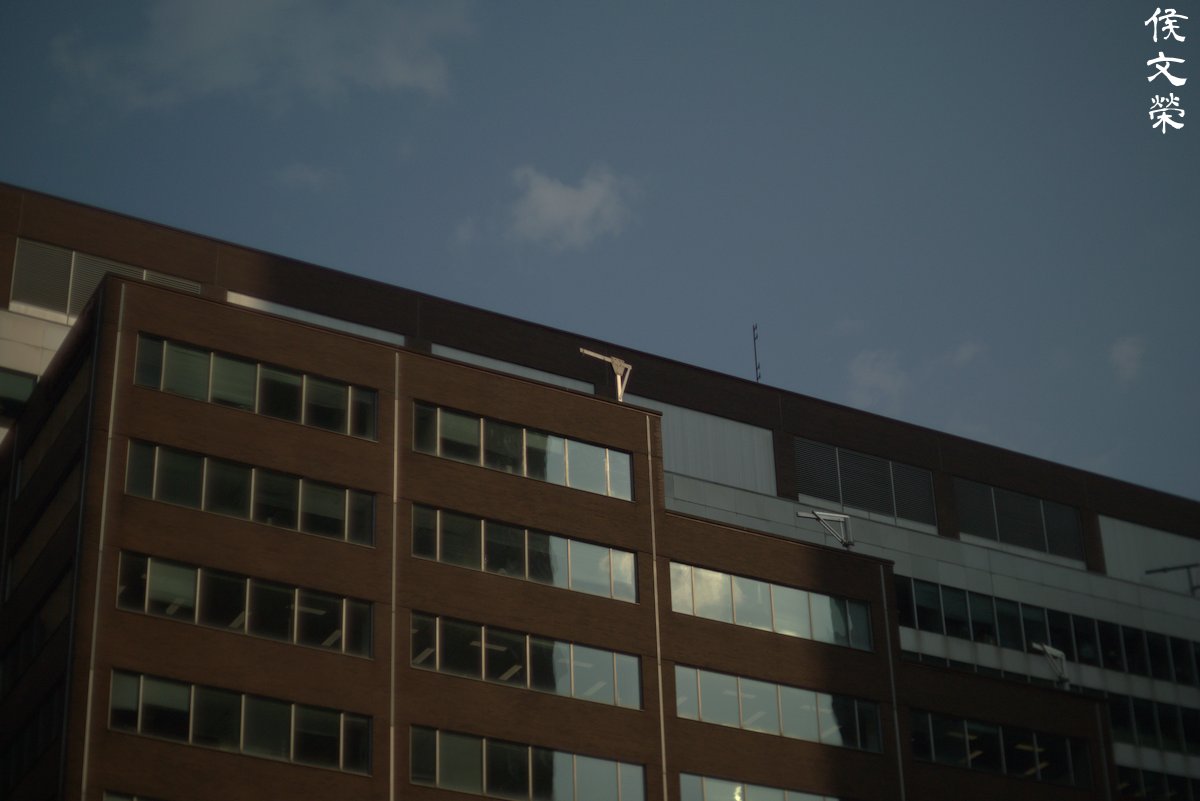
The effects of distortion is obvious when you have straight lines in your photo that’s parallel to the edges of the frame. You will have to angle your shots in order to help mask this issue.

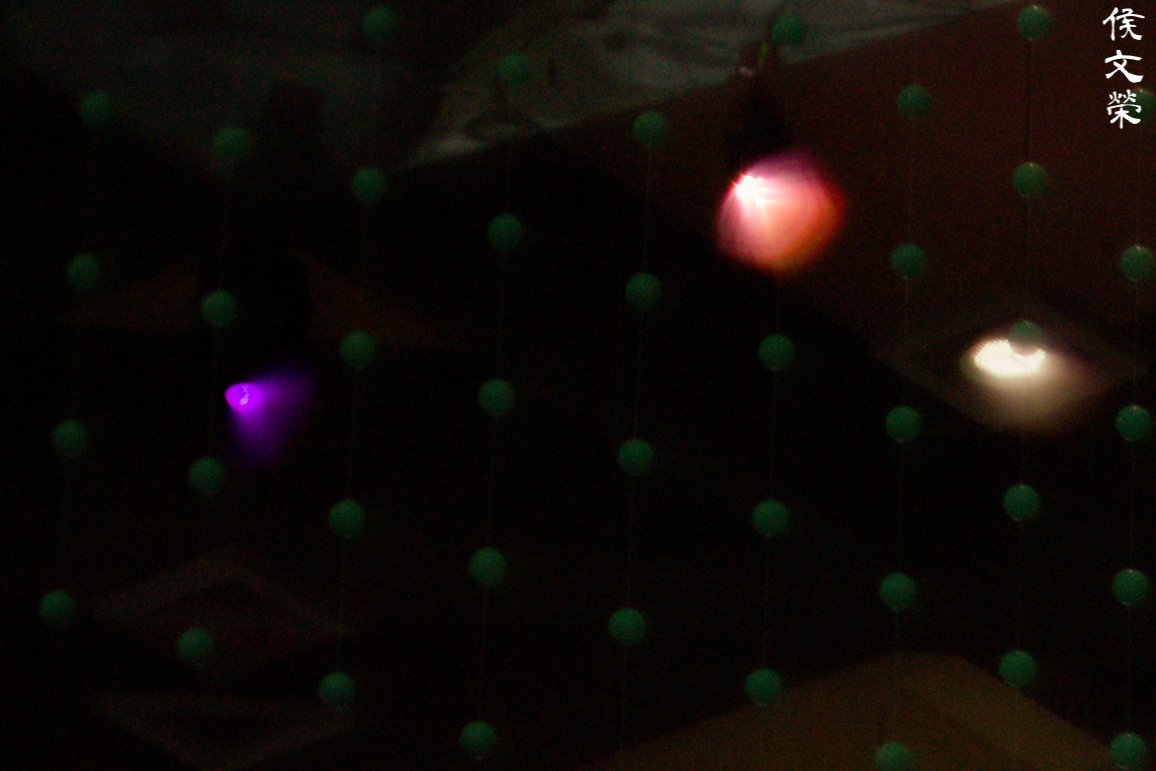
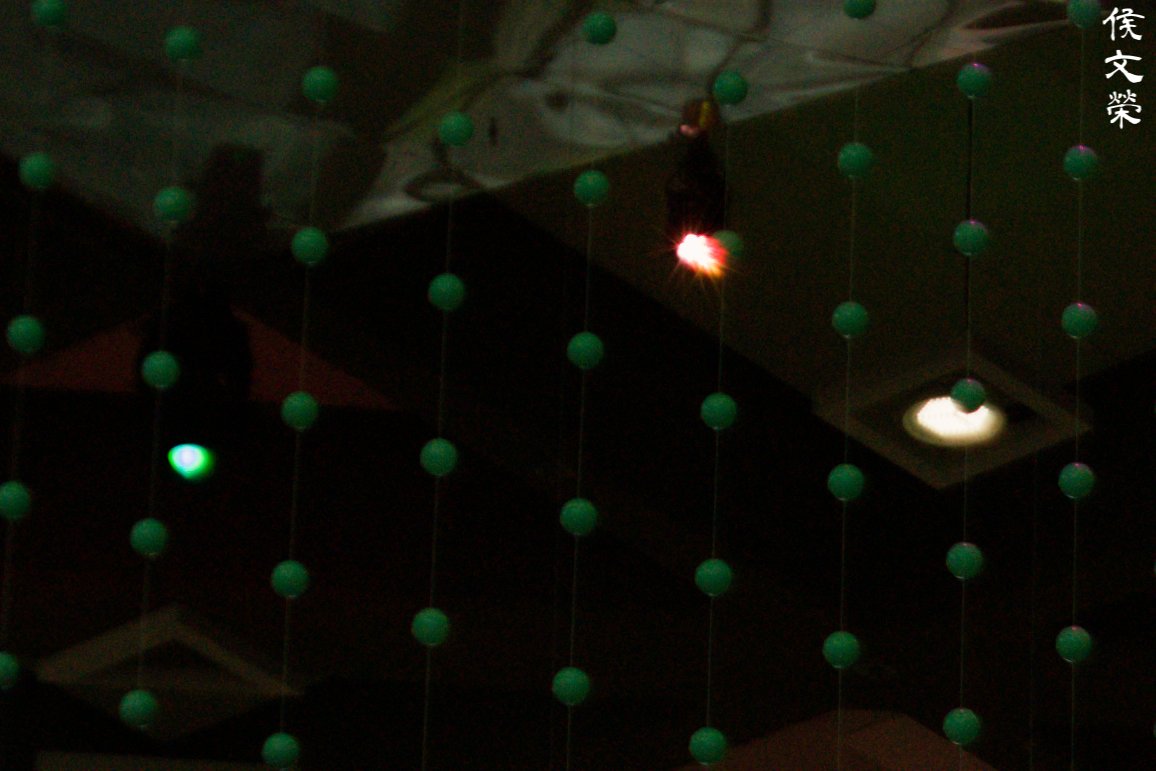
I’ve shown a photo in the previous section illustrating how coma can affect your photos. This is how it will look like, this time with more small lights closer to the edges and corners where this issue is worse. I don’t think this is a real problem in actual use because you can just stop the iris down to f/1.4 and that will help a lot in alleviating this issue, but f/2 is where you will need to be at the very least.

Trying to focus with it is challenging, even if your subjects move slowly. The depth-of-field is so thin that it is difficult to even pre-focus and anticipate your shot.


(Click to expand)
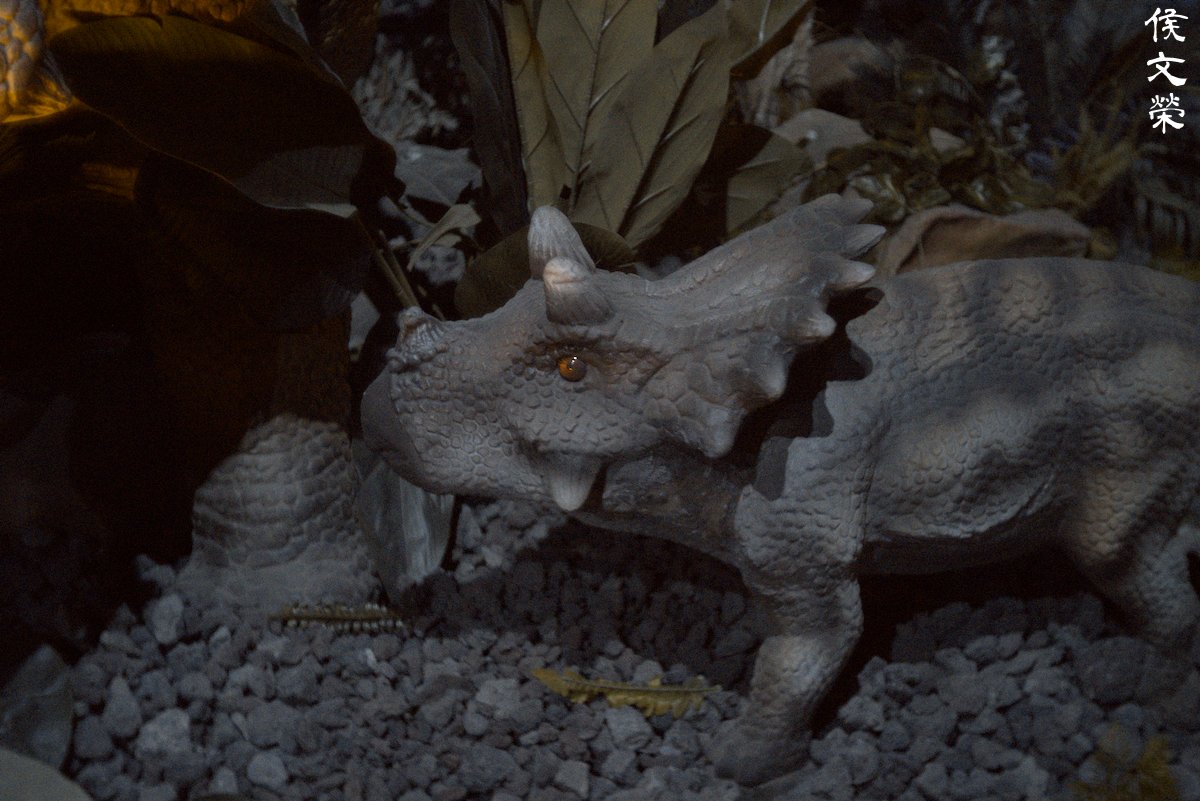
These dinosaur photos were taken in near darkness and with very challenging lighting. It’s a miracle that I have adjusted the white balance to make my photos look better. This lens performed exceptionally good in this scenario. The sharpness that it has at f/1.2 helped me take these photos without having to ramp up my ISO to ridiculous levels. I think I’ve managed to stay under ISO3200 for most of these. The pictures do not look so good when looking at the LCD but they’re gorgeous when seeing them with my laptop. I was not expecting the pictures to look this good, the lens exceeded every expectation that I have for it.


(Click to expand)
It’s a great lens for general shooting but this lens excels in shooting in the dark. If I were to shoot a 25mm regularly I’d use the Cine-Nikkor 25mm f/1.4 instead because it handles better since it’s larger. This lens is a specialist, very much like what the Noct-Nikkor 58mm f/1.2 Ai-S is for the F-mount. Unfortunately, I think it gives a slightly washed-out look to the pictures it takes depending on the situation. This is its weakness if I were to give it one.
This lens is so special not only because it’s rare, it has relatively good performance when shooting at f/1.2. Not a lot of lenses from the same era is able to do the job this good, at least from my knowledge. I don’t recommend this easily because the much cheaper Cine-Nikkor 25mm f/1.4 isn’t so bad at all and it takes great photos straight from f/1.4 which is not a lot slower than f/1.2 in practical use. It’s also easier to find, there’s always one of them for sale every couple of months as opposed to this lens which only comes out for sale only a handful of times in many years. I got lucky and got this for $500.00 and I’ve even seen one that was sold for $400.00! These are the usual going rate so never pay for more unless you have money. I certainly won’t waste anymore than that. If you’re looking for one of these, be sure that the iris is working. The glass should be clean and clear, with no signs of fungus. Operate the rings and make sure they work. It’s also common to find these with oily iris blades, that should be easy to fix so long as nothing is broken or missing. You must also be careful and check for any signs of balsam separation, that’s going to be hard to correct and will definitely cost a lot of money. This is a very specialized lens only for people who know what they want. If you’re one of us, just wait and you will get yours one day. Increasing your good karma by donating to this website will also help increase the chances of a great deal.
Before We Begin:
If this is your first attempt at repairing a lens, I suggest that you see my previous posts regarding screws & drivers, grease and other things. Also read what I wrote about the tools that you’ll need.
I suggest that you read these primers before you begin:
- Essential tools
- Best practices 1
- Best practices 2
- Best practices 3
- Ai conversion
- Working with Helicoids
Reading these should lessen the chance of ruining your lens. Before opening up anything, always look for other people who have done so on the internet. Information is vague and scattered but you can still find some information if you search carefully.
For more advanced topics, you can read my fungus removal article. It has a lot of useful information, it will be beneficial for you to read this. I also recommend that you read the working with helicoids article so you will not get stuck because you couldn’t reassemble the helicoids back properly.
Disassembly (Main Barrel):
The construction of the barrel is similar to many smaller Cine-Nikkors for both C & D mounts. They have a common layout so it’s not hard to follow if you have seen my articles. It’s not really difficult to service this but you’ll have to be very careful with the iris mechanism.
As usual, we will separate the disassembly section into 2 parts, we will focus on the barrel in this part. It’s the easier part of the whole section but you’ll still have to be careful because there’s a lot of small parts. I she’ll warn you that you must send yours to an expert repairman so you won’t ruin your lens. This is very rare and valuable, you don’t want to waste your money.

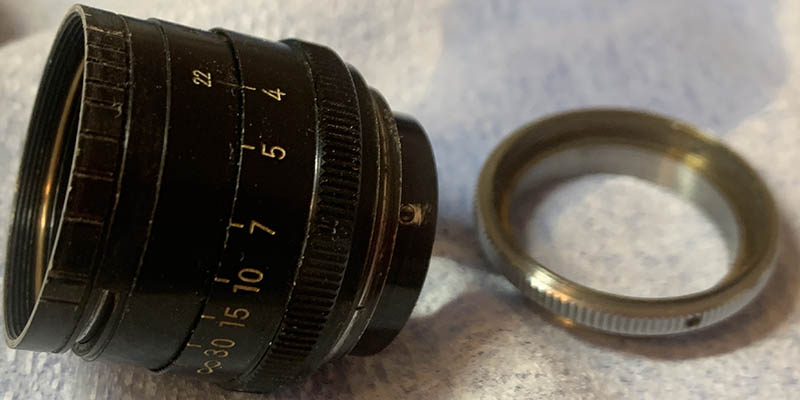
The front can be unscrewed just like this. Never grip the barrel by the aperture or focusing ring, use the knurled or fluted base since it’s the most secure. It may be tight so a drop of alcohol might help soften it up.

Carefully extract this, it serves as a pin to couple the aperture selector ring to the iris mechanism inside. It should actually be removed as soon as possible to prevent any damage to the iris.

You can pull the selector ring off but be careful not to lose this spring, it’s for the detent clicks.
Loosening the screws of the base and pulling it off should be your next priority.
You can now access the 4th group, extract it using a lens spanner.

You can find 3 grub screws around the throat of the base, you can remove them now or later. These are for securing the part where the base or mount was attached to, you can unscrew it off once the screws are all gone but I left that for later when I was disassembling this lens.

Locate and extract the screws of the focusing ring so you can pull it off from the rest of the barrel.

At this point you’ll be able to study how the whole barrel works and make small marks to help you later in putting things back together again. Always do this when the barrel or helicoids are set to Infinity.

You will also want to measure everything just to be safe, you should be able to reproduce this later.

Locate and carefully extract this screw so you can turn the helicoids beyond the focusing range, it will allow you to take everything apart.

You can now separate the helicoids but never forget to mark where they parted because that’s also the same place where they should mesh together. Read my article on how to work with helicoids so you will not be in a situation where you will need to guess how to put it back together again.

The lower barrel can be dismantled just like this, it’s just a free turning ring.
Set everything aside so you can continue to the next section where we dismantle the objective. There are lots of small parts here so be sure to have a safe parts box ready.
Disassembly (Objective):
There is nothing special about the objective’s construction, it’s straightforward but there are some things that you should be aware of. Just follow what I say and you should be fine. Like what we usually do, the best way to go about disassembling this lens is to take plenty of photos before you remove anything so you will have references. You must also mark which side of a lens element should be facing front so you will not forget which side should be facing the front.
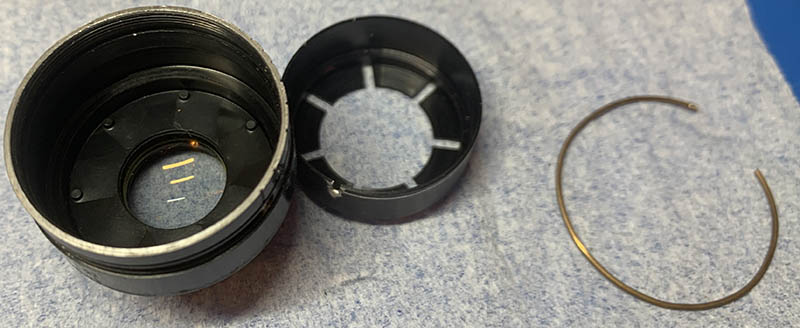
As usual, carefully pick the brass circlip to dismantle the iris mechanism. Remove the diaphragm cup so it is possible for you to remove the blades.

Carefully study how the iris blades are laid out so you will know how to put it back again later. Note that my lens is oily inside, this is caused by the lubricant migrating inside the housing of the iris mechanism. It can take years or several days depending on how much grease there is and with what quality.

As you can see, the blades are very delicate and they have a small hip. This makes them susceptibly brittle so you should handle them with utmost care.
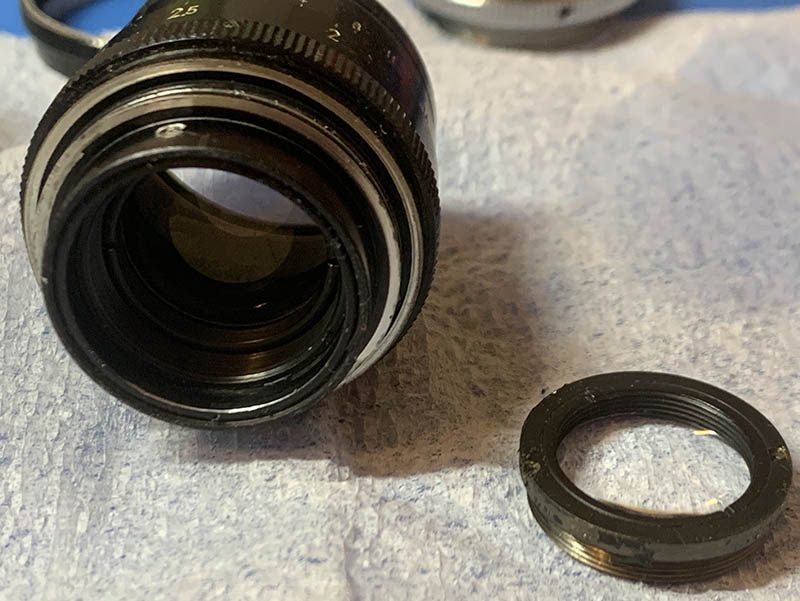
The front barrel can be dismantled like this, you simply unscrew it off. Do not bother dismantling the front element’s housing, you won’t be able to go further because it’s a sealed unit.

The 2nd group’s housing can be opened just like this. You can remove the glass if it’s not attached to its collar, or you can just leave it alone otherwise.

The 3rd group can be removed once the retainer has been unscrewed.

I used a Q-tip to push the 3rd group out of the housing while being careful not to damage anything.

The rear group’s housing can be dismantled just like this. Since the glass looks symmetrical do not forget to mark which side should be facing the front or else you will risk putting this back facing the wrong way.

Now that everything has been torn down to the last screw we are now ready to clean this thoroughly. The blades were cleaned individually using Q-tips and lighter fluid. The large metal parts were all cleaned with an ultrasonic cleaner. I made sure to rinse them very well and then rinsed them even further with alcohol. The last bath will ensure that there’s no oily residue left. Of course, I also used a brush to scrub them.
If your lens has fungus, read my article on how to clean lens fungus, just make sure that you dilute it with distilled water so it’s not going to be too strong as it may damage the coating.
When lubricating, be sure not to apply too much, all you’ll need is a thin film of fresh grease. Combine the helicoids then exercise them by turning several times, this ensures that the grease is applied evenly. Wipe off any excess. If you’ve applied too much grease it will settle in the iris mechanism eventually and you’ll need to open it again just to give everything another overhaul.
Never lubricate the iris mechanism, if you must, a light dusting of powdered graphite is enough, blow off any excess powder after actuating the iris several times to finish the job.
Conclusion:
I have been waiting for a long time to get a chance to overhaul this lens. I finally got it after all these years of searching for one. I just wanted to present to you this little jewel of a lens because my goal is to create a complete database of all Cine-Nikkors. That is my commitment to you all. It took me the whole night to overhaul this, most of the time was spent on cleaning everything. While the barrel’s construction is similar to the Cine-Nikkor 25mm f/1.4 it has enough differences to satisfy my curiosity.
The lens looks wonderful after overhauling, notice how shiny it is. Reassemble everything up to this point, this is how you will be able to adjust the focus of your lens. Simply loosen the 3 grub screws that’s at the rear of the barrel as you can see in the picture. Turn the base so you can adjust how deep it goes. To see how I adjust a lens’ focus using readily available tools, read my article on lens focus Infinity calibration.
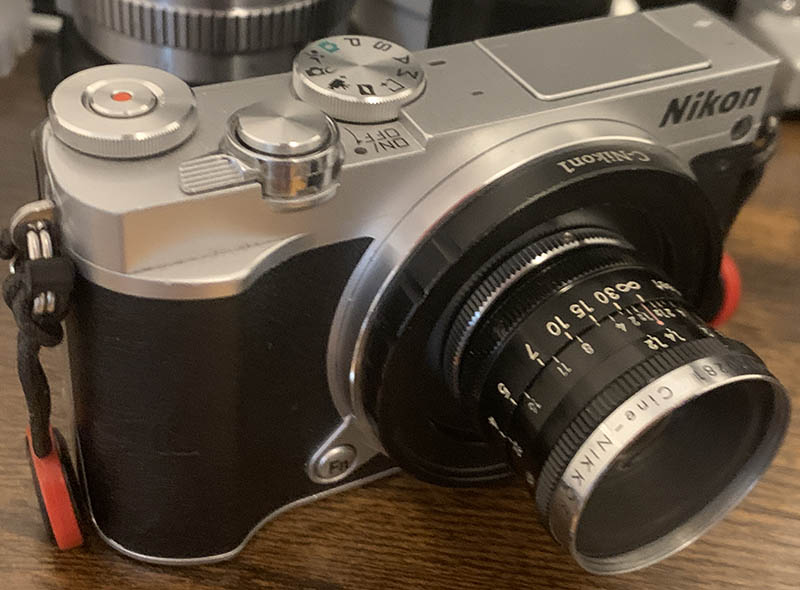
I love using it with my Nikon 1 J5 because they look great together. It’s a very tiny setup so your neck will not hurt at the end of a long day.
That’s all for this article. This website has once again showcased an obscure item, something that you will not find in other places, at least not at this level of content. Producing these articles aren’t easy. I had to go out of the way to take pictures, and spend a lot of time and effort to prepare them all before I publish. Thanks to your support, I’m able to do this for an extended period of time. This website would not have lasted so long without your help, and we’re still turning out amazing content all the time! How amazing is that? Especially considering that there’s no sponsor backing me up or anything, it’s all on you. Thanks for coming and see you guys again next time, Ric.
Help Support this Blog:
Maintaining this site requires resources and a lot of time. If you think that it has helped you or you want to show your support by helping with the site’s upkeep, you can make a small donation to my paypal.com at richardHaw888@gmail.com. Money isn’t my prime motivation for this blog, I believe I have enough to run this myself but you can help me make this site grow.
Leave me some tip?
Thank you very much for your continued support!
$2.00
Helping support this site will ensure that it will be kept going as long as I have the time and energy for this. I’d appreciate it if you just leave out your name or details like your country’s name or other info so that the donations will totally be anonymous. This is a labor of love and I intend to keep it that way for as long as I can. Ric.
