
Hello, everybody! I went to buy some burgers at McDonald’s, it was early so they sold me McMuffins instead. I liked their burgers because they’re cheap, I didn’t have the urge to try anything else since the regular $2.00 burger is a satisfying enough meal for me. Reluctantly, I tried the McMuffin and to my surprise, it tasted quite nice. I’ll admit that it’s better than a regular burger, I have been living without tasting this for decades! How could something so delicious be taken to another level? Today, I’m going to show you a lens that underwent an upgrade. Many thought that it’s an already excellent lens but Nikon took it to the next level. Read this article to find out what this it.
Introduction:
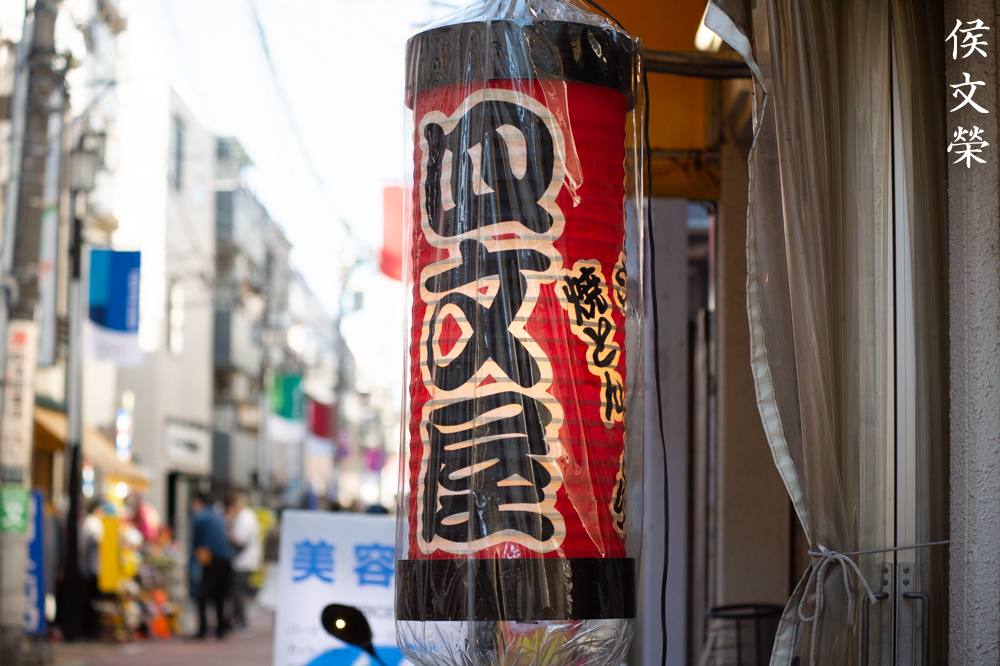
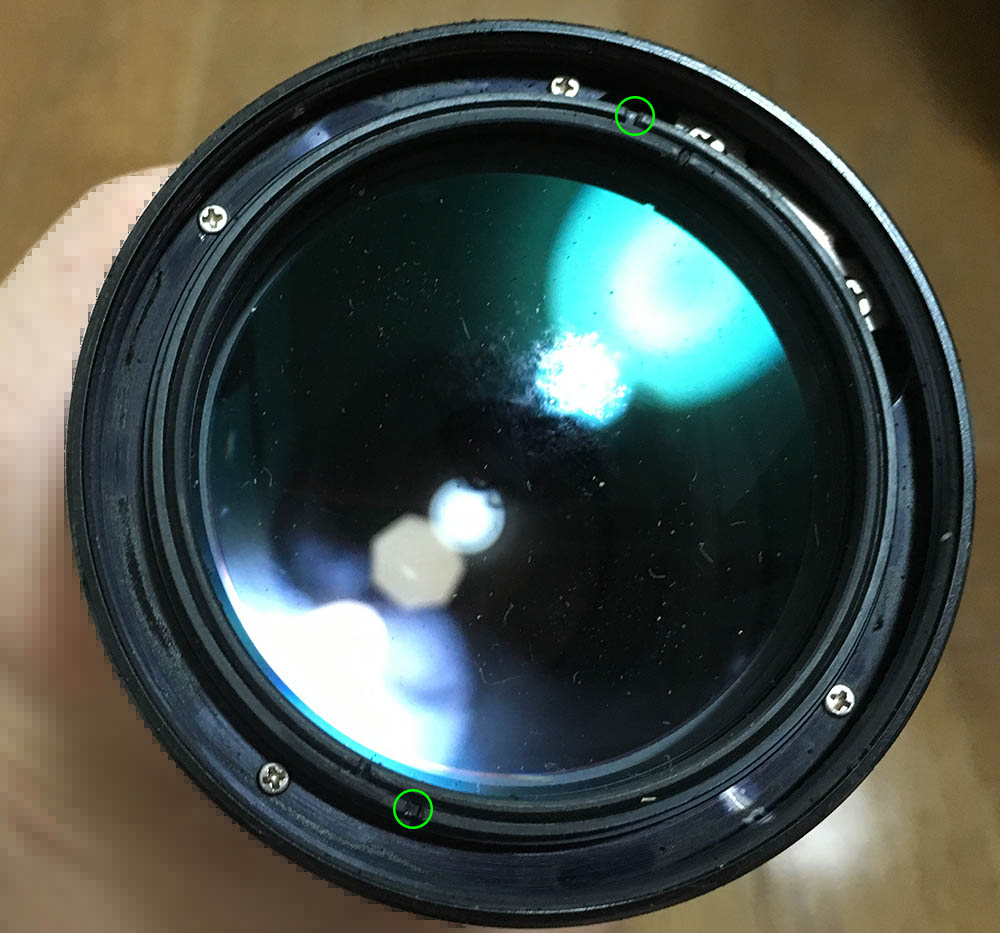
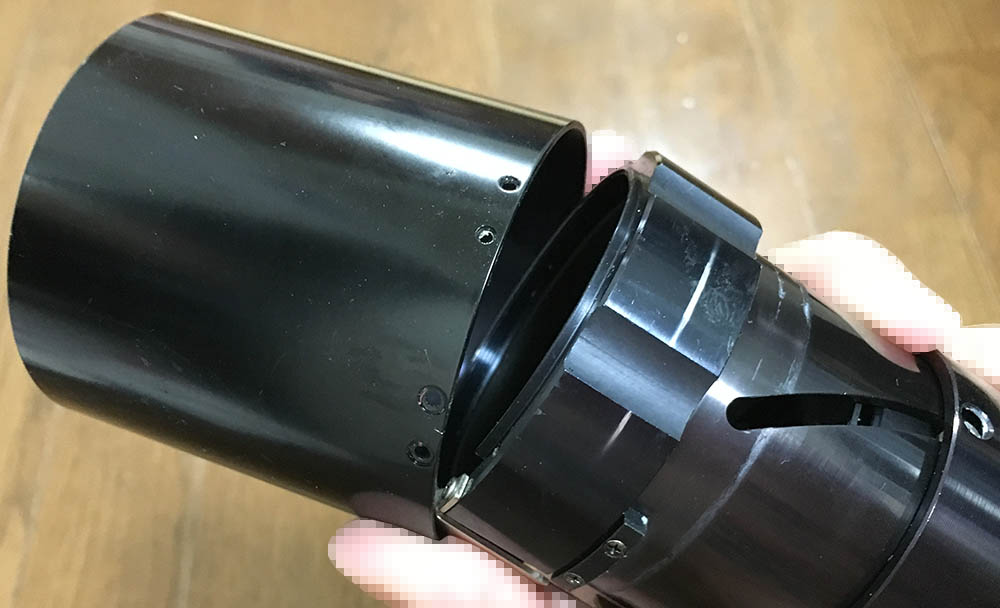
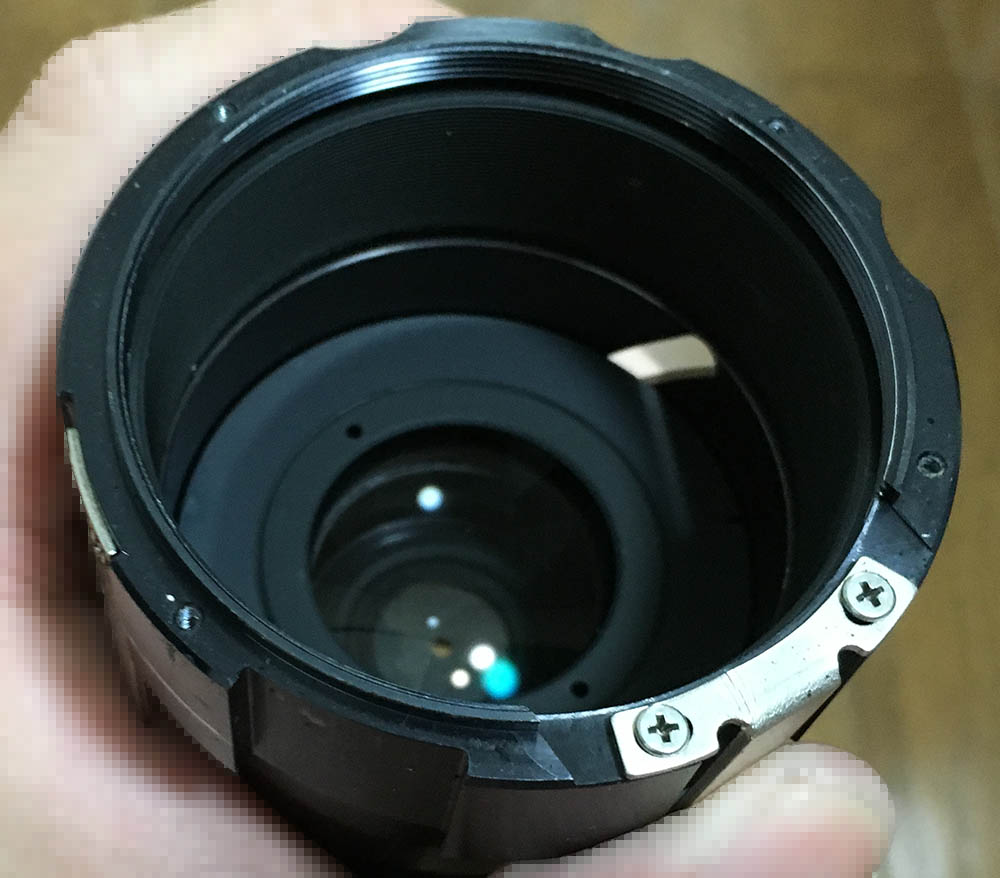
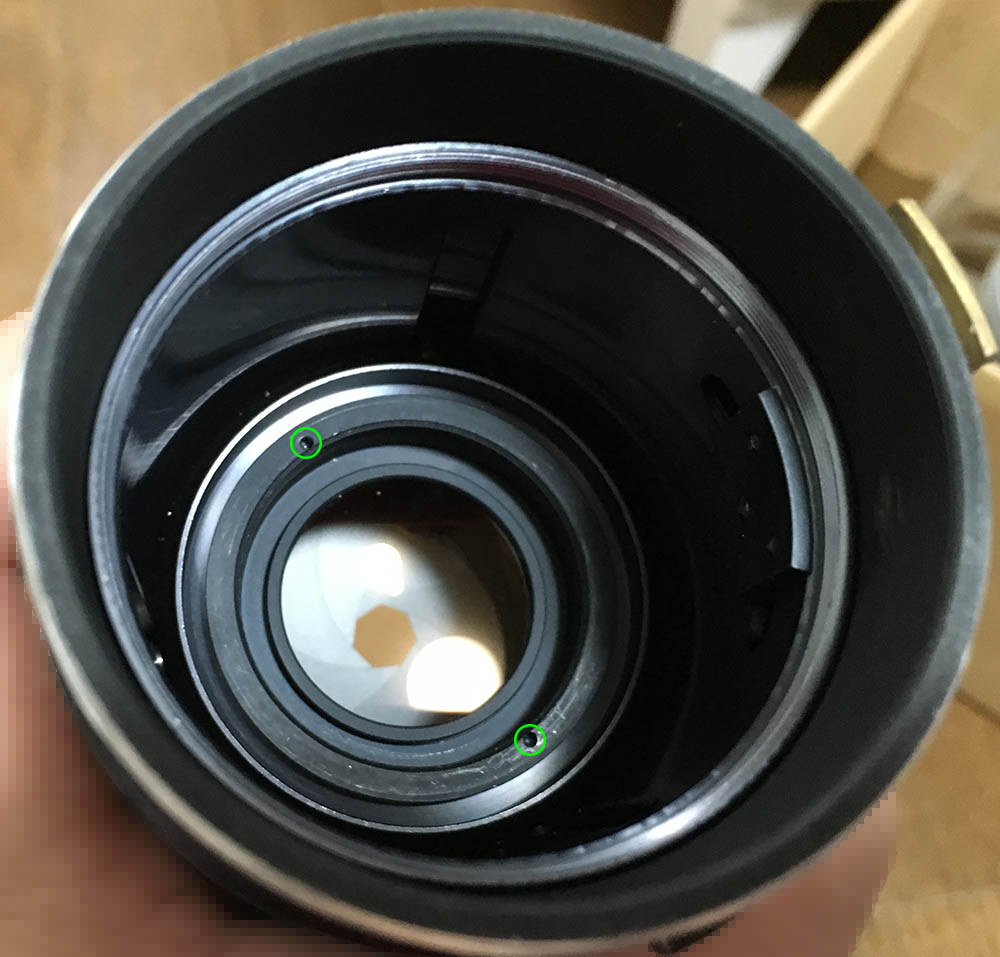
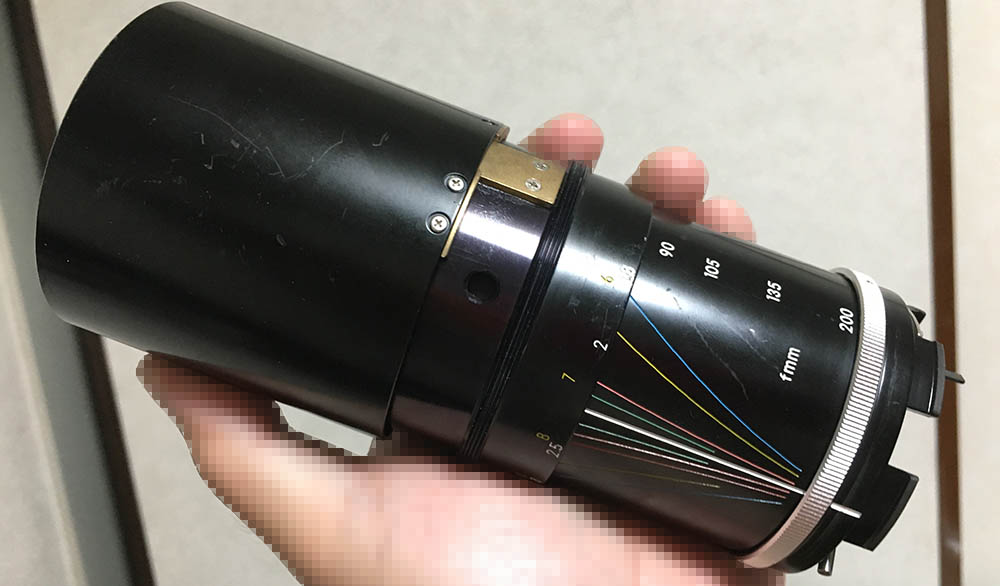
The Zoom-Nikkor 80-200mm f/4.5 Ai N (for New) appeared in 1977 and was made until 1981. It is called “New” since there’s another lens with the same name so it helps differentiate it. It’s hard to identify all of the versions, this lens has undergone so many revisions that it is difficult to memorize these small variations from the outside. It’s easy to identify this version, though. I just look at the rear and if it has a rectangular baffle then it’s the last model and the best version in terms of optical quality.

It feels great in your hands, really well-built and dense. It is a professional’s lens in its day, something that journalists and sports photographers have in their bags always. It’s also great for portraiture and other things. This was a premium lens and with a premium price to go along with it. These are very cheap these days, I could easily get one from $10.00 to $20.00 depending on the condition. Nobody wants these today except for you and me.
It has a new 12-elements-in-9-groups design compared to the older versions. This new optical formula is superior to the older one in terms of sharpness, distortion profile and several other things, the minimum focusing distance’s value remained the same despite all of this which is a shame. The coating is also better and that’s also another reason why it’s considered to be the best lens of the series.

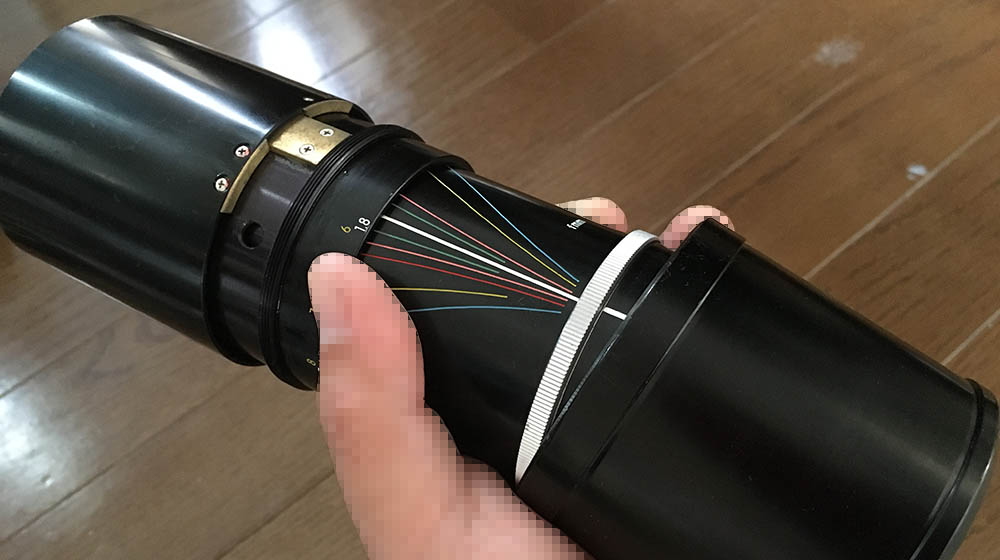
It is a great partner with the Nikon Df, the electronic rangefinder is helpful, you could achieve more accurate focusing with it. The maximum aperture’s speed is merely f/4.5, it can be difficult to focus this in dark environments. I rely on the electronic rangefinder for this more than what I could see from the viewfinder. A camera with split-prism won’t help either, it’s even going to make things worse since the center will turn dark due to the lack of light. A course-ground prism is the best screen for this. The barrel is colorful and informative. The scales are handy when you are focusing manually.
Nikon made several lenses in this class and size:
- Zoom-Nikkor 80-200mm f/4.5 Auto, this is the earliest one.
- Zoom-Nikkor 80-200mm f/4.5 Ai (N), a new, improved version.
- Zoom-Nikkor 80-200mm f4 Ai-S, the last professional model.
- Nikon 70-210mm f/4 Series-E, a cheap lens with decent optics.
They all have different characteristics and quirks. Some are better at certain aspects but fail on some things. It is difficult to compare them, it’s like asking a shoe collector which one is the best.
Knowing how a lens performs is important, you will learn its strengths and weaknesses. This knowledge allows you to determine which lens to bring in an assignment. The following photos were taken from f/4.5, f/5.6 and f/8. The lens shows the most changes in image quality with these apertures. You will most likely shoot with it at these settings, too. I took these with a Nikon Df.


(Click to enlarge)
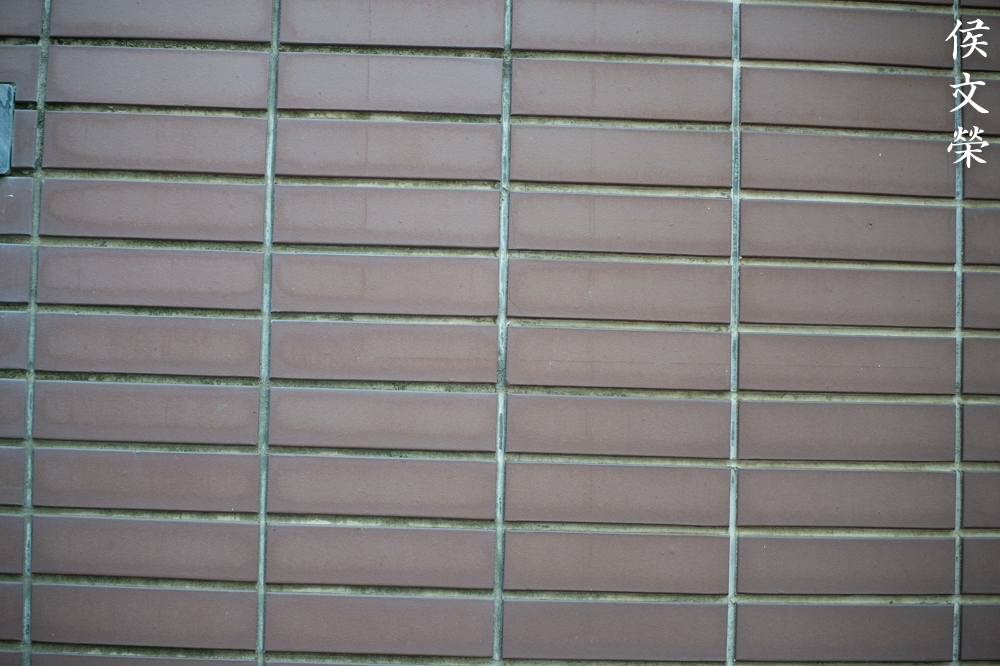
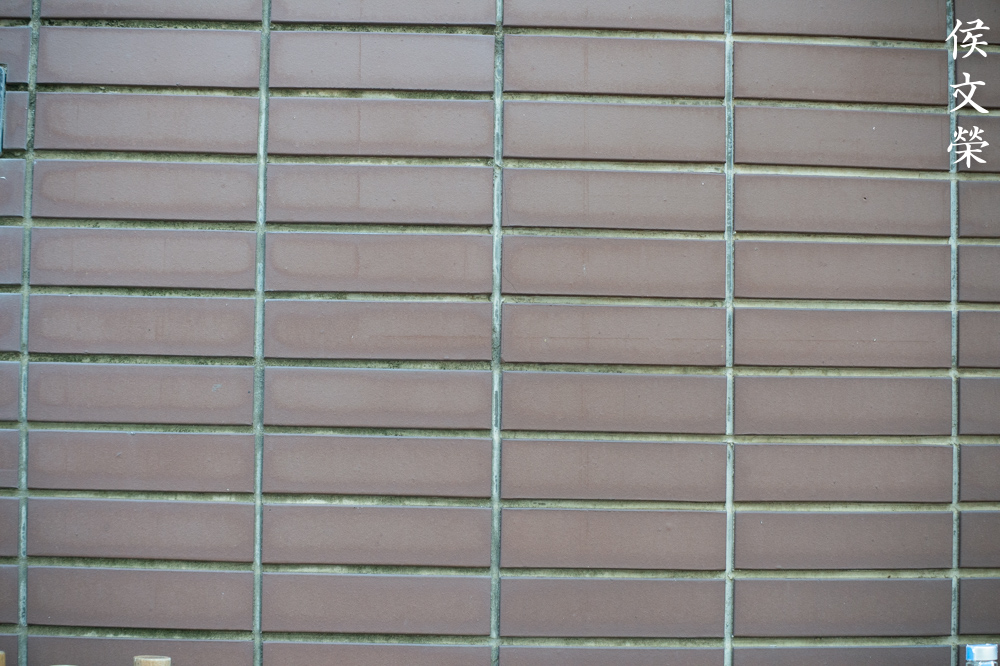
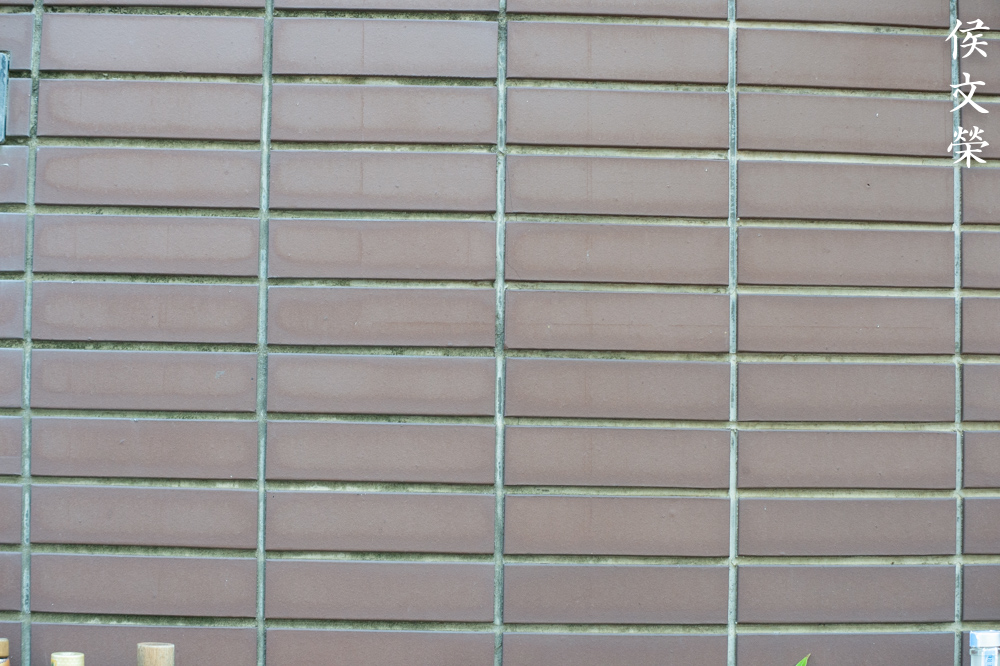
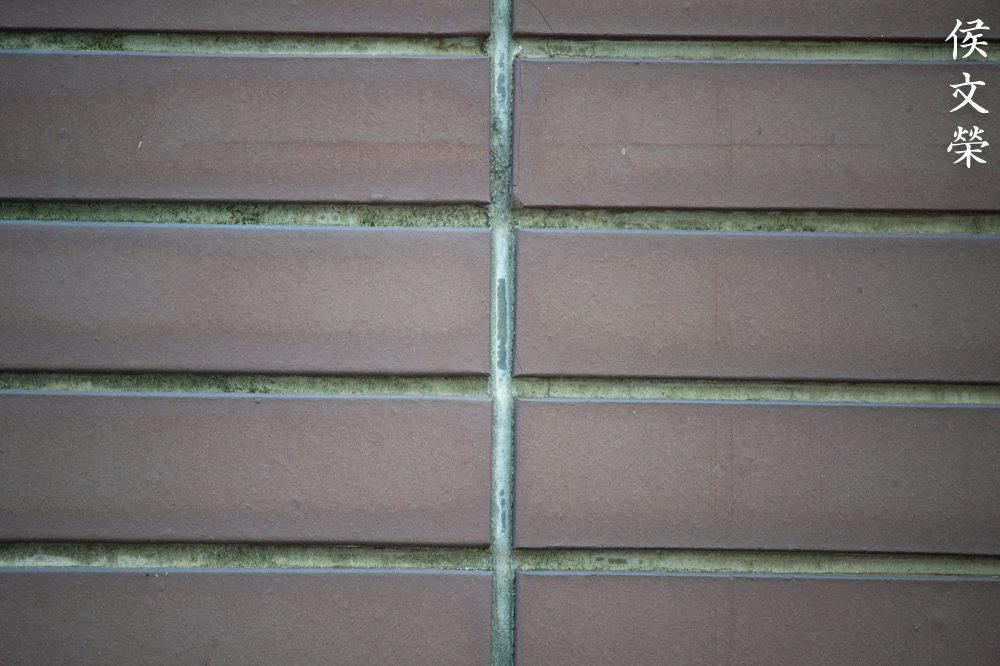
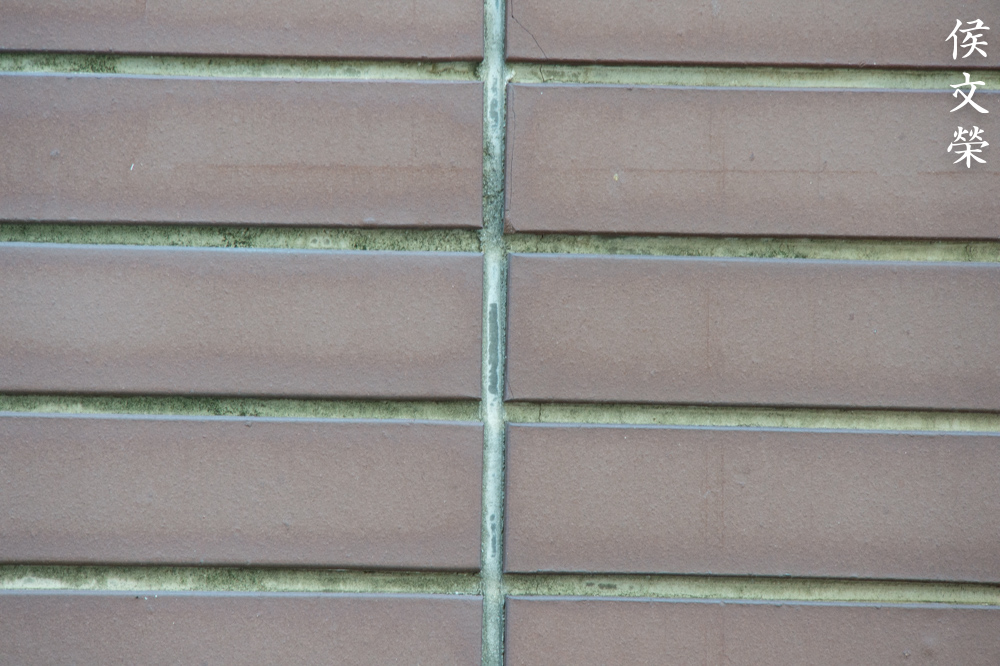
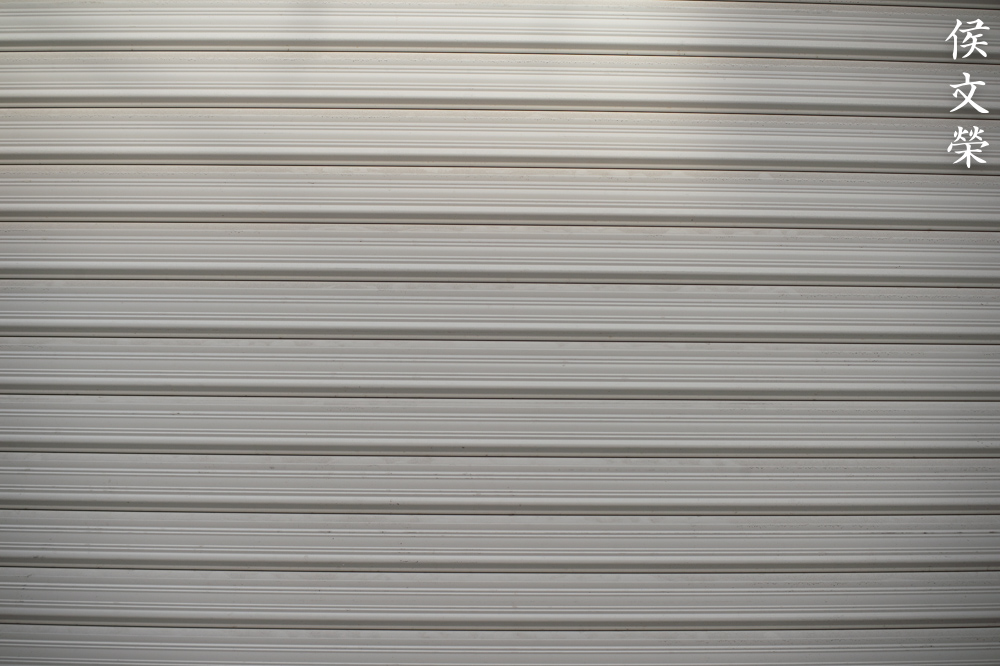
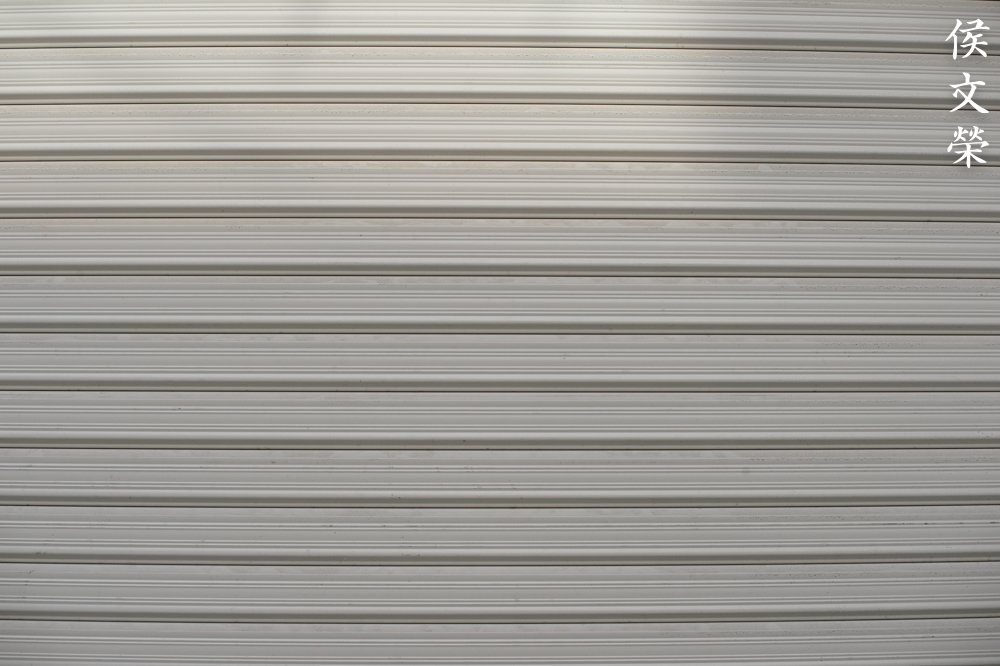
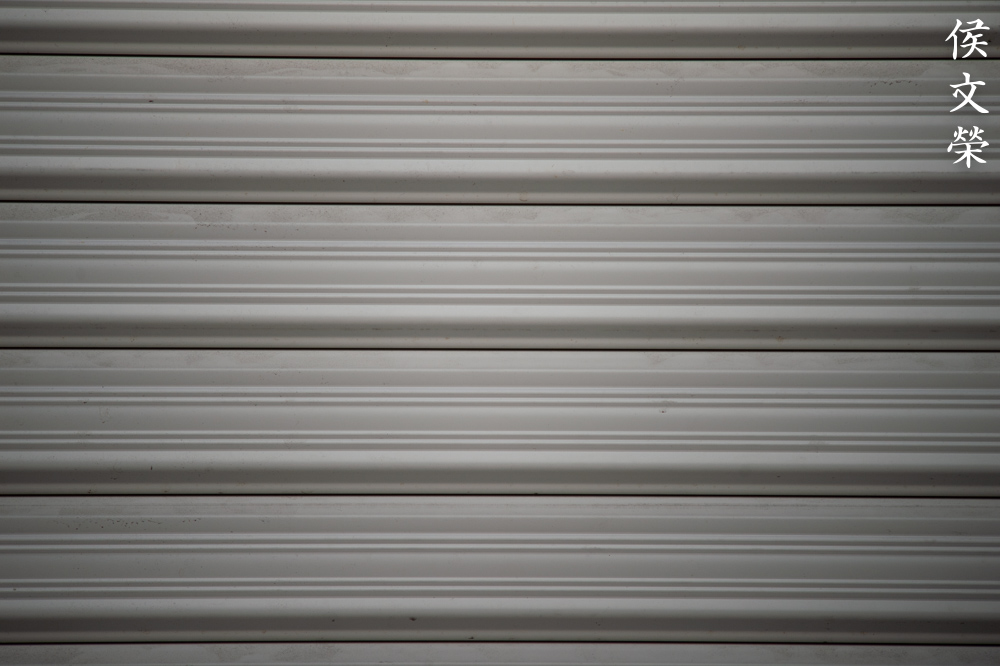
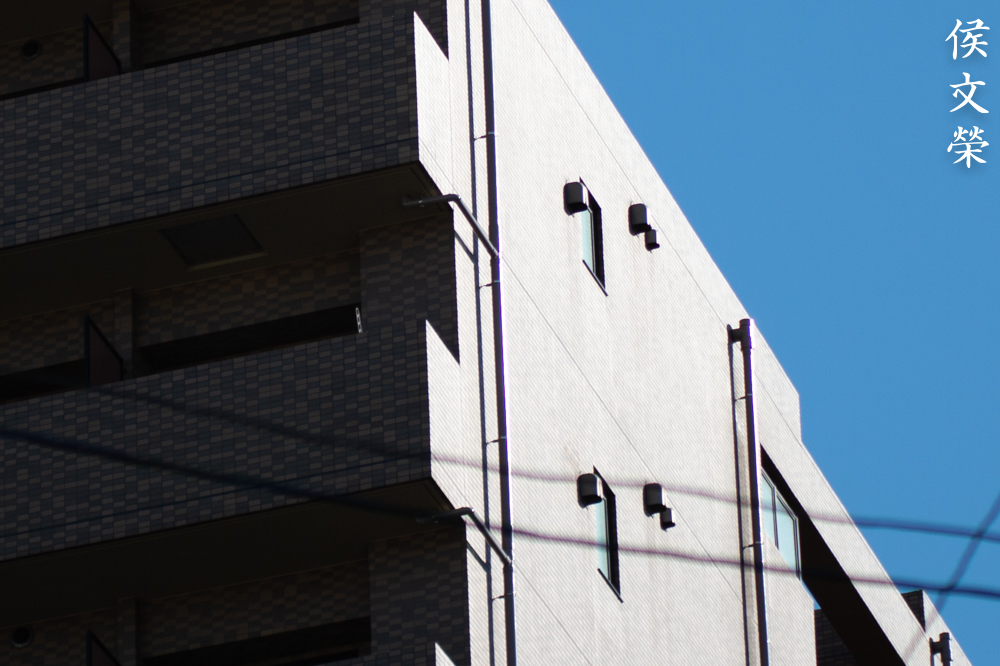
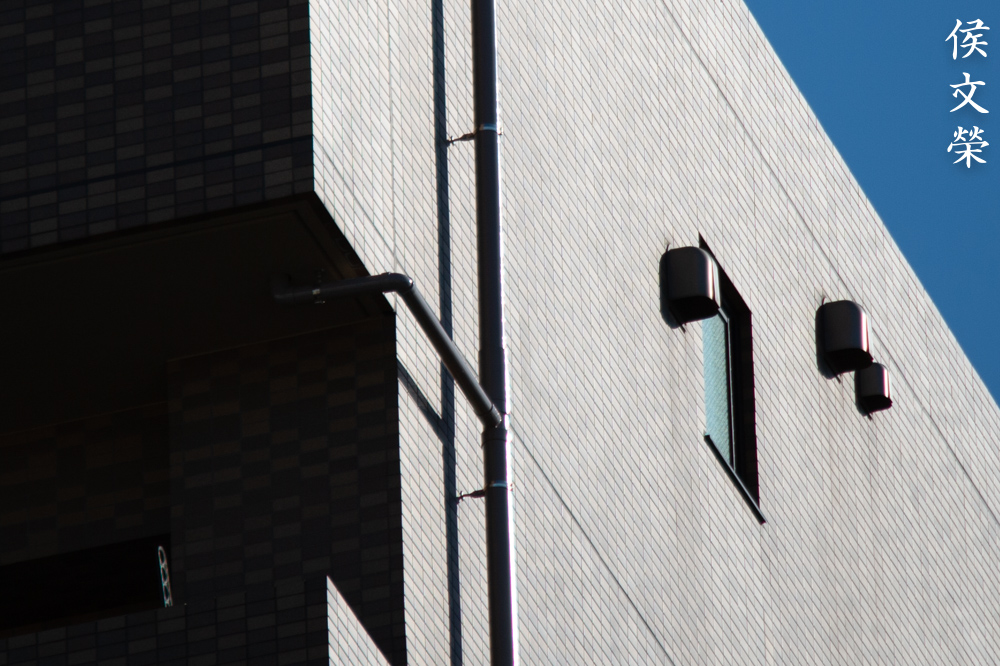
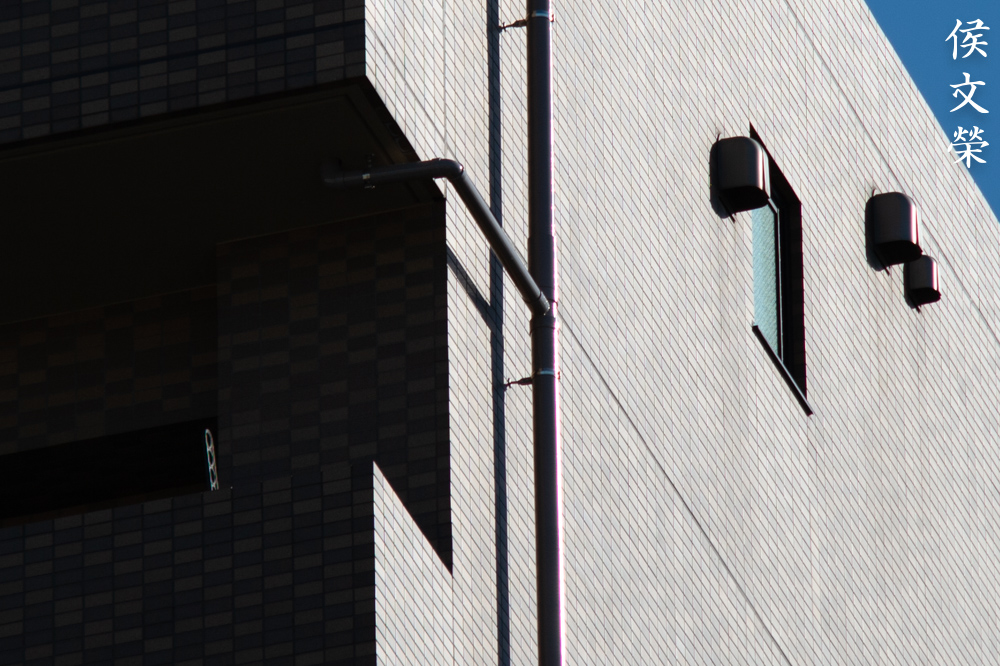
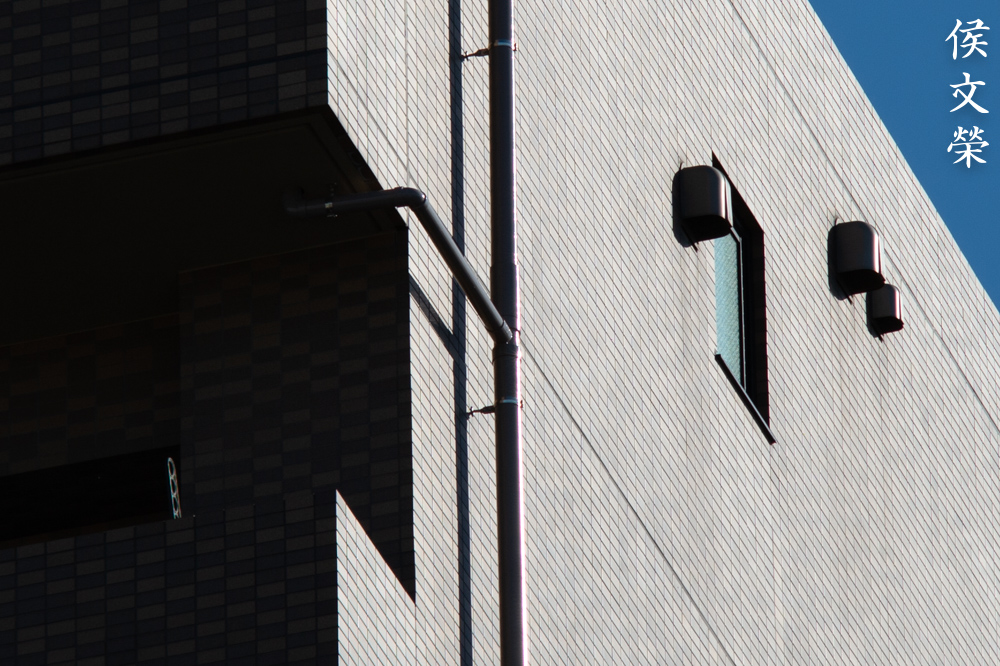
Distortion is quite high at the wide-end but it’s moderate at the long-end. It’s not going to be obvious in real-world photos but you should not use this for taking photos of architecture and art. Avoid placing straight lines parallel to the edges to prevent them from appearing bowed. The corners appear dark wide-open but it’s not bad at all, it gets brighter by f/5.6 and is negligible by f/8. This isn’t a problem unless you’re shooting things that are even-colored.


(Click to enlarge)
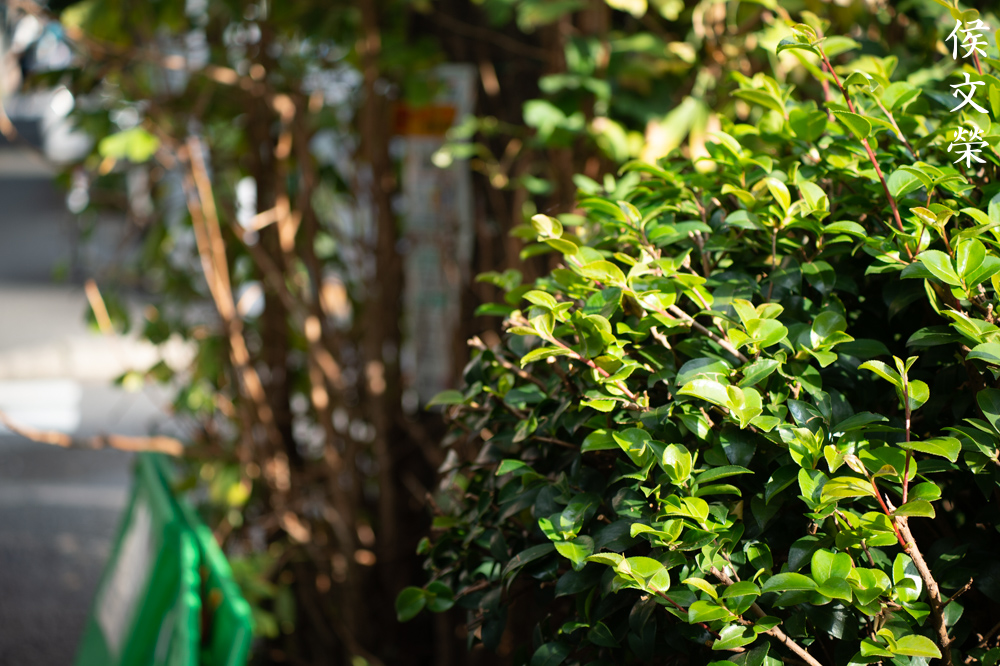
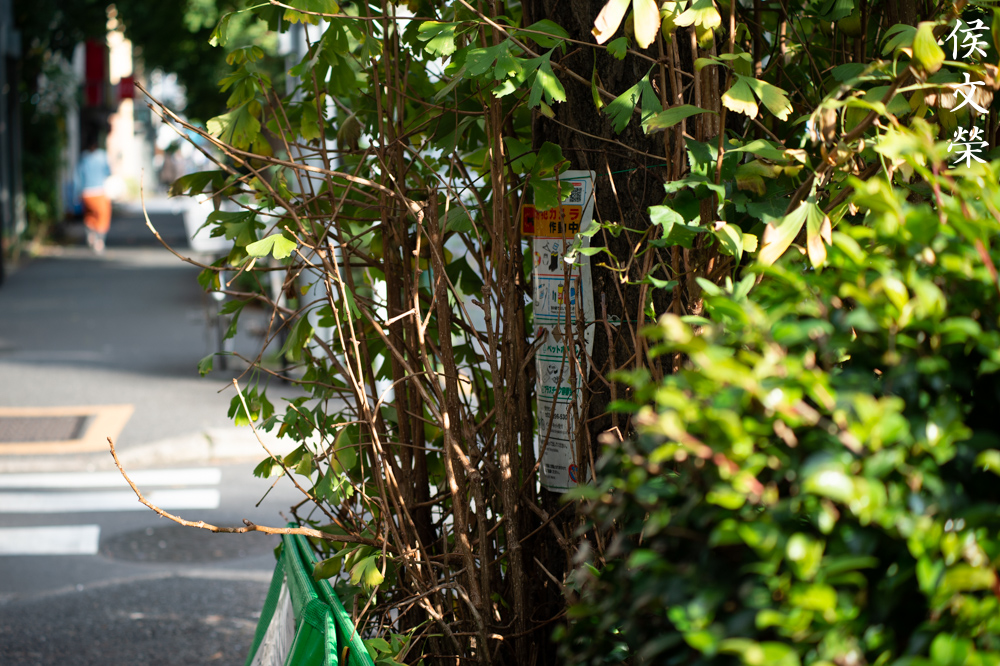
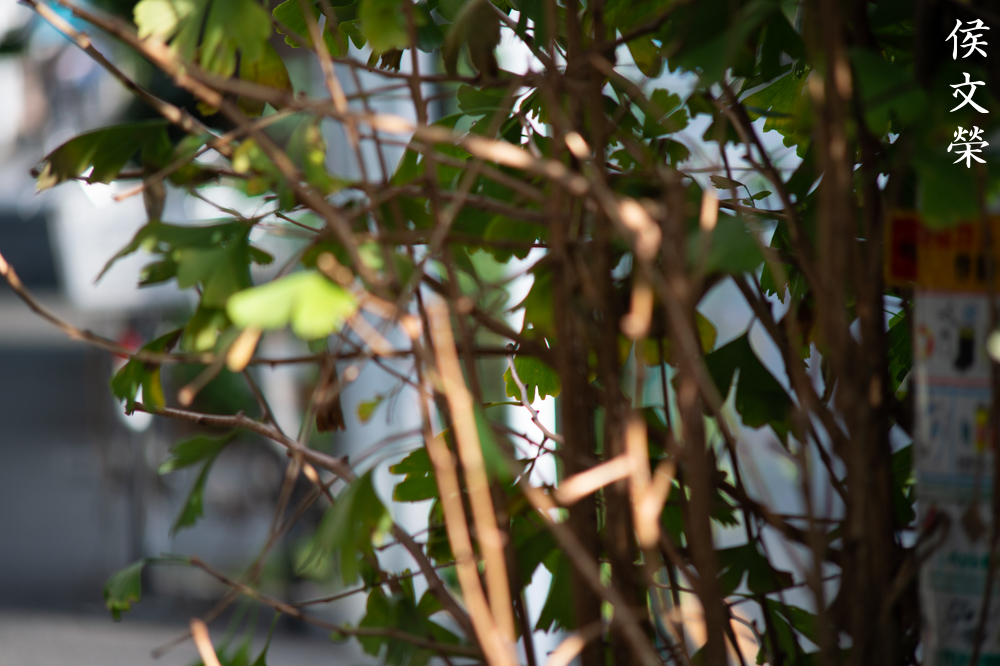
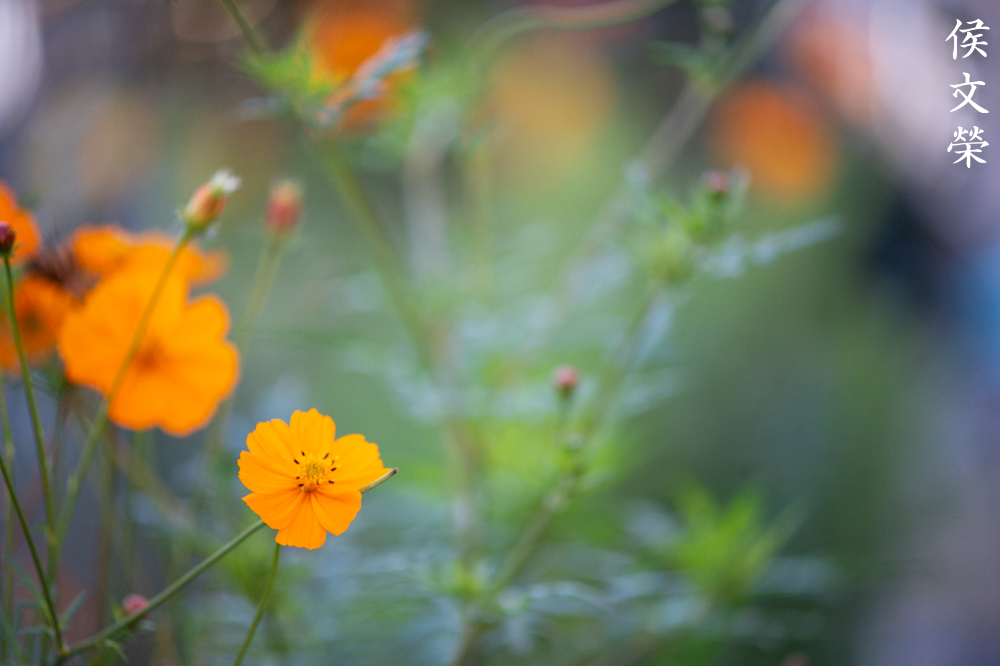
The character of the bokeh is quite nice in my opinion, it’s not perfect but it doesn’t exhibit the ugly artifacts associated with a lens with poor rendering when it comes to out-of-focus details. Foliage and twigs are difficult subjects to render when a lens has poor bokeh quality.


(Click to enlarge)
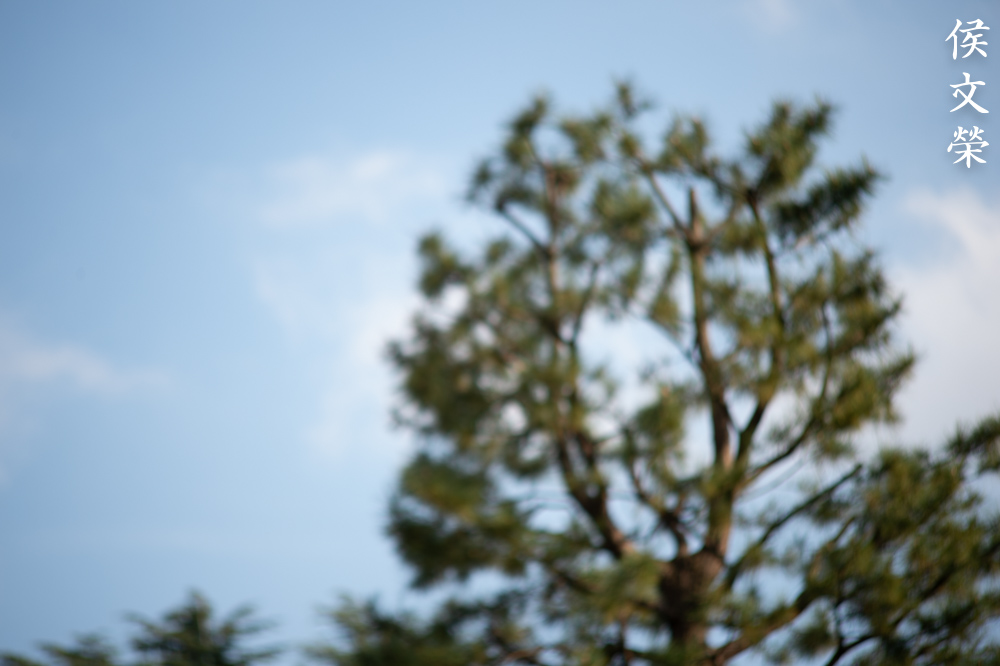
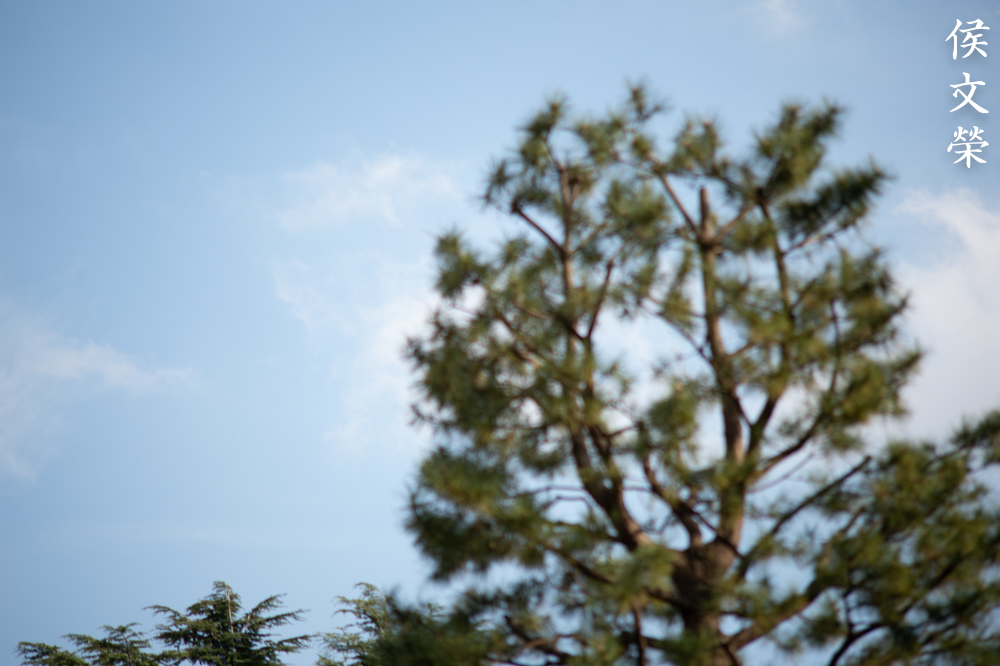
Chromatic aberration appears nasty in overblown areas, it won’t go away if you stop the iris down on extreme cases like you see above. You’ll normally won’t see this if you expose your photos properly, it should clean-up well by f/5.6 on moderate cases. Spherical aberration is kind of high as well but it’s not as distracting as the former which appears to be hideous. Again, you are not going to get these kinds of results if you expose your shot properly.


(Click to enlarge)
Sharpness is quite nice even wide-open, which is a trait of this lens class. It has nice saturation and contrast which looks natural and remains the same throughout its aperture range. Resolution is adequate wide-open but it still has room to improve. Stop the iris down to f/5.6 and the center looks better, it now has more resolution to support its sharpness, which is already quite nice even at f/4.5. Stopping it down to f/8 brings the center to its peak and it is also noticeably better at the corners.
This is how close you could get, the minimum focusing distance is 1.8m, it is not close enough compared to what many lenses could do these days but it’s more than adequate for lenses for this class. The character of the bokeh and its smoothness is not bad at all but I have seen better results.
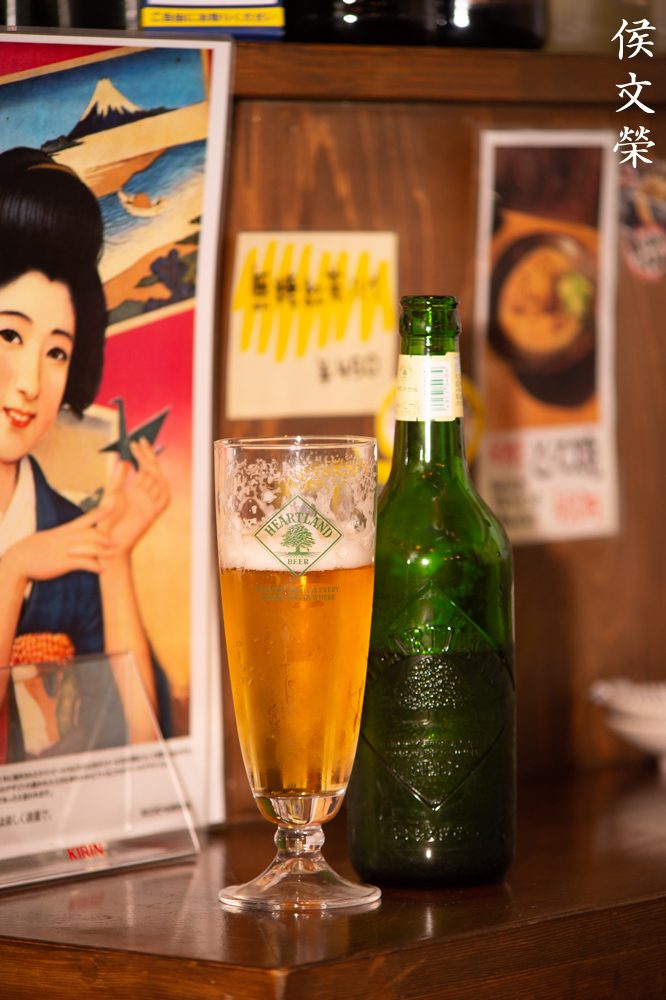
This is nice for product photography since foreshortening is kept low when you shoot beyond 150mm. The problem is zoom-creep, it’s difficult to use it in a precise manner if the large barrel won’t stay-put.

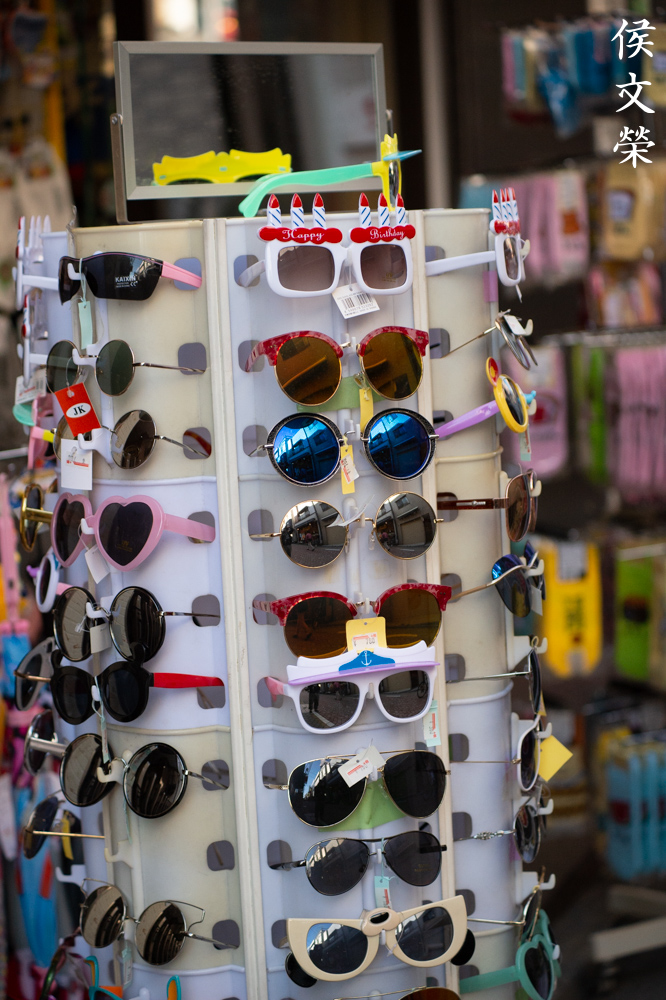
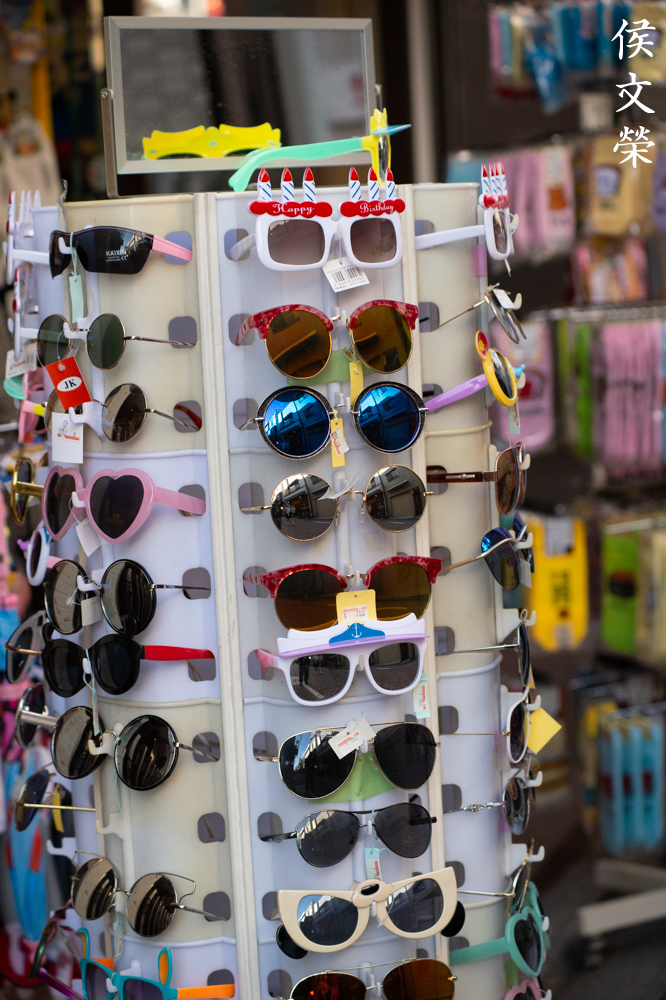
This is how nice the saturation and contrast is. It looks natural, this is a nice lens for rendering bright colors. Of course, sharpness is quite nice, too. It’s a great lens but people don’t give it the attention it needs these days.
The resolution wide-open is adequate as you can see from this photo but it’s better if you could shoot from f/5.6 if your scene has plenty of small details.

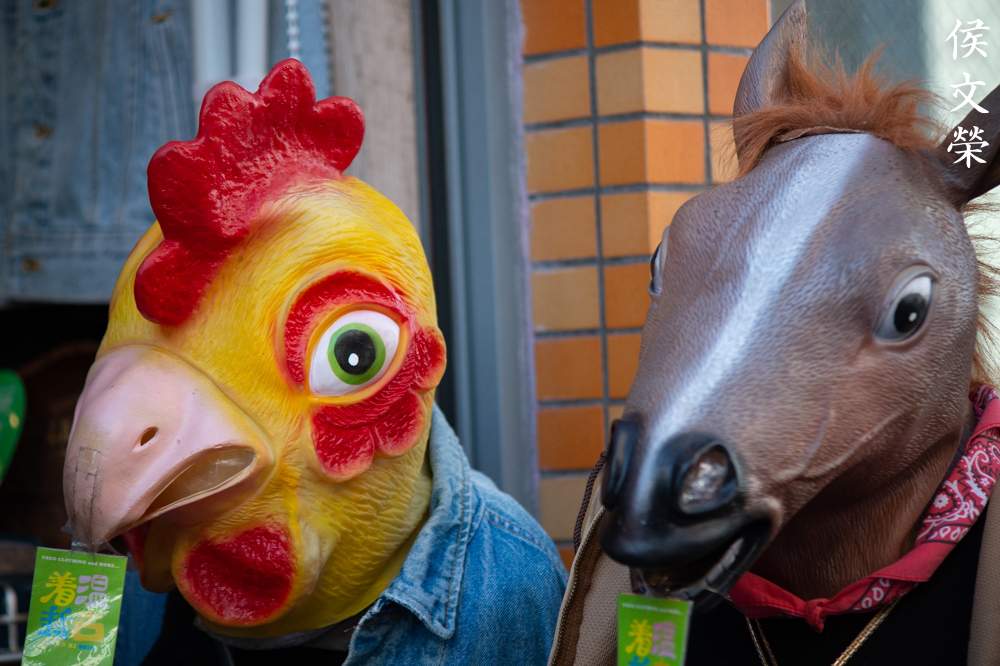
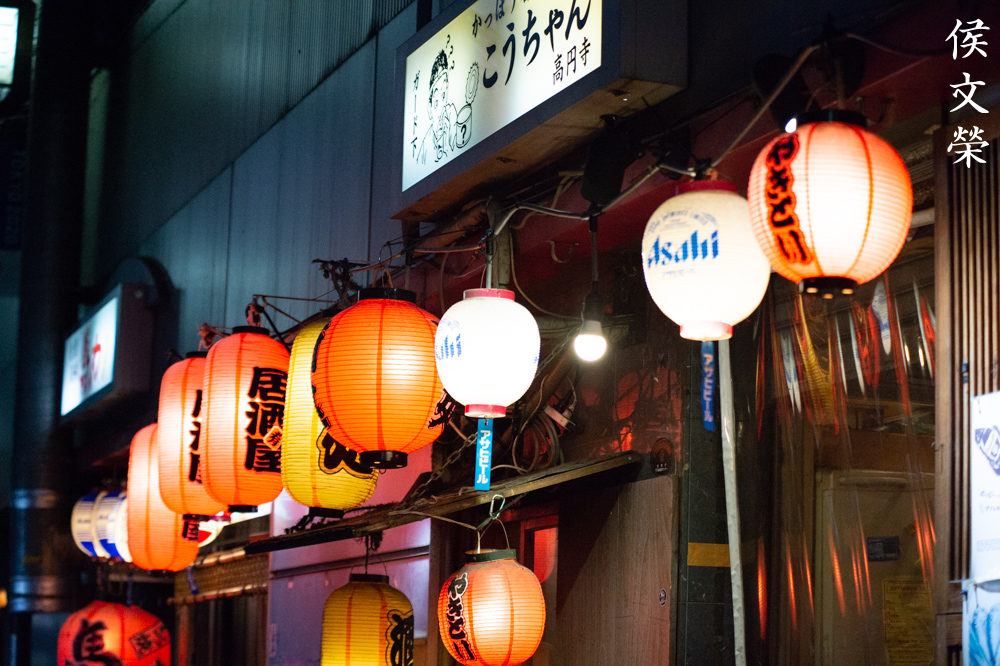
It’s nice for taking candid photos, it’s a useful lens for journalists. She wants to get inked like her dad.

It’s for portraiture despite merely having f/4.5 as its maximum aperture. It’s an amazing lens for rendering skin, which is the most important thing for a portrait lens.

Exquisite rendering, you don’t need an expensive lens in order to take good photos. I positioned her closer to the edge to see how it performs. Well, the performance isn’t as good as the center wide-open but it’s still acceptable. I believe that there are more things to a lens than just sharpness.

This renders photos that look closest to what most modern lenses could do compared to the other versions. It’s sharp, clear and beautiful, it’s easily the best version of this lens family.

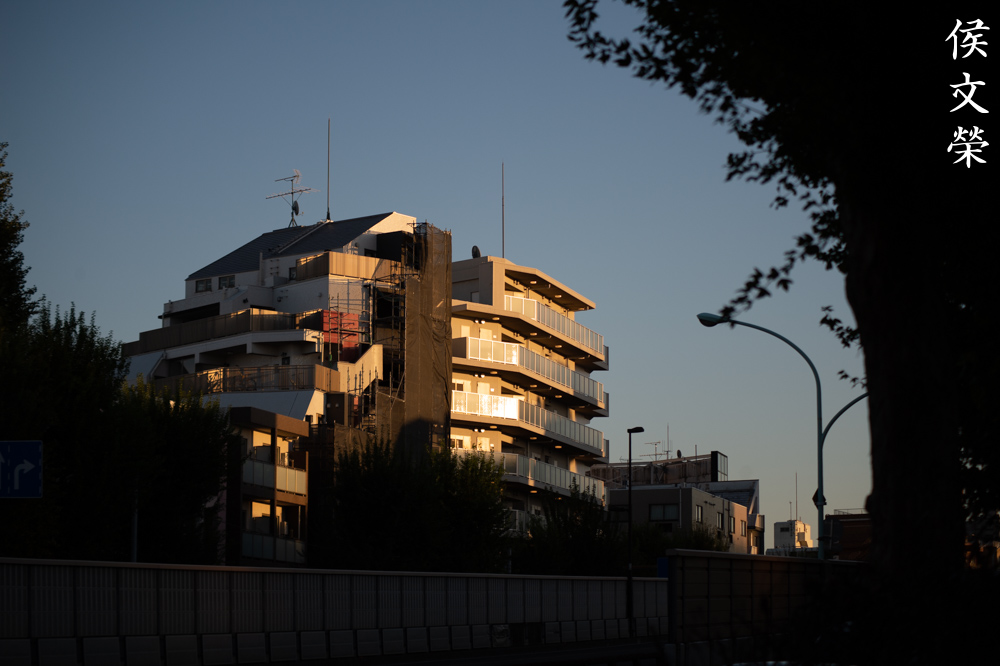
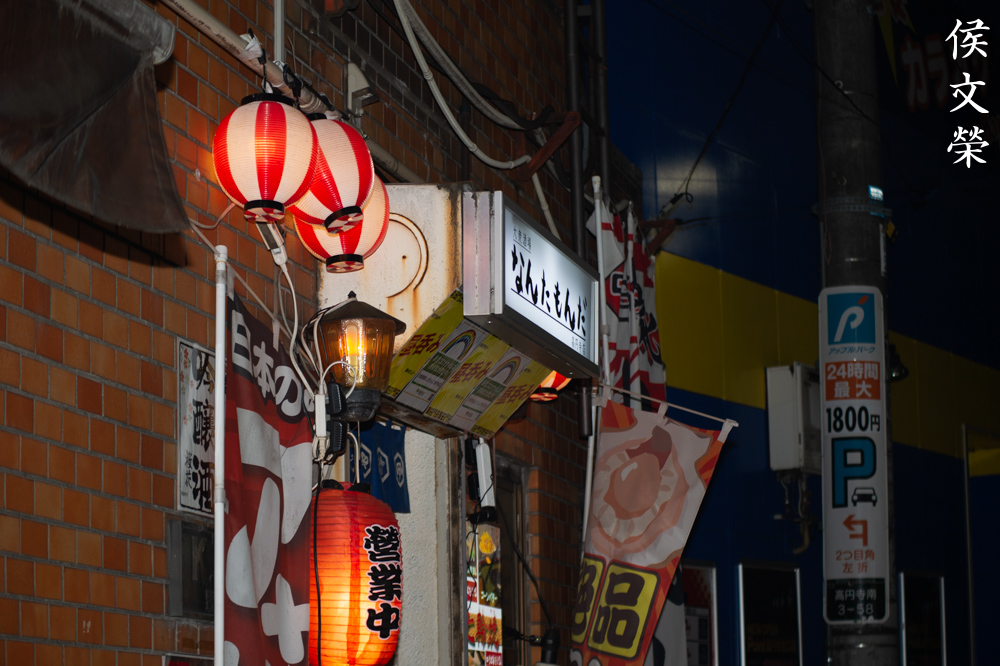
Shooting at night can be challenging since f/4.5 isn’t going to be fast enough. You can crank-up your ISO to help maintain a faster shutter speed which is something that’s only possible these days with a digital camera. Film users don’t have this luxury and a flash will be the next-best option.


(Click to enlarge)
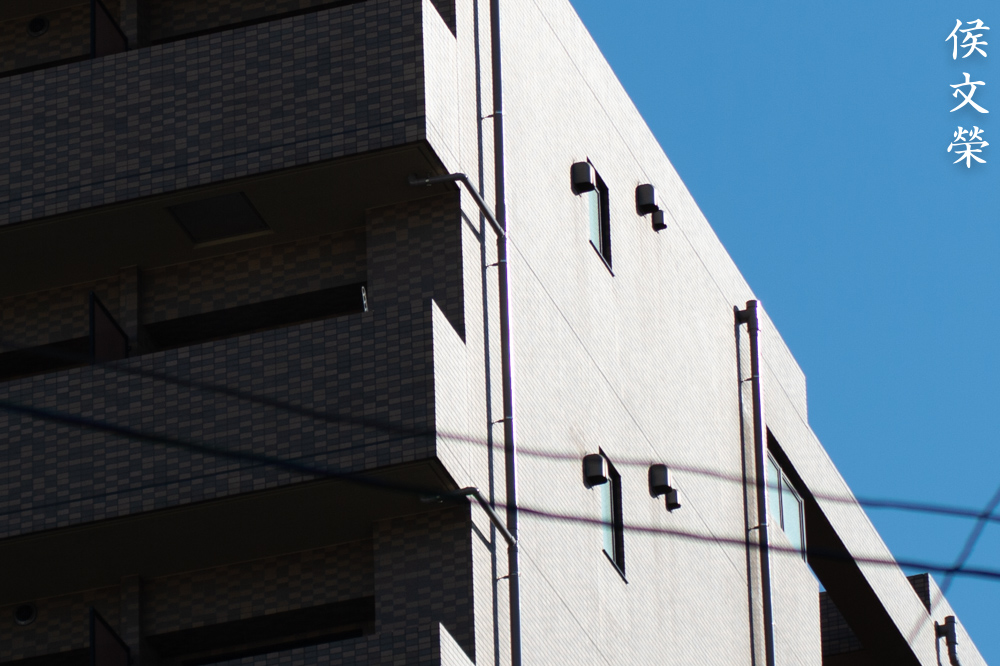
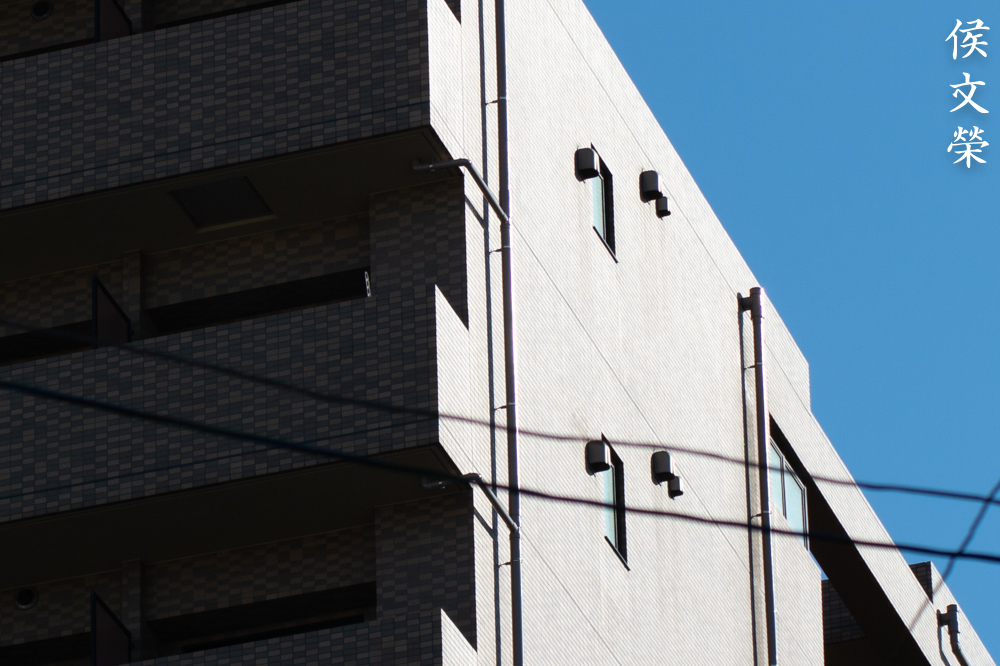
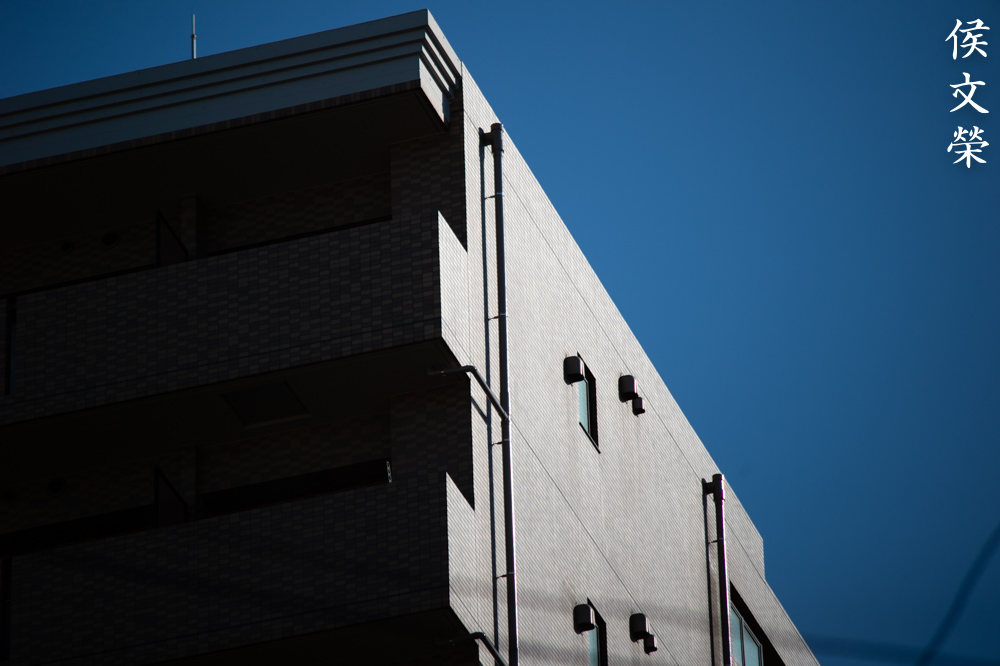
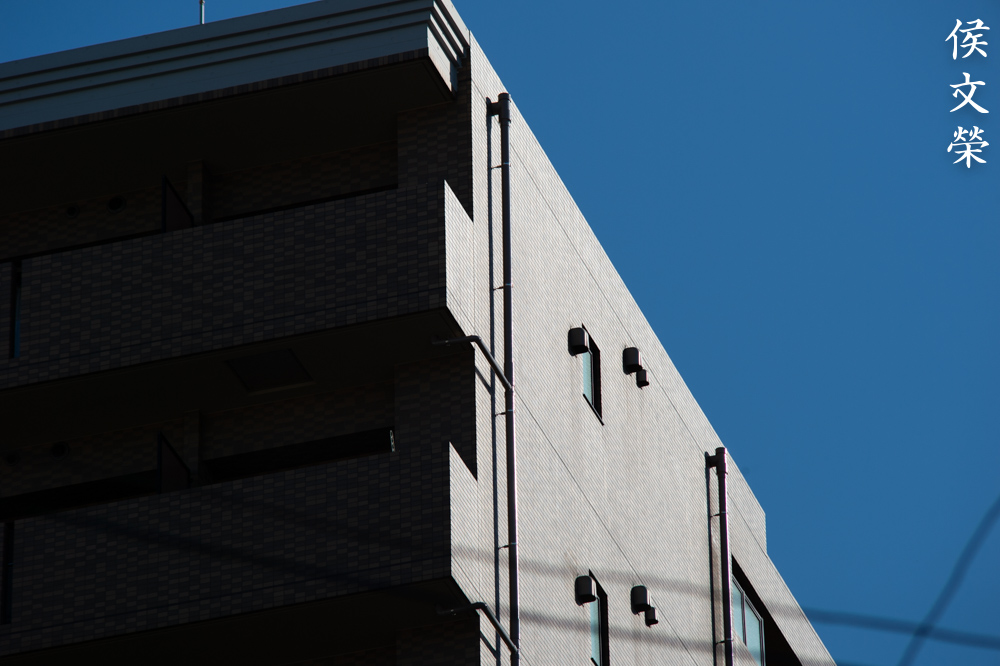
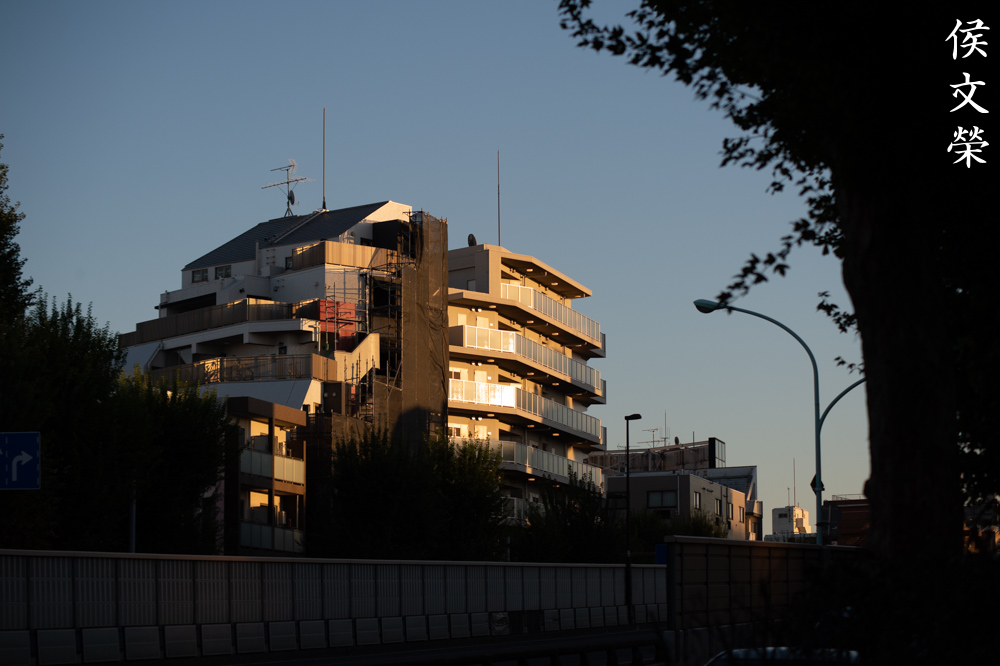
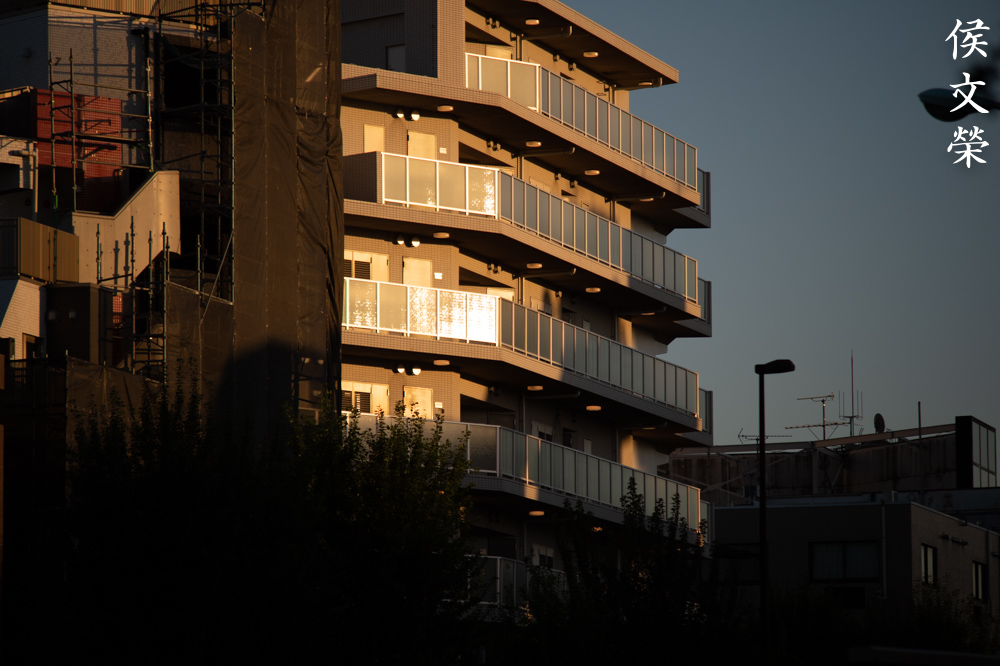
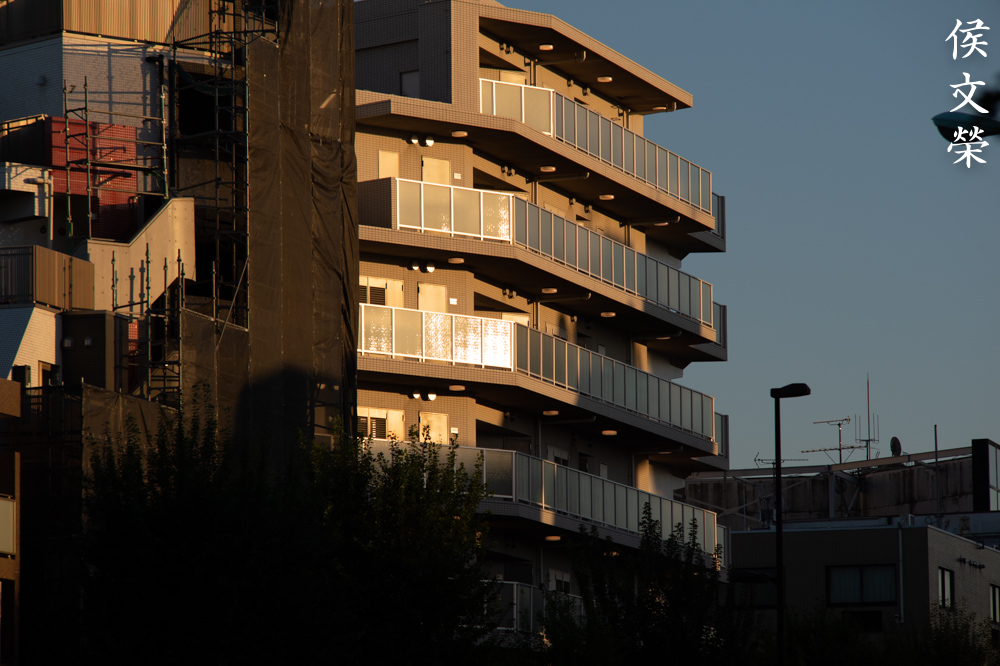
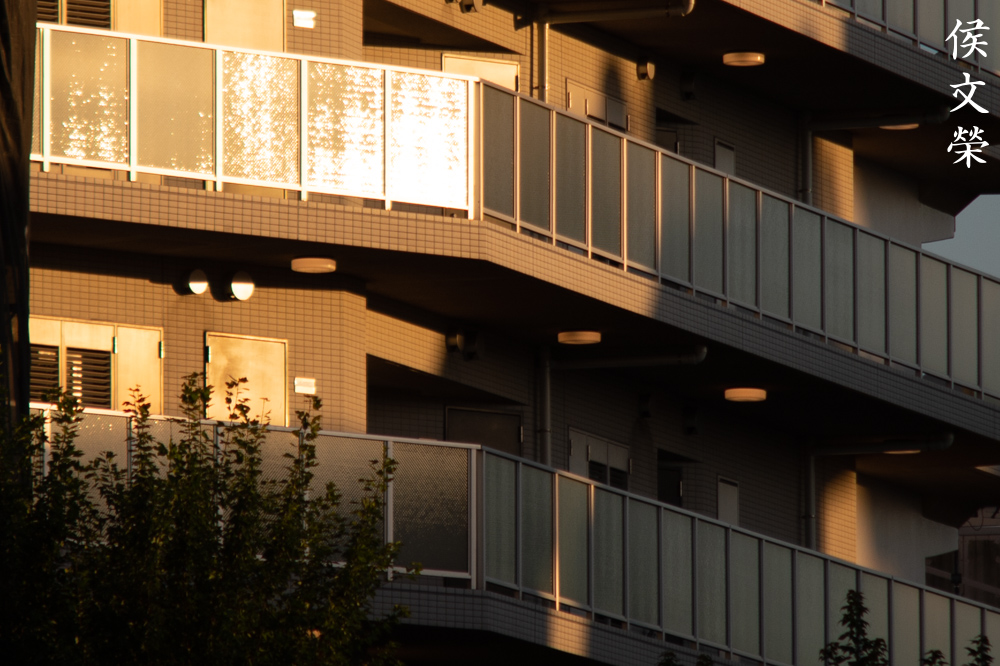
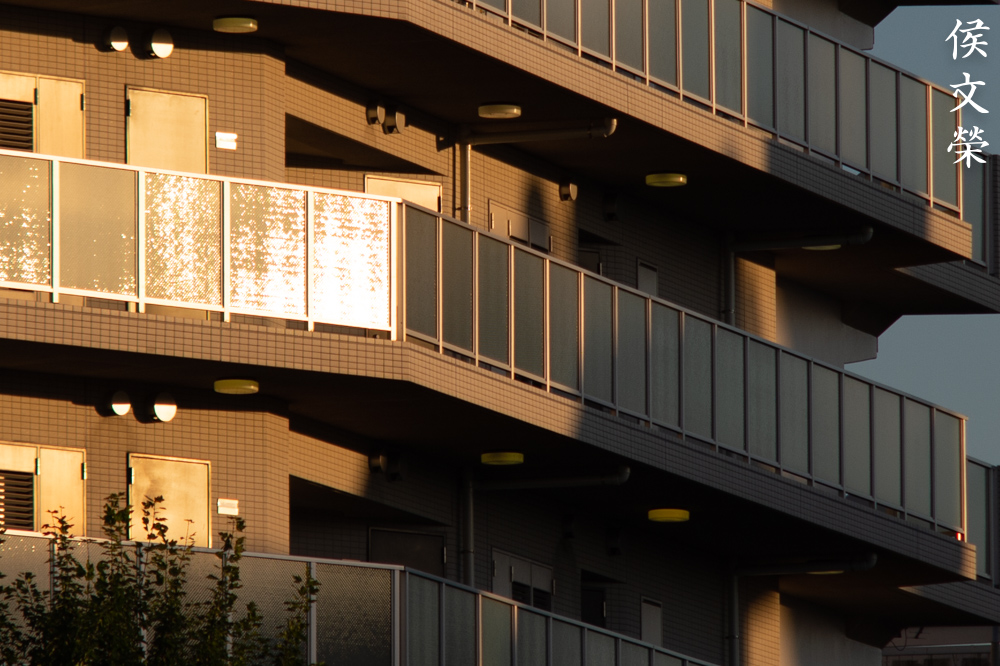
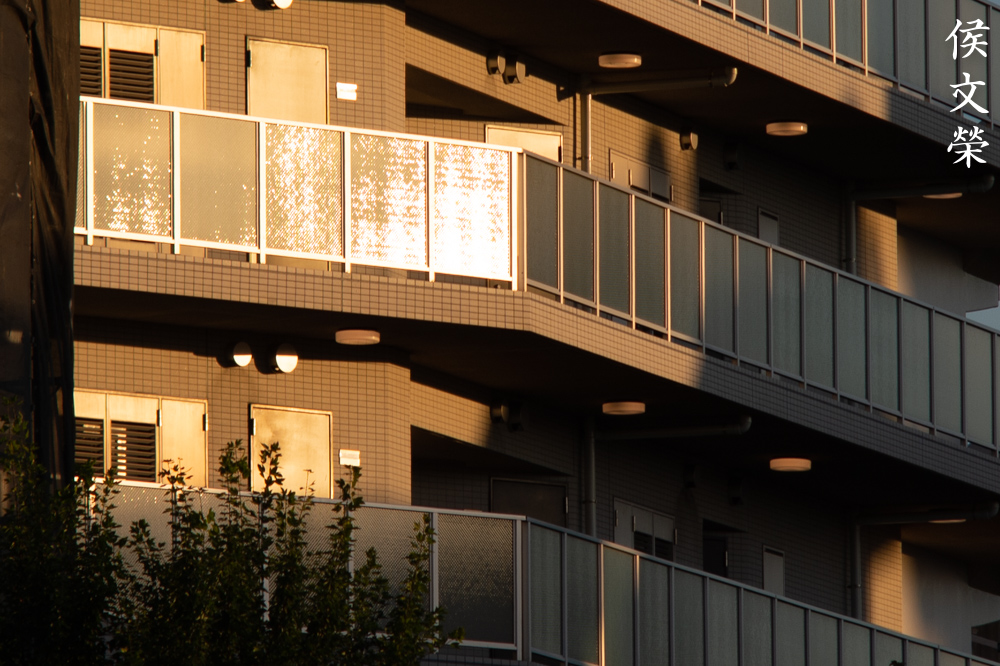
Here are more photos that I took that day. This is a lovely lens and I cannot see why you couldn’t take great photos with it. It used to be a professional’s choice before the faster f/2.8 options became available. If you don’t have the money to purchase the faster ones then this could be a potential alternative.
Let’s now see some photos that were shot with film. It’s difficult to simulate its look with a digital camera because of grain and how light reacts with it. I also think it’s best to judge it with its intended medium because it was made to be used with film. I shot these photos with a Nikon F2 loaded with Kodak Color Plus 200.

Less foreshortening means that you could compress your scene better. This is one of the reasons for using longer lenses. The lady at the back would be a bit smaller if I were using a wider lens. One thing note mentioning is you should stop your iris down or at least have the faces of your subjects closer to each other on the same plane facing your setup or else one person will be sharp and the other one will not be in-focus.

This is what I meant, having your subjects’ faces roughly at the same plane will help keep them all in-focus.

This was shot at f/5.6, the character of the bokeh isn’t the best, it looks really clumpy. This is atypical and may have more to do with the grain size of my film.


(Click to enlarge)
Damn, I hate the Nikon F2 and its metered-heads. I wasted so many pictures due to poor exposure and these are the only ones I could salvage. You’ll love this lens if you shoot portraits. It’s a lovely lens for shooting with film but it does have the tendency to produce ugly-looking bokeh when used with film stocks that don’t have the finest-grain.
I highly recommend this over the older Zoom-Nikkor 80-200mm f/4.5 Auto. It performs a lot better in many ways specially when it comes to distortion. Its image quality seems more refined in many ways, too. Compared to the later Zoom-Nikkor 80-200mm f/4 Ai-S, the former is considered to be sharper by a lot of people compared to this. I prefer the older lens for a few reasons but I would grab the faster lens when I need to be shooting in situations where it is necessary to have a faster maximum aperture. The cheaper plastic Nikon 70-210mm f/4 Series-E is not bad but this lens seems better at the corners, it has better bokeh quality as well as far as I could see.
When shopping for this lens, make sure that the barrels turn properly. It’s going to be difficult to look for a lens without zoom-creep since all of these are quite old by now. Even when these were new the barrel isn’t stiff at all and will creep a bit so just put that into consideration. The most important thing is the clarity of the optics and the performance. Try them first and do not buy anything that won’t satisfy you after your initial tests.
Before We Begin:
If this is your first attempt at repairing a lens then I suggest that you check my previous posts regarding screws & drivers, grease and other things. Also read what I wrote about the tools that you’ll need to fix your Nikkors.
I suggest that you read these primers before you begin (for beginners):
Reading these primers should lessen the chance of ruining your lens if you are a novice. Before opening up any lens, always look for other people who have done so in YouTube or the internet. Information is scarce, vague and scattered (that is why I started this) but you can still find some information if you search carefully.
I highly recommend that you read my working with helicoids post because this is very important and getting it wrong can ruin your day. If I can force you to read this, I would. It is that important!
For more advanced topics, you can read my fungus removal post as a start. This post has a lot of useful information and it will be beneficial for you to read this.
Disassembly (Lens Barrel):
This is easier to service compared to the Zoom-Nikkor 80-200mm f/4.5 Auto. The construction is a lot smarter but it doesn’t mean that it’s an easier lens to repair. You’ll require to take plenty of photos as notes and measure all of the important parts and their tolerances before you remove anything. It has plenty of parts, typical of zooms. I wouldn’t recommend this to beginners, it will require special skills and tools. If your lens needs attention, send that to a qualified repairman, do not gamble and risk ruining your lens.
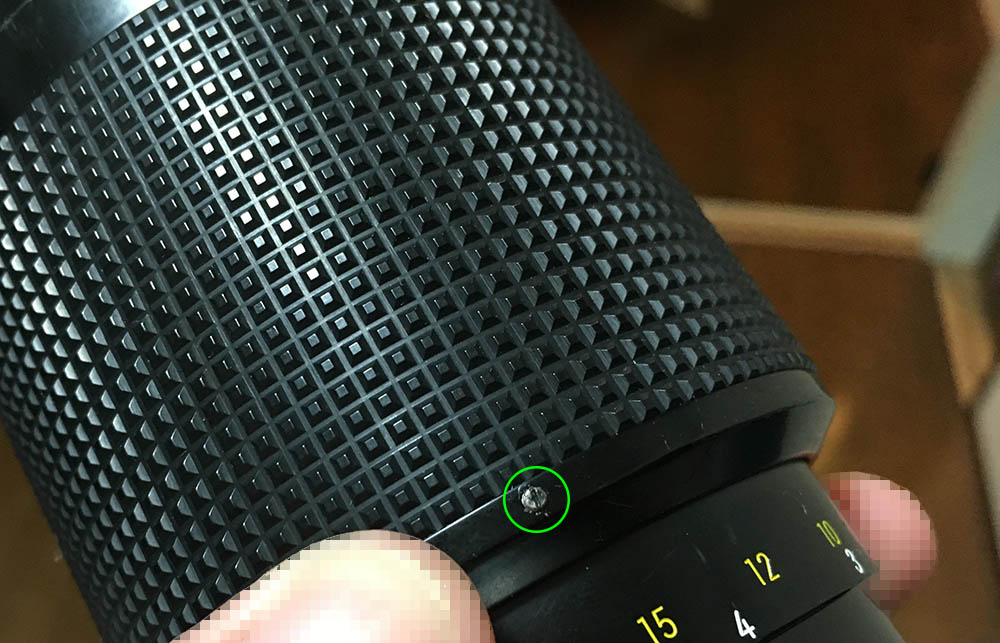
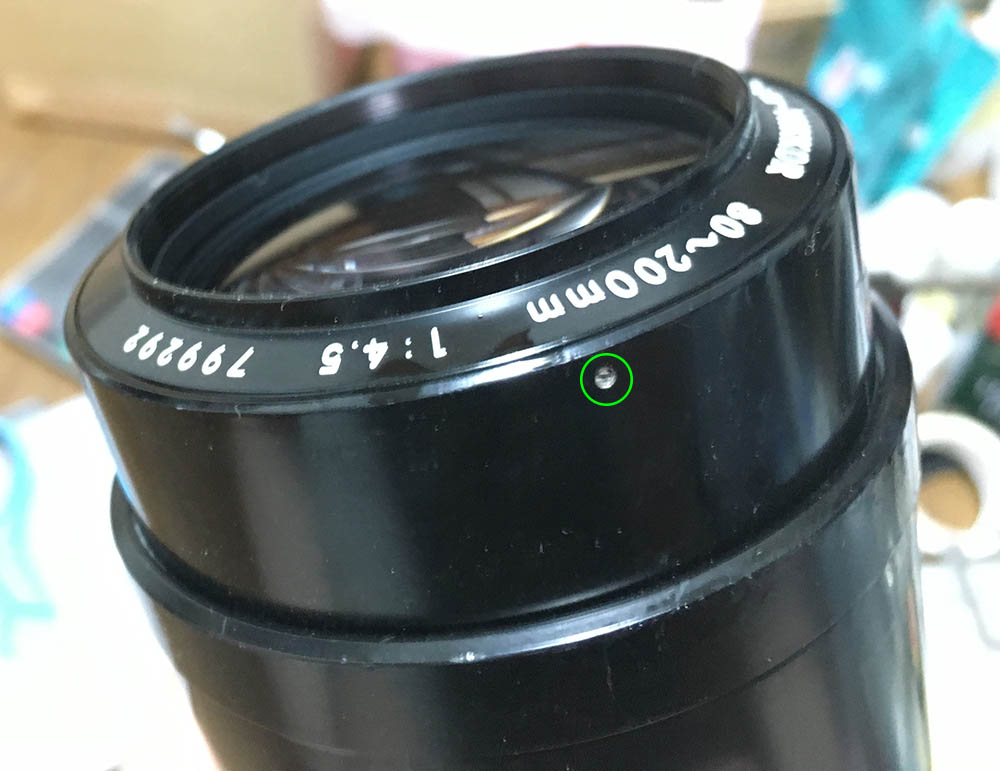
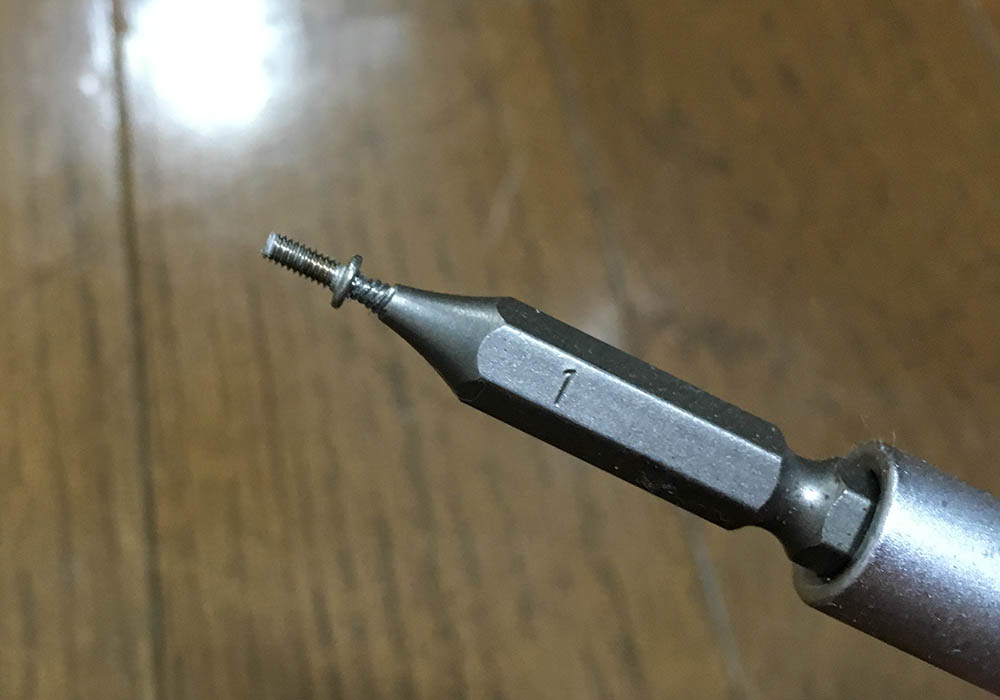
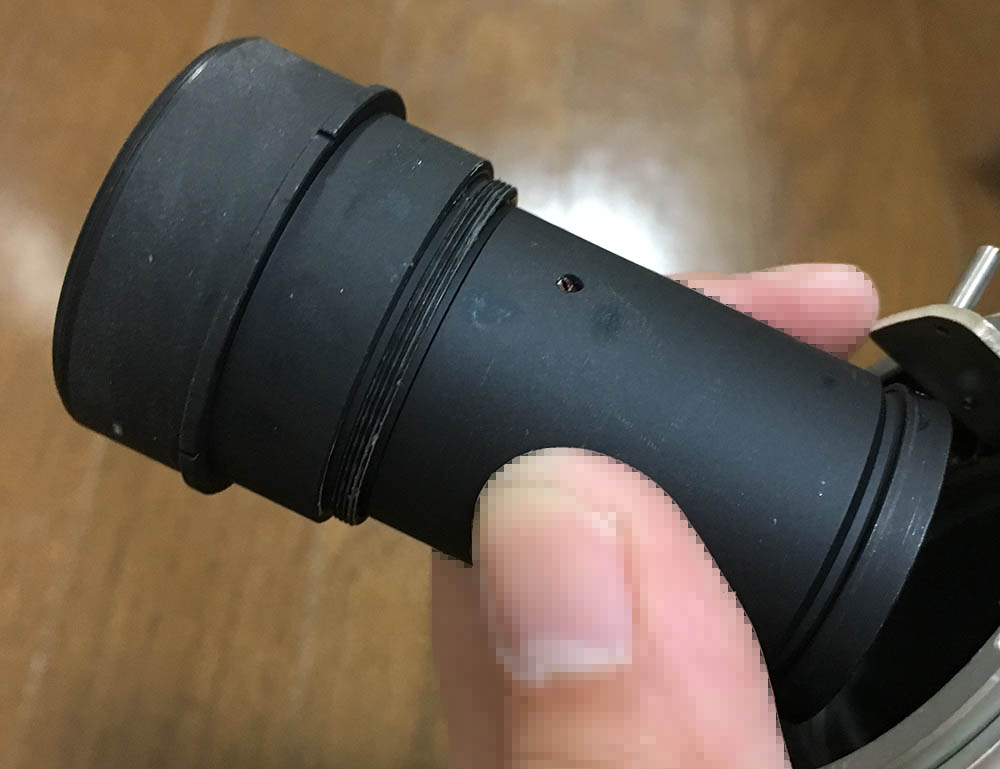
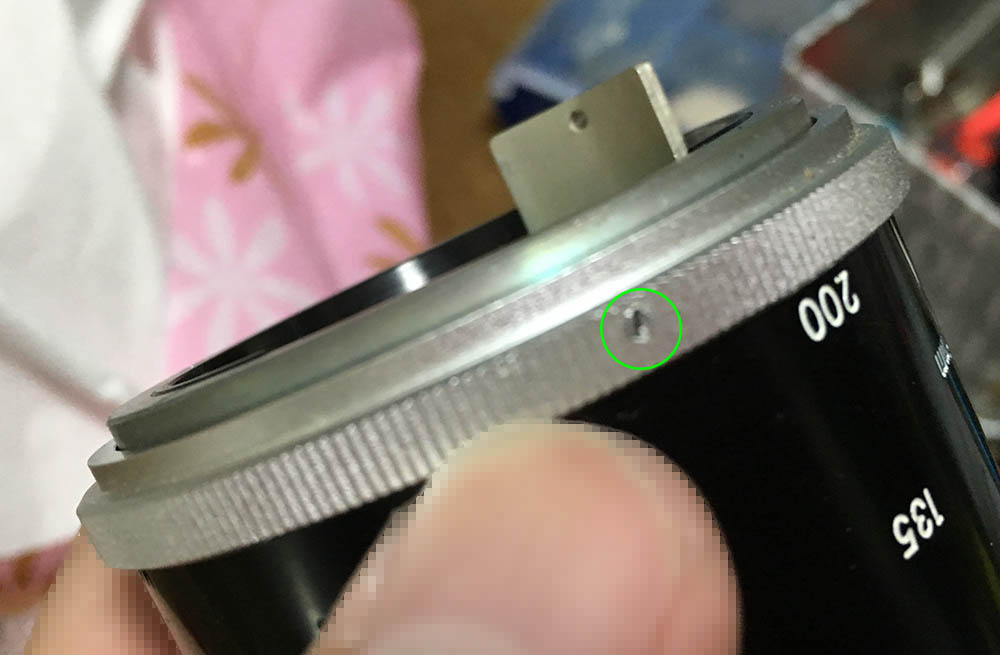
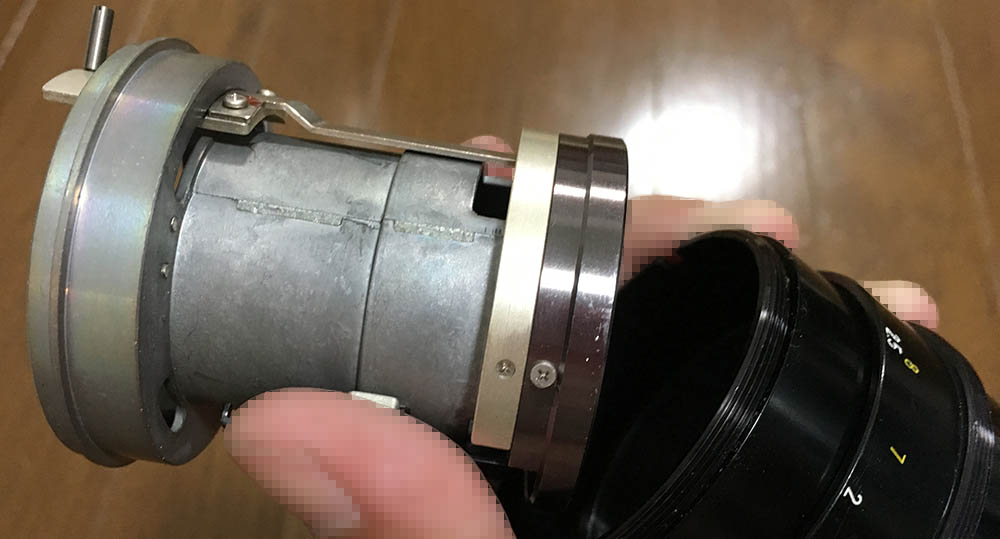
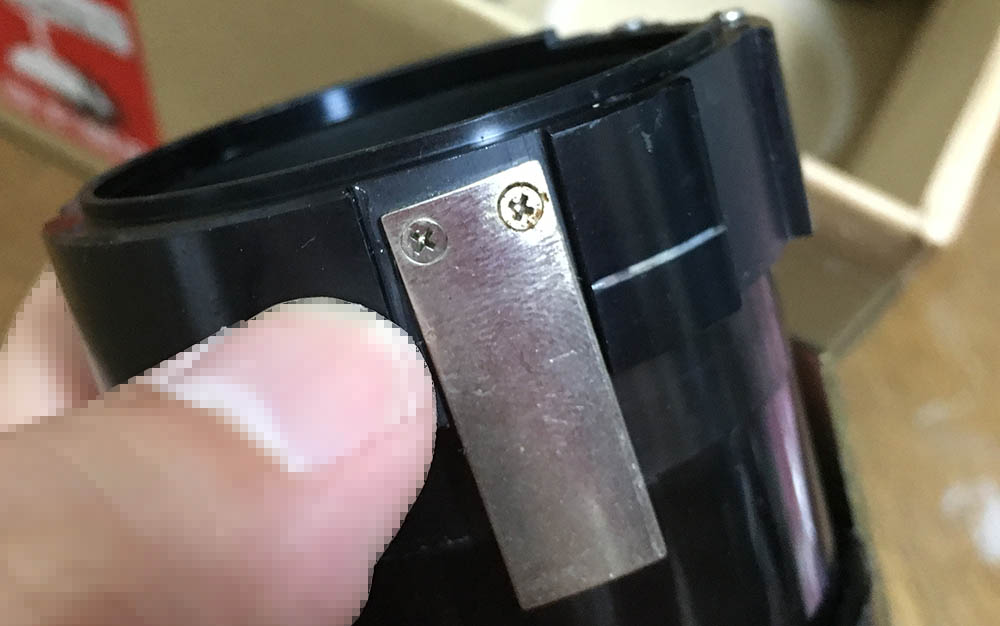
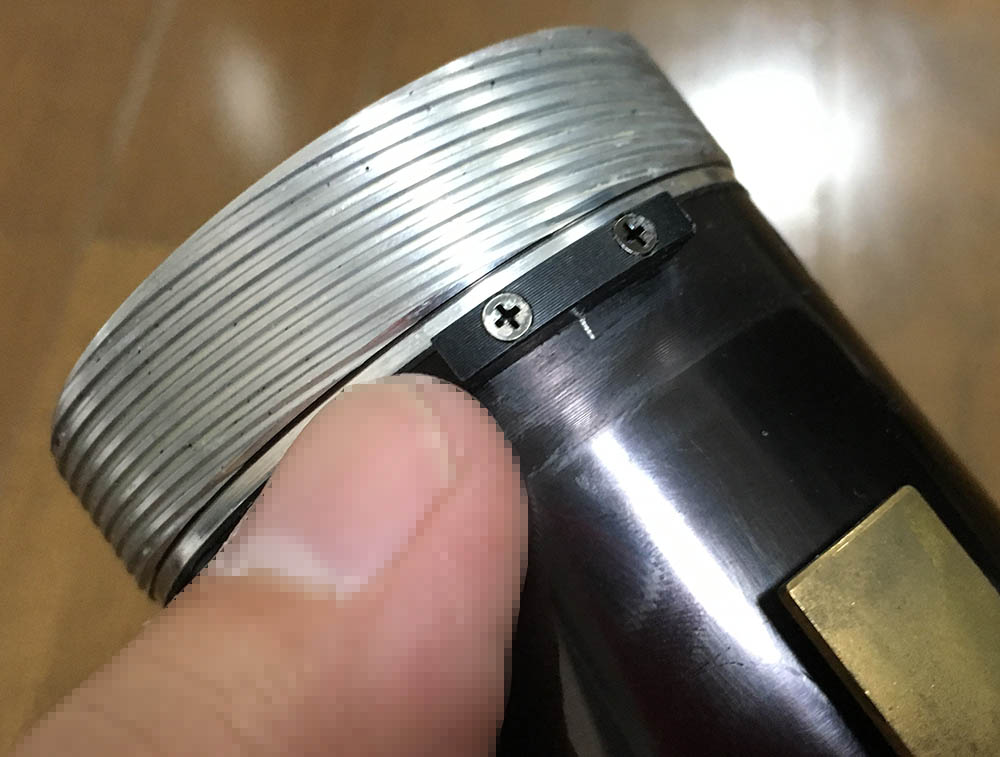
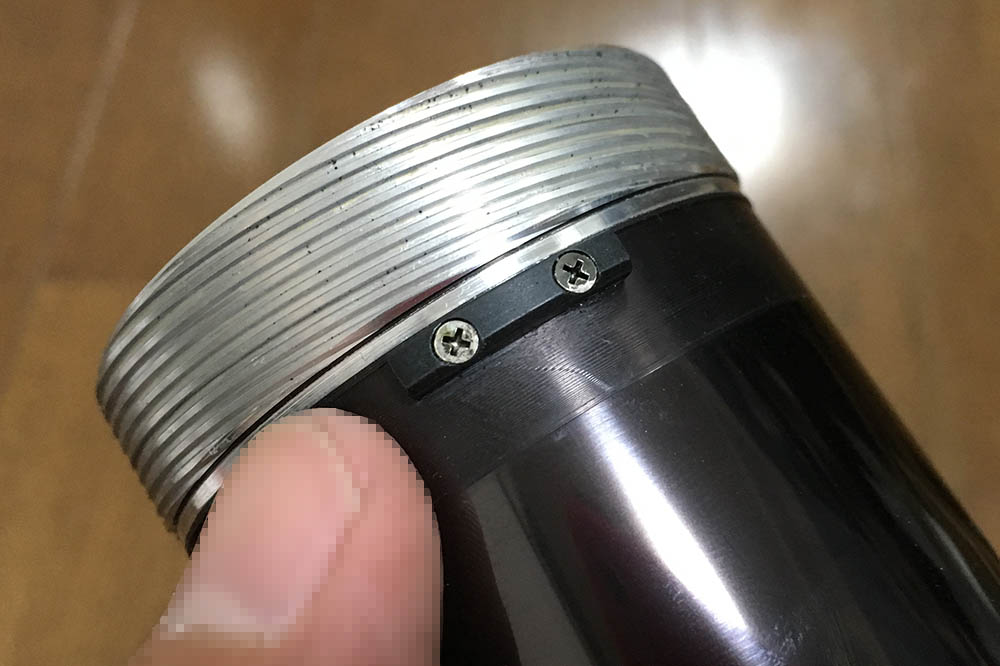
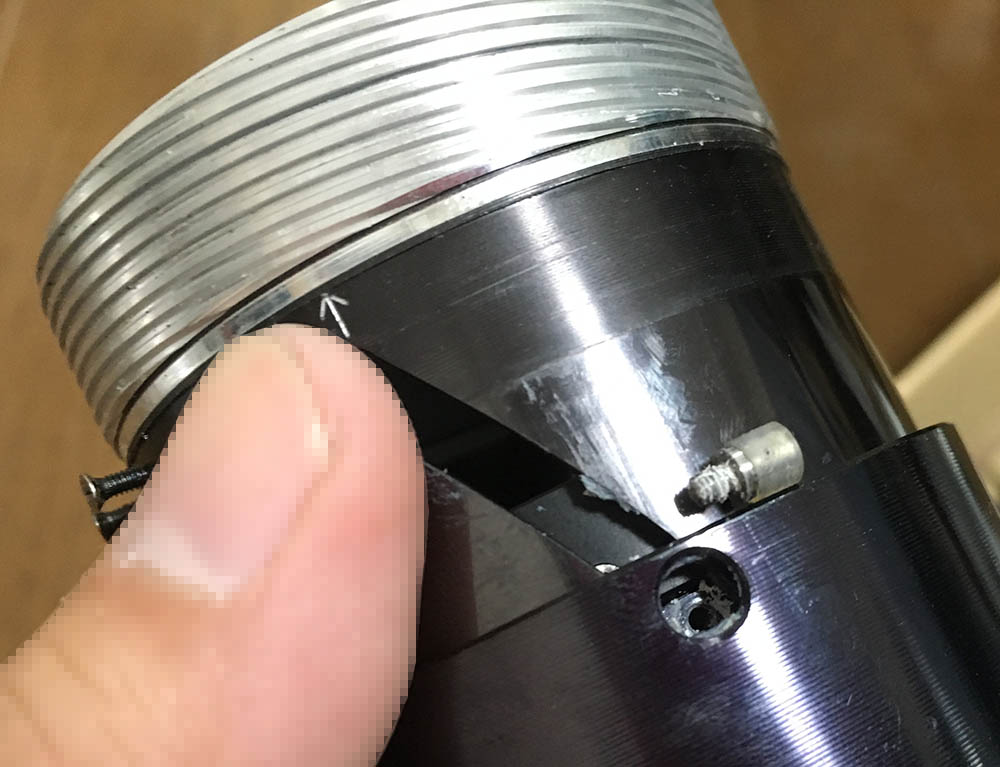
Carefully extract this rather big set screw. It can be difficult to remove since these are usually sealed with paint. Dissolve the seal with solvent then try it again.
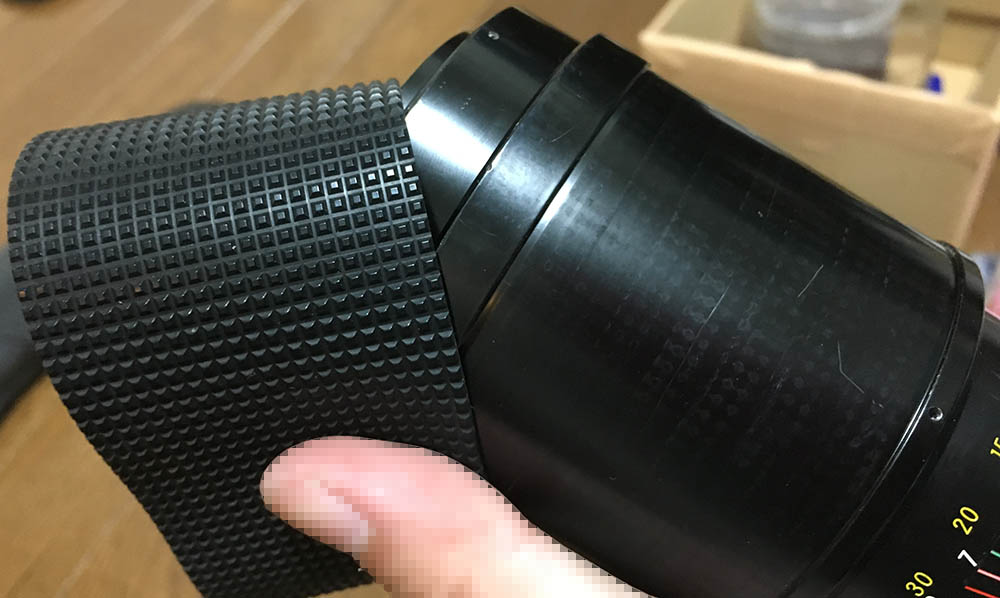
You don’t have to remove the rubber grip, leaving it on won’t keep you from dismantling the barrel.
Once the screw is gone you could unscrew the focusing barrel off. It can be difficult to remove, apply some alcohol through the screw’s hole to soften it and try again later.
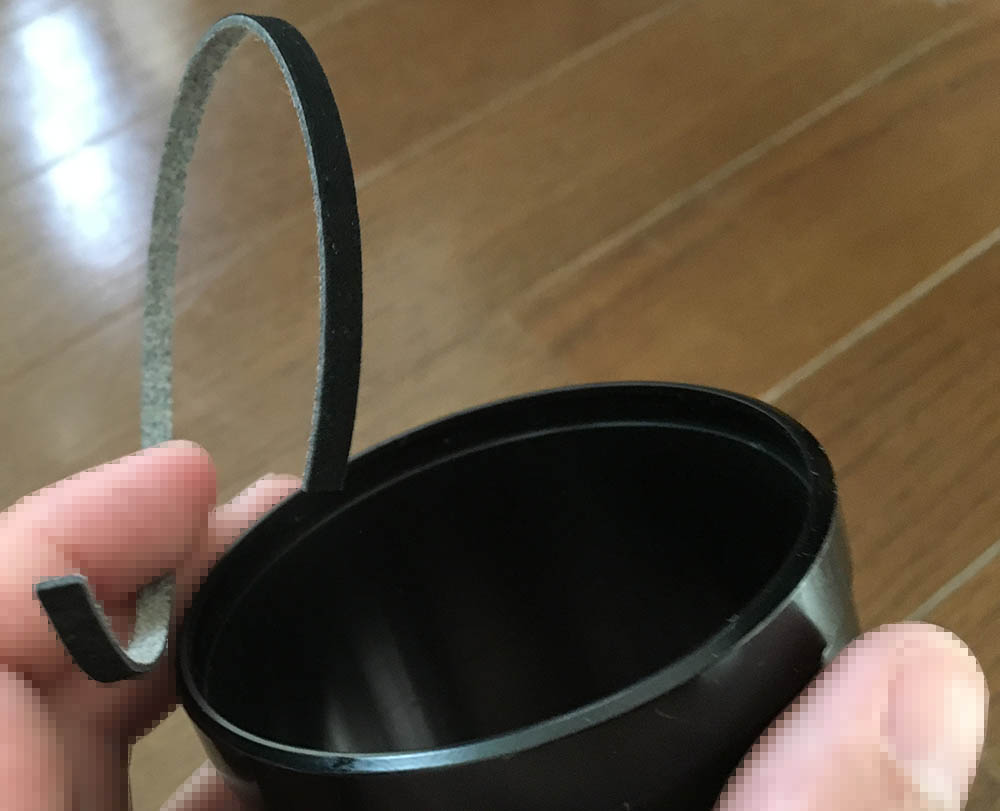
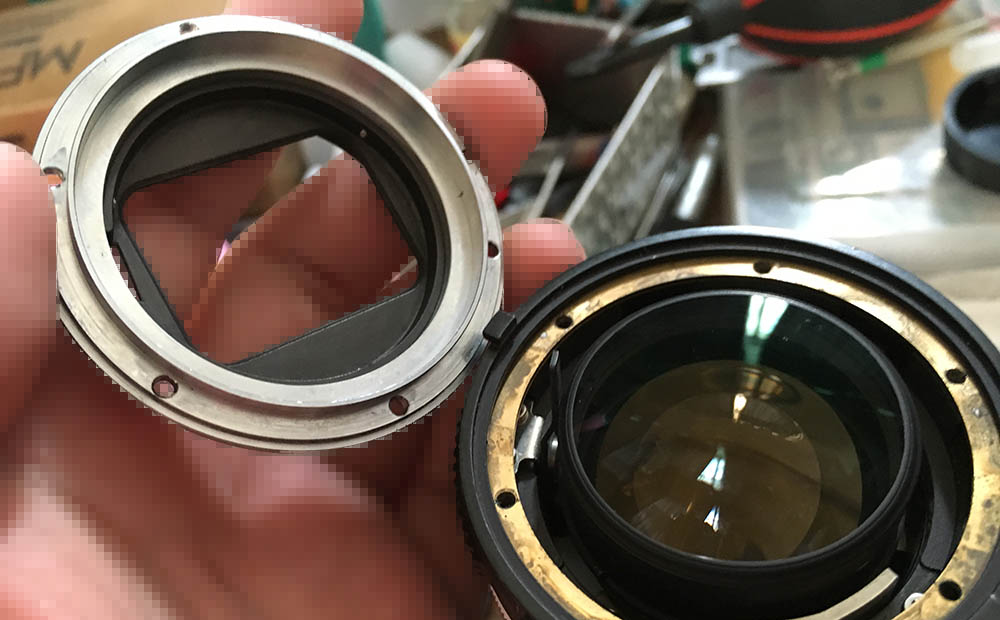
Remove the old felt lining. It’s mandatory to change this part each time you repair take it apart specially if you do not know the origins of the lens. This part is a breeding ground for germs.
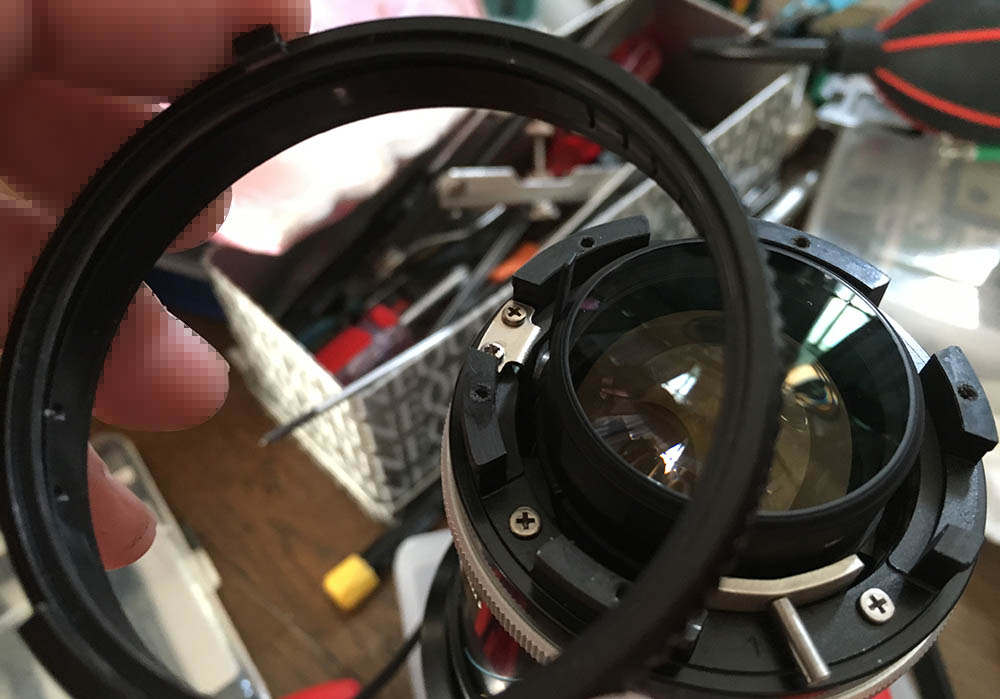
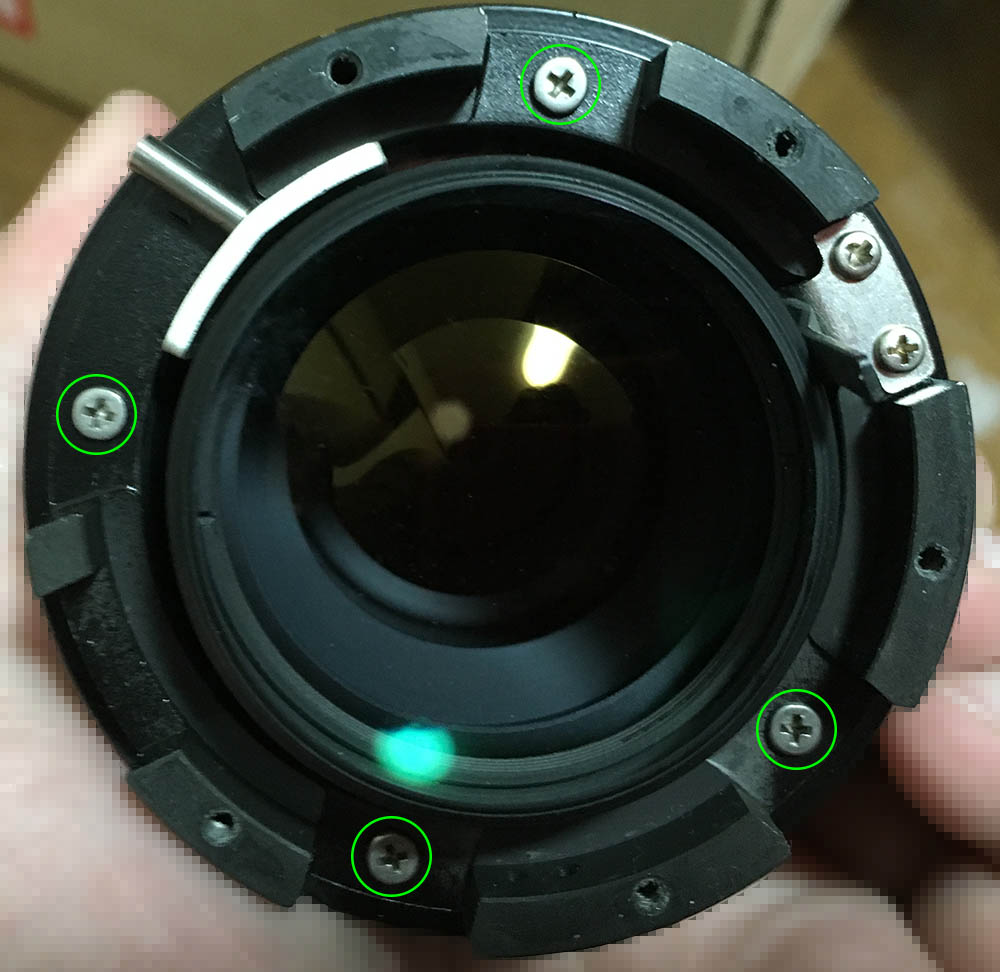
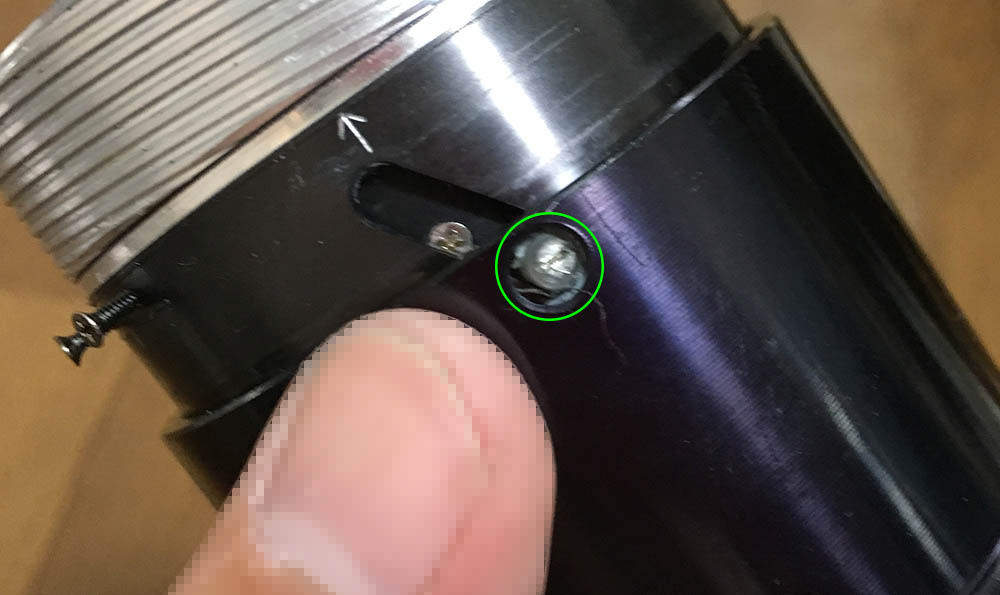
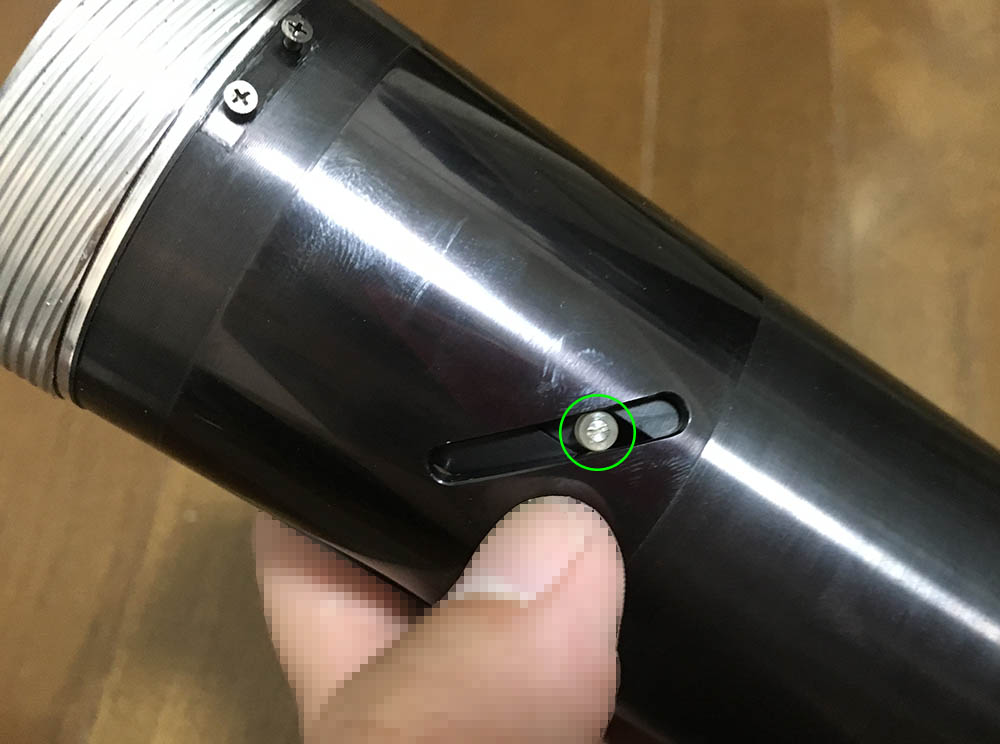
Carefully extract this set screw so you could unscrew the bezel off. Apply a bit of alcohol to soften it if this was sealed at the factory.
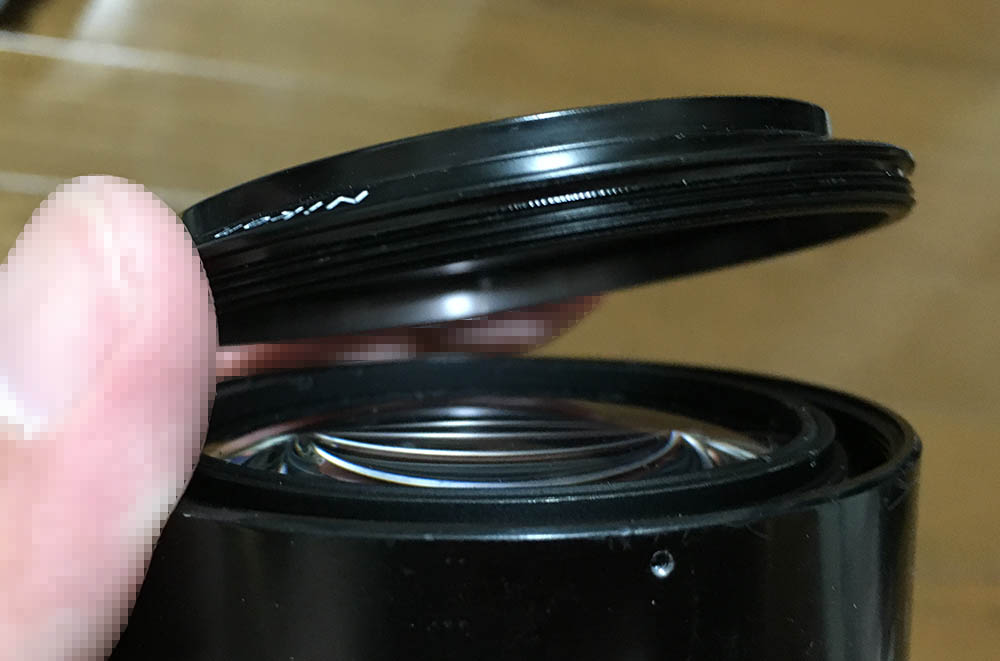
Use a sheet of rubber to help you grip it better, this should come-off easily.
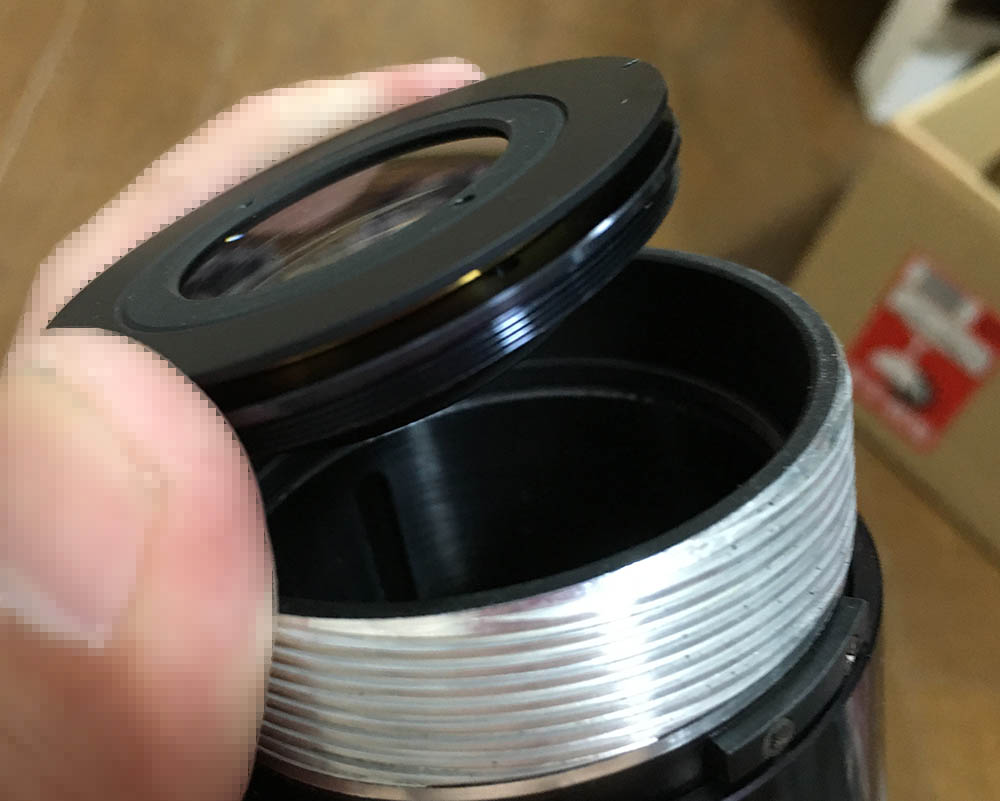
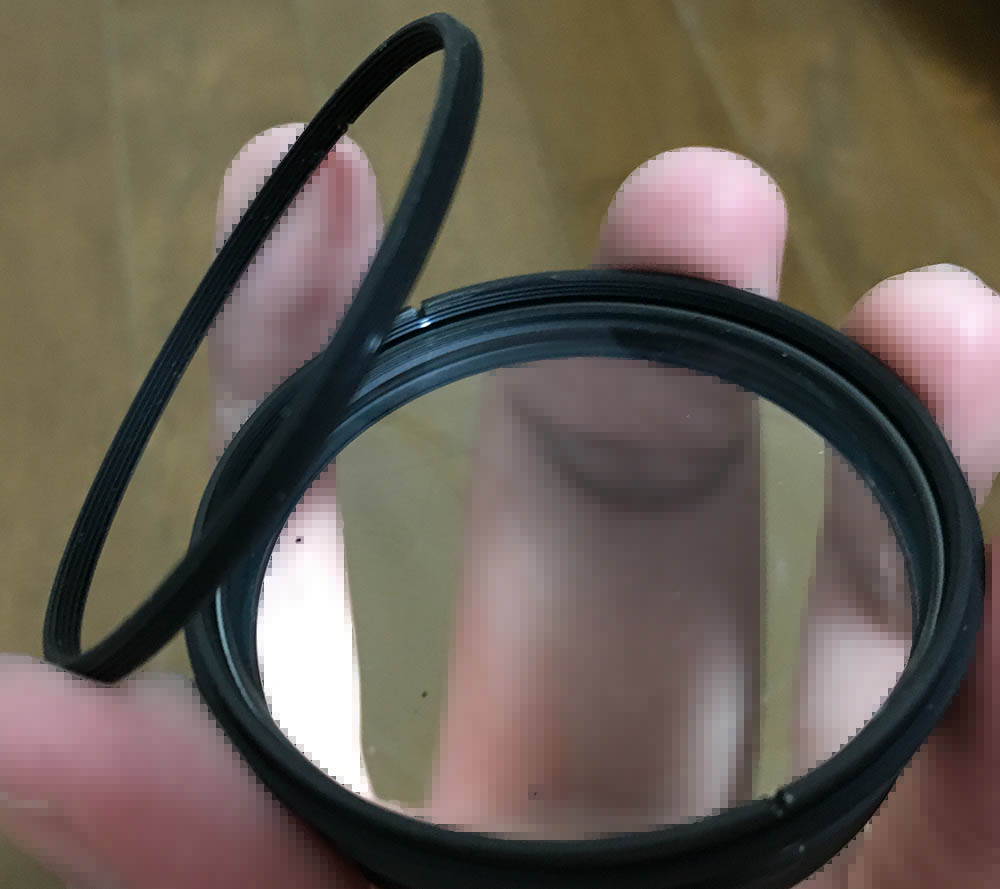
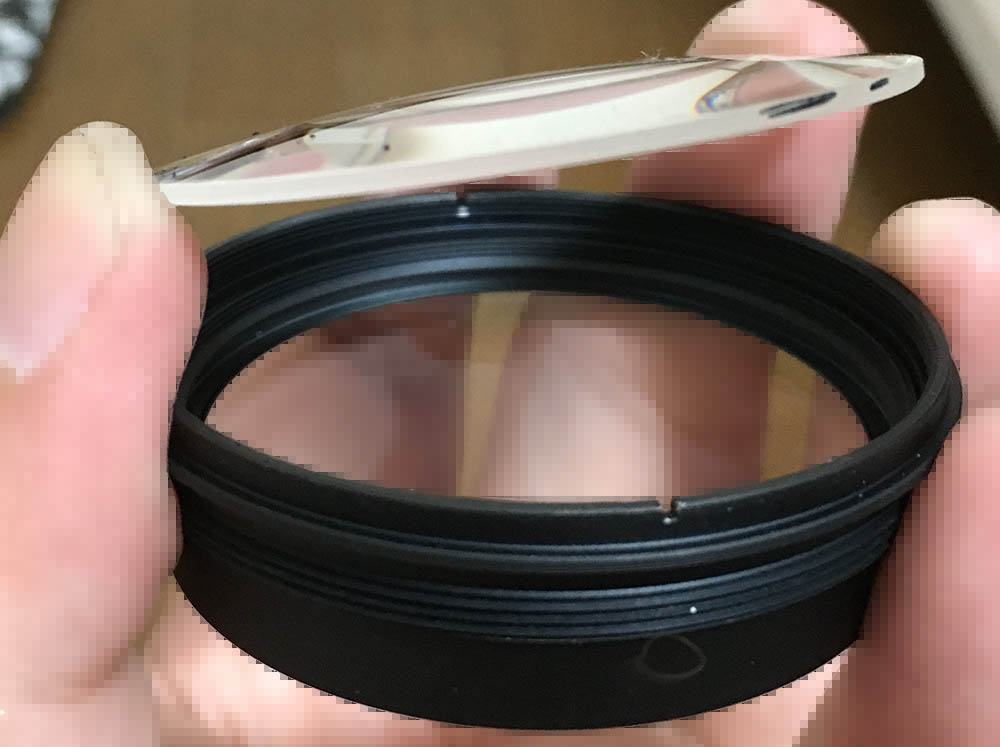
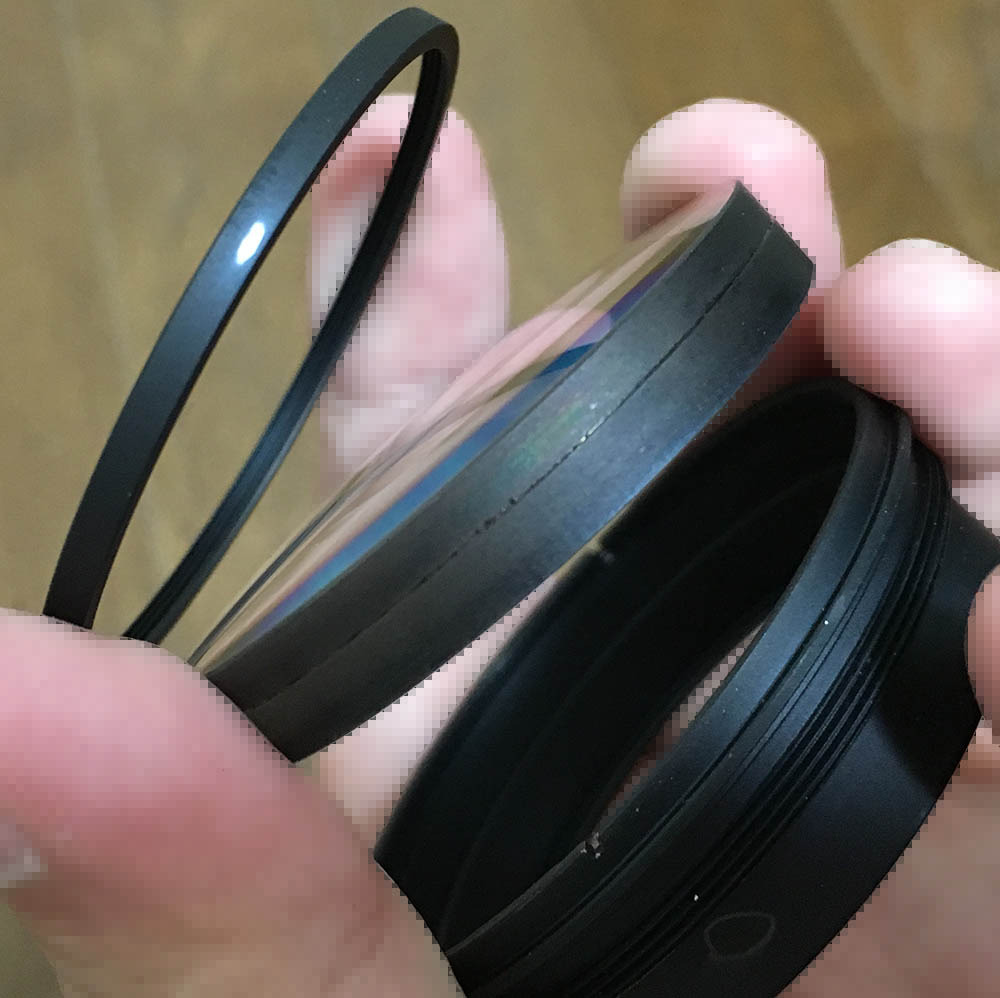
Extract the front elements assembly with a lens spanner. Make sure you are looking at the correct sets of slots, you want to use the outer ones.
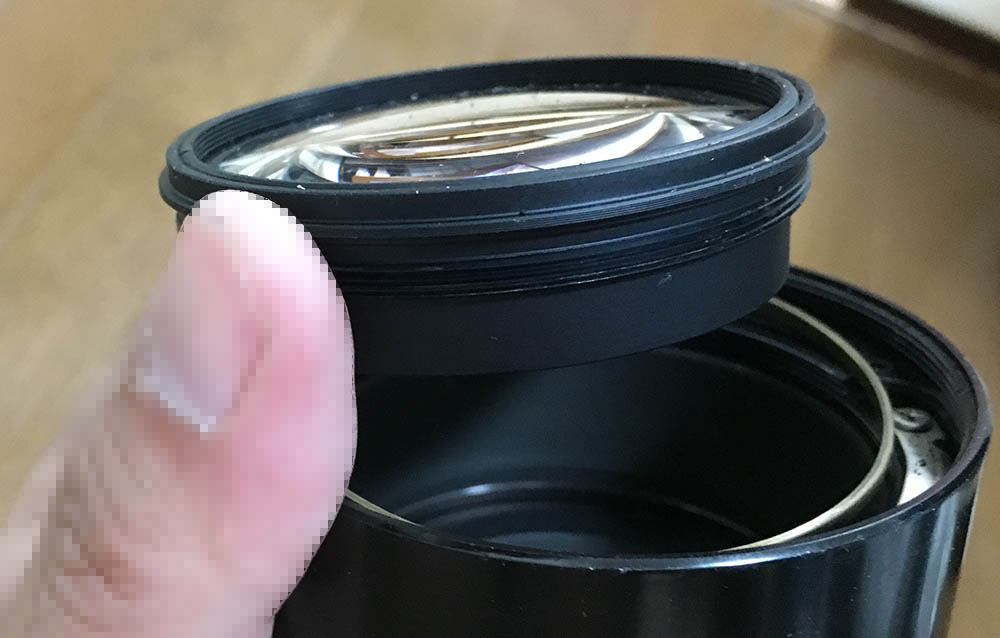
Extract the front elements assembly and set it aside.
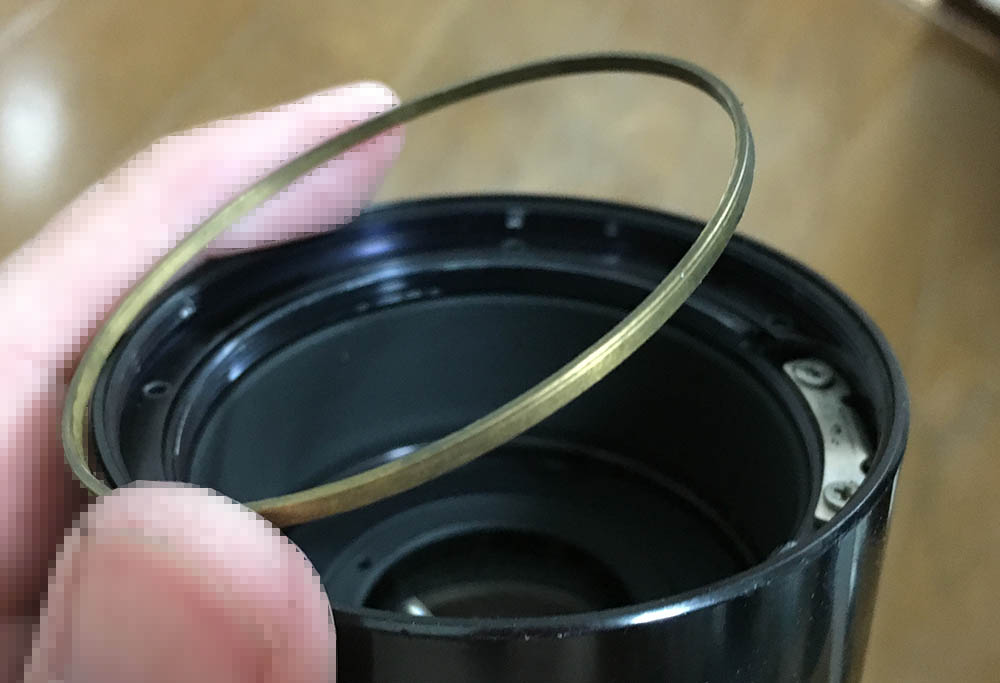
Clean this shim and store it in a safe place, don’t misplace or warp it.
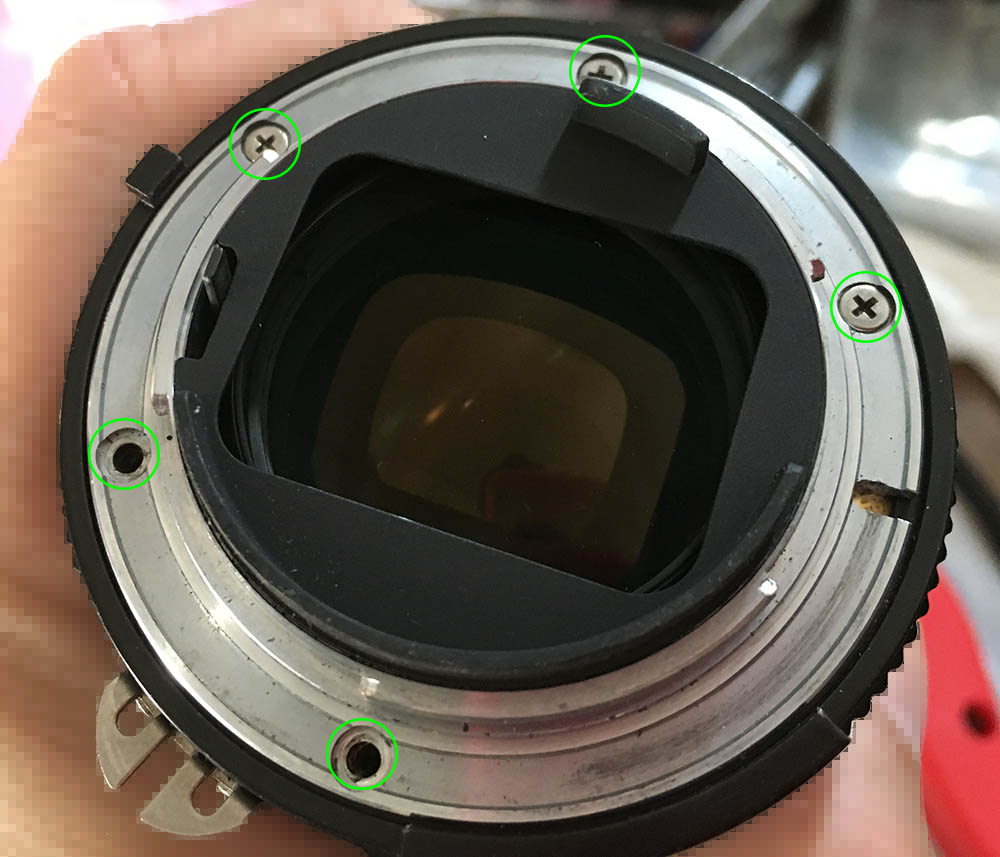
Carefully extract these to remove the bayonet mount. Many people get stuck because they have stripped the heads of these screws by using the incorrect type of drivers or did not have the right skills. Read my article on extracting bayonet screws to prevent this from happening to you.
This screw has a stripped head and this is the only way to get it off safely. In case you want to learn more about screws, read my article about it.
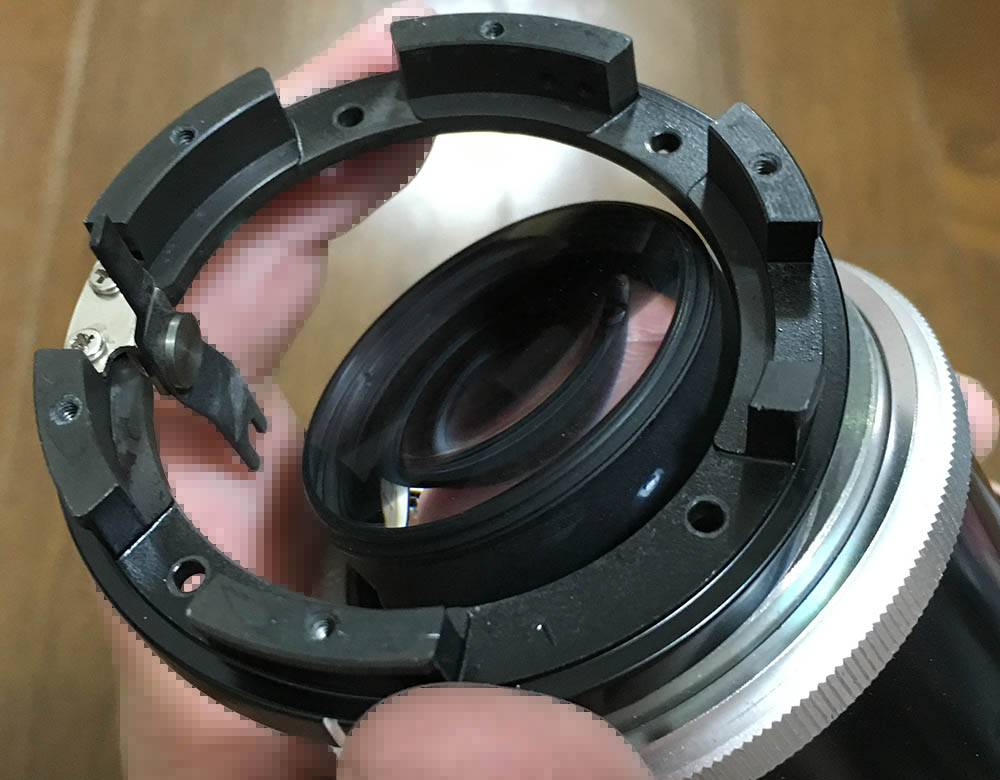
You can safely remove the bayonet mount since nothing is attached to it.

You could dismantle it further if you want to but that’s unnecessary.
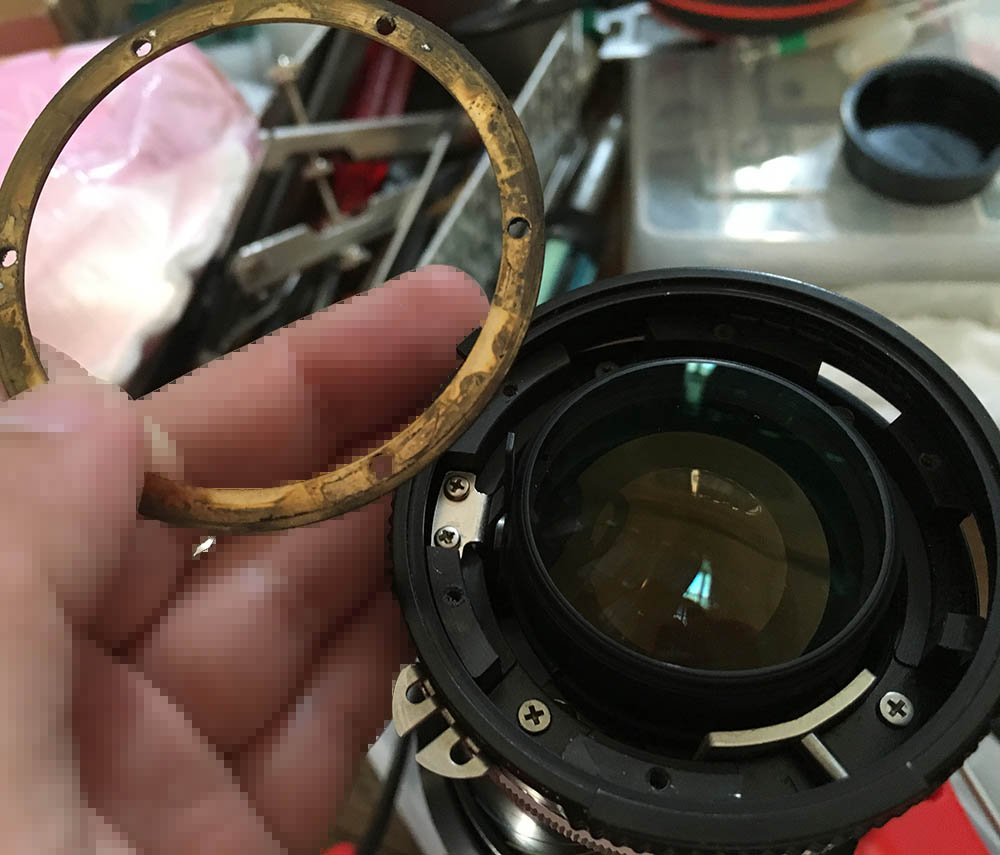
Carefully remove these shims and clean them well. These are used to adjust the rear-focus of the lens so don’t lose any of these.
The aperture ring can now be removed. Clean it well and don’t leave oil and residue.
Extract these so you can remove the base plate. There’s a tall-headed screw here that you should remove, it serves as a pin to couple the iris mechanism to the aperture ring.
Carefully remove the base plate and be careful not to damage anything.
Unscrew the rear elements assembly, store it in a safe place.
Extract this to unscrew the grip. Use a screwdriver that fits it perfectly, that fluted pattern of the grip is soft and easily-damaged if your screwdriver is a bit larger than the head. A smaller one will certainly strip the slot.

Unscrew the grip.
You can now remove this assembly, it houses the iris mechanism.
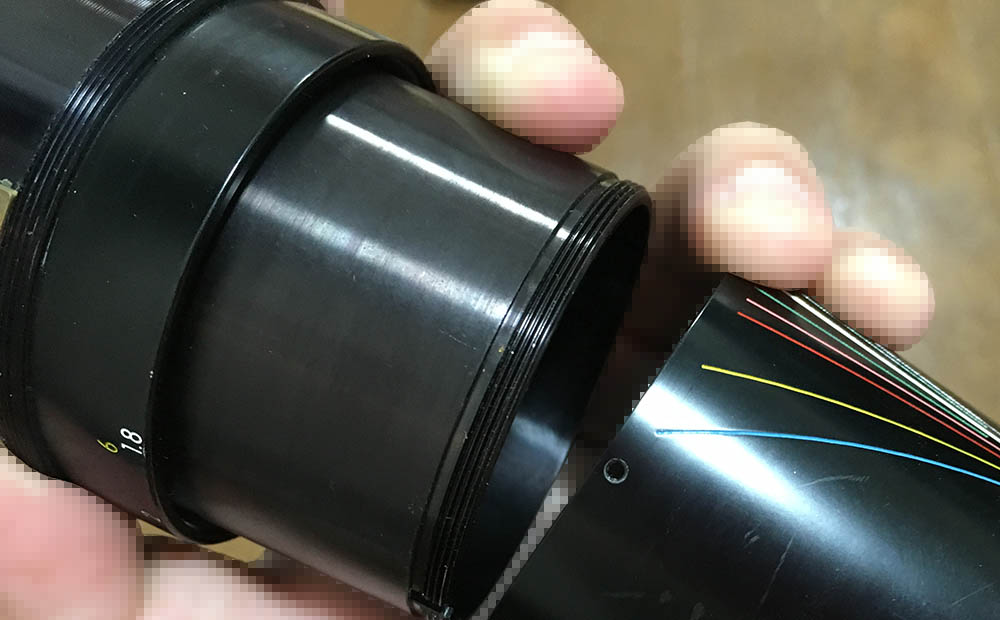
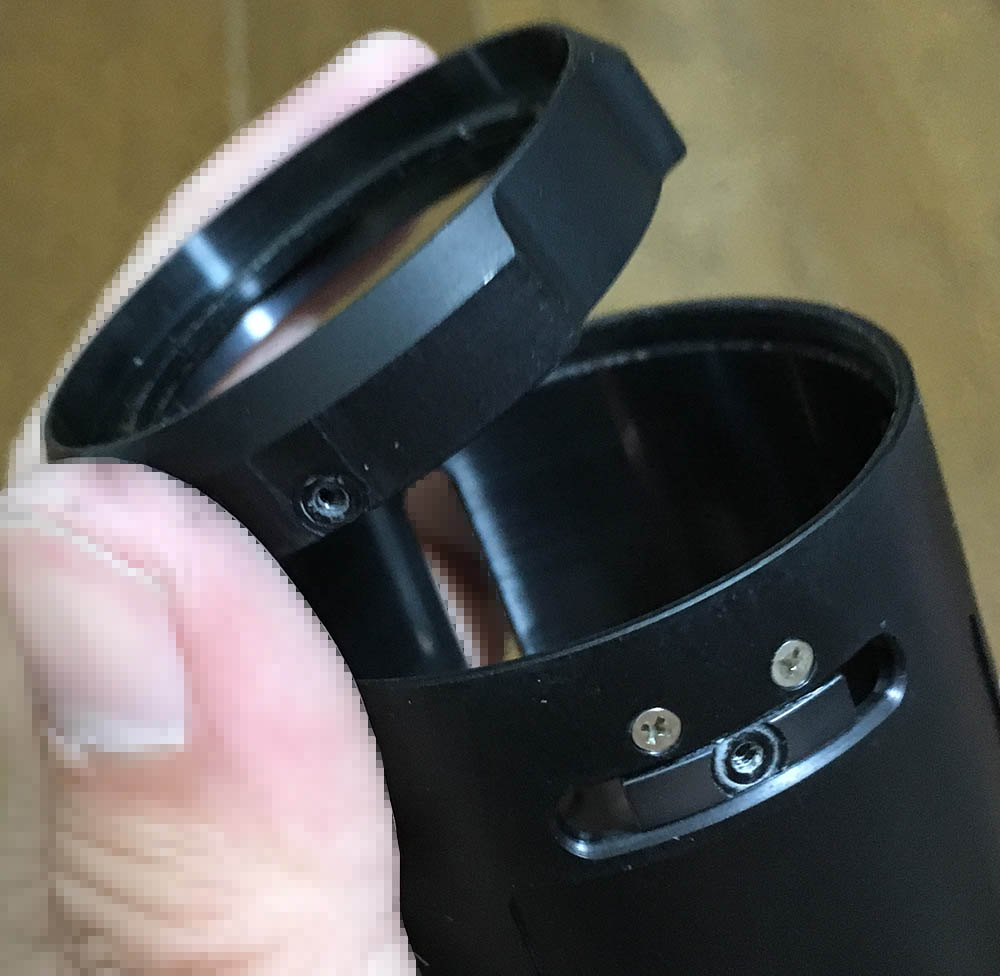
This is how the zoom/focusing-barrel is coupled to the front barrel.
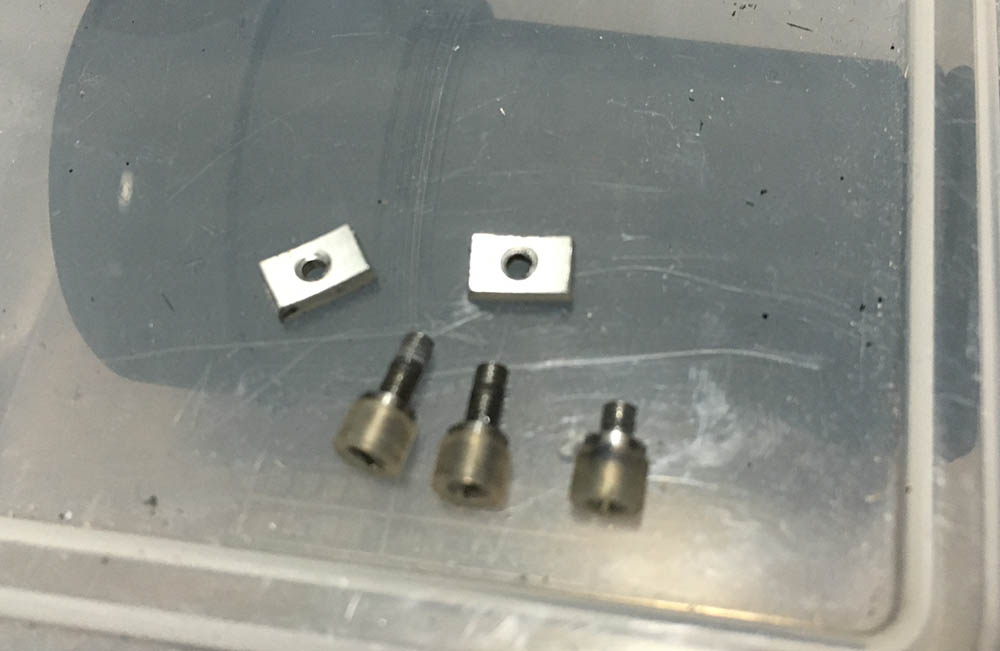
Extract these so you can remove the guides. Note that the screws aren’t the same on either guide, you’ll need to put them back in the correct place.
Extract the guides and don’t forget to note which one should go where.

Set the guides aside and clean them properly. You will need to lubricate the parts that come into contact with the long brass rail.
Remove the front barrel.
Study how the front part of the barrel works and note the parts’ positions. It is important that you put everything back together properly.
Extract these screws so you can separate the helicoids.

Separate the helicoids and never forget to note where they parted since this is also the same place where these should mesh. Many people get stuck here because they forgot to mark where these separated. Read my article on how to work with helicoids to prevent this from happening to you.
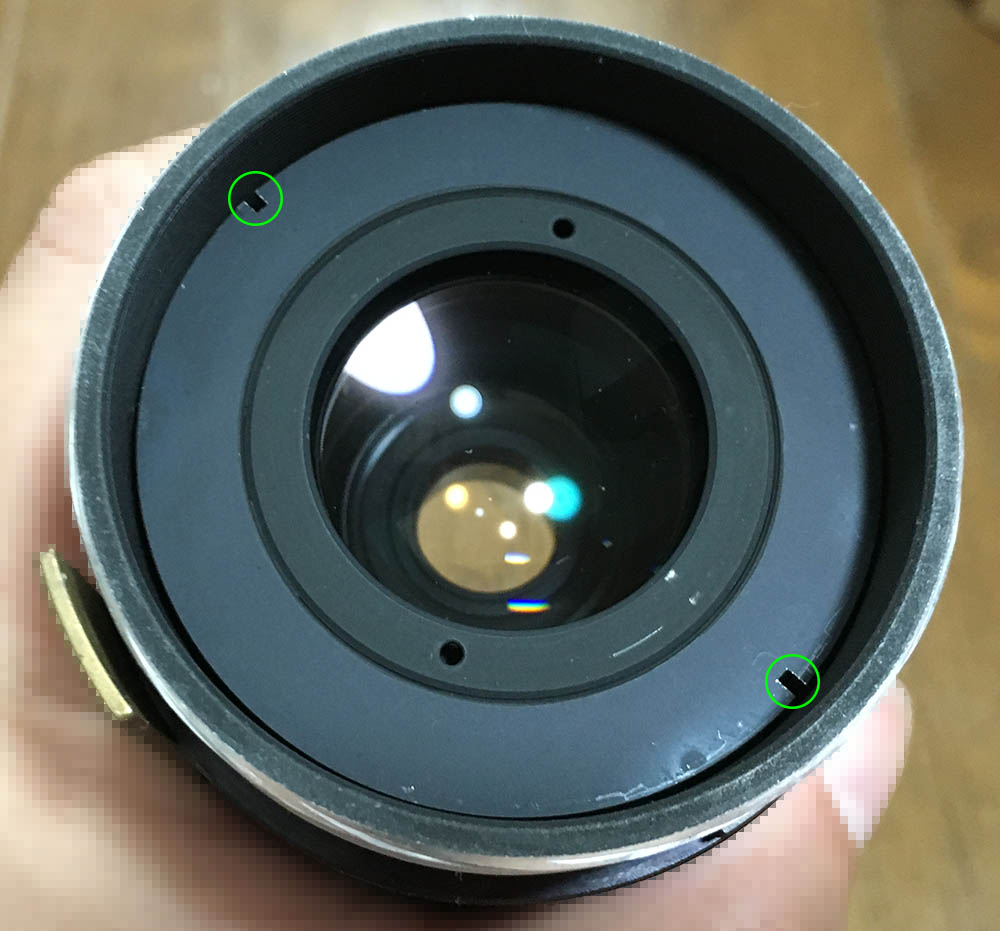
Carefully extract the floating group’s housing with a lens spanner. If you’re not careful you could damage this part. To make it easier for you to reach it, zoom the barrel until it gets closer to you.
Carefully extract it with a lens sucker.
But wait, there’s more! Do the same thing for this one, too.
Carefully extract it with a lens sucker.
Do not lose this shim and don’t forget where it came from.
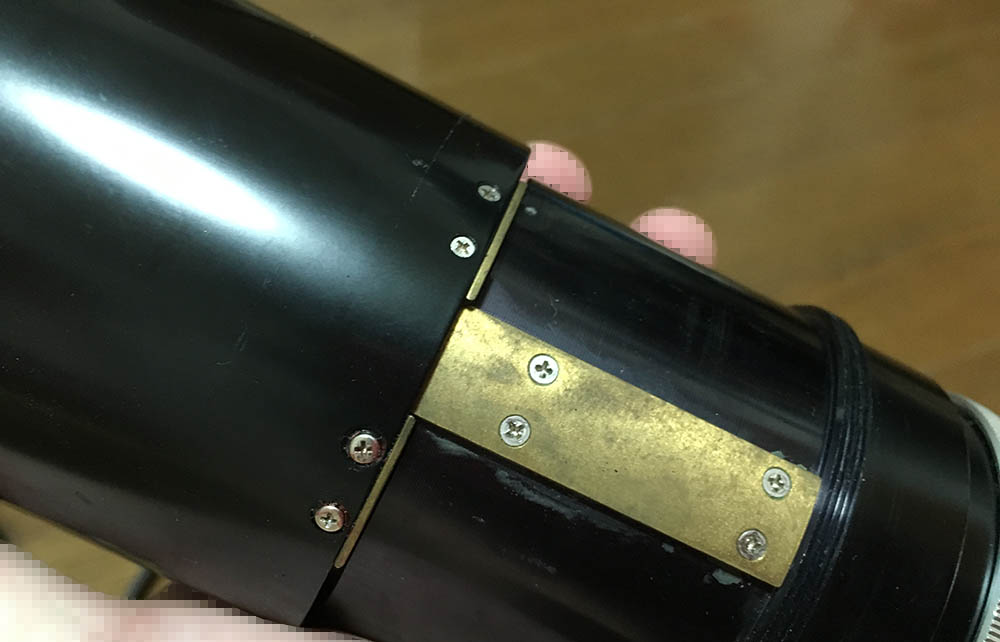
Carefully extract these screws to remove this part, note that I made a small mark underneath it so I will know how to put it back later.
Here’s another one. Removing them will allow you to clean the barrel better since germs and grease tend to accumulate under these.

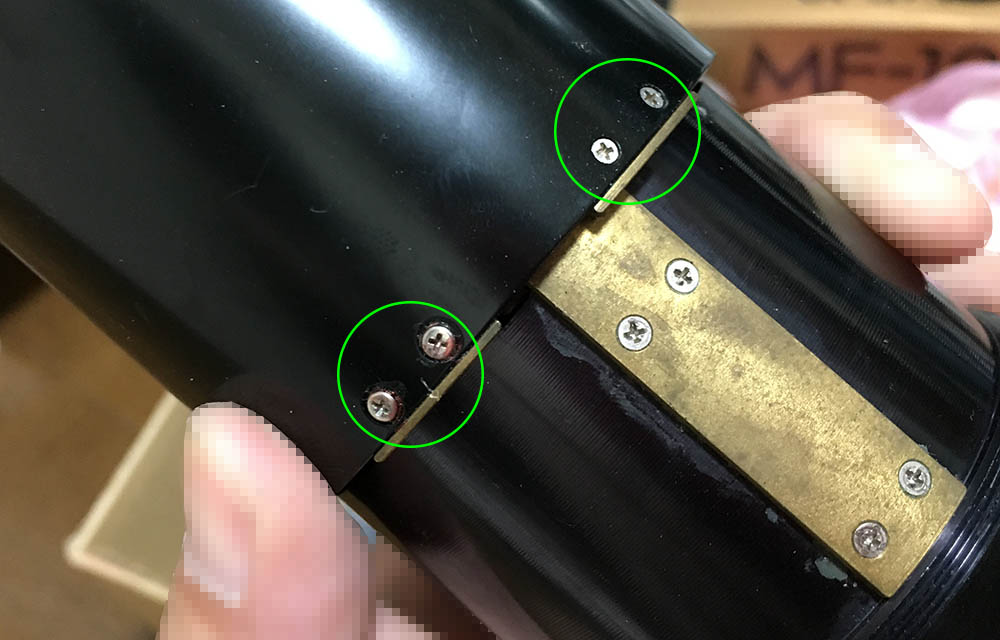
This access hole will allow you to reach these, extract them all.
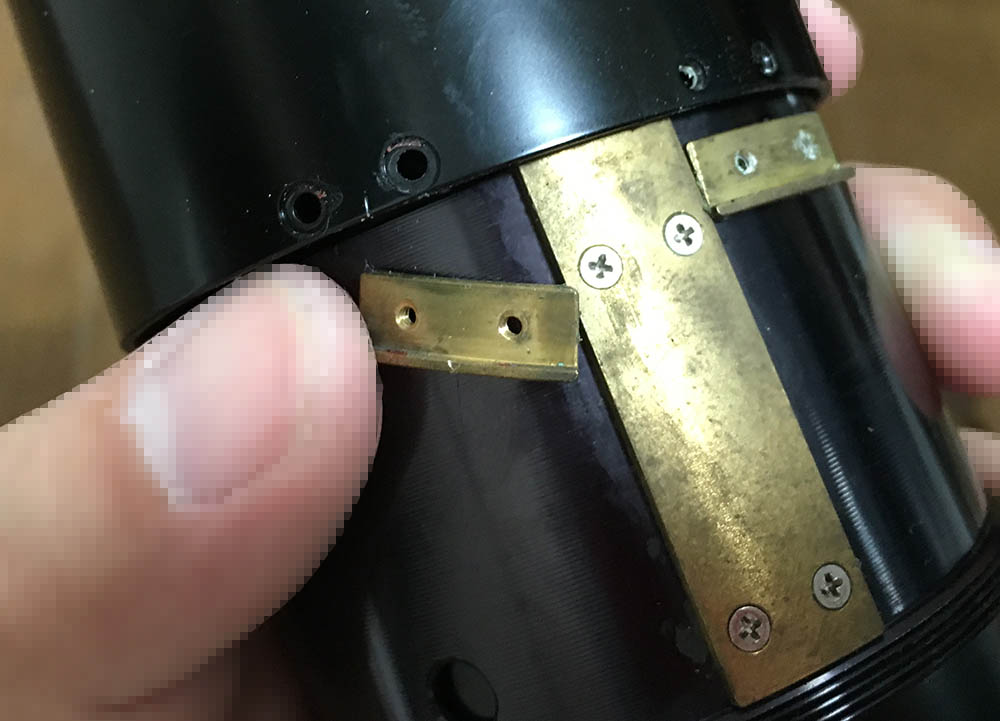
You can now remove the sleeve. Brush this carefully to make the markings colorful again but only use a soft-bristled brush so you won’t peel the paint.
Carefully extract this roller. Avoid heating it or applying strong solvents, it has a nylon roller which can be damaged easily.
The thread-lock could make this difficult to extract, apply alcohol to soften it up before you extract it.

Carefully remove the zoom/focusing-barrel.
Extract these like you did with the other roller earlier.
Note that not all of the rollers are similar, note which one came from which hole. Their locking-nuts should be kept along with their respective rollers.

These springs give the barrel a little bit of resistance, lightly lubricate it and only apply grease on the parts that come into contact with the barrel.
You can now safely remove this part.
Clean everything thoroughly and never leave any residue. The barrels could be cleaned by brushing them with strong detergent. An alcohol bath is also useful, it helps remove stubborn residue. Polish the helicoids with a brush, I usually use a stiff-bristled brush and pick any hardened grease with a sharp toothpick. The helicoids benefit from a thicker-type of grease but do not use one that has too-much resistance or it will be difficult to focus with it. Don’t apply excessive grease or it will accumulate in the optics. Sliding parts don’t require large amounts or lubrication, a super-thin application is enough. Do not lubricate anything that’s situated near the iris mechanism.
Disassembly (Optics):
The optics are easy to dismantle since their construction is similar to lenses of the same vintage. Avoid dismantling the rear optics assembly, it’s delicate and putting the elements back incorrectly-spaced will result in performance issues. You can read my article on the Zoom-Nikkor 80-200mm f/4.5 Auto for more hints, its construction is similar to this in many ways so you could use it to get ideas on how to open some of the housings.
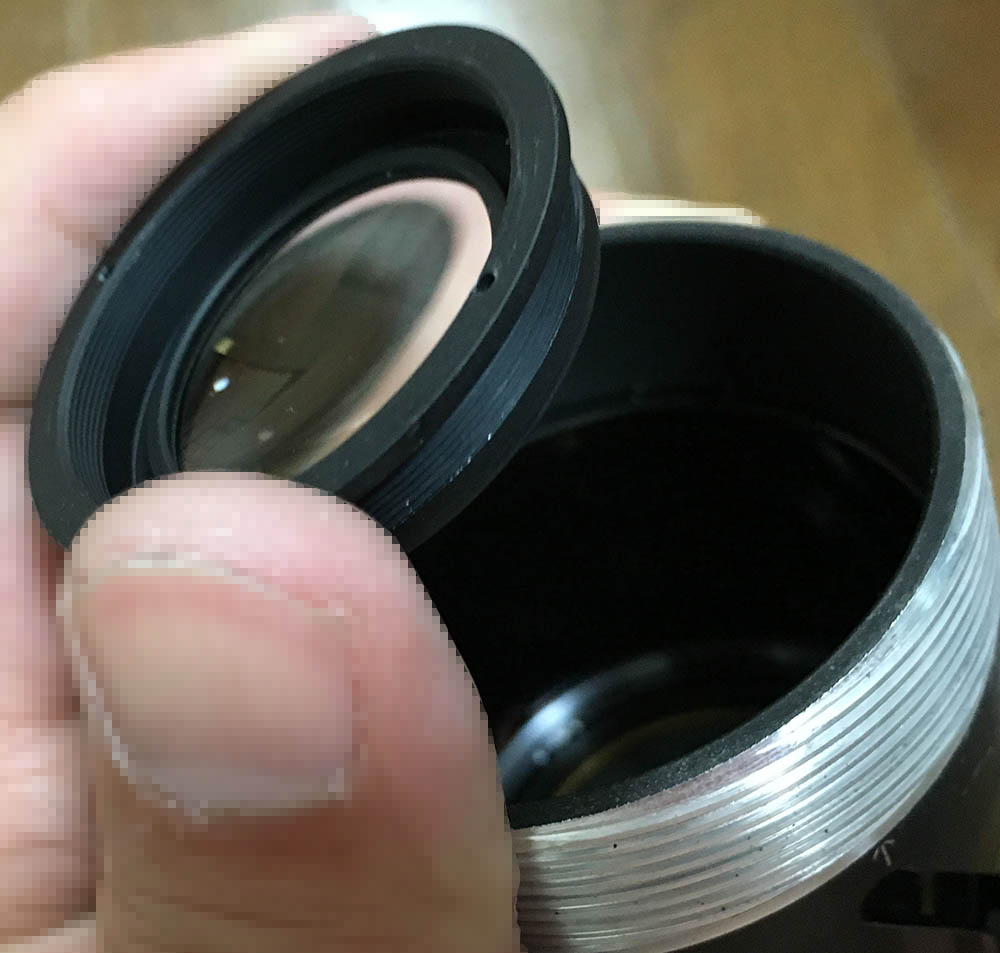
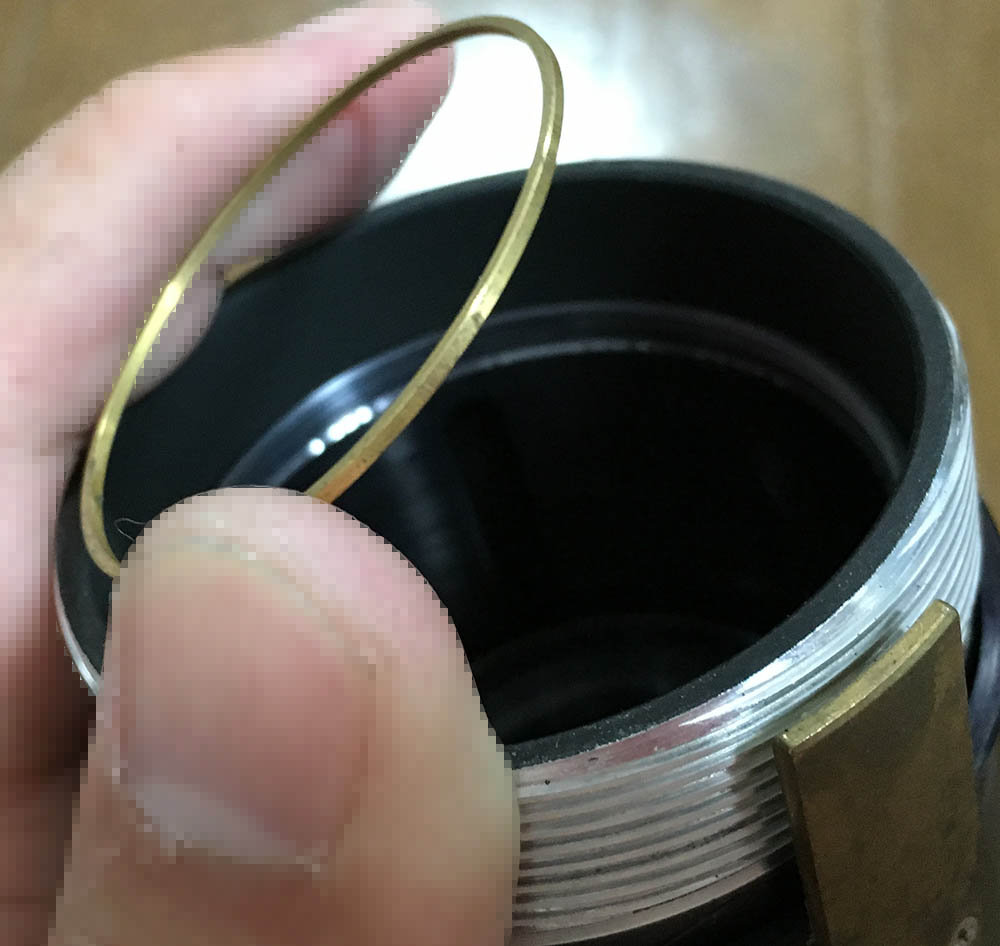
The front element can be accessed after you unscrew its retainer. These are usually sealed so placing a drop of solvent on its threads helps. Do not flood it or the solvent will reach the cemented group and ruin it.
Extract this with a lens sucker.
Carefully remove the spacer and the cemented group. Do not forget to mark the direction of the spacer so you could put it back facing the right way.
Using a permanent marker to write a small dot at the walls of the elements will help you determine which way an element should be facing. You could also add more dots indicating their order, too.
If your lens has fungus, read my article on lens fungus cleaning. Use distilled water to thin your solution so it won’t be at full-strength. Soaking for a long time may result in coating damage so do this with care.
Conclusion:
This took me less time to repair than usual but it still took me several nights to do it properly. Most of that time was spent cleaning things thoroughly or putting things back-together again. I had lots of fun with this, the improved construction meant that this is tougher than the older versions. It’s smarter, so accessing the internals is a lot easier with this version.
Adjust the focus of your lens by adjusting the helicoid’s guide at the front of the barrel. The rear focus should be left alone, the only way to adjust that is to add-or-remove the brass shims. The Zoom-Nikkor 80-200mm f/4.5 Auto is similar to this so you can get some hints from that article. If you don’t know how to adjust your lens’ focus, read my article on focus calibration. It shows how you could do it in a DIY setting. Once you’re satisfied with your results, reassemble everything to finish your project.
Thanks for following my work. Did you enjoy this article? If you did, please share it with your friends. This site earns $0.30 day from views alone, every view counts so your help is needed. You can also support this site, it helps a lot in offsetting the cost of maintenance and hosting. You’re also helping me purchase, process and scan film. This site promotes the use of film and your help is keeping the industry alive. Thanks again and see you next time, Ric.
Help Support this Blog:
Maintaining this blog requires money to operate. If you think that this site has helped you or you want to show your support by helping with the site’s upkeep, you can make a small donation to my paypal.com (richardHaw888@gmail.com). Money is not my prime motivation for this blog and I believe that I have enough to run this but you can help me make this site (and the companion facebook page) grow.
Buy me a roll of film or a burger?
Thank you very much for your continued support!
$2.00
Helping support this site will ensure that this will be kept going as long as I have the time and energy for this. I would appreciate it if you just leave out your name or details like your country’s name or other information so that the donations will totally be anonymous. This is a labor of love and I intend to keep it that way for as long as I can. Ric.

Nov 19, 2024 @ 23:36:17
The later versions, serial no starting 85xxxx, have an easier access for the floating ele,ent with the spanner slots away from the edges.
Interestingly the latter versions also have a slightly longer barrel with the front optical block sitting higher. N out sure if this meant a slight tweak of the optical formula