
Hello, everybody! In recent years, youngsters have discovered “City-Pop”, It is an obscure genre of music from 1980s Japan and its revival owes much to Takeuchi Mariya and her song “Plastic Love” which has been everywhere in the internet. It’s nice that young people are finding value in what we had in our younger days. They could learn a lot from the experience and take a lot of inspiration from what the songs of yesteryears. Speaking of “Plastic Love” and the 1980s, I will show you something made of plastic that you will love. It was made in the 1980s and proving quite popular with many new young photographers these days the last time I checked several years ago. What is this lens? Stay with me and find out more about it.
Introduction:
The Nikon 70-210mm f/4 Series-E was sold from 1981-1985 to compliment its other siblings in the Series-E line which were made to be sold with the little Nikon EM. This line of lenses were made with budget and weight in mind so they could be sold to those who were just starting in the craft, students and women. The latter statement is controversial today but 4 decades ago it was not considered to be something that was done in bad taste. Nikons and their lenses had the reputation of being durable, heavy, precise, expensive and a bit unfriendly for beginners since they were made for professionals. People who wanted a fun, simple system had to look elsewhere so Nikon made this big decision to “dumb-down” their products for the masses. These lenses do not even carry the tradename “Nikkor” for that exact reason. This lens is an oddity since all Series-E lenses were made to be compact but this one is just as big as its Nikkor counterparts, I guess there’s not much you could do if it’s physics that’s involved.
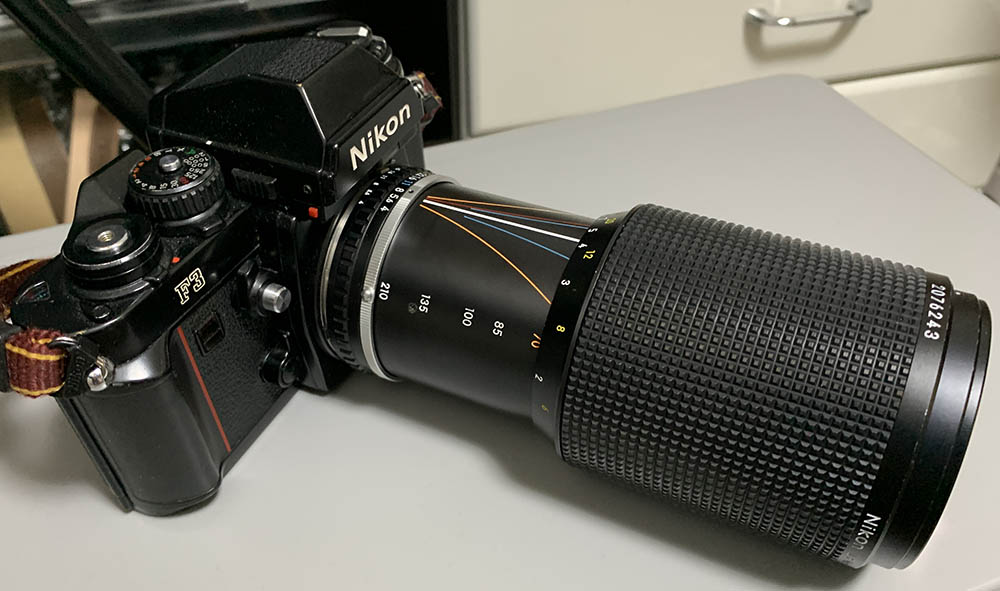
Despite its cheap origins it’s a good fit with Nikon’s flagship cameras. This is a long lens but it balances quite well with most cameras, even ones that are bigger. Smaller cameras like the Nikon EM that it was made to partner with may feel awkward with it unless you use it with its special motor-drive just to prevent the setup from being too front-heavy.
It has a 13-elements-in-9-groups design which is quite remarkable since this was supposed to be made for the lower-end of the market. Its performance is quite good as well but not as refined as the Nikkors. Despite that, its optics were repurposed to be used with the remarkable AF-Nikkor 70-210mm. I am sure that it was improved somehow since the latter performed much better than this if my memory serves me right. This lens has such a following that professionals and amateurs alike swear by its image quality, something that is debatable since personal and sentimental feelings and may be involved. I personally do not dislike this lens, in fact, I quite like it but it just could not give the same results that I get from my Nikkors. The older Zoom-Nikkor 80-200mm f/4.5 Auto could beat this easily when it comes to rendering.

Its dimensions don’t differ much from the Zoom-Nikkor 80-200 f/4 Ai-S but it noticeably feels cheaper specially when you turn the aperture ruing since it is plastic. It’s not the type of high-quality plastic that all modern lenses were made of but it’s the cheaper type, the same type that Canon for most of their older, cheaper lenses.

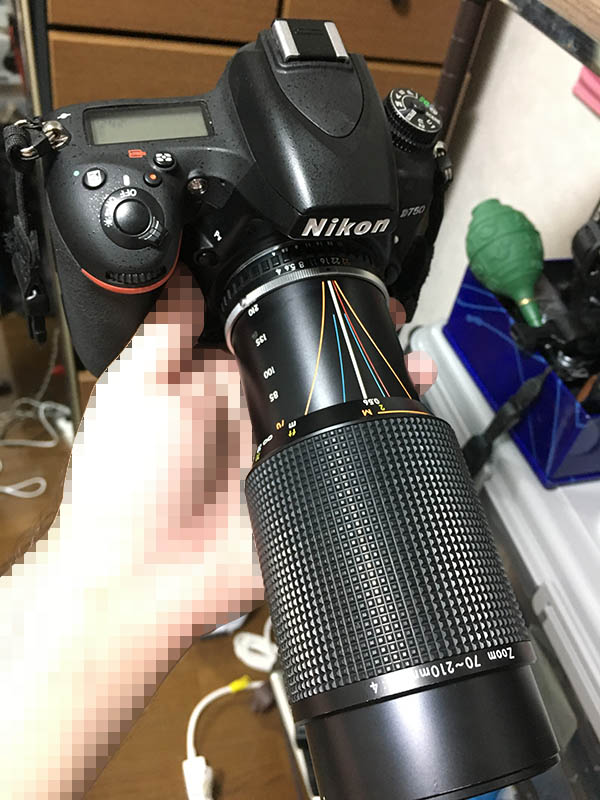
The Nikon D4 is an odd camera to pair with it since it’s an expensive, heavy and big camera but it balances quite well with it. The piston-action barrel is something that I like, it enables me to focus and zoom with one hand. Some people don’t like this and prefer the precision of a standard 2-ring setup. Its down-side is it could develop the annoying zoom-creep issue. It’s rare to get a pumper-zoom without this problem since most of these lenses are old.
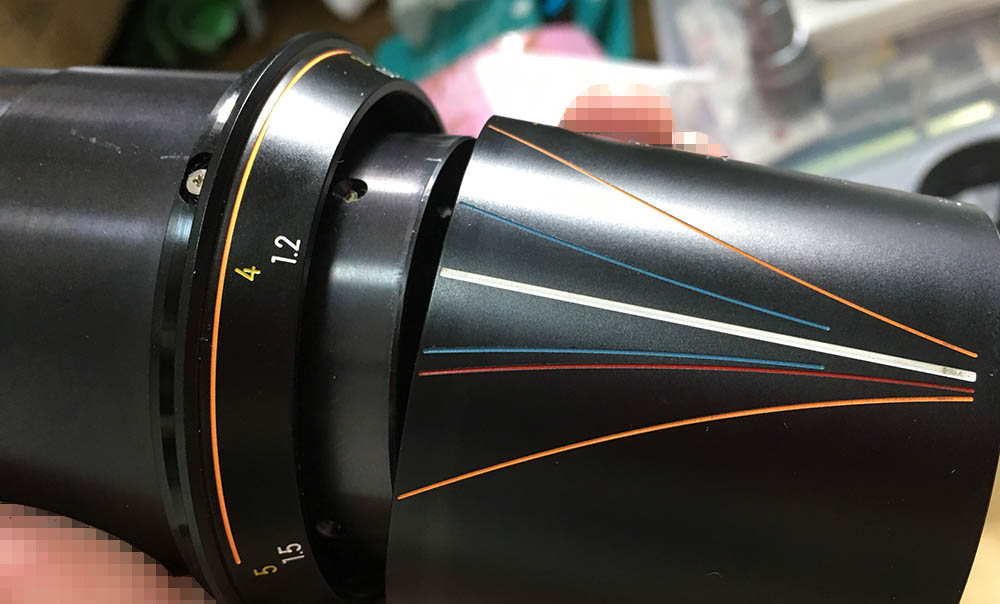
Despite being made for the budget-conscious, Nikon did not cut any corners when it came to its barrel. It has beautiful engraved scales that are colorful and informative. Seen here is a extended distance scale for its macro-mode gimmick. It could be used at the wide-end and will help you get-down to 2ft, this is useful for taking detail shots of smaller things.
Nikon made several lenses in this class and size:
- Zoom-Nikkor 80-200mm f/4.5 Auto, this is the earliest one.
- Zoom-Nikkor 80-200mm f/4.5 Ai (N), a new, improved version.
- Zoom-Nikkor 80-200mm f4 Ai-S, the last professional model.
- Nikon 70-210mm f/4 Series-E, a cheap lens with decent optics.
Let’s now see how this performs. Knowing how a lens performs is crucial to maximizing its use. You’ll learn how to avoid its weaknesses and exploit the lens’ strengths. This knowledge will help you decide whether to use it or not. I took the following photos from f/4.5, f/5.6 and f/8. It shows the most changes in rendering with these apertures, I also think that most people would want to shoot this with these values, too.
They all have different characteristics and quirks. Some are better at certain aspects but fail on some things. It is difficult to compare them, it’s like asking a shoe collector which one is the best.


(Click to enlarge)
The corners are dark wide-open they improve significantly by f/5/.6, they’re bright from f/8 and on. Distortion is quite high at both ends which and it’s a real eyesore, avoid this by not positioning any straight lines near the edges of your frame. You’ll get ghosts when you have bright sources of light inside or just outside of your frame and flaring can be quite bad depending on the situation but I have seen worse.


(Click to enlarge)
Here are worst-case examples of ghosts and flaring. You wouldn’t normally shoot these kinds of photos anyway but here’s a preview of what to expect. I don’t think it’s out-of-the-ordinary to be honest.


(Click to enlarge)
Chromatic aberration can be a problem throughout its focal range, it’s some of the worst I have seen with any lens. It’s terrible wide-open and improves by f/5.6 and it’s much better from f/8. Spherical aberration is another story, I could still see it by f/8 which is a shame but this isn’t as ugly as the former.

This is unacceptable but this may be isolated to my sample. It’s ugly and the only way to avoid this is to stop the iris down a bit when you have areas of high-contrast within your frame. If you showed this to Prince, he would sing “Purple Rain” in front of you. Unfortunately, he’s now gone. He’ll be missed.


(Click to enlarge)
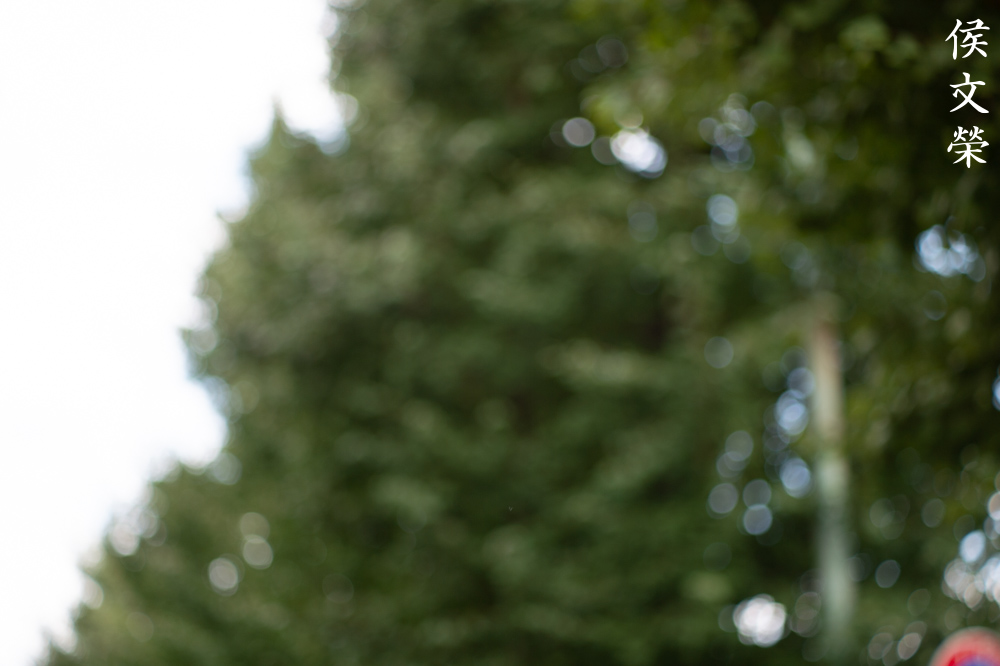
The good news is the character of the bokeh looks quite nice, the discs look even wide-open with no ugly outlines, at least not something that you could notice.


(Click to enlarge)
However, there will be scenarios when it could exhibit some rough-looking artifacts but it’s still acceptable in my opinion.


(Click to enlarge)
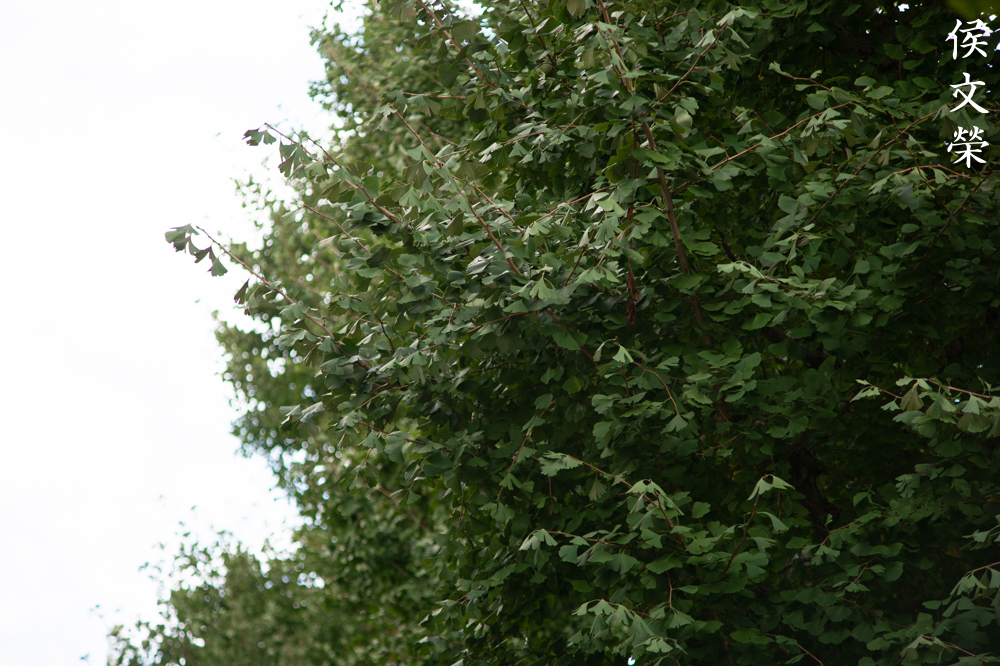
Here are more photos for you to assess its bokeh quality. It’s quite good for a cheap lens, I wouldn’t worry too much about it. I shoot foliage and twigs for my blur tests since a lens with poor bokeh quality will render ugly artifacts, these are very difficult subjects in my experience.

This has some of the best bokeh quality I have ever seen in any Series-E lens or any cheap lens for that matter. This would make for a good portrait lens.


(Click to enlarge)
Sharpness is quite good wide-open specially at closer ranges. It’s not as nice as you get closer to the long-end but it’s still acceptable. Resolution is nice, it is adequate and it’s able to resolve smaller details properly. The first sets of photos were shot at its minimum focusing distance using its “macro-mode” gimmick at 70mm, you’ll notice that it’s pin-sharp even wide-open which is quite impressive but sharpness degrades as you focus-further as mentioned before. Stopping it down to f/5.6 improves center resolution and you’re now able to see better details. The corners are a different story, I do not think it’s able to keep-up with the center even if you stop it down to f/8. The center is performing at its peak by f/8 as expected, this makes for a good studio lens. I think it’s best to use this as a portrait lens judging from my pictures since its best performance is attained at closer distances.

What a surprise, at its closest focusing distance with its “macro-mode” trick I am able to get decent-looking corners even wide-open. It’s not as sharp as the center, of course. The character of the bokeh looks nice, too.

I missed my focus here but let’s concentrate on the background. This is able to produce painterly-looking backgrounds, something that photographers of plants will enjoy.

Sharpness wide-open is excellent with my sample, this guy would be upset if this isn’t sharp. Resolution is not bad at all but stopping it down to f/5.6 is really going to boost its performance. If sharpness and resolution is going to be the most important thing in your photo then its mandatory to shoot this from f/5.6 and smaller.

It’s able to render photos with that “vintage-look”, it’s something that many people appreciate but some people hate this, though. I personally like it and that’s the main reason why I chose to shoot with older lenses these days.

You would’ve thought that this photo was shot with a more expensive lens. I like how it rendered this scene a lot, it has nice separation and tones. It isn’t like many Series-E lenses where you’ll get this cheap-look, something that is caused by over-correcting a lens for sharpness and contrast. While this still has some of it, the pictures look more natural as if they were shot using the more expensive Nikkor equivalents.

This isn’t as sharp as I expected, maybe my shutter-speed is slow. Contrast is on the high-side but not over-powering like what some Series-E lenses tend to do, it still looks natural.

You won’t get hit in the face with a “wall-of-focus” when viewing its photos. It has a natural transition from what’s focused to what’s blurred. This gives the photos it takes a nice characteristic that is usually found with expensive lenses like the Zoom-Nikkor 80-200mm f/4 Ai-S.

This was shot with a slower shutter-speed since it’s dark so it’s a bit blurry. I like this photo a lot but I hope that it’s sharper.

It’s able to give you nice subject-to-background separation even at distances where you wouldn’t think it’s possible. This makes it a good portrait lens, it’s able to showcase your subject better.

Another problem that I see with this is its rather high amounts of distortion. I wouldn’t use this for taking photos of architecture or art at all. Look at the pipe near the top-edge of the frame, it’s warped.

Here’s another example showing the effects of distortion. It doesn’t look too bad here since this is a dilapidated scene but you’ll still notice its effect.

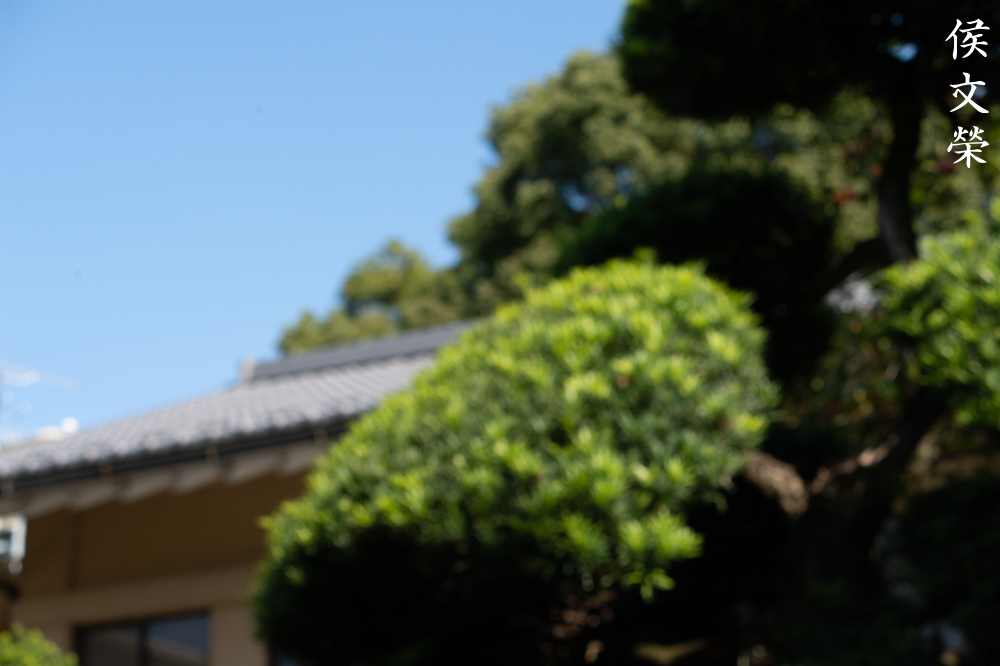
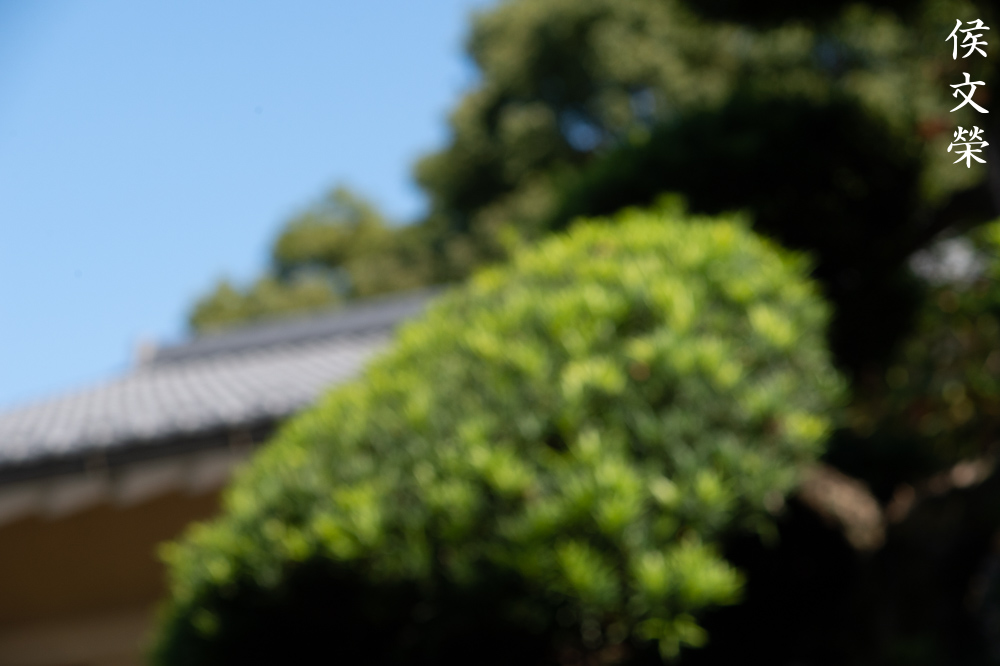
This lens is too-long for street photography but it’s nice for travel photos. It’s lighter than most professional zooms so your neck won’t ache. This photo is nice, it’s a complicated scene and the colors were rendered beautifully.

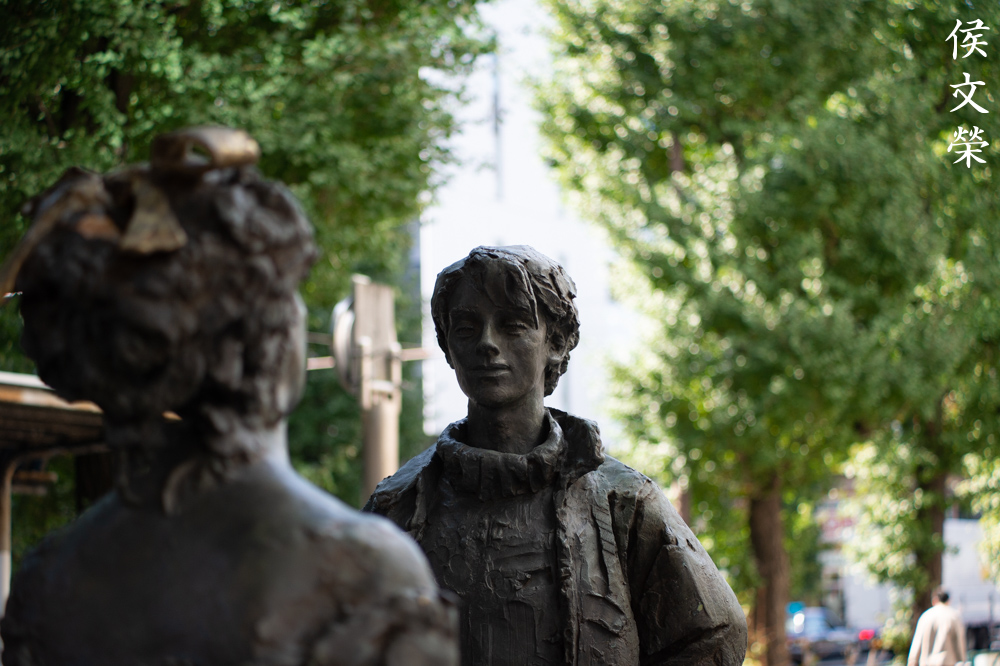
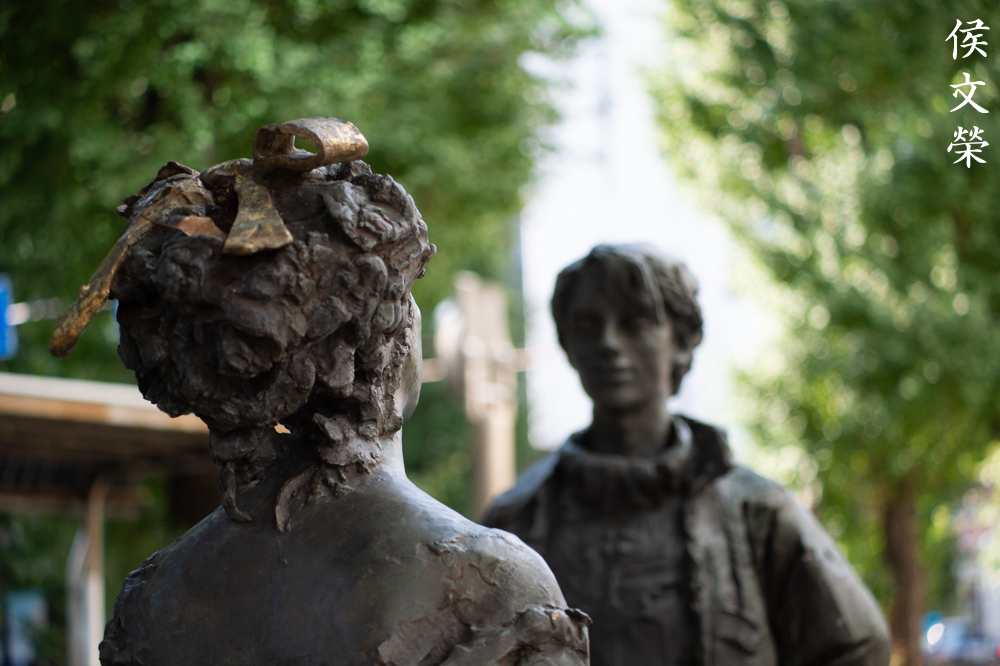
It’s a nice lens for compressing your composition. You’ll need a long lens to shoot a photo like this, a wider lens will give you more foreshortening and that will make subjects that are closer to your frame appear larger. Use this trick to help you tell stories by playing around with the size of the elements in your scene.


(Click to enlarge)
Here are more photos showing how it performs with a digital camera. It’s a nice lens for its price, people who don’t want to spend a lot will find in very appealing. You don’t need to spend a lot to be able to take nice photos. If you are fine with focusing manually then this lens will be your answer.
This lens was designed for use with film, let’s now see how it performs with its intended medium. Film has a unique look, something that is challenging to simulate with a digital camera. This is because grain works differently, it is able to hide imperfections depending on scenario. Some lenses with ugly bokeh quality perform better when shot with film and chromatic aberration is also something that is toned-down a bit by shooting with film. This makes me curious as to how this lens renders with it. Will film grain help amplify its flaws or will it hide some of it? Let’s find out.

The character of the bokeh is quite nice when shot with film. Of course, it is just as sharp compared to the photos shot with a digital camera, if not even sharper than those.

What’s surprising is the bokeh characteristics looks “chunkier” when I shot this with film compared to the ones I took with my Nikon Df. I do not know what’s going on but it is what it is.

You can see a bit of pin-cushion distortion in this photo but it’s not bad at all and I would even consider it acceptable.

I guess the reason to use this lens is its sharpness even wide-open. Contrast and saturation looks nice, too. The latter has more to do with which type of film you’ve shot it with more than the lens, though.

The background smooth but I have seen better examples.

Let’s now see how it performs as a portrait lens. As expected, it is sharp, it’s able to render photos with nice colors, too.
Skin is rendered beautifully and you could appreciate how well it rendered the details of the hair.

I kind of like it as a portrait lens, it’s easy to take sharp photos of people but the Zoom-Nikkor 80-200mm f/4 Ai-S should be able to out-perform this quite easily in terms of subtlety.

Well, I was hoping that the background would be smoother in this photo but it turned-out to be quite mediocre.

This is a much-better example. The edges of the discs can be distracting and that’s the only thing I could criticize in this photo.

Stopping it down helps clean the bokeh a bit. You can use this trick if you’re worried about the edging on the discs.

As expected from a long lens, it’s ability to isolate your subject is quite good. You could flatten your composition with it. Foreshortening is double-edged, it could make or ruin a shot.

I think I shot this wide open in the hope of finding chromatic aberration but it looks fine so far. From this distance, the foreground blur doesn’t look nice at all if you look at the foliage, it looks a bit “clumpy” to me.
This looks terrible, the quality of the bokeh looks pathetic. I’m not sure why I am getting this with film, it’s usually the other-way-around. With that said, this is one of those cases where an older lens performs better with a digital camera compared to film. While it’s true that I am not using a fine-grained film I don’t think that is enough to cause this, I am not convinced.
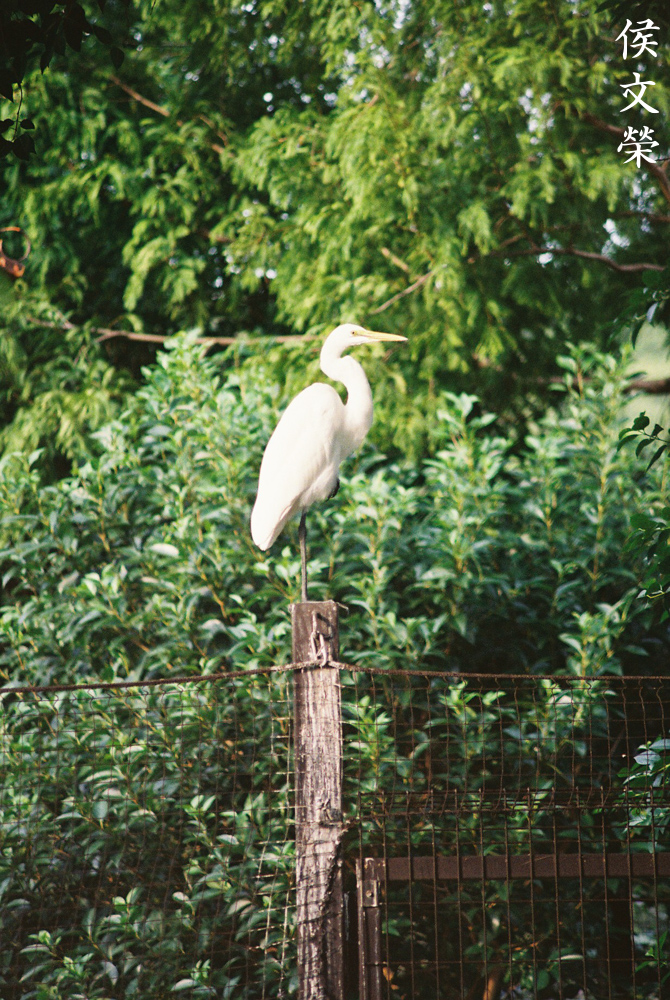
I don’t think I got my focus properly here. Spherical aberration can be seen in this photo as the bird is over-exposed.

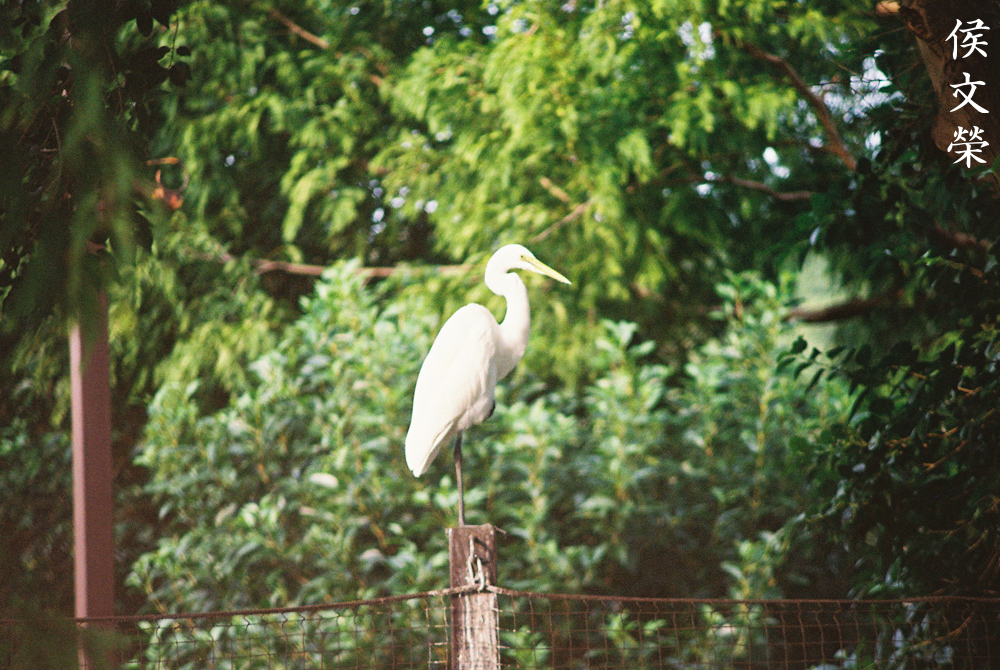
I am surprised that chromatic aberration is kept at a minimum in this photo and spherical aberration isn’t terrible, too. Of course, sharpness looks great as expected. The character of the bokeh doesn’t look bad in this photo since it’s easier to make it look smooth at this distance and there are no details at the background that could excite terrible bokeh characteristics.

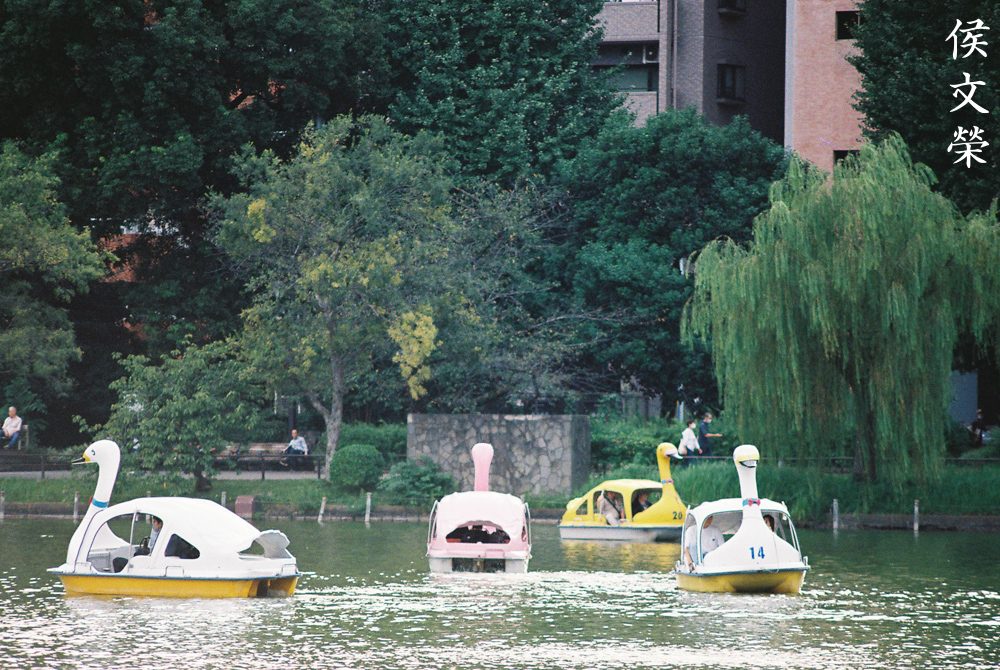
I shot this expecting to see artifacts in the water, and I did. You could use it to your creative advantage, making your photo look more stylized.


(Click to enlarge)
Here are more photos that were shot with film. I liked shooting with lens, it handled pretty well with my film Nikons and the results look nice. The only thing I didn’t like is the mediocre quality of the bokeh on certain situations. I really don’t mind since that could be avoided if repositioning your subject is possible, just frame them so you won’t have to deal with the ugly look of the background. It’s quite good as a portrait lens, too. If budget is a problem this lens could satisfy your need but a nice New-Nikkor 105mm f/2.5 isn’t pricy at all and is a better lens for portraiture in my opinion. I mentioned this a few times but I still don’t know why the bokeh looks clumpy using film, maybe I should do another test next time using better film? Even with that caveat, I still think that this is a capable lens.
This is a nice lens for its price. I could recommend this to anyone who does not want to spend a lot for a telephoto-zoom. You can usually find these for less than $40.00 when they’re in bad shape, you could even find one for less than $20.00 if you’re lucky. Compared to a Zoom-Nikkor 80-200mm f/4 Ai-S, I don’t see any point in spending more for that if all you want is to take great photos but the Nikkor has better image quality in my experience specially if subtlety is something that you value. The latter is also built better but that is not to say that this lens is flimsy. Sure, it has more plastic parts but it could withstand a lot of abuse, too. When buying one, make sure that the barrels operate smoothly and the glass is clear. Zoom-creep is a common problem, I don’t think it’s impossible to find one without it but it’s something that can’t be avoided since these lenses are several decades old by now. Just find one that’s able to give you good results and stick with it.
Before We Begin:
If this is your first attempt at repairing a lens then I suggest that you check my previous posts regarding screws & drivers, grease and other things. Also read what I wrote about the tools that you’ll need to fix your Nikkors.
I suggest that you read these primers before you begin (for beginners):
Reading these primers should lessen the chance of ruining your lens if you are a novice. Before opening up any lens, always look for other people who have done so in YouTube or the internet. Information is scarce, vague and scattered (that is why I started this) but you can still find some information if you search carefully.
I highly recommend that you read my working with helicoids post because this is very important and getting it wrong can ruin your day. If I can force you to read this, I would. It is that important!
For more advanced topics, you can read my fungus removal post as a start. This post has a lot of useful information and it will be beneficial for you to read this.
Disassembly (Lens Barrel):
The barrel’s construction isn’t drastically different from most Zoom-Nikkors of the same class and era but it has a few things that differ from the others. It’s not a difficult lens to service for an experienced repairer but beginners should stay-away from it since it has more parts than prime lenses. This has a lot of little parts despite belonging to the cheap Series-E line. Taking notes is mandatory when repairing zoom lenses, you shouldn’t take this lightly. It took me a few nights to service mine.
As with most zoom lenses, you should remove the optics from the barrel as soon as you’re able to. Put them all aside while you work with the rest of the barrel so you lessen the risk of damaging them.
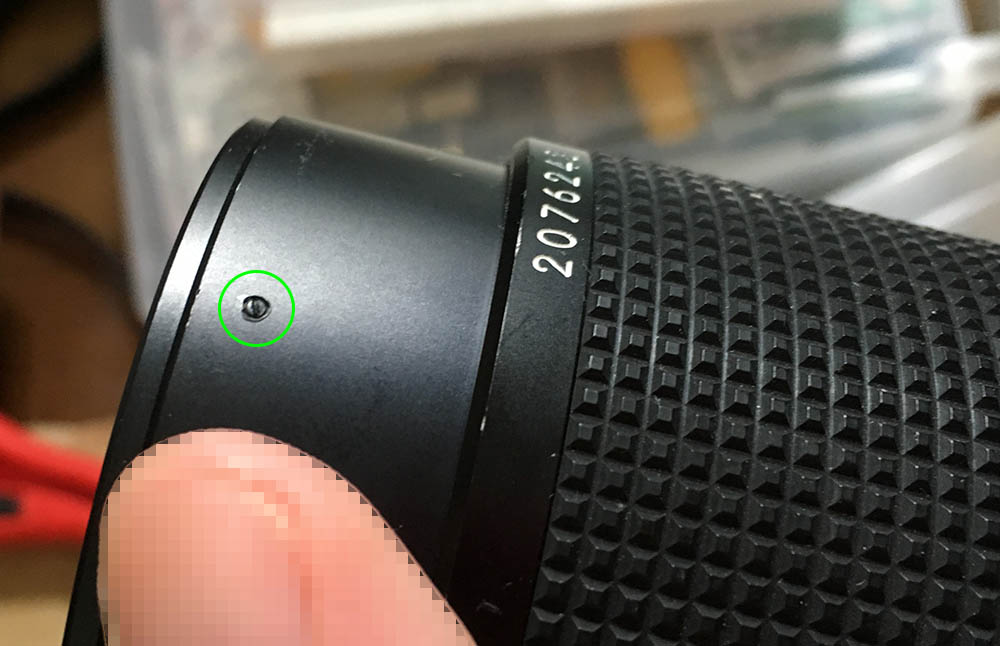
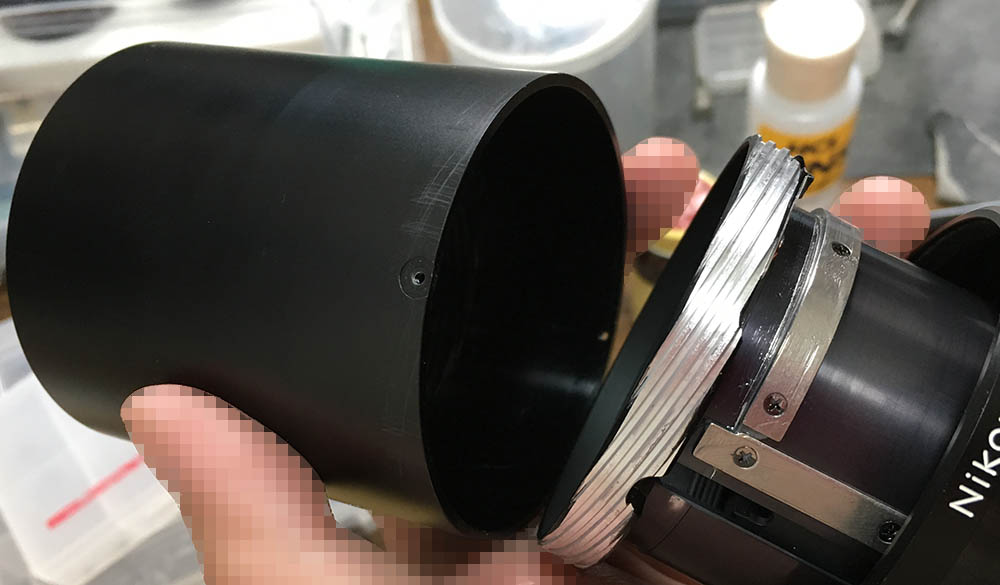
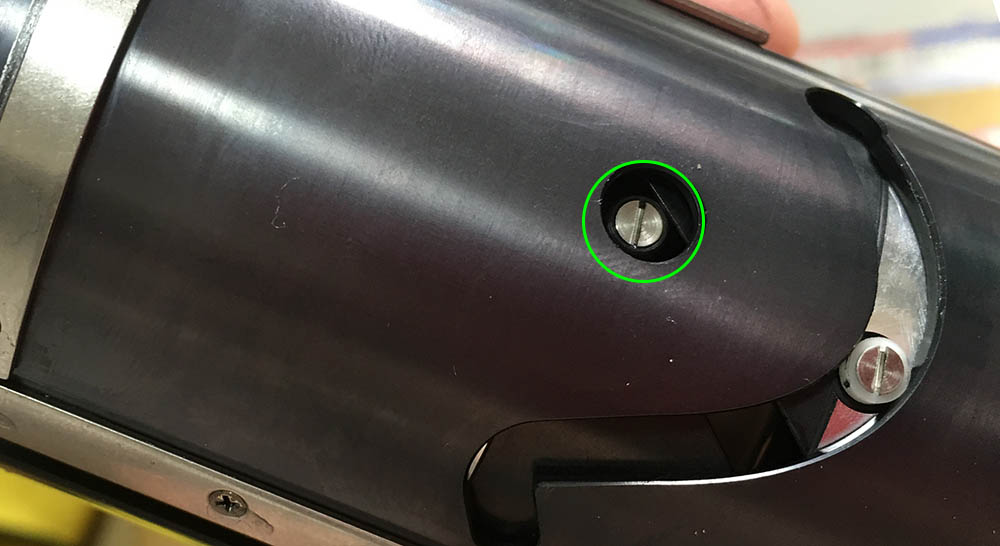
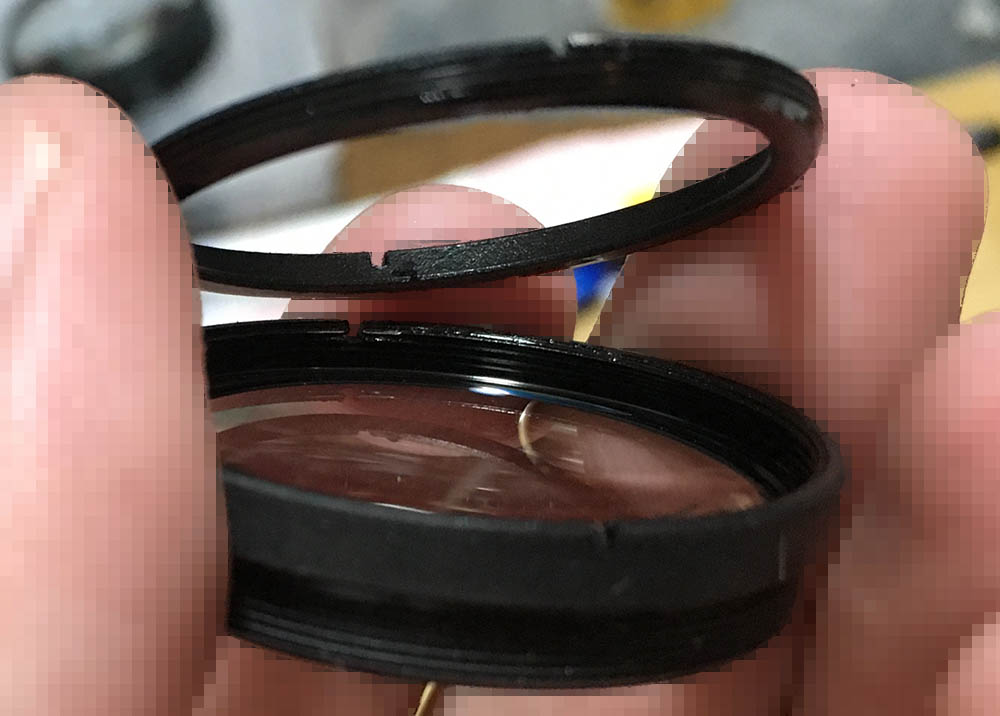
Carefully unscrew this, it’s usually sealed with paint so place a small drop of solvent and let that soften the seal before you remove it.

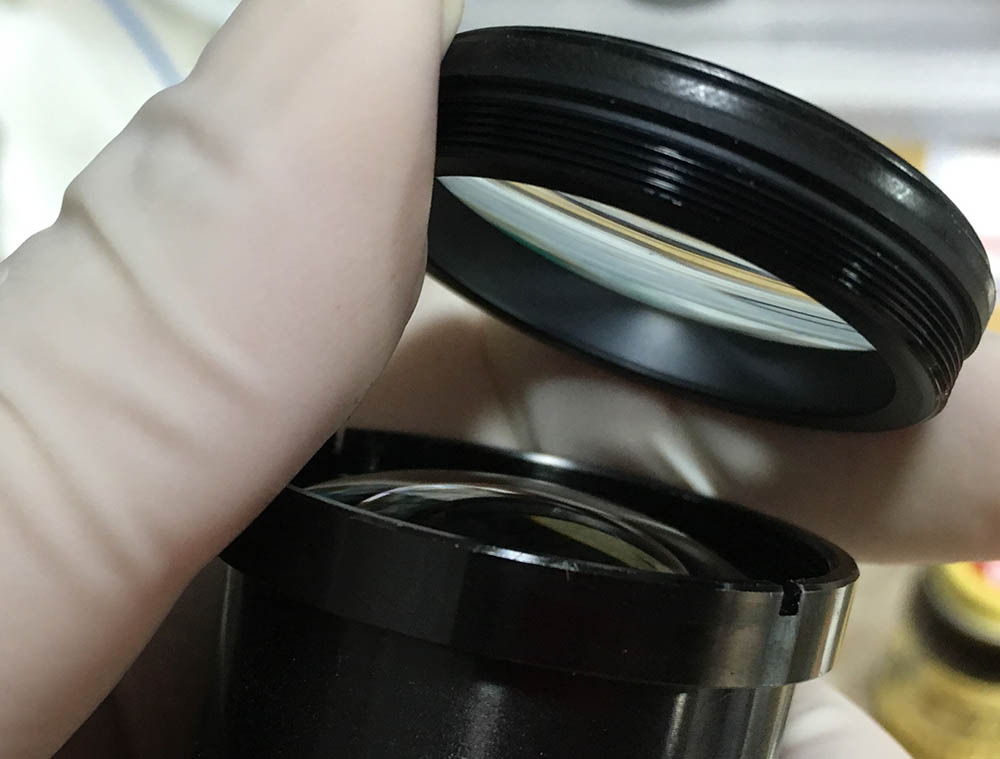
Unscrew the front optics assembly carefully.
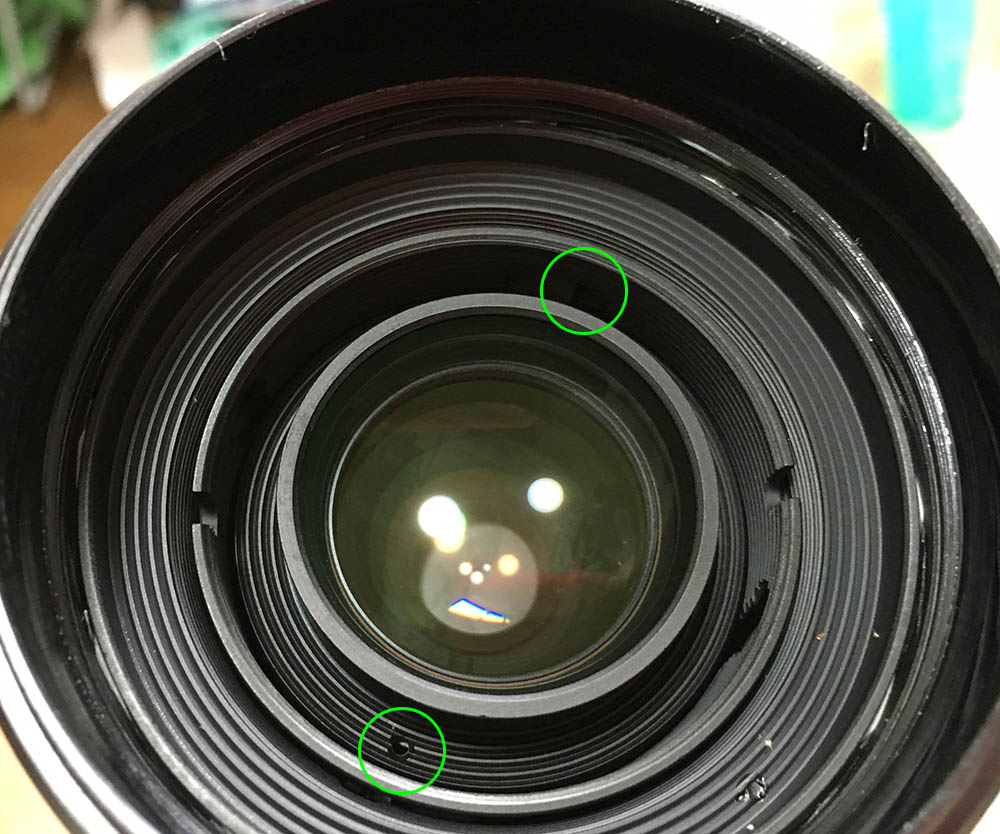
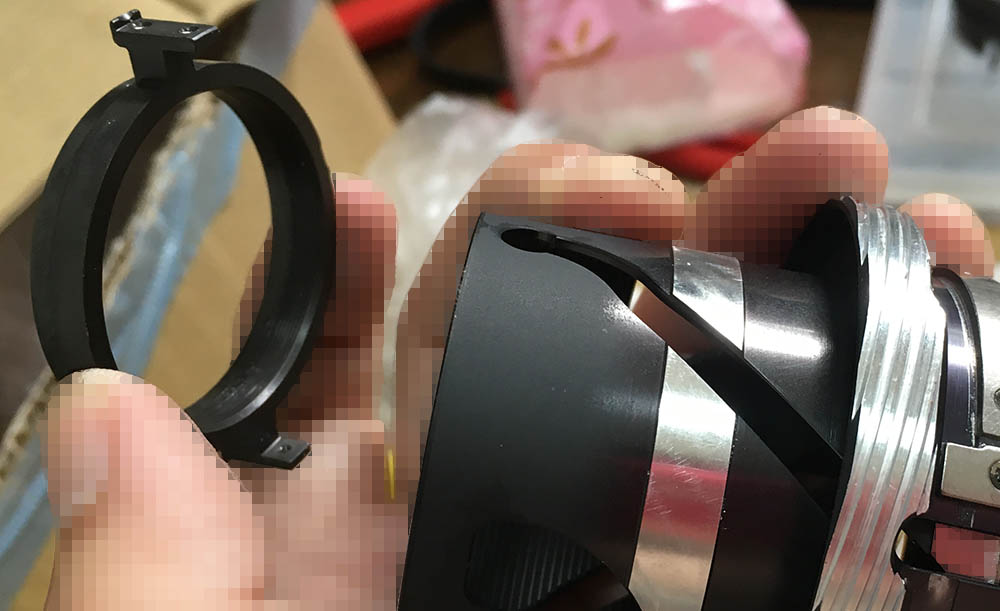
Get a lens spanner with bits that are long enough to reach these slots. You’ll have to zoom the lens-out in order to get this closer to you. It can be hard to remove since it wobbles so be careful while you remove it. Avoid scratching the glass as much as possible.
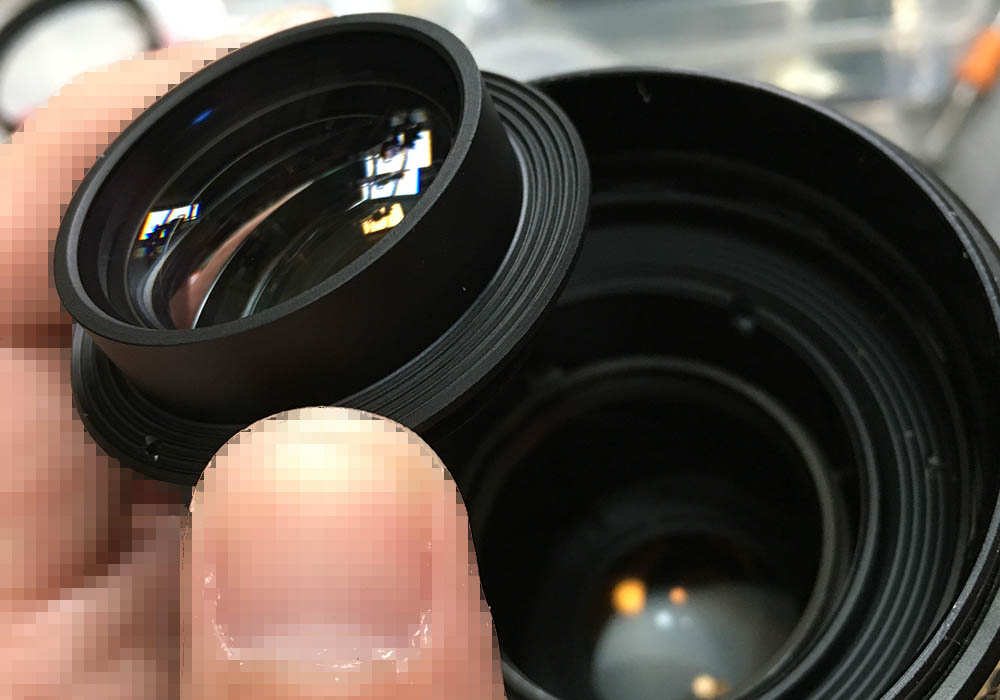
Extract the assembly with your fingers by picking it up by the raised lips.

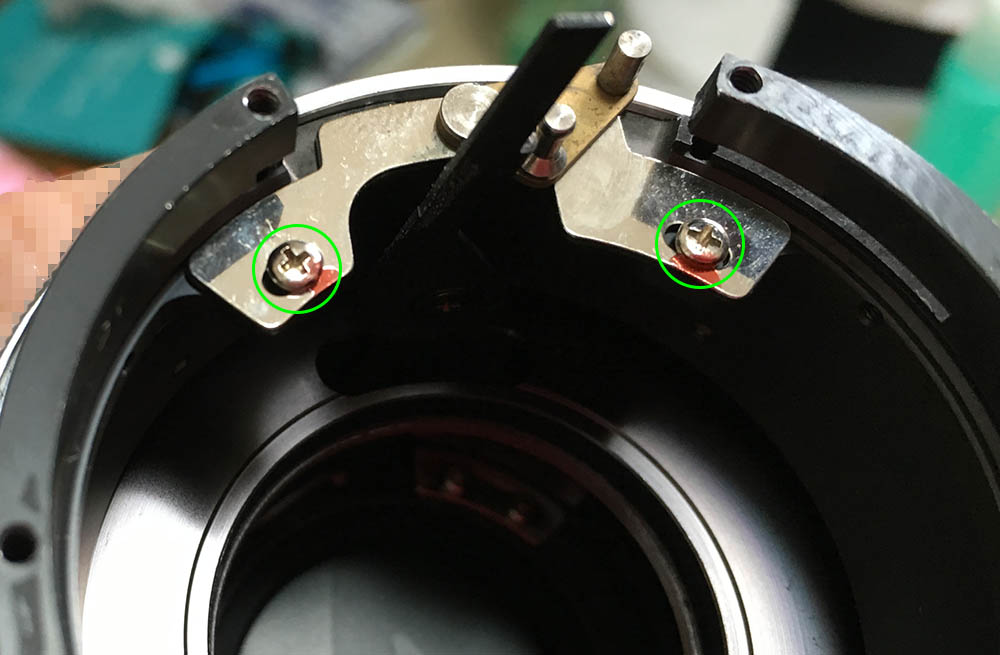
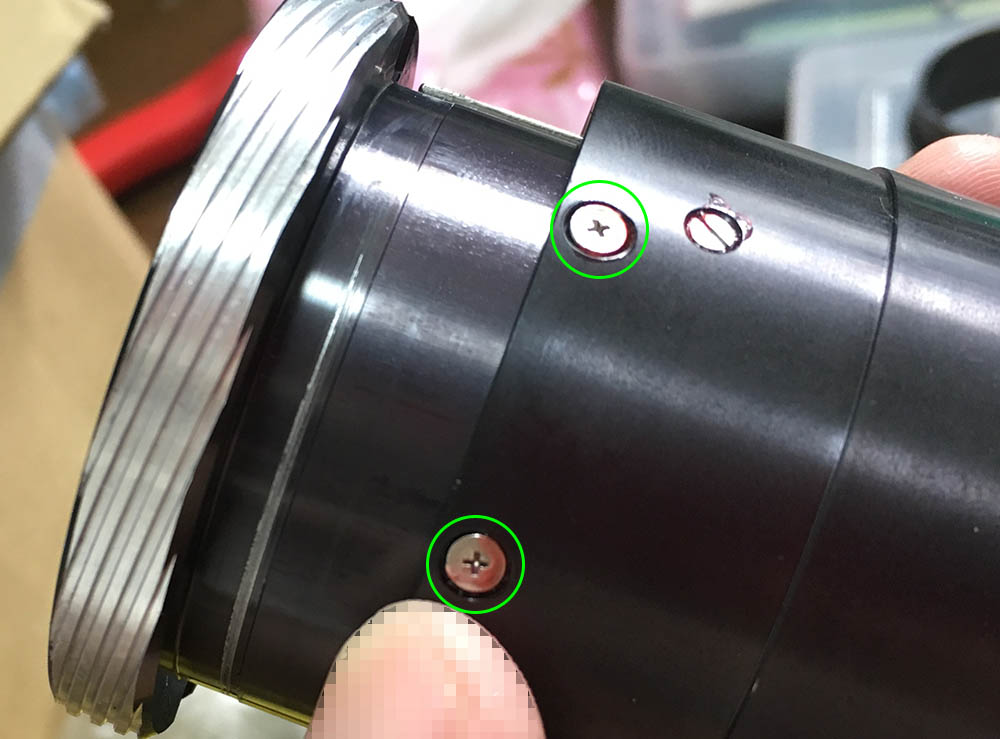
Extract these to remove the bayonet mount. If you have not read my article on how to remove bayonet screws, stop now and read it carefully. There are many people who got it wrong and stripped the slots of these screws so bad that it will require special tools to extract the stripped screws. That leads to many lenses in the used market with this problem, people get stuck here so they just quit.
Remove the bayonet plate, there’s nothing that could snag so don’t worry.
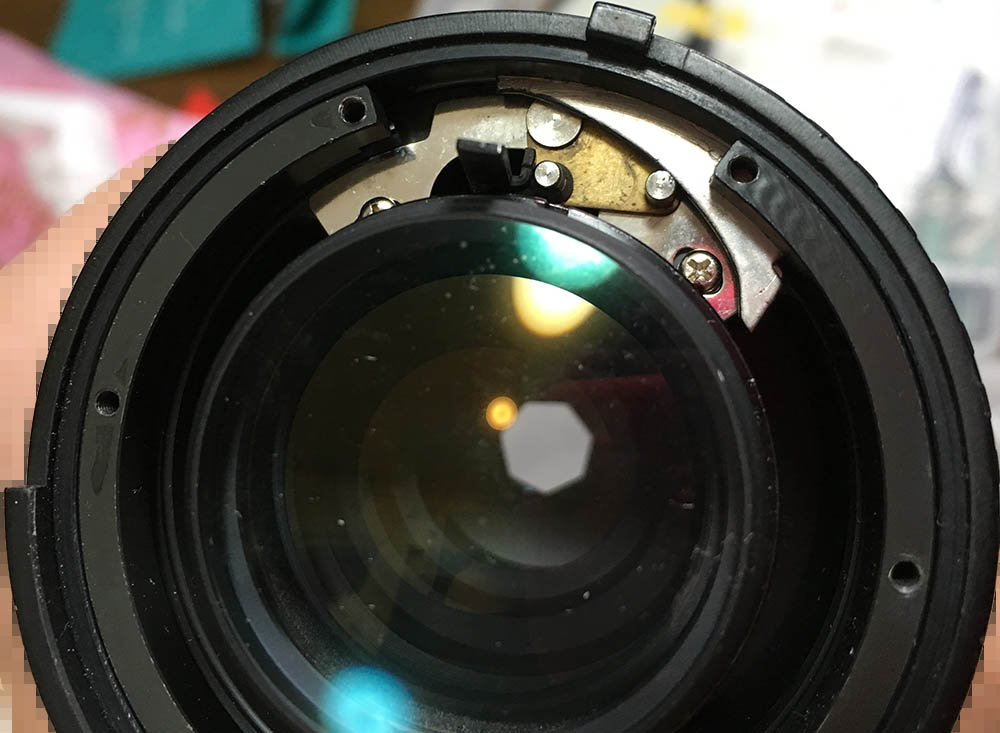
This is how the aperture ring mechanism works. Study how it operated and be sure to return this to its original state. Don’t dismantle anything that has been sealed with lacquer, they were adjusted precisely at the factory.
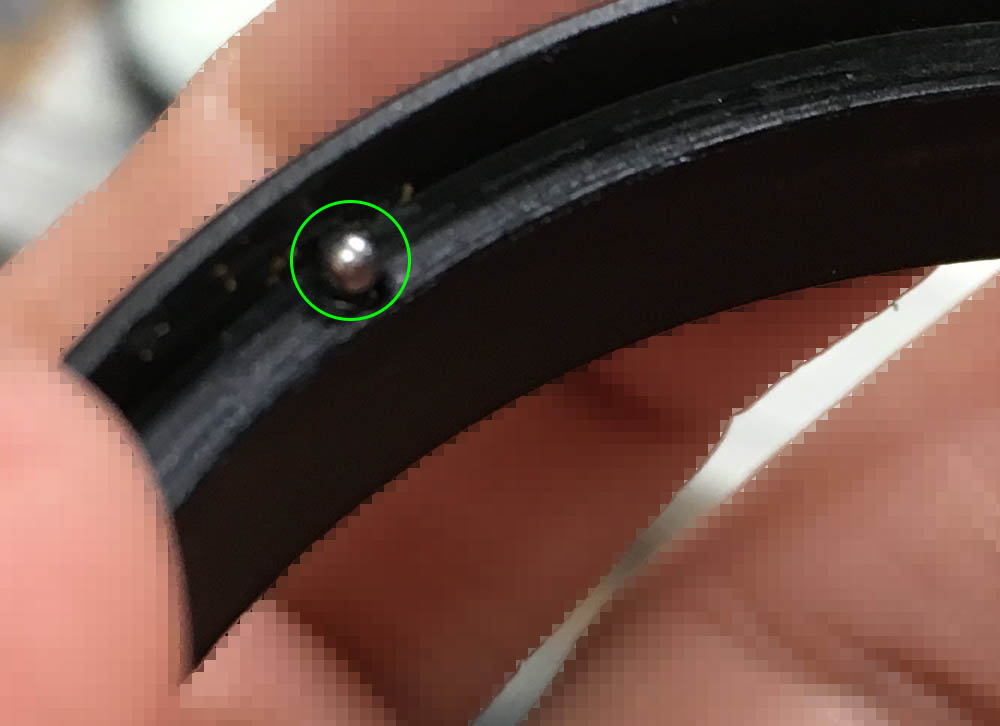
Be careful when you remove the aperture ring, make sure that this ball will not jump-out and get lost, it’s spring-loaded.
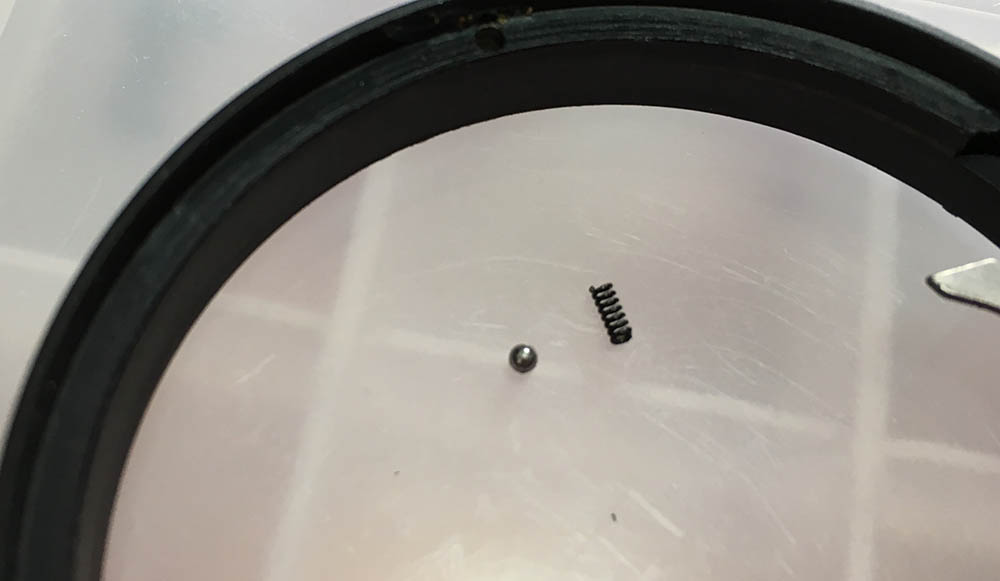
Carefully remove the ball and its spring, clean these carefully.
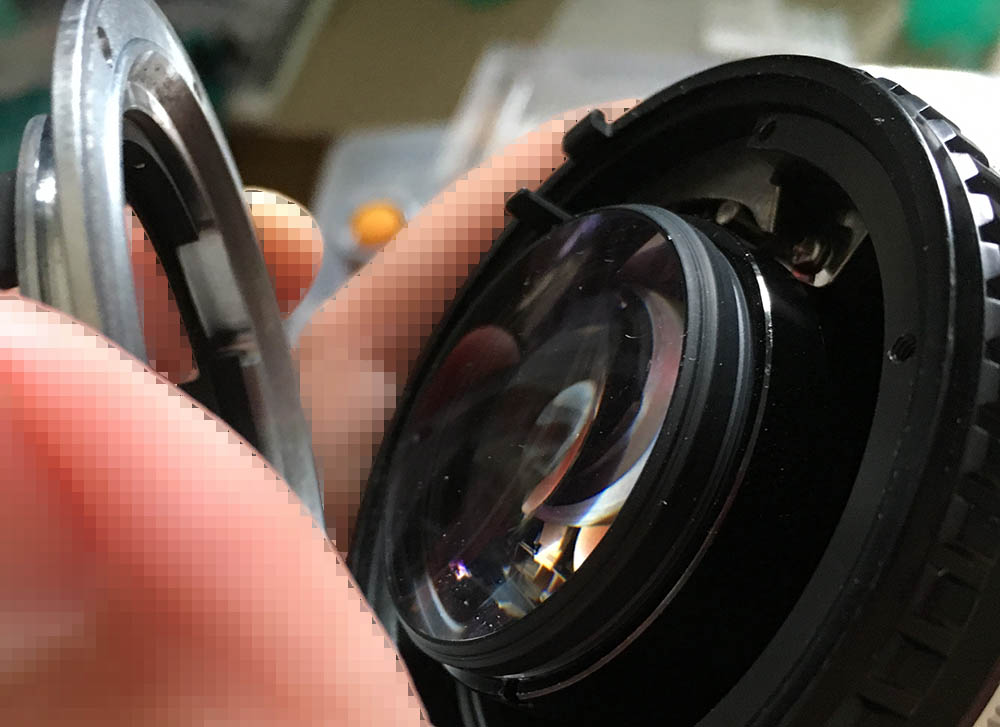
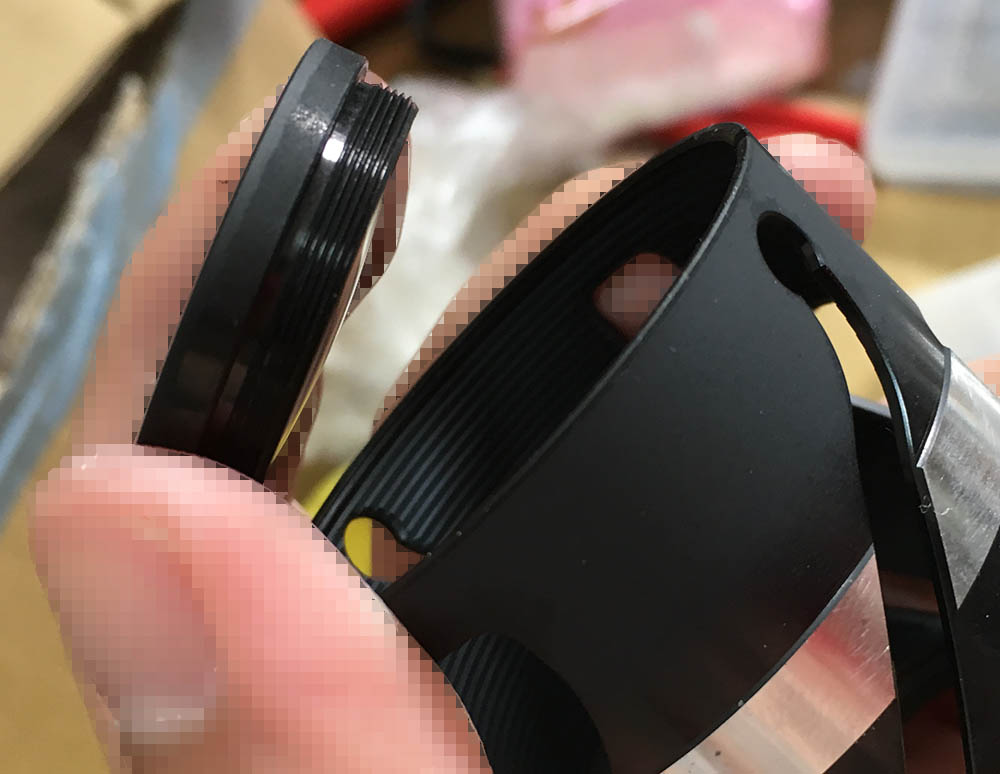
Unscrew the rear elements assembly carefully and make sure not to scratch anything.
Well, you could remove this only after you have documented its position. It should normally be left alone but I had to clean this lens thoroughly.

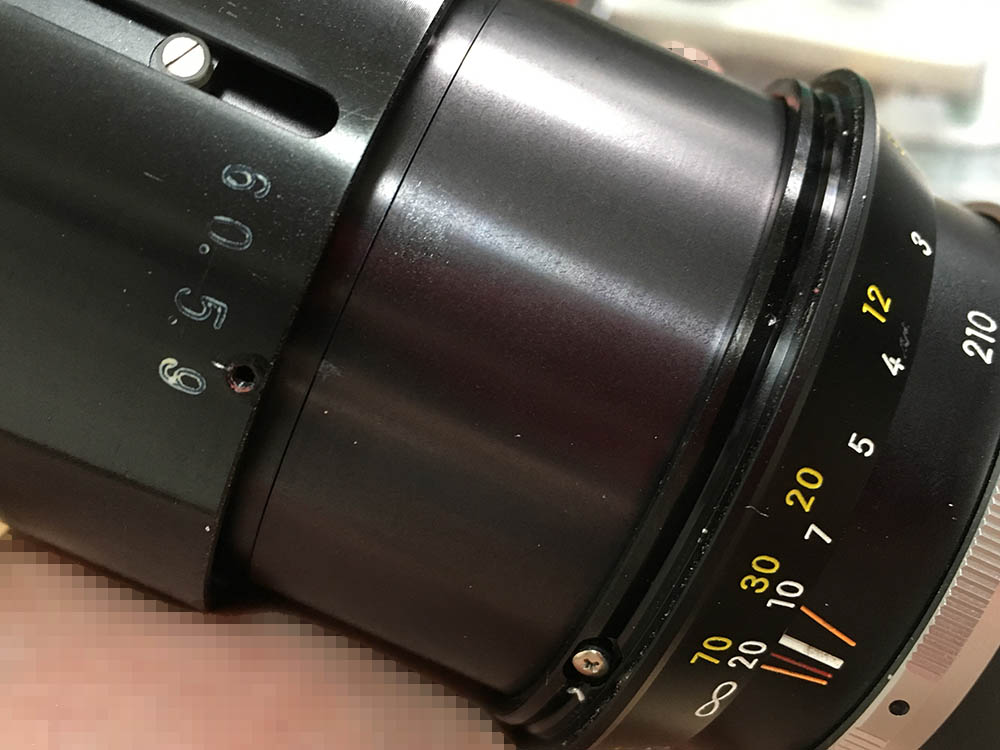
Carefully remove the rubber grip by sliding it off from the barrel. Use a thin rod and run it throughout its circumference to lift it from the glue. That will make it easier to remove. Be careful when you remove it, you could tear the rubber grip and turn this into an ugly lens. There’s a safer way to remove it which involves removing the distance scale first so you could safely slide it off without stretching it so much.

These screws secure the distance scale. Dissolve the seals and carefully use a precision screwdriver to extract them. Remember this part, this is where you could adjust the focus and distance scale.
You can now separate the distance scale.
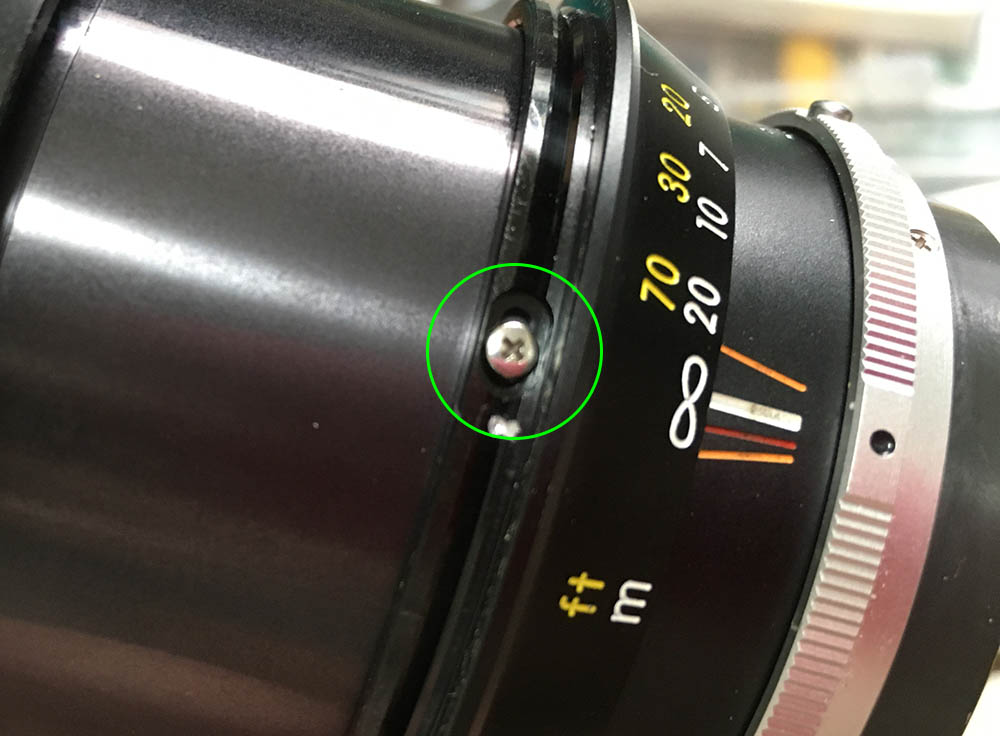
Before extracting these, make a mark so you could align the scale properly again later.
Carefully extract these rollers. Don’t use any heat or solvents with these, it’s safe to use alcohol but don’t flood them.
Be sure not to misplace anything. Only use a driver that fits the slots or you could strip the heads and it will be difficult to extract these.
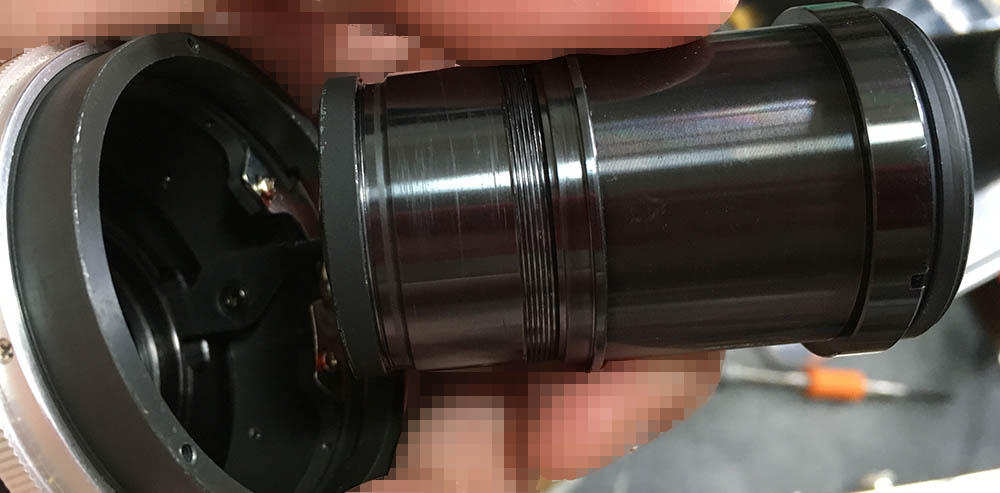
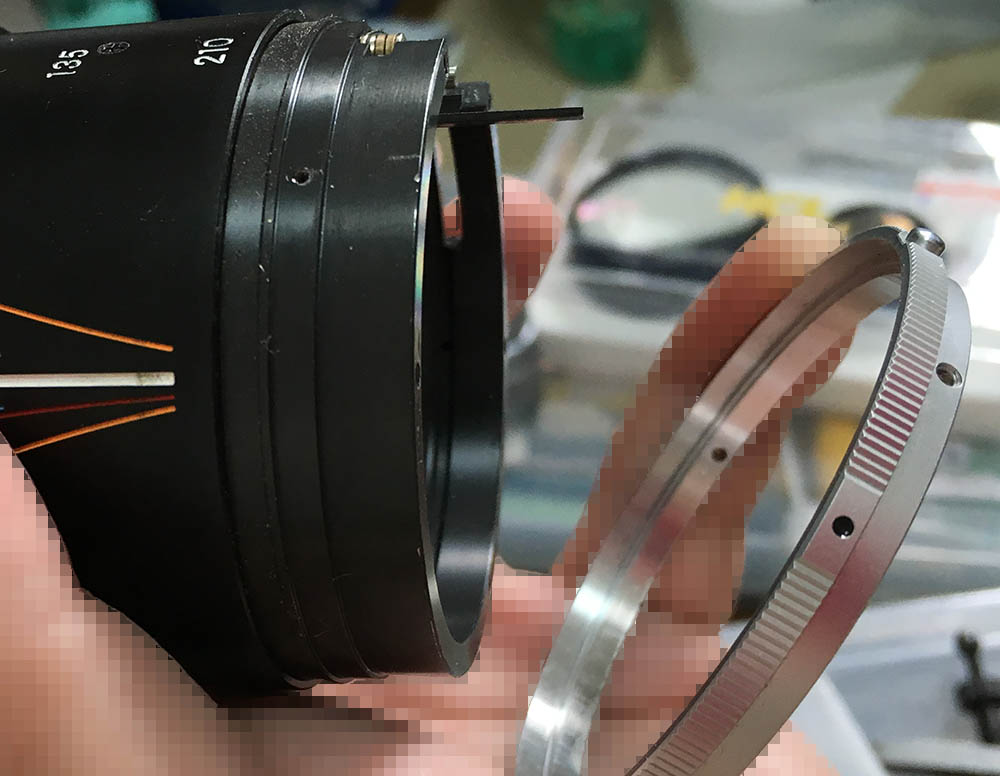
Unscrew the front barrel and make sure to mark where these separate. You should read my article on how to work with helicoids, many people forget to note where these separate and end up getting stuck figuring out how these should mesh. My article should teach you how to do it properly so you will not get stuck.

Remove the focusing/zoom barrel.
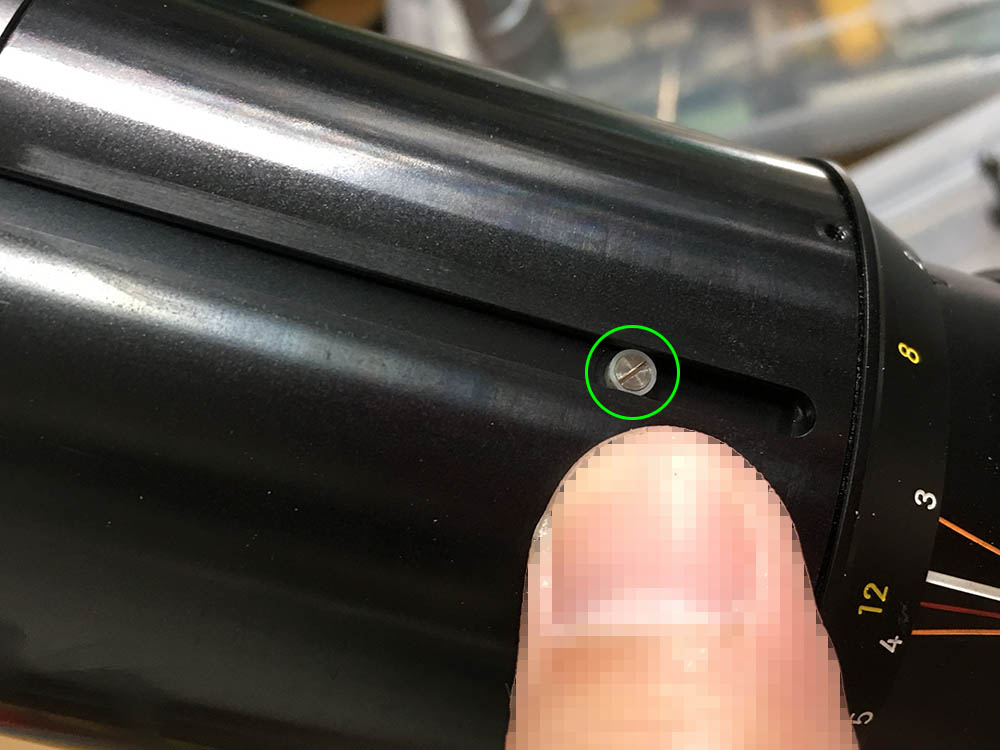
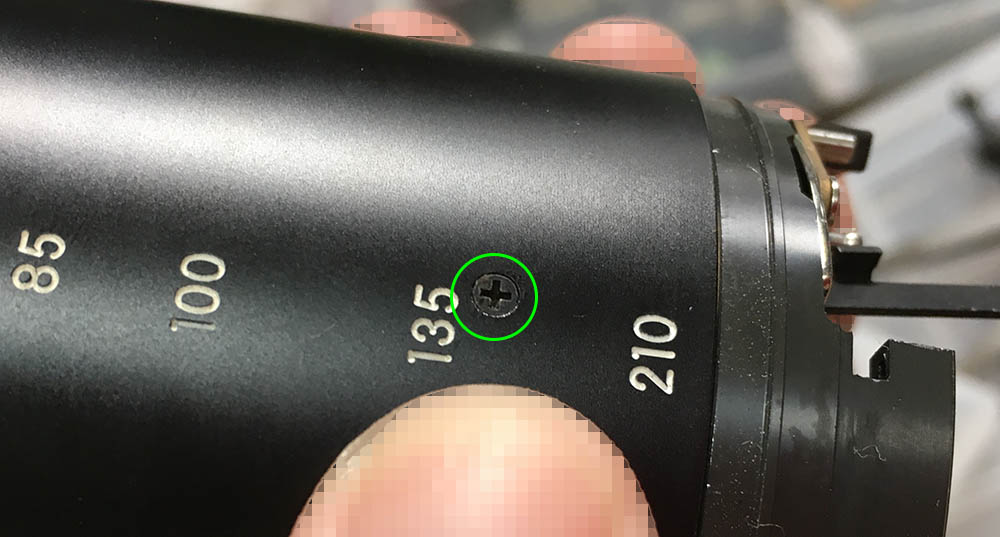
Carefully extract the screws of the grip and remove it.
Extract these so you could slide the focusing scale and the sleeve. Doing that will help give you access to what’s underneath it.
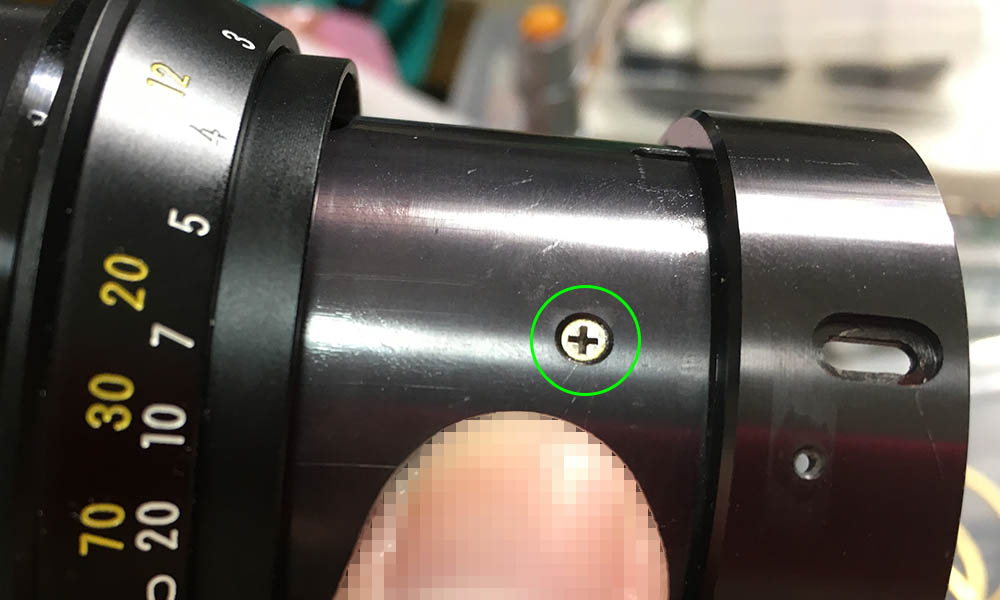
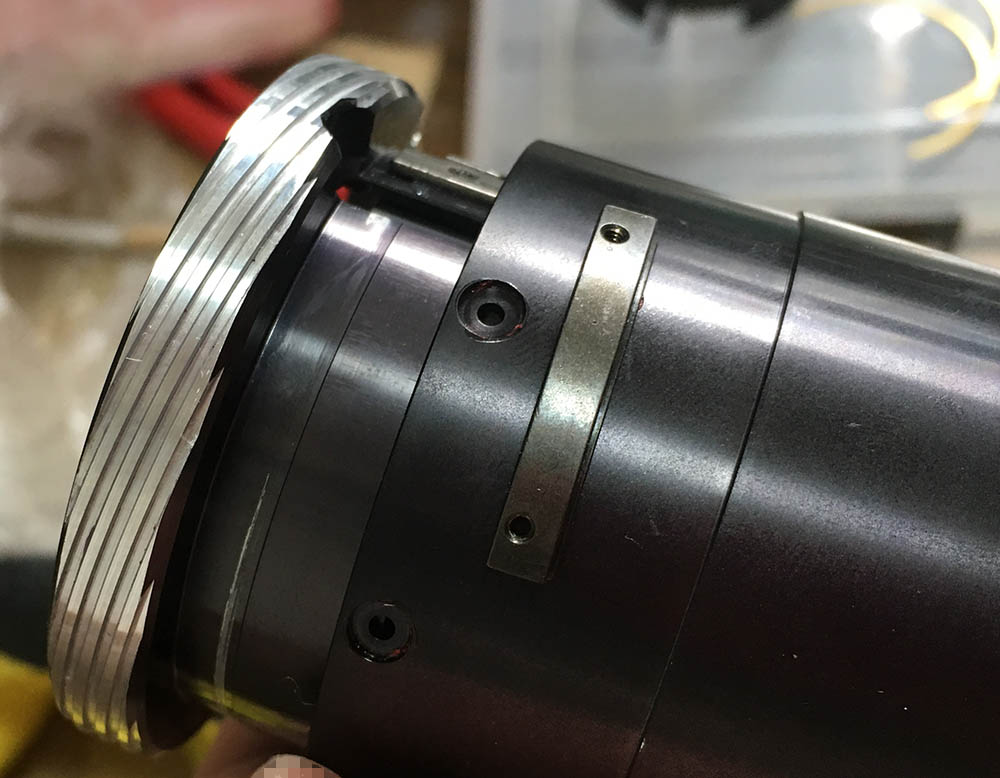
You can now access these screws. Be sure to note its position since this is the place where you could adjust the lens’ rear focus.
Remove the bottom, be sure not to lose any shims. Nikon sure was trying to save as much money as they could so we only get half of the shims!
These shims help adjust the rear focus but you actually do the adjustments by pushing-or-pulling the whole barrel which we’ll talk about later.
Extract these screws so you could remove the iris mechanism together with its housing and other things.

Be sure to note its position so you could put it back properly later.
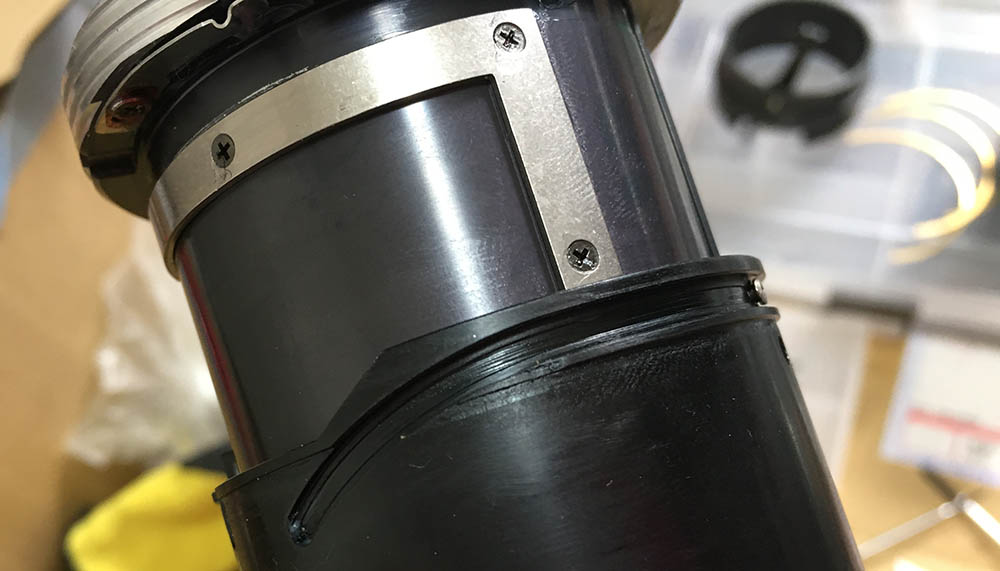
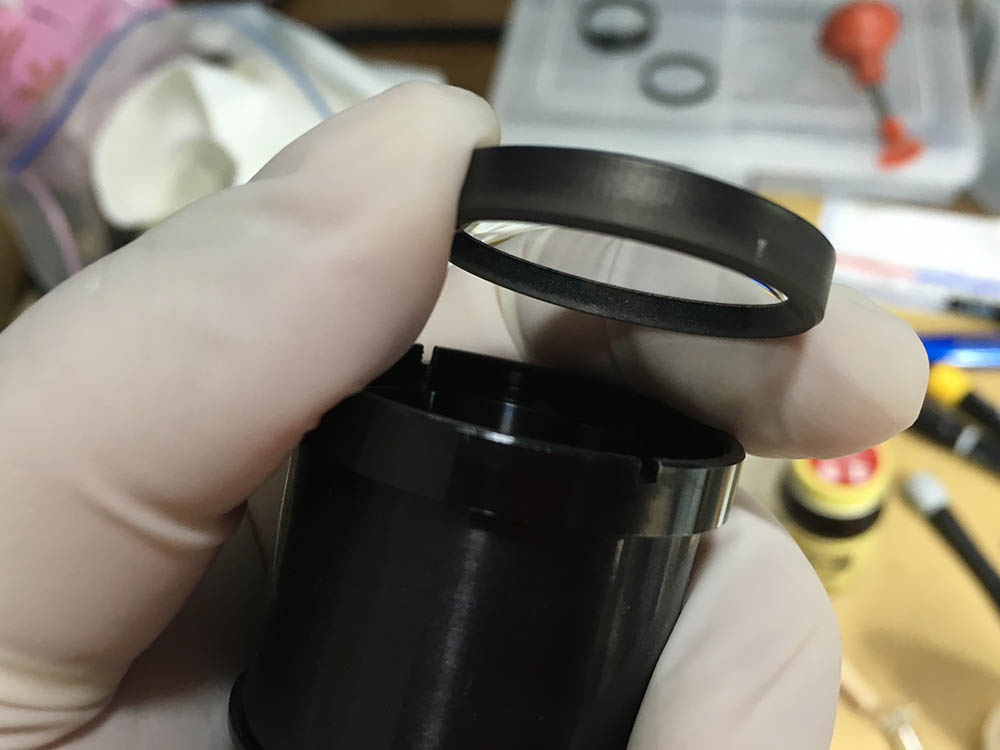
Remove the sleeve.
Carefully extract these only after removing their seals with alcohol.
There’s a trip of metal connected to them and this is how it should be placed underneath them.
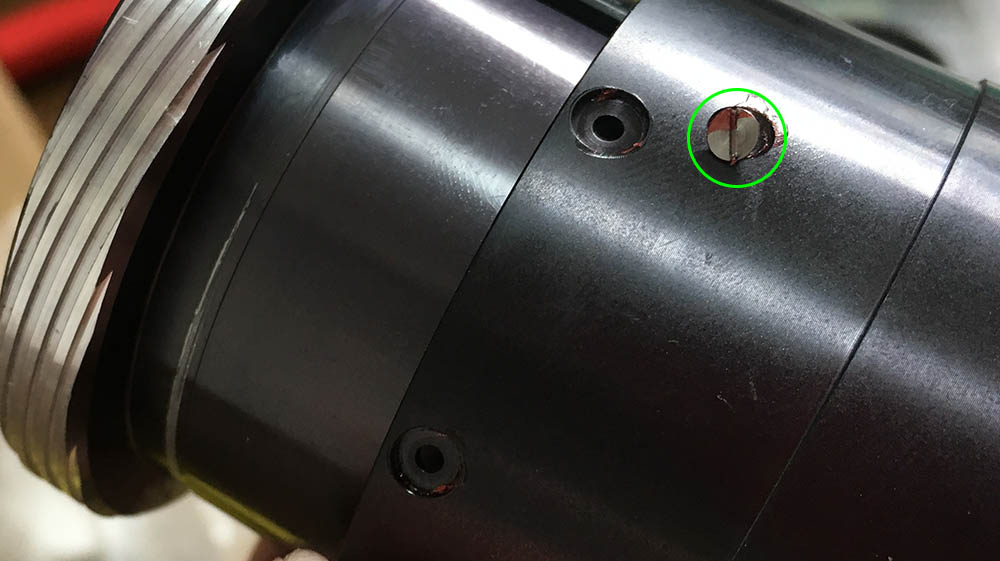
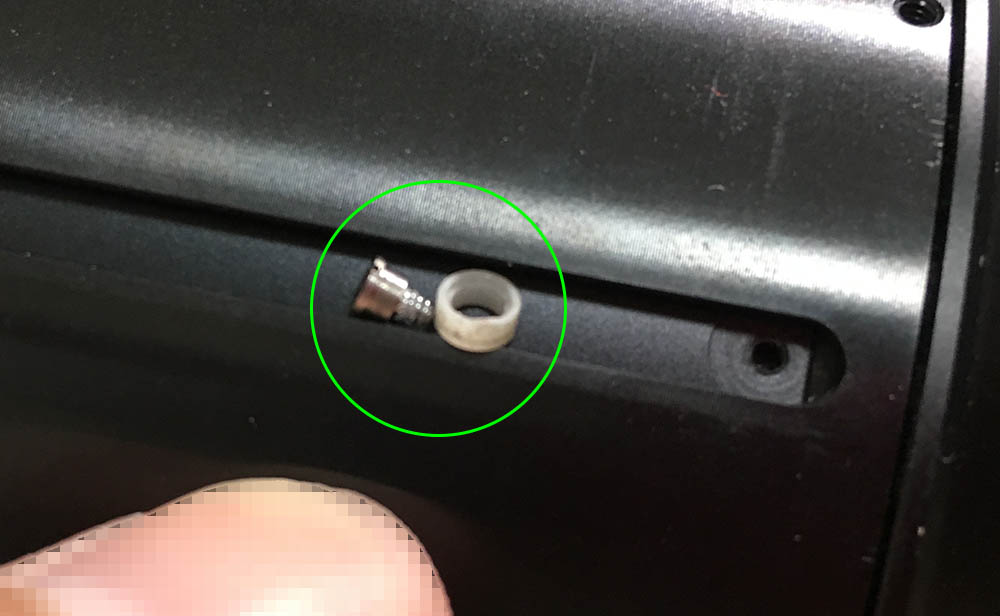
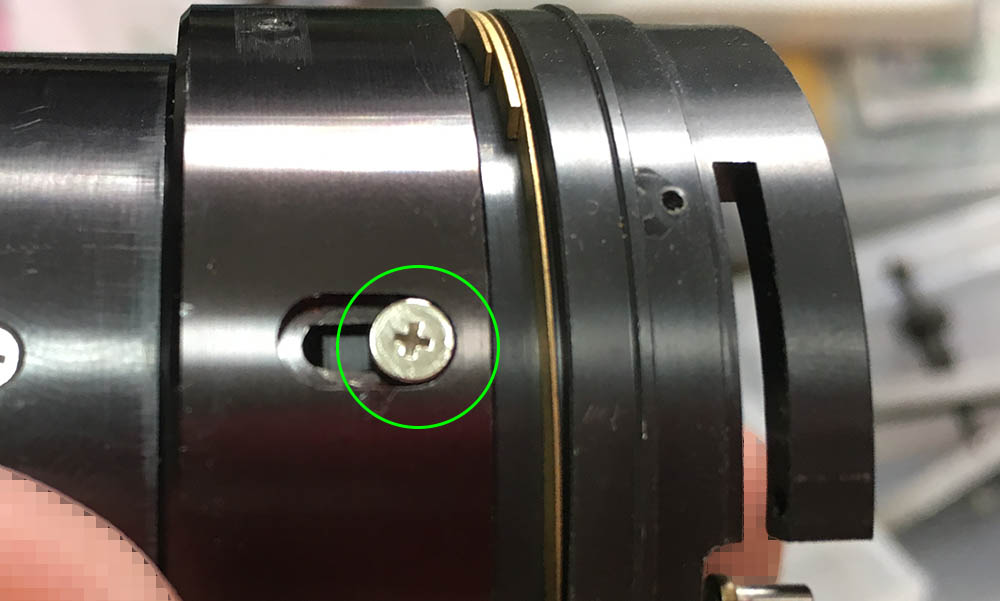
Carefully extract this.
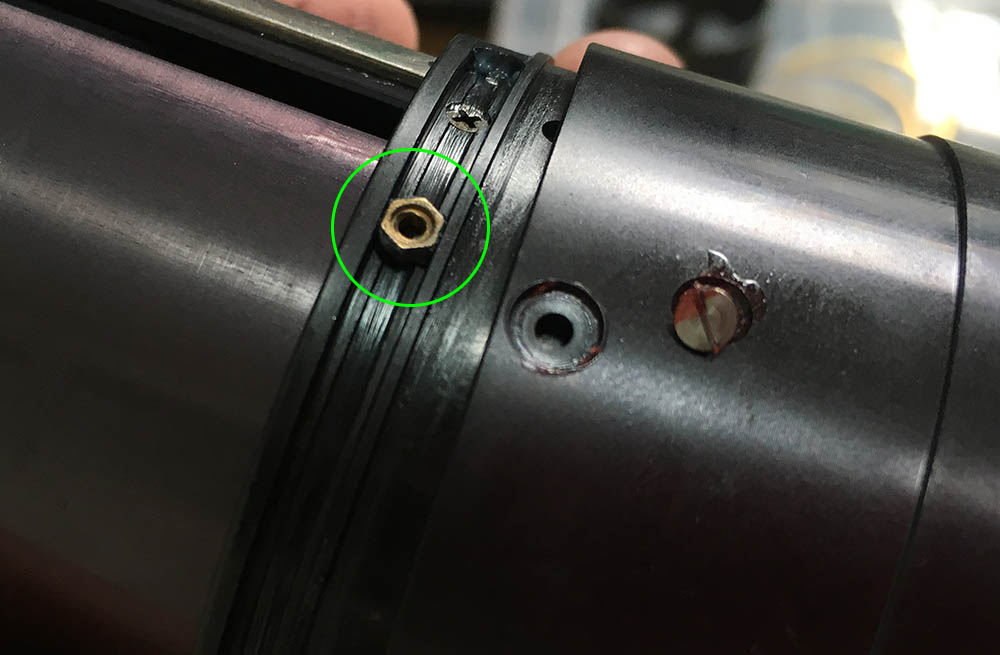
You could now remove the outer part but don’t lose this nut. Remember its orientation so you could put this back properly. You should grease this later but don’t apply too much.

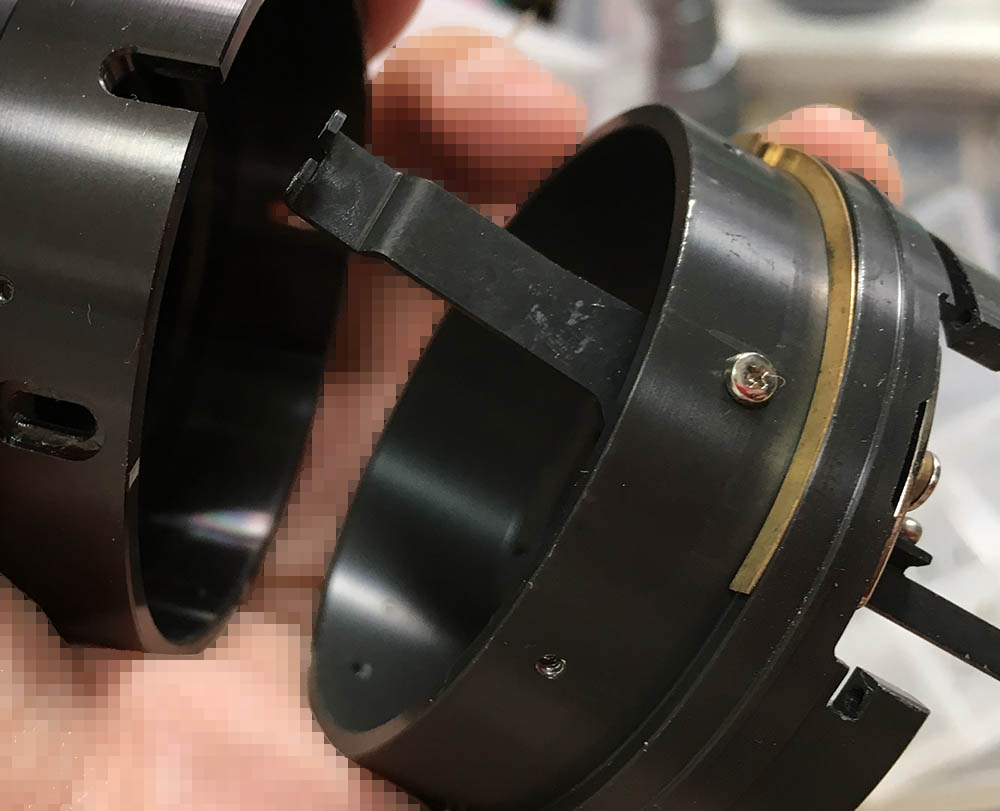
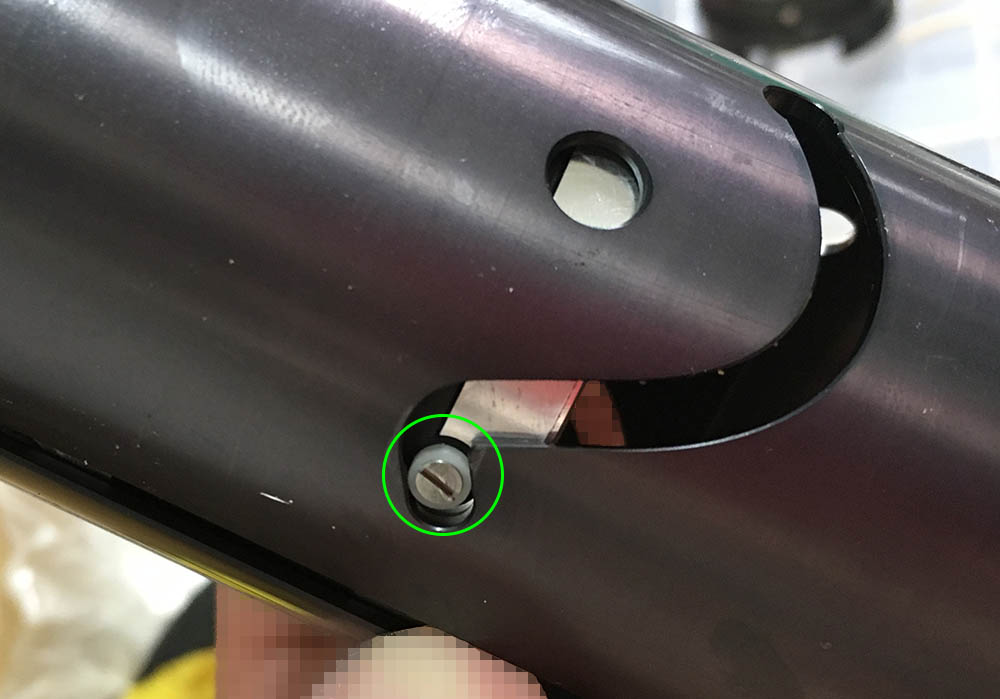
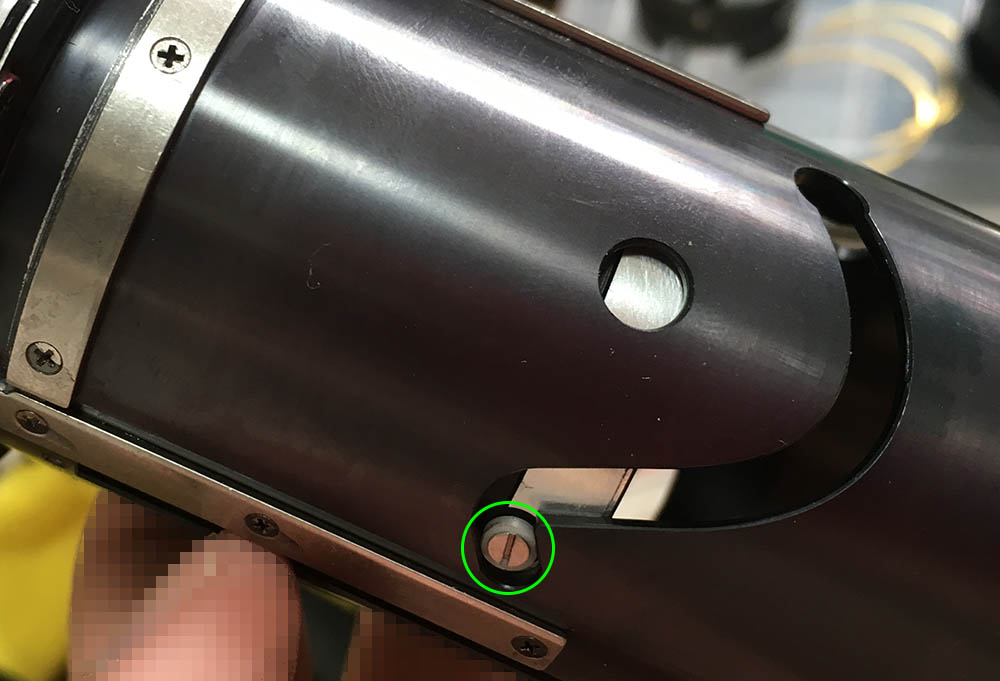
Leave this cantilever spring alone. If you must remove it, mark its position so you could put this back properly.

Extract these.
Wiggle the outer part so you could remove it.

You can now remove the cam.
Carefully extract this roller.
Here’s another one.
And here’s the last one, you may need to turn the barrel in order to access it so be patient.

This is how the floating element was aligned on my lens. Study its range so you could recreate it during reassembly.
Carefully remove the floating element and its housing.
Clean everything thoroughly and don’t leave residue behind. Apply a thick-type of grease to the helicoids after cleaning them thoroughly and polishing them with a stiff-bristled brush. Apply a thin film of grease to the parts that need it, parts that come into contact with another and sliding surfaces, too. I also applied some to the rollers to help them glide smoothly.
Disassembly (Optics):
The optics aren’t too-different from other Zoom-Nikkors, you should be able to find your way around it without much trouble if you have repaired some zooms previously. The only part where you should be paying attention to is the rear optical assembly. The alignment and position of the elements there is delicate, putting them back incorrectly will result in poor performance. It is important not to dismantle it if you could help it.
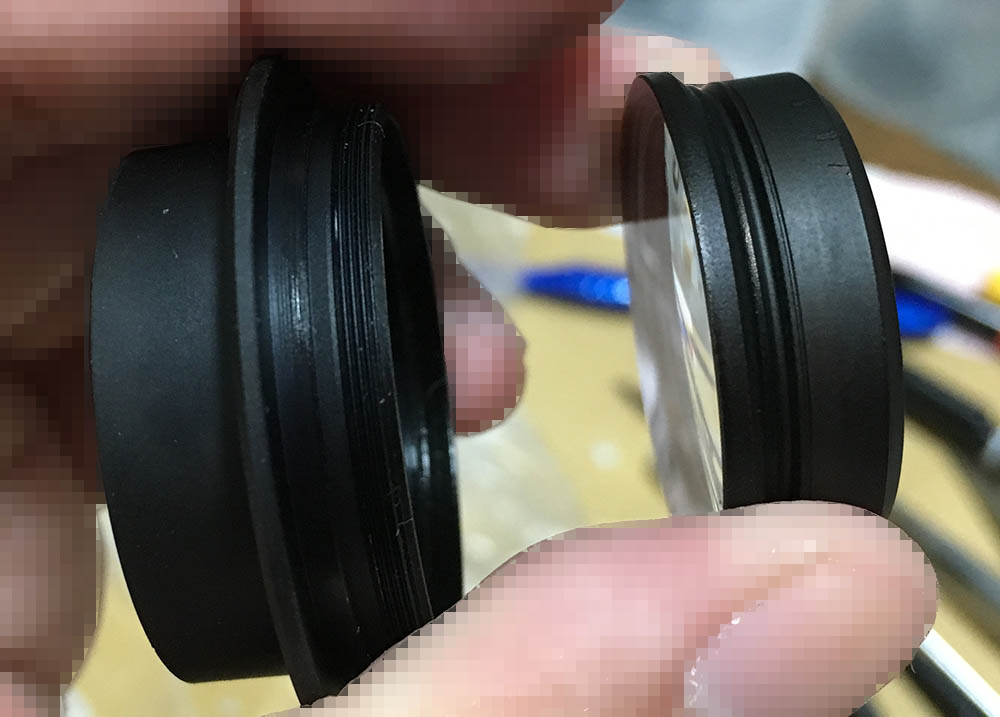
Carefully unscrew this assembly.
Carefully unscrew this.
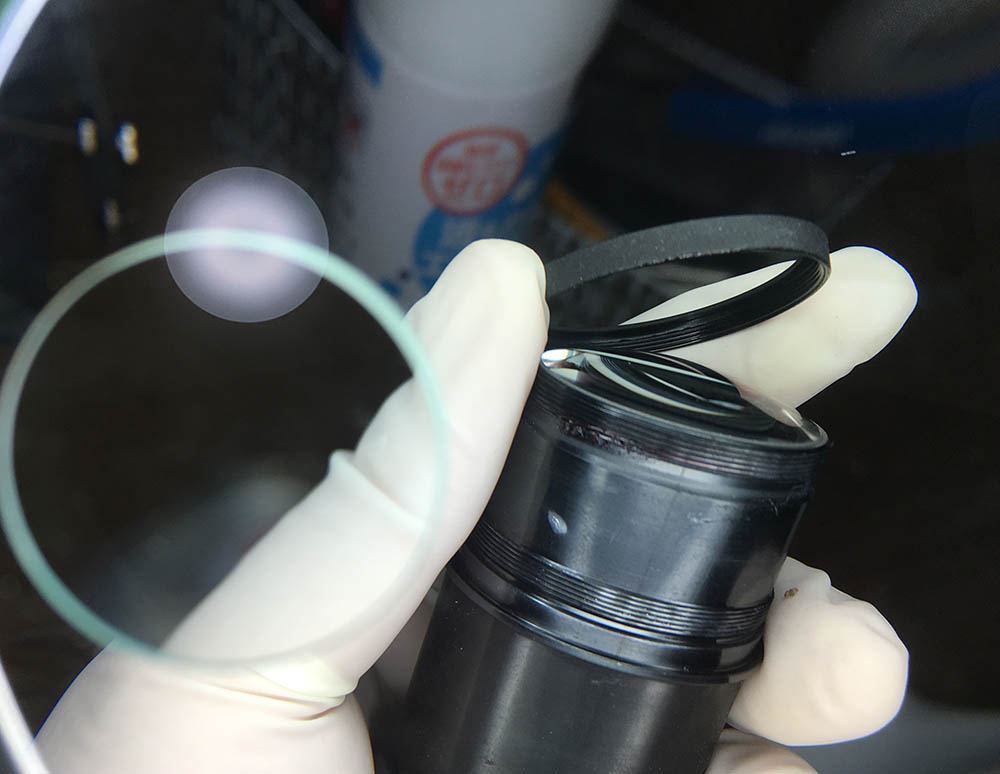
Carefully remove the retention ring. Mine was sealed, a drop of alcohol was all it took to dissolve the paint and I carefully removed it with a lens opener and set it aside. The glass could be removed with a lens sucker.

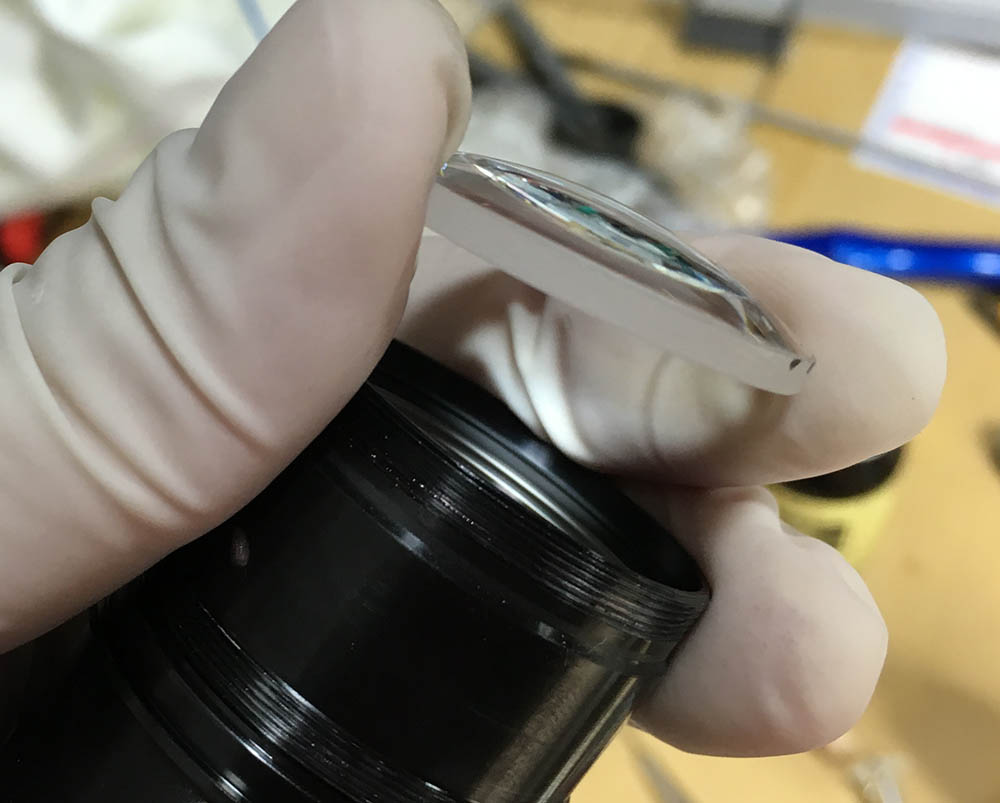
Carefully remove this and be sure to note its orientation so you won’t put it back facing the wrong way.
Use a lens sucker to remove this and make sure to note its orientation.
Unscrew the retention ring and use a lens sucker to remove the glass.
I made sure to mark the leading edge with a permanent marker so I’ll know how to put this back again later.
Carefully unscrew this.
Use a lens sucker to remove this.
If your lens has fungus, read my article on how to clean lens fungus. Do not use the solution at full-strength or you could strip the coatings. The Series-E lenses somehow have softer coatings compared to Nikkors, they are easily-damaged by the fungus-killing solution. Thin it with distilled water and do not leave them soaking for too long.
Conclusion:
I always hated repairing zoom lenses because they require extra effort and this is no-different, it took me a few nights to service it. Reassemble the lens by back-tracking your steps. Putting everything back takes more time than dismantling them. Check your notes in order to be sure that you got it right.
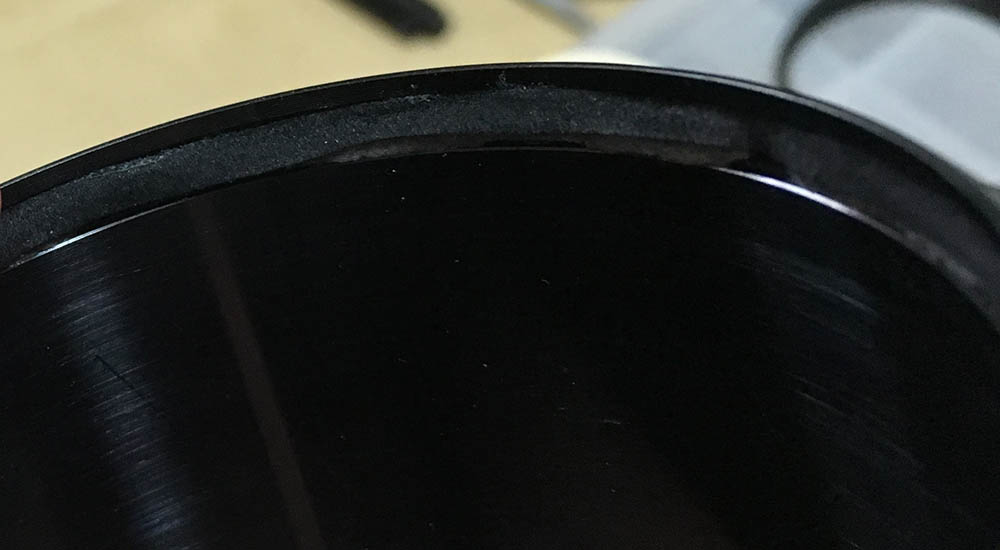
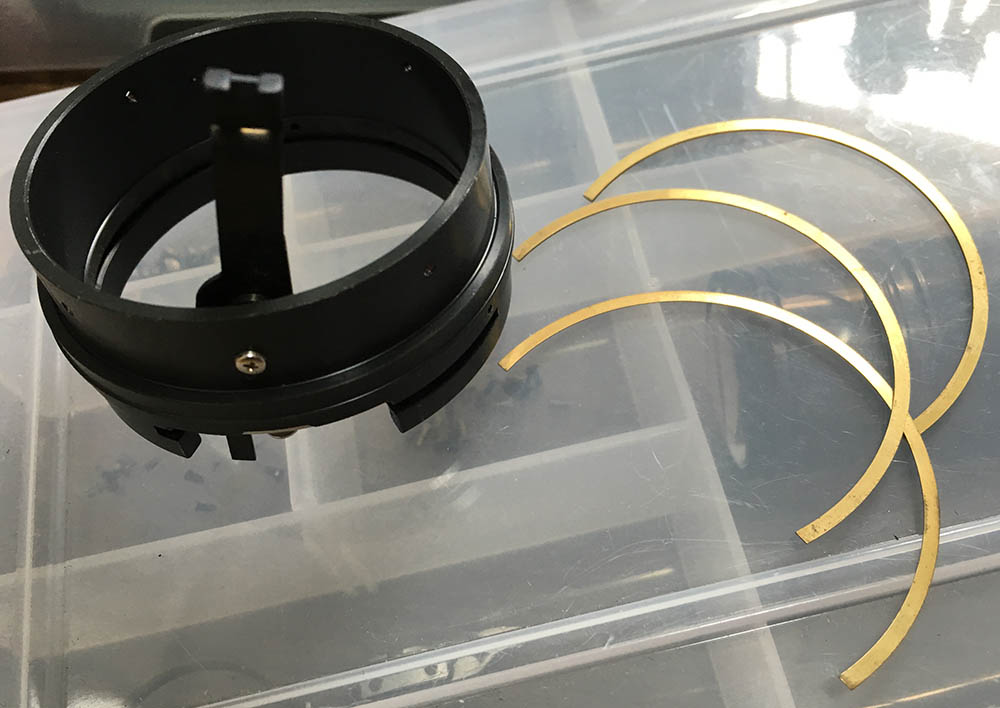
The old felt lining had to be replaced, it was dirty and filled with germs.
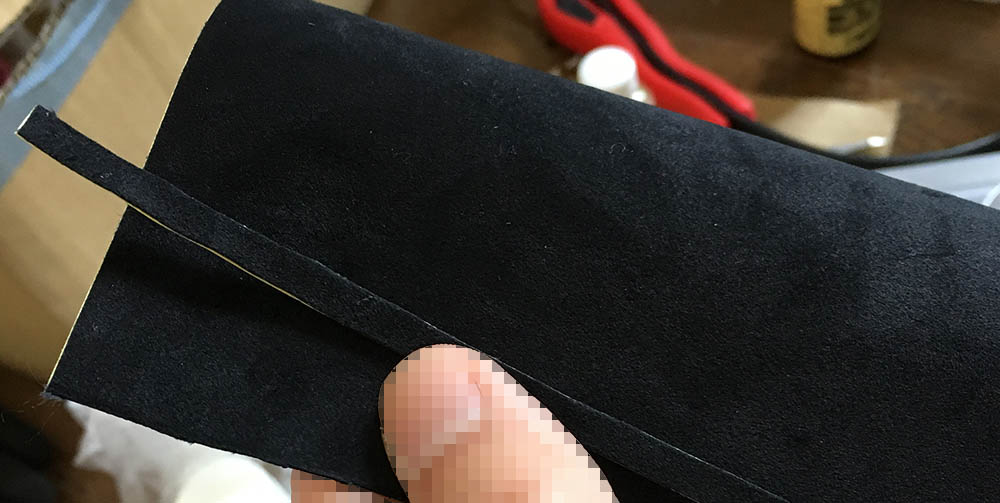
I cut a strip of adhesive-lined felt to replace the old one.
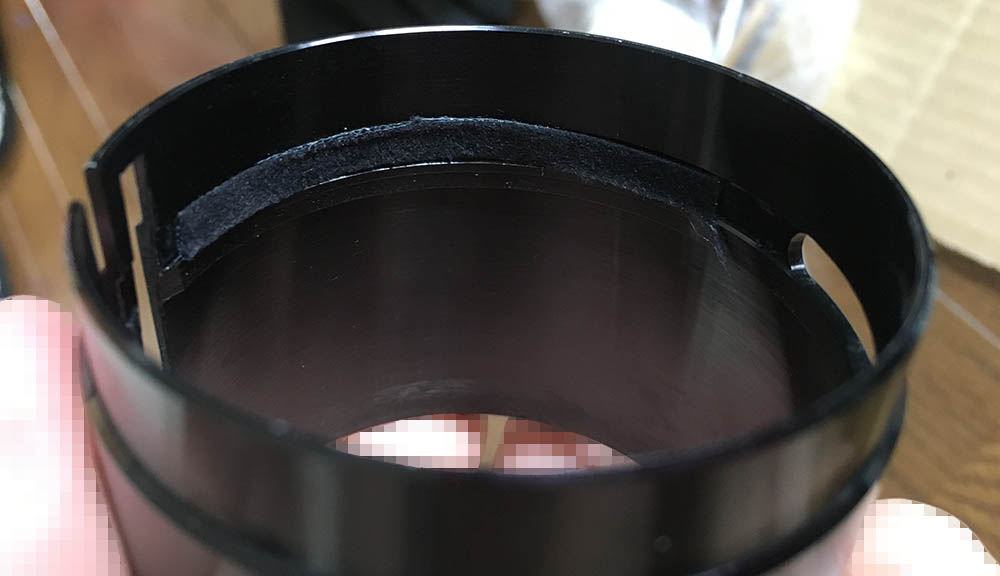
The new one didn’t fit perfectly so I had to trim the extra material off.
You should adjust its focus before you put everything back, it’s easy to do it with the front part of the lens but the rear part can be a bit tricky and I will show you how to do it properly.
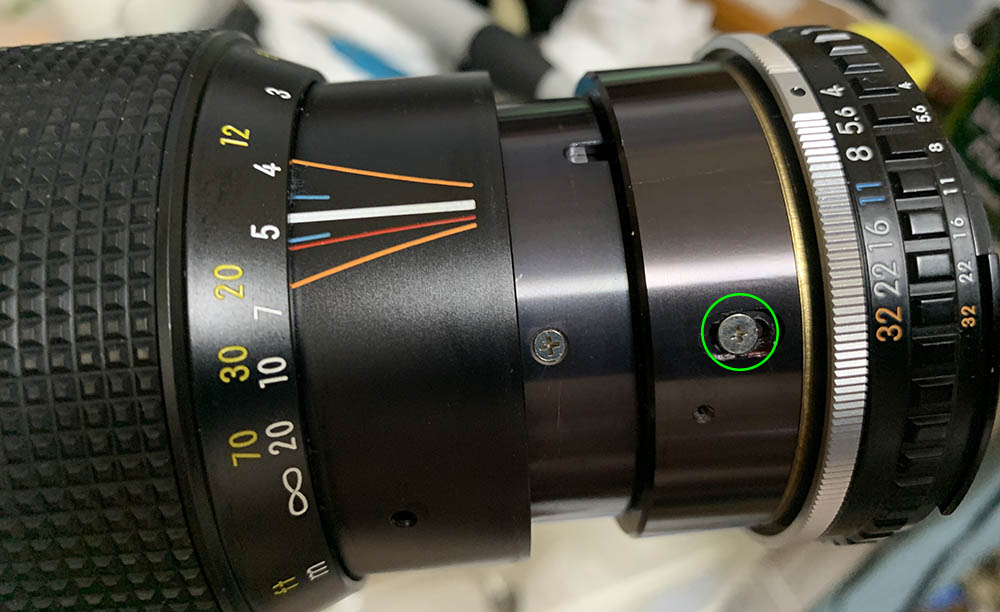
This is how you could adjust the rear focus of this lens. Loosen these so that you could push-or-pull the barrel. You will have to adjust the focus on both-ends and check if everything is fine before you tighten any screws. Be sure that the focus is spot-on at the long-end and then zoom to the wide-end and check if you could still get the focus right. If it shifted by a lot, you should go and check which end had it wrong and adjust accordingly, repeat until you could get it correctly. Tighten the screws of the distance scale and finish the reassembly. If you are not familiar with this procedure, read my old article about adjusting a lens’ focus to help guide you through the process.
It took me a few nights to overhaul this but it was all worth it. This calls for a celebration.
Thanks for following my work. If you enjoyed this article, please share this with your friends. This site earns $0.30 a day on views alone so every view counts. You can also support this blog, doing so helps me offset the cost and it also helps me purchase, process and scan film. We’re all about promoting the use of film so it will continue to be available for the next generation. It’s now time to say goodbye, see you again in the next article. Ric.
Help Support this Blog:
Maintaining this blog requires money to operate. If you think that this site has helped you or you want to show your support by helping with the site’s upkeep, you can make a small donation to my paypal.com (richardHaw888@gmail.com). Money is not my prime motivation for this blog and I believe that I have enough to run this but you can help me make this site (and the companion facebook page) grow.
Buy me a roll of film or a burger?
Thank you very much for your continued support!
$2.00
Helping support this site will ensure that this will be kept going as long as I have the time and energy for this. I would appreciate it if you just leave out your name or details like your country’s name or other information so that the donations will totally be anonymous. This is a labor of love and I intend to keep it that way for as long as I can. Ric.

Feb 24, 2021 @ 13:34:24
Thanks for this, just one question What tool to I need for removing the front lens assembly from the barrel. I’m finding it a bit tricky