
Hello, everybody! I love diesel engines. They’re efficient but they take a long time to start since the glow-plugs have to reach optimal temperature before you could run the engine. They’re slow-starters but once you got them going you’re going to enjoy the torque generated by these. I am a patient man so I don’t mind waiting so long as I get results. Some people couldn’t wait or even understand this so they end up miserable and worse, affecting the people around them in a negative way. Today, I will show you another slow-starter, unlike diesel engines there’s nothing much to be gained. It isn’t the best tool around but it’s certainly worth analyzing this. Read the whole article to see what this is.
Introduction:
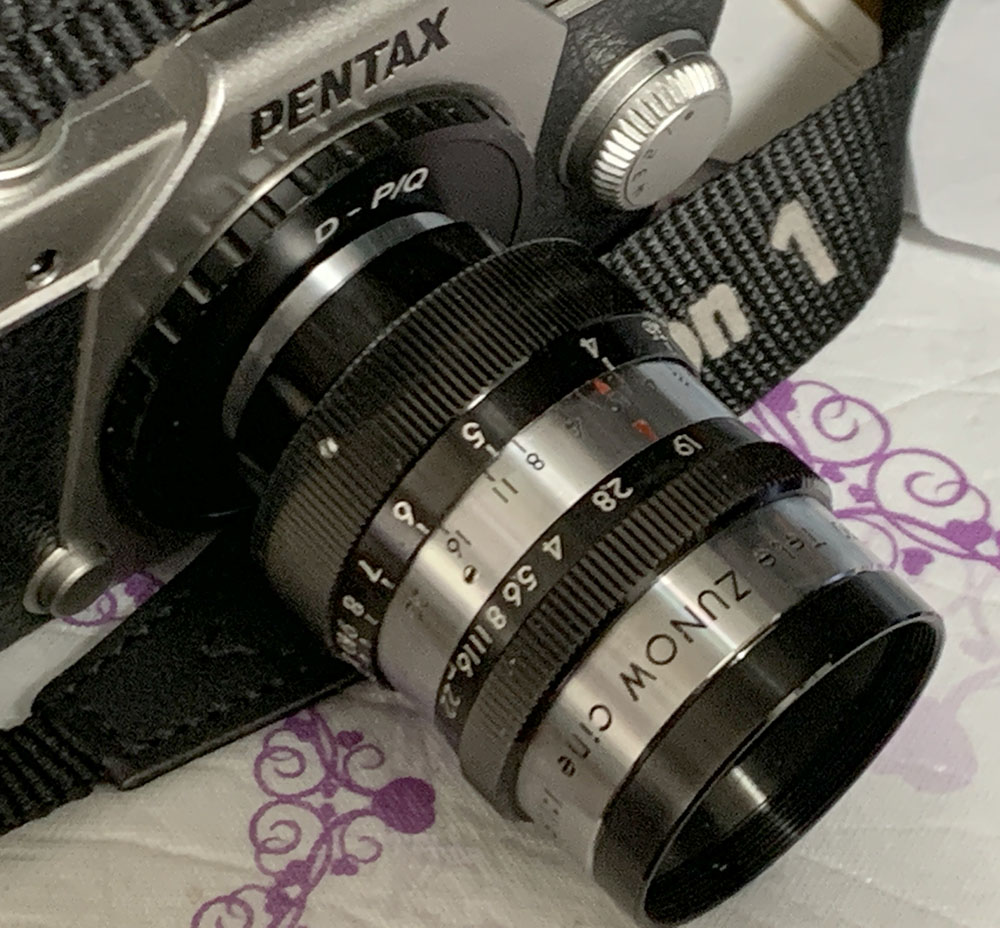
The Tele Zunow Cine 38mm f/1.9 was sold around the 1950s to an unknown date. When Yashica took-over Zunow this lens and many others were rebranded and sold as Yashinons. Zunow was a rebel in its short time creating cameras and lenses. They made many innovative products, many were considered great while some were not-so-great just to put it lightly. This one falls into the latter as far as I’m concerned.

The barrel looks magnificent with its bold, brutalist design. It seems that all D-mount Zunows were made with the same standards. Handling is quite nice since it’s rather fat which makes it easy to grab and recognize the rings by-touch. This has click-stops for the aperture ring which feels great and reassuring. Shown here is its little hood which is inadequate, I don’t know if this is actually part of the kit but it seems that other Zunows have the same thing.
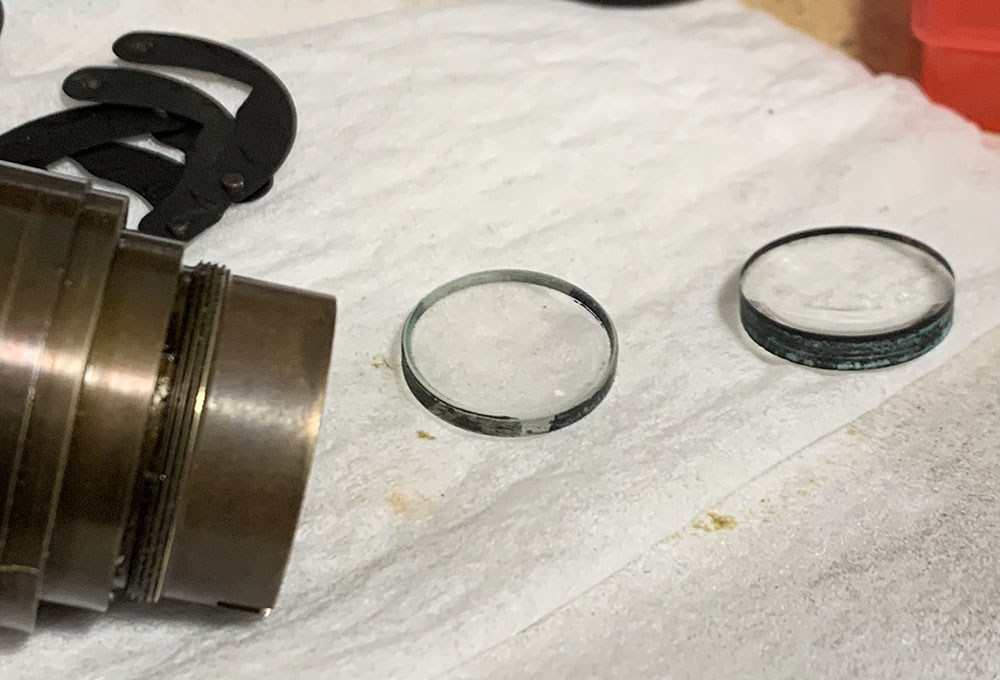
It has a simple 4-elements-in-4-groups design, there’s nothing in the name that indicates that these are multicoated. It does have a bluish-hue indicating that it does have some form of coating applied which isn’t adequate in my opinion. I don’t know why there’s no cemented groups in the design when it could’ve benefited from it. You’ll know what I mean in this article when you look at the photos. There’s one redeeming feature of this lens and that’s its ability to focus a lot closer than the competition.

The barrel is robust, the best D-mount lens I have used when it comes to construction quality. The machining is precise and clean, everything fits together perfectly with little or no mechanical slop, certainly a lot better than Cine-Nikkors of the same mount and vintage.
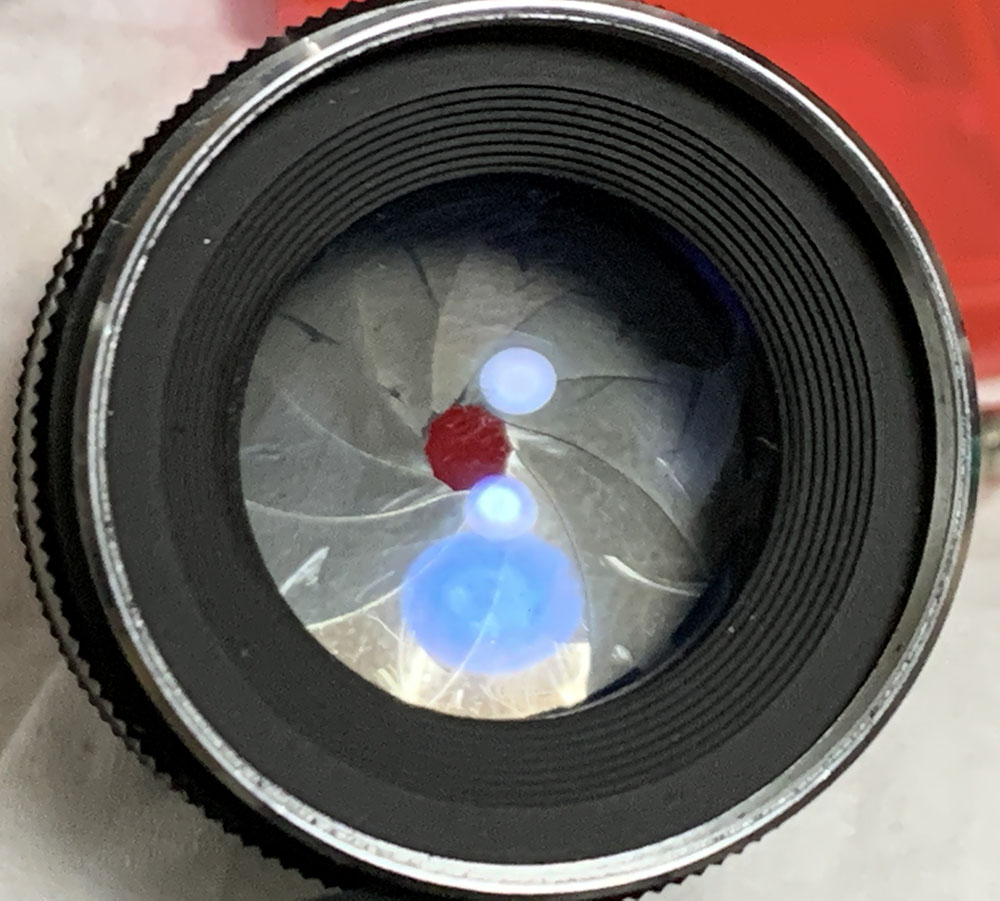
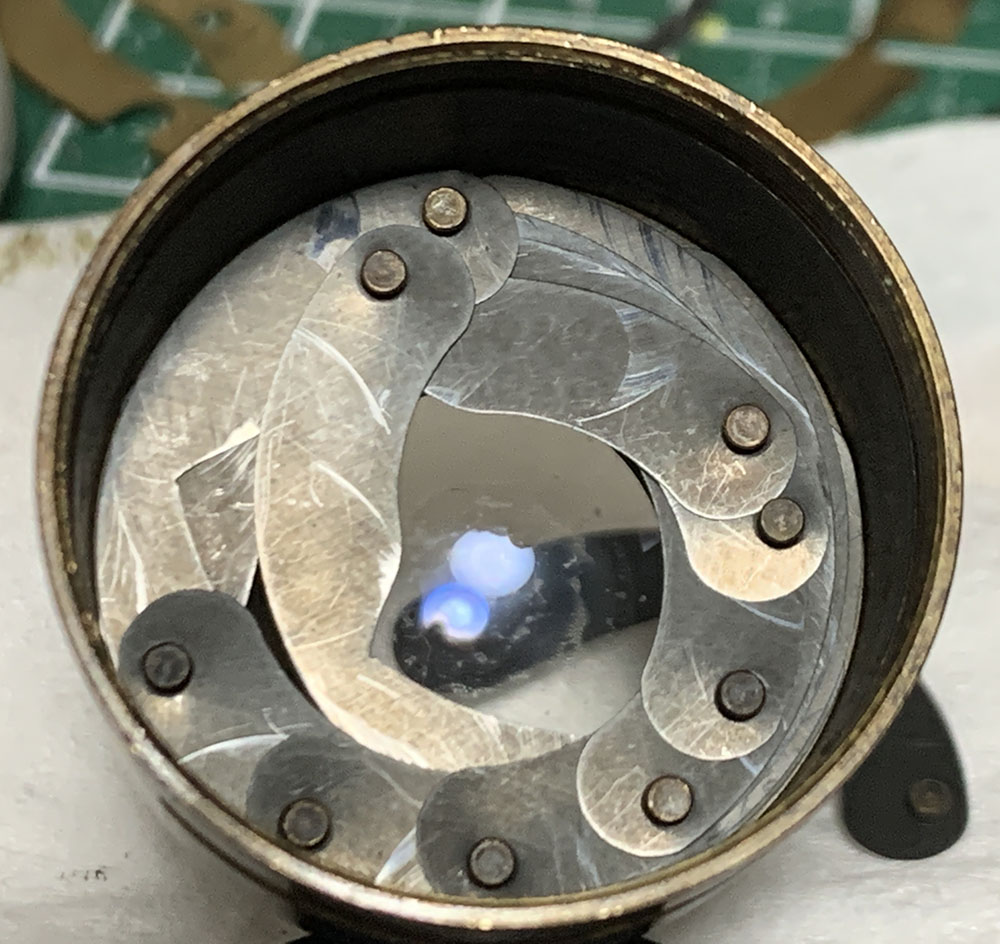
The iris mechanism is also made exquisitely, you could’ve mistook it for a Carl Zeiss when it came to craftsmanship. The leaves have real pins for pivots unlike the punch-holes on the Cine-Nikkors. Despite “only” having 10 leaves it’s able to produce pleasant-looking blurs.
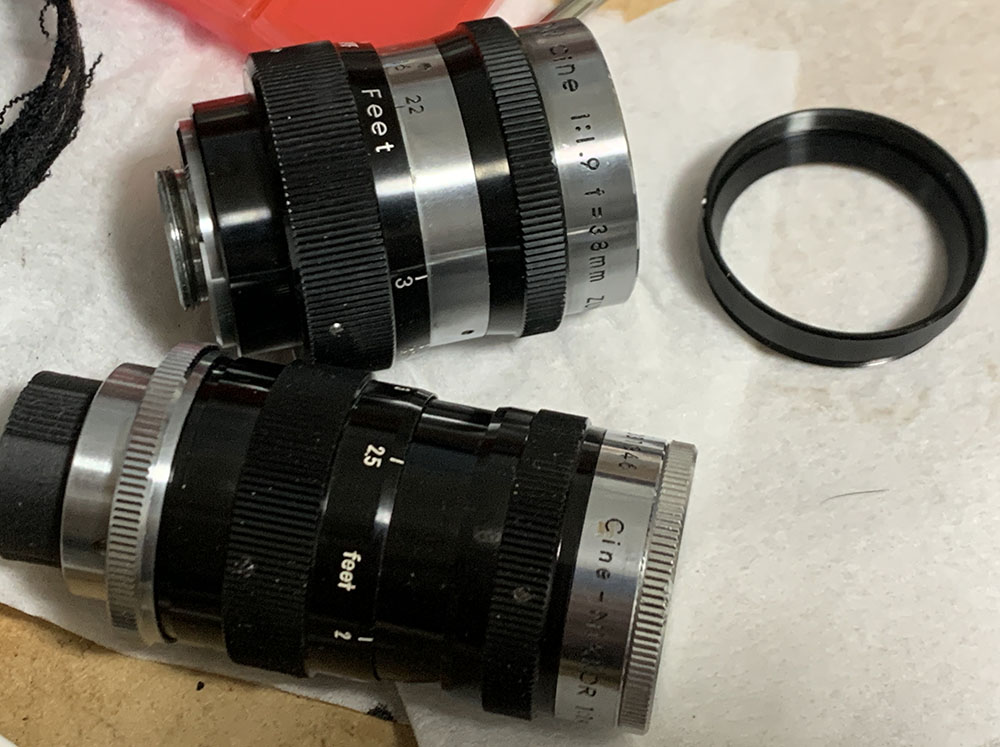
Compared to the Cine-Nikkor 38mm f/1.9 it has a shorter but fatter barrel. Its construction is much better, with heavier materials and better machining used on the barrel. This made it a lot heavier as a consequence since stainless steel and brass aren’t the lightest materials around. The iris mechanism is also a lot better compared to the Nikkor which I find a bit lacking when it comes to that part despite being sufficient. Optically, the Nikkor is ahead by several levels, that is an lens to start with but even if the Nikkor performed poorly it won’t make this lens perform any better.
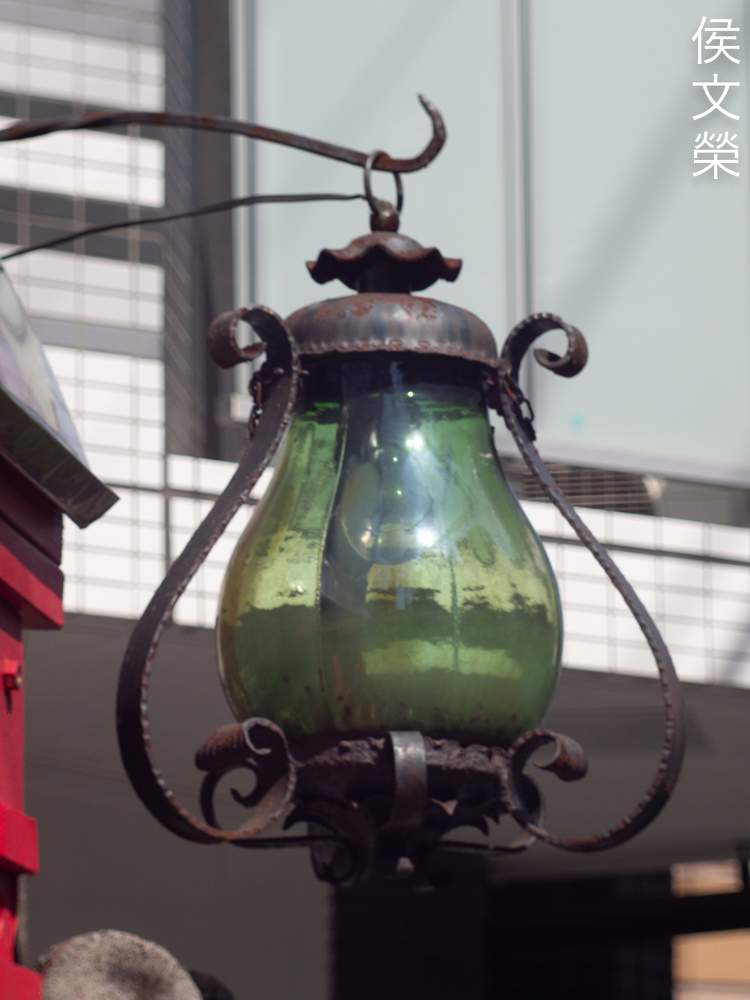
Learning how a lens performs is key to maximizing it. You’ll learn how to utilize its strengths and avoid its weaknesses. This knowledge helps in determining which lens to bring on an assignment. I shot these from f/1.9, f/2.8 and f/4 and f/5.6 since these are the most common apertures that people would want to use this and we’ll see the most changes happen within these values. These photos were shot with my Pentax Q10, some of the photos were cropped close to 1:1 magnification so we can see the details better.
I’m not sure if what we’re seeing here is the work of the Pentax Q series’ notorious rolling-shutter effect or distortion. It appear to be more towards the left-side so it’s probably the former. Having said that, it looks rather flat to me. There’s no sign of obvious curving so the levels are too-low to even be seen unless you look for it carefully using software.


(Click to enlarge)
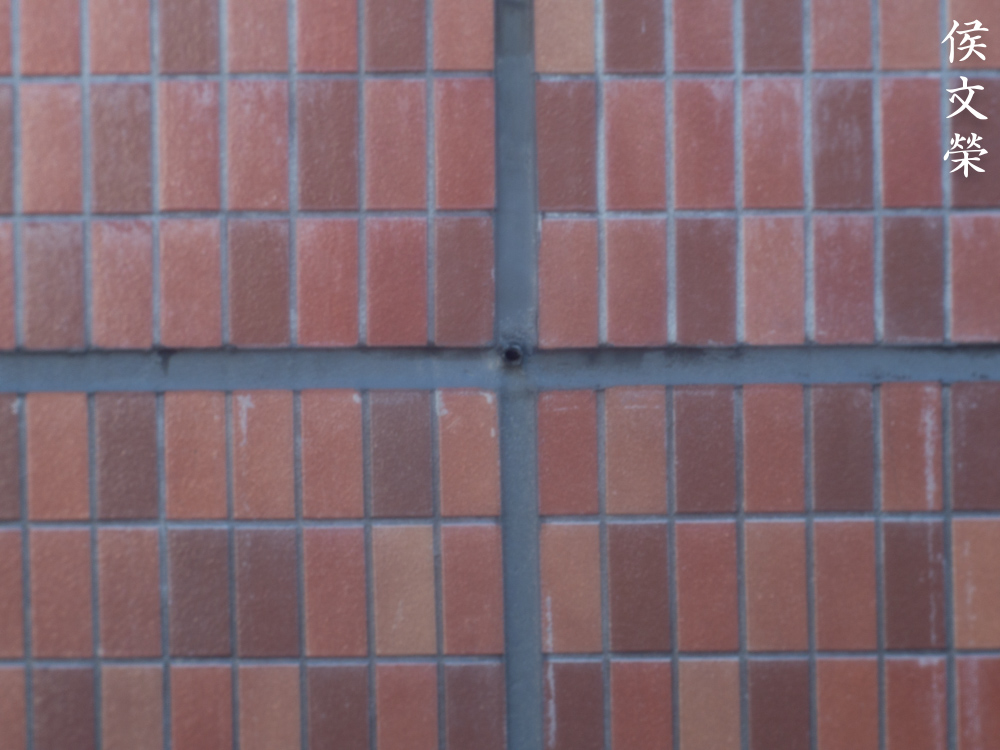
Vignetting is rather reasonable wide-open since the falloff is quite shallow so the effect reaches the center. Stopping it down to f/2.8 makes the frame look even but you’ll still see small traces of it if you look really carefully. For all intents and purposes, it’s practically gone from this point on.


(Click to enlarge)
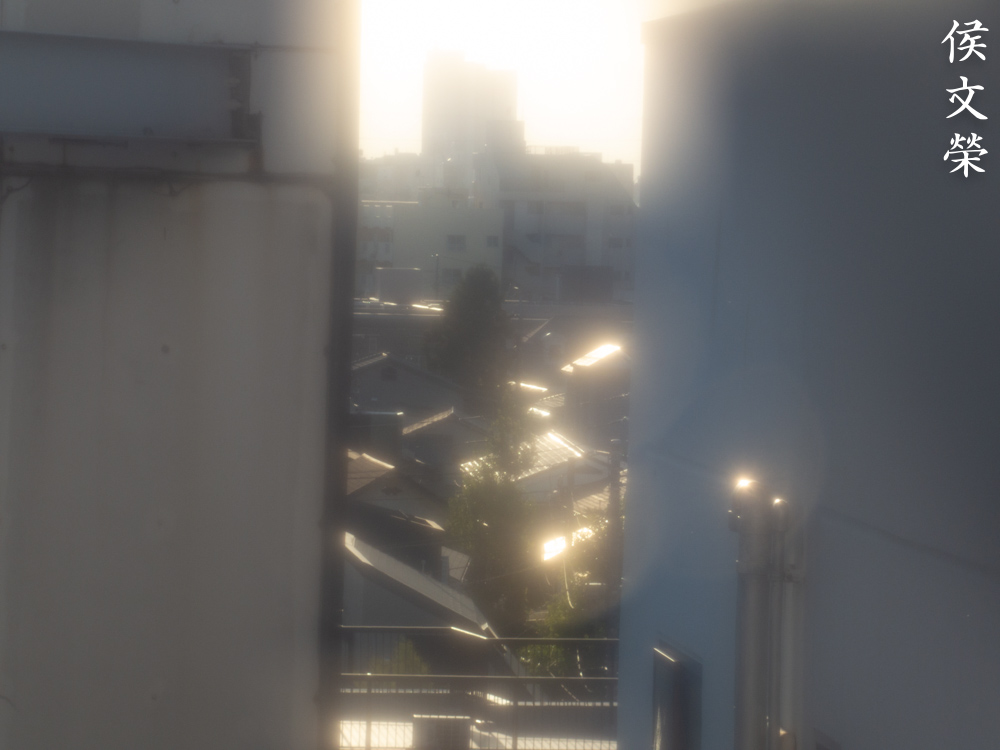
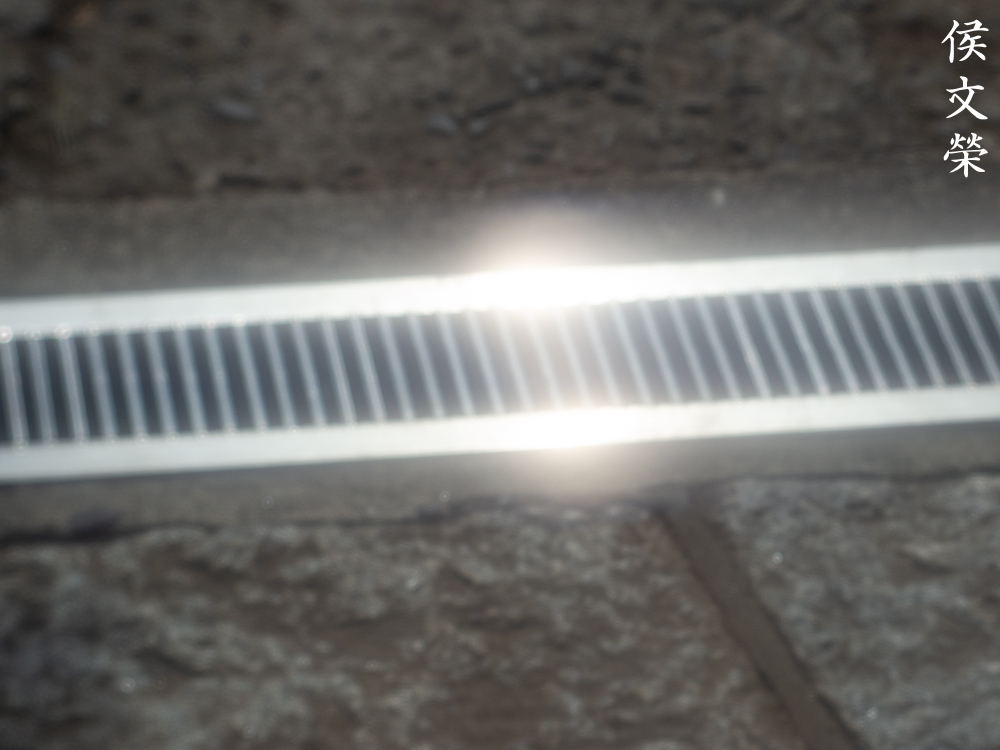
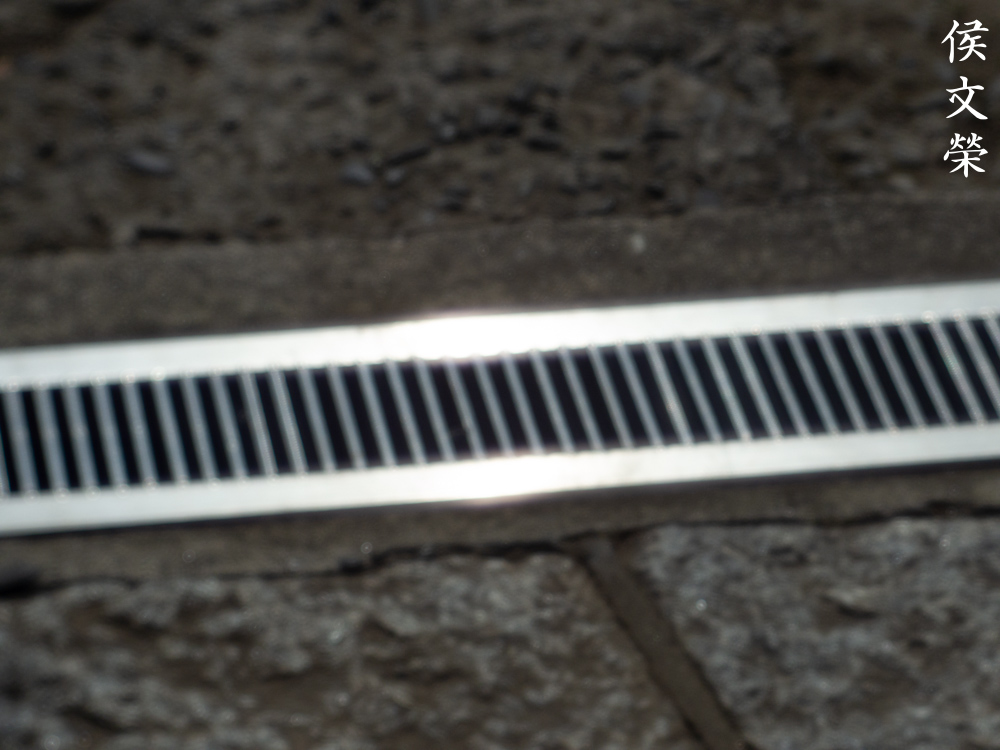
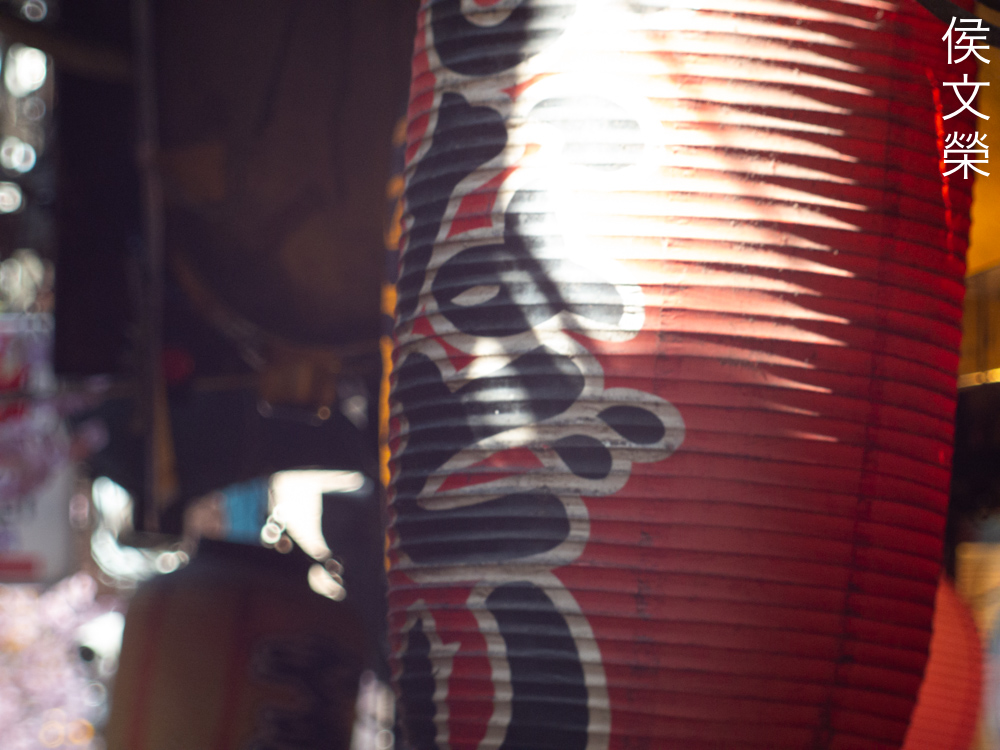
Flaring is atrocious, god-rays and other nasty artifacts could be seen. This reminds me so much of the cheap Nikkor-T 10.5cm f/4. Is this something that many old, low-element-count and no-cemented-groups designs have in common? I am not sure but this seems to be a trend.
(Click to enlarge)
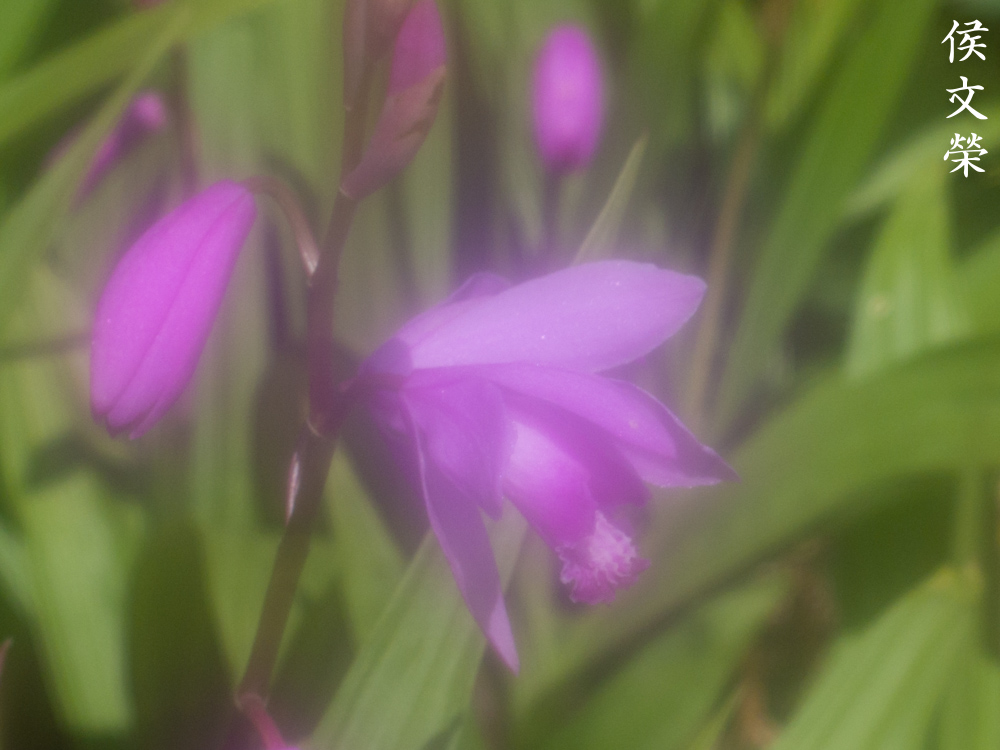
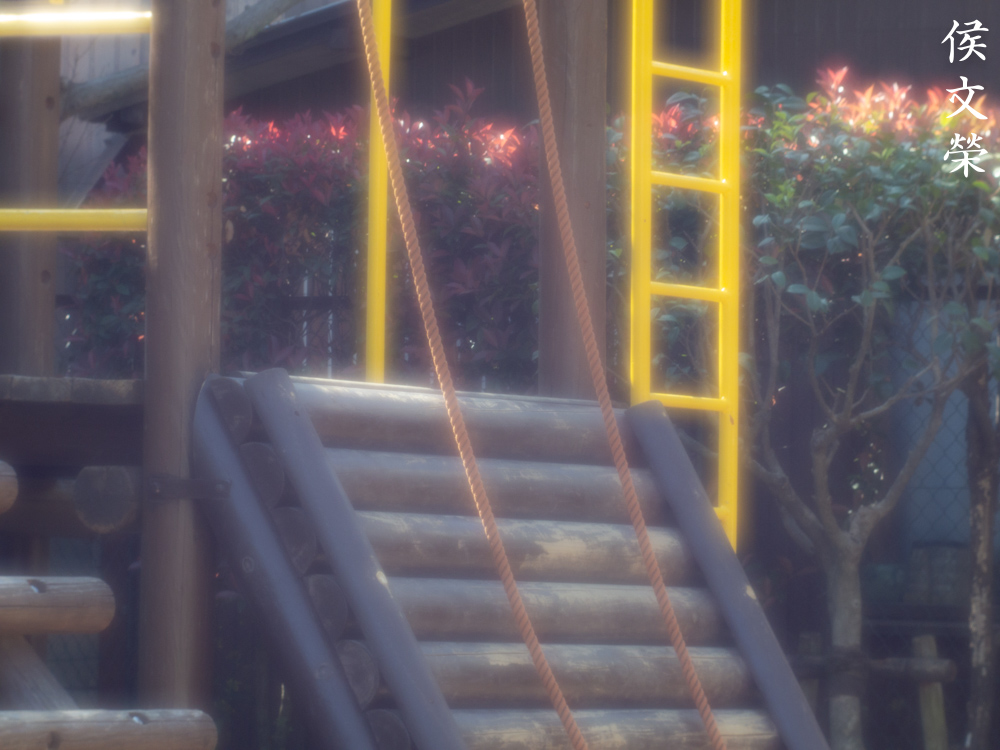
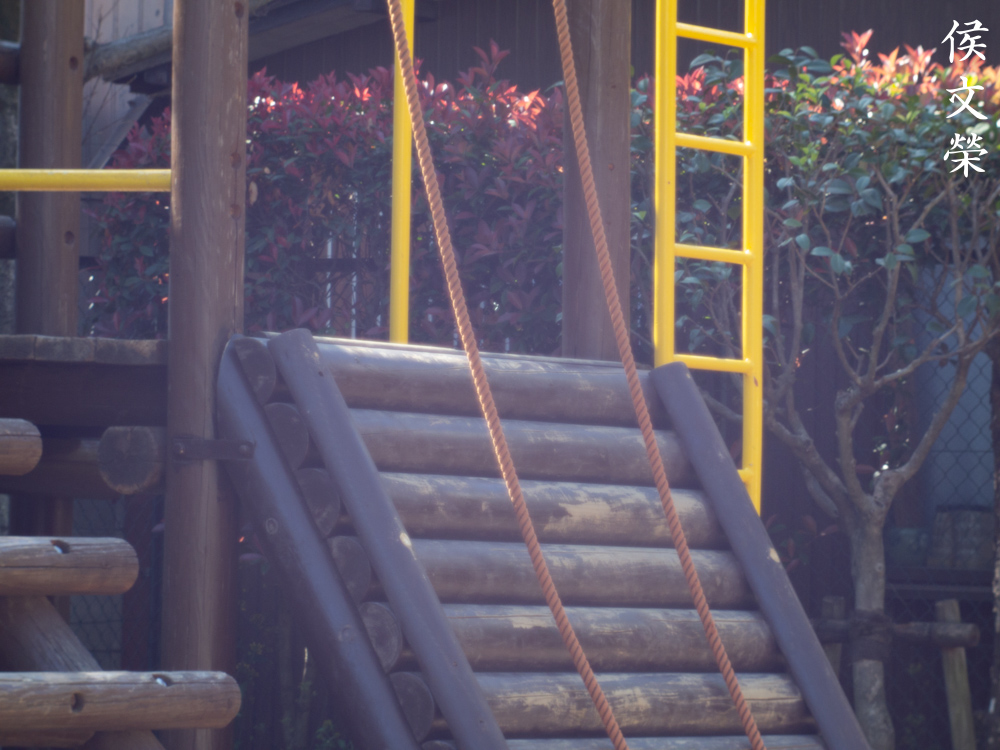
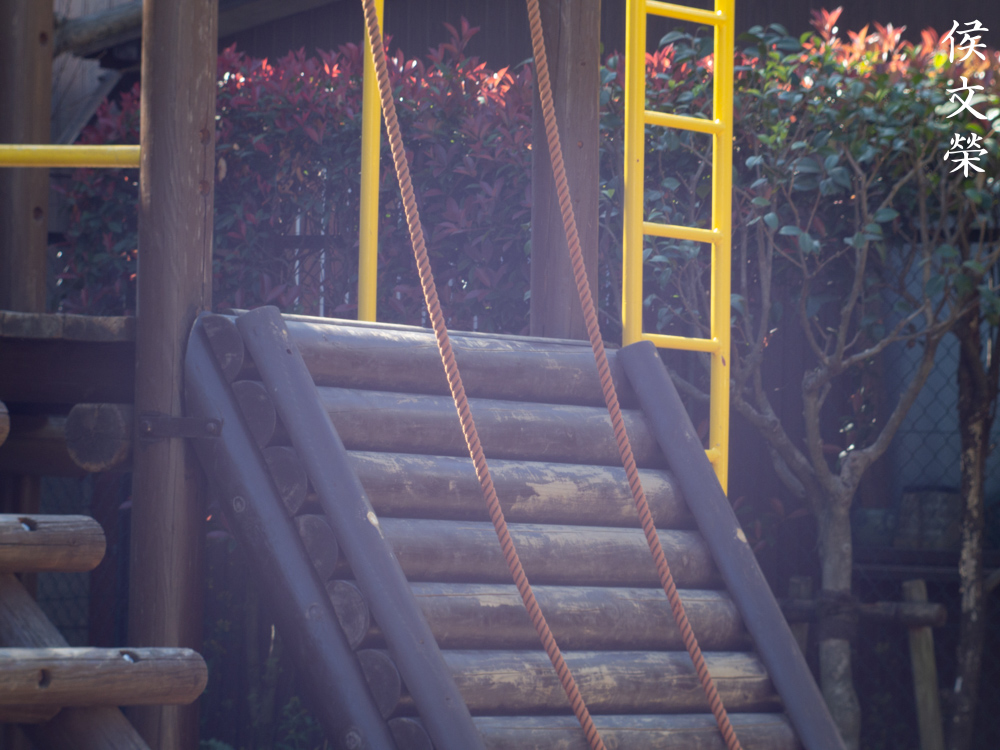
This is how terrible it flares, it doesn’t even become usable until you reach f/4. It does look nice by the time you get to f/5.6 where’re you’ll only see traces of it and it’s rendered rather nicely. The milky-look you’ll get from this when using it wide-open is useful for depicting dream-sequences but it looks horrible at f/2.8 when you have bright highlights that bloom as they look clamped.


(Click to enlarge)
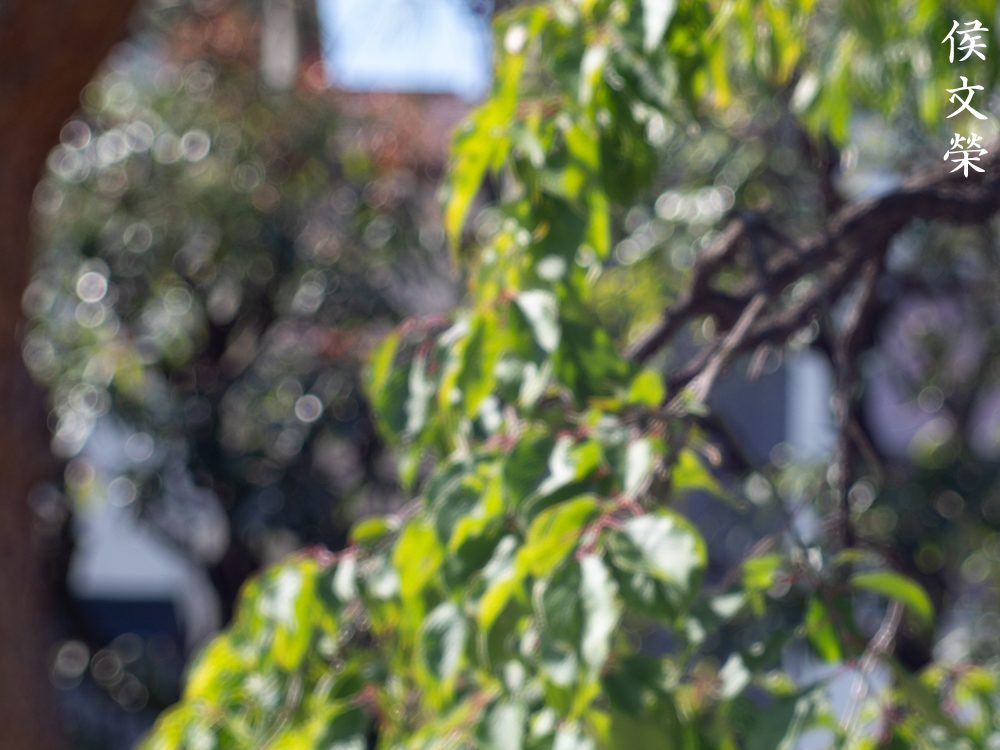
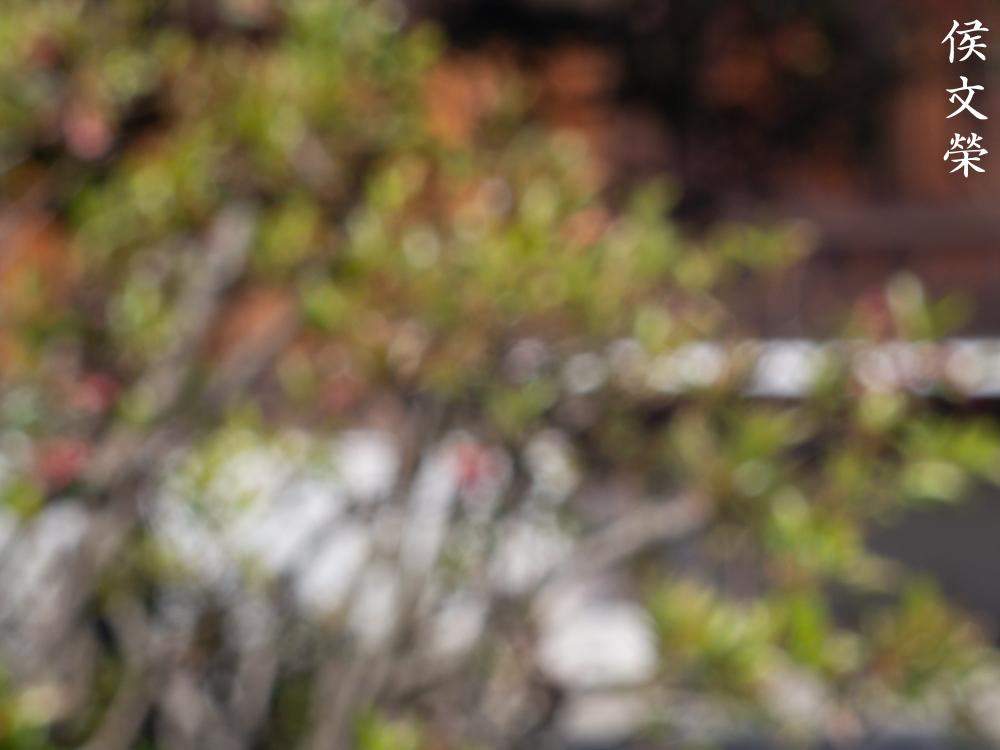
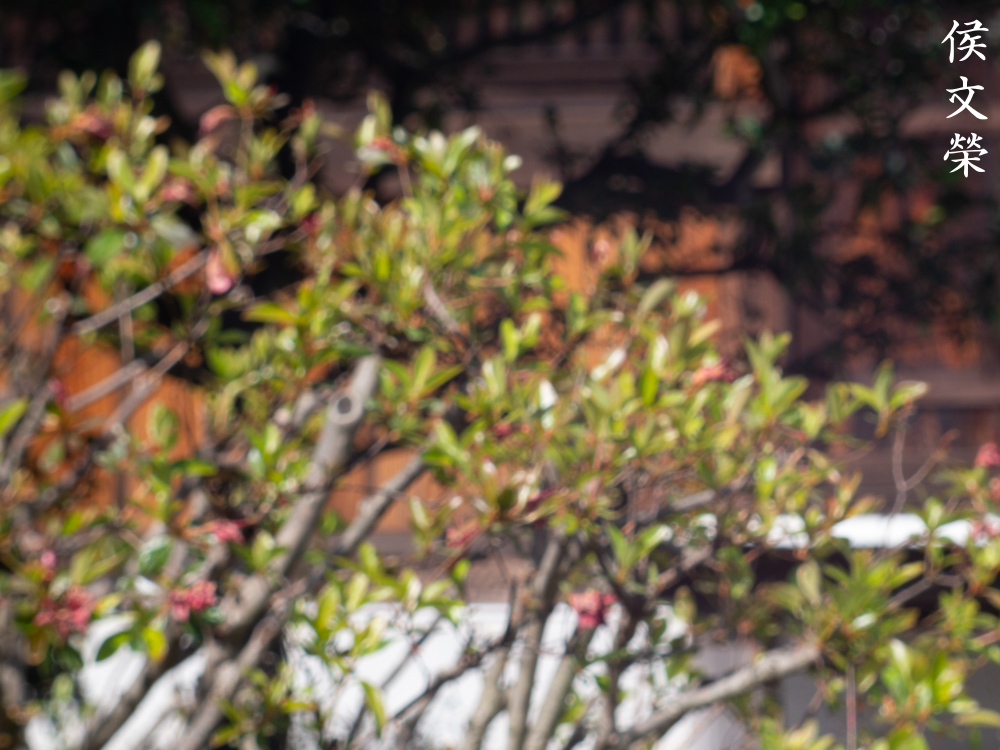
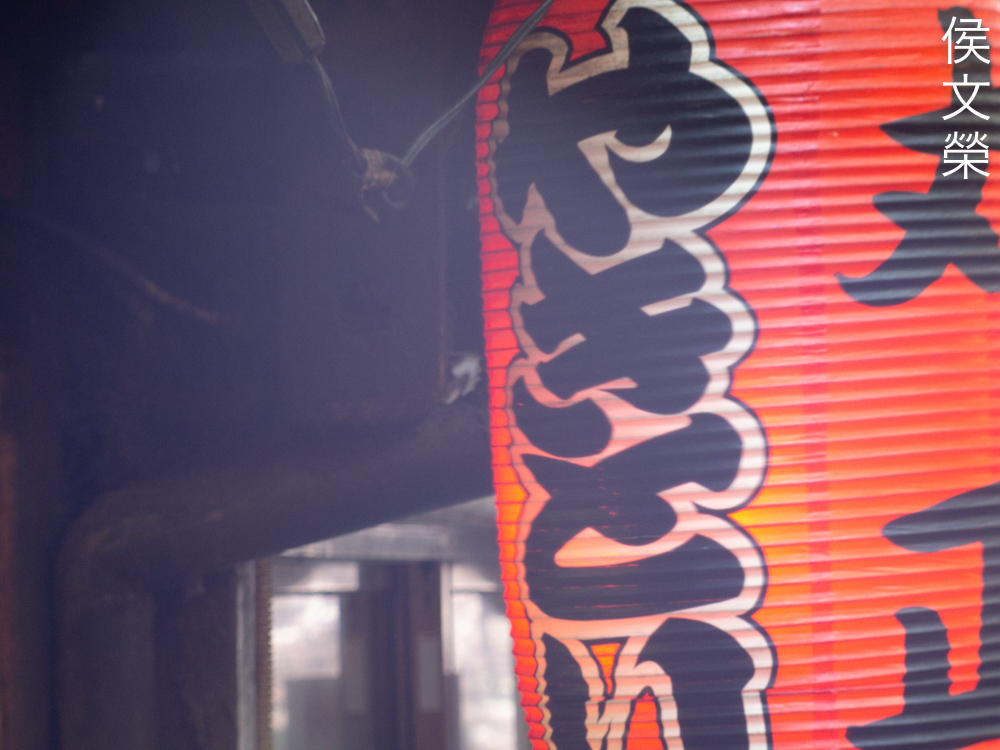
The character of the bokeh looks hideous at wider apertures but looks decent when stopped-down to about f/5.6, this is subjective as I am sure some people will find some creative use for this.
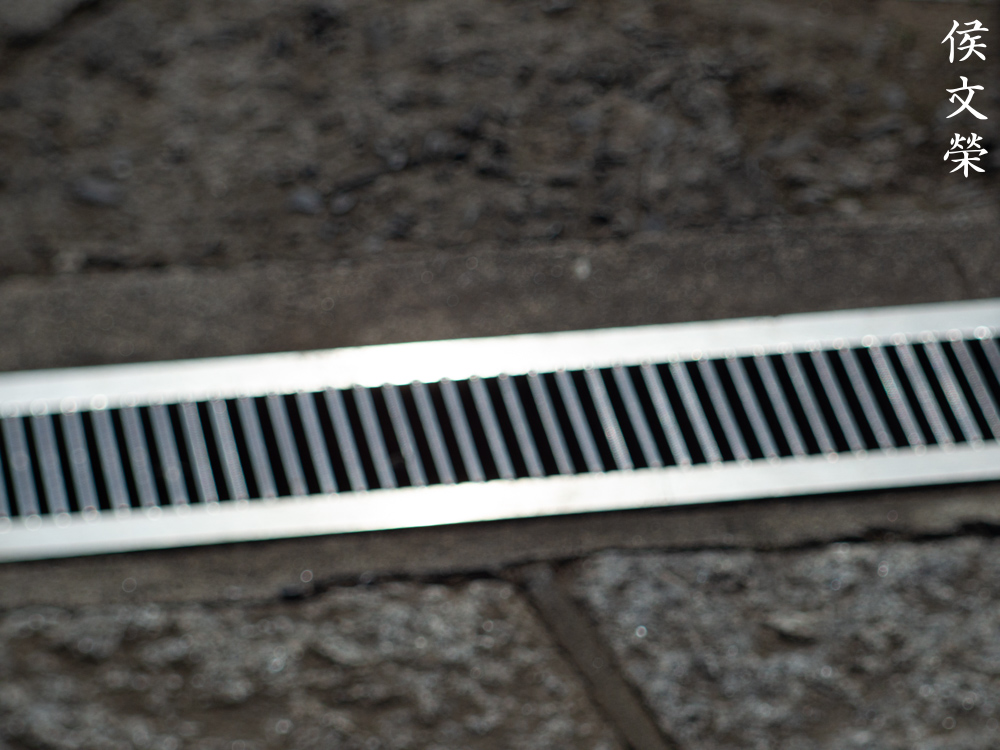


(Click to enlarge)
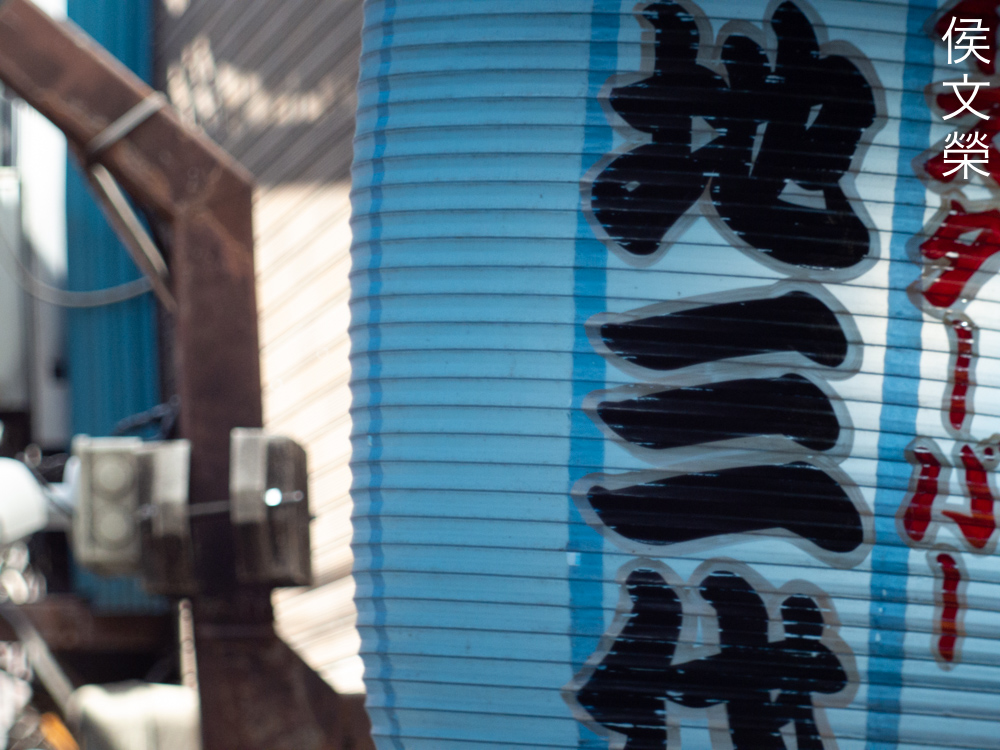
Chromatic aberration could be observed wide-open and at f/2.8 but it can be difficult to detect since flare overpowers it. It looks horrible until you get to f/4 where things begin to look a lot nicer but f/5.6 looks the cleanest to me. You’re going to get much better results at f/8.


(Click to enlarge)
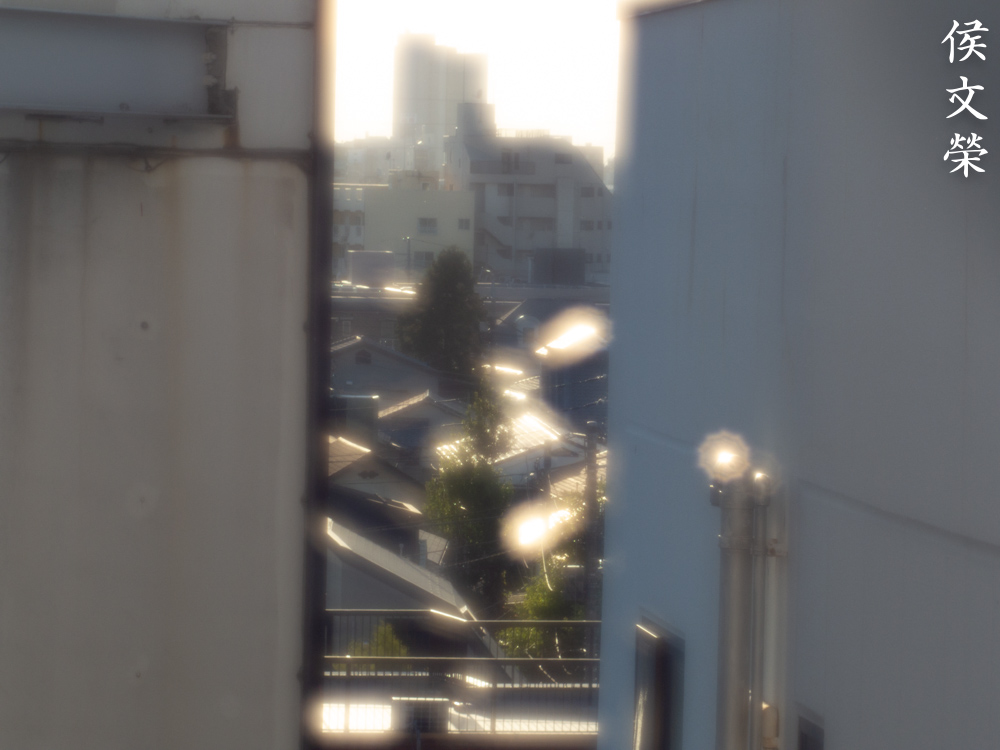
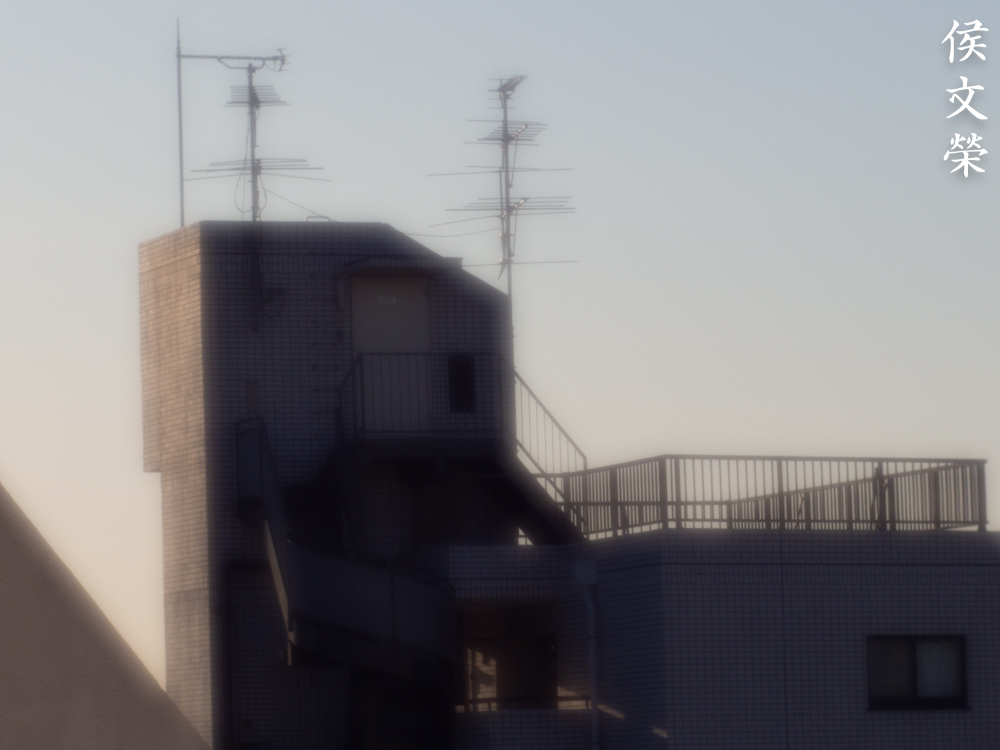
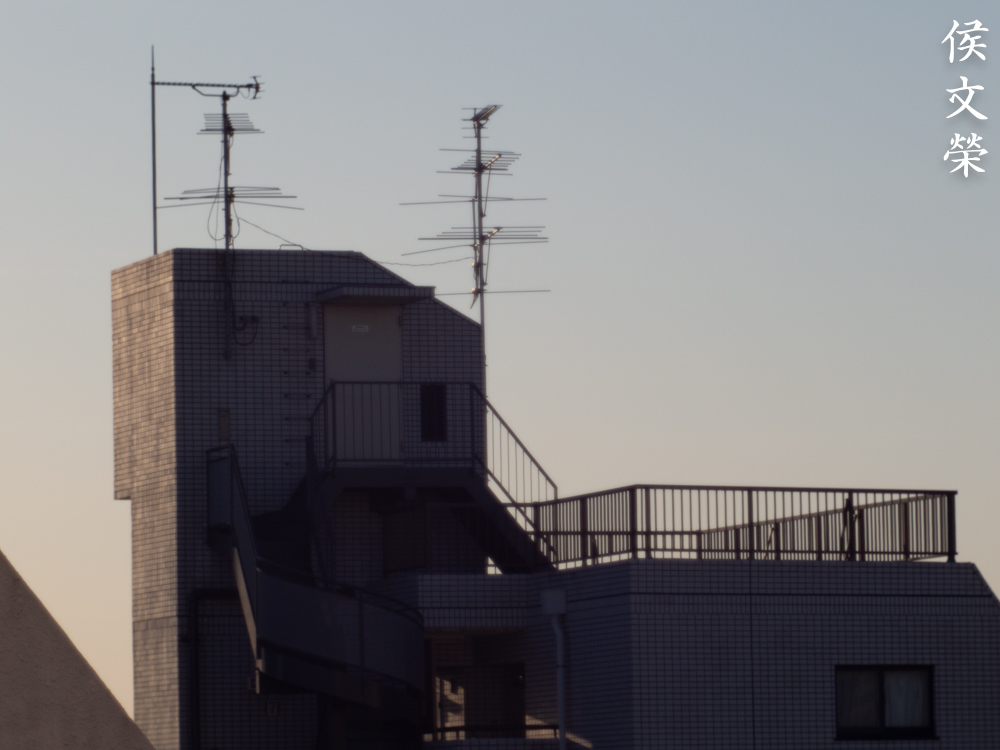
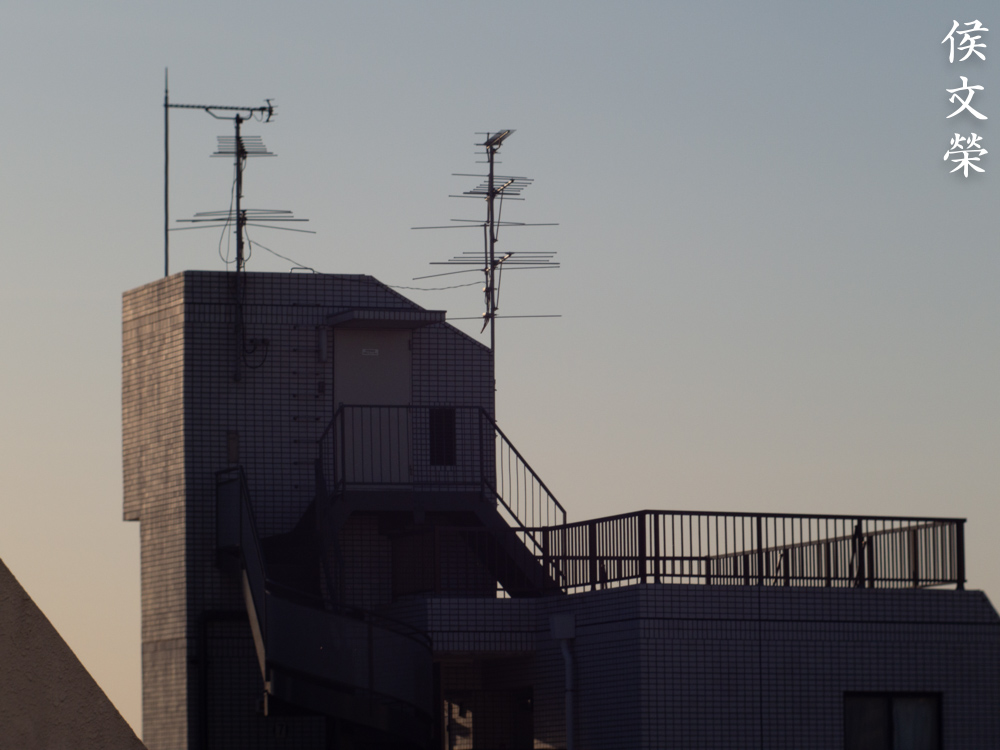
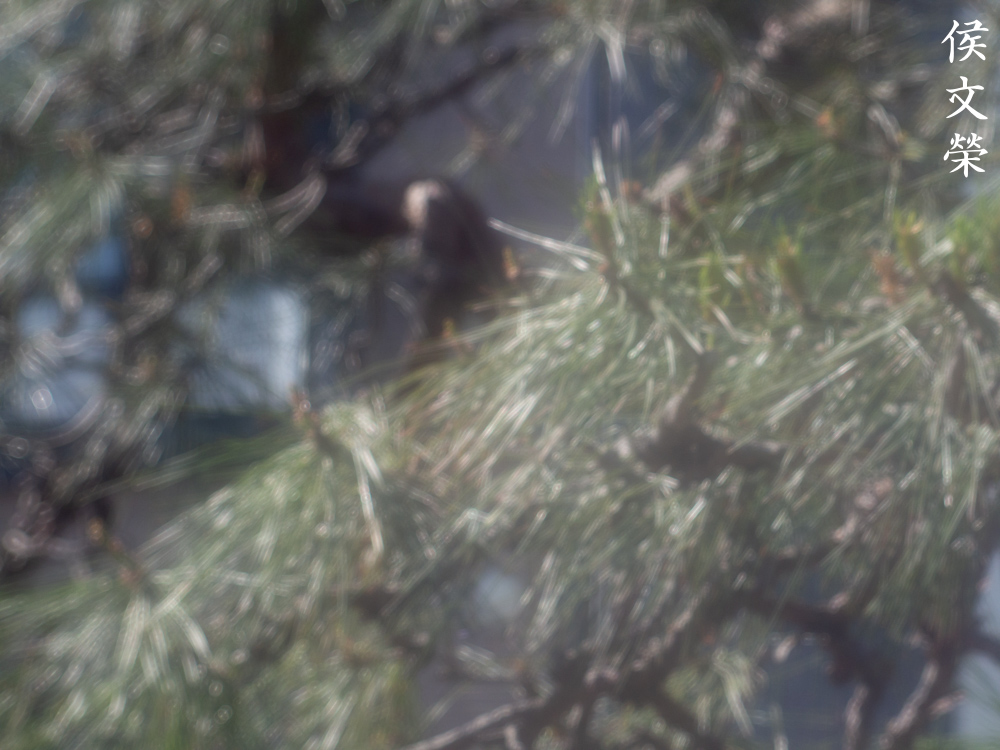
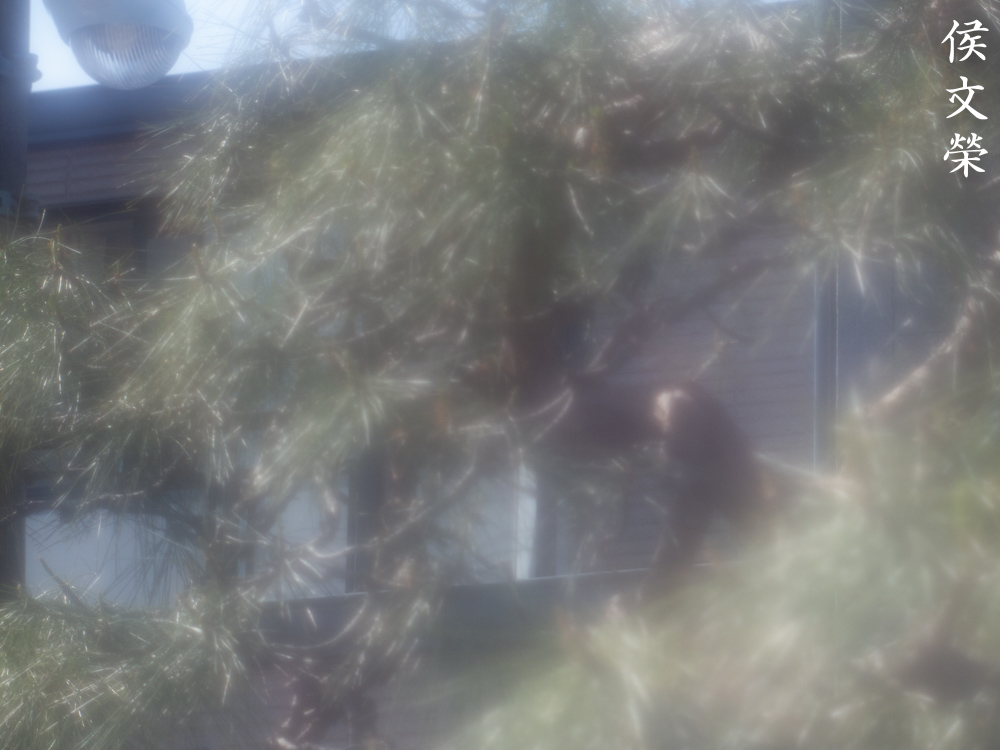
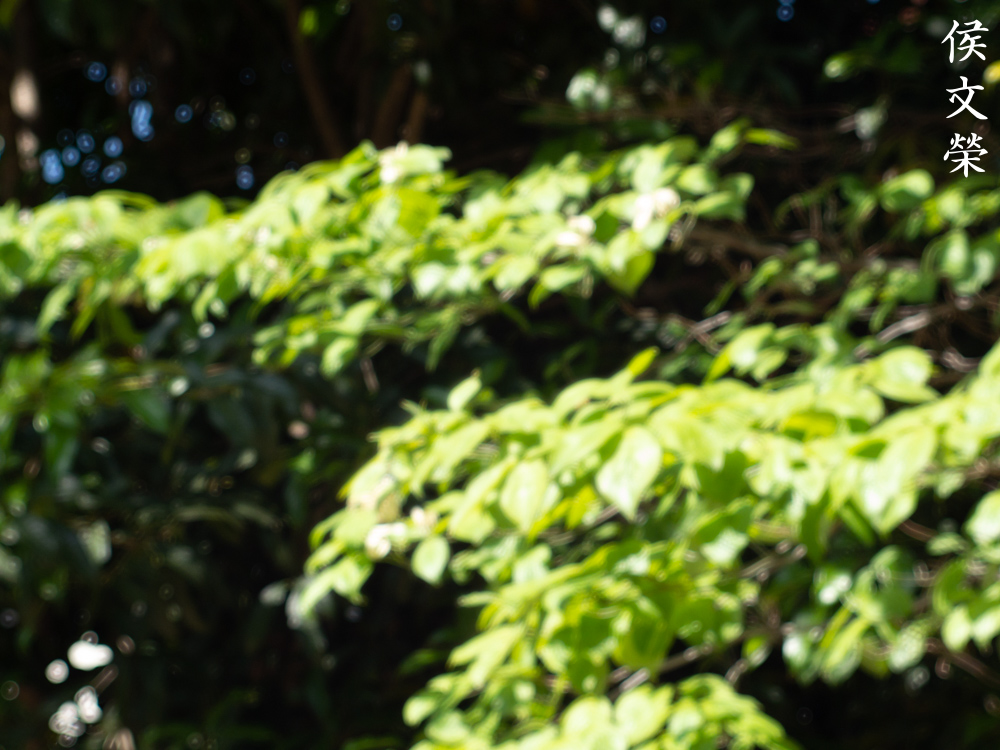
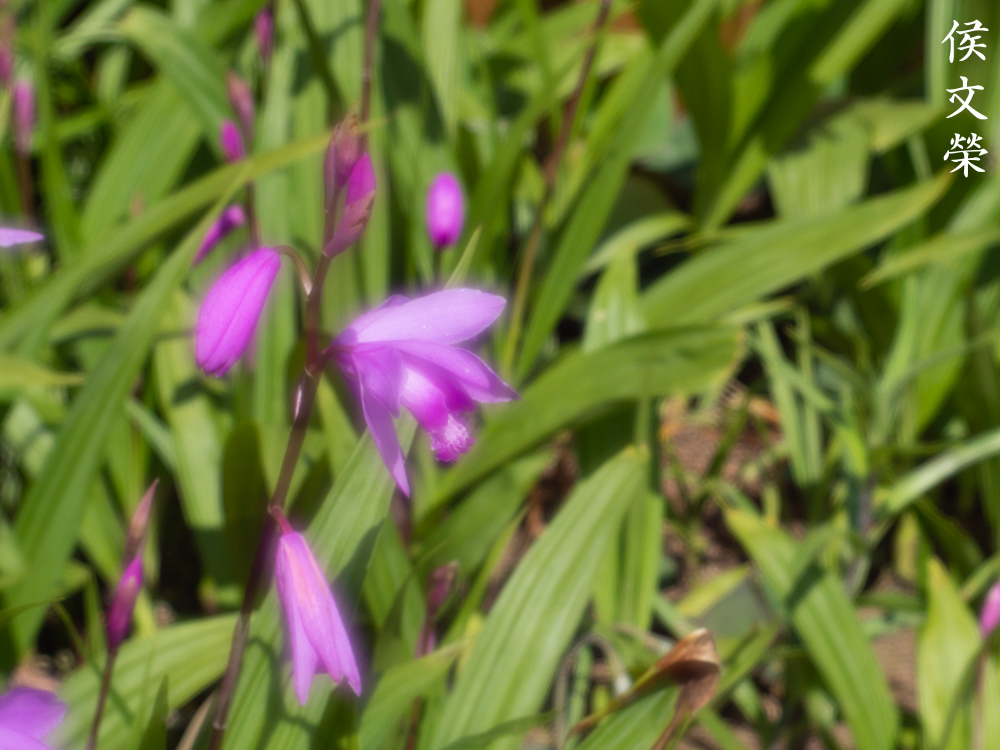
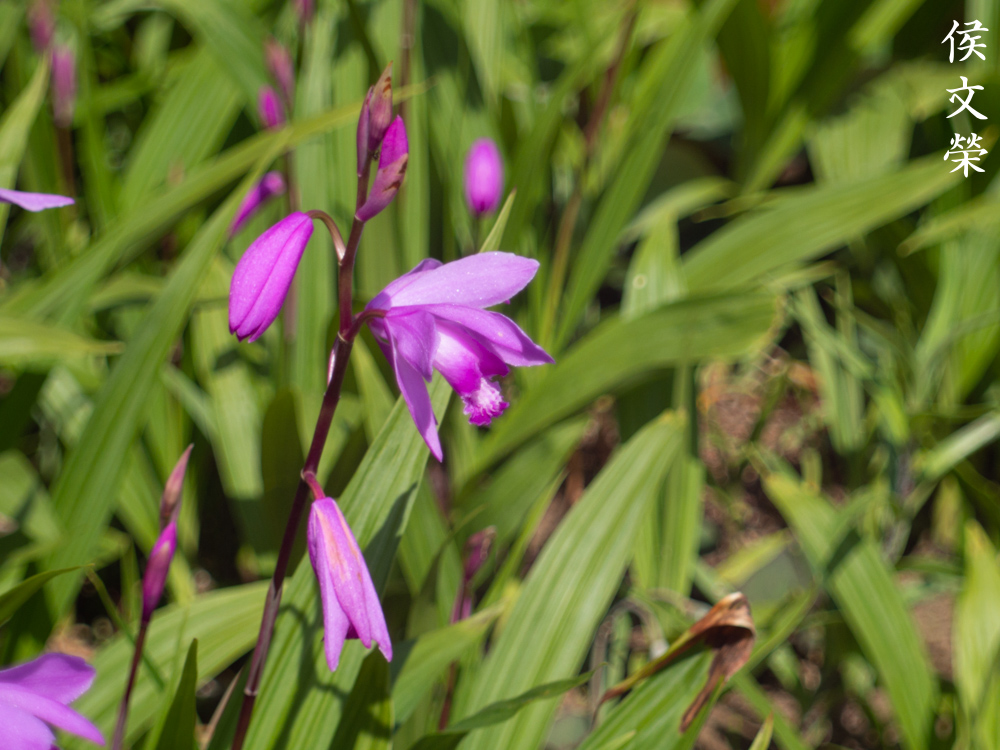
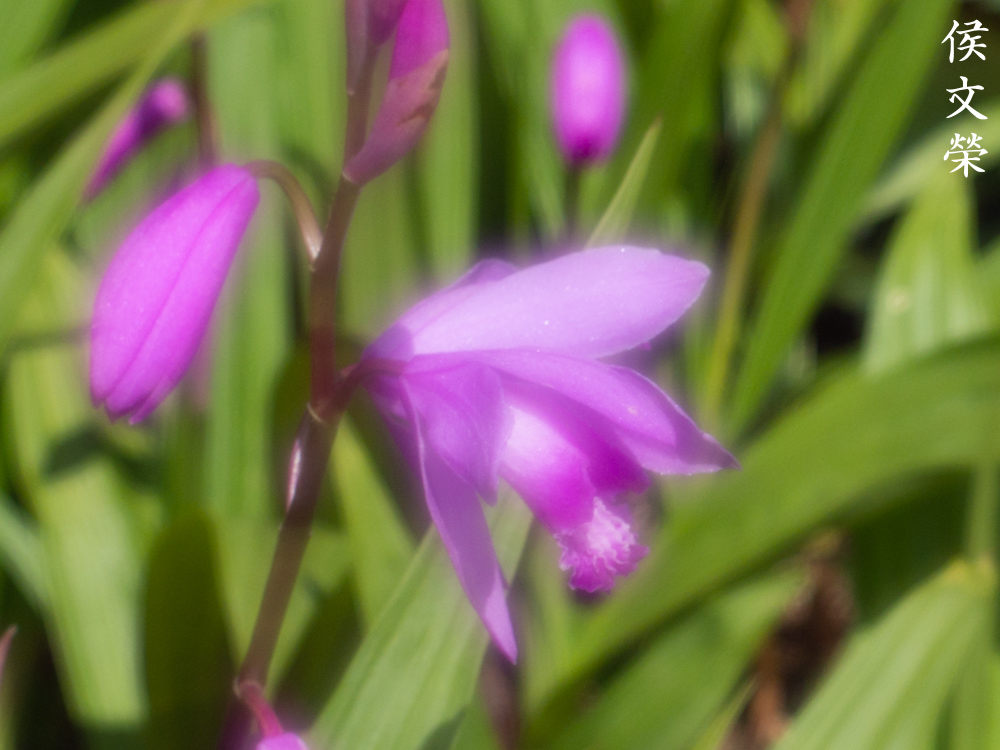
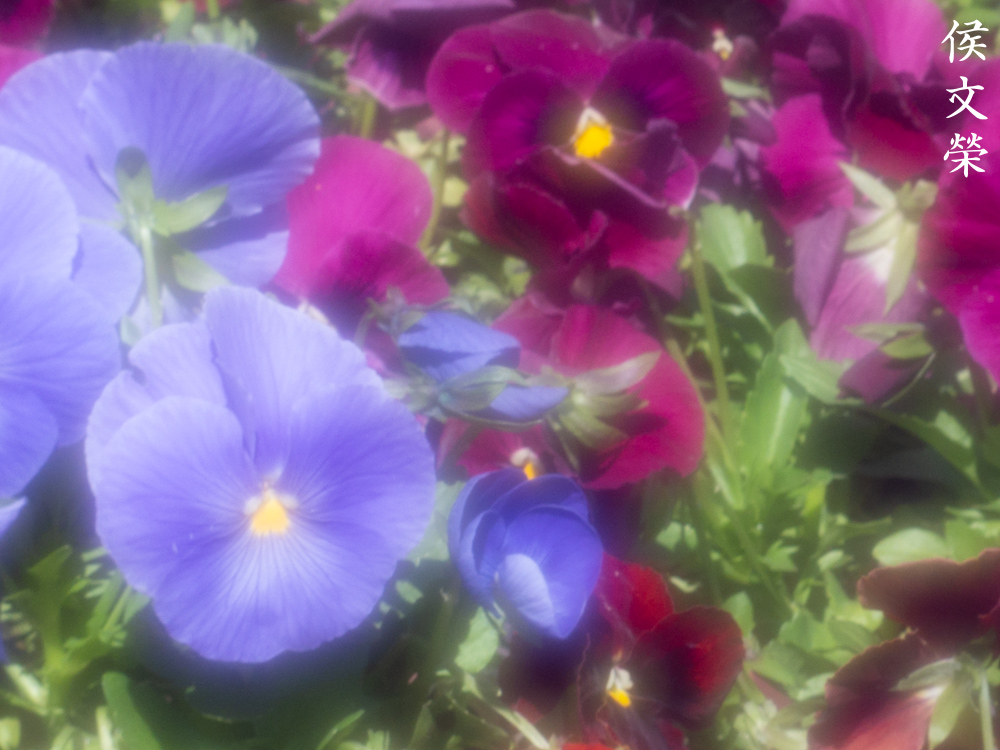
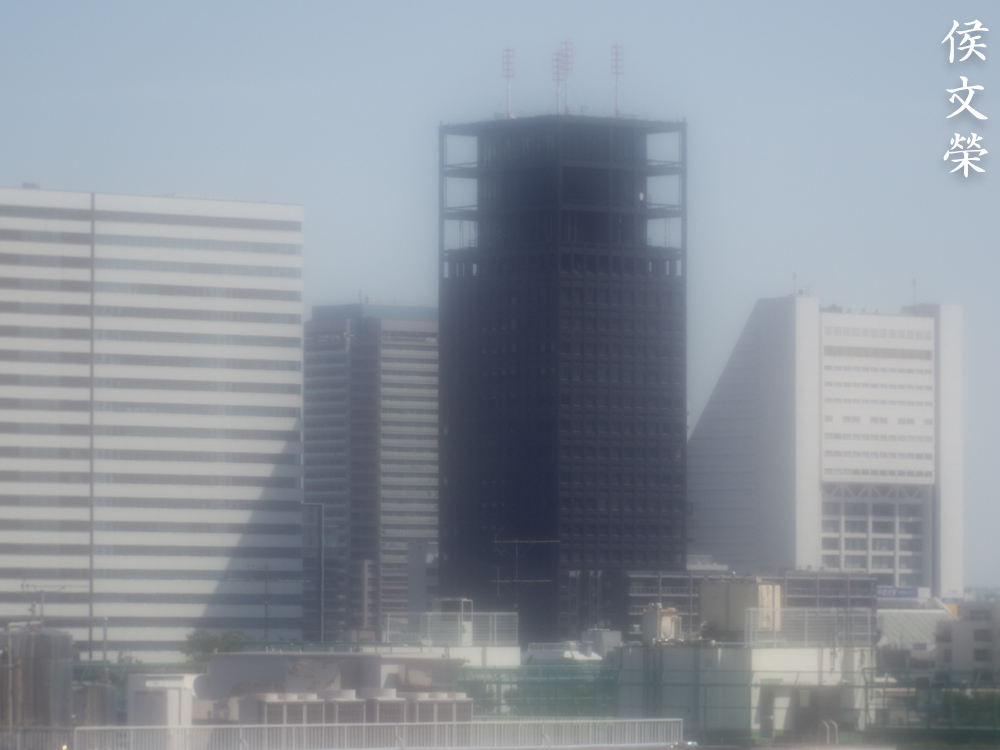
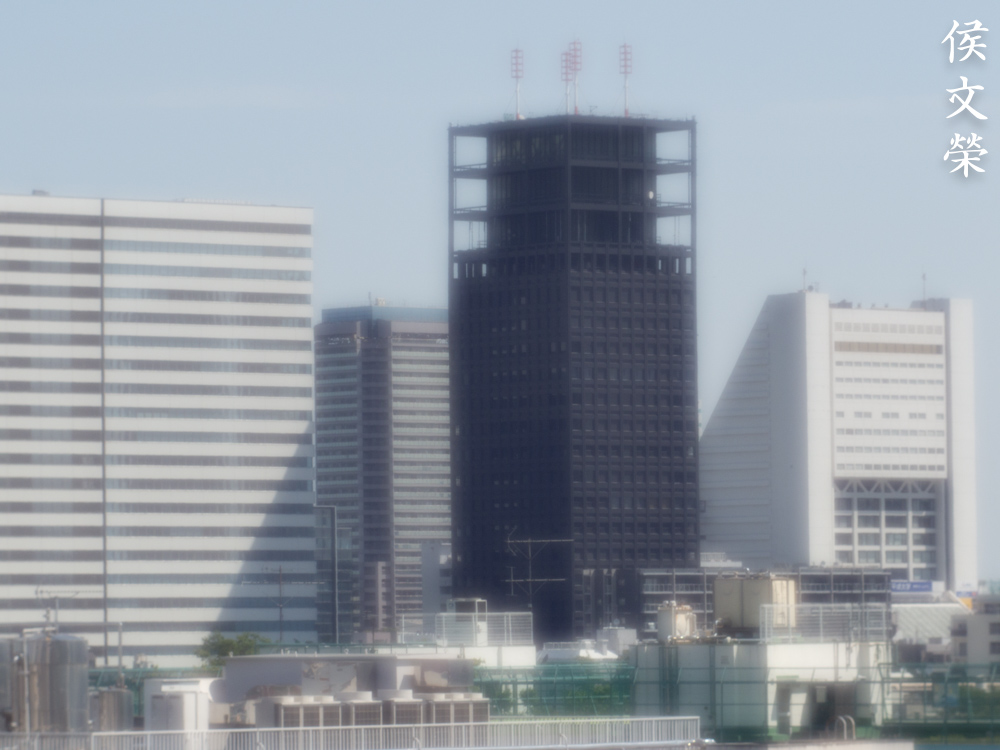
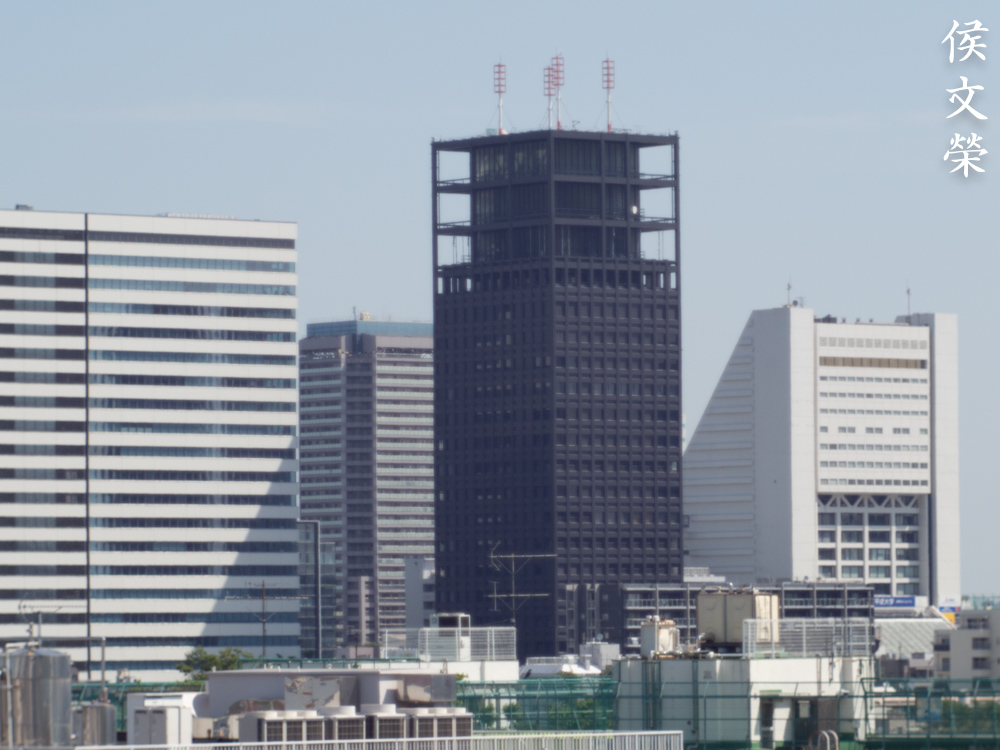
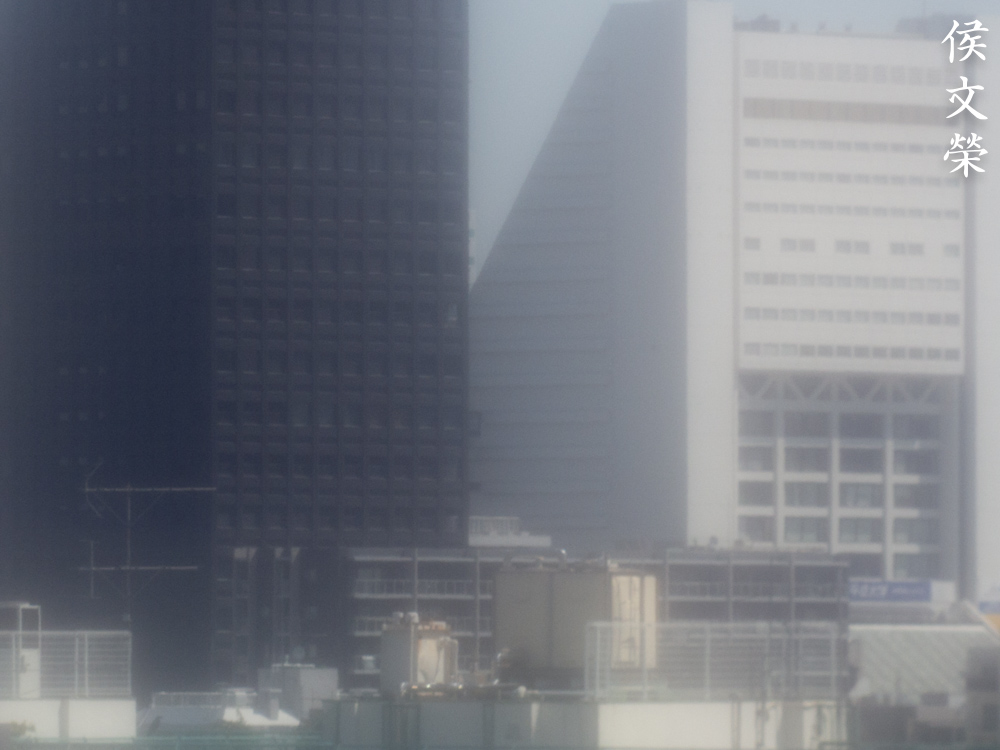
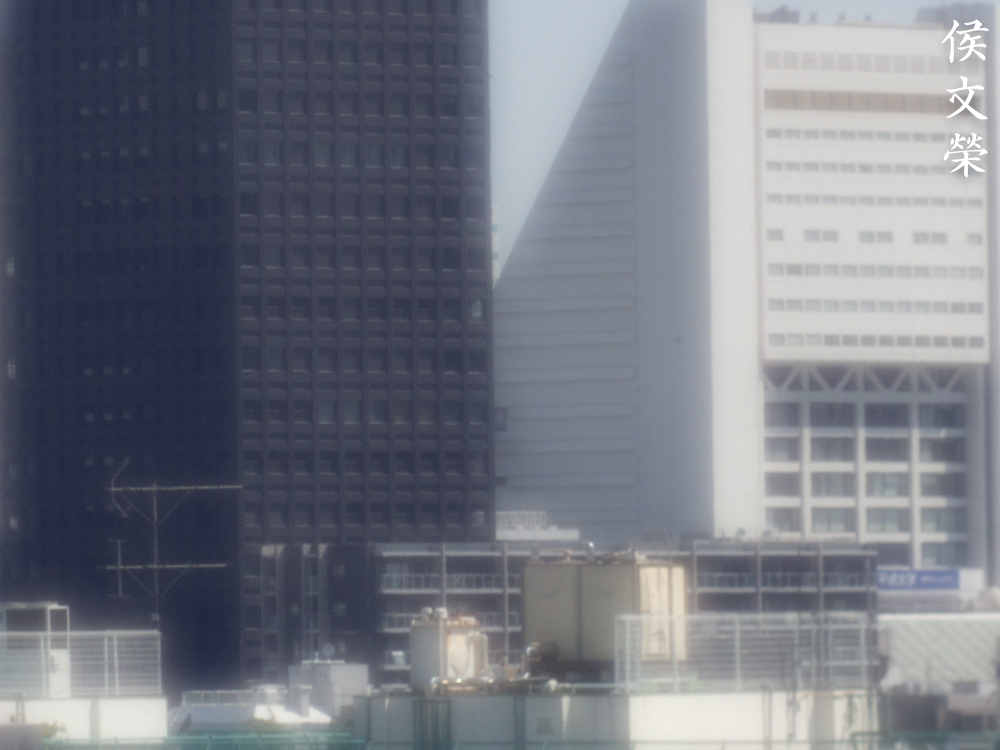
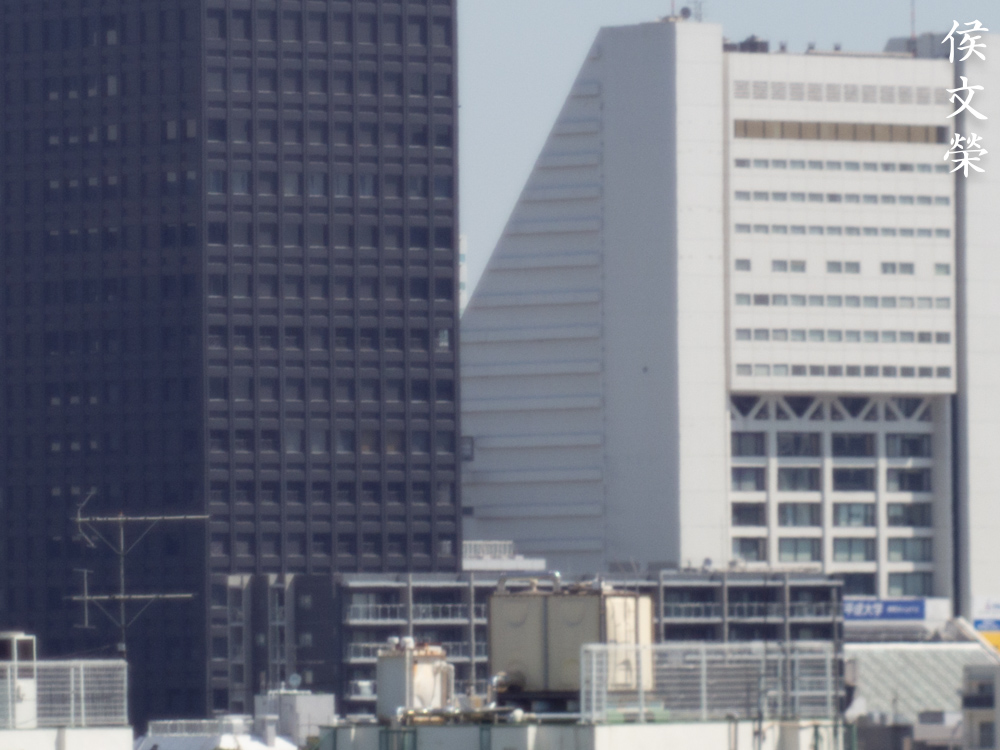
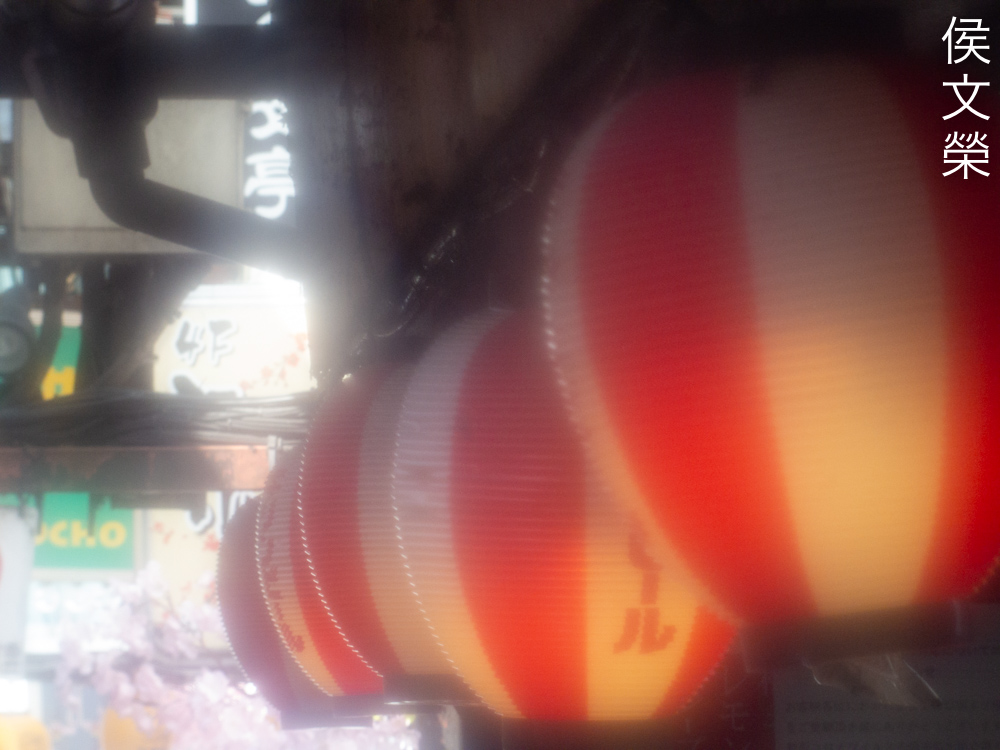
The photos look hazy when shooting wide-open despite not having anything in the scene that would trigger flaring. It isn’t totally useless but I find little use for these kinds of photos outside of experimental use. Things look a lot better at f/2.8 but the photos still look hazy depending on what’s in your scene. You’ll notice a huge performance jump when it’s stopped-down to f/4, things look rather nice but the resolution appears to be lacking. The rendering looks exquisite, it has the right balance between softness and hardness. Stopping it down to f/5.6 will yield clear and sharp photos but it still doesn’t have the resolving power that I expected. I don’t know if I have a lemon but I saw some photos made by a Japanese photographer and they all look similar to mine in terms of haziness. Another person commented that he sees a huge increase in depth-of-field when reaching f/4 which agrees to what we see here. It performs poorly until you get to f/5.6 but even at that point it still lags behind the Cine-Nikkor 38mm f/1.9. It does perform better when it comes to controlling chromatic aberration but we’ll never really know because it may be dispersed so much that couldn’t see it. I would rather have the Cine-Nikkor 38mm f/1.9 instead of this any day.


(Click to enlarge)
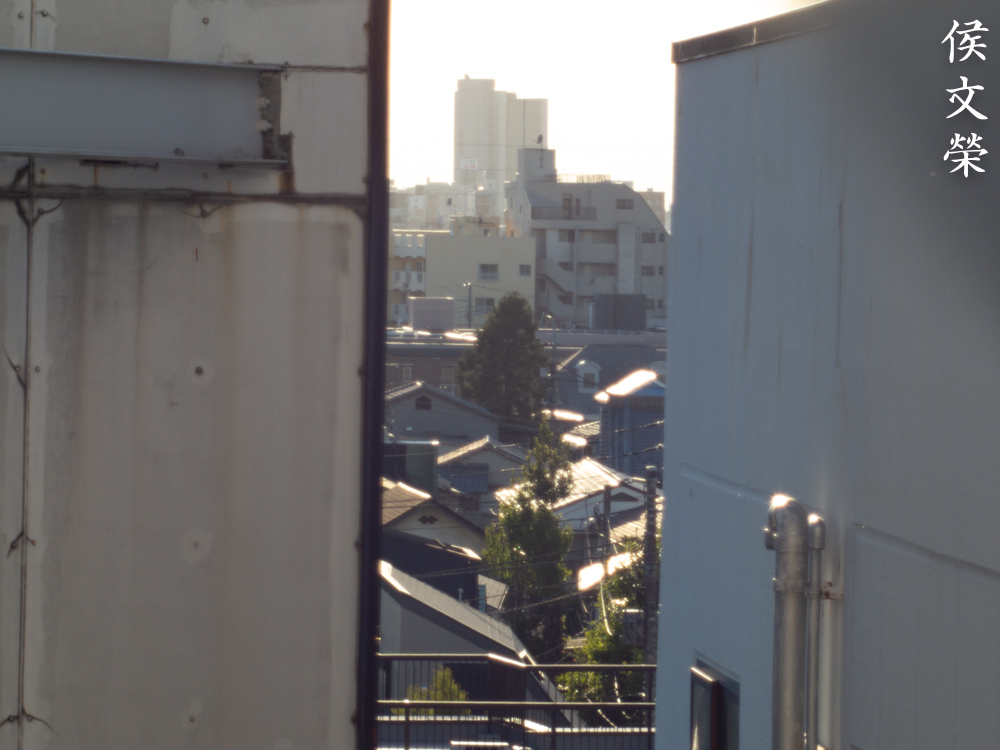
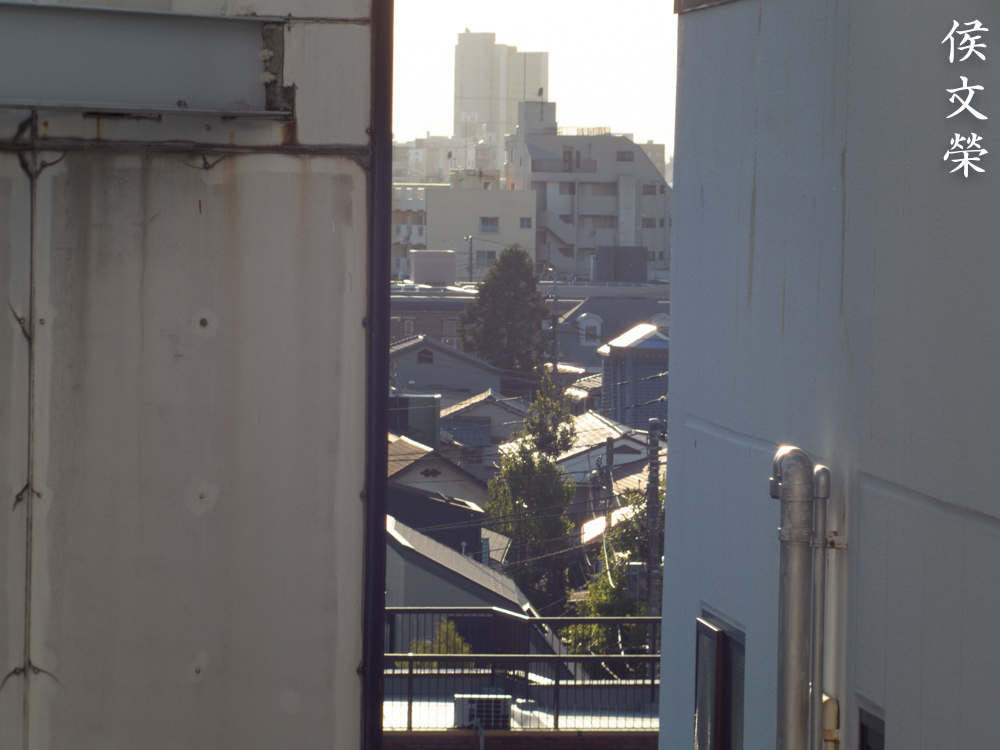
Here’s the many faces of this lens. While it’s true that a lens that renders differently at various apertures is good this is not what I have in my mind when I am referring to it. It can produce nice images but you’ll have to stop it down a lot, it really isn’t practical specially if you don’t have enough light to work with.

Photos taken at wider apertures have a certain charm to them due to the low-contrast and softness, yielding a delicate look. This “feature” makes this lens great for creative use.
Stopping it down to at least f/4 helps a lot in terms of clarity and sharpness but it also means that it’s limited when you need to shoot it at a wider aperture.

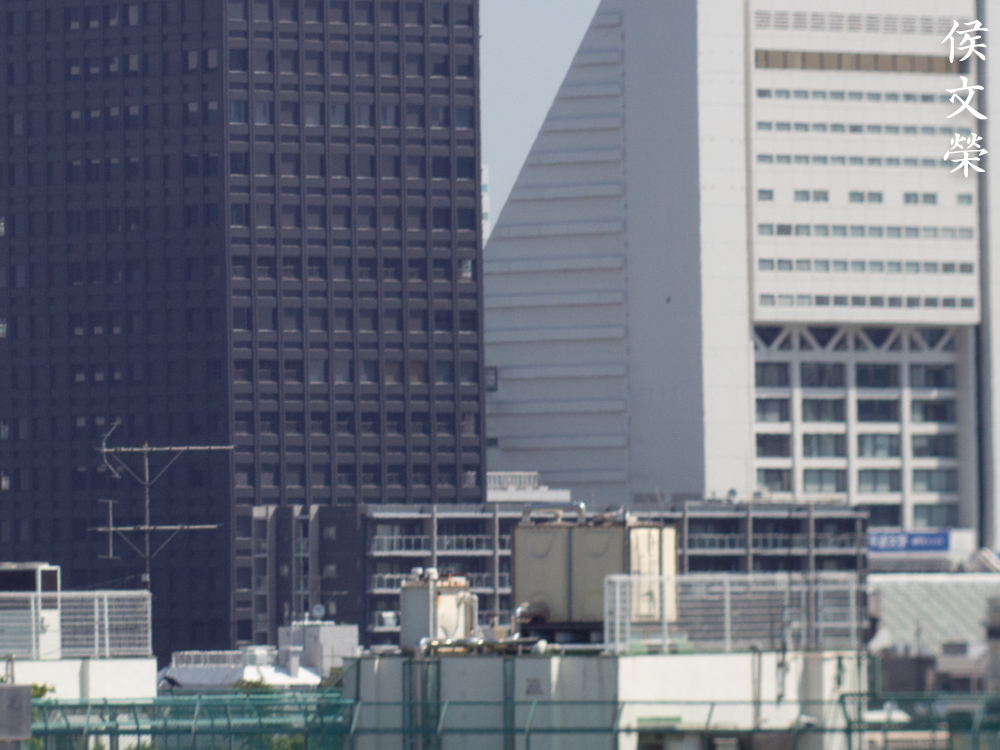
Things look a lot better at f/8 but still not meeting my expectations of it since the Cine-Nikkor 38mm f/1.9 does such a wonderful job even at f/4.

It appears to be quite nice at f/8 as it could now render finer details but shooting distant objects on a sunny day won’t make it look like so due to pollution. Of course, flare will also decrease some contrast, it’s this lens’ weakness.


(Click to enlarge)
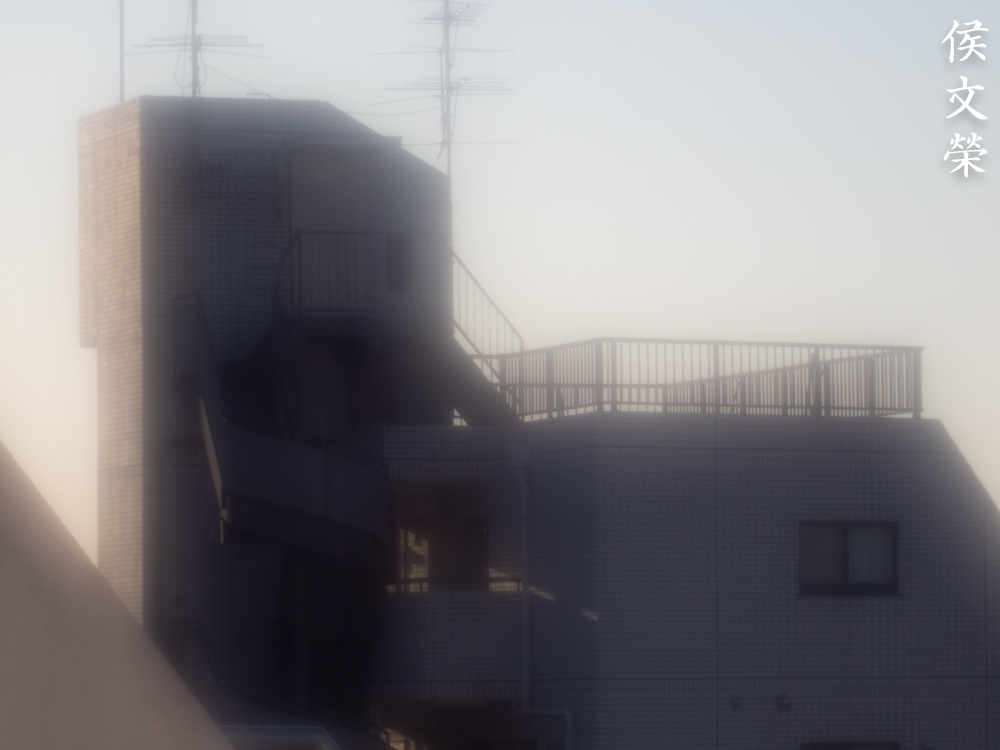
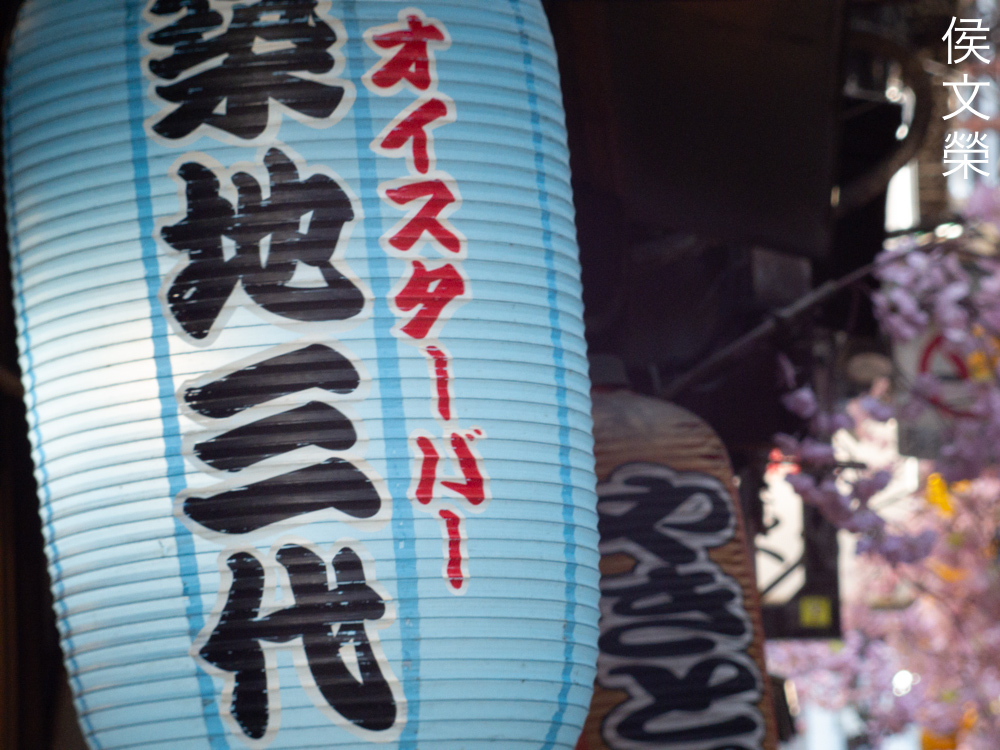
This lens enables you to take “trippy” photos, it sure is nice for creative use when shot at wider apertures but that’s just about it. I find this “feature” great when there’s a reason to use it but I’d rather not have it since it’s not difficult to add a soft-focus filter to achieve the same effect. I’m sure hat somebody will find a nice use for it since it’s still a useful tool for storytelling depending on the art direction you’re given.
I don’t know if I could recommend this but people who know what they want will surely have a use for it. This is a weird lens, I really don’t know what the designer was thinking when they designed this. It’s probably something for collectors or the creatively-inclined. I personally do not like it but I got this one for free together with some other junks. If you are looking for one be sure that the iris works properly. Smell the lens and try to detect any off-smelling, funky scents that will hint of corrosion or molds. Turn the rings and make sure that they work properly. These don’t cost much, there are times when I see these being sold for only $10.00 each but there are some sellers who try to sell these for more. I don’t think they should command such a high price since they’re neither good nor highly collectible. Just wait and maybe it’s going to be your turn to get one of these for free.
Before We Begin:
If this is your first attempt at repairing a lens then I suggest that you see my previous posts regarding screws & drivers, grease and other things. Also read what I wrote about the tools that you’ll need to fix your Nikkors.
I suggest that you read these primers before you begin (for beginners):
Reading these should lessen the chance of ruining your lens if you are a novice. Before opening up anything, always look for other people who have done so in YouTube or the internet. Information is scarce, vague and scattered (that is why I started this) but you can still find some information if you search carefully.
I highly recommend that you read my working with helicoids post because this is very important and getting it wrong can ruin your day. If I can force you to read this, I would. It is that important!
For more advanced topics, you can read my fungus removal post as a start. It has a lot of useful information, it will be beneficial for you to read this.
Disassembly:
Servicing this shouldn’t be difficult at all so long as the iris mechanism isn’t taken into account. There are a few things I would like to warn you about and they will be mentioned in this sections so pay attention. Before you begin you’ll have to be sure that you have the right tools for the task since the parts are delicate, specially the iris mechanism. Take many notes as you go so you will know how to put things back again and always note the direction of each element, It’s easy to put them back facing the wrong way since some of the elements have ambiguous curvature. You will require special skills when servicing this specially with putting the rings back since they have to be absolutely centered in order to turn smoothly, you do this by tightening the set screws at equal increments which is easier said than done.
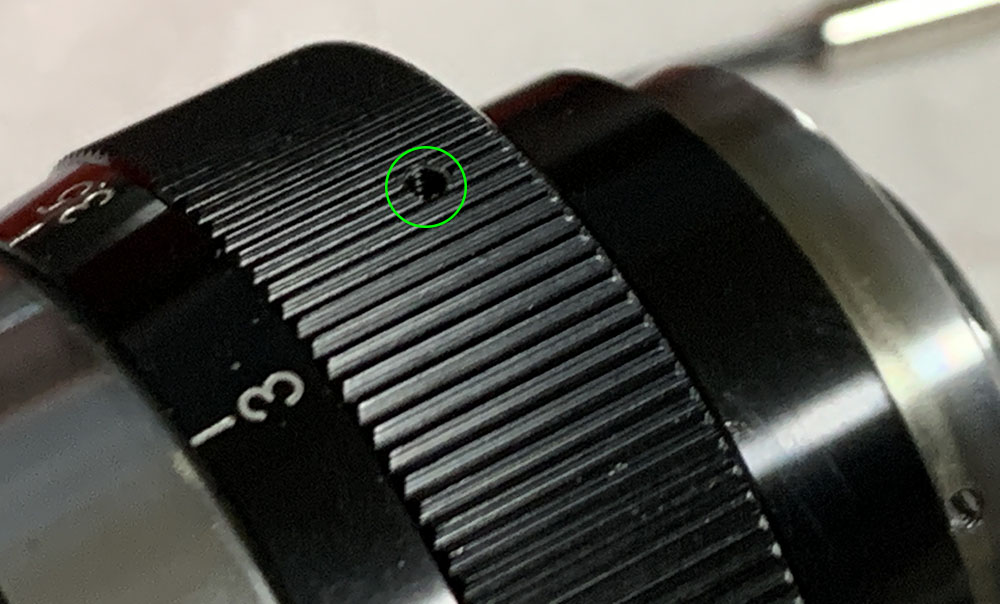
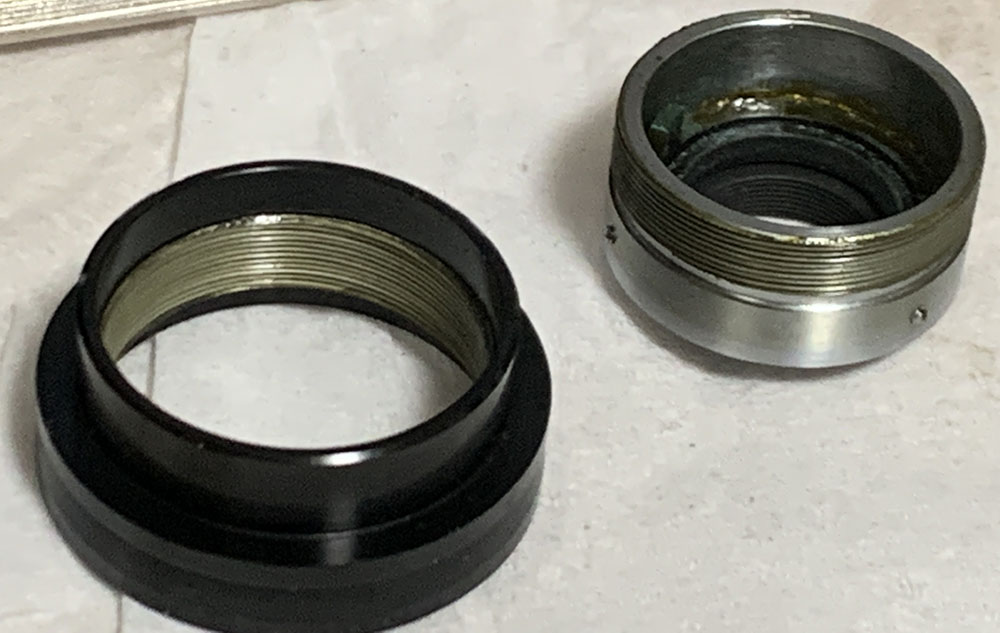
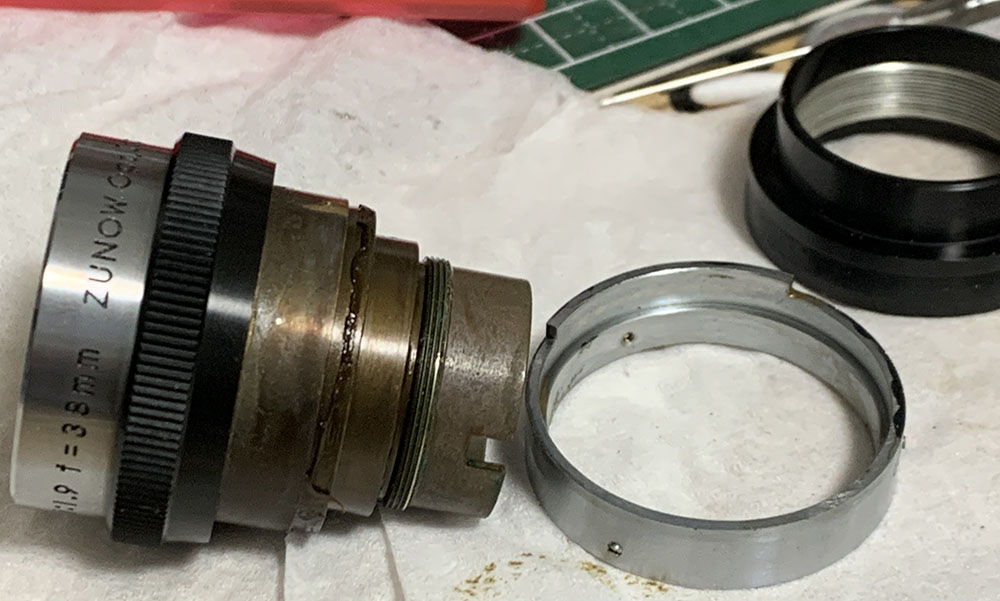
Loosen these so you could separate the lens to its basic components.
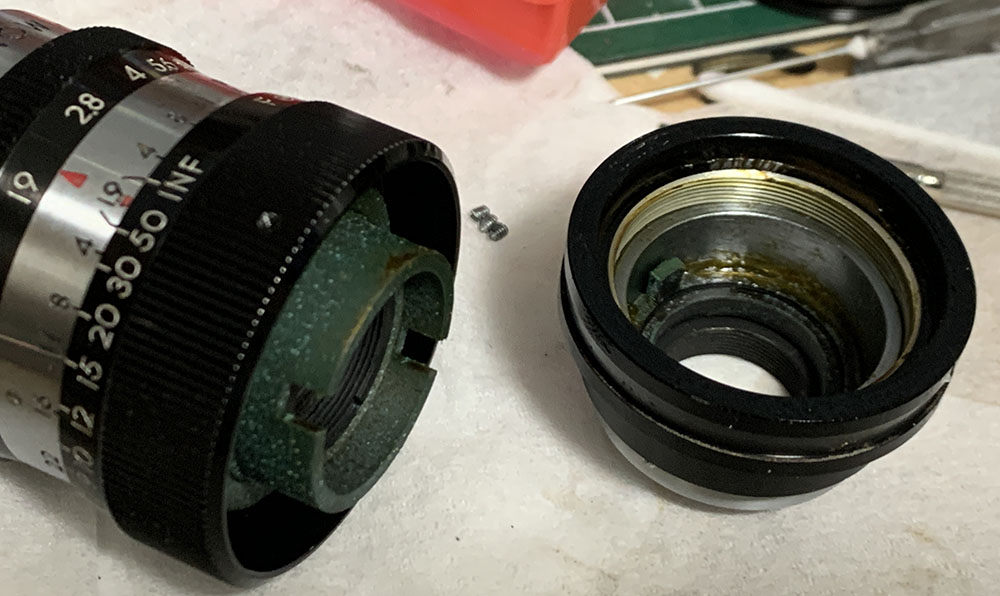
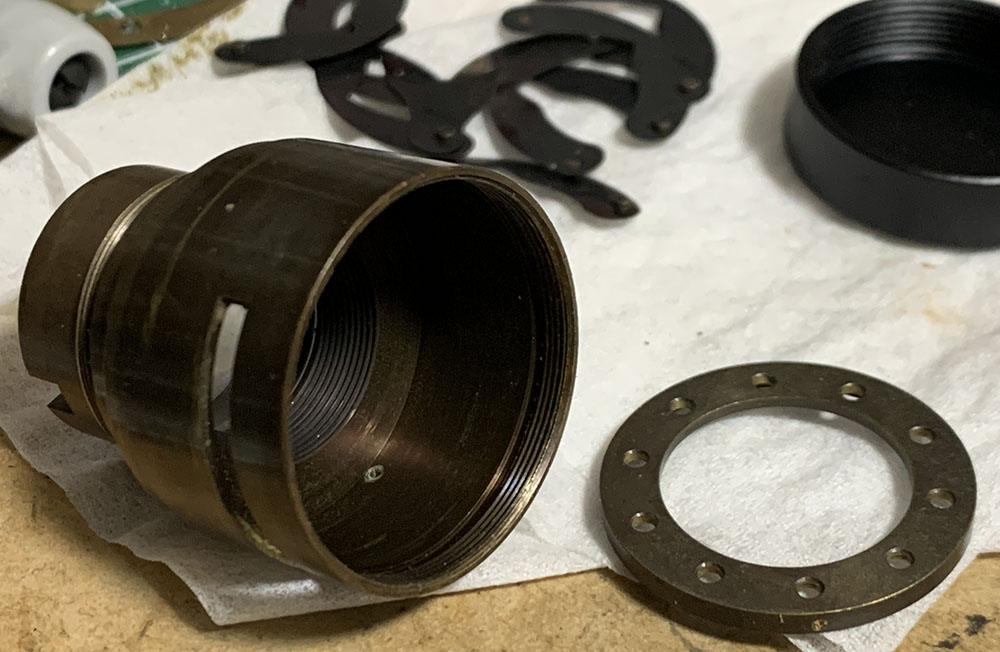
Pull the main barrel from the focusing unit. Notice that the brass has corroded and left a nasty deposit inside the barrel which fouls everything.
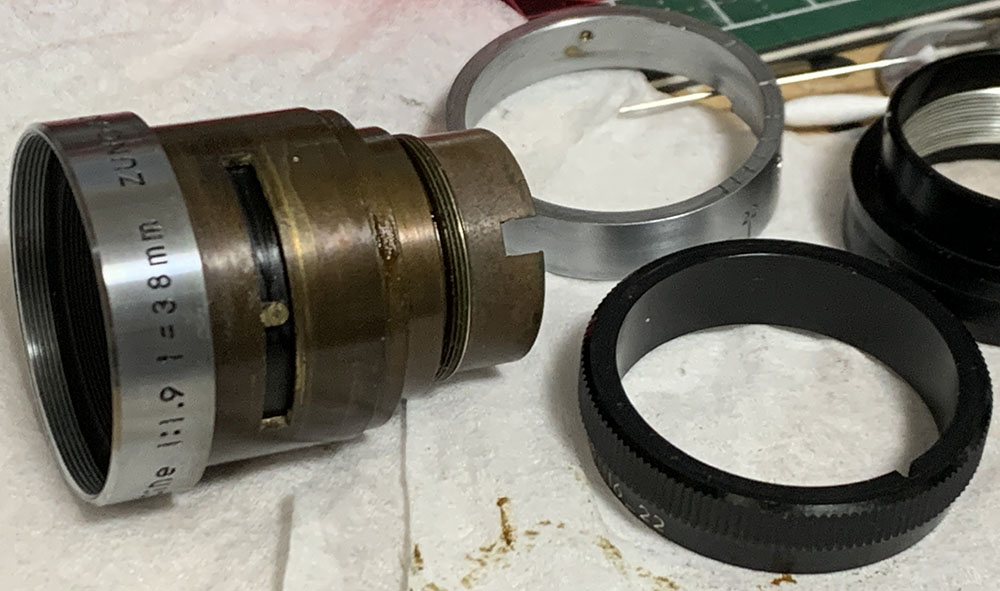
Carefully note the positions and measurements of things before you proceed. Note the orientation of the keys as this is vital in the operation of the lens, putting this back the wrong way will result in the lens’ display facing the wrong way.
Carefully unscrew the helicoids and note where they parted. Many people get stuck here because they forgot to do this and spend countless hours trying to guess where the helicoids should mate. To prevent this from happening to you see my article on working with helicoids. While this appears to be a single-entry thread you don’t want to take any chances.
Loosen these to remove the keys and their ring.
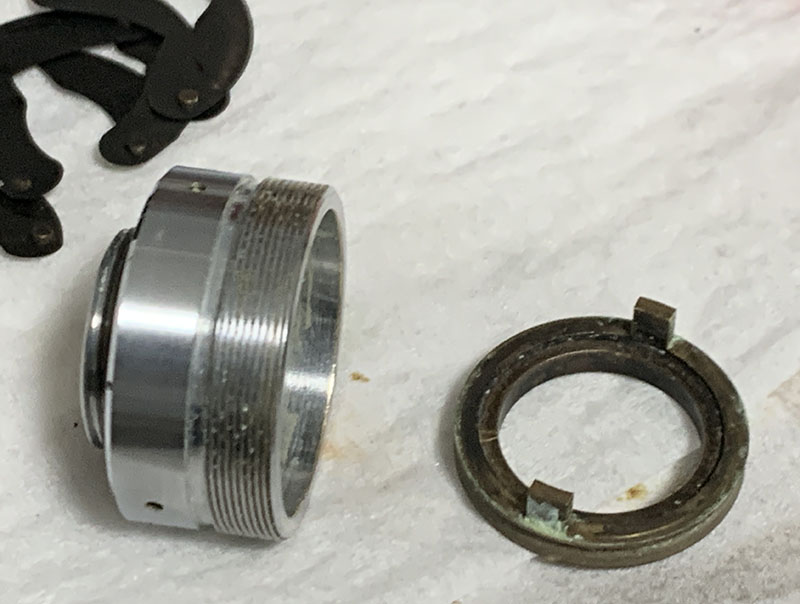
Pull it off and clean the whole thing very well.
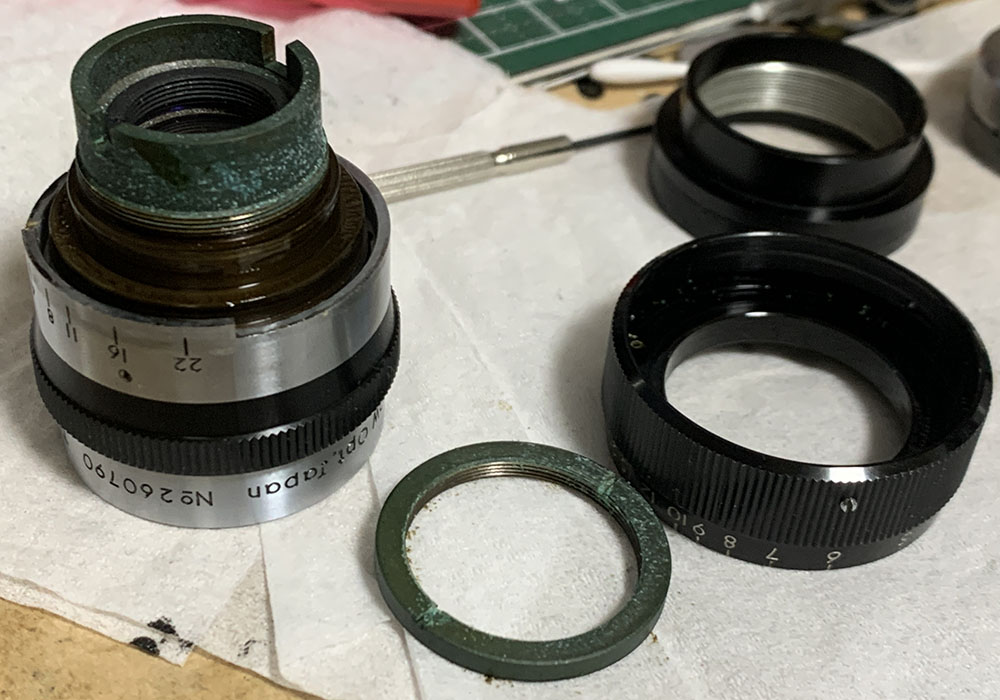
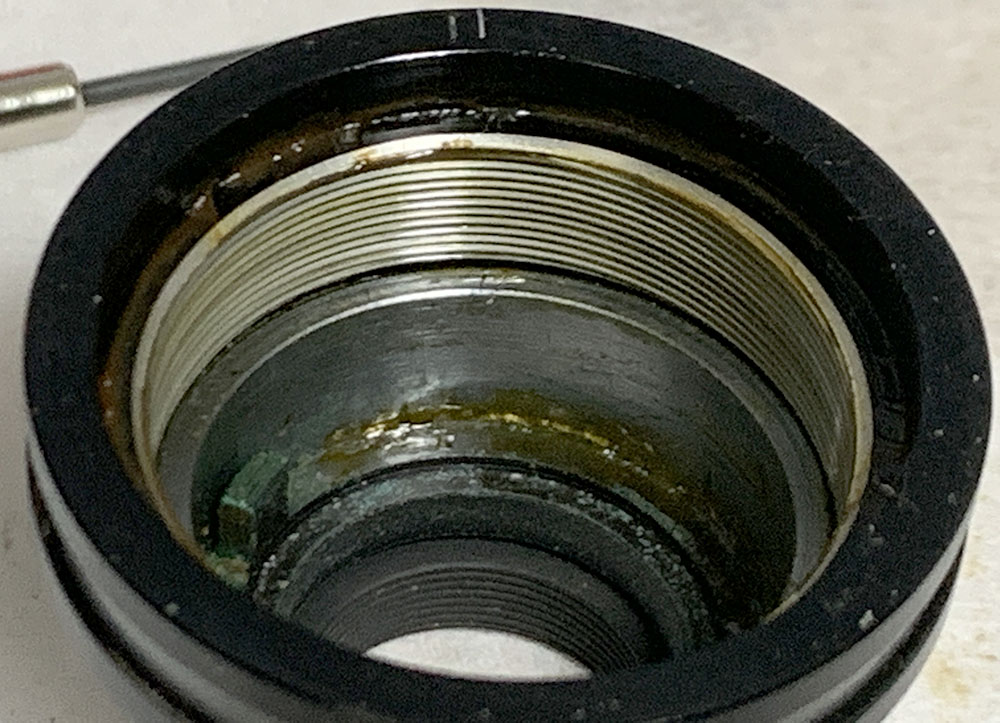
The focusing ring can be removed by unscrewing its retainer off. The corrosion was so bad it turned everything green.
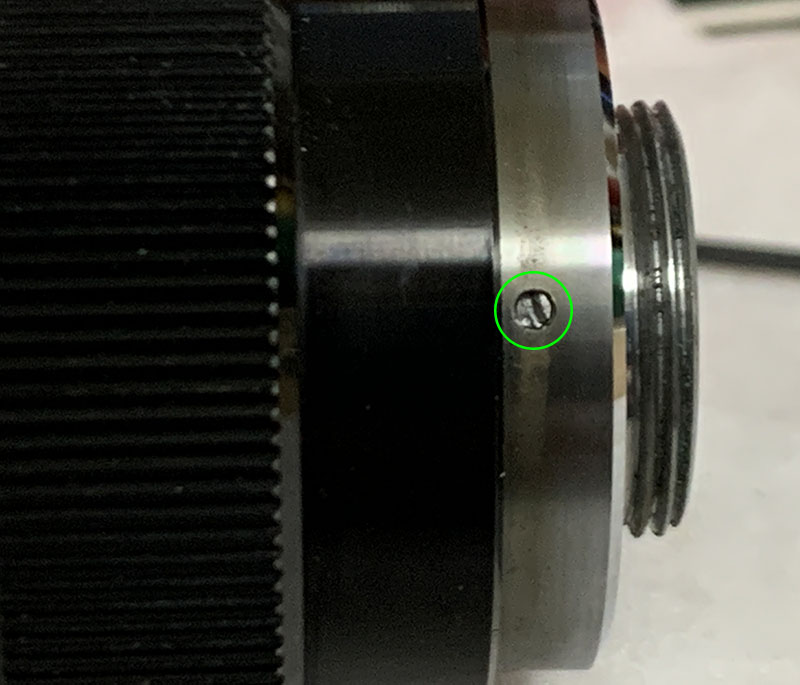
The sleeve can be removed by loosening its set screws. Be very careful when removing this, there’s a spring-loaded ball squashed between this and the focusing ring and you wouldn’t want to lose it, I lost mine so I had to replace it with an appropriate one from my spares box.
Pull the focusing ring off.
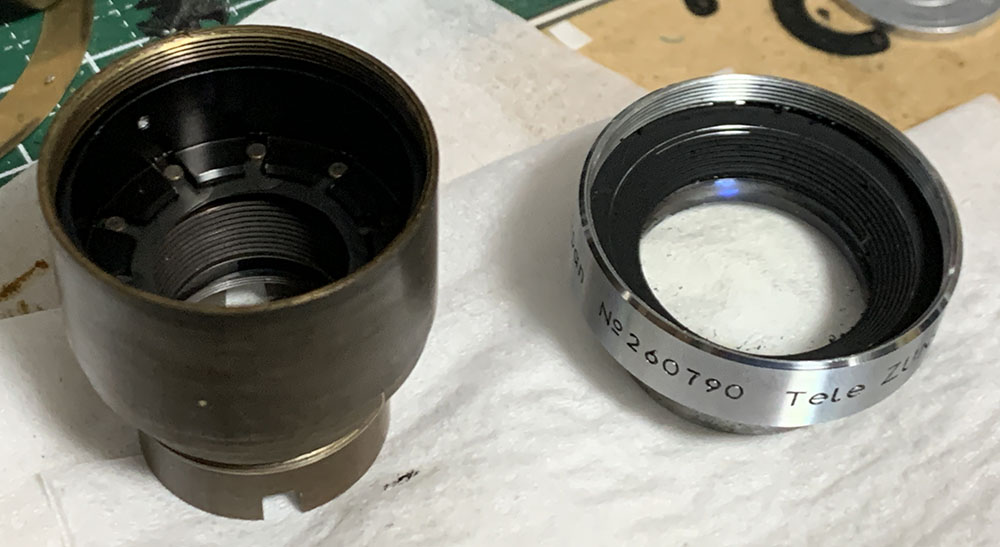
Unscrew the front optics assembly off.
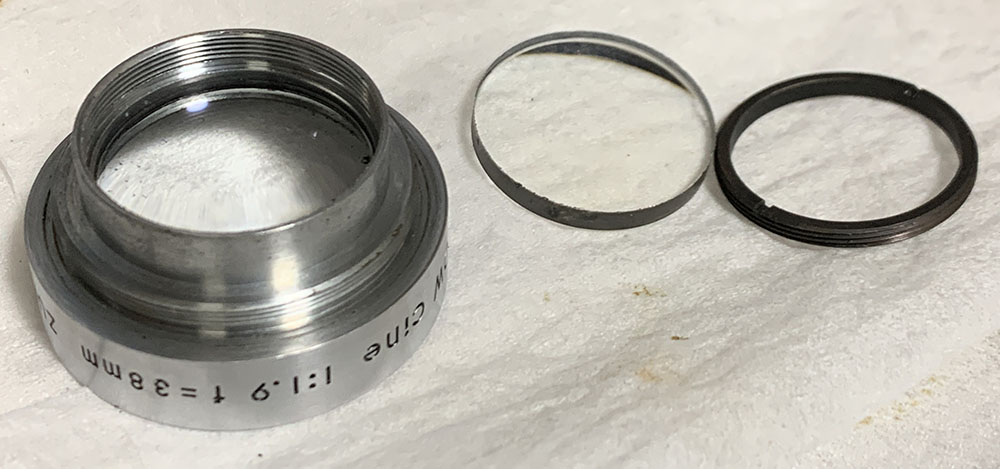
Unscrew the retainer to access the 2nd group. Do not forget to note its direction so you will know how to put this back properly later.
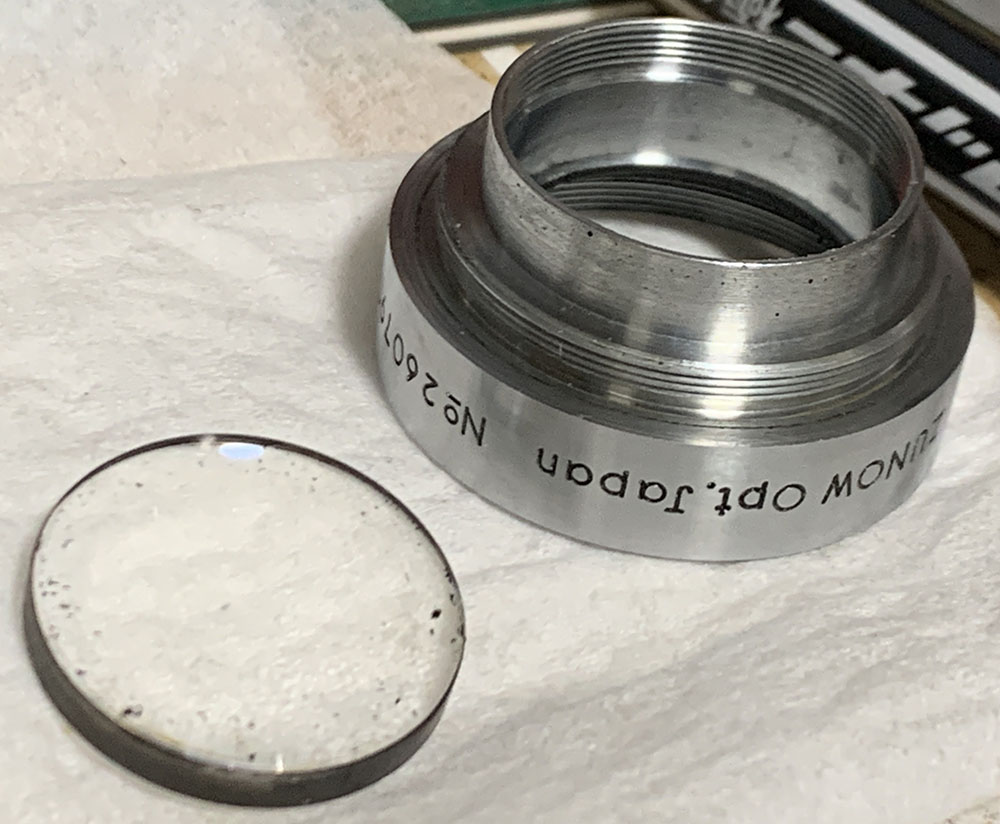
The front group could be easily removed at this point.

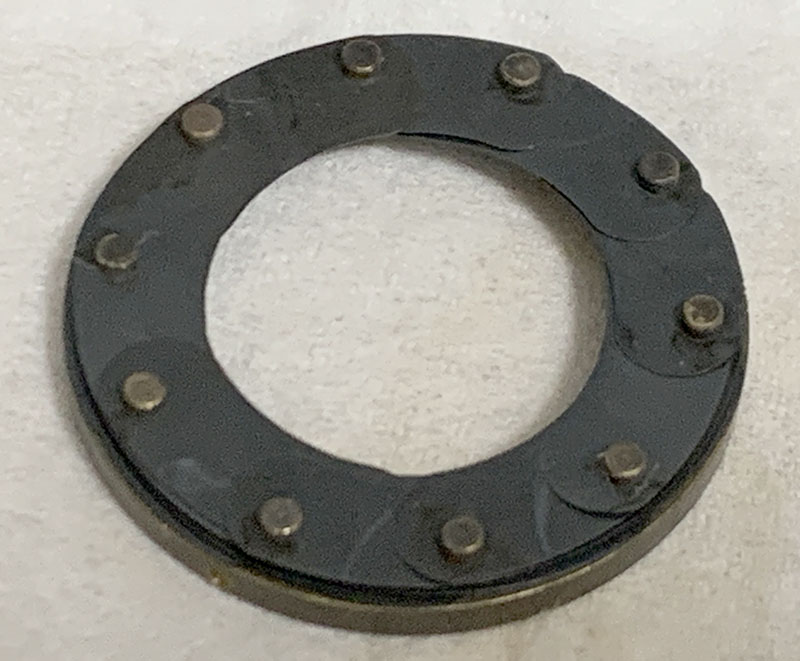
The iris mechanism is now before you. Extract the screw at the outer surface of the housing to remove the rotator cup. It’s the only thing keeping the whole mechanism together.
Pull the rotator cup off and the iris mechanism can now be dismantled. Be careful when removing the leaves, they can be a bit tight.
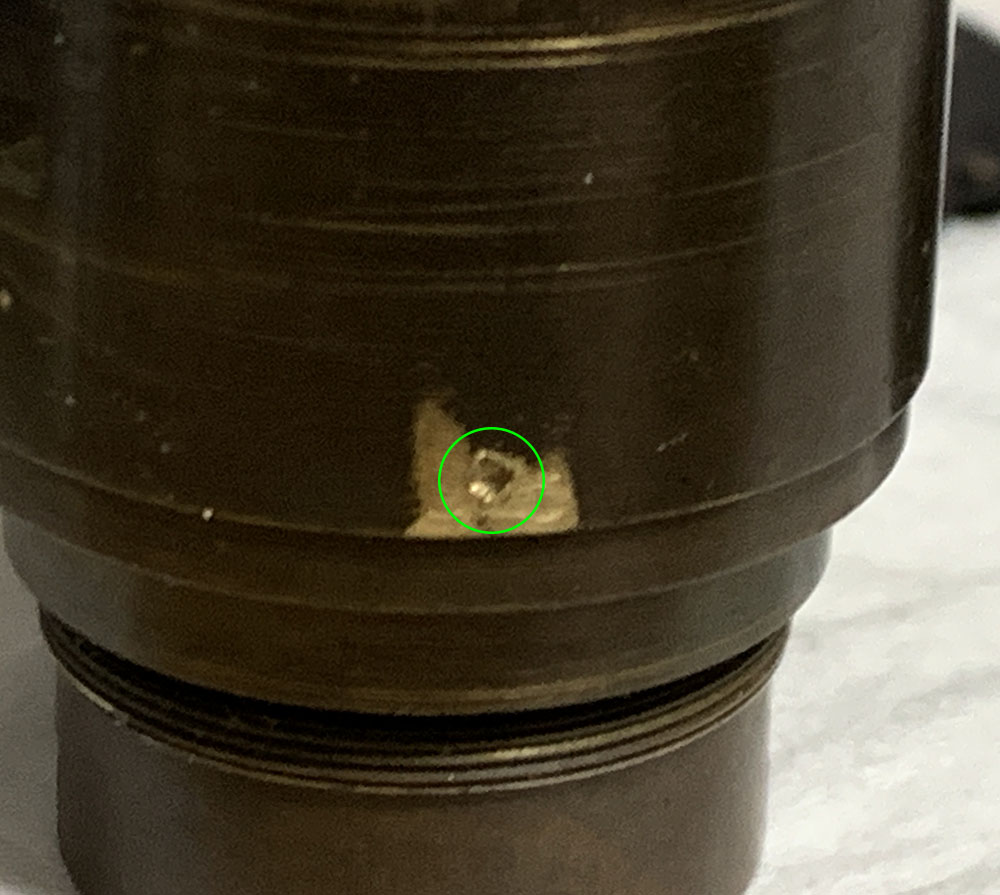
This set screw had been filed-flush so the only way for me to remove this was to drill it off and re-tap the threads. You will be able to overhaul this properly without extracting this but mine was so filthy I had to do a thorough job.
Once the set screw is gone you can pull the seat out. Do note that this is adjustable so take a couple of notes.
The 3rd and rear groups can be easily extracted once the retainer has been unscrewed.
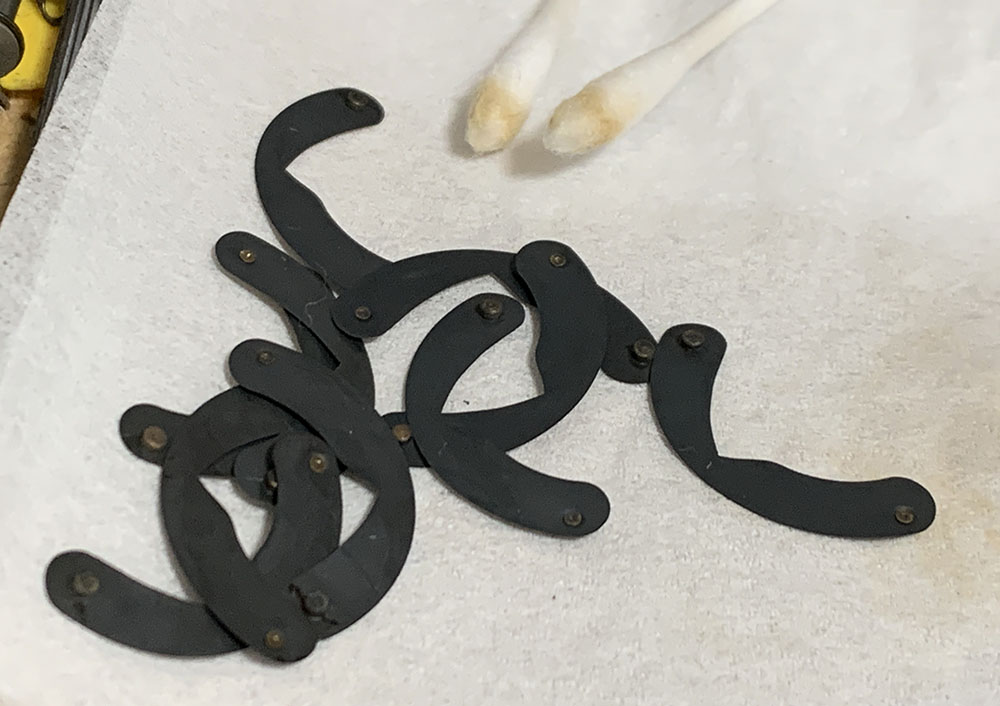
Clean the leaves very well with Q-tips saturated with solvents. Note how filthy they were, I may have used 2-3 Q-tips in this operation. Be careful while you wipe them clean so you won’t damage anything.
The corrosion was thoroughly brushed-away and all of the parts cleaned. I made sure that no residue was left before I reassembled this. Clean the glass carefully, if your lens has fungus then my article on cleaning lens fungus should help give you some idea as to how I deal with it. The helicoids benefit from grease that have some bit of resistance, this will allow you to turn the focusing ring more precisely.
Conclusion:
It took me the whole night to service this with most of that time spent cleaning the corrosion and its effects. It was a tedious job but I enjoyed it a lot since I have gained insight as to how Zunow made their cine-lenses. It’s a well-made lens in terms of mechanical engineering, they certainly didn’t cut any corners when it came to it. Having said that, it’s certainly the worst case of corrosion I have seen on any camera gear, the corrosion may have been caused by what’s been used to lubricate it since it’s mostly localized on the areas closer to the helicoids. This is the reason why being careful about your choice of lubrication is paramount, it makes all the difference between a smooth sensation and an unsatisfied experience, leaving you hanging for the rest of your day.
The leaves were thoroughly cleaned and reinstalled.
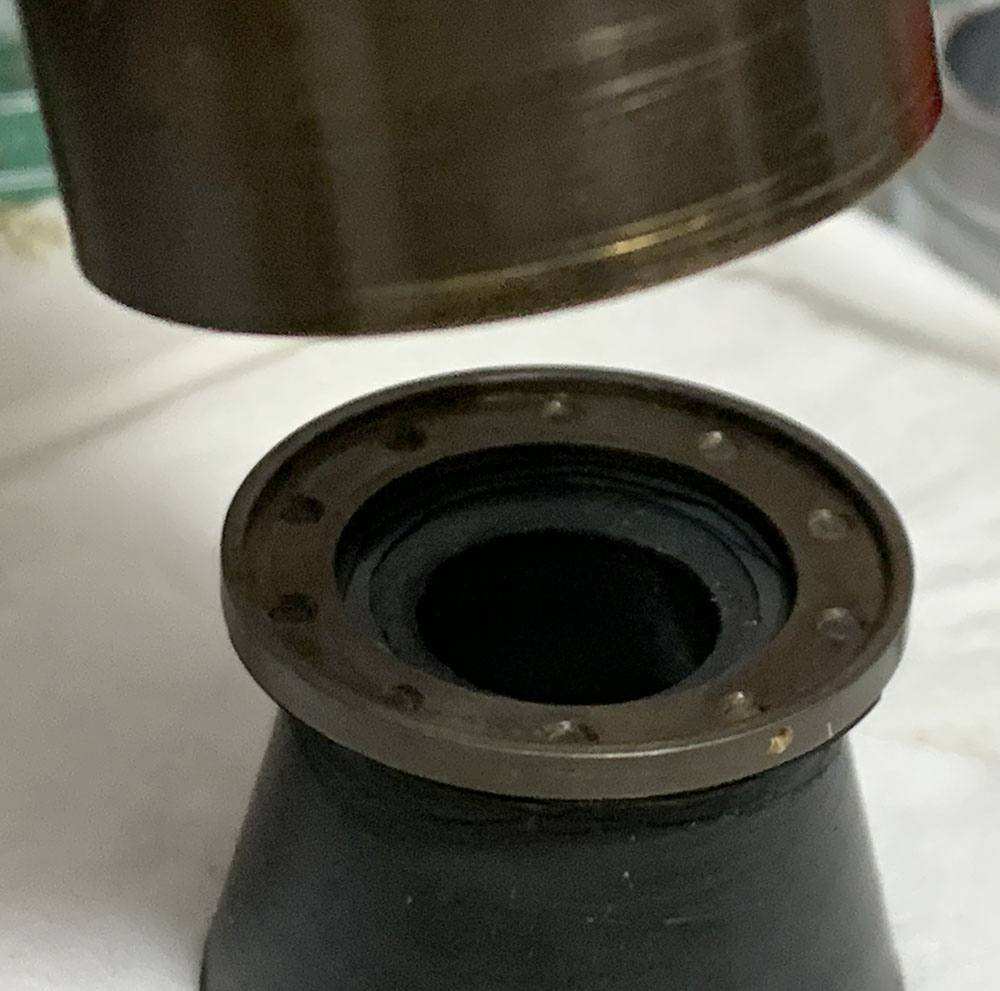
The easiest way to put this back is to lower the whole barrel onto it while being careful not to disturb the assembly.
Before you could use it you’ll have to adjust its focus with your adapter of choice. Fortunately for us this isn’t difficult to calibrate, just loosen the screws on the focusing ring to make your adjustments. Read my article on focus adjustments, I wrote that to show you how this is done in a DIY setting with tools that are available to you. Once you’re satisfied with the results finalize it by tightening the set screws and check if the focusing ring is centered by turning it. It should turn in a smooth, even manner. If it didn’t then you should try and adjust the centering of the sleeve and the focusing ring.
This is one of the lenses that nobody talks about so I hope that you have enjoyed this article about repairing this thing. There are few references about this anywhere and there are no repair articles about it as far as I know, at least not this comprehensive.
Thanks for following my work, if you liked this article please share this with your friends so it will get more views. This site earns around $0.40 a day, we are totally reliant on views. You could also support this site, it helps me offset the cost of maintenance and hosting. You are also helping me purchase, process and scan film. This site promotes the use of film so we are all in this together. See you again in the next article, Ric.
Help Support this Blog:
Maintaining this requires resources and a lot of time. If you think that it has helped you or you want to show your support by helping with the site’s upkeep, you can make a small donation to my paypal.com at richardHaw888@gmail.com. Money isn’t my prime motivation for this blog and I believe that I have enough to run this but you can help me make this site (and the companion facebook page) grow.
Buy me a roll of film or a burger?
Thank you very much for your continued support!
$2.00
Helping support this site will ensure that this will be kept going as long as I have the time and energy for this. I would appreciate it if you just leave out your name or details like your country’s name or other information so that the donations will totally be anonymous. This is a labor of love and I intend to keep it that way for as long as I can. Ric.

1 Comment (+add yours?)