
Hello, everybody! Do you believe in “rebirth”? It’s one of the core concepts of Buddhism where beings are reborn into a different vessel each time they die, bringing psychological and moral cargo from one lifetime to another one until we extinguish them all and reach “Nibanna”. While Buddhists don’t believe in at “eternal soul” the Hindus believe in it, the “atma”. This just means that the “soul” remains unchanged between lifetimes while we Buddhists believes in “non-self” which means we transform into something different each moment even as we breath. Today, I am going to show you something that’s similar to the “eternal soul”. While its “vessel” has changed the essence remained the same, identical to the previous version in every manner. Do you think lens designers believe in “rebirth” as well? That’s a big question that we’ll never find the answer to but one thing is certain, accountants do believe in it as it saves a lot of money.
Introduction:
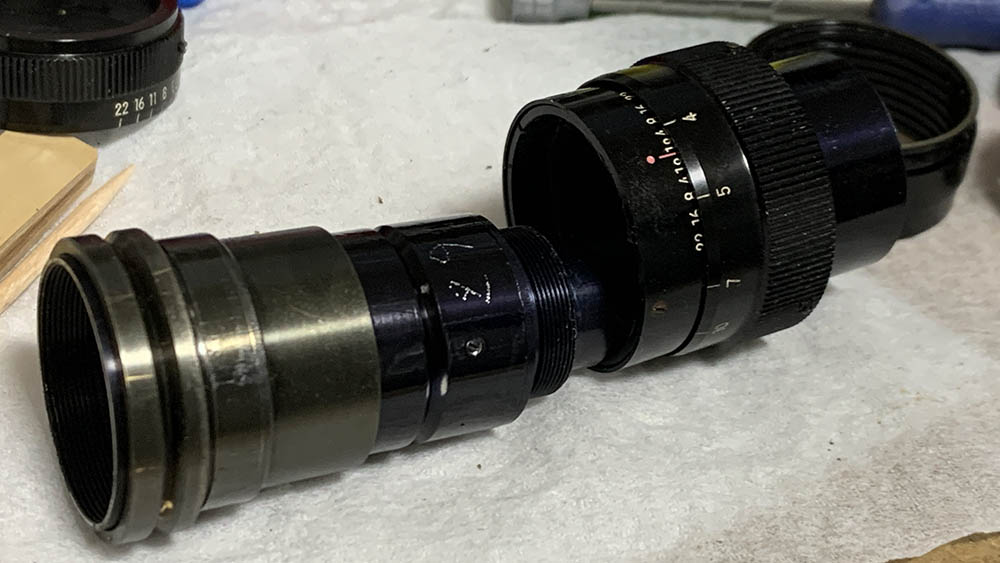
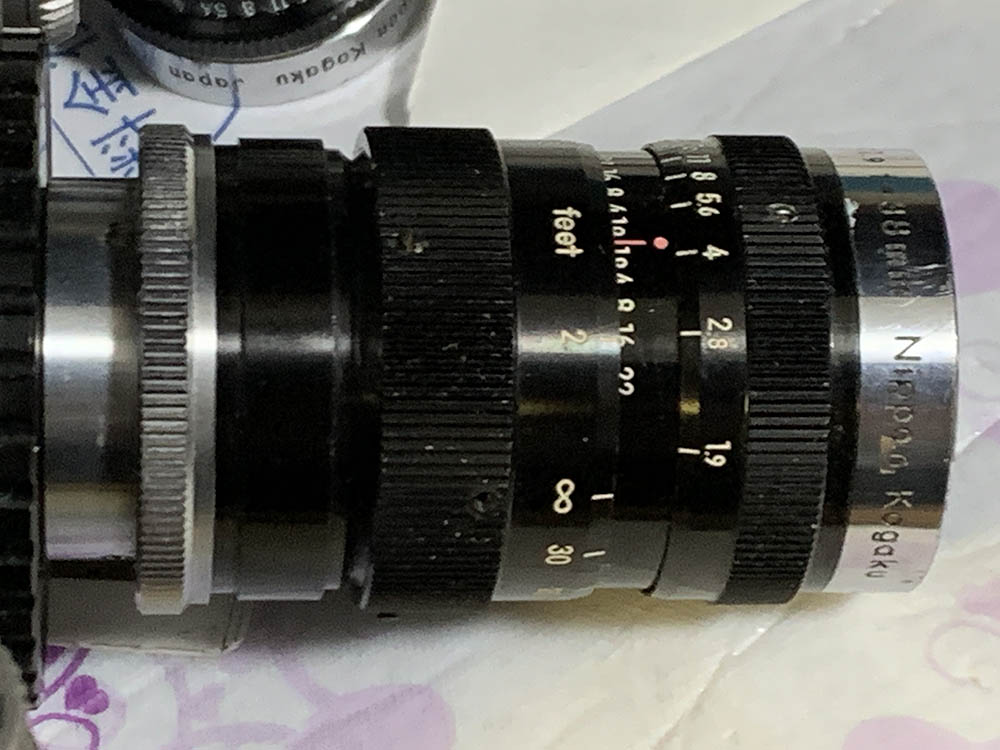
This version of the Cine-Nikkor 38mm f/1.9 replaced the older Cine-Nikkor 38mm f/1.9 some time in the mid 1950s. It’s a time when Nikon was modernizing the whole lineup and many, if not all existing Nikkors were given a facelift. All the barrels were given a smart-looking black finish and the materials changed from brass to aluminum alloy which makes a lot of sense since it made the lenses lighter without sacrificing a lot of rigidity.

Handling is excellent, it’s easy to distinguish the rings by-touch. It’s a tough lens but not as tough or well-made as the Tele Zunow Cine 38mm f/1.9 which shares similar specs. In terms of performance this one trumps the latter easily. This is a great little lens that perfect for tight portraits and other applications that require you to get closer to your subjects such as sports or maybe even journalism.
Its 4-elements-in-2-groups design appears to be identical to the one found in the older Cine-Nikkor 38mm f/1.9. This is good news since it means that it’s a good performer just like the older lens. Unfortunately you won’t be able to swap accessories with it since the attachment ring’s size is wider.

This is part of the black-trinity consisting of the Cine-Nikkor 6.5mm f/1.9, Cine-Nikkor 38mm f/1.9 and the Cine-Nikkor 13mm f/1.9. All of these were basically black-versions of their older, chrome counterparts.

Compared to original Cine-Nikkor 38mm f/1.9 the accessory ring is larger and the barrel is a bit shorter. It does have a nice black finish which makes it look elegant. It’s a lot lighter, too. The barrel is milled from aluminum alloy as opposed to the all-brass barrel of the older lens. The optics remained the same as far as I could see so the performance should be identical or at least very close at the very least.
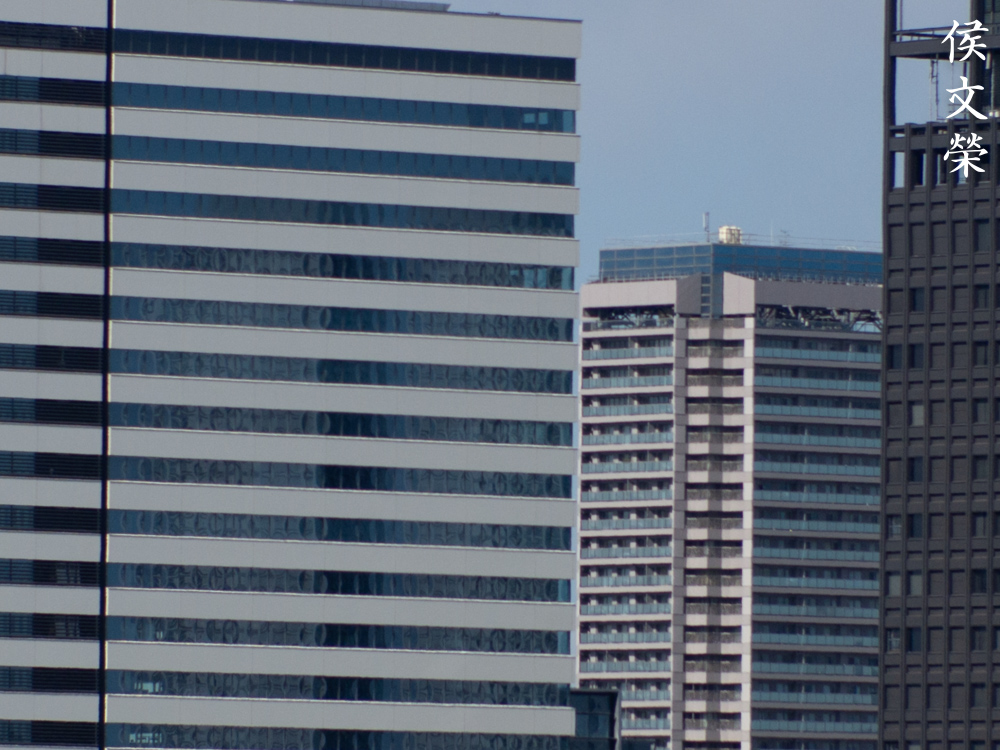
Learning how a lens performs is key to maximizing it. You’ll learn how to utilize its strengths and avoid its weaknesses. This knowledge helps in determining which lens to bring on an assignment. I shot these from f/1.9, f/2.8 and f/4 and f/5.6 since these are the most common apertures that people would want to use this and we’ll see the most changes happen within these values. These photos were shot with my Pentax Q10, some of the photos were cropped close to 1:1 magnification so we can see the details better. You’ll need to understand that the sensor’s usable area is actually a bit bigger compared to that of standard 8mm so the areas closer to the top and bottom edges look terrible since this lens is rendering beyond its intended image-circle.
Learning how a lens performs is key to maximizing it. You’ll learn how to utilize its strengths and avoid its weaknesses. This knowledge helps in determining which lens to bring on an assignment. I shot these from f/1.9, f/2.8 and f/4 and f/5.6 since these are the most common apertures that people would want to use this and we will see the most changes happen within these values. These photos were shot with my Pentax Q10, some of the photos were cropped close to 1:1 magnification so we can see the details better. You’ll need to understand that the sensor’s usable area is actually a bit bigger compared to that of standard 8mm so the areas closer to the edges look terrible since this lens is rendering beyond its intended image-circle. Since its optics are assumed to be identical to the older Cine-Nikkor 38mm f/1.9 you can also check that lens’ article to see more samples.


(Click to enlarge)
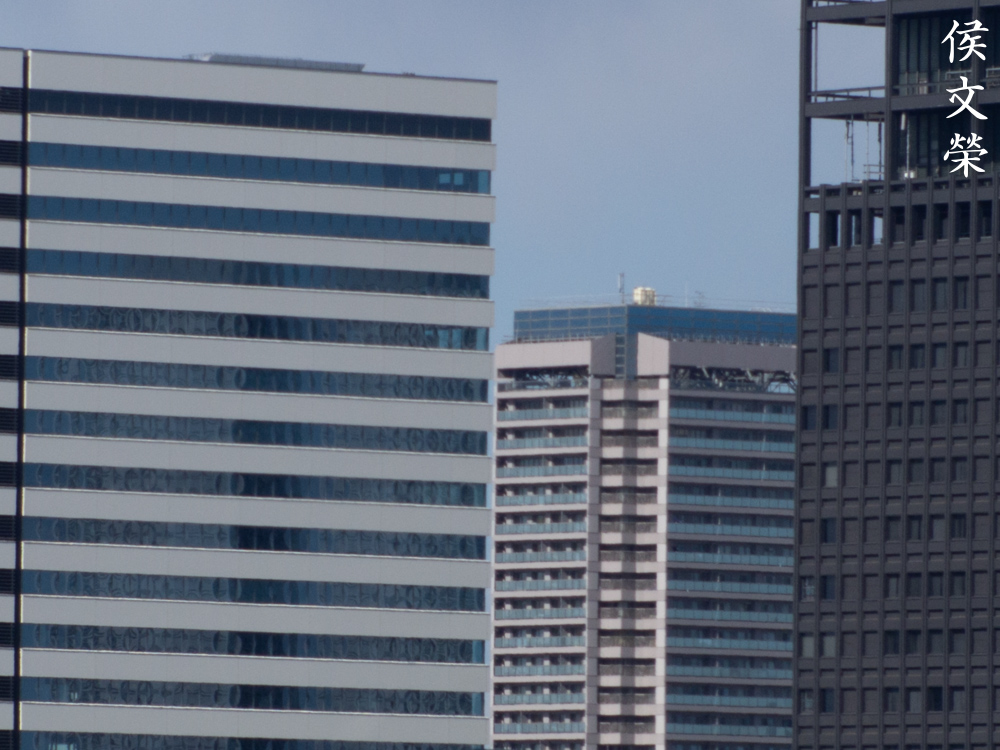
Vignetting is heavy wide-open but the falloff is not heavy. It improves by the point you get to f/2.8 and it’s gone when you stop it down to f/4 and beyond.
(Click to enlarge)
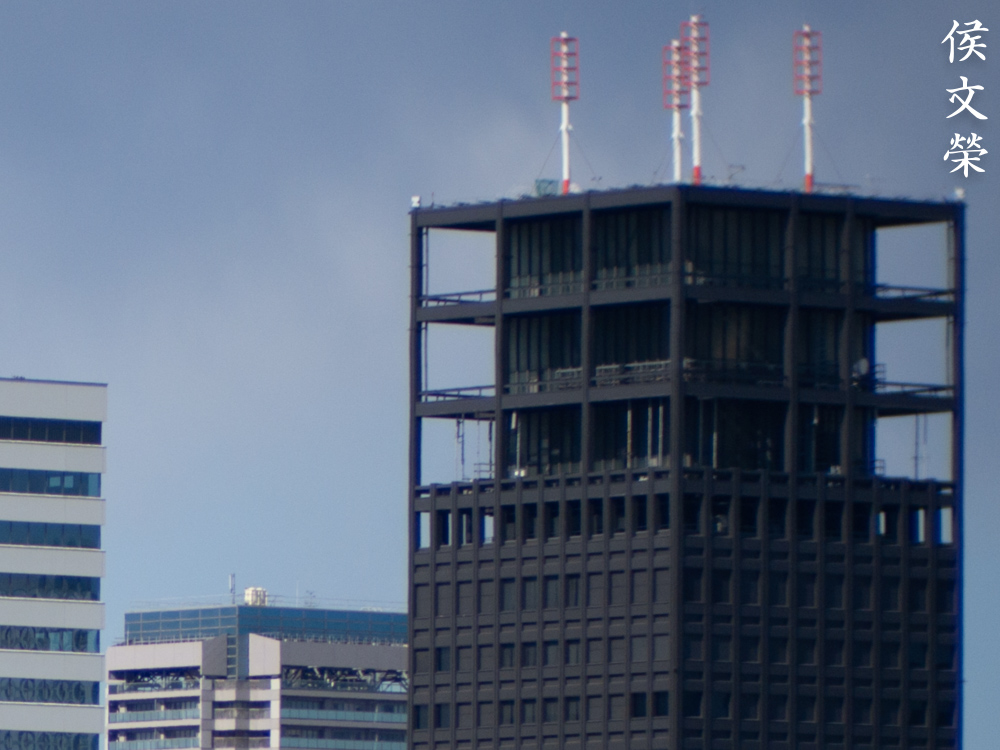
There’s slight distortion if you look carefully which is of the barrel-type variety.

(Click to enlarge)
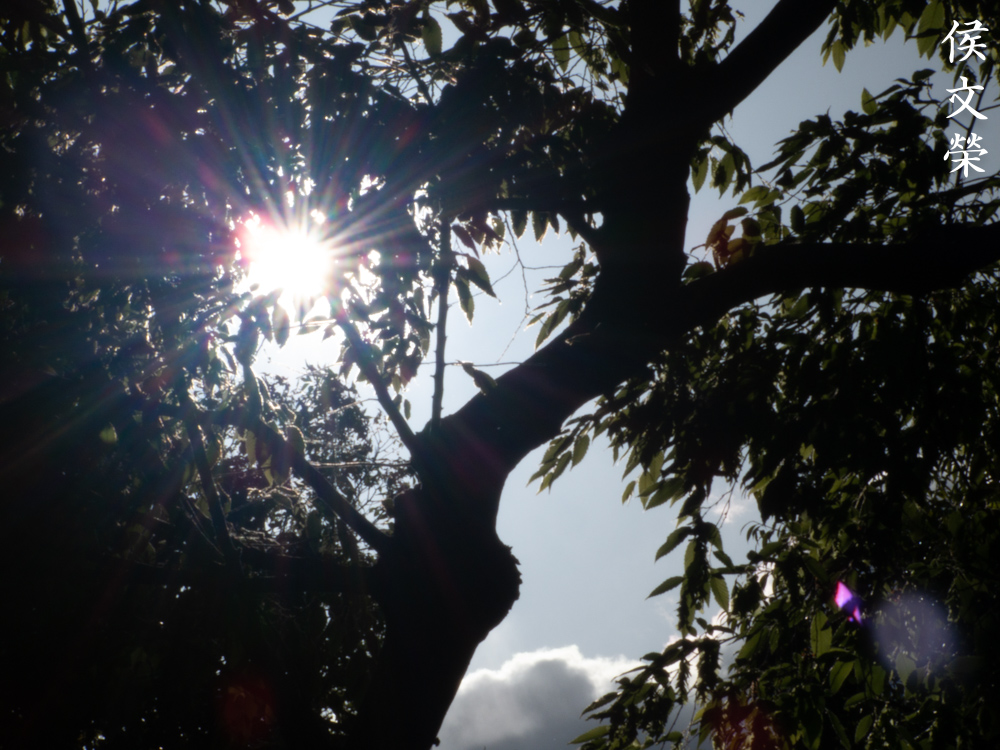
You won’t get plenty of blobs since it only has 2 air-to-glass surfaces but that doesn’t mean that you won’t see any. It’s just that you’ll get to see a lot less of it. It flares terribly specially at wider apertures which couldn’t be helped because it is an old lens with simple coatings.


(Click to enlarge)
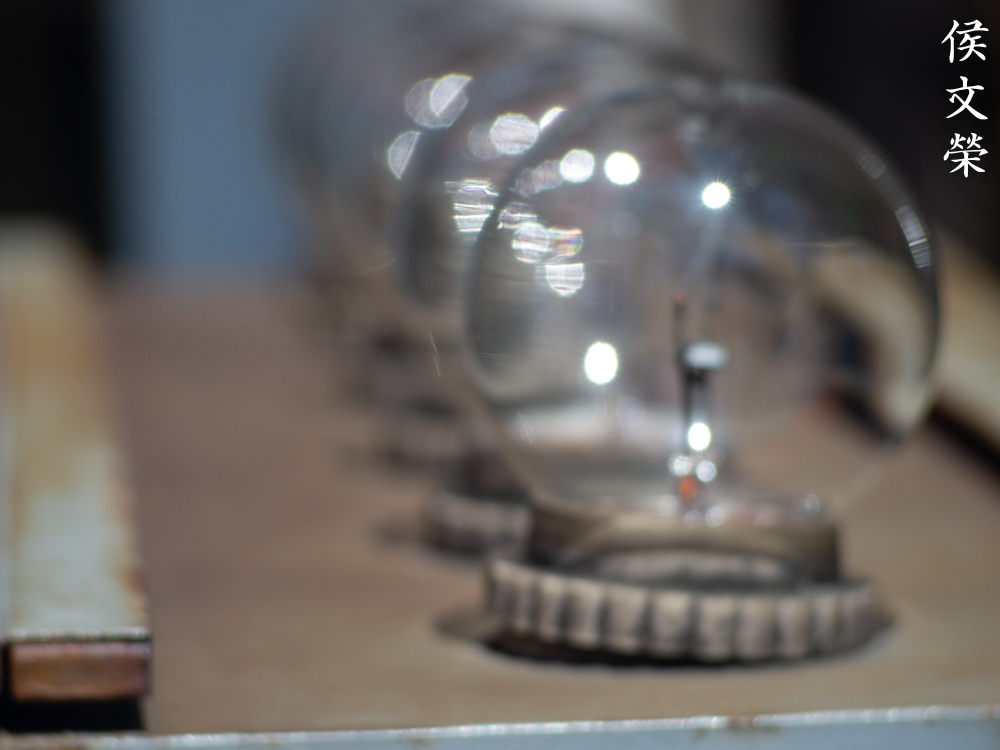
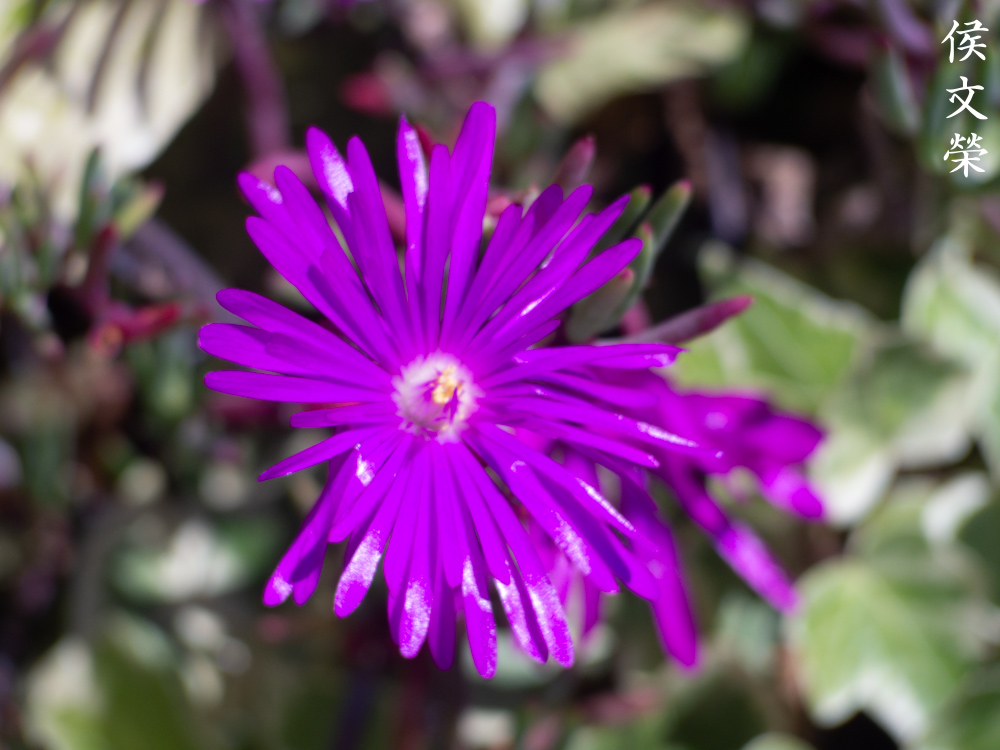
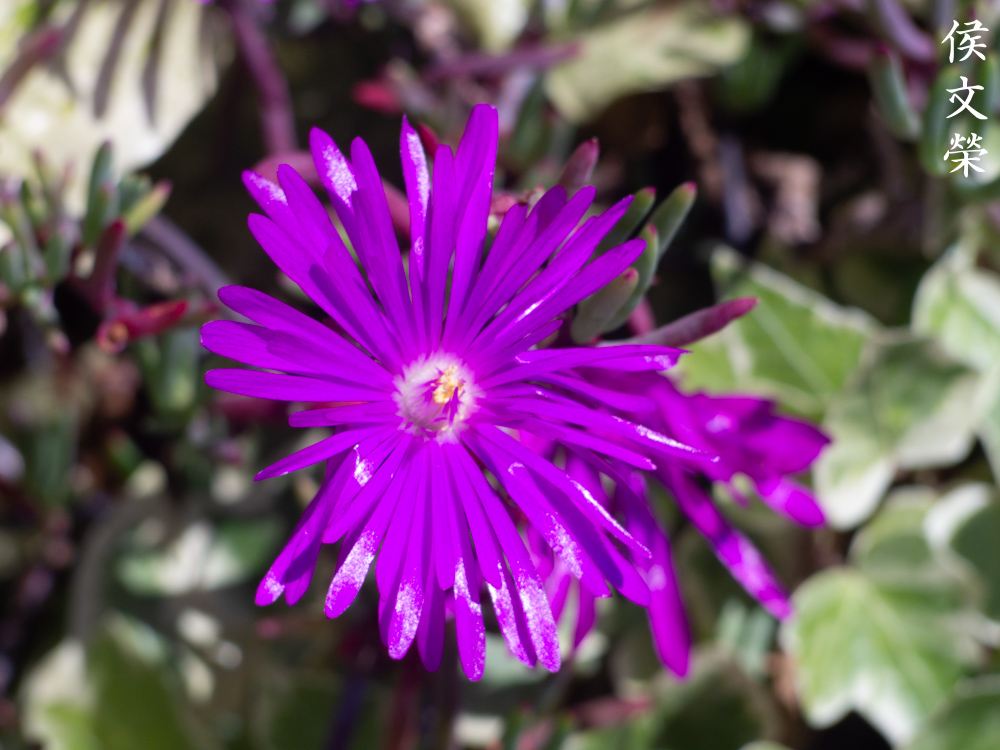
It appears that the character of the bokeh seems smooth. However, it has a tendency to produce a clumpy-look if you are not careful. It’s not bad at all considering how its contemporaries perform in this regard.

(Click to enlarge)
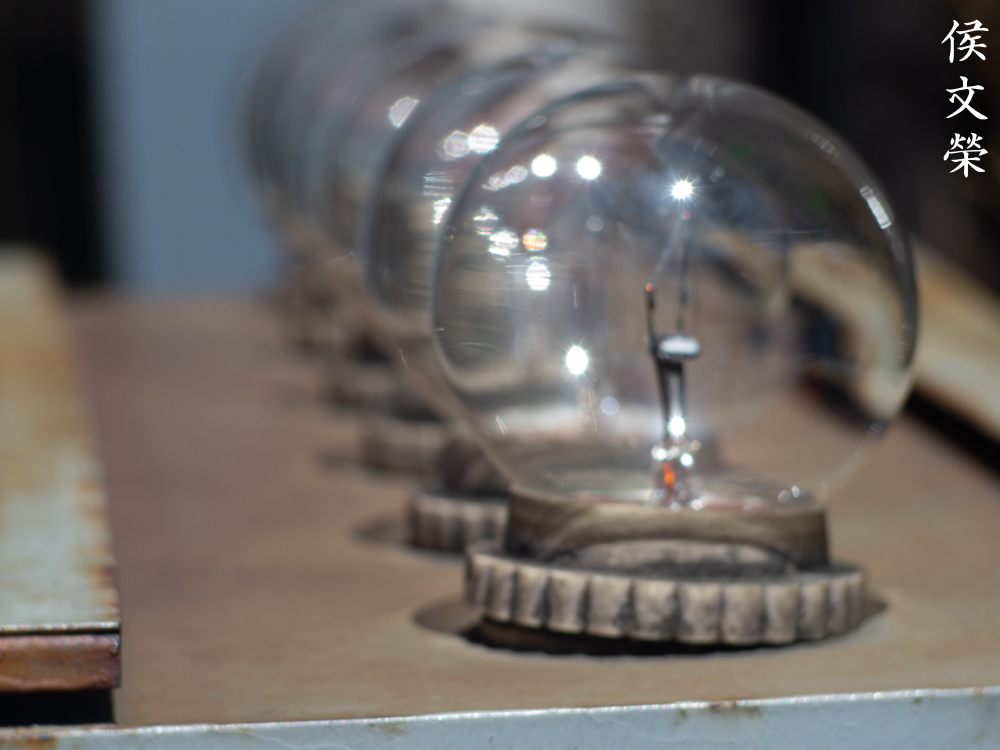
Focusing-close helps in preventing that ugly, clumpy-look. You can also compose your scene so the background is far, that really helps make things a lot smoother.
(Click to enlarge)
Similar to the older version chromatic aberration is horrible wide-open when there are overblown highlights. Spherical aberration is prominent as well but not as ugly as the former. It improves drastically when you stop it down to f/2.8 but you’re still able to see plenty of both in difficult cases. It looks a lot better by f/4 but you’ll still see some traces of both artifacts in extreme situations. It looks clean by f/5.6 and you’ll only see them in severe cases. Don’t worry so much, it’s not going to be distracting if you’re mindful with what’s in your scene and underexpose a bit.


(Click to enlarge)
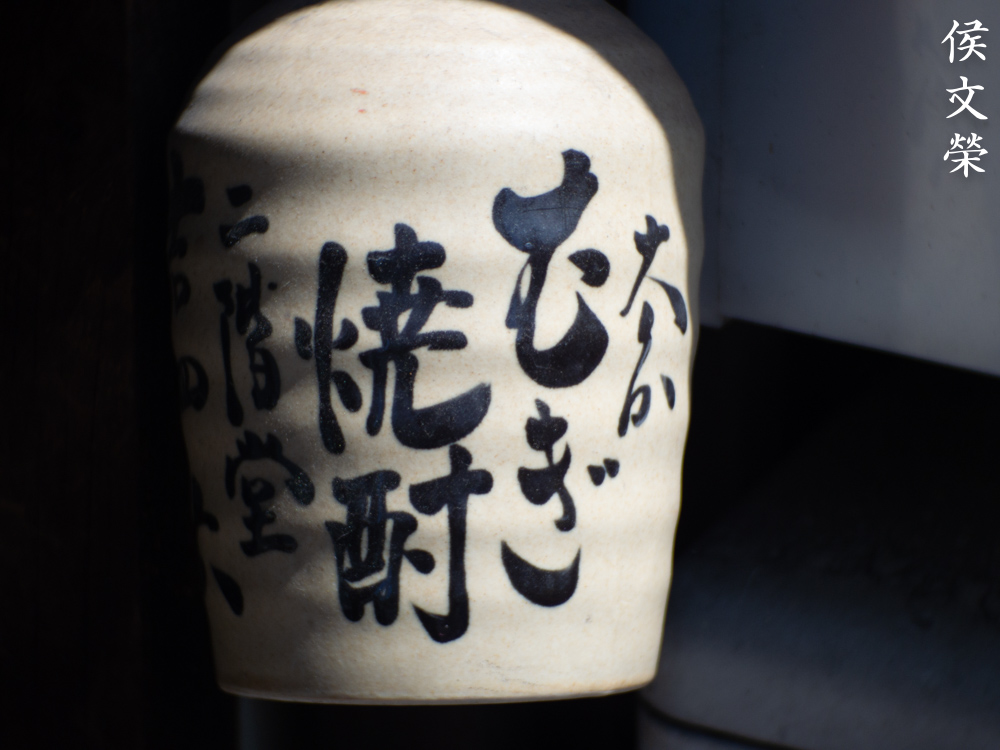
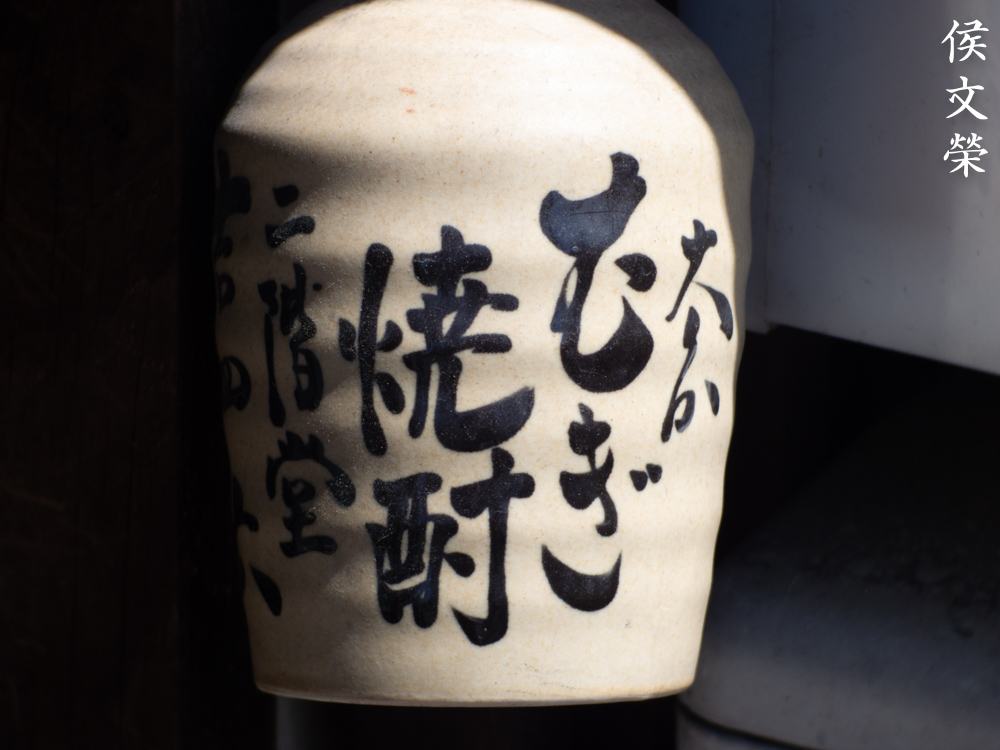
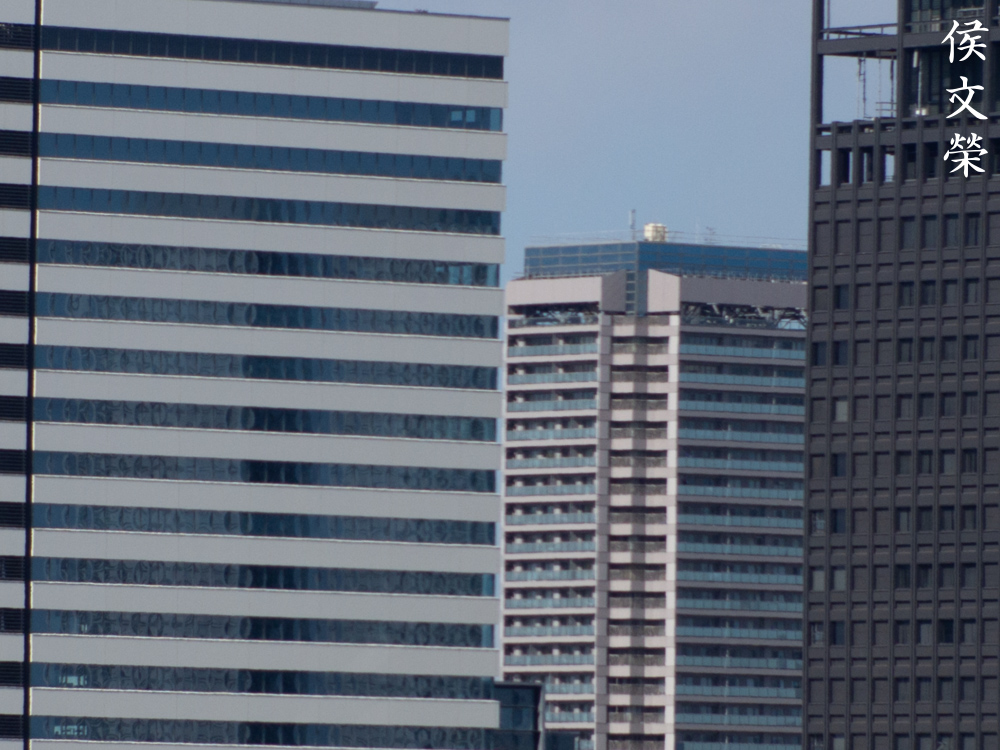
It’s nice wide-open but the resolving power is lacking. It’s not sharp but it’s adequate in most cases specially if you are shooting portraits where the slight softness of the center helps create a dreamy-looking photo. Its performance gets a big boost when you stop it down to f/2.8, the center looks beautiful with nice resolution. Even the corners look good, it is surprising how good it is even at the corners, for a vintage lens of its class, that is. The center looks amazing by f/4, it gets even sharper and the resolution improves, too. The corners look much better even at the extremities. You’re going to get amazing, sharp photos by f/5.6, it appears to have reached its peak by now. It’s excellent, even the corners look great. It’s certainly a great optic, I wasn’t expecting this so I was impressed.

This level of performance is impressive for a lens of this vintage and type. This proves that you don’t need to buy what is the latest if you know which lens has it and you’re fine with focusing manually.
Focusing can be challenging specially if you stop the iris down since the depth-of-field is rather deep even when you’re shooting with it wide-open. On the other hand, you’ll get amazing photos if you nailed your focus.
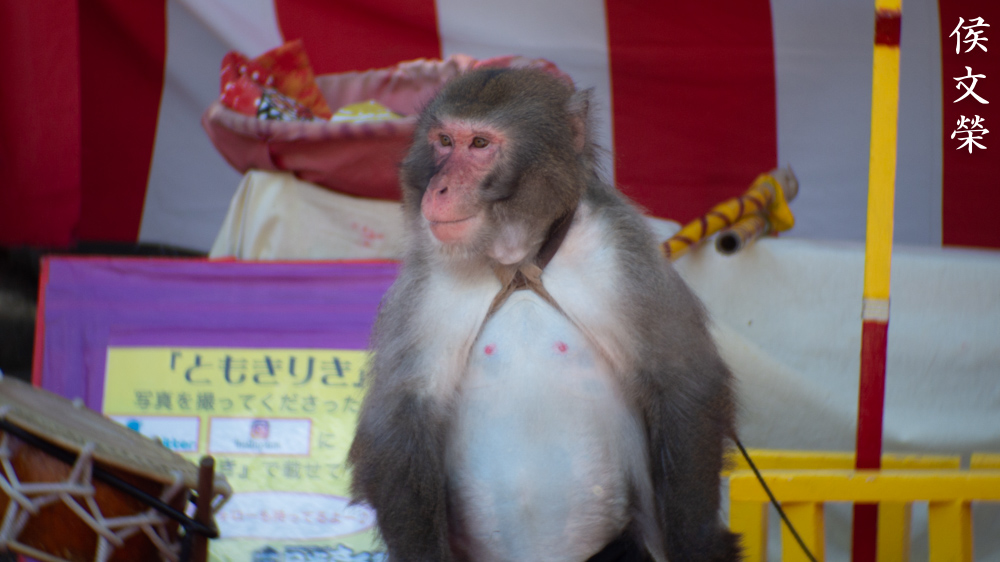
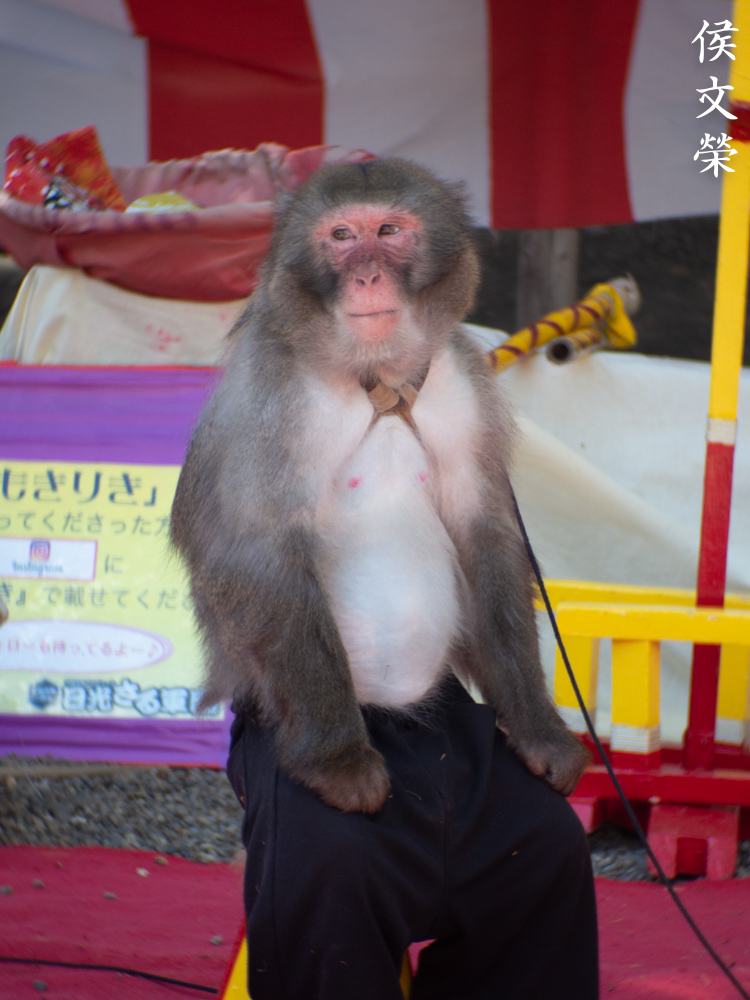
It gives you the reach required so you could frame your subjects better specially if it’s a wild animal. The macaque is an entertainer so it has been domesticated to a certain extent but it’s still a dangerous creature and it’s bit is still lethal.

It helps give you the required compression so you can help counter the effects of foreshortening.

It’s nice for candid shots but tracking moving subjects can be difficult, if your subjects could pose for you then that will be much better.


(Click to enlarge)
I love using this lens a lot, I think this is the best lens in its class. These photos should help prove to you just how good it is even by today’s standards, at least for lenses made for tiny sensors. This is the best portrait lens for small cameras if you consider how cheap these are.
This is an amazing lens, even the older version performs quite well since the optics appear to be identical. These aren’t expensive, you could get one for around $70.00 or less, I got mine together with a bunch of junks so it’s a lot cheaper. When looking for one be sure that the iris works perfectly and it’s dry. Turn the rings and be sure that they all operate fine. The optics have to be clean and clear, too. It’s not uncommon to find these with cleaning marks and scratches but that’s not going to affect your photos so long as it’s nothing serious. Just look at the auction sites and you can get one that fits your budget and requirements, happy hunting.
Before We Begin:
If this is your first attempt at repairing a lens then I suggest that you see my previous posts regarding screws & drivers, grease and other things. Also read what I wrote about the tools that you’ll need to fix your Nikkors.
I suggest that you read these primers before you begin (for beginners):
Reading these should lessen the chance of ruining your lens if you are a novice. Before opening up anything, always look for other people who have done so in YouTube or the internet. Information is scarce, vague and scattered (that is why I started this) but you can still find some information if you search carefully.
I highly recommend that you read my working with helicoids post because this is very important and getting it wrong can ruin your day. If I can force you to read this, I would. It is that important!
For more advanced topics, you can read my fungus removal post as a start. It has a lot of useful information, it will be beneficial for you to read this.
Disassembly:
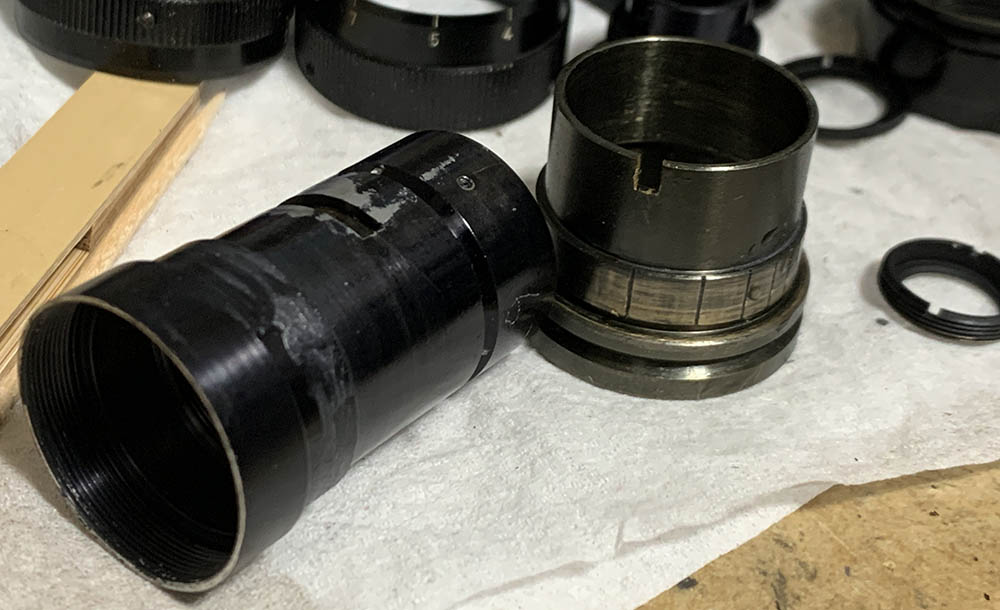
Its construction is similar to the original Cine-Nikkor 38mm f/1.9 so those who have seen my article should be familiar with this. Just like the older one you’ll want to extract the optics as early as you can to prevent damaging them, this is not as easy as you think as you will see why later. You will need special tools to service this, drivers of different sizes are important to prevent stripping the slots. If something is stuck try and soften the seal with solvents like acetone. Do not flood the parts unless the optics have been extracted.
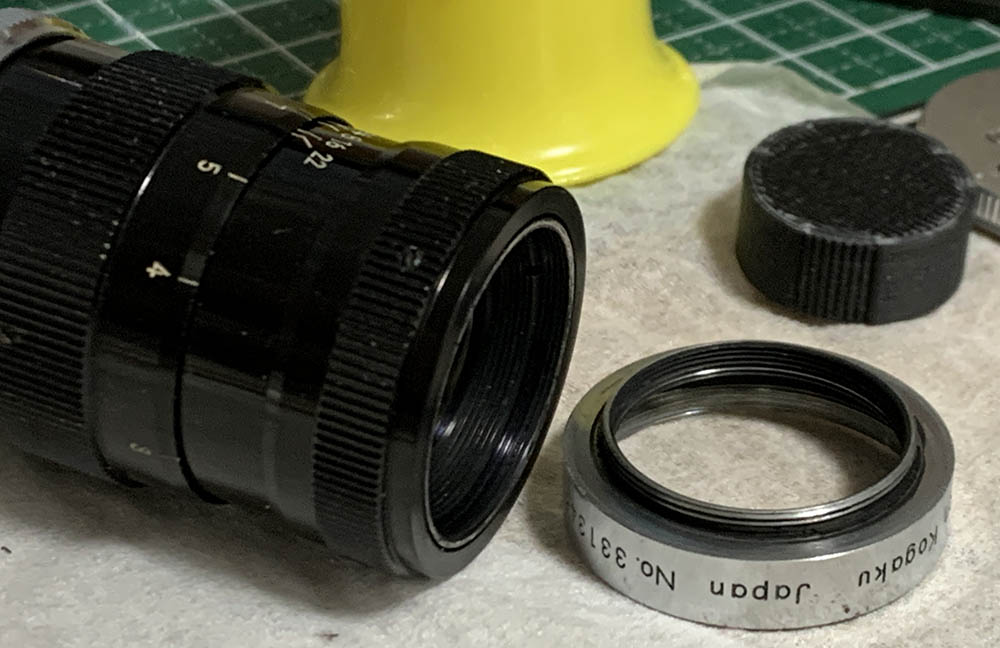
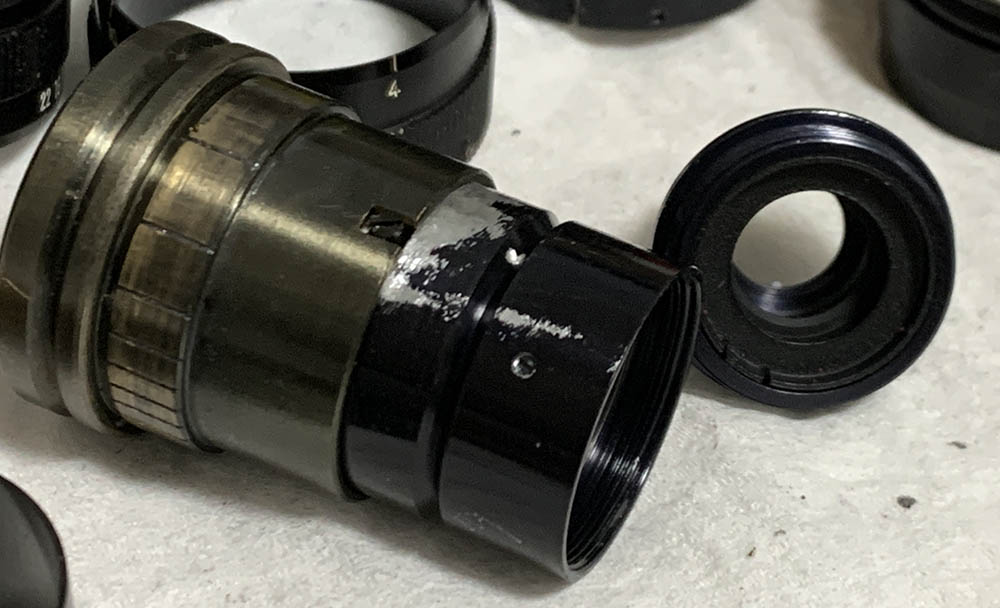
Unscrew the bezel from the barrel. These are sometimes sealed and it can be tough to remove. Placing a few drops of solvent can help soften the seal but it it didn’t work then heat is the only thing that work but you will have to be careful because the front group is cemented.
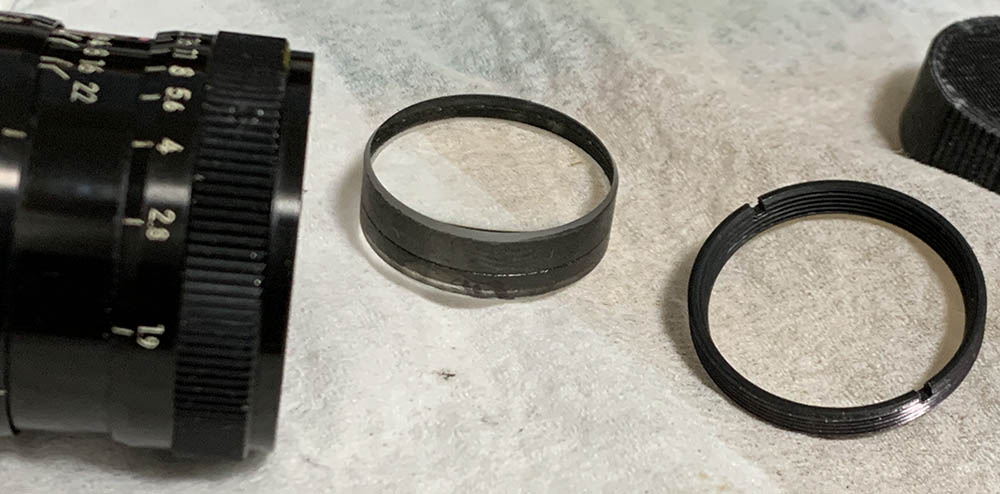
Unscrew the retainer and extract the front group carefully with a lens sucker.
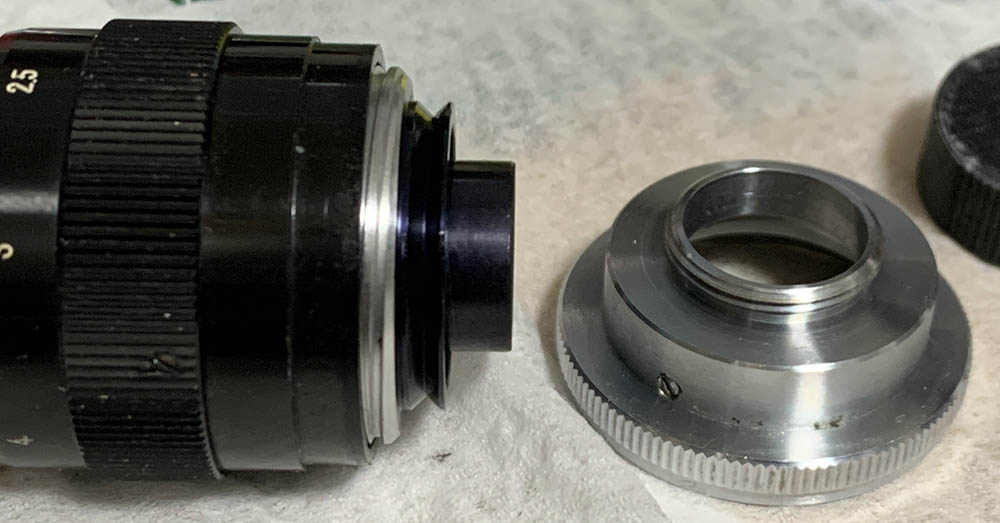
Loosen the screws of the mount and pull it off.
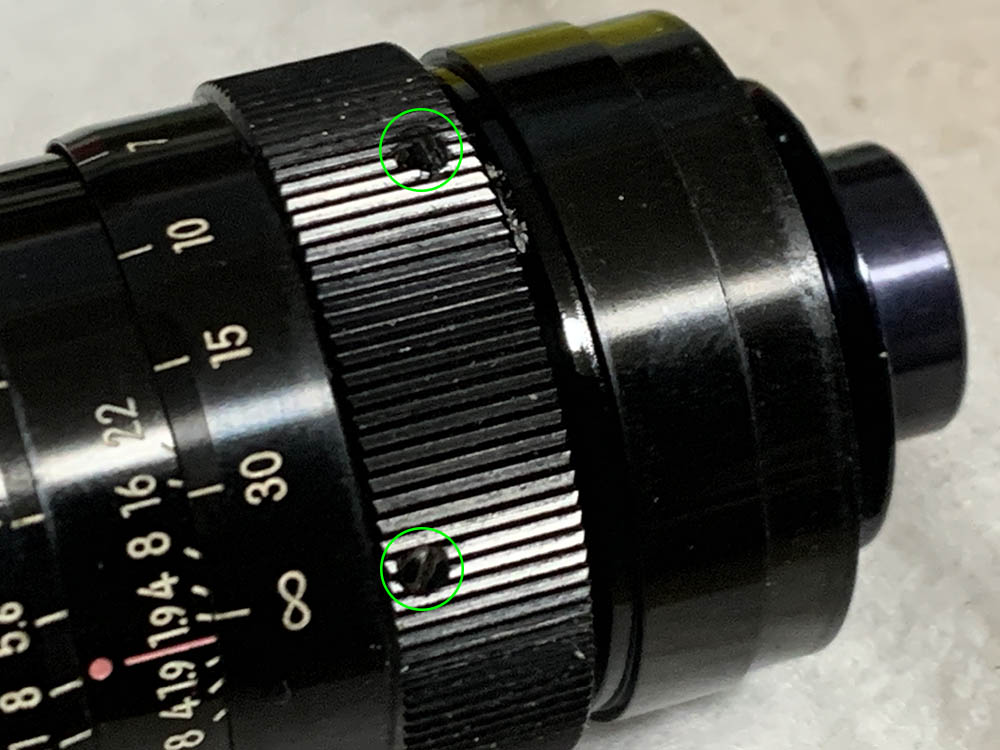
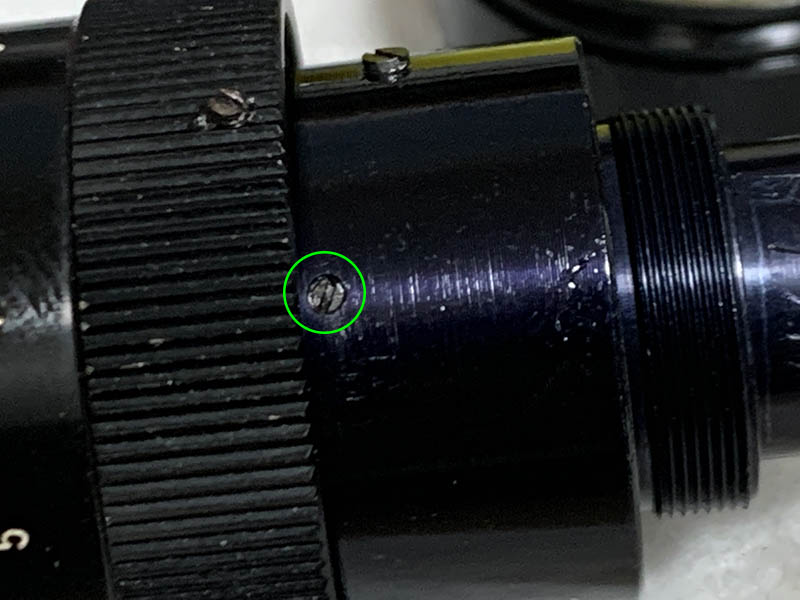
Loosen the 3 screws closest to the mount, they secure the main barrel to the focusing unit. The lone screw at the front is used for constraining the range of the focusing ring, you can remove it at this point and don’t misplace it.
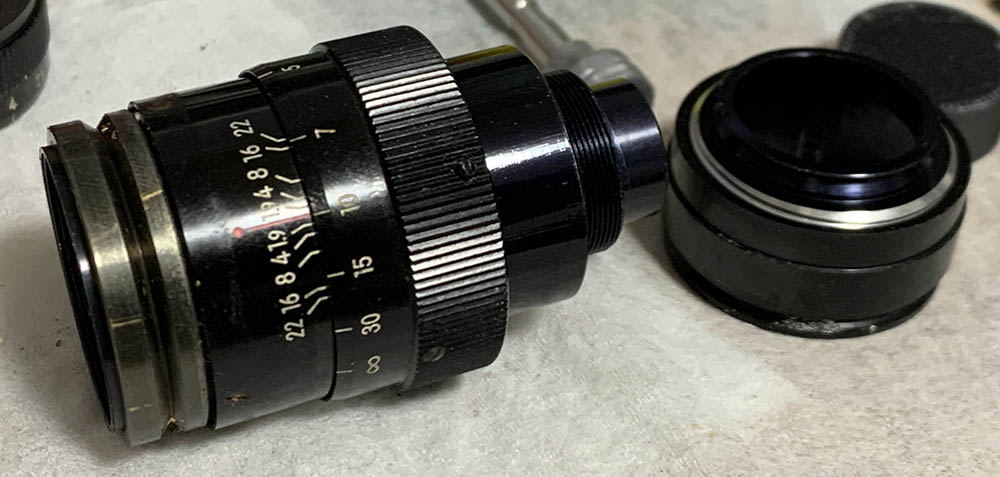
Pull the focusing unit off.
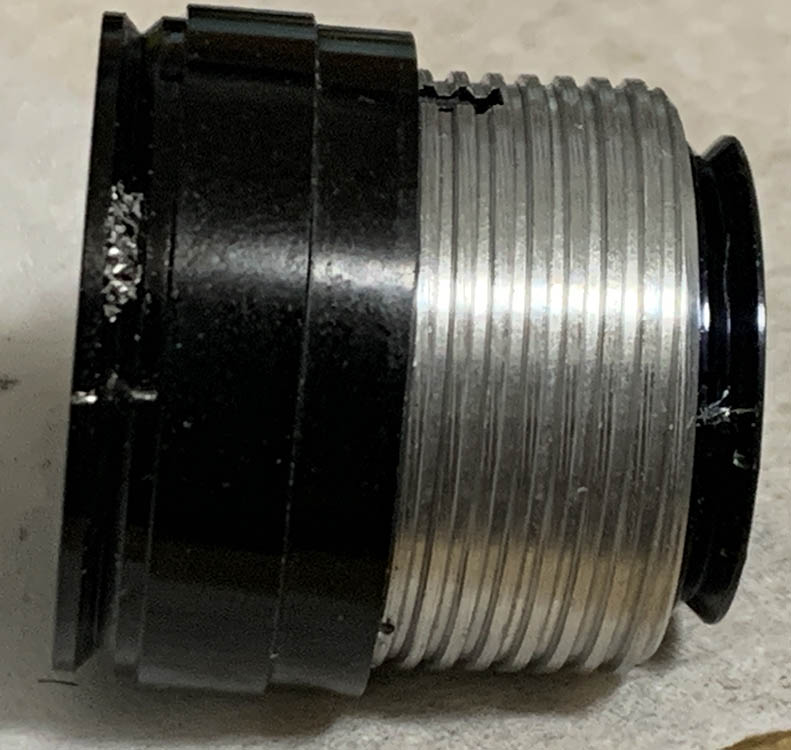
Separate the helicoids and don’t forget to mark where they parted because this is also the spot where they mate. Many people forget to do this and get stuck, read my article on working with helicoids to prevent this from happening to you.

Remove the aperture ring by loosening its screws and pulling it off.
Loosen these screws so you could remove the objective’s housing.
Pull the while thing off.
Unscrew the rear optics assembly from the objective’s housing.

Pull the baffle off with your nails or a sharp pair of tweezers.

Unscrew the retainer and extract the rear group from the housing. Be sure to note its direction so you’ll be able to put this back properly later.
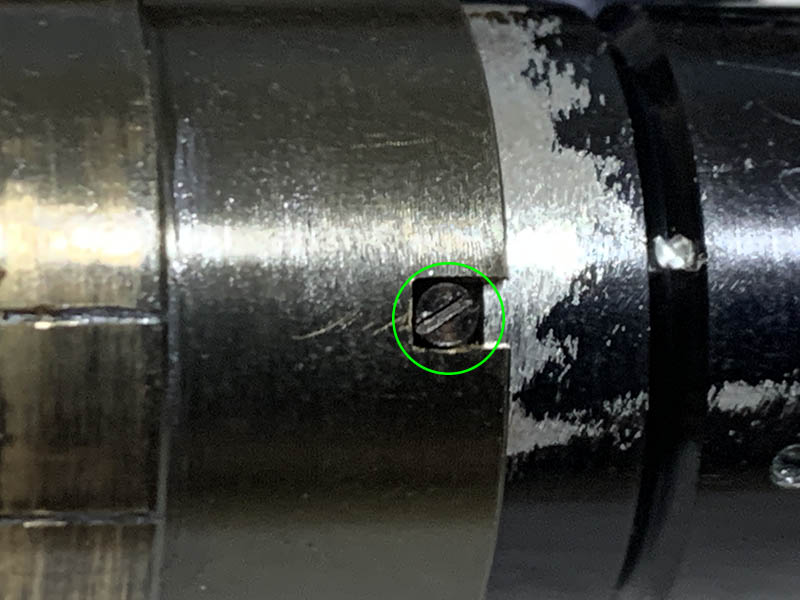
Unscrew this so you can begin to dismantle the iris mechanism. It couples the outer tube to the iris mechanism so you will be able to control it by turning the aperture ring.
Pull the tube off.
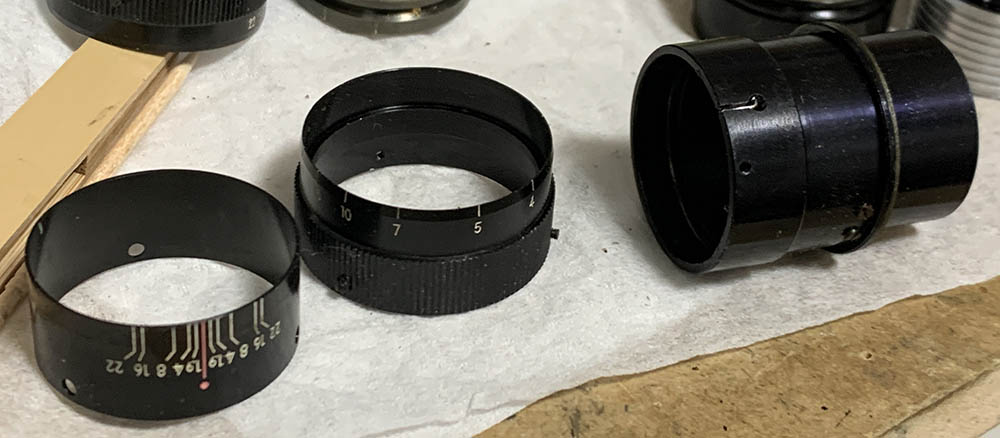
I forgot to show a few steps ago, you can remove the aperture ring by loosening its screws and pulling it off. Extract all of the sleeve’s screws and pull it off from the barrel. Note that there’s a tiny spring located near the lip of the tube, that is used for activating the click-stops of the aperture ring. There’s a thin shim at the waist, do not clean that with solvent as its soluble, only dishwashing liquid is safe for cleaning it thoroughly.

Loosen these so you could dismantle the iris mechanism, it’s an adjustable part so be sure you took plenty of notes.
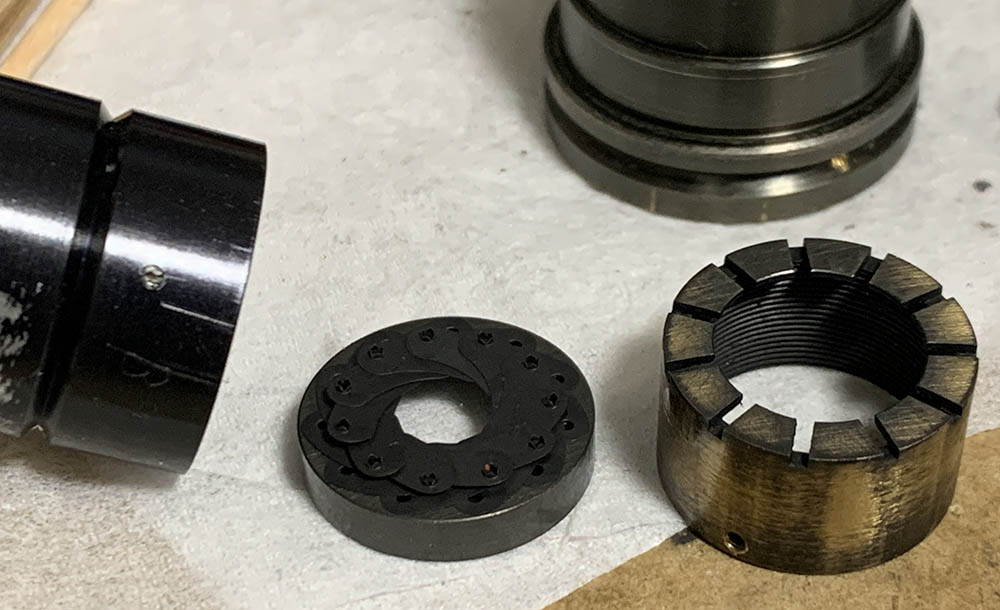
Dismantle the iris mechanism by pulling the base off.
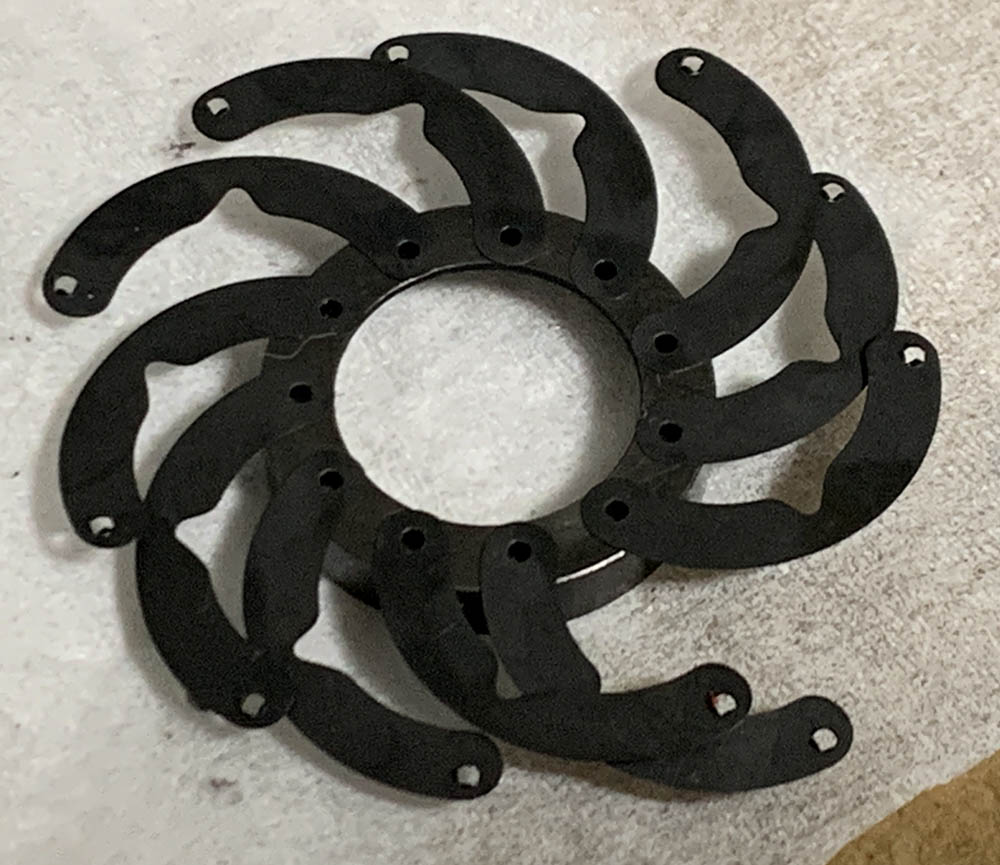
Splay the leaves so you’ll be able to clean it well. Do not remove the leaves, they’re secured safely to the base. Saturate some Q-tips with solvents and carefully clean each leaf.
Clean the barrels carefully and don’t leave any residue. I scrubbed them with a strong dishwashing liquid, soaking them in alcohol helps remove residue and soften any stubborn dirt. Do not apply excessive grease or it will migrate to the iris in the future and you’ll have to open it again just to clean the mess. A heavy type of grease will be beneficial, it will give you a nice, damped feel.
Conclusion:
It didn’t take me a long time to service this since its construction is similar to the older version so I knew how to repair this without having experience yet. It was smooth-sailing but I still had to be careful with the rings since they all should be centered or they won’t turn smoothly. To ensure smooth operation you will have to turn the screws at the same rate so the rings won’t be decentered. If your lens needs to be serviced send it to a professional and show my article. That’s going to help a lot since there are no information about the repair of this lens.
Before tightening the focusing ring adjust the focus of your lens. It’s fortunate that I didn’t have to fabricate a shim for this to adjust its focus. Read my article on how to adjust the focus of your lens so you’ll know how this is done with DIY tools.
Thanks for following my work, if you liked this article please share this with your friends so it will get more views. This site earns around $0.40 a day, we are totally reliant on views. You could also support this site, it helps me offset the cost of maintenance and hosting. You are also helping me purchase, process and scan film. This site promotes the use of film so we are all in this together. See you again in the next article, Ric.
Help Support this Blog:
Maintaining this requires resources and a lot of time. If you think that it has helped you or you want to show your support by helping with the site’s upkeep, you can make a small donation to my paypal.com at richardHaw888@gmail.com. Money isn’t my prime motivation for this blog and I believe that I have enough to run this but you can help me make this site (and the companion facebook page) grow.
Buy me a roll of film or a burger?
Thank you very much for your continued support!
$2.00
Helping support this site will ensure that this will be kept going as long as I have the time and energy for this. I would appreciate it if you just leave out your name or details like your country’s name or other information so that the donations will totally be anonymous. This is a labor of love and I intend to keep it that way for as long as I can. Ric.

1 Comment (+add yours?)